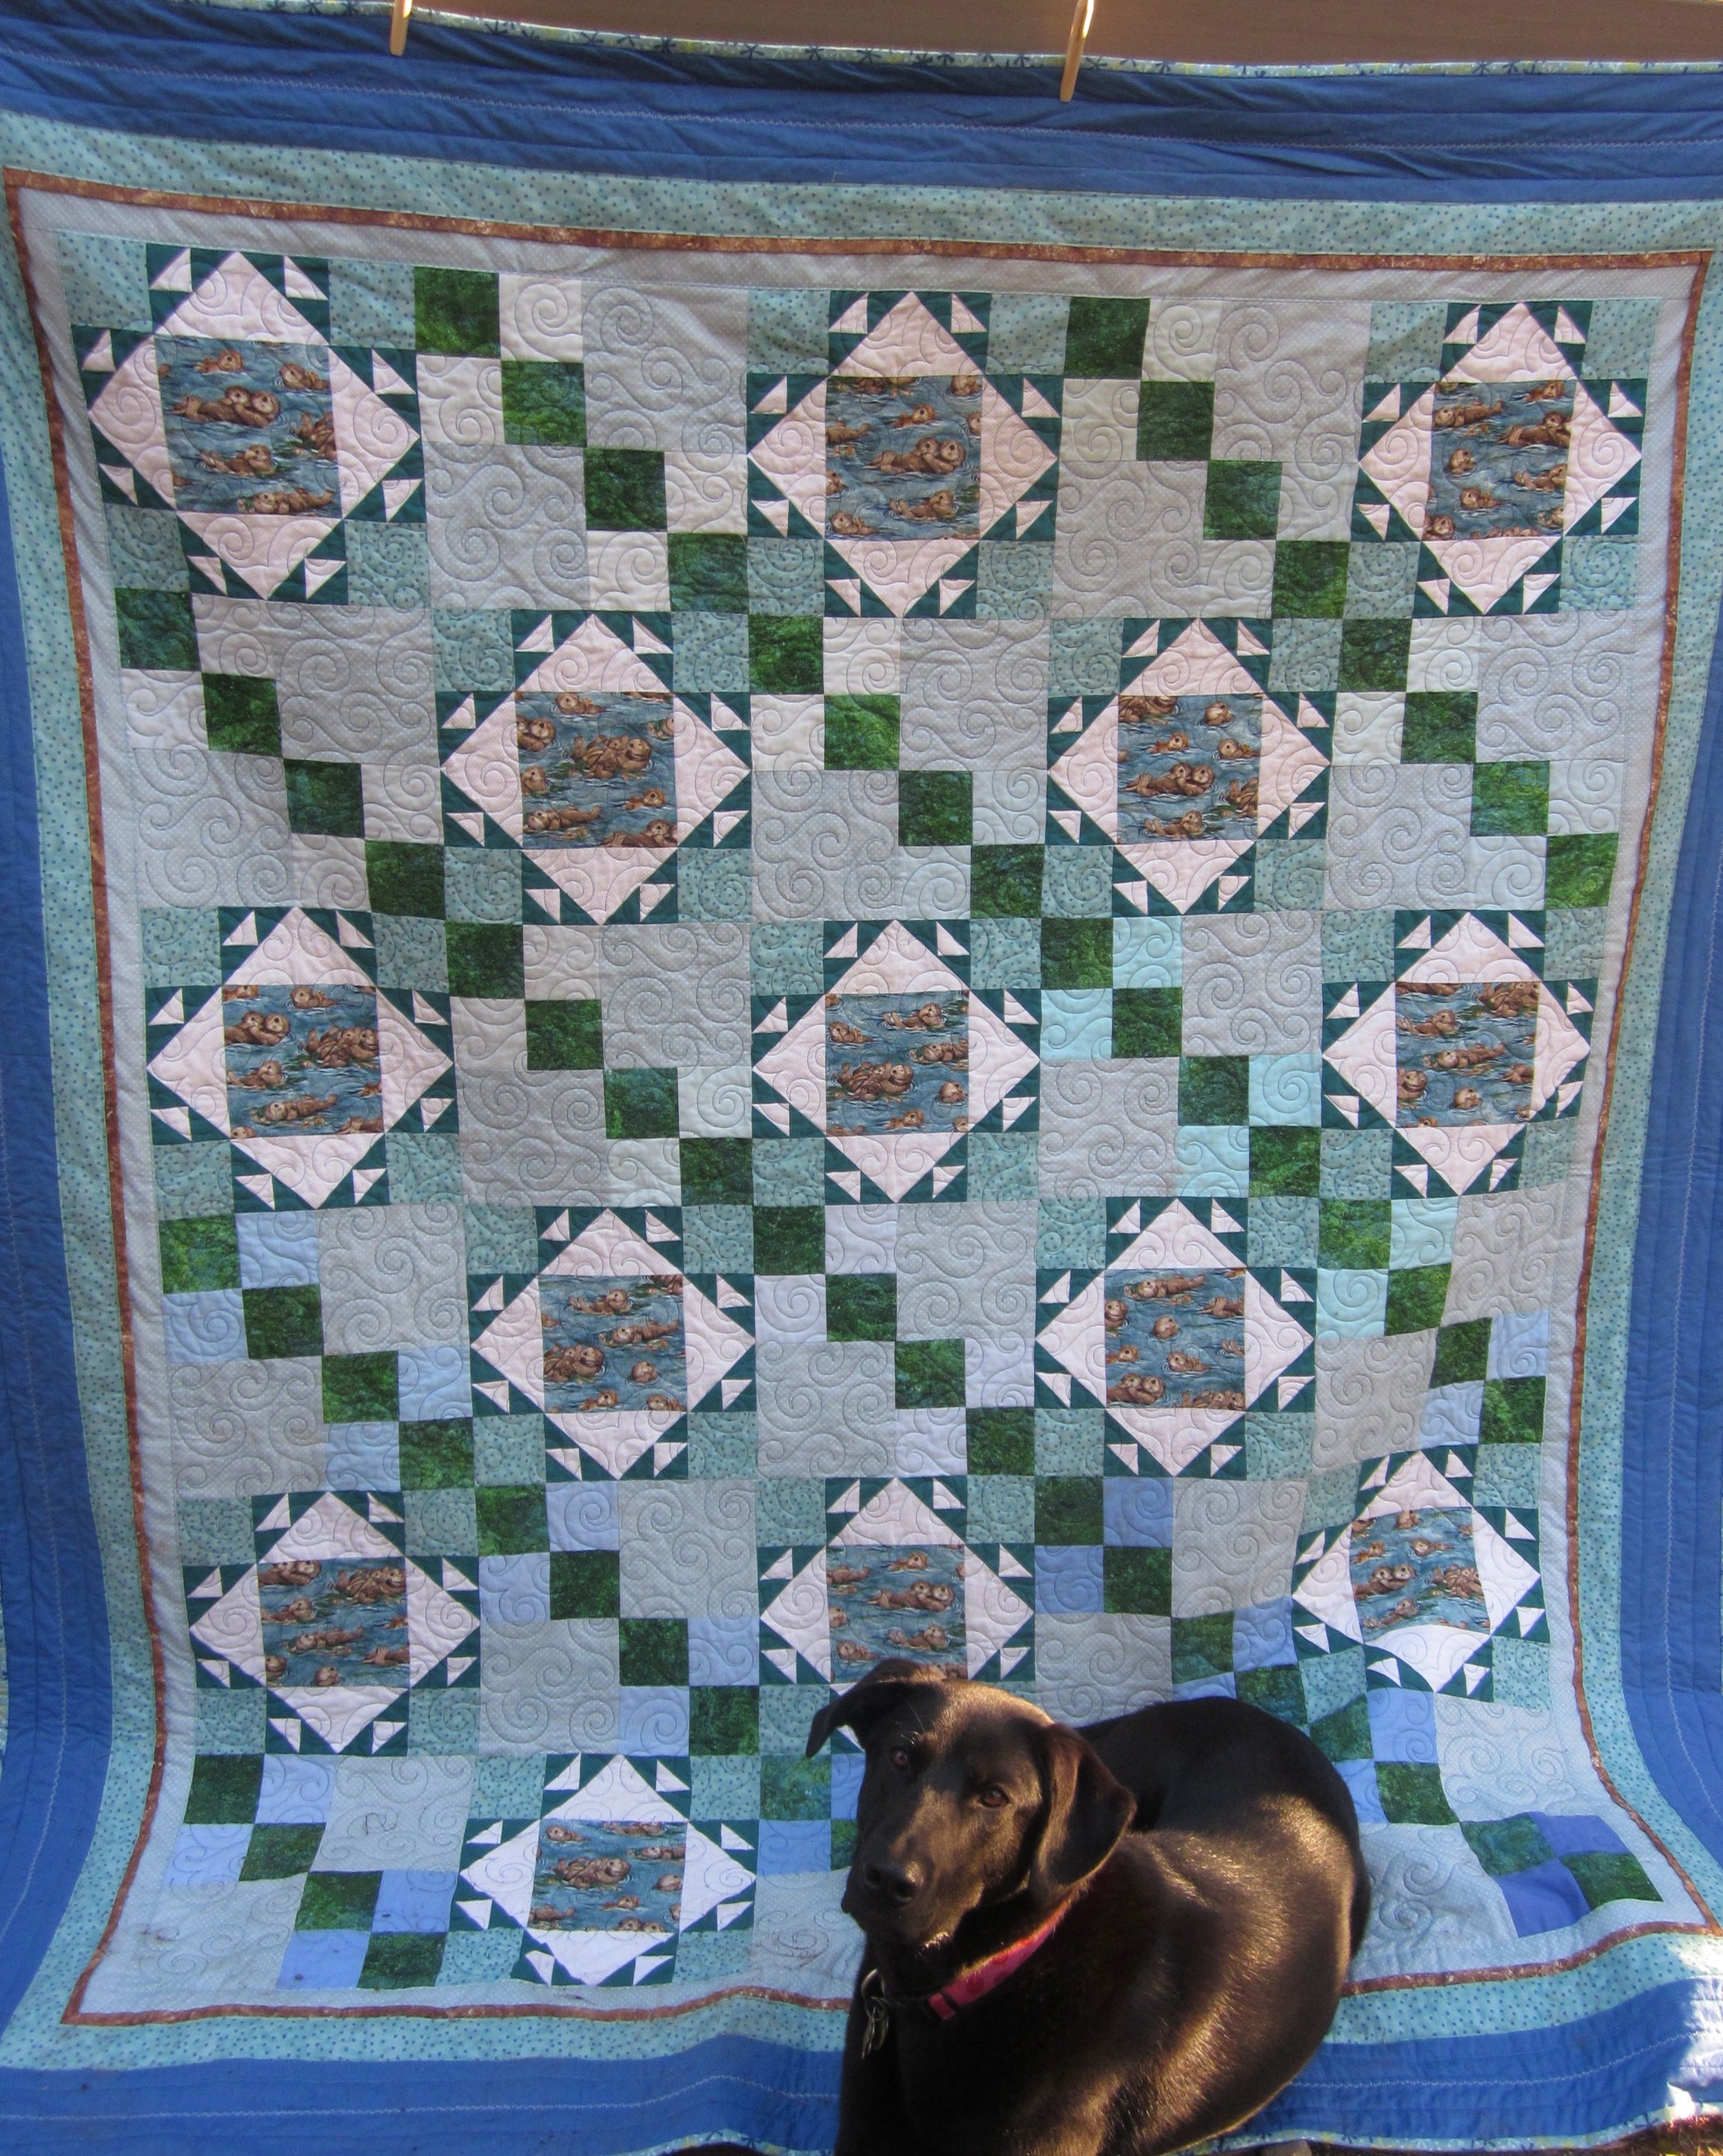
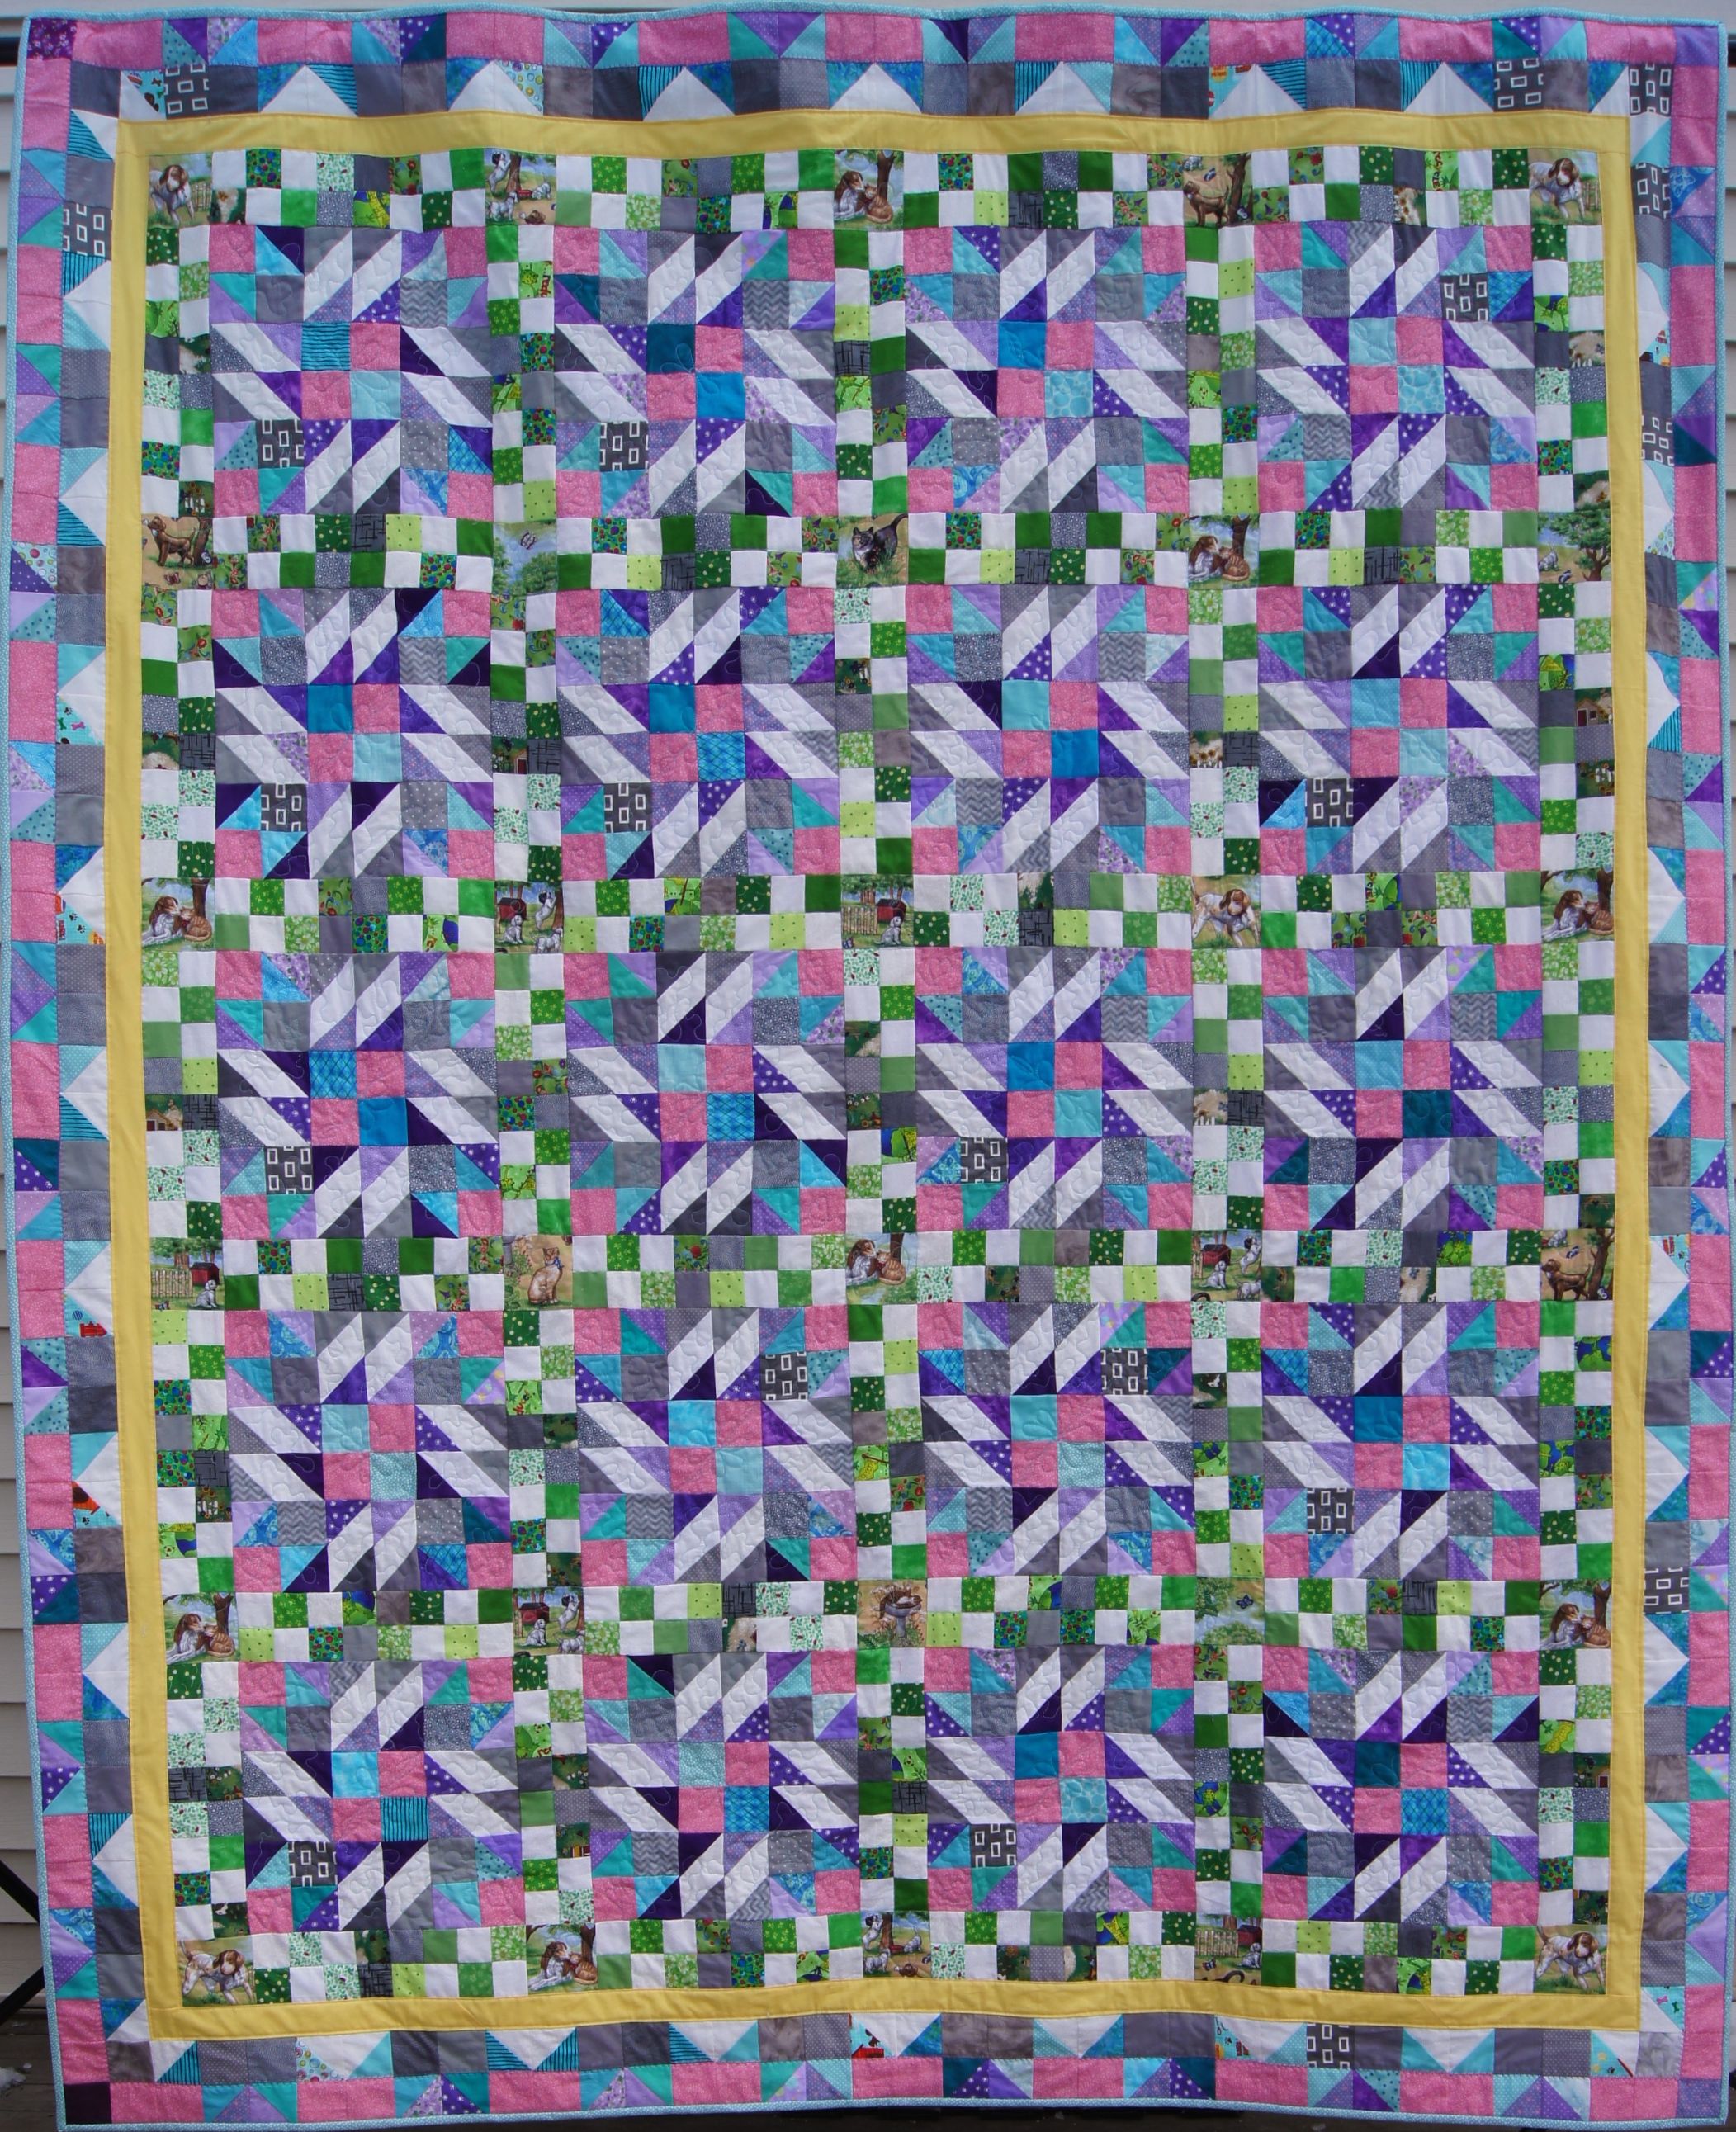
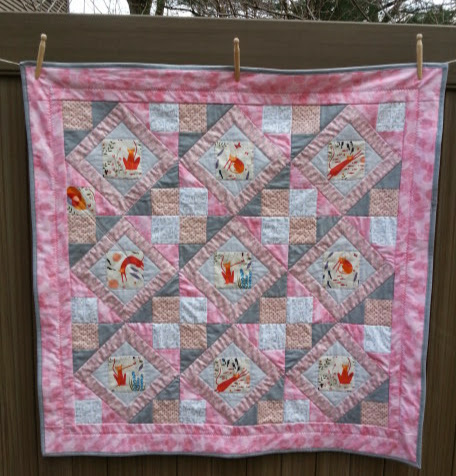
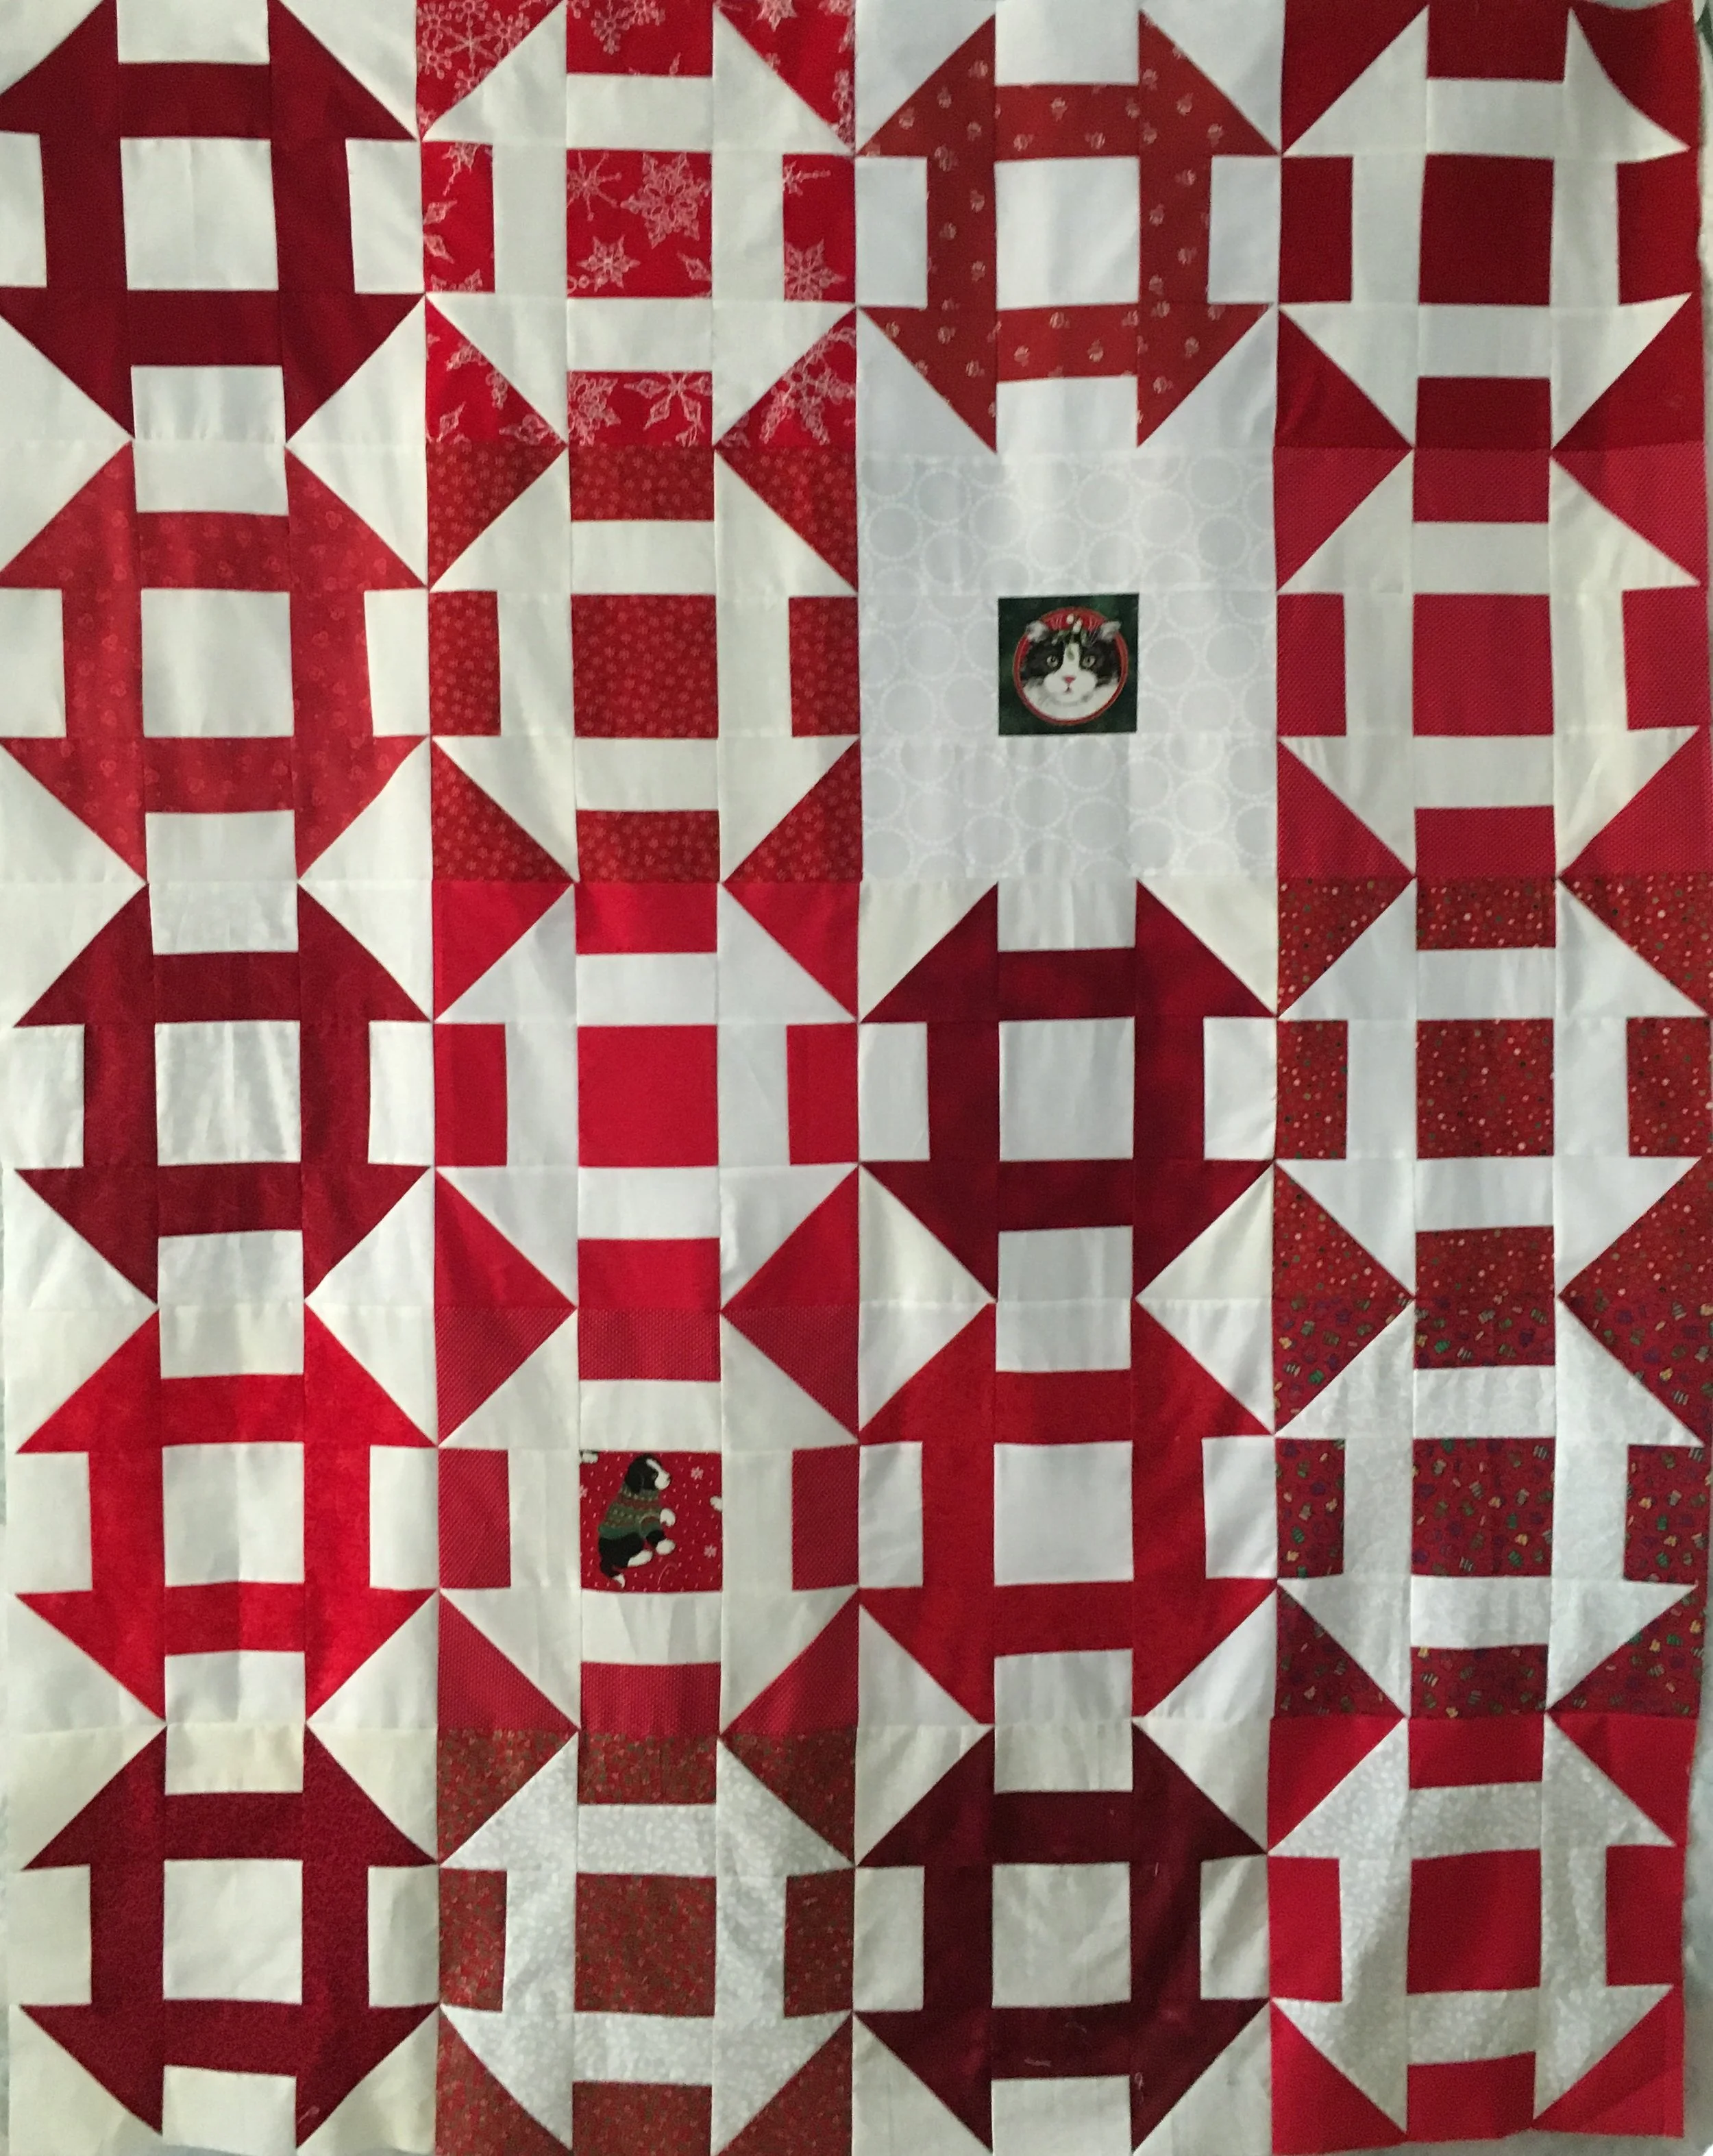
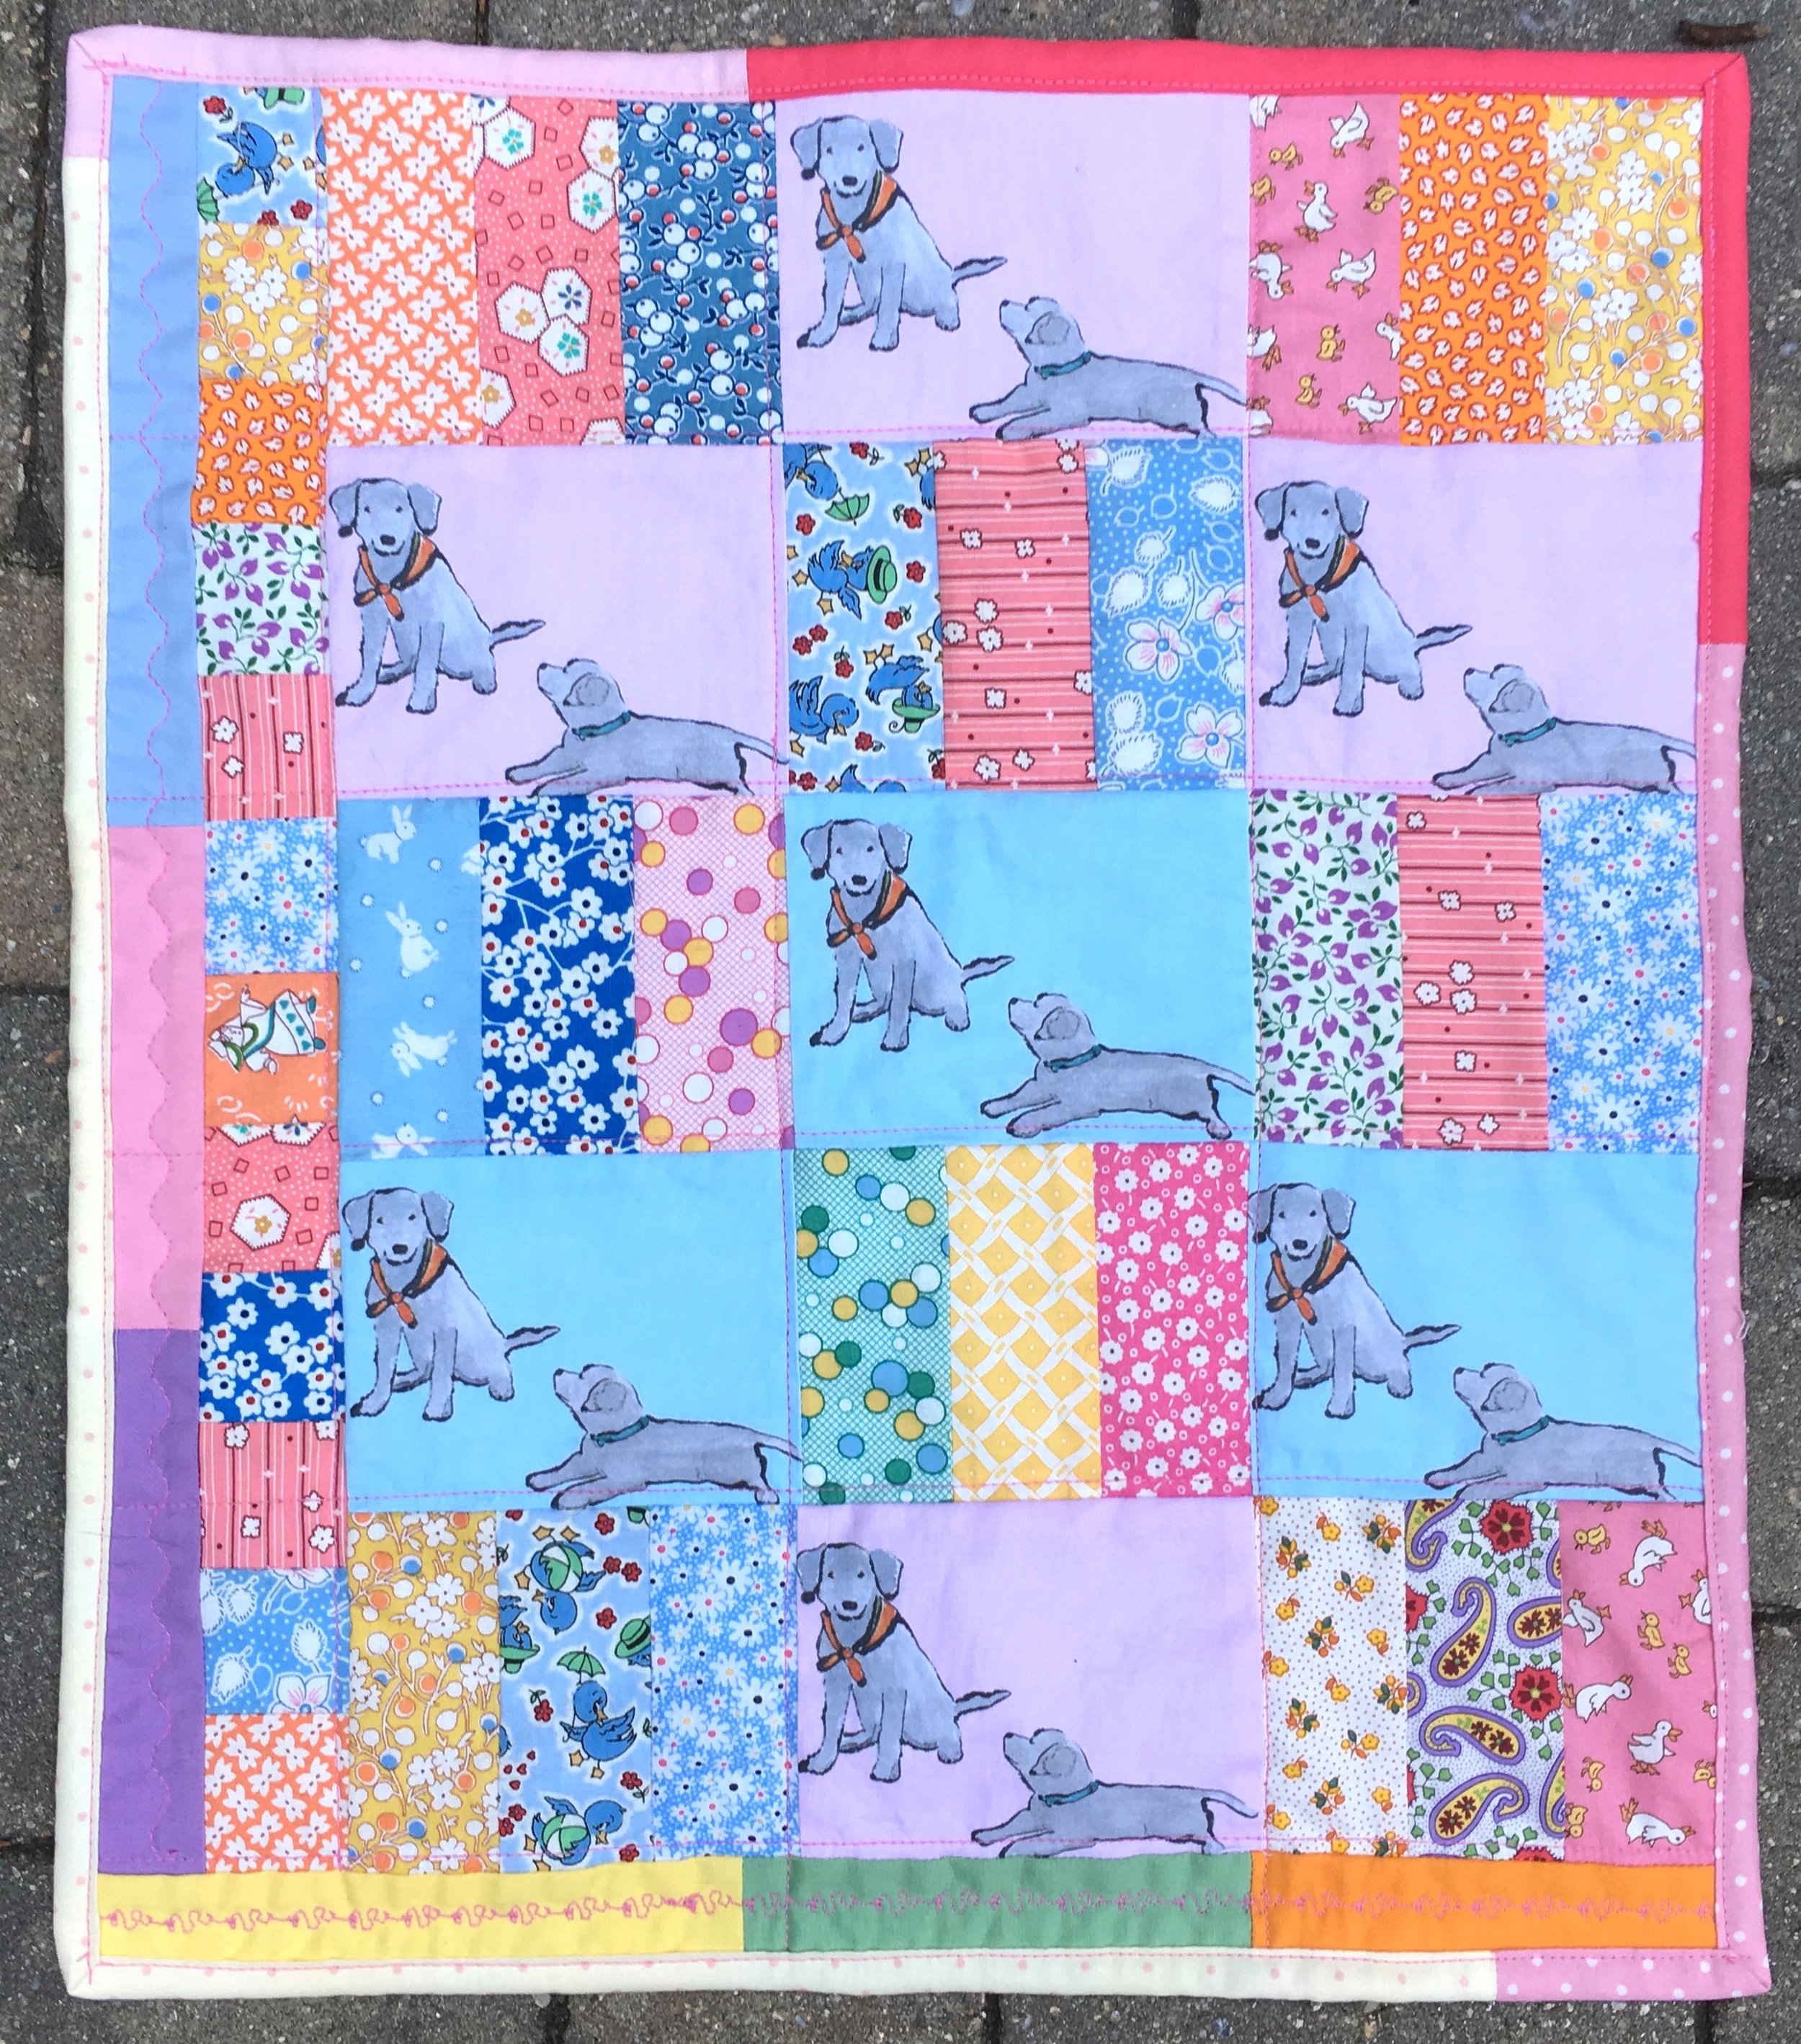
Dalmations and Daisies Lap Size Quilt top
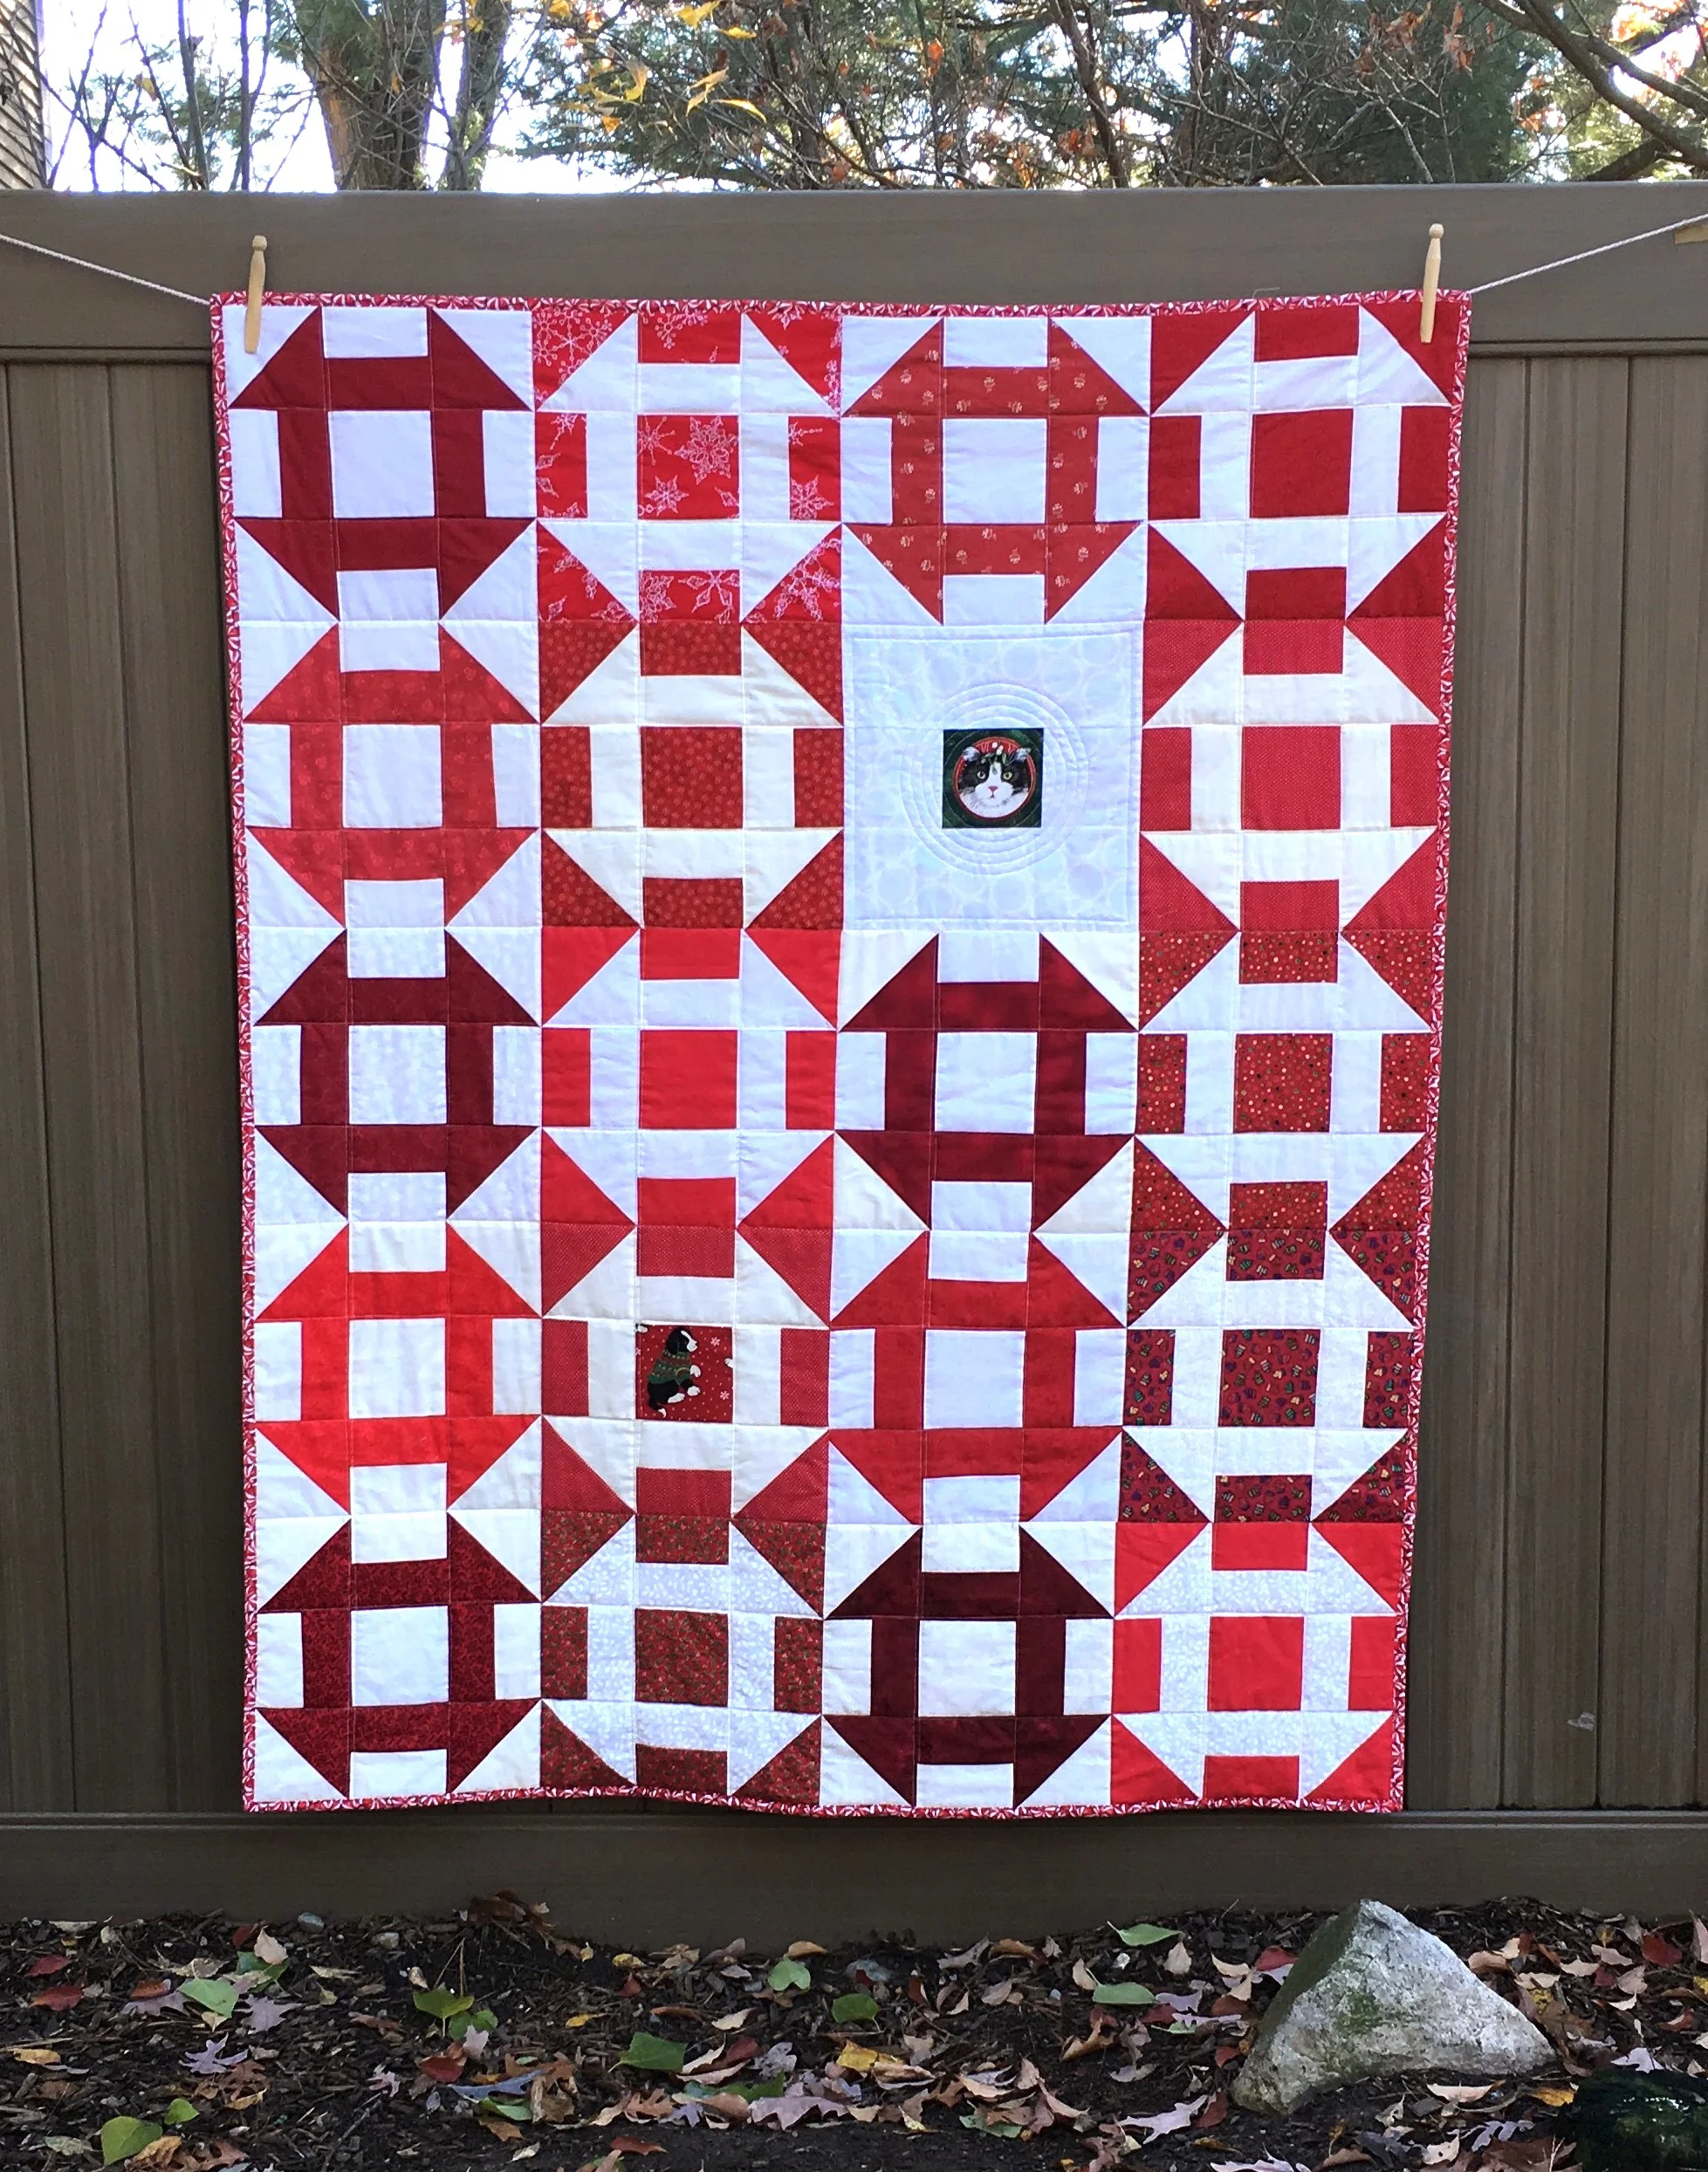
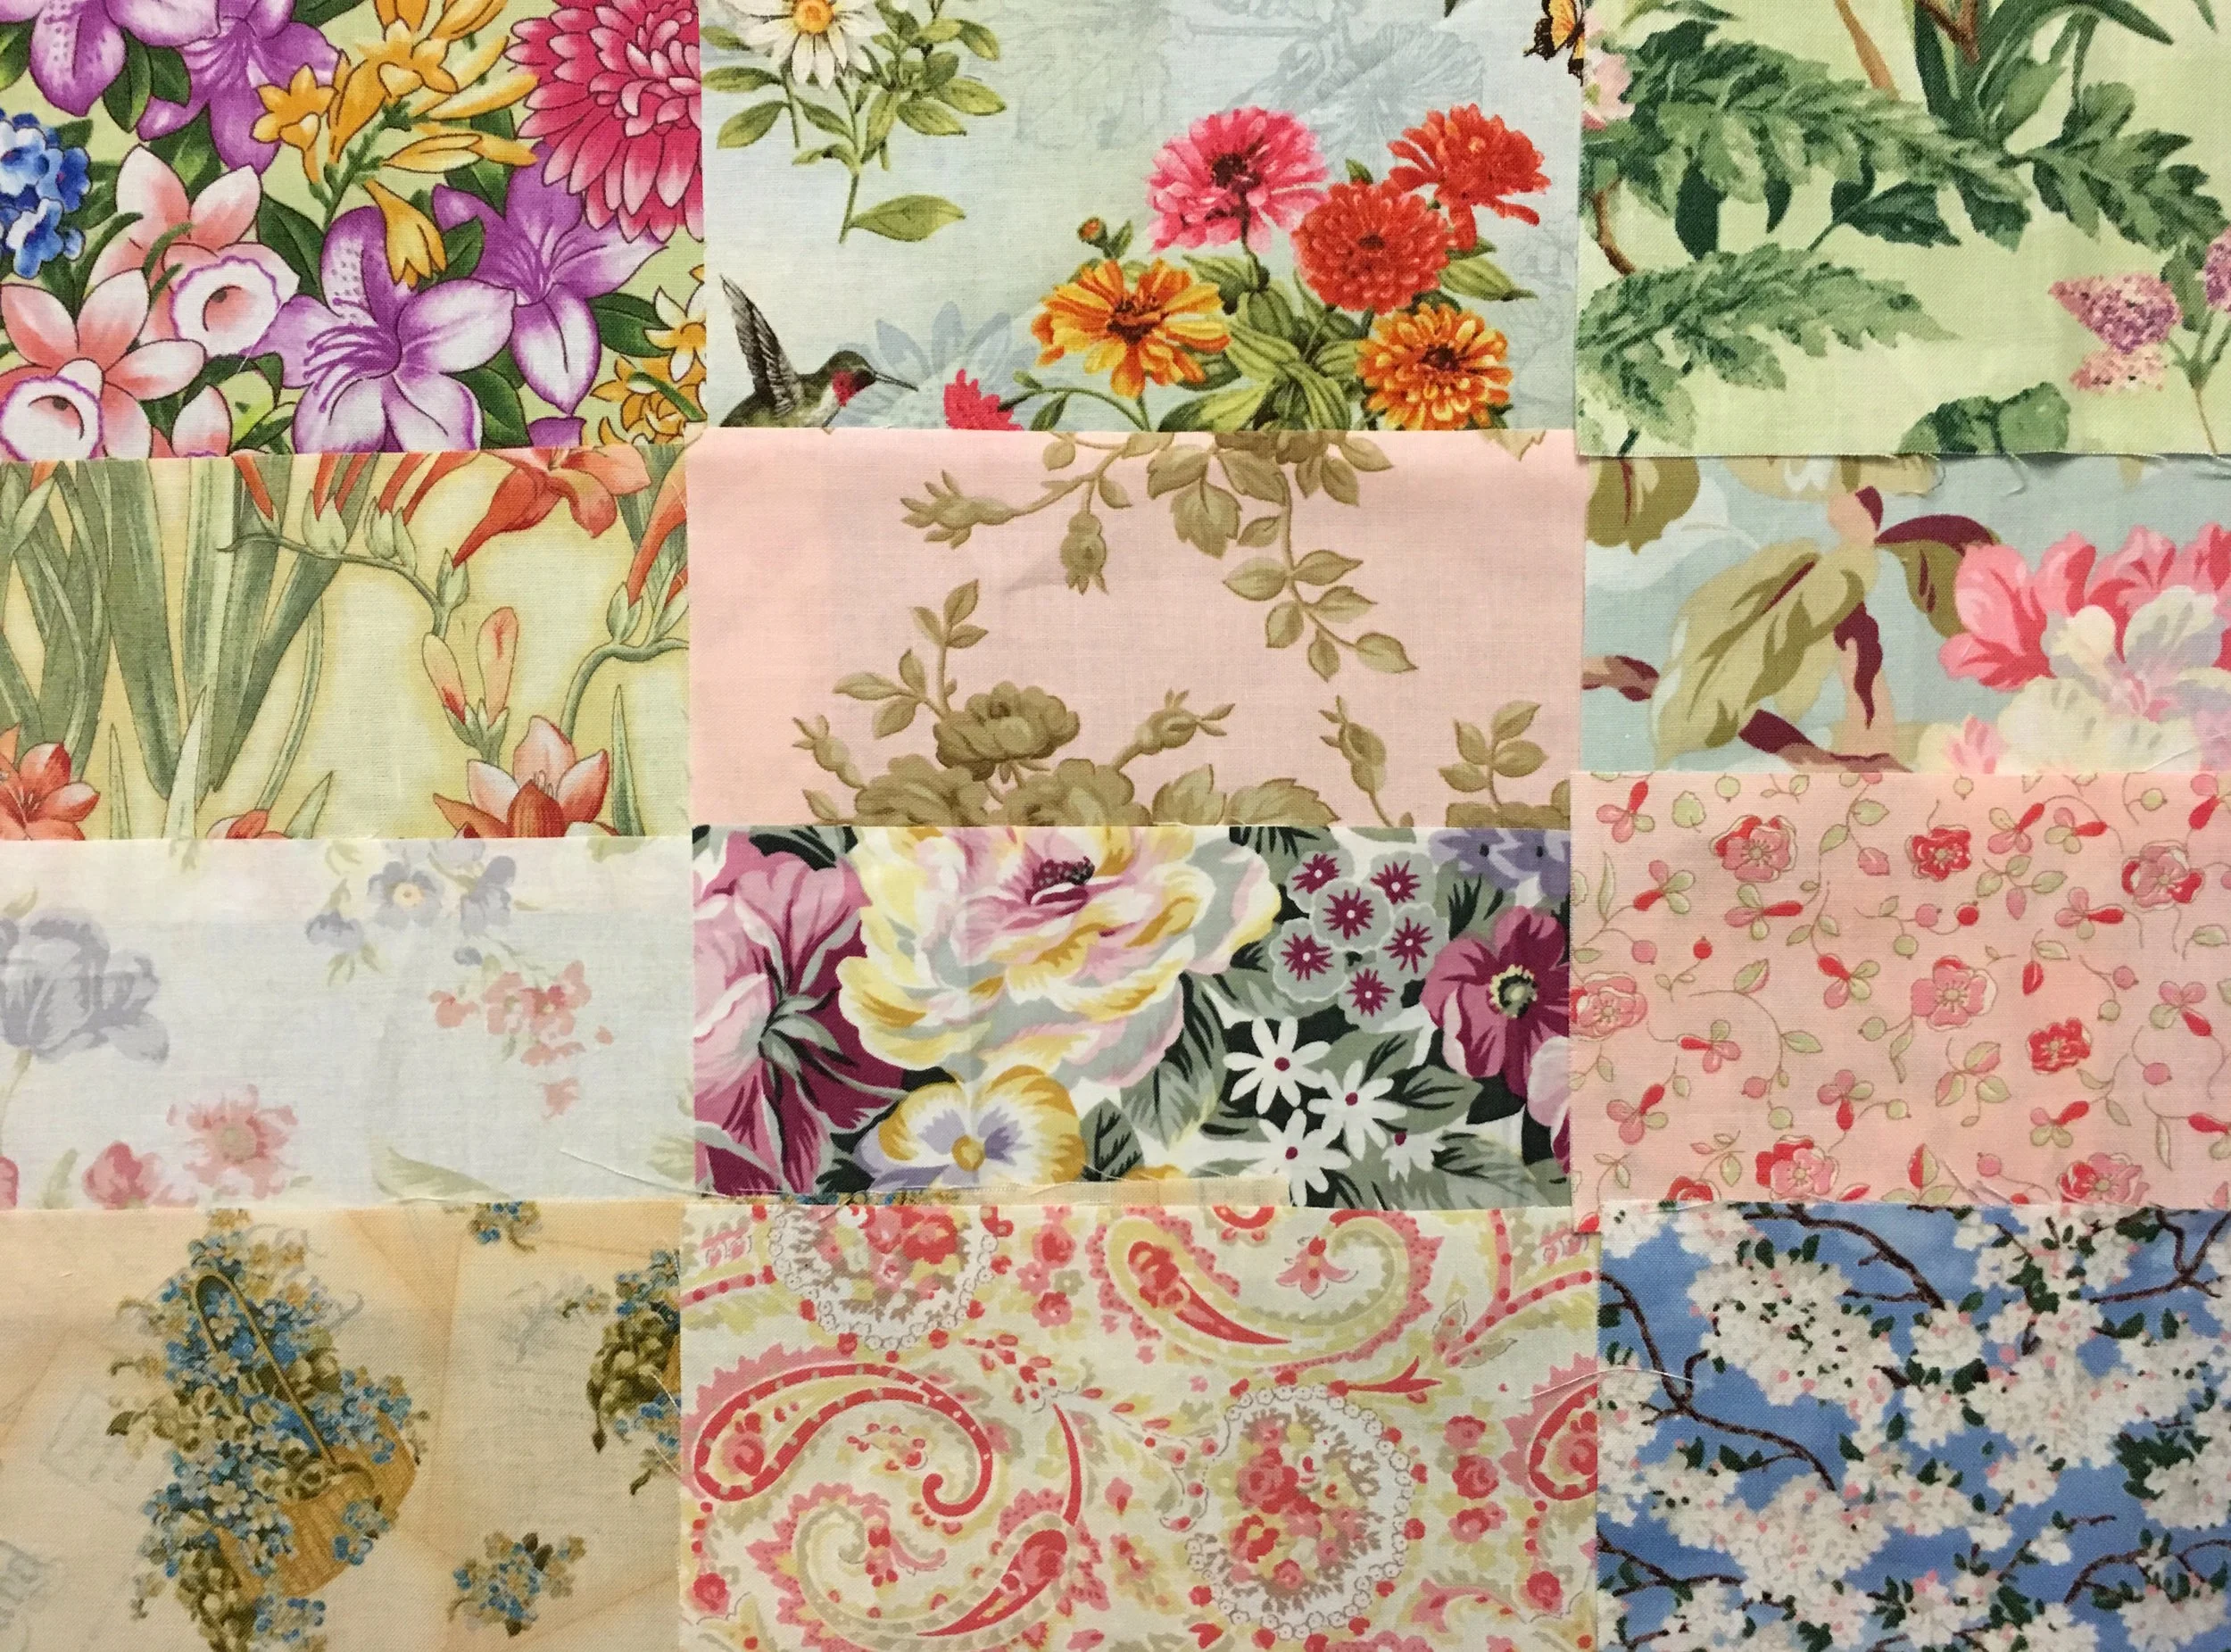
Here's the quilt I'm working on now. This collection of fabrics was very deep down in my stash!
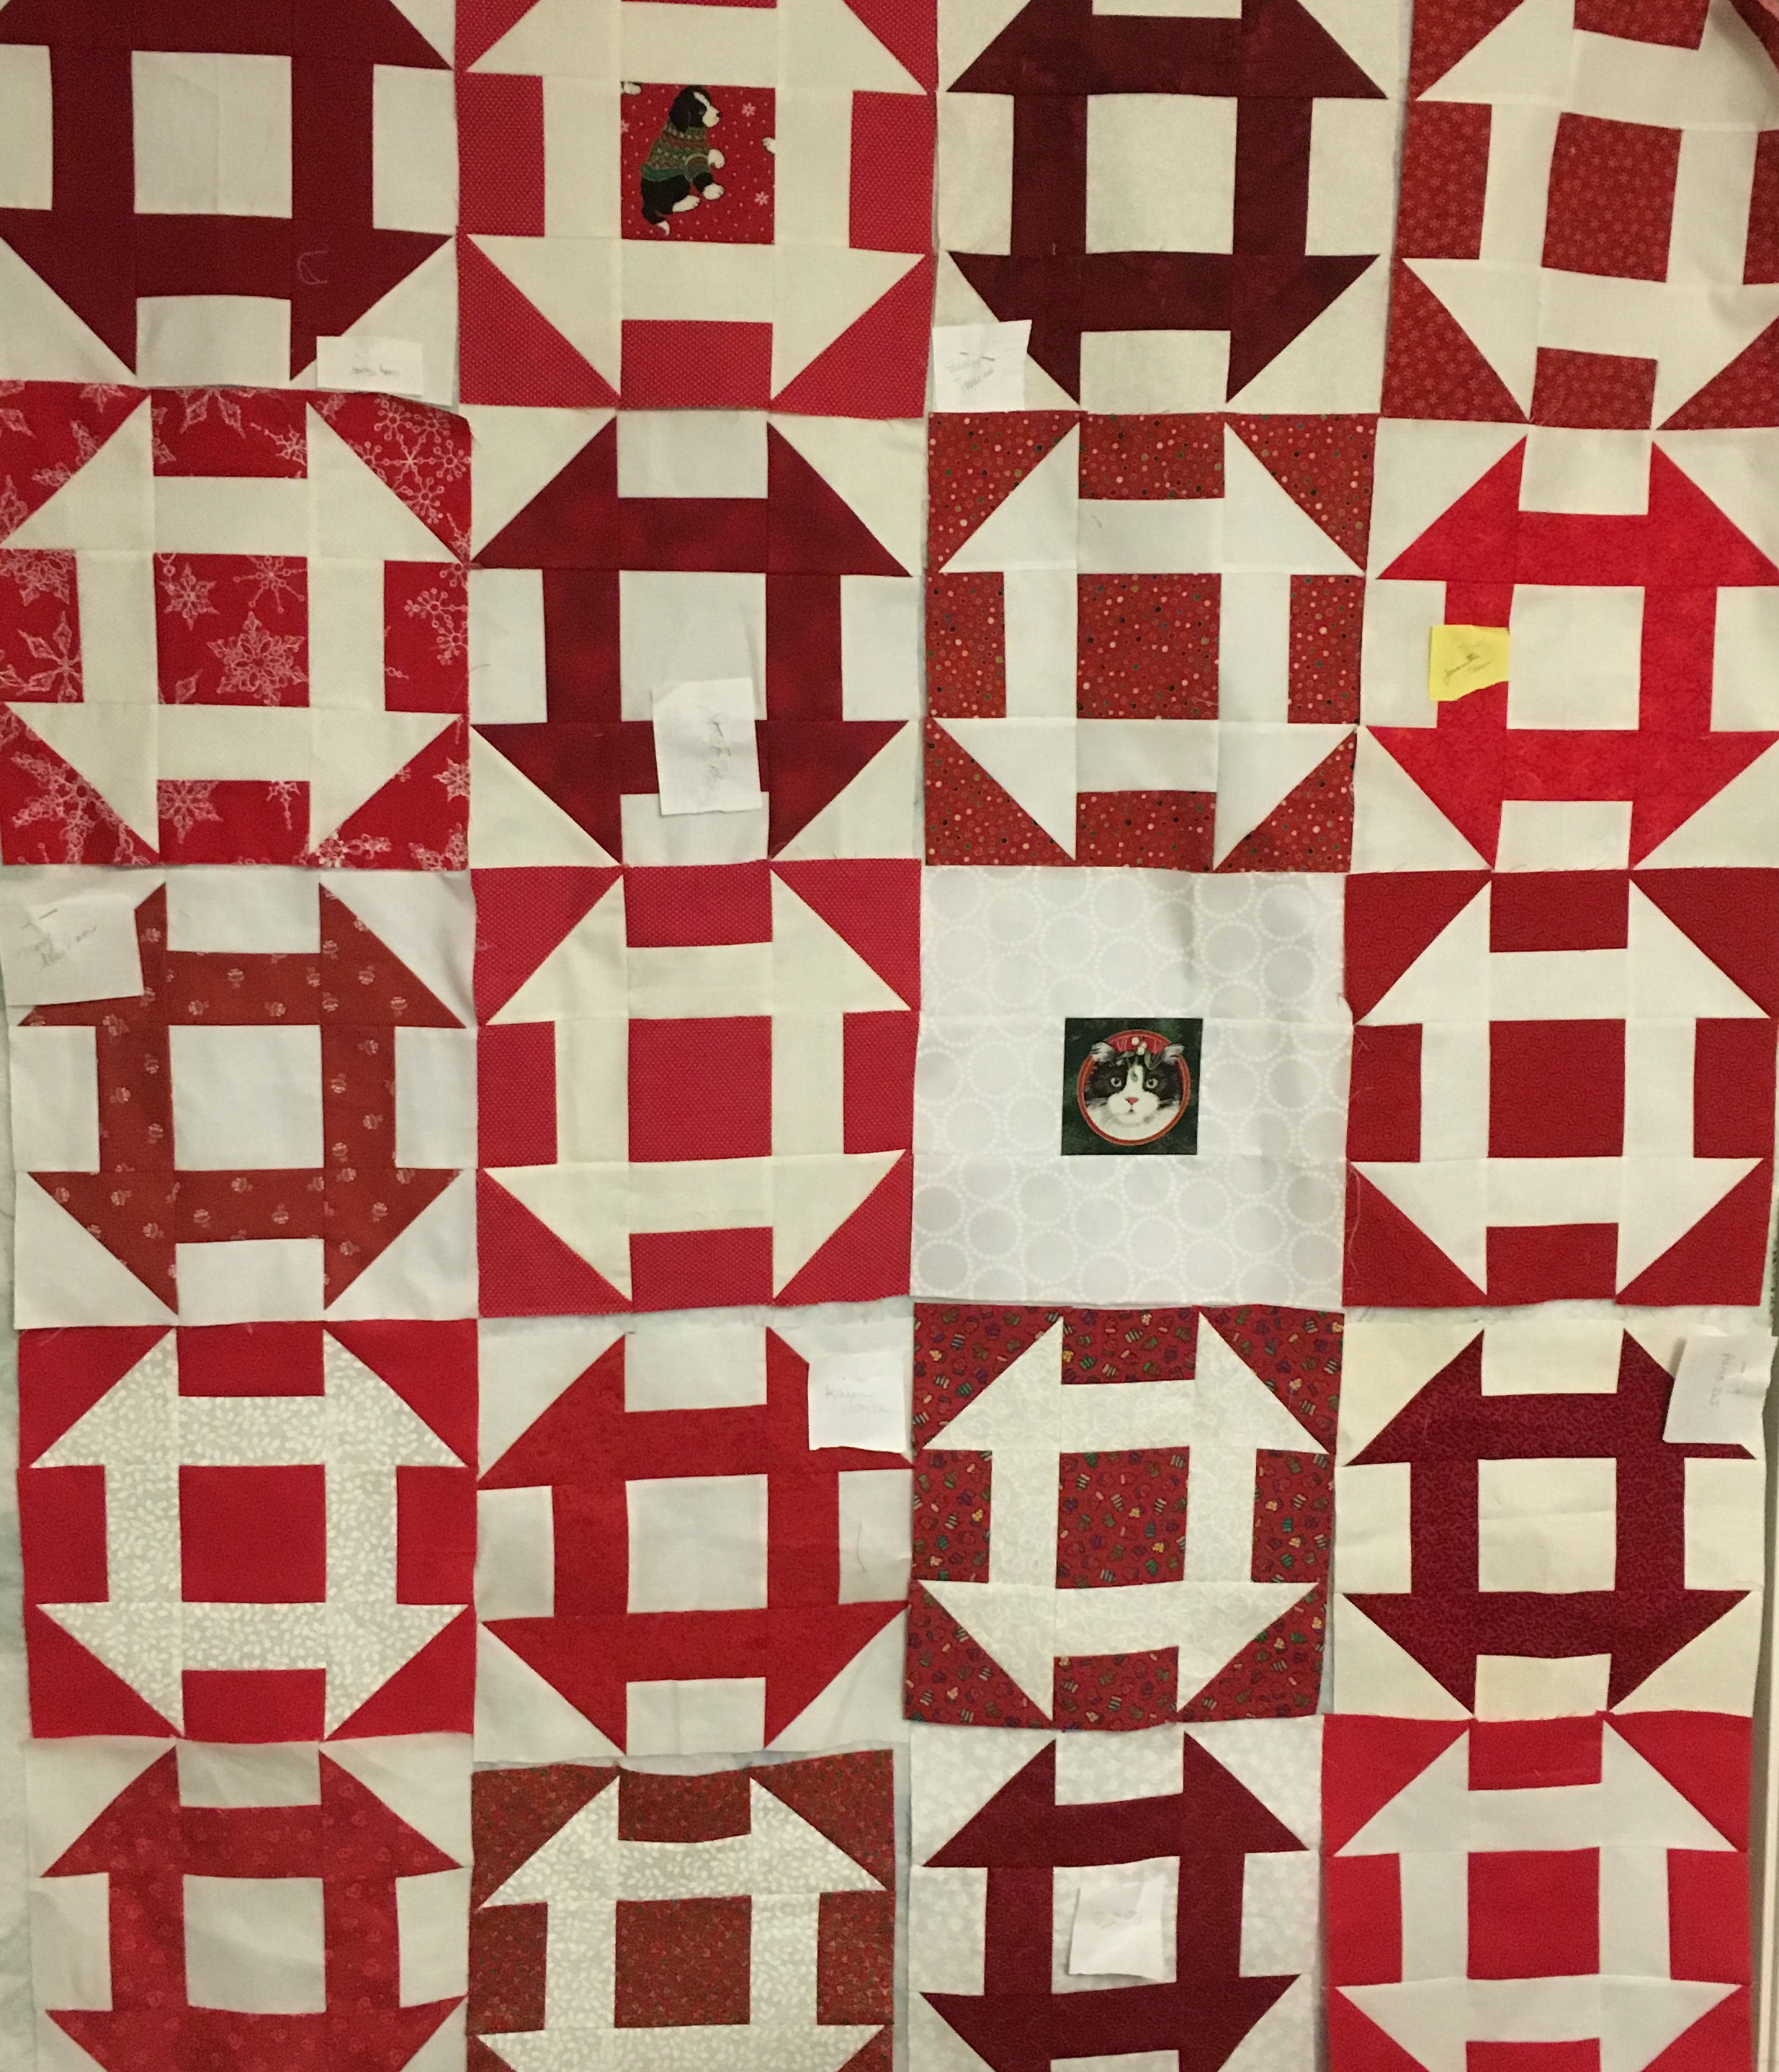
I do love the doggy feature fabric. It's called "Firehouse Friends" and was printed by Alexander Henry Fabrics in 2006. These dogs have such sweet faces! The dogs are Dalmations but the number of dogs and the general chaos in this design remind me of foxhounds before a hunt.

"Firehouse Friends" by Alexander Henry Fabrics Collection, copyright 2006
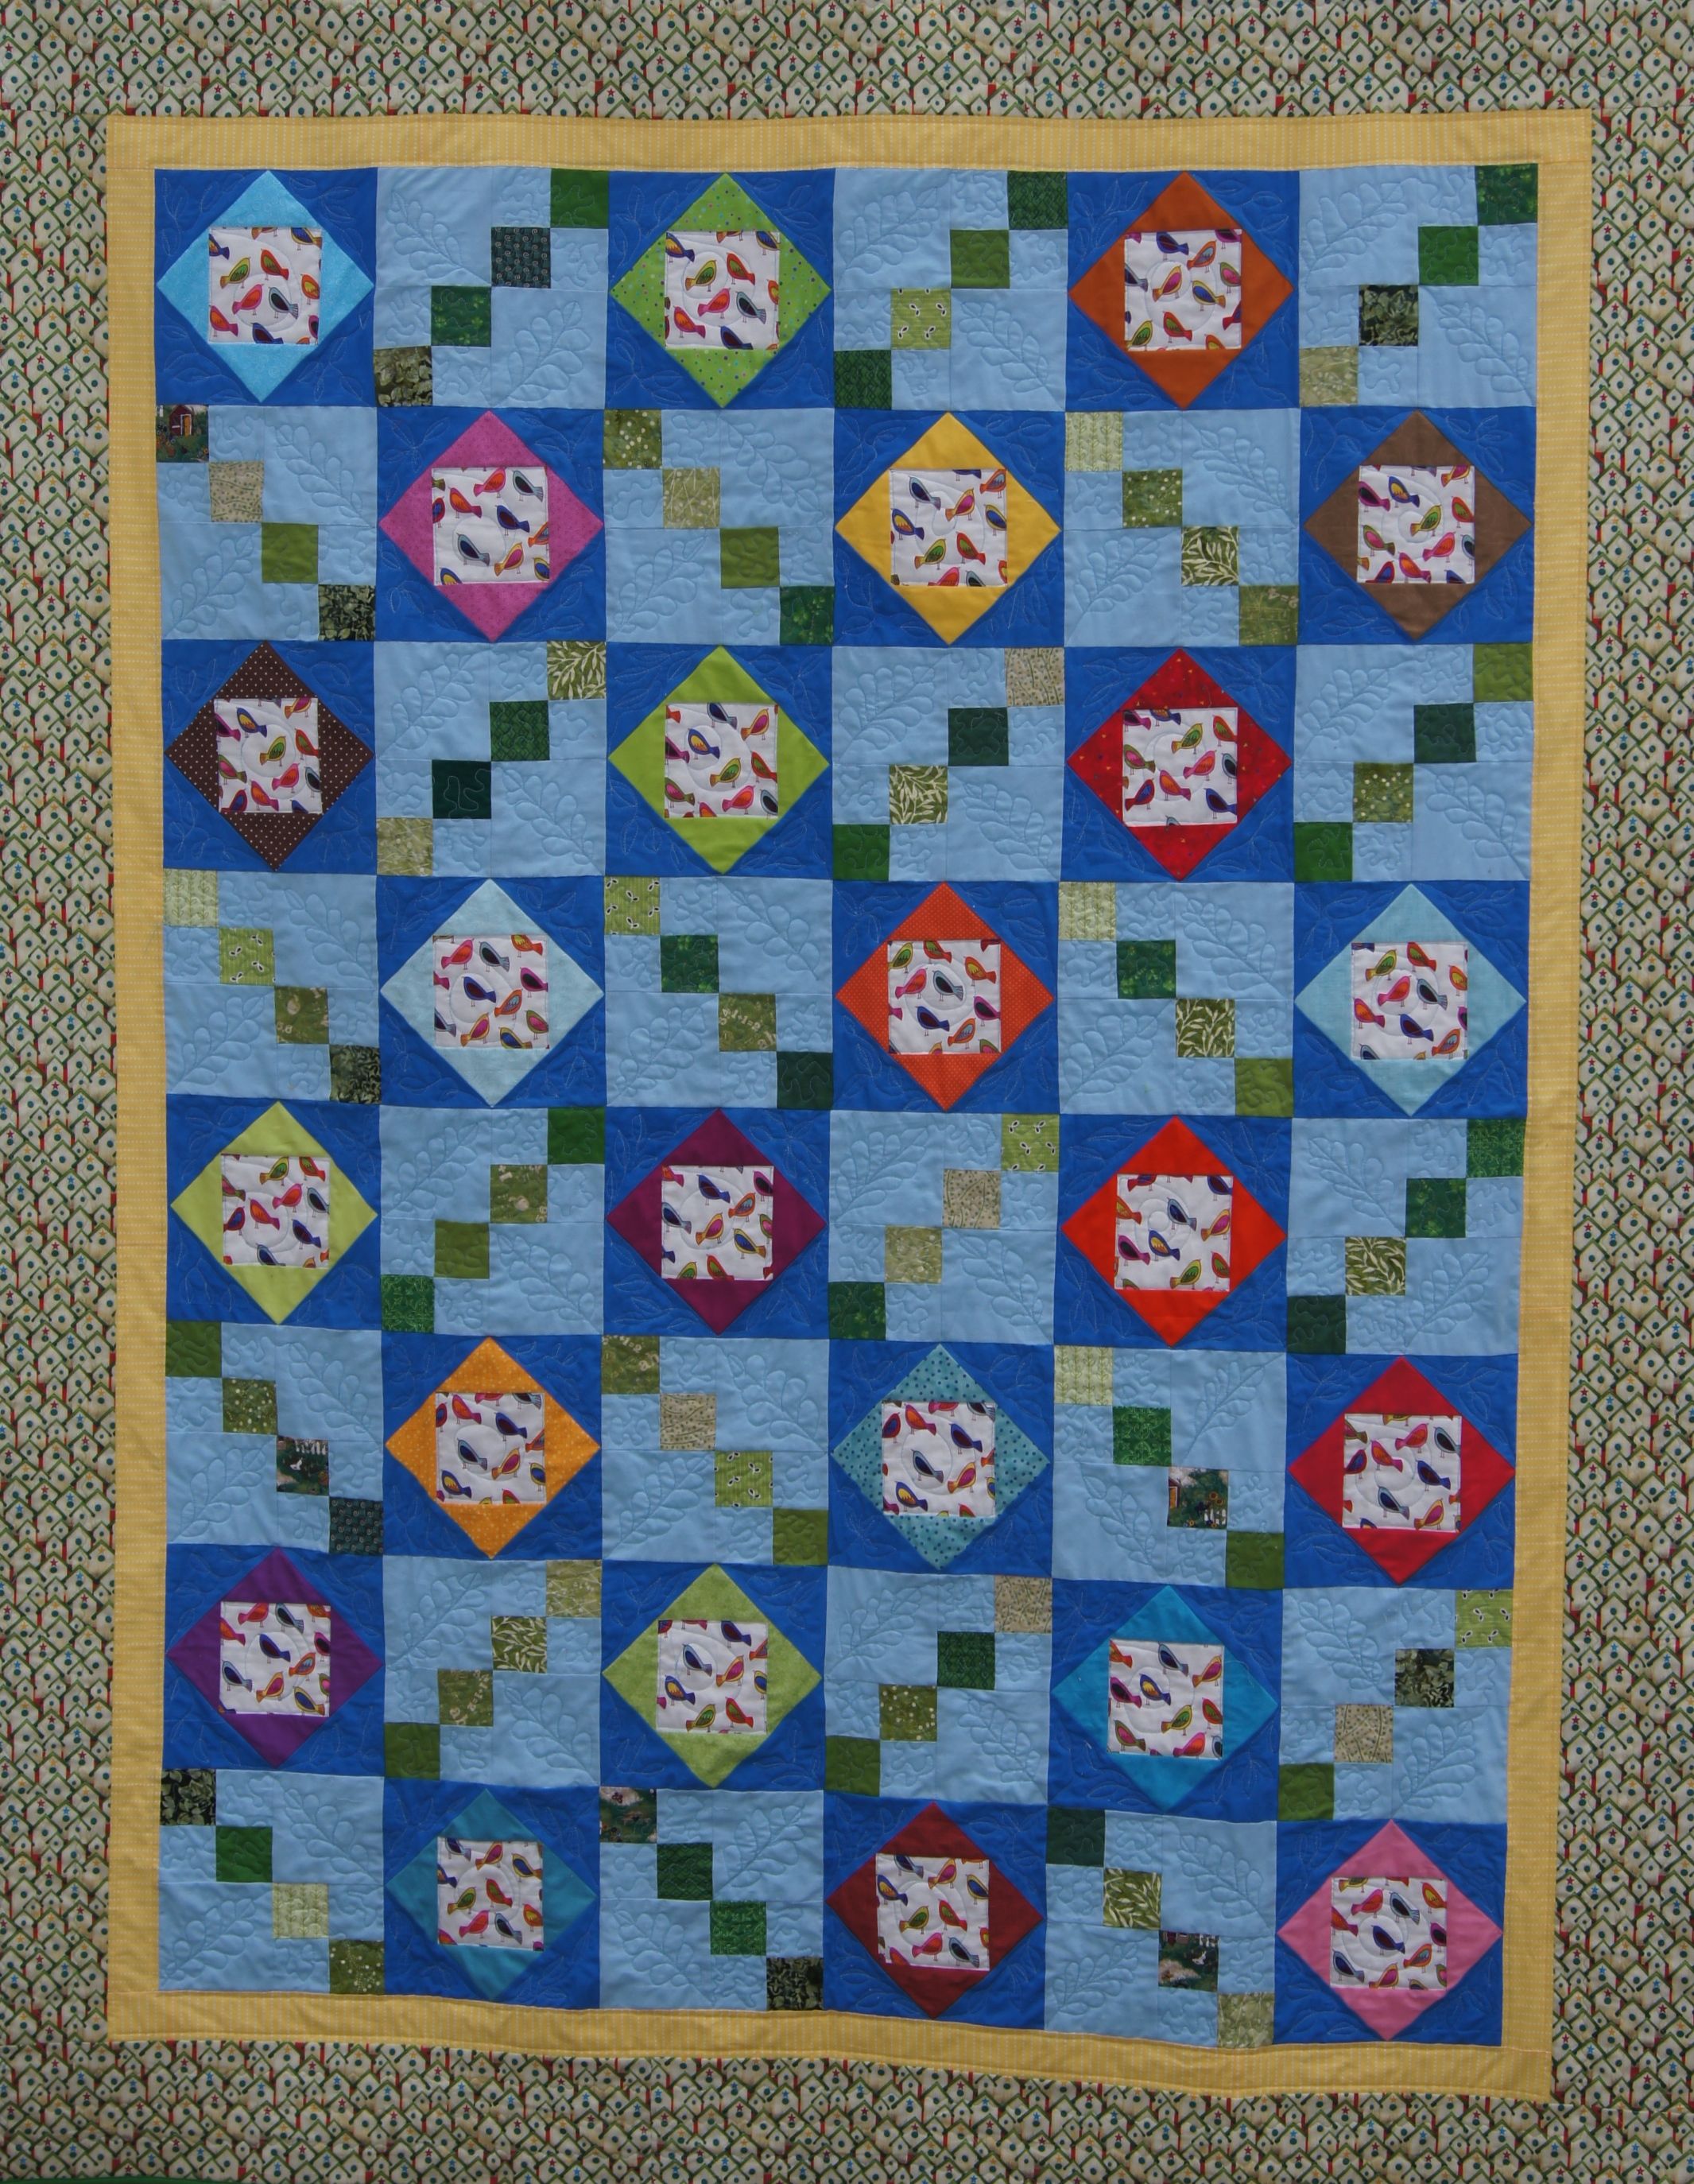
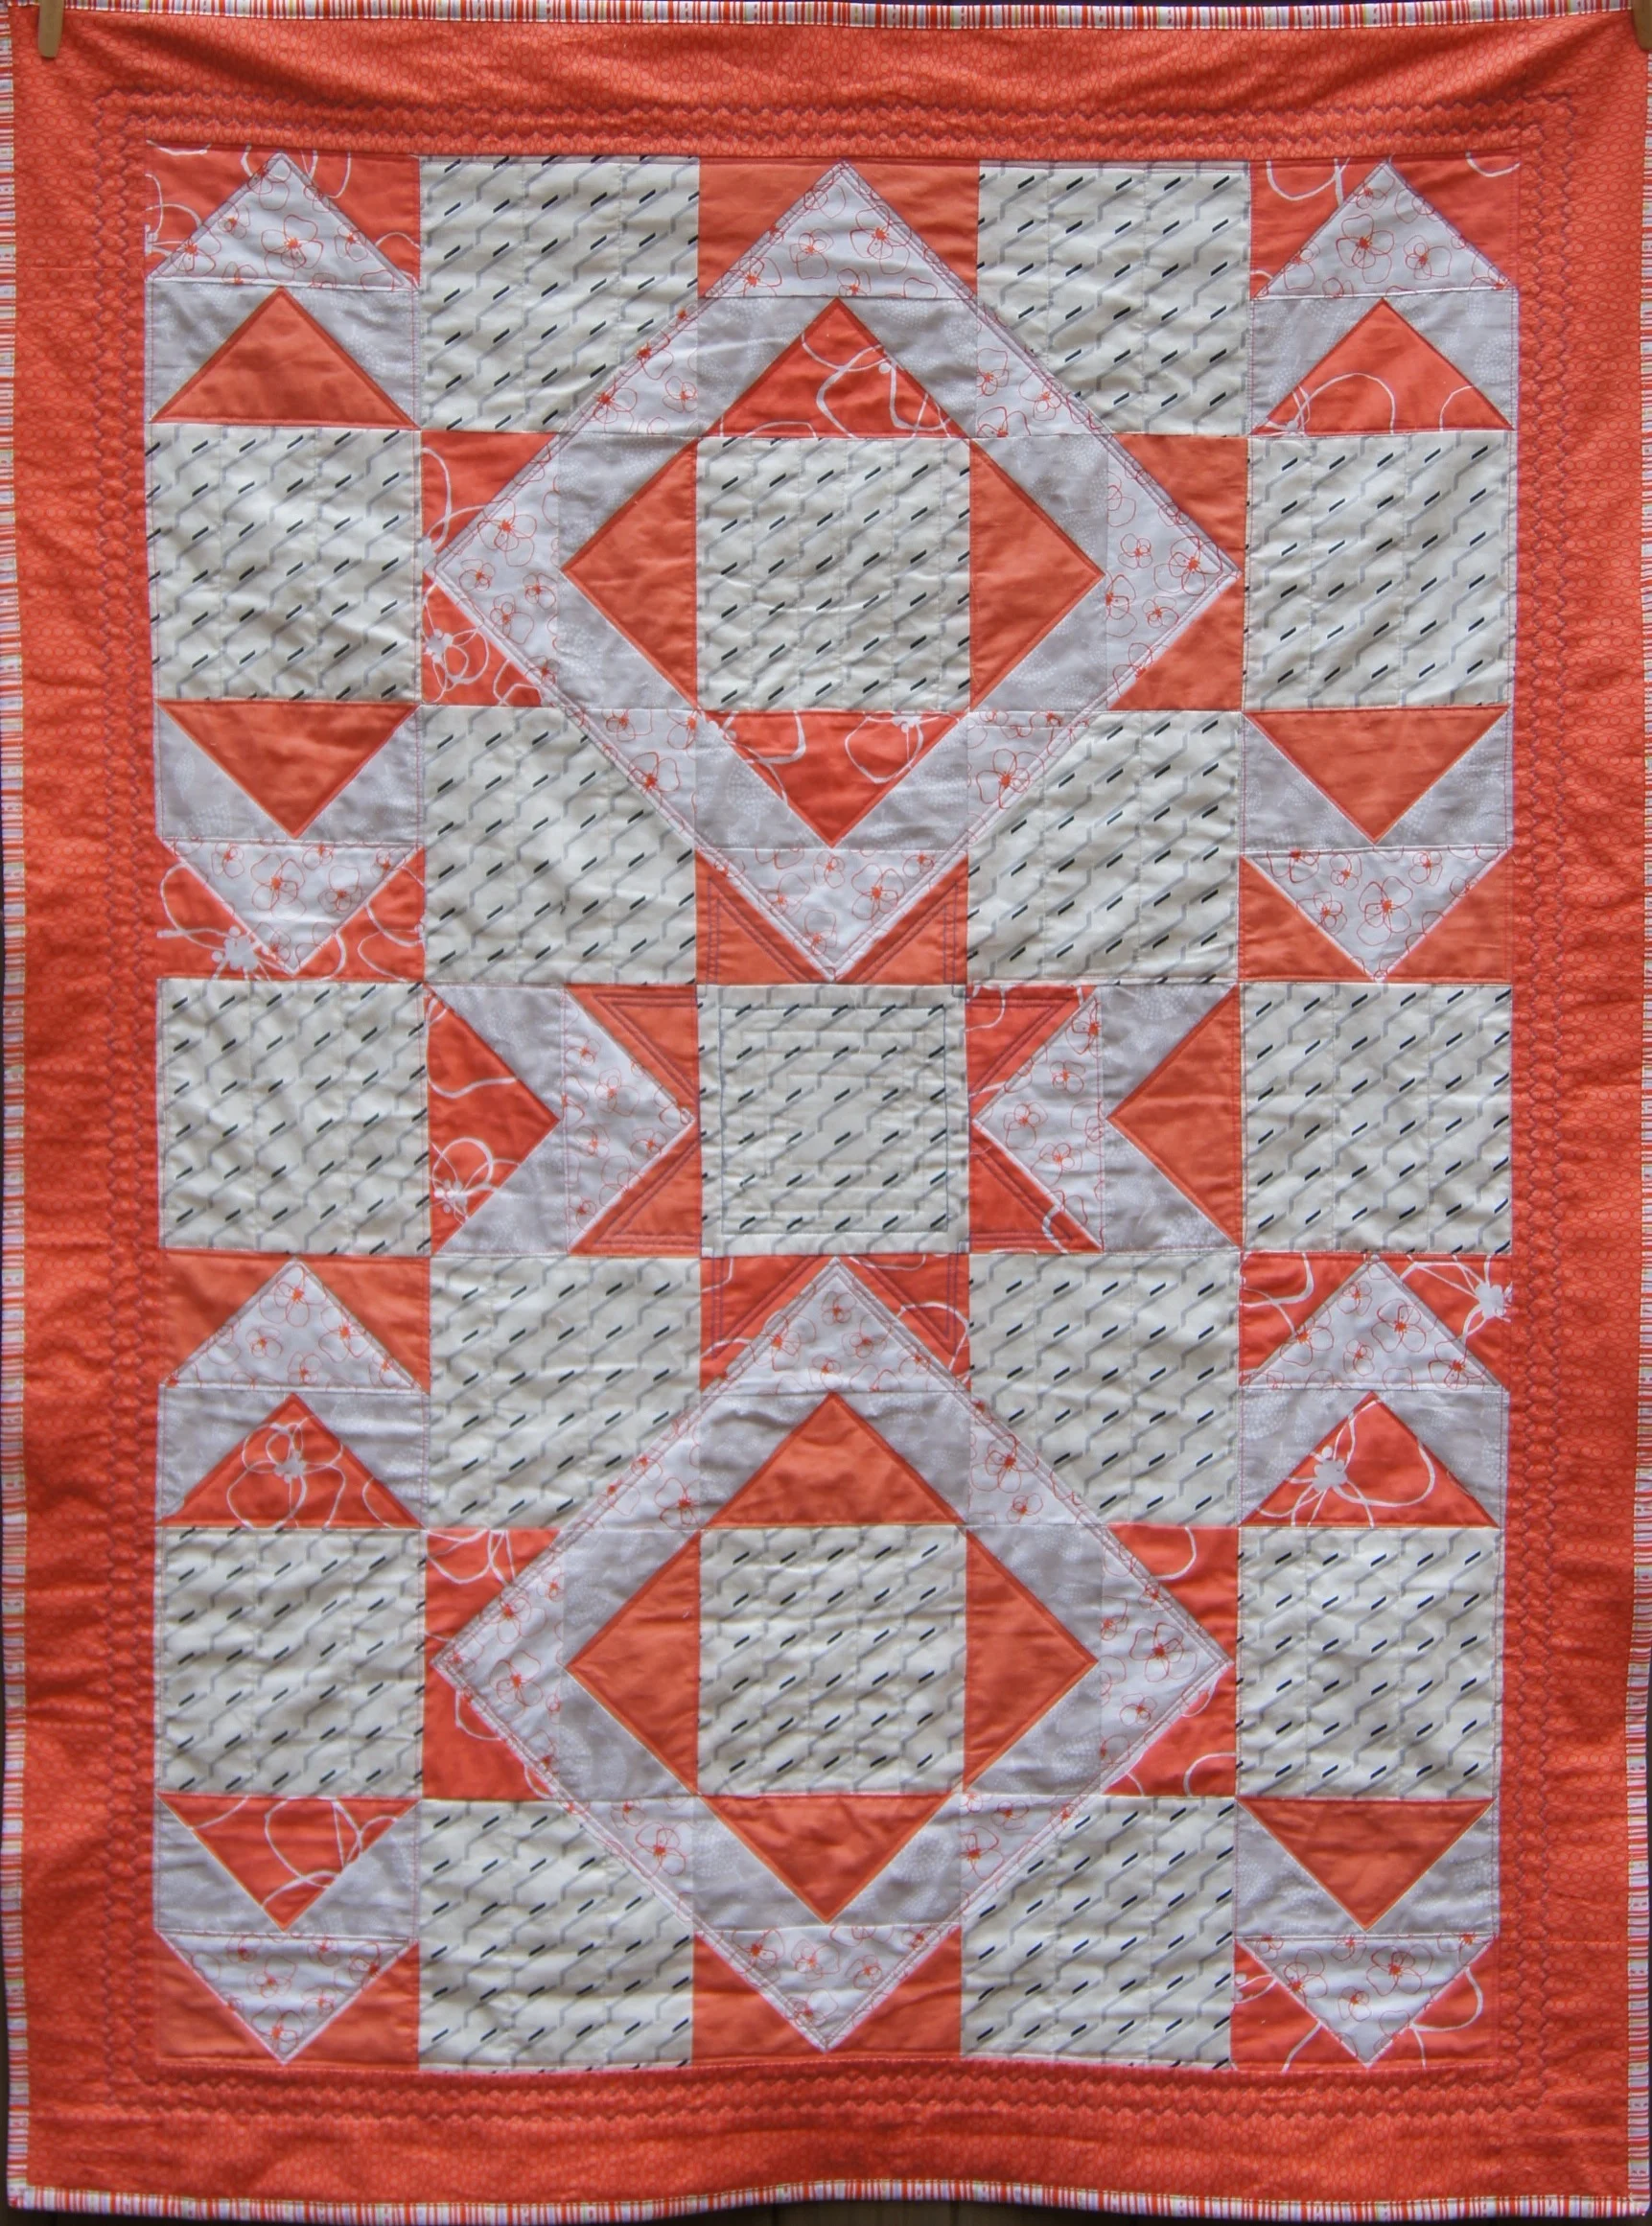
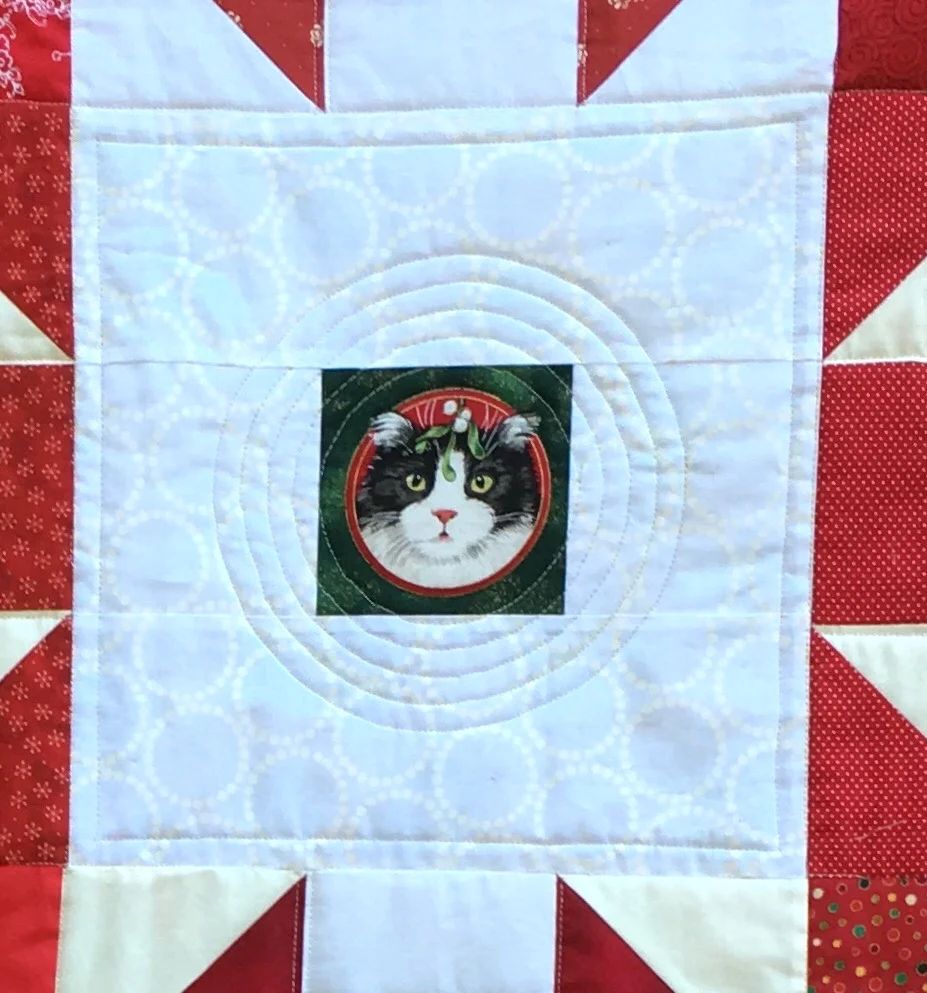
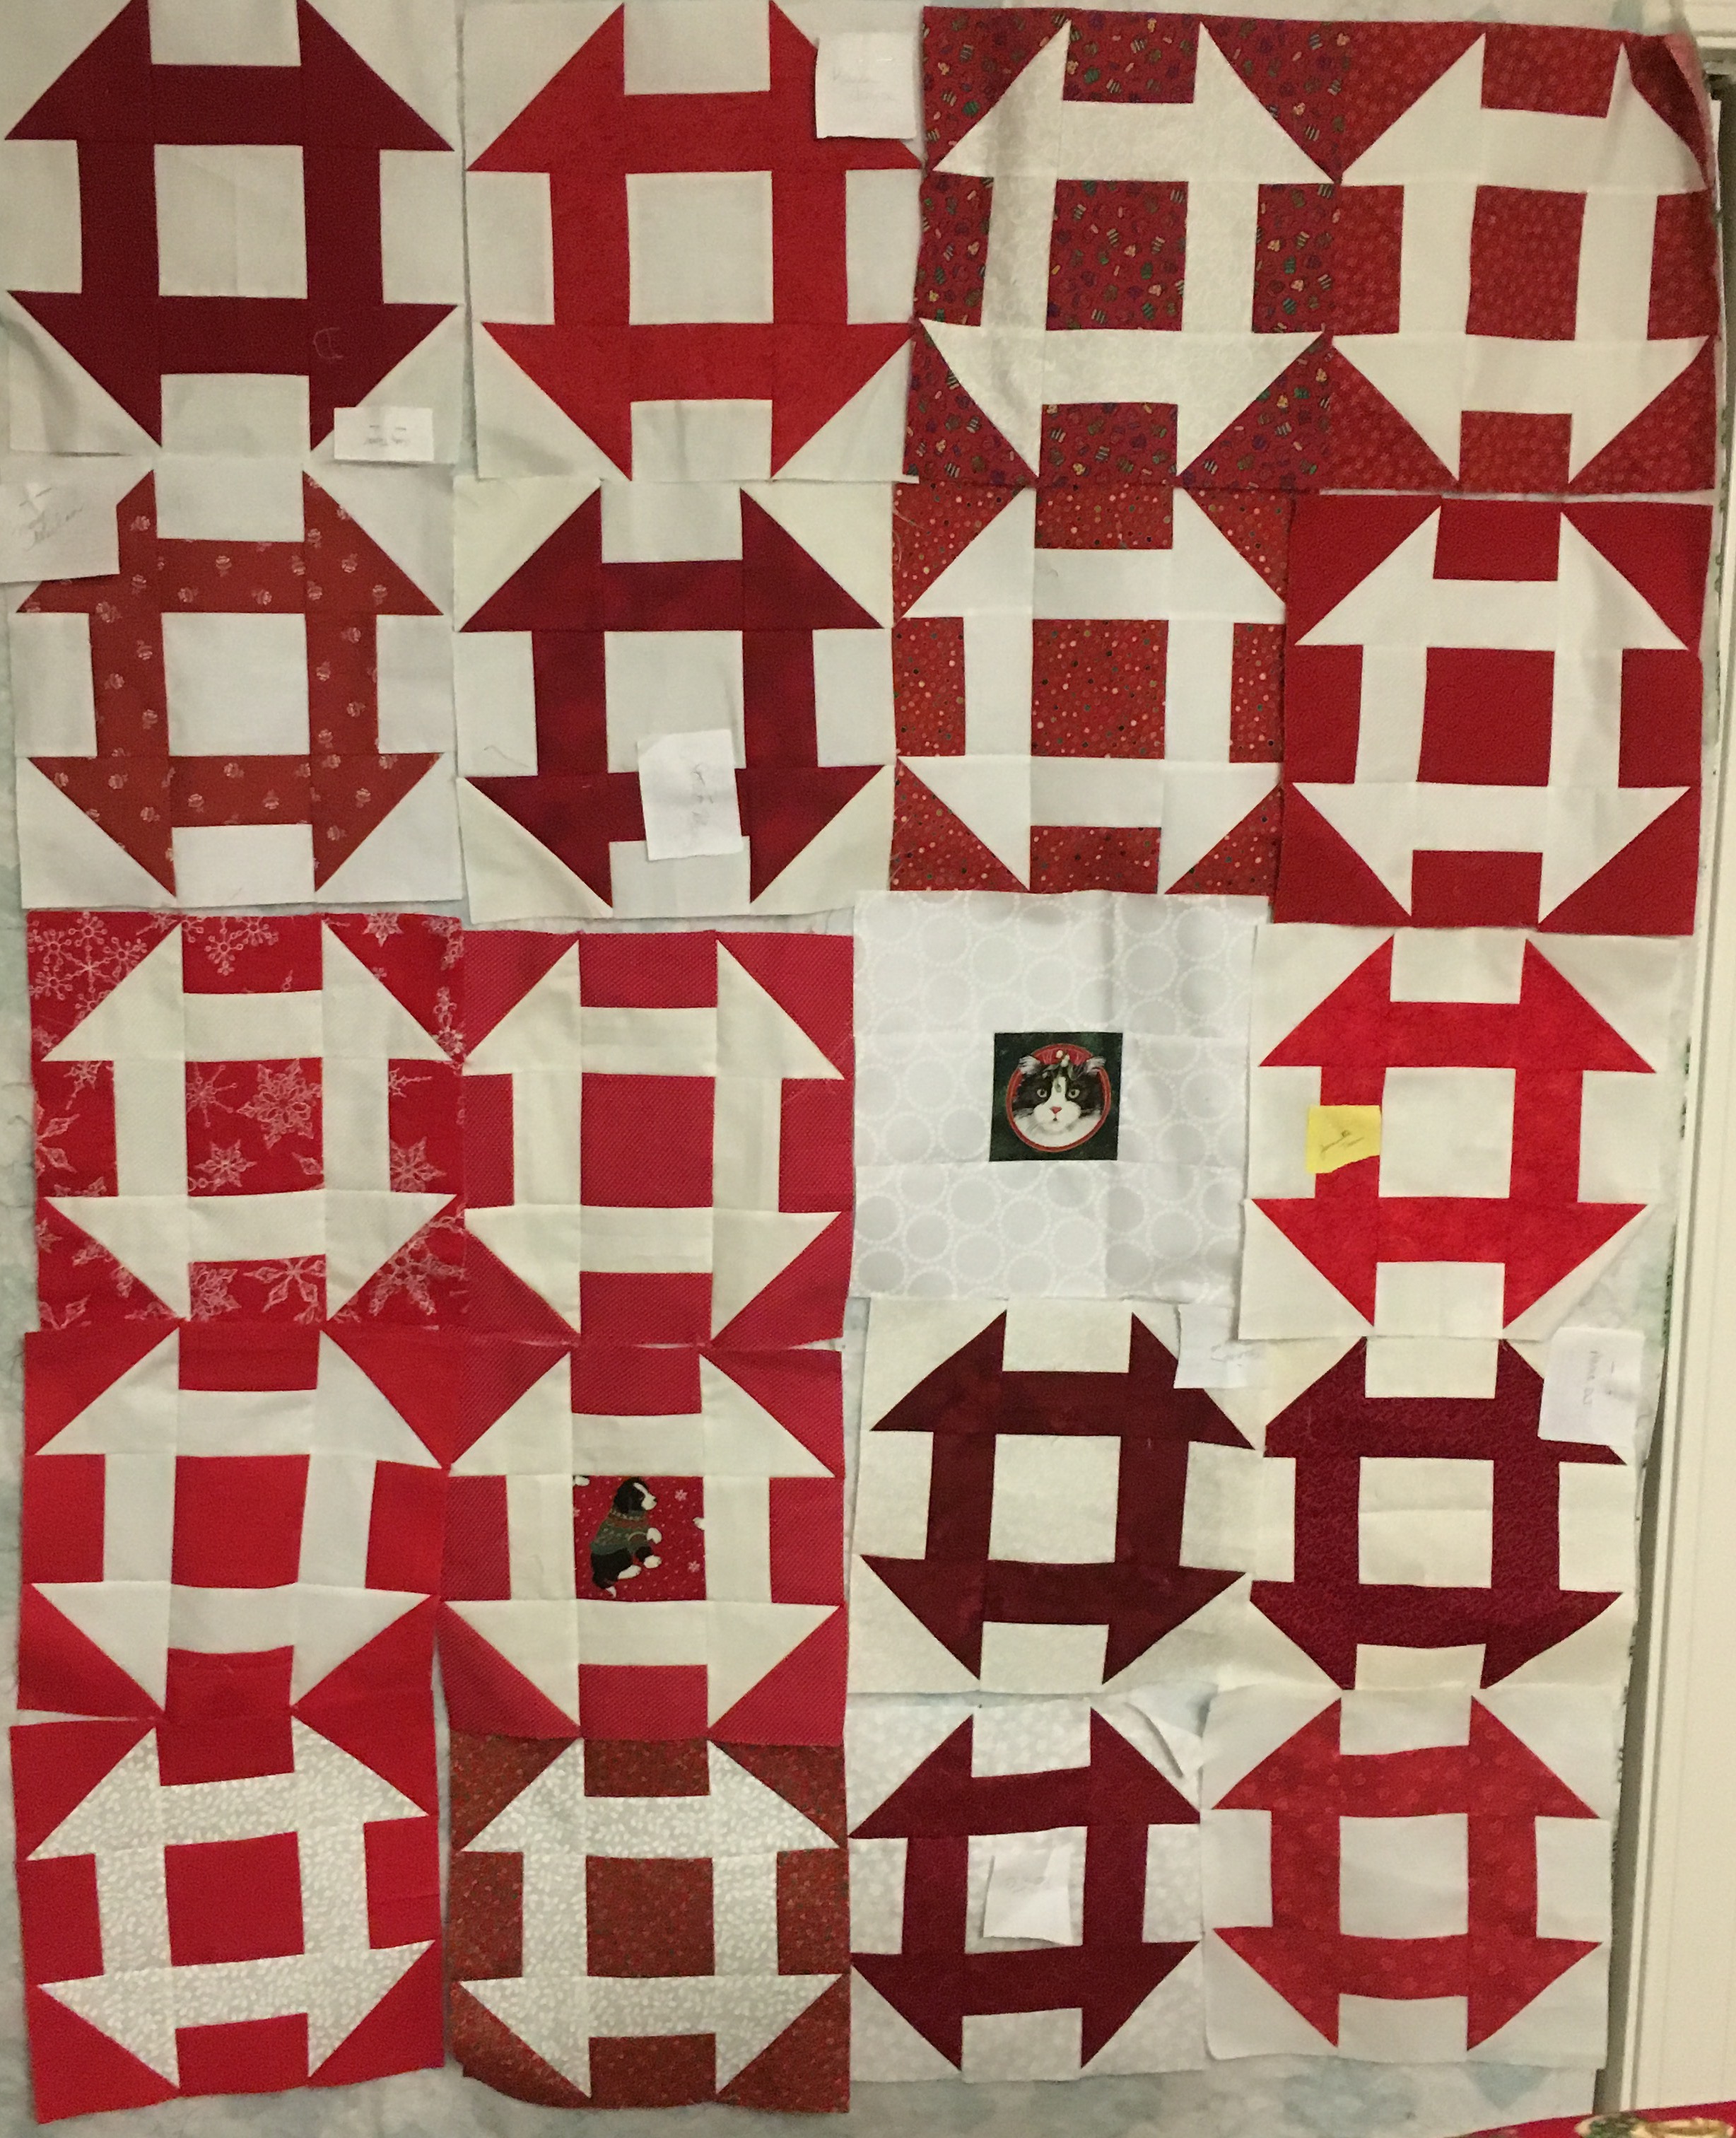
The quilt pattern is from Fons and Porter's Fun Quilts for Kids, 2012. I really like how the small diamonds in the borders echo the large diamonds in the blocks. Note: If you use this quilt pattern, the instructions in the book for the central blocks do not make a closed inner diamond. The points are blunted, as they would be in a snowball block. If you want a true square- in-a-square block, you need to cut your fabric differently. You can find square-in-a-square calculators with specific cutting instructions for any size block with a simple Google search.
The quilt pattern in the book has two additional borders. I like the way the quilt looks now. I'll bring the deep blue back in the binding when the quilt is done.
Bonus: Because I used the fold over method of making the diamonds in the central blocks, I have 24 half square triangle blocks from the trimmings. That's a head start on another quilt! But I think I should finish this one first!