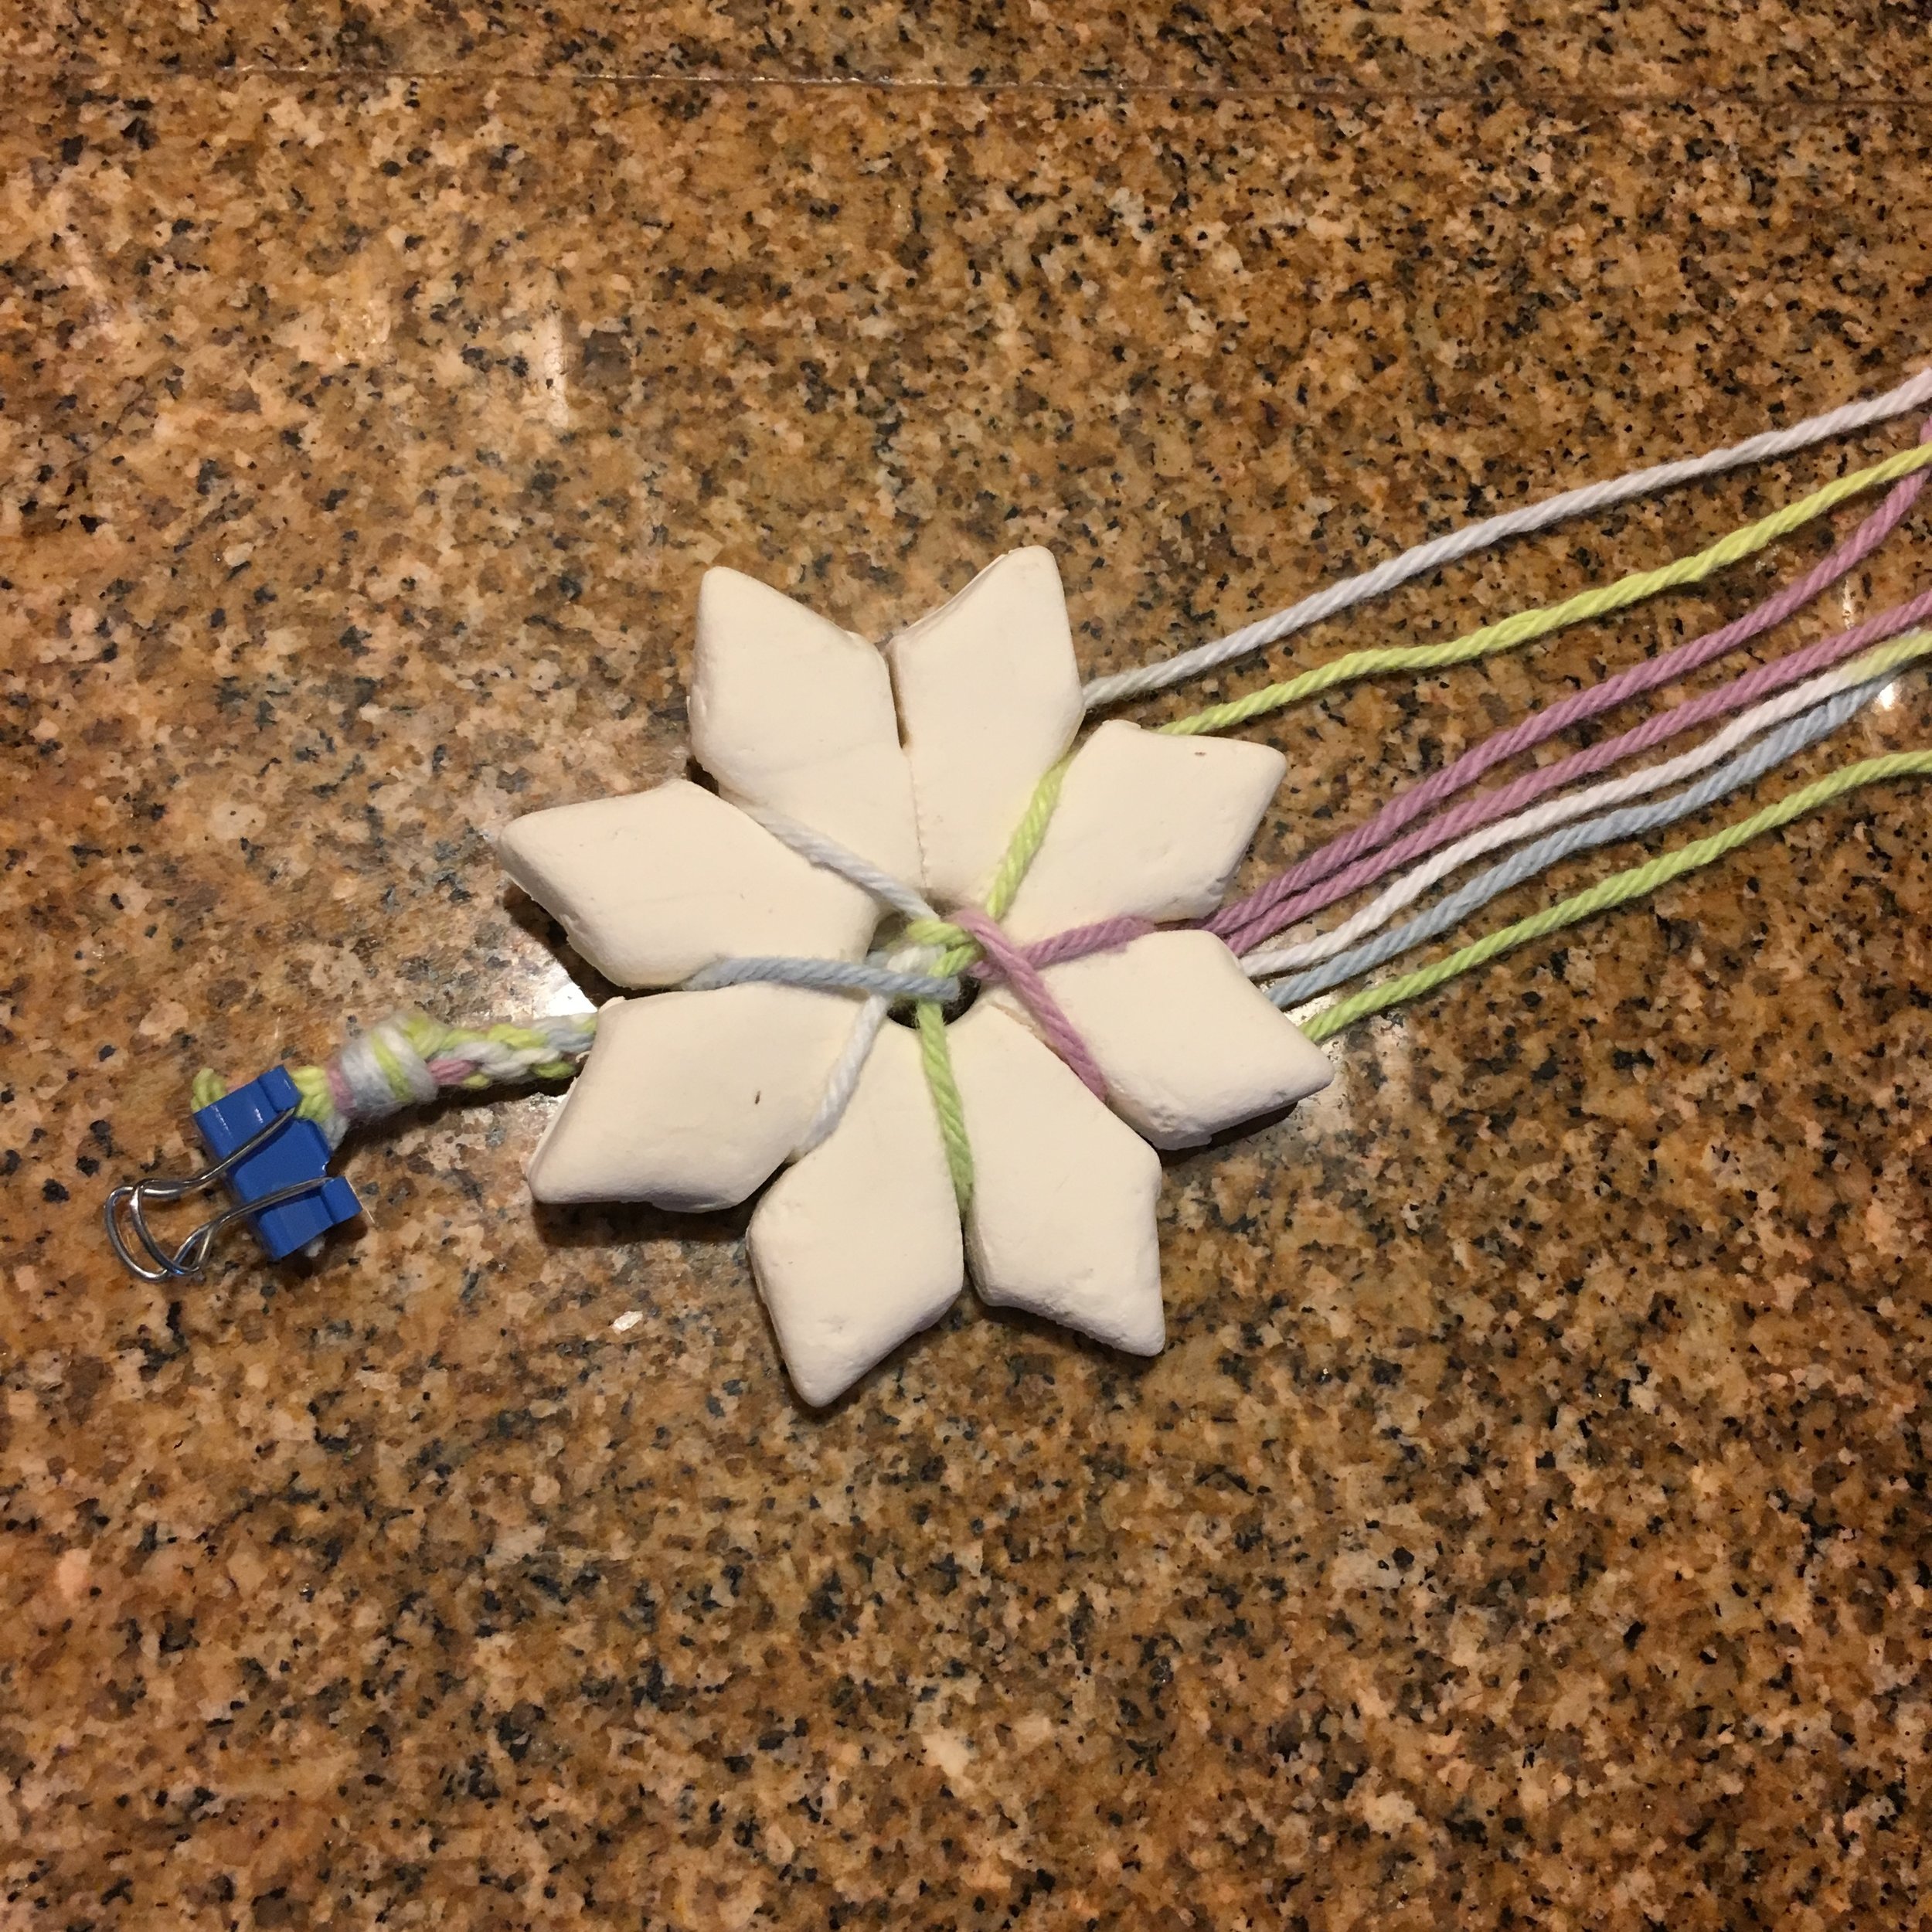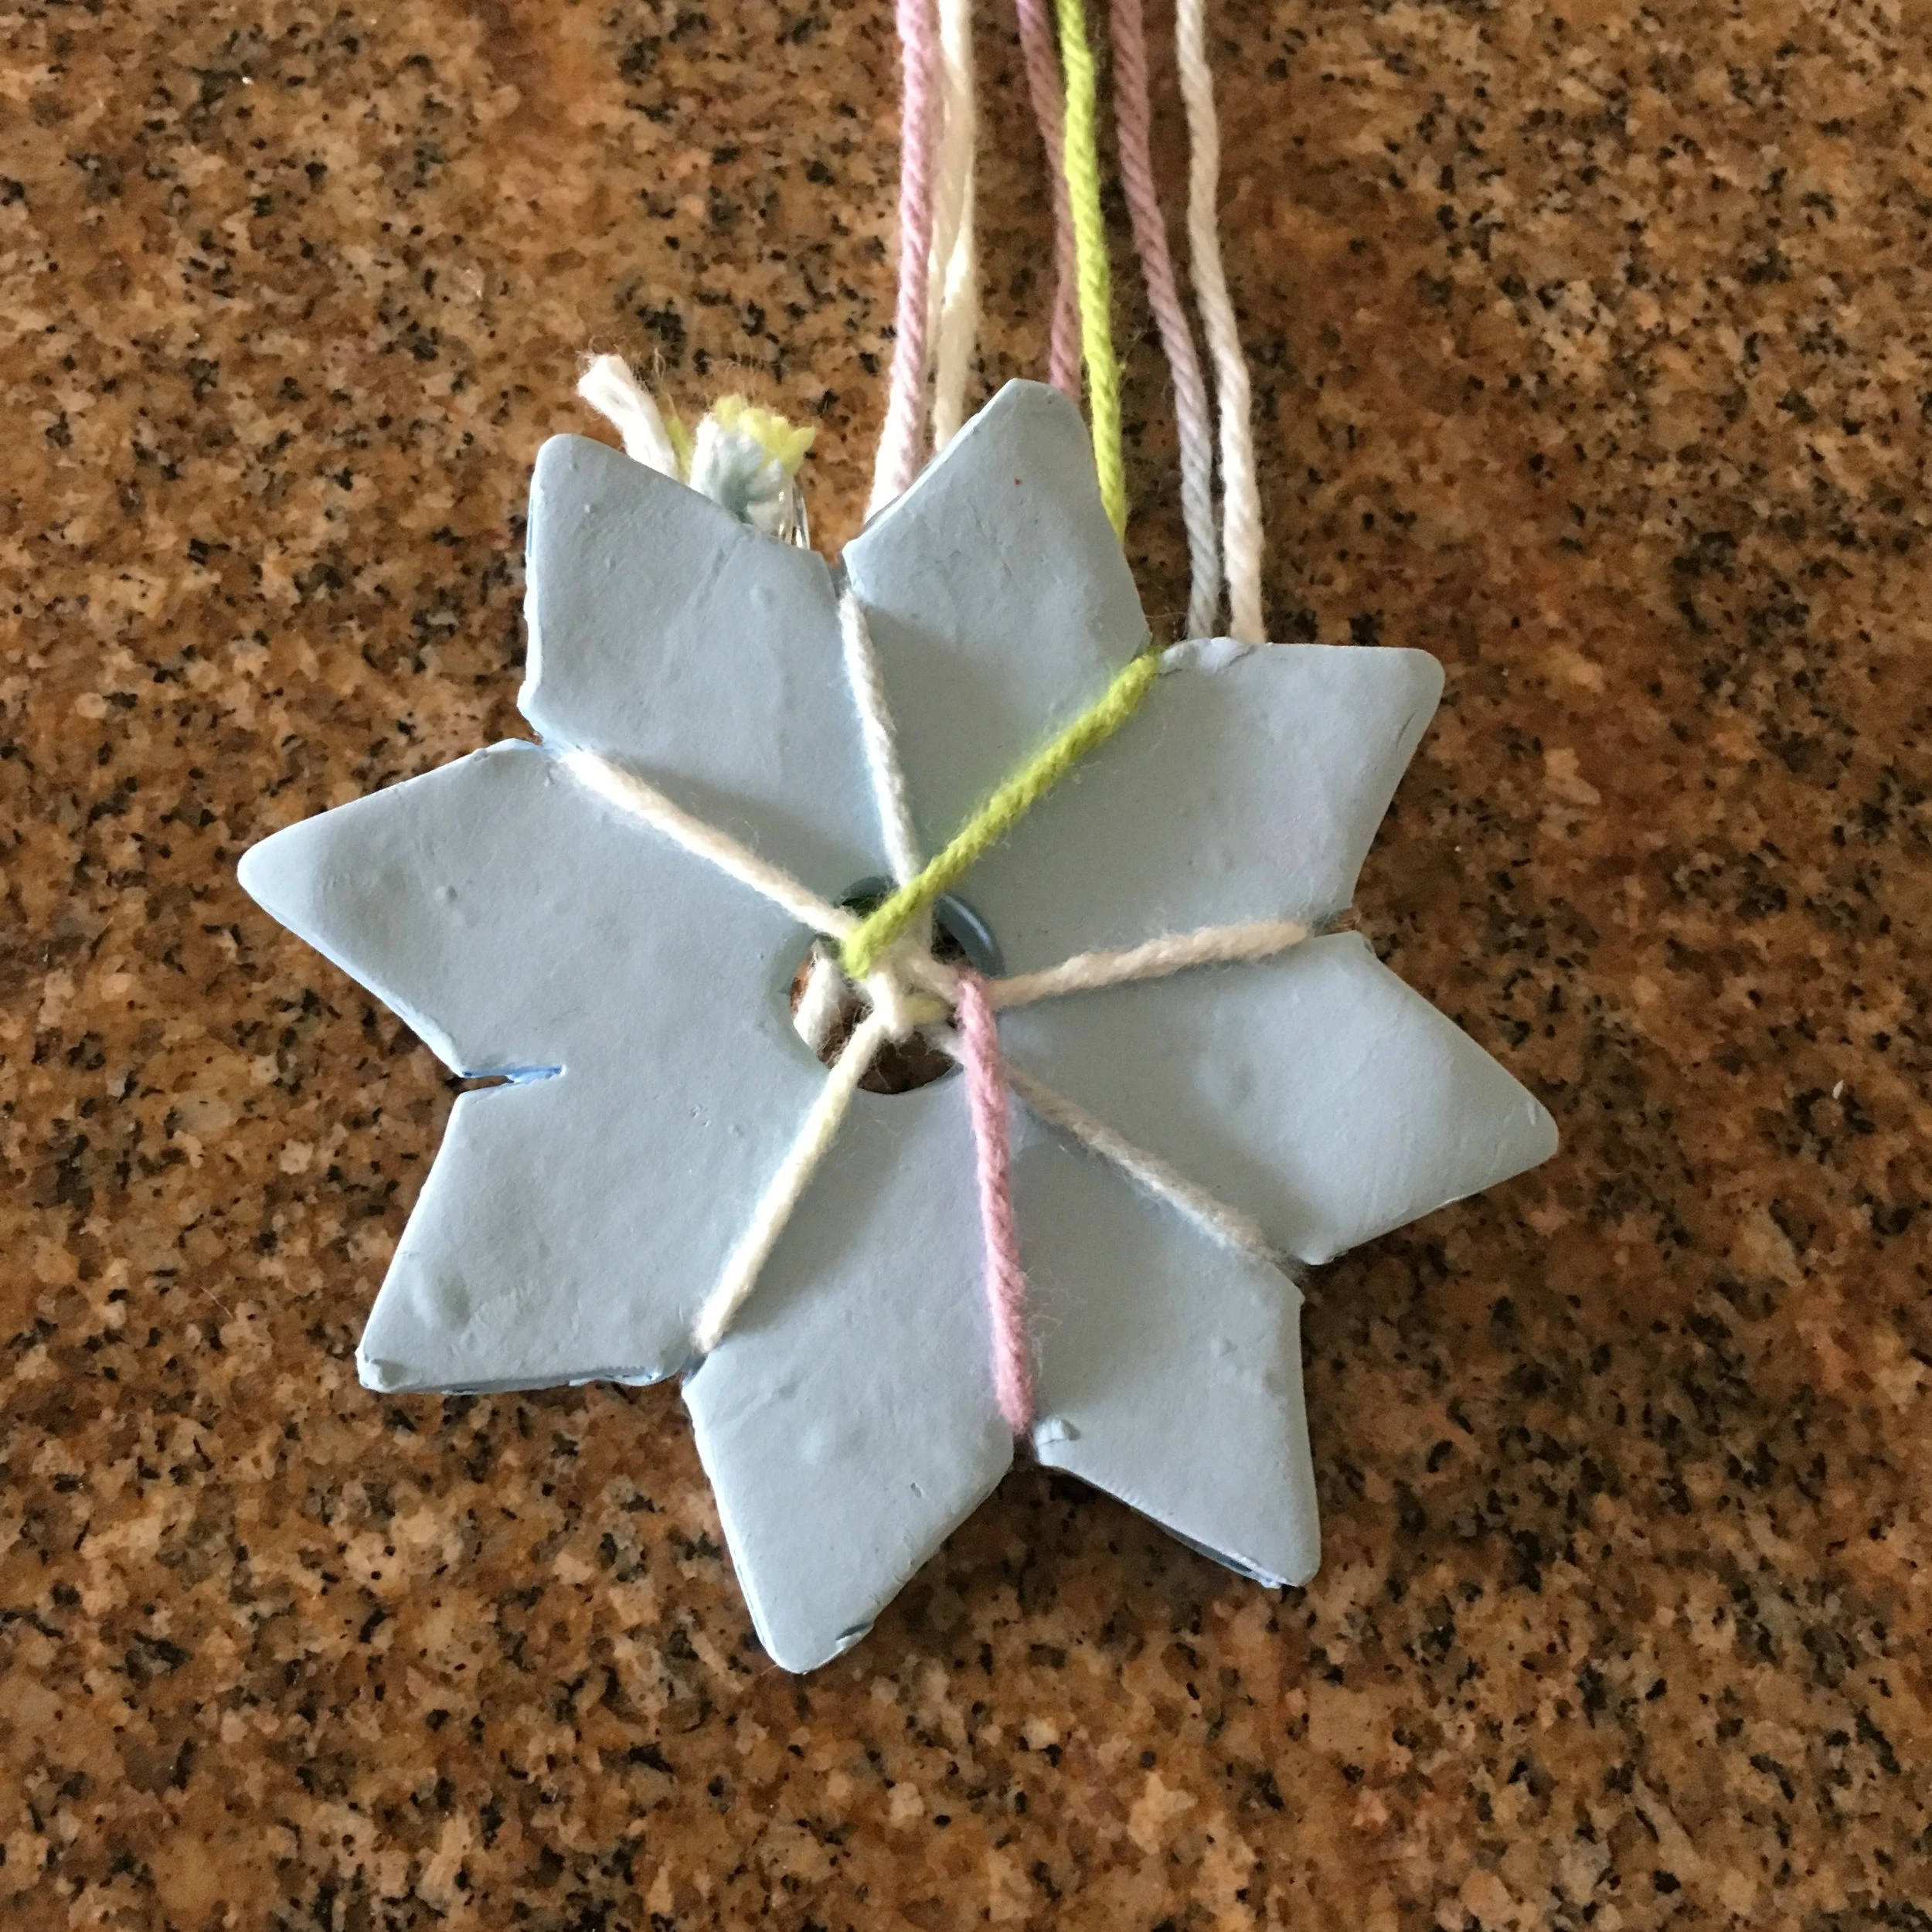
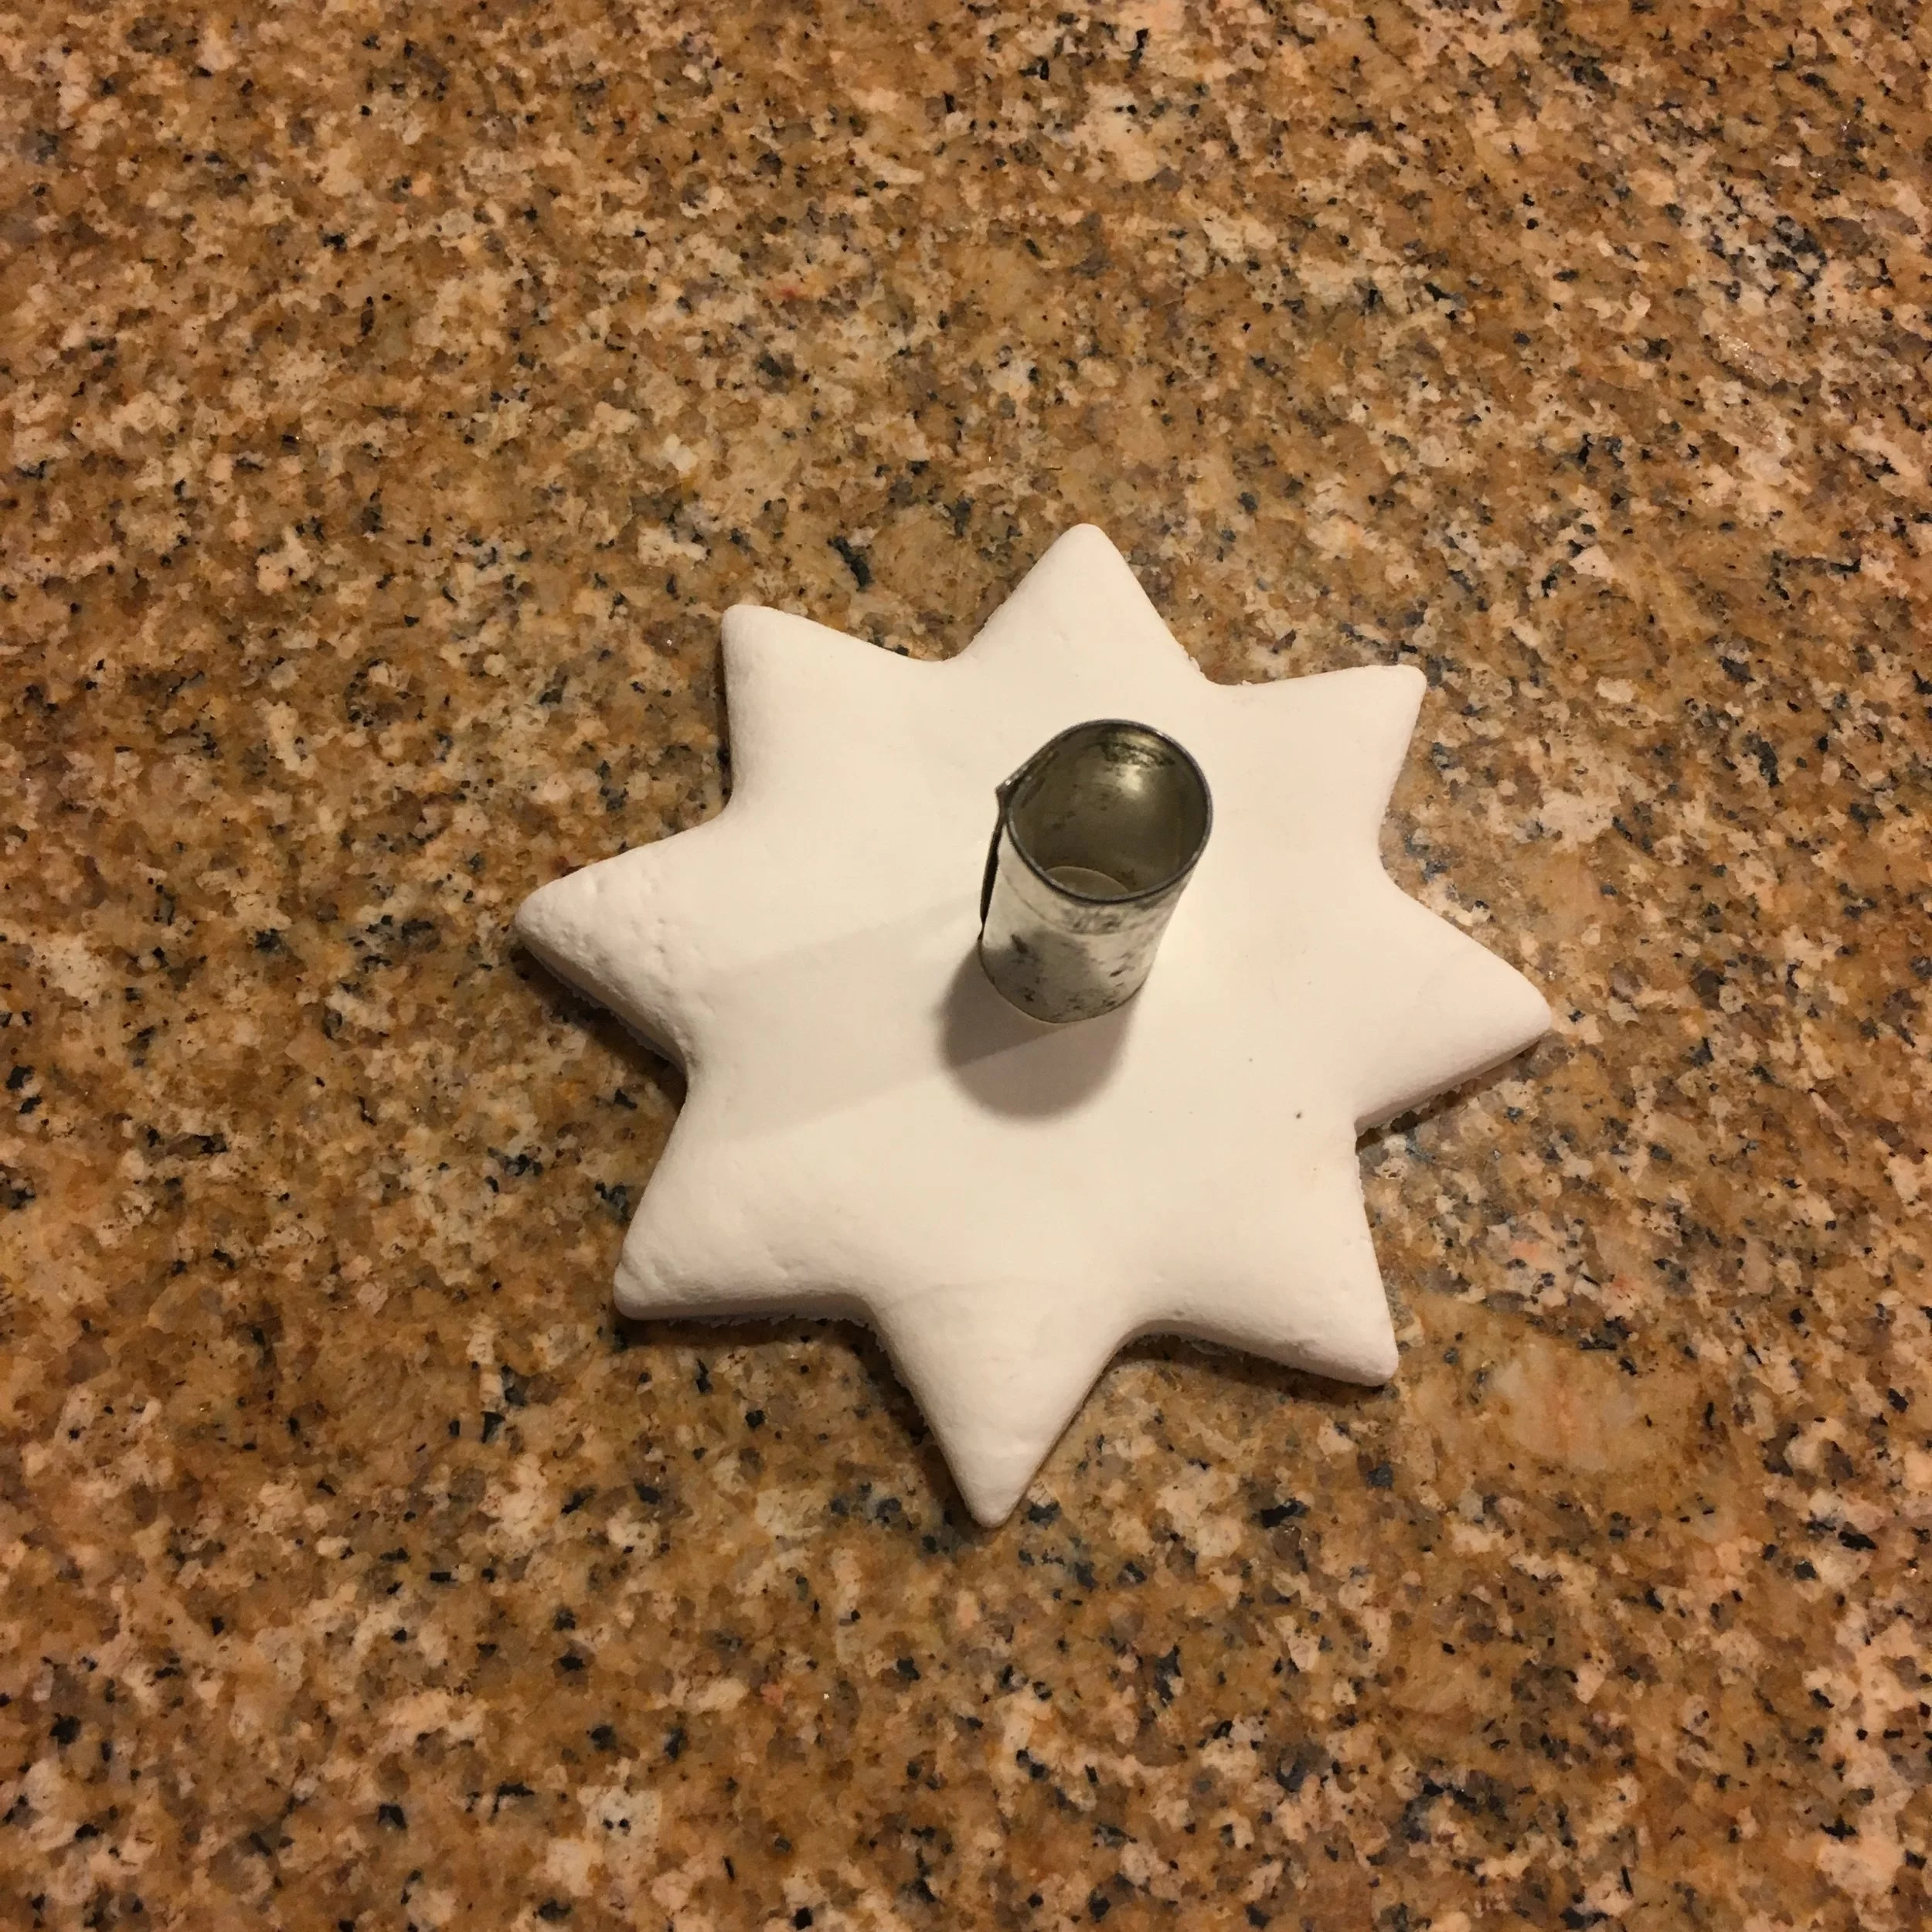
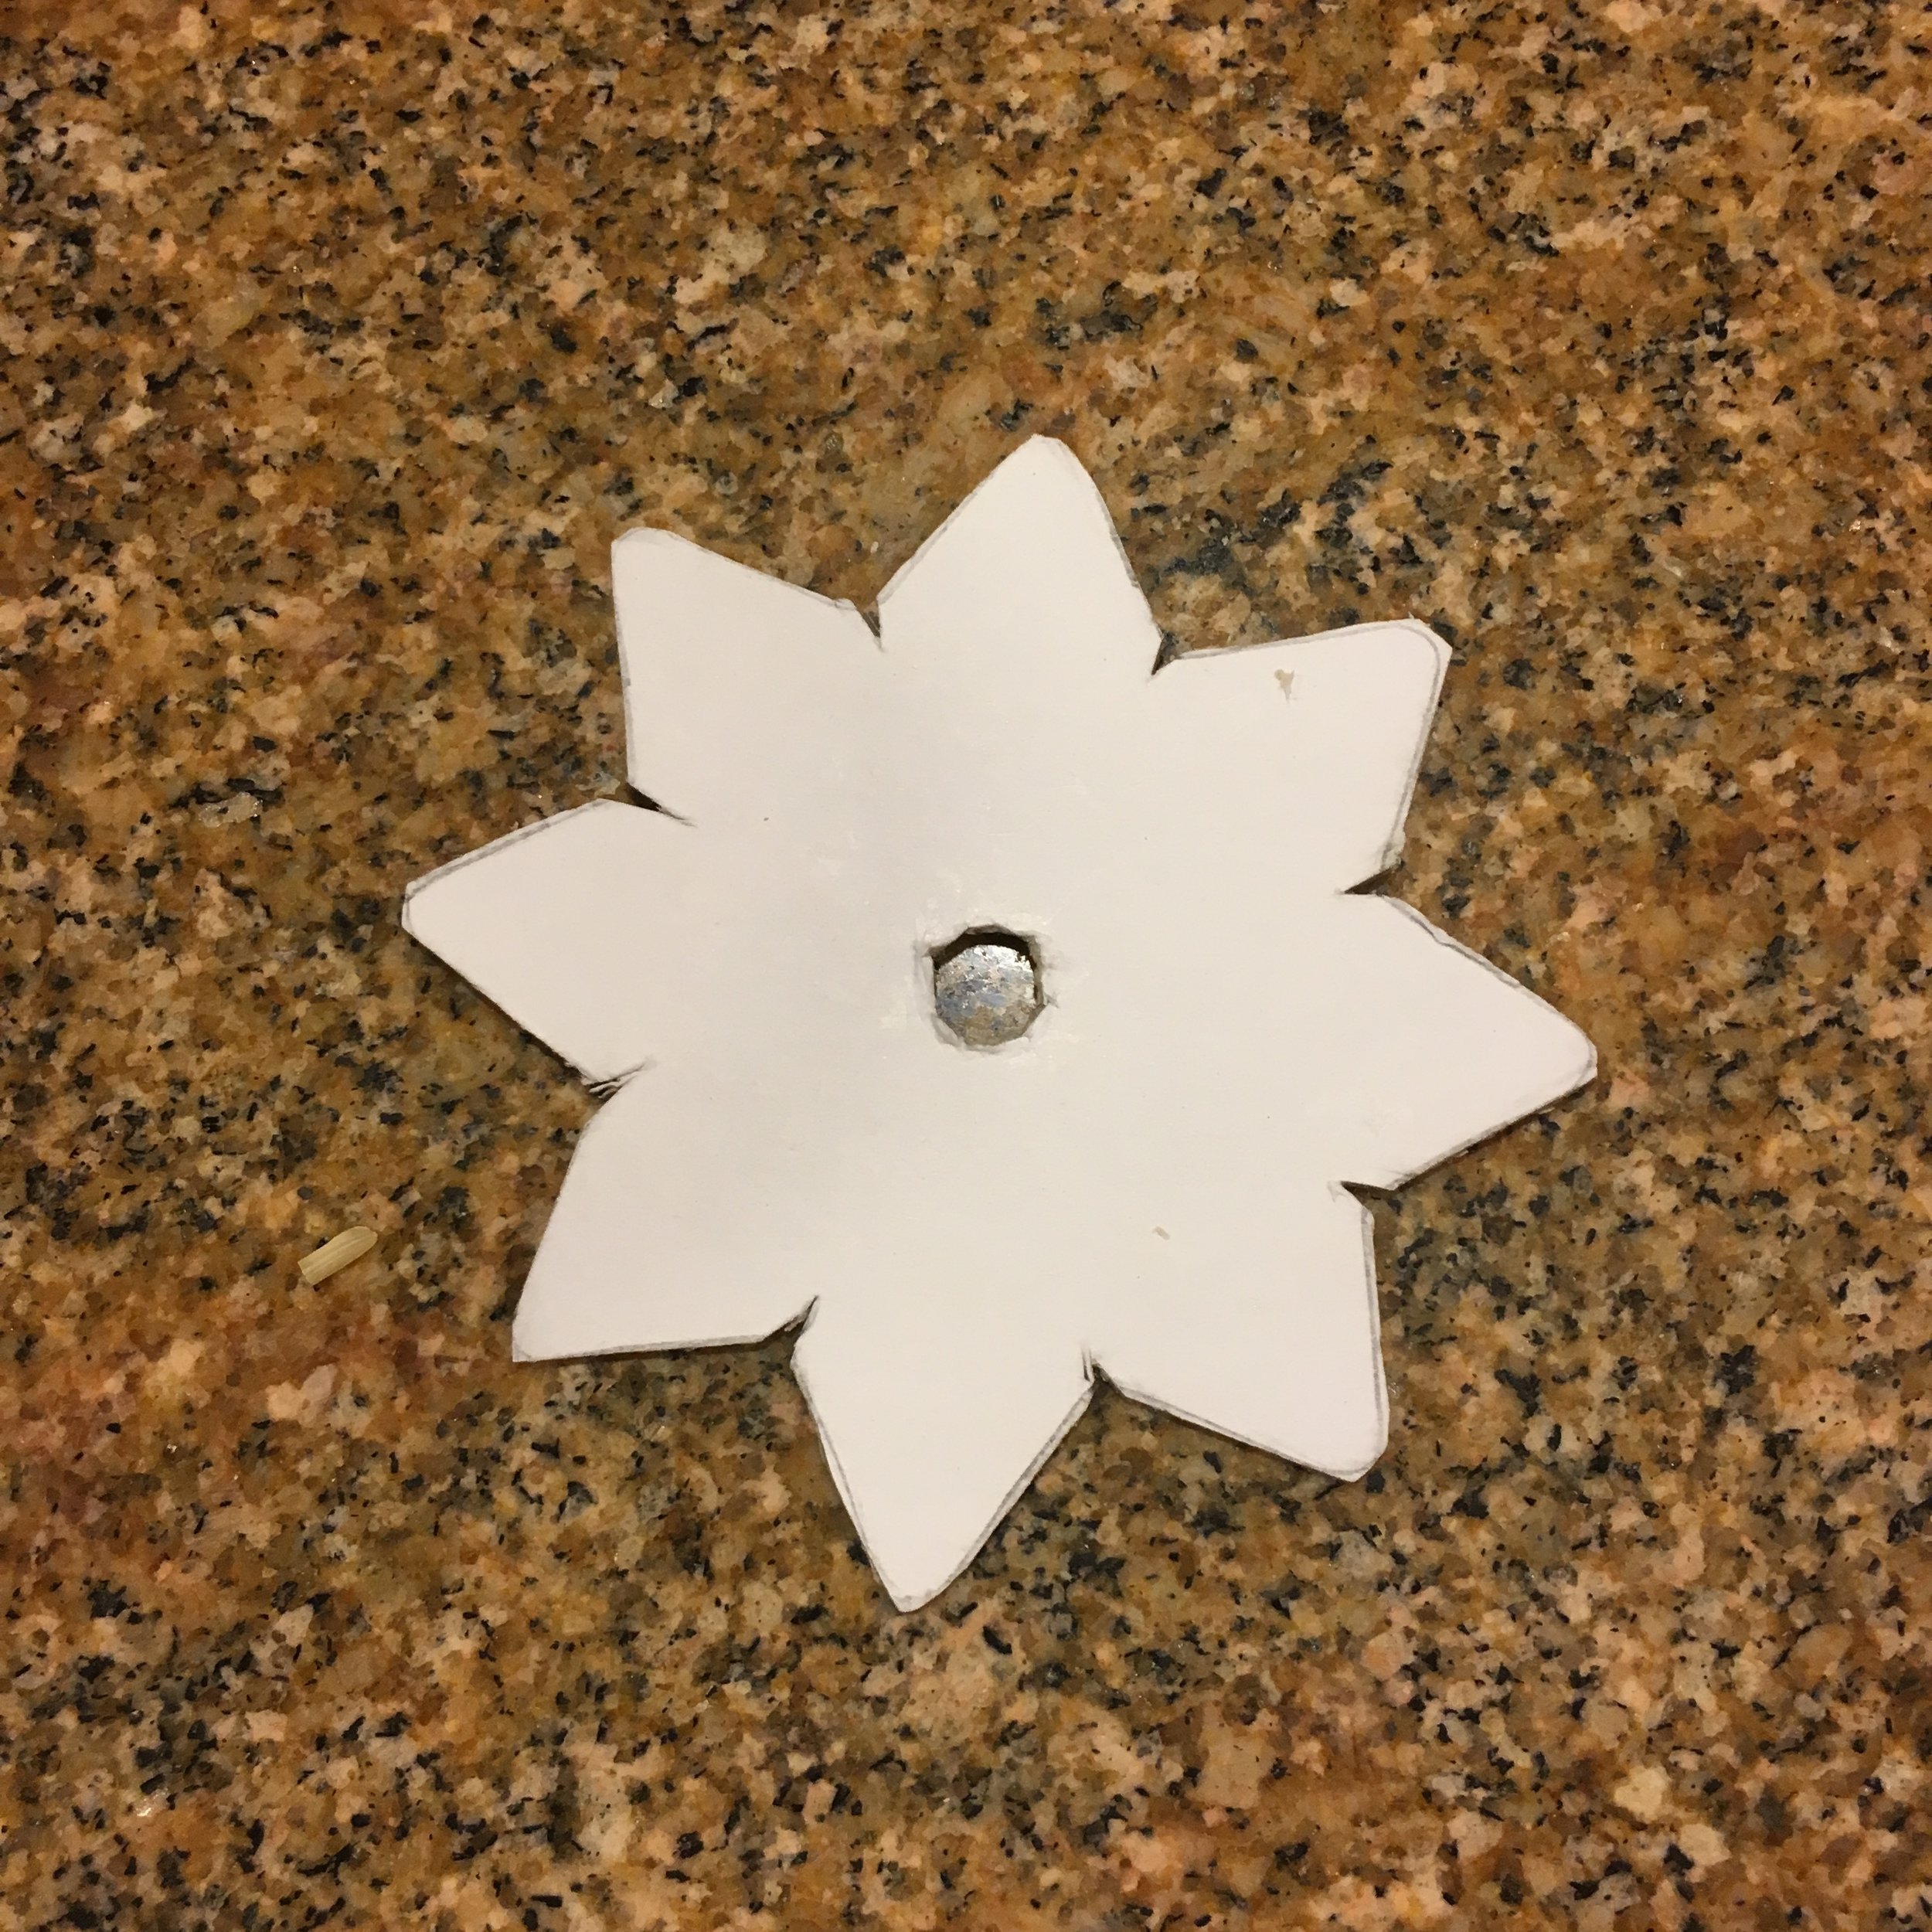
Braiding Star made from Sculpy III. So far, this material is working the best
I volunteer at Rose’s Bounty Food Pantry in West Roxbury, Massachusetts. Our food pantry has adopted an elementary school in another Boston neighborhood. Every week during the school year we make bags with food for a weekend for children with food insecurity.
Occasionally we also make the children a vacation kit with treats and creative supplies. A braiding star seemed like a great craft project for a vacation kit. But purchasing that many stars isn’t feasible for our budget. Could we make them?
I set out to explore the possibilities. Since I have no woodworking skills, I decided to try modeling clay polymers and cardboard.
Below are 3 braiding stars made with modeling materials—Left to right: Crayola Model Magic Modeling Material, Scupley®III and Premo! Sculpey®. It turned out to be a bit like Goldilocks and the Three Bears. I loved working with the Crayola but it tears with use. The Sculpey®III handles easily and so far is holding up well with braiding. The Premo! Sculpey® was a bit crumbly and the slots closed up when the star was baked so I couldn’t use it braid.

Here are the photos of the steps to make a star from modeling material. Instructions follow below.
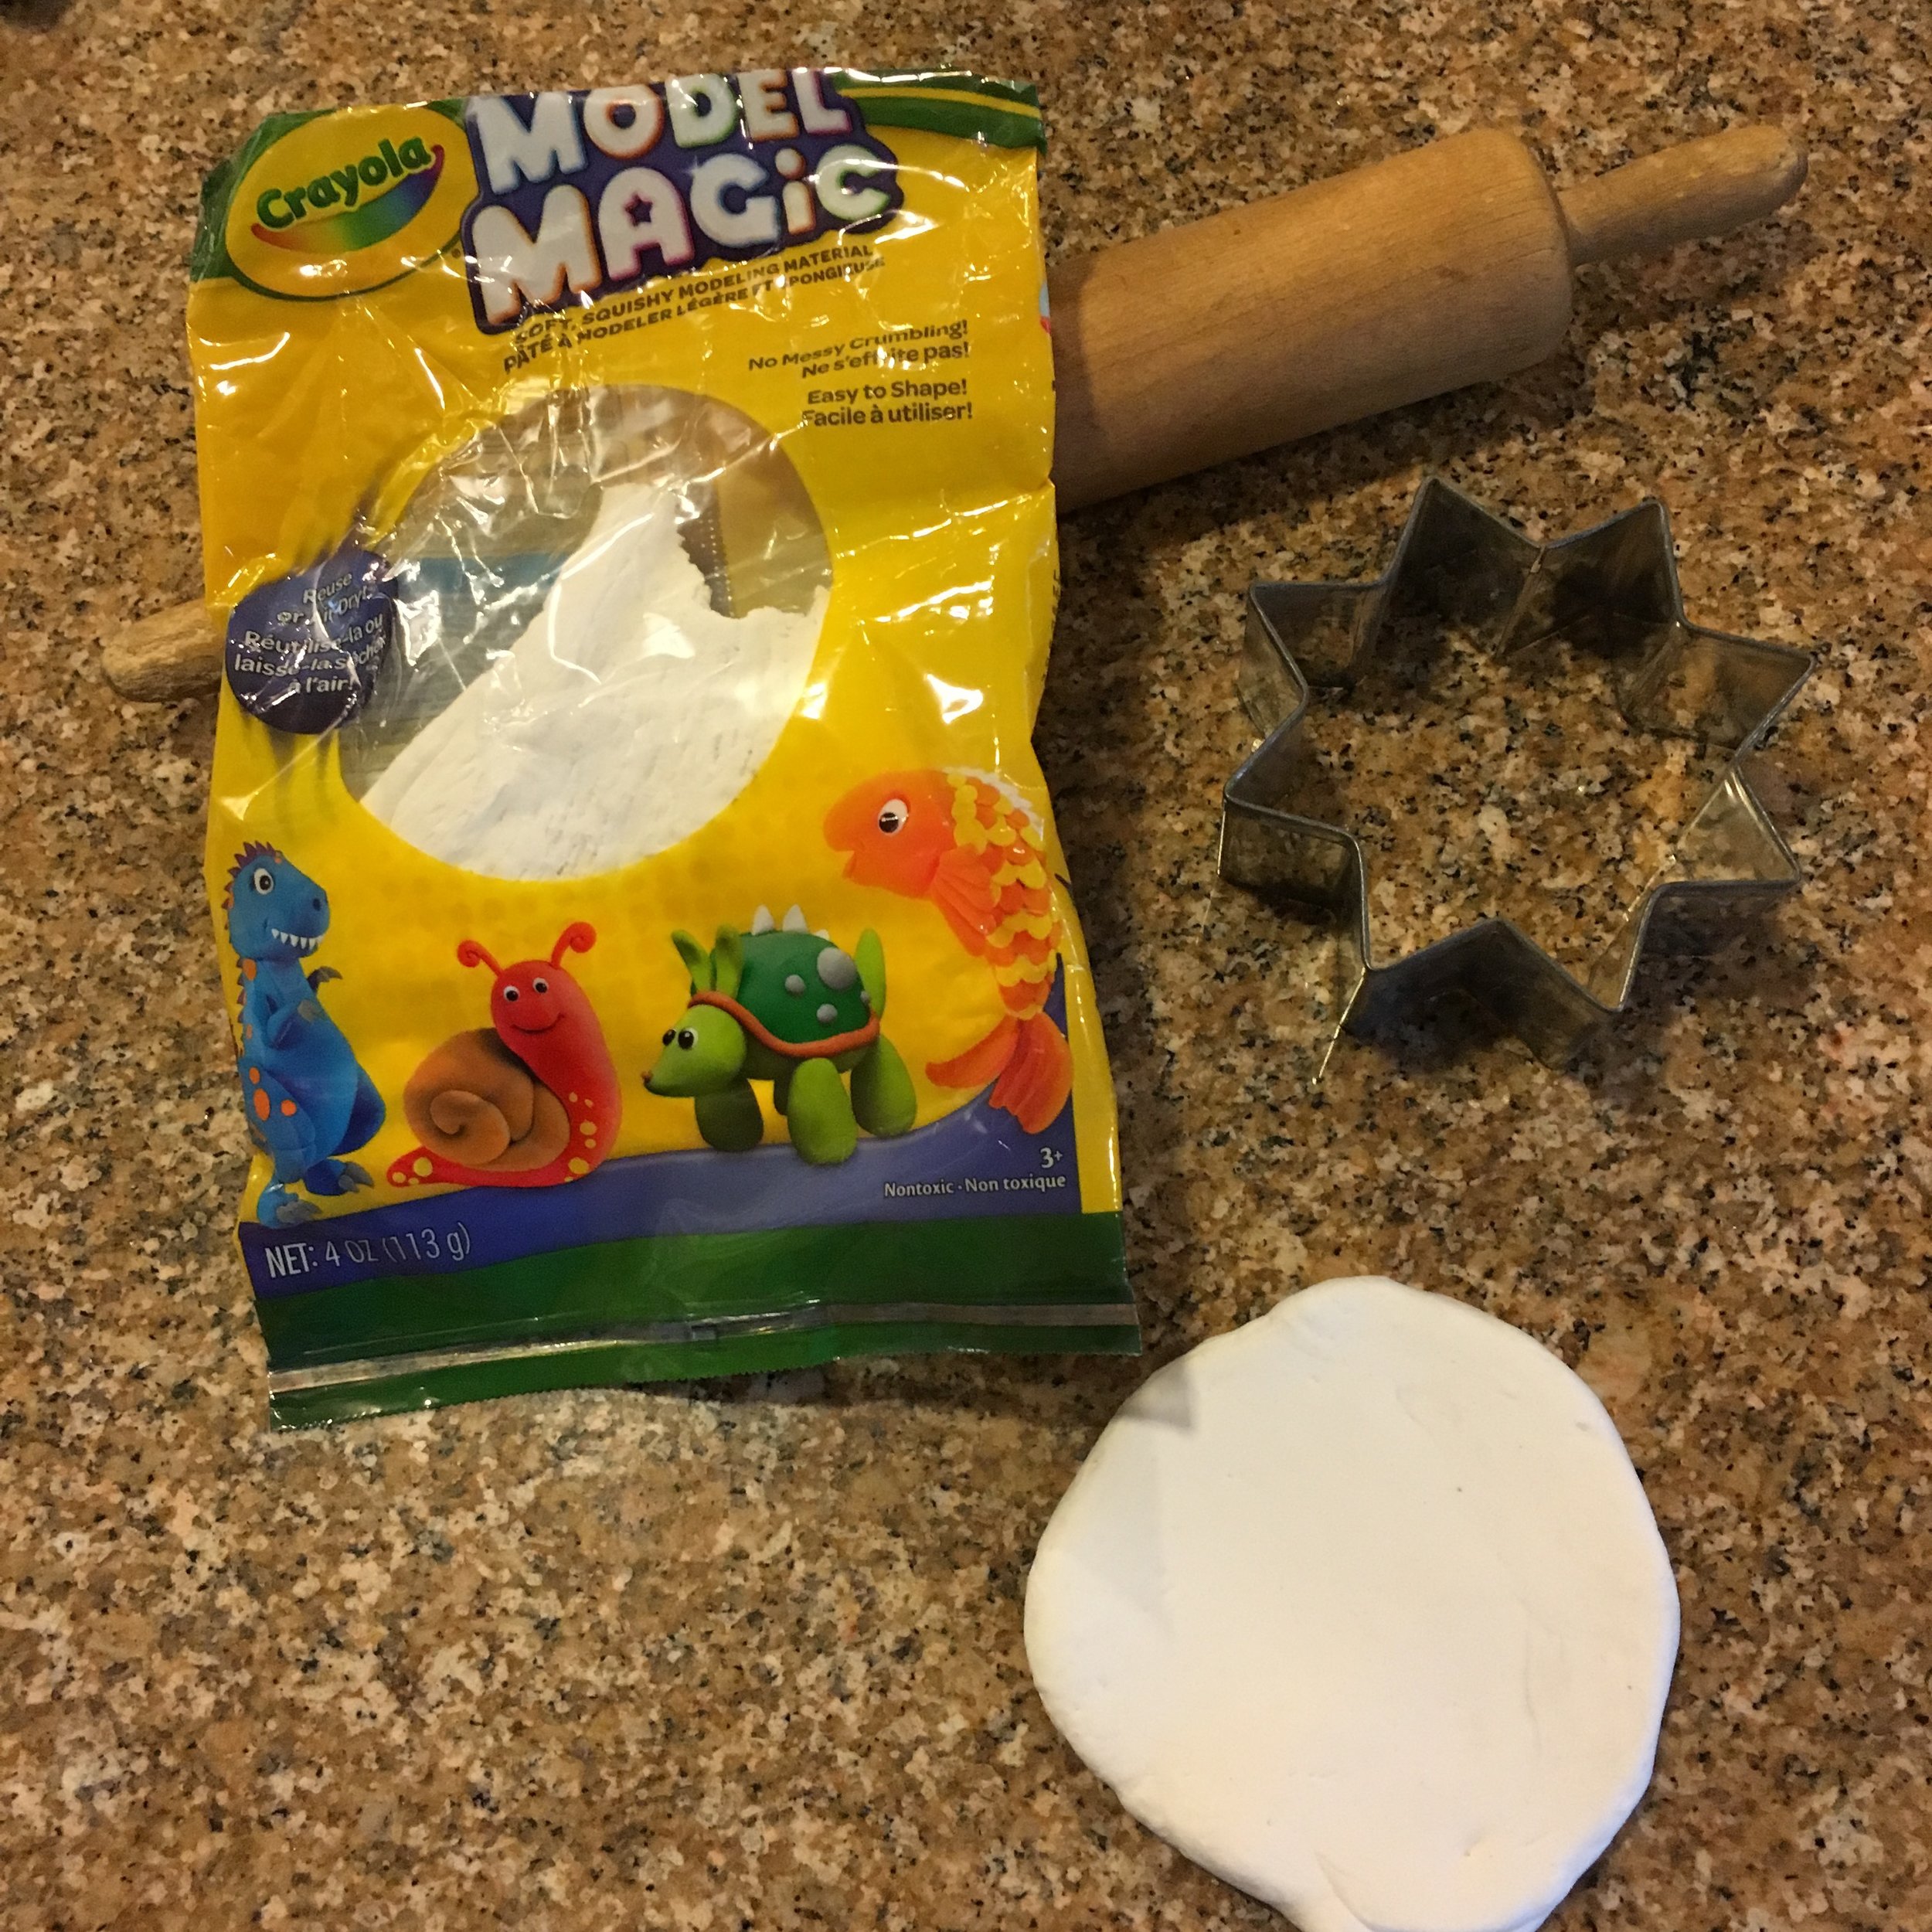
I had some white Crayola Model Magic Modeling Material left from making Christmas ornaments. (It comes in a rainbow of colors) so I used it first. When left at room temperature, it dries in 1-3 days, a feature I really l liked.
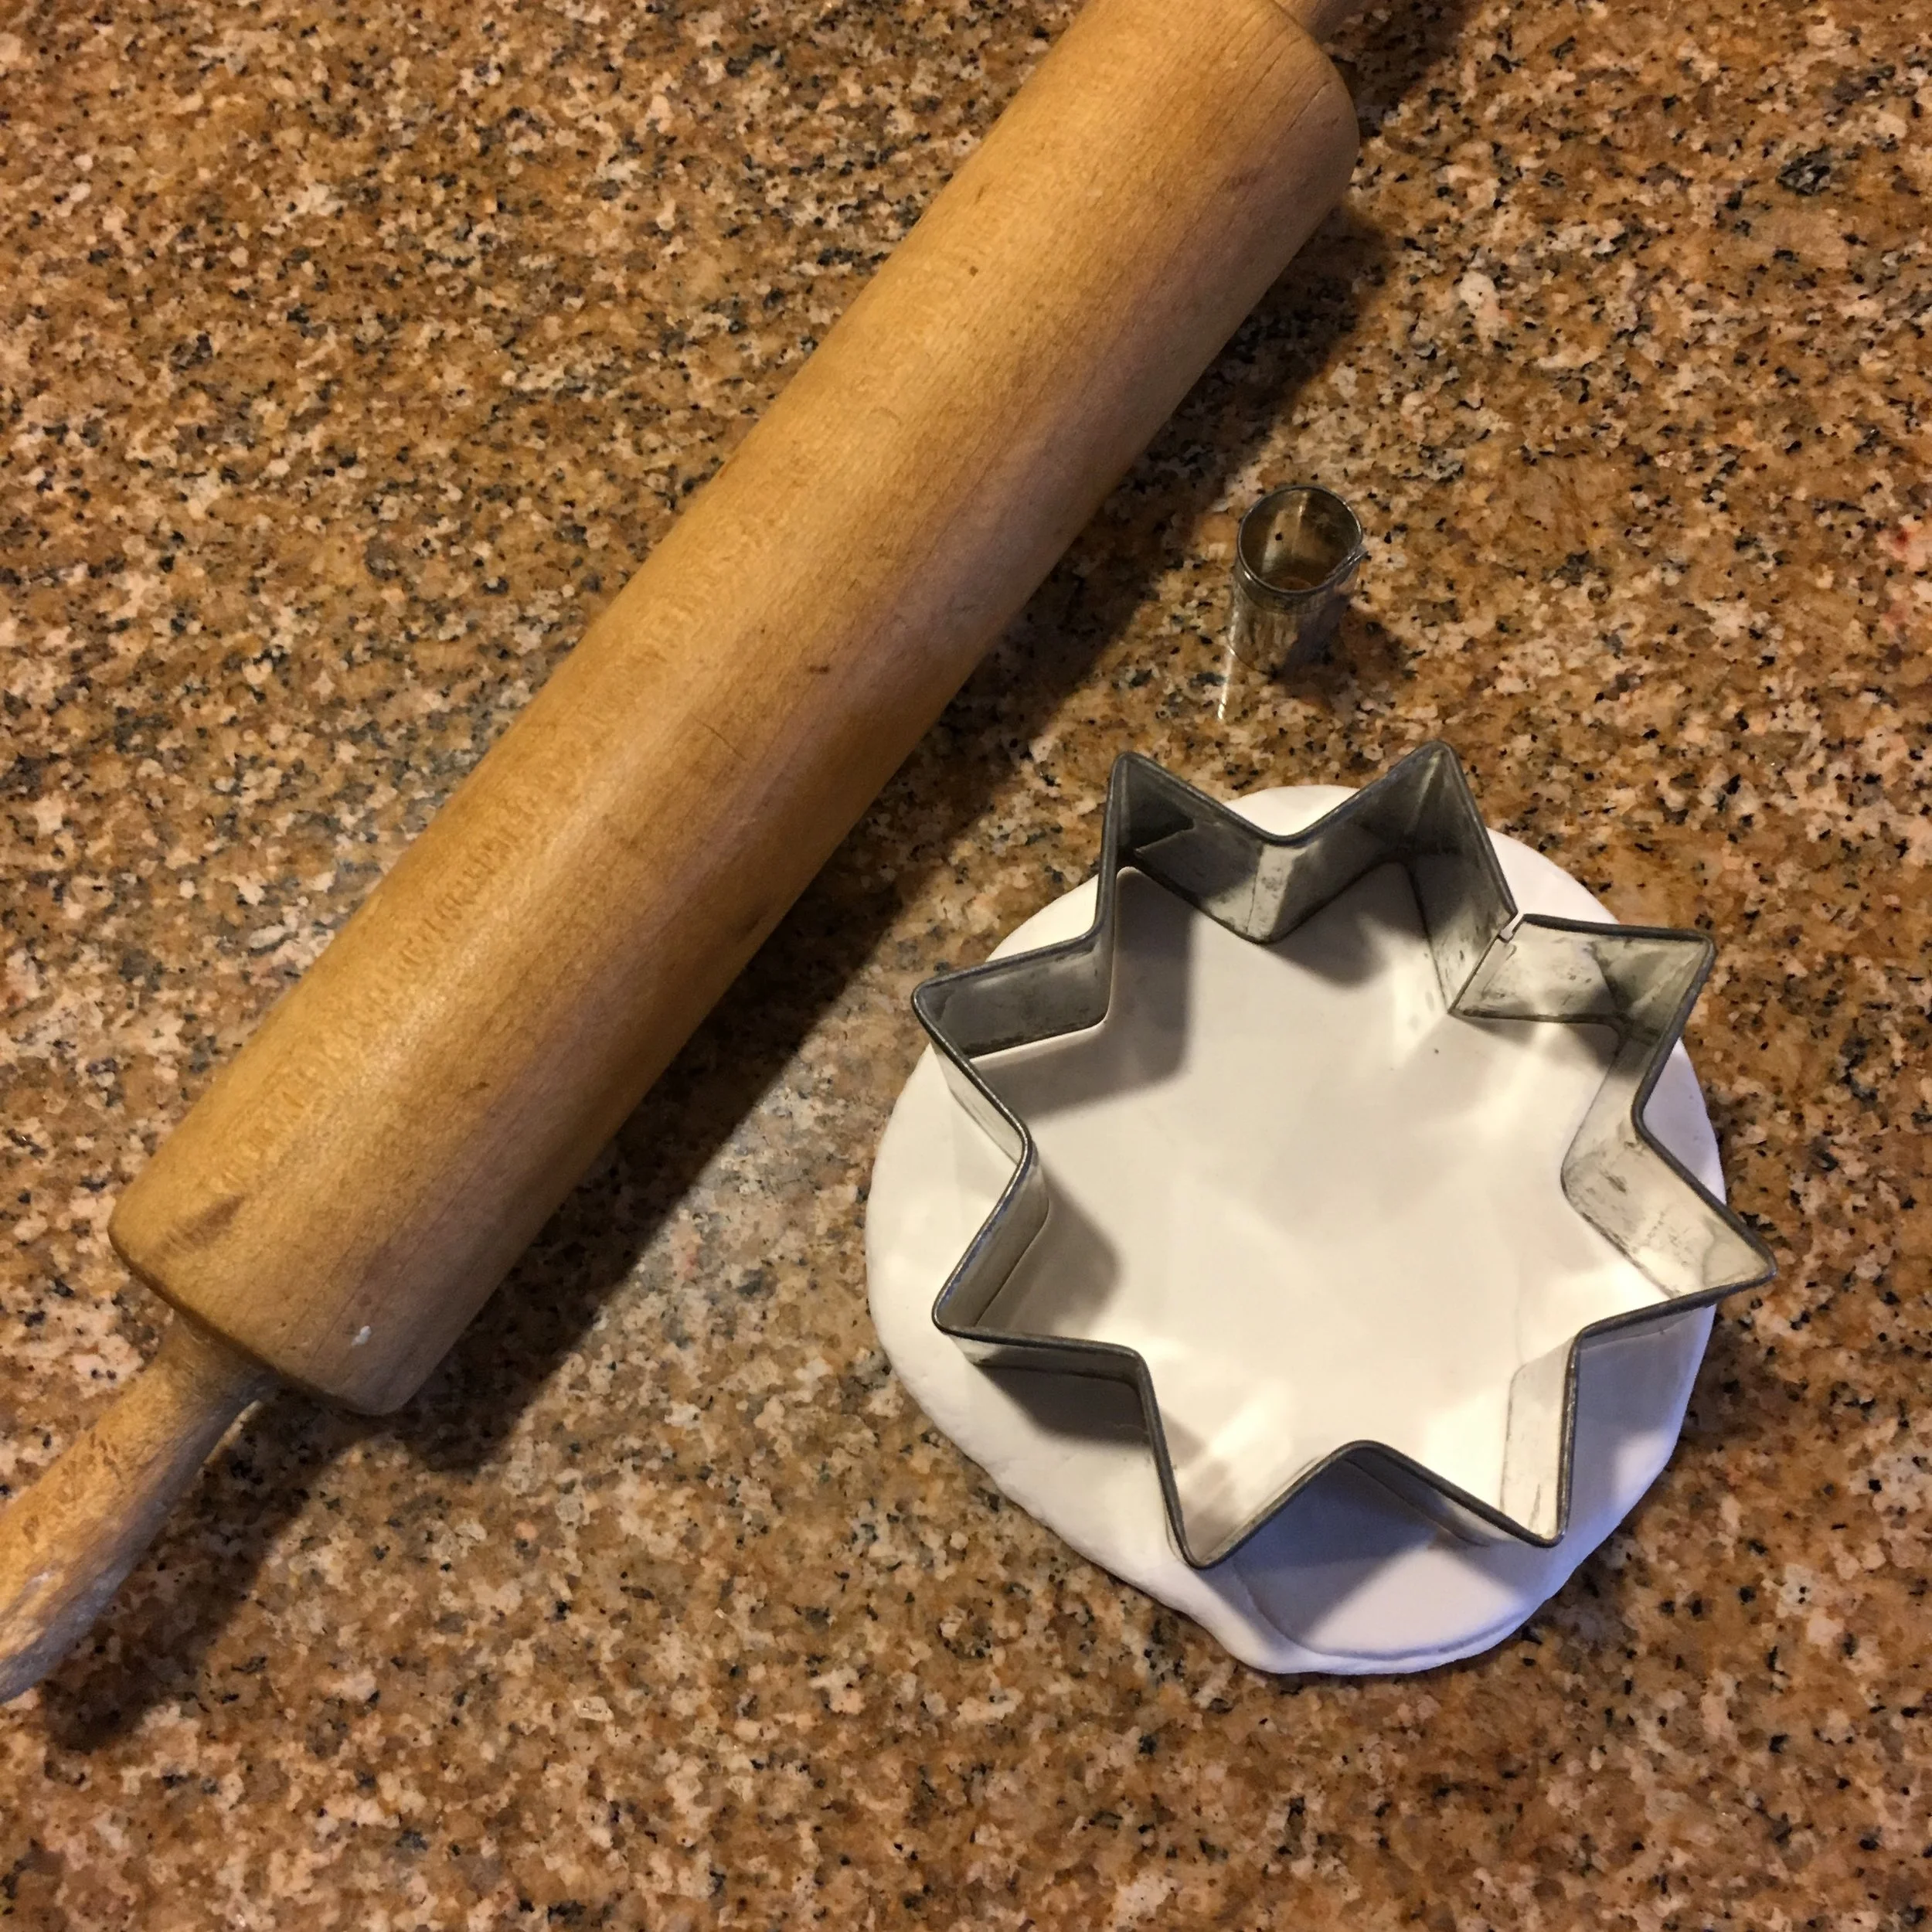
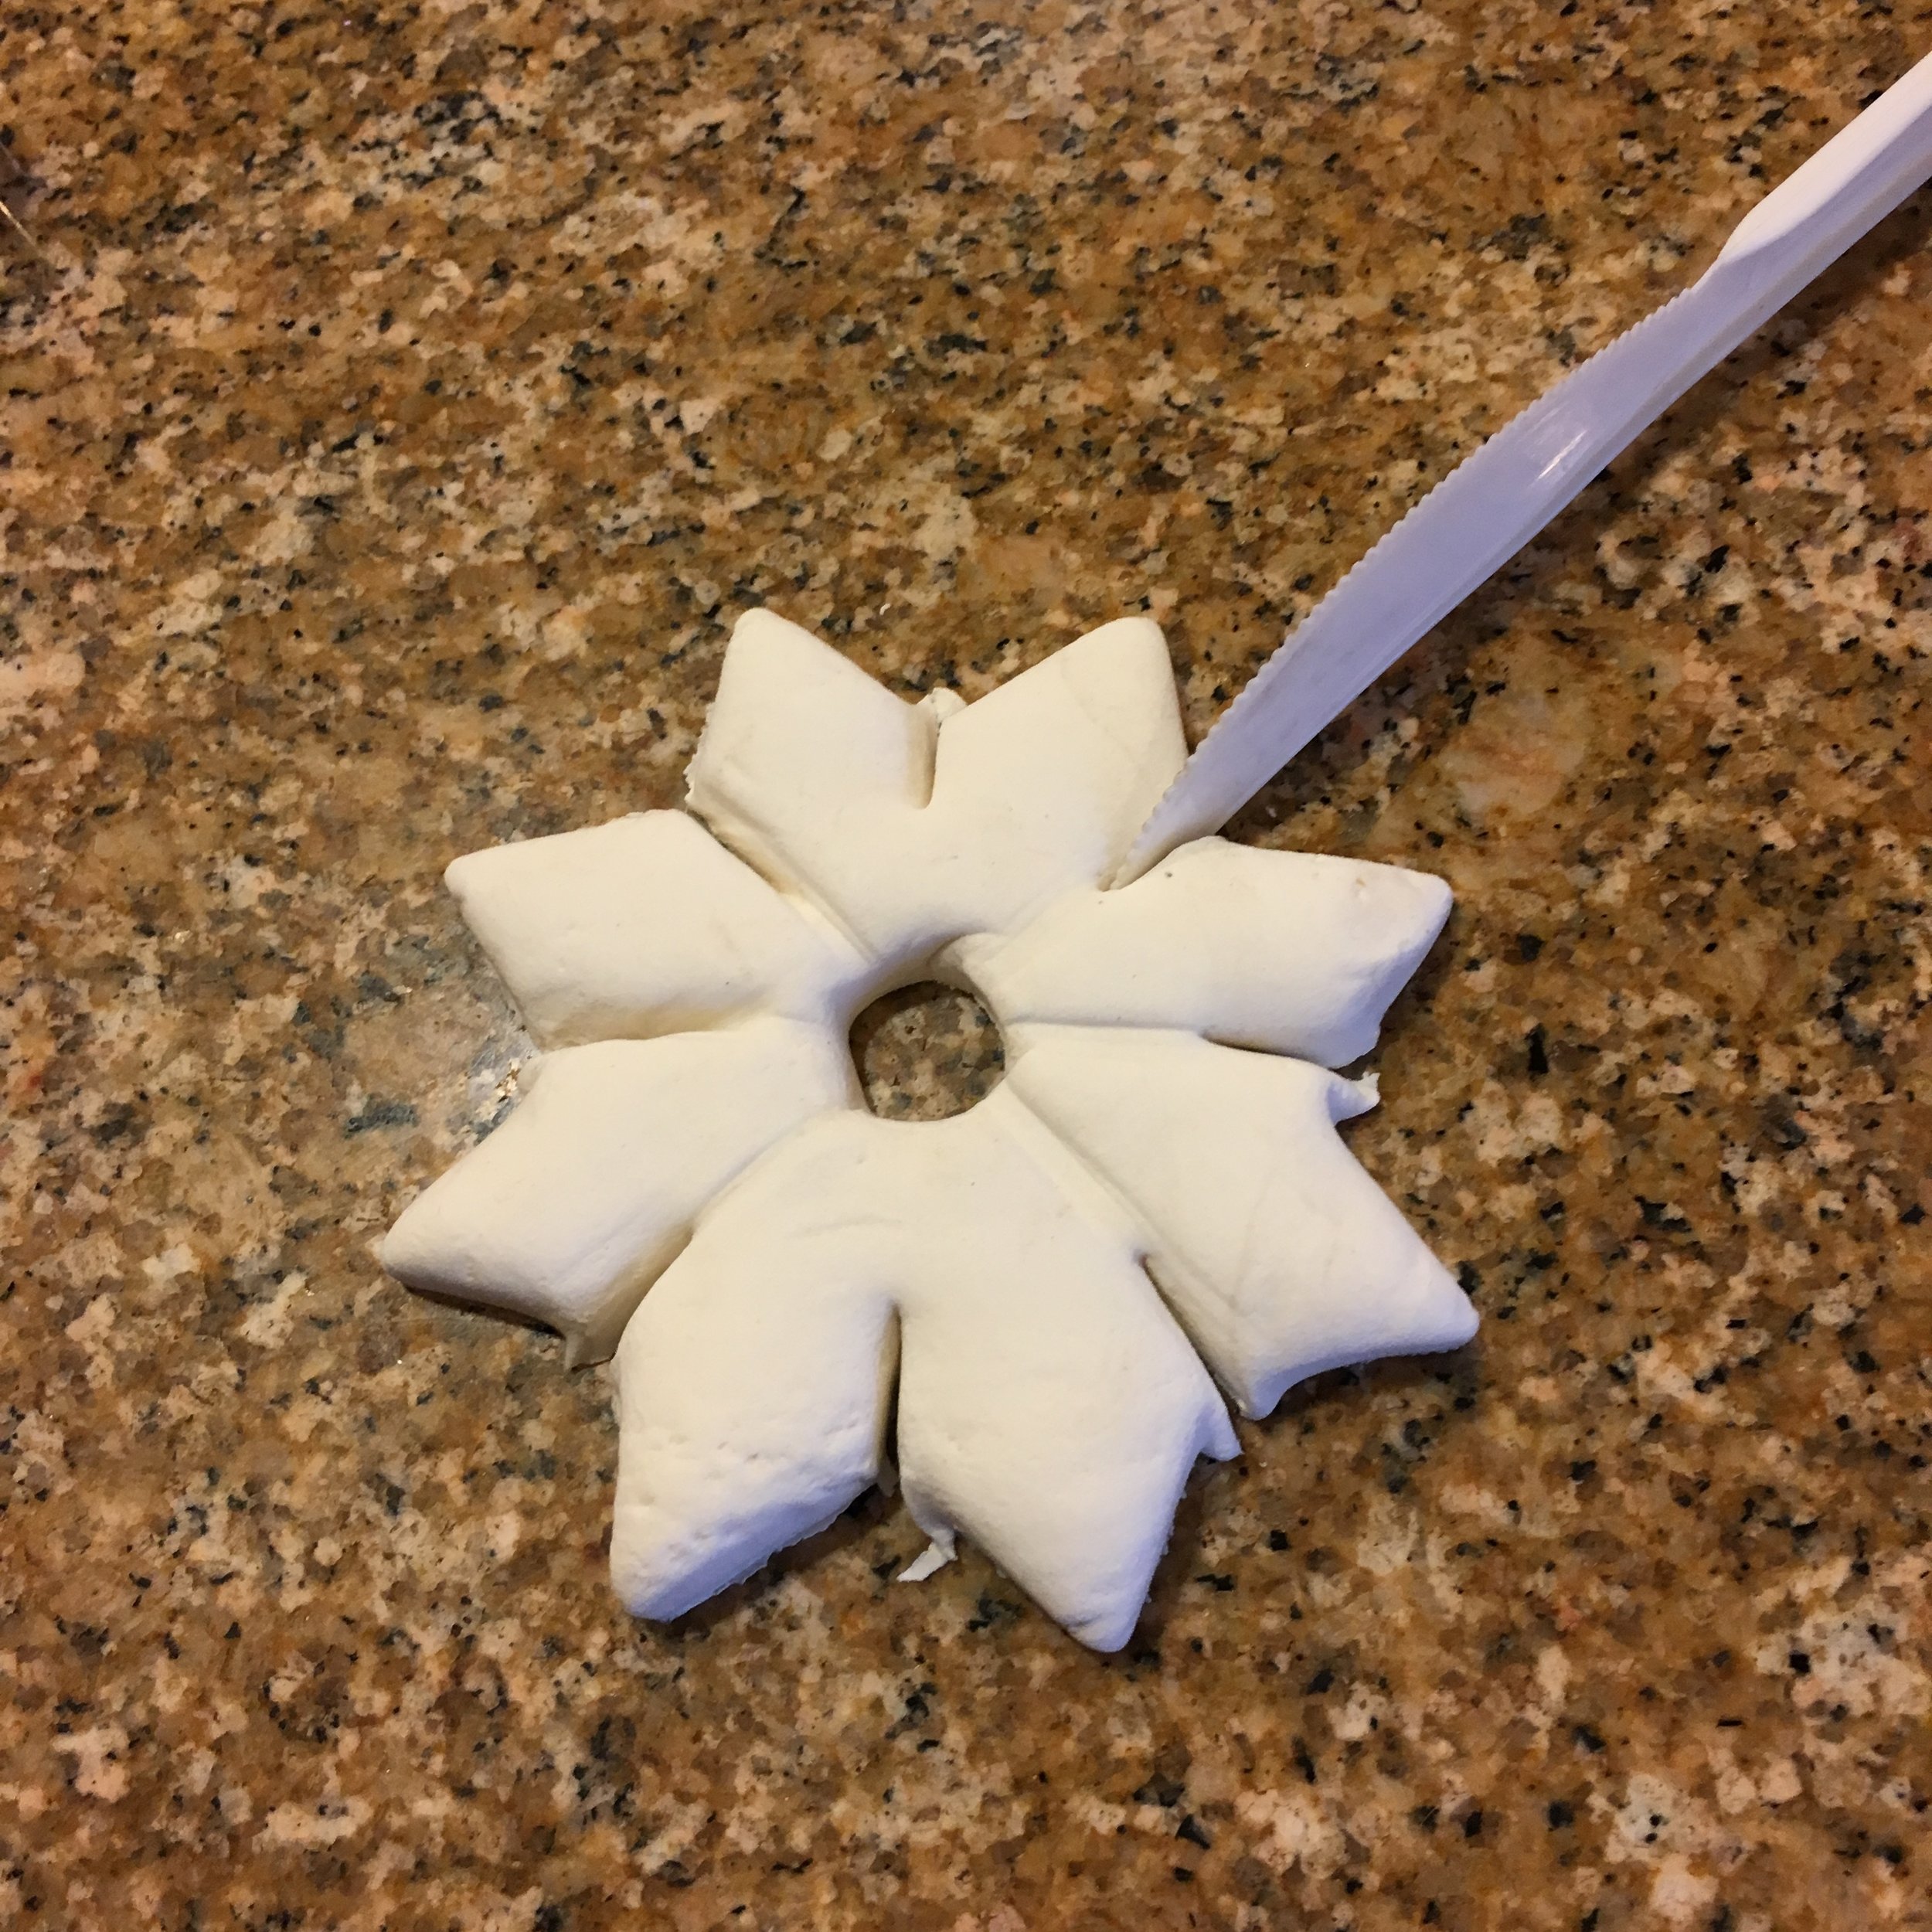
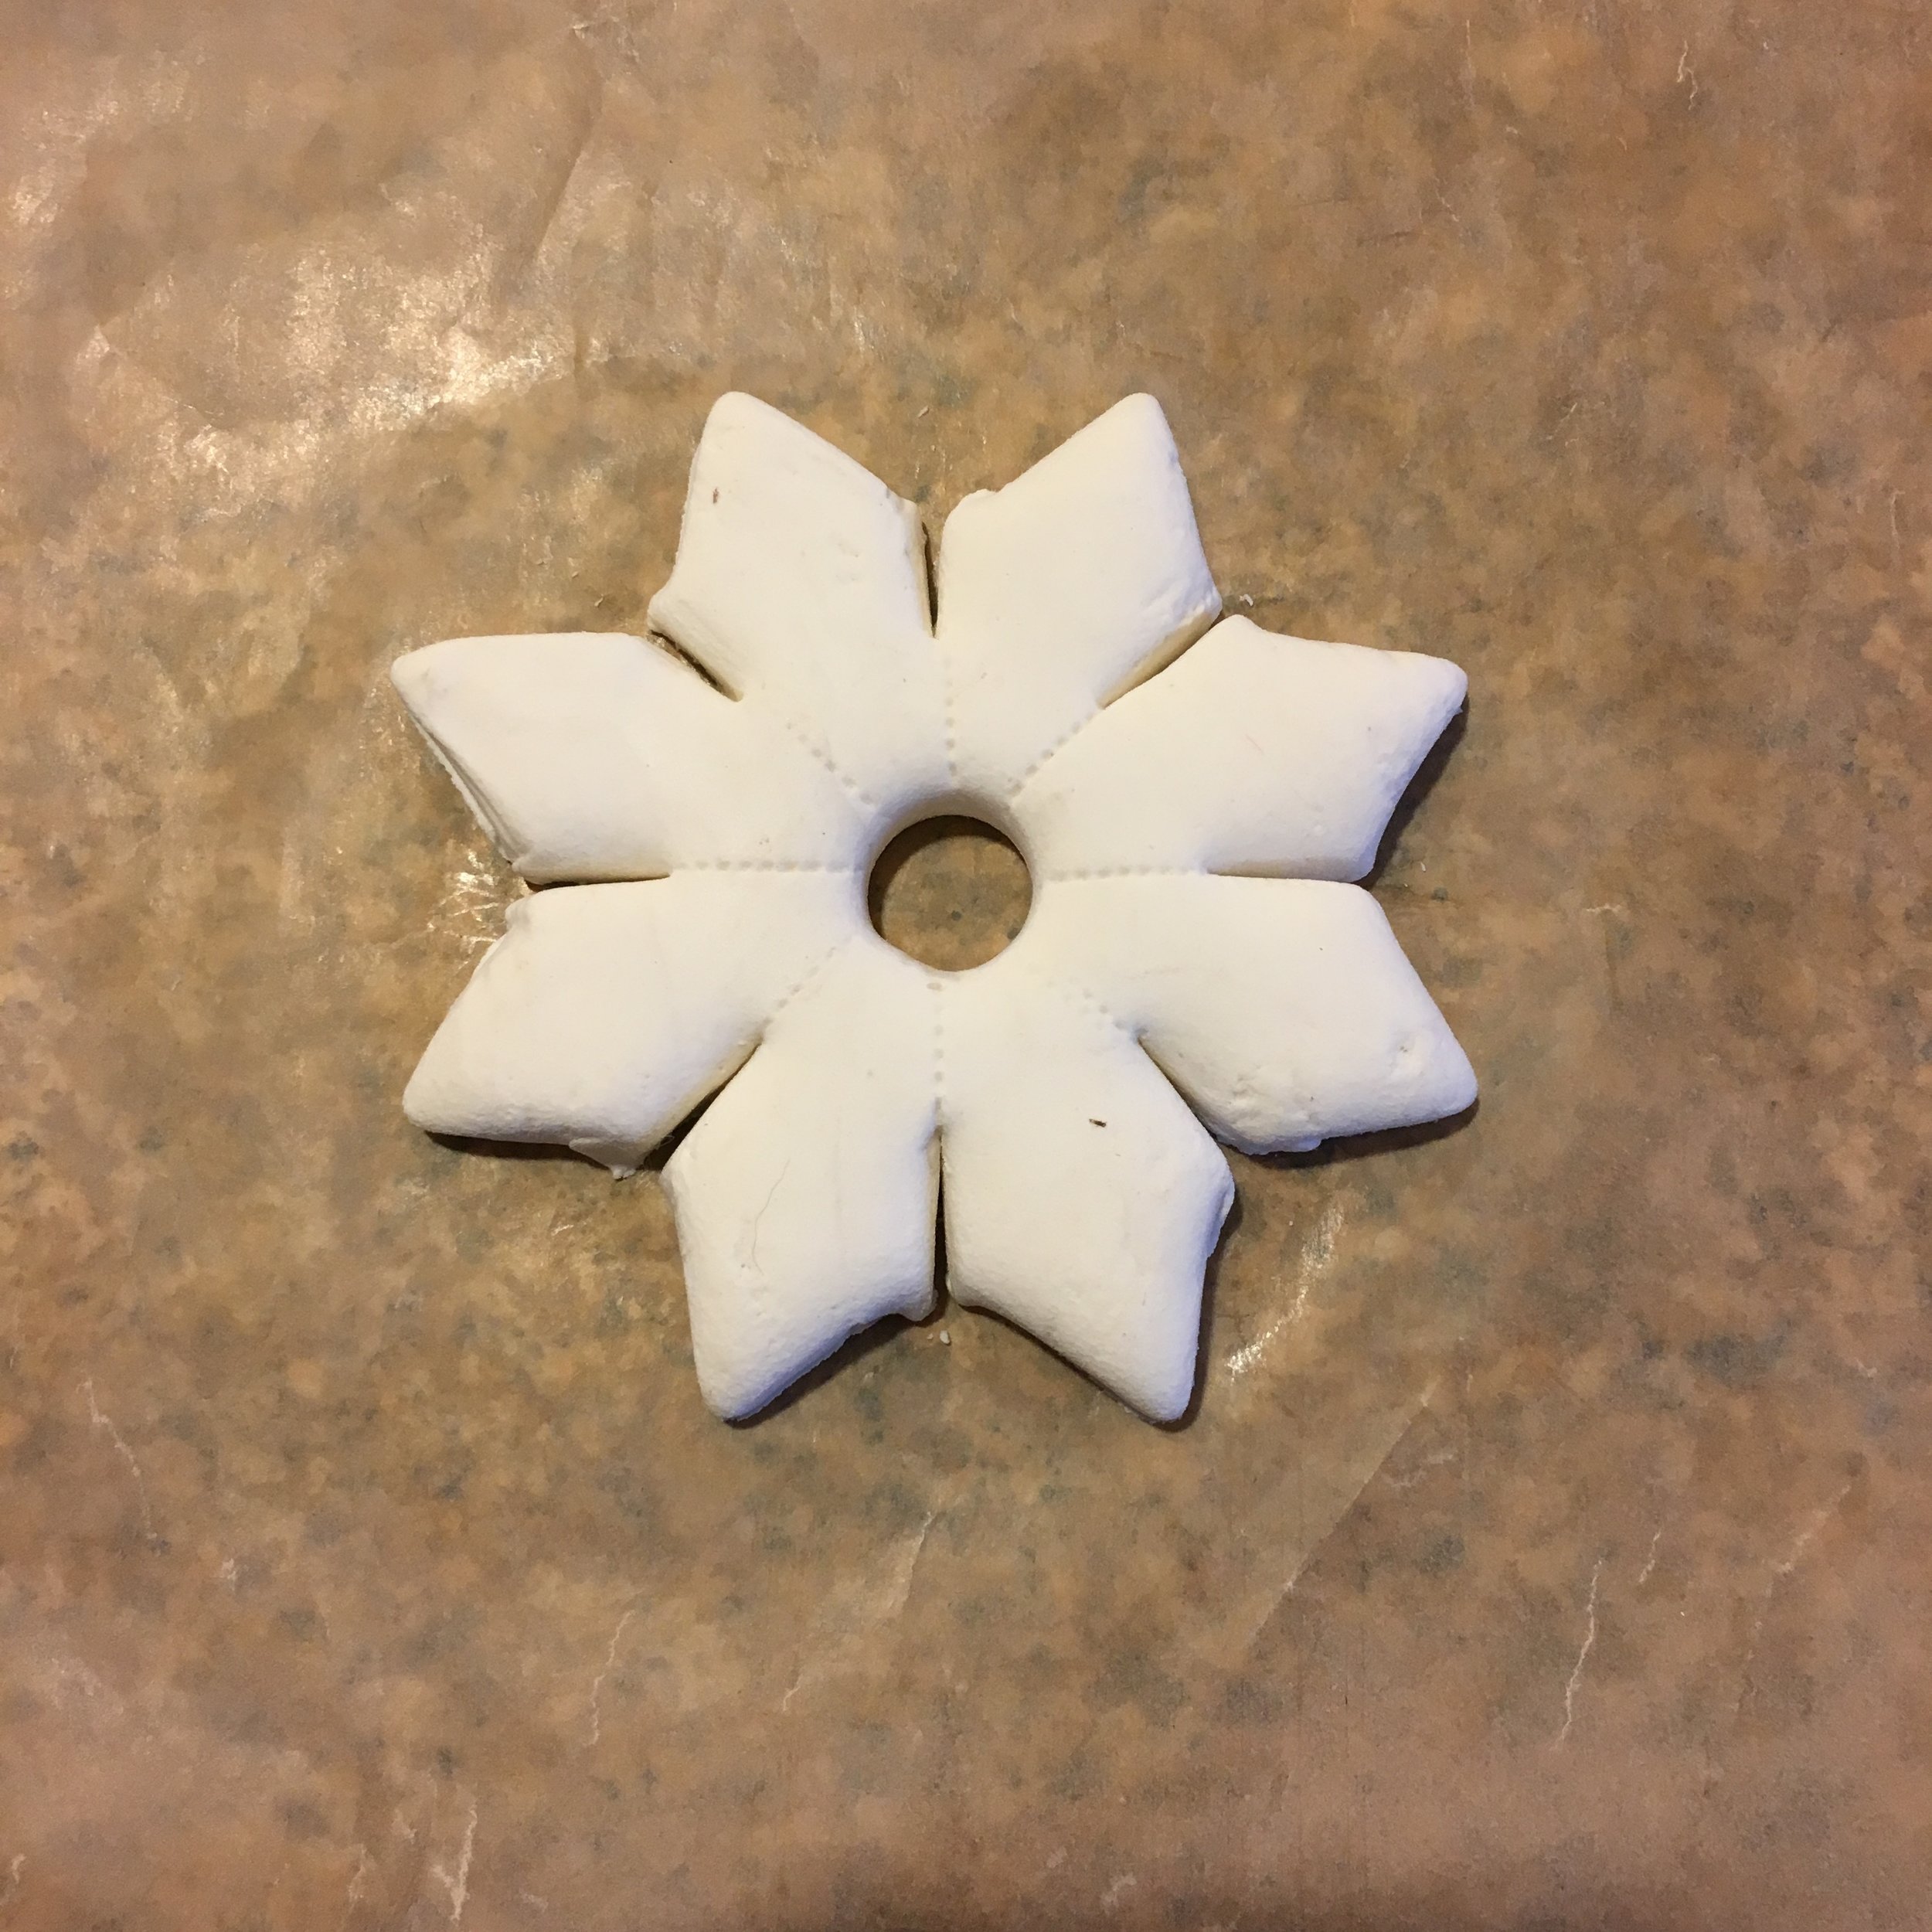
I rolled out the Model Magic to 1/4 inch thickness and used an 8 pointed star cookie cutter to cut the material. I made marks across the modeling material to locate the center. Then I used another tiny round cutter to cut the center hole (a plastic straw would also work). Finally I used a plastic knife to cut 1/4 inch channels in each of the inner star points and smoothing the modeling material where it looked rough in the cuts.
When I made a second star, I rolled out the Modeling Magic on a piece of waxed paper. That worked really well and made it much easier to move the star. I recommend using the waxed or parchment paper to roll out the Modeling Magic.
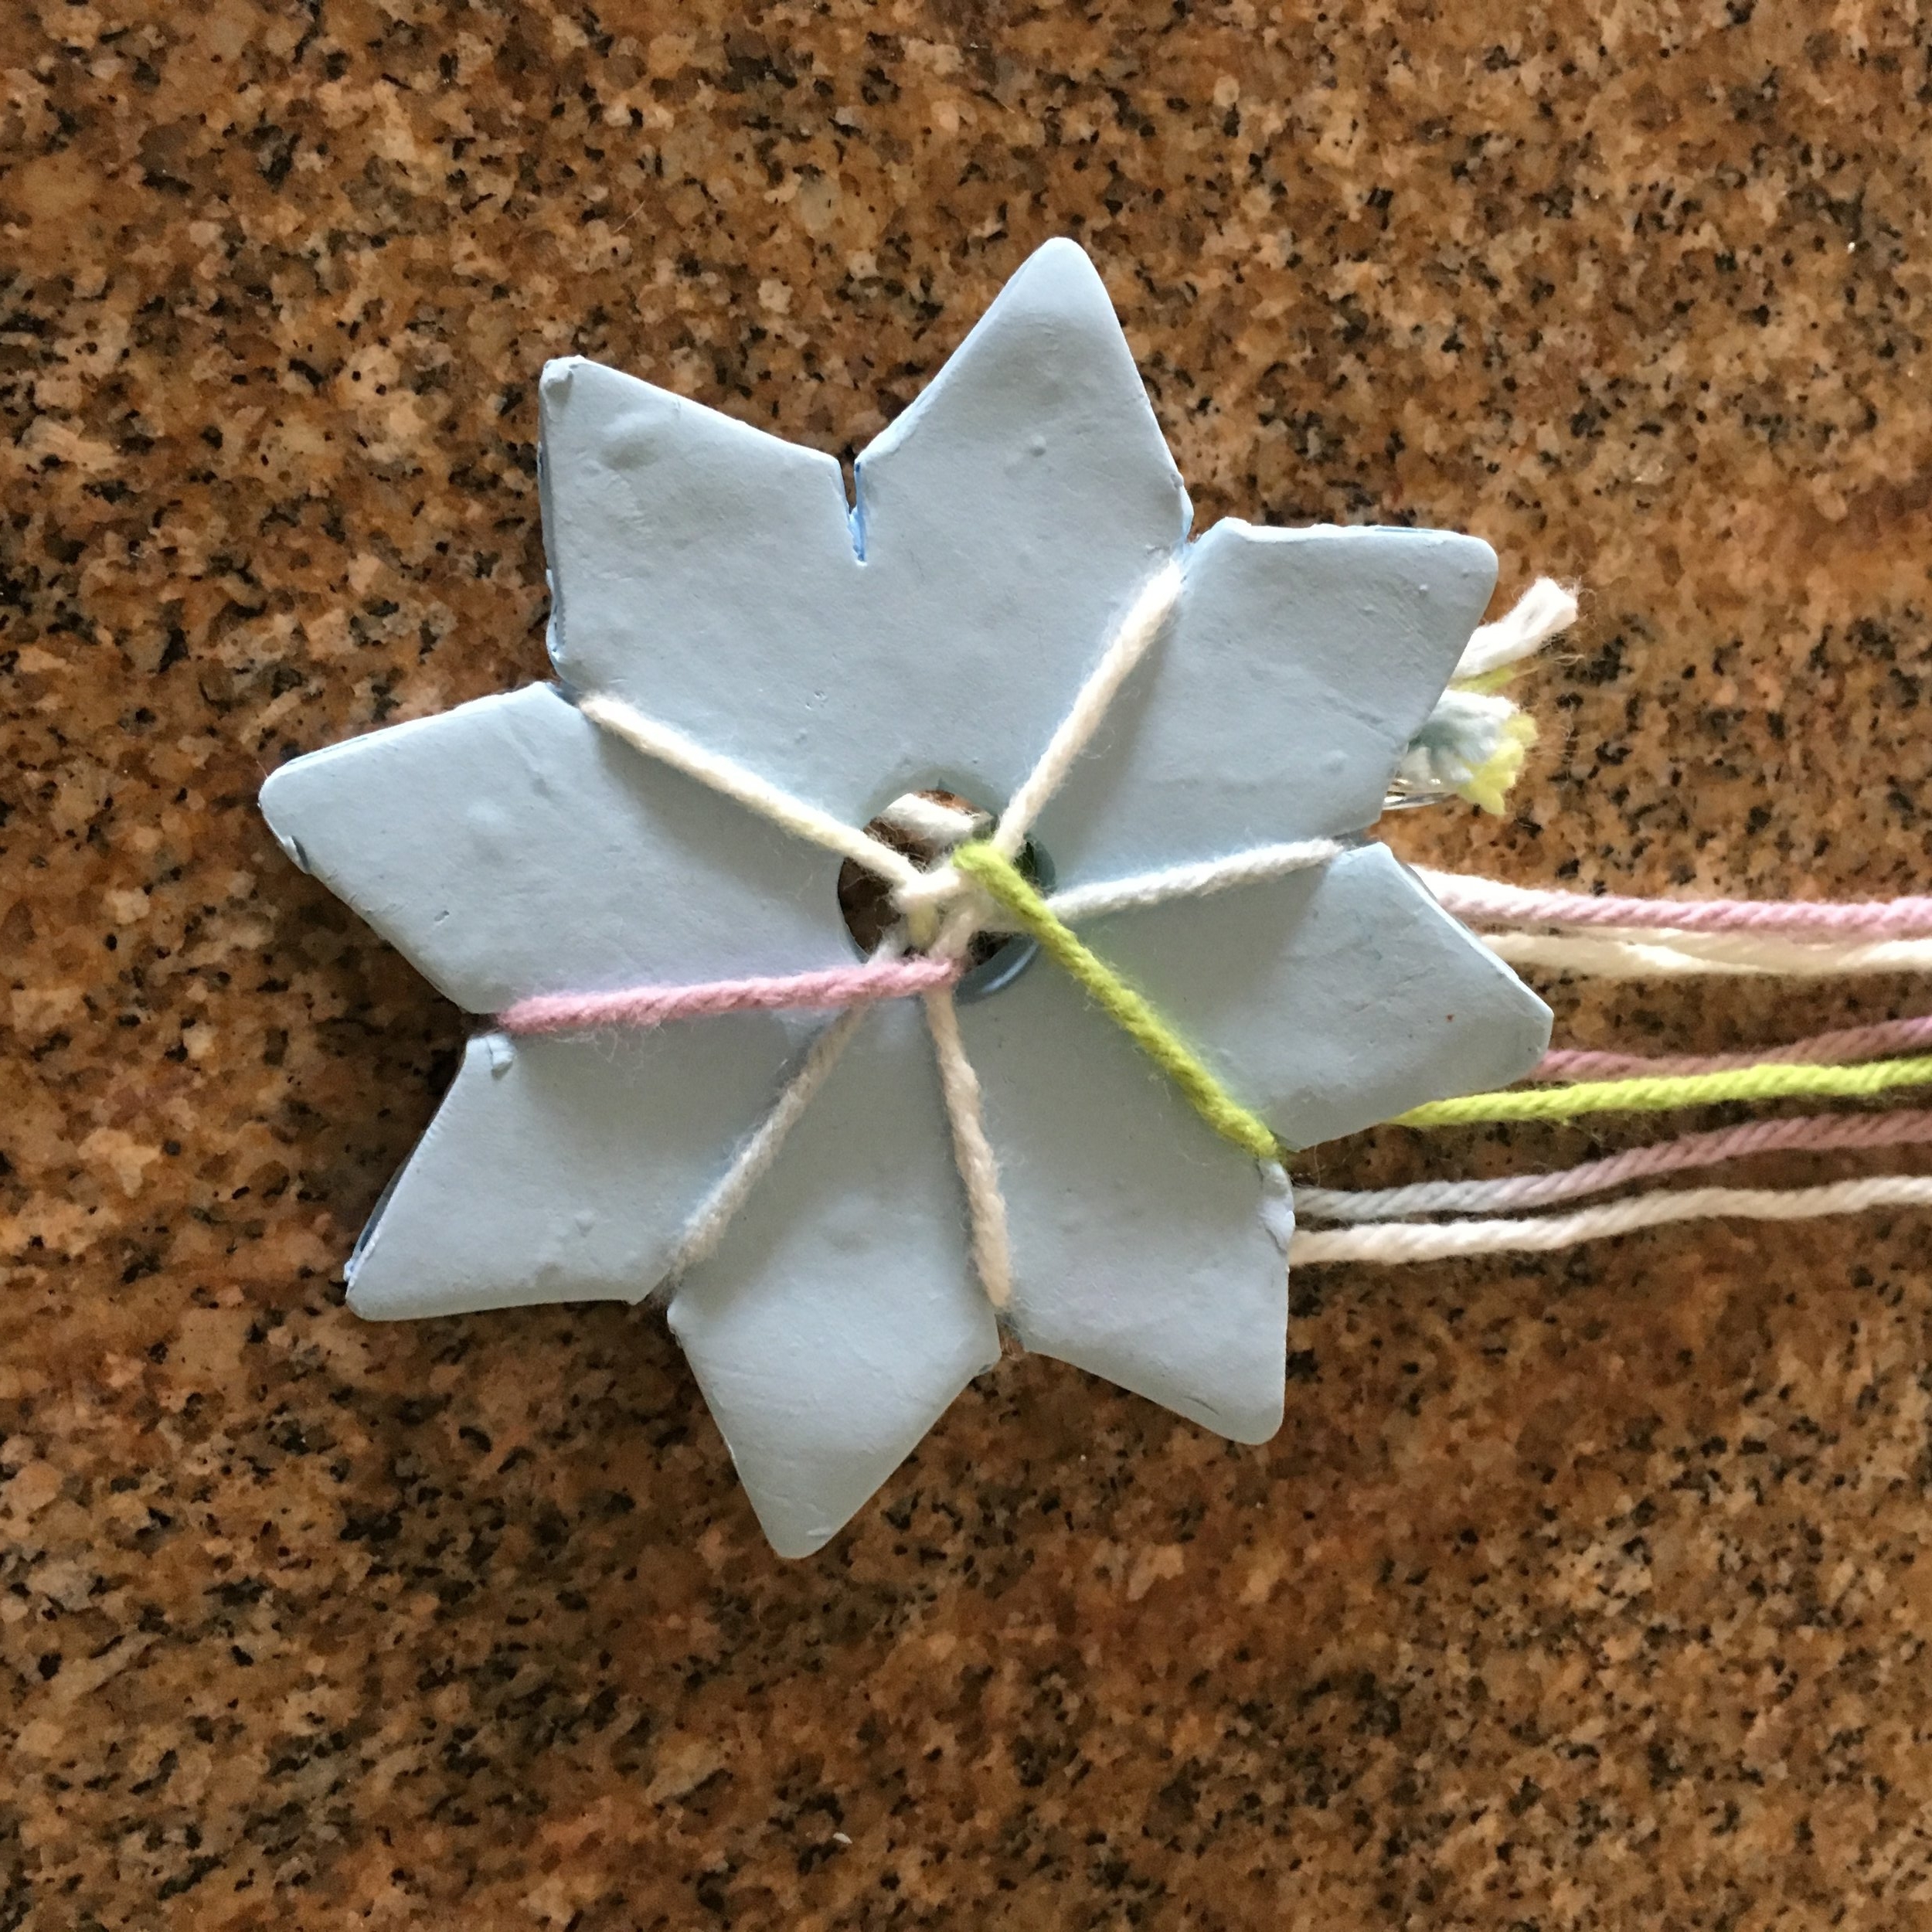
Because of the thickness of the star, it took about 4 days to fully dry. The dried star is a bit flexible and sadly, it started to tear with use.
Braiding Star made with Crayola Modeling Media starting to tear with use
I made the braiding stars from the other two Sculpey® materials the same way. They needed to be baked in the oven at 275 F. for 30 minutes. I have to say, I really dislike the fumes emitted by baking polymer, even with my kitchen vent fan running on high.
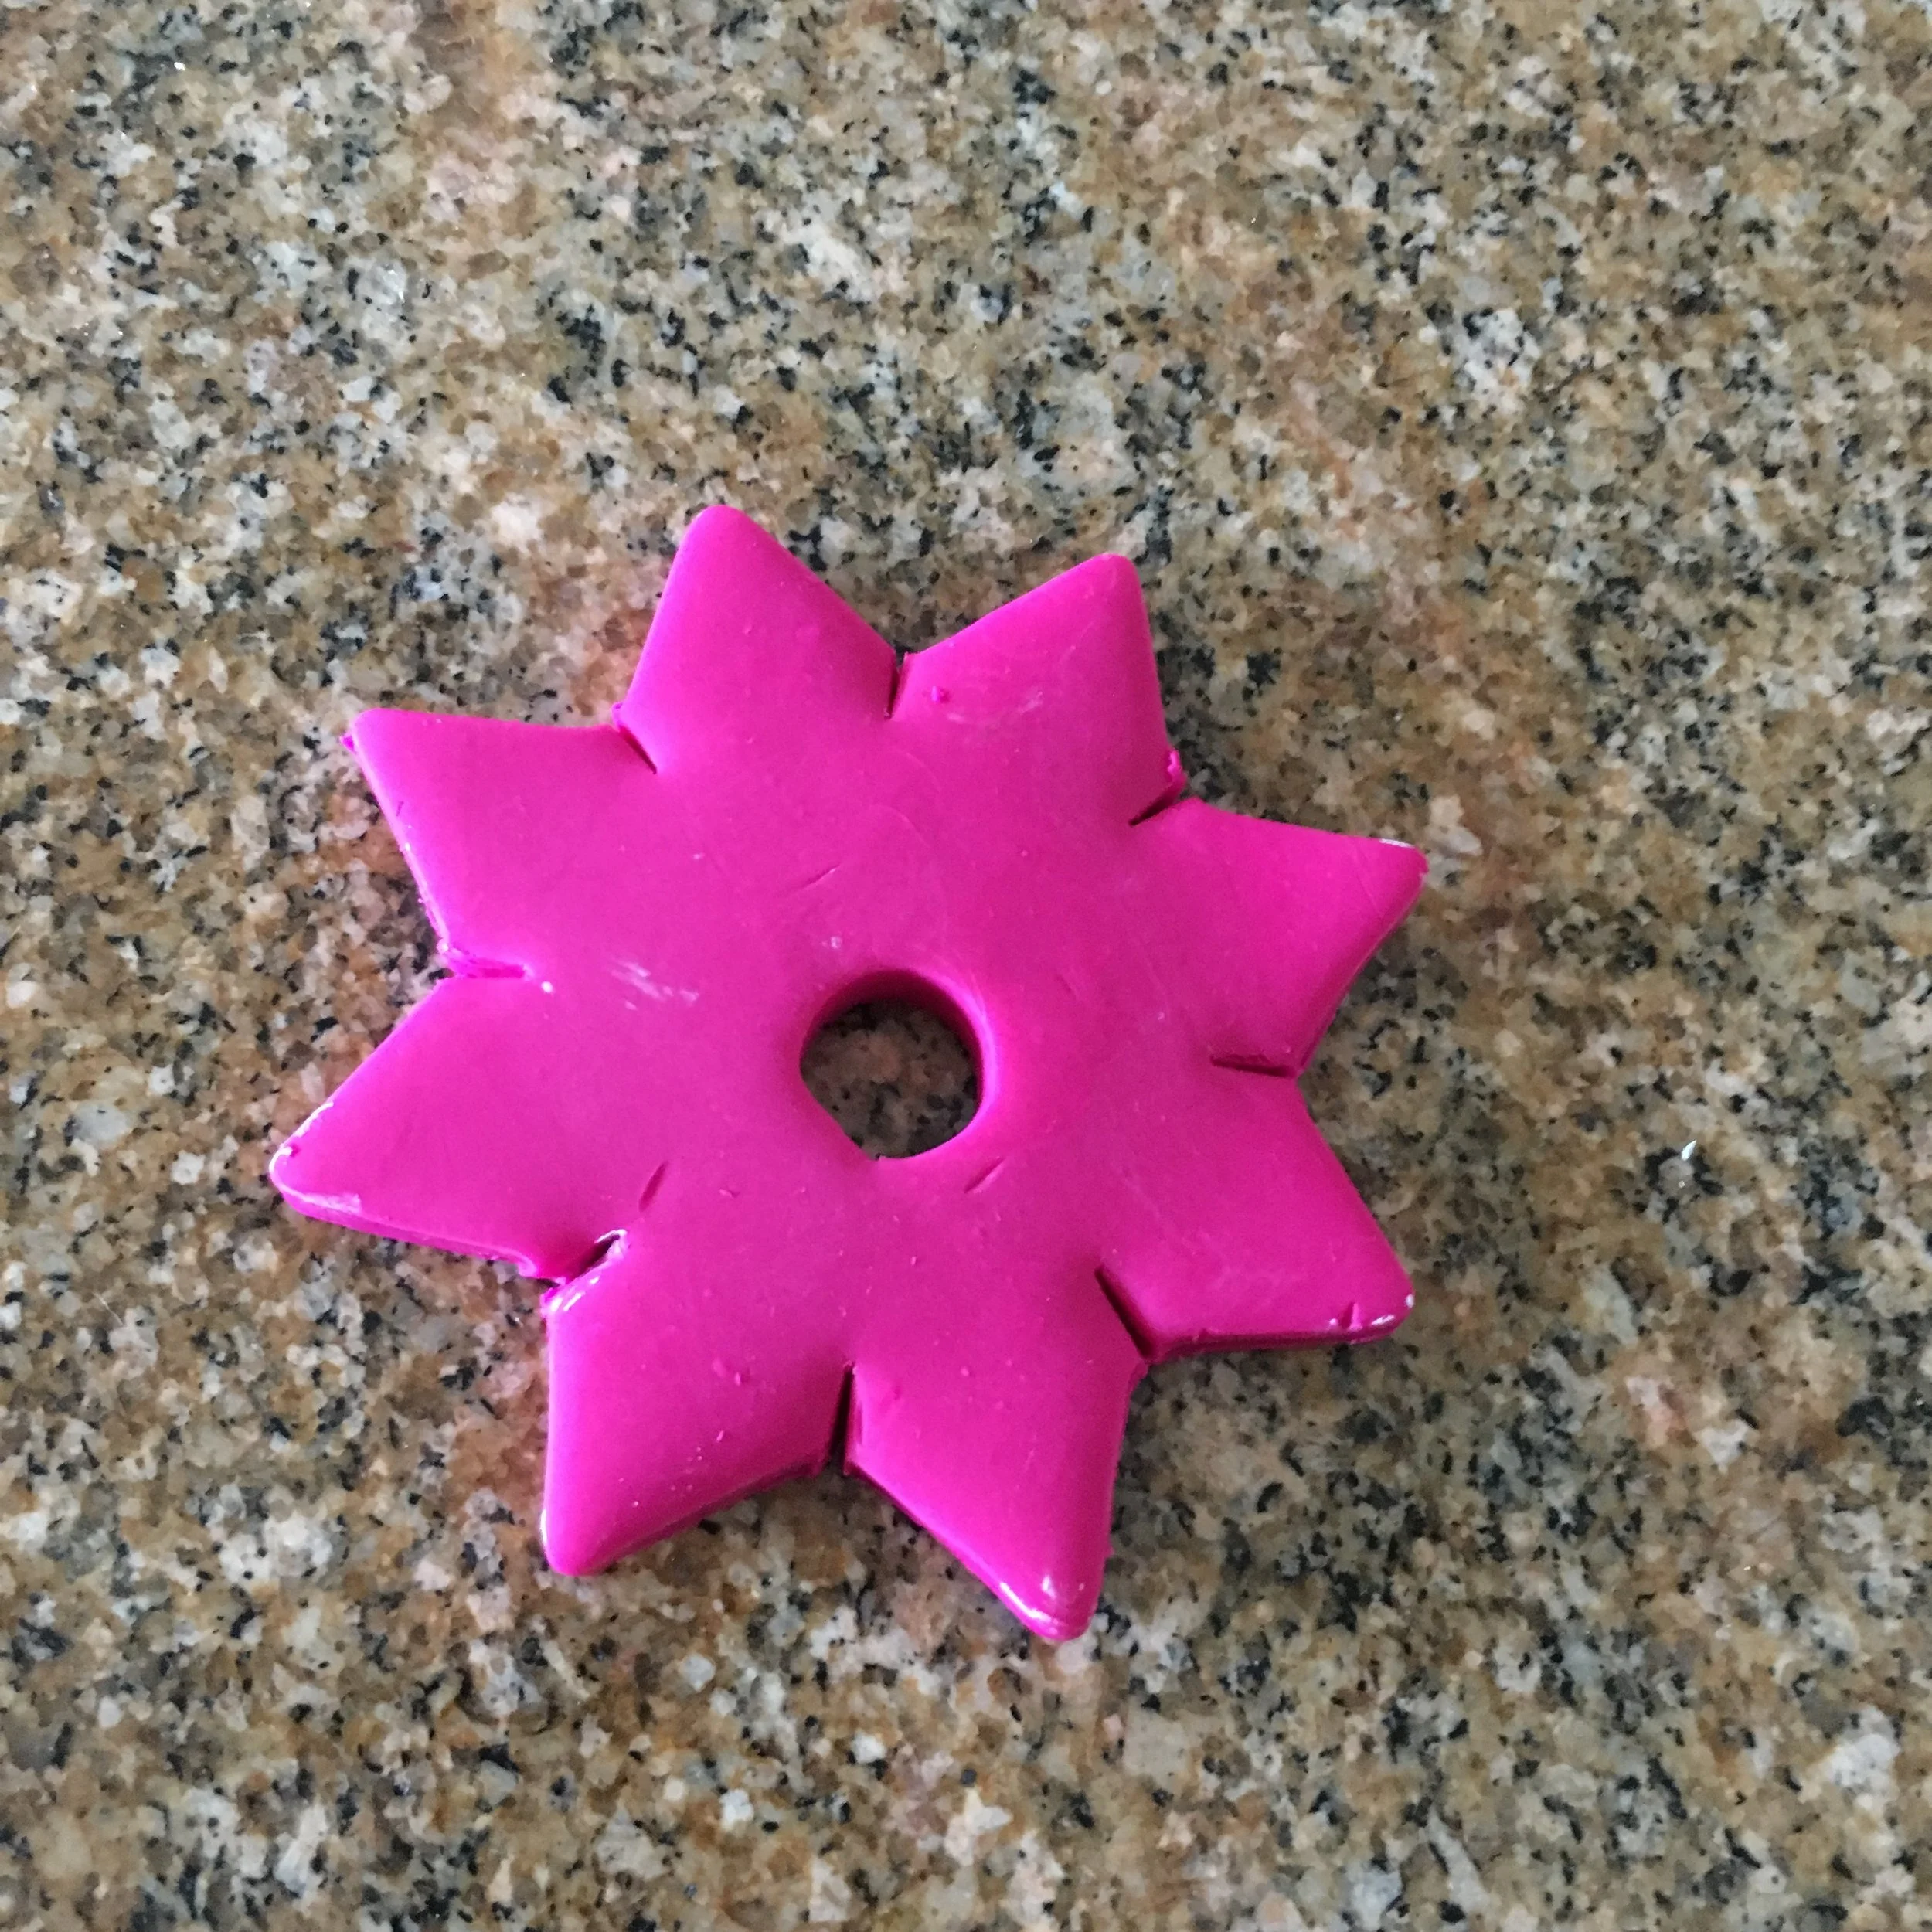
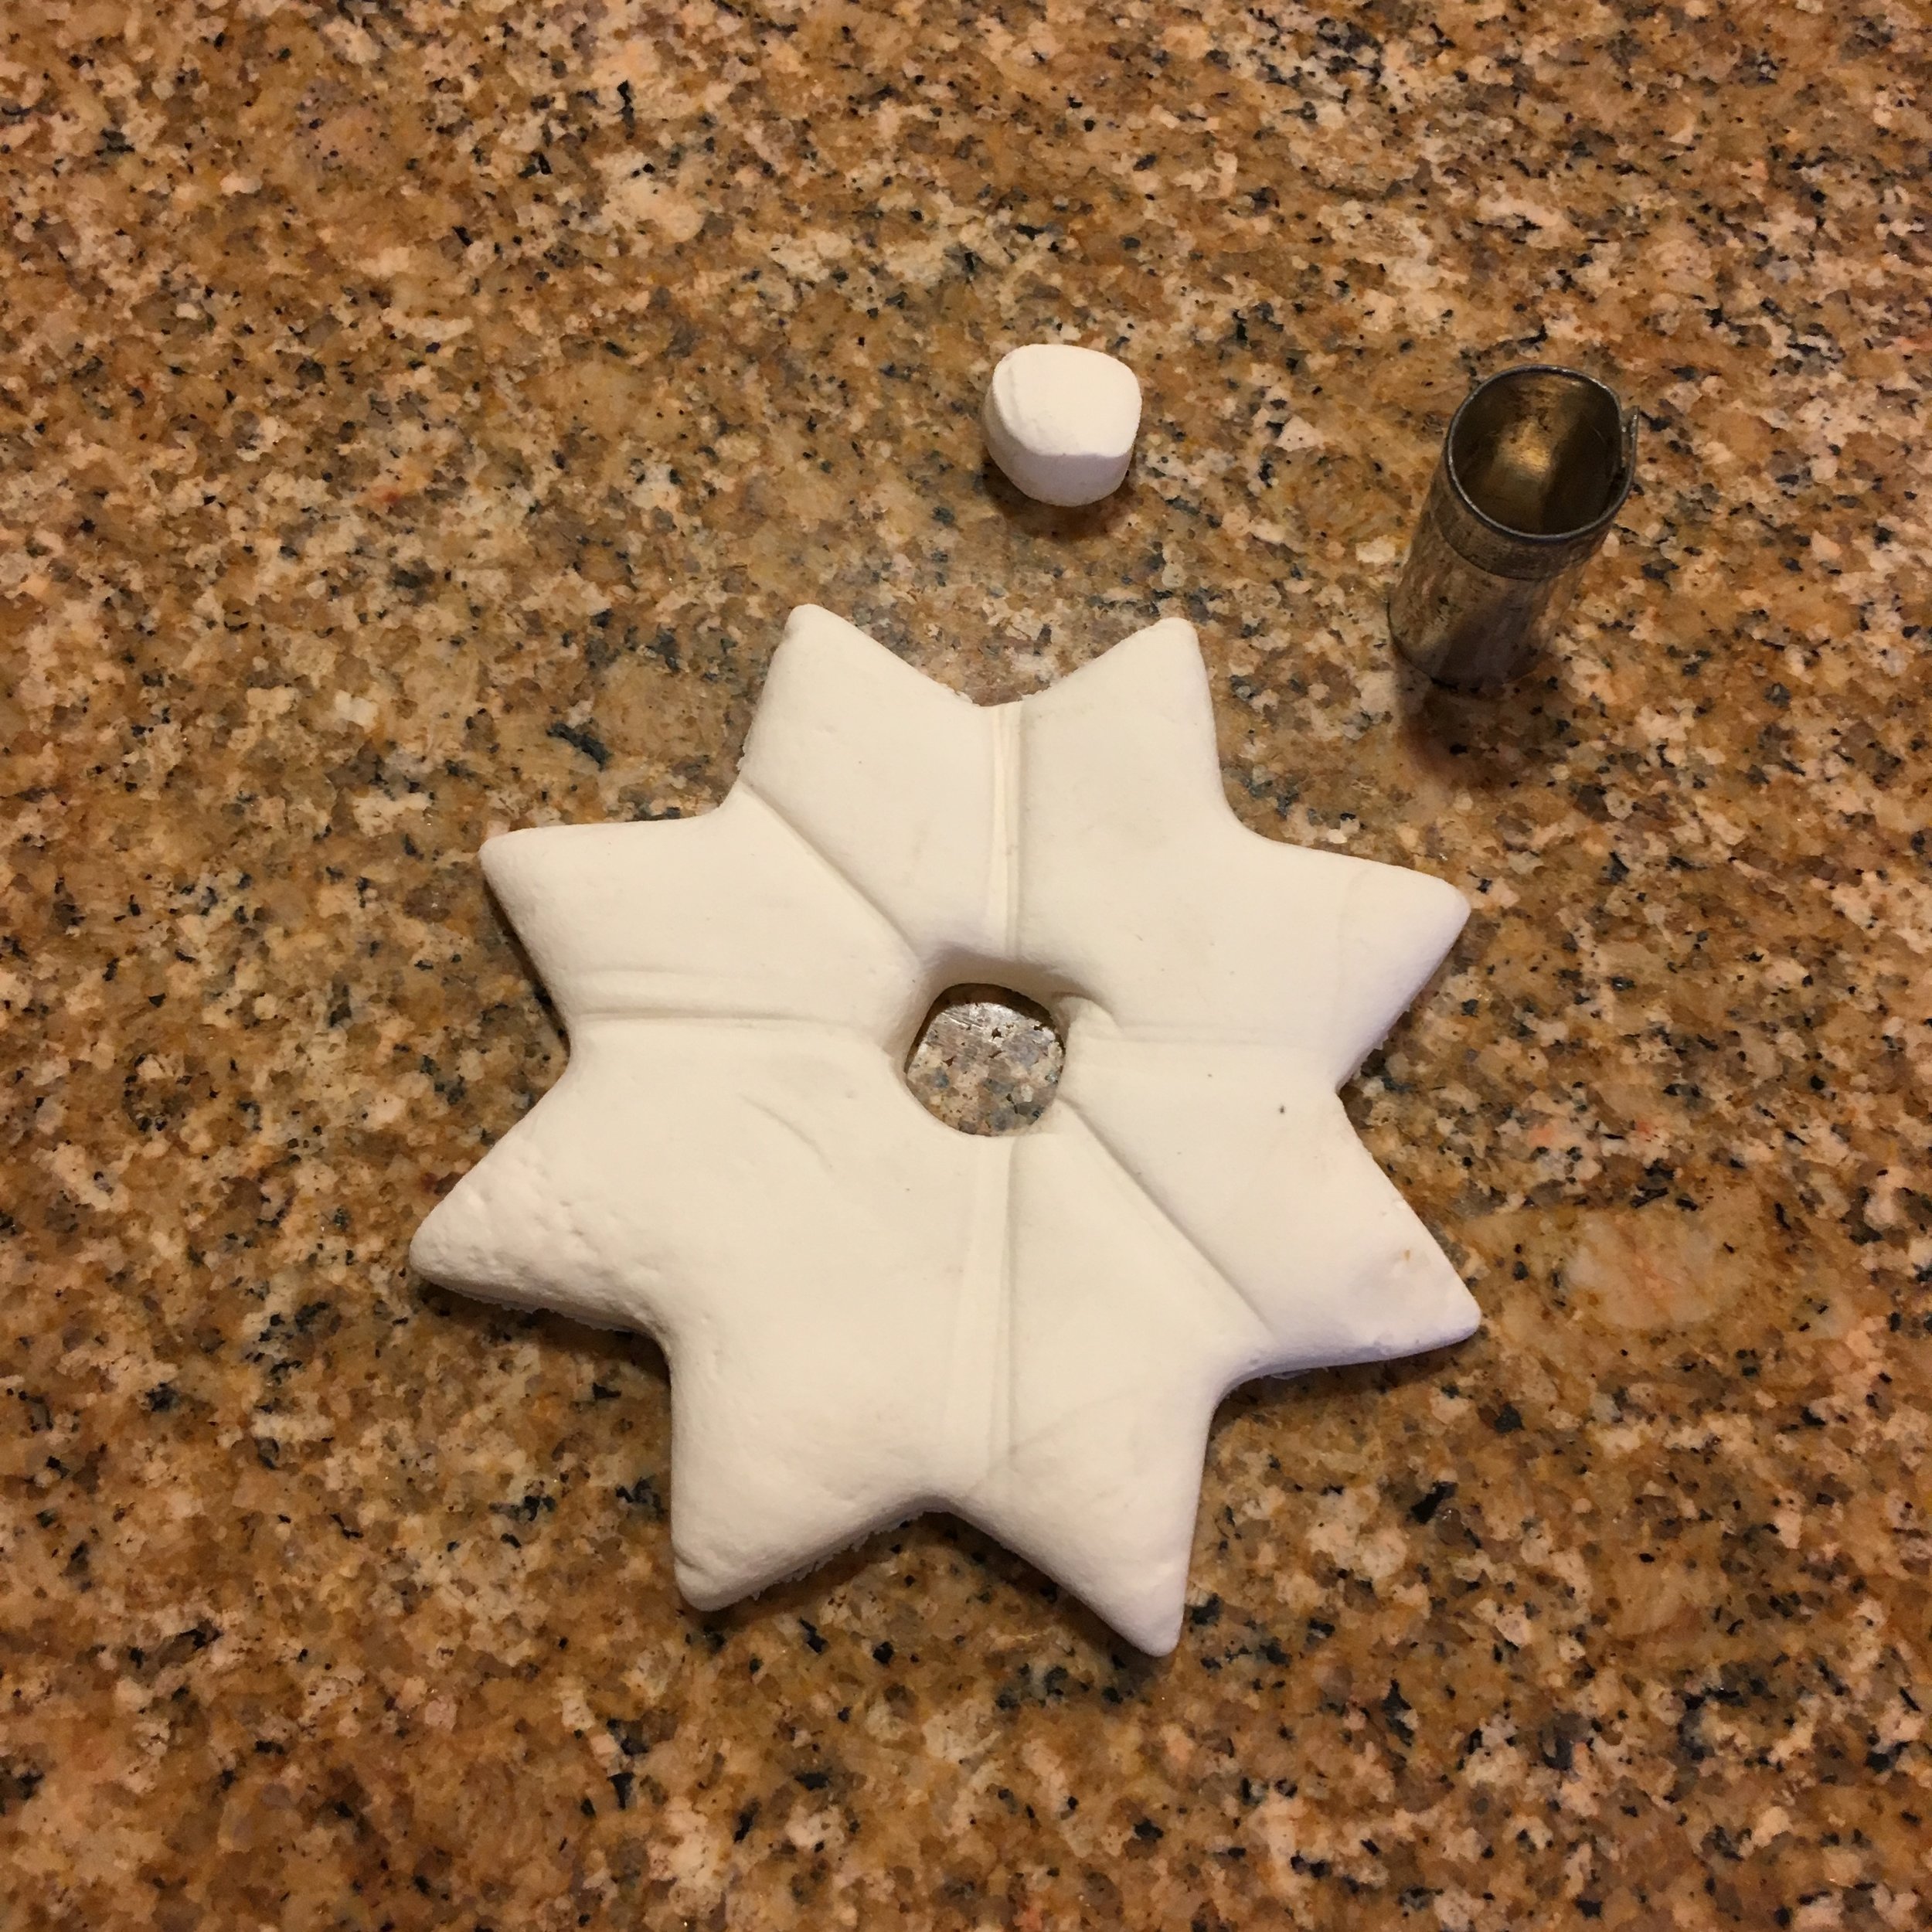
Below is a close up of the Premo! Scupley® star after baking. Note that the polymer swelled a bit, closing the slots. I flipped it over because it is easier to see that the slots are gone on the back side.
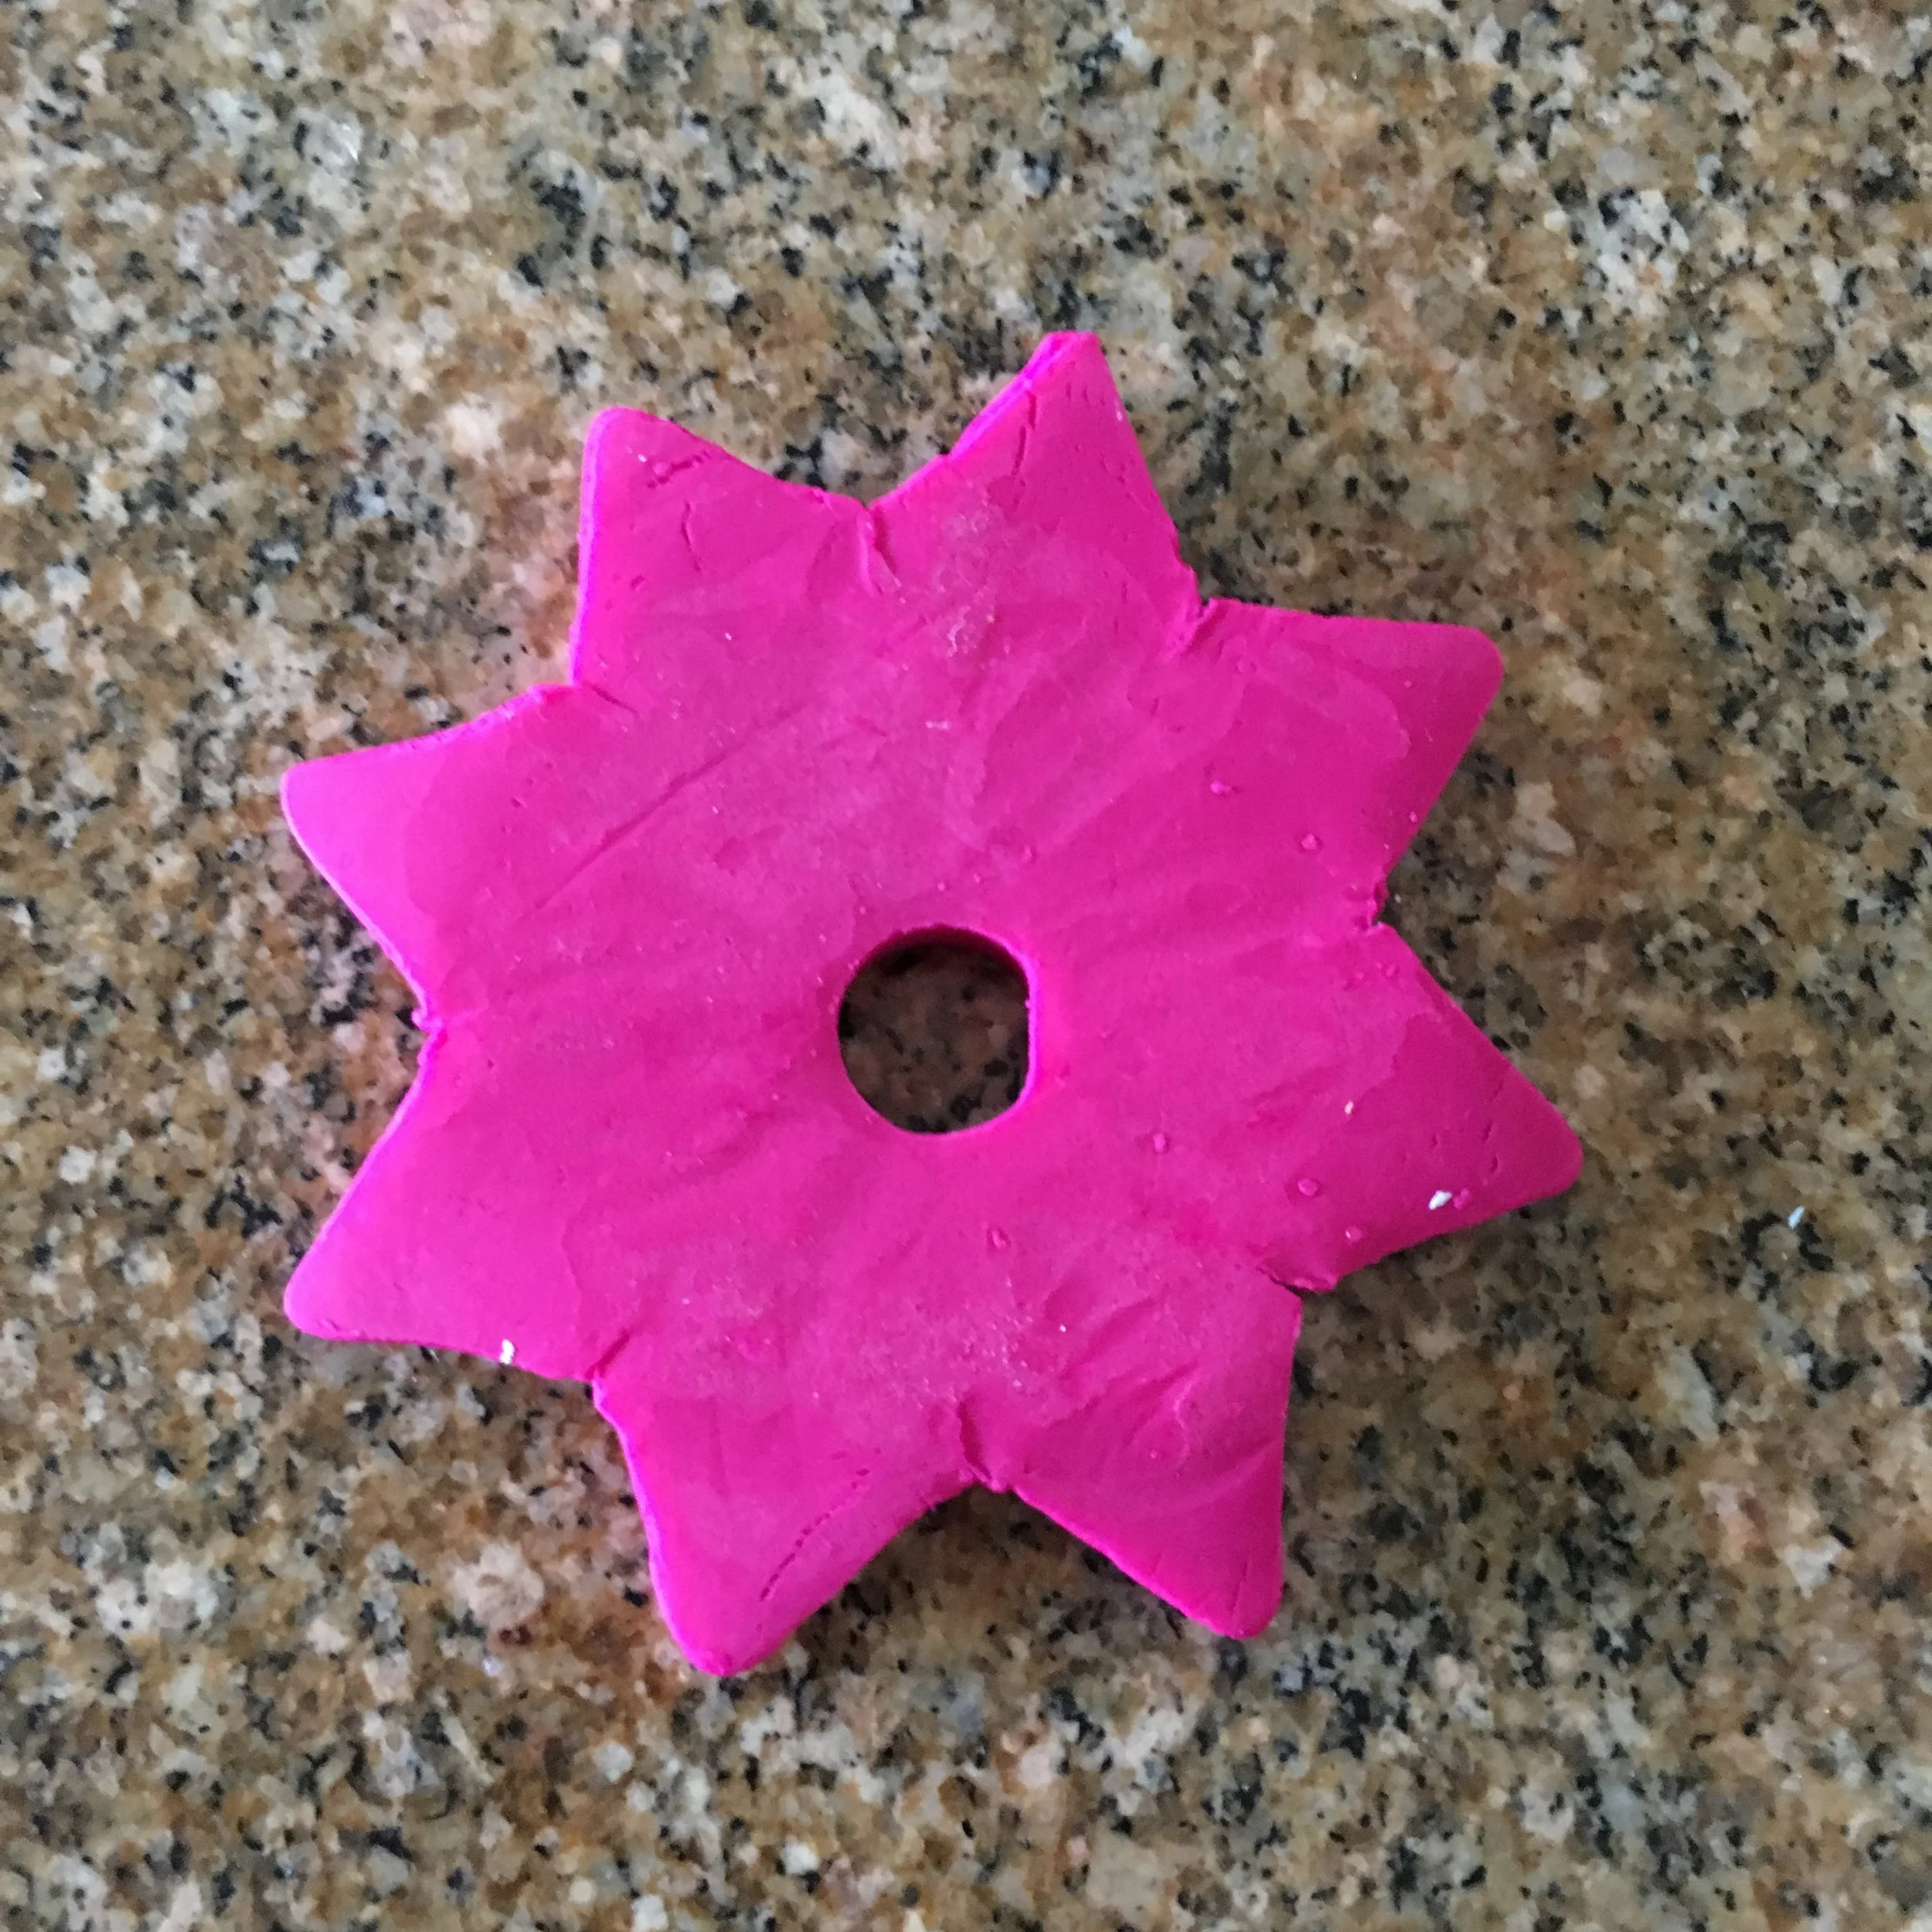
Braiding star made with Sculpey®Pro showing that the slots have swelled and closed during baking
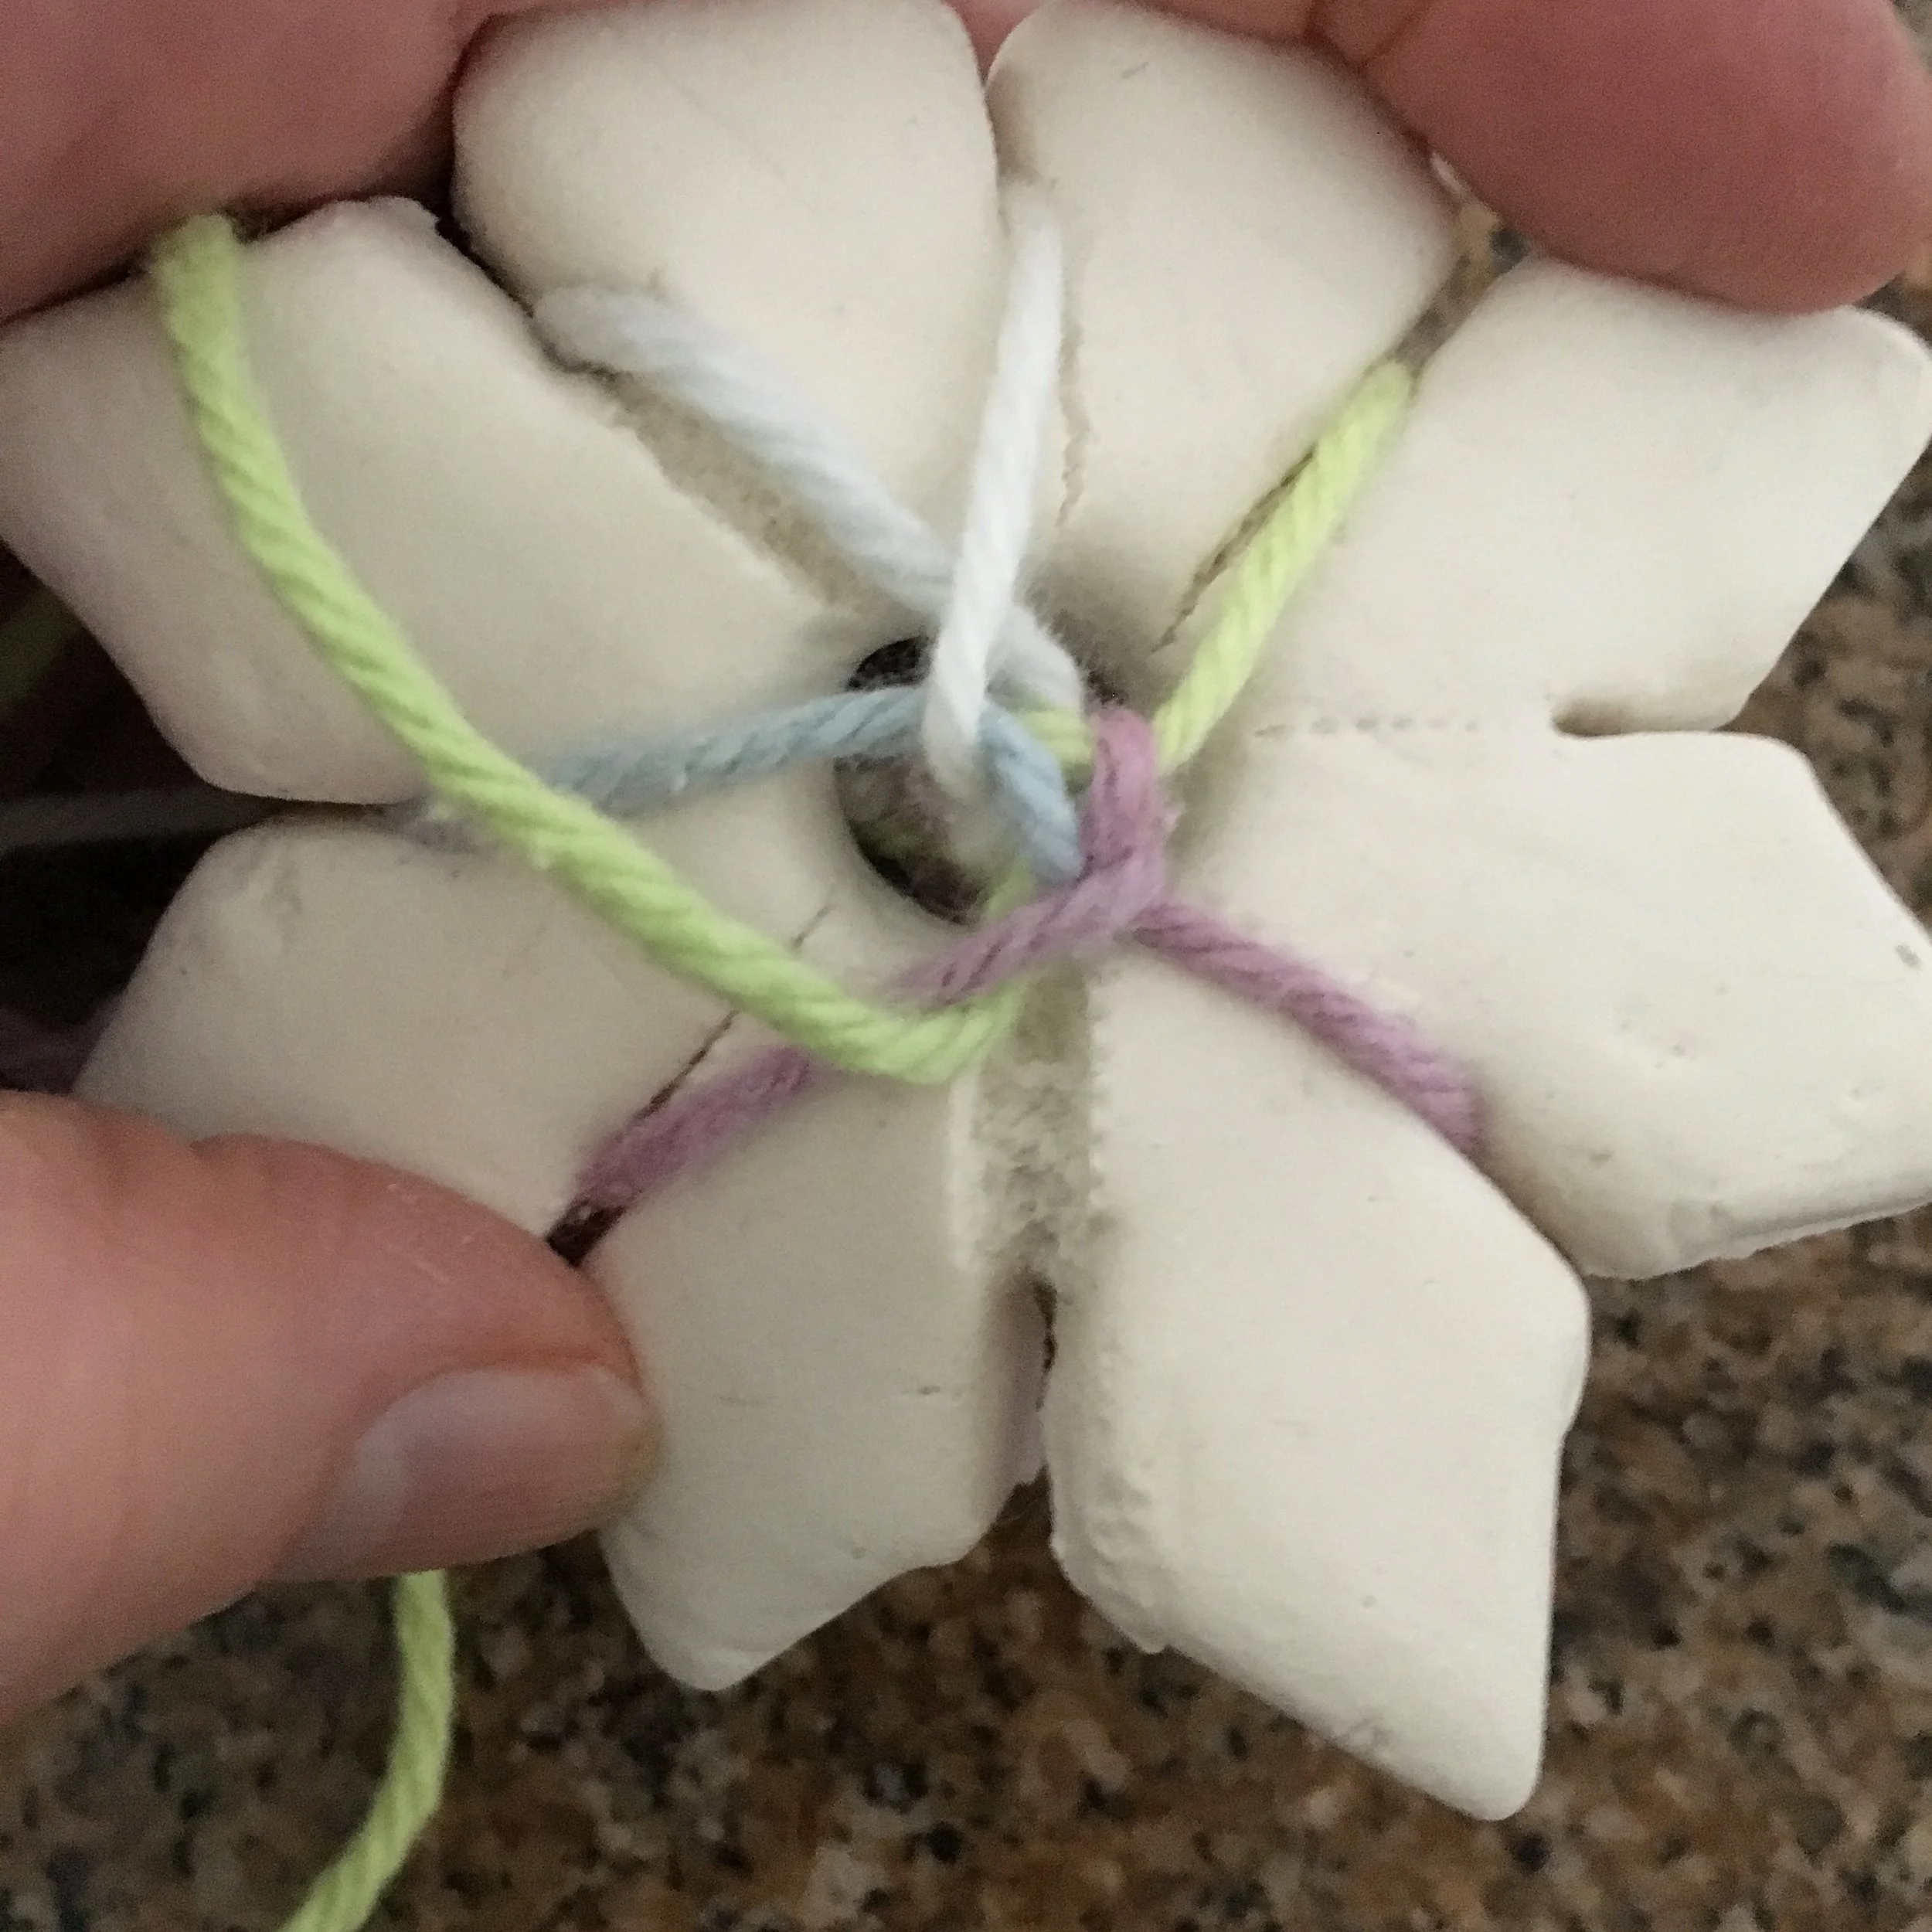
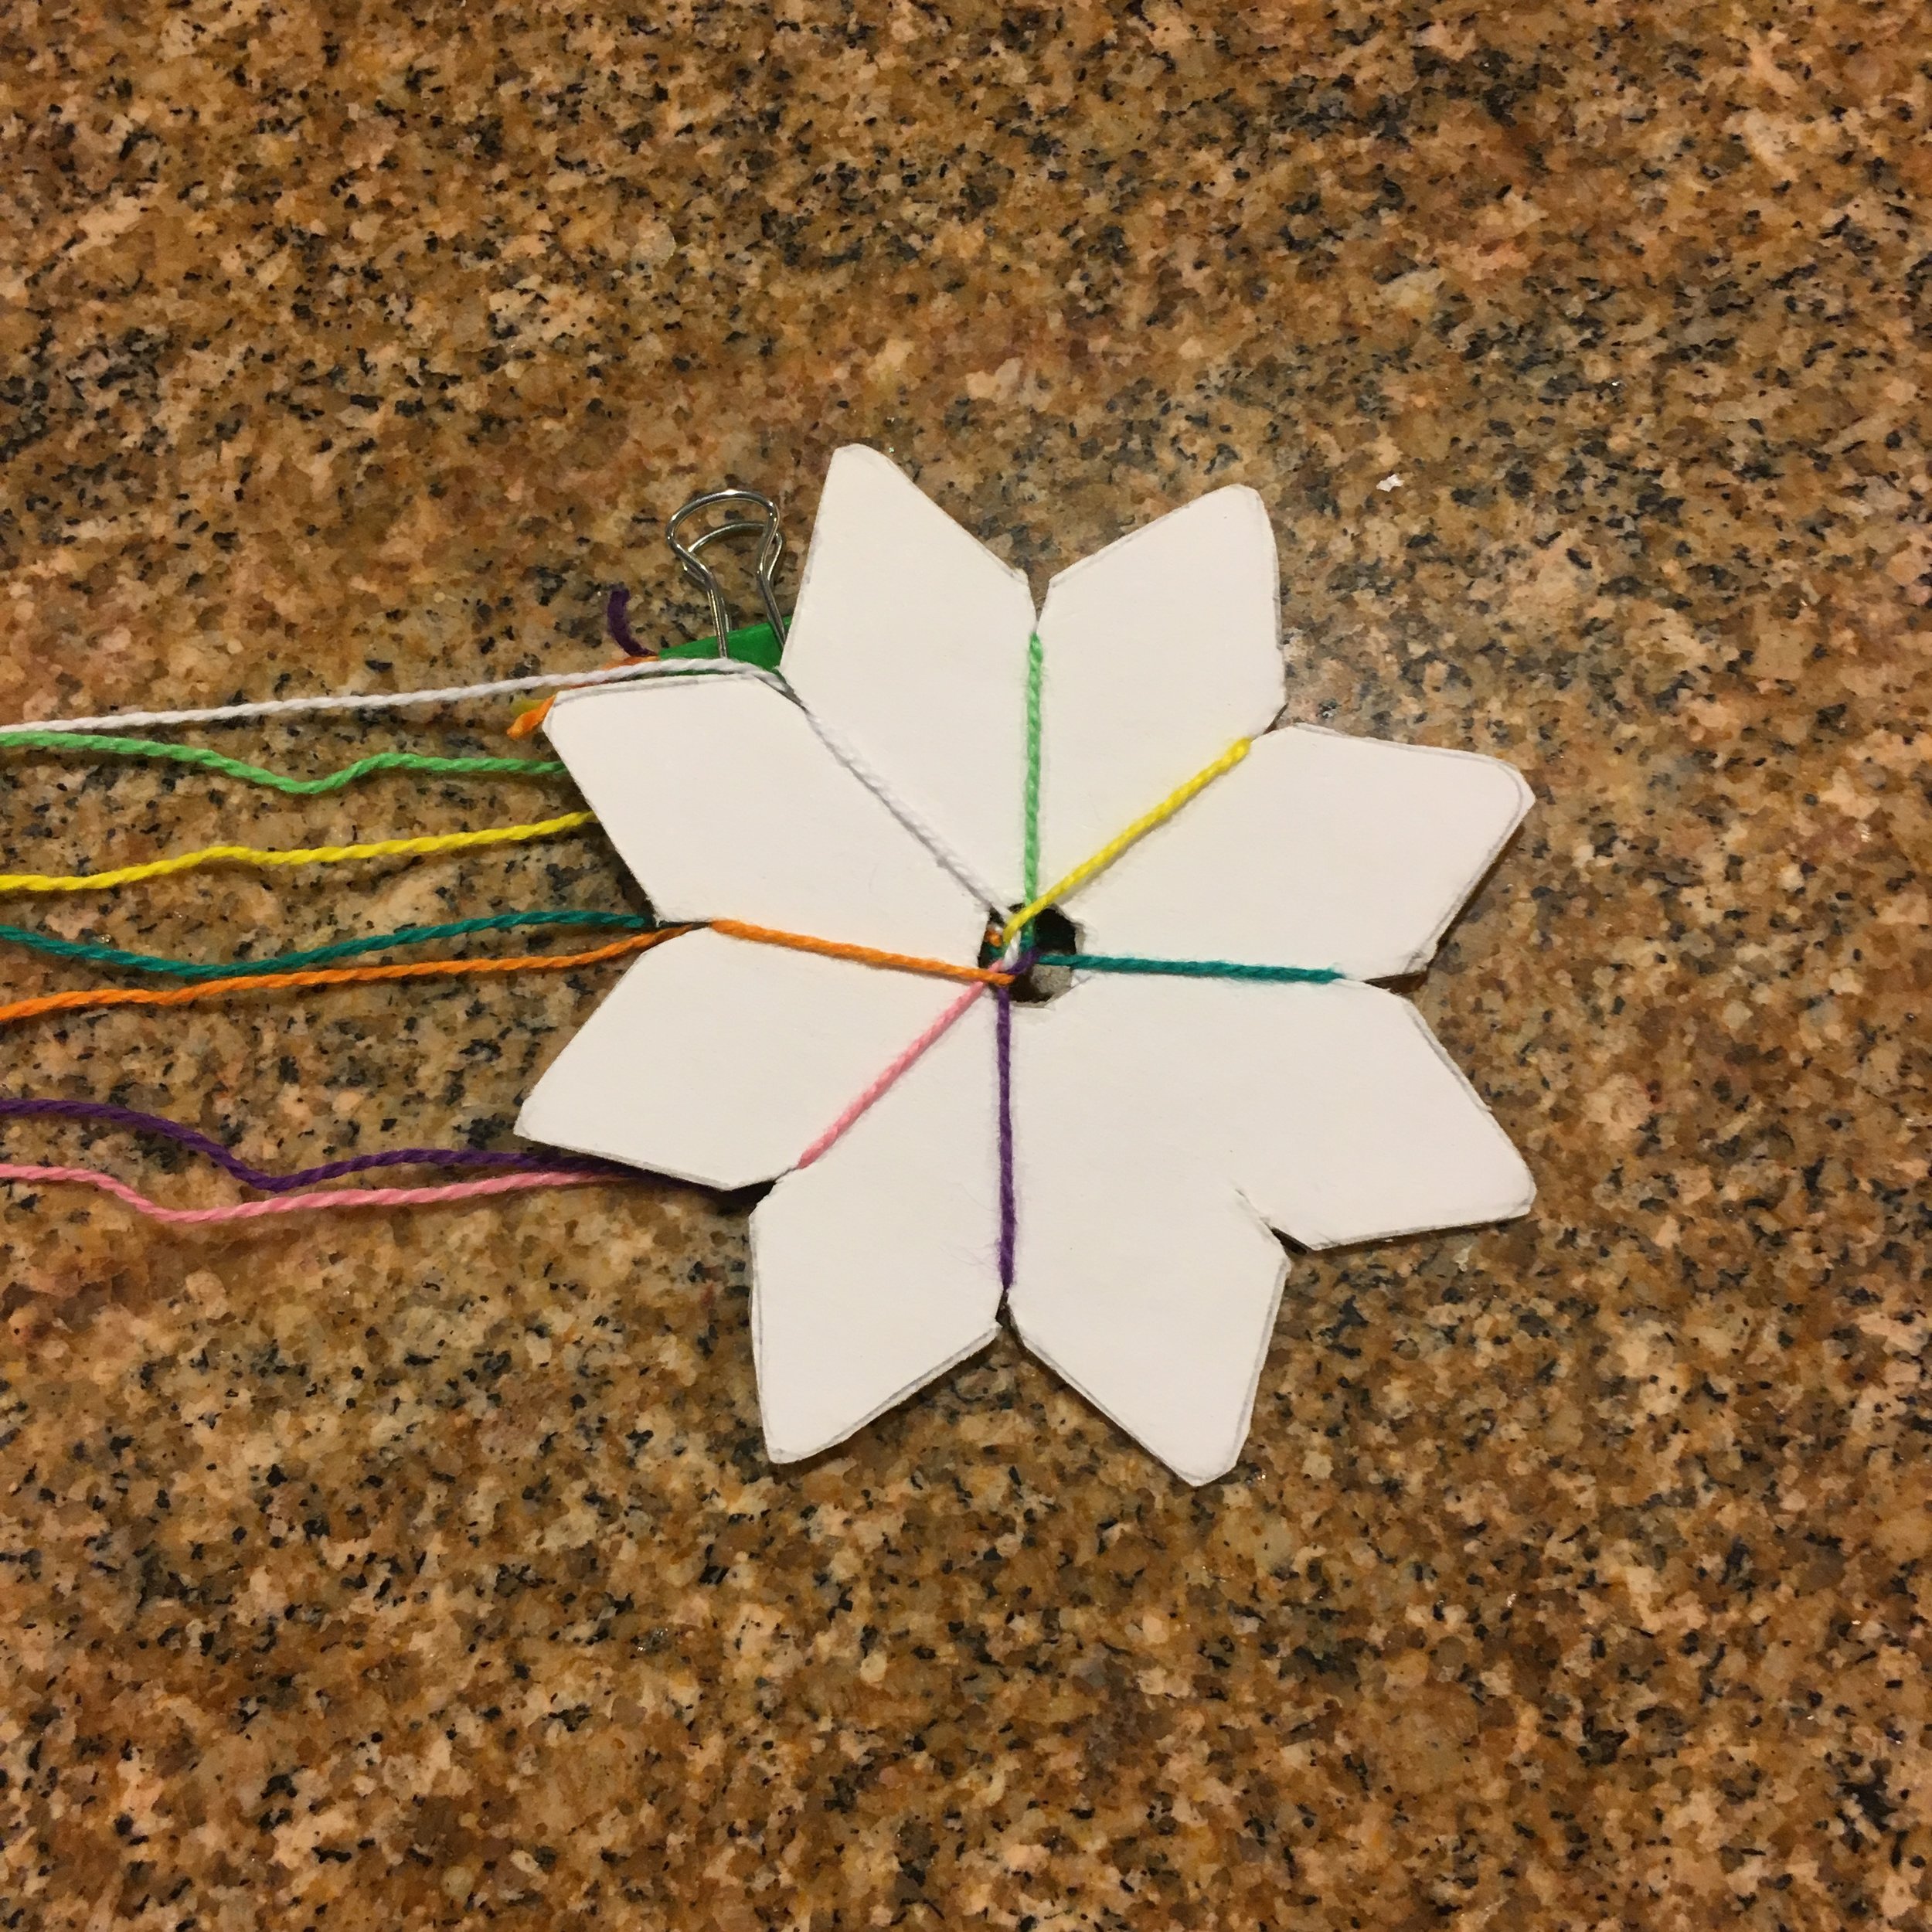
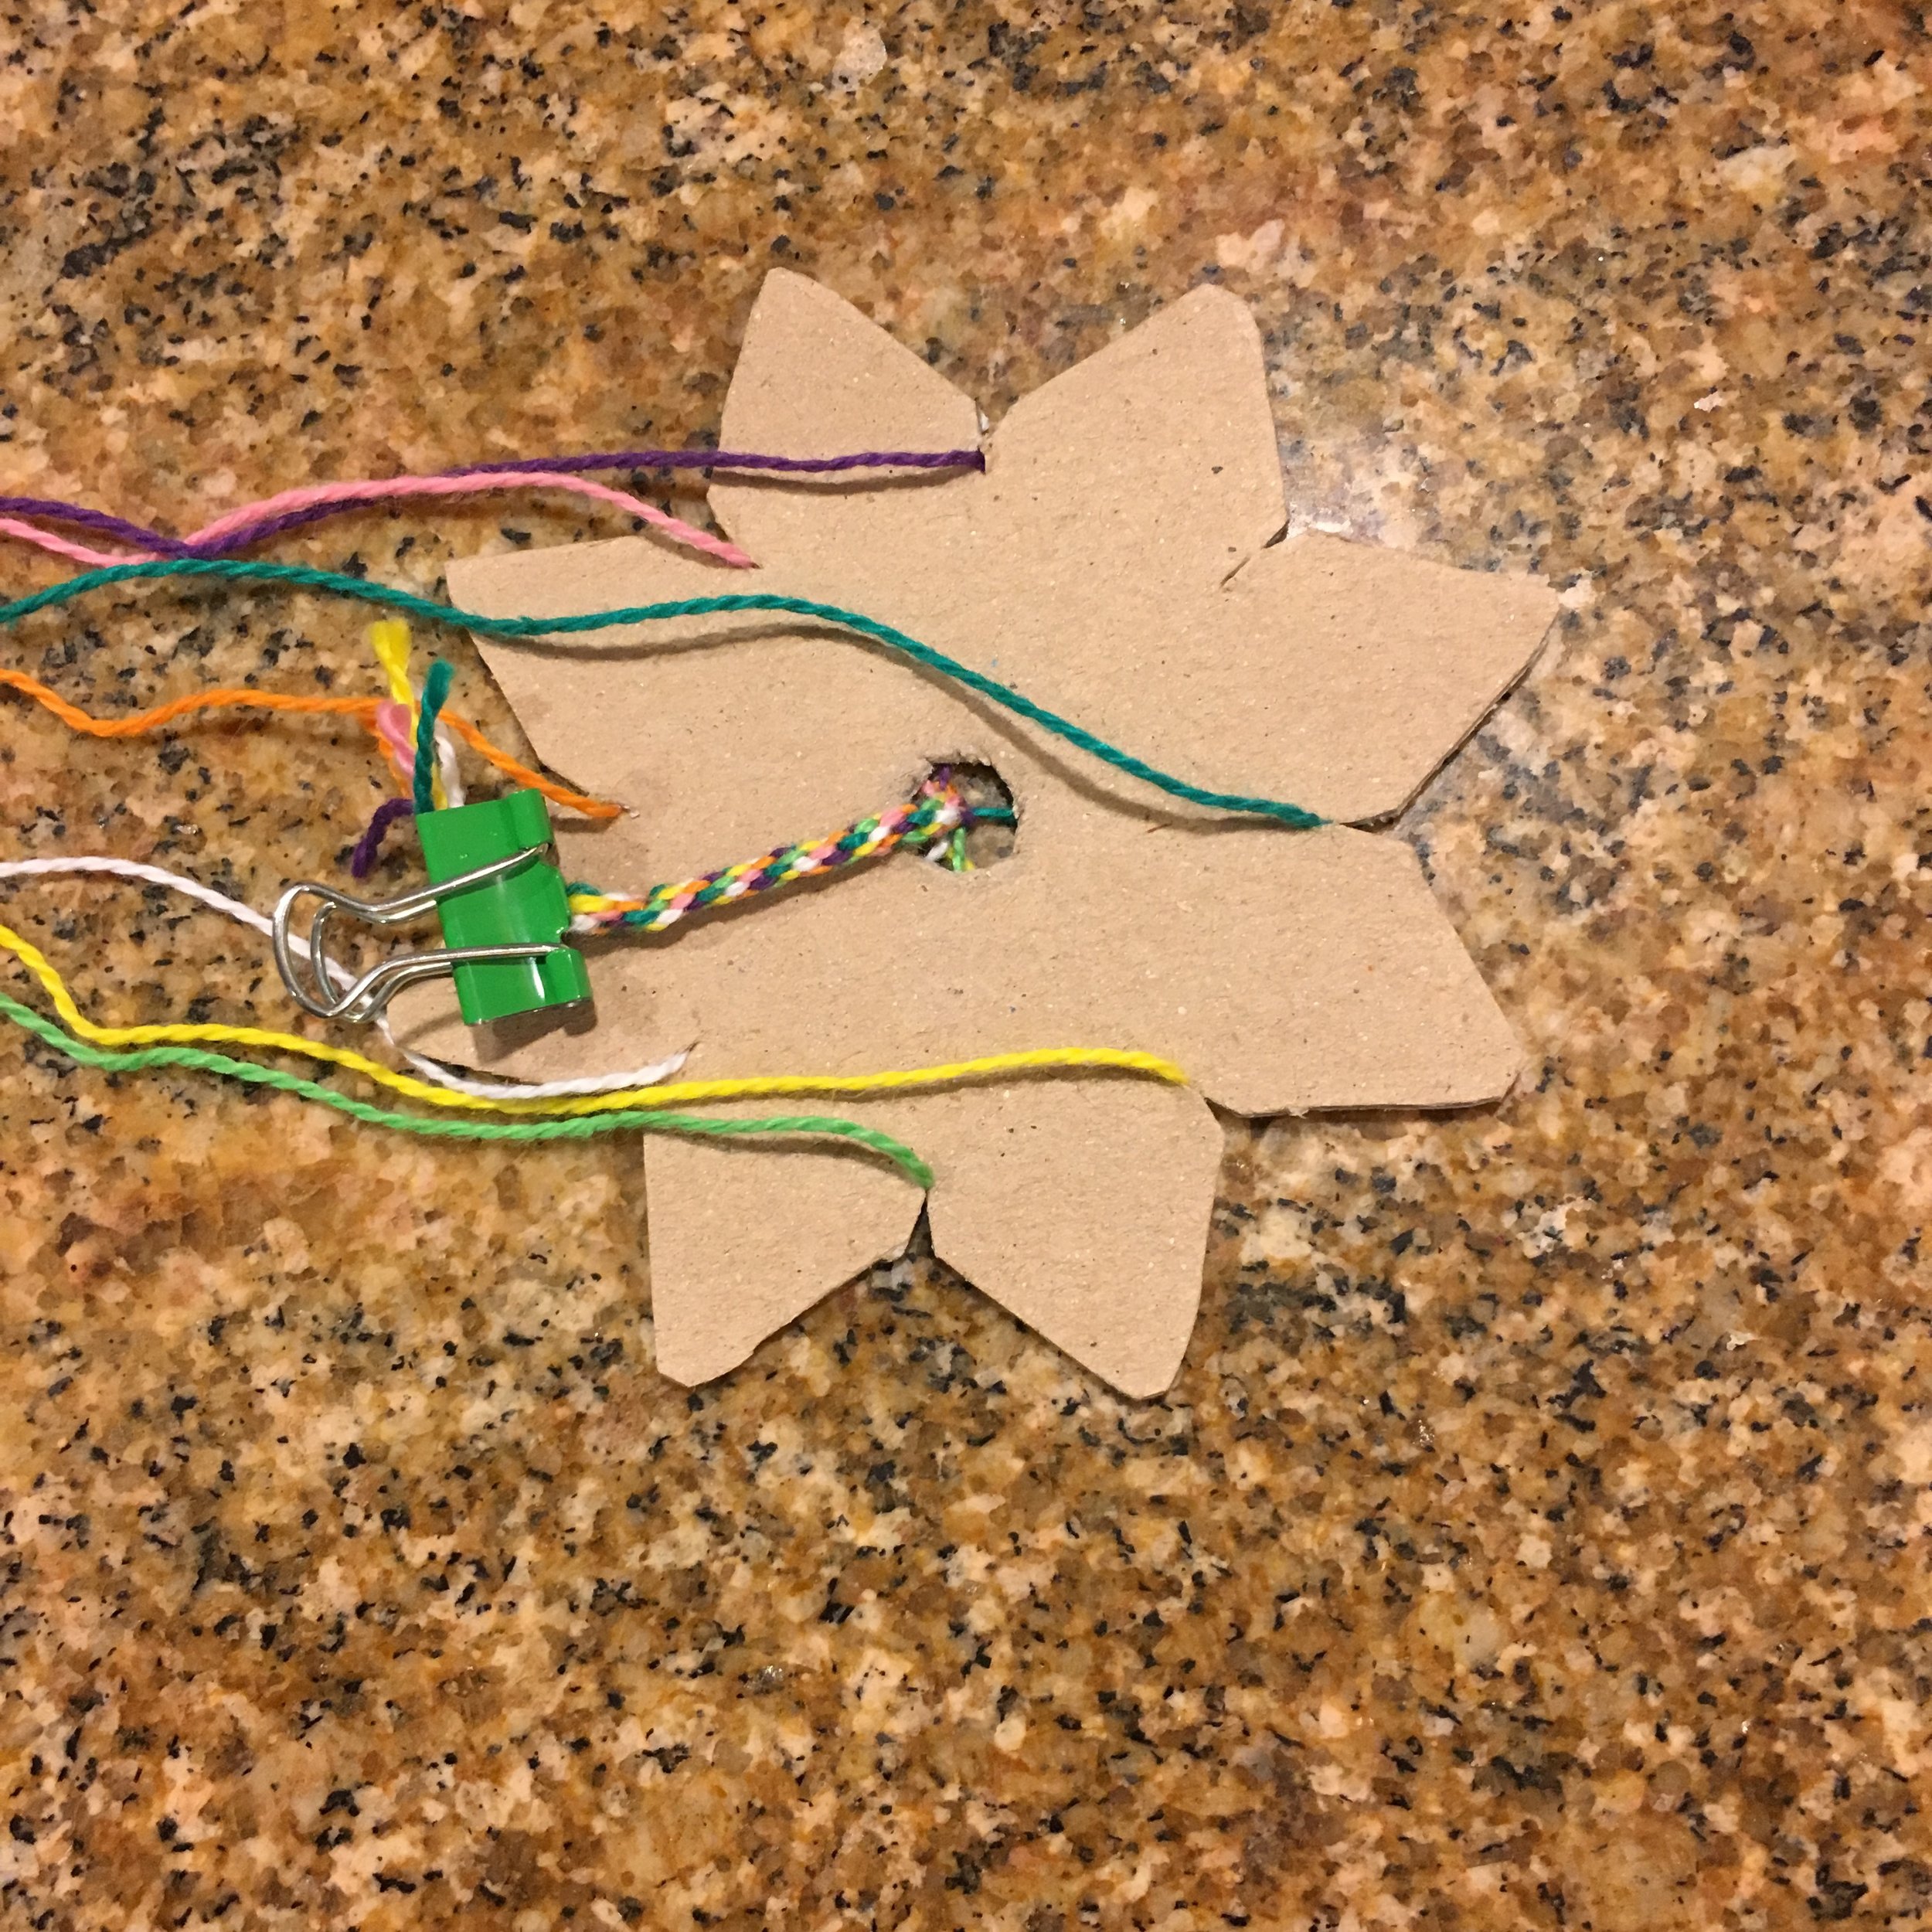
Finally I made a braiding star from medium weight chipboard, a cardboard used in bookbinding. I traced my cookie cutter shape onto the chipboard. Then I cut our a rough square shape around my star outline. That made it easy to cut the points. I used the scissors to cut the slots. I actually cut small V shapes, but that was mistake. Plain, straight slots work best when braiding. I used an Exacto knife to cut out the center circle.
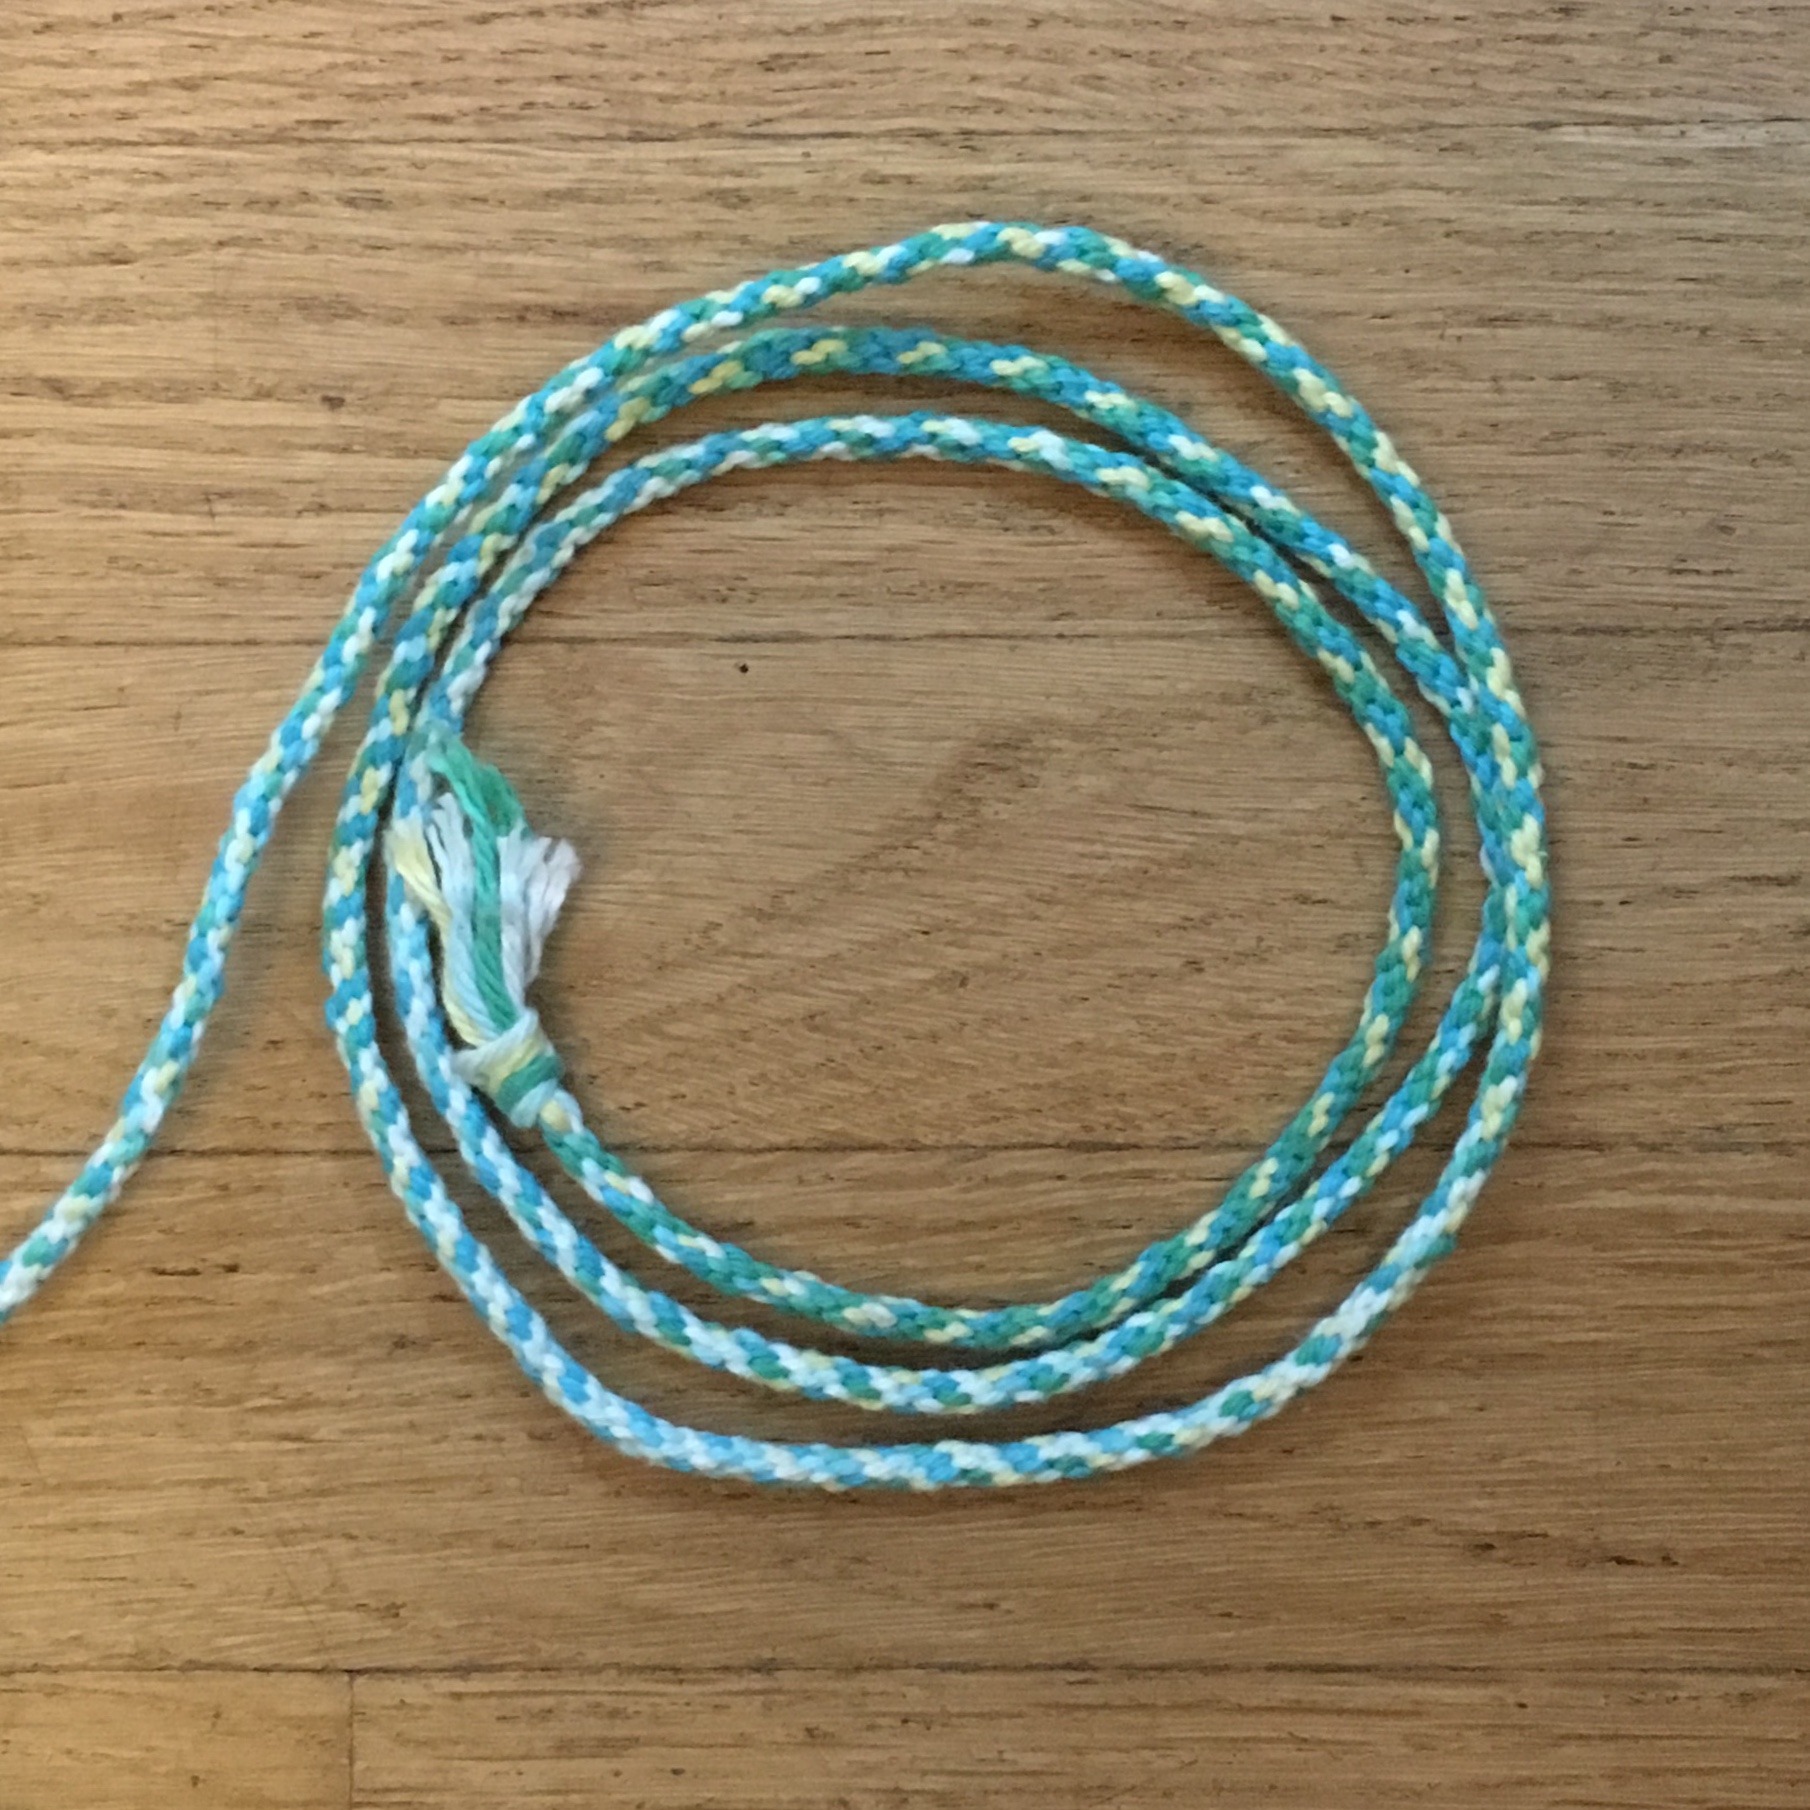
I set up this star with Perle cotton thread to see what a narrower braid would look like.
Below left to right: The chipboard star, the star loaded with Perle cotton thread, and finally, the dainty braid on forming on the back side of the braiding star.
So, here are my suggestions:
If you plan to make cording on a regular basis, buy a well made wooden braiding star
If you really want to make a fairly durable braiding star from a modeling media, use the Scupley®III modeling media
If you just want to give 7 strand cord braiding a try, or you want to do this project with a group of children (or adults), use the chipboard or a good sturdy cardboard, like the back cover of a drawing paper tablet.
In the end, my overall preference for making a homemade braiding star is cardboard—the one substance I initially thought I absolutely didn’t want to use!
Notice: This blog is not monetized: I do not use affiliate links. When there are links in a post, they are to give credit to another creative person, because I like or have used a product, or to help the reader easily find supplies for a project.