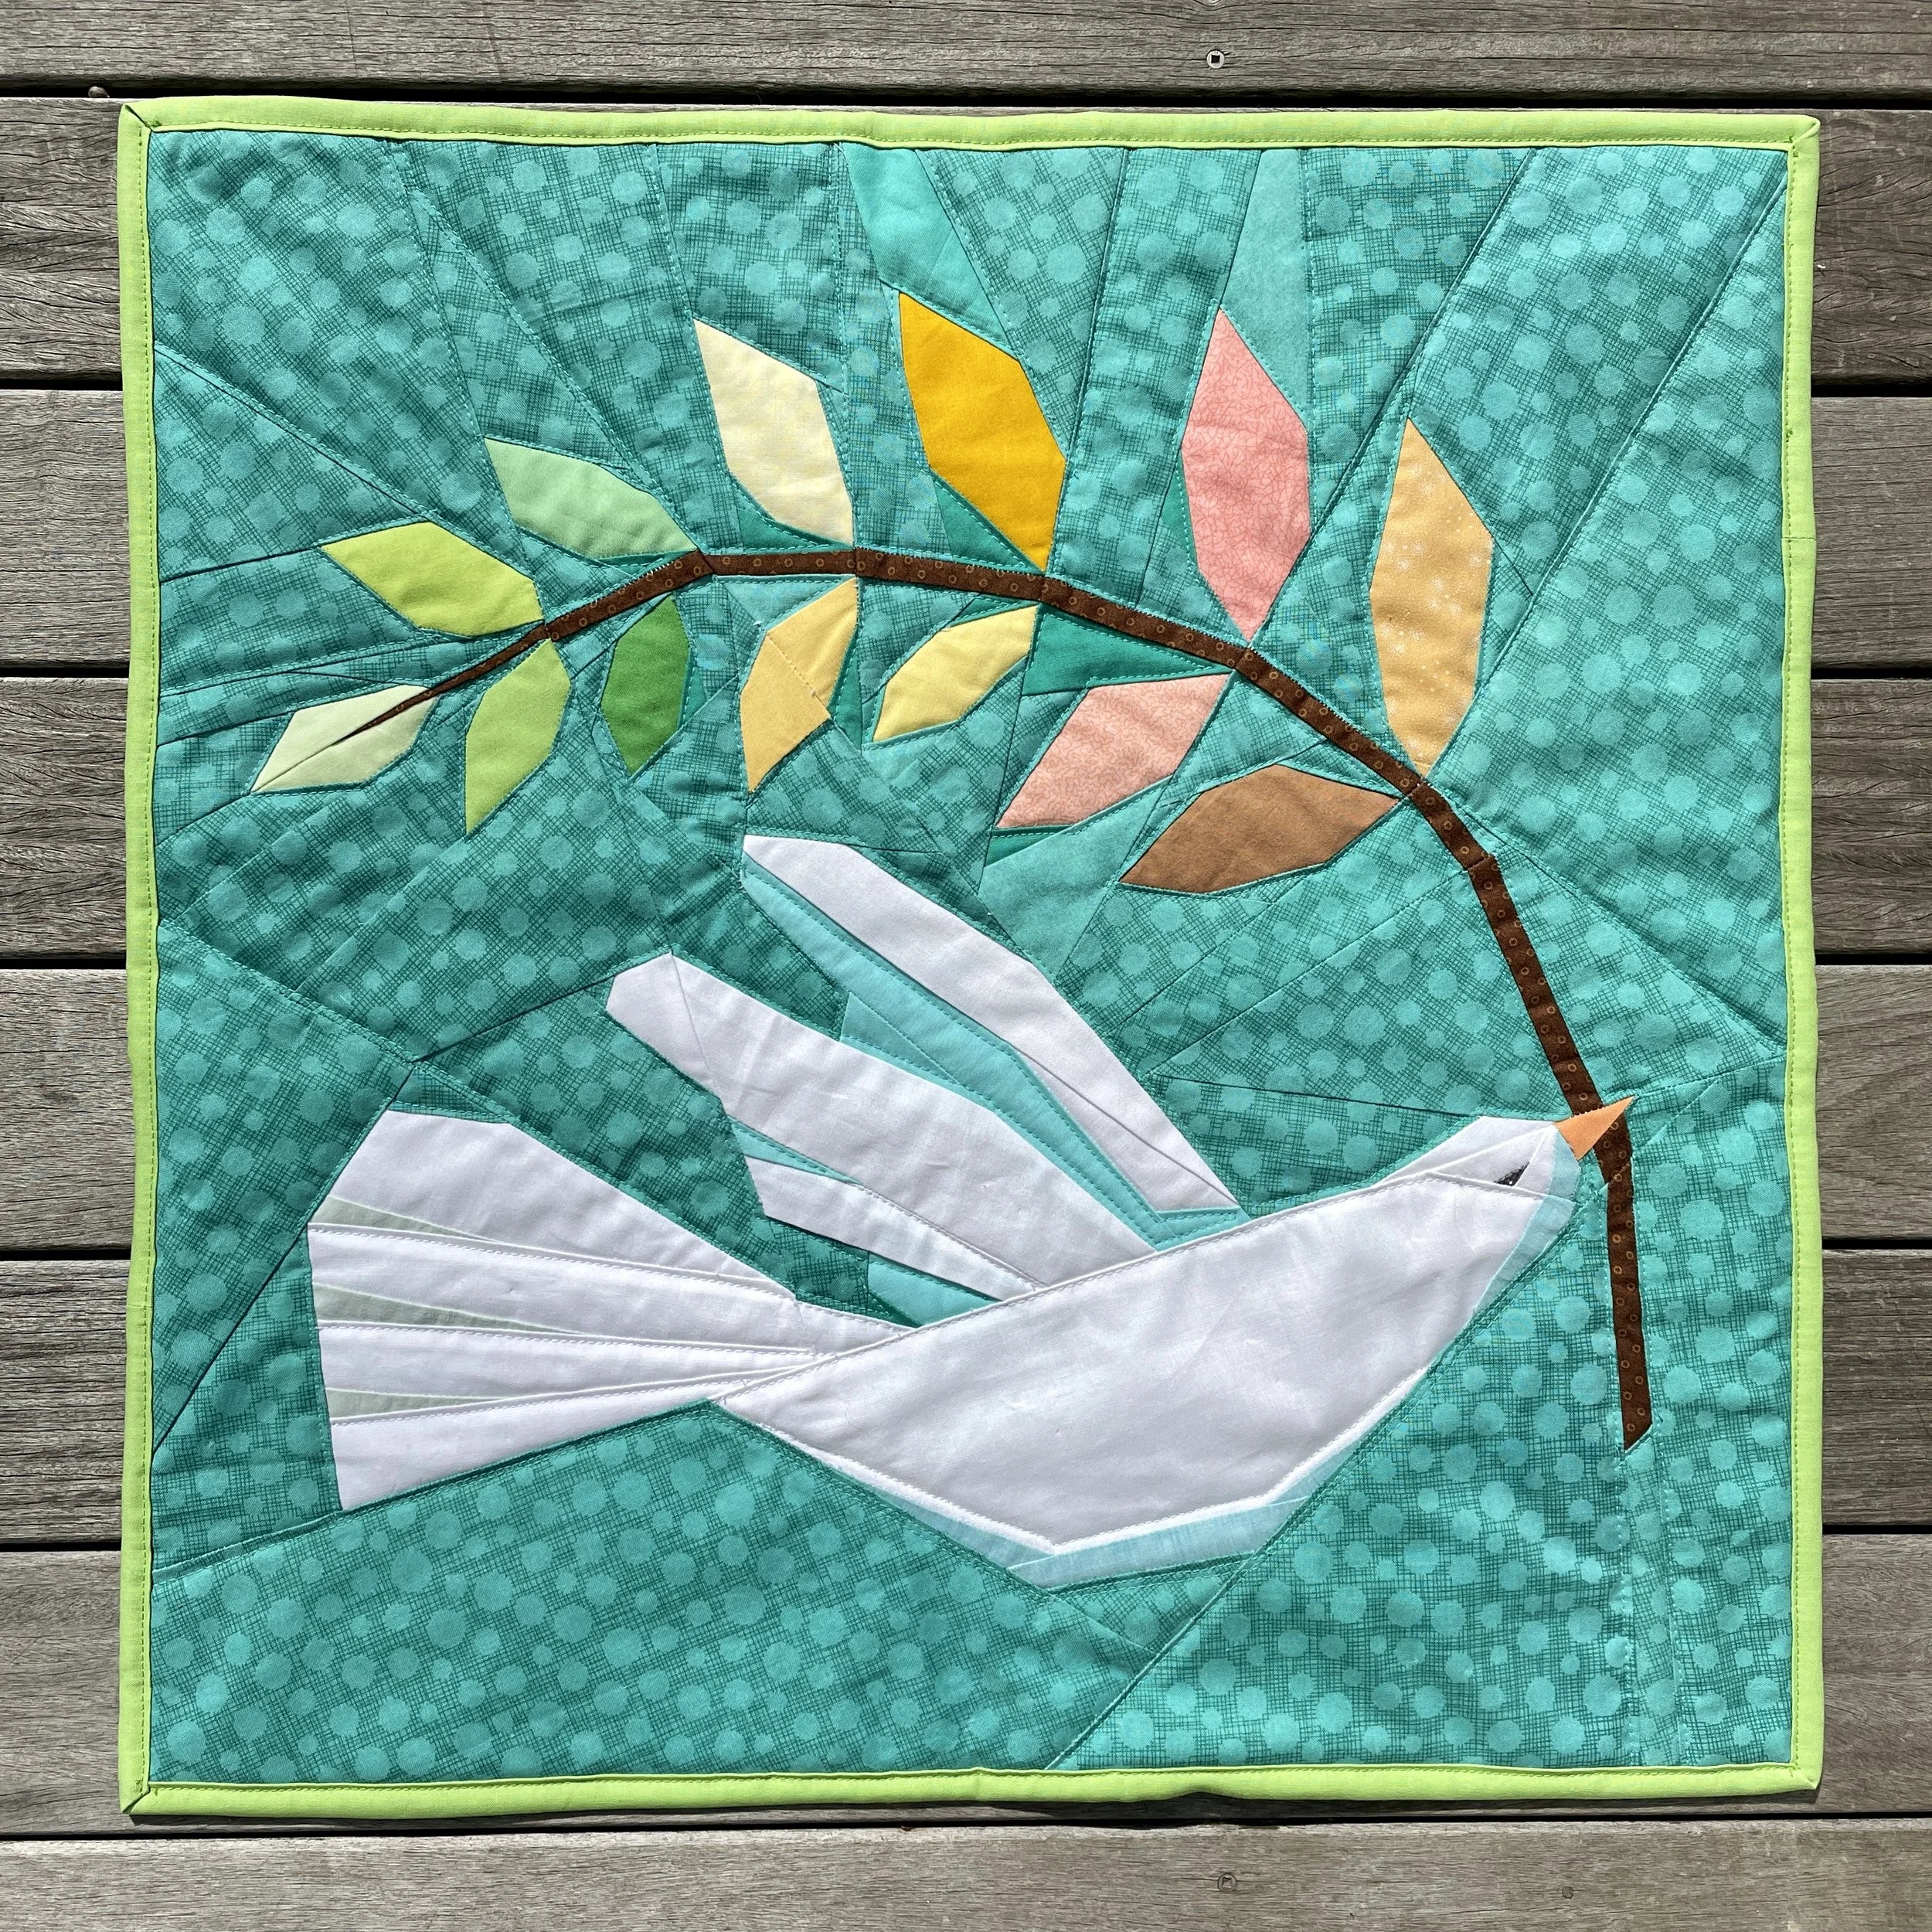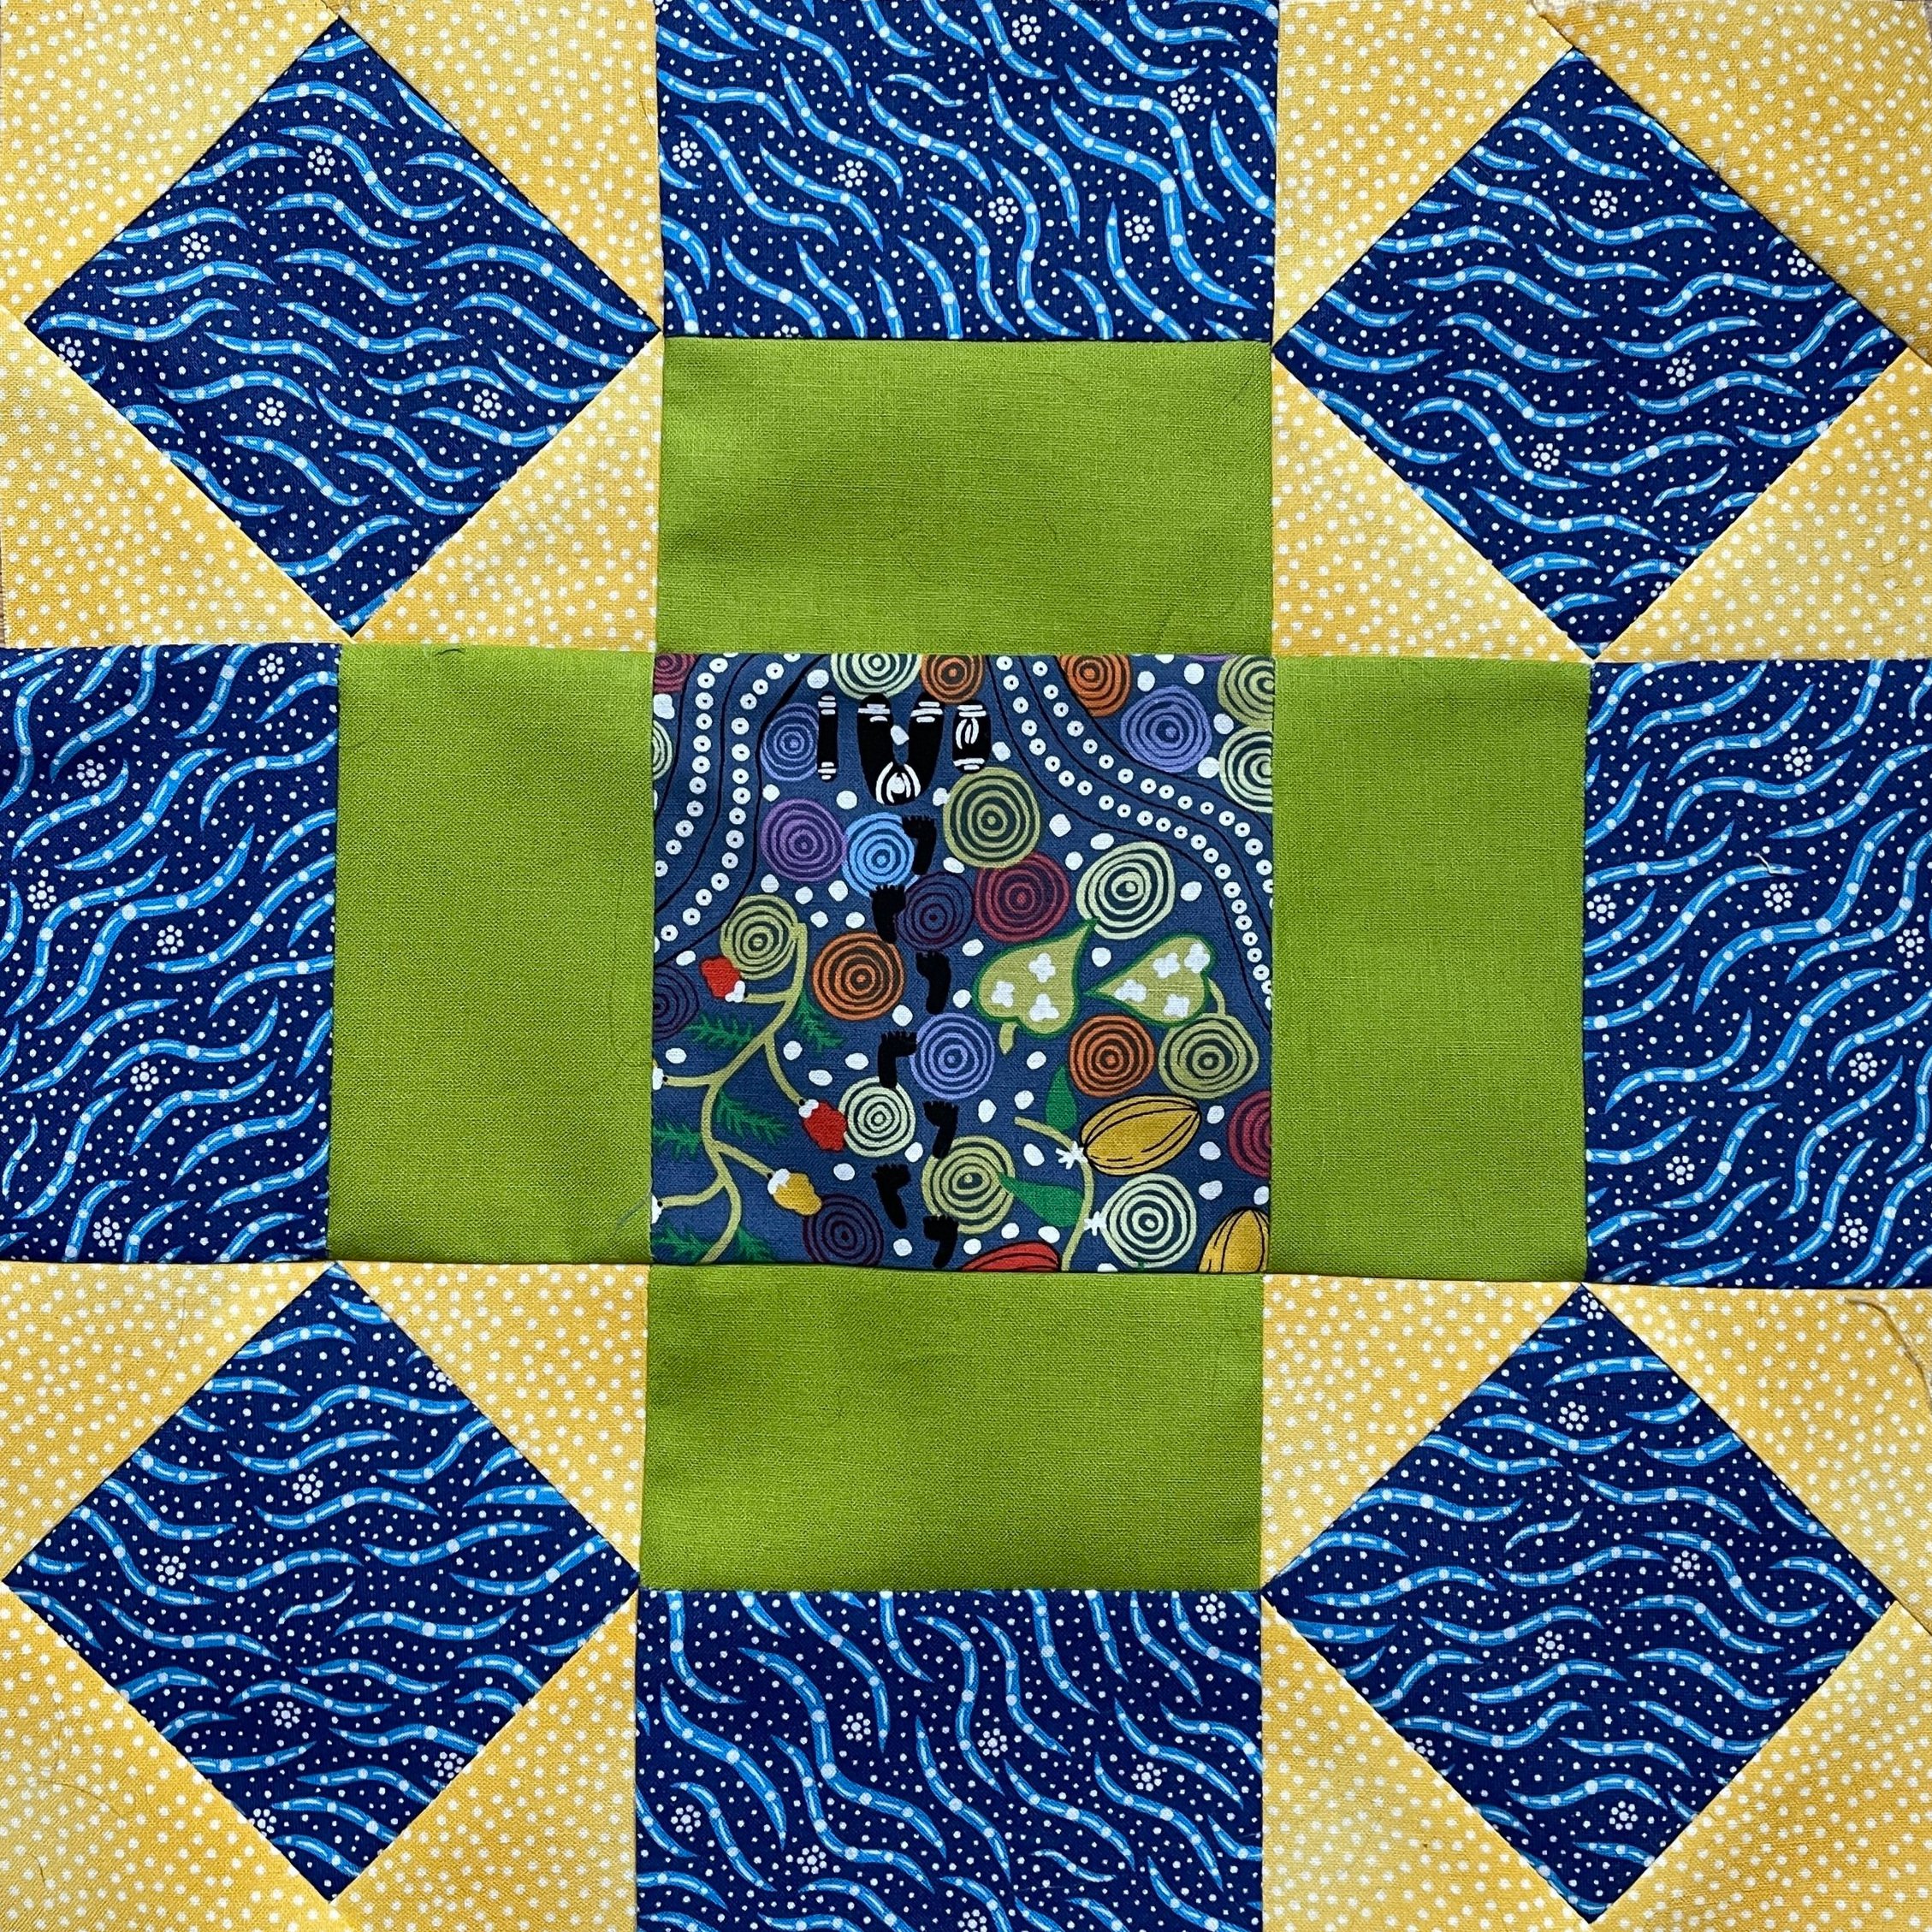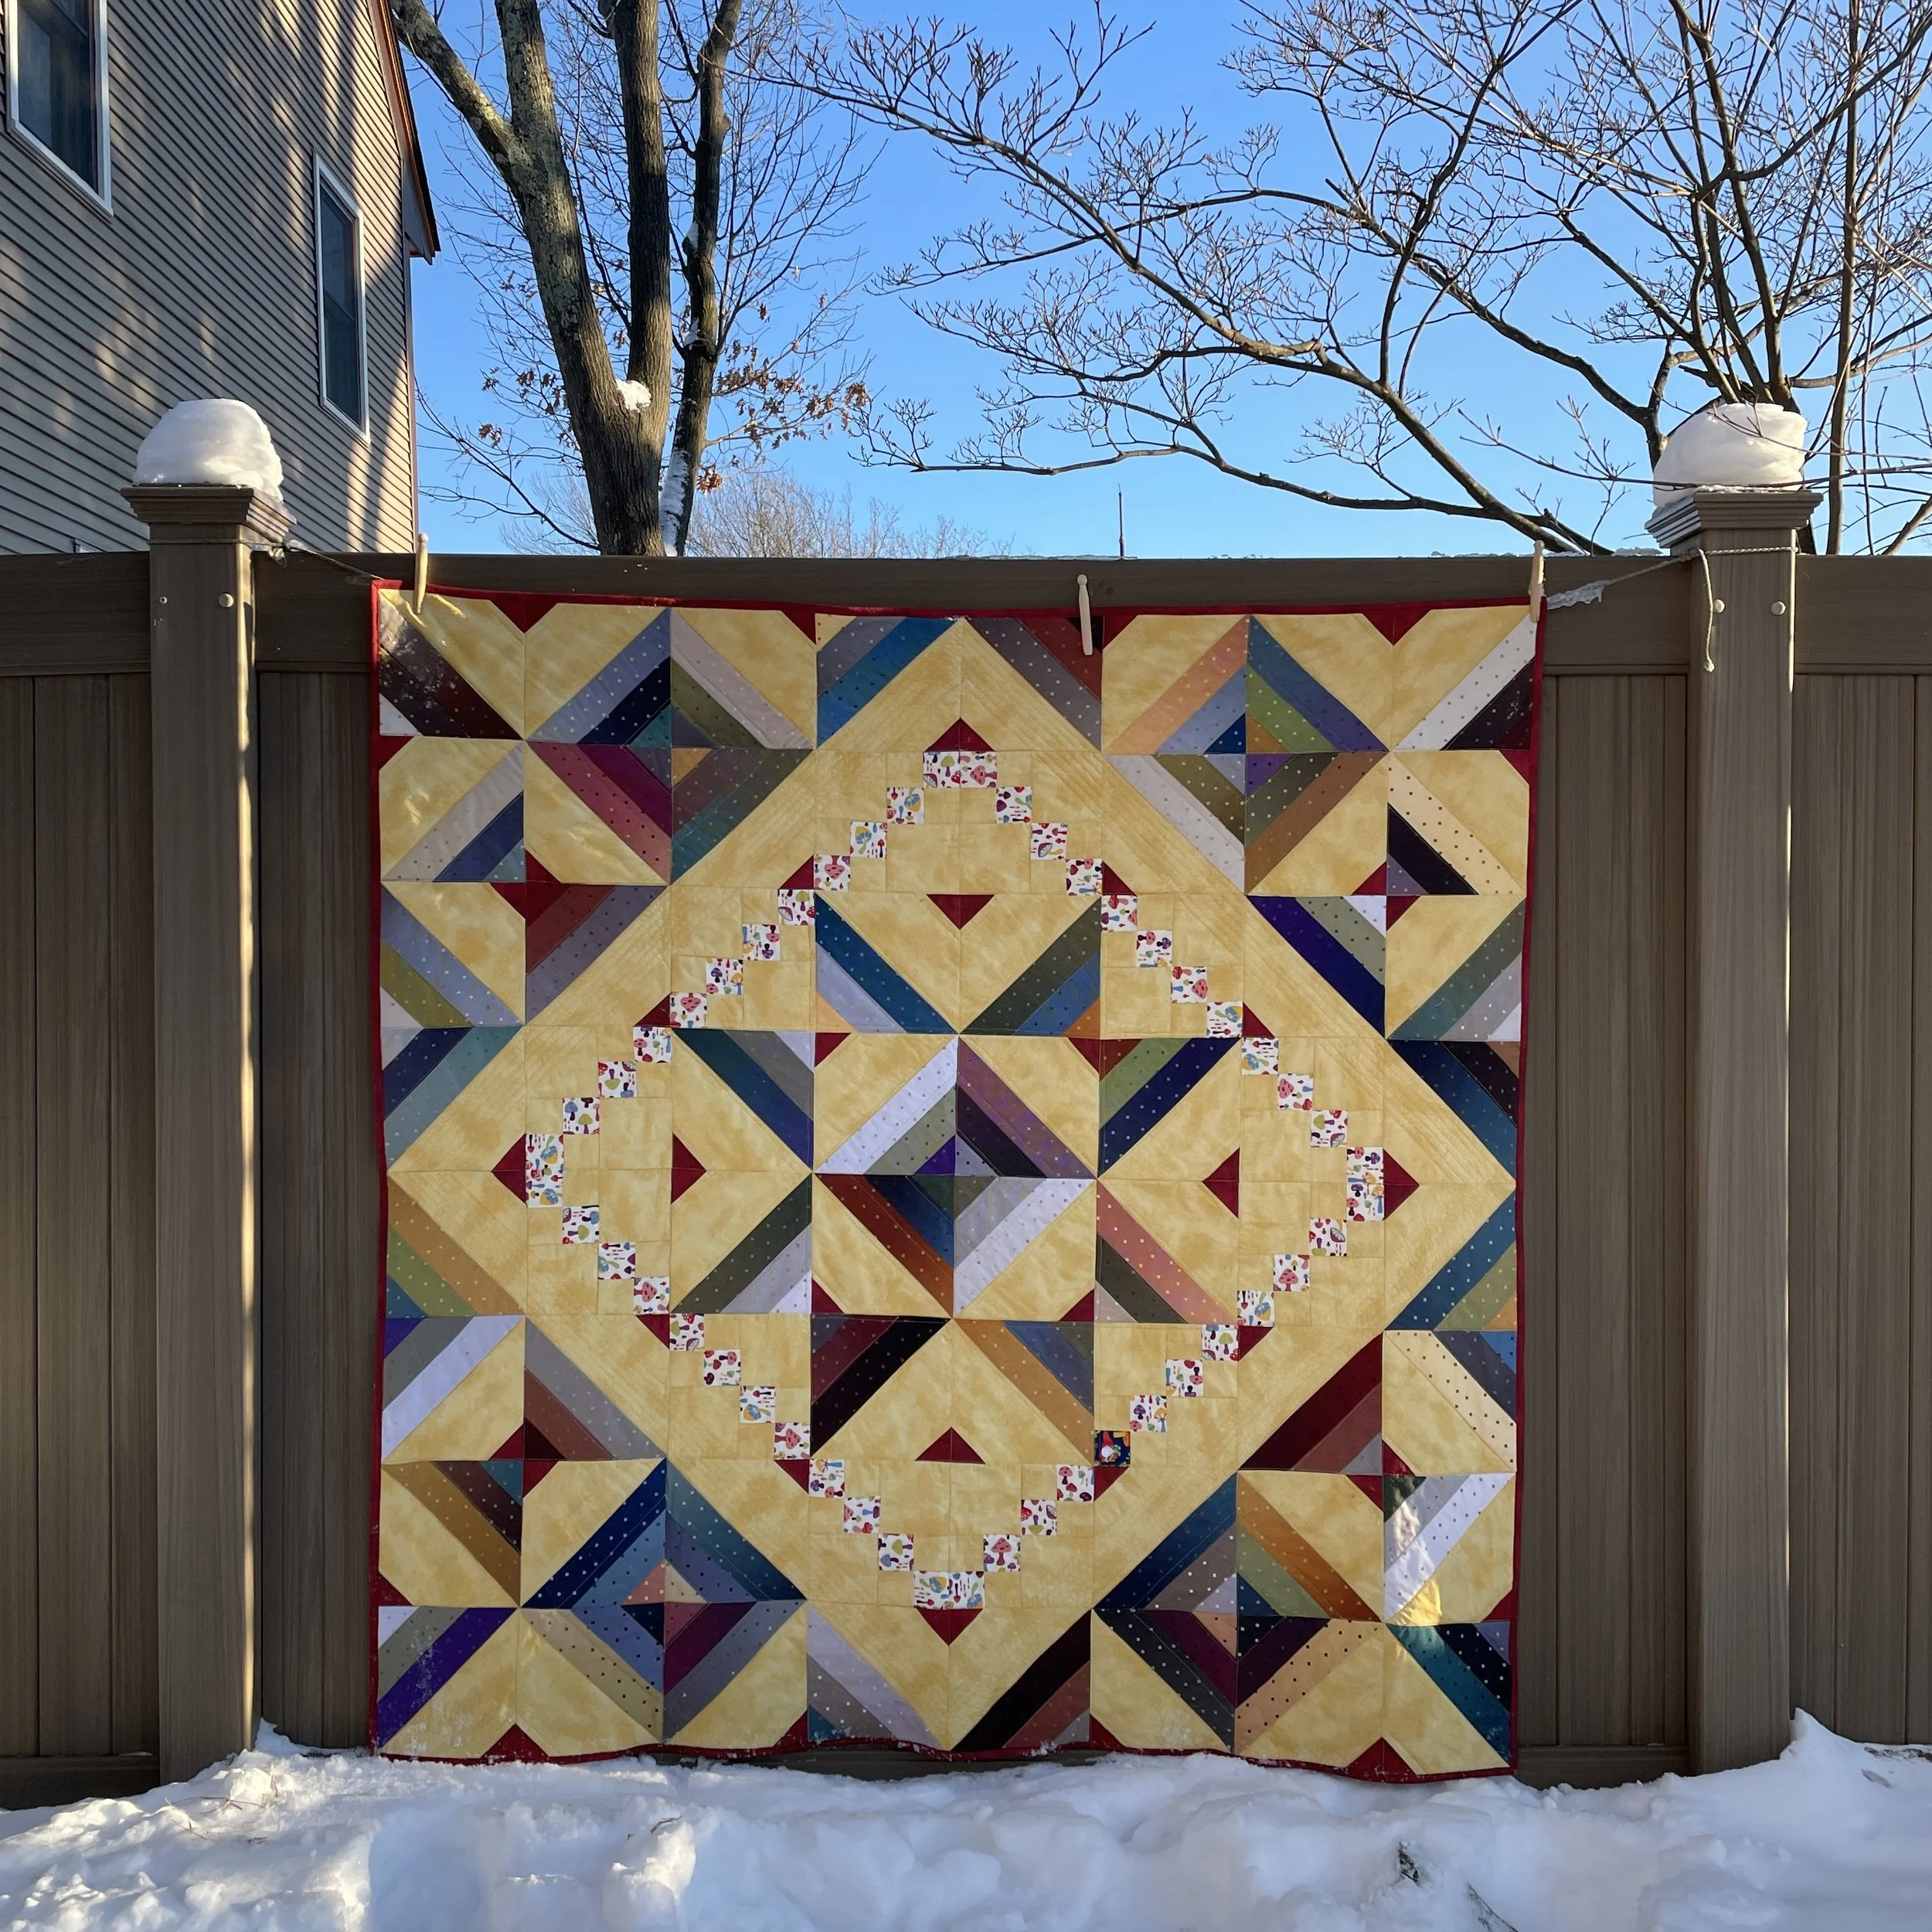
“To the Point” Brown Bag Mystery Quilt
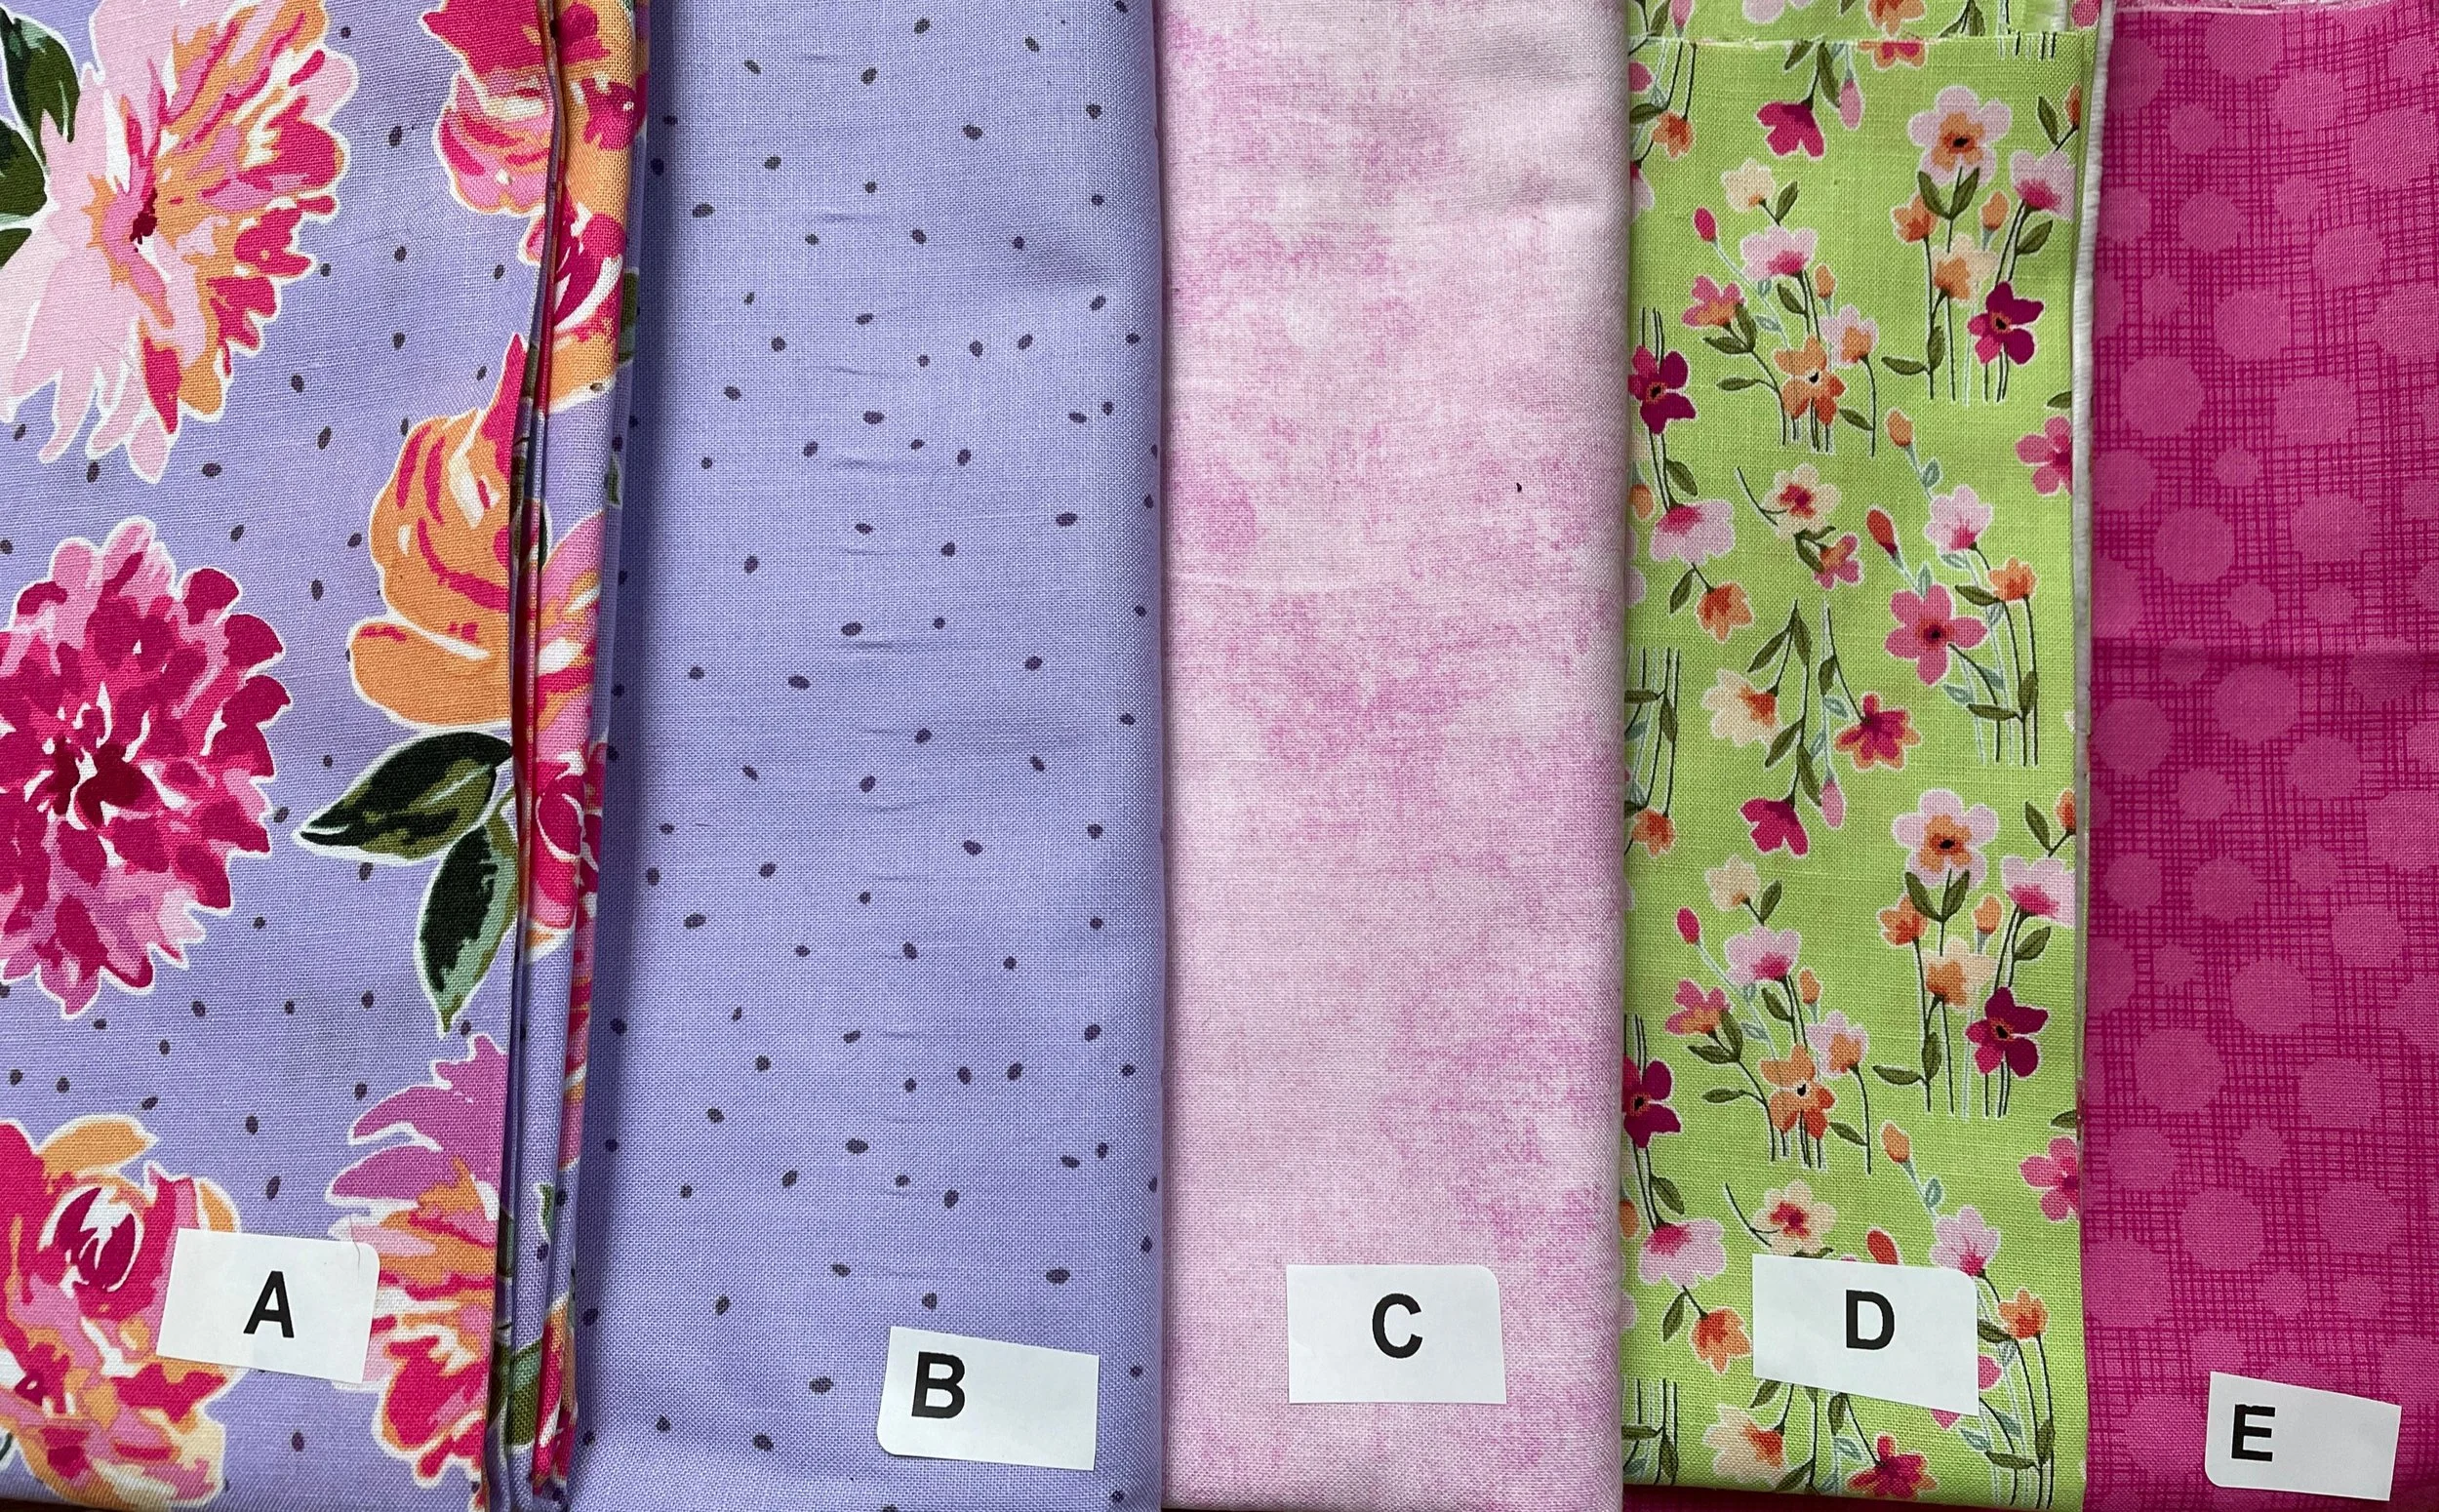
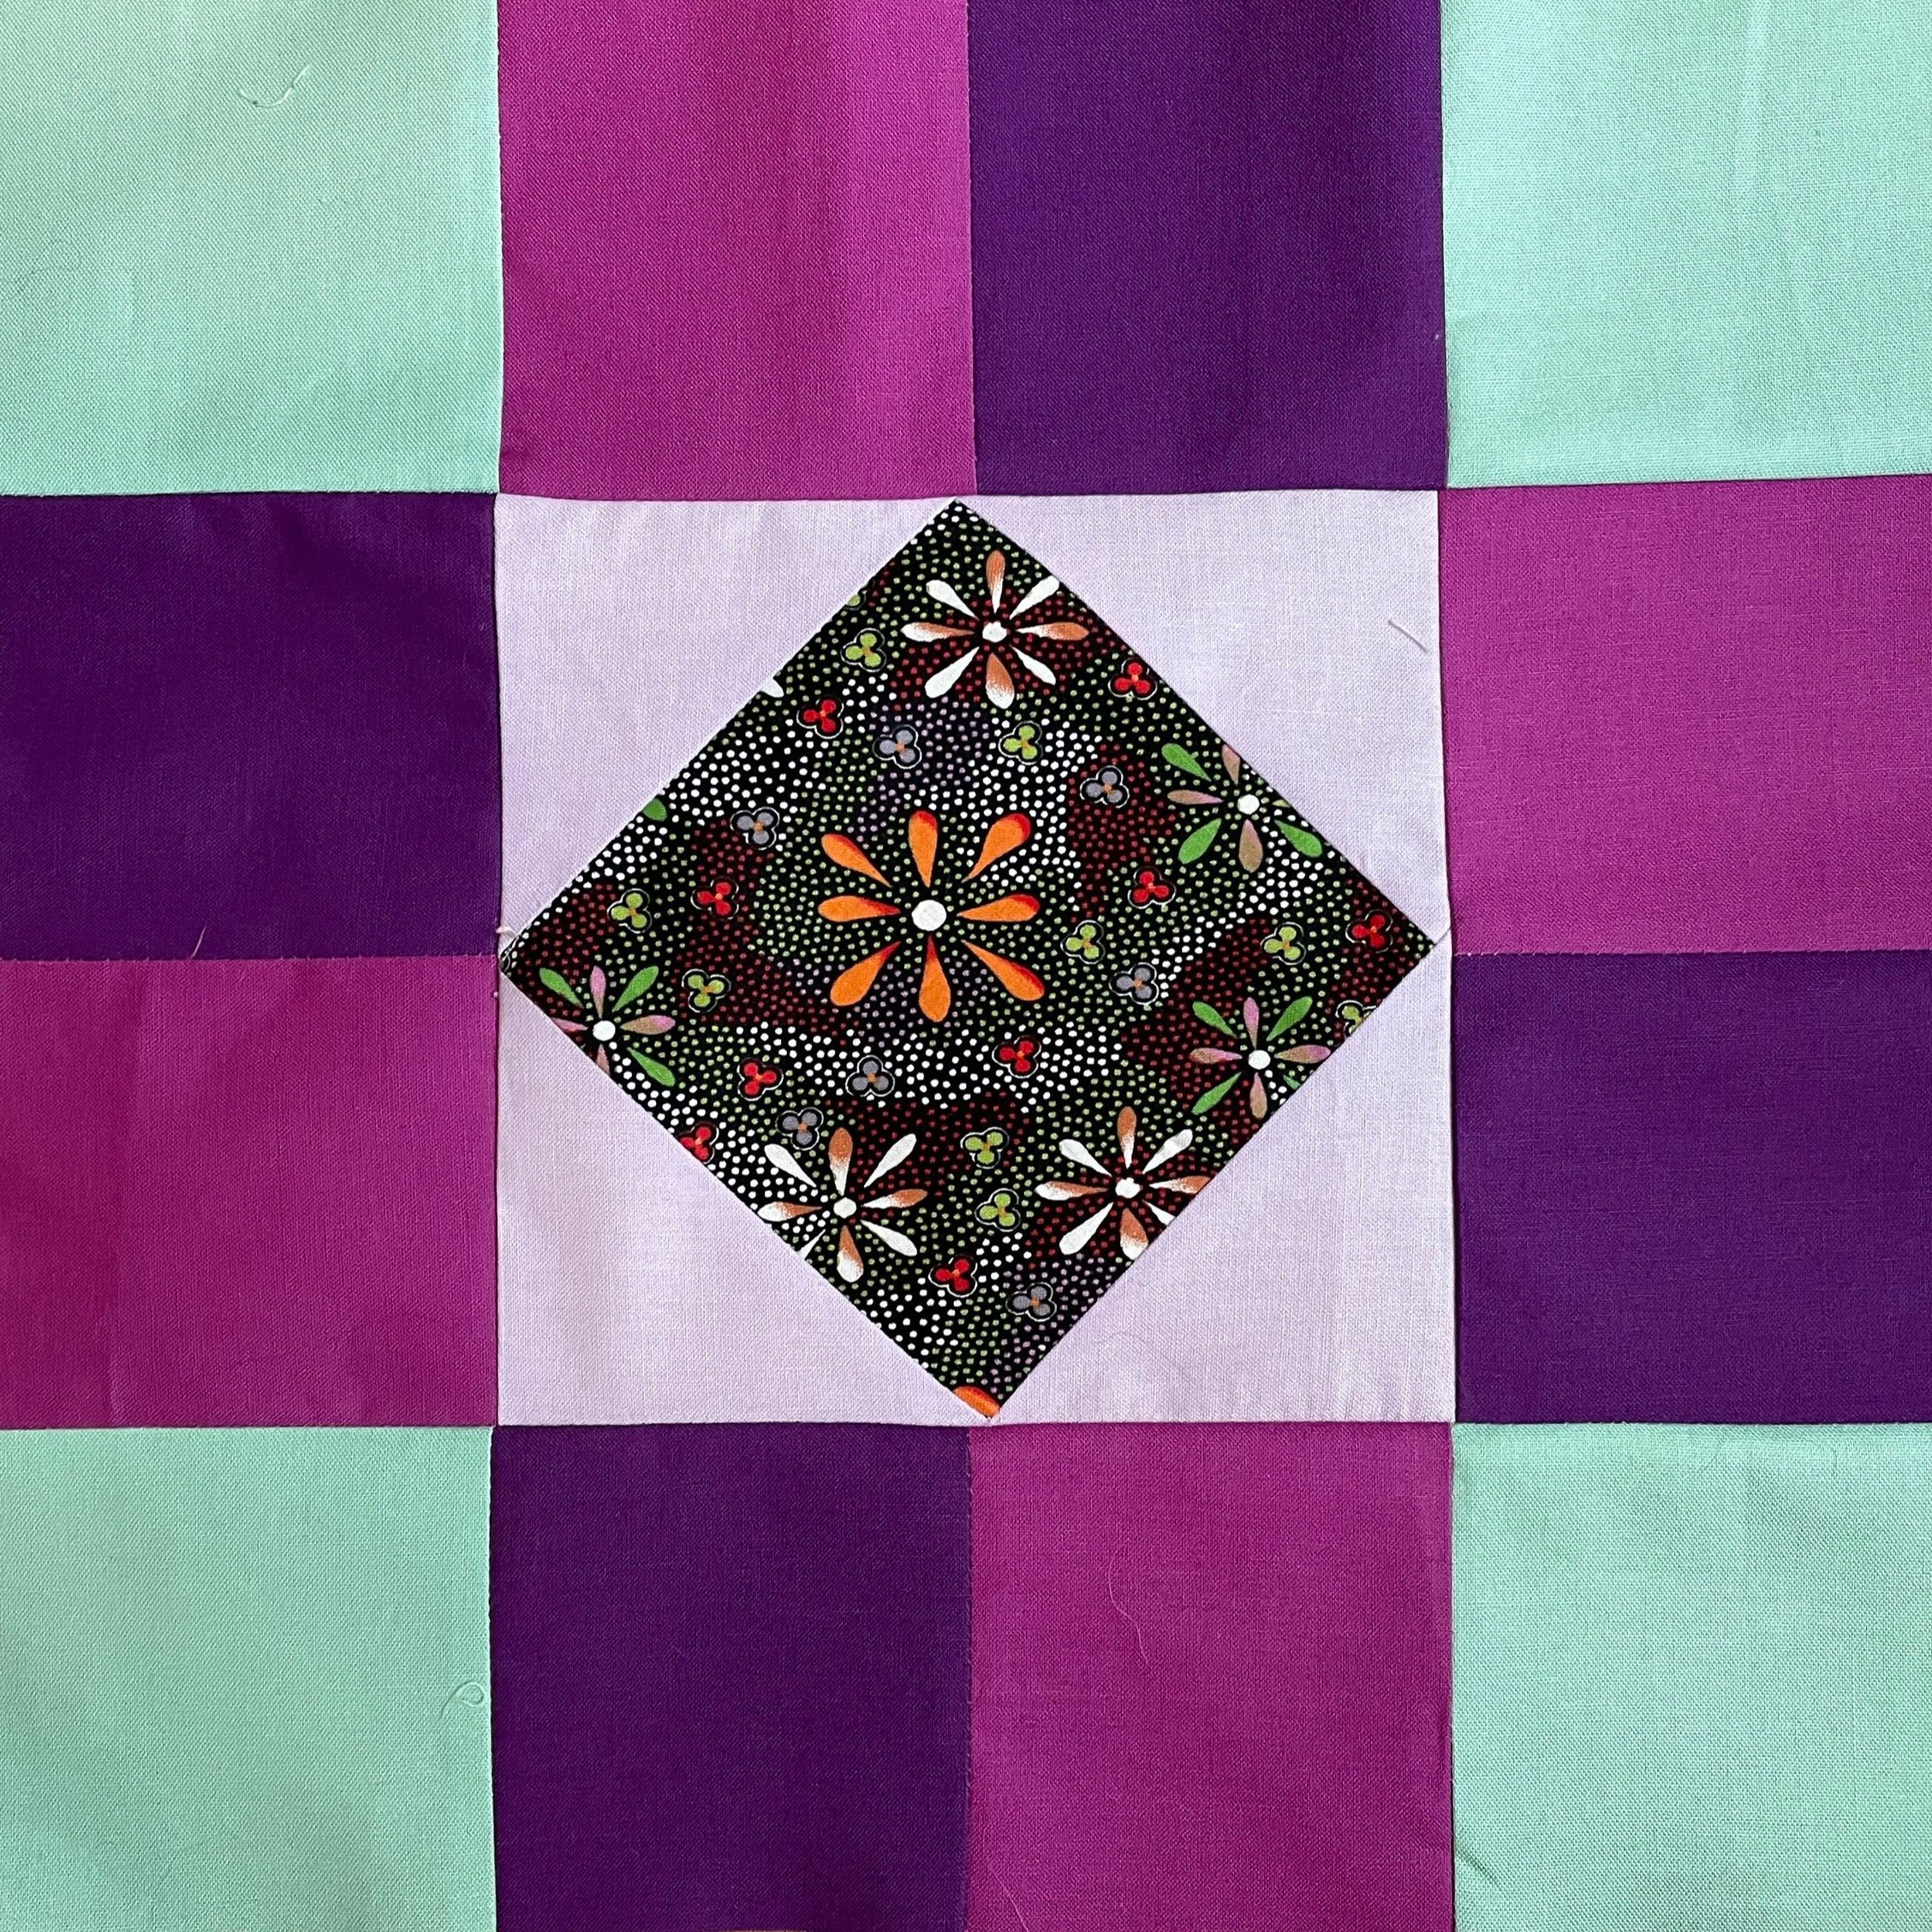
Earlier this year I posted that I was going to make the 2022 Brown Bag Mystery Quilt designed by Karen Montgomery. Both the pattern and the fabrics were unknowns when I signed up. All I knew was that I’d picked a fabric colorway from the O’Sewpersonal Fabric Shop that was pink, lavender and green. That’s a risky business—you really need to trust the folks in the quilt shop to know now to coordinate colors. The folks at OSP definitely know how to do that! I regularly watch their Monday evening Facebook Live sales, so I knew what I purchased would be great. And it was!
The biweekly clues that Karen Montgomery posted for the Brown Bag Mystery on a closed Facebook Group were great. She also posted a how-to videos for each clue. The participating shop where participants purchased their bag also mailed a handout for each step. I was able to finish each step just by watching the video, so by the time the hard copy arrived I was already done.
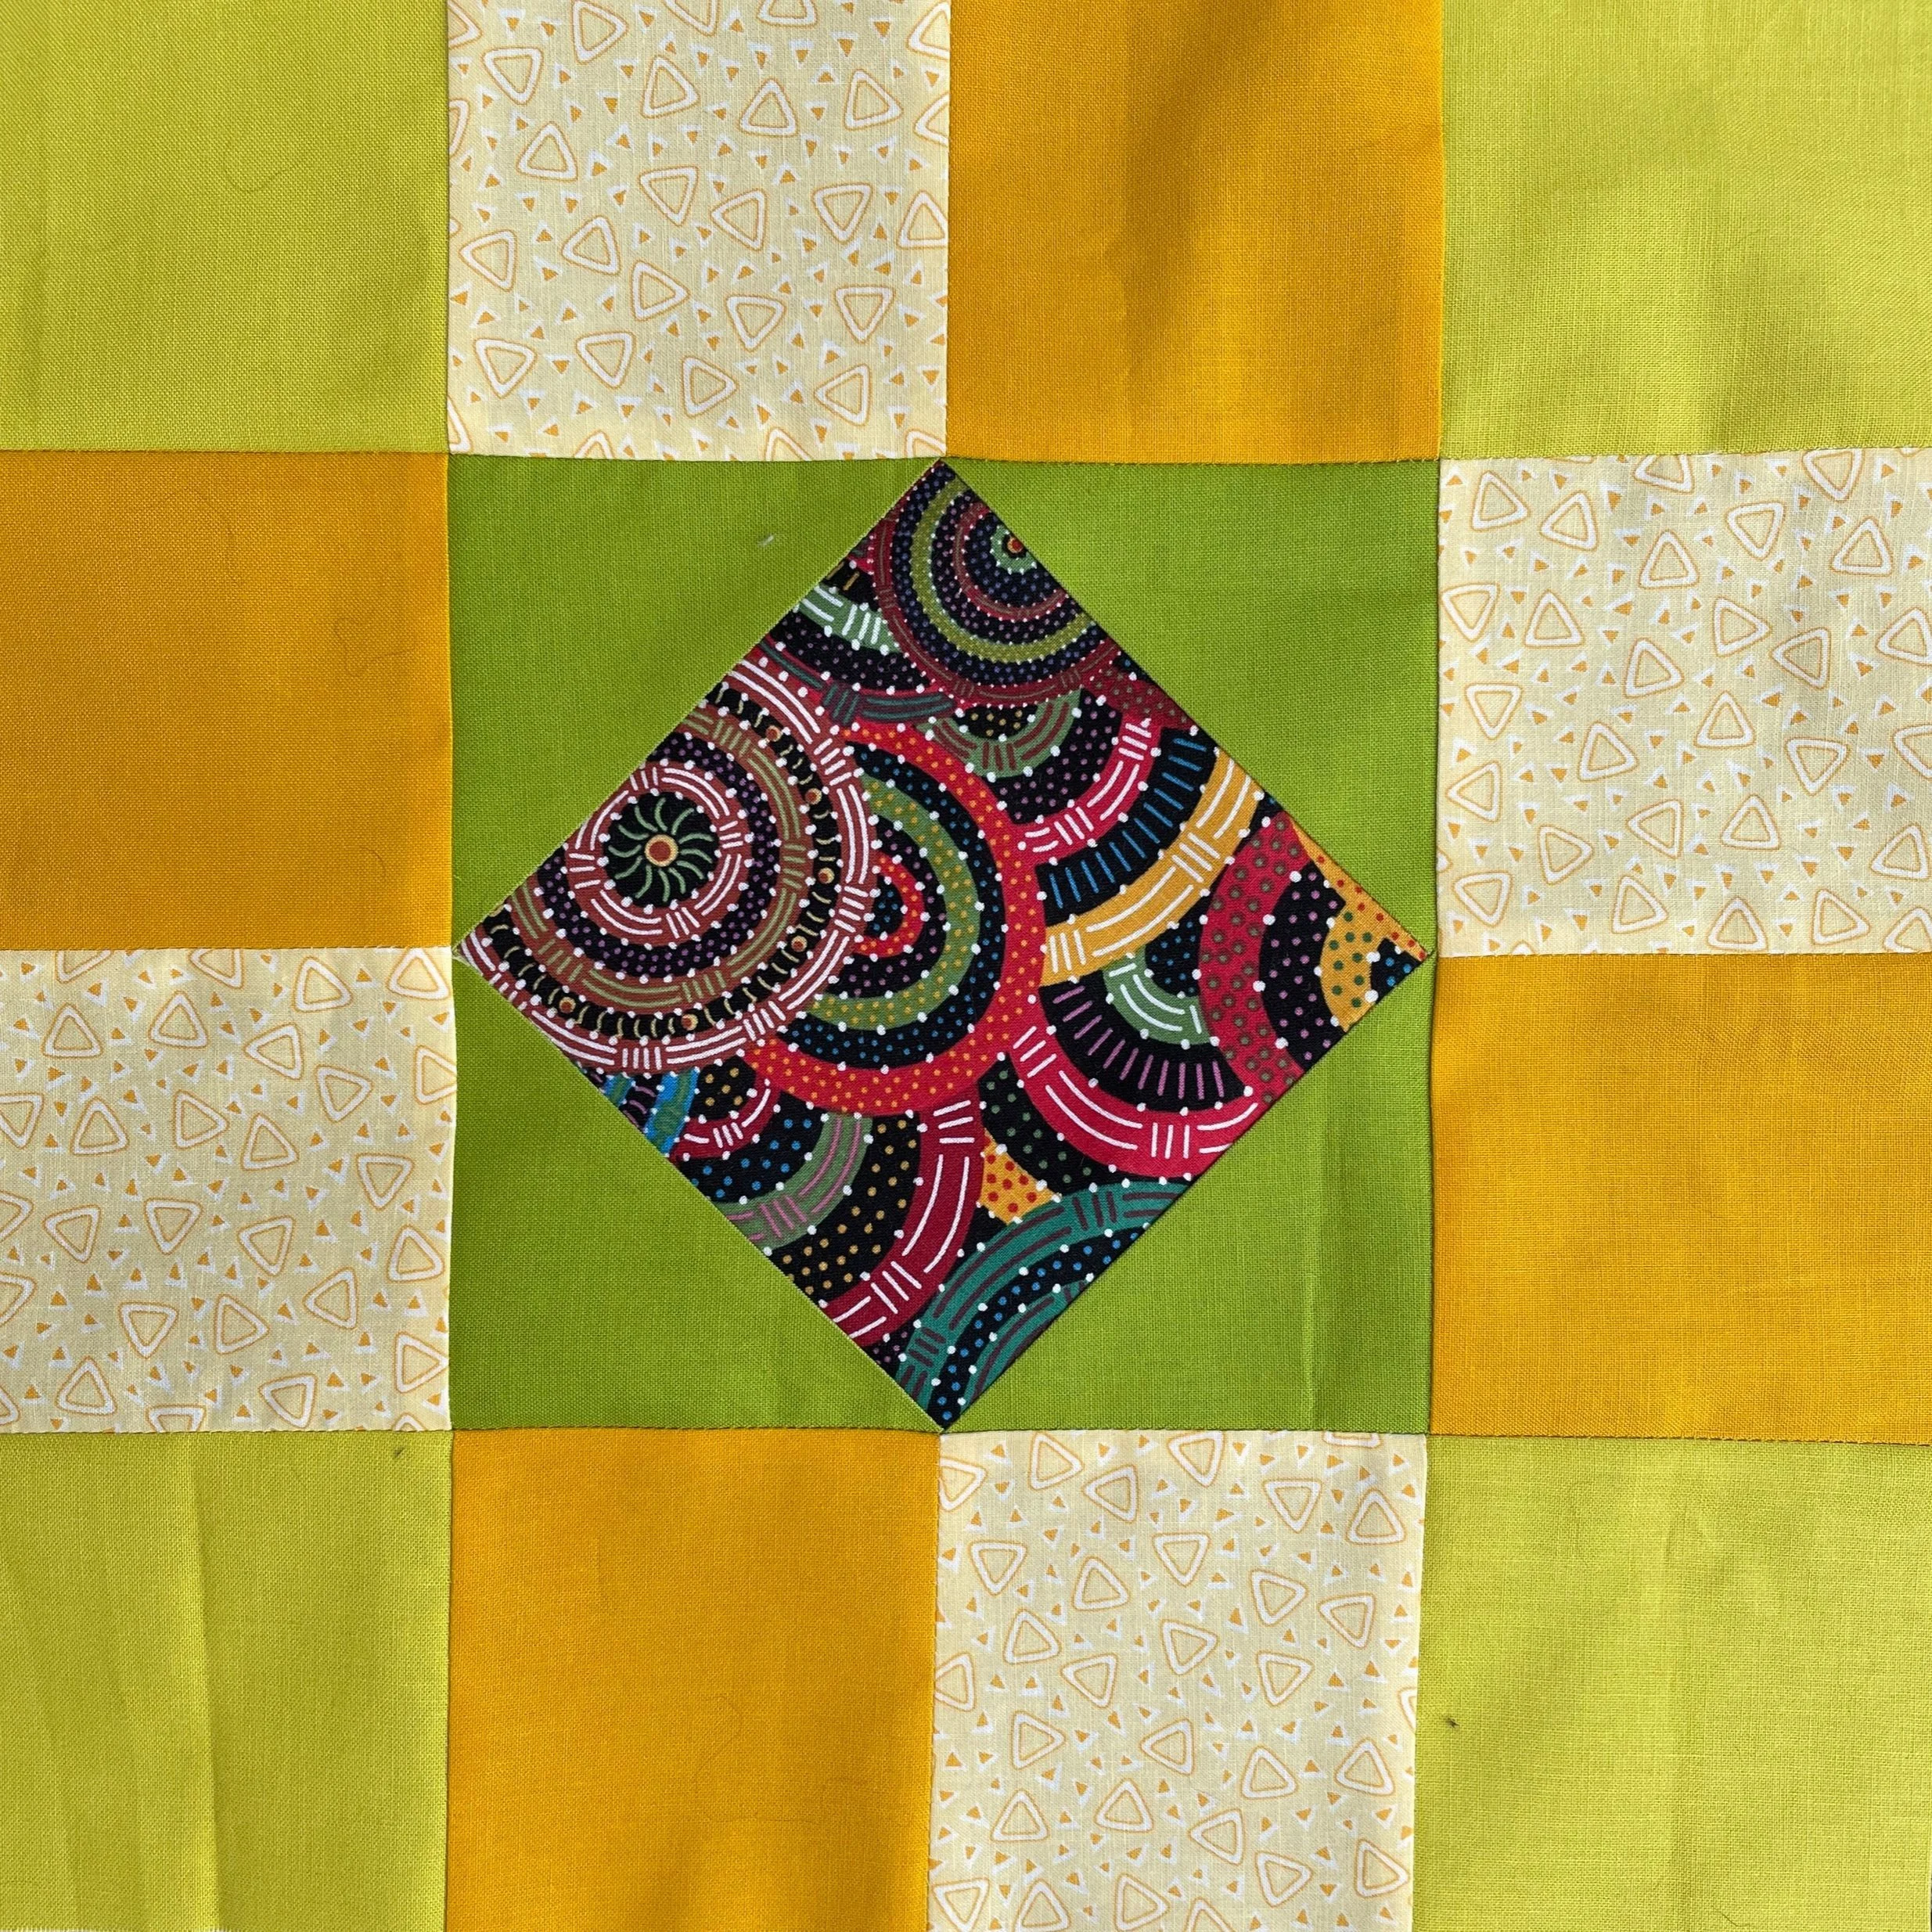
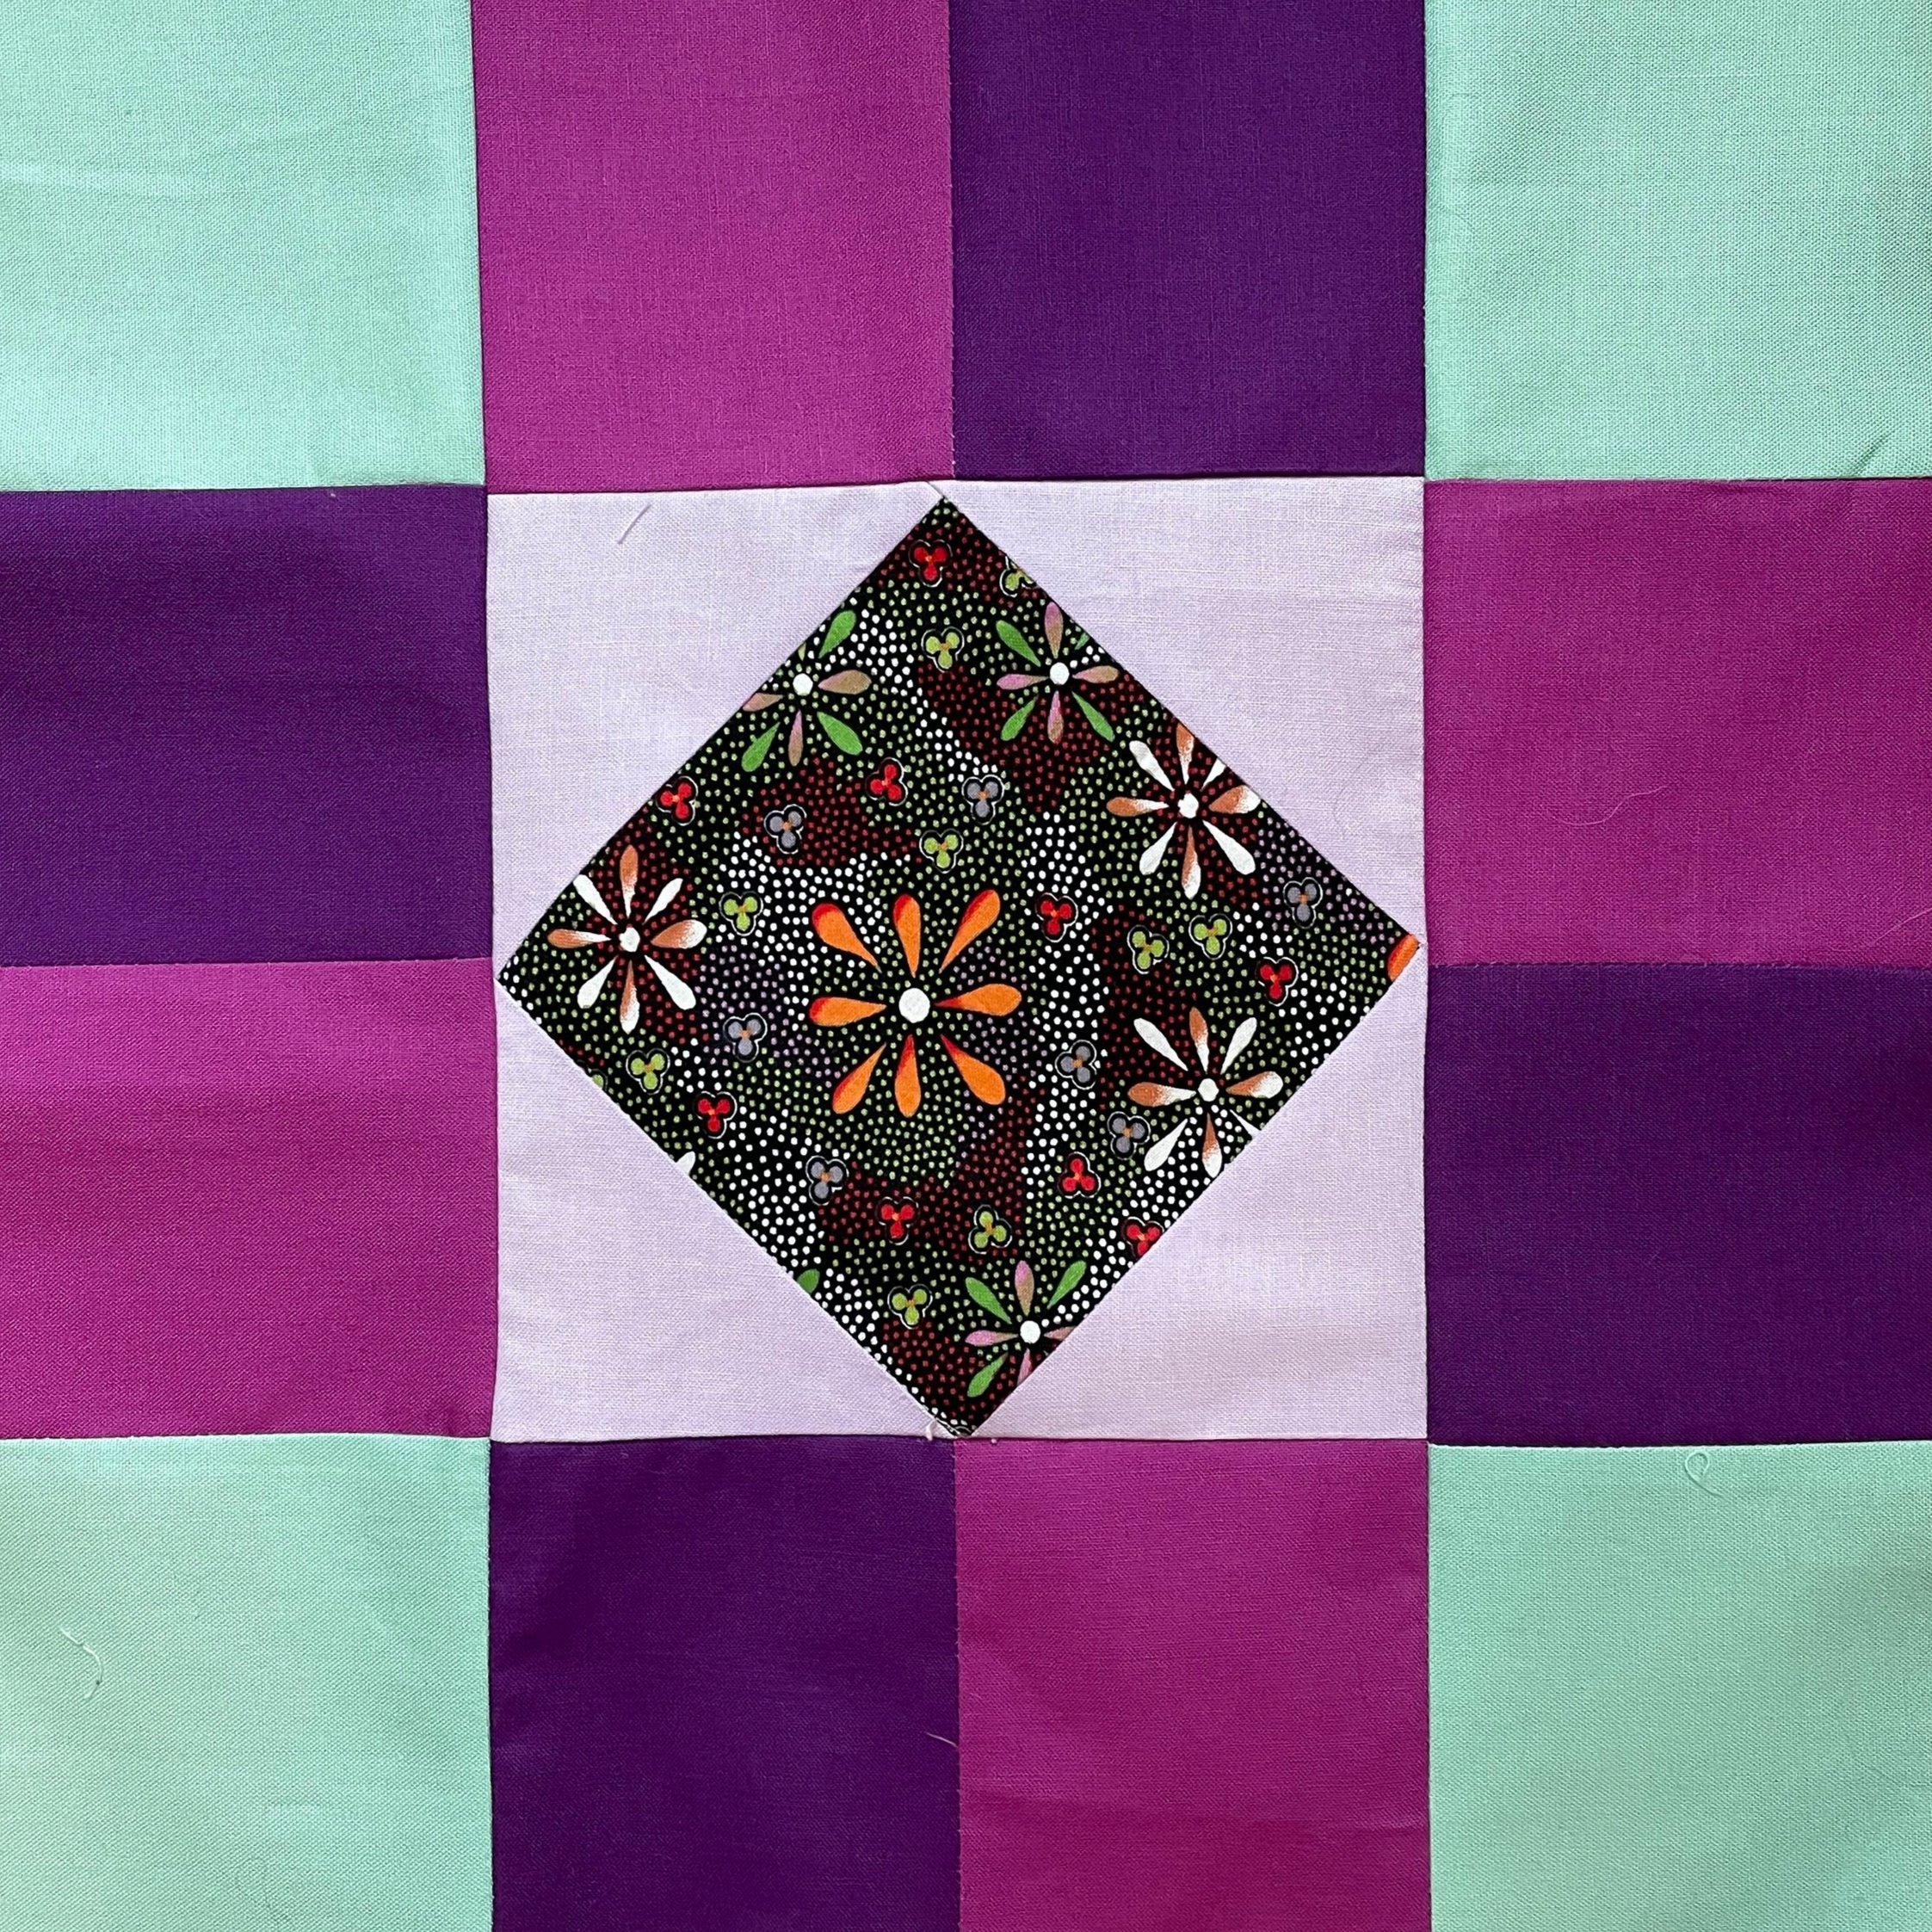
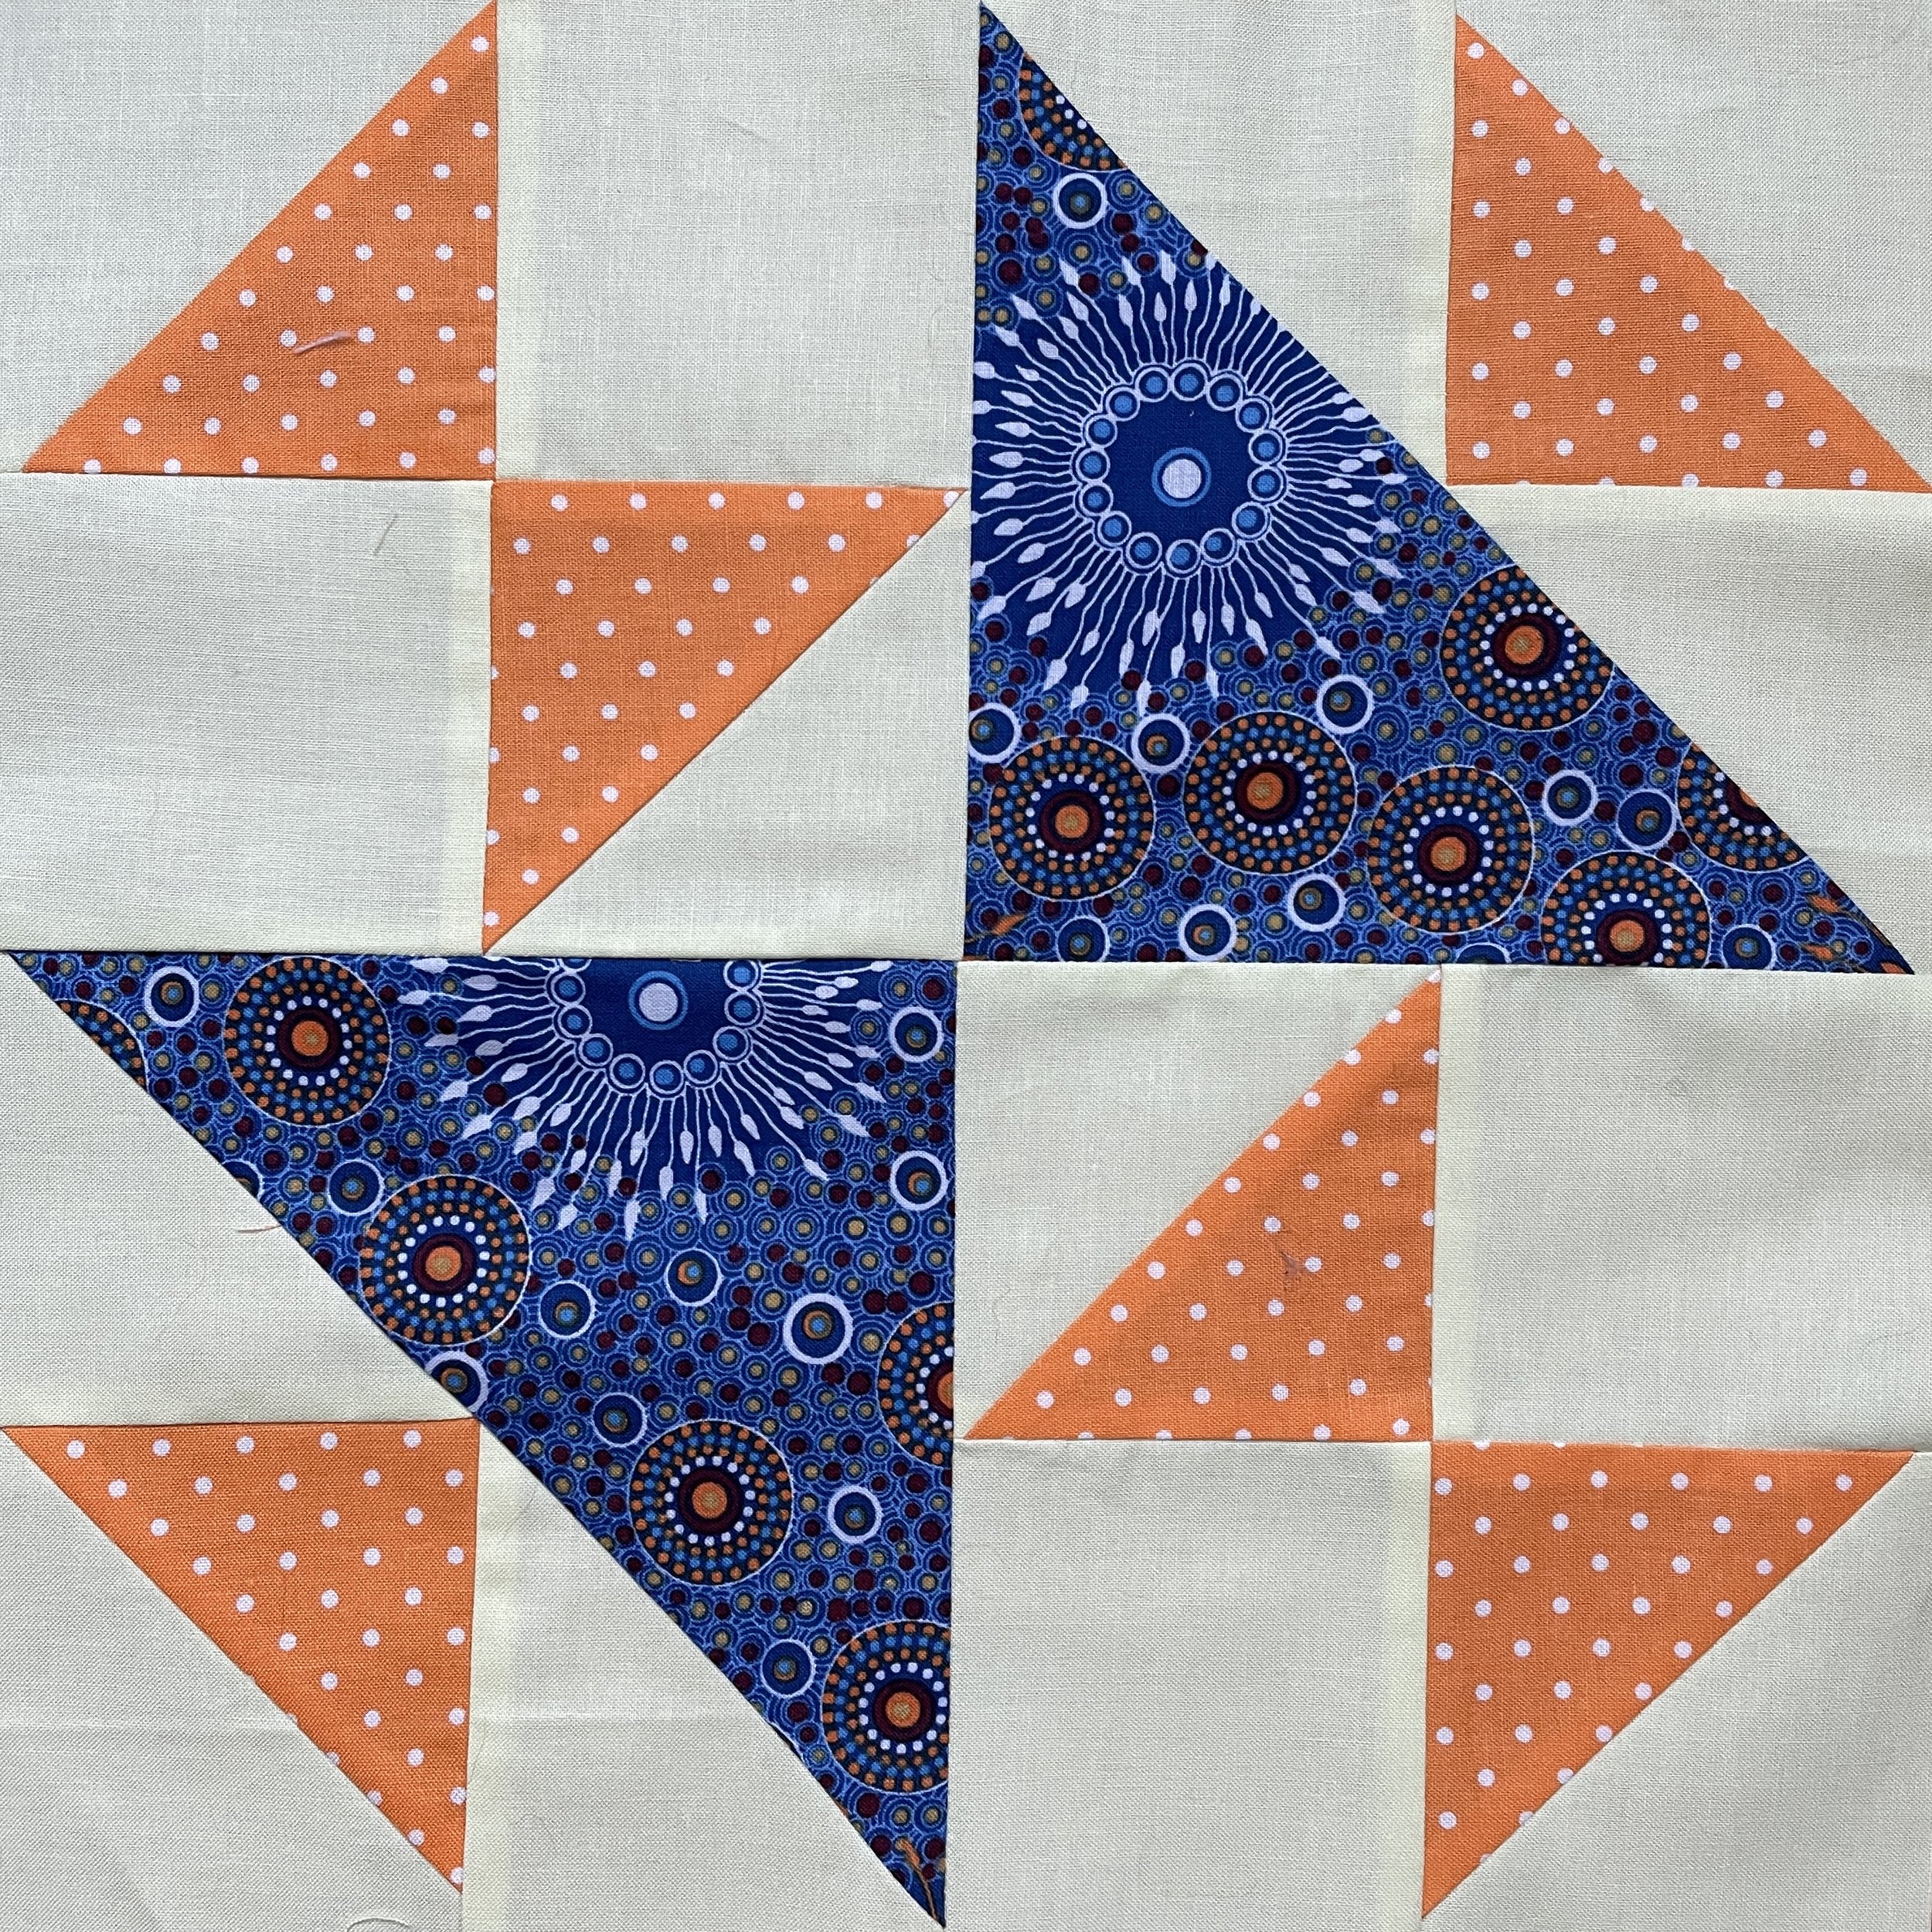
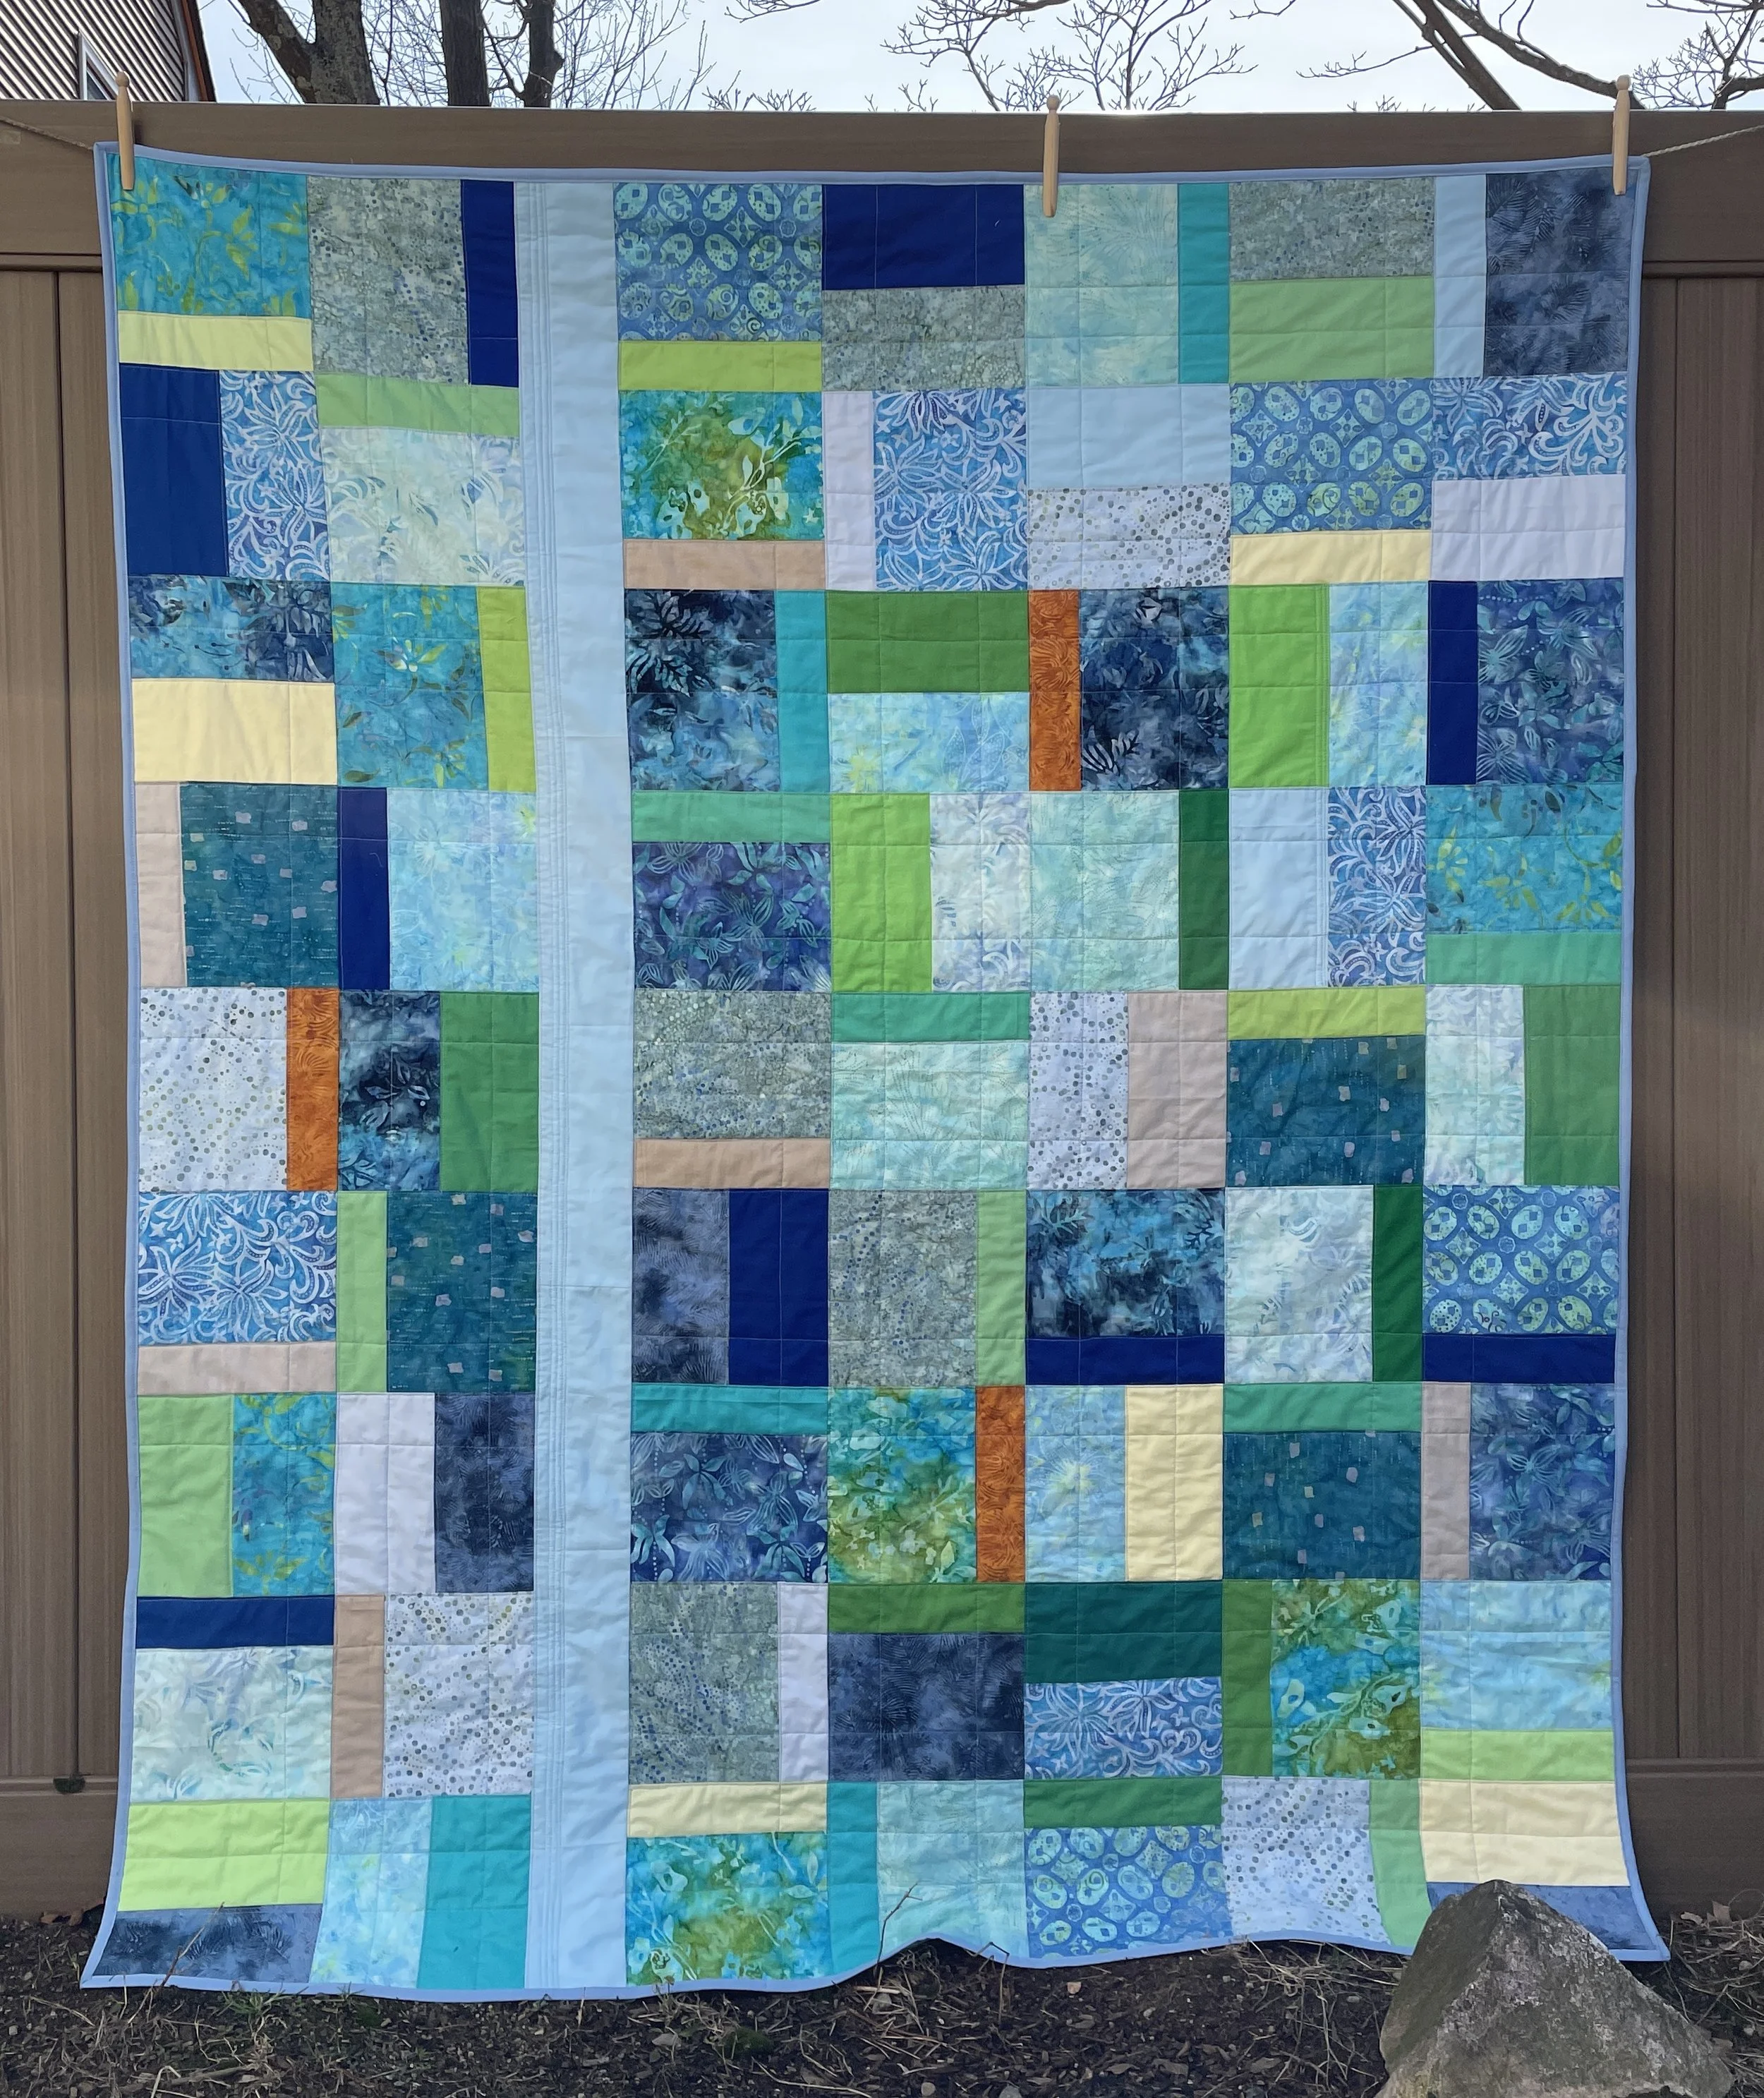
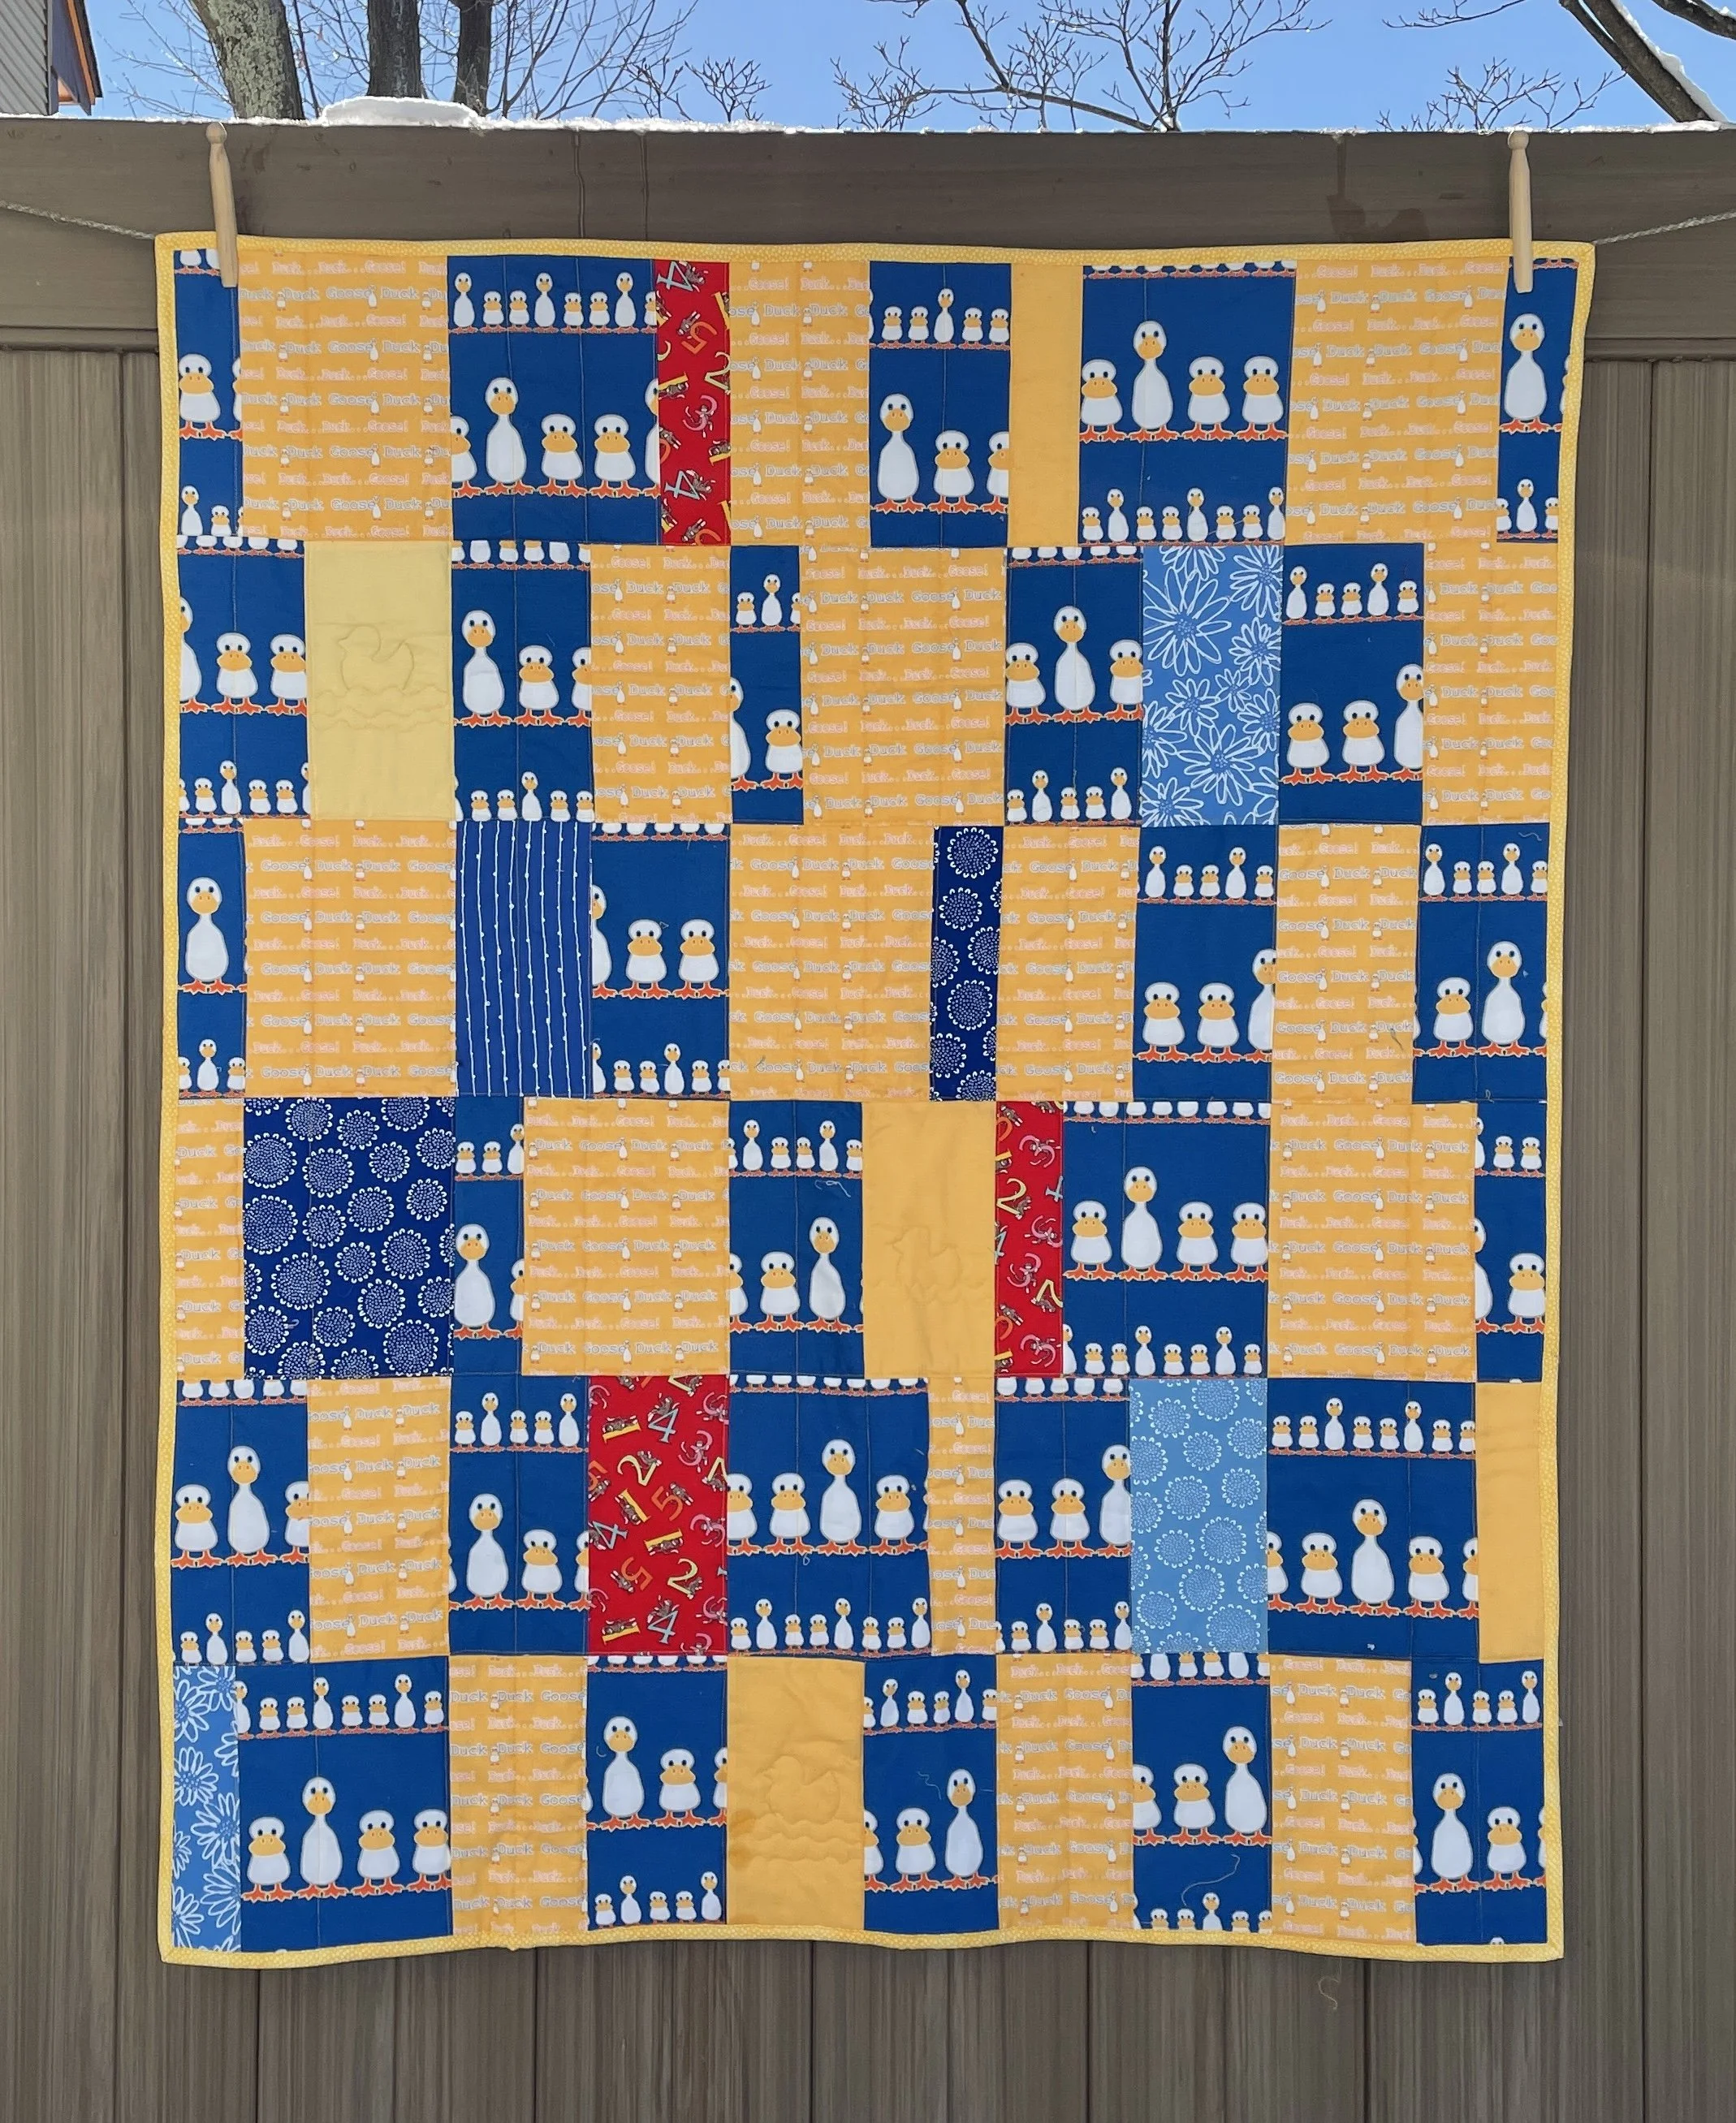
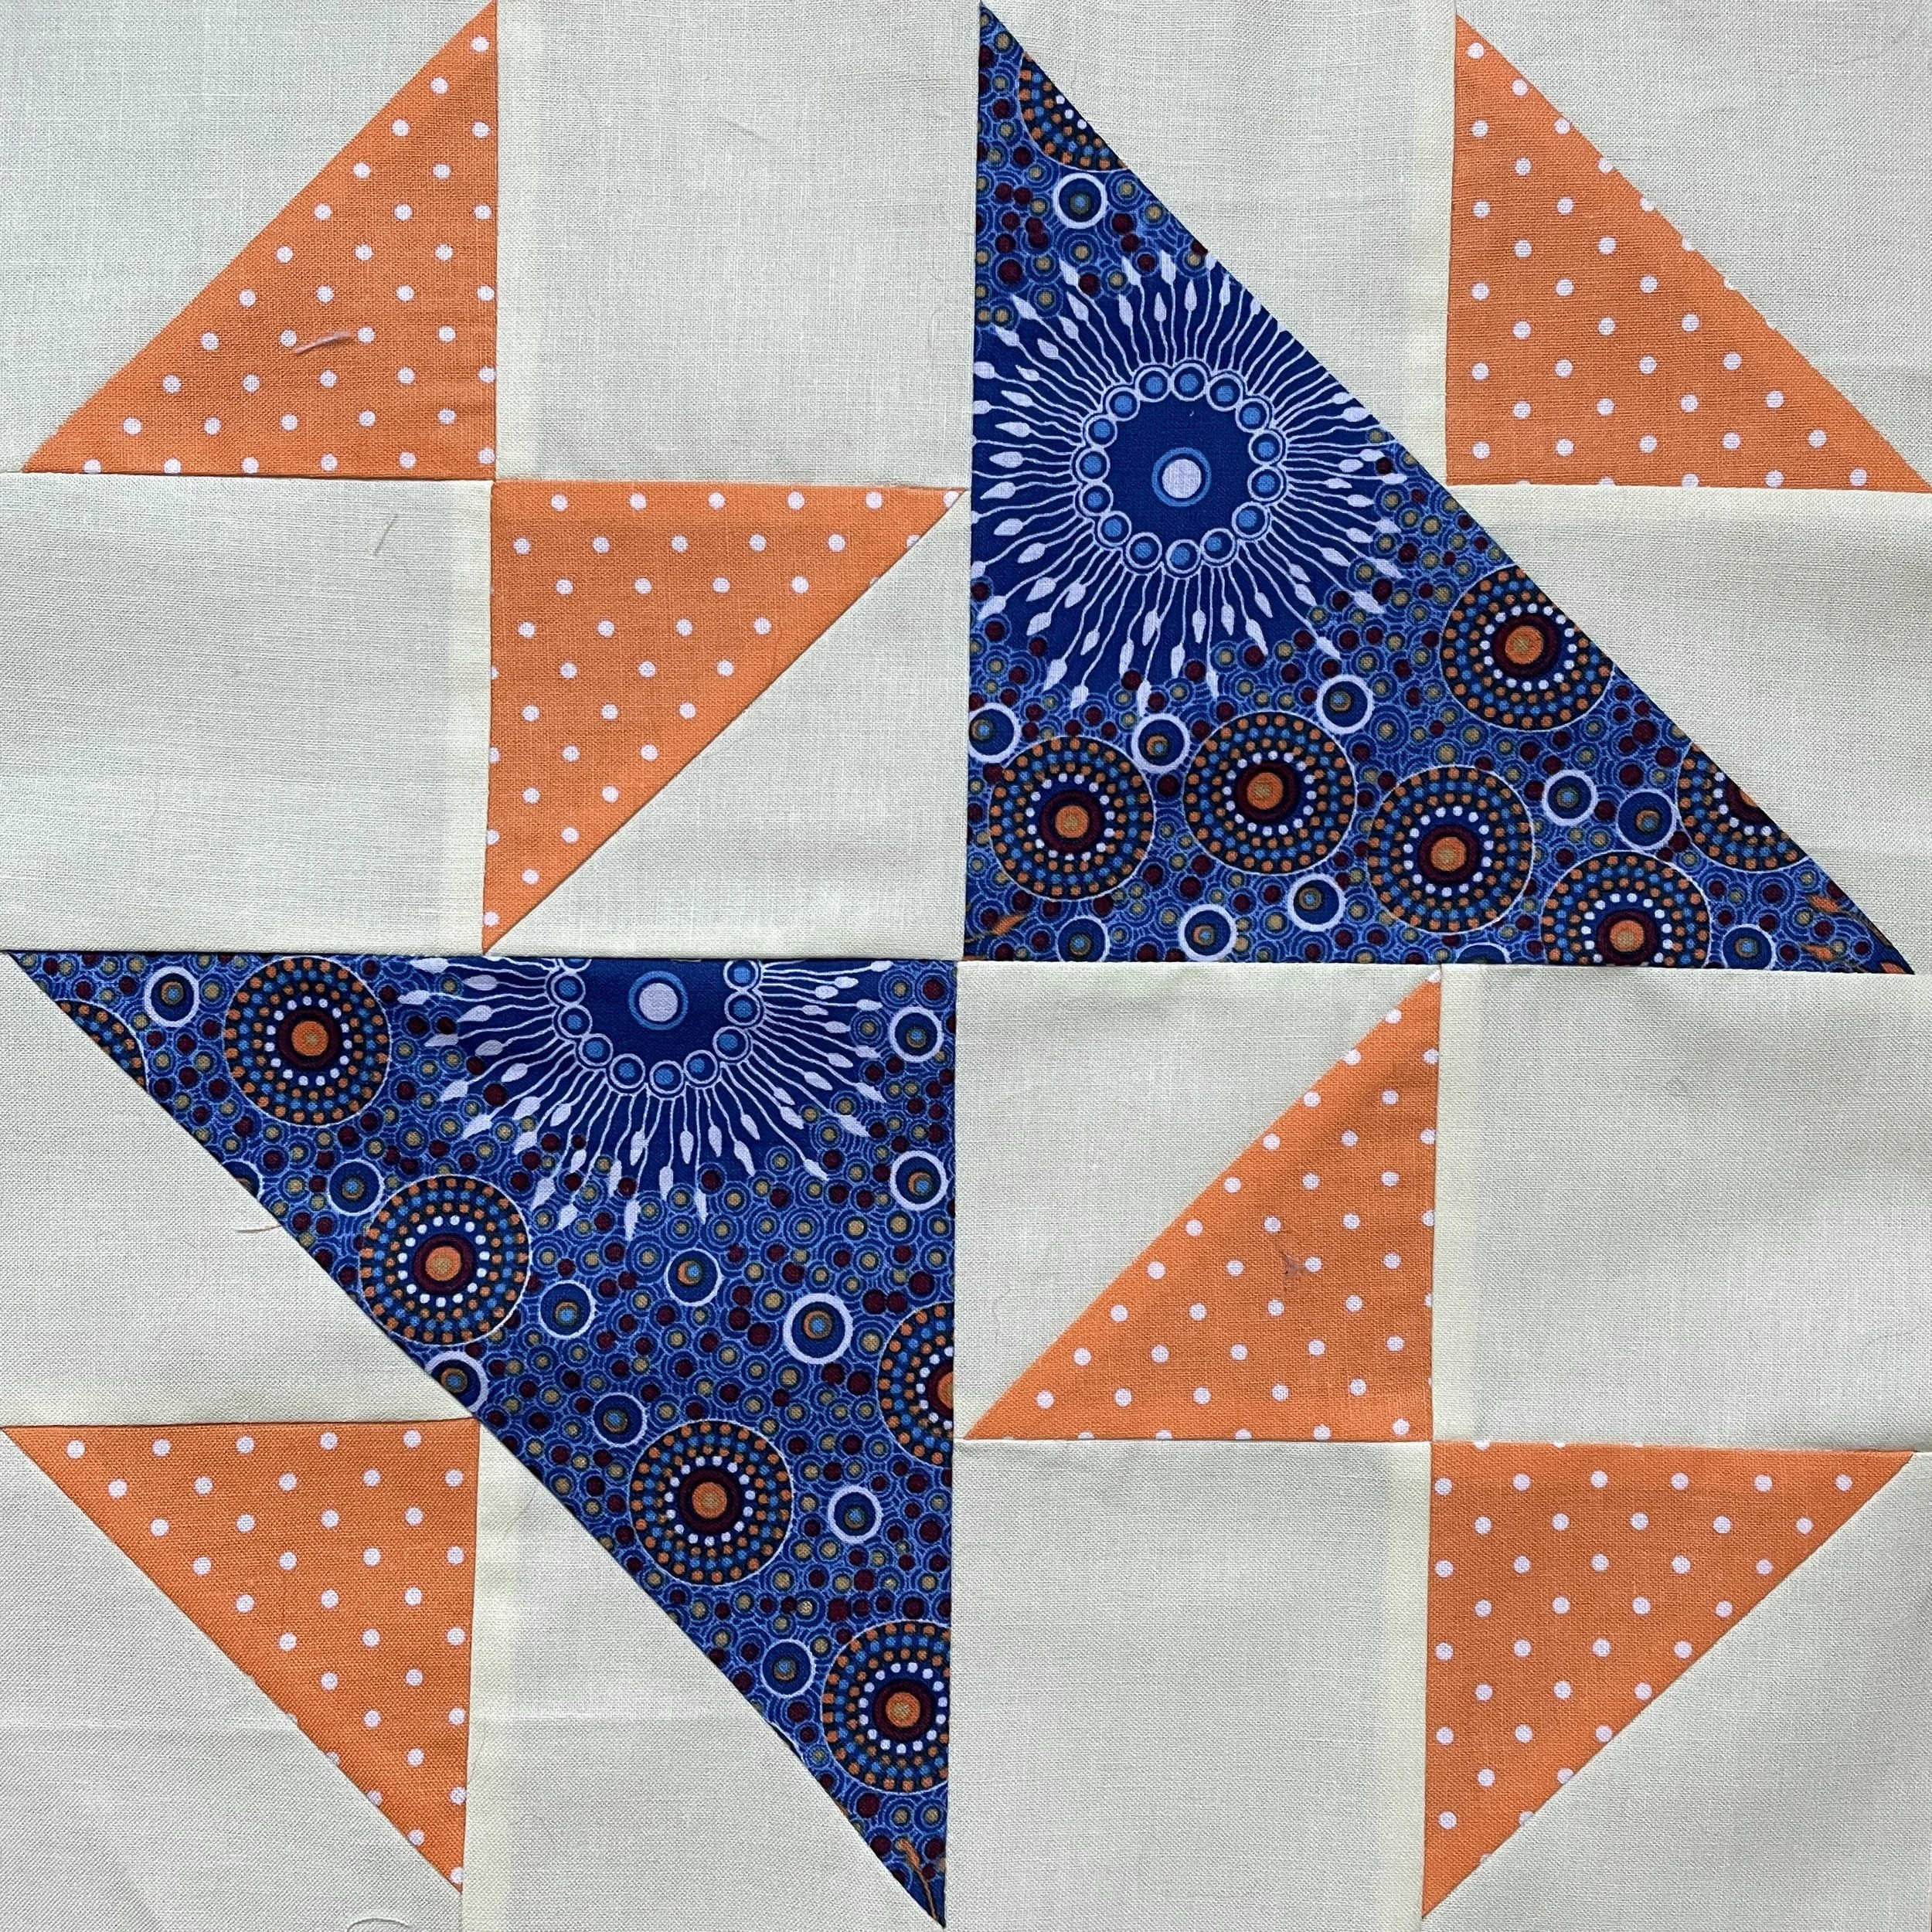
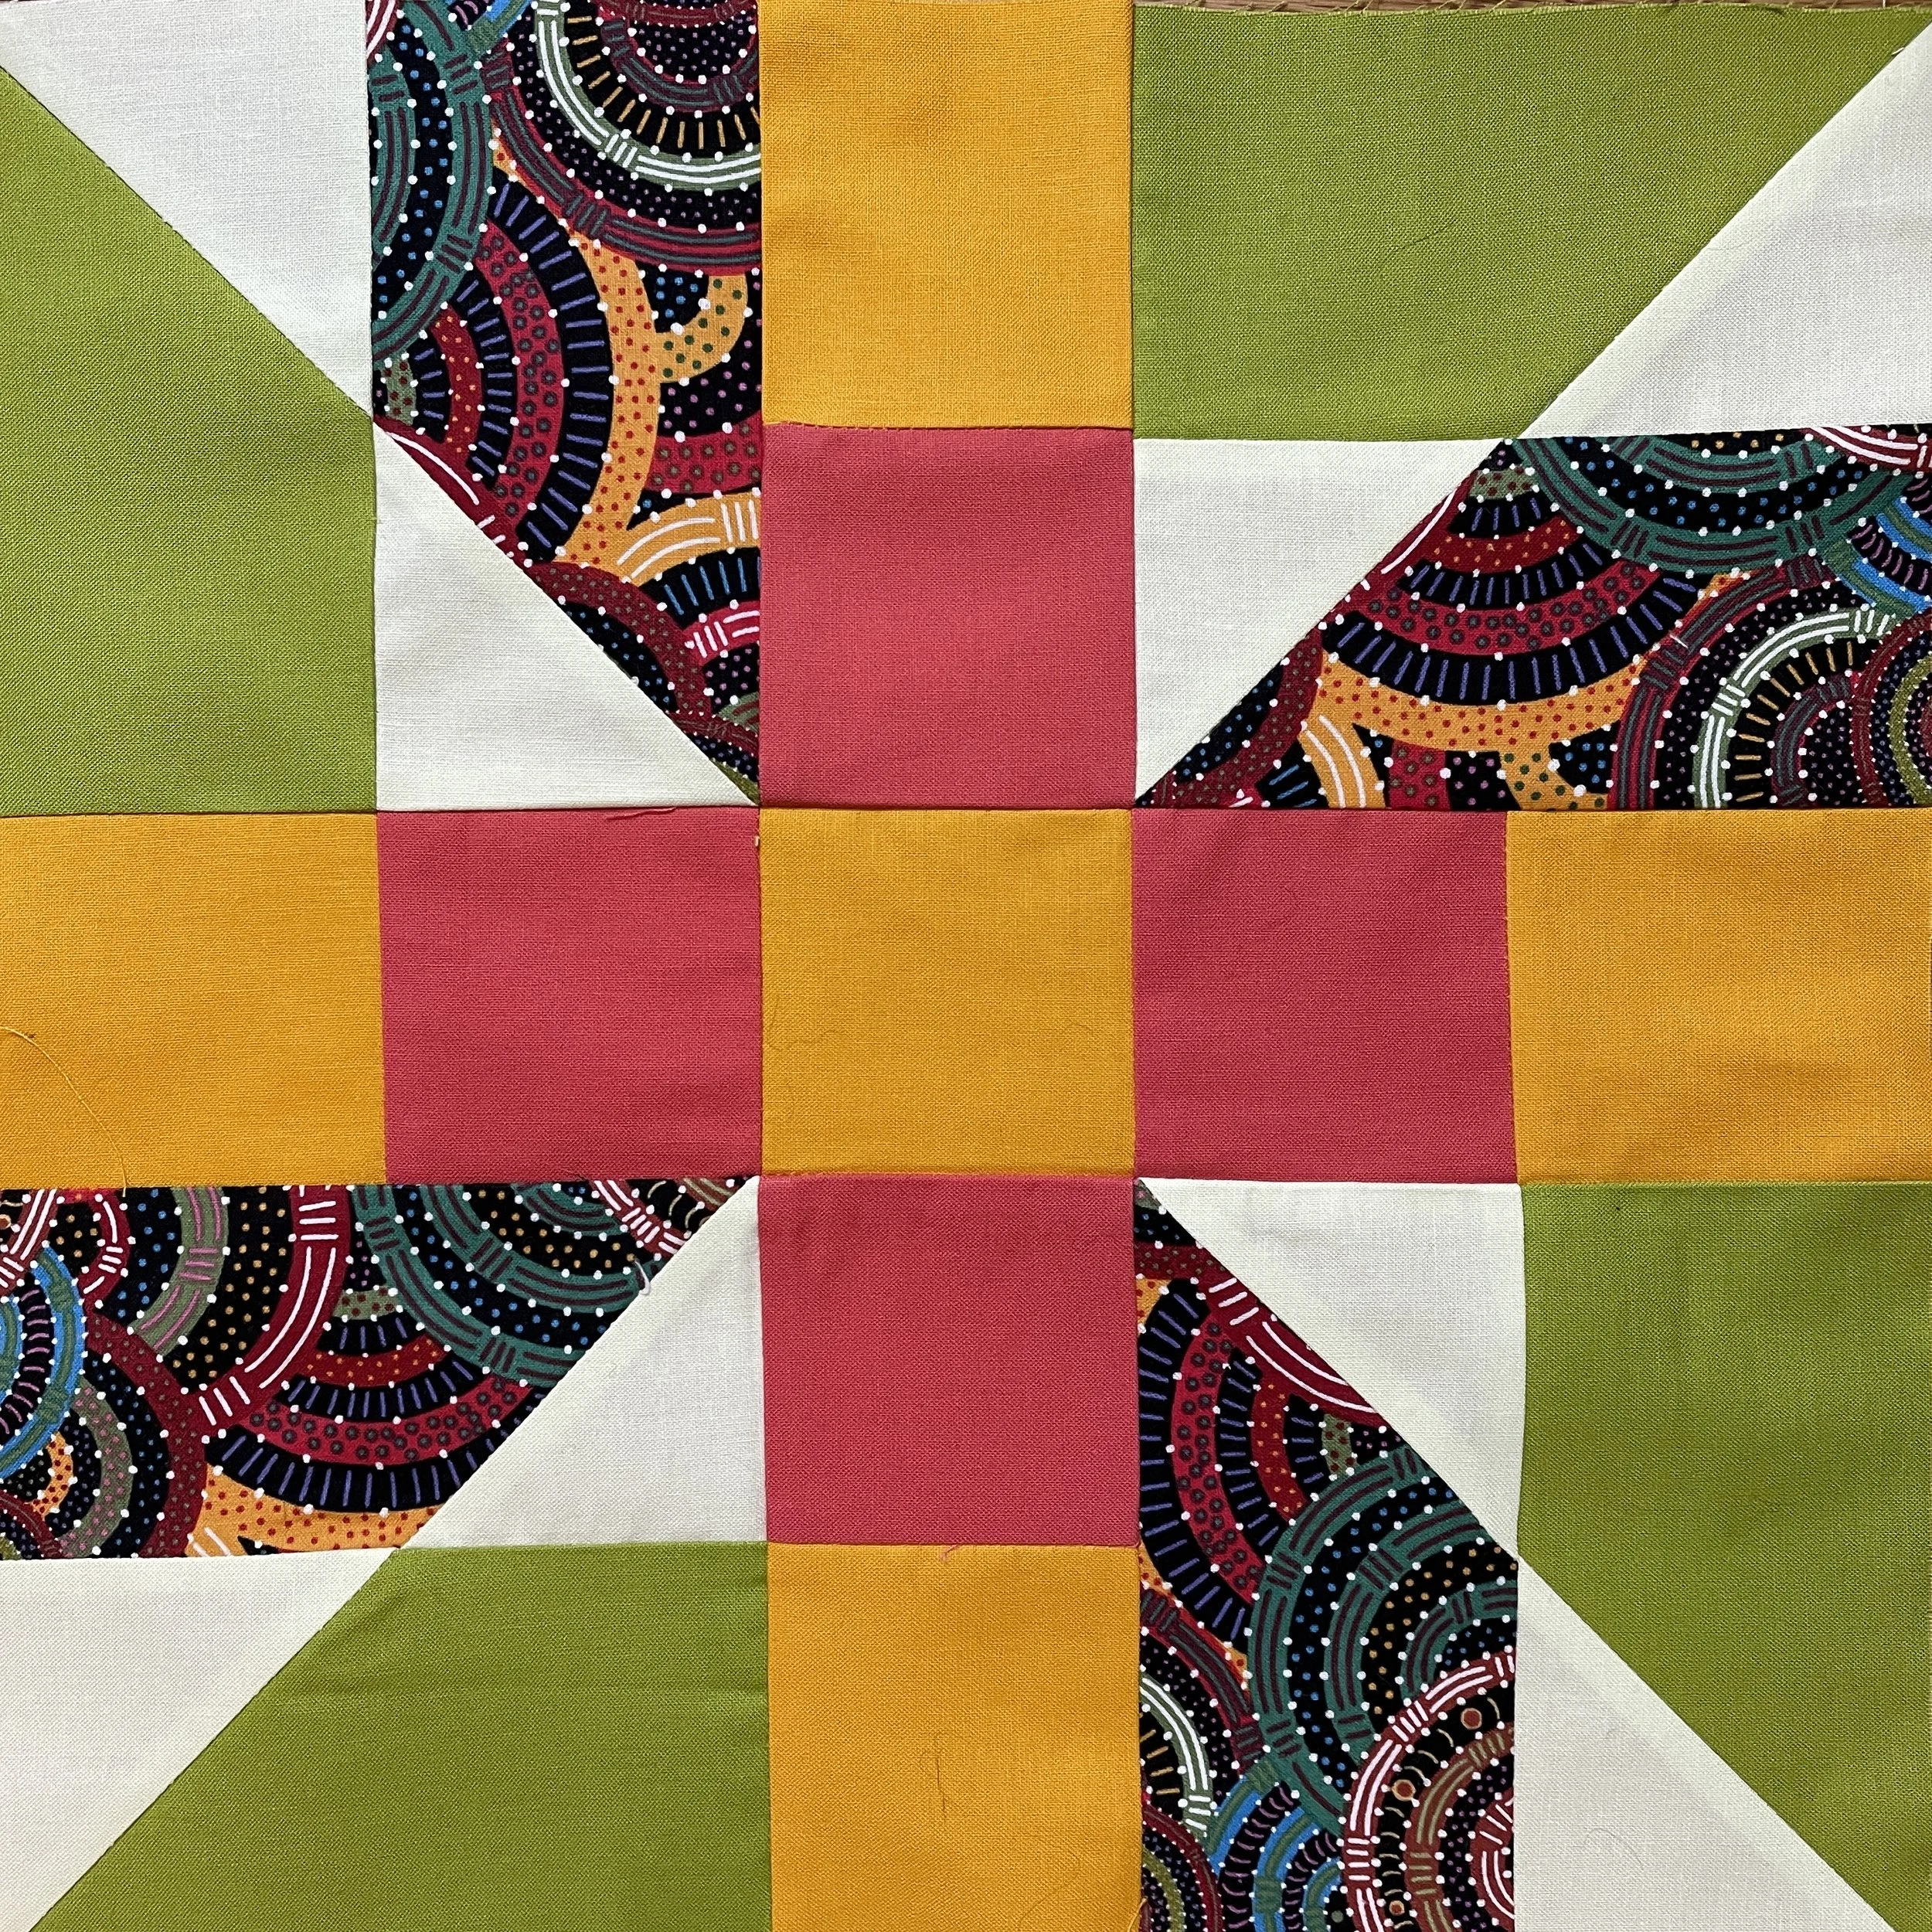
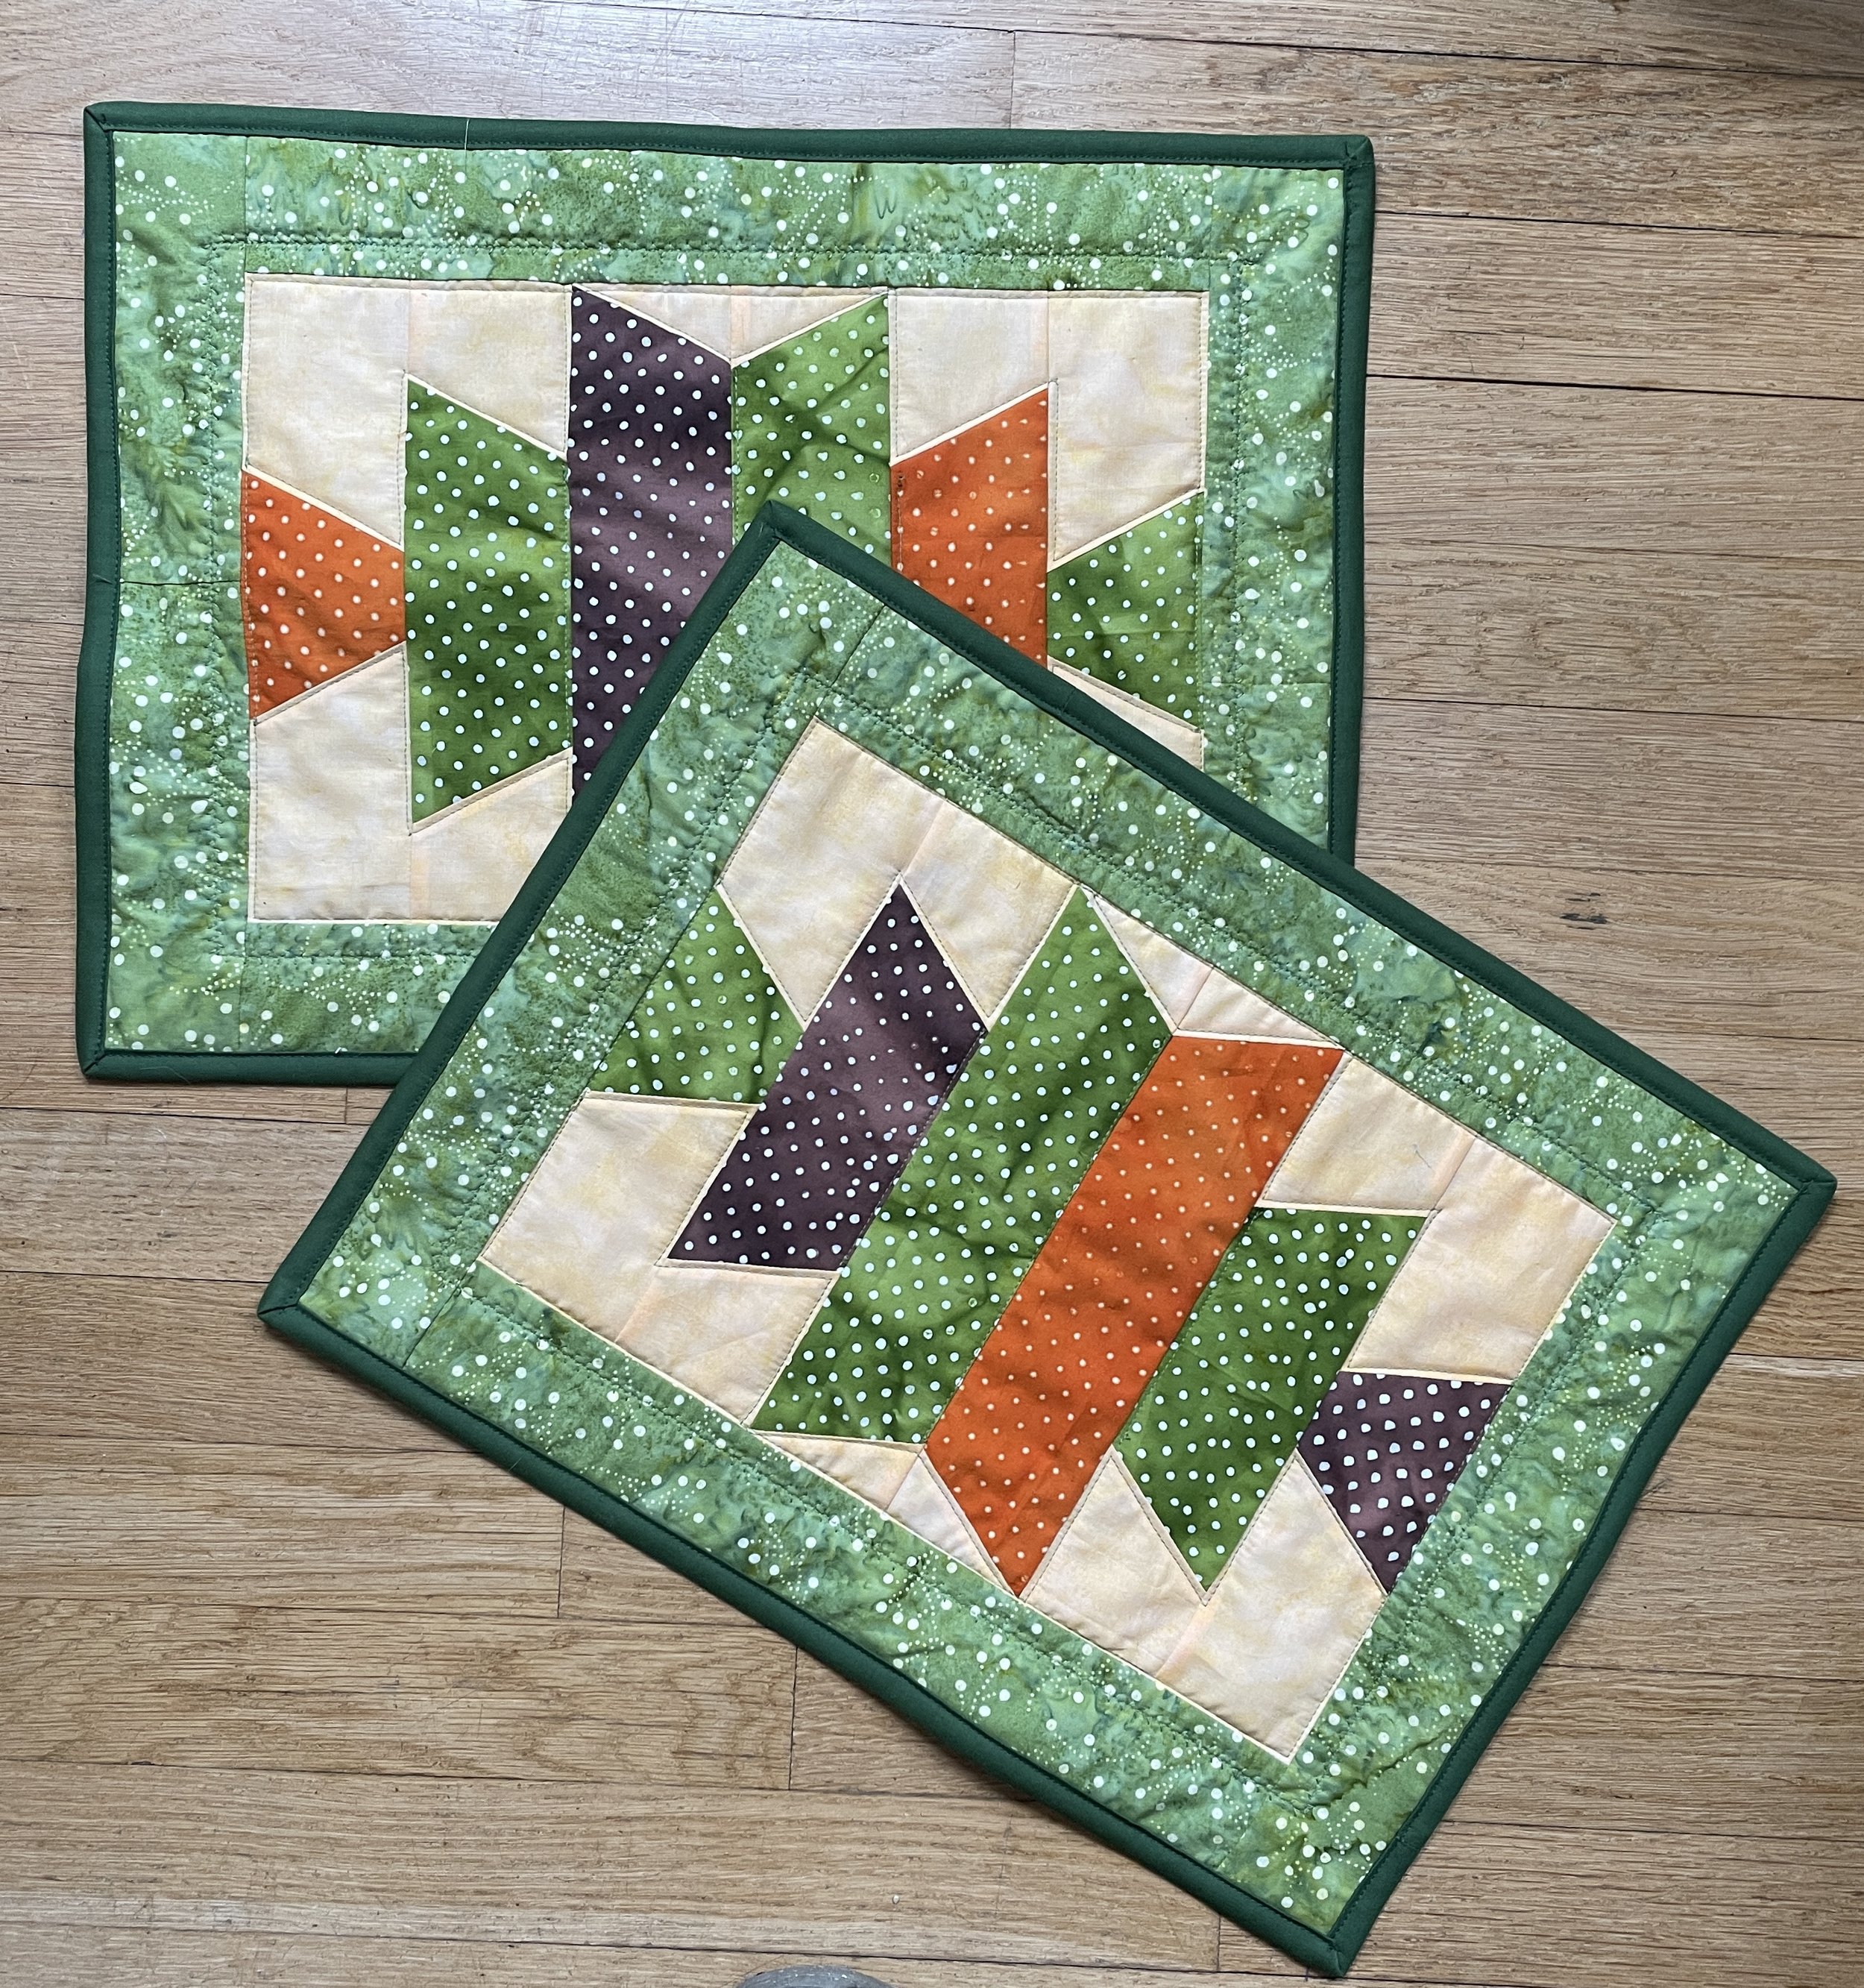
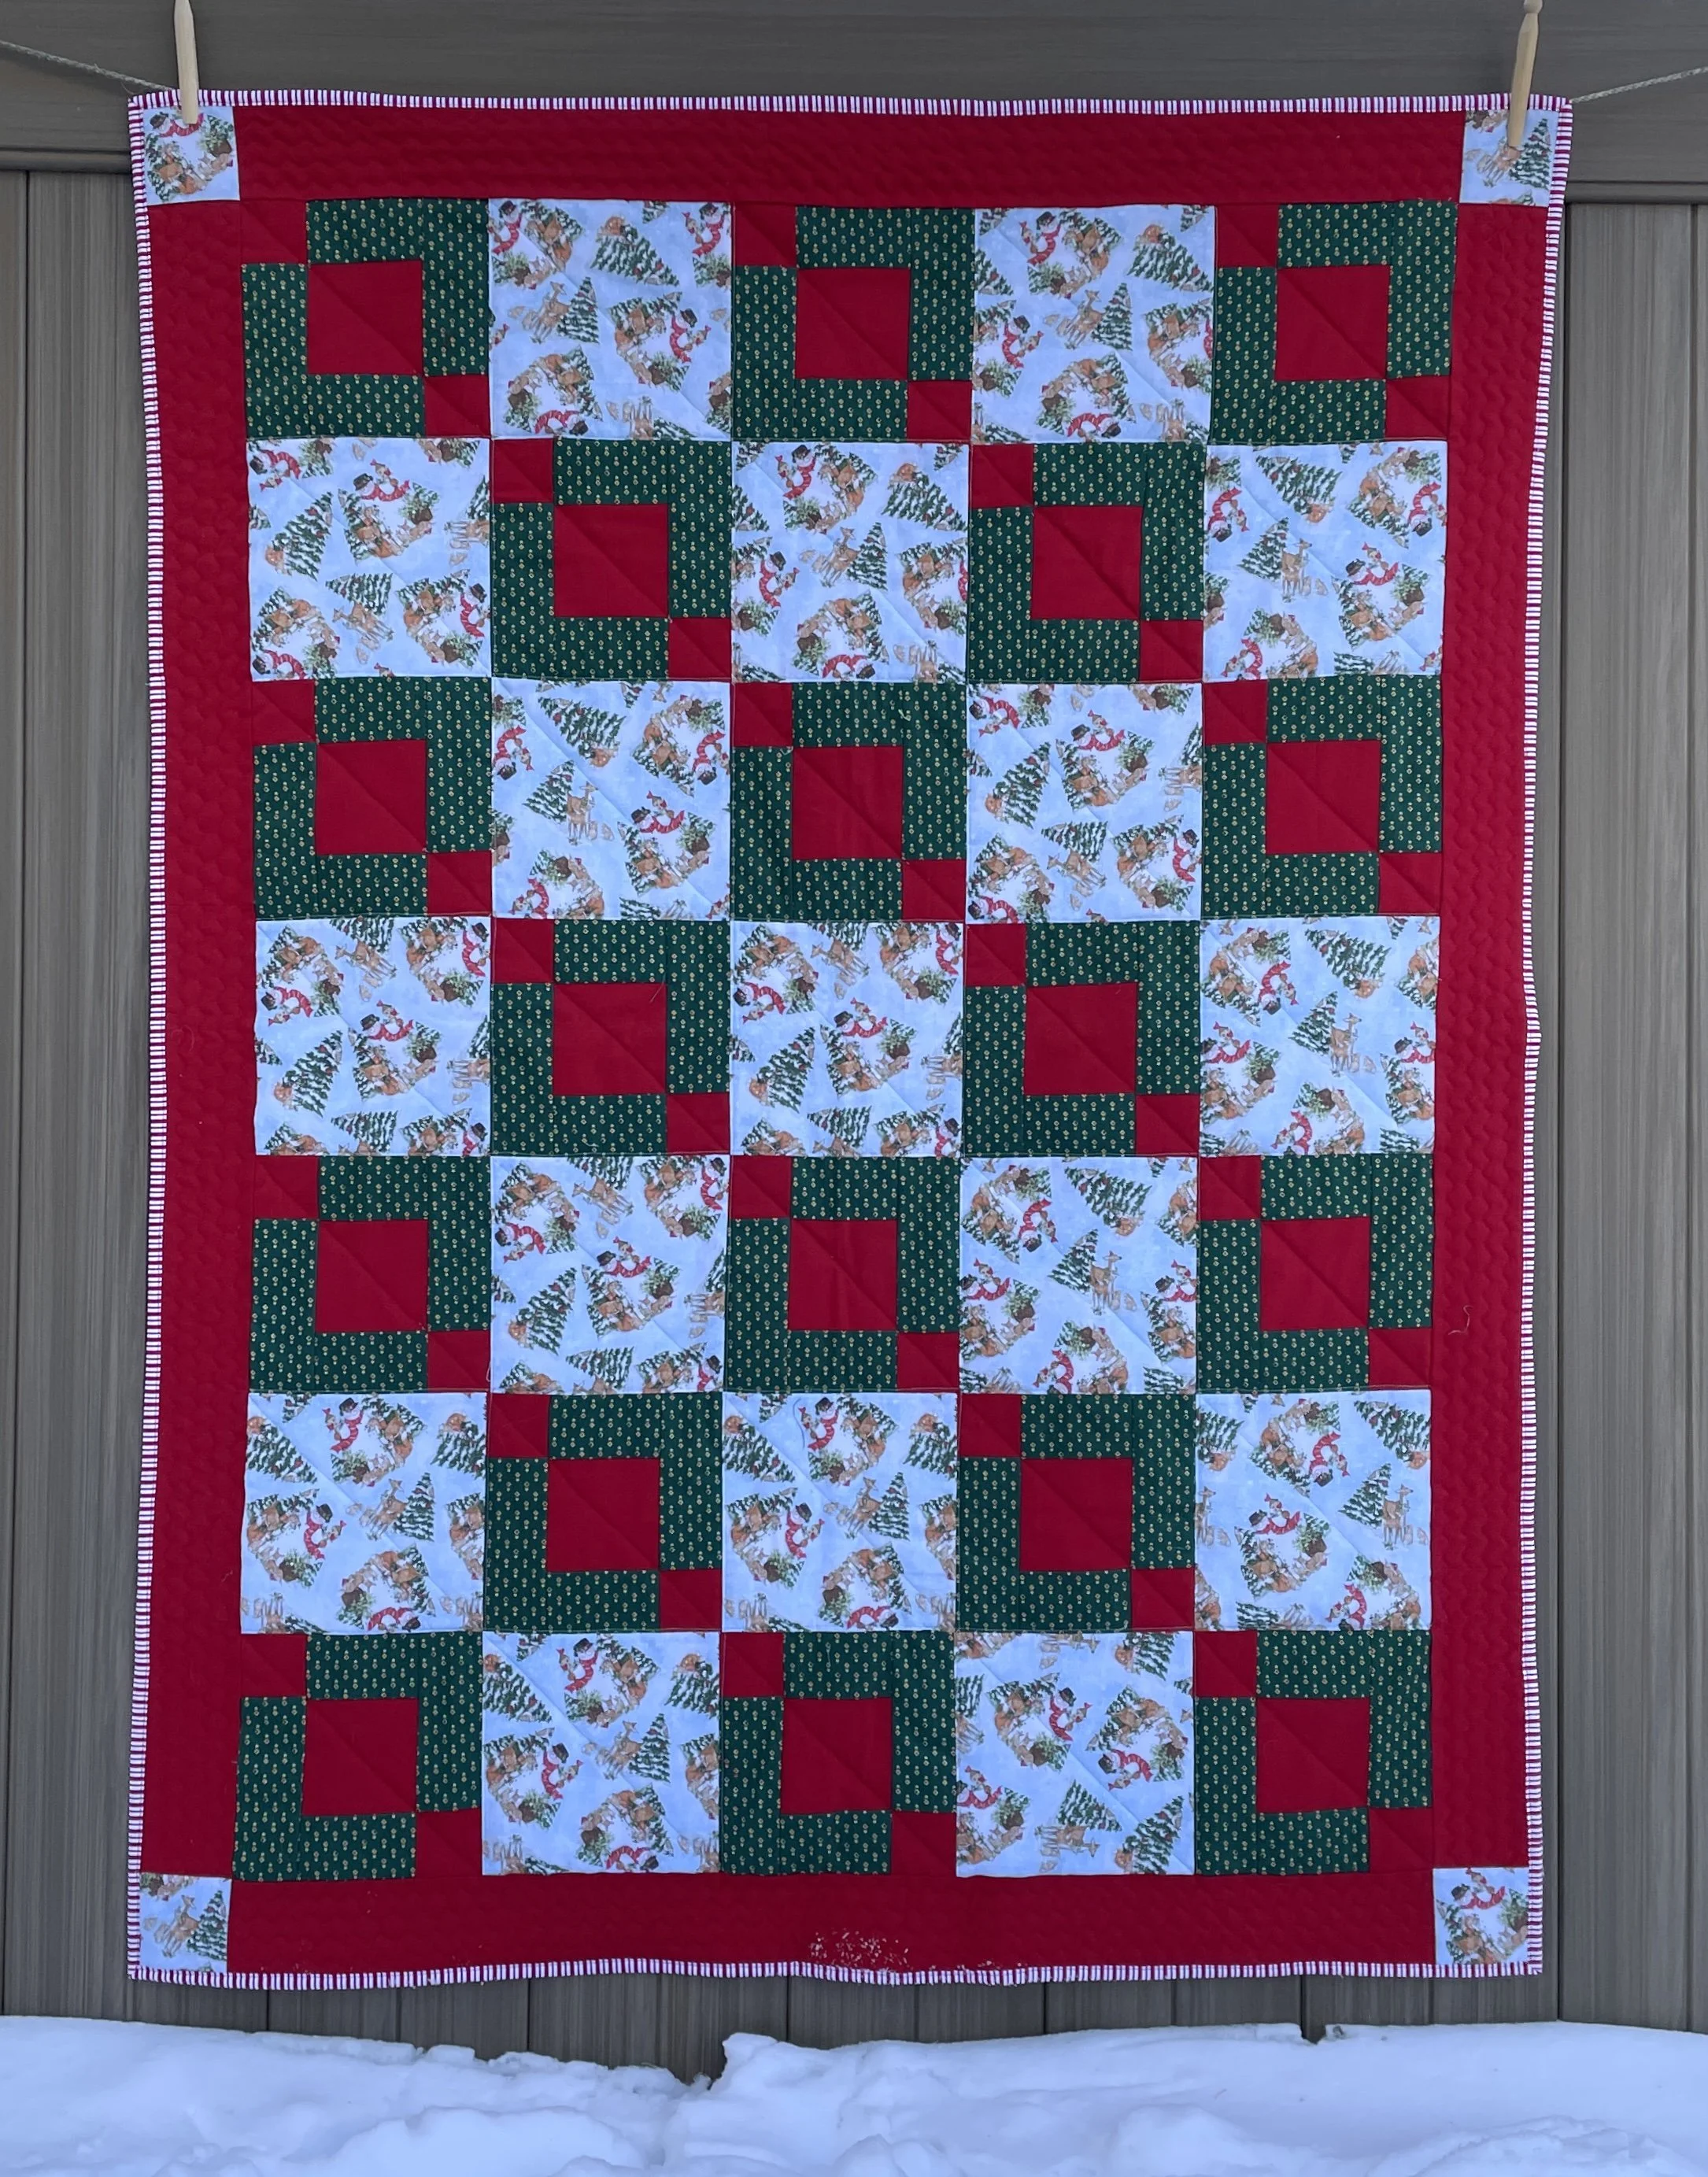
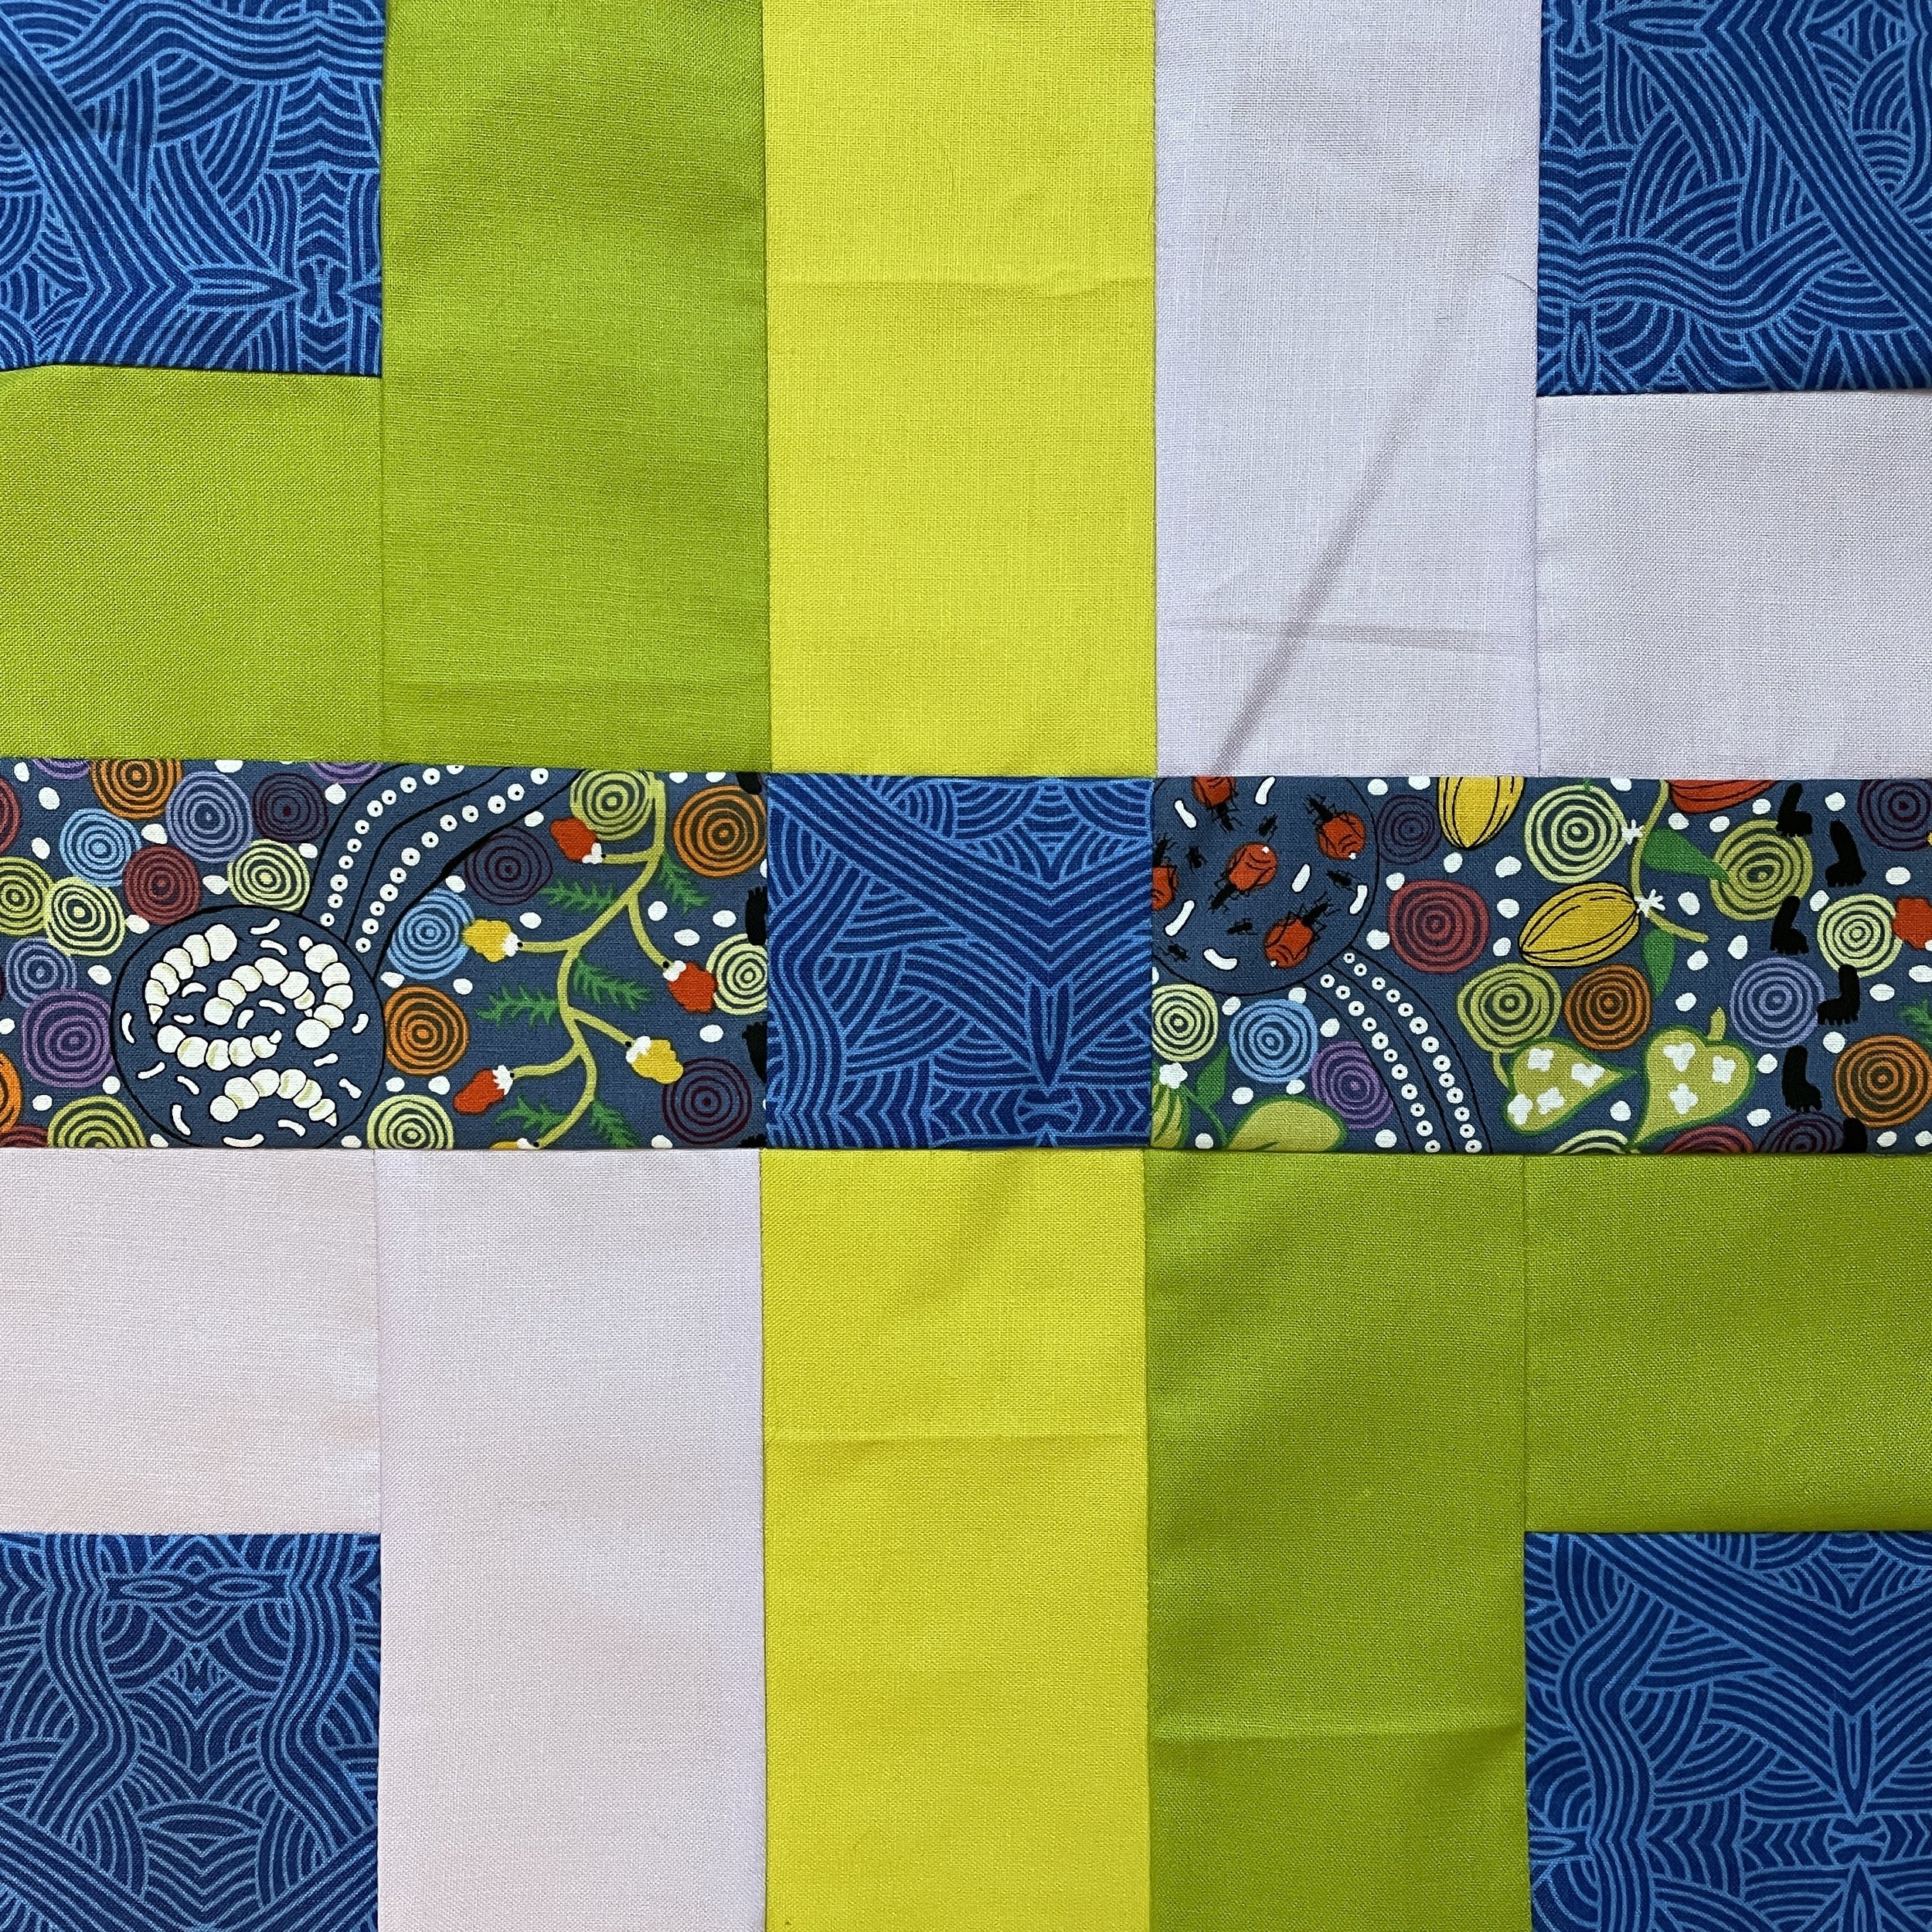
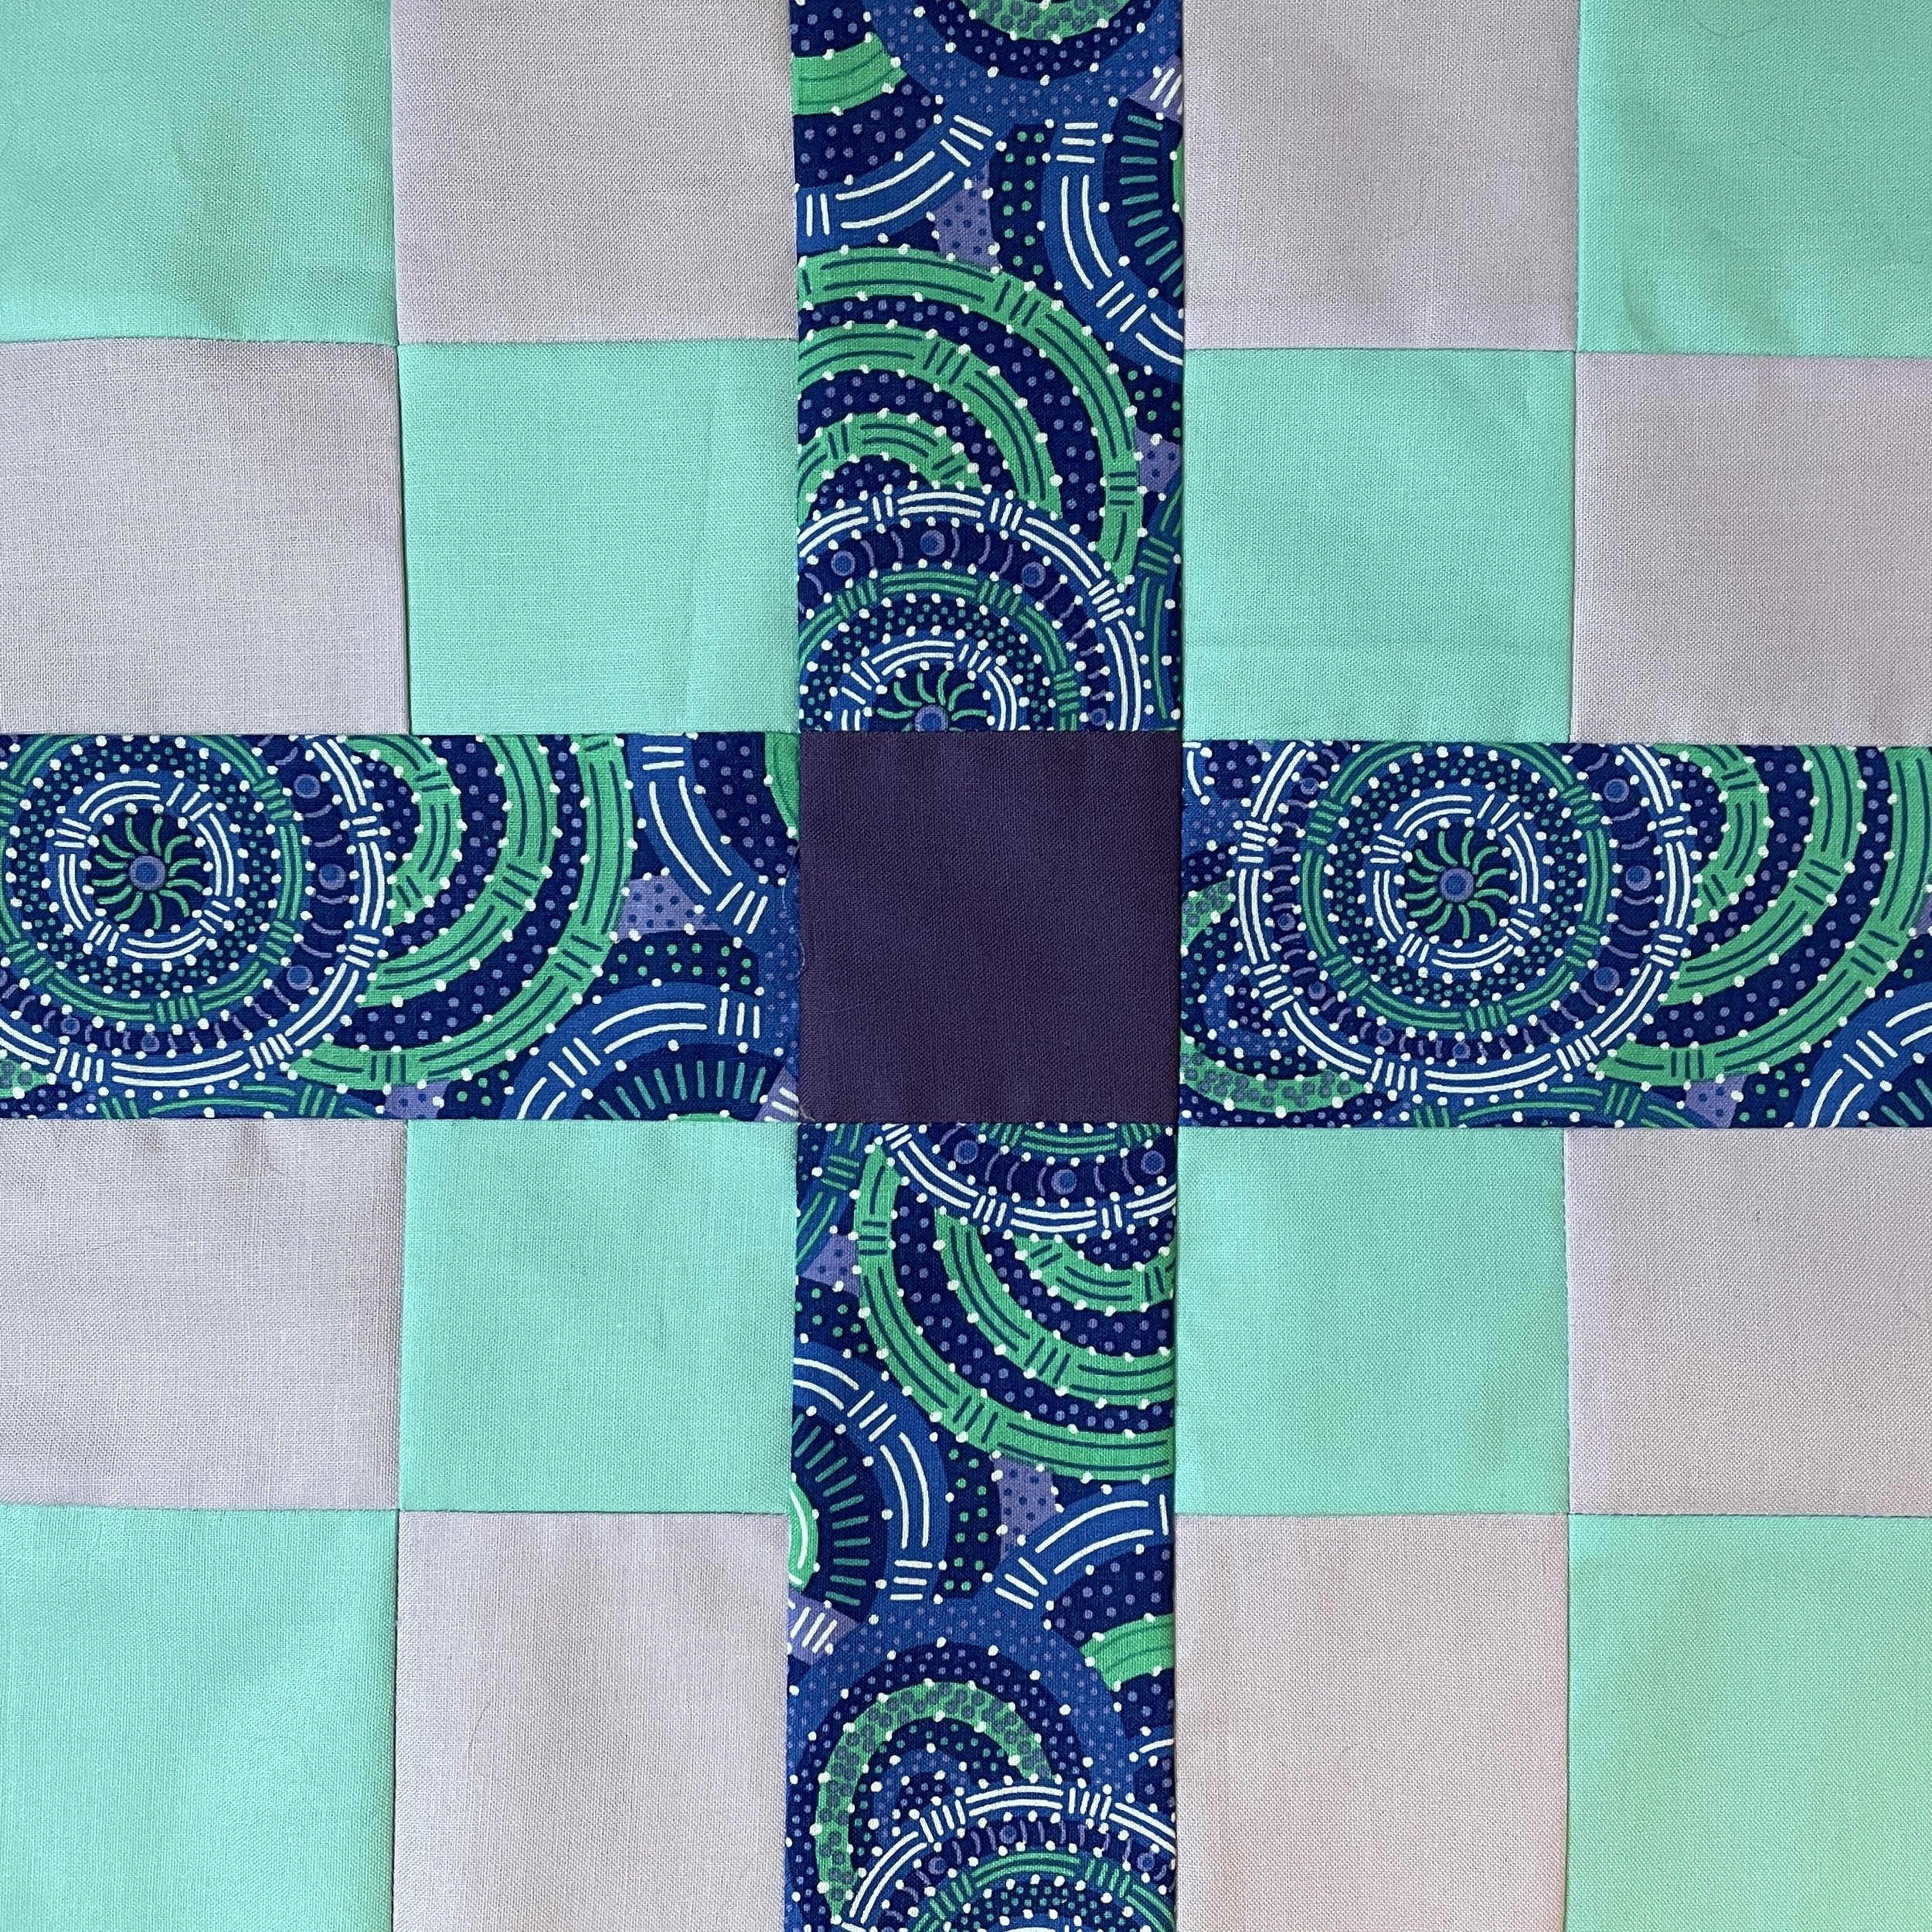
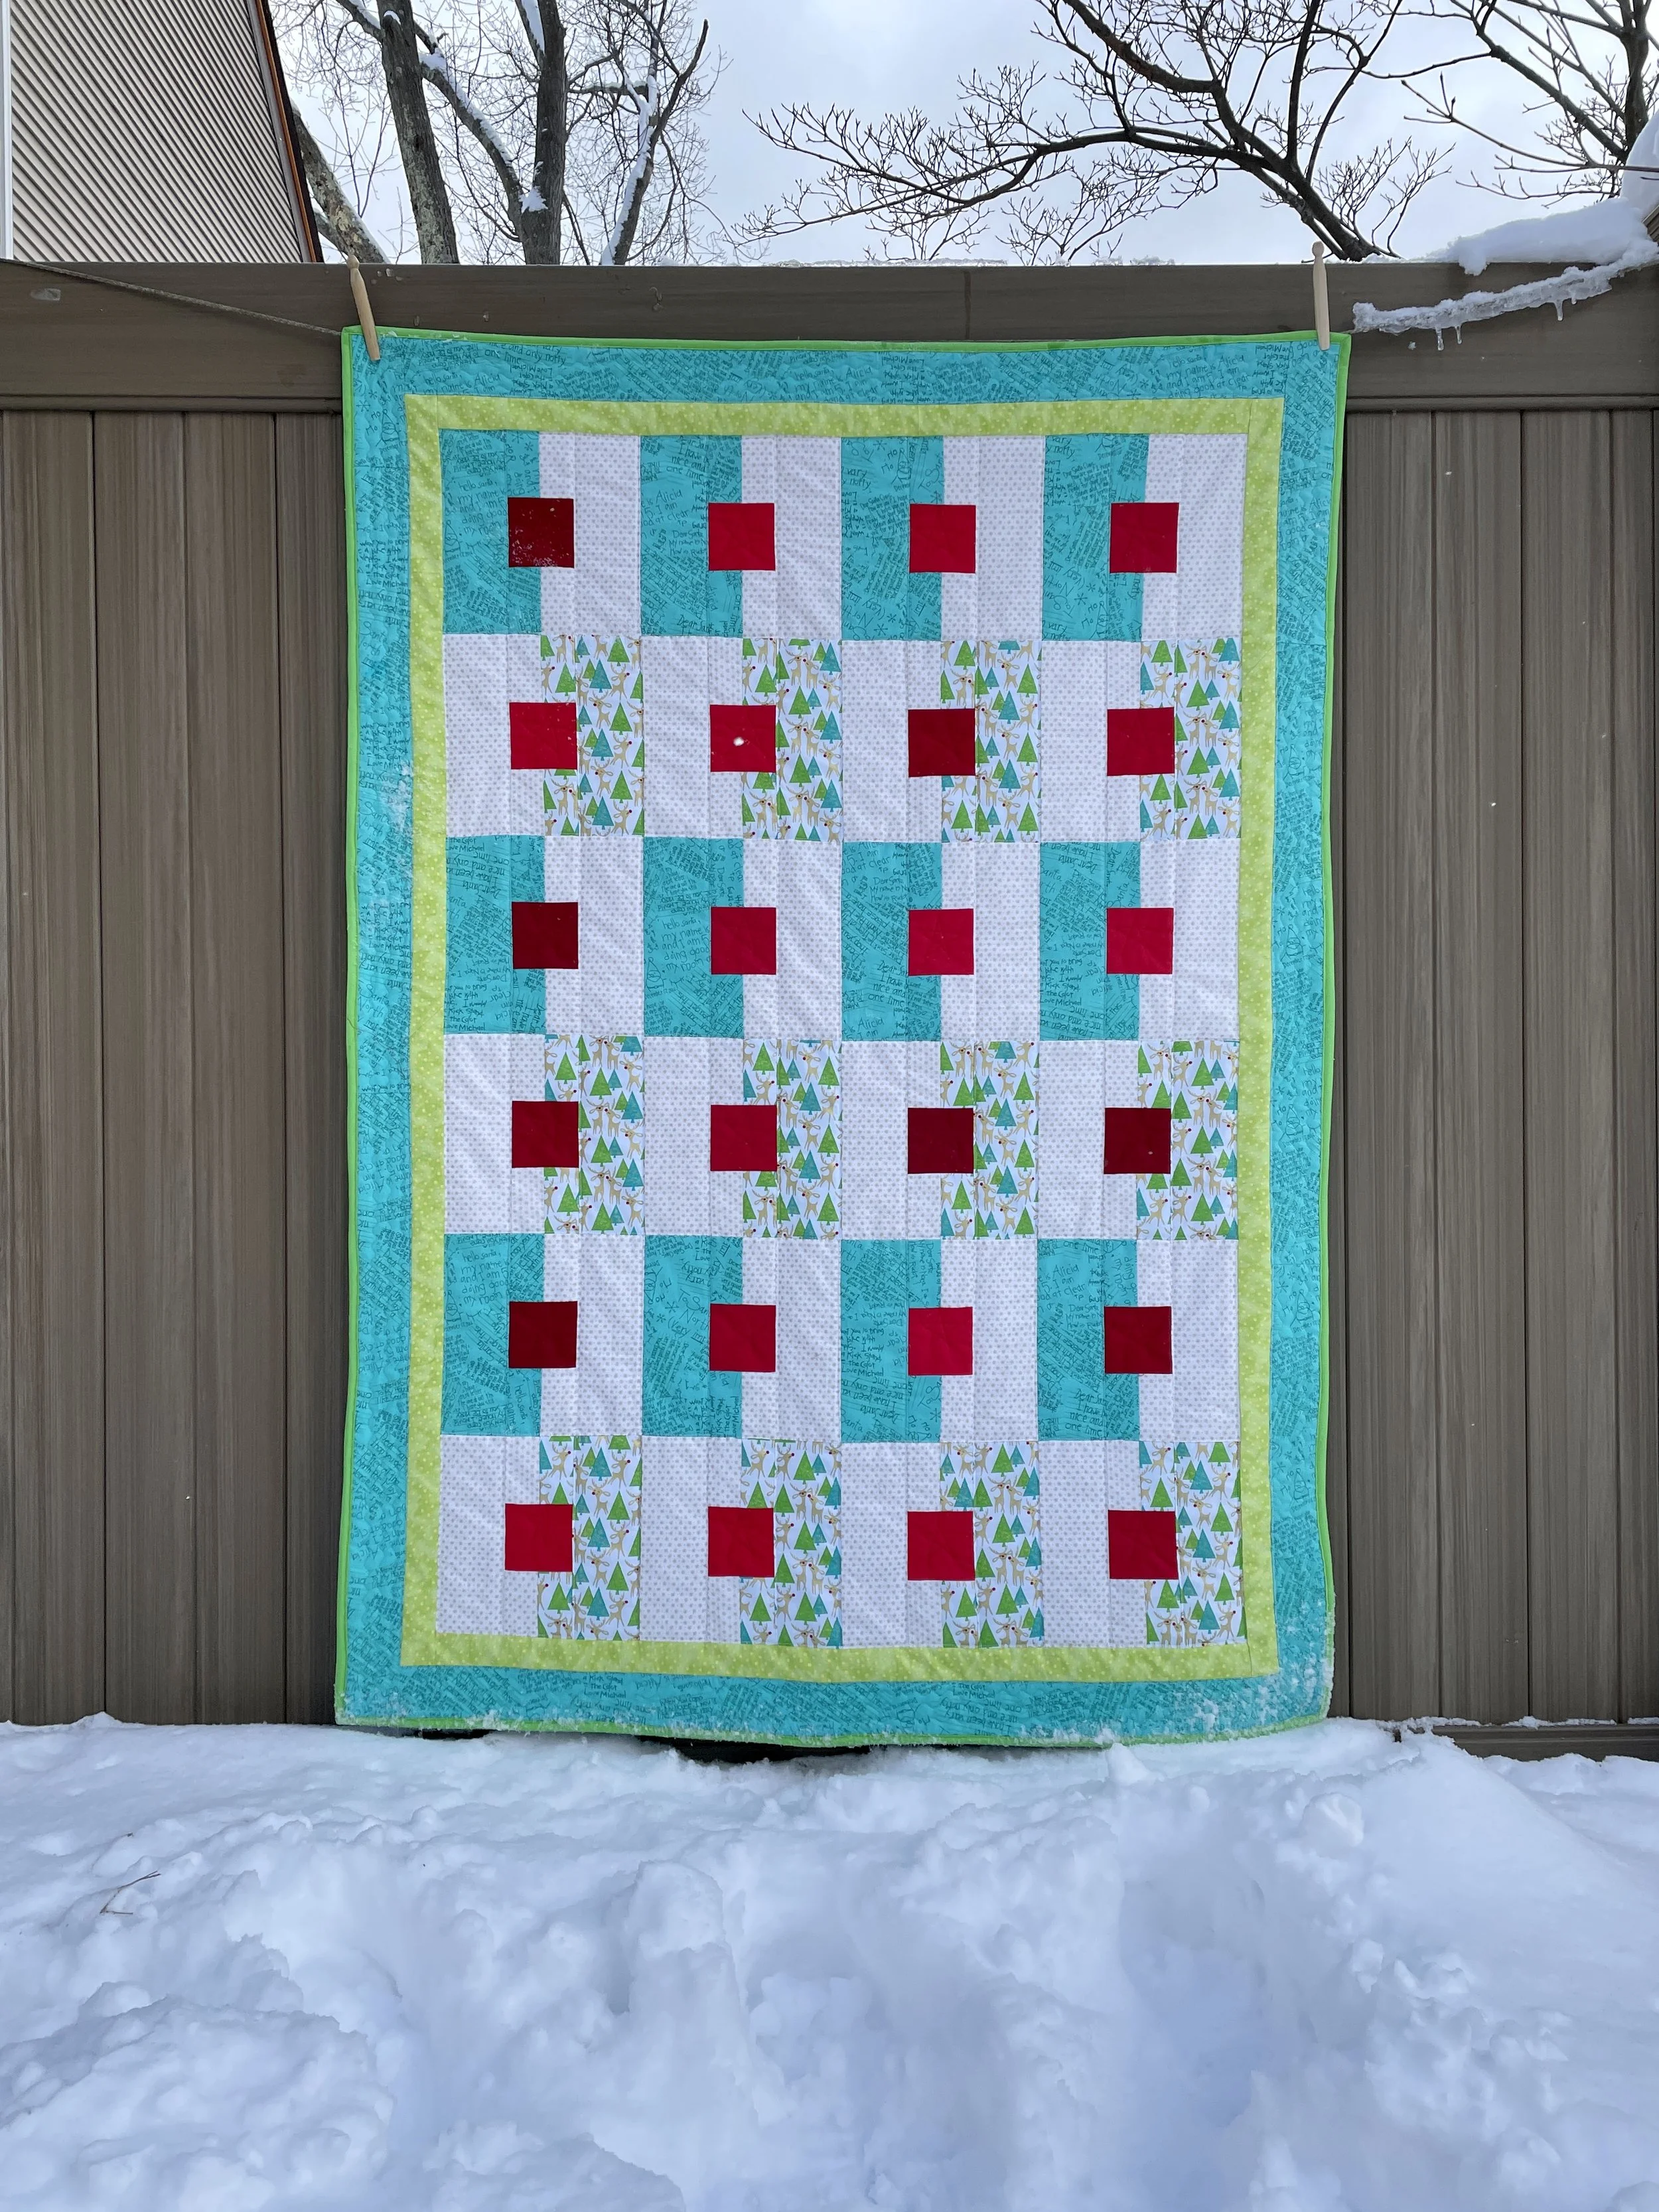
I’ve done other mystery quilts were you needed to spend several days (or more) to sew each step. But the steps in this year’s BBM were usually completed in a morning. It seemed so easy, that I dug through my stash of fabrics and pulled enough to make a second quilt. (See my post next week for that quilt).
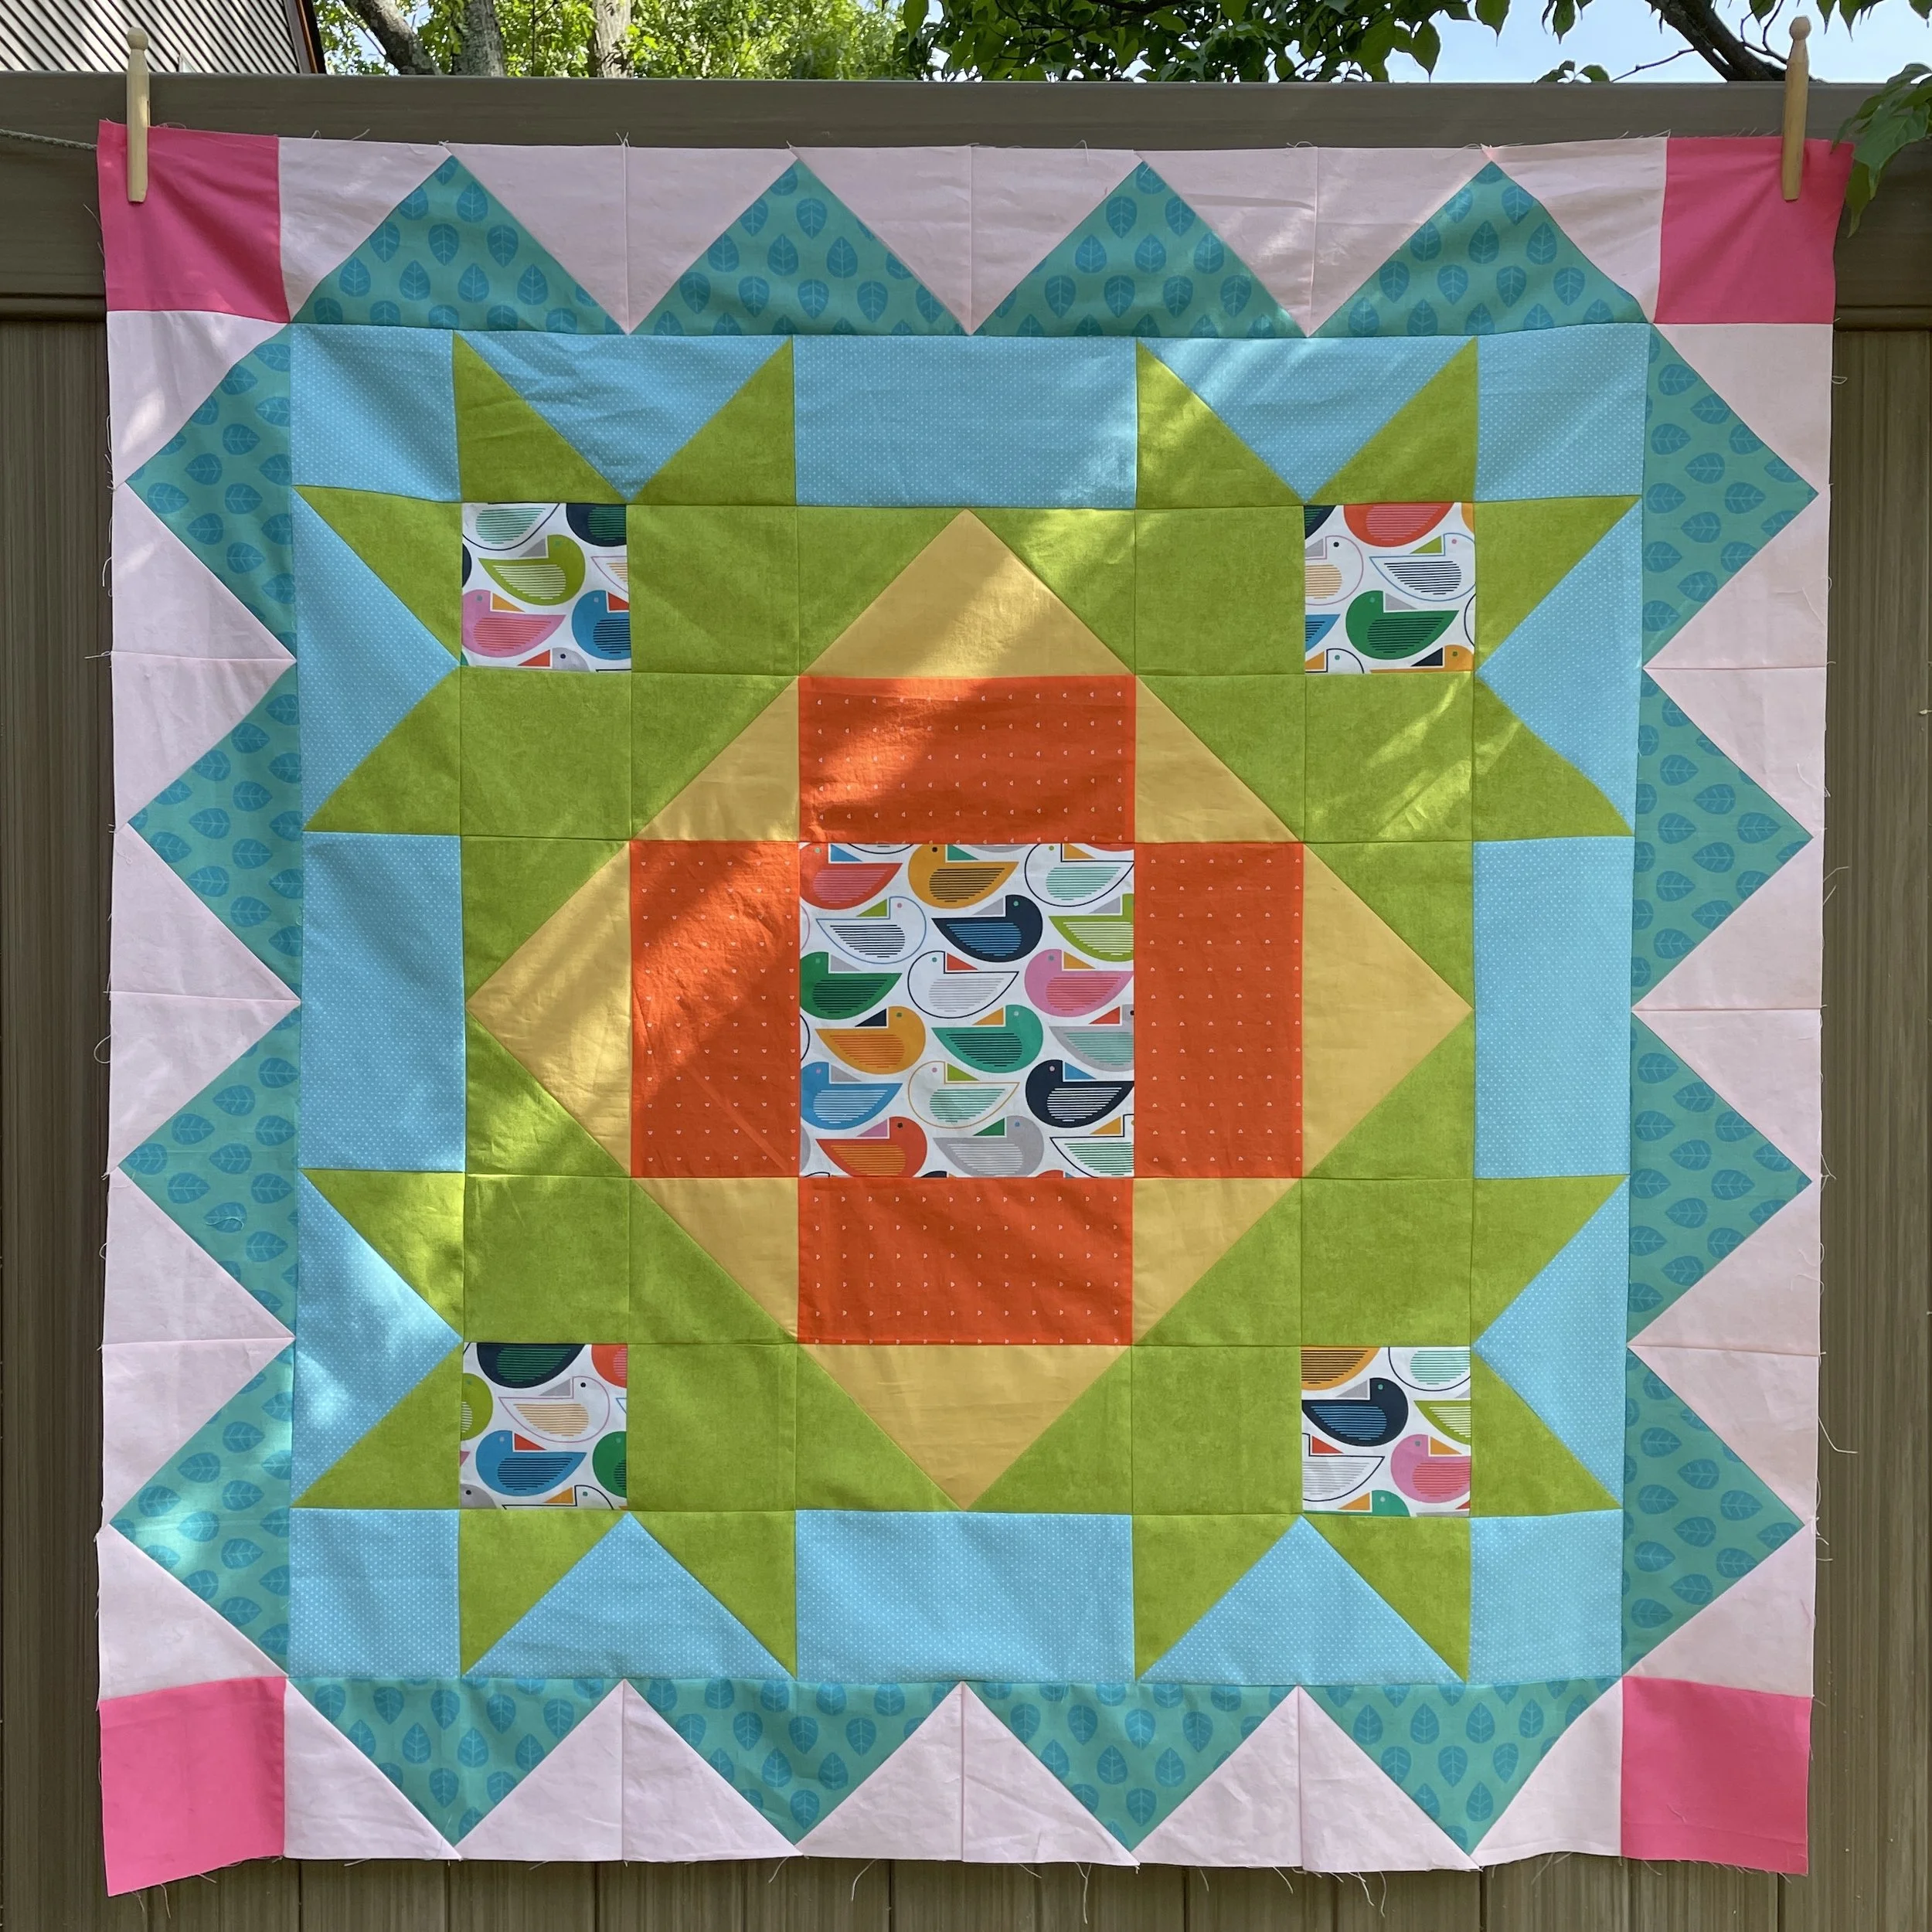
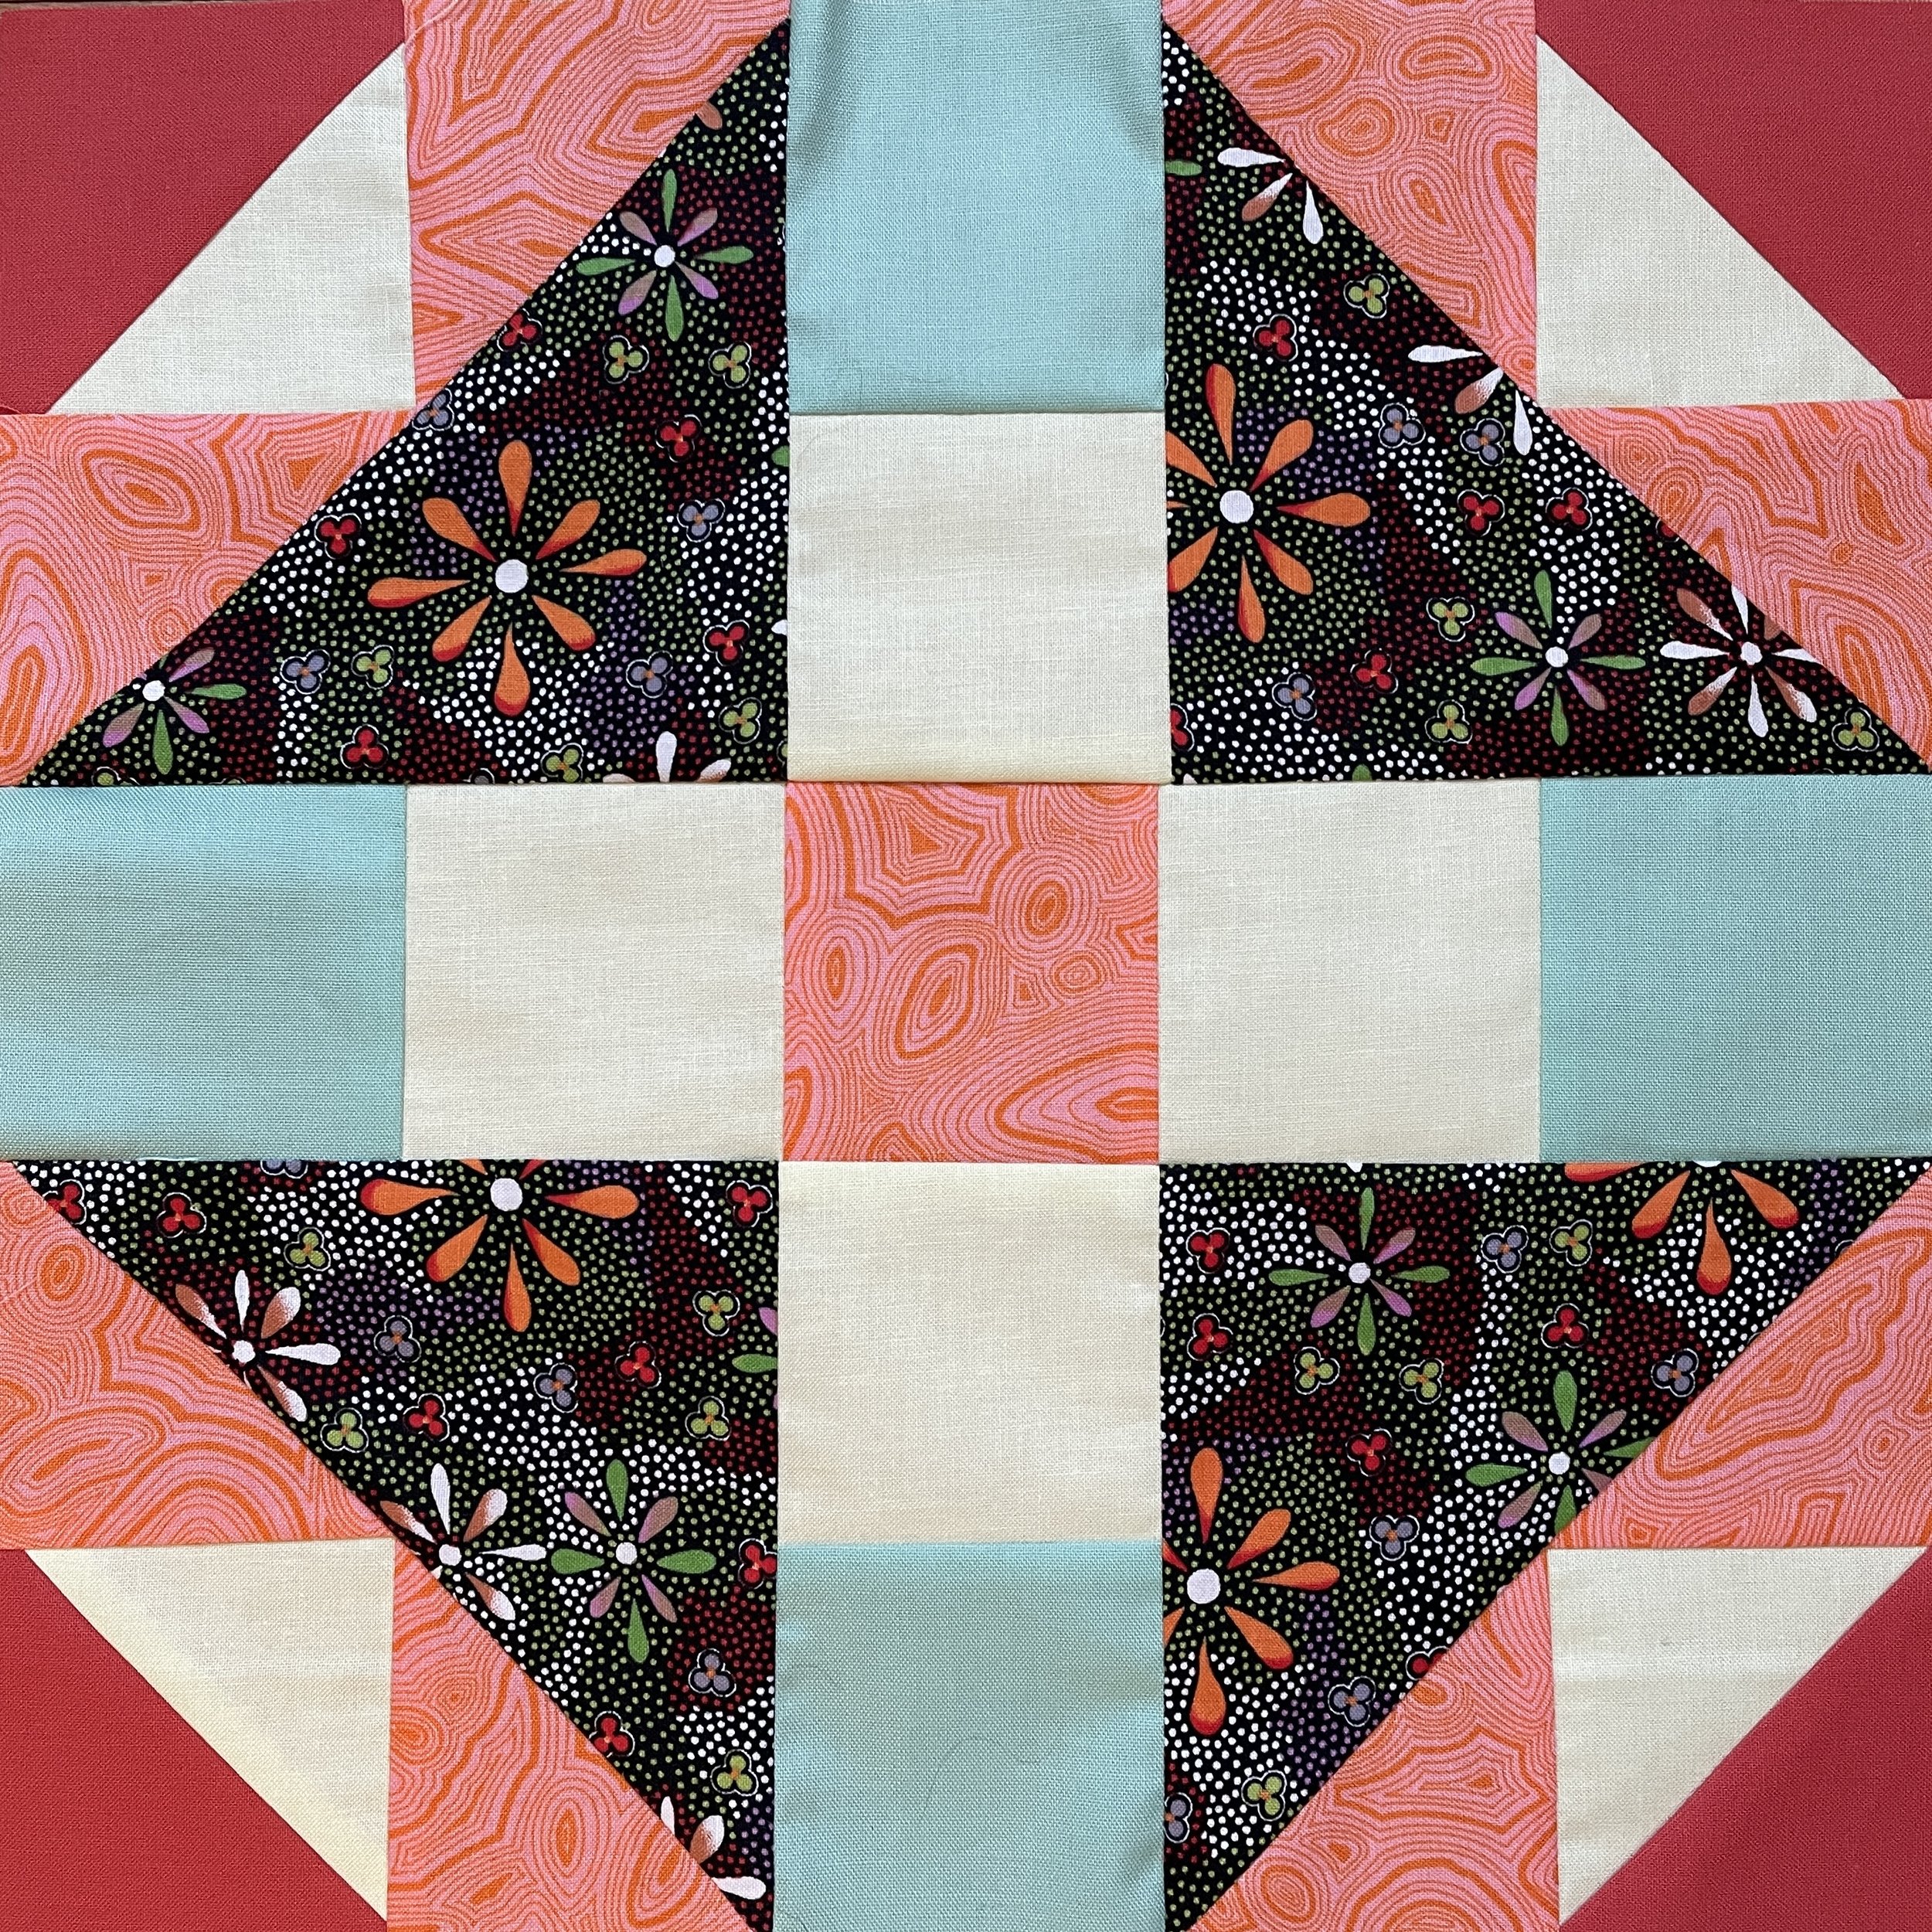
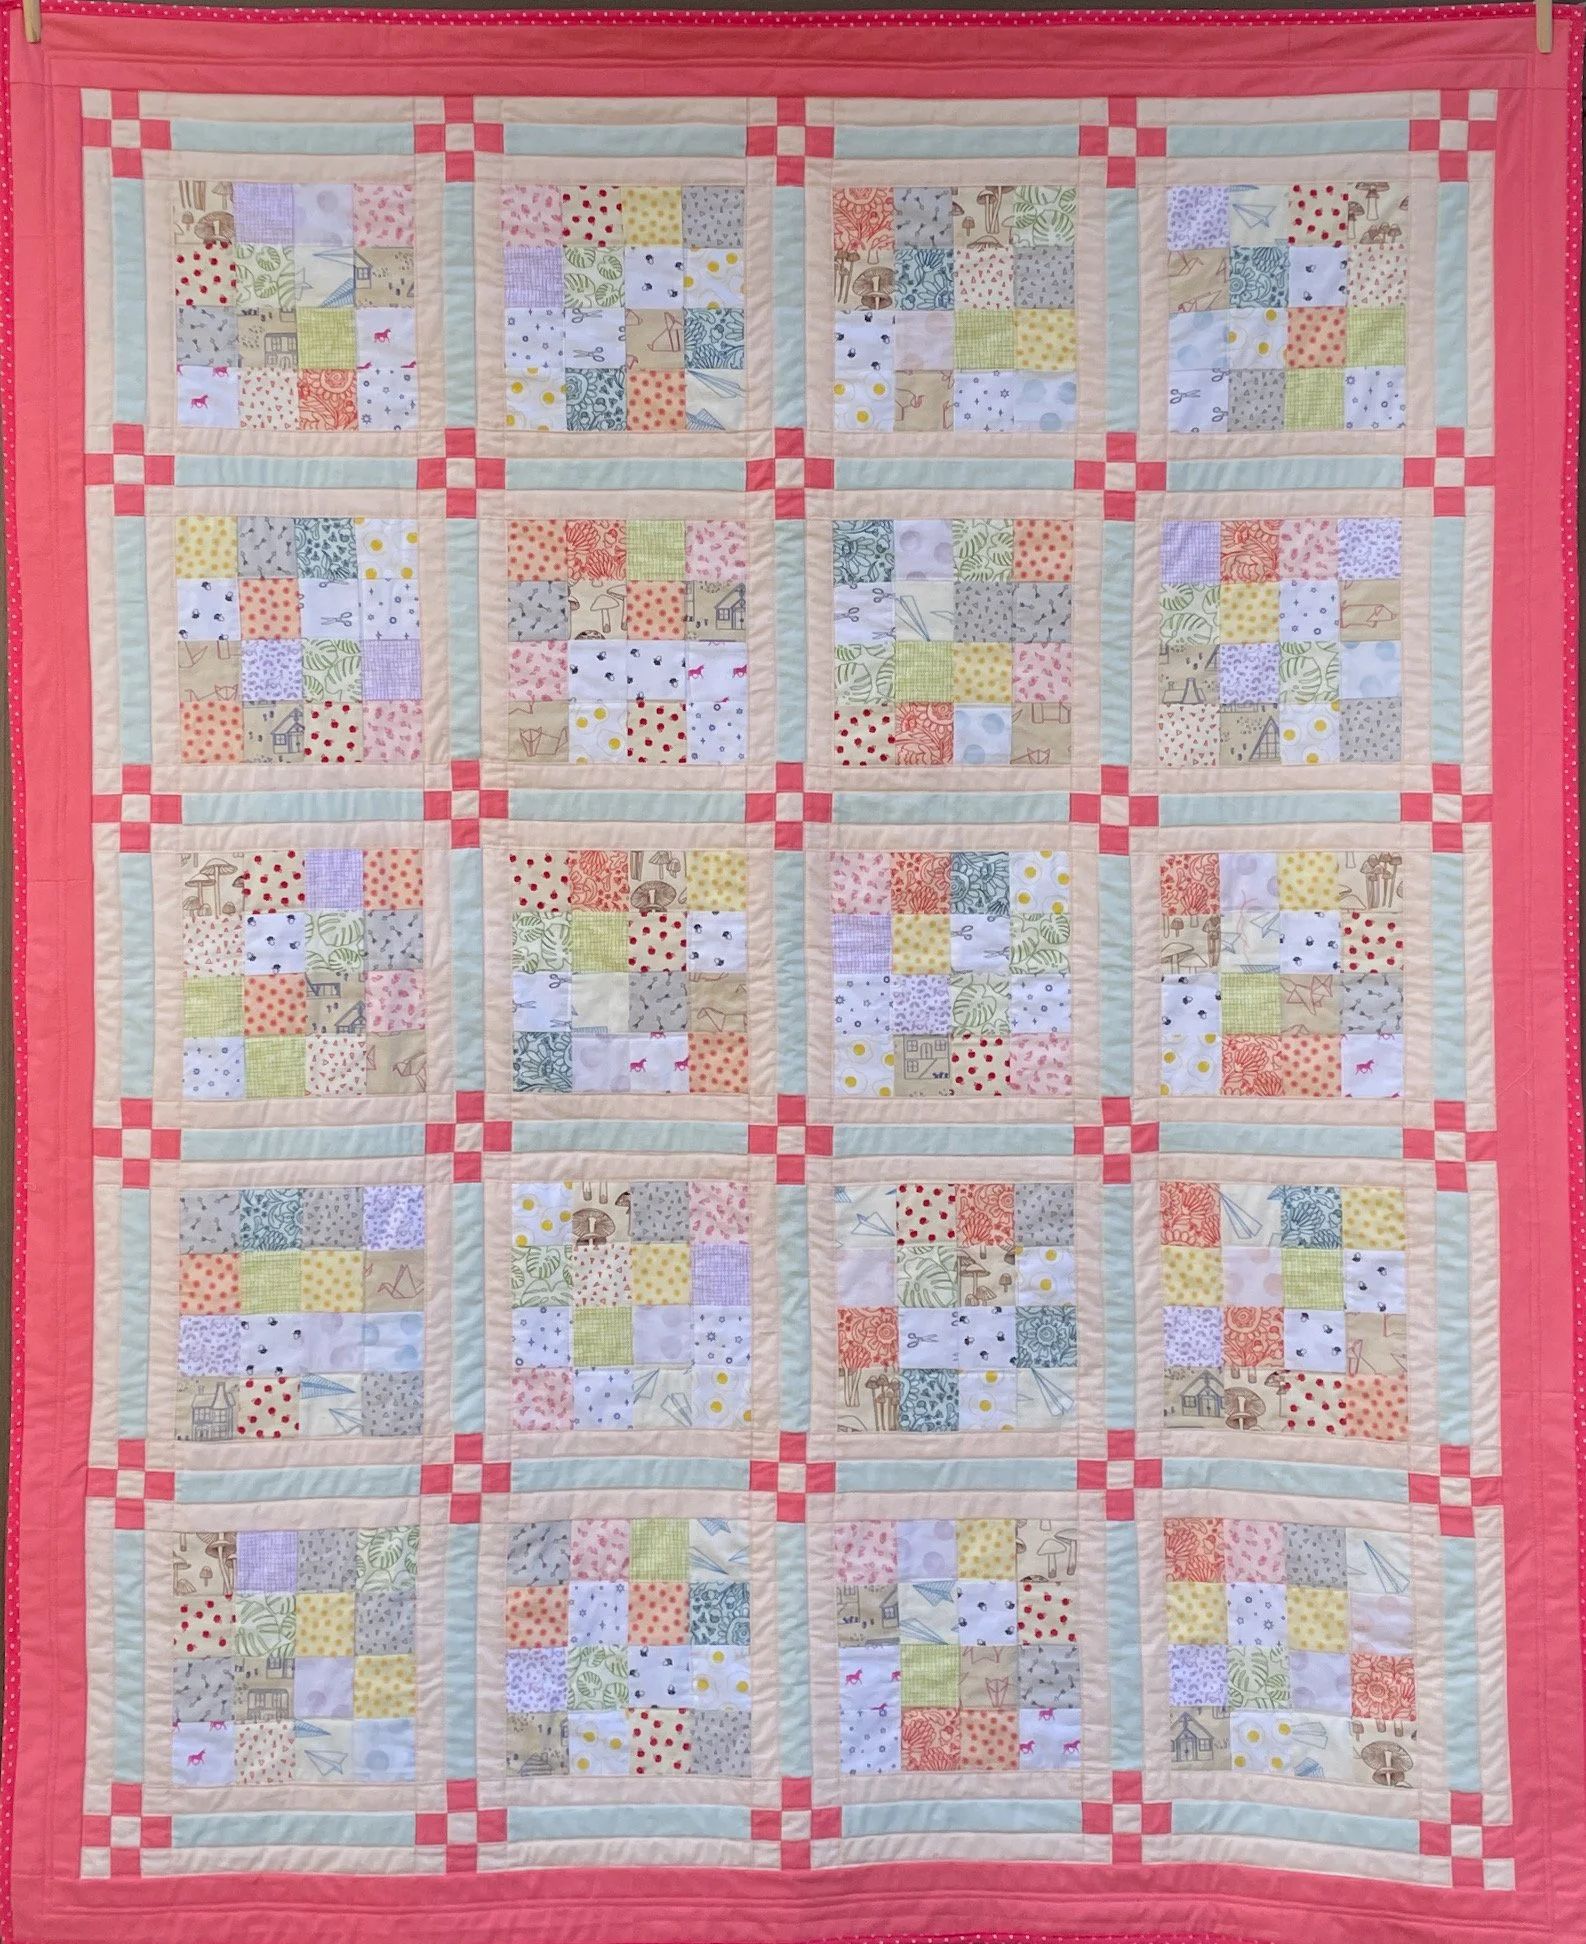
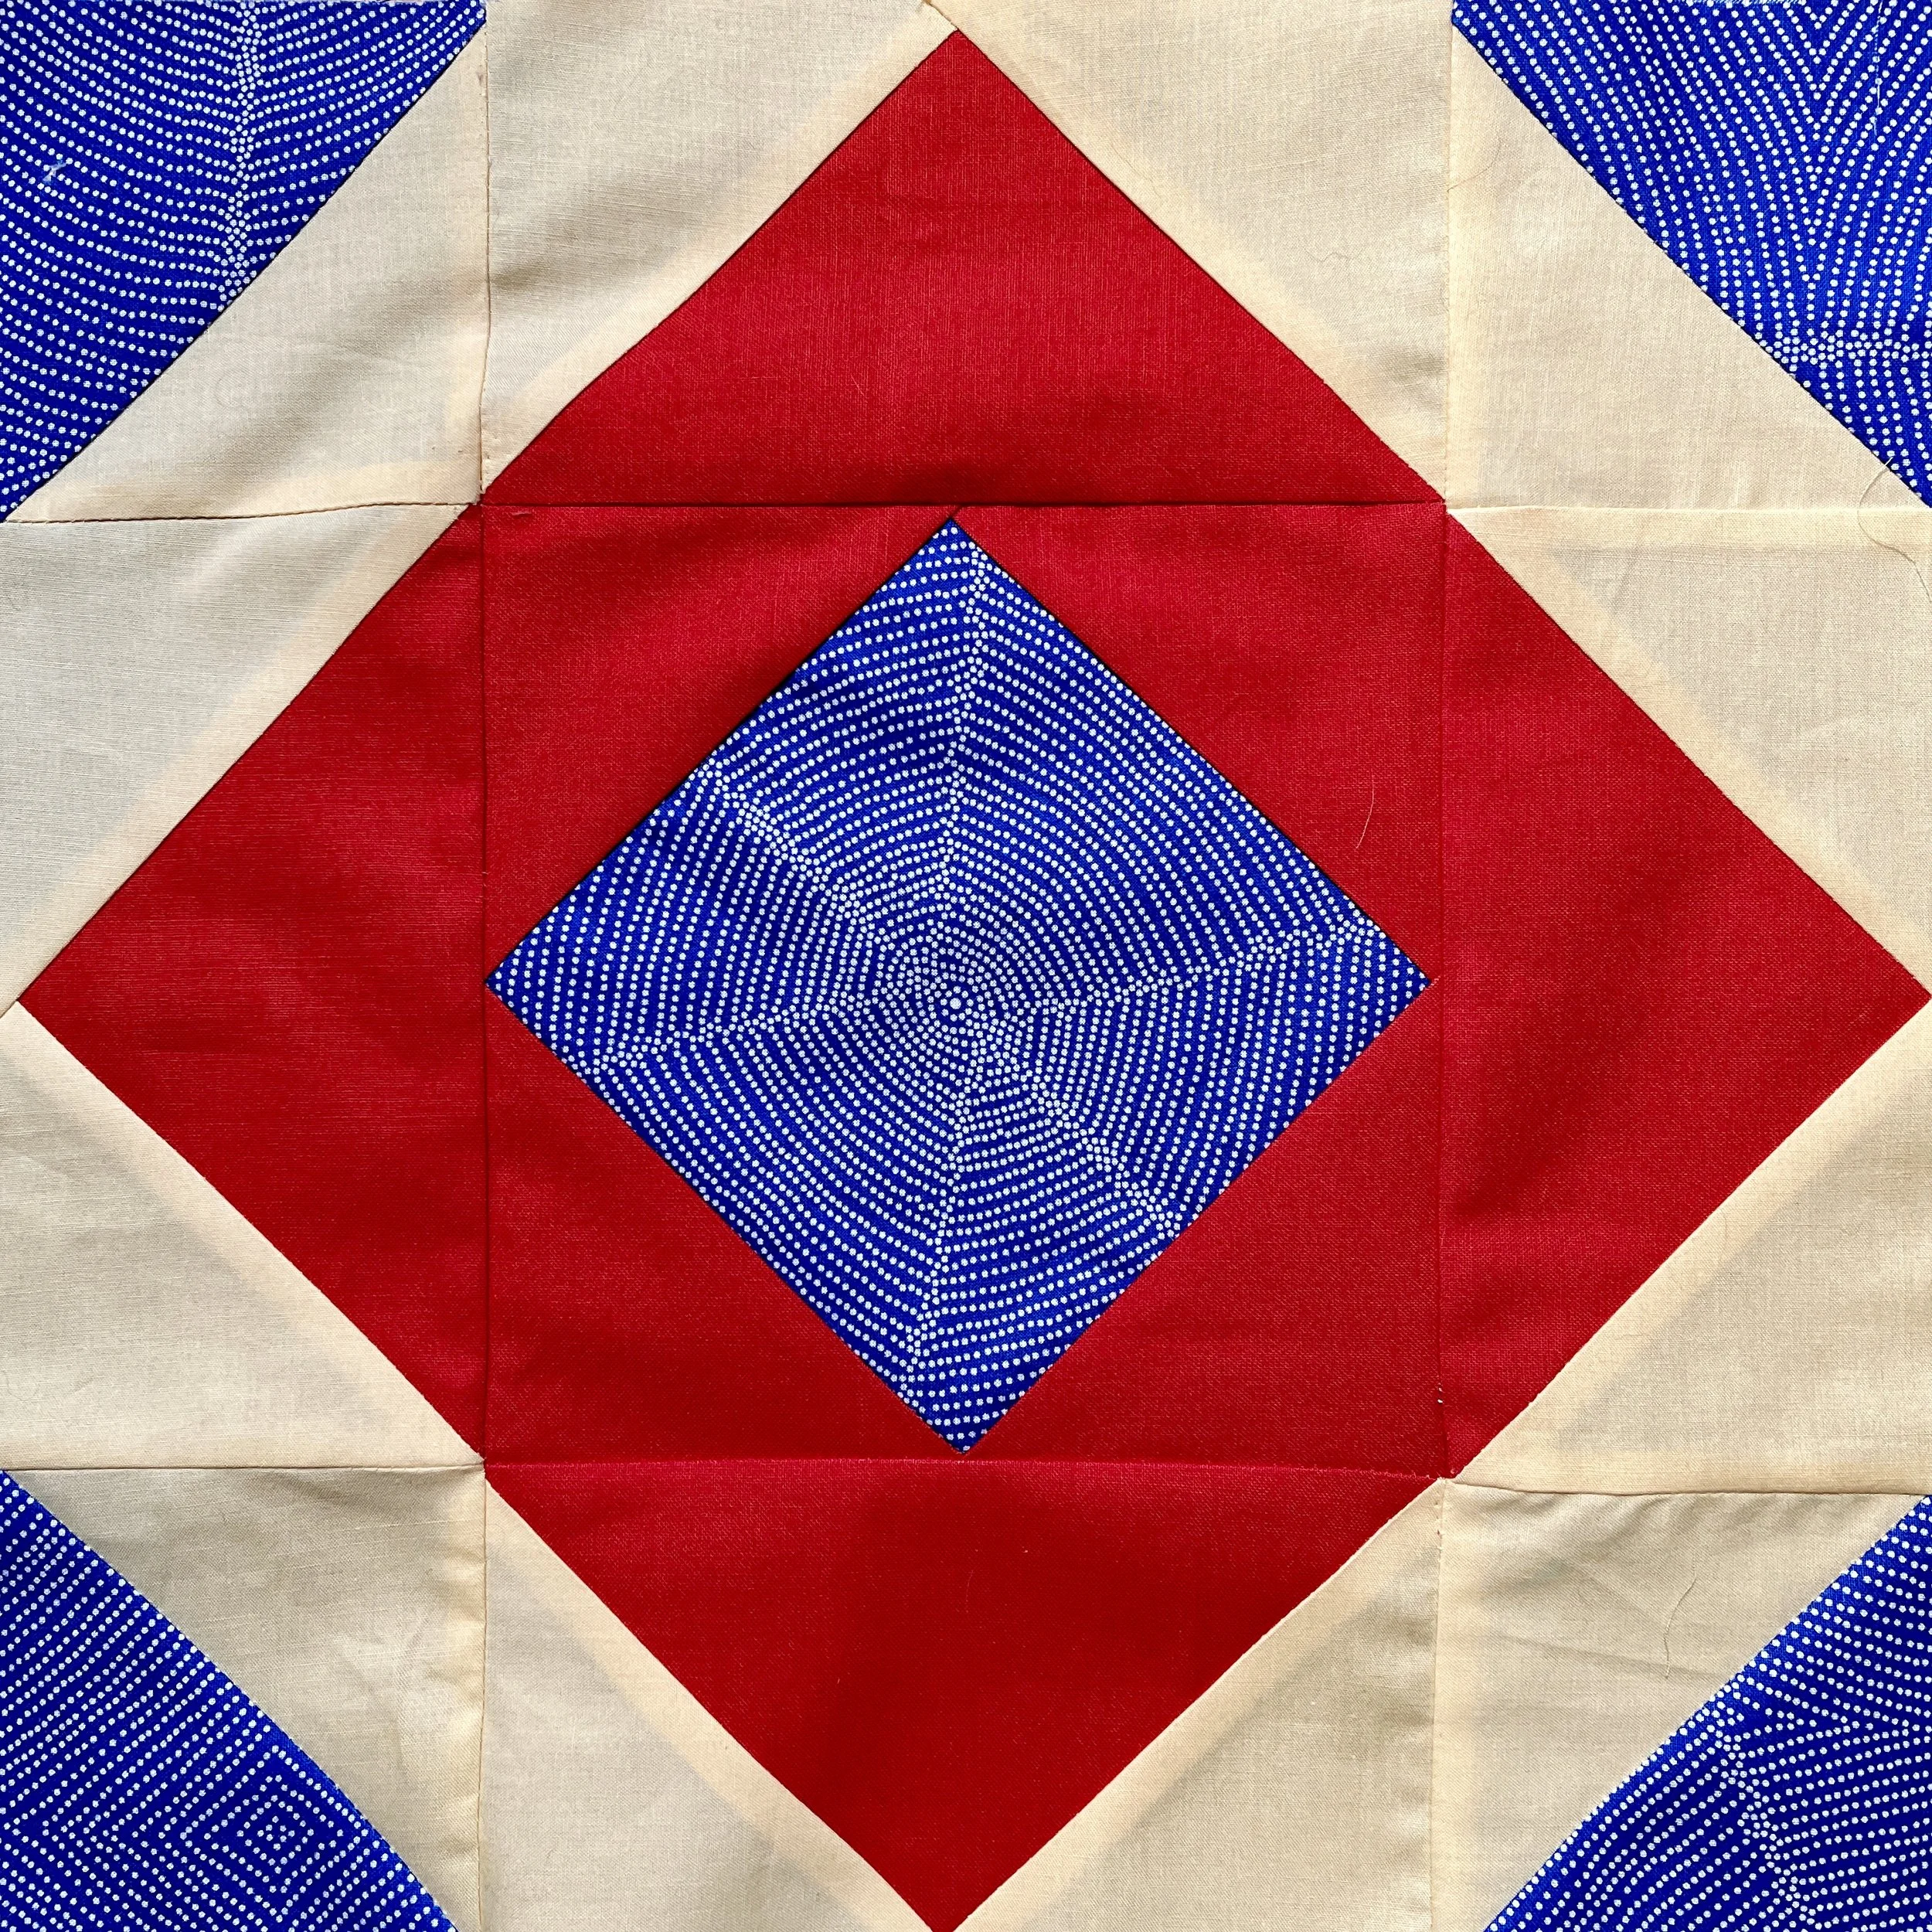
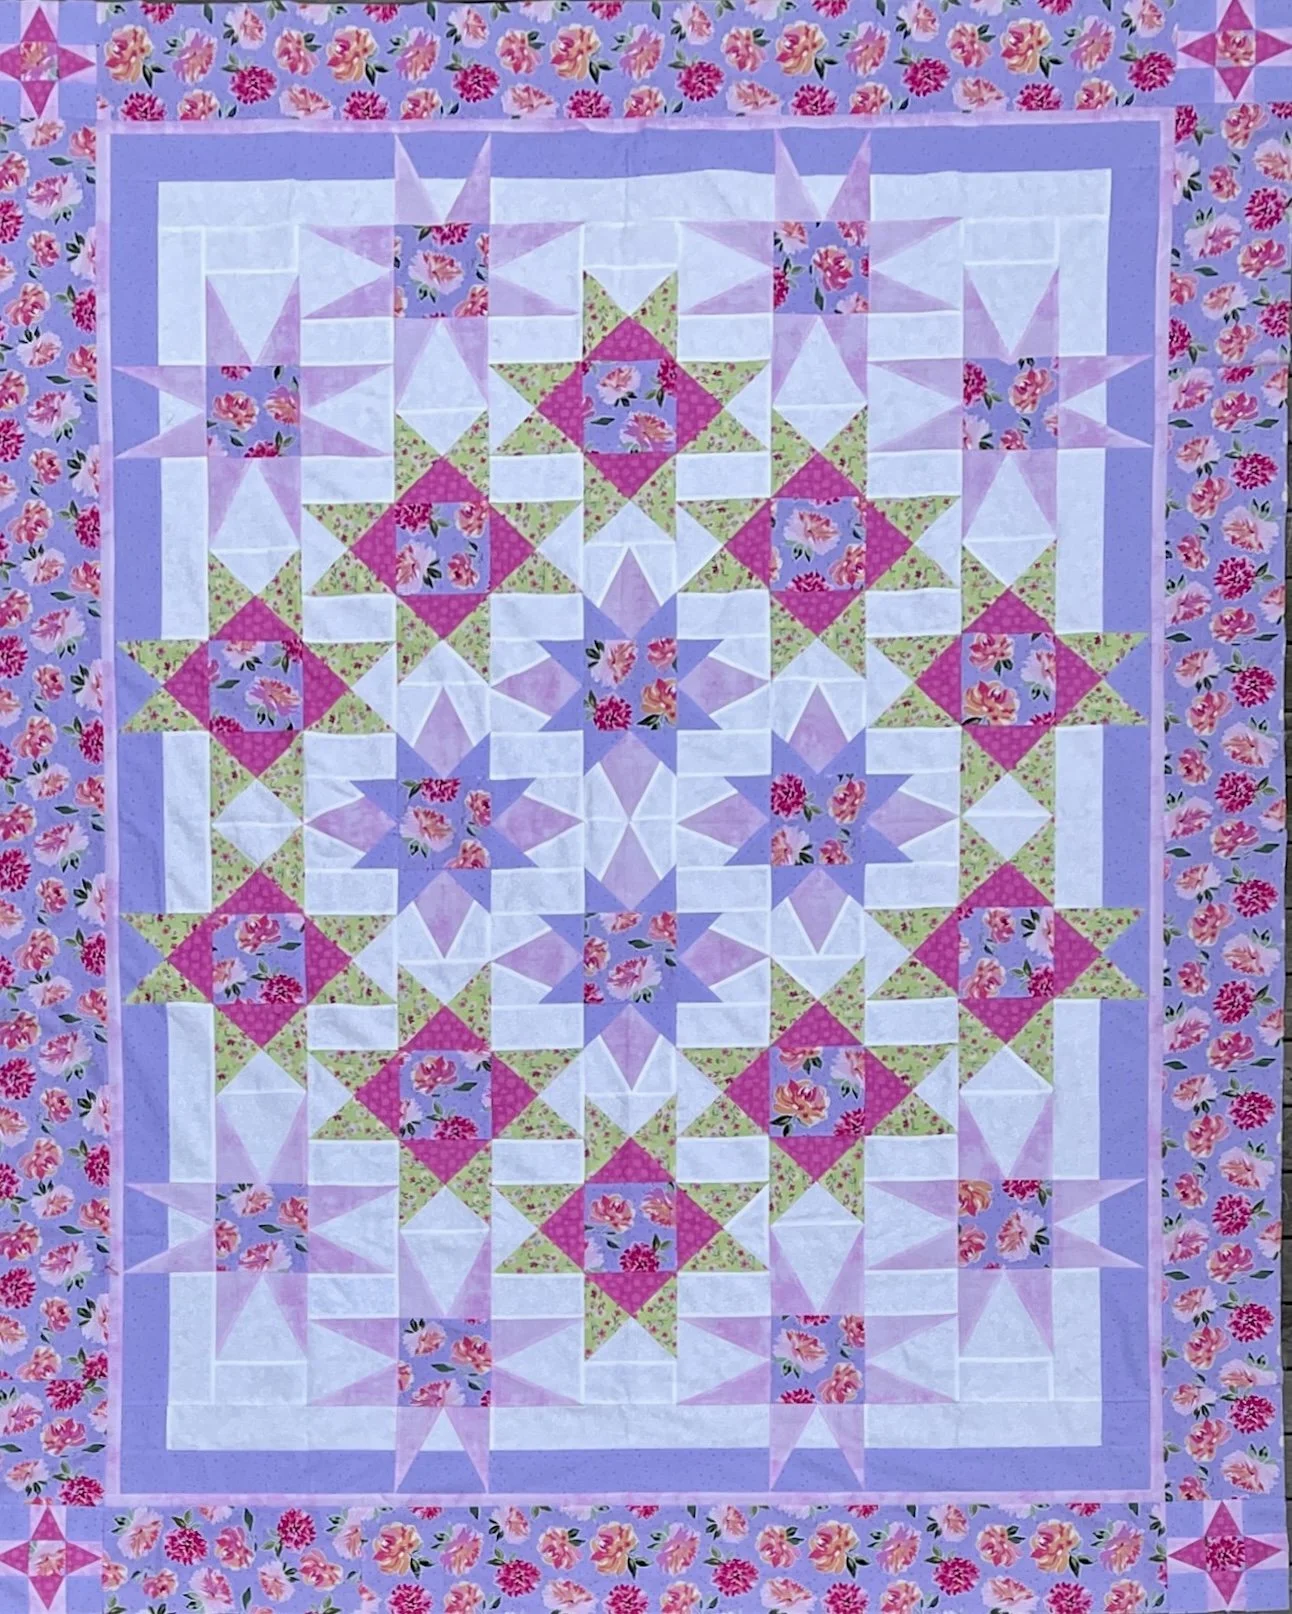
The instructions for the mystery quilt end with the lavender border with the embedded star points. We were encouraged to buy fabric for additional borders when we purchased our bags, but what we did with additional borders was left entirely up to us!
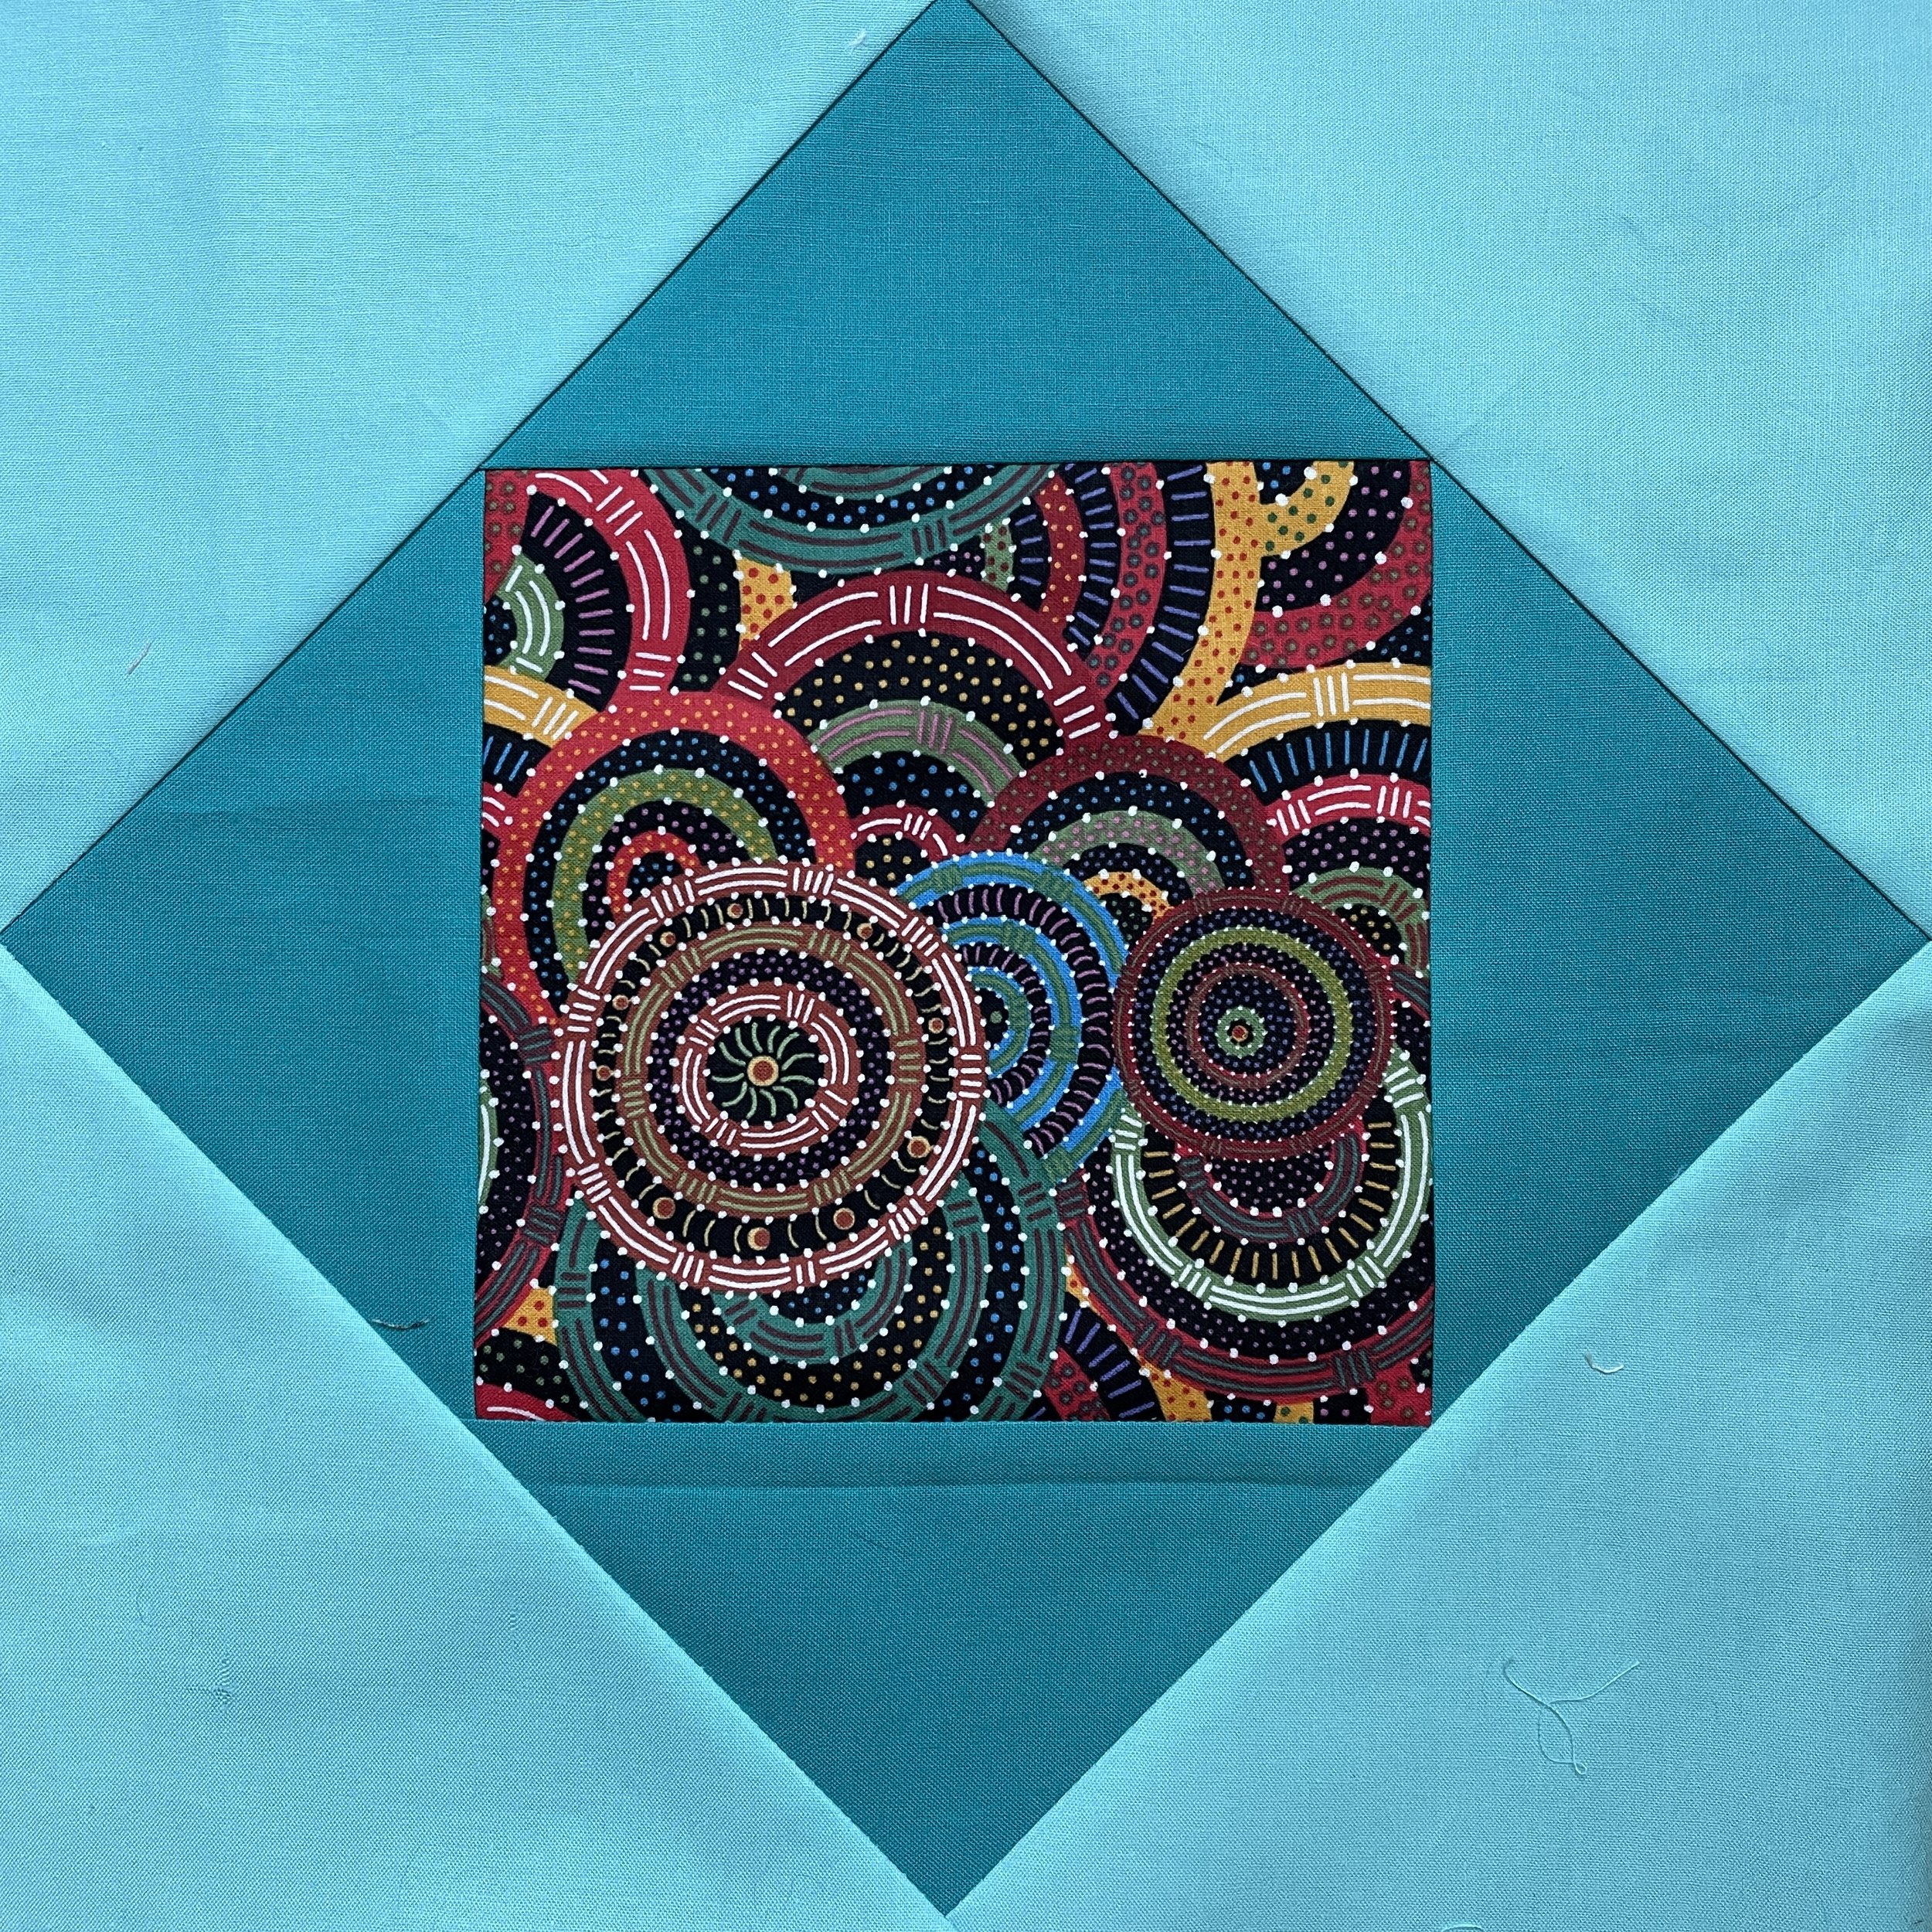
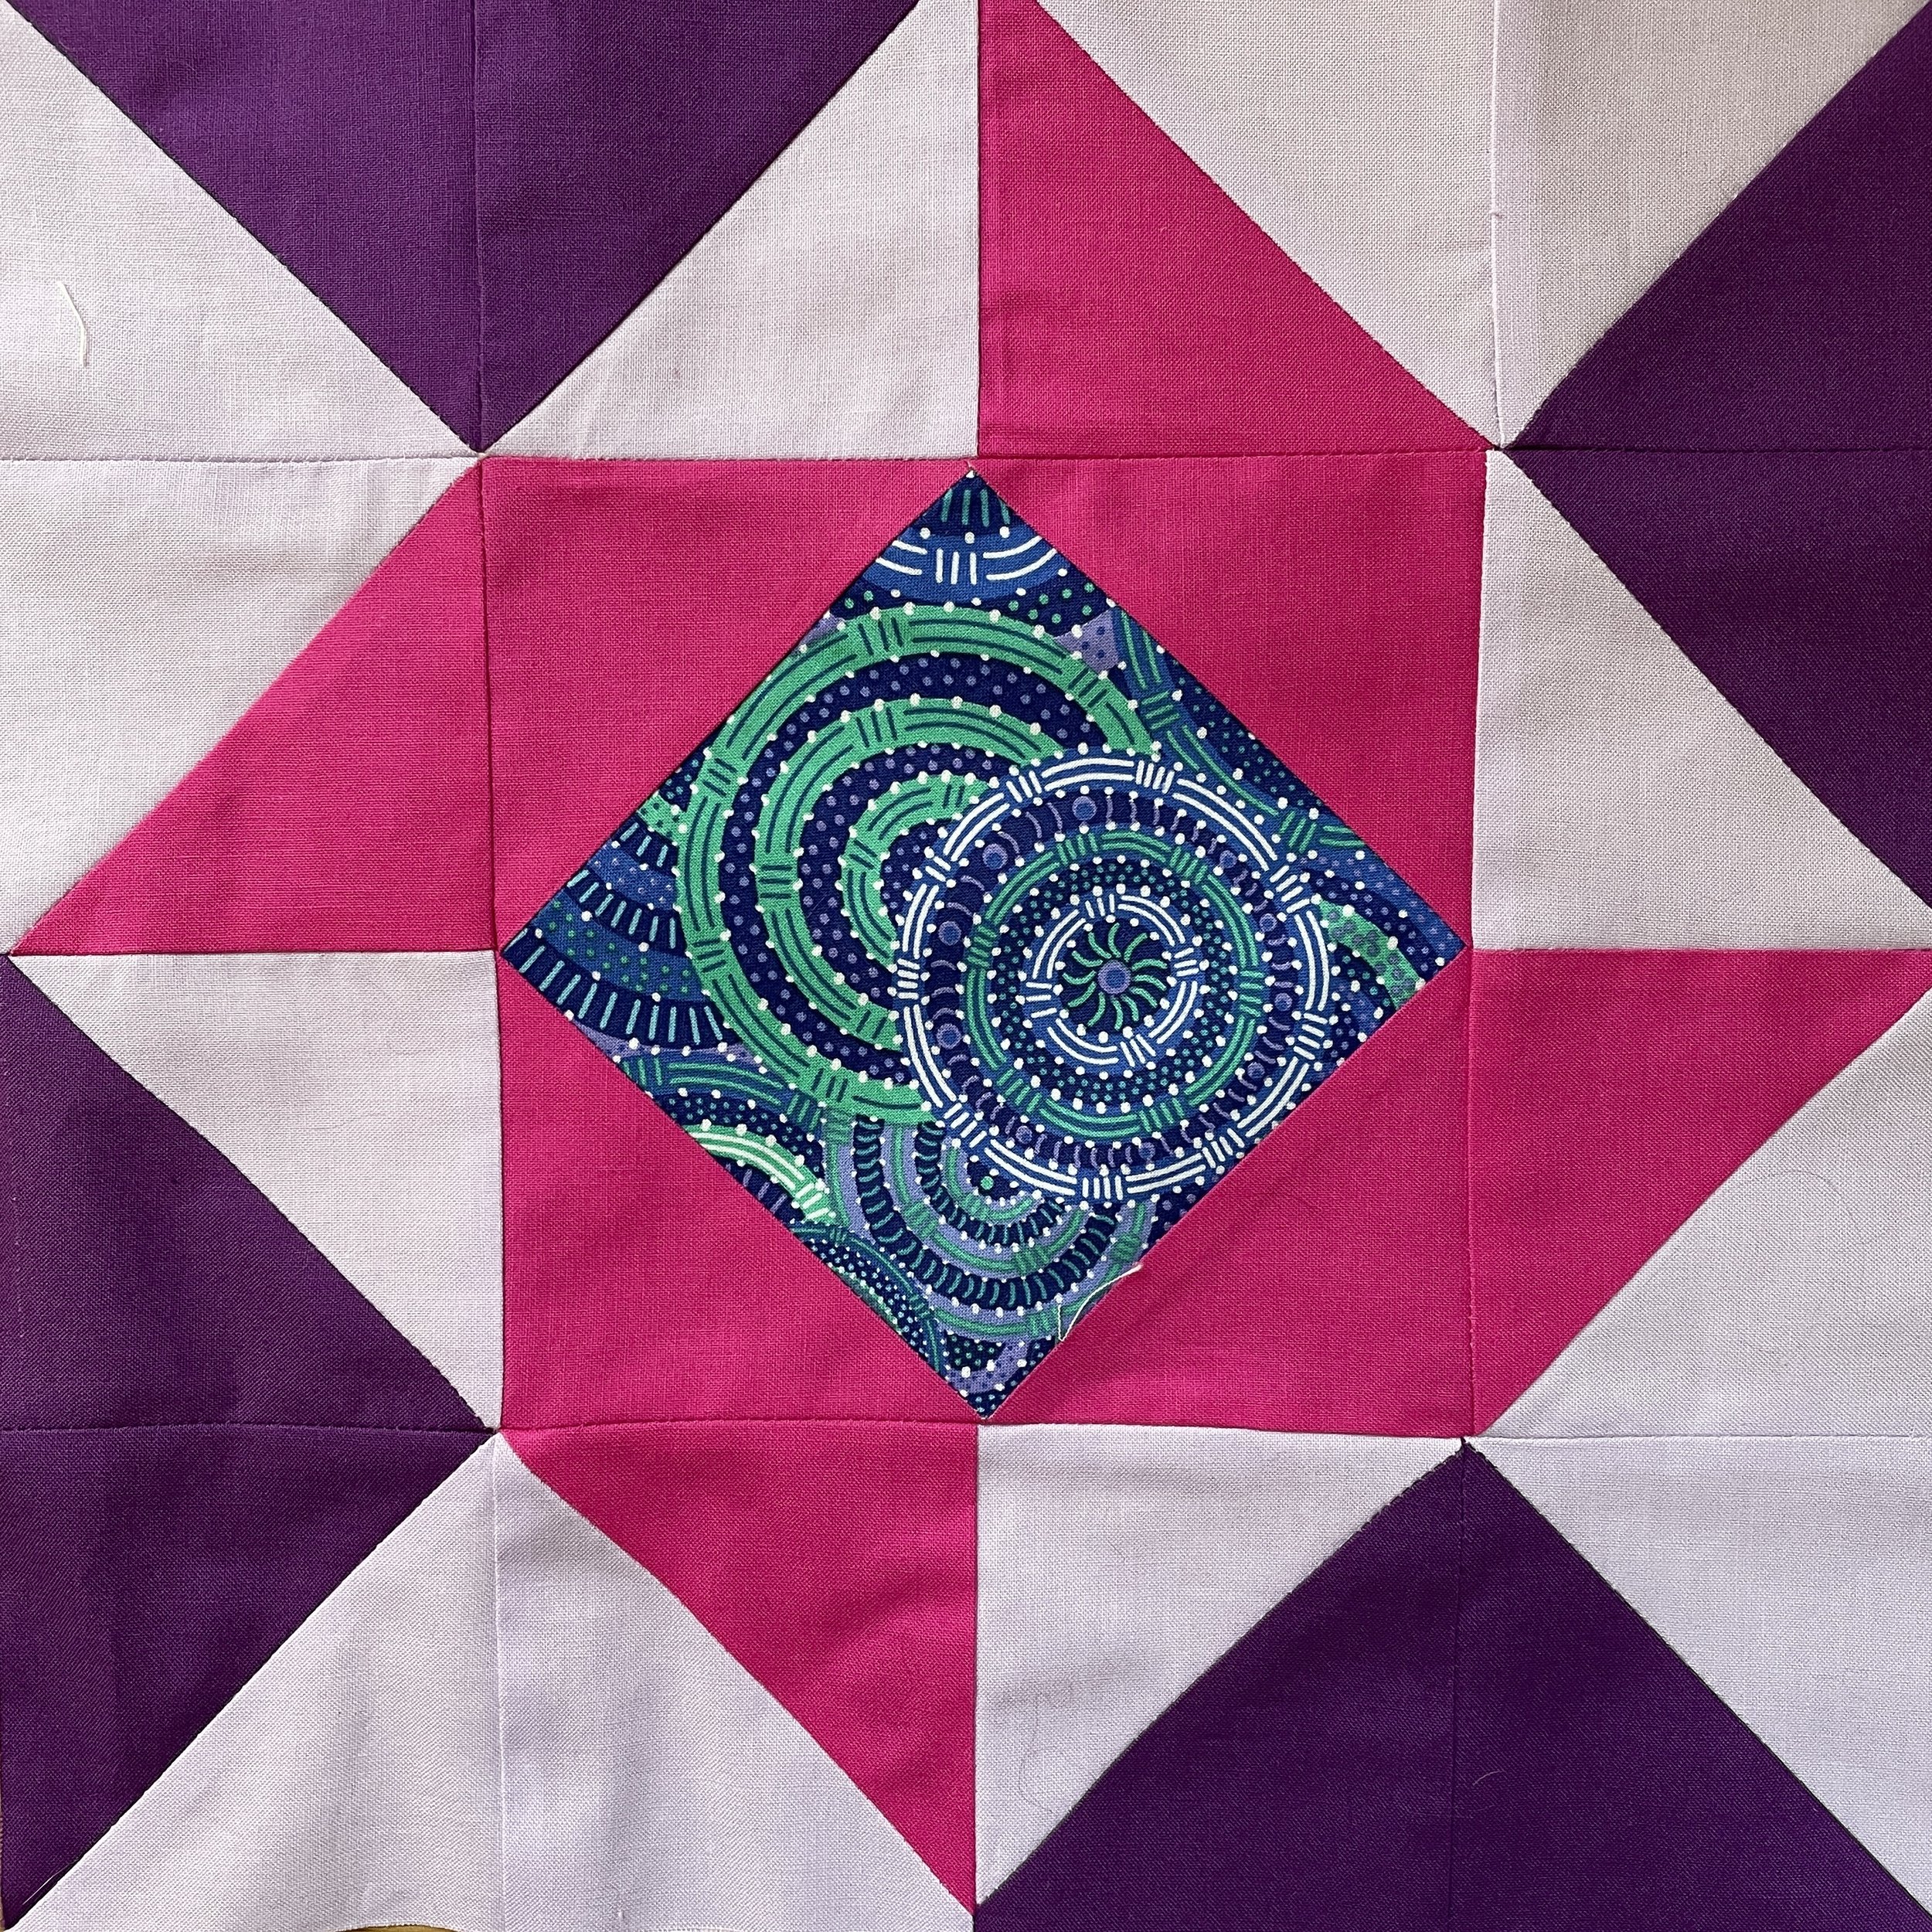
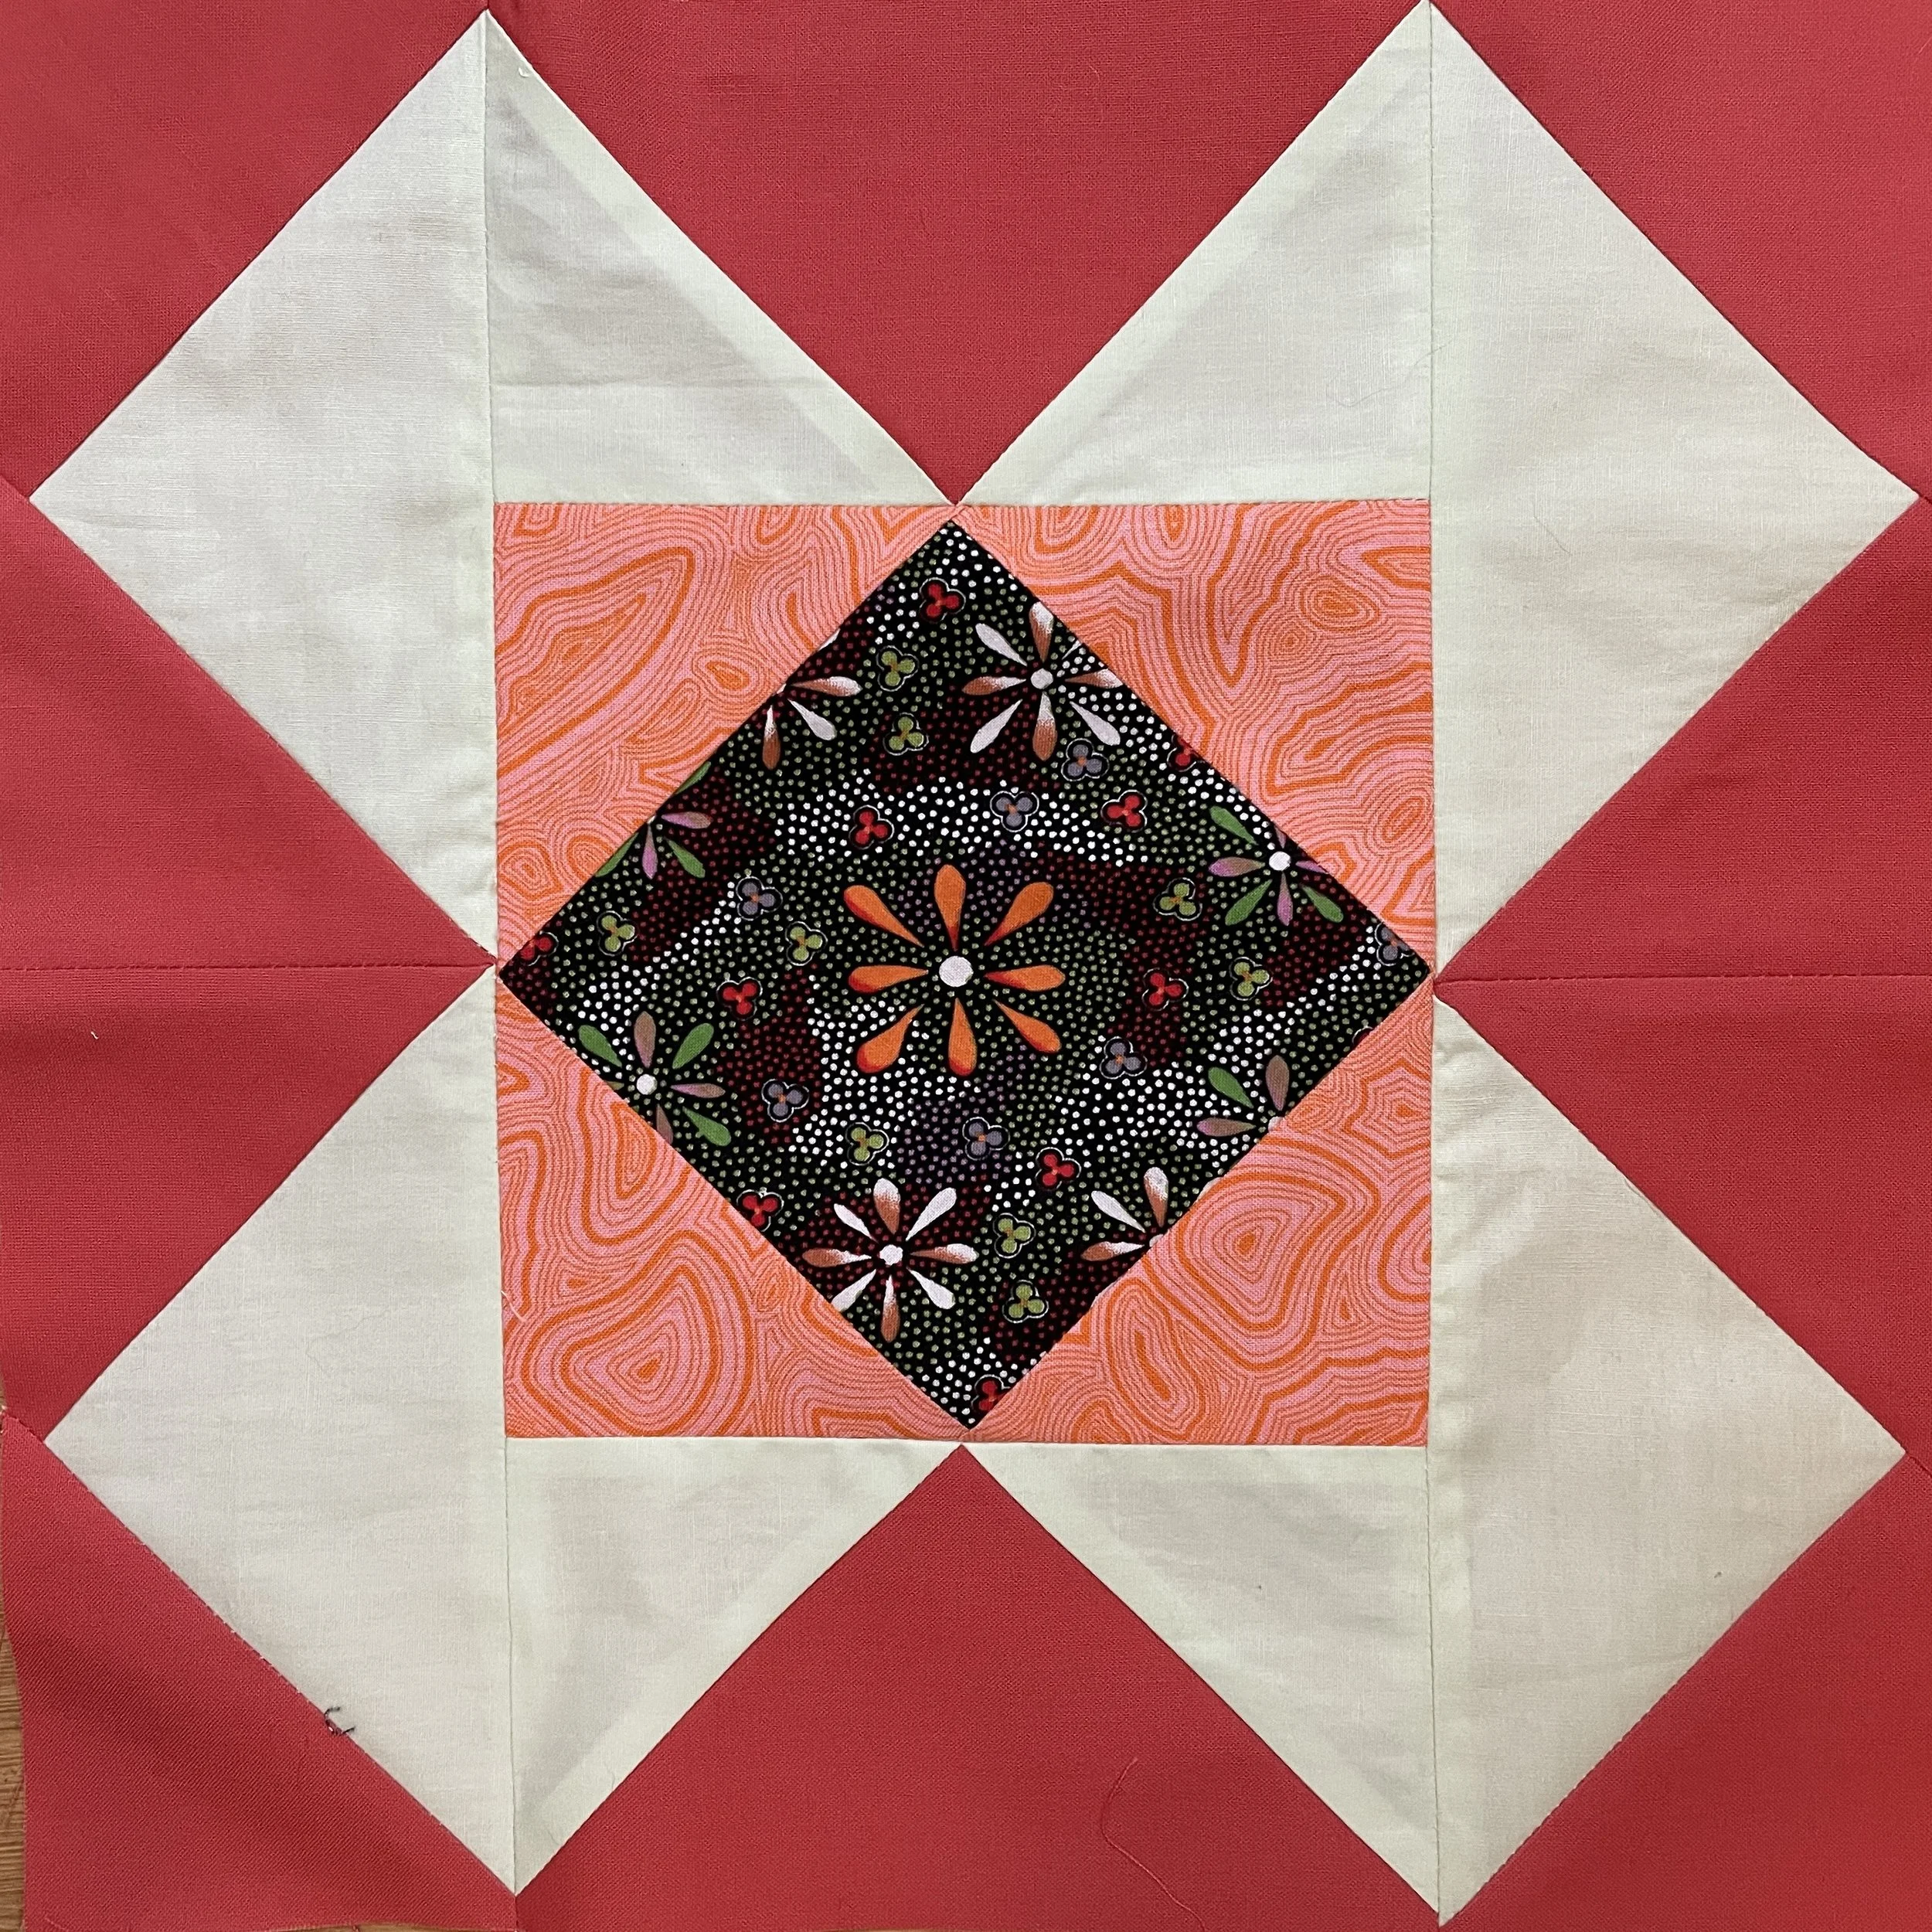
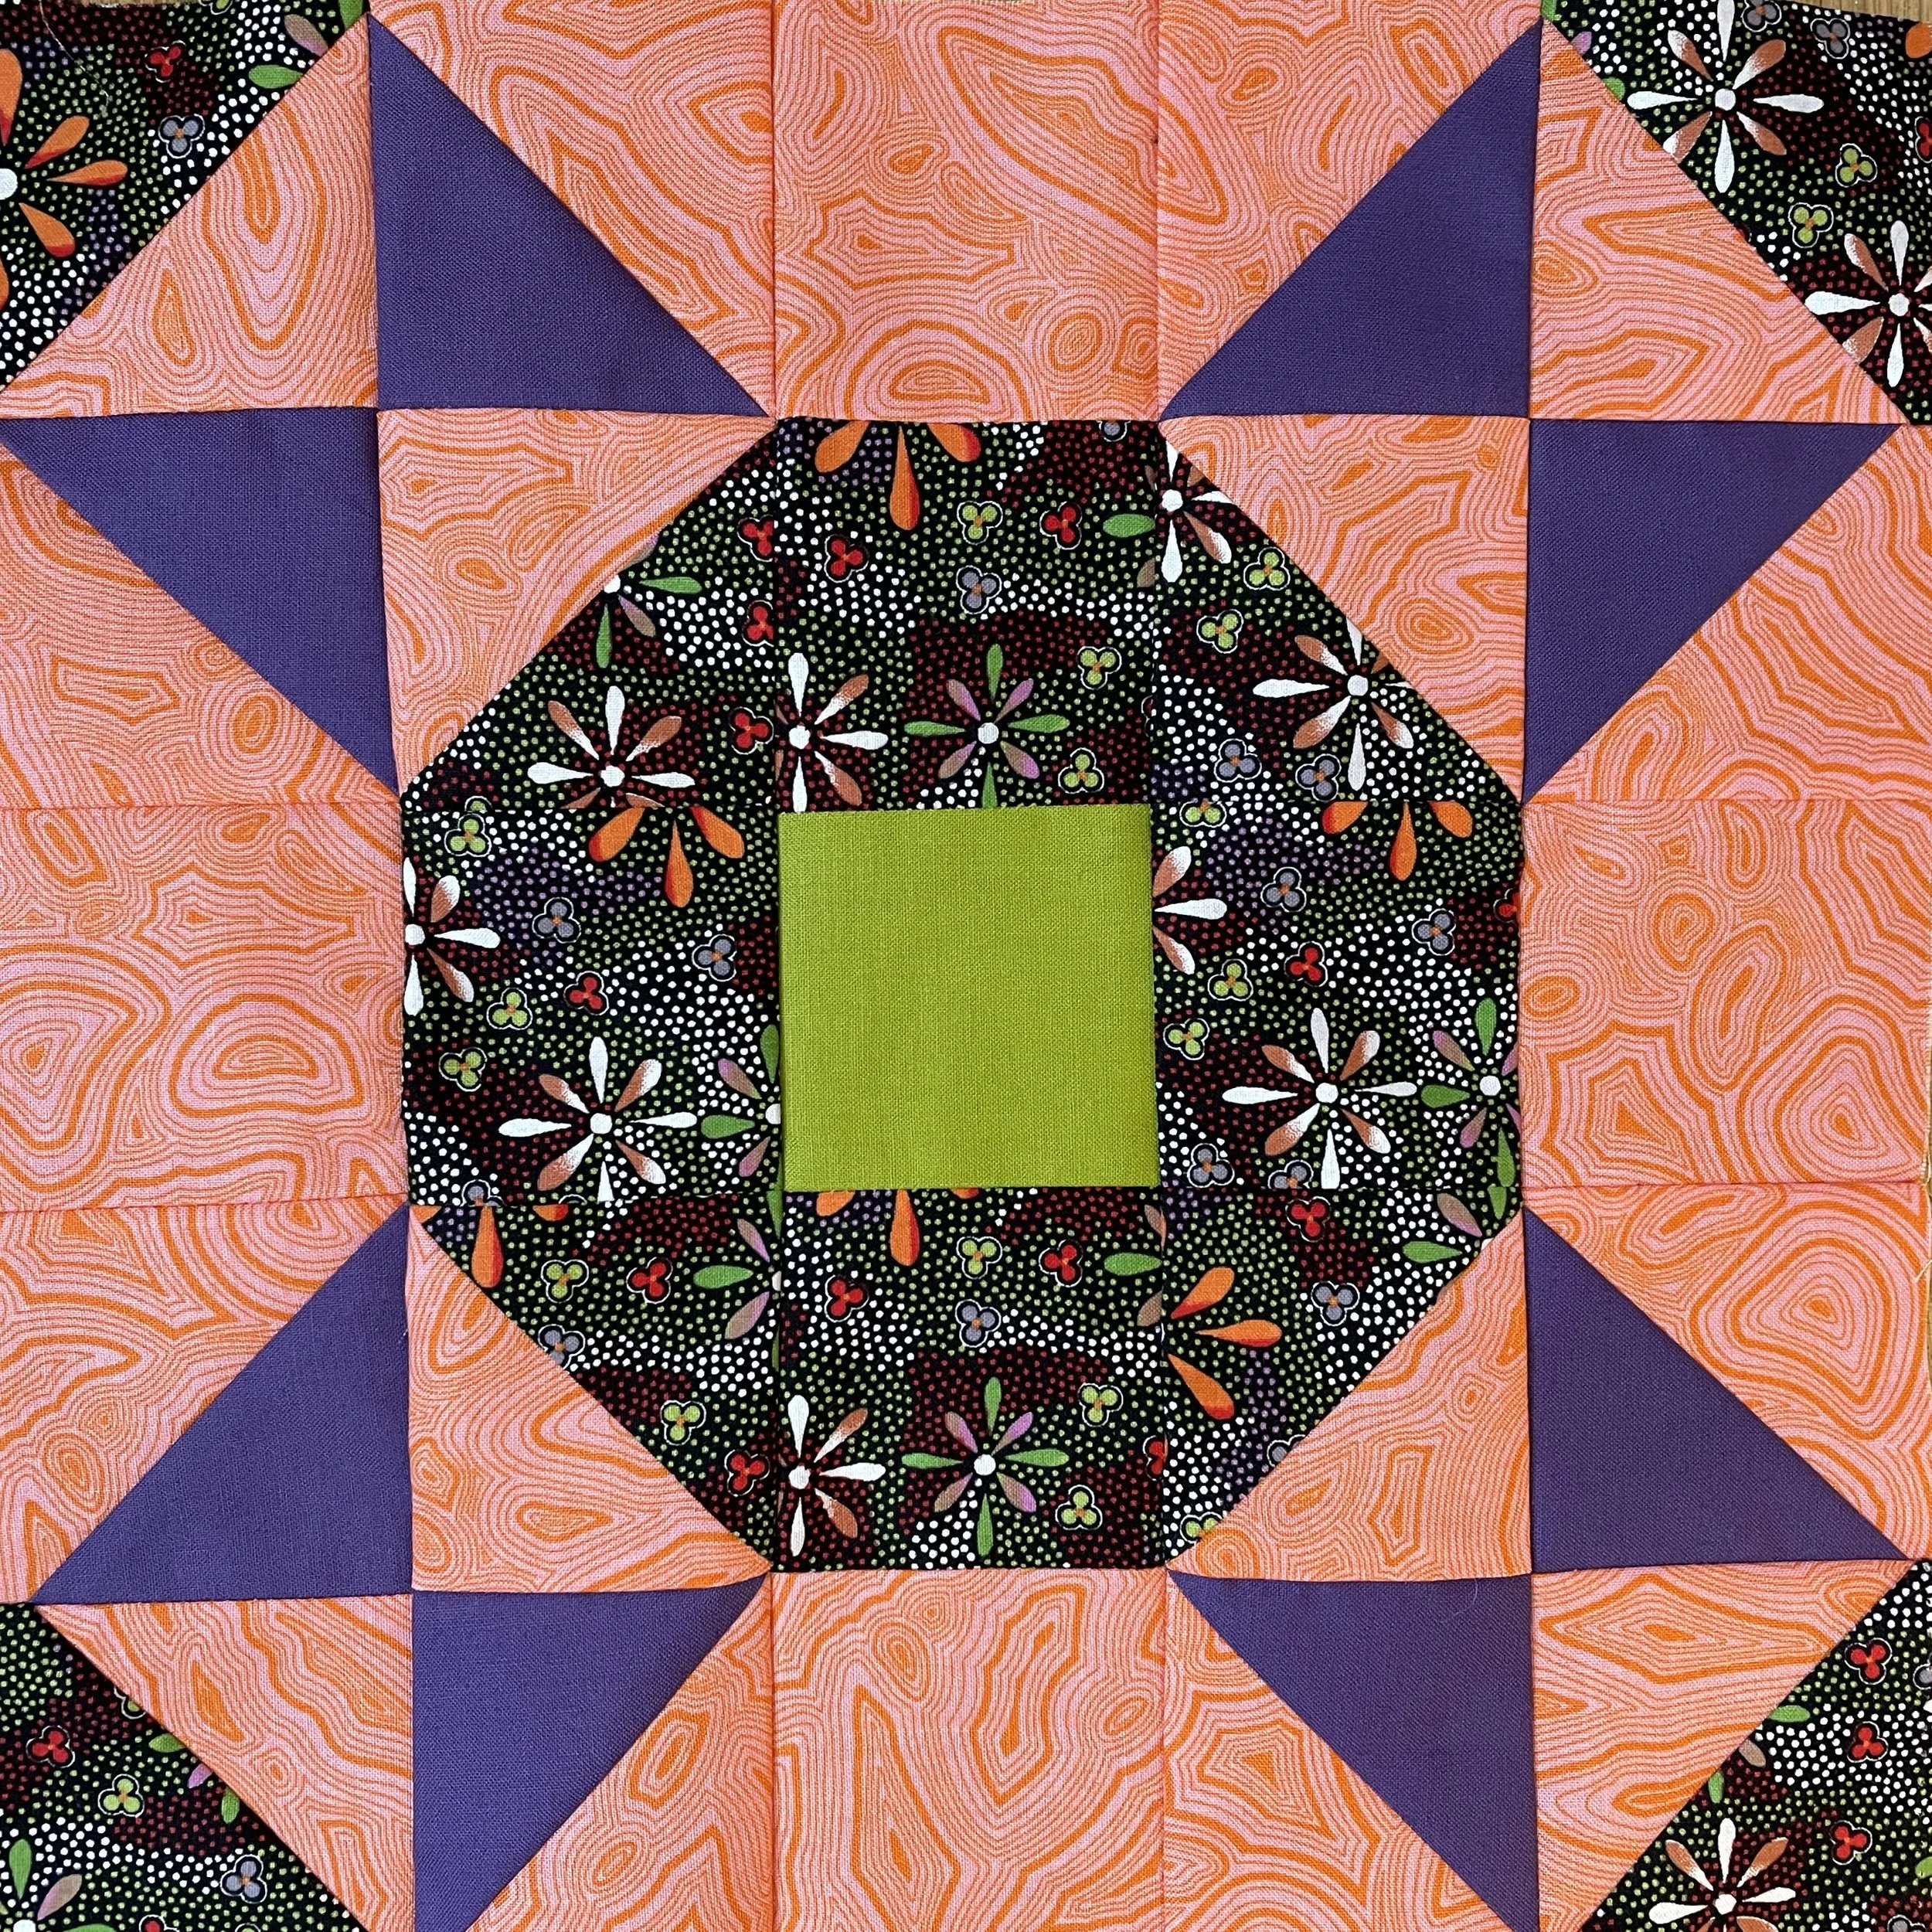
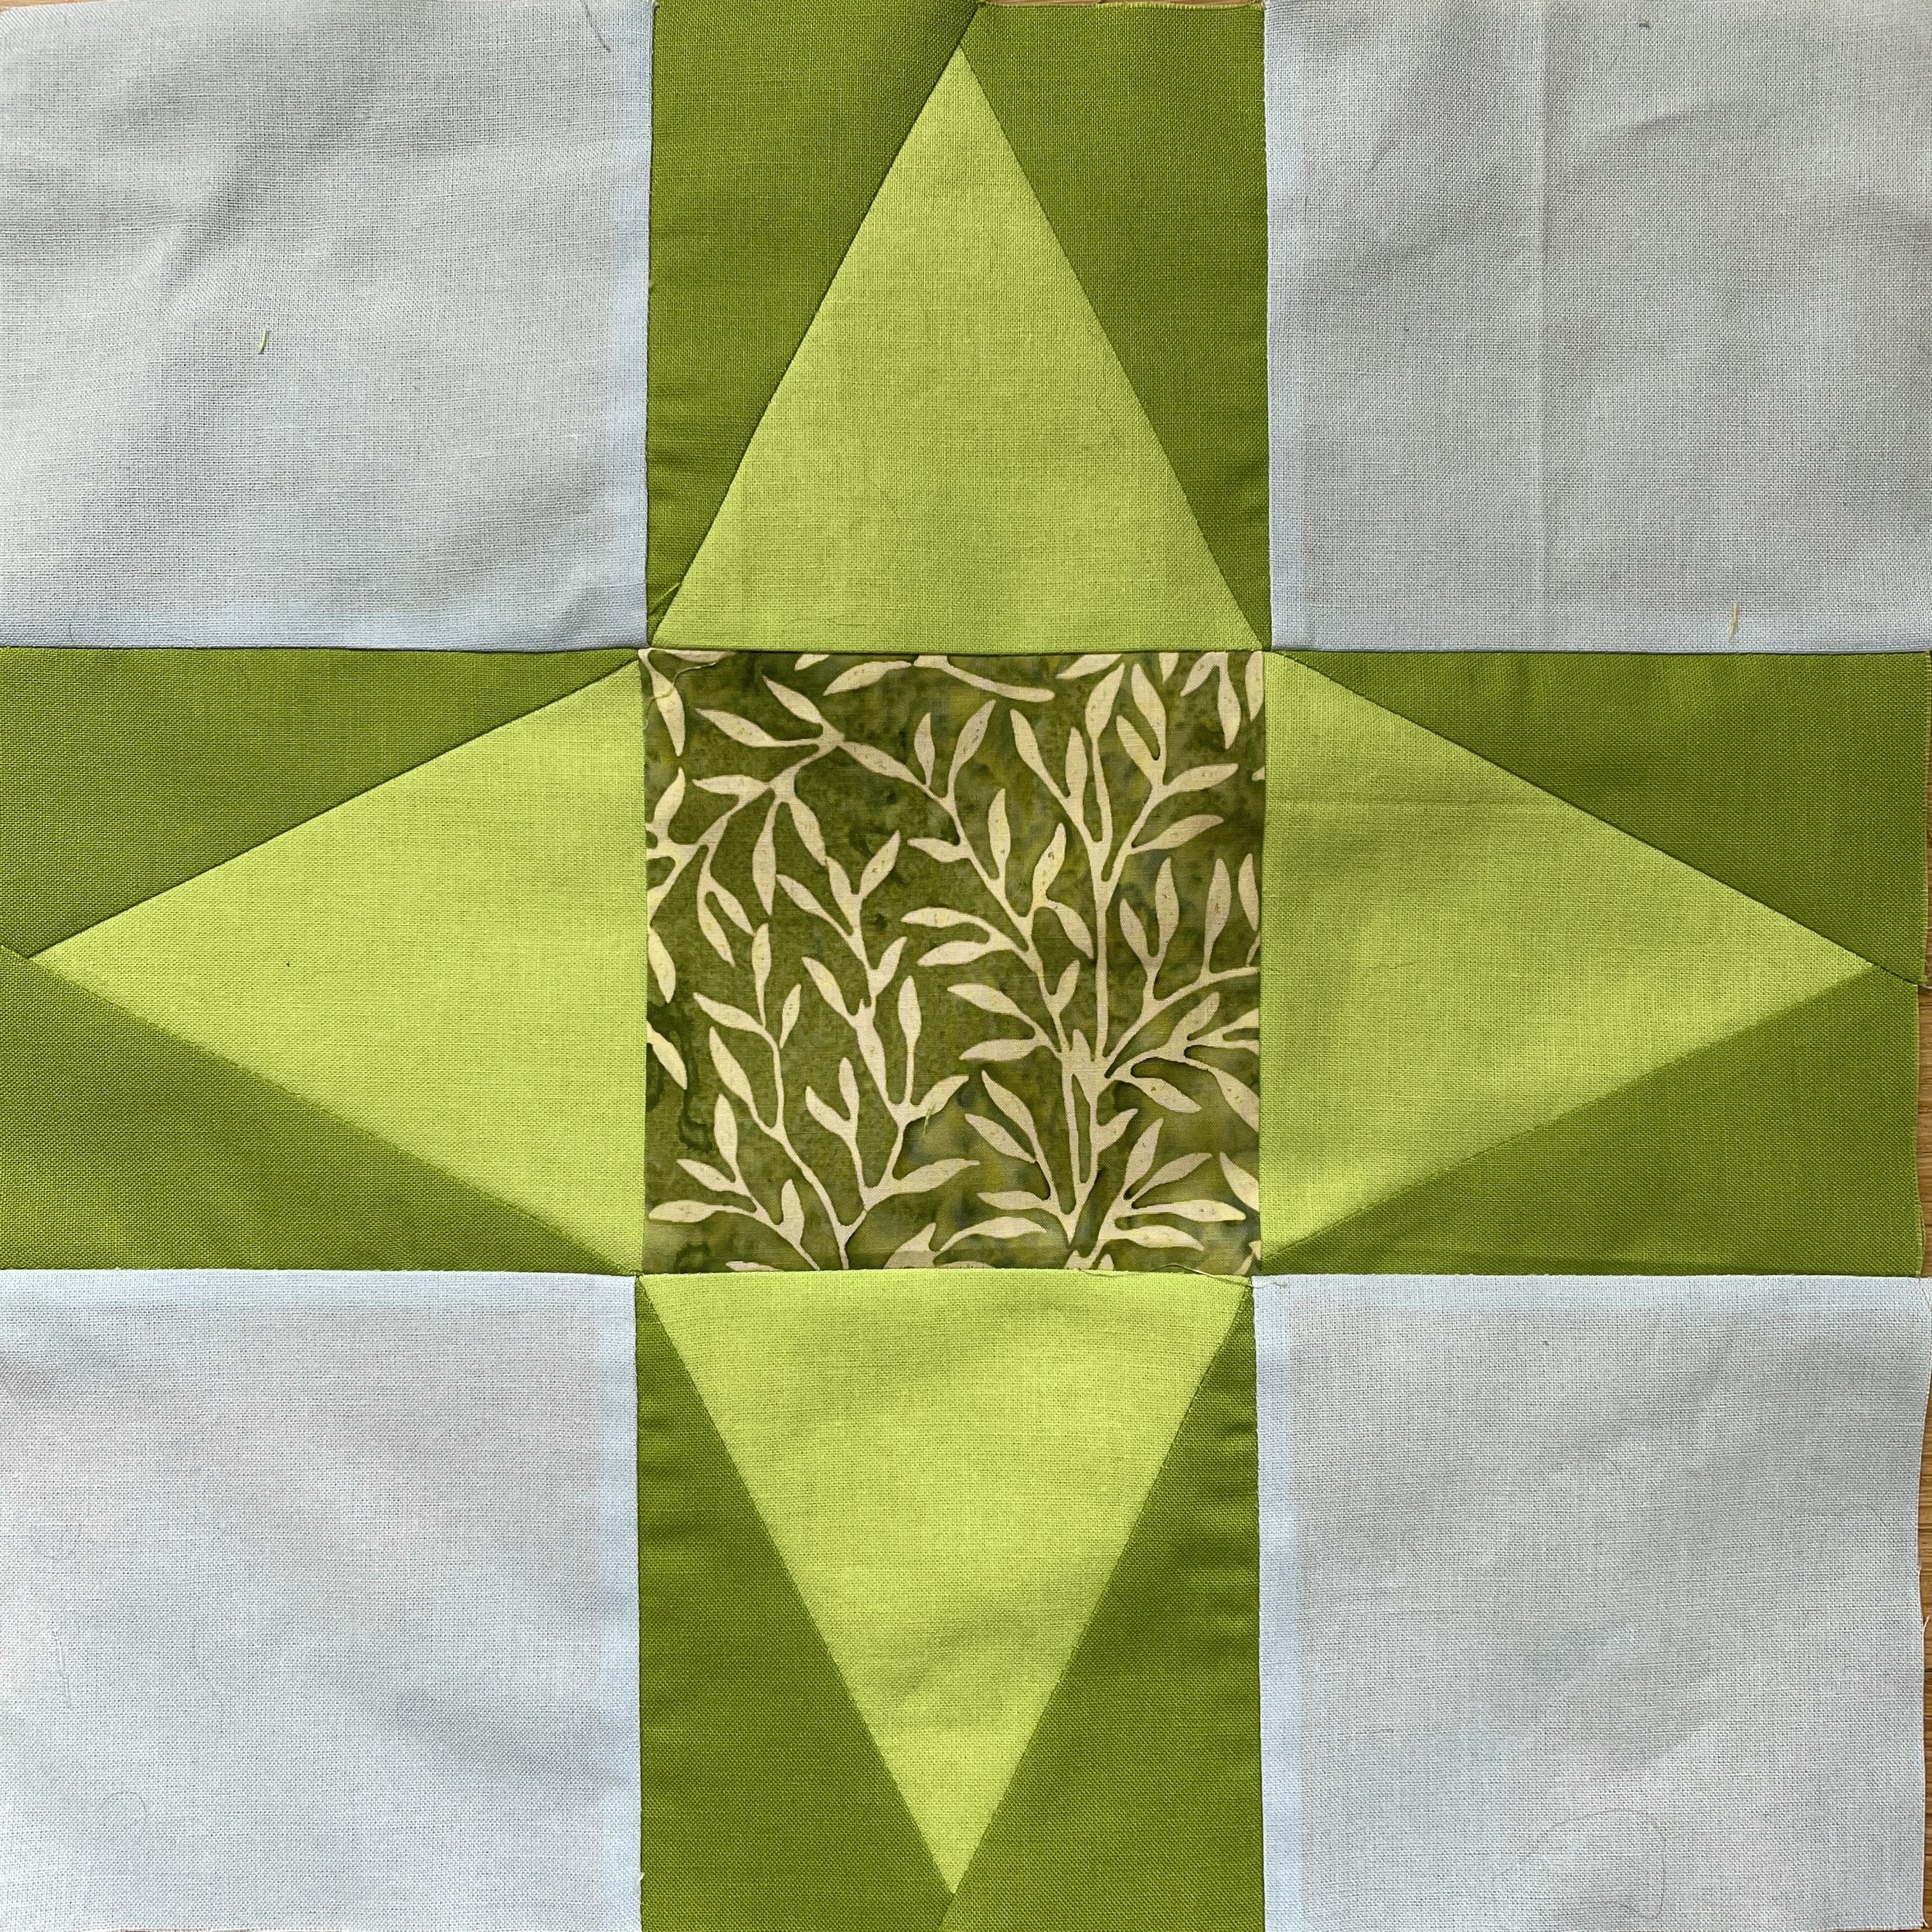
I added a 3/4 inch pink border from fabric left over from the quilt and I used Creative Grids® Triangle Squared ruler to make the 4 point stars cornerstone blocks with a fussy cut central flower. The outer floral border is the same fabric that is in the center of the stars in the quilt.
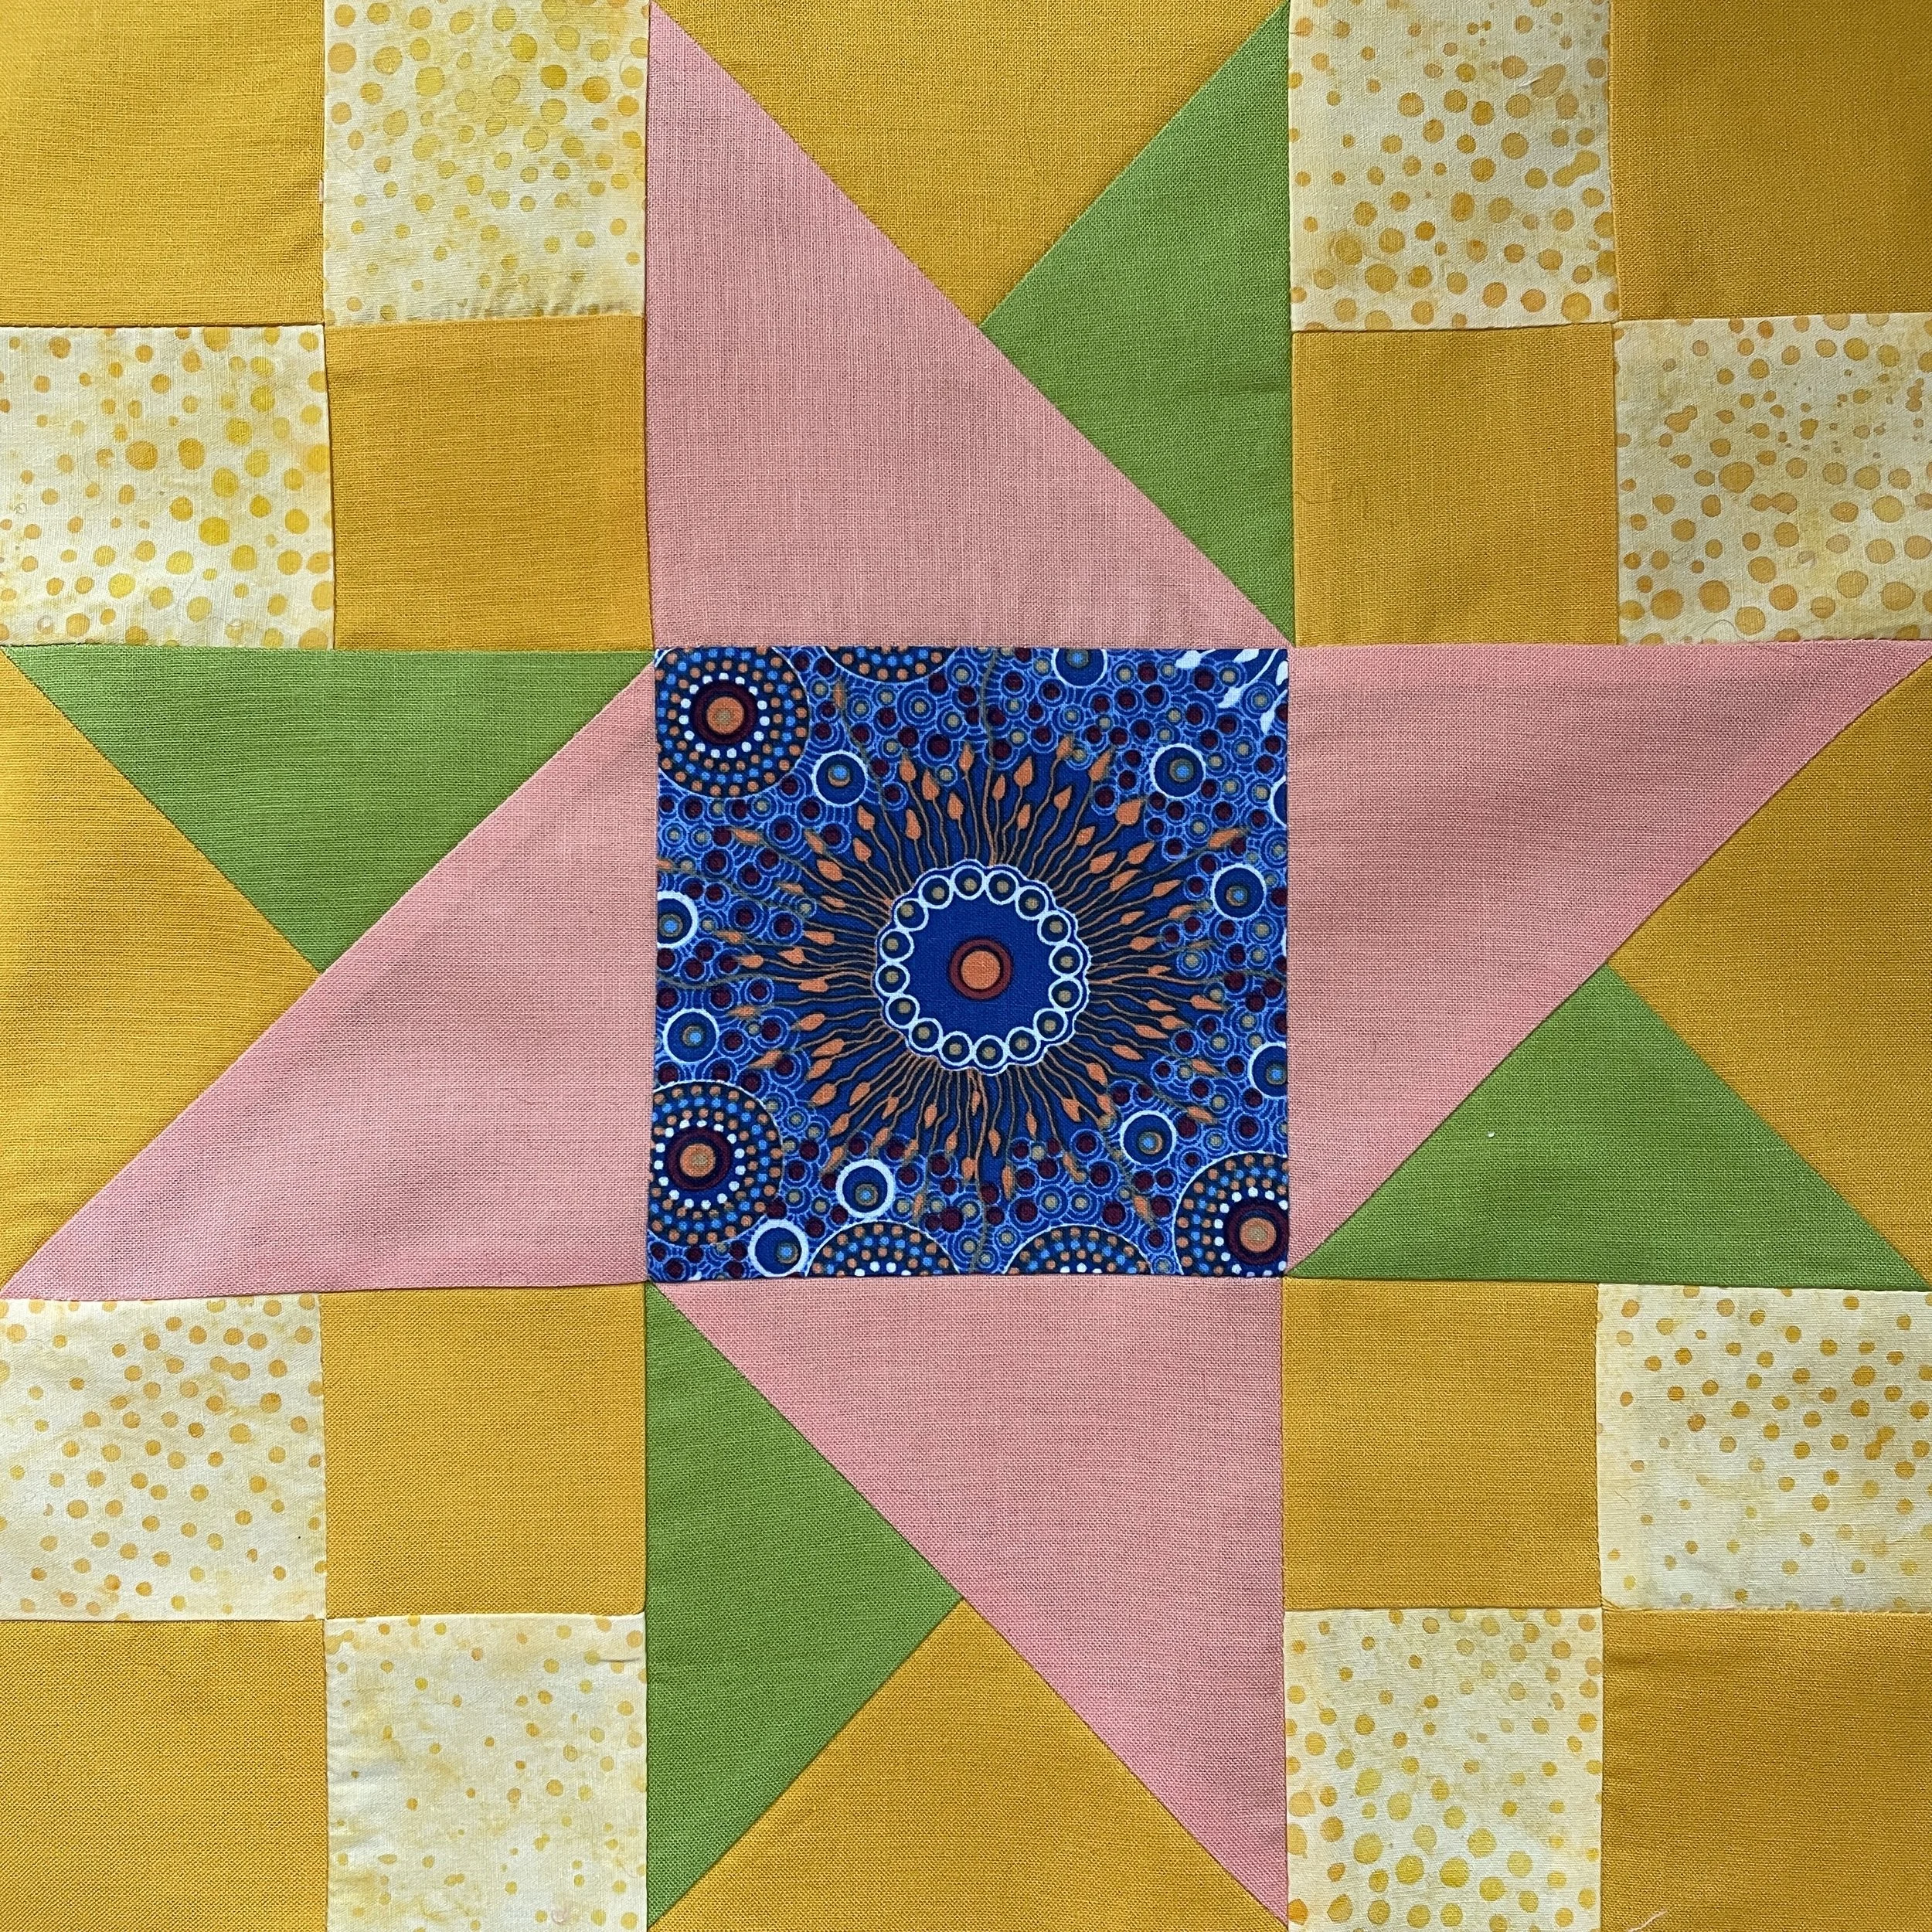
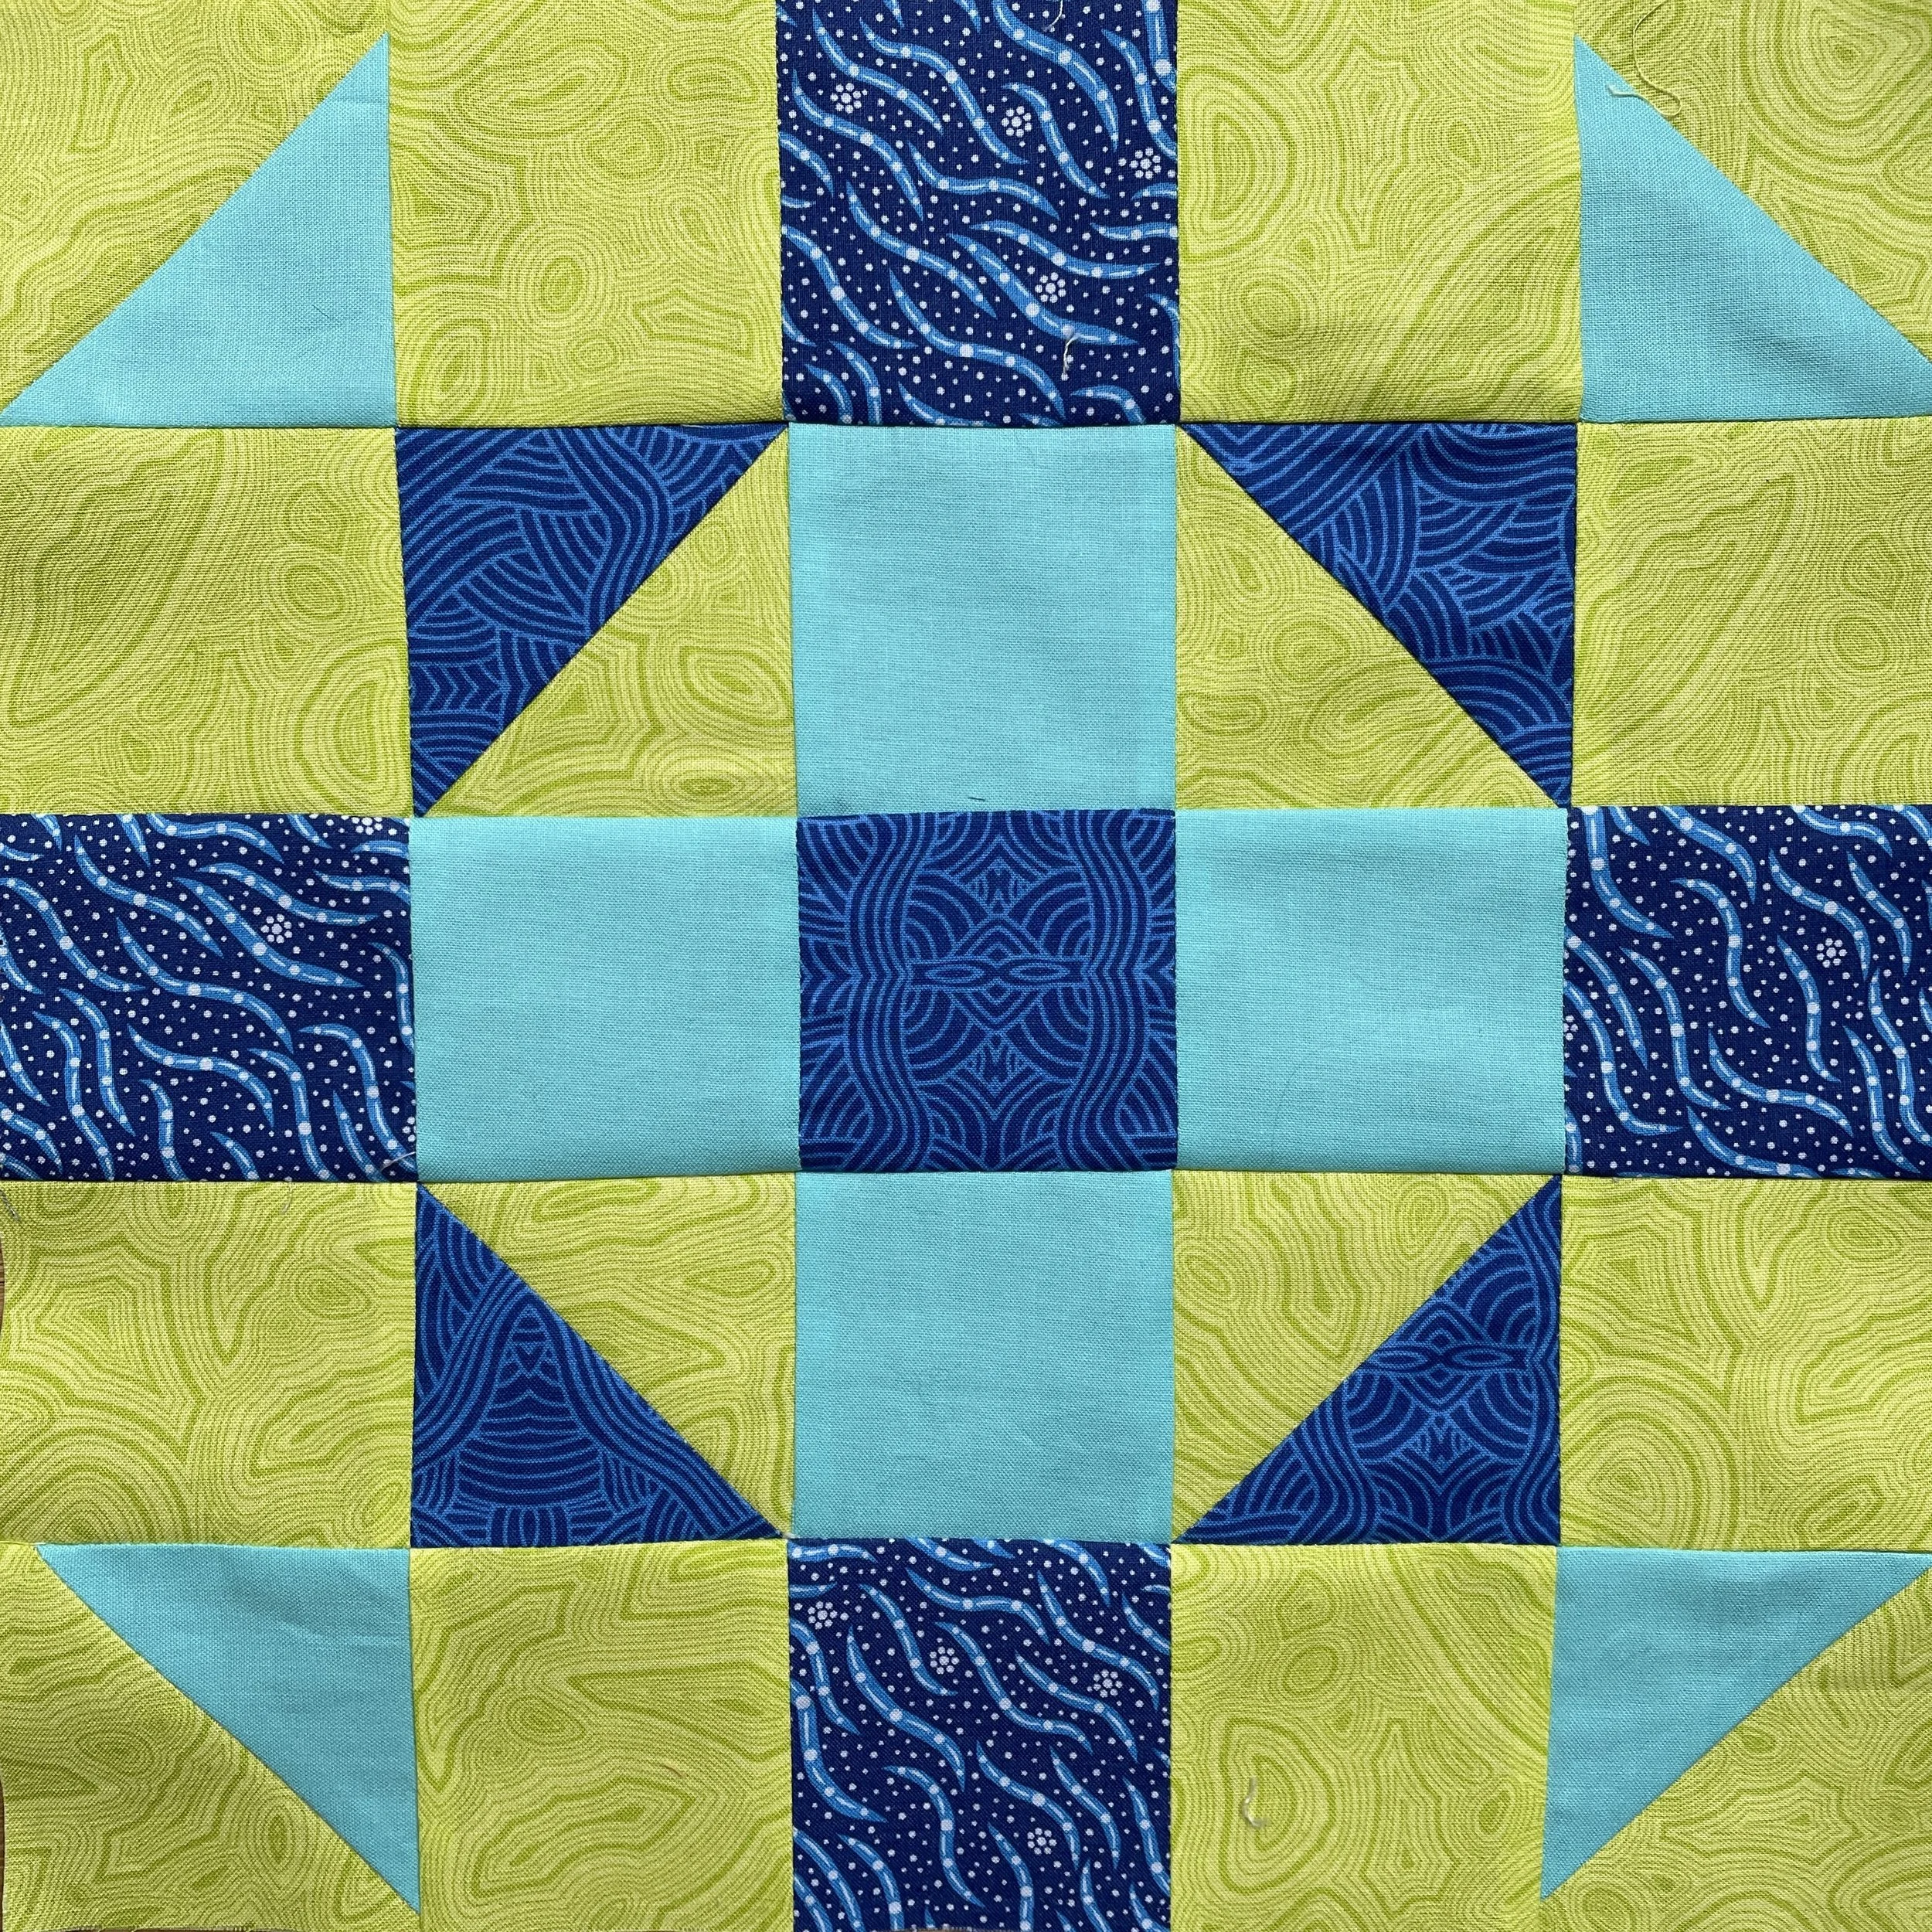
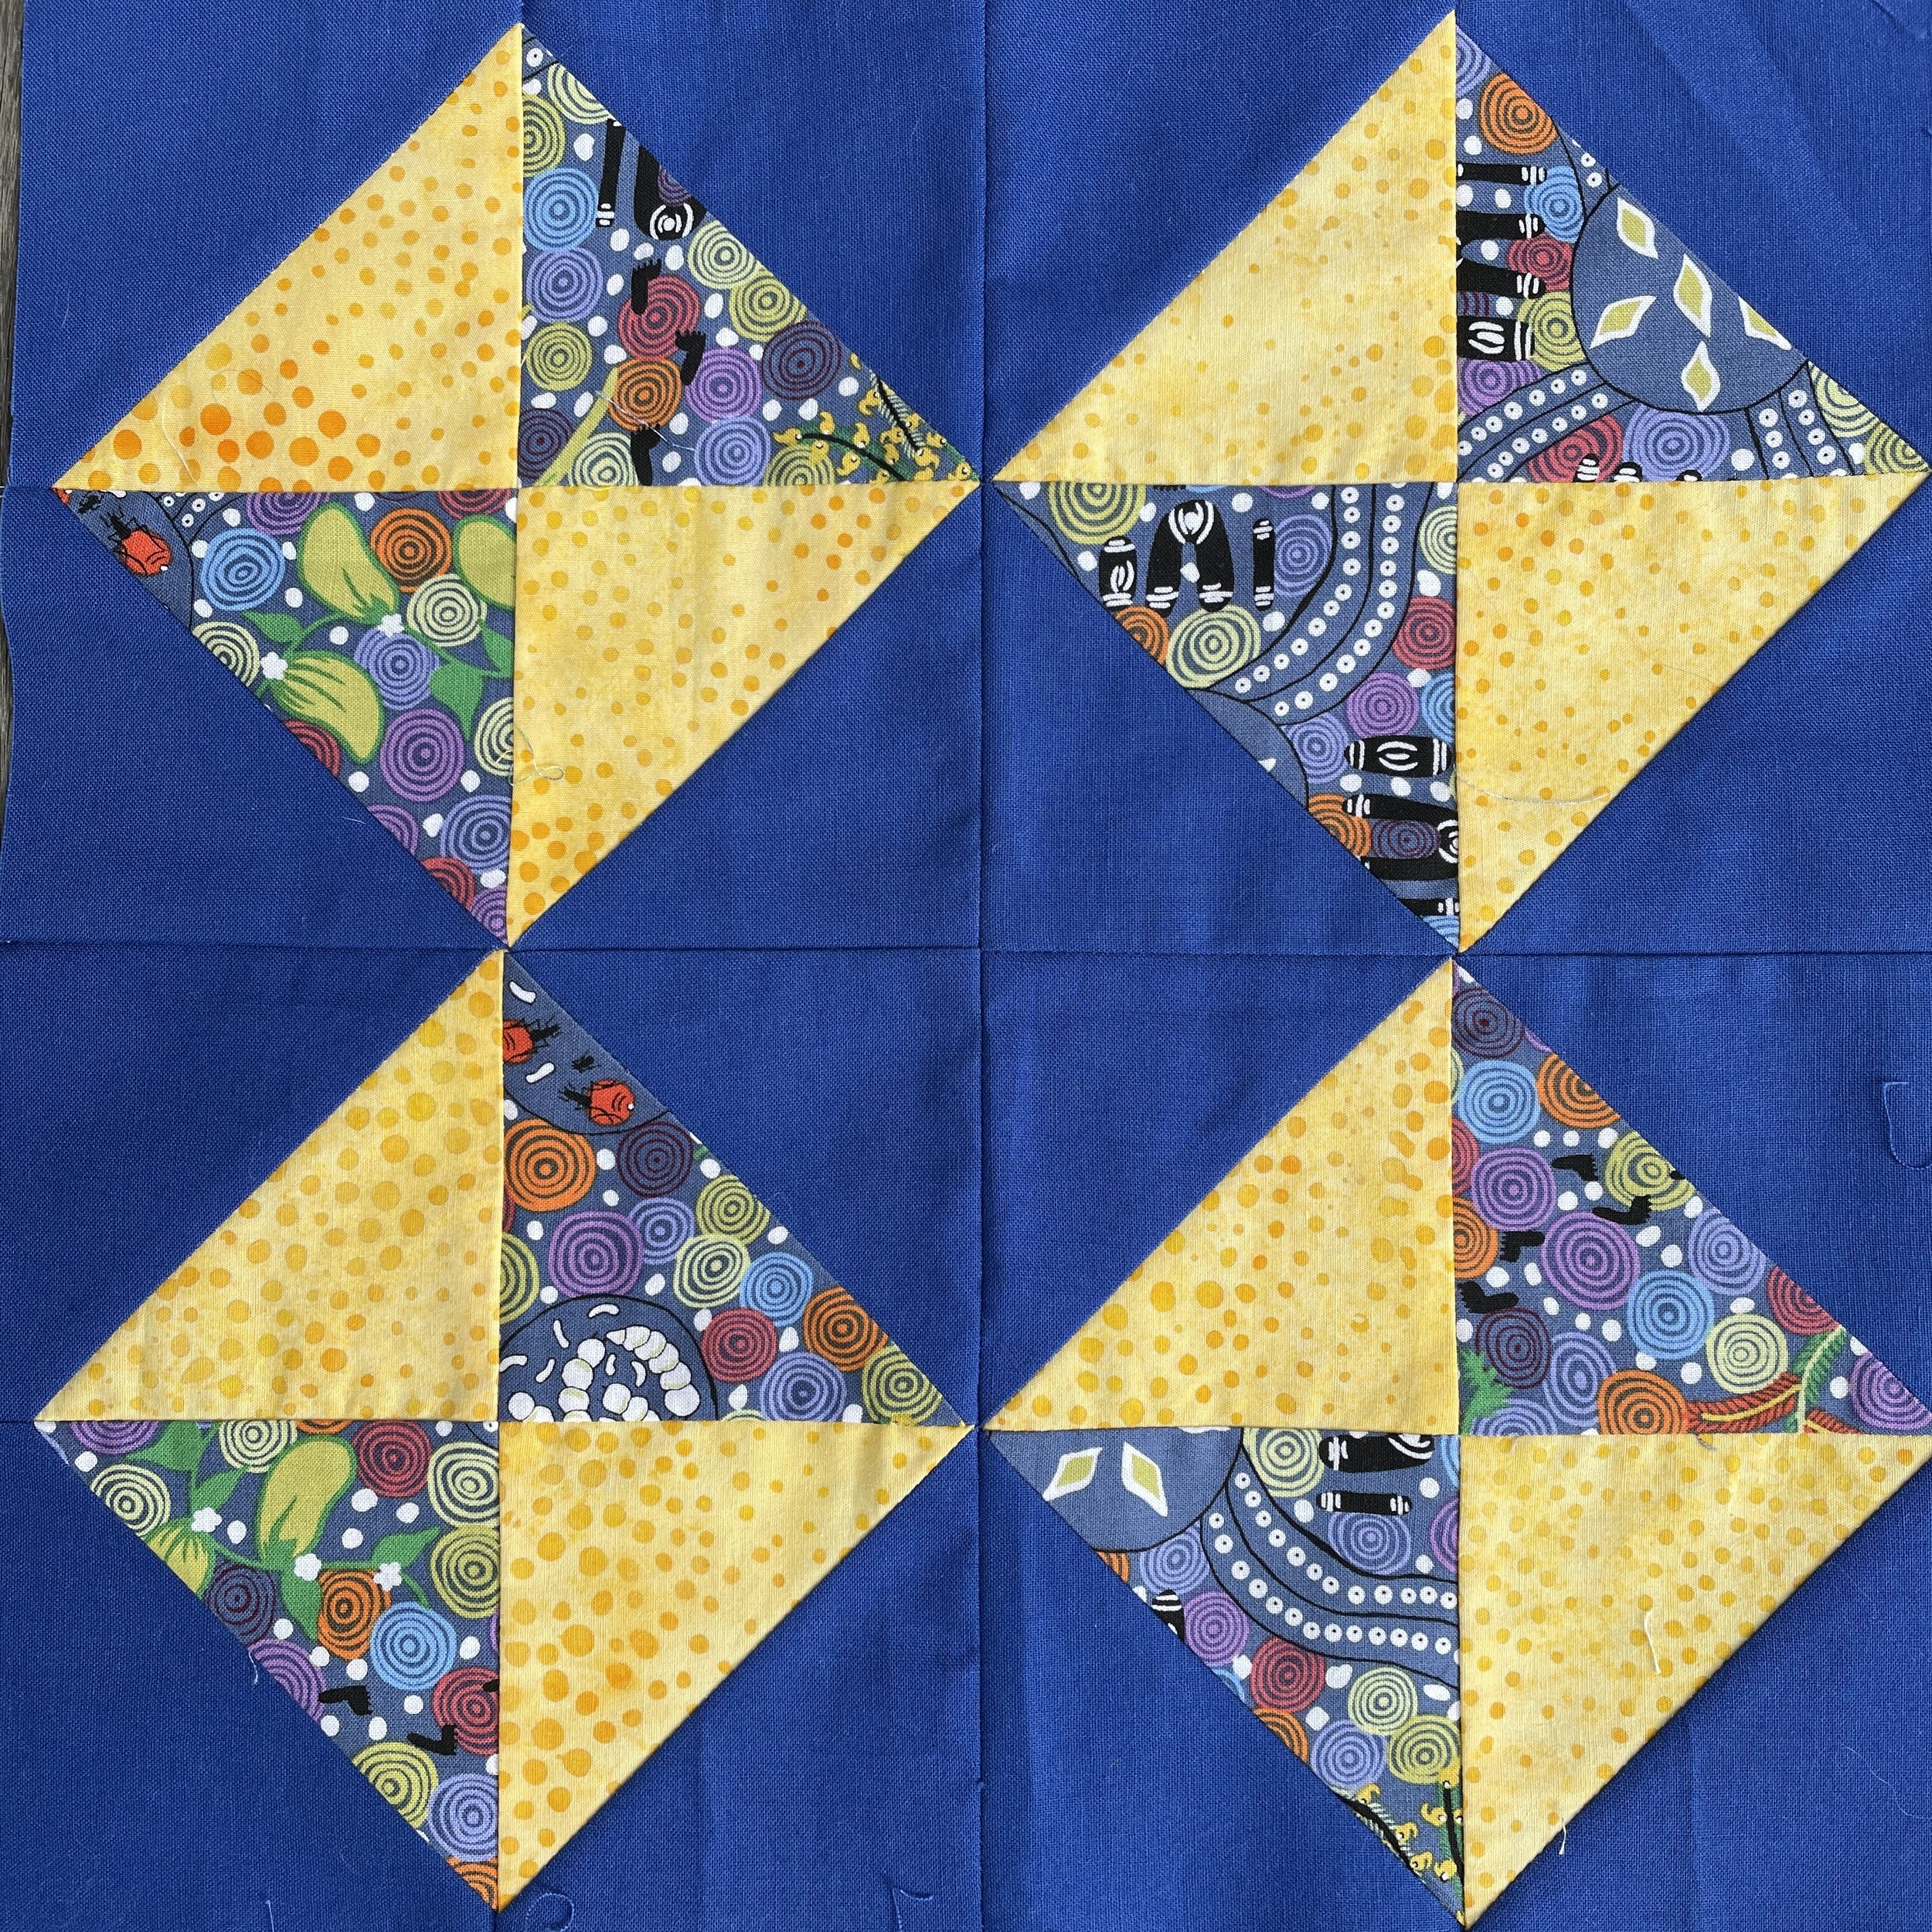
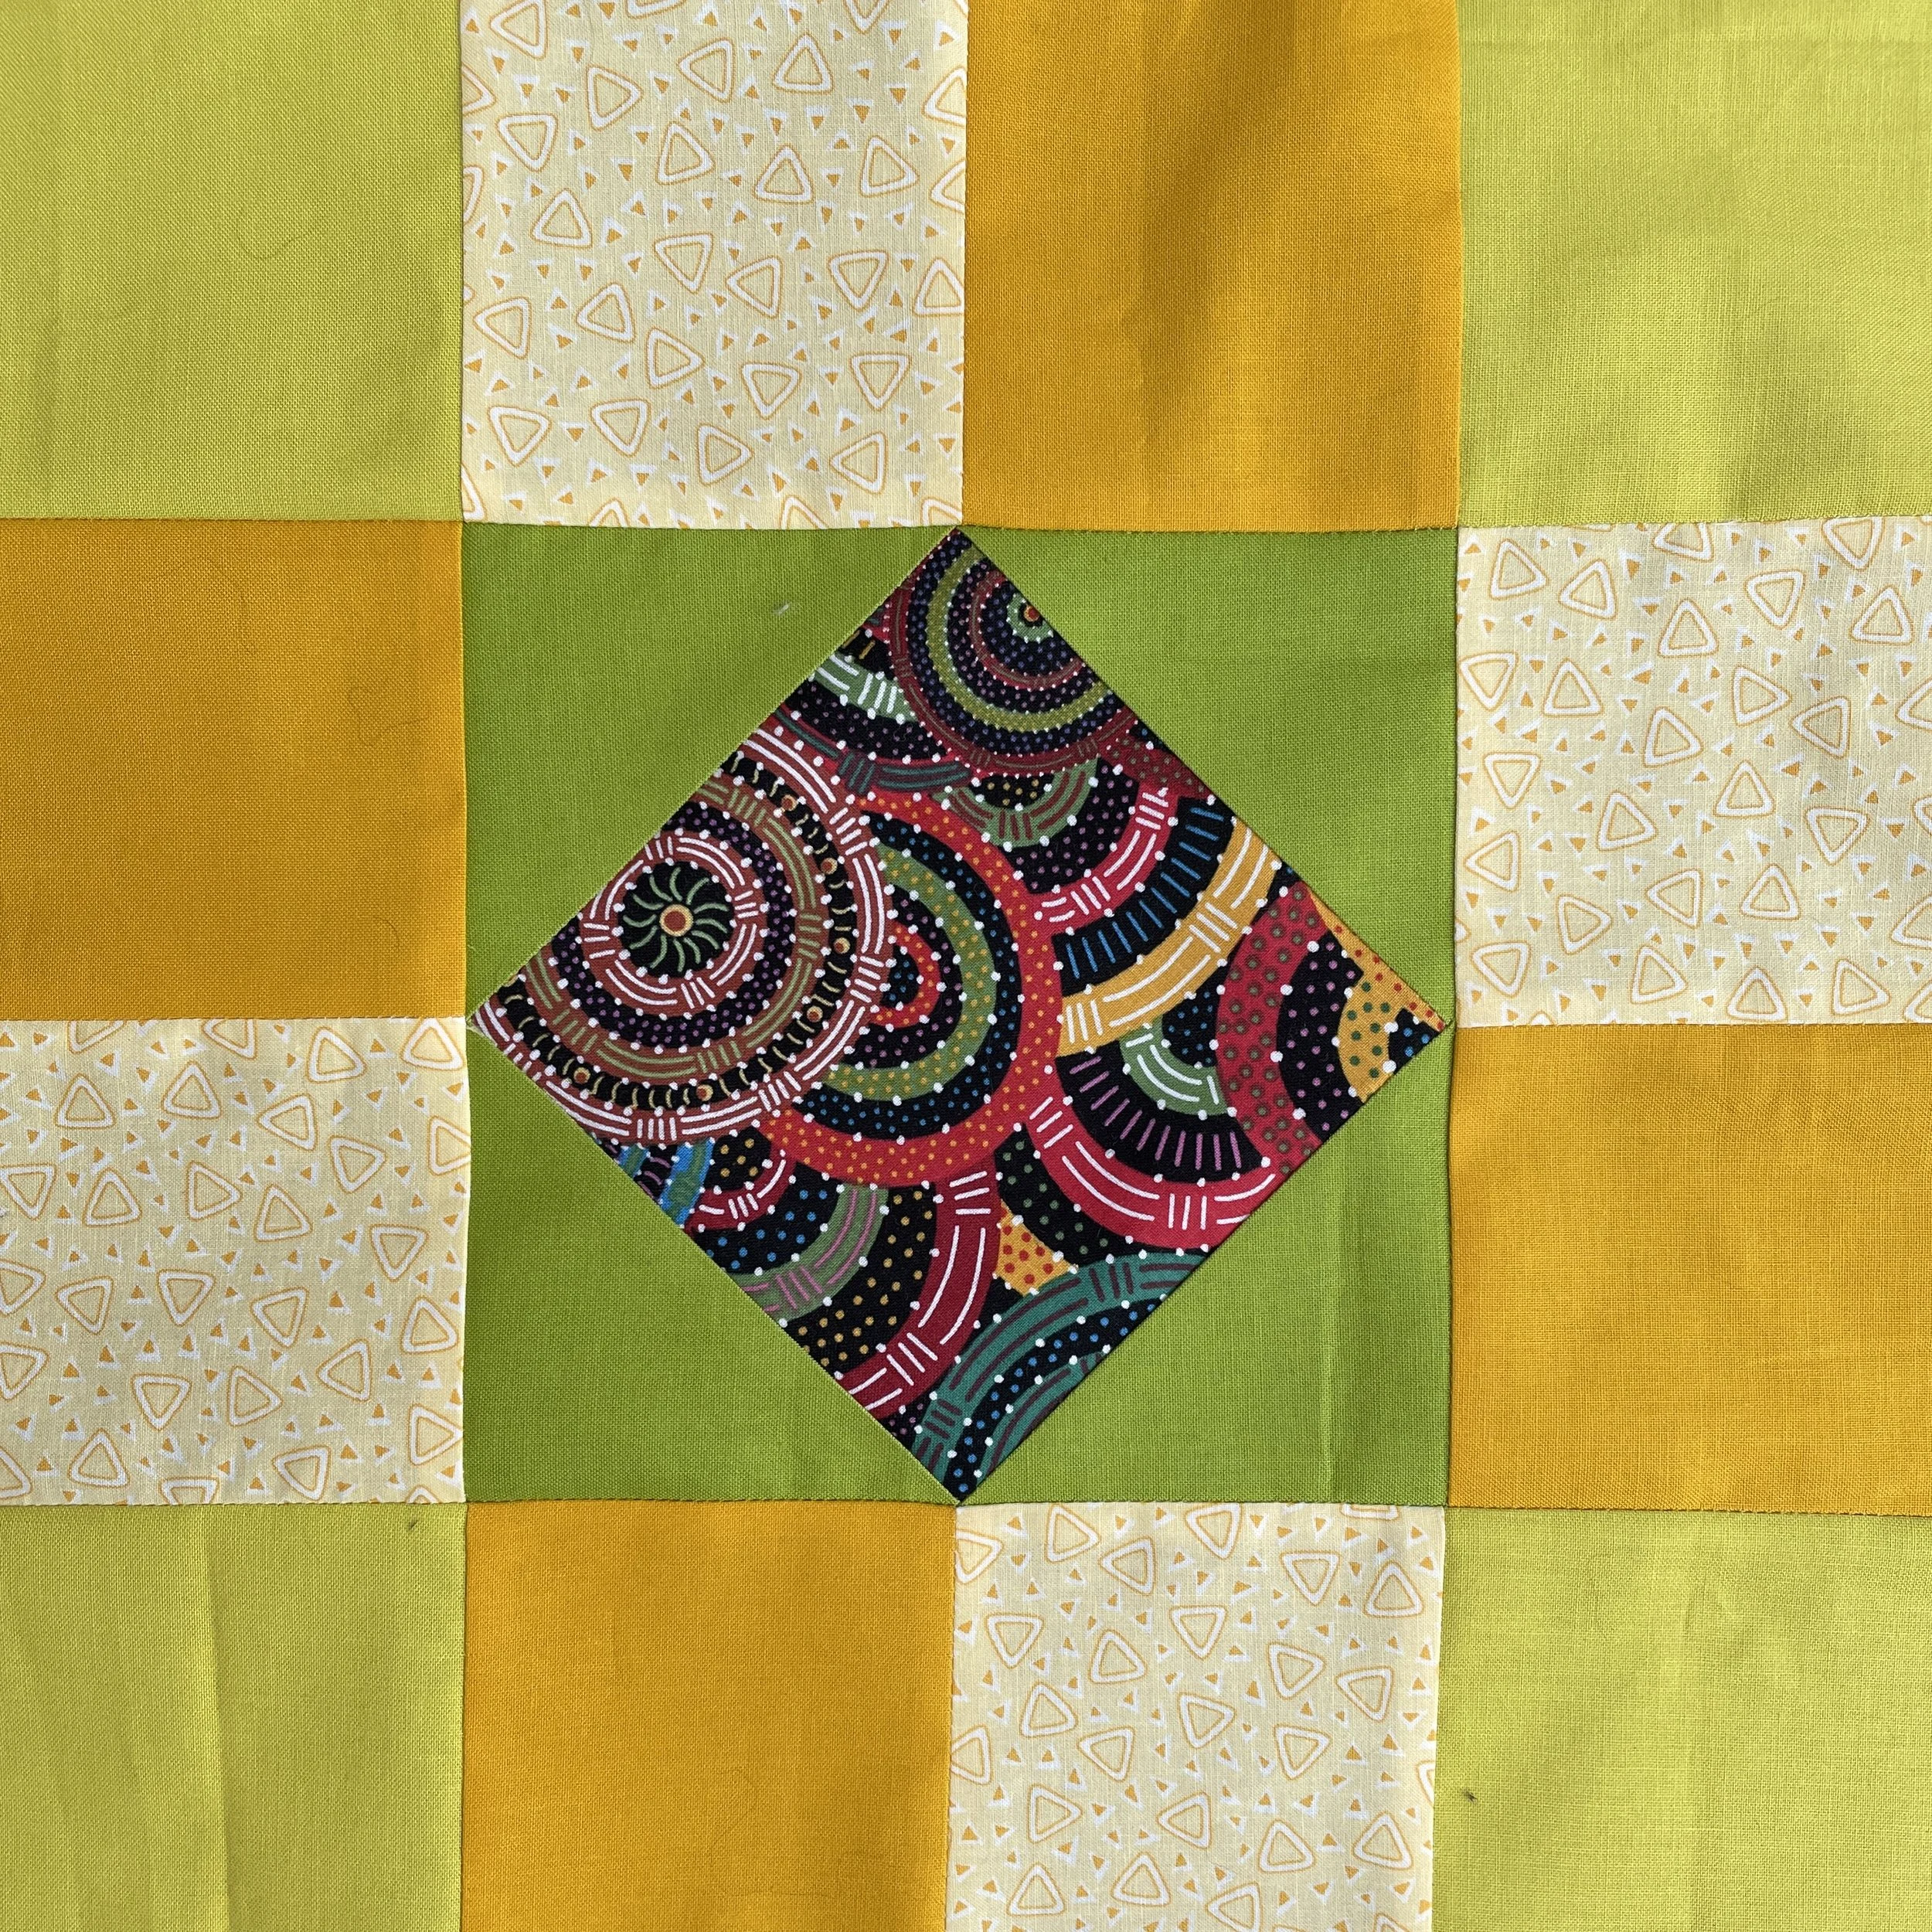
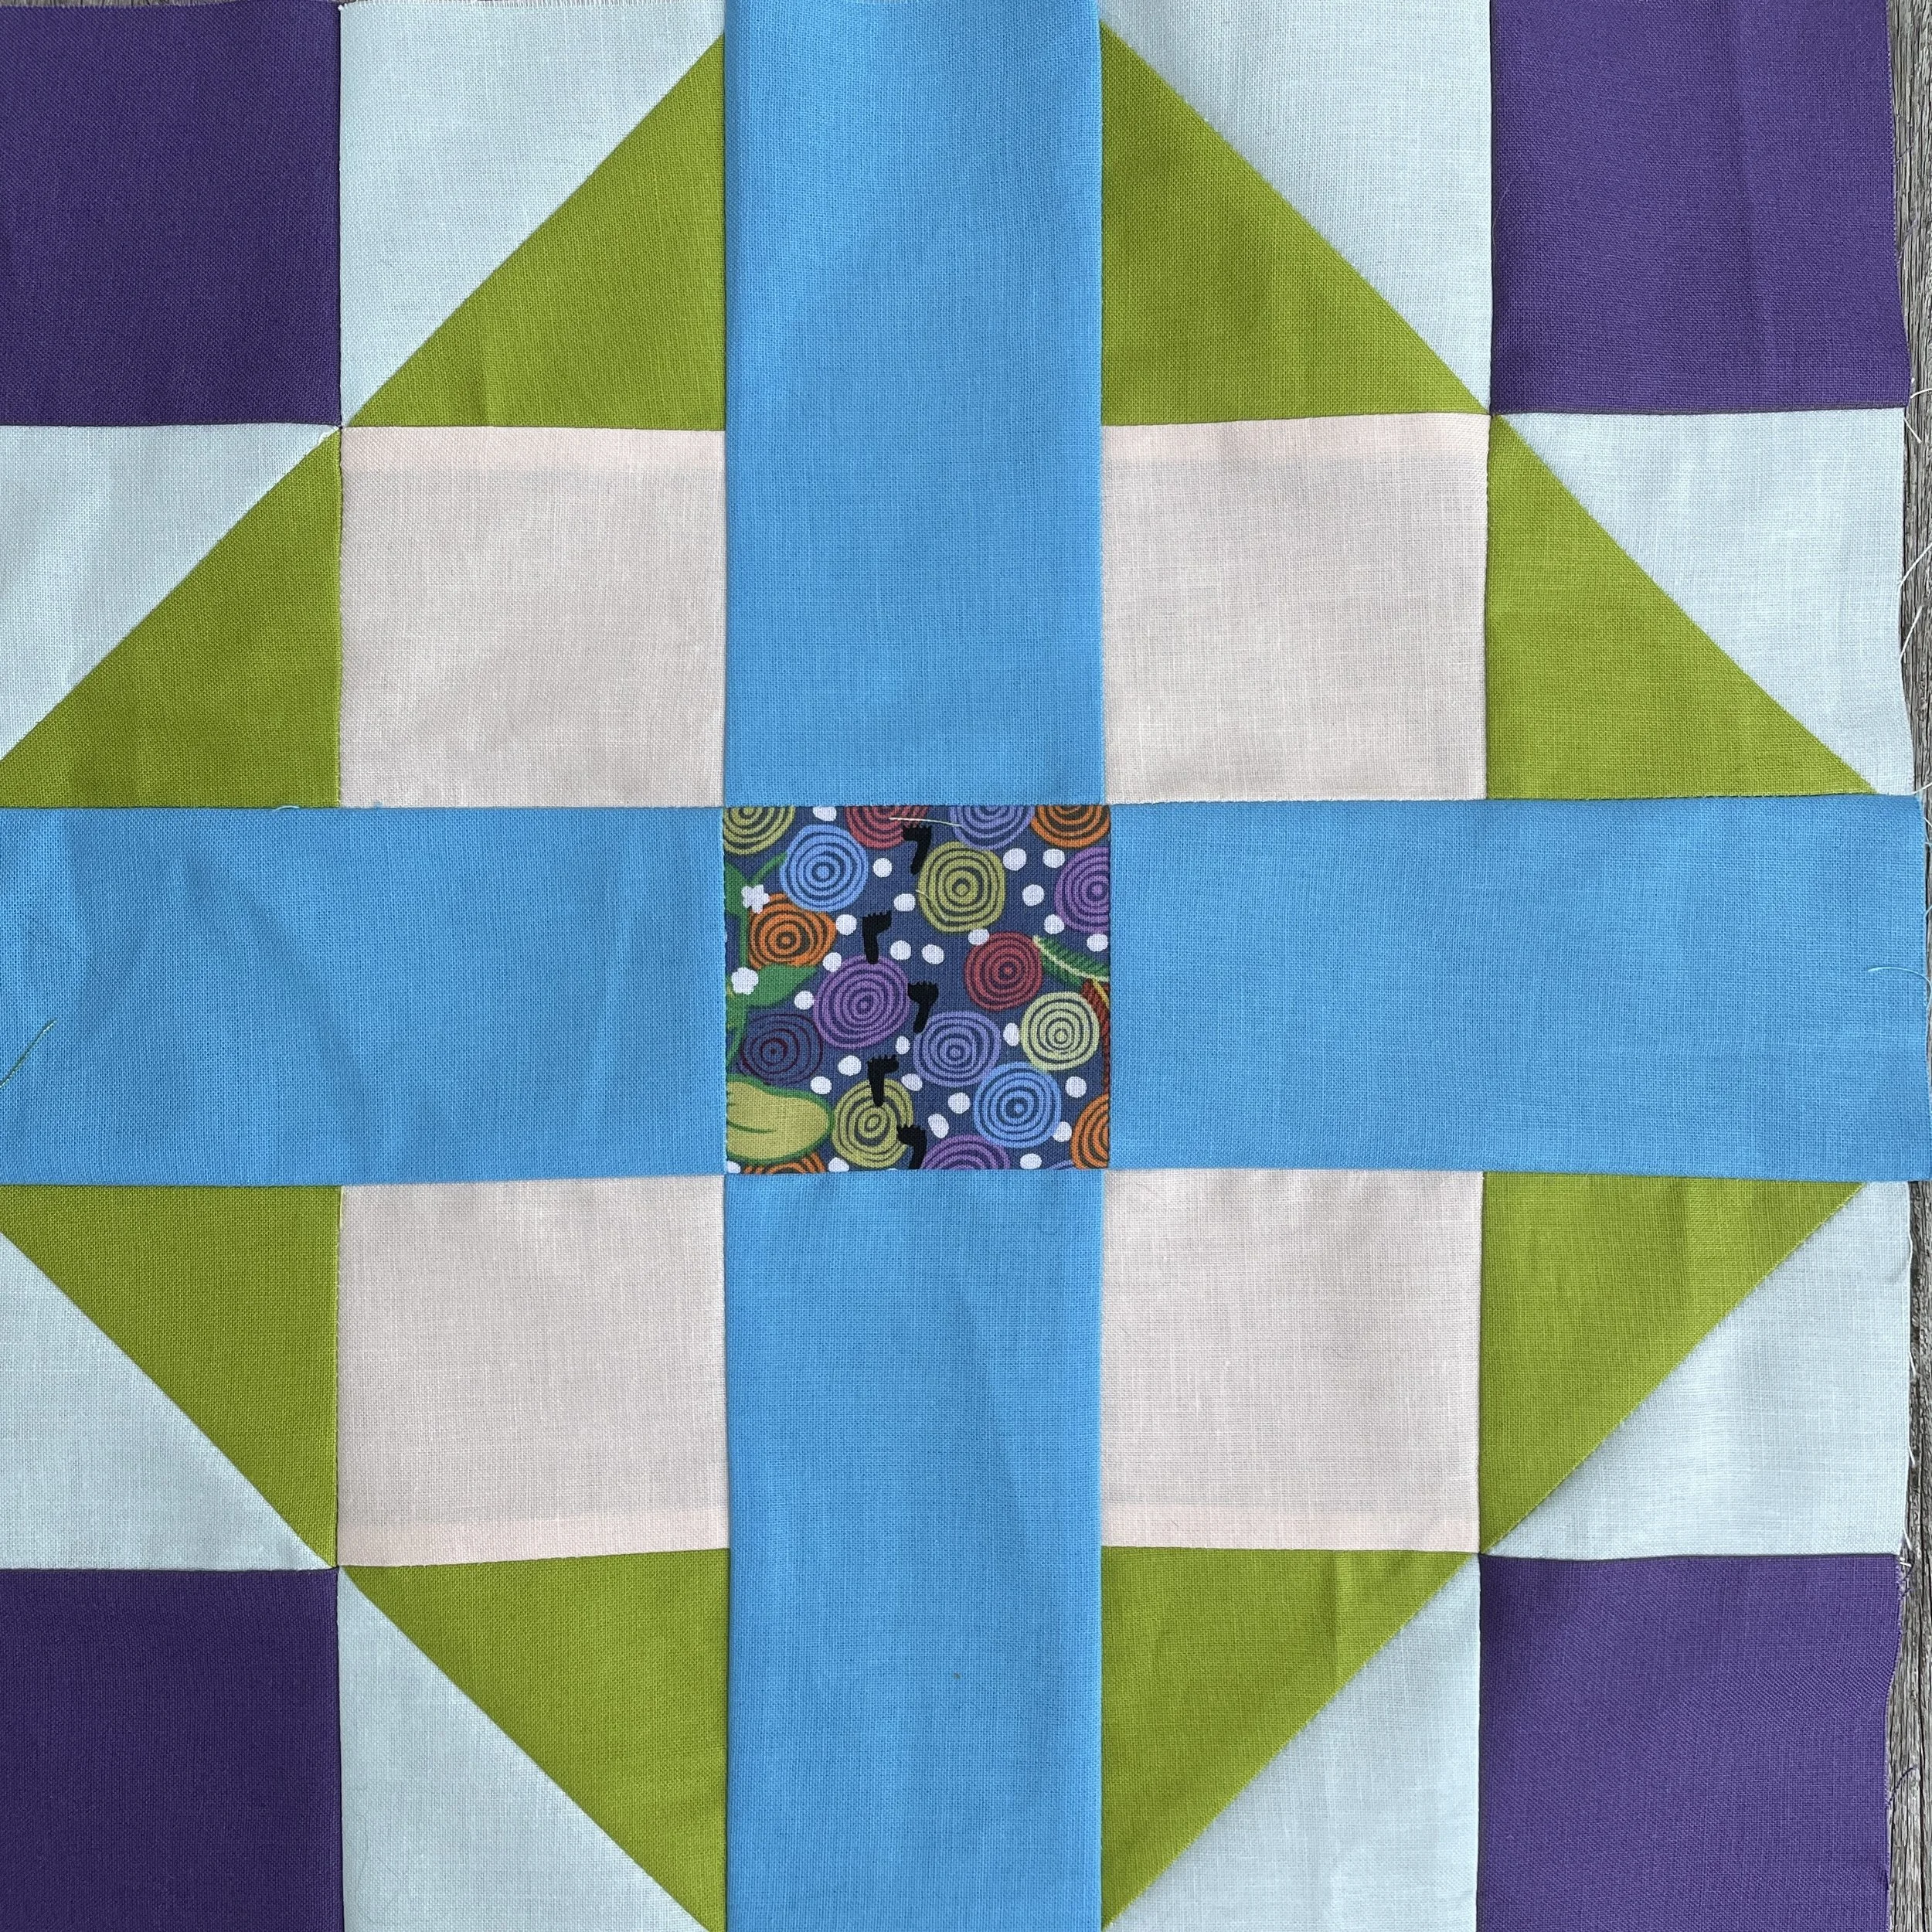
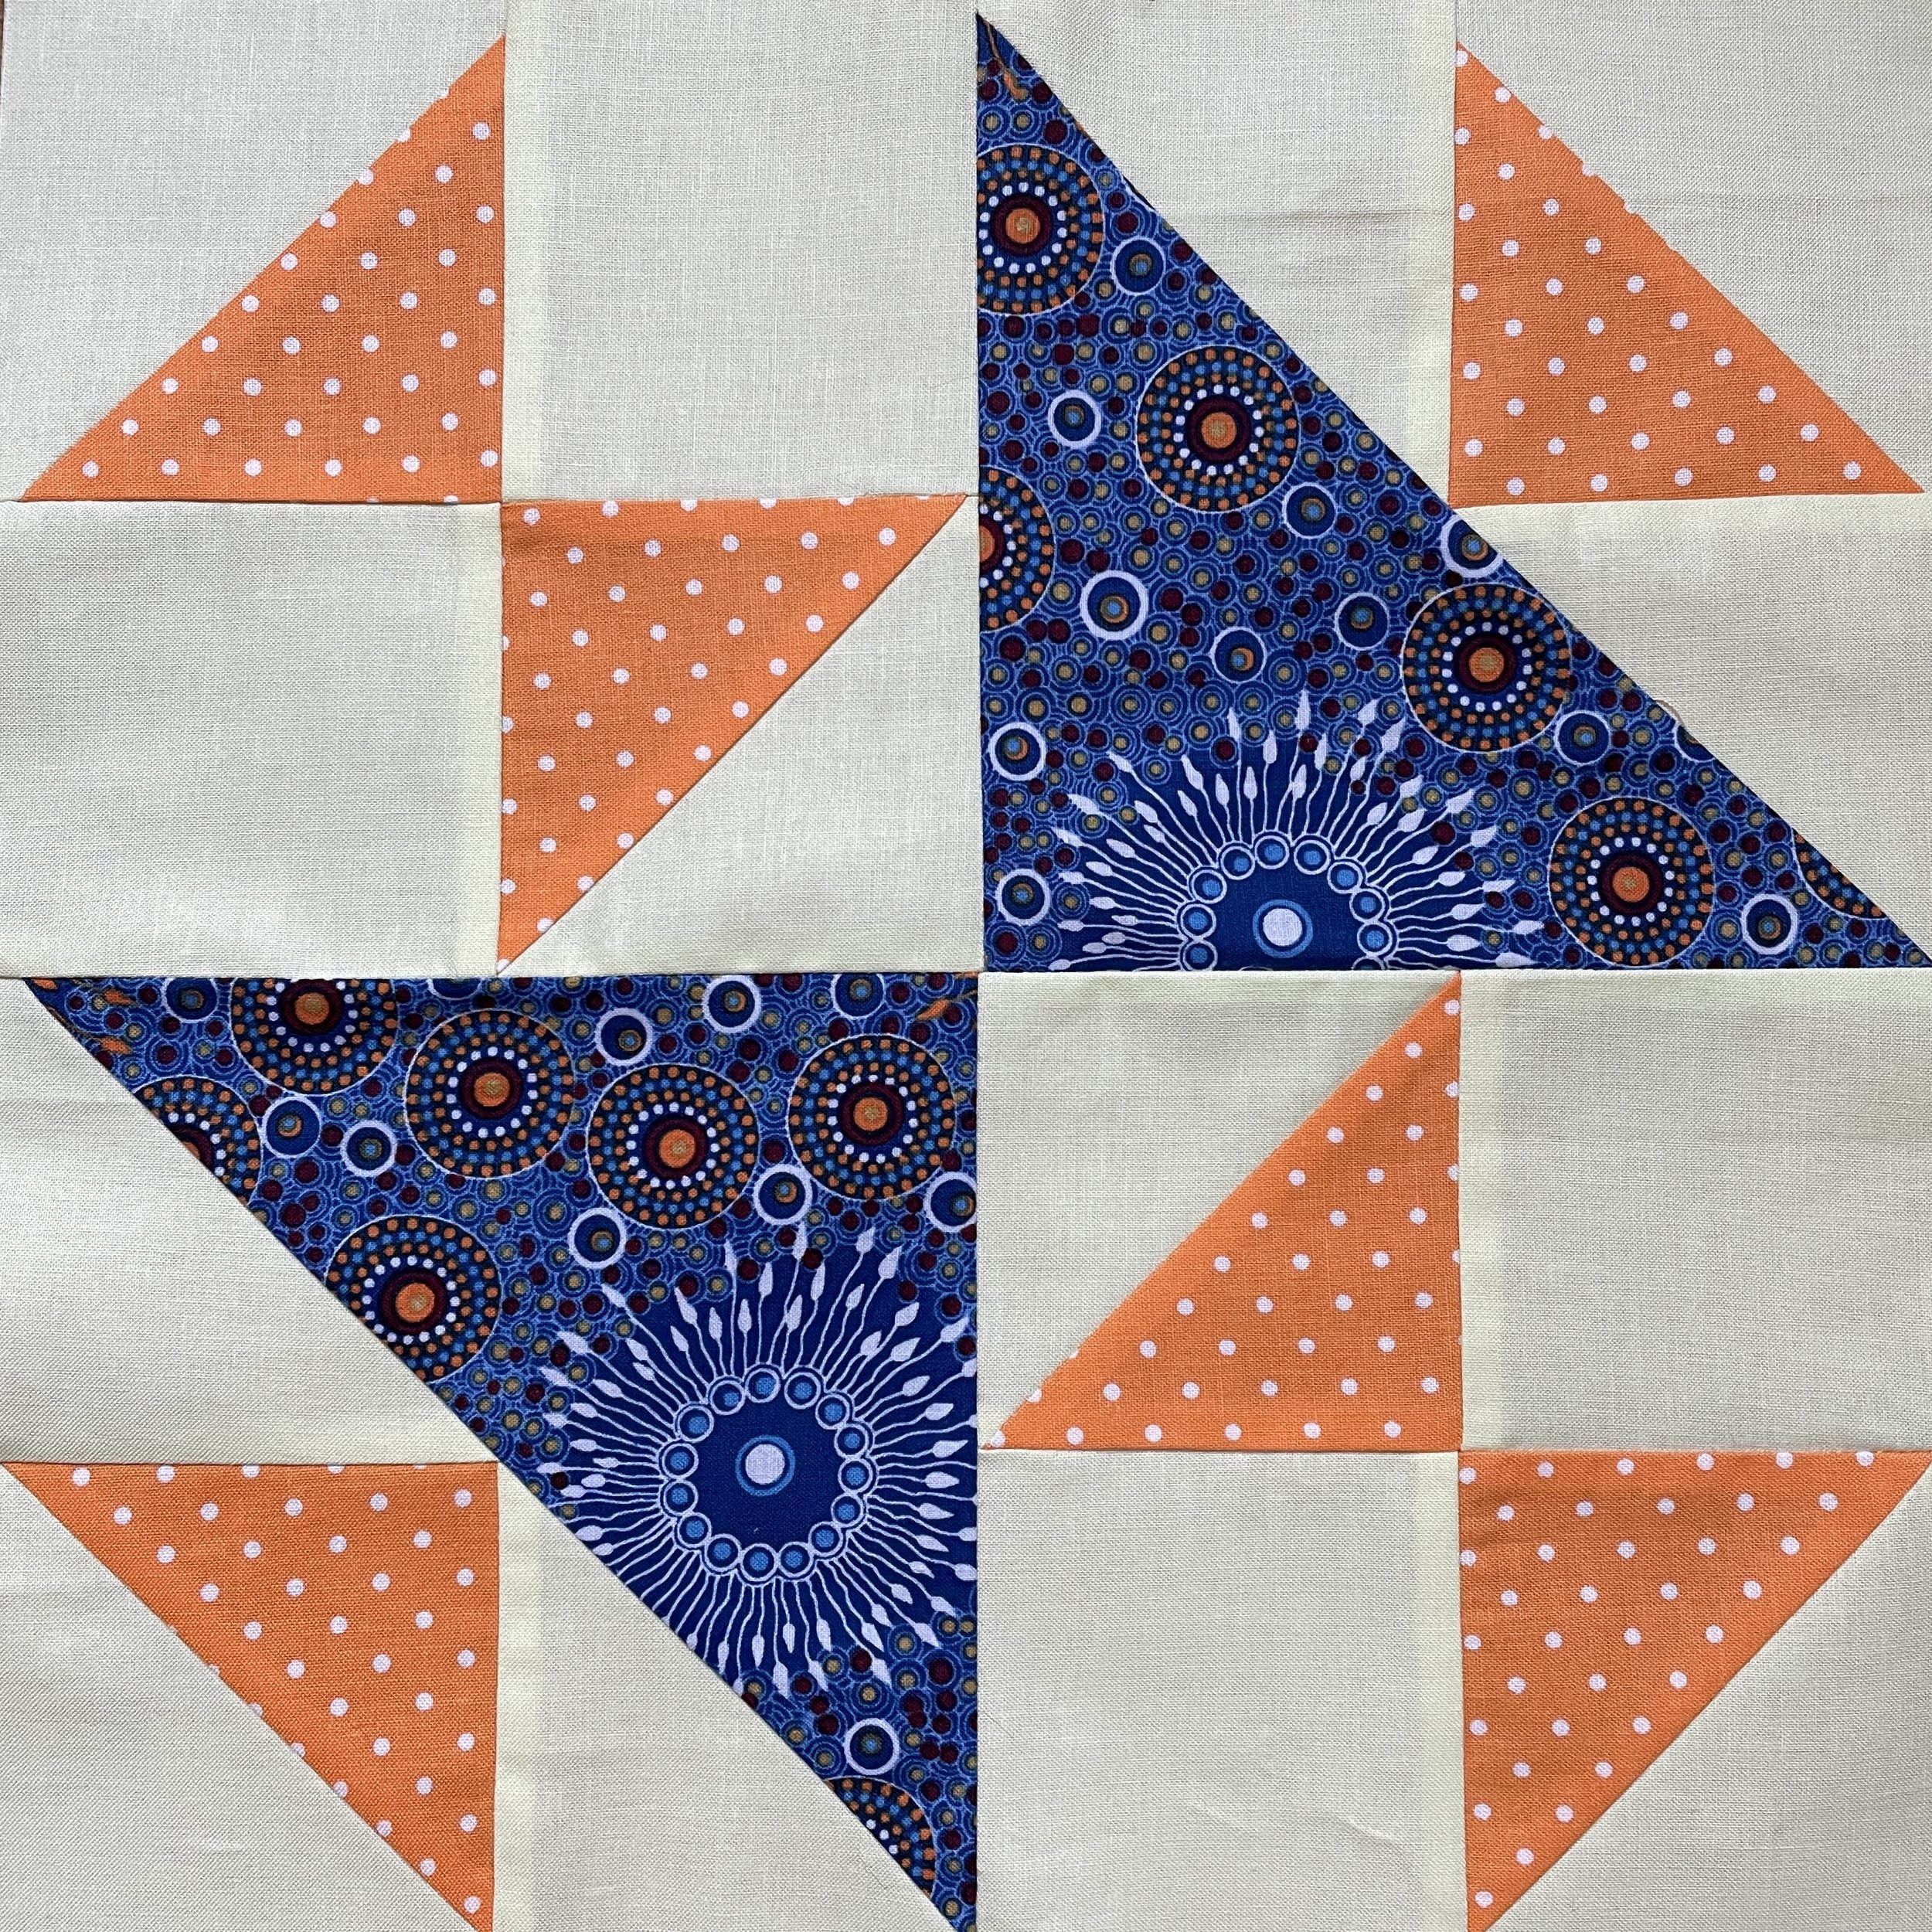
I had no idea what the final layout of this quilt would be until we were almost done. Then it seemed likely it would include a star—but I was surprised to discover there were 3 different stars in the final reveal! Pretty amazing.
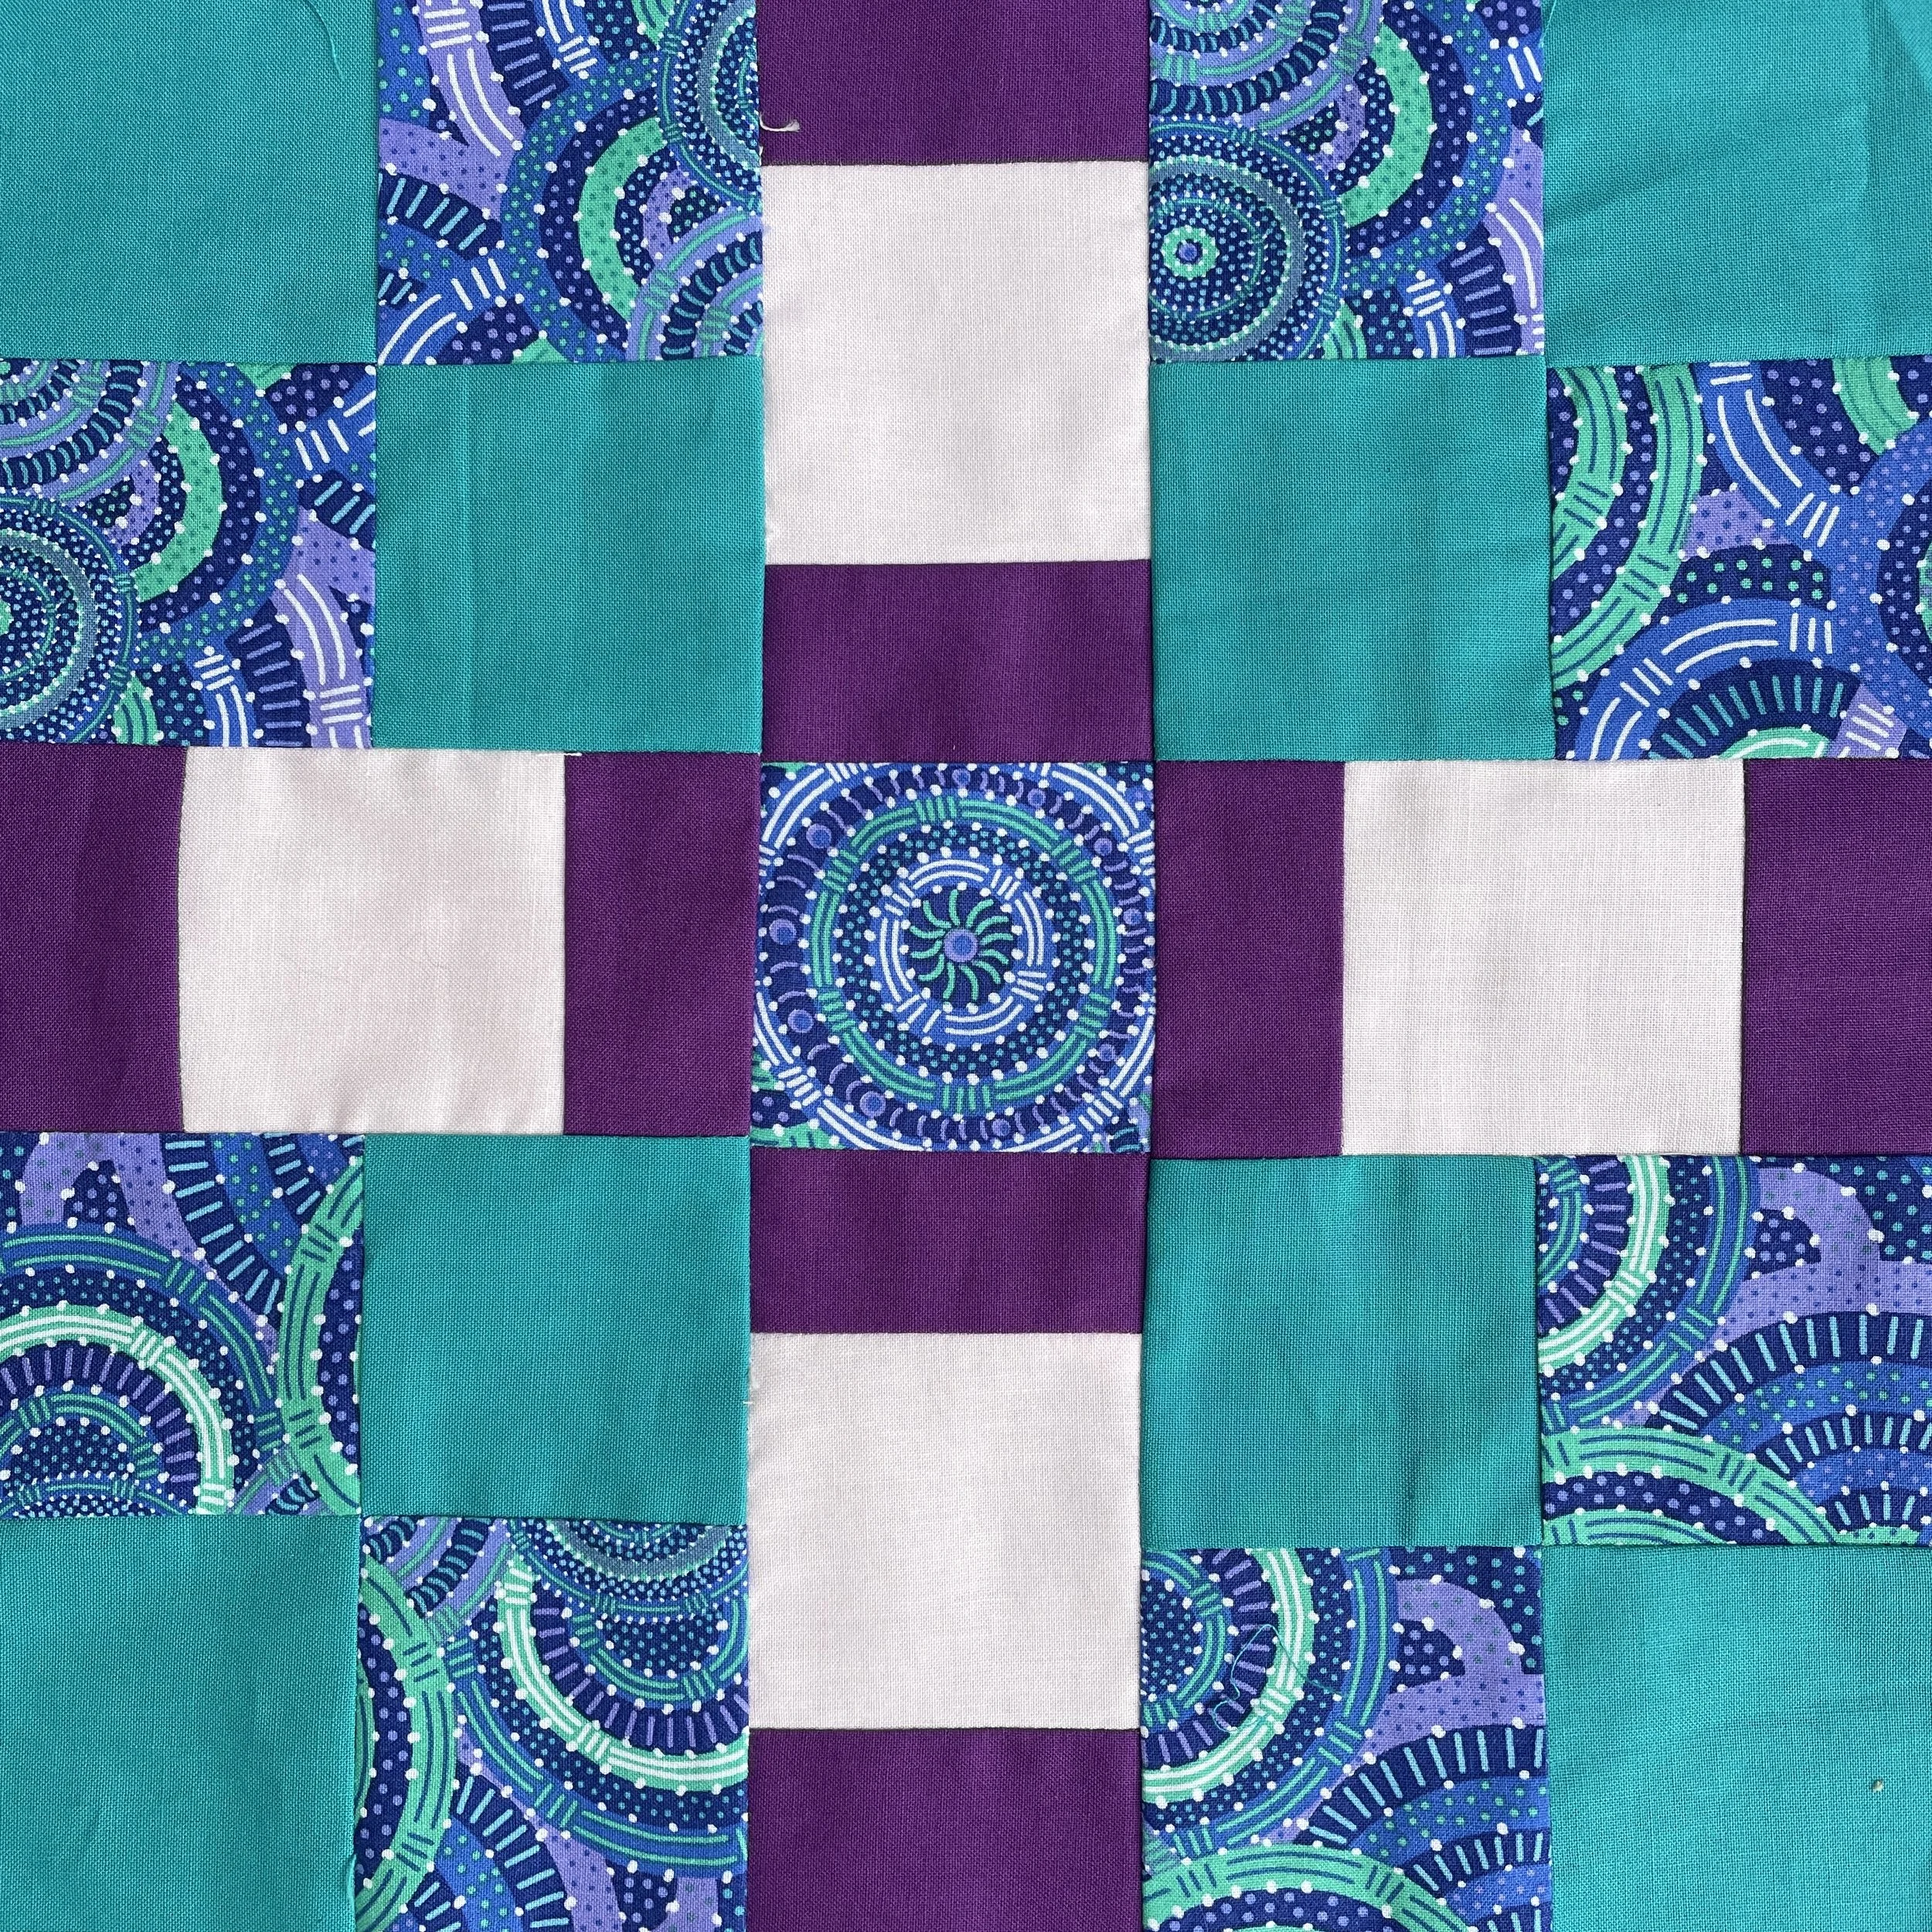
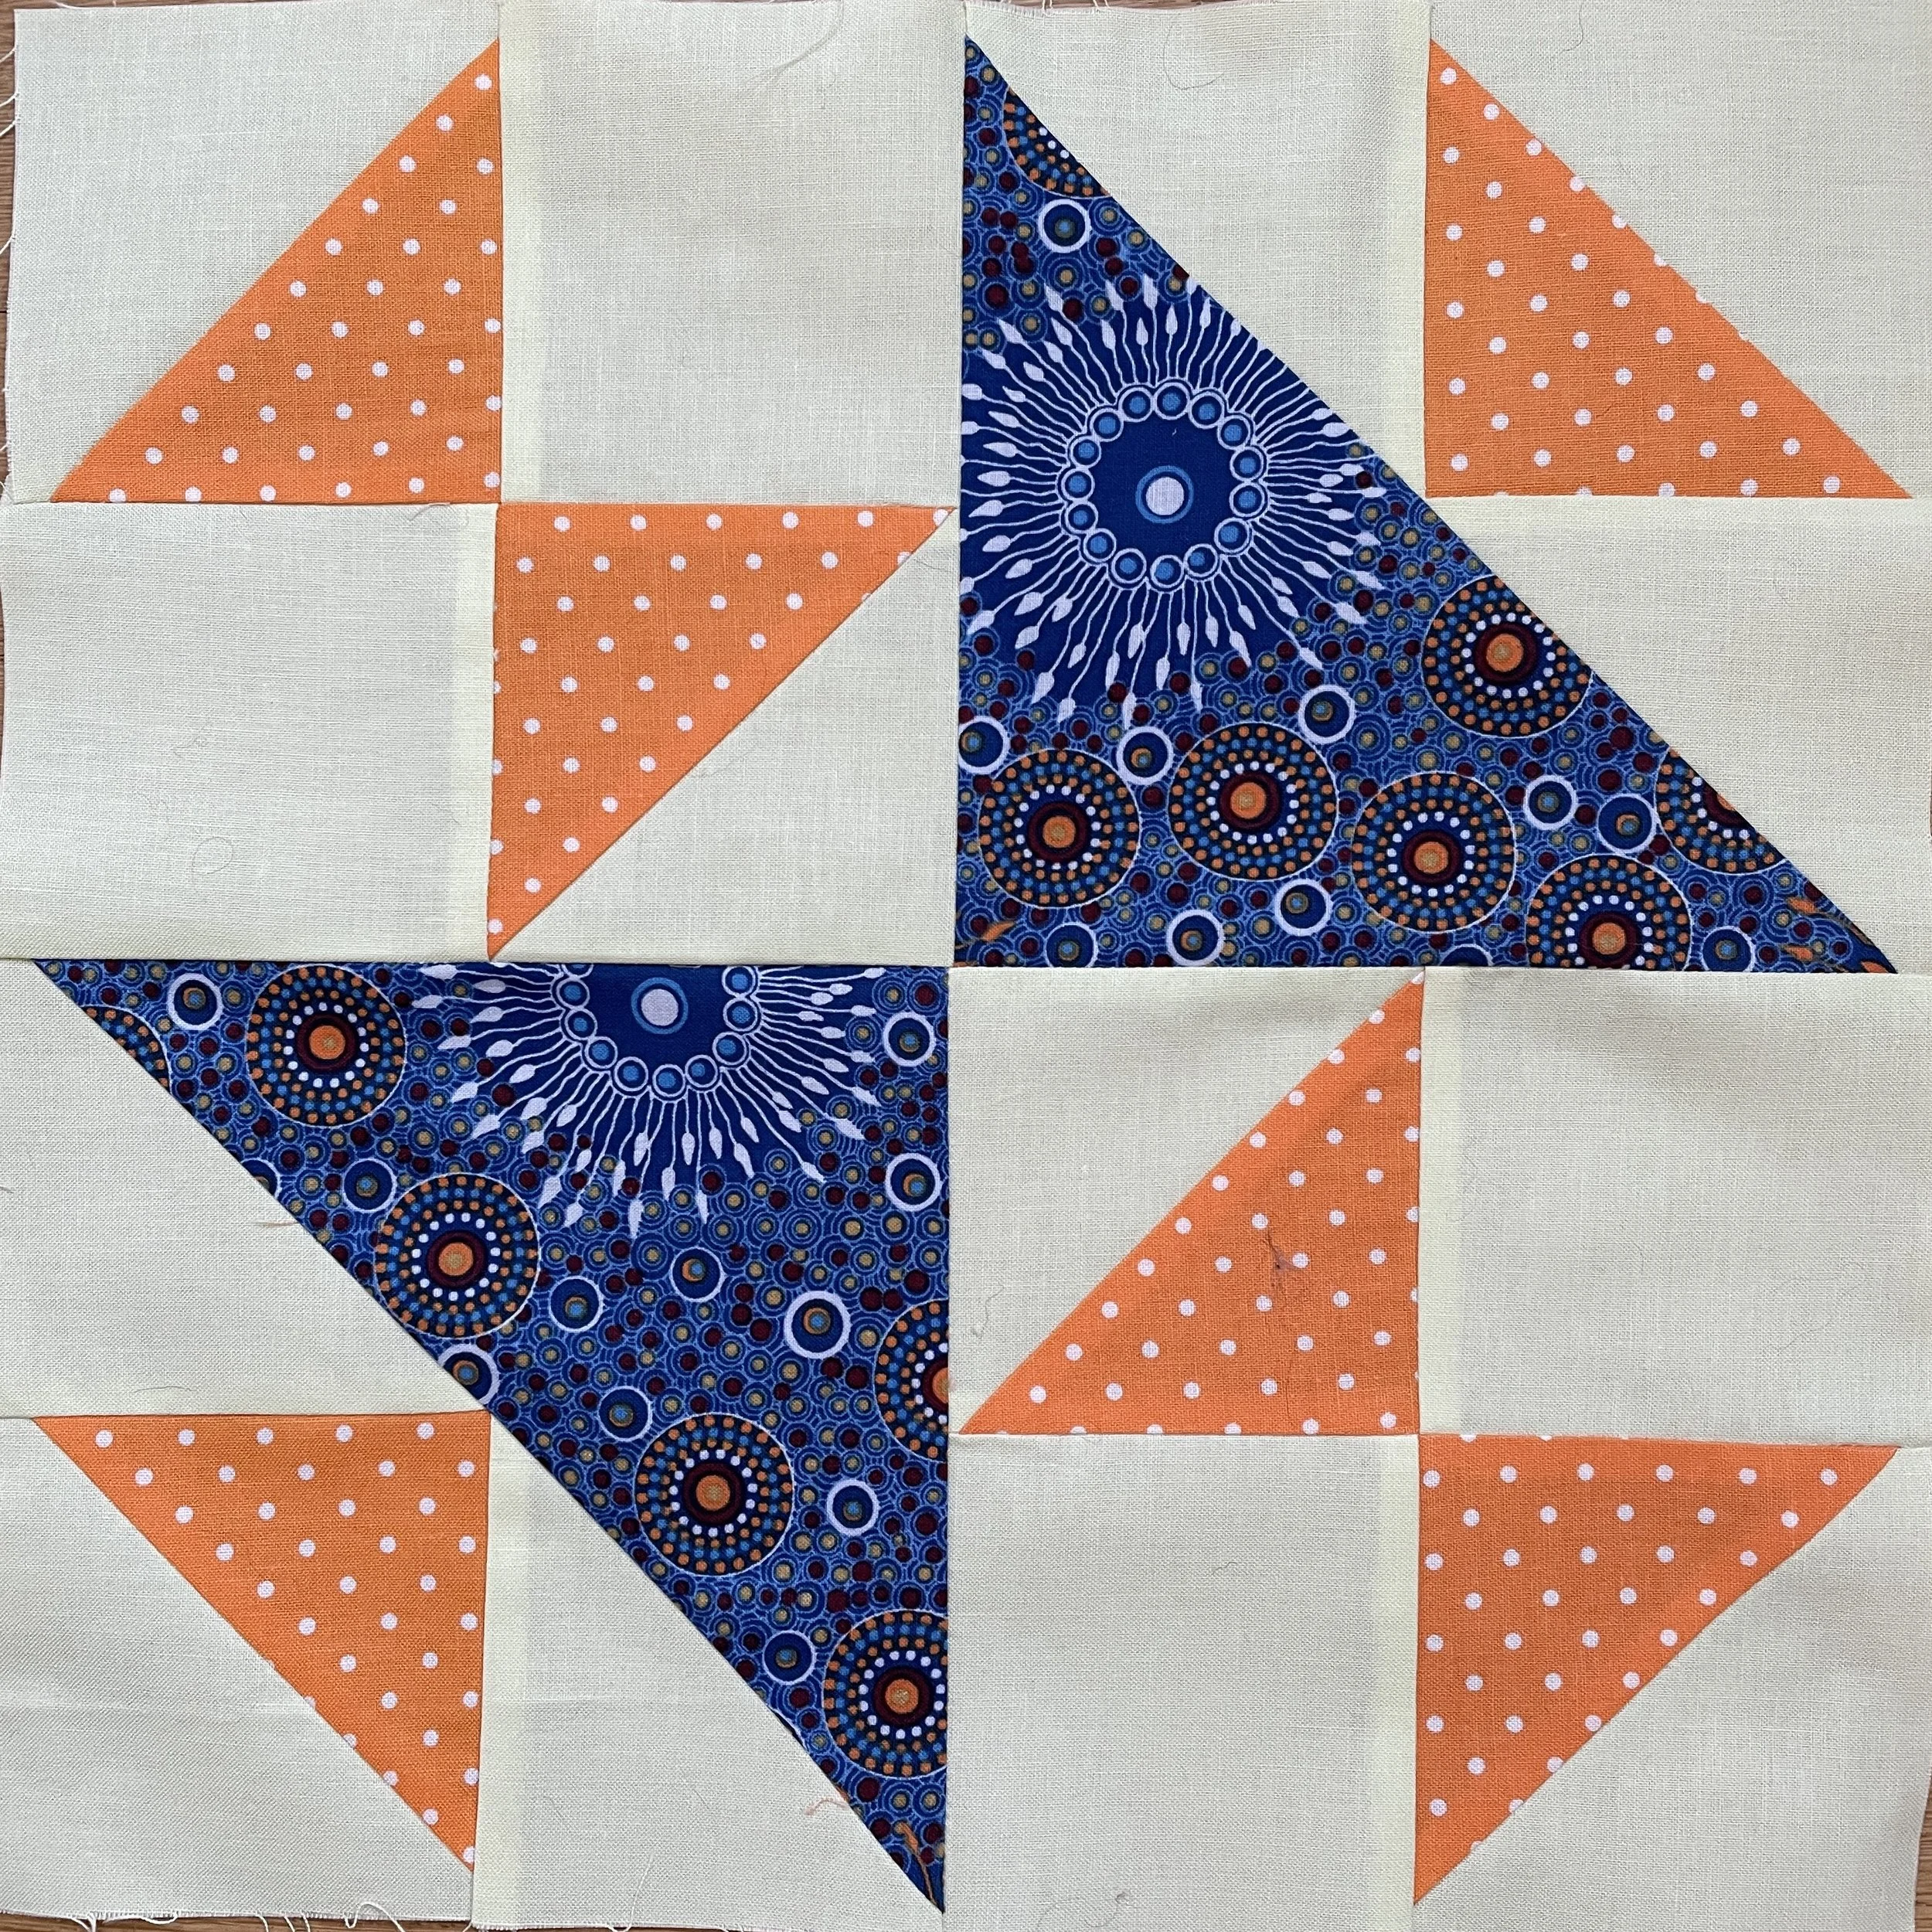
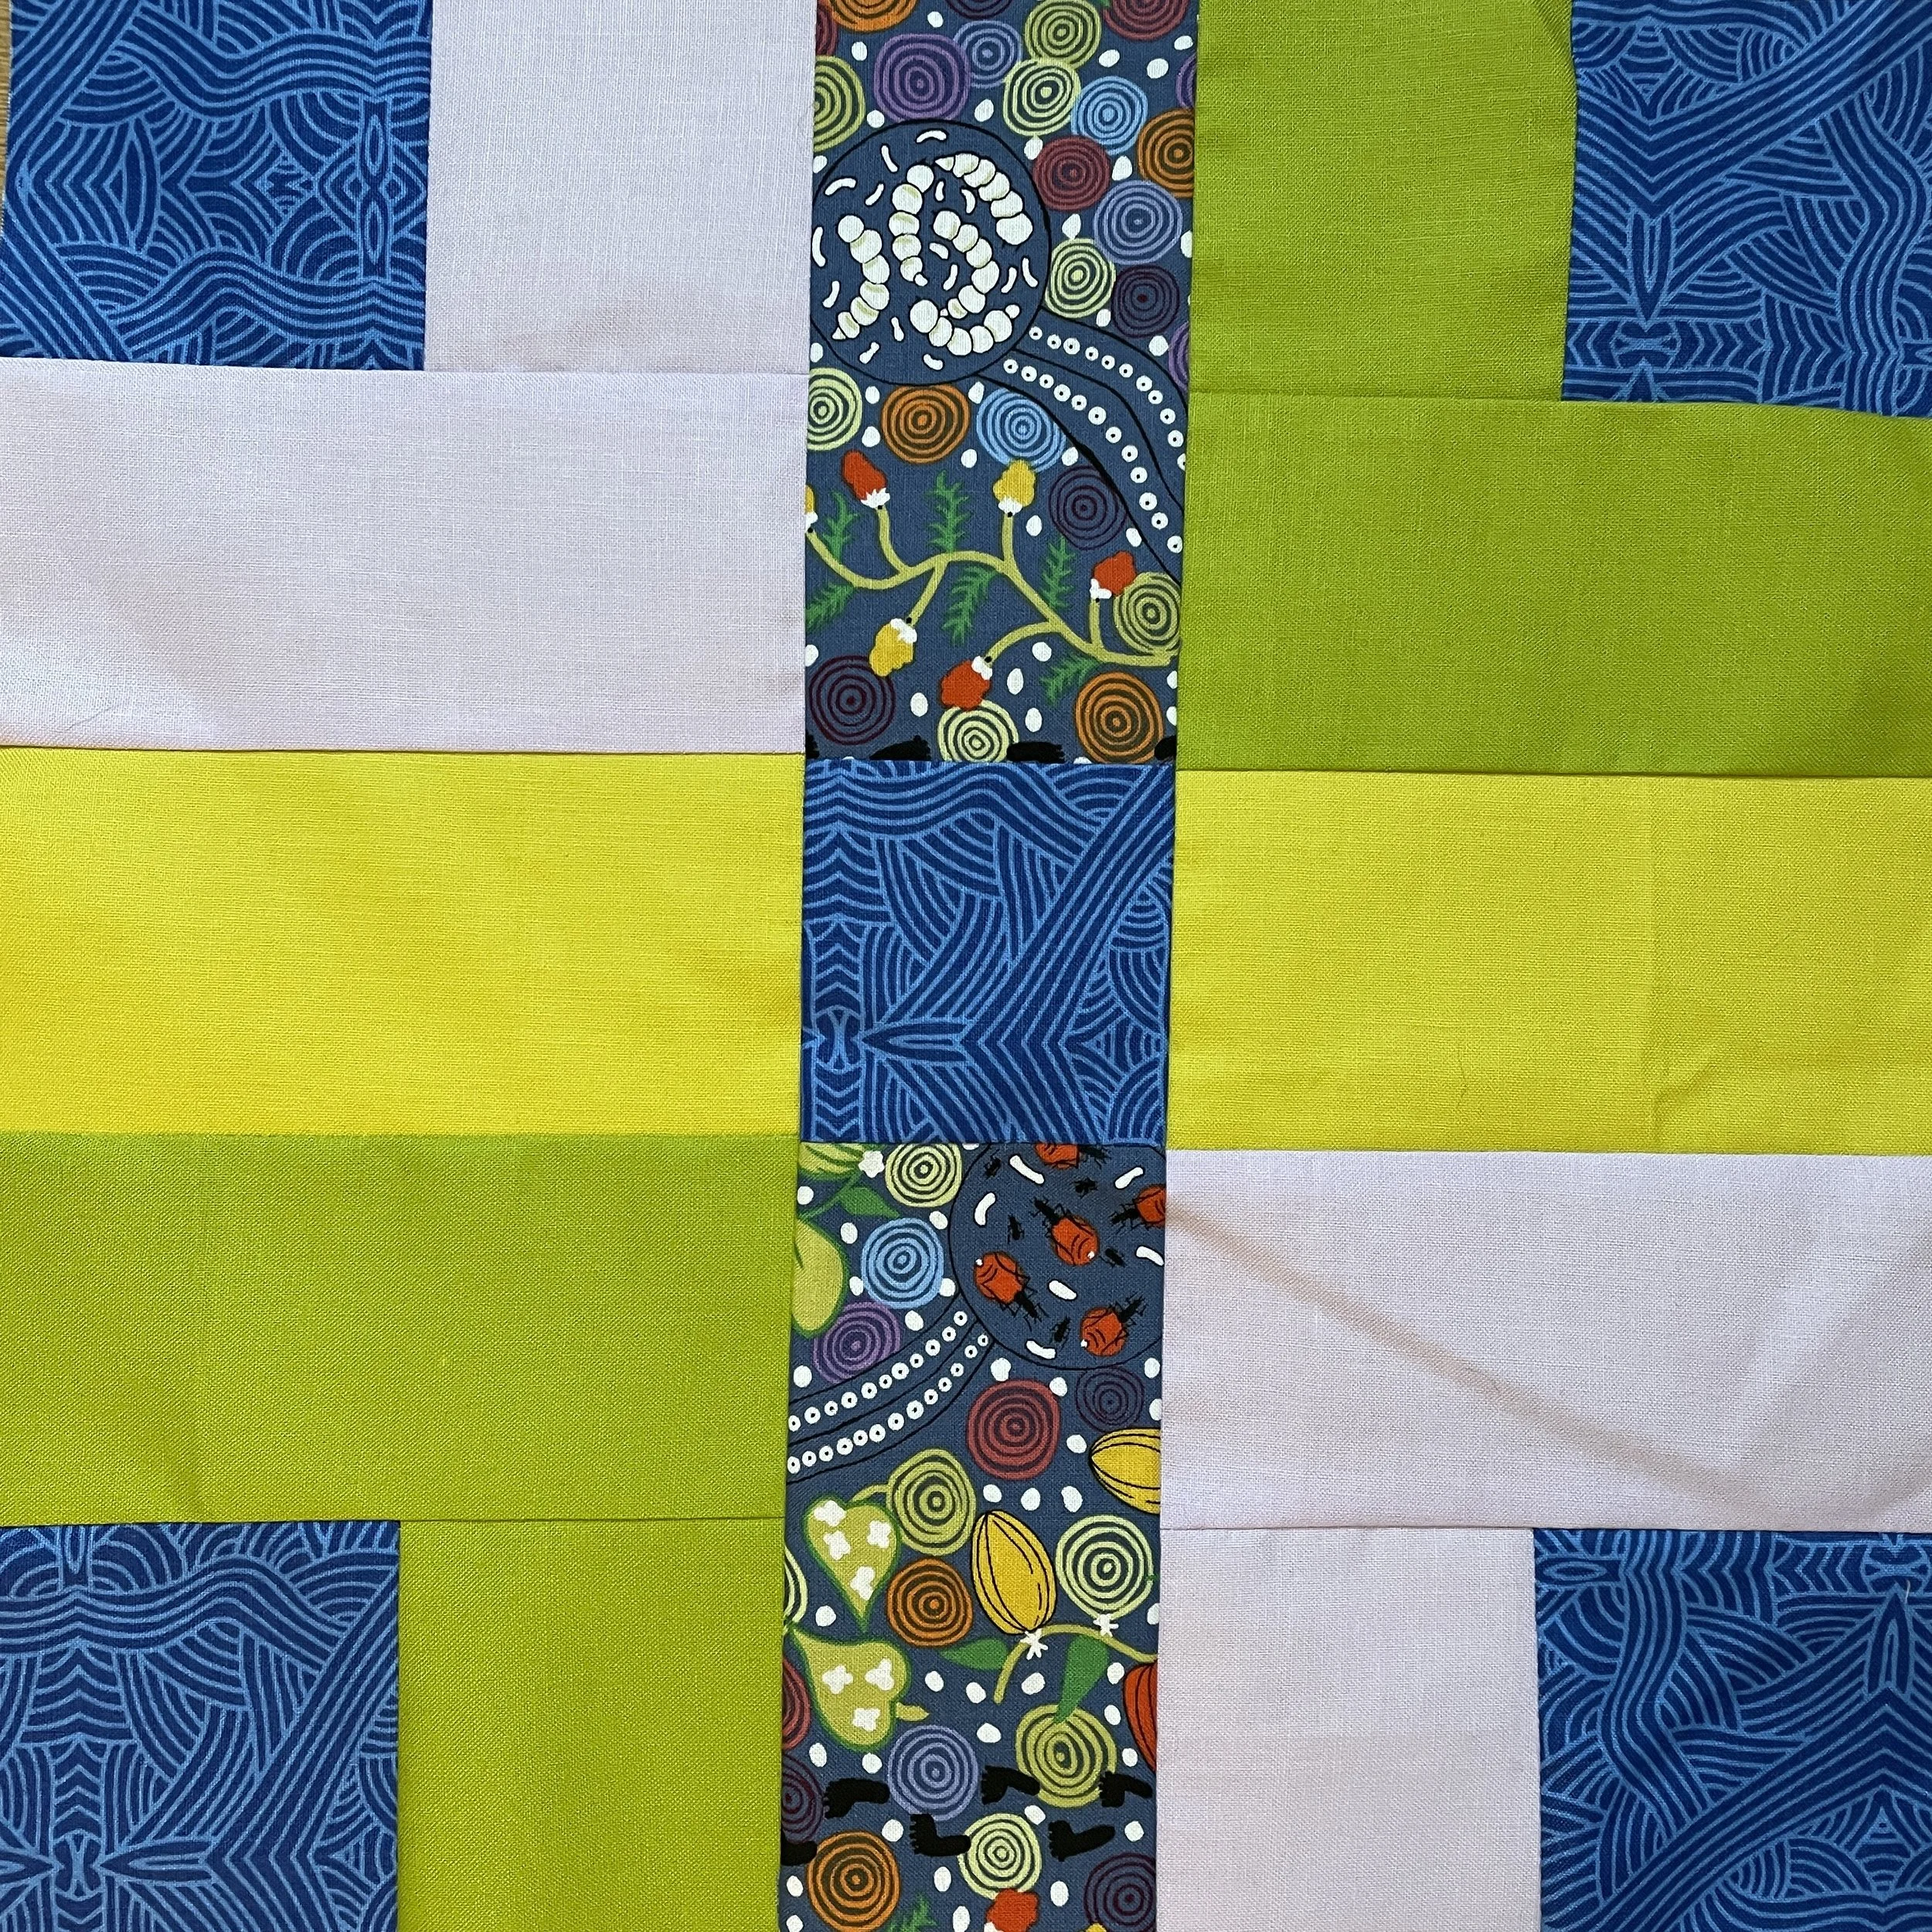
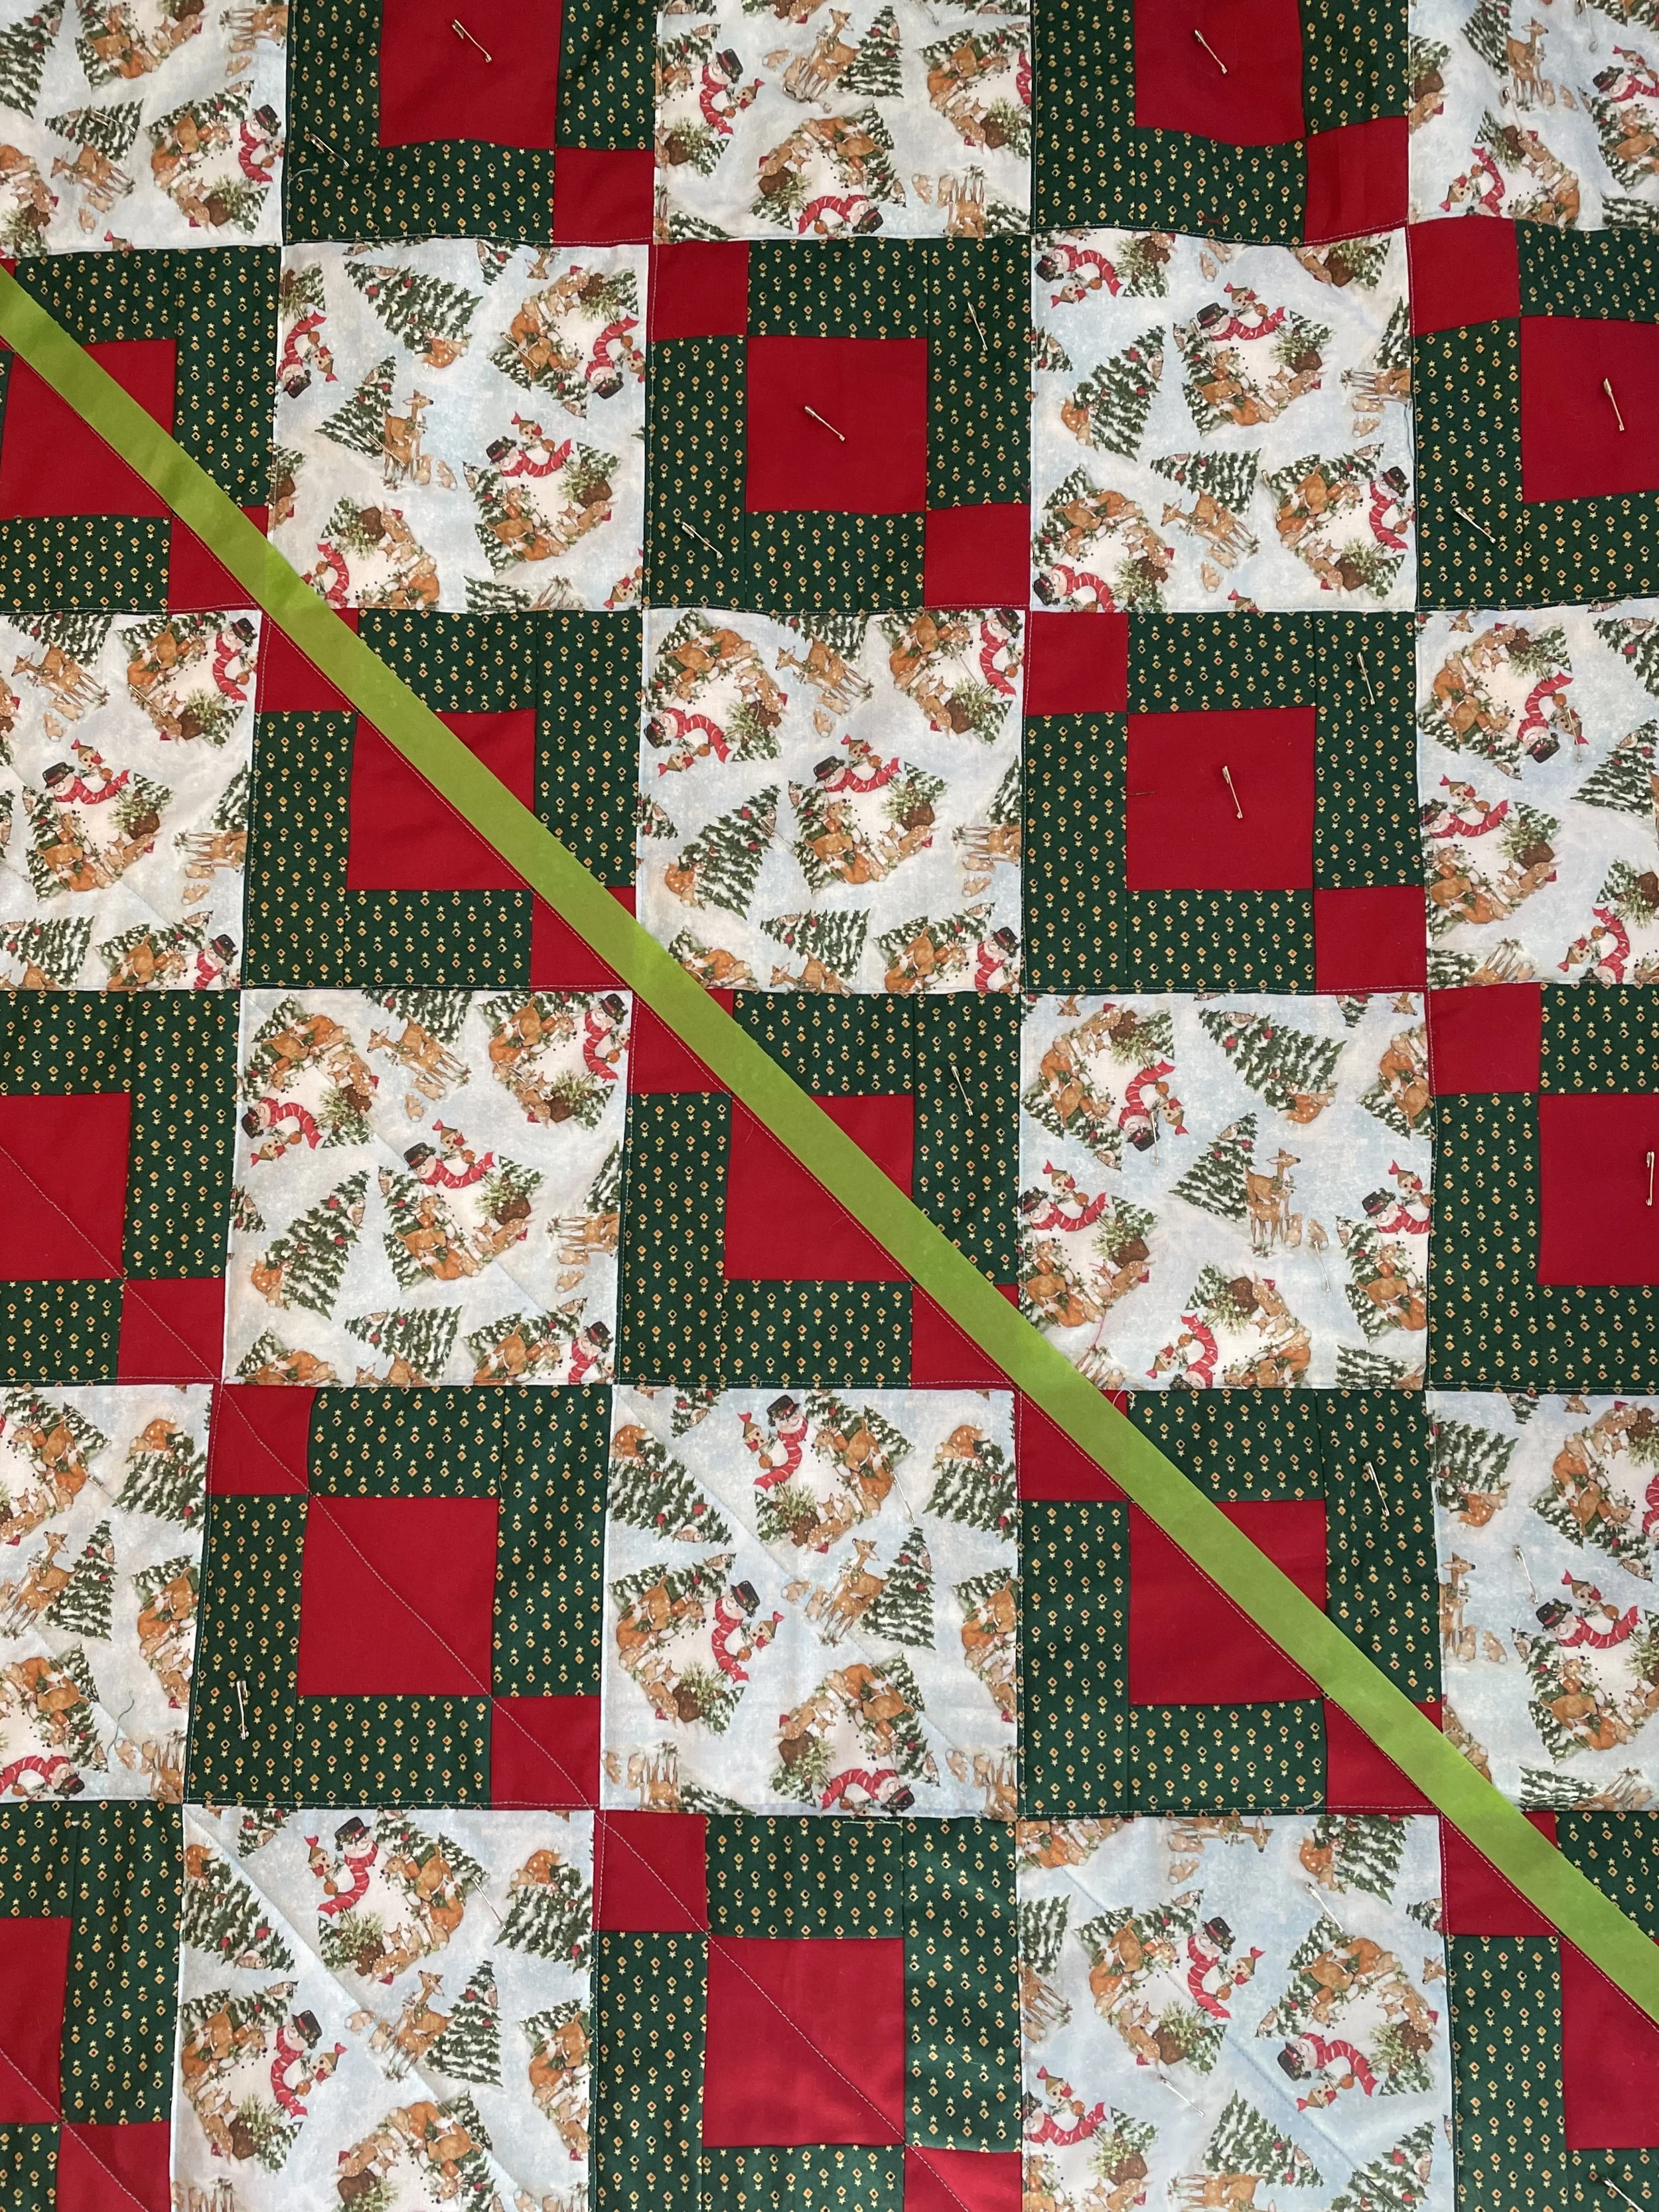
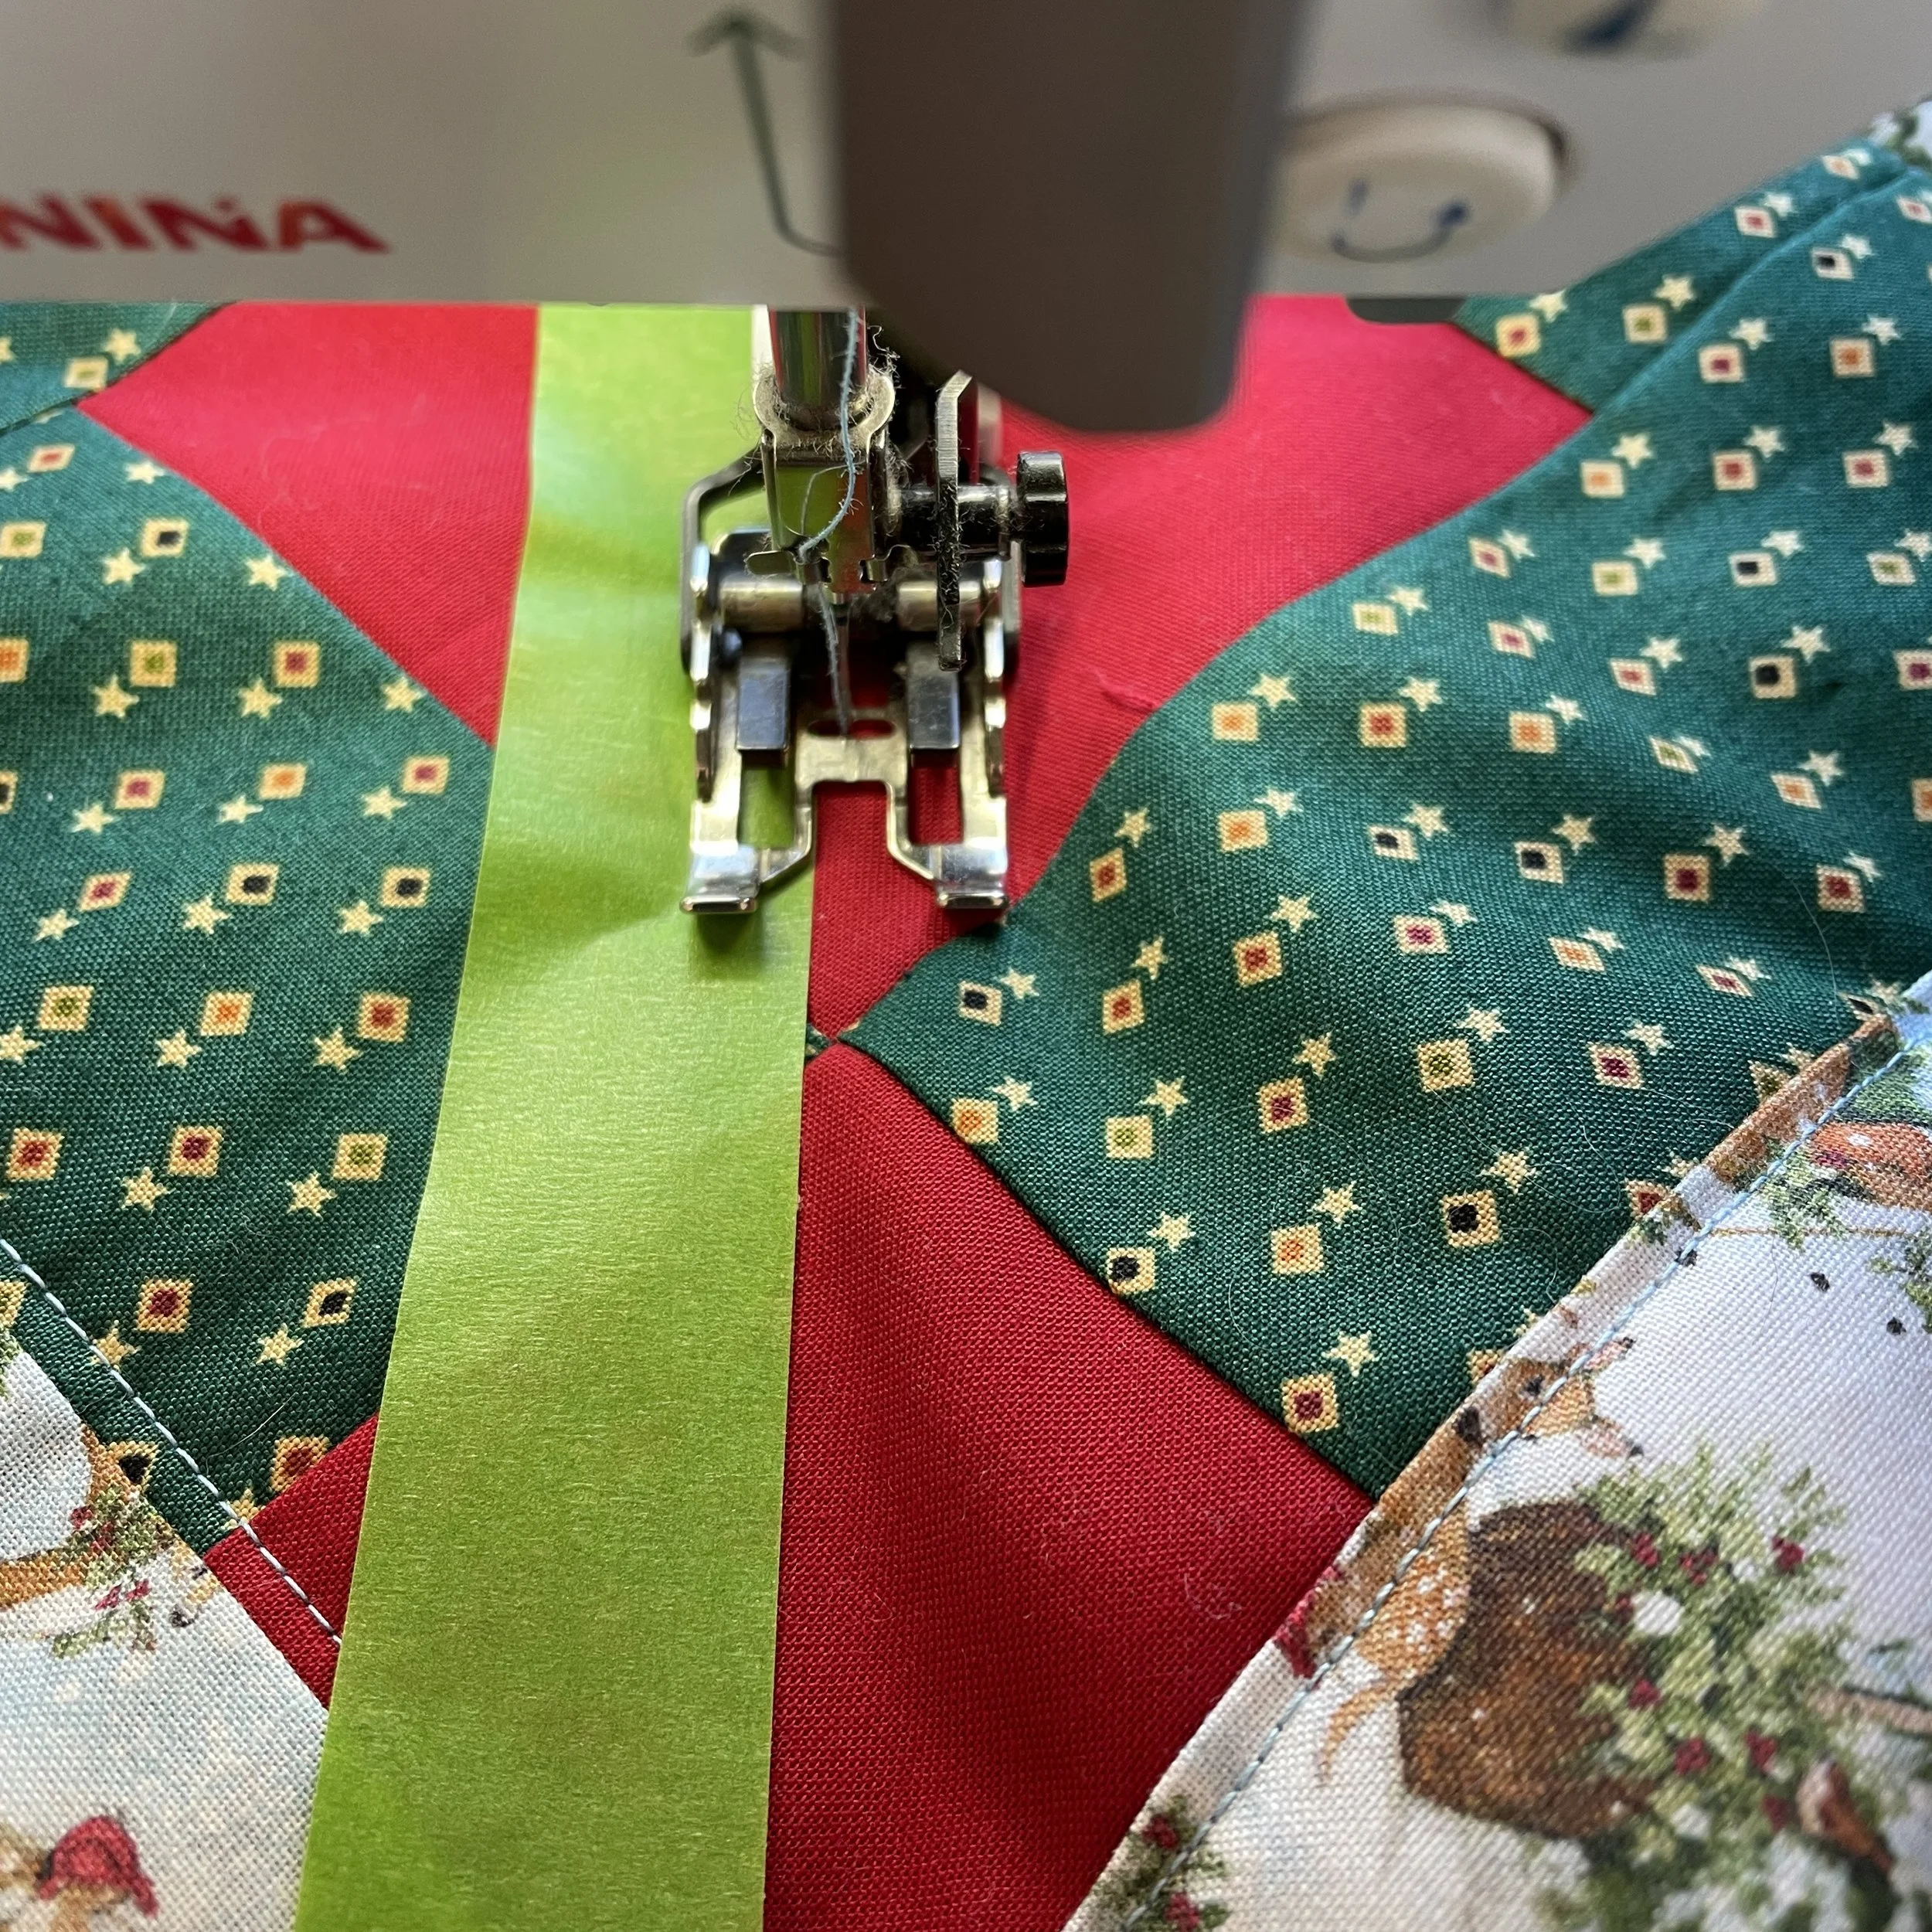
The only step I struggled with was the final layout of the quilt. It was assembled in strips which really didn’t have any regular pattern. Even though I doubled checked each block with the chart, more than once I turned a pair upside down, and now and again I thought I’d added one of the rectangular bricks…but hadn’t. Each the blocks is small, so it was easy to unpick the mistake and correct it. I carefully checked each strip before I sewed it to the next, so that prevented a very long error!
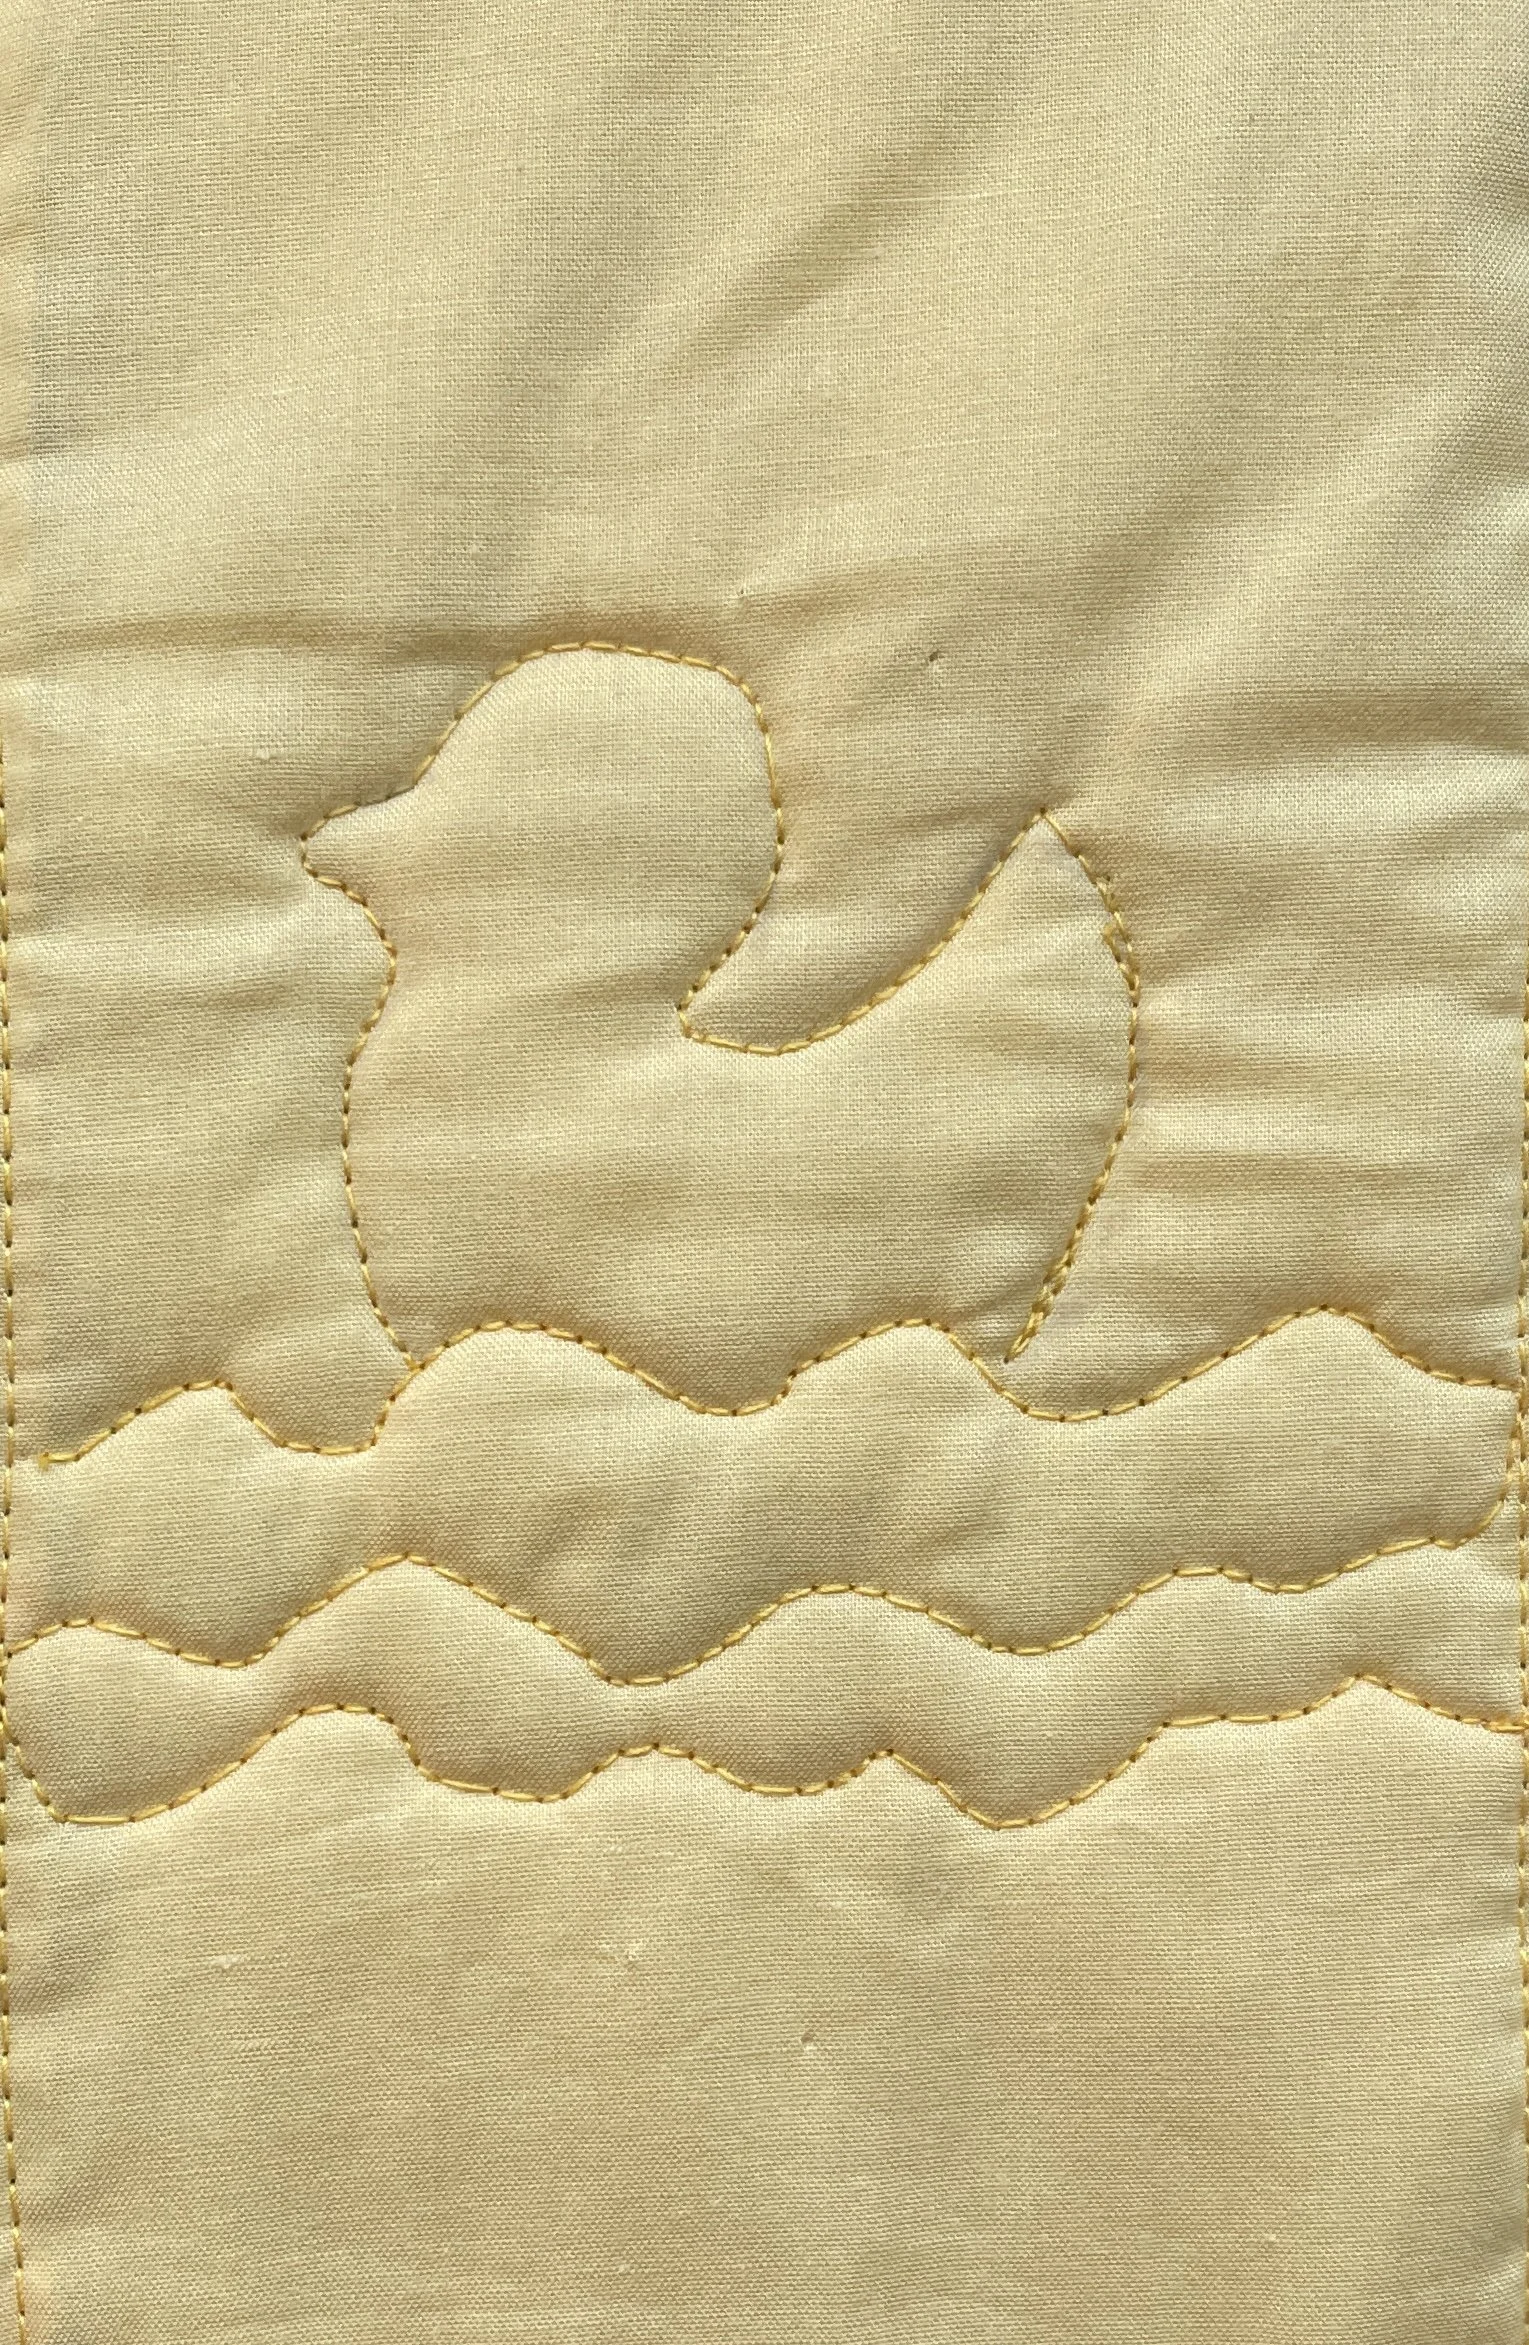
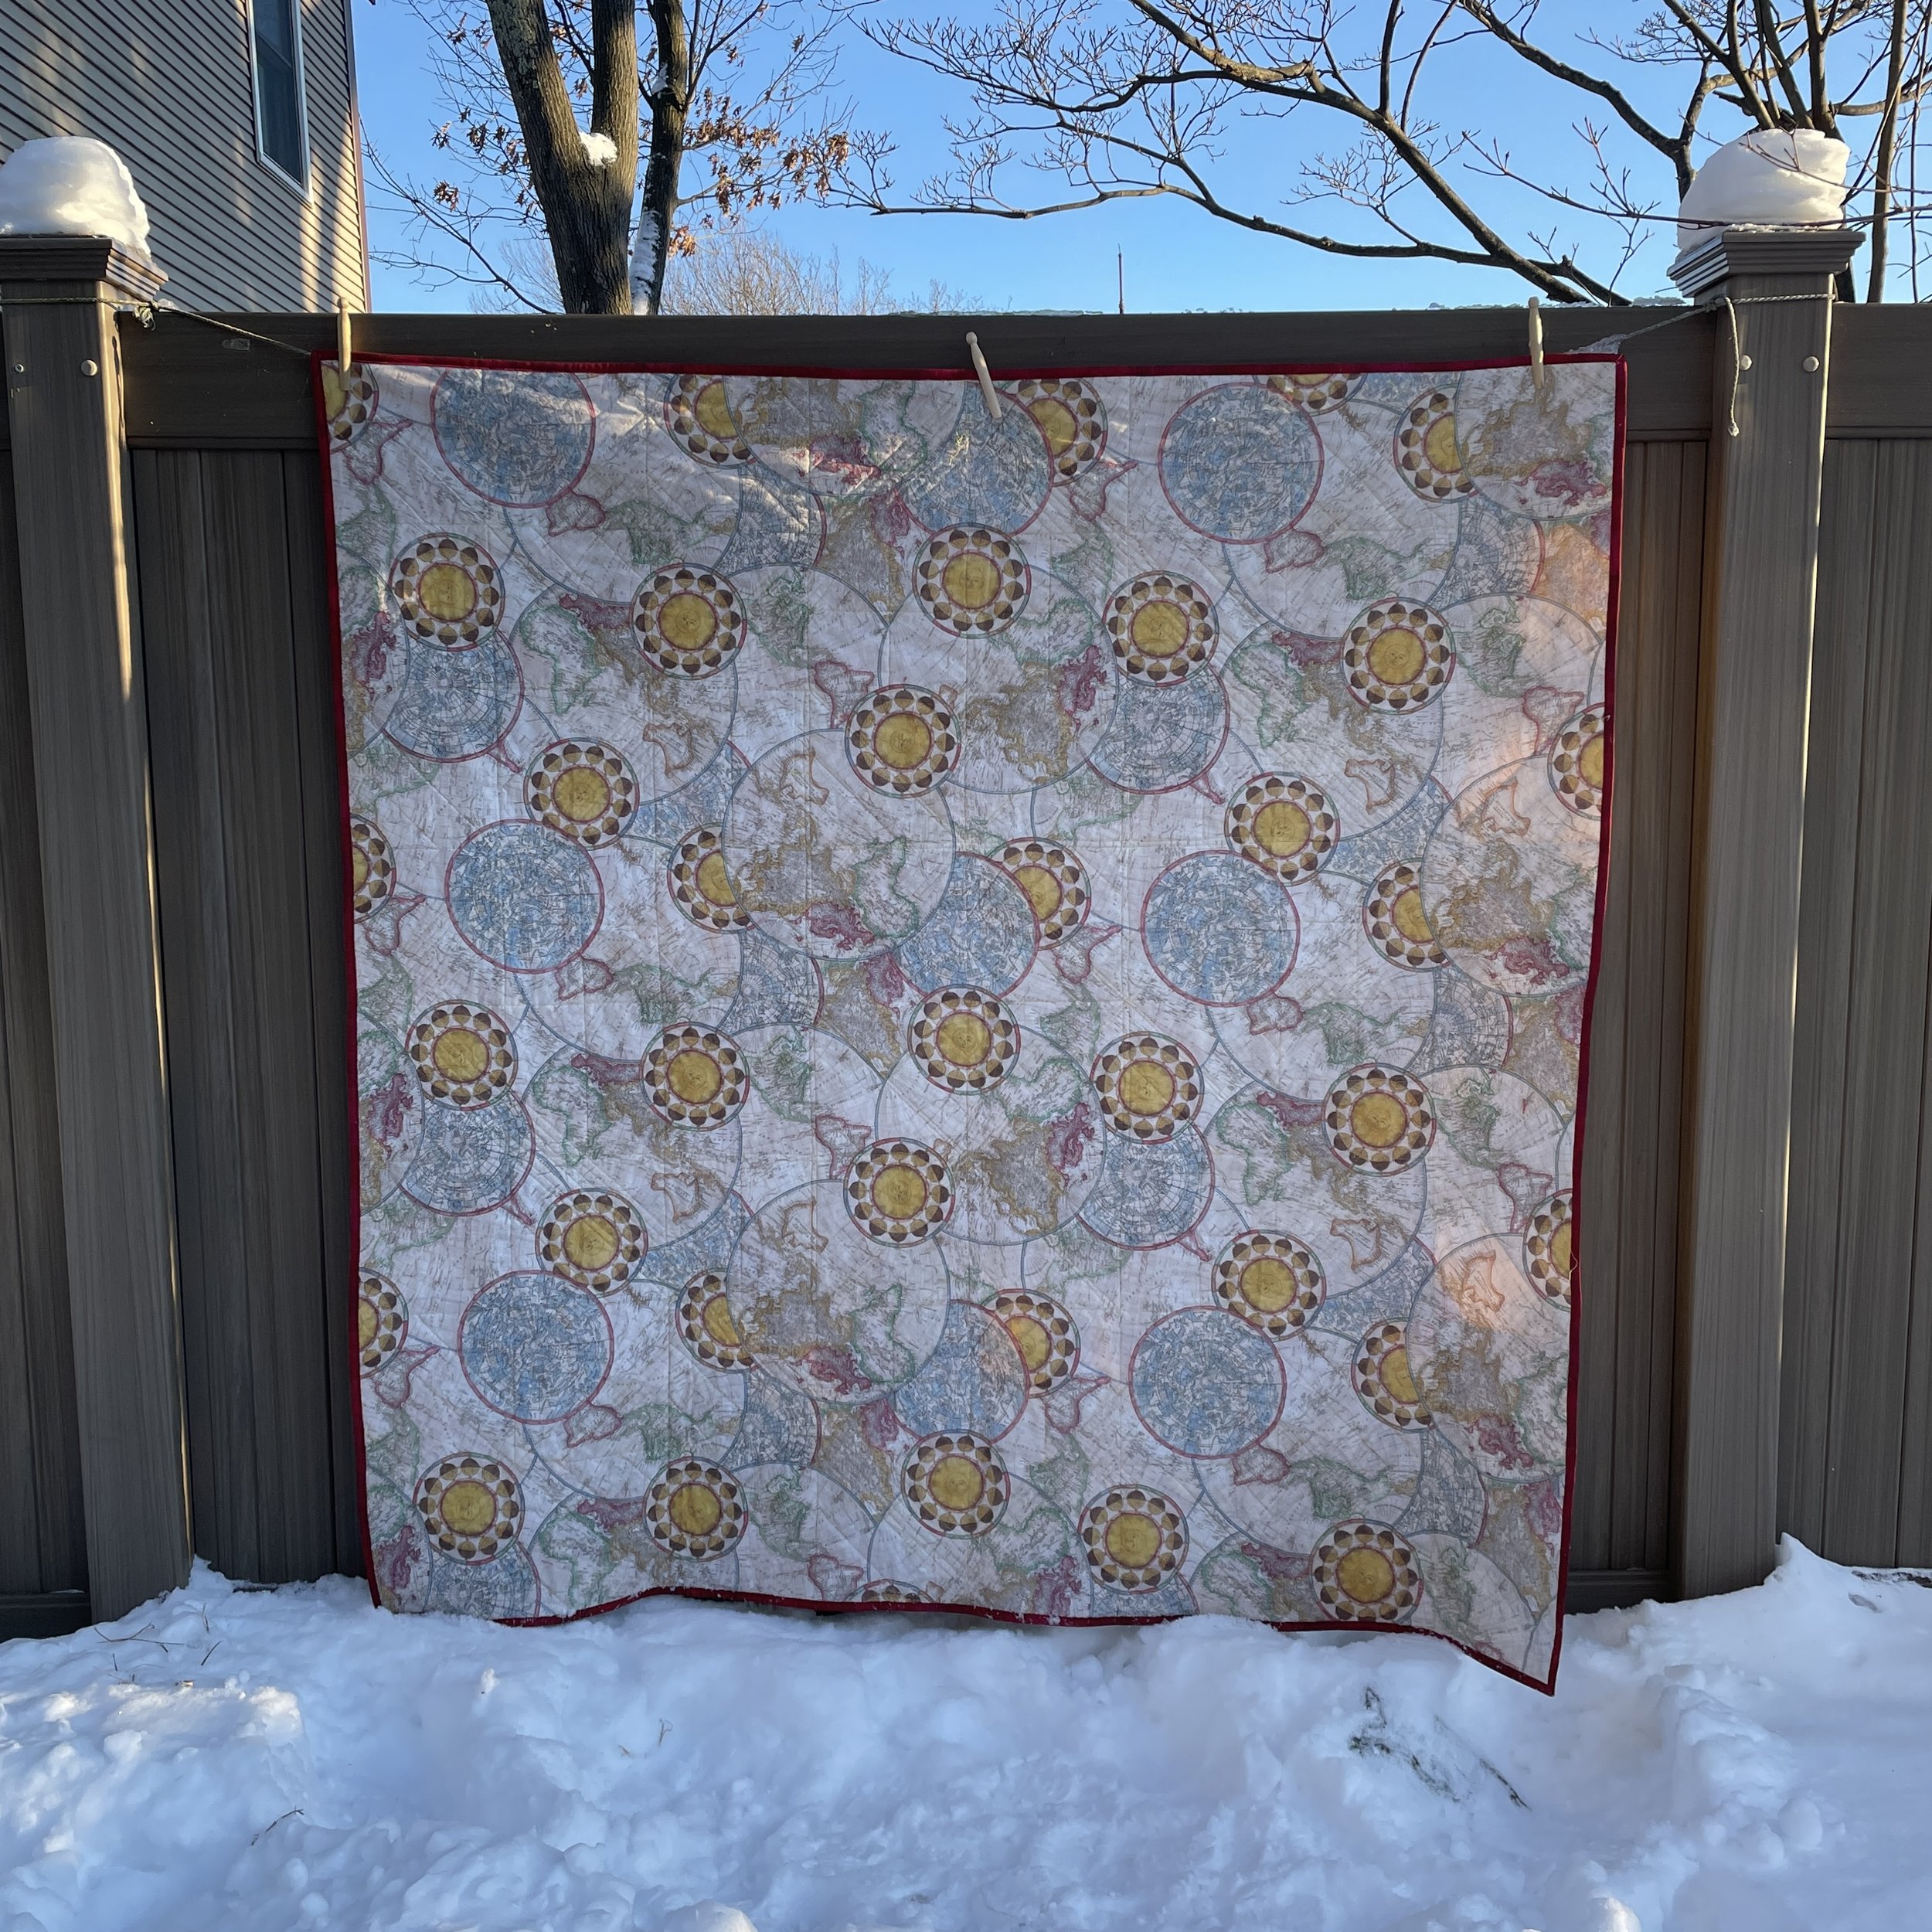
This is a really pretty quilt. I’m not sure yet how I will quilt it—on my domestic or take it to a longarm machine. I think I might try quilting my stash-fabric version first to see out that goes.
This is my first time doing this mystery but I have to say Karen Montgomery does an excellent job with her annual Brown Bag Mystery quilts. Her instructions are excellent. She calls for ample yardage so there is plenty, and then some, to make the quilt. The final quilt is spectacular!