

Peg Doll Pea Sprouts
Ever since I planted my sugar snap peas in my kitchen garden at the beginning of April, I’ve been planning to make peg doll Pea Sprouts. And this week, I finally did! While I used a leaf from my sugar snaps to make the doll leaves, these dolls could be almost any kind of seeding. They are really simple to make.
You will need:
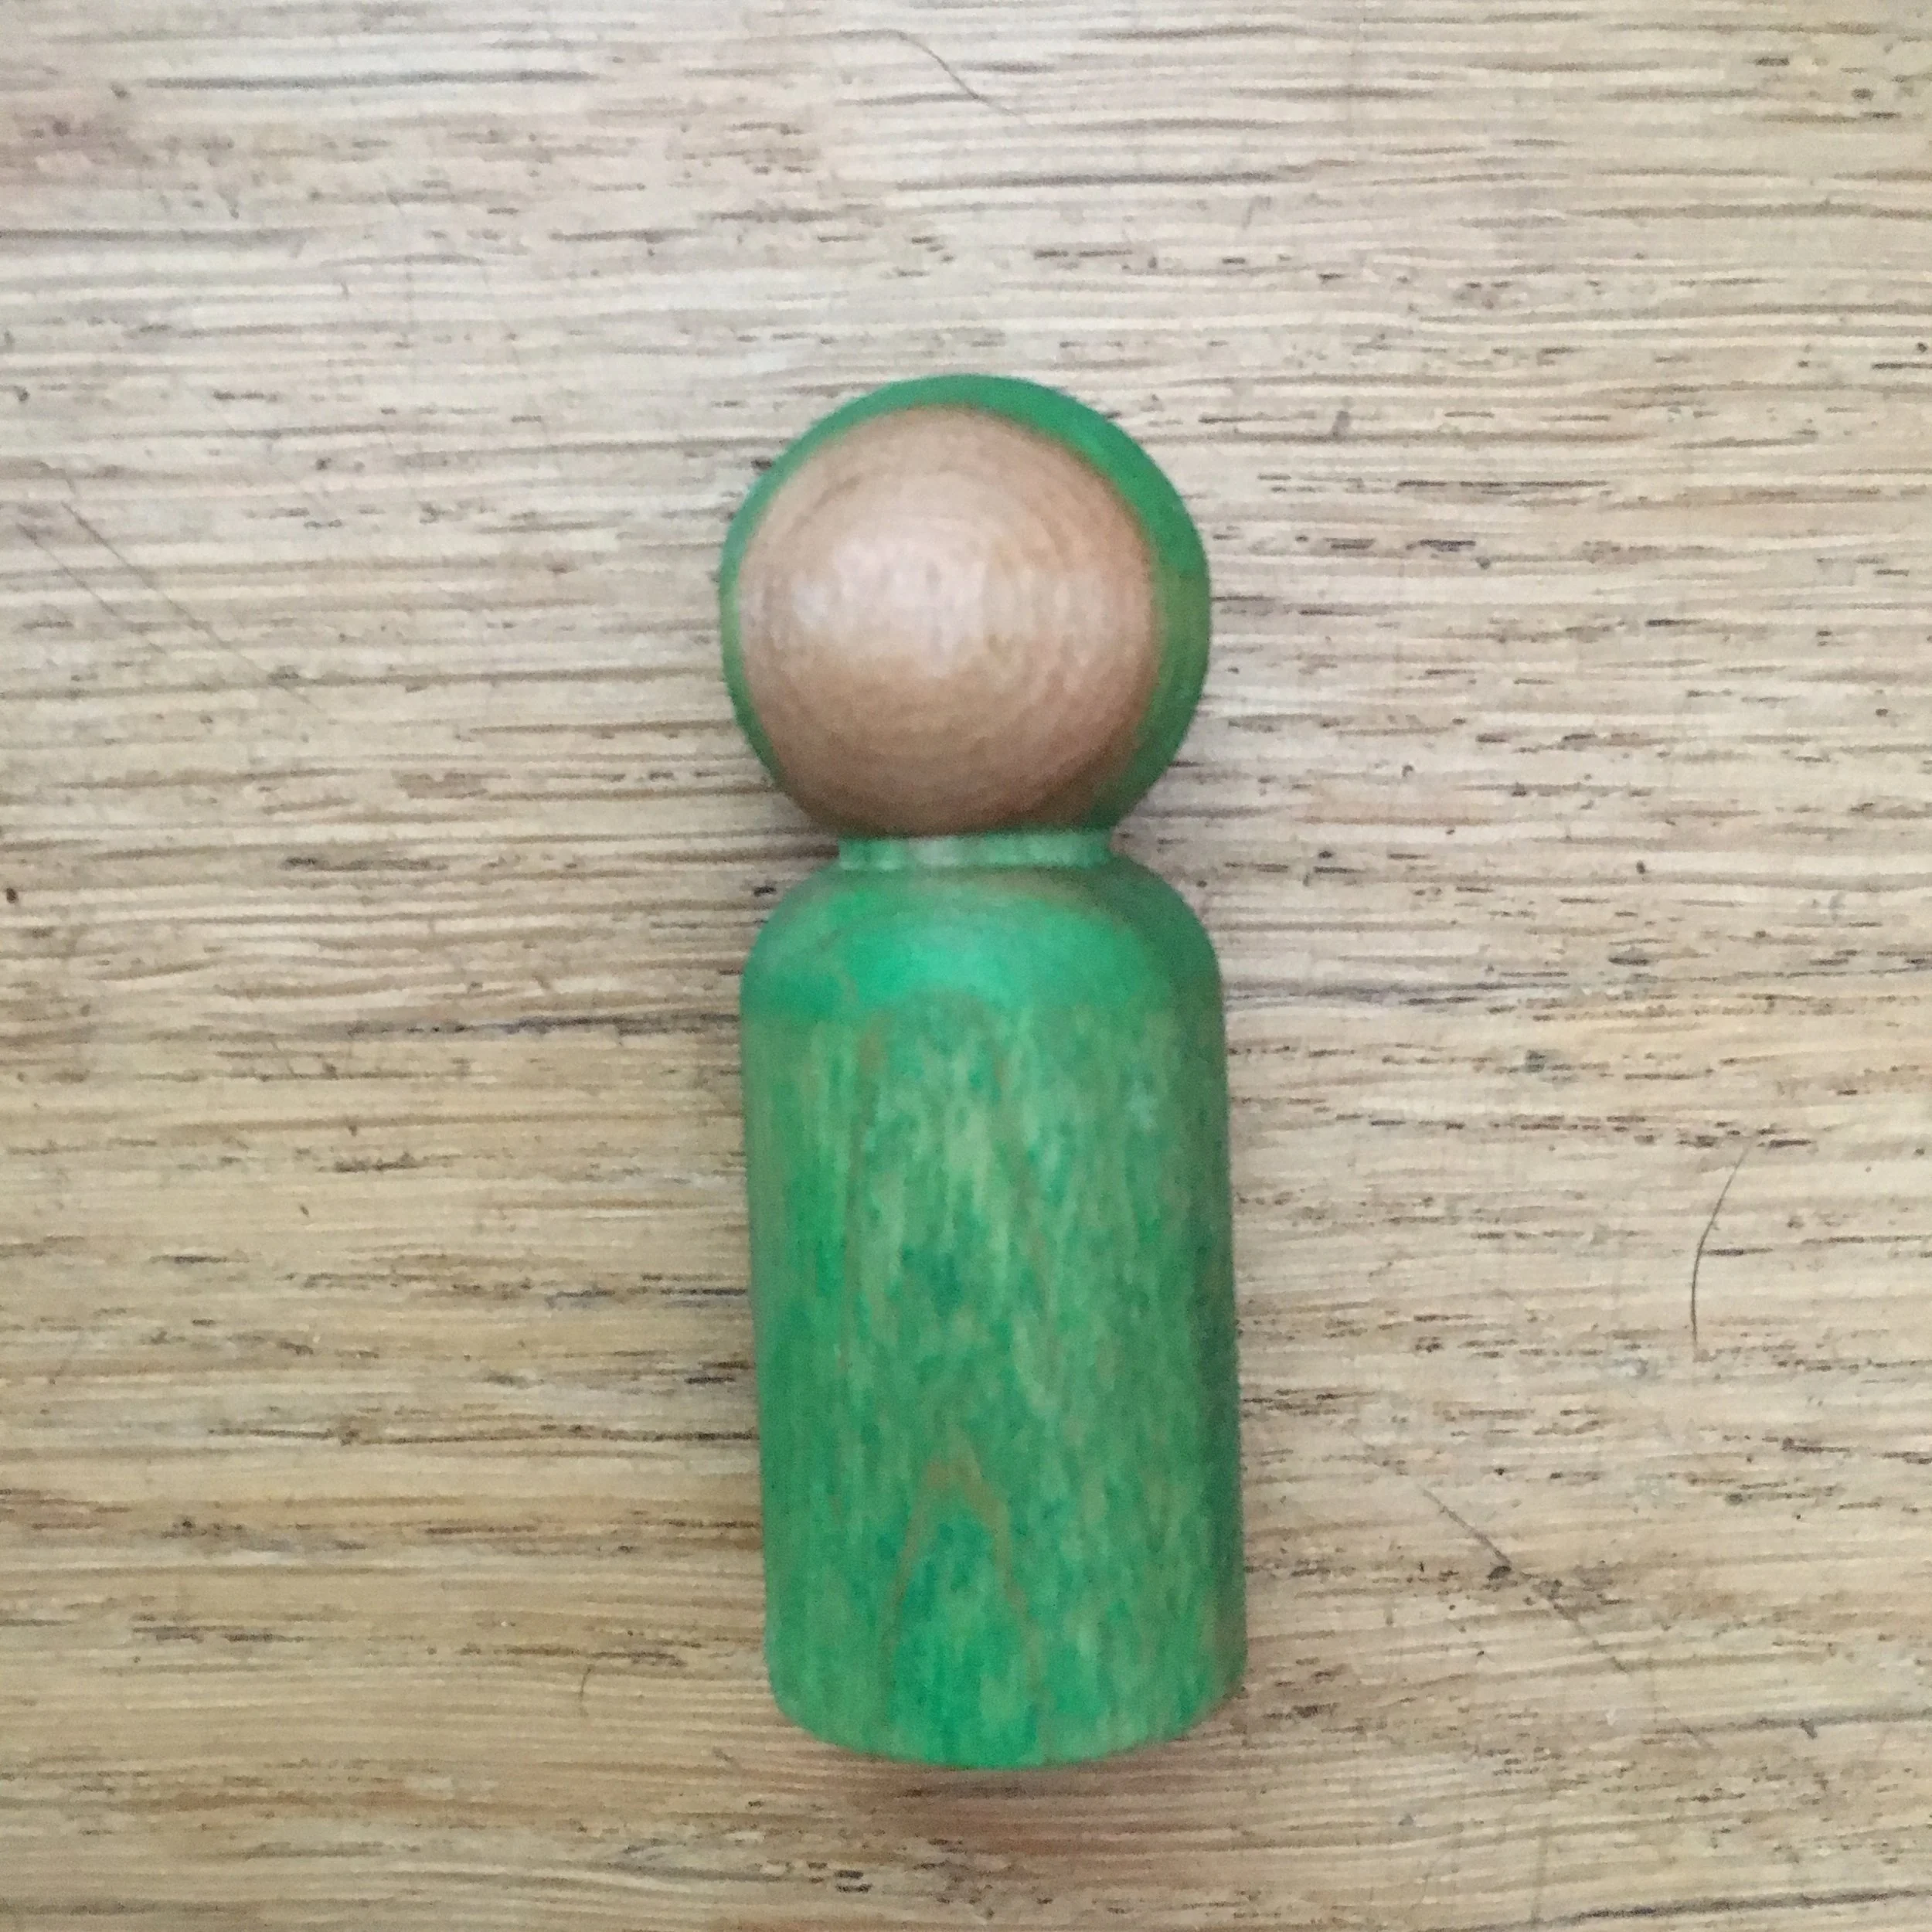
Peg dolls. These are large regular pegs dolls, 2 3/8 inches tall
Fine sandpaper
Non-toxic watercolor paints
Green Perle Cotton or Embroidery Thread or 1/8 inch ribbon with a needle with a large eye
Green felt. Wool felt is my favorite
Markers to draw the face if you want facial features
Scissors and an craft knife with a sharp blade. (Safety note: The craft knife should only be used by an adult).
Instructions:
If your pegs feel rough, smooth them with fine grain sandpaper, following the wood grain.
Paint the pegs with the water color paints, leaving an unpainted circle for the face. The wood grain on the peg often can be used as as a guide for the facial placement. I used two different shades of green, applying one green and then the other next to each other on the peg. Allow them to completely dry before preceding.
Apply the beeswax polish to the entire peg, including the face. The watercolors look brighter and deeper in color after the polish is applied. Allow the polish to soak in for several hours, or overnight. Then rub the peg with a soft rag before continuing to assemble the doll.
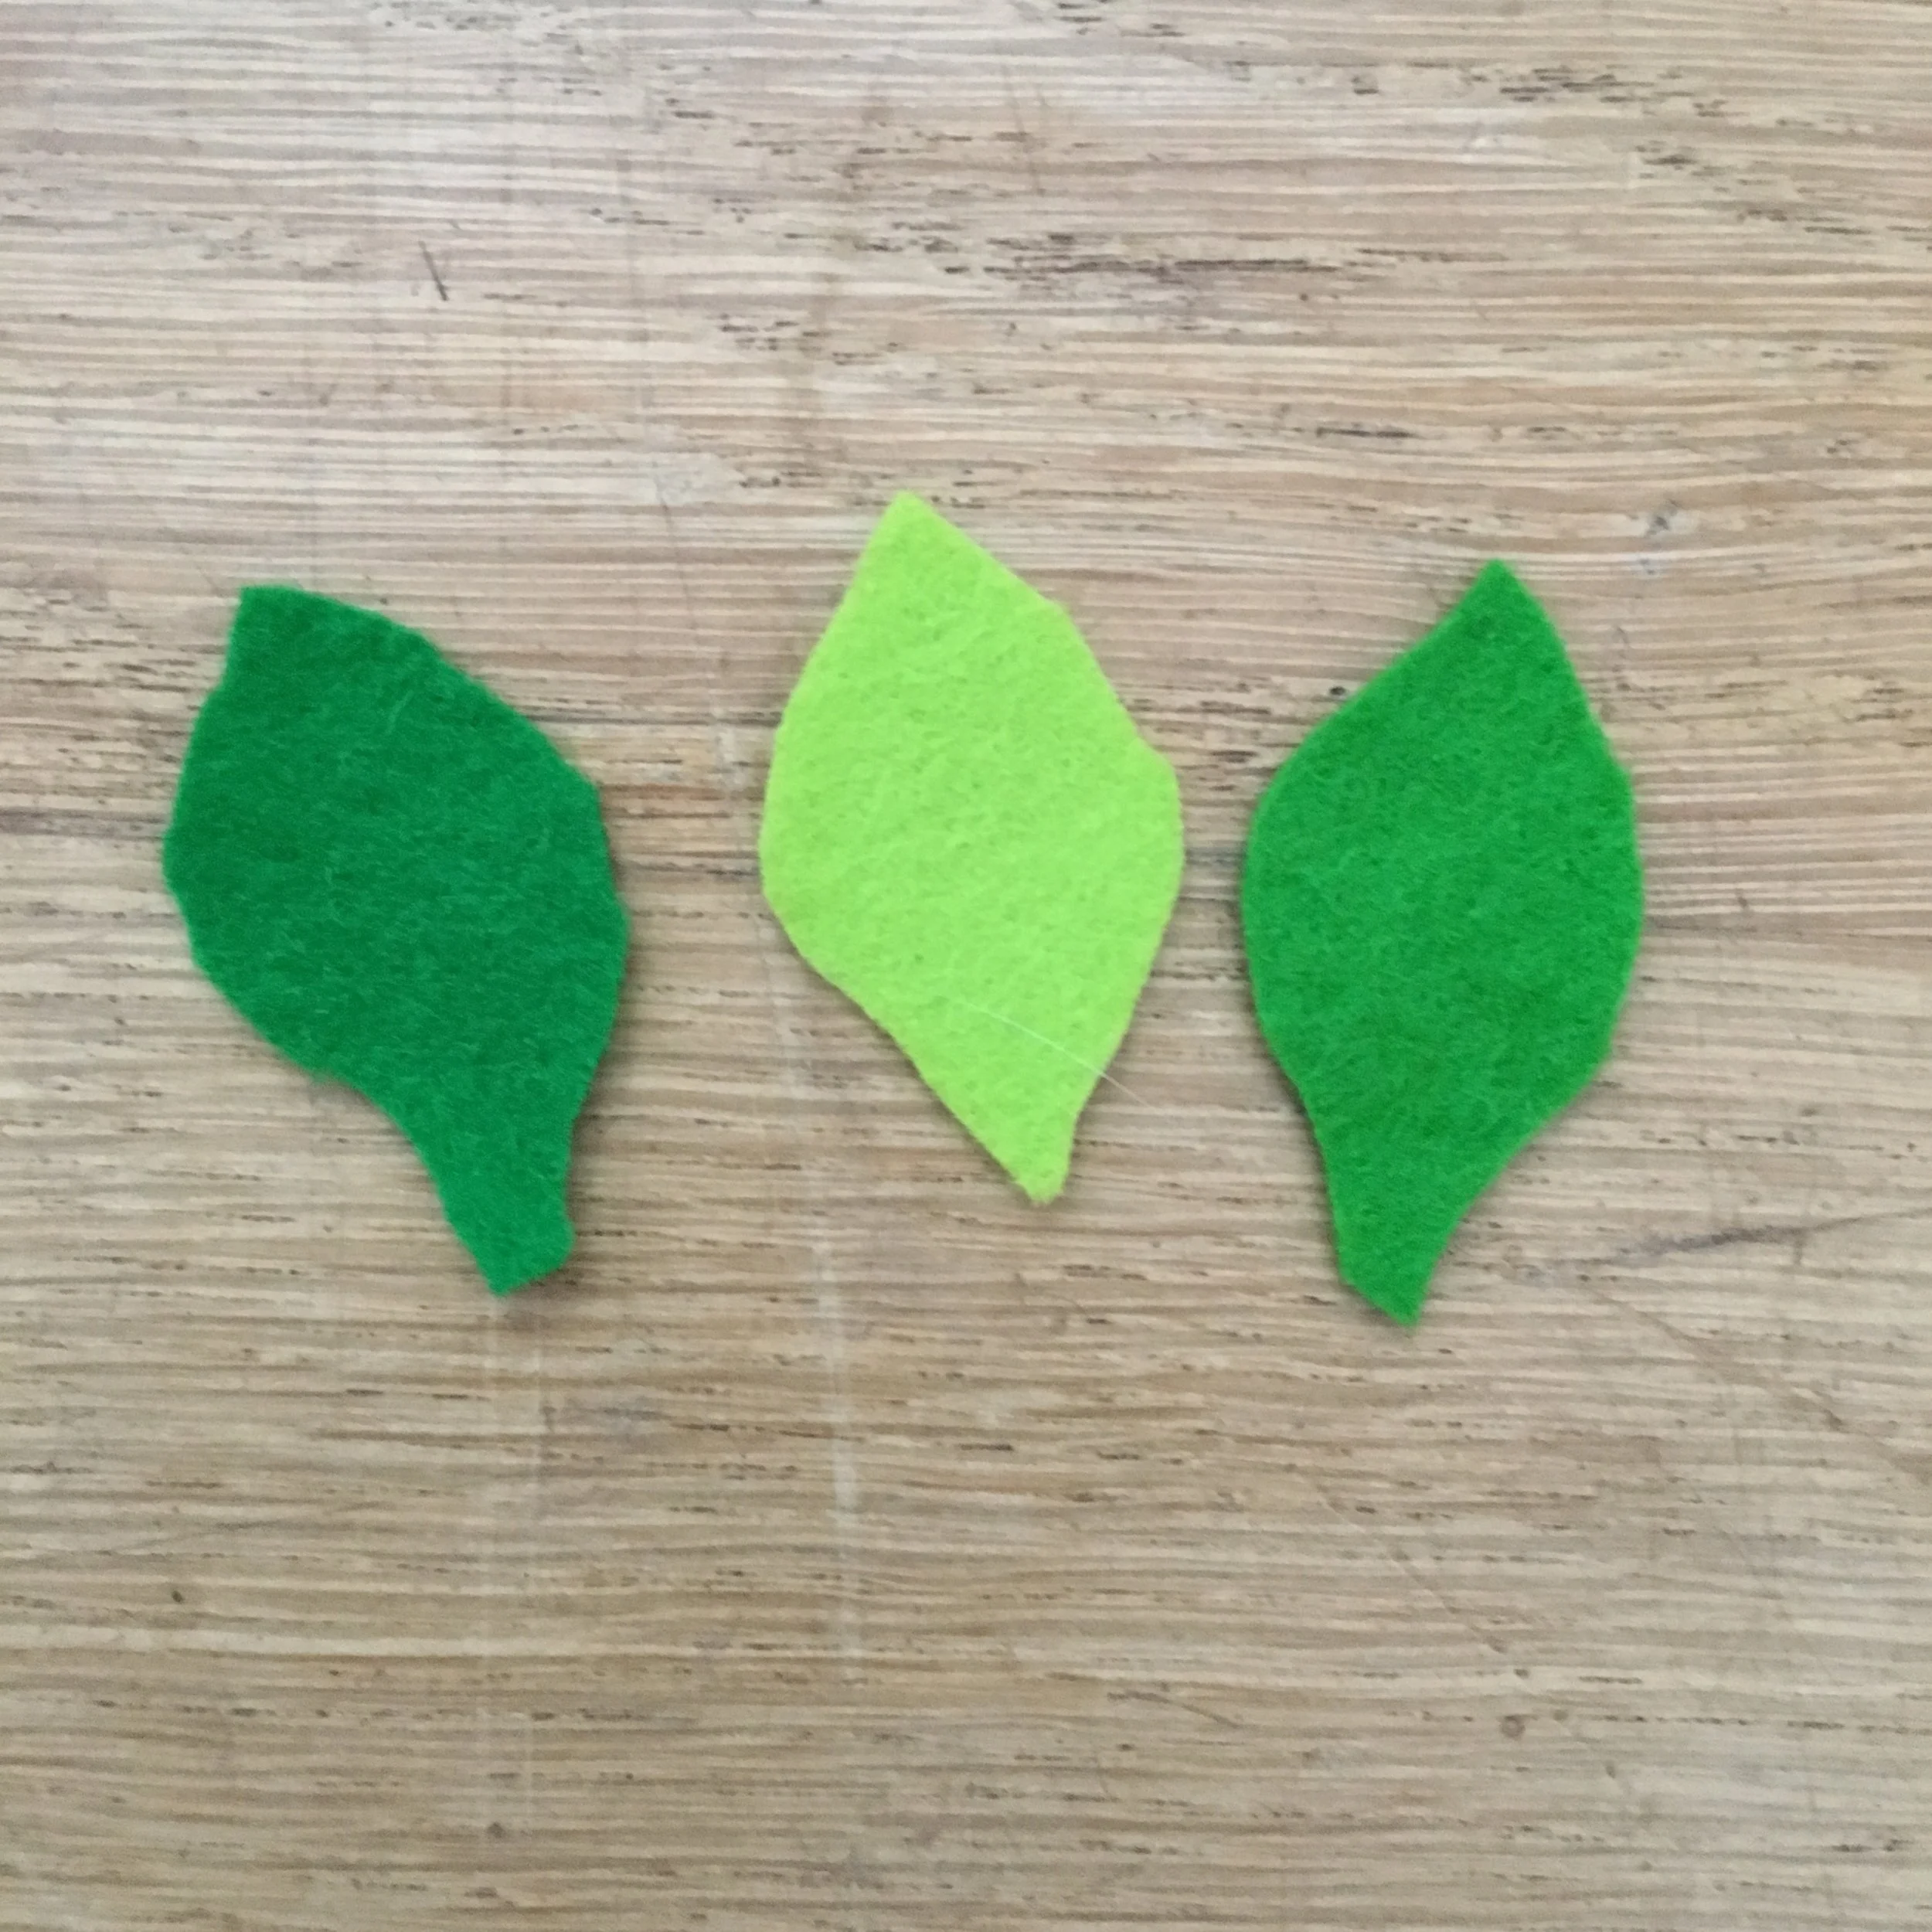
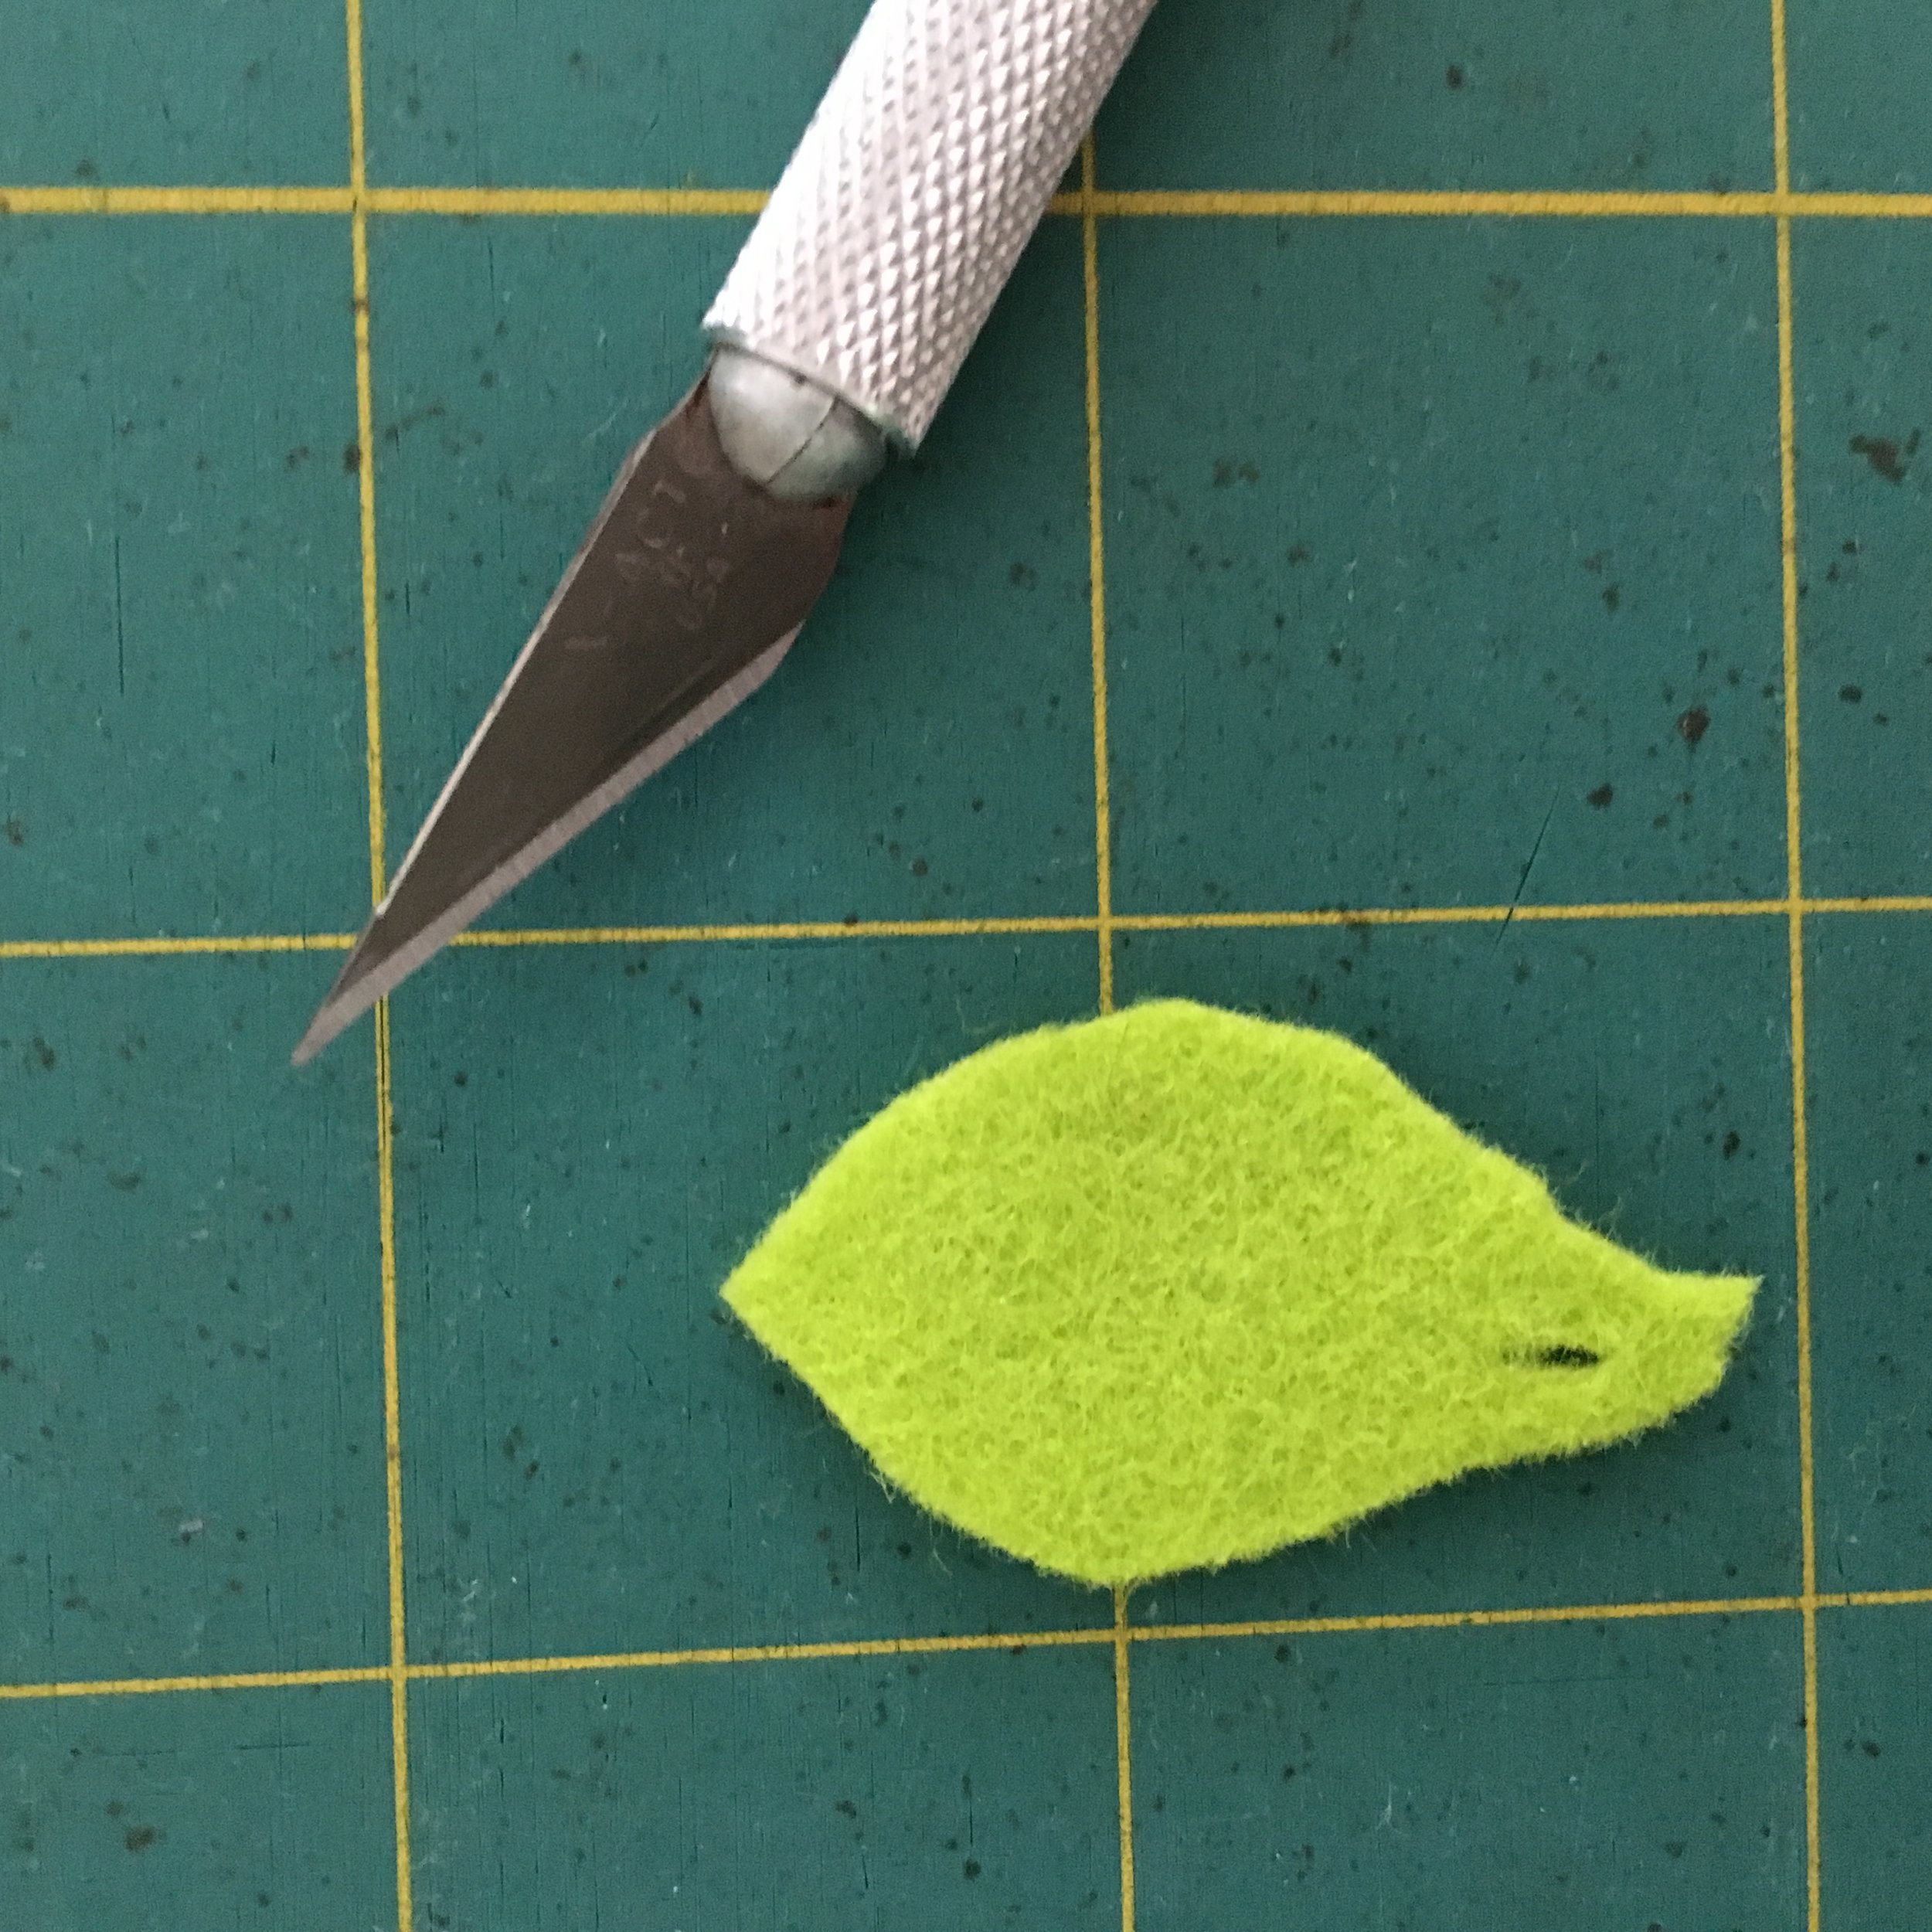
While you are waiting for the bees wax polish to soak into the wood, cut out out the leaves for the pea shoots. Each leaf is about 1 1/4 inch long and 3/4 inches wide. You can draw a template or just cut them freehand if you feel comfortable doing that.
Using the craft knife, cut a 1/4 inch slit at the base of each leaf so that you can run the braid or ribbon through it.
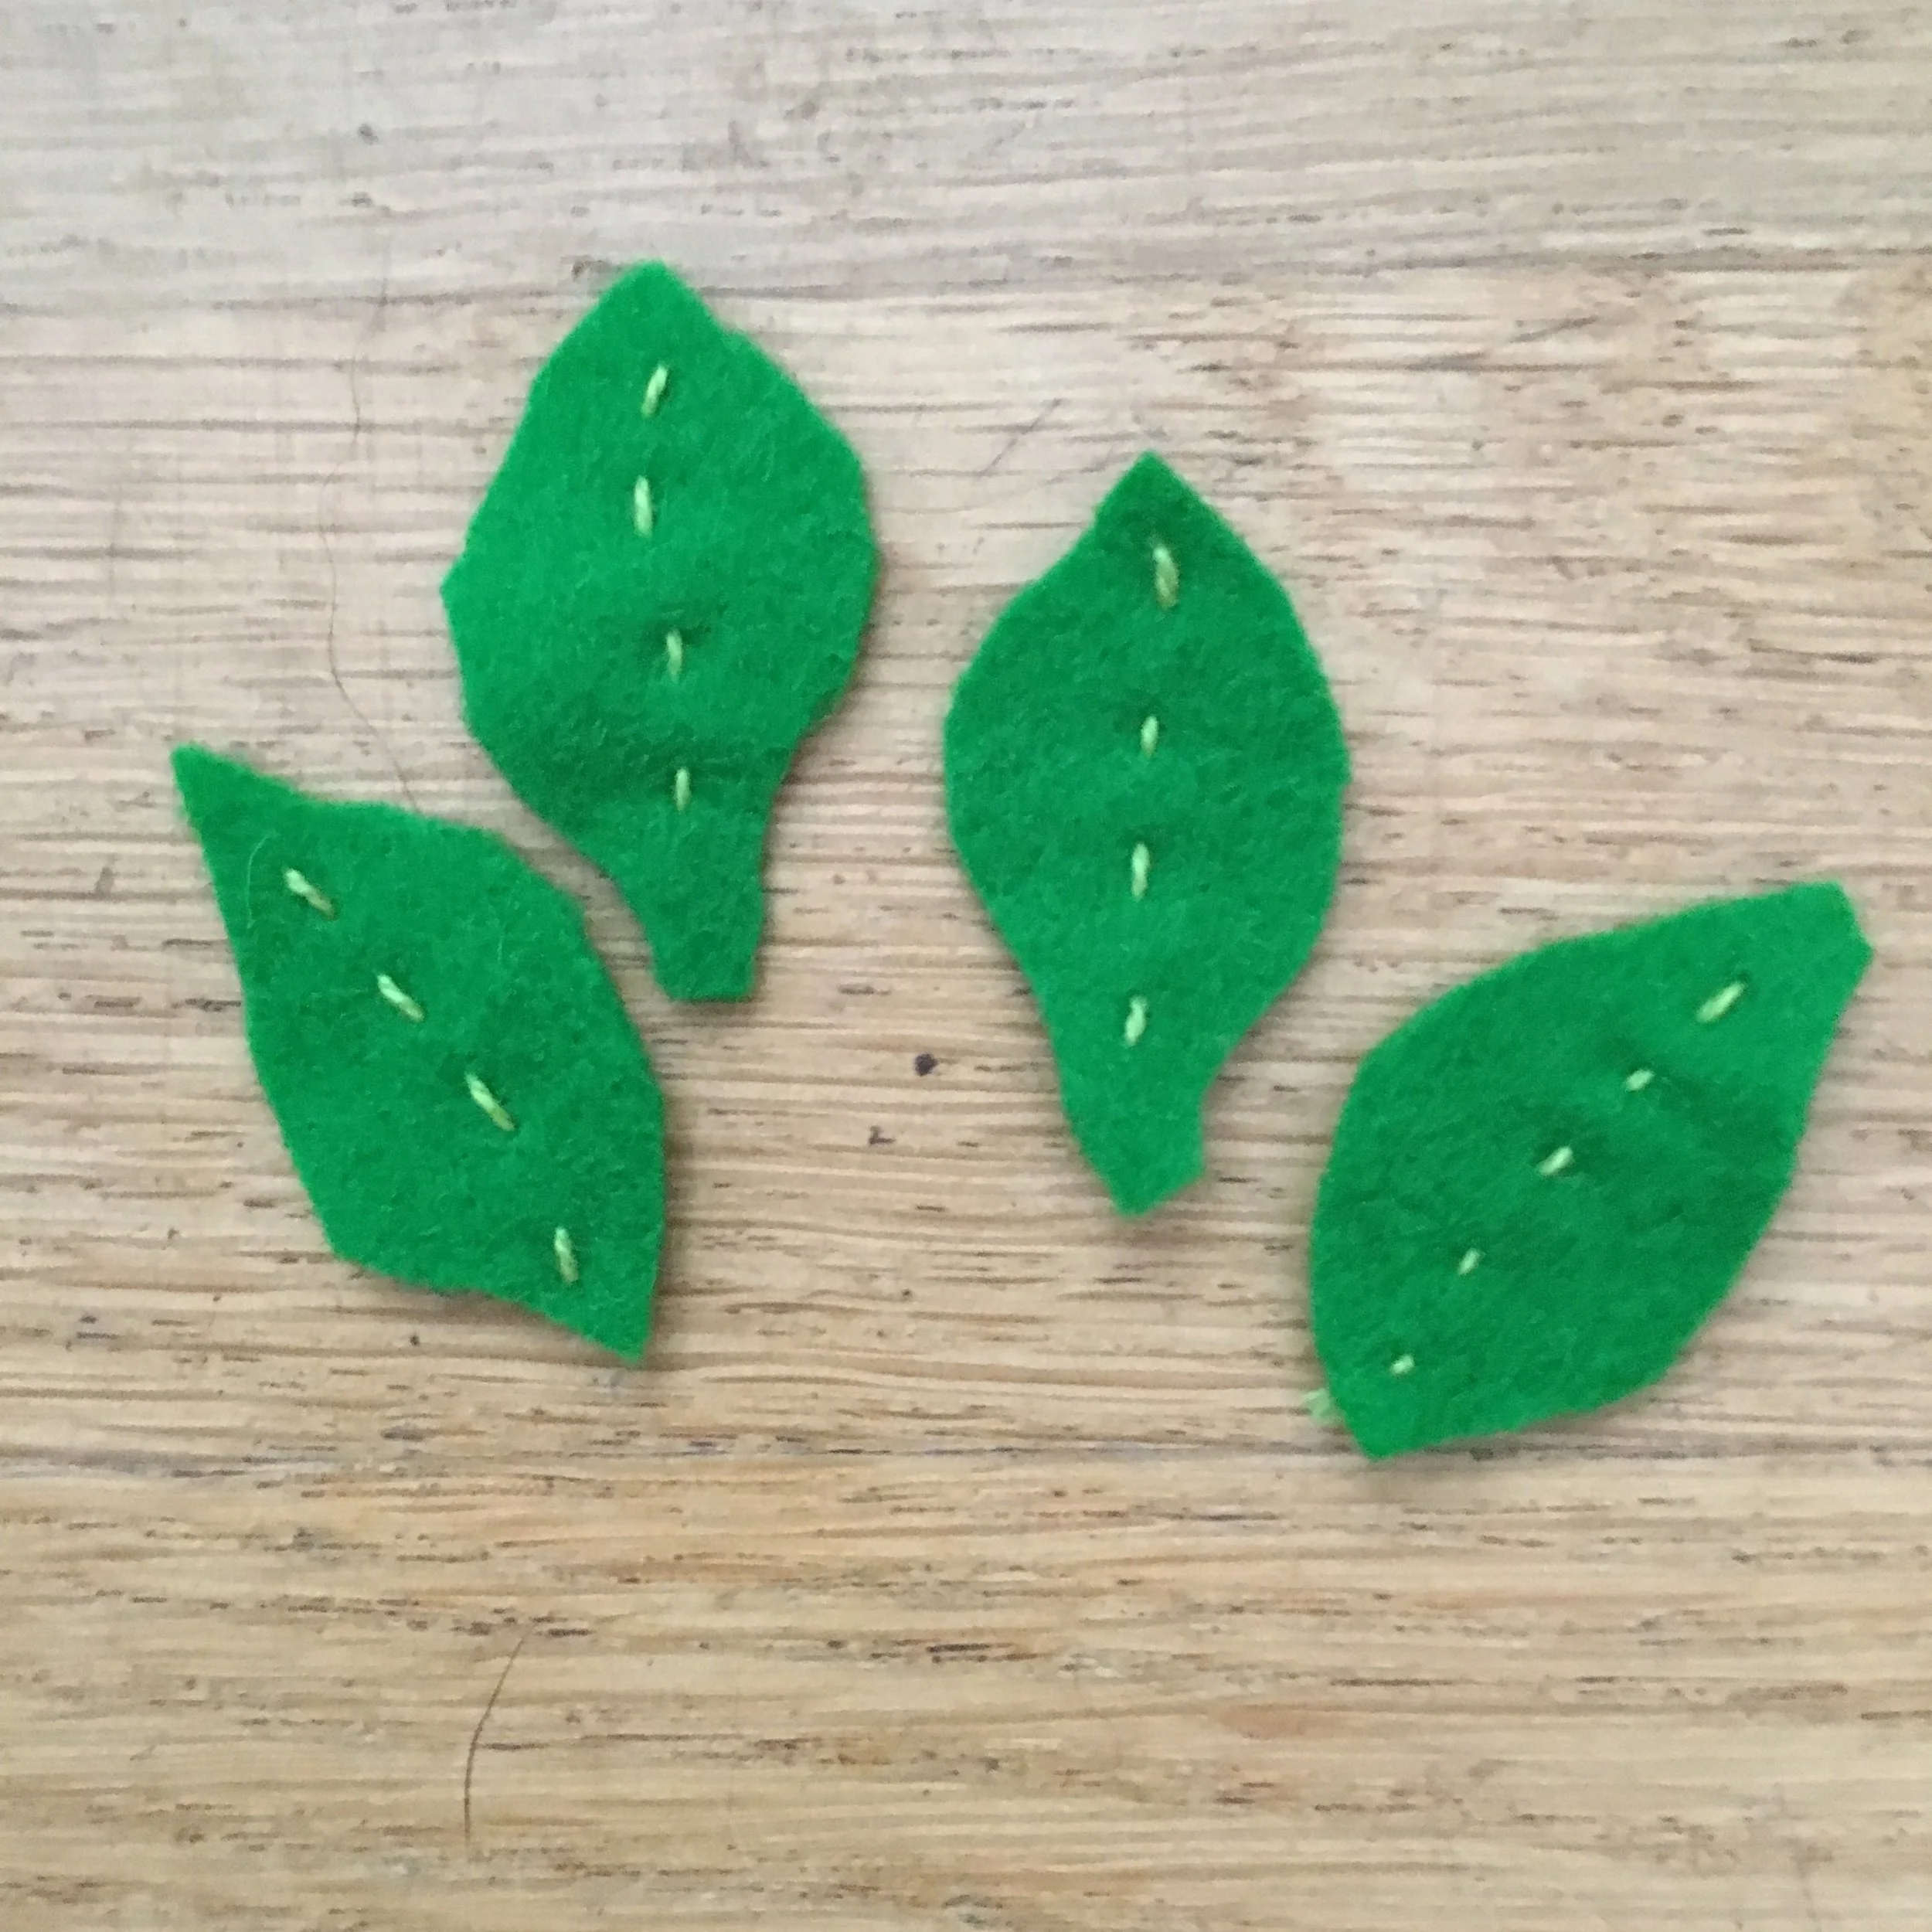
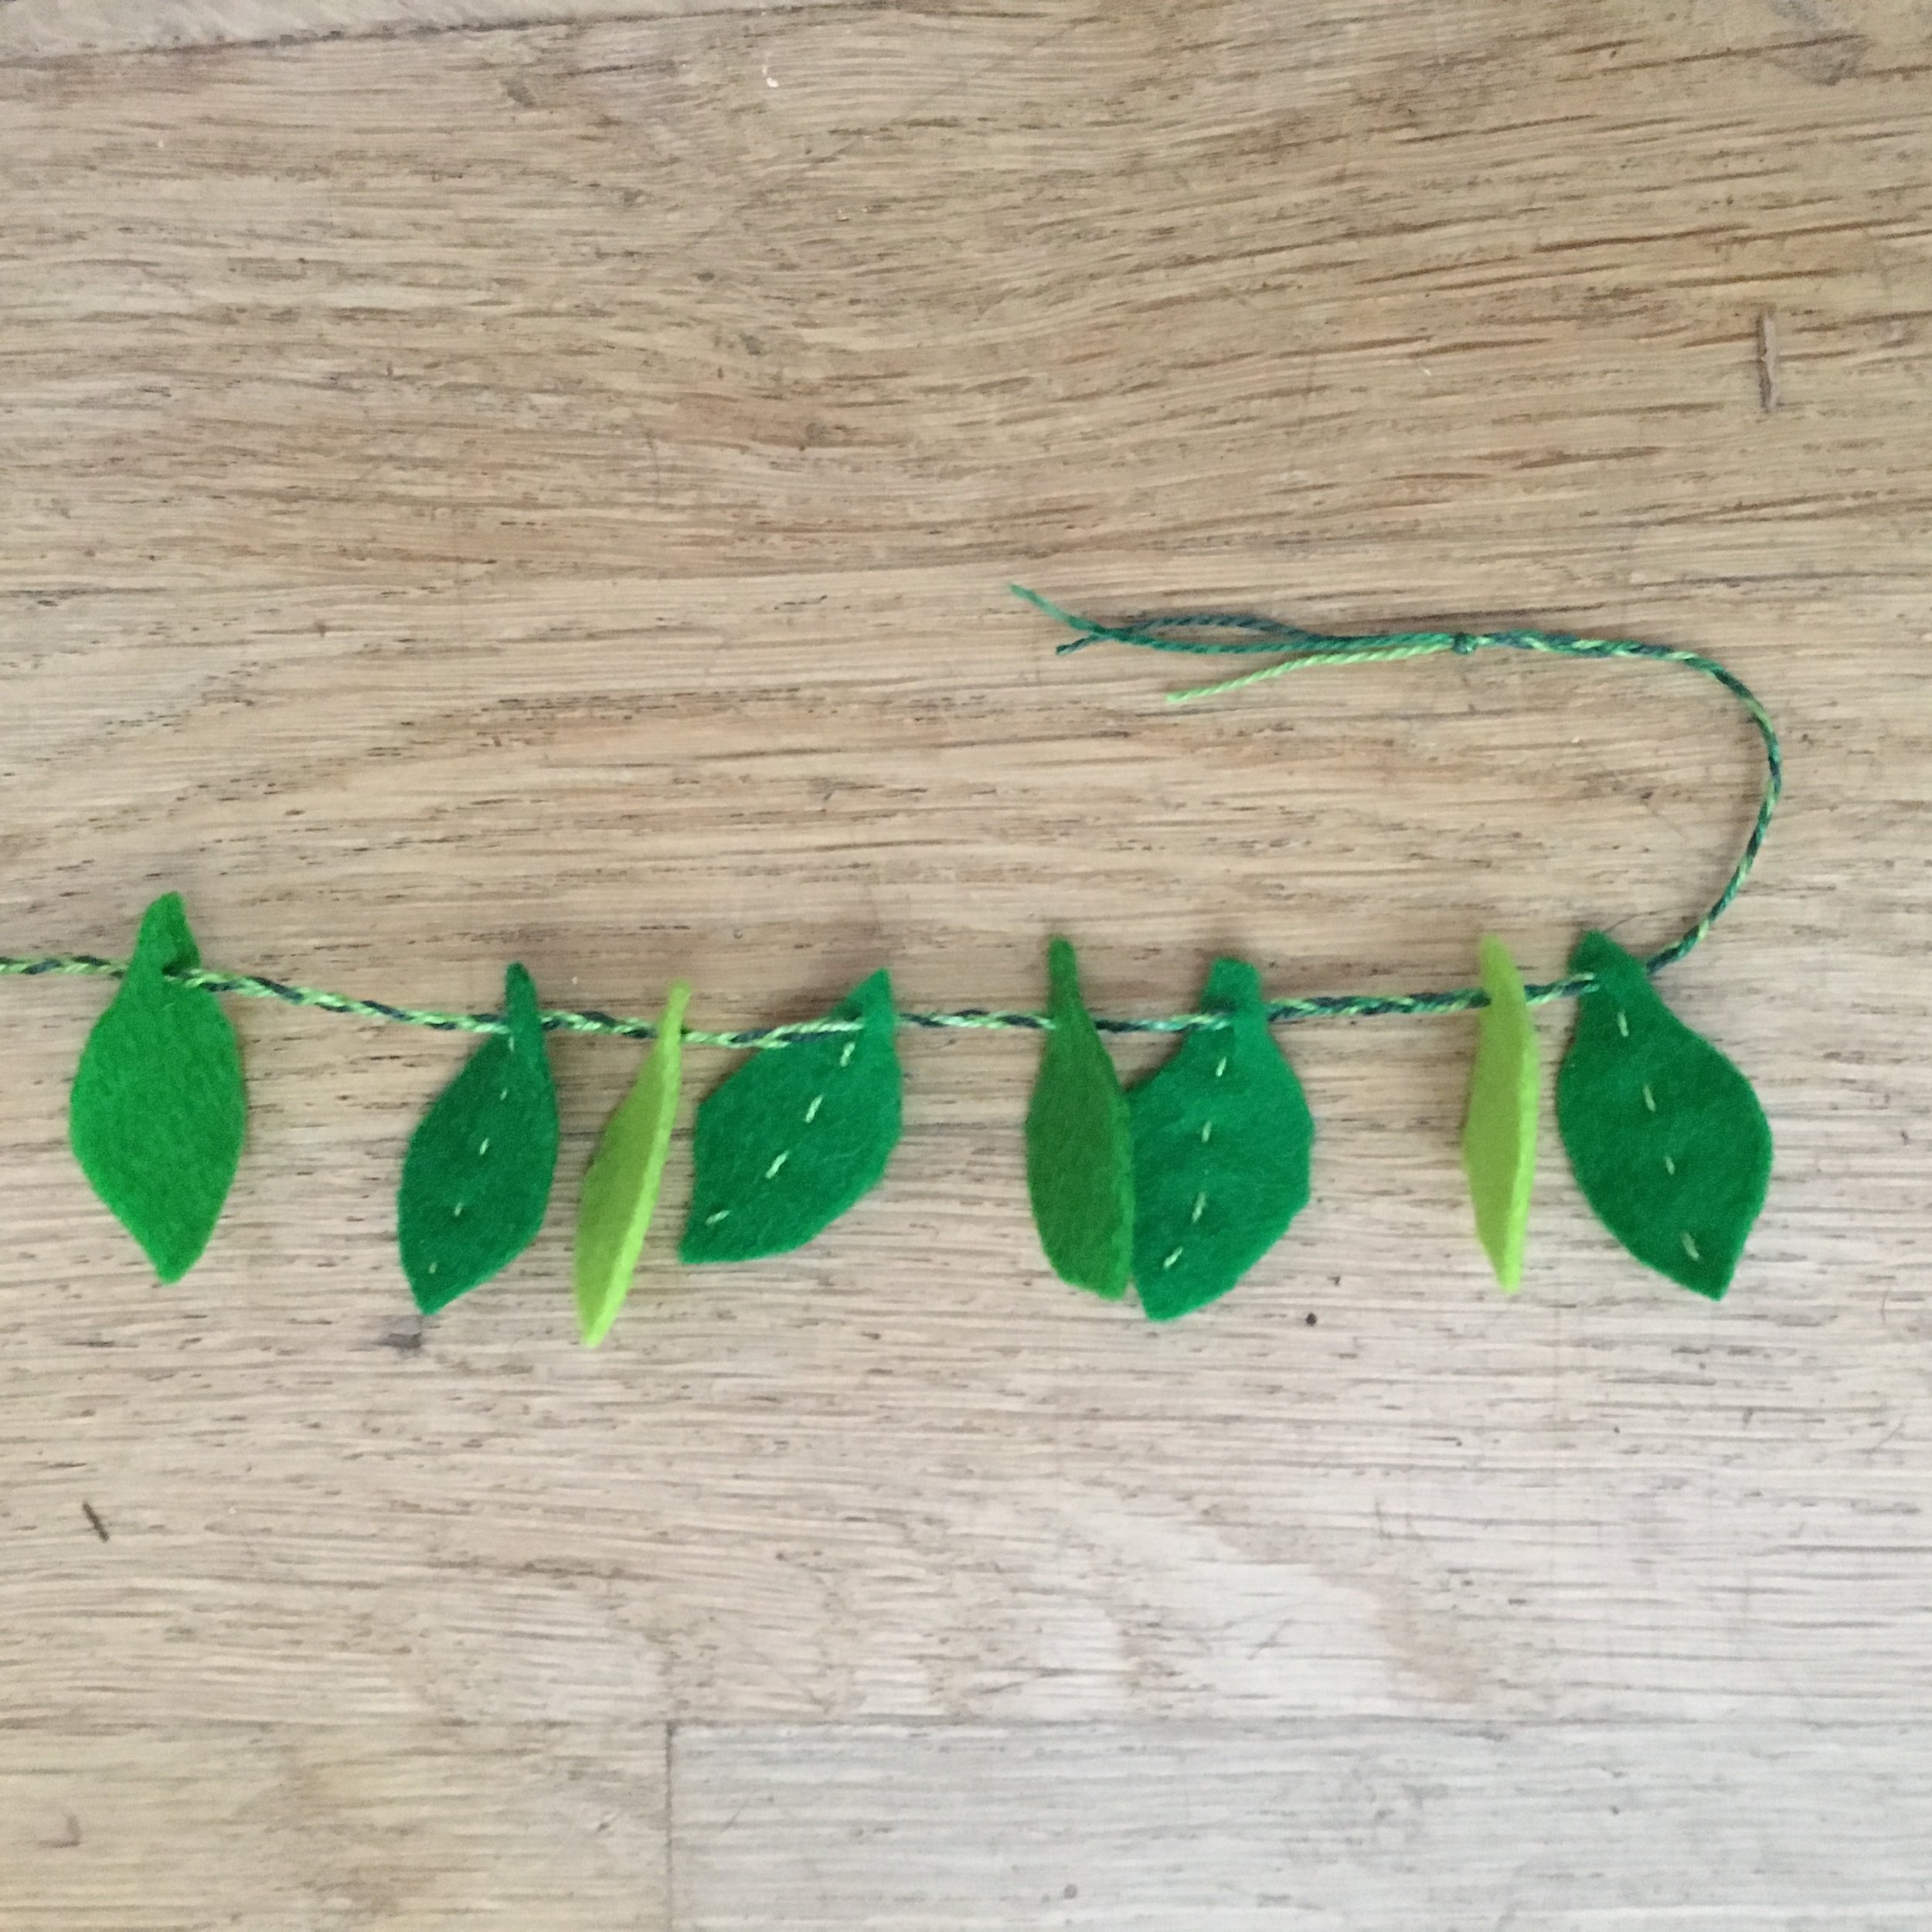
If you wish, use embroidery thread to embellish the leaves. I used a simple running stitch down the center of half of the leaves.
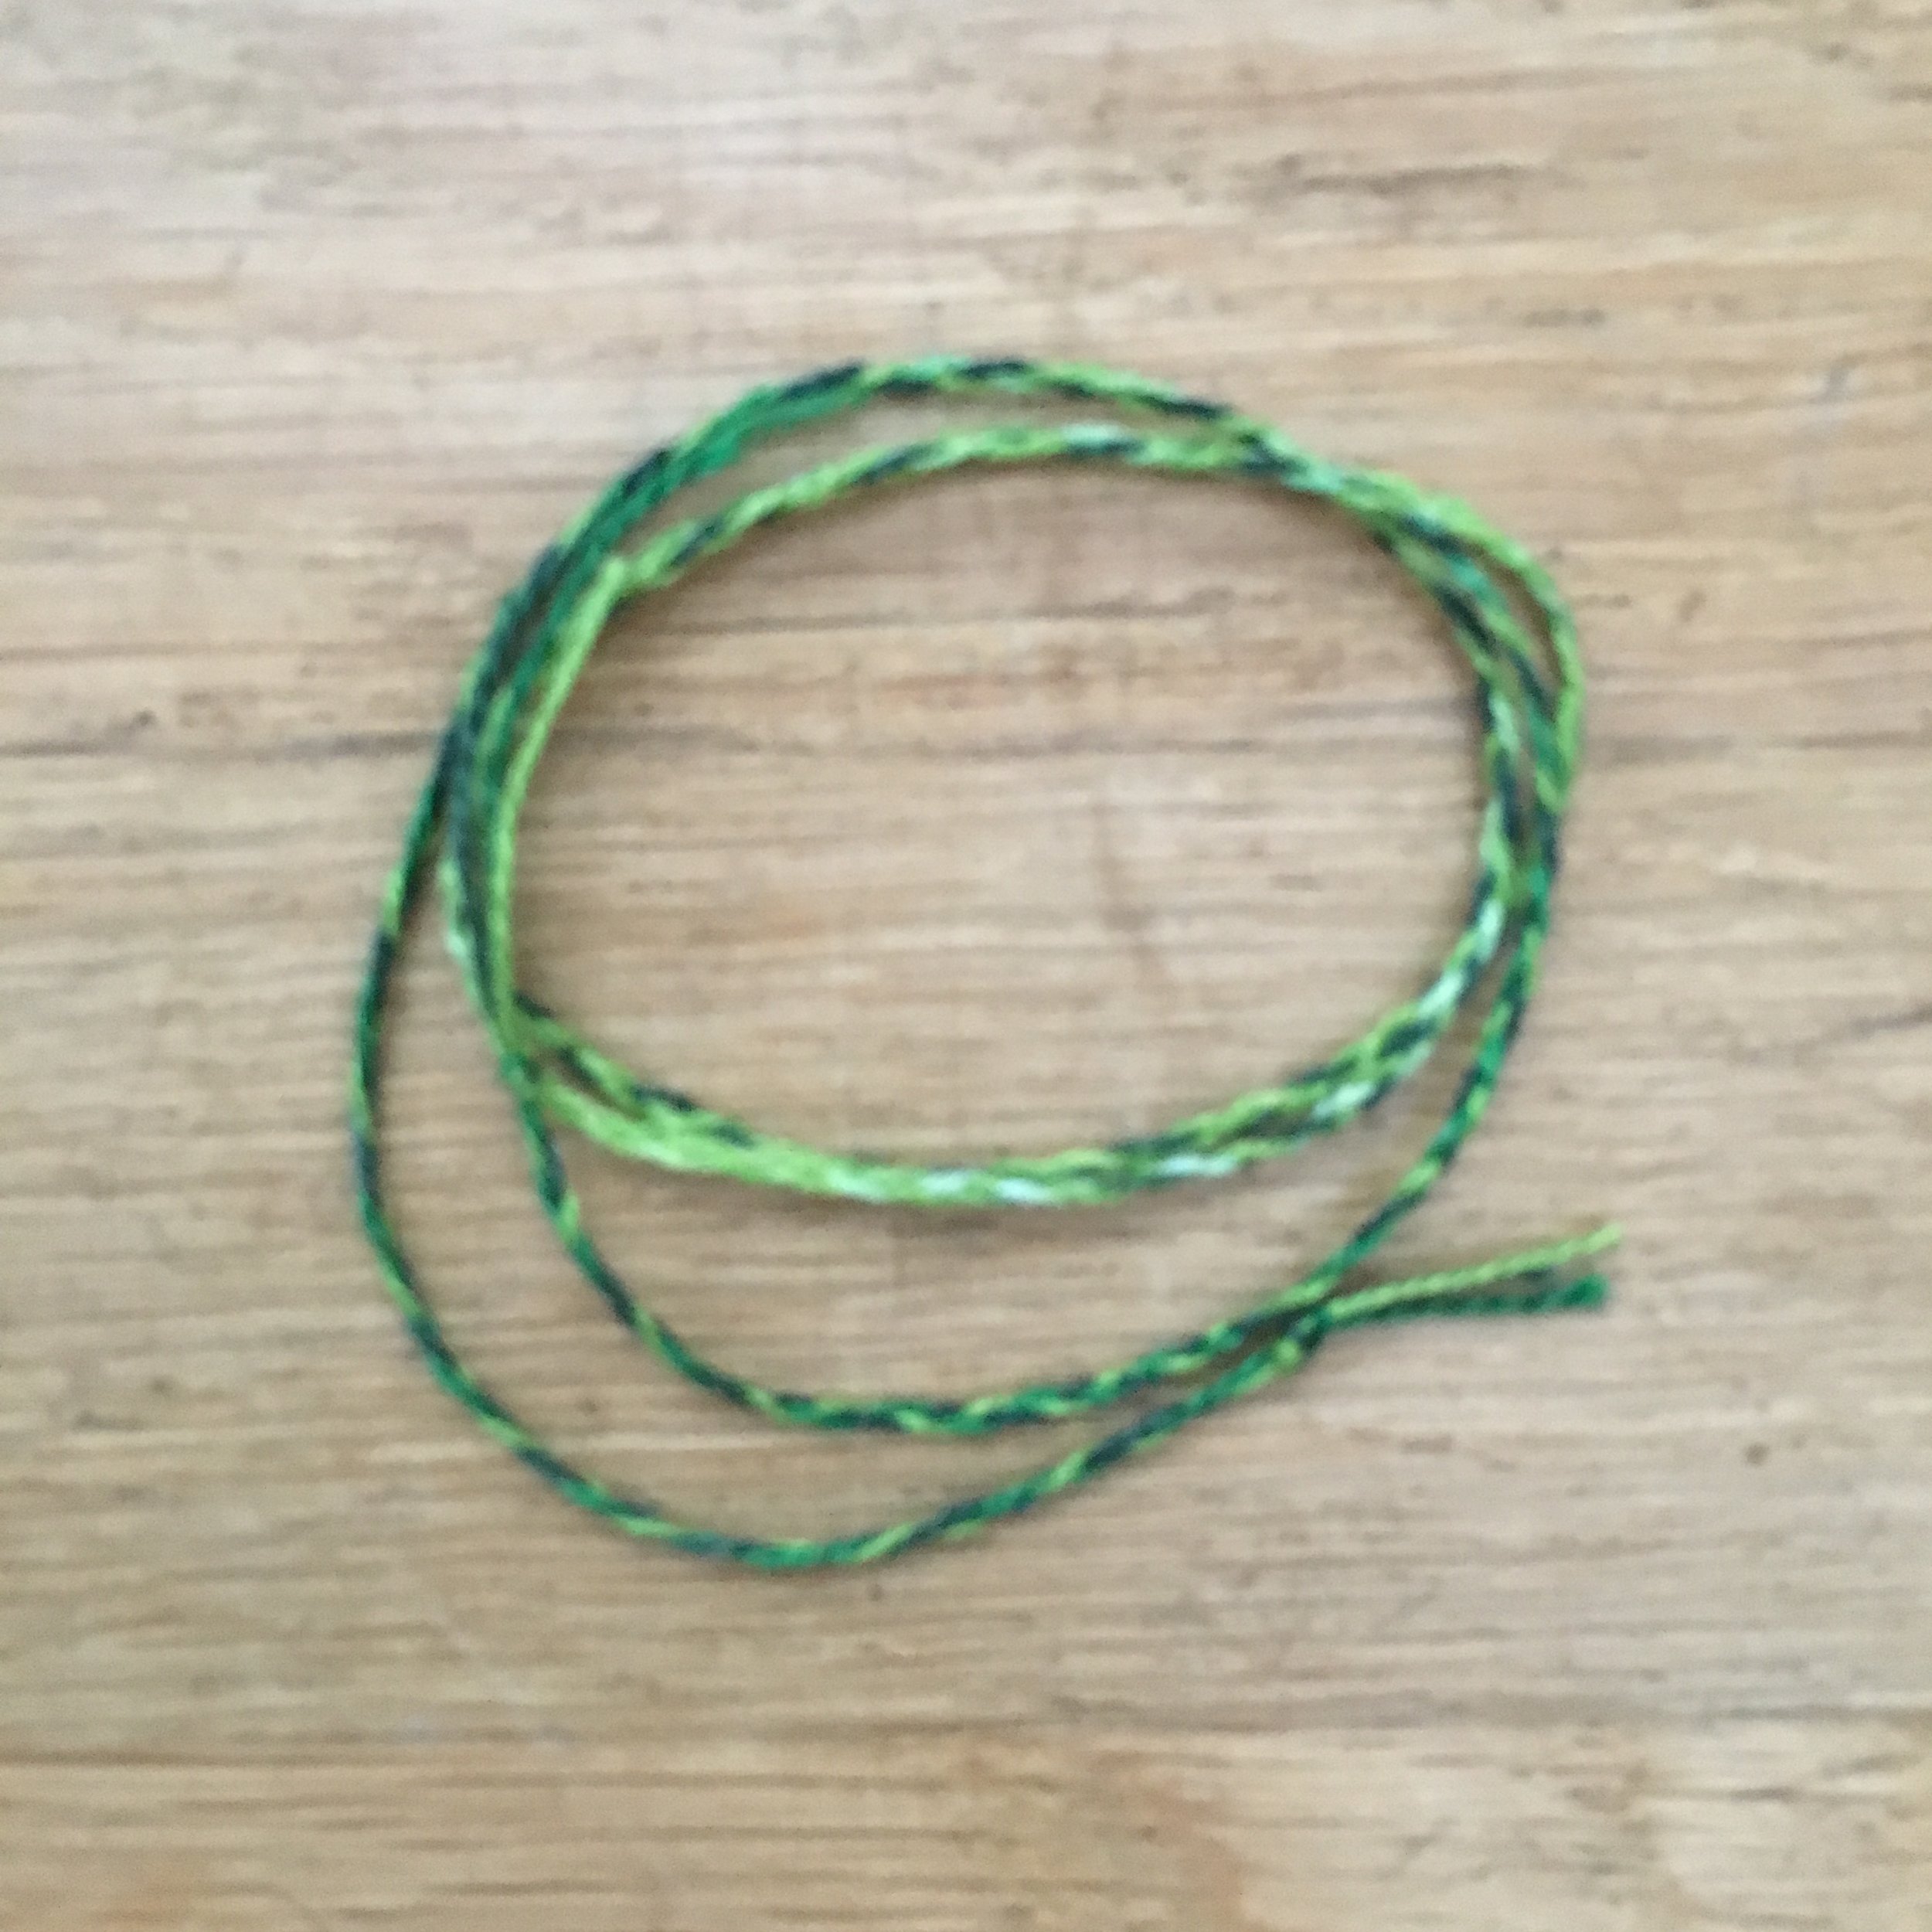
Cut three strands of the Perle cotton. I used strands about the length of my forearm and that made a braid long enough for 4 peg dolls. Braid the 3 strands of thread. (I you use embroidery thread, use 3 strands for each piece. If you use ribbon, you can cut that the length you want when you assemble the dolls).
Thread all the leaves onto the braid you just made. Pull two leaves the toward one end of the braid, away from the other leaves. Using that end, tie the braid around the doll’s neck, with two leaves behind the head. Cut the braid the length desired and immediately tie a knot in the end on the doll’s side and the new end on the braid with the rest of the leaves. I was worried the braid with unravel right away, but found I had time to tie both knots without any problem.
Complete the rest of the dolls if you are making more than one.
Draw a face on the dolls using makers if desired. I found that the markers don’t run into the wood grain and can still draw well on wood sealed with the beeswax polish.
I wish I could tell you that I’m enjoying eating the sugar snap peas that I planted in April. So far I’ve only harvested 4 delicious sugar snap pea pods. As it turns out, the neighborhood groundhog thought the pea shoots were very tasty and ate the tips off most of the plants. The peas are in the process of recovering. I’m seeing some blossoms, so there is hope if we don’t have a heat wave too soon.
In the meantime, I am enjoying my little Peg Sprouts.
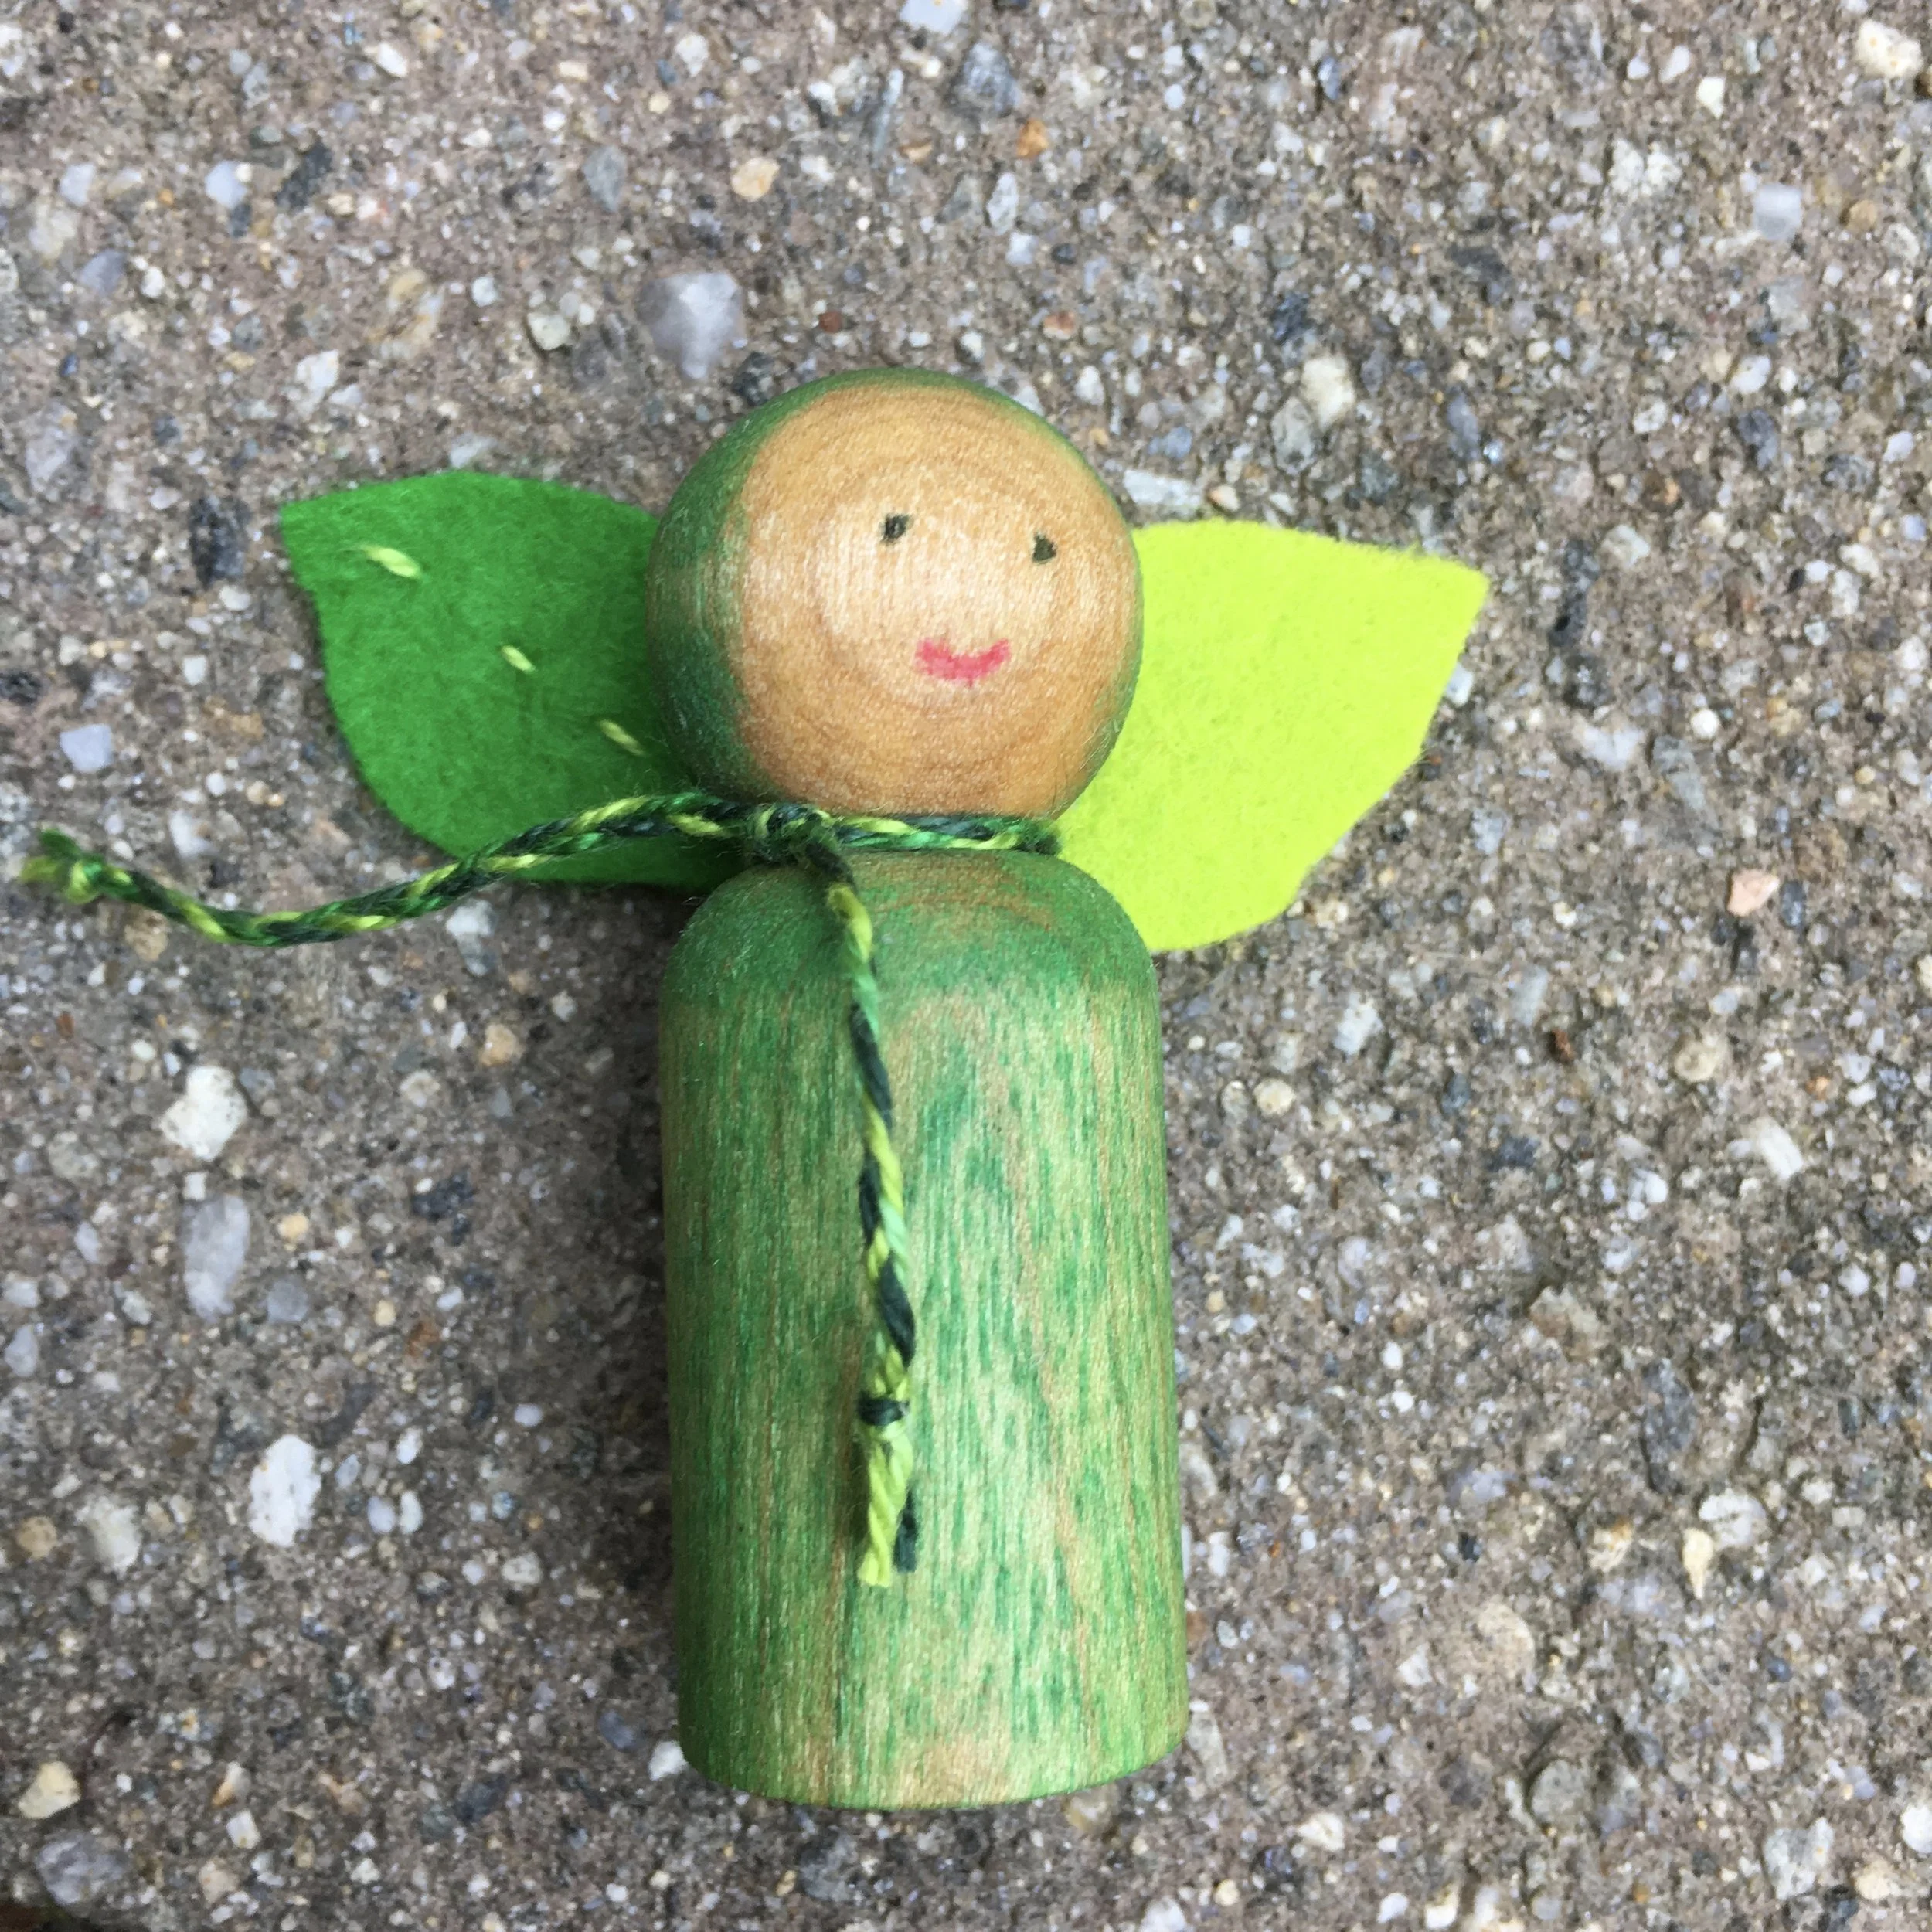
Completed Pea Sprout Peg Doll
Notice: This blog is not monetized: I do not use affiliate links. When there are links in a post, they are to give credit to another creative person, because I like or have used a product, or to help the reader easily find supplies for a project.