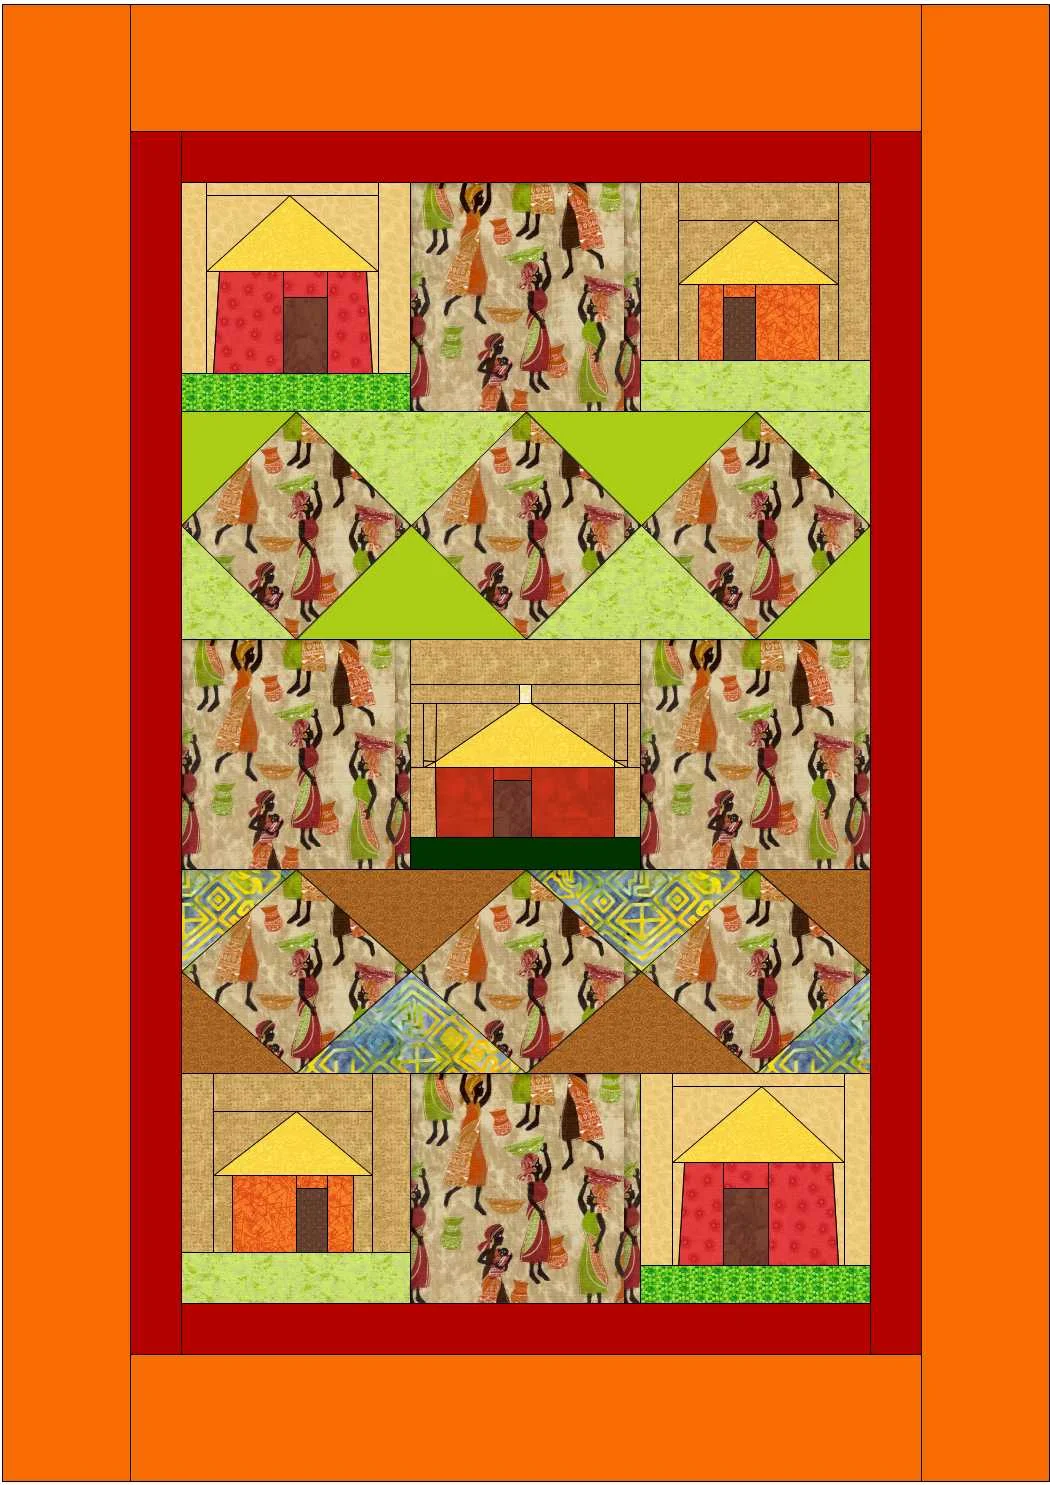
Here's my completed African Village Quilt. It measures 40 x 57 inches.
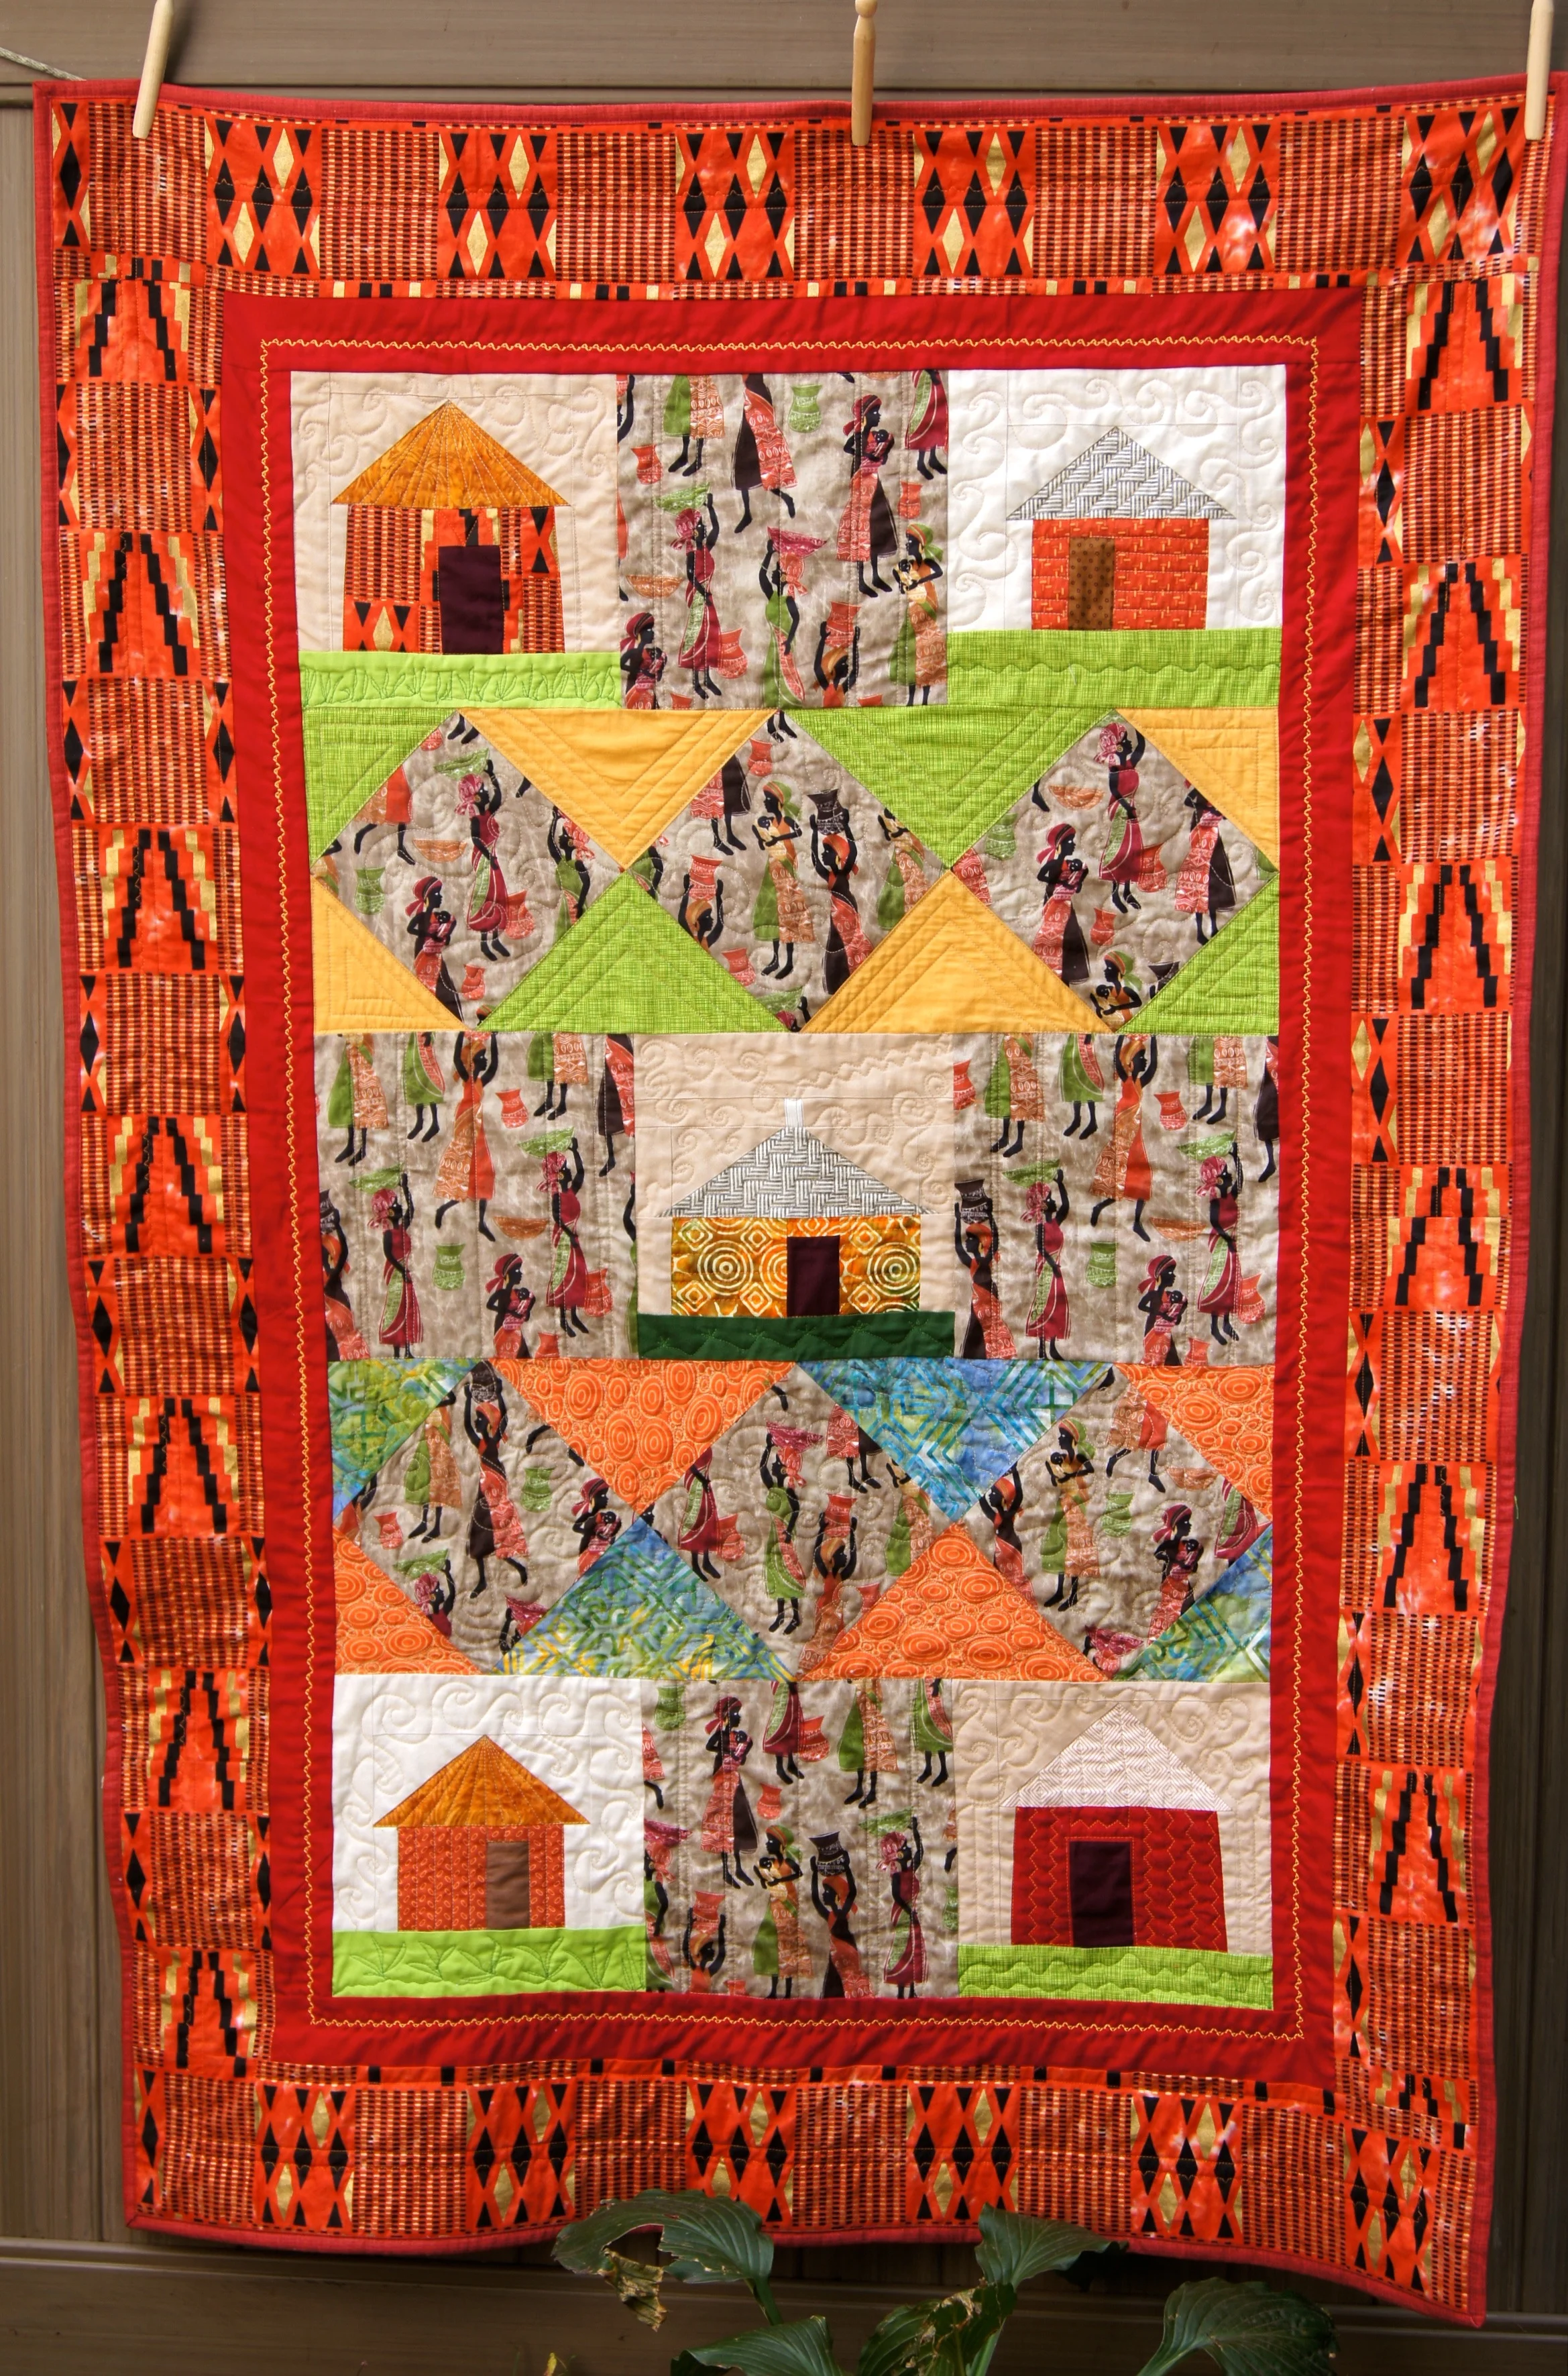
African Village Quilt
I recently took Jacquie Gering's Craftsy course, "Creative Quilting with your Walking Foot." She had some great tips and suggestions about using the walking foot for quilting. I used echoing in, radiating designs and straight quilting using a variety of specialty stitches on my domestic sewing machine. It was lots of fun to use her techniques.
The echoing in stitching is in the setting triangles in the upper strip of diamonds.
Here is a detail of radiating quilting on a roof.

Radiating quilting done with walking foot on the hut roof, Free motion quilting used to create grasses and heat swirls.
I used Jacquie's suggestion of using the Bernina specialty stitch #4, the serpentine stitch, to make the current in the river blocks. She said that this stitch is intended for use in garment construction making lingerie which needs to stretch! Doesn't it make a lovely river current?

Bernina Stitch #4 to make the waves in the river blocks. Free motion quilting to make the stream pebbles and swirls around the women.
I also used the serpentine stitch to make the smoke coming out of the chimney in the central hut.
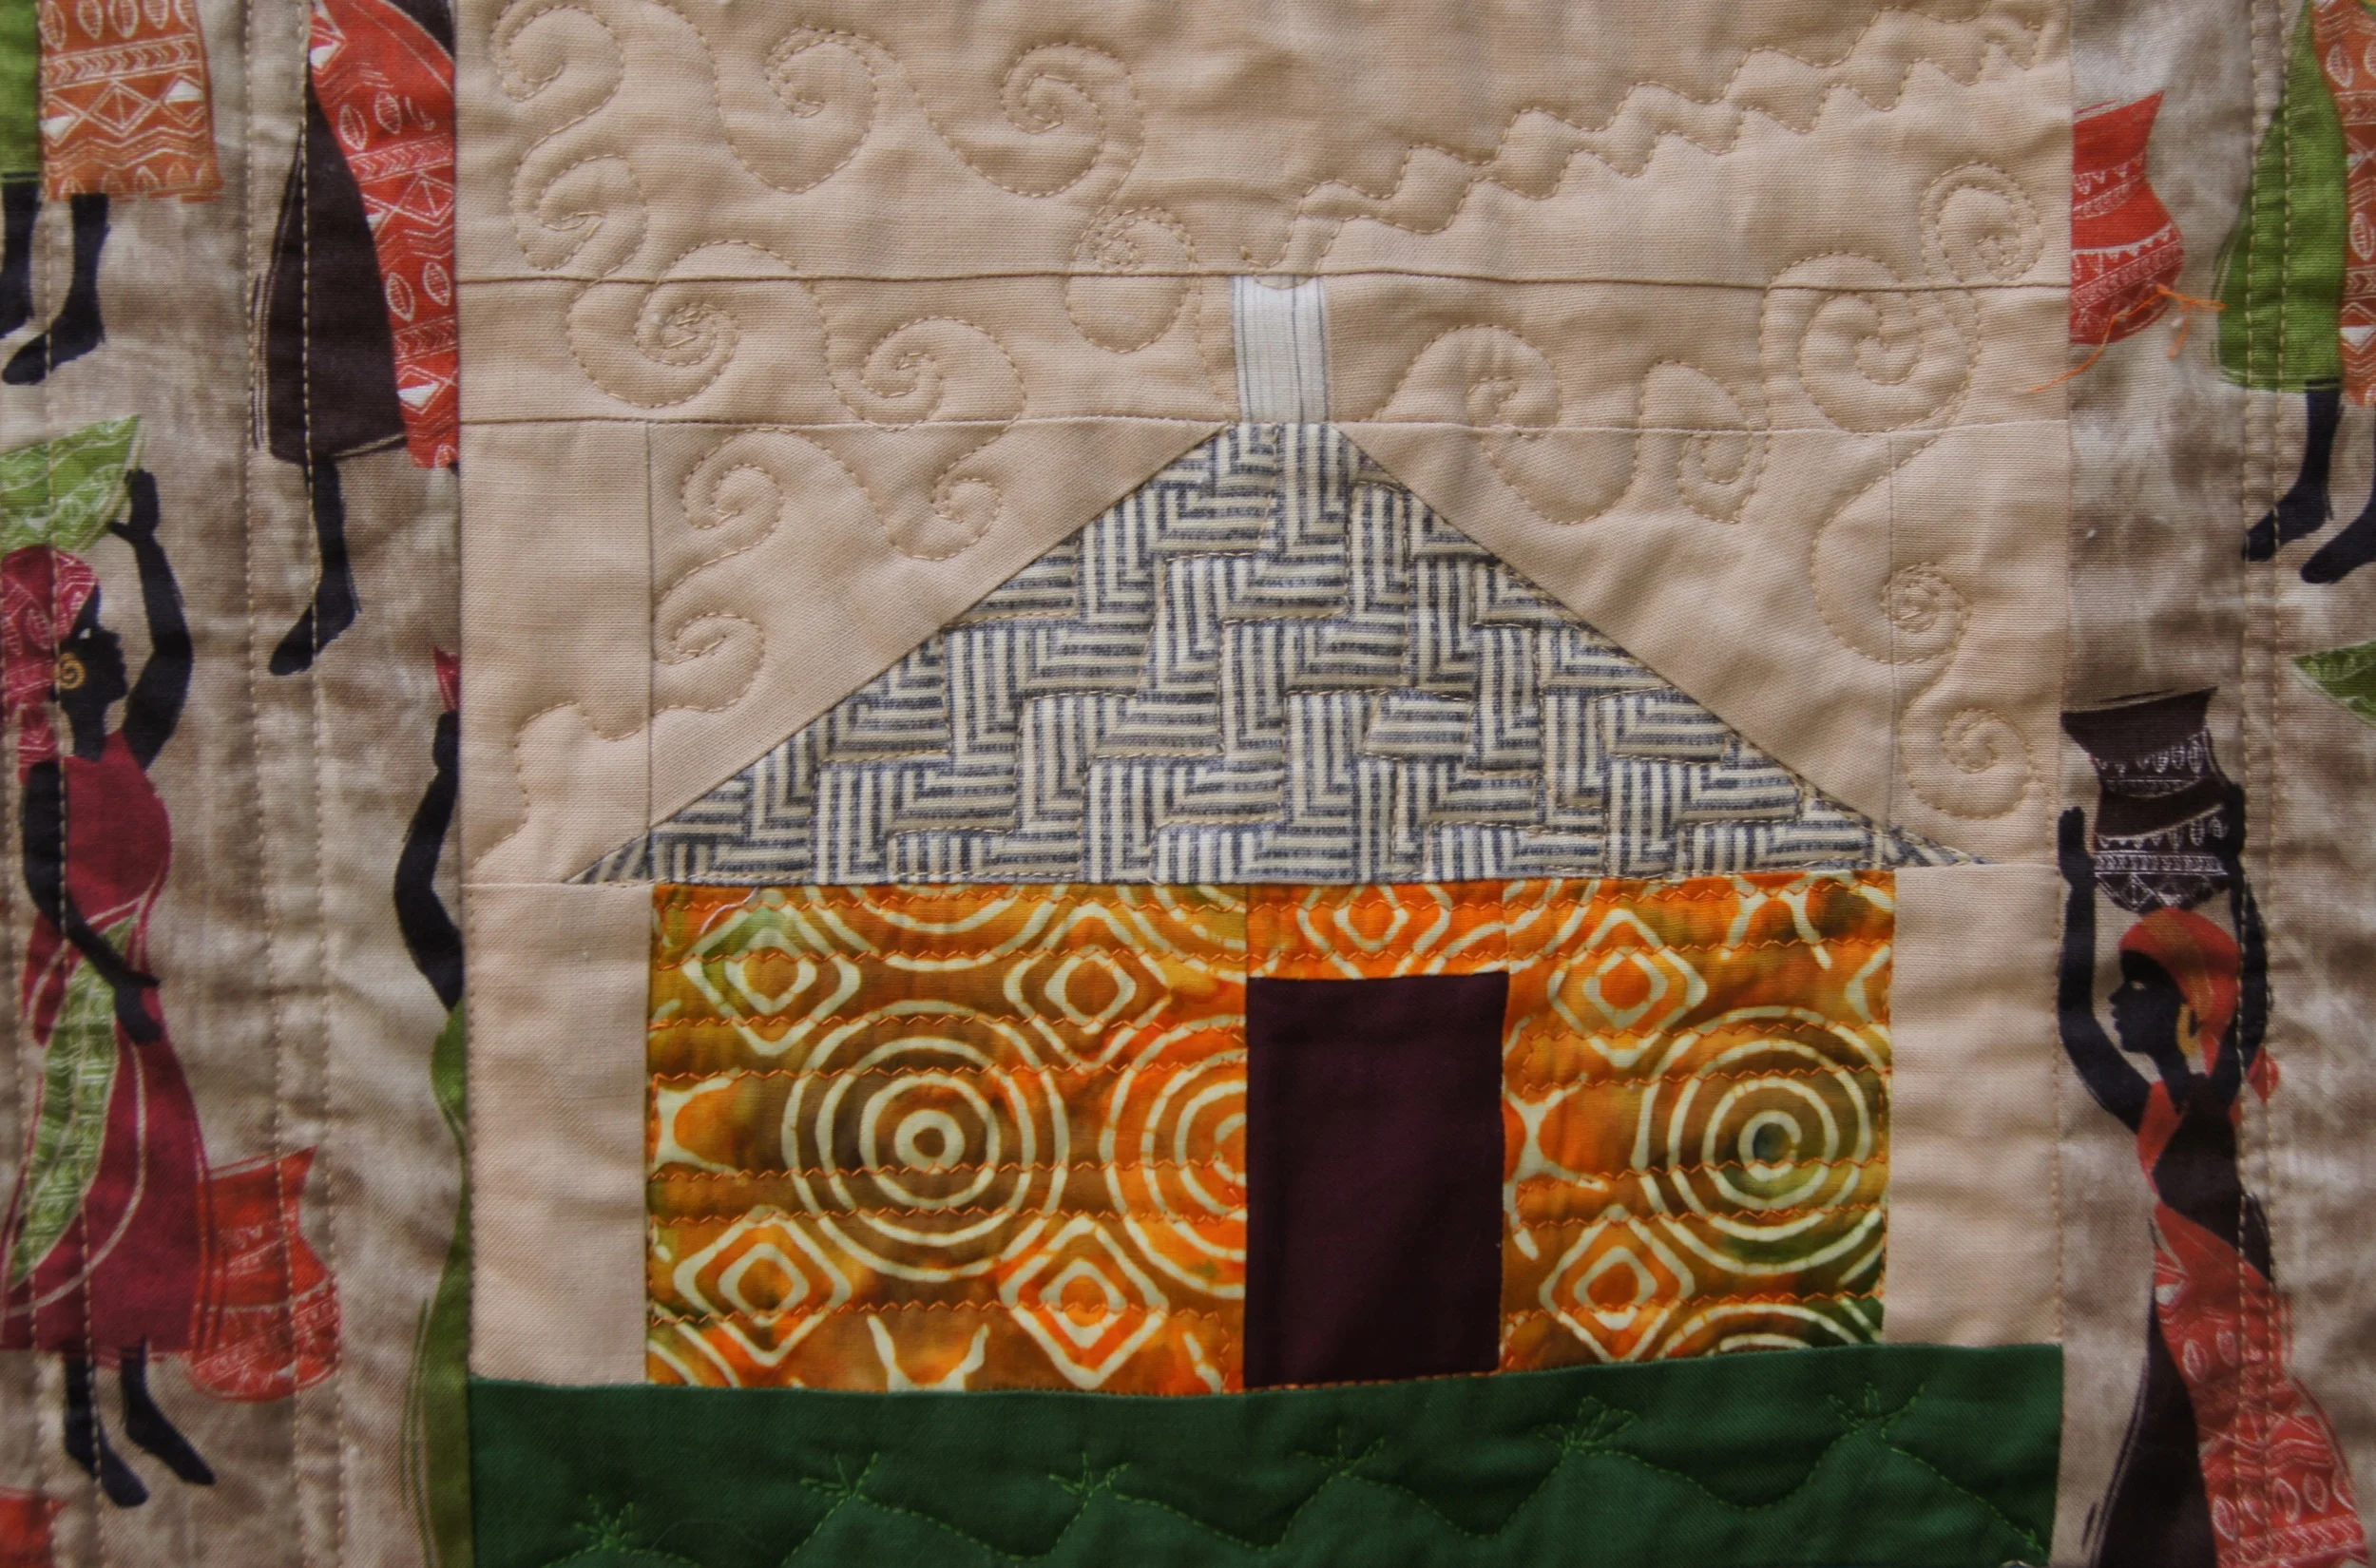
Central hut showing serpentine stitch for smoke. Also note the straight stitching done on the focus fabric blocks adjacent to the block and on the hut walls.
There are also lots of straight stitching using the walking foot throughout the quilting.

Straight stitching with the walking foot and 2 decorative stitches in the outer quilt border.
You'll also see free motion quilting on this quilt. I used it to make heat currents, pebbles and grasses and other vegetation.
This quilt was a lot of fun to make and to quilt.
Note 2021: For those of you returning to the post, the free pattern no longer is available. I wrote it so long along that the files weren’t intact and no longer secure.
Thanks to everyone who did use the old pattern to make a quilt! I hope you enjoyed the process.