Search
  • Information
    • About
    • Contact
    • Privacy Policy
  • Blog
  • Subscribe
  • Tutorials
    • Tutorials
    • Doll Clothes: Photos and some Patterns
  • Suggested Reading
  • Quilts: My Original Designs
  • Gallery: Color Studies
  • Gallery: Quilts I've Made
  • Doll Making Blog Posts
  • Recent blog posts
  • Quilts Based on The Improv Handbook for Modern Quilters
Close
Menu
Search
Close
  • Information
    • About
    • Contact
    • Privacy Policy
  • Blog
  • Subscribe
  • Tutorials
    • Tutorials
    • Doll Clothes: Photos and some Patterns
  • Suggested Reading
  • Quilts: My Original Designs
  • Gallery: Color Studies
  • Gallery: Quilts I've Made
  • Doll Making Blog Posts
  • Recent blog posts
  • Quilts Based on The Improv Handbook for Modern Quilters
Menu

Sleeping Dog Quilts

SLEEPING DOG QUILTS

June 2, 2022

More fun with a Spoonflower Swatch

by Judy Tucker


Radish cut from a Spoonflower Swatch

Radish cut from a Spoonflower Swatch

I purchased two Spoonflower.com swatches for the Garden Patch quilt I made recently. Unfortunately they were 1/4 inch too small on all 4 sides for that Hachi style quilt. So I turned one into the doll quilt which I wrote about in my April 28, 2022 post. For these two shirts project, I used an 8 inch swatch of “Vegetable Pattern White Fabric” by flaxlynx.

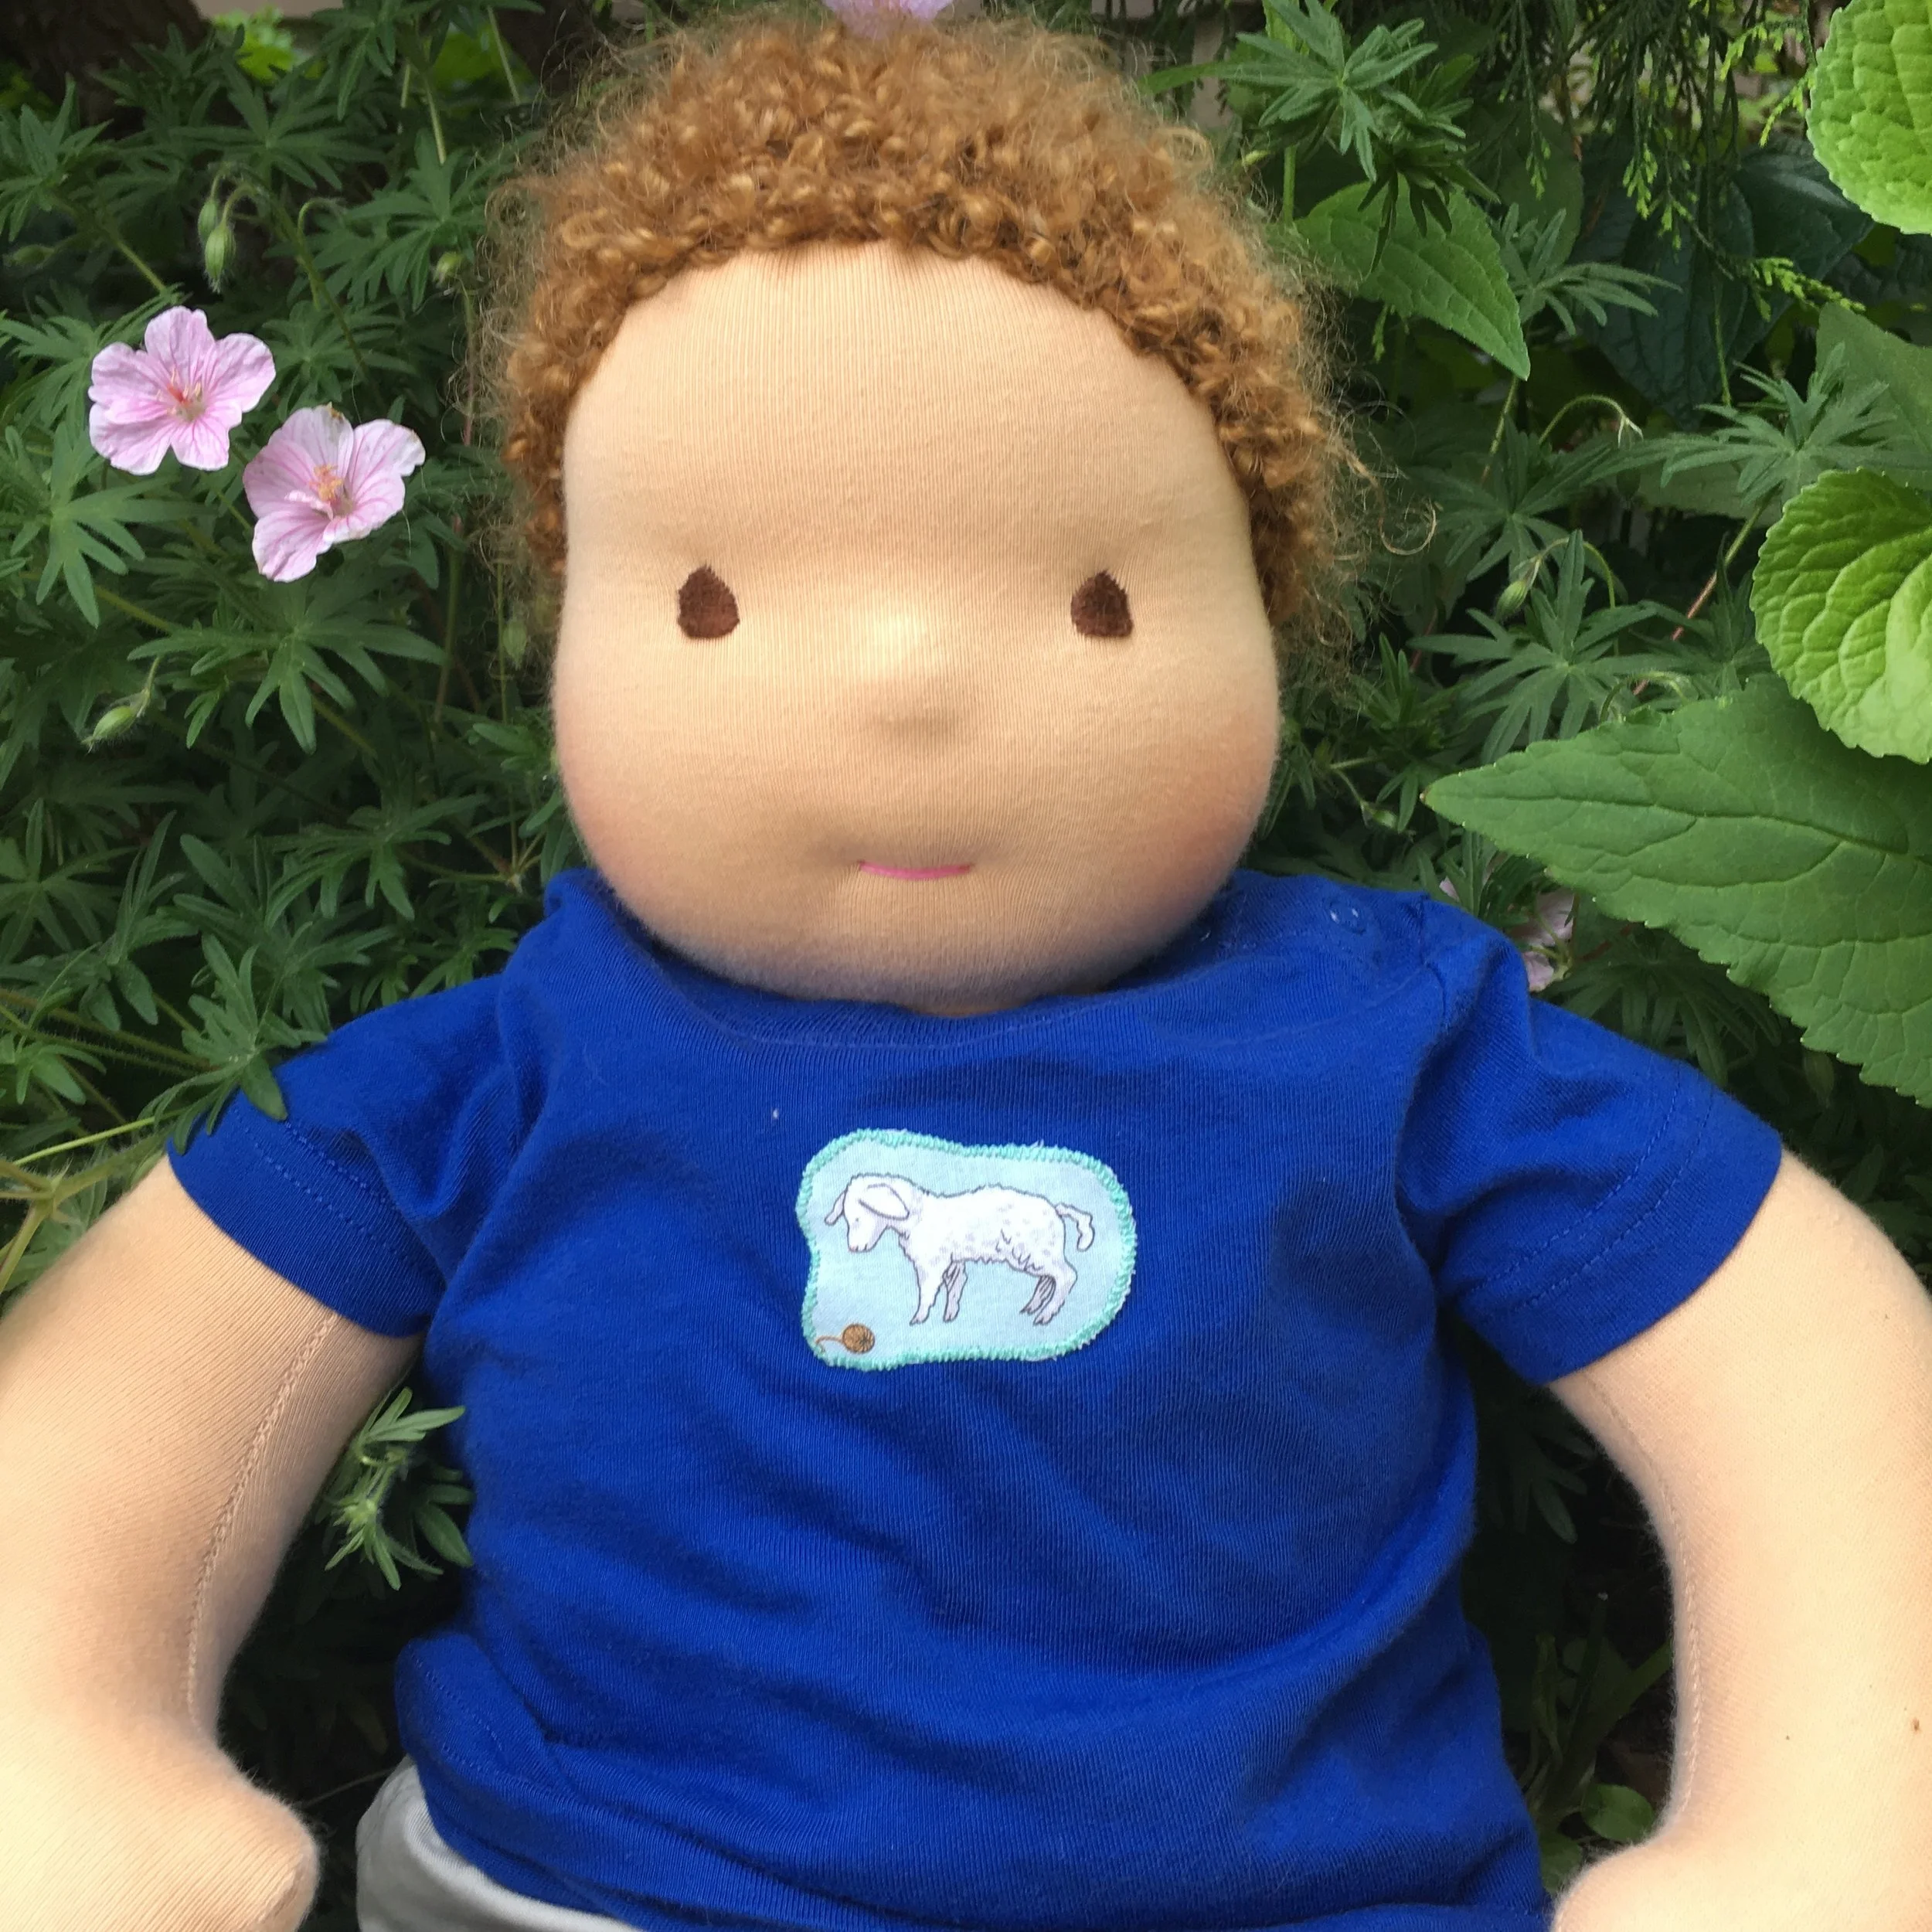
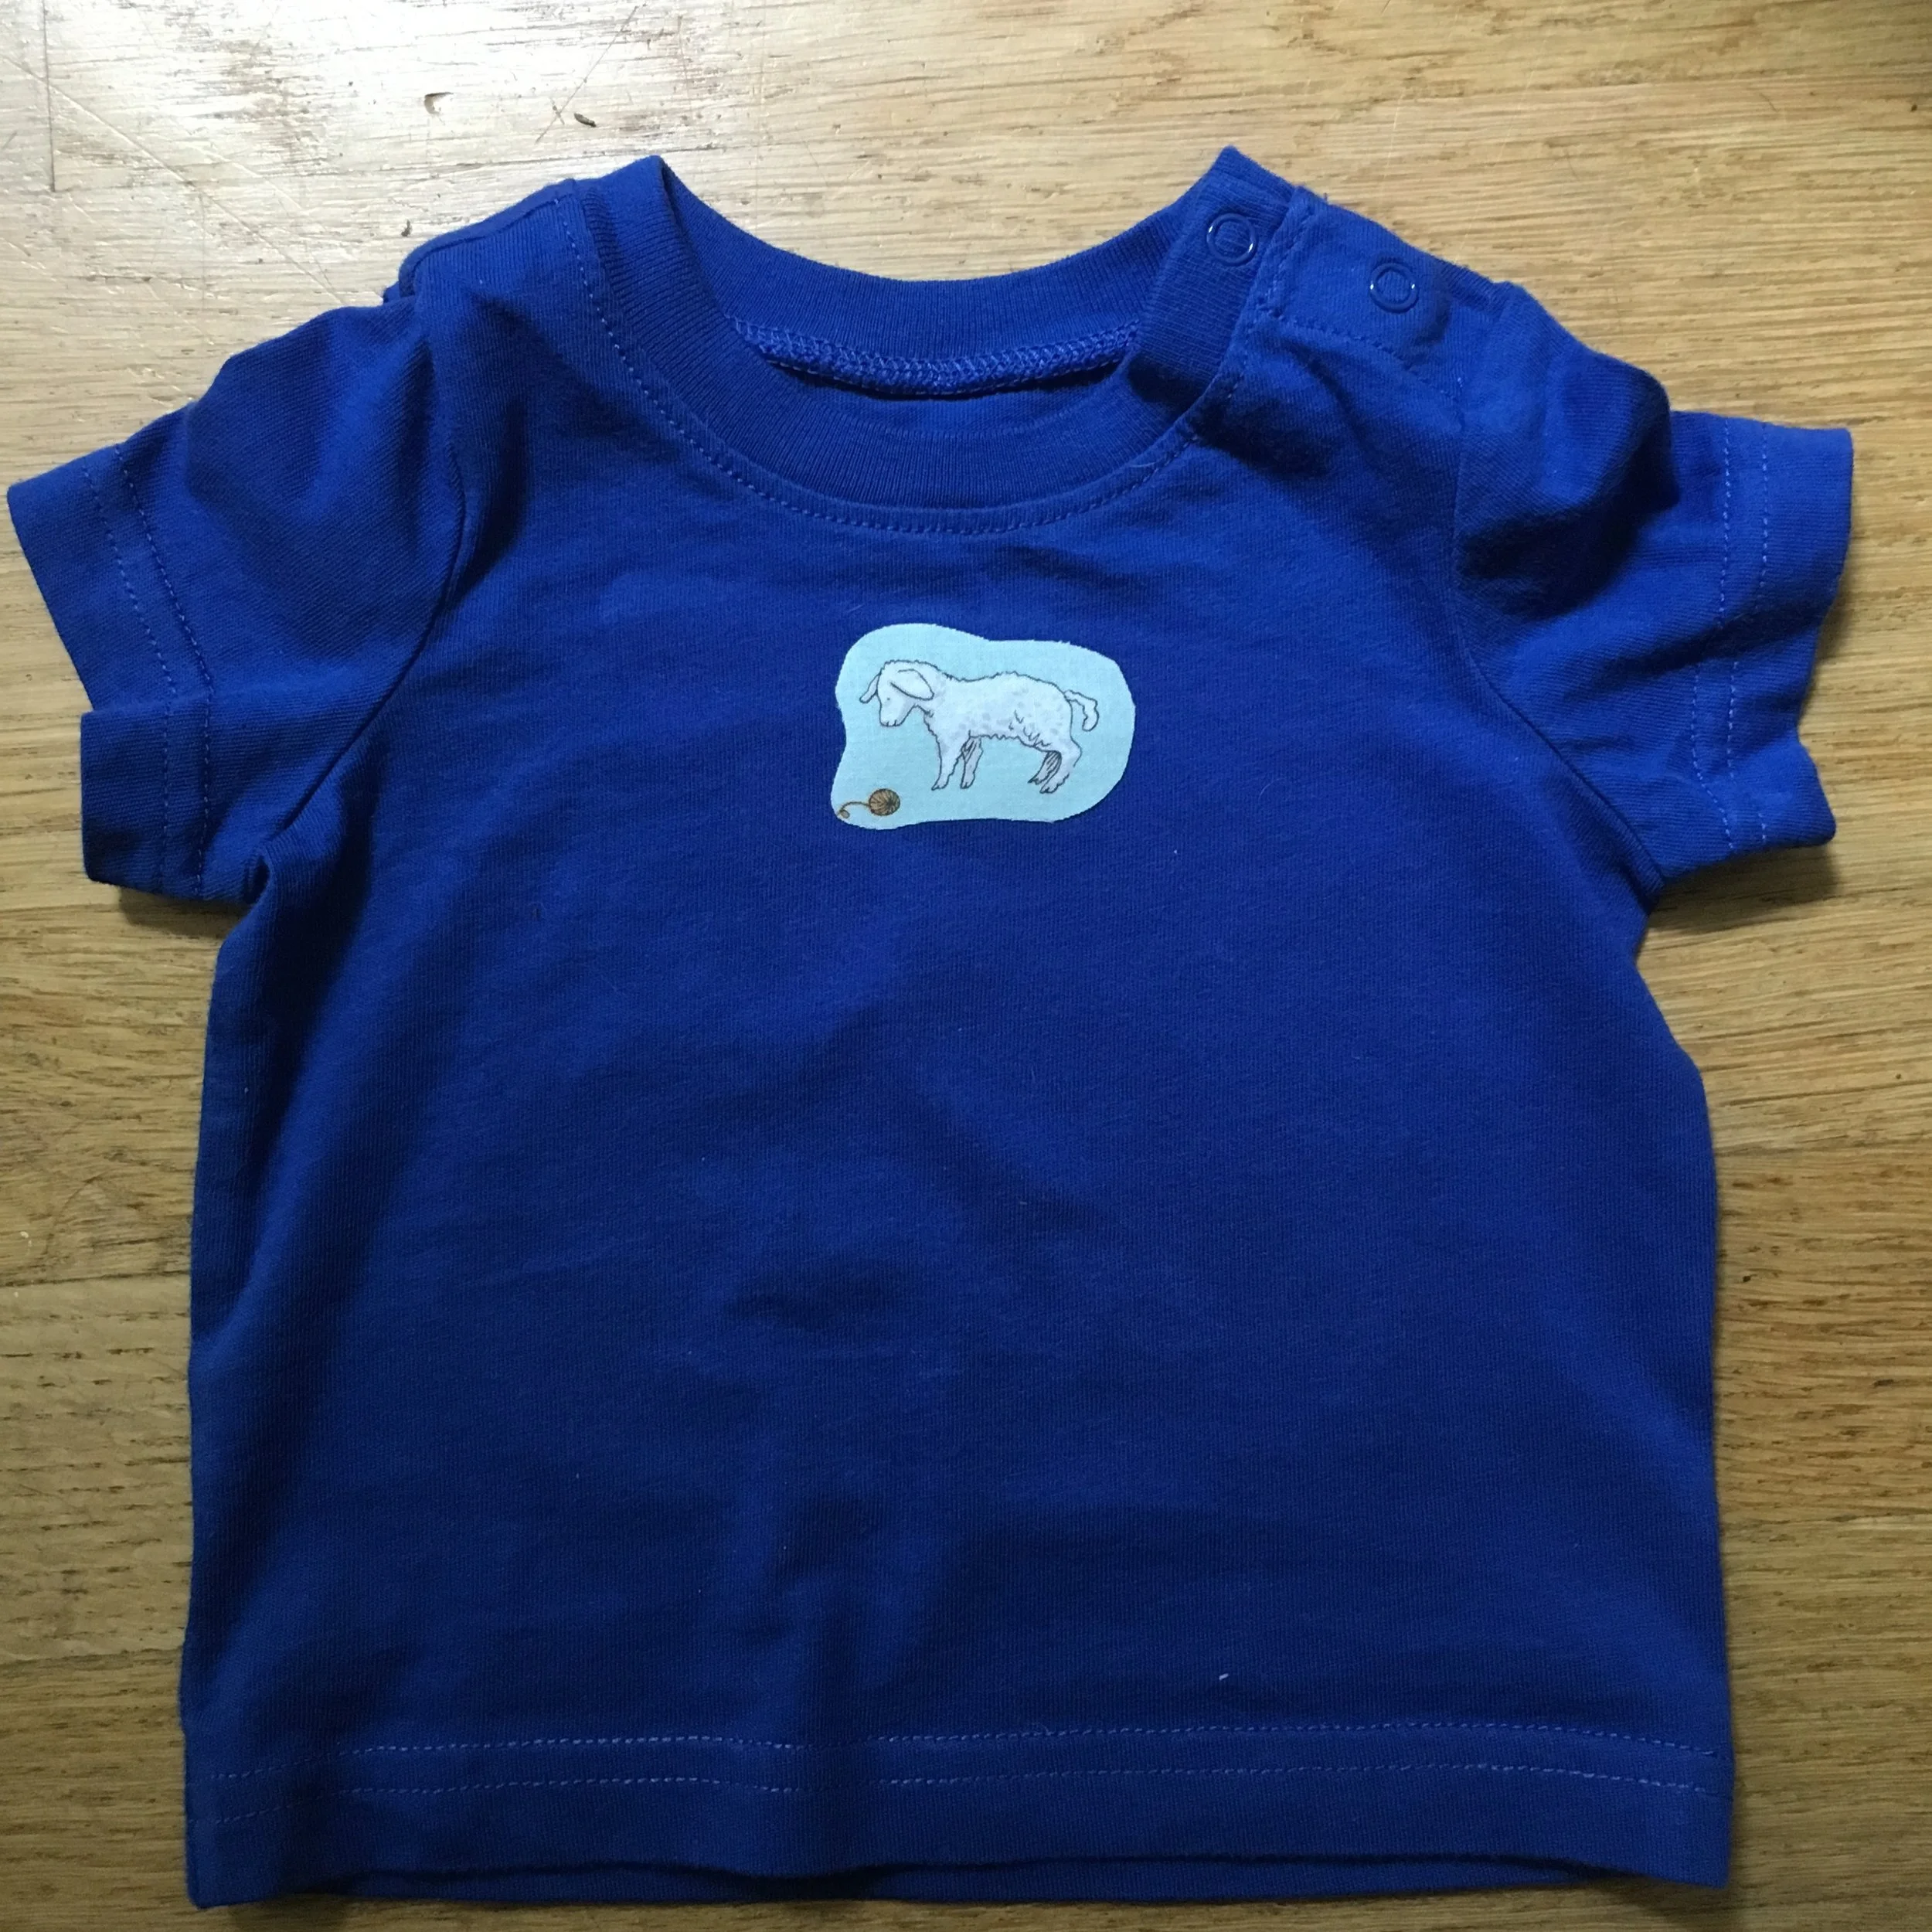
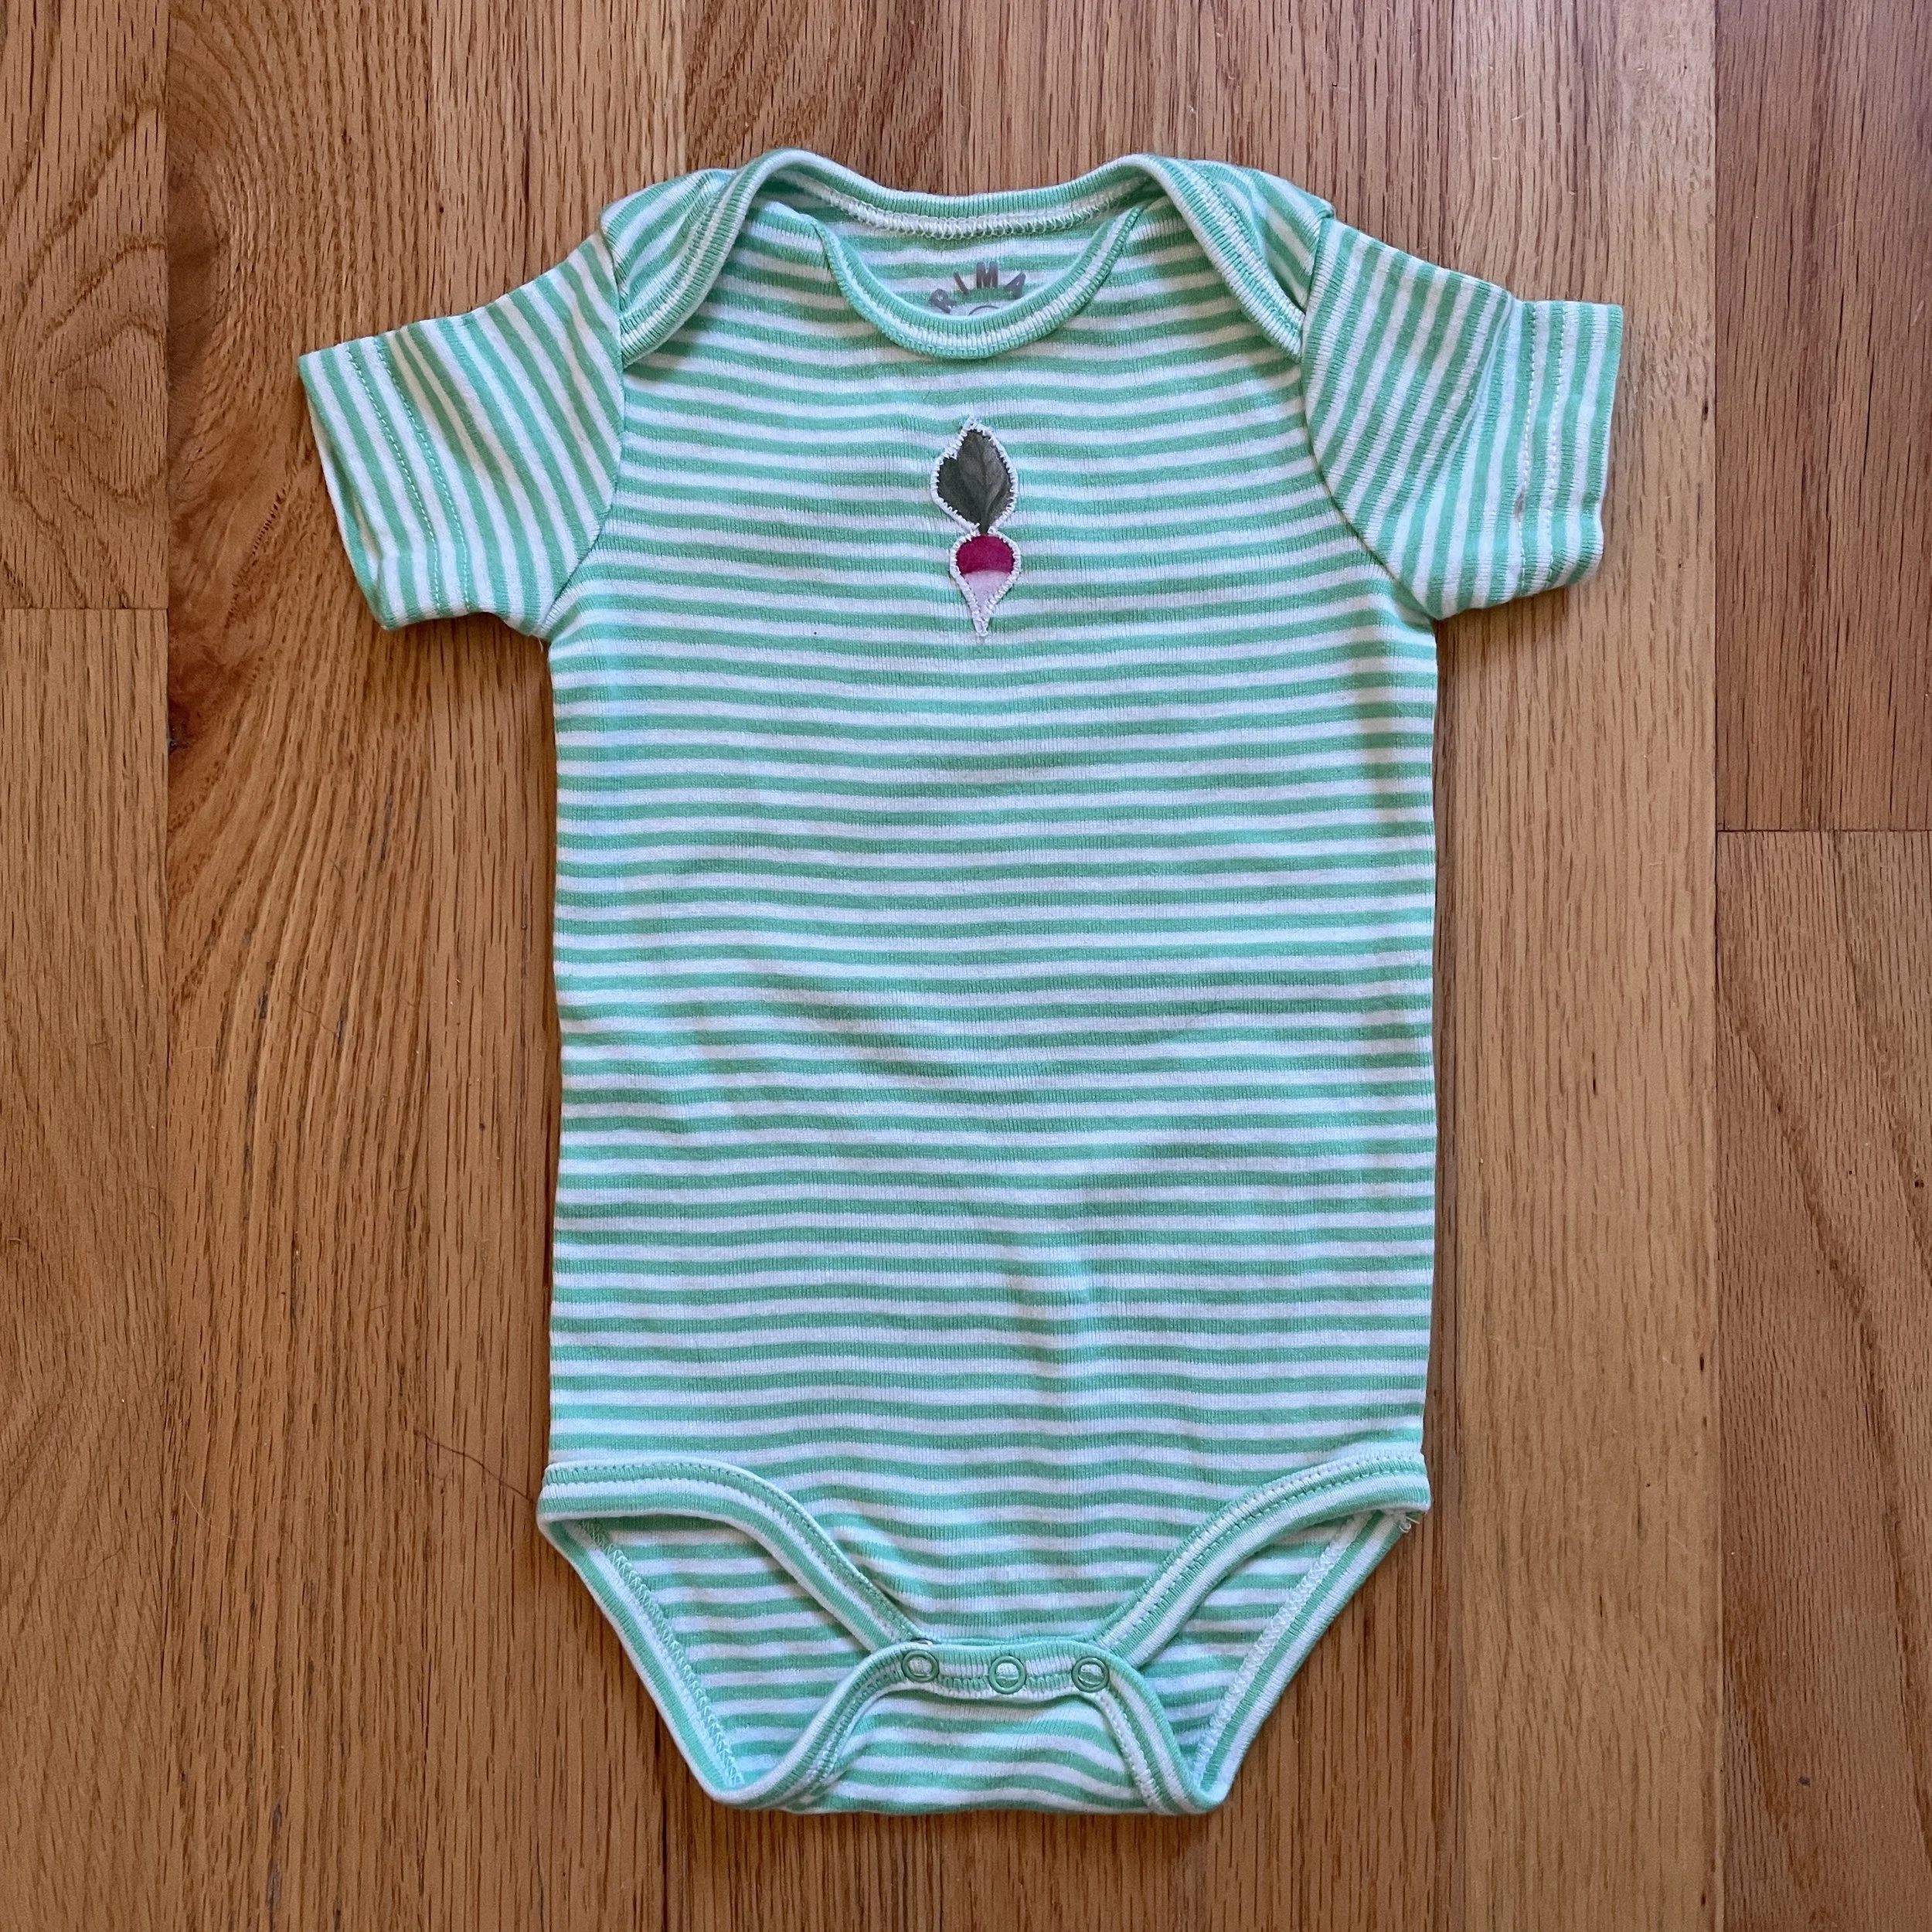
I fussy cut the vegetables in the design to applique onto the clothing. As you can see, there is a radish on the 0-3 month baby T-shirt above and beets on the pockets on pocket of a T-shirt I made for myself.

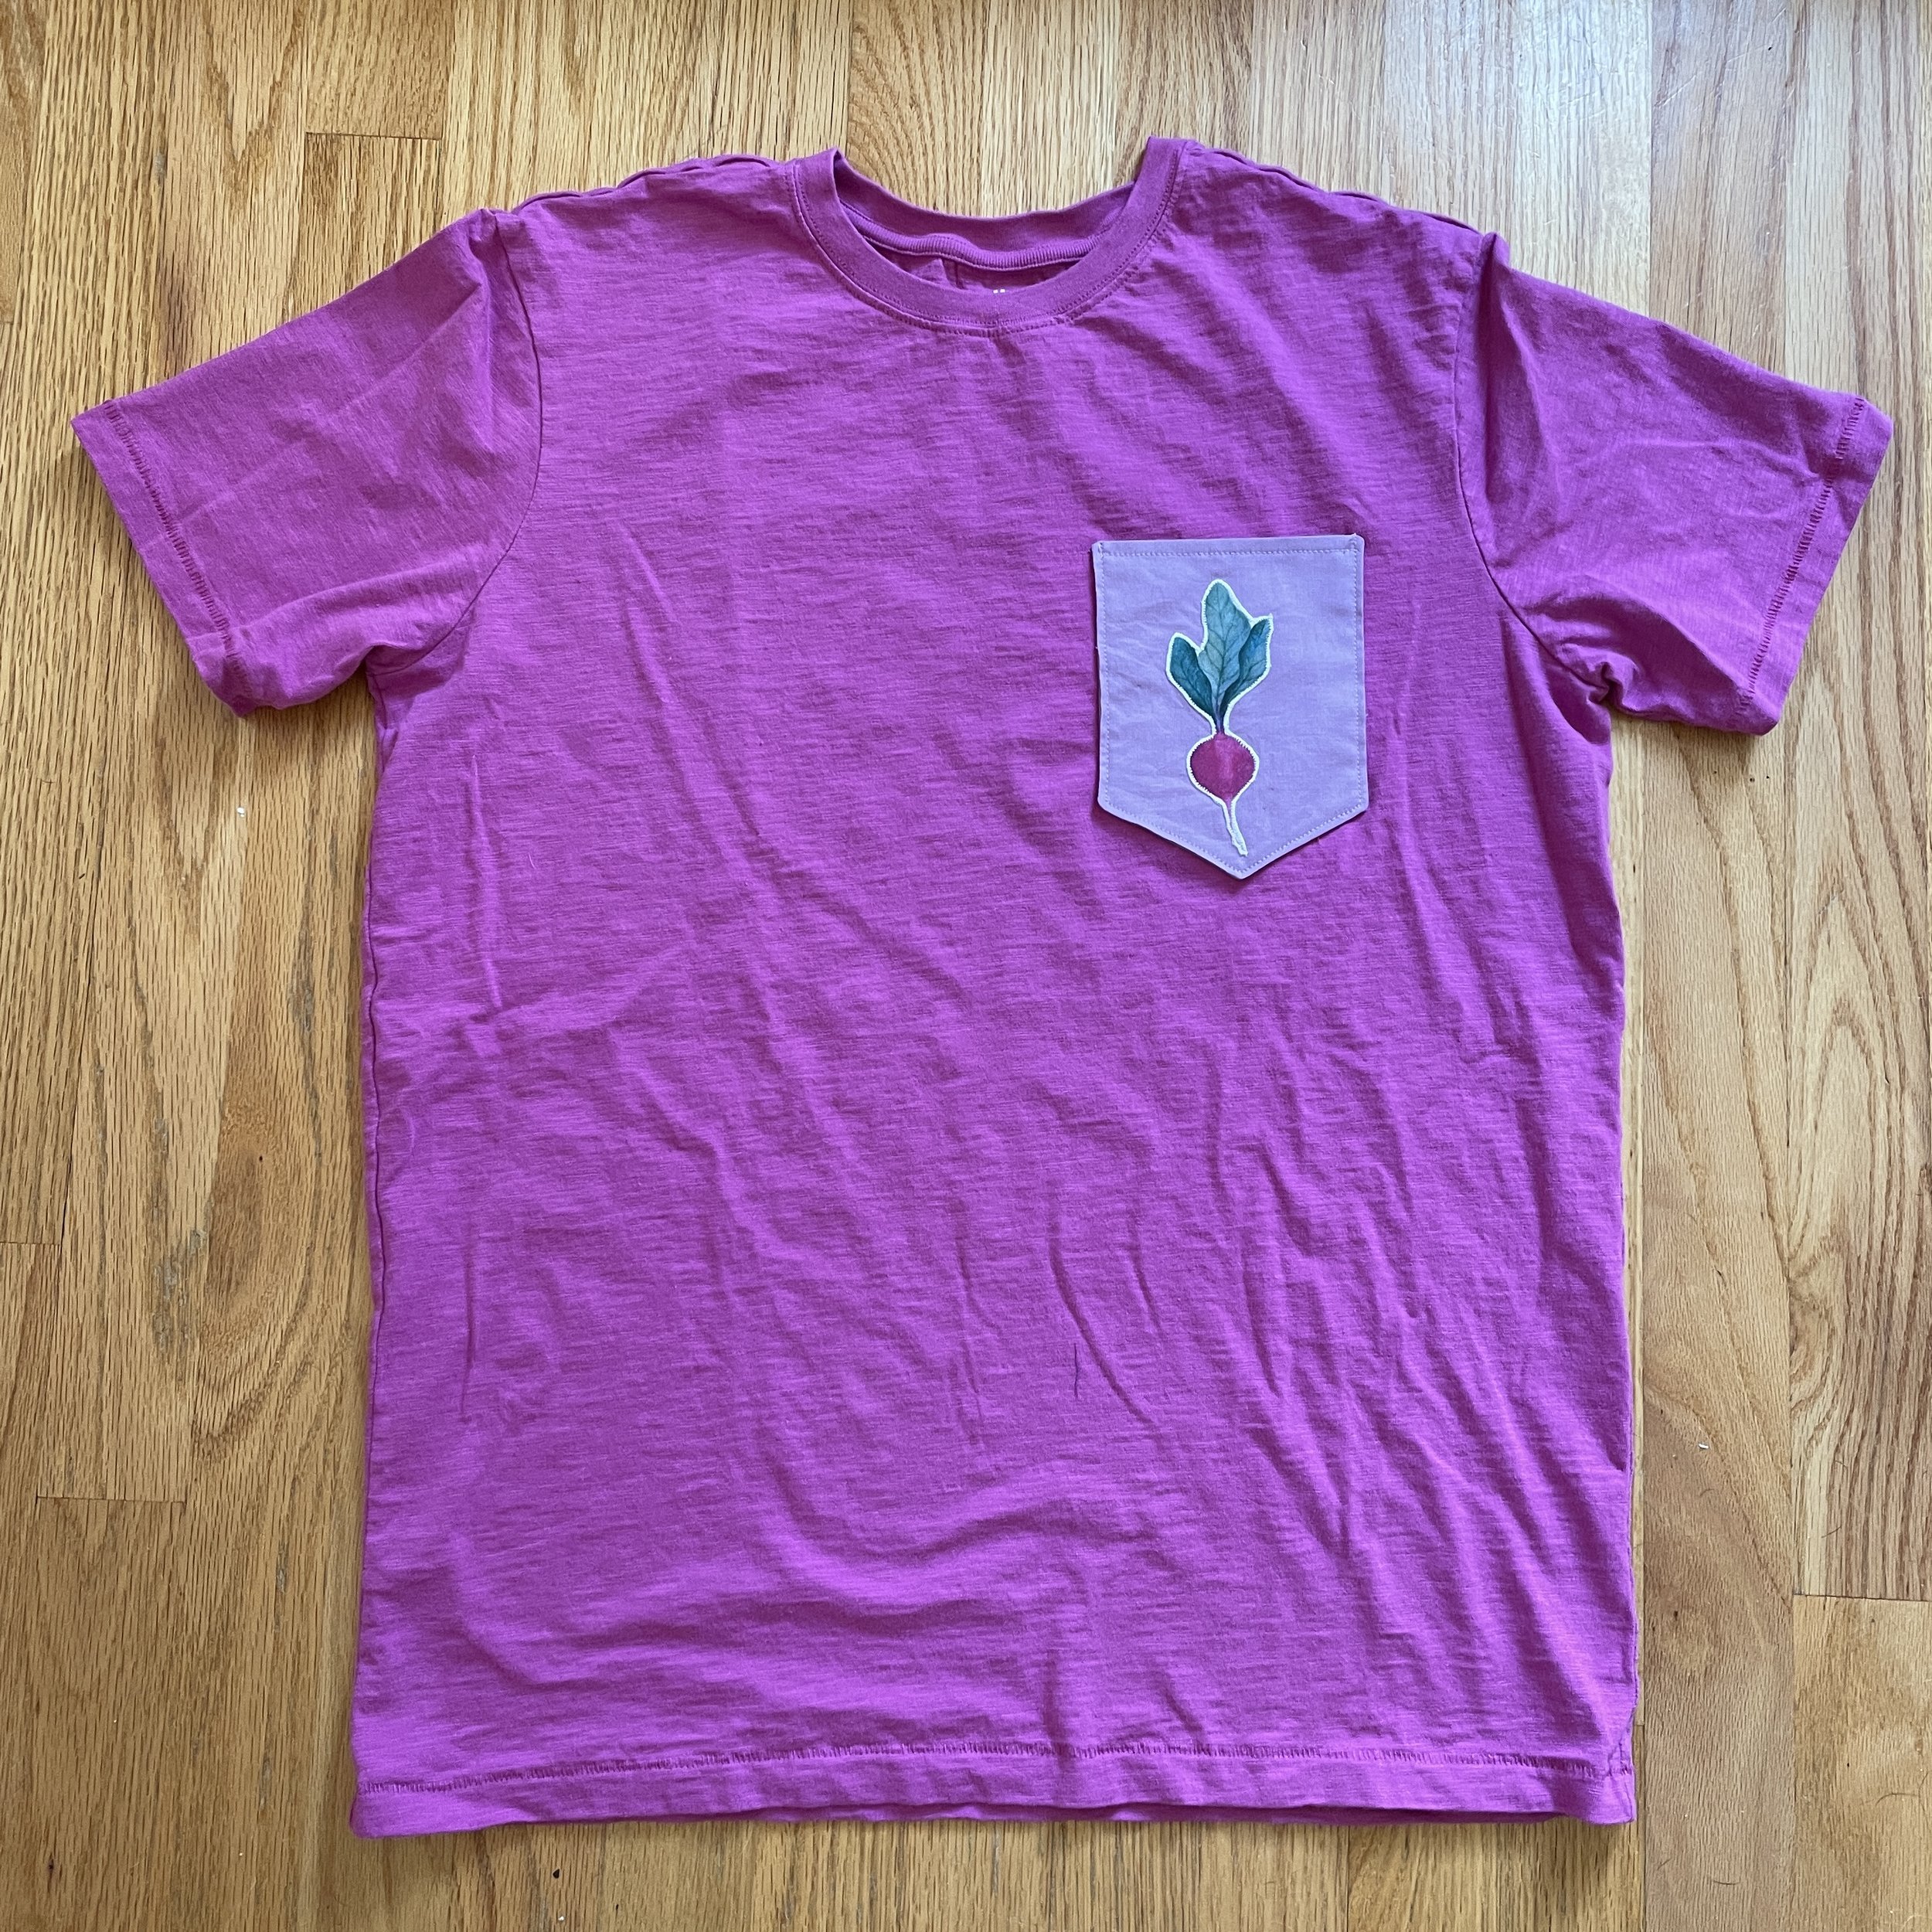
Applique on a T-shirt pocket

I found out one thing working on this project. Iron-on adhesive products don’t last forever! I looked at the product I had and thought it didn’t look right, but I decided to use it anyway. It did fuse to the vegetable fabric but once I tried to fuse to the garment, it wouldn’t stick. I ended up using a school glue stick which worked well enough for me to get to my machine to do the stitching. While the school glue worked this little applique I wouldn’t suggest it for a more complex one. So, if you plan to use an iron-on adhesive product and it looks bubbly wait on your project until you can get a new sheet to replace it!

Resources used for these shirts:

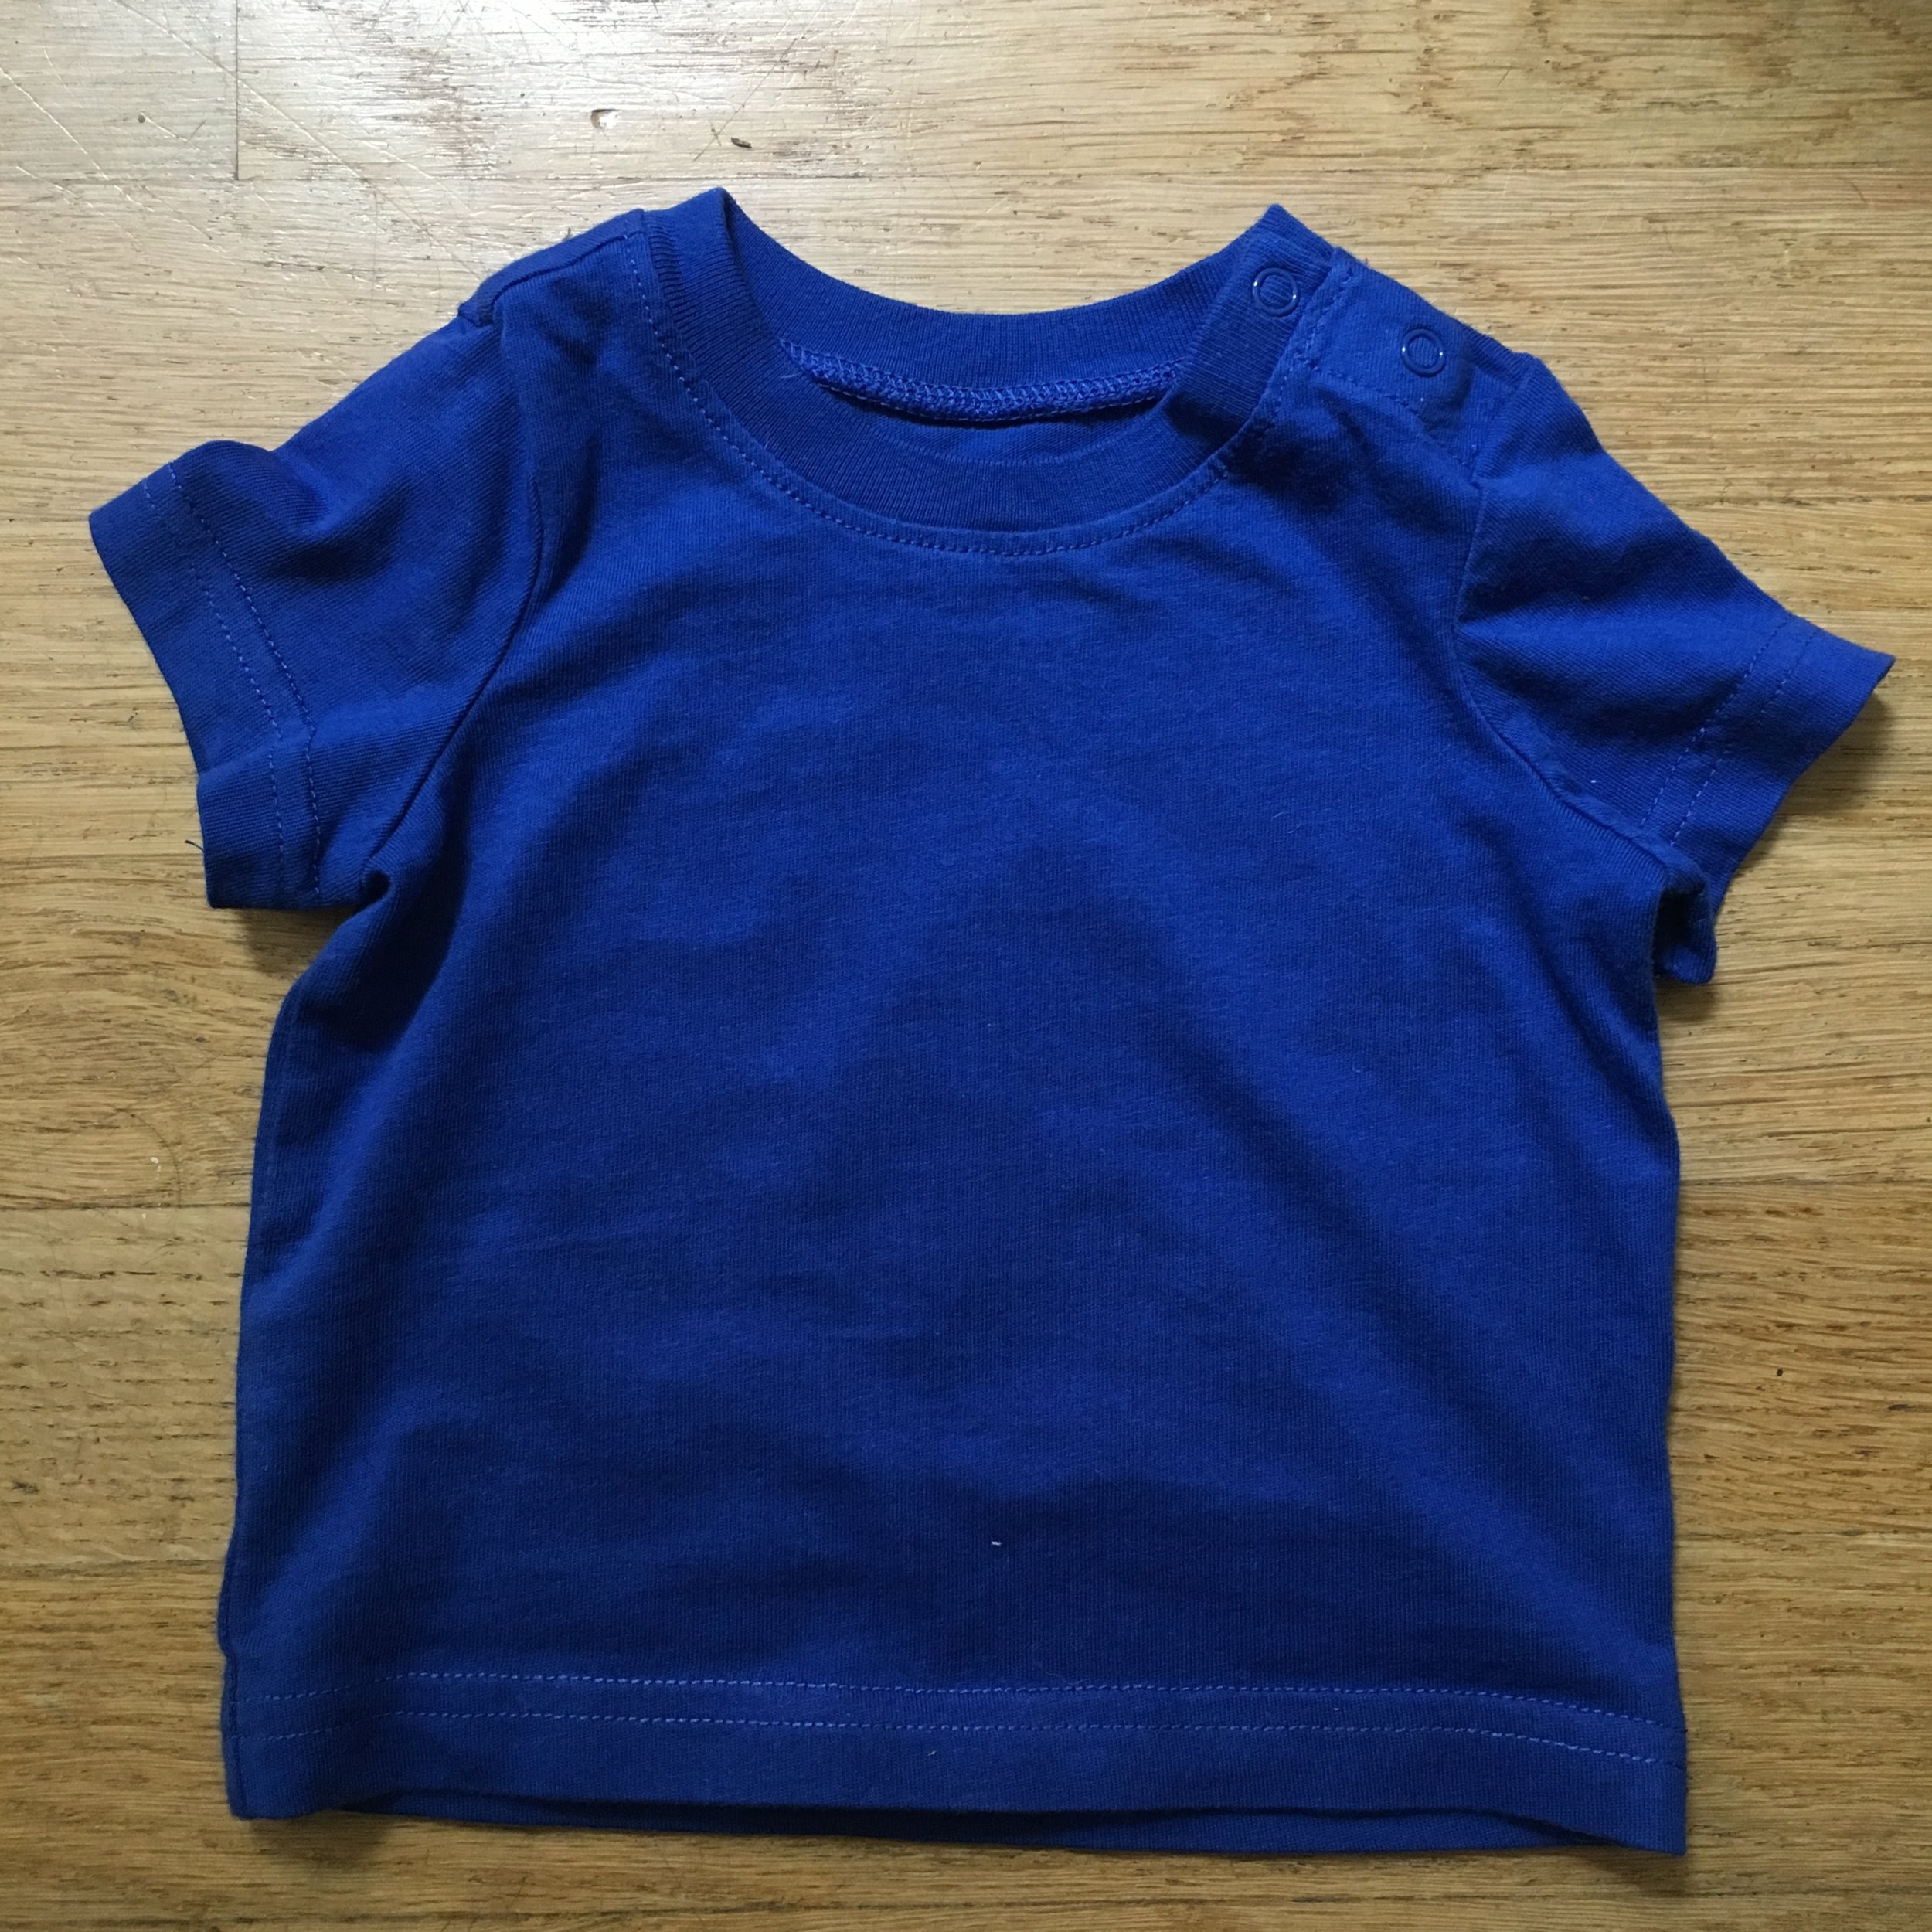
  • Both the snap baby T and the adult T were purchased at Primary.com.

  • I used the pocket template from the DIY Embellished Pocket Tees Tutorial on www.polkadotchair.com

  • “Vegetable Pattern White Fabric” on by flaxlynx Spoonflower.com.

  • I do like Heat ‘n Bond Lite Iron-on Adhesive and have had great results using it. Just replace it after 5 years or so!

Notice: This blog is not monetized: I do not use affiliate links. When there are links in a post, they are to give credit to another creative person, because I like or have used a product, or to help the reader easily find supplies for a project.

TAGS: Applique baby T Shirt, Appliqued T-shirt pocket, Fussy Cut Applique


June 6, 2019

Easy Baby Gift: T Shirt Applique

by Judy Tucker


Bamboletta “Big Baby”, sitting in for a real baby, wearing a T Shirt with an Applique

Bamboletta “Big Baby”, sitting in for a real baby, wearing a T Shirt with an Applique

Bamboletta “Big Baby”, sitting in for a real baby, wearing a T Shirt with an Applique

Bamboletta “Big Baby”, sitting in for a real baby, wearing a T Shirt with an Applique

Handmade items for newborn babies are such a nice gift. I’ve made lots of baby quilts and some baby clothes, mostly for family and close friends. But what about the folks that you may not be so close too, but still want to make something special for their new baby?

An appliqued T shirt or body suit is a quick and fun present. Two shirts are just as easy to make as one. Most of the time making them is spent collecting the supplies that are needed.

Here is a list of things you need:

  • A couple of cute fabrics with designs that can be fussy cut

  • A pair of scissors

  • An Iron-on adhesive. I like Heat n Bond Lite . (It does require sewing around the outside edge of the applique, but I think that is important for something that is going to be washed a lot).

  • An iron

  • A sewing machine with zig-zag stitch

  • T Shirts or body shirts, size 0-3 or 3-6 months. I used a The Baby Tee from Primary.com. They are lovely quality solid color T shirts, with 2 shoulder snaps for easy on-off, and their clothes never have logos on them.

Instructions:

  • Cut out the motif you wish to applique onto the shirt. Cut the piece of fabric with the motif larger than the finished size you plan to use. The motif will get trimmed to size later.

  • Cut a piece of the fusible adhesive to match the size of the fabric. Don’t cut it larger or you may accidentally fuse the adhesive product to your ironing board cover. Not a good outcome!

  • Following the instructions on the fusible adhesive product, fuse the the adhesive product to the WRONG side of the motif.

  • Now trim the motif to the finished size and shape your want.

  • Fold the T-shirt in half and gently press the fold with your finger. That fold line will be your guide to placing the motif in the front center of the shirt.

  • Remove the paper on the fusible adhesive product. Follow the directions and fuse it to the T Shirt.

  • Run a tight, narrow zig-zag stitch along the edge of the fabric fused to the T shirt. ( I set stitch length on my machine set at 0.5, stitch width at 1.4. You machine may have other recommendations for sewing appliques. Check your machine’s booklet or look online).

  • You’re done! Isn’t this a fun, easy, homemade baby gift?

IMG_9706.JPG
IMG_9707.JPG
IMG_9753.JPG
IMG_9754.JPG

Notice: This blog is not monetized: I do not use affiliate links. When there are links in a post, they are to give credit to another creative person, because I like or have used a product, or to help the reader easily find supplies for a project.


TAGS: Applique baby T Shirt, Easy Applique Baby Present, Easy Baby GIft: T shirt Applique


Powered by Squarespace 7