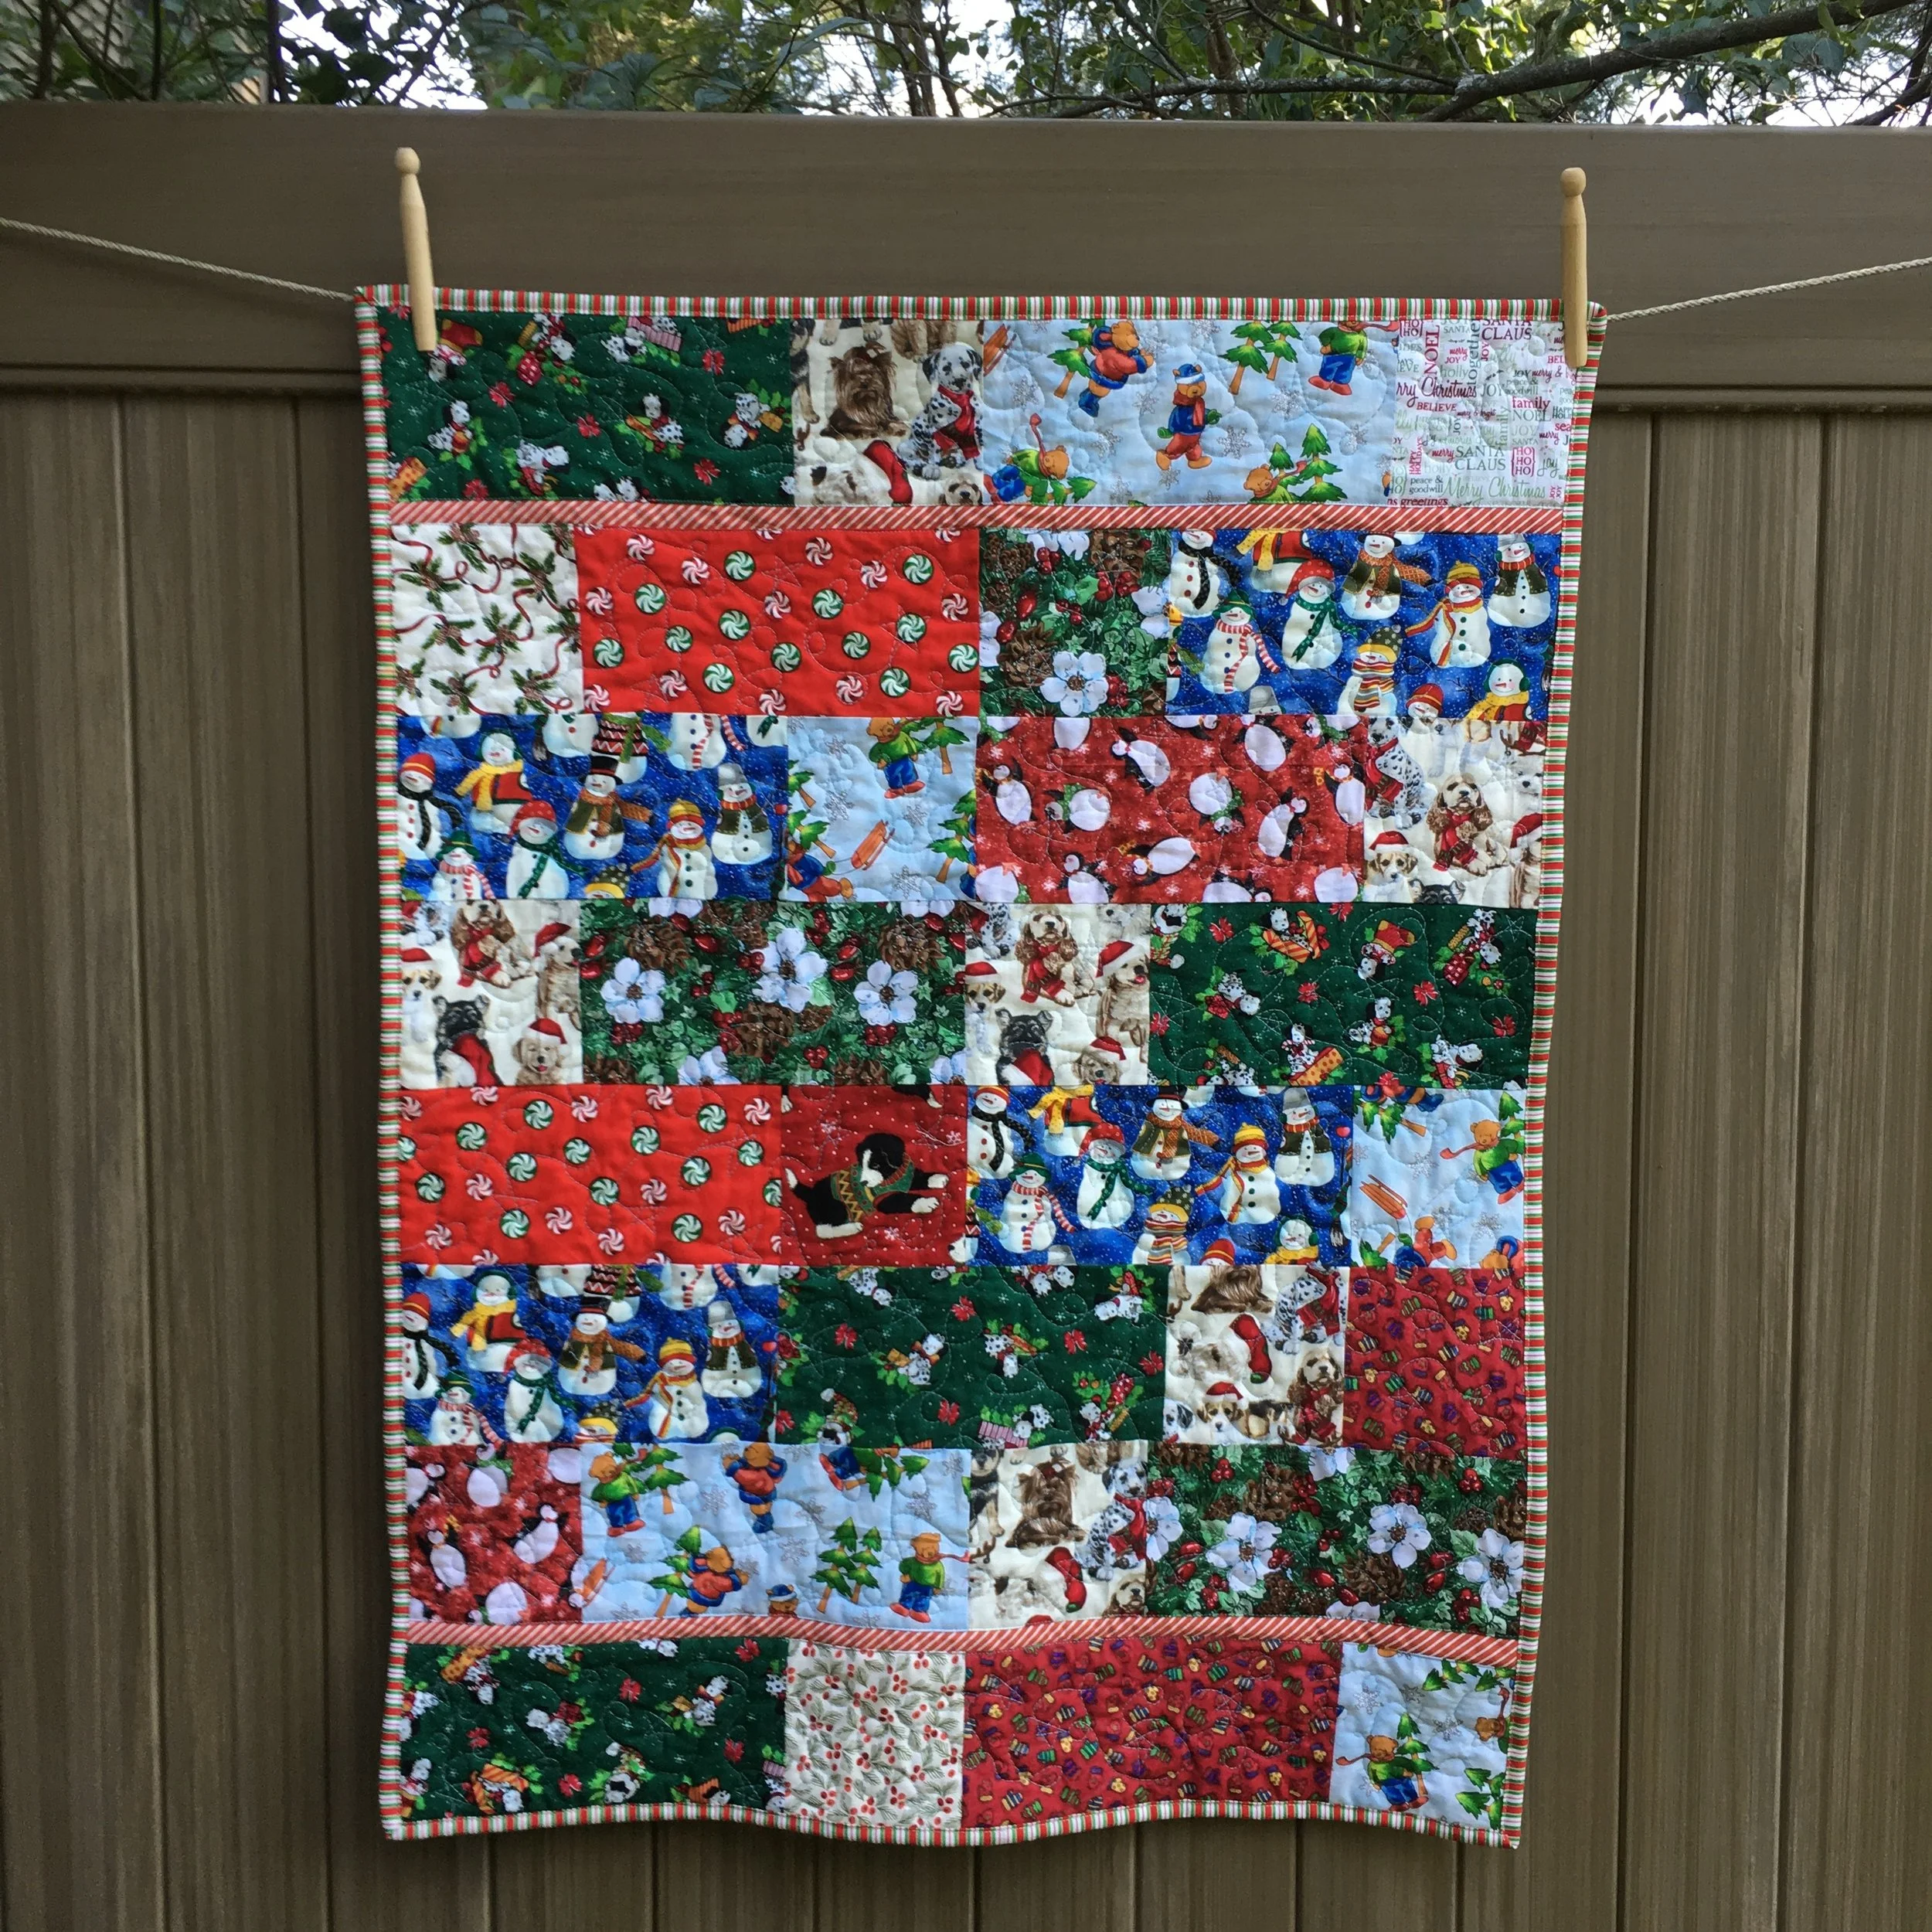
Bricks and Squares Quilt 28 x 36 inches
The pre-cut Charity Quilt project I discussed in the last 2 posts was so much fun that I pulled out my stash of Christmas fabrics to make a another quilt. I made this one for my dog* but it will be an example to show at the Guild meeting when there is a discussion about ways to use the fabrics that were pre-cut this past summer.
This quilt was made with just 10 x 5 inch bricks and 5 inch squares. There are an equal number of each block in each row. There is a narrow strip of fabric at each end of the quilt to give it some definition. The back has a large print Christmas pattern, so this quilt is actually reversible.
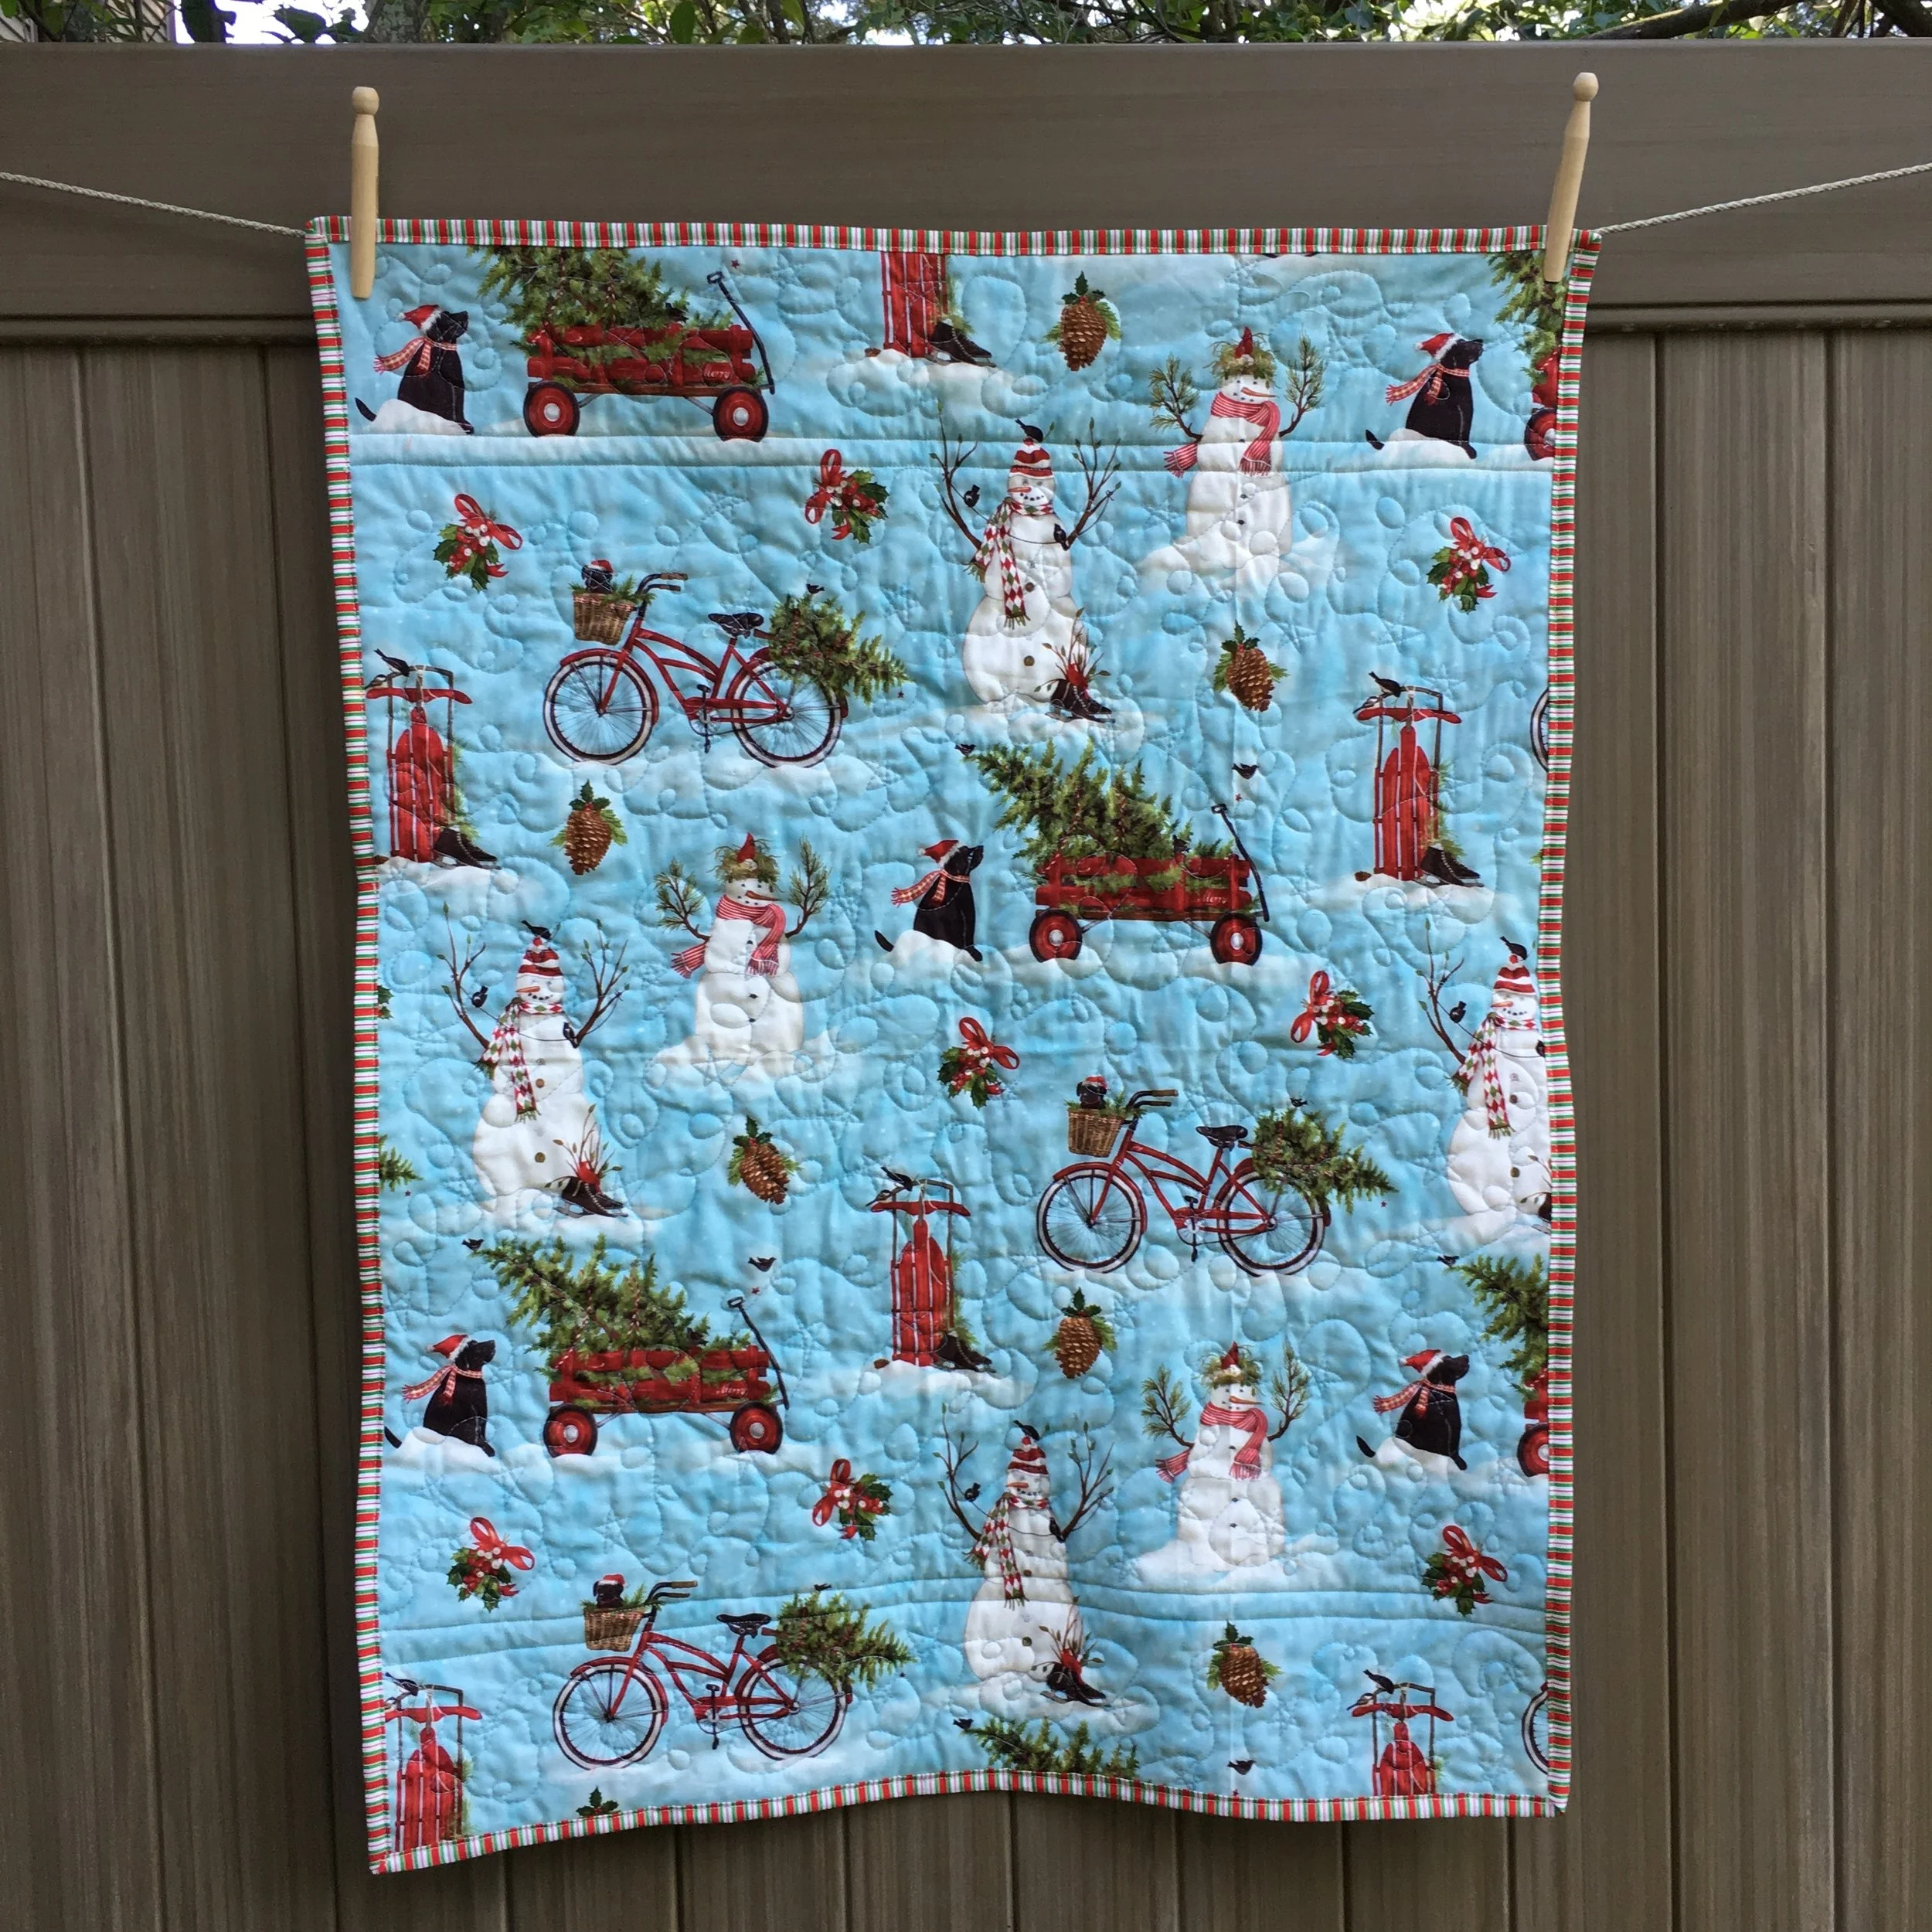
Reverse of quilt at top
*The Christmas quilt I use on my bed has a red Irish Chain with white blocks. I'm going to put this quilt son top of that quilt for my quilt-loving Lab-mix to sleep on! Hopefully this little quilt will keep my quilt clean!
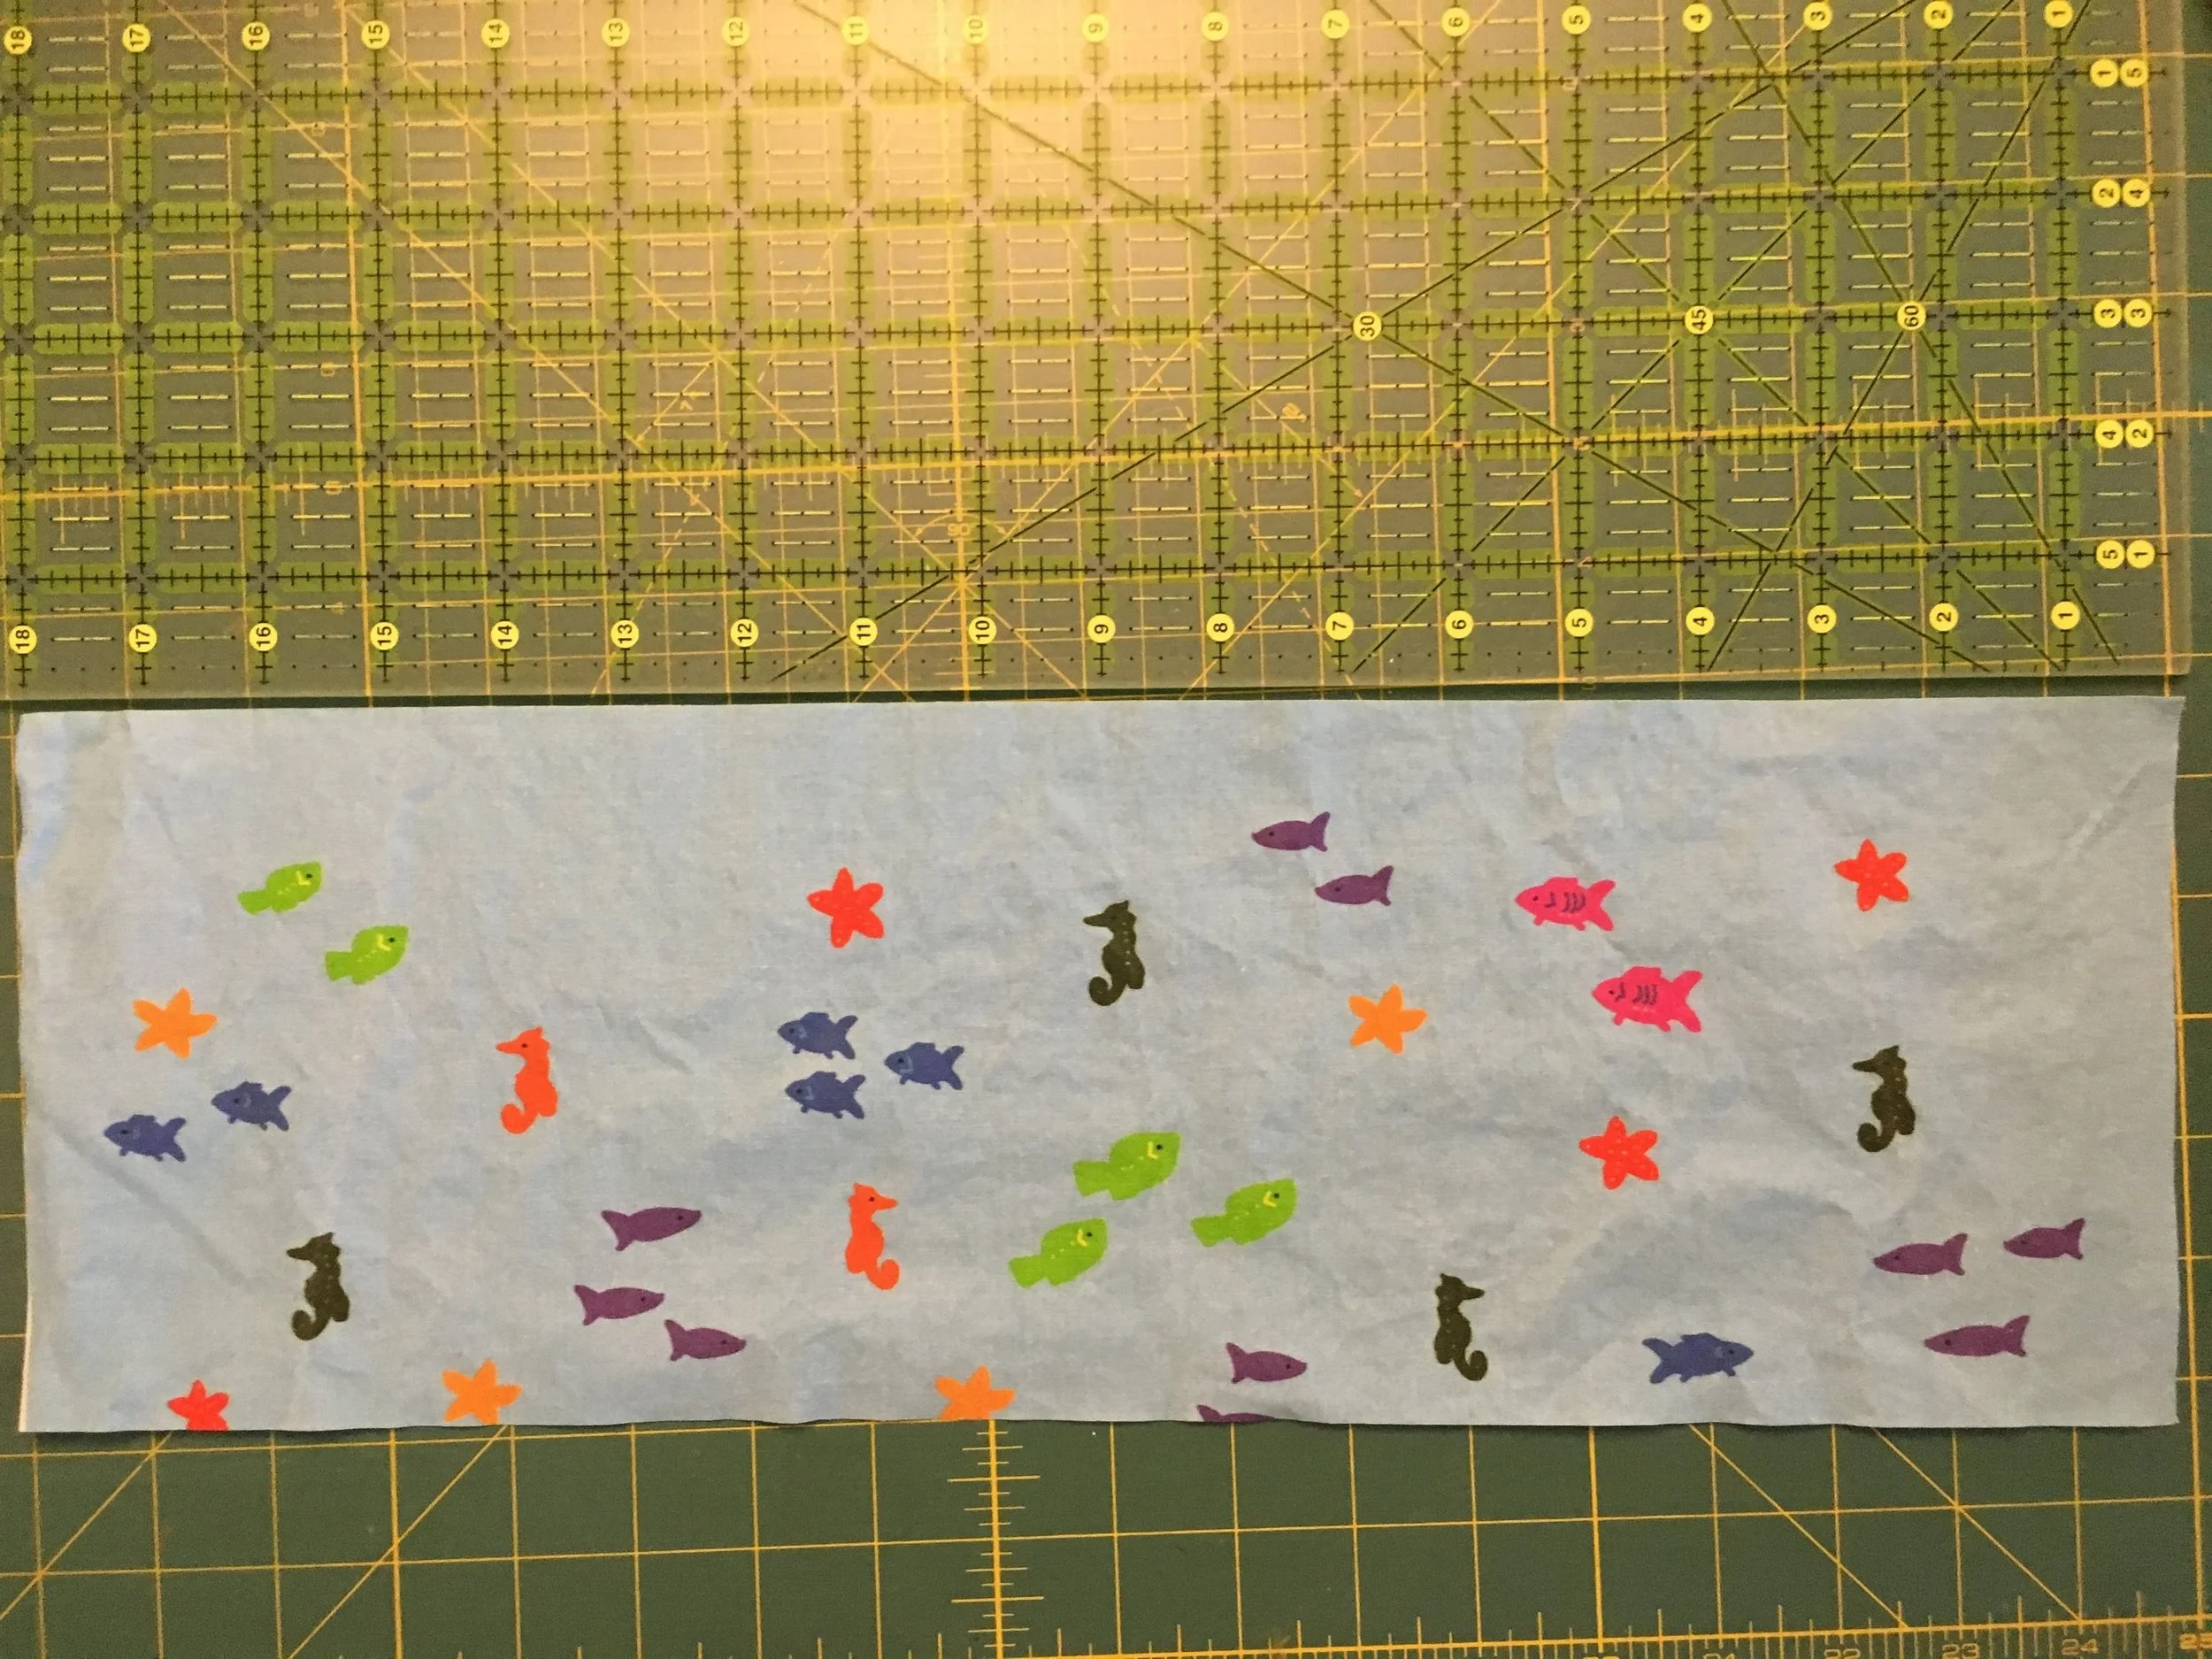
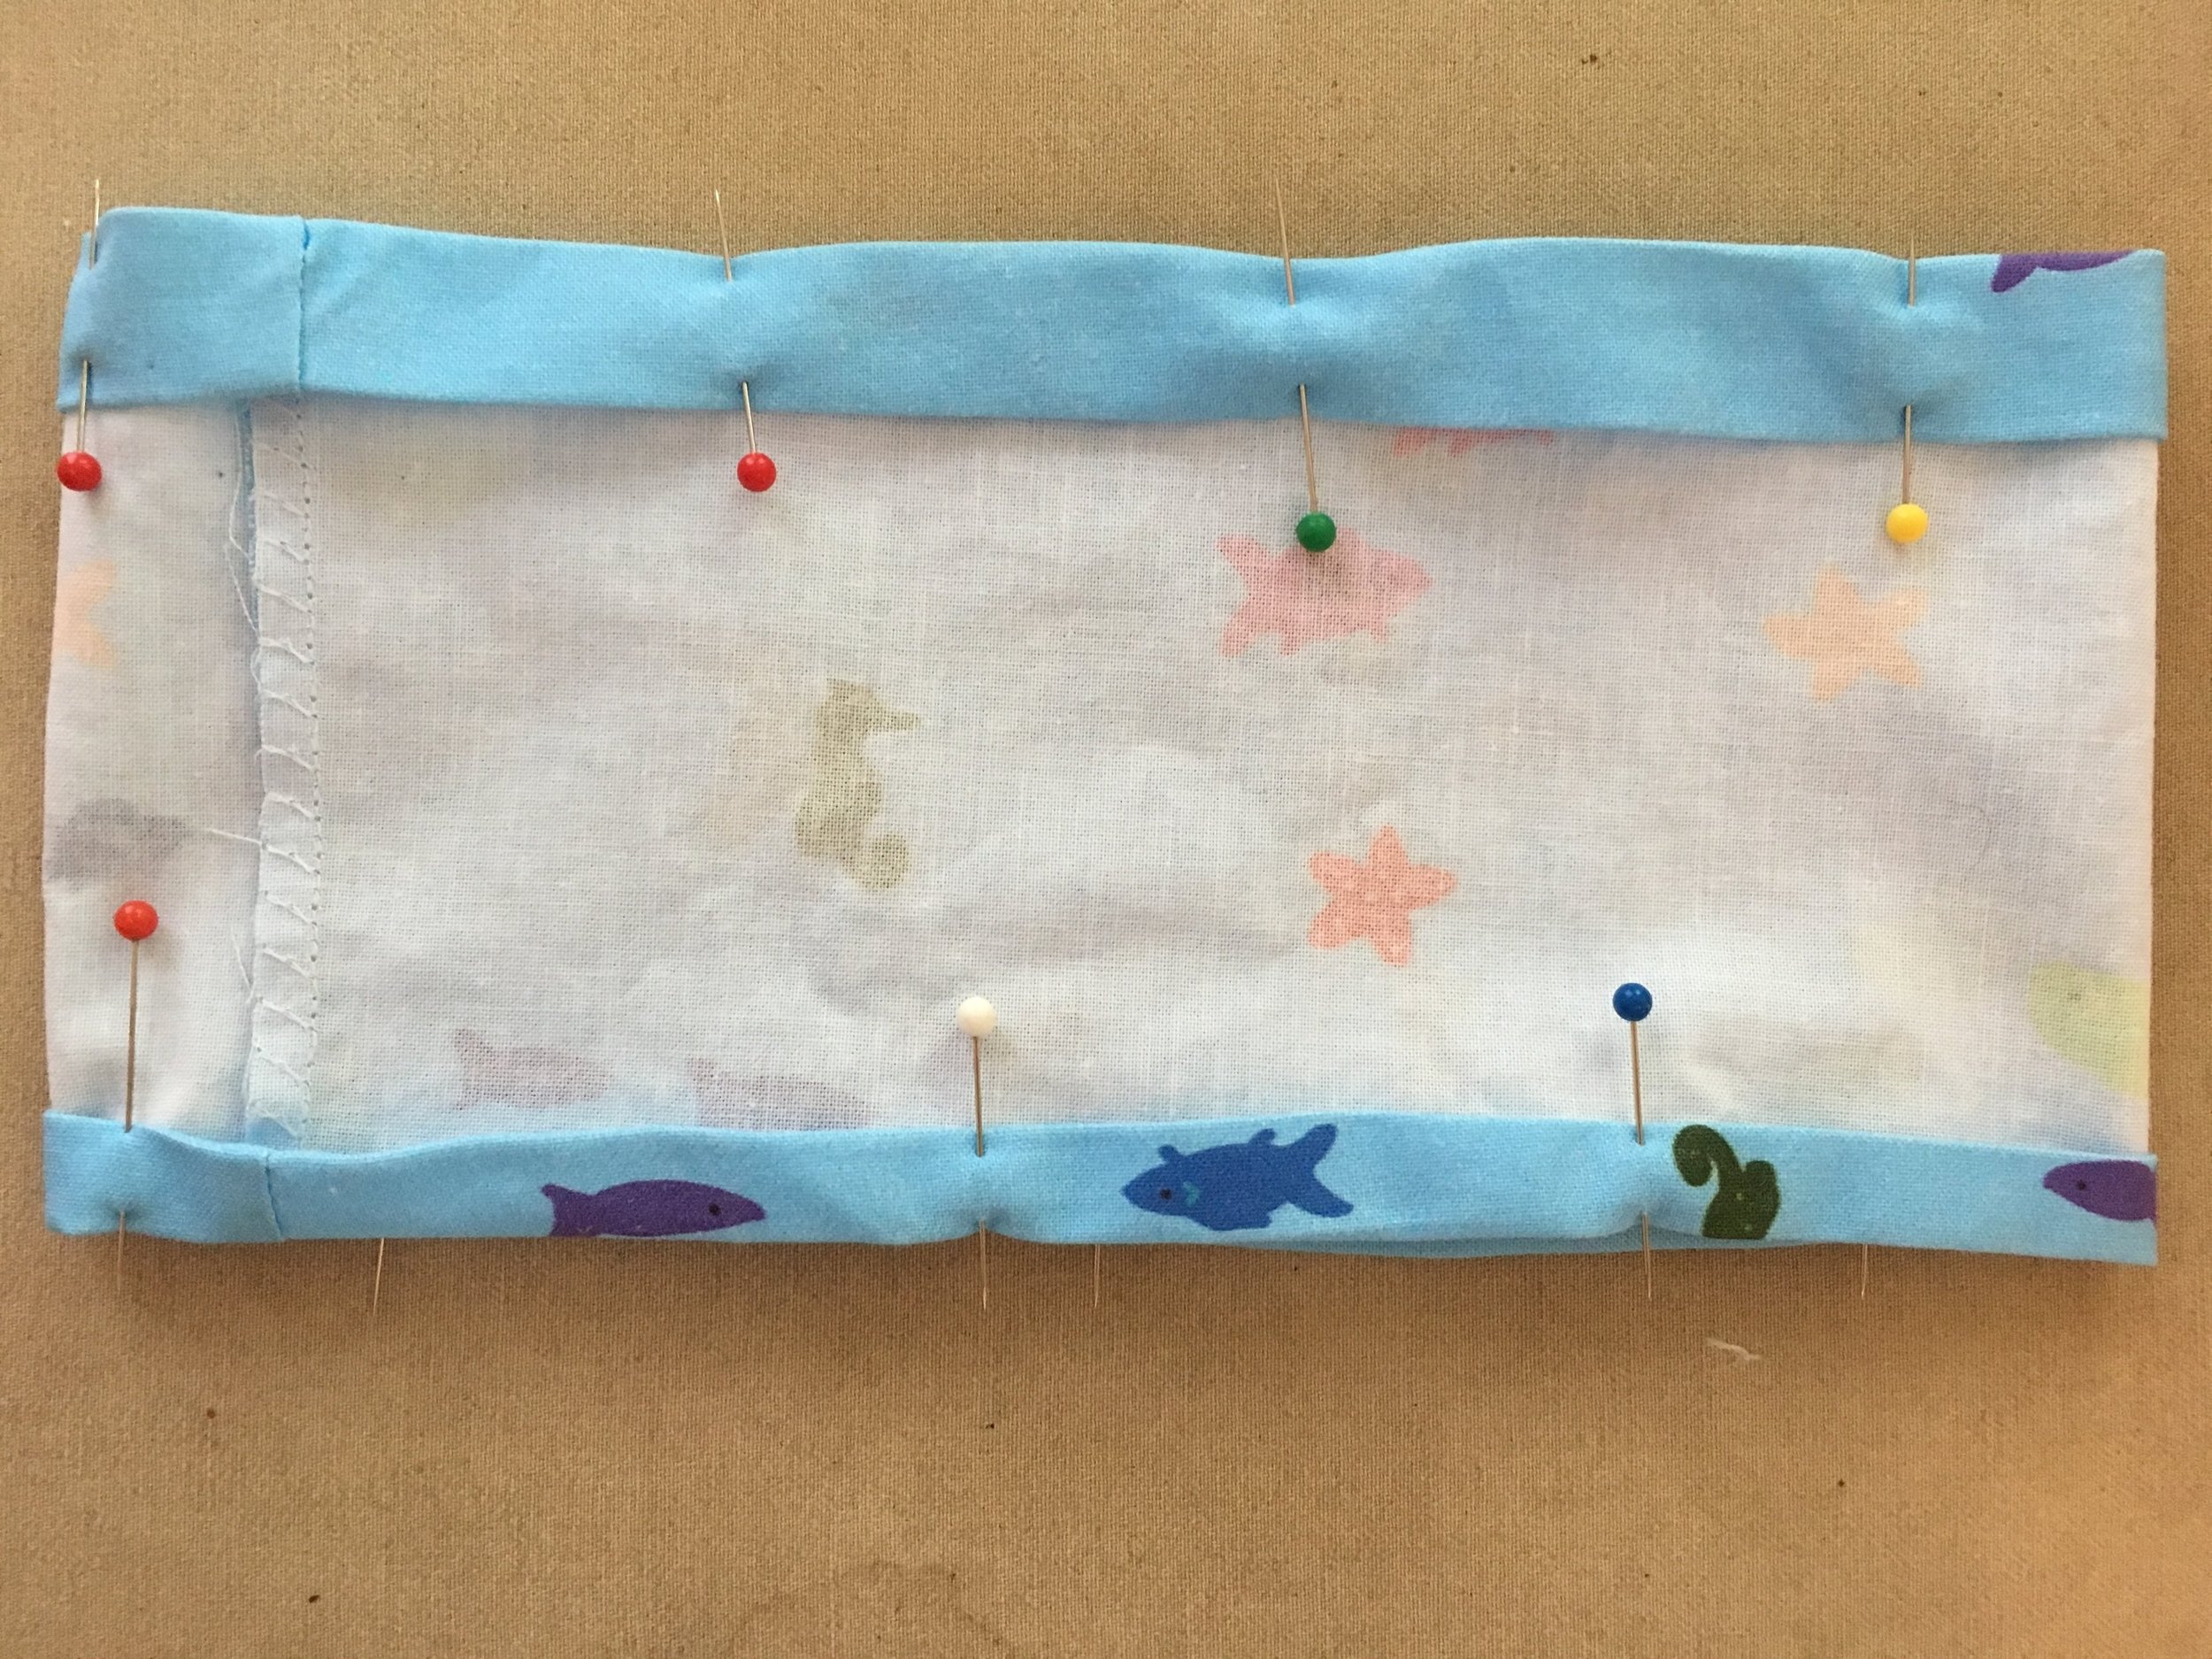
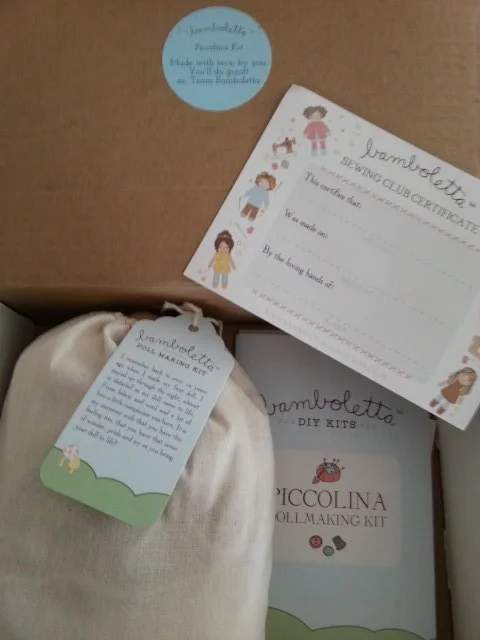
On a roll, I made one more quilt--this one doll size. An Etsy company sent me four 5 inch charm squares of space fabrics as a bonus to my fabric order. Making a doll quilt seemed like a perfect way to use those squares plus some of the bits and pieces in my stash.
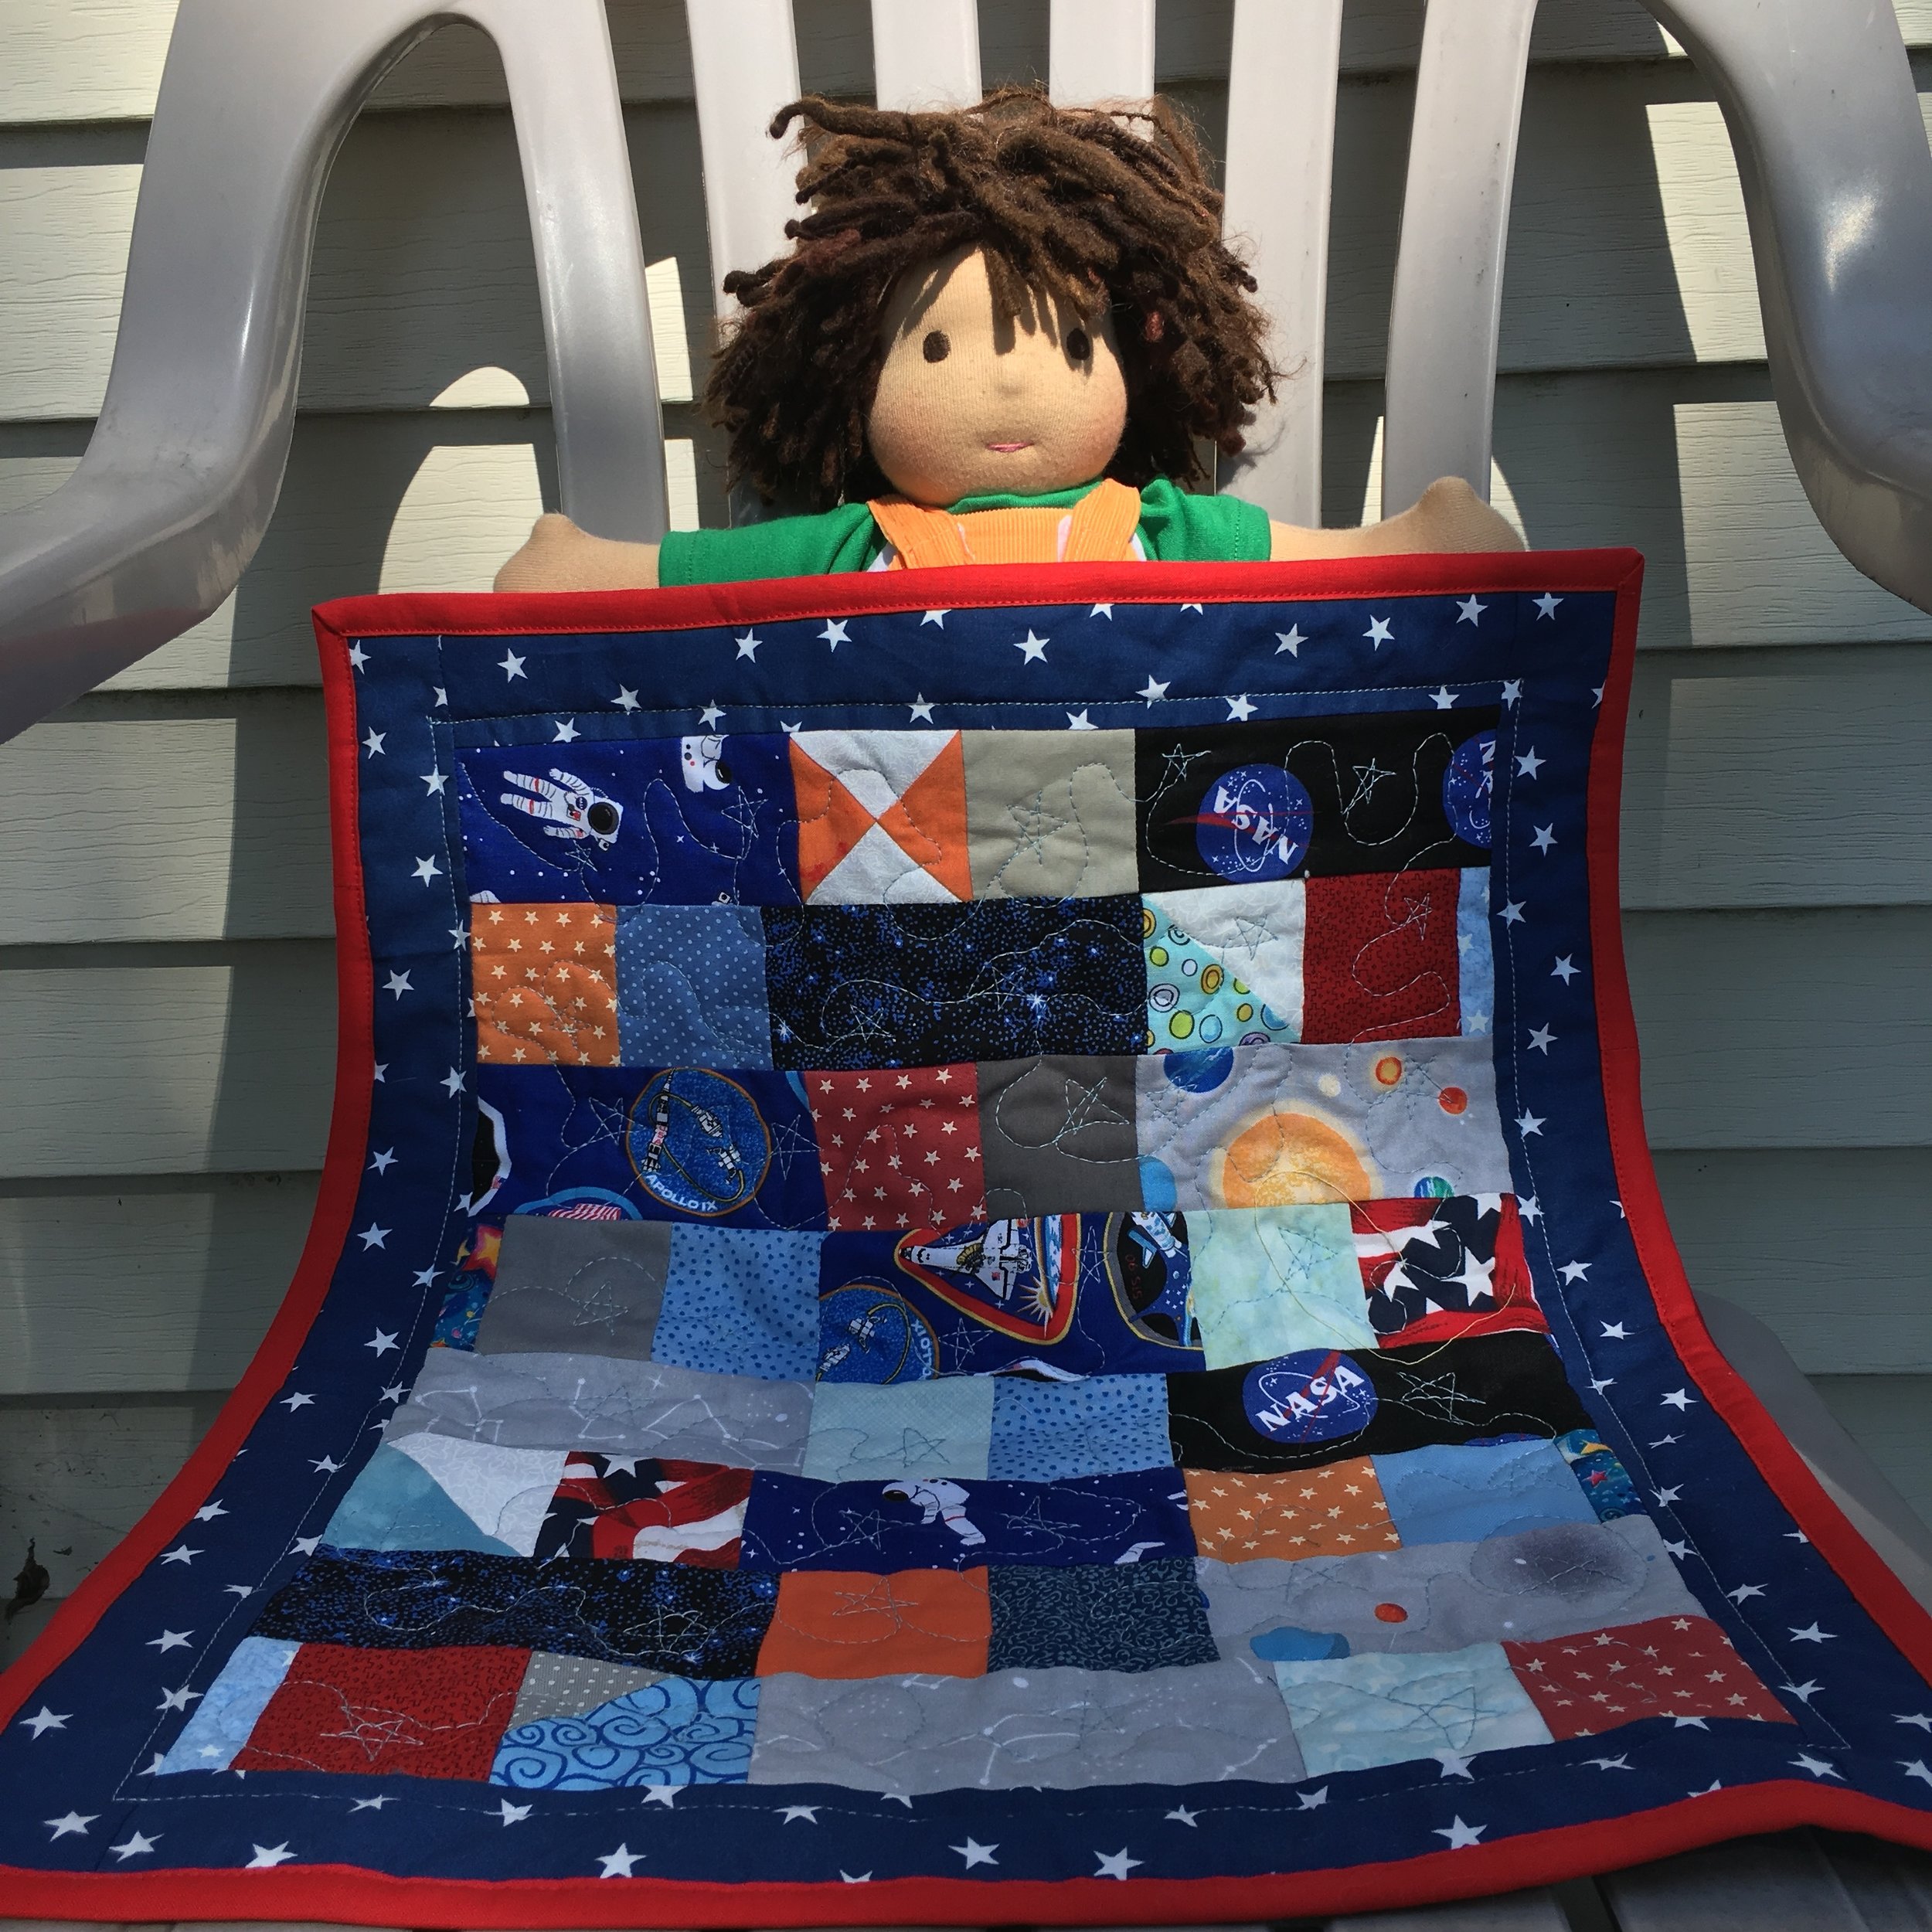
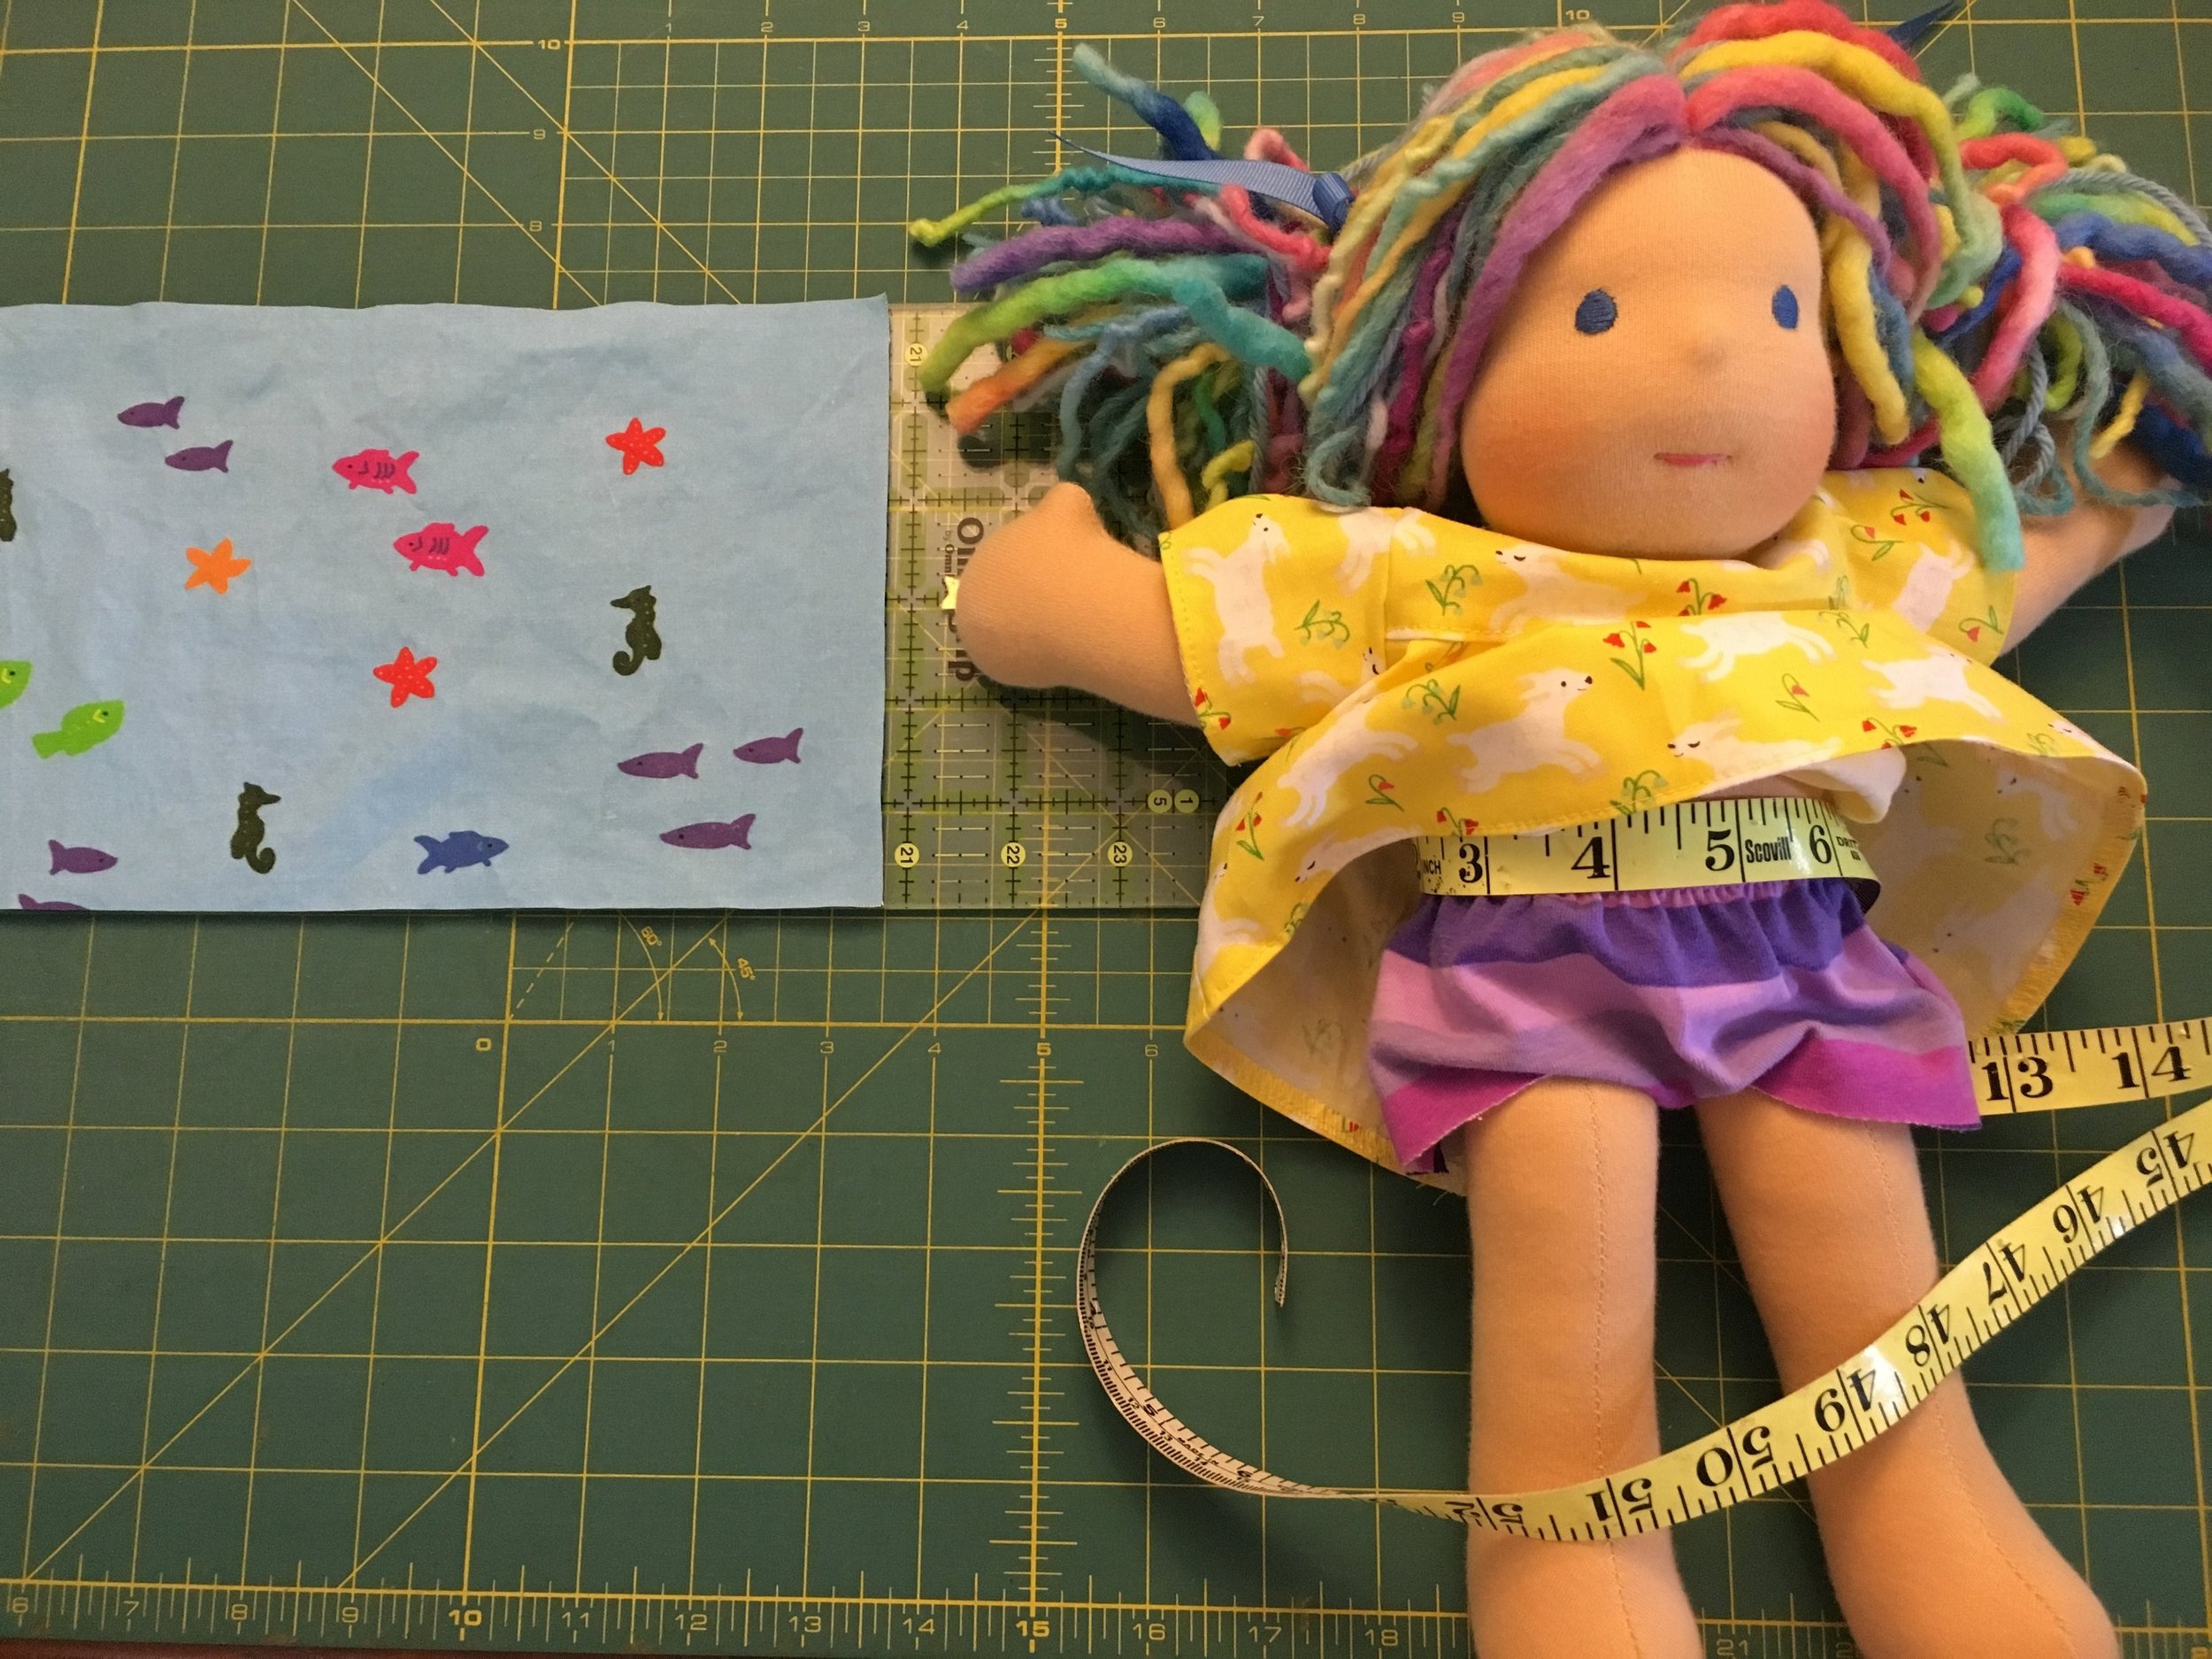
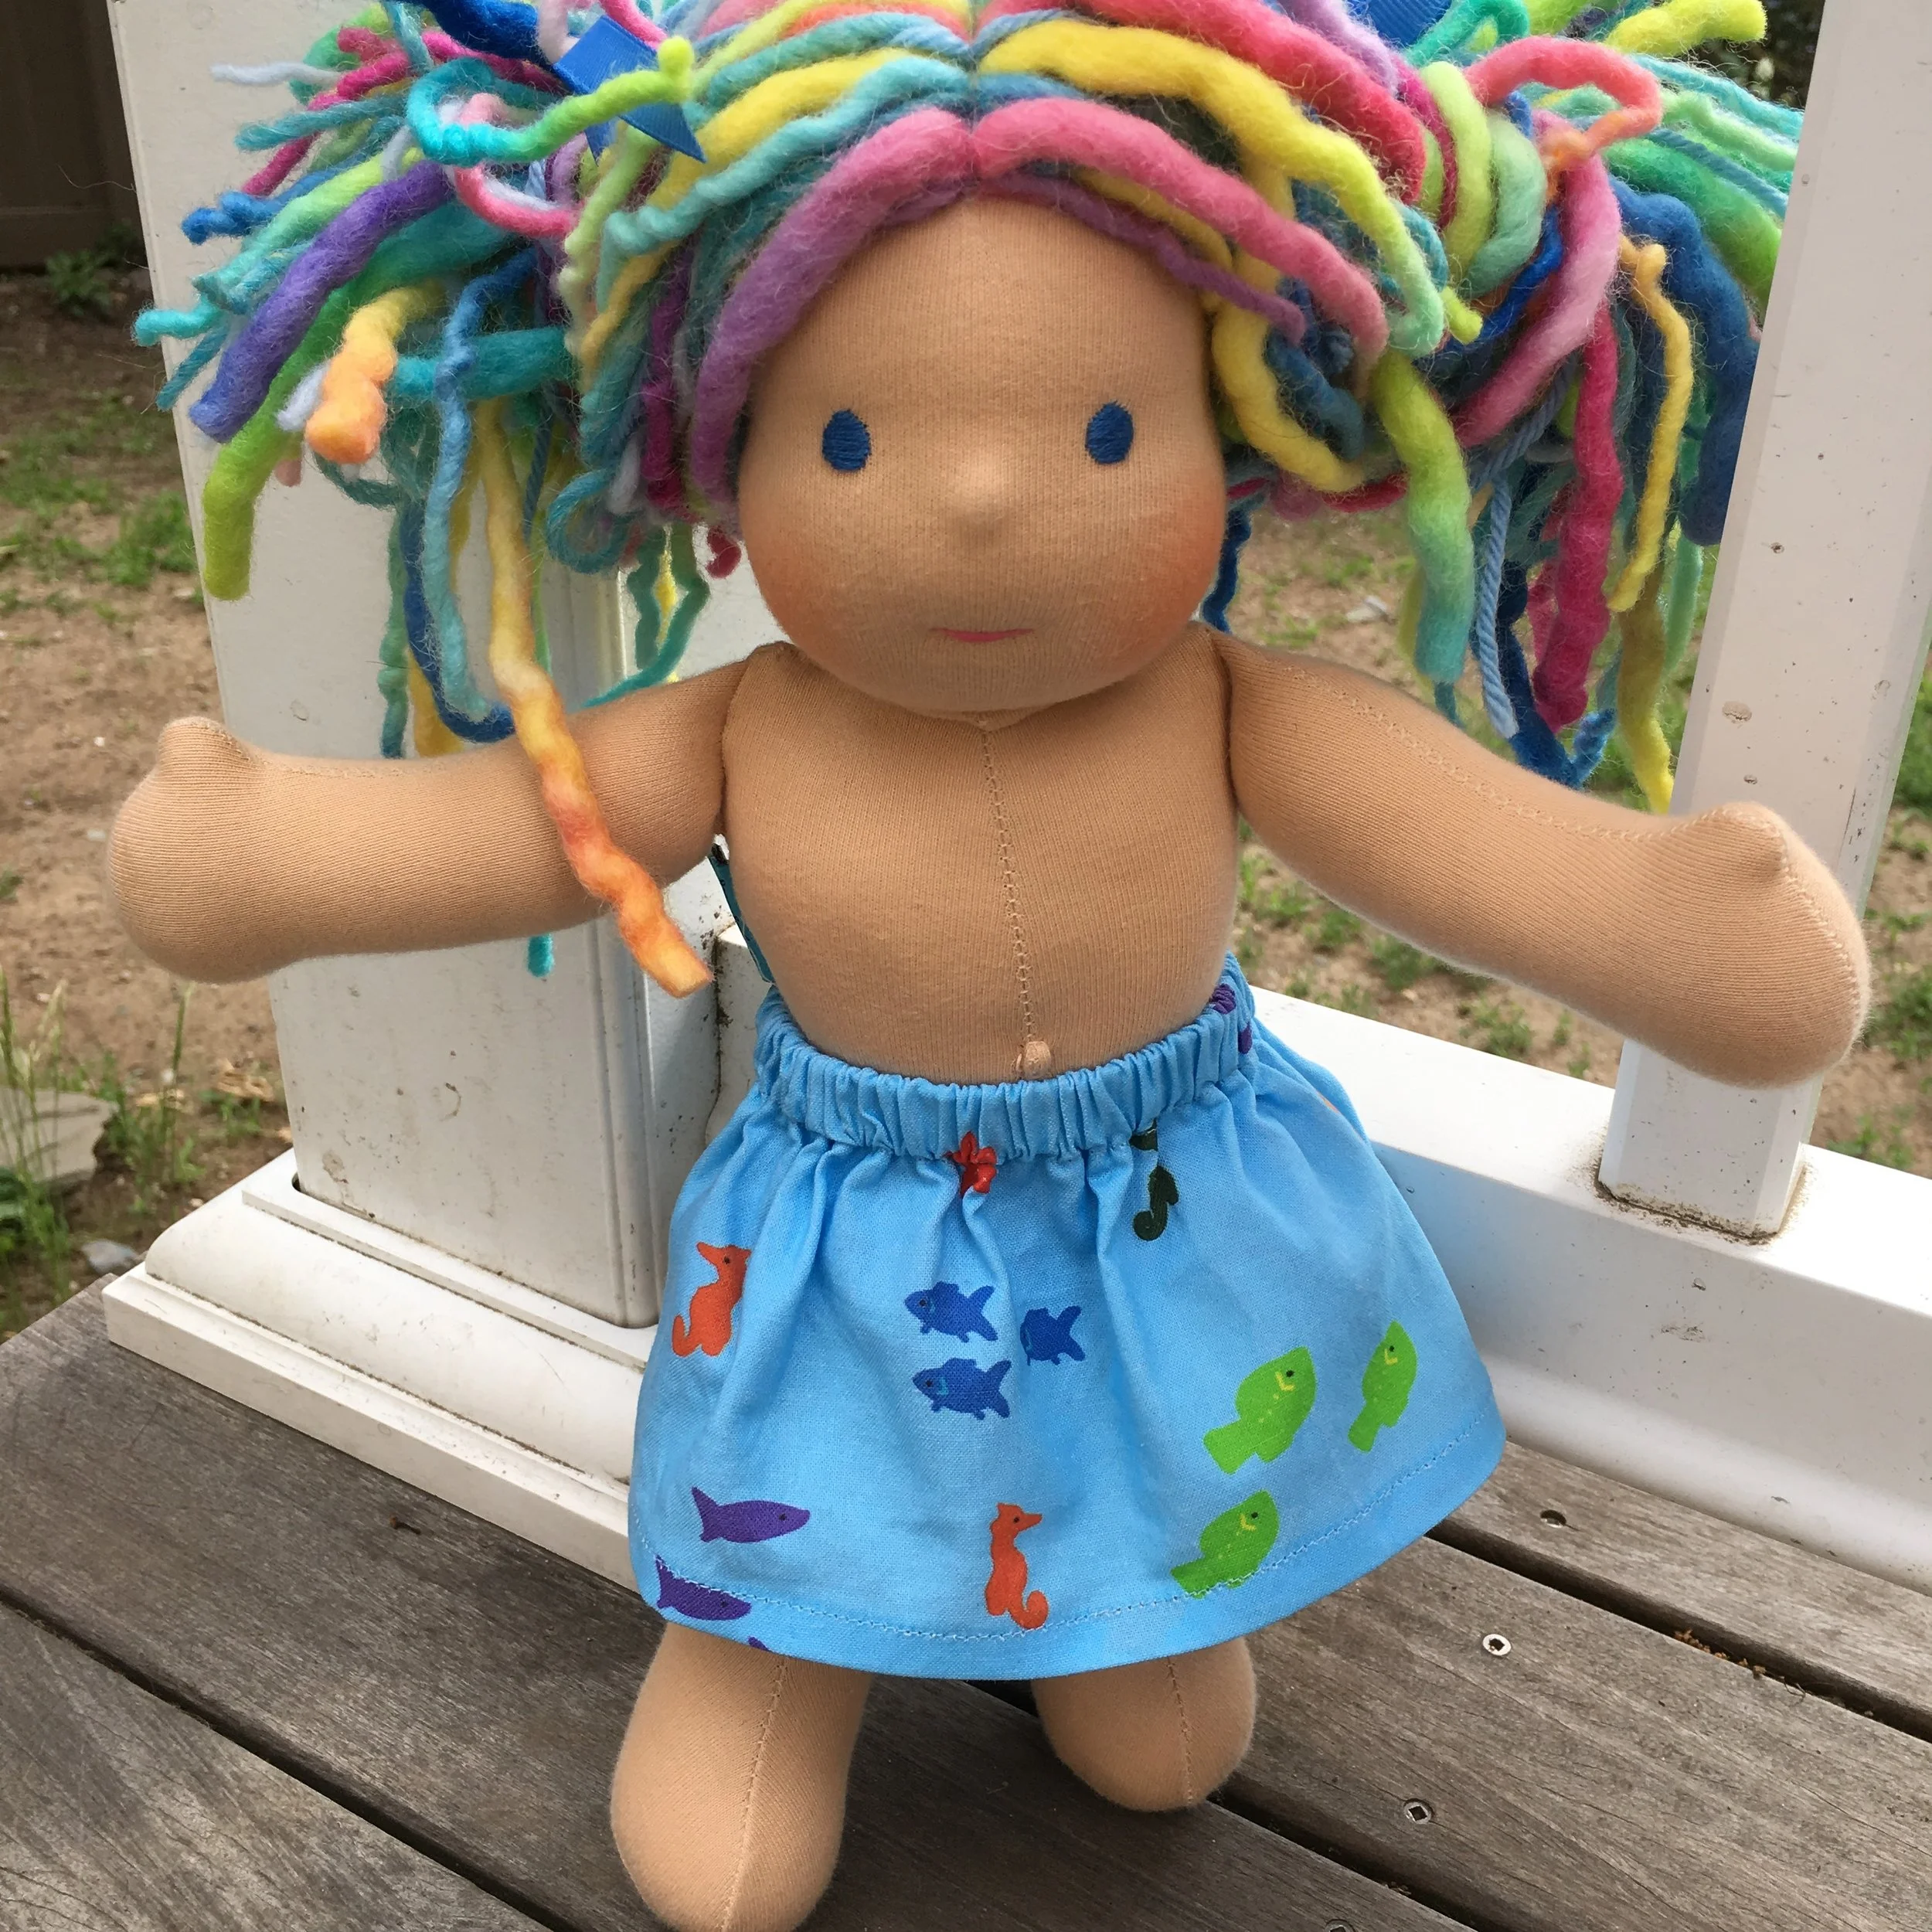
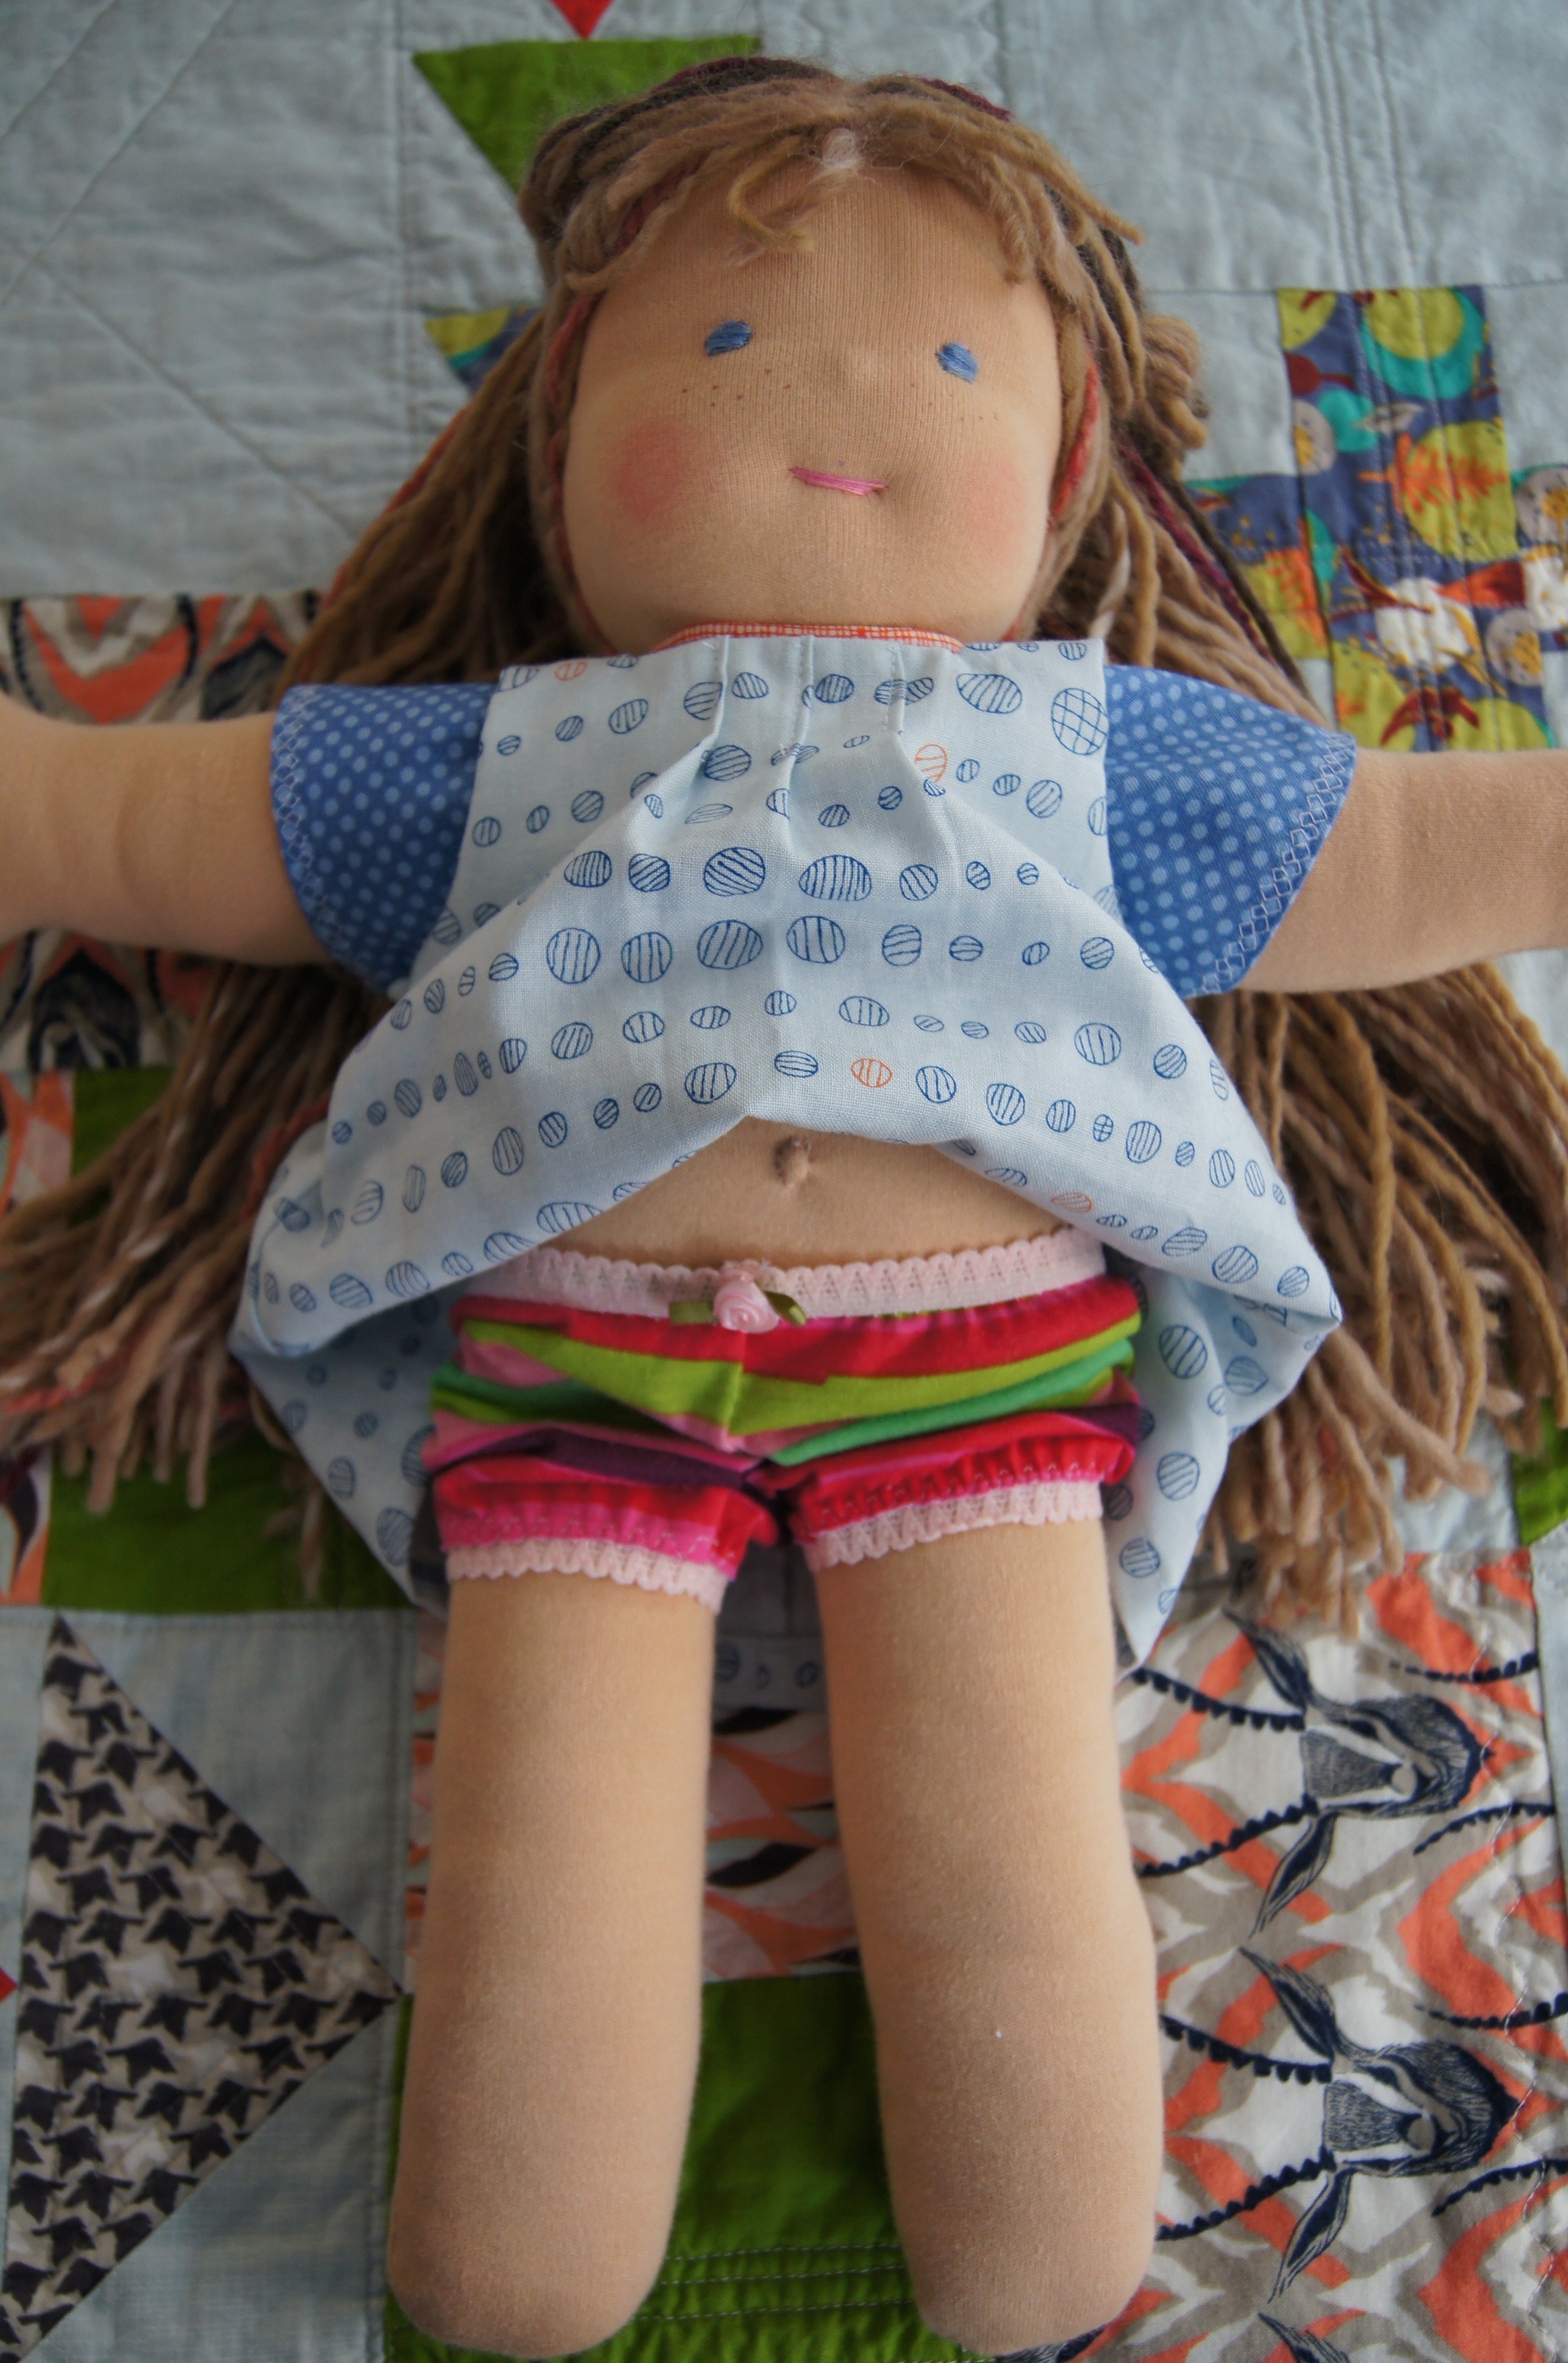
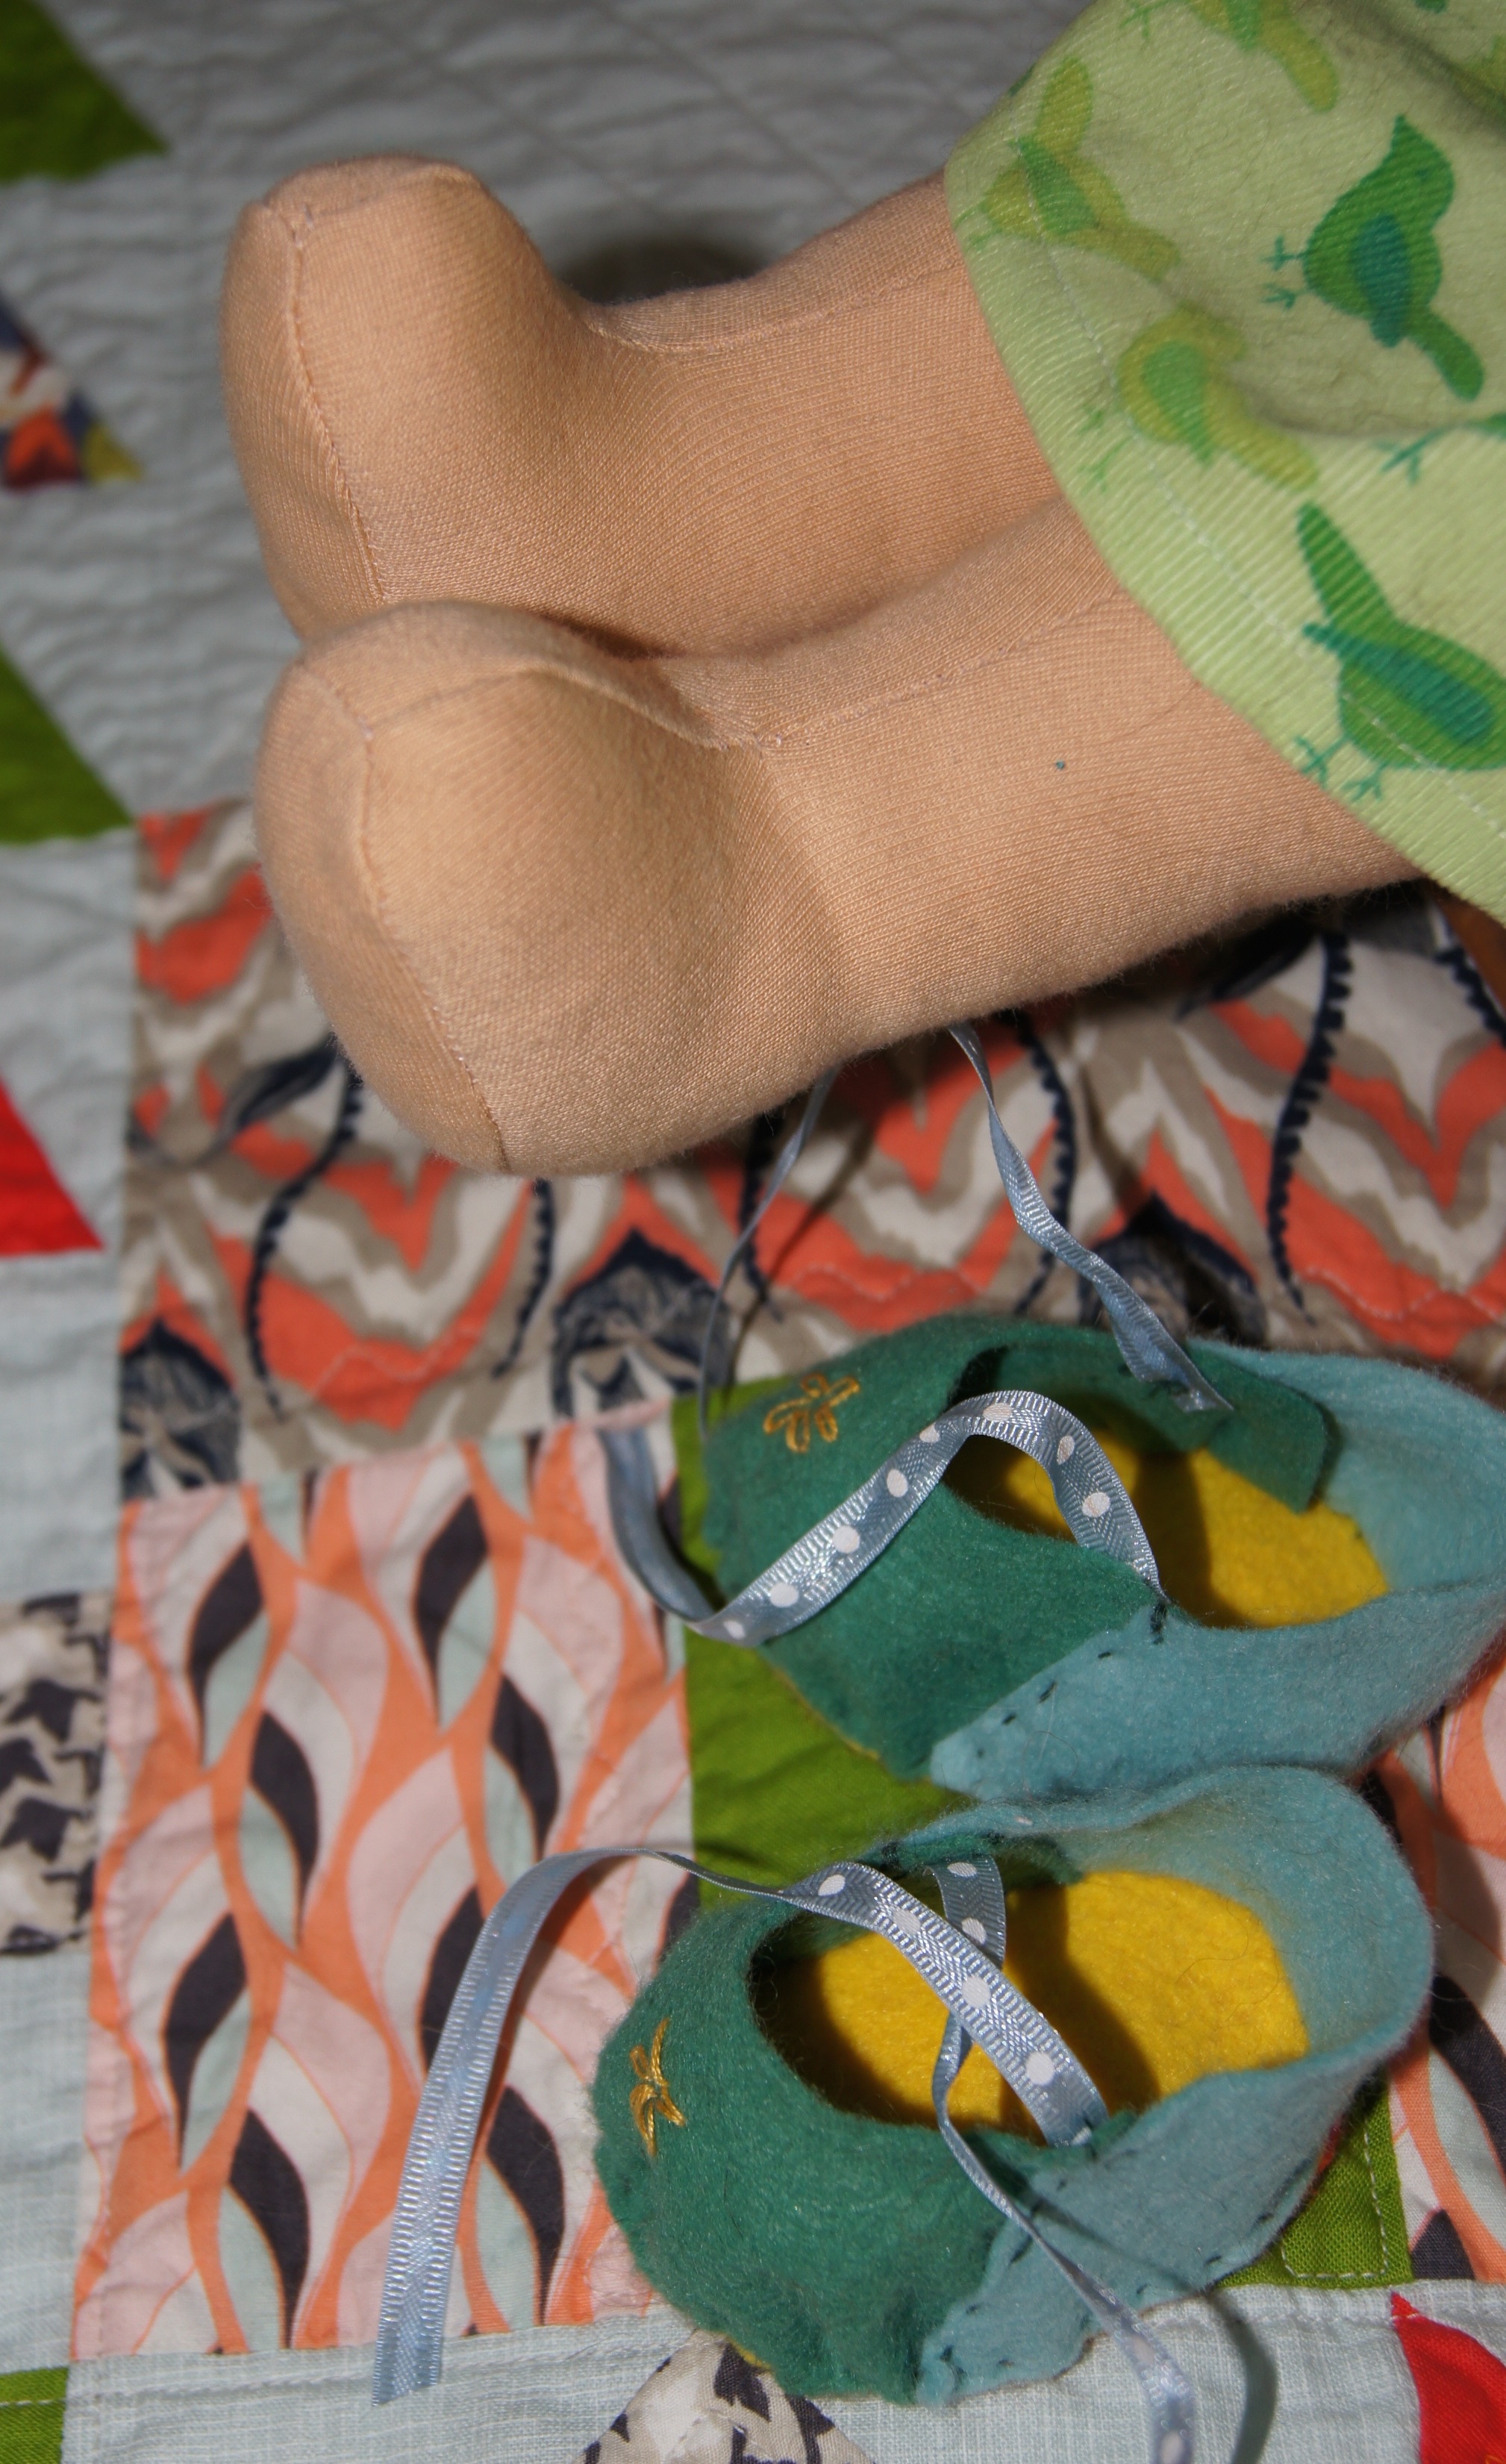
Micah, a Bamboletta Cuddle Doll, with the Space Doll Quilt, 16 x 19 inches
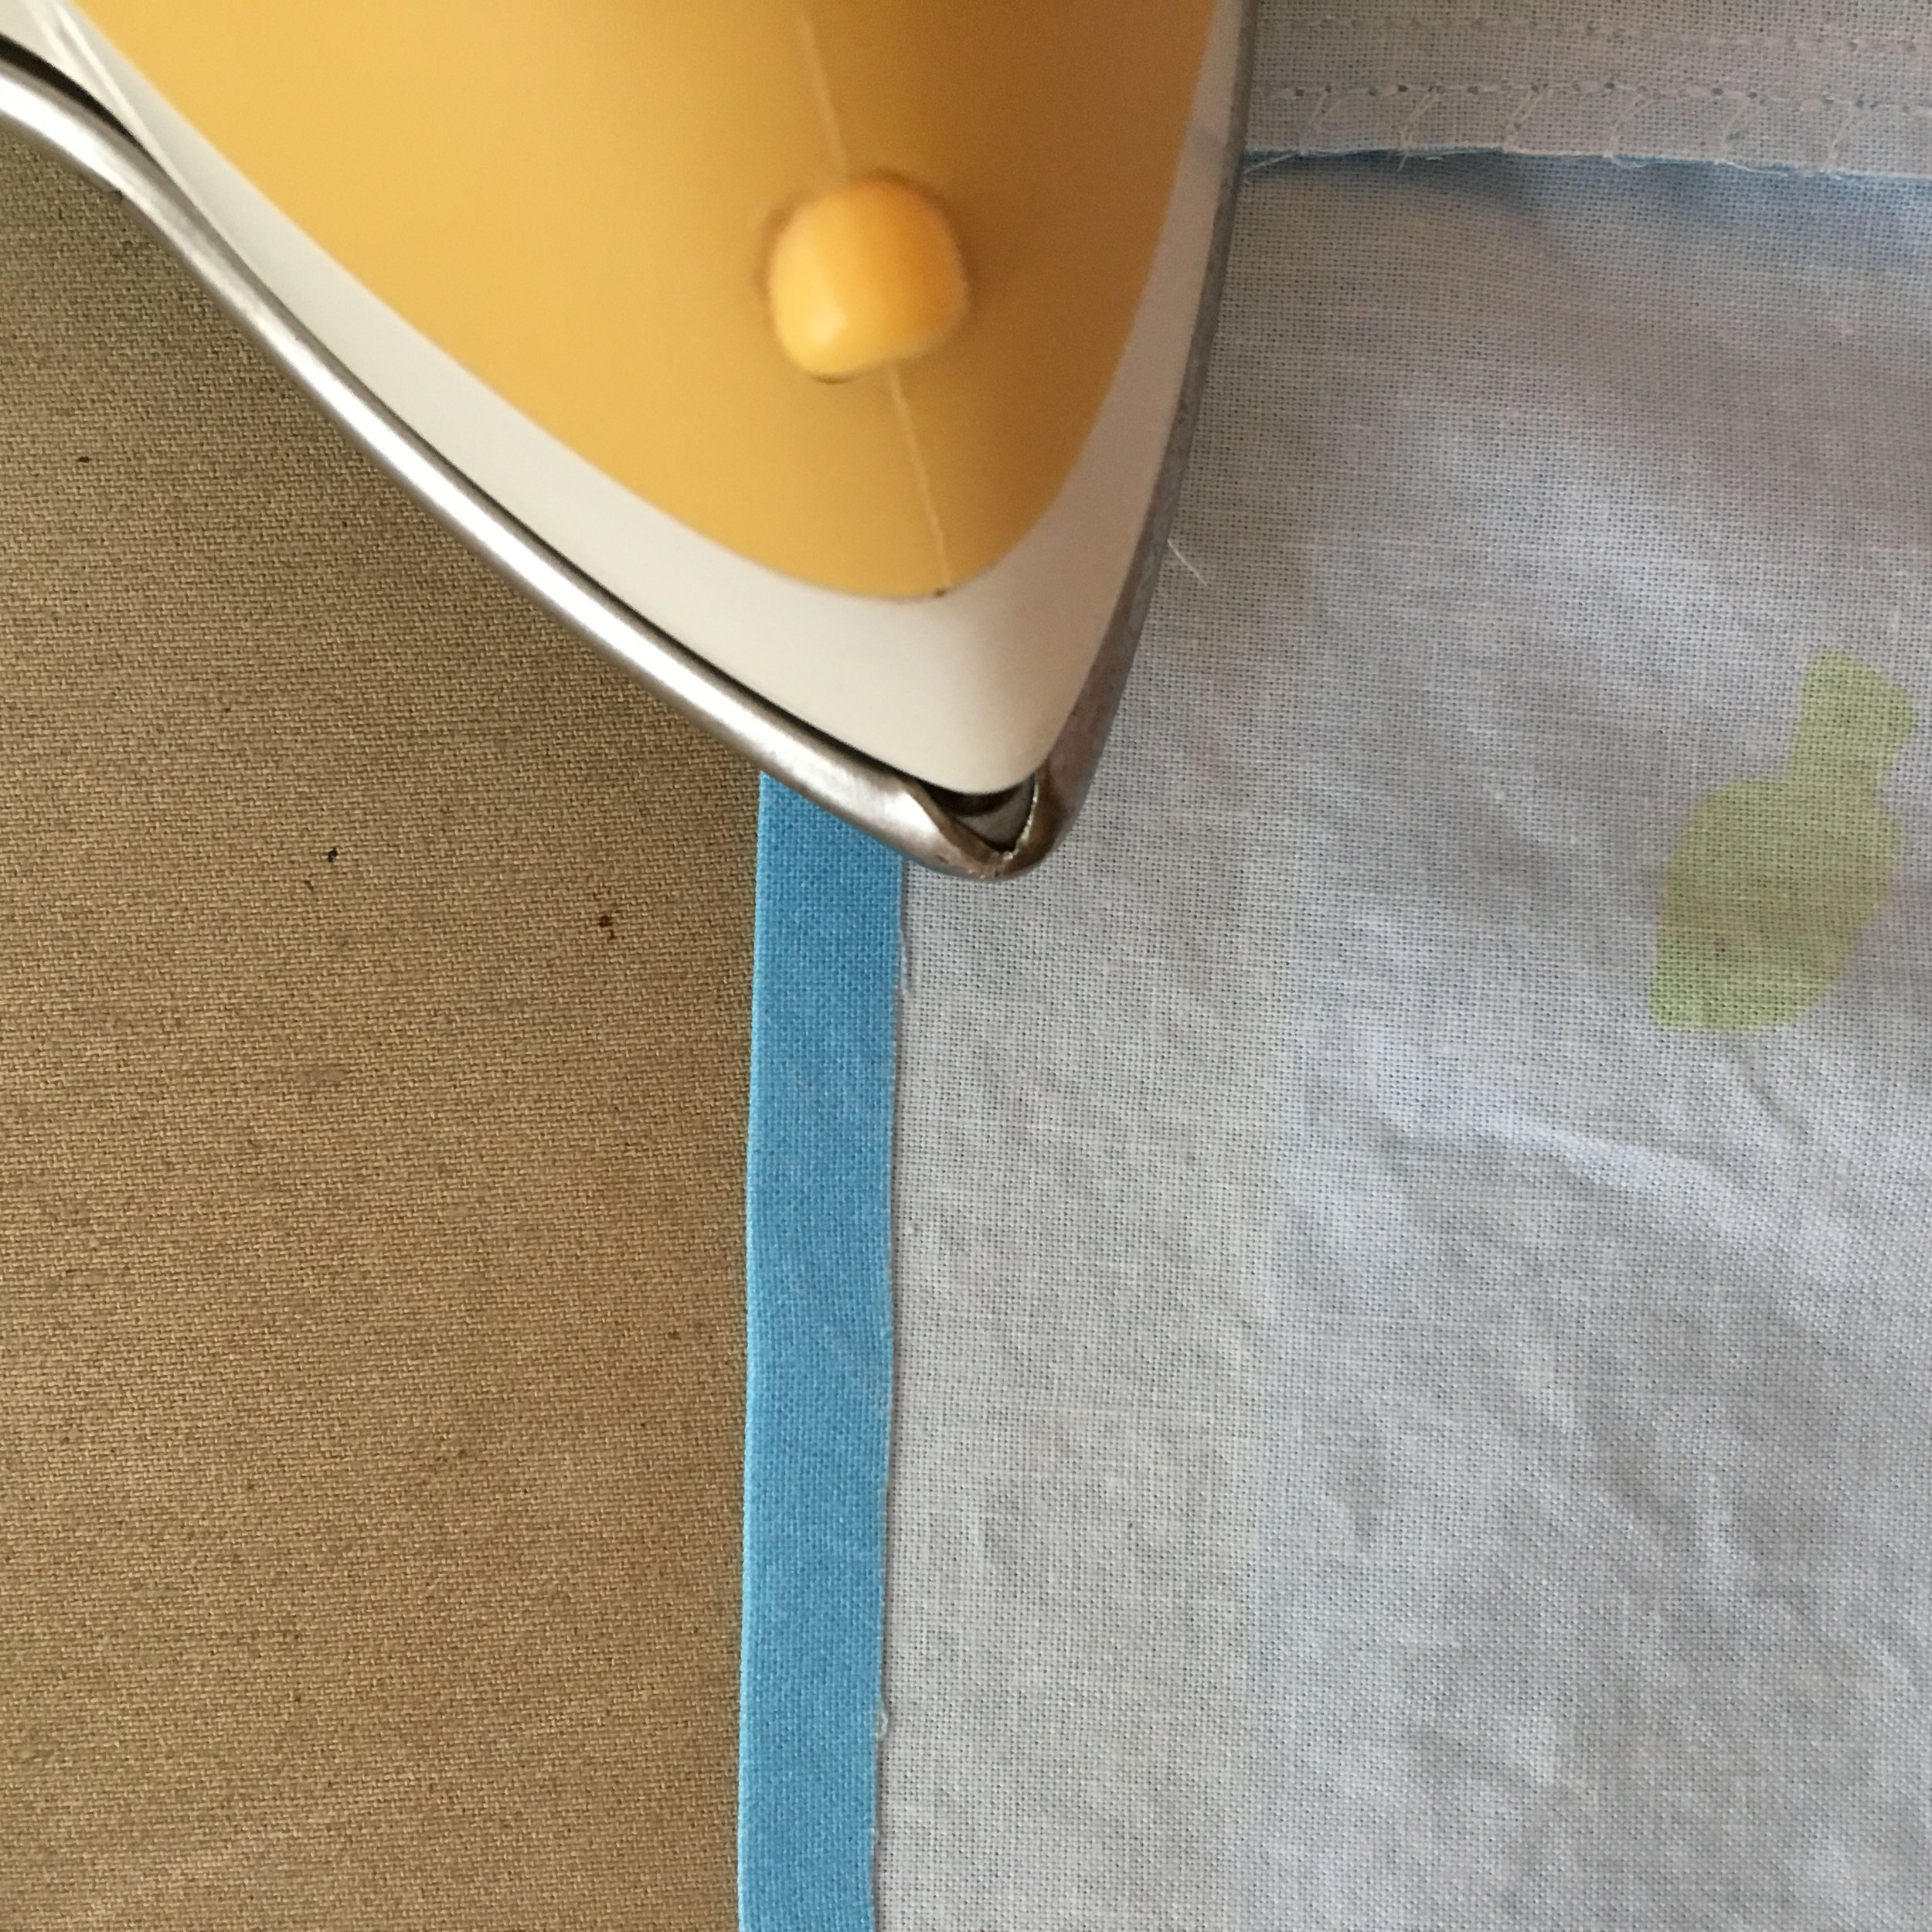
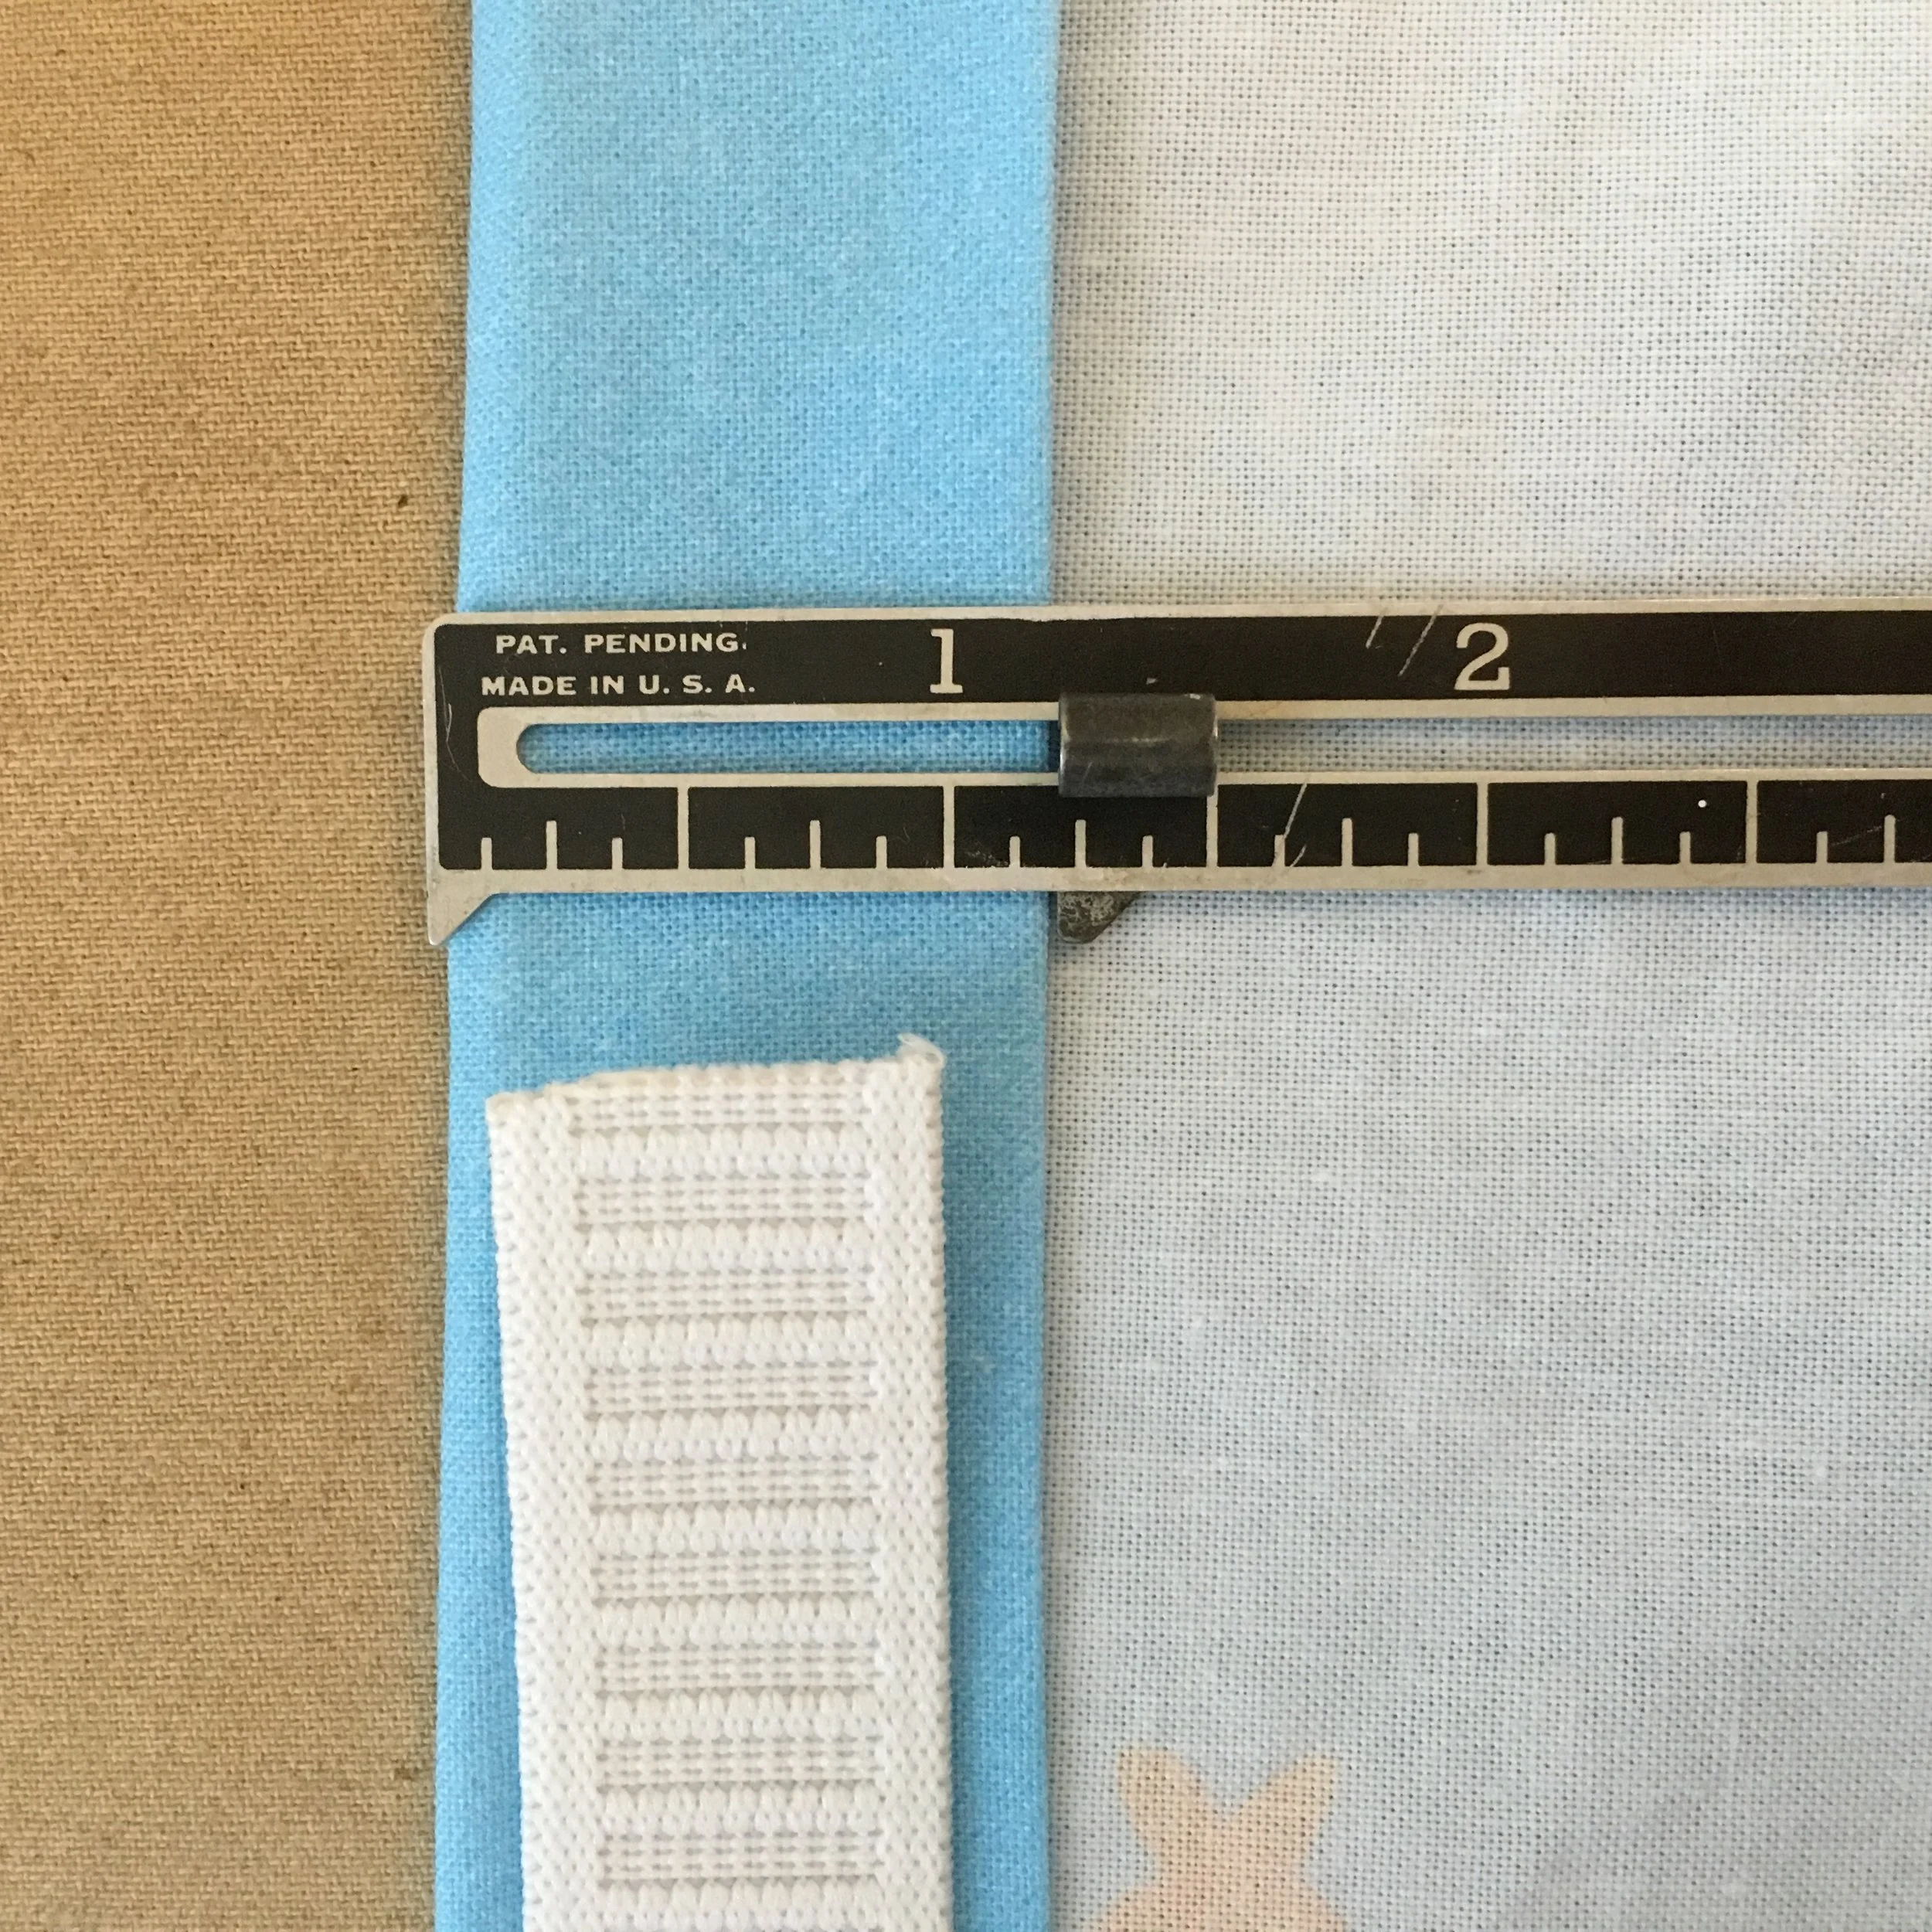
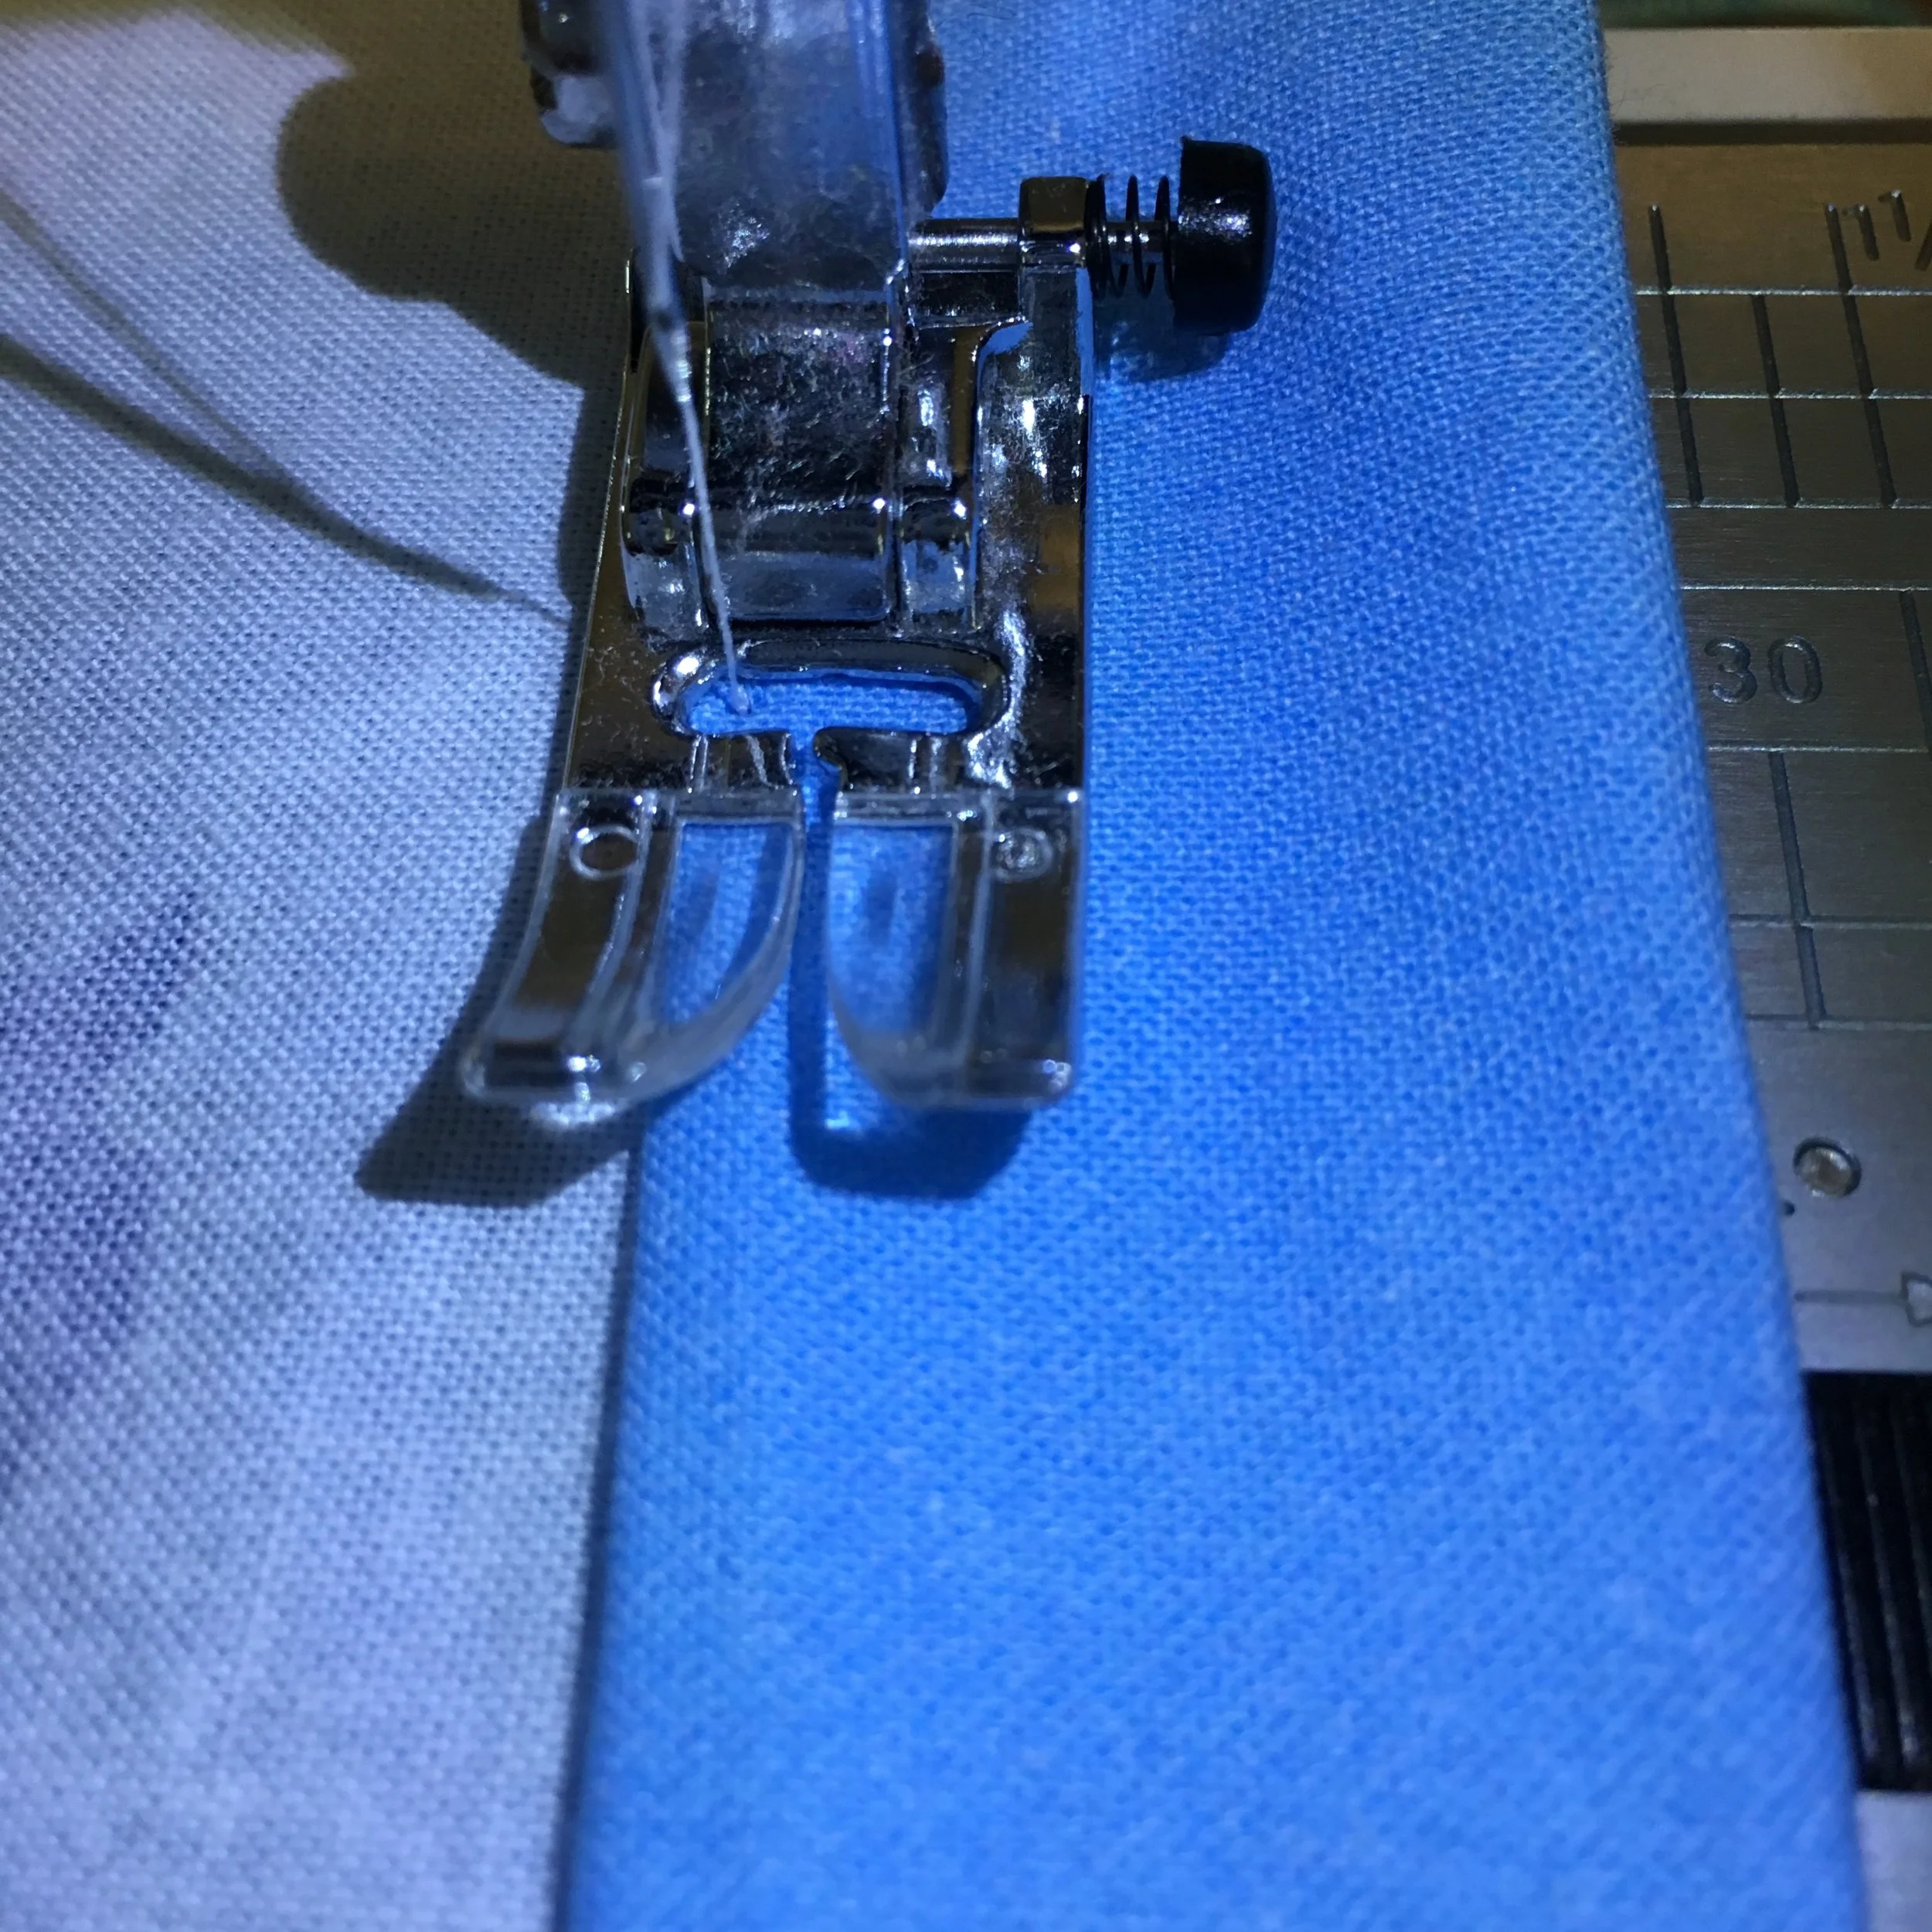
I decided to cut the 5 inch space fabric squares in half and use 2.5 inch squares from my stash. Good thought but....what works in algebra doesn't work in quilty math! I didn't put 2 and 2 together until I had sewn all the strips of blocks for the quilt long to discover that they weren't the same length. Right: in quilting a 2.5 square + 2.5 square = 4.25 x 2.5 block, not a 5 x 2.5 inch block!
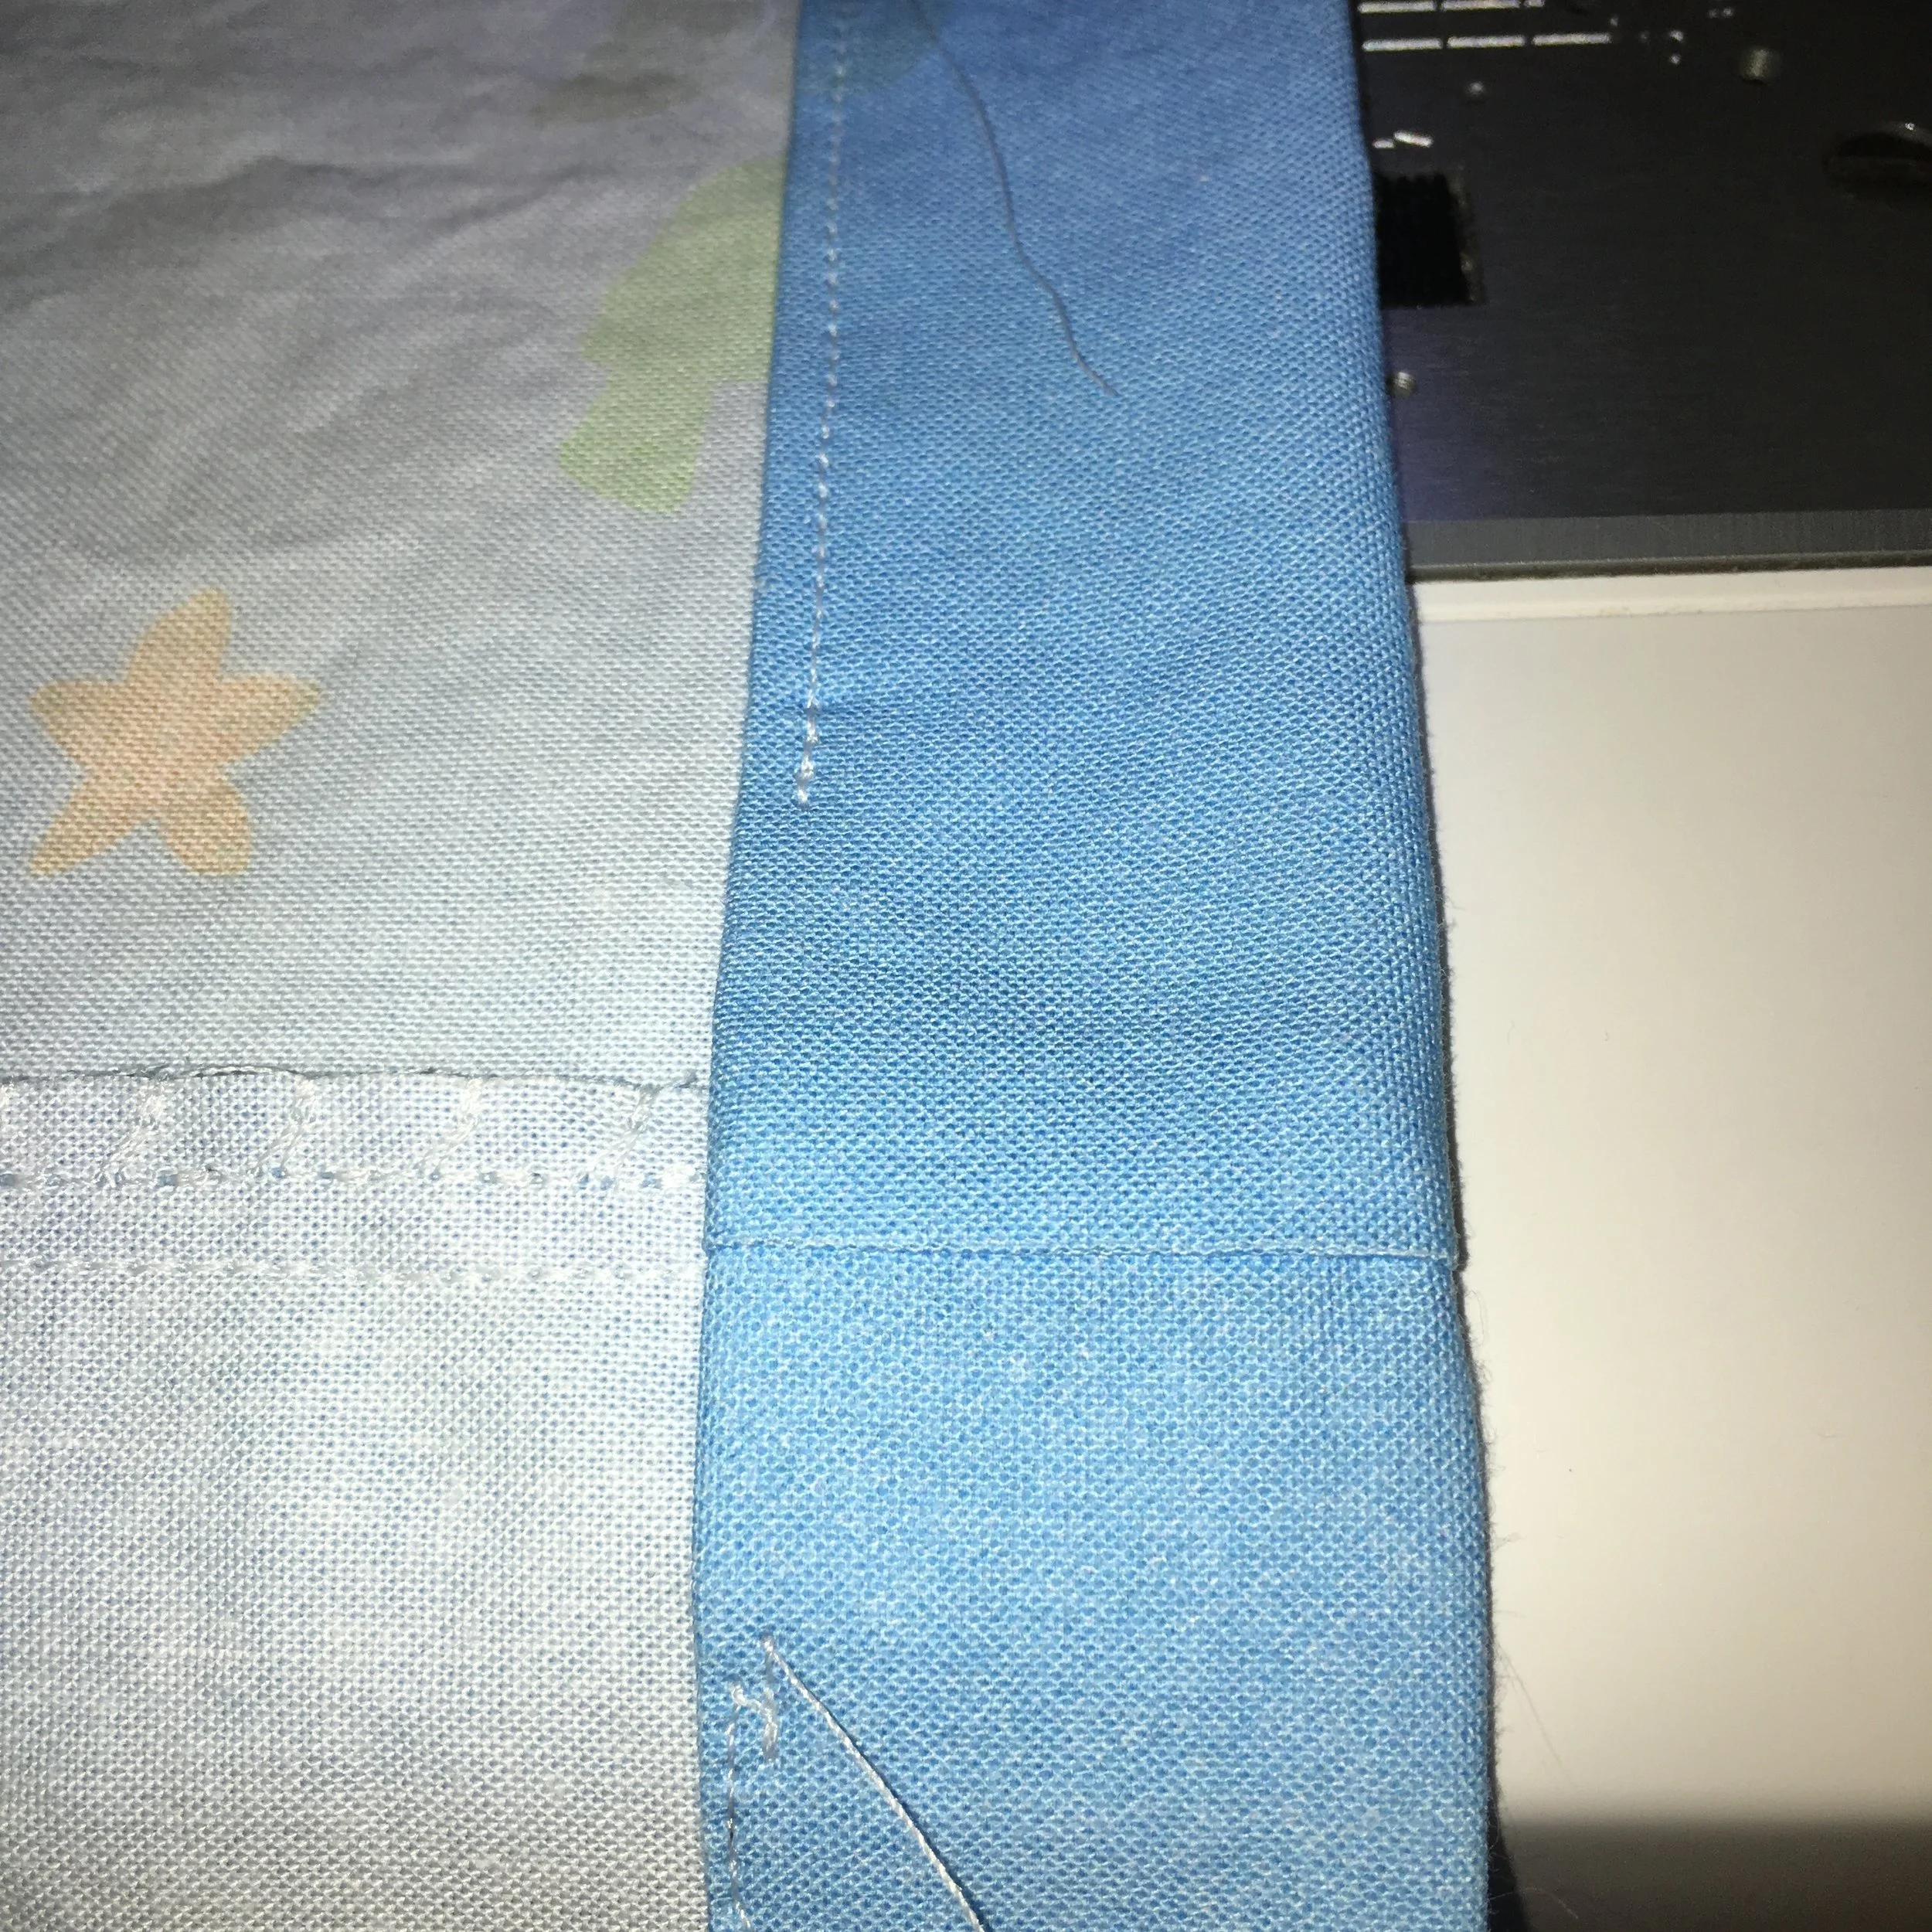
It was too late to cut down the 2.5 x 5 inch blocks so I just added a bit of fabric on alternating ends of each row, making it a scrappy improv Space quilt. Problem solved, but I did have a good laugh....How long have I been quilting??? Long enough, but even an experienced quilter can get tripped up by not checking the math before cutting!

Micah suggling under the Space Doll Quilt