Table Runner 14 x 35.5 inches using "Dogs at the Farmers Market" fabric collection available at Spoonflower.com
Here are a couple quick projects using the fabric I designed, "Dogs at the Farmers Market" available from Spoonflower.com. I've listed fabric requirements and cutting directions but not sewing instructions.
Dogs at the Farmers Market Table Runner 14 x 35.5 inches
Fabric Supplies:
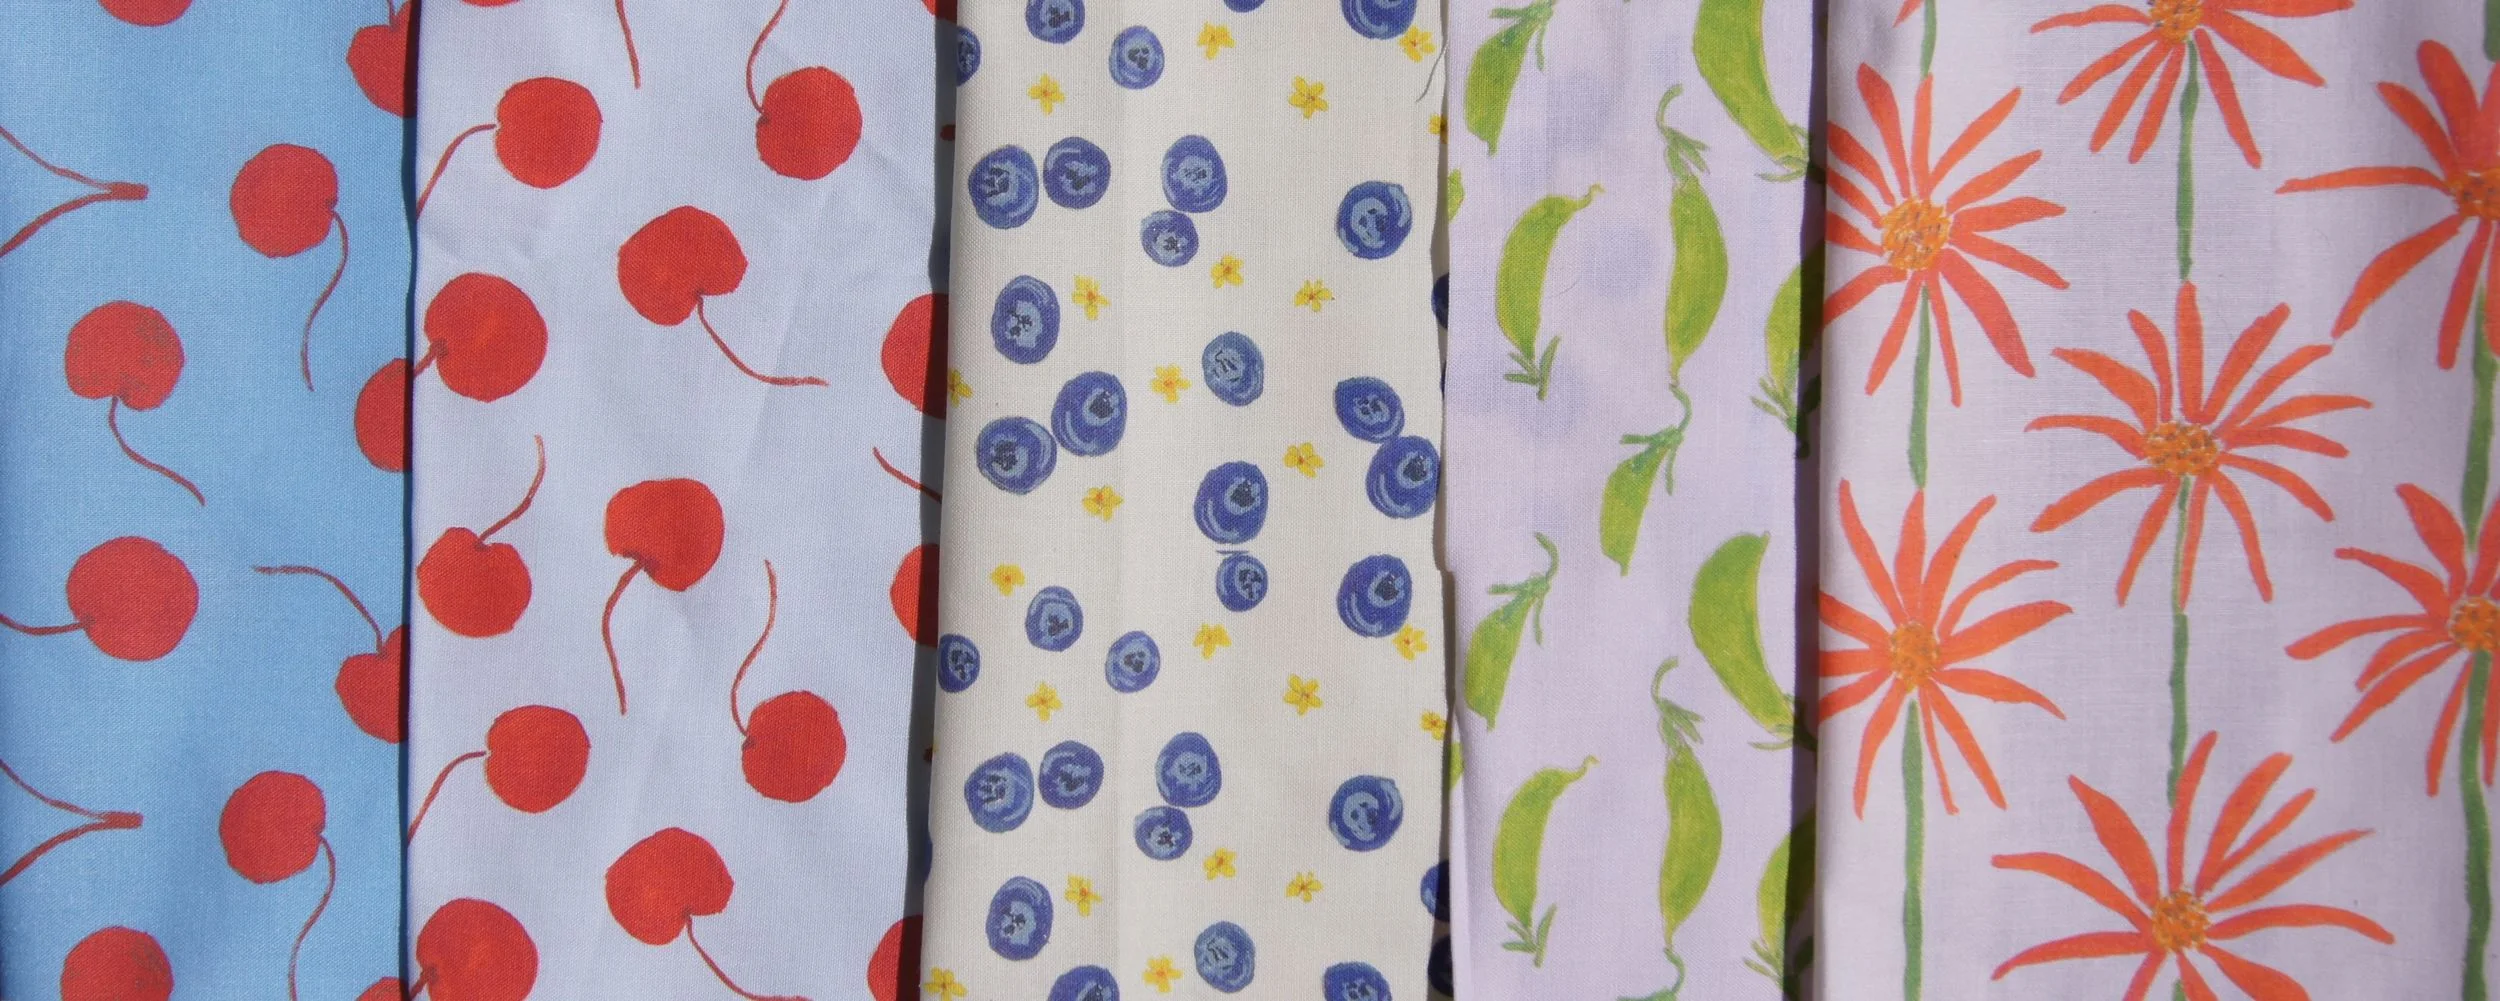
- 1 Fat Quarter Farmers Market Cherries
- 1 Fat Quarter Dogs at the Farmers Market
- 1/3 yard Width of Fabric Kona® Cotton "Alegria" 405
- 1/2 yard x Width of Fabric fabric of your choice for back
- Scrap of quilt batting 14.5 x 36 "
Cutting Instructions:
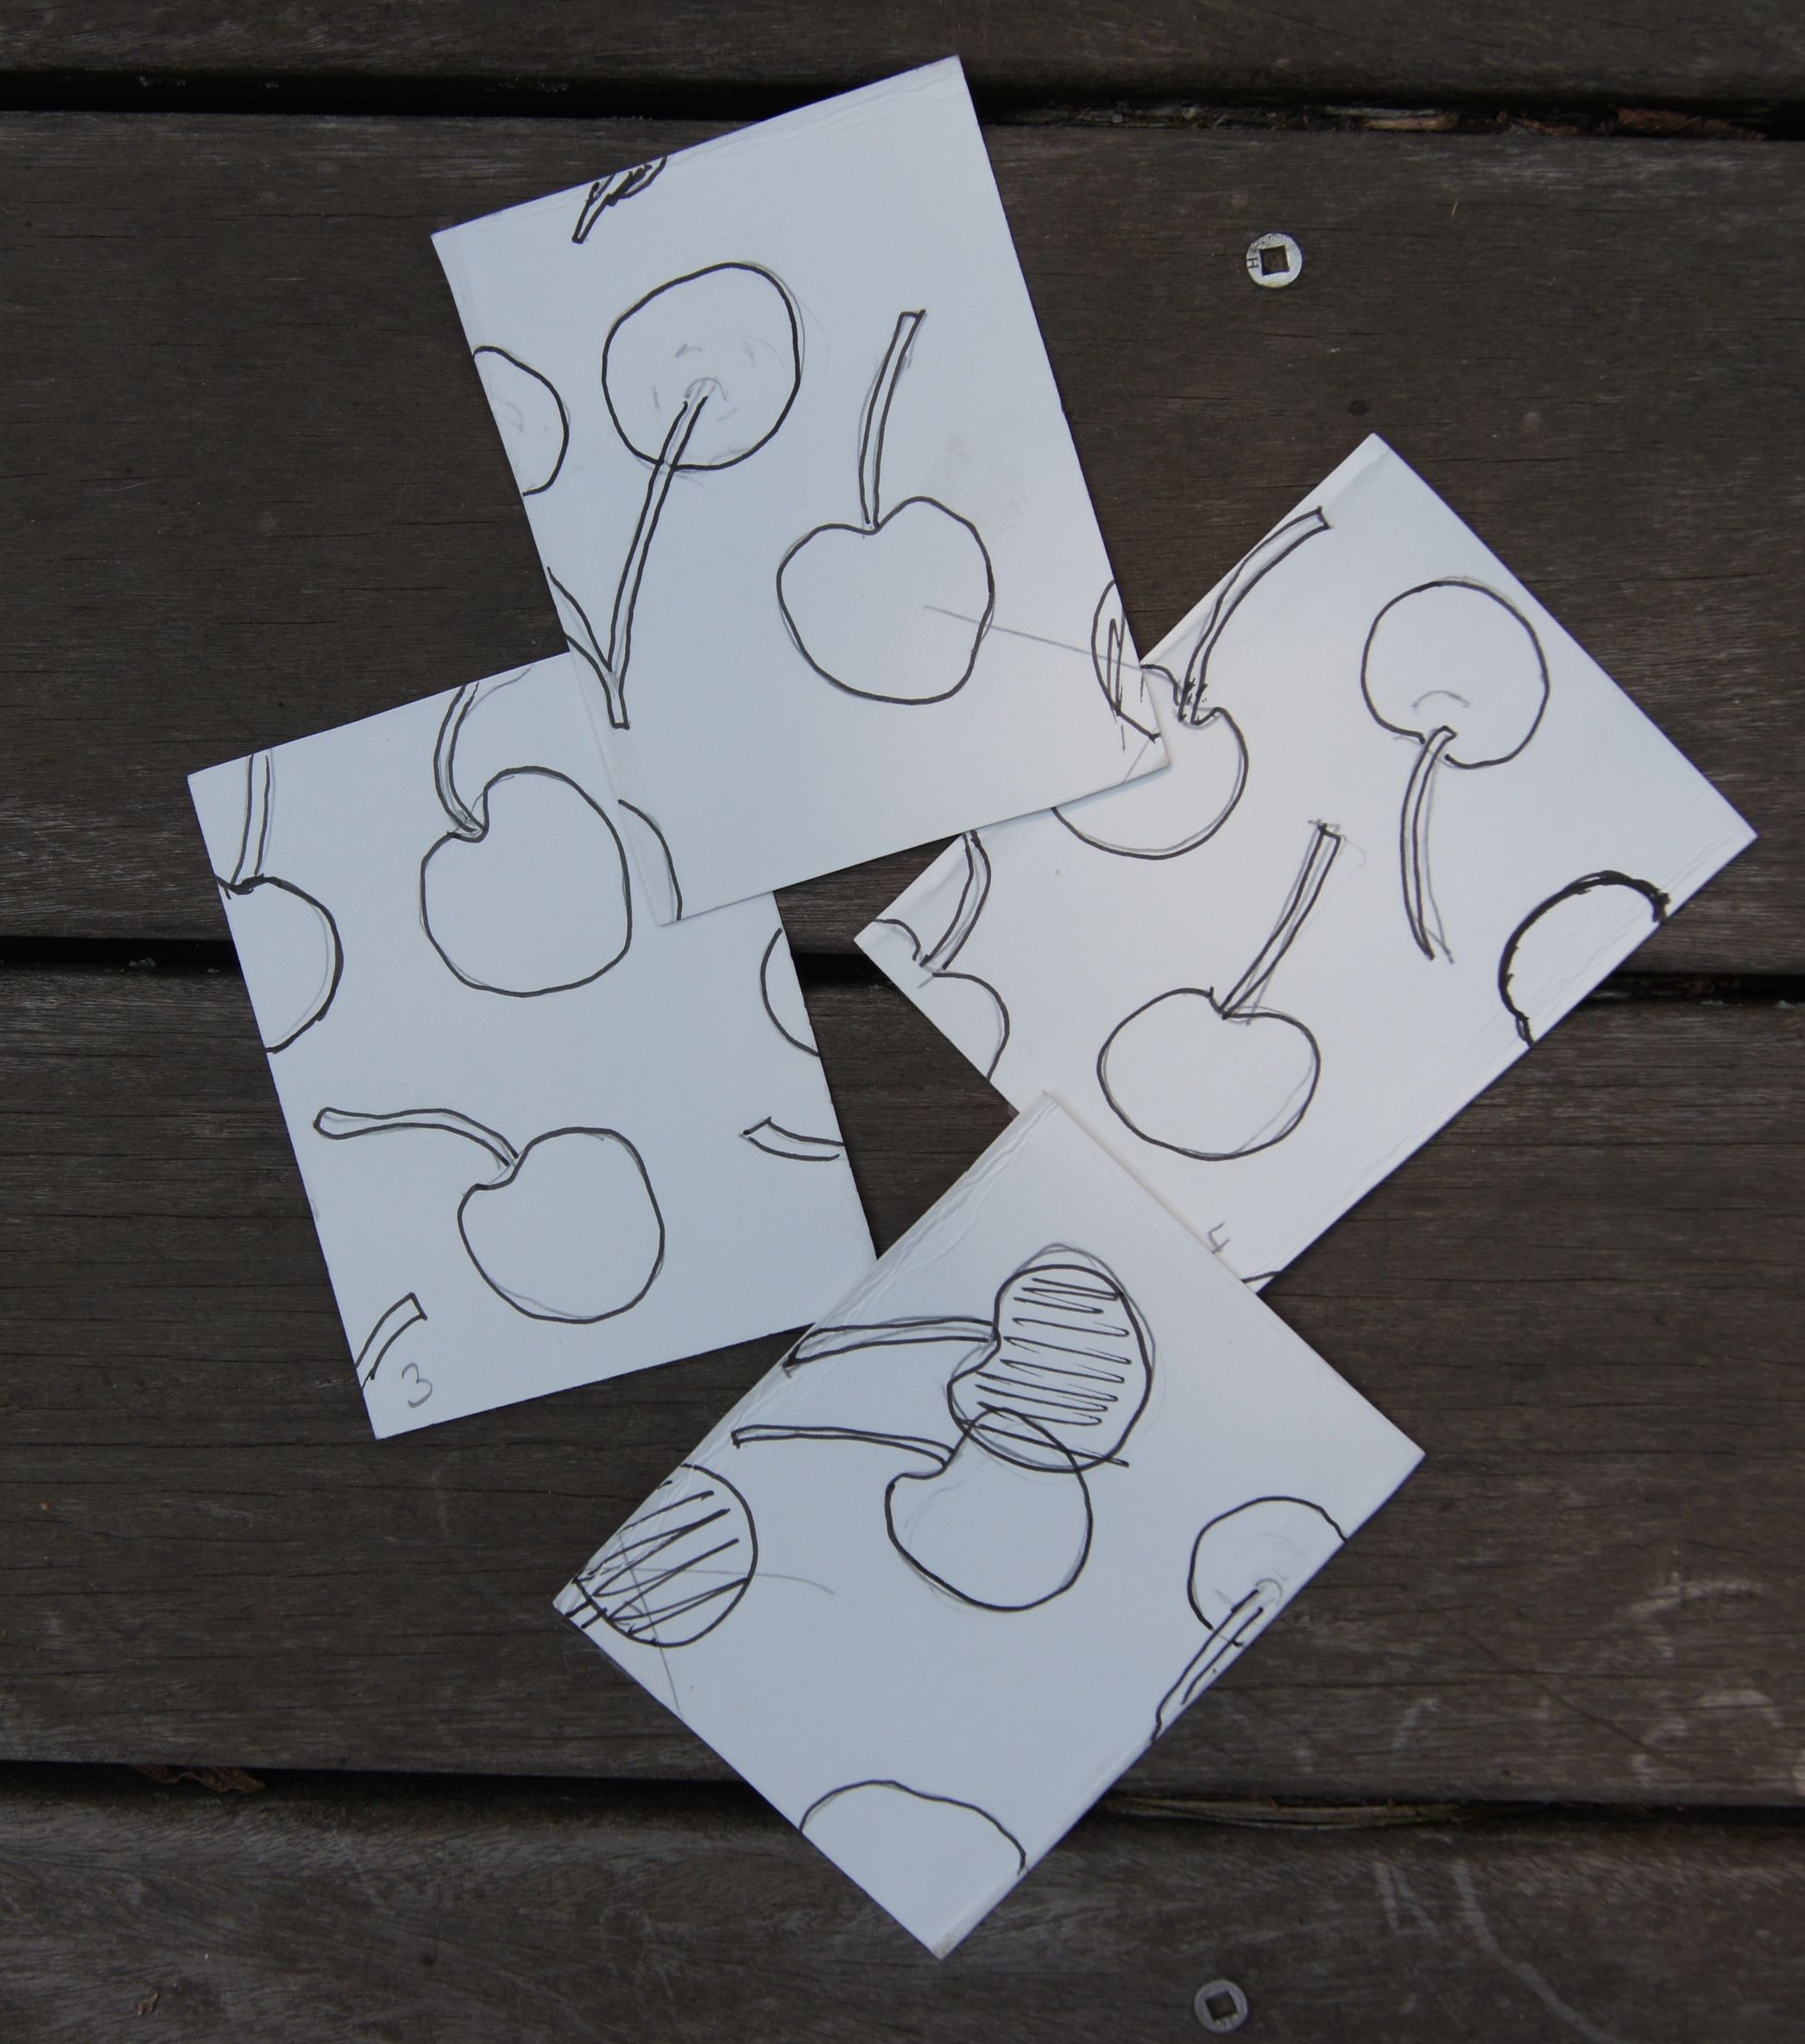
Cherries at the Farmers Market
- Cut 2 rectangles 6.5 inches high x 14.5 inches wide
- Cut 1 rectangle 5 inches high x 5.75 inches wide
Dogs at the Farmers Market
- Fussy cut 2 rectangles 9.75 inches high x 14.5 inches wide
Kona® Alegria Solid Blue
- Cut 2 charms squares 5 inches x 5 inches
- Cut 3 binding strips the width you prefer 2 to 2.5 inches x width of fabric
Backing
- Cut 1 piece 15.5 inches high x width fabric of your choice
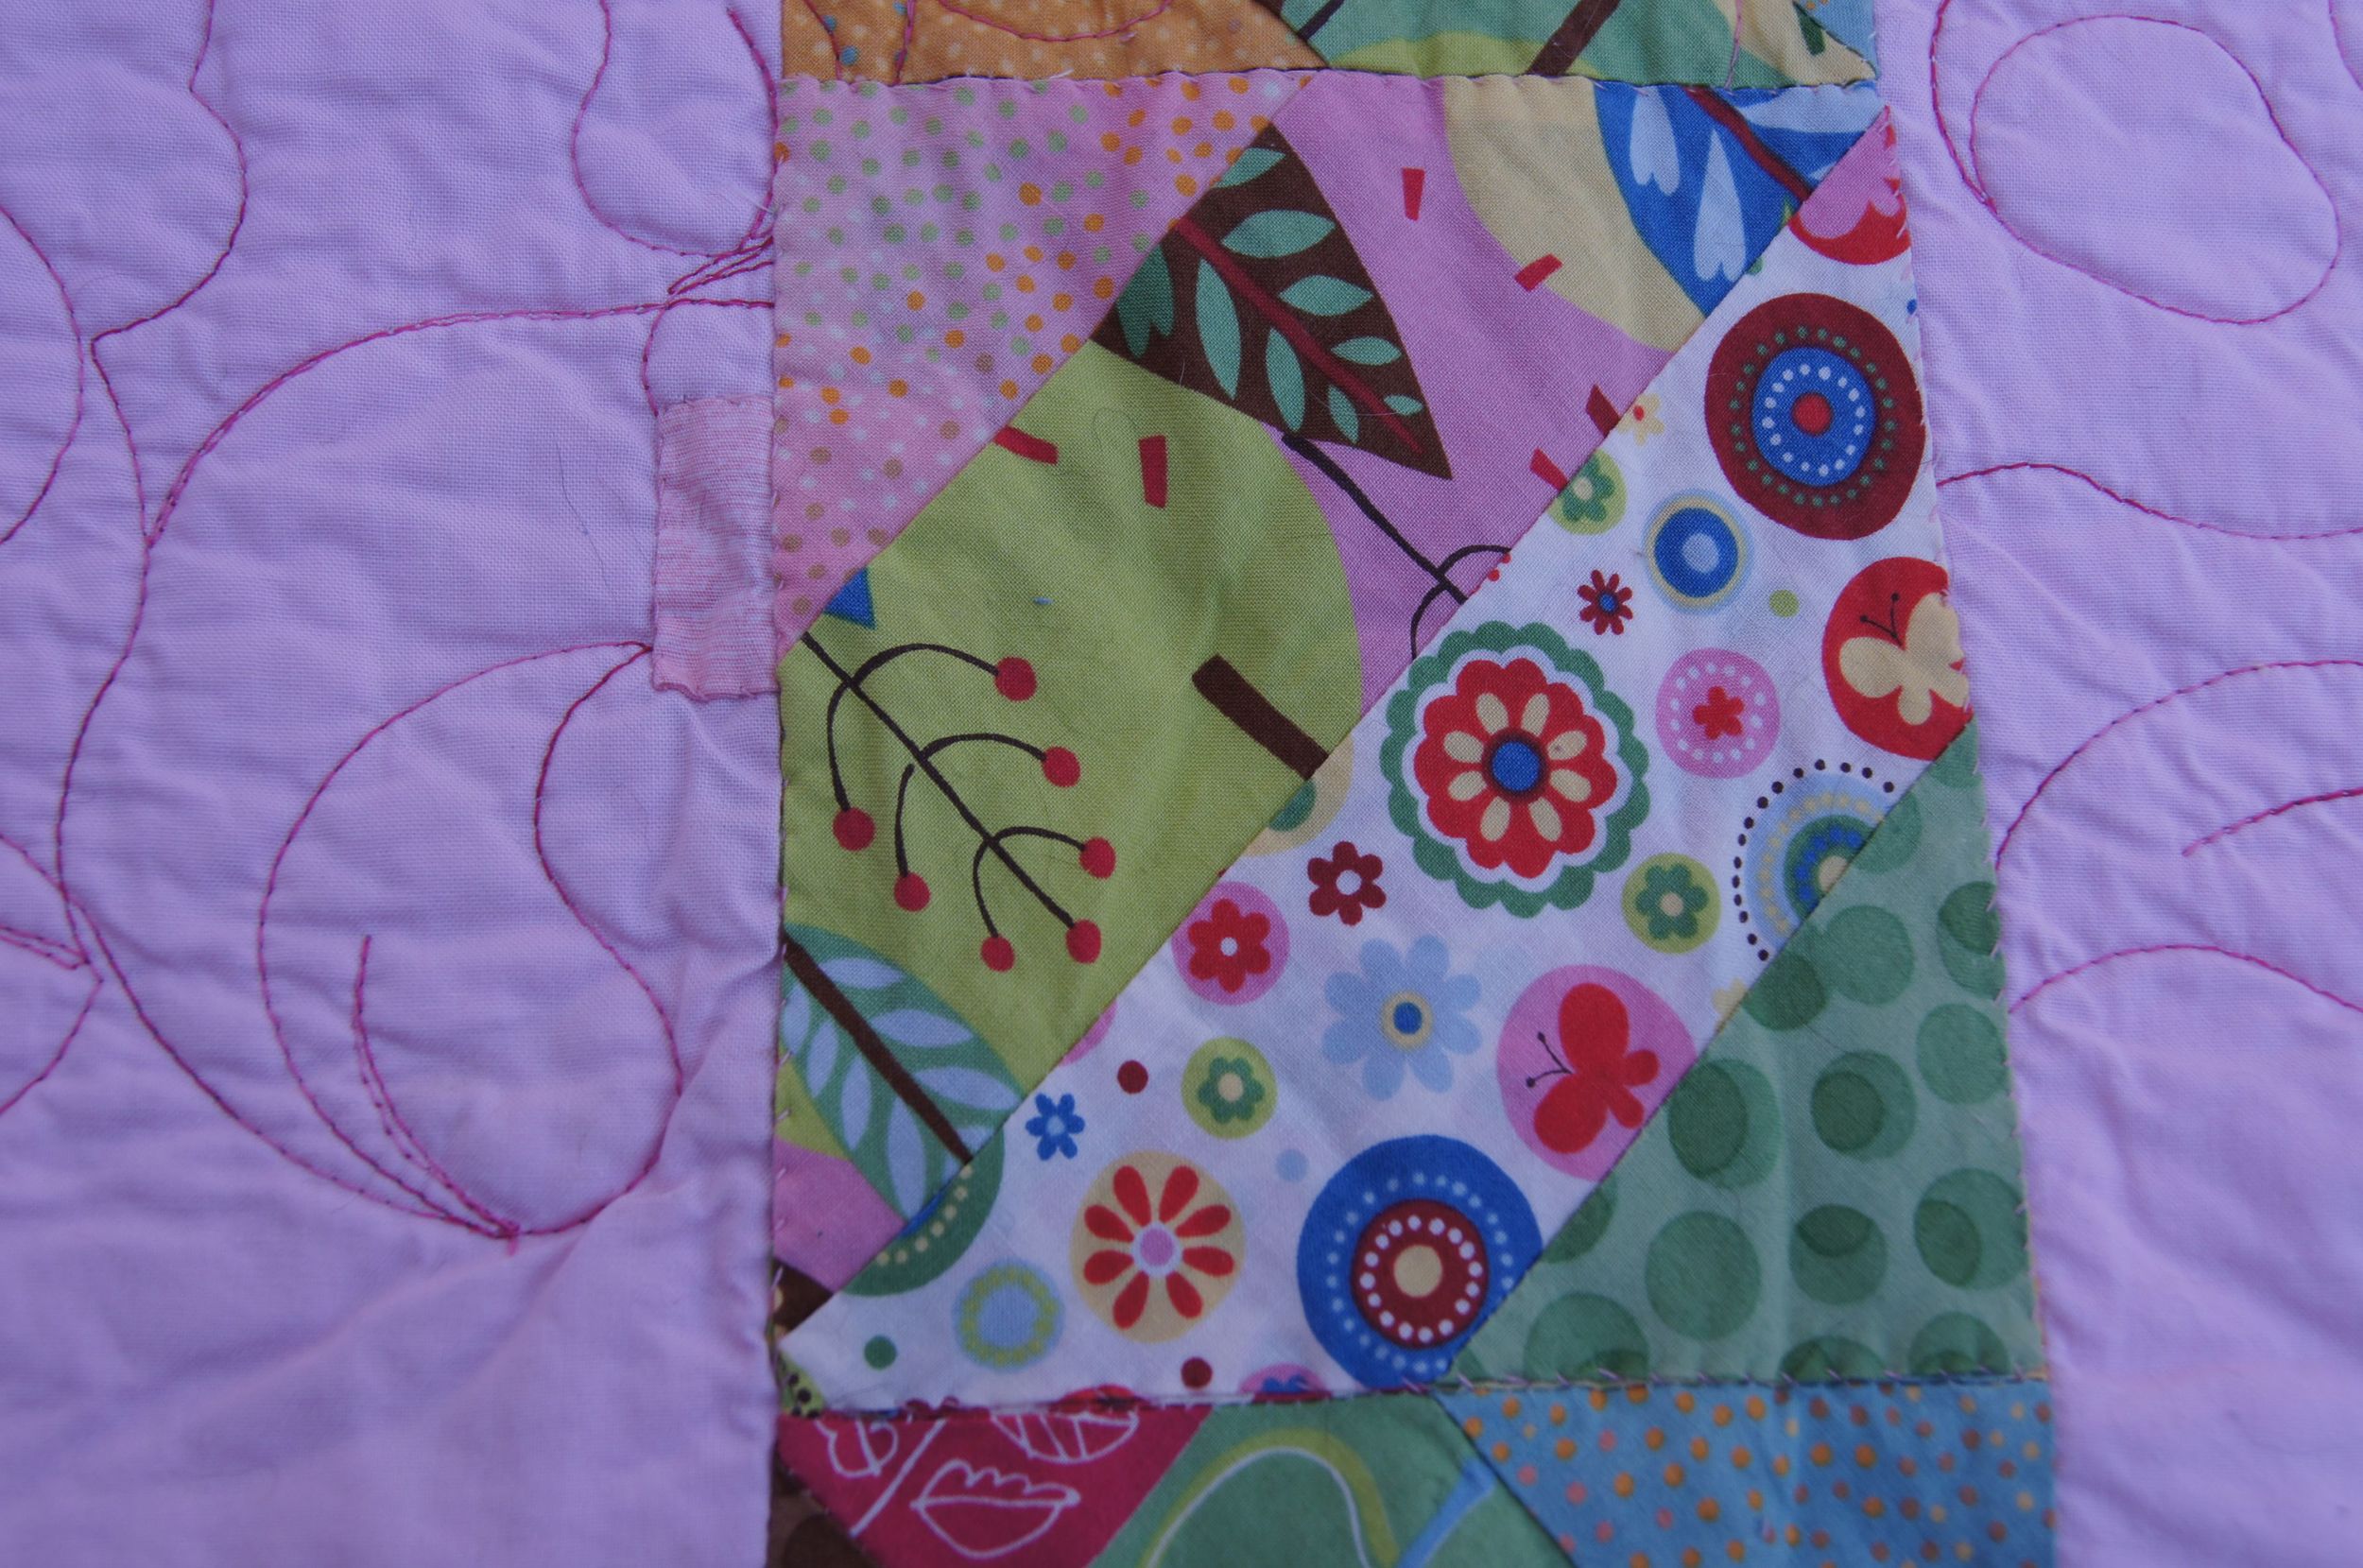
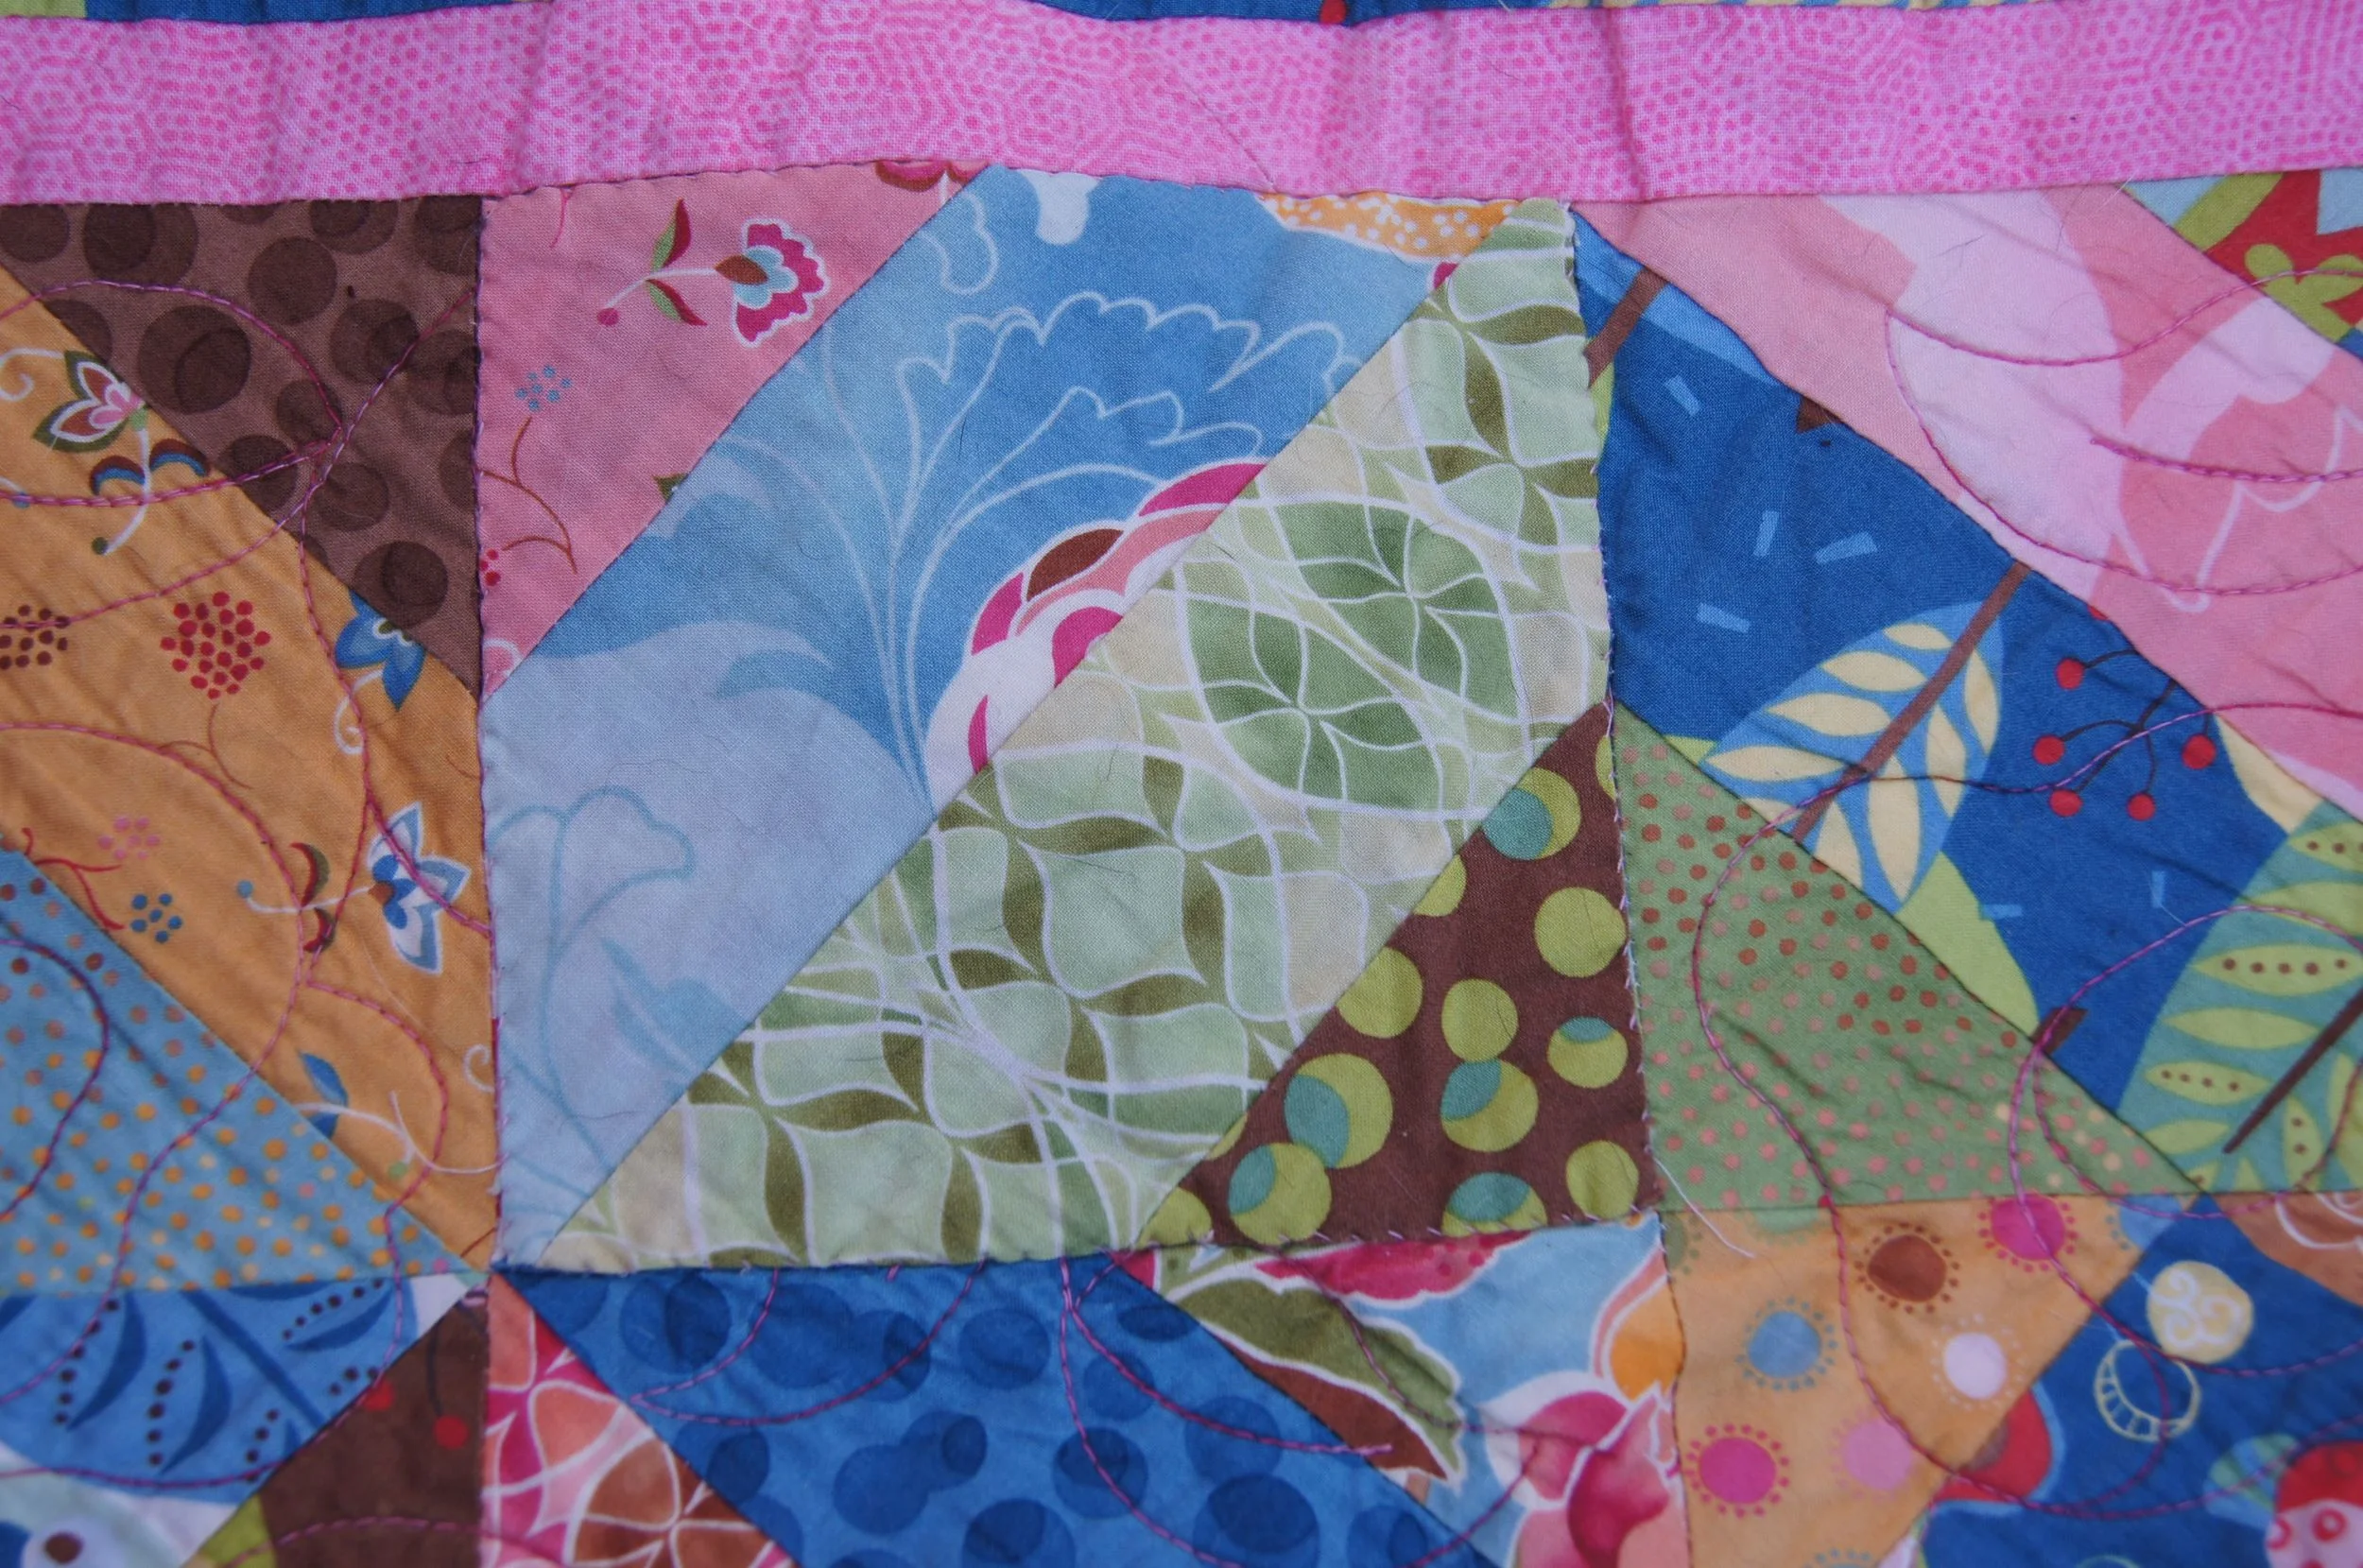
I assembled my table runner by the Quilt As You Go method, but it can be pieced any way you prefer. If not using this method, piece the blocks, sandwich the table runner and quilt as desired. Make a binding from the strips and sew it onto the table runner. Enjoy!

13.5 inch finished 9 Patch Block
Here is a 9 patch block using 5 x 5 inch squares. This block finishes at 13.5 inches.
Fabric Requirements
- 1 Fat Quarter Paired Springers and Golden Retrievers
- 1 Fat Quarter Farmers Market Cherries
- 1 5 x 5 inch Charm Square Kona® Cotton Alegria 405 or color of your choice
This could be one block in a quilt. With a single Fat Quarter of the Paired Springers and Golden Retrievers you will be able make another block like this one using just Springer Spaniels or you could make 3 blocks mixing up the Springers and Golden Retrievers in each 9 patch blocks.
I used my 9 Patch Block to make a pillow cover, using red ric-rac as a detail. Like the block, it finished at 13.5 inches, an odd size for a pre-made pillow form. But a 14 inch pillow form with some stuffing removed works just fine!

13.5 inch Pillow Cover with Ric-Rac detail