Petal Fairy doll
I've been having fun making some projects for the newest addition to our family. Now that the baby is coming up on her first birthday, she's at the perfect age for a happy sewing Auntie!
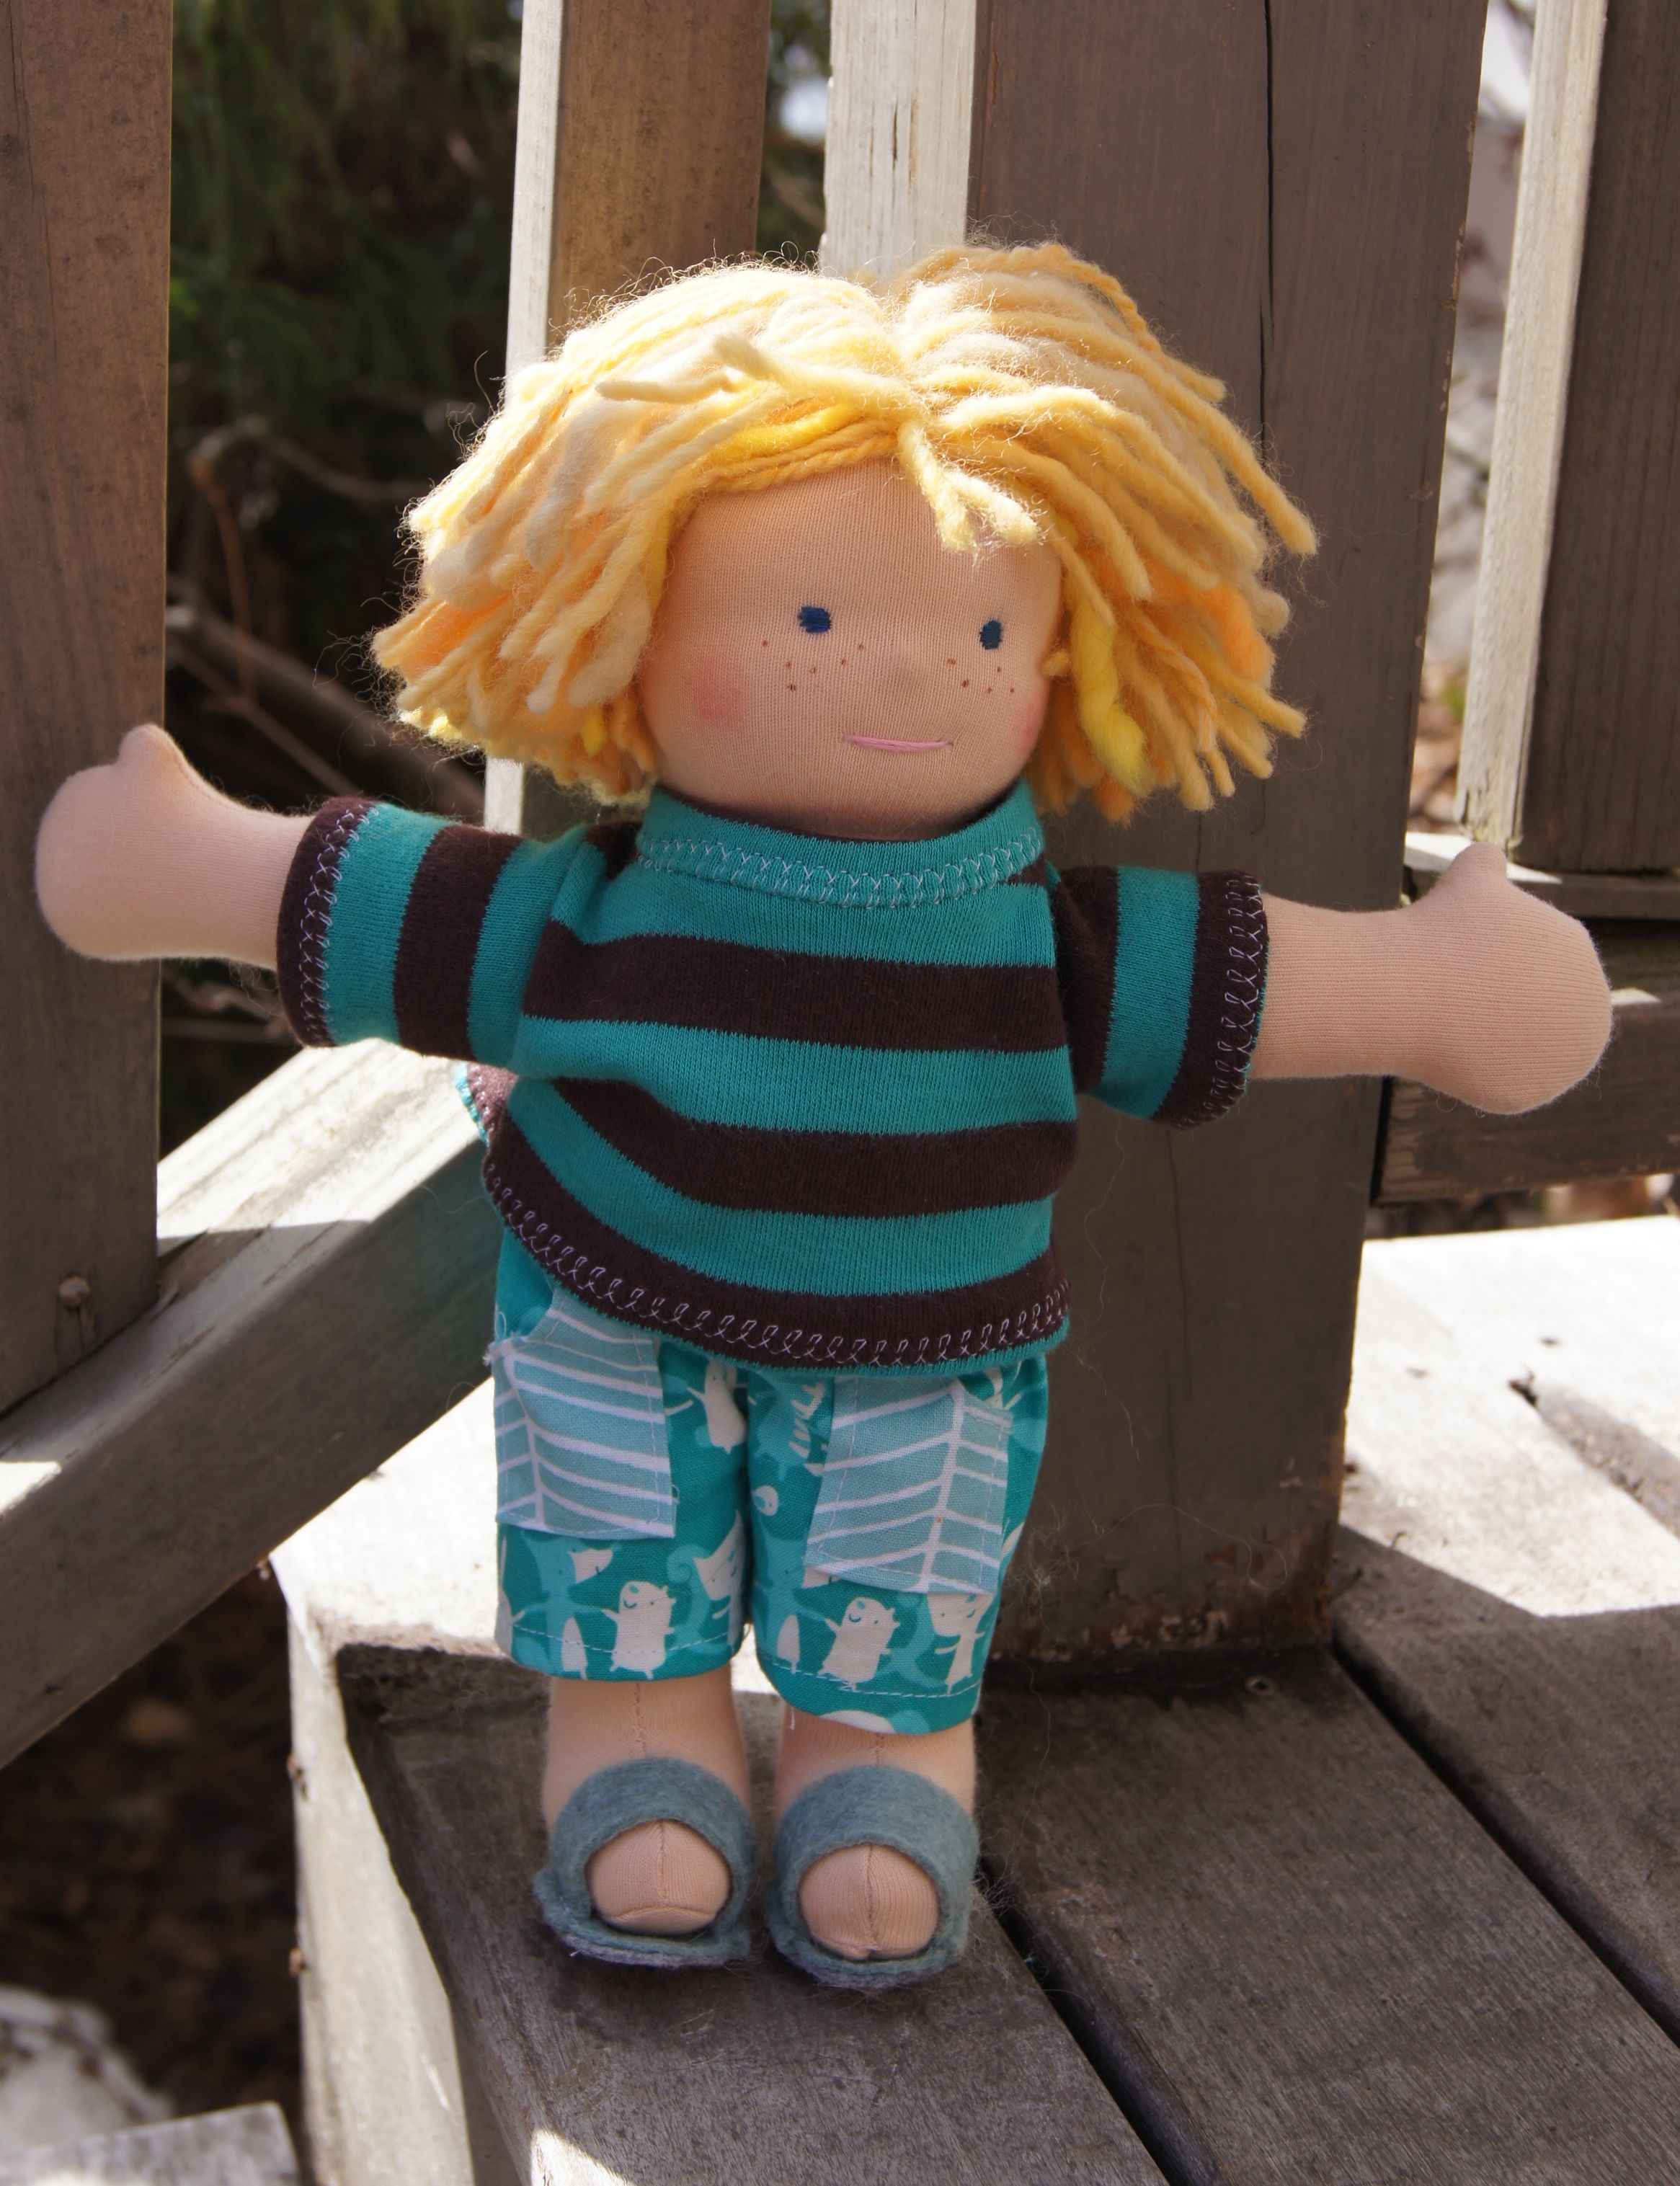
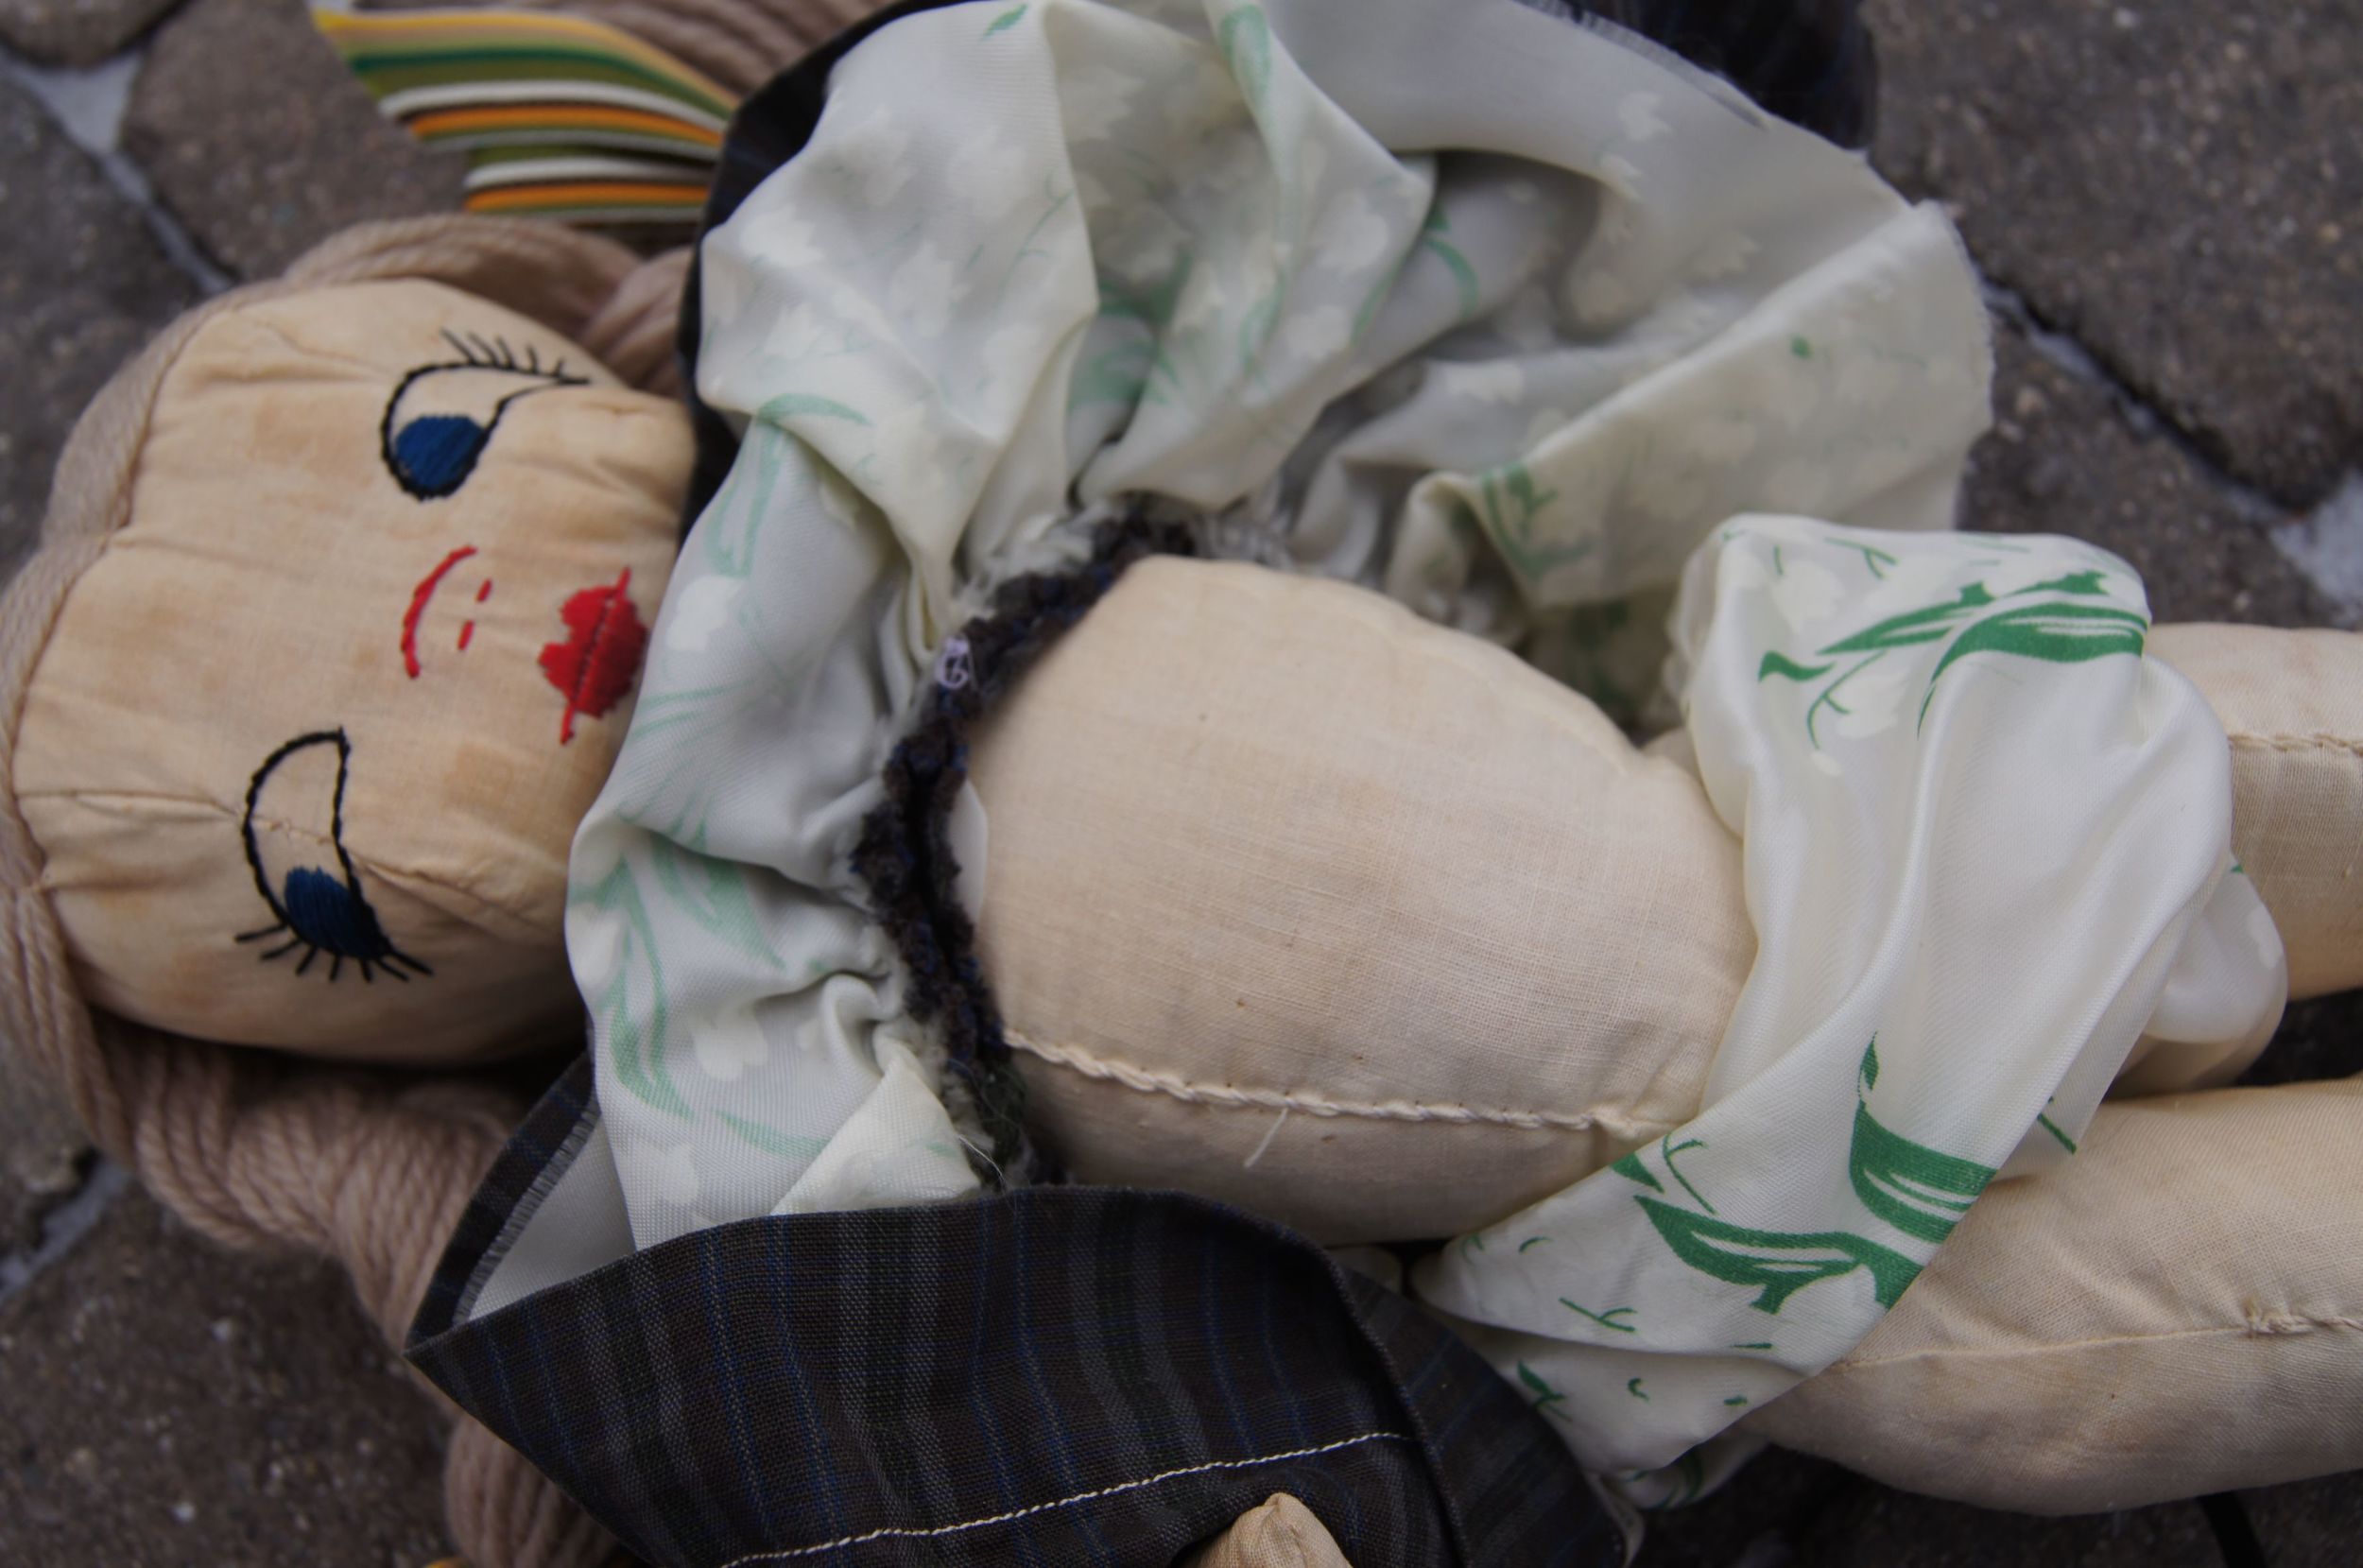
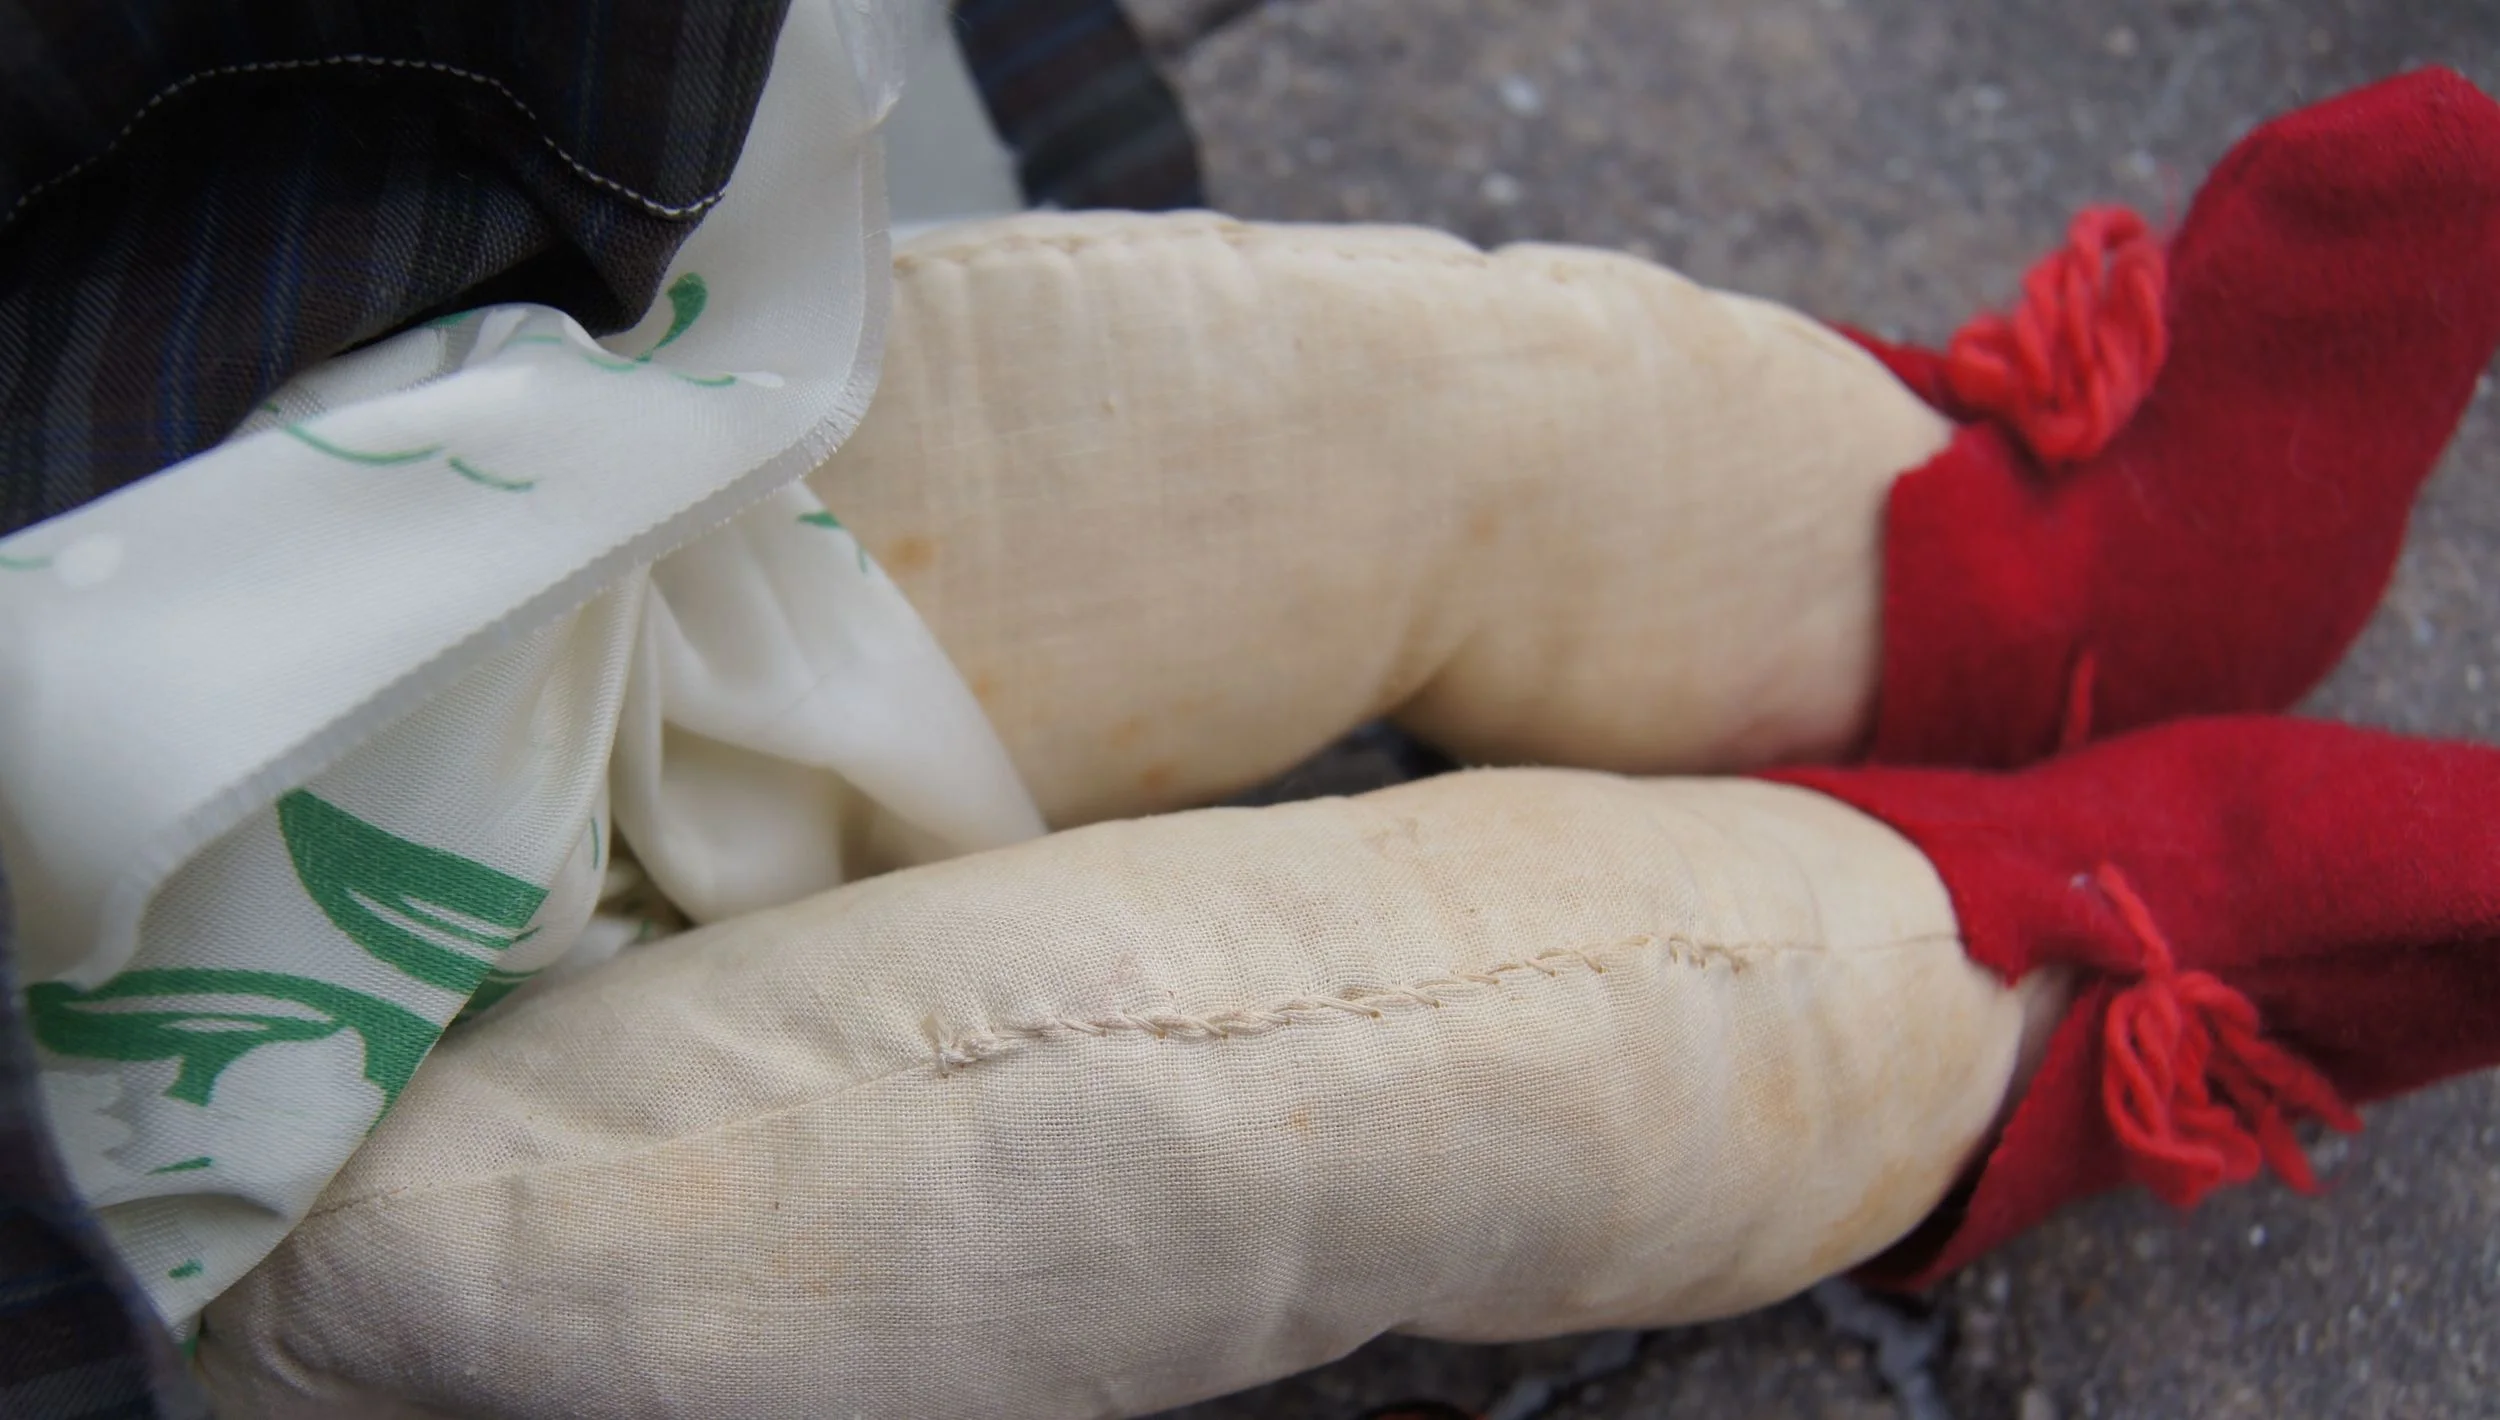
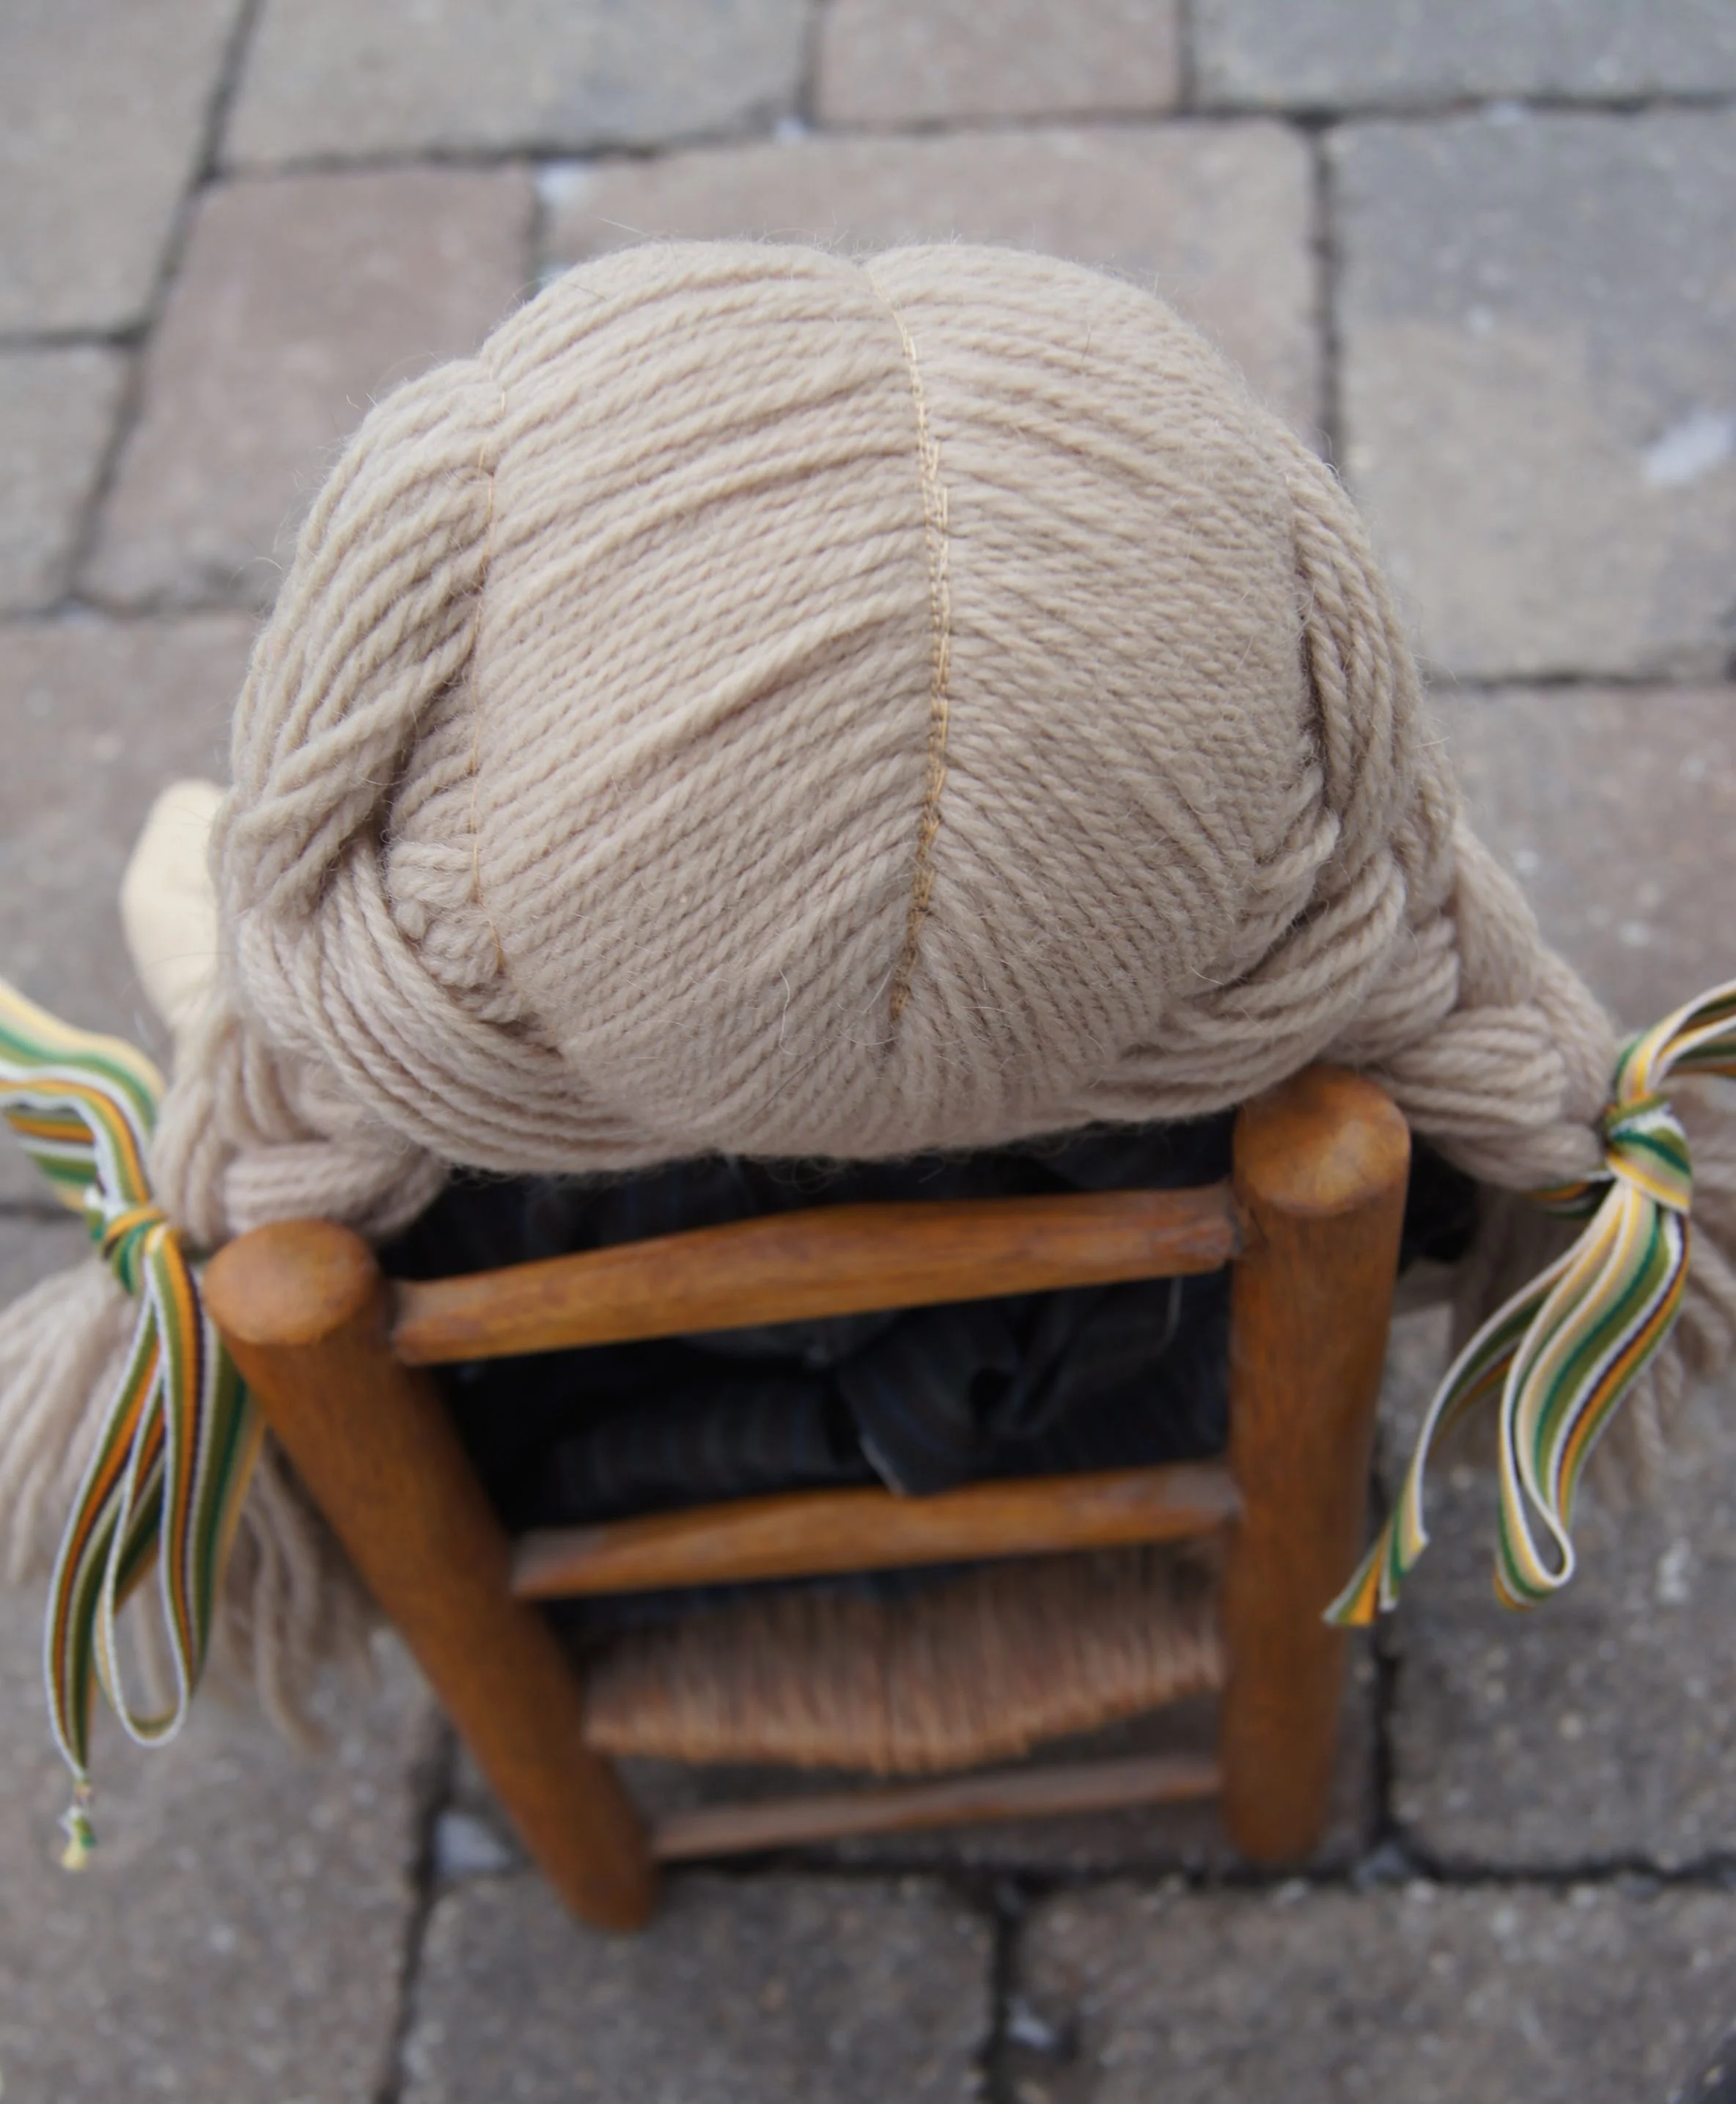
Above is my Petal Fairy. She is a Waldorf inspired doll. I created the pattern for the doll. Her head is 2" tall. The entire doll is 11" from top of her head (cap not included) to the scalloped petal edge of her gown. So that makes her longer than the typical ratio of 1:3 for a doll. But it's looks fine because most of her length is her dress and as we all know, long gowns are beautiful! She is not stuffed, making her safer for a baby. She is as much a lovey as a doll.
I also made her a SeeSaw Dress from FishsticksDesigns.com. I haven't really used any knits for years so it's fun learning new ways to sew them. The fabric I used is mostly cotton with 5% Lycra. It's got happy stretch with great rebound.
I have a serger but found my regular machine had so many great knit stitches built in, that I didn't bother with the serger. This dress will have a nice drape on a child which isn't really evident on a hanger! I'll see if I can get a photo of her wearing the dress on Instagram one of these days!
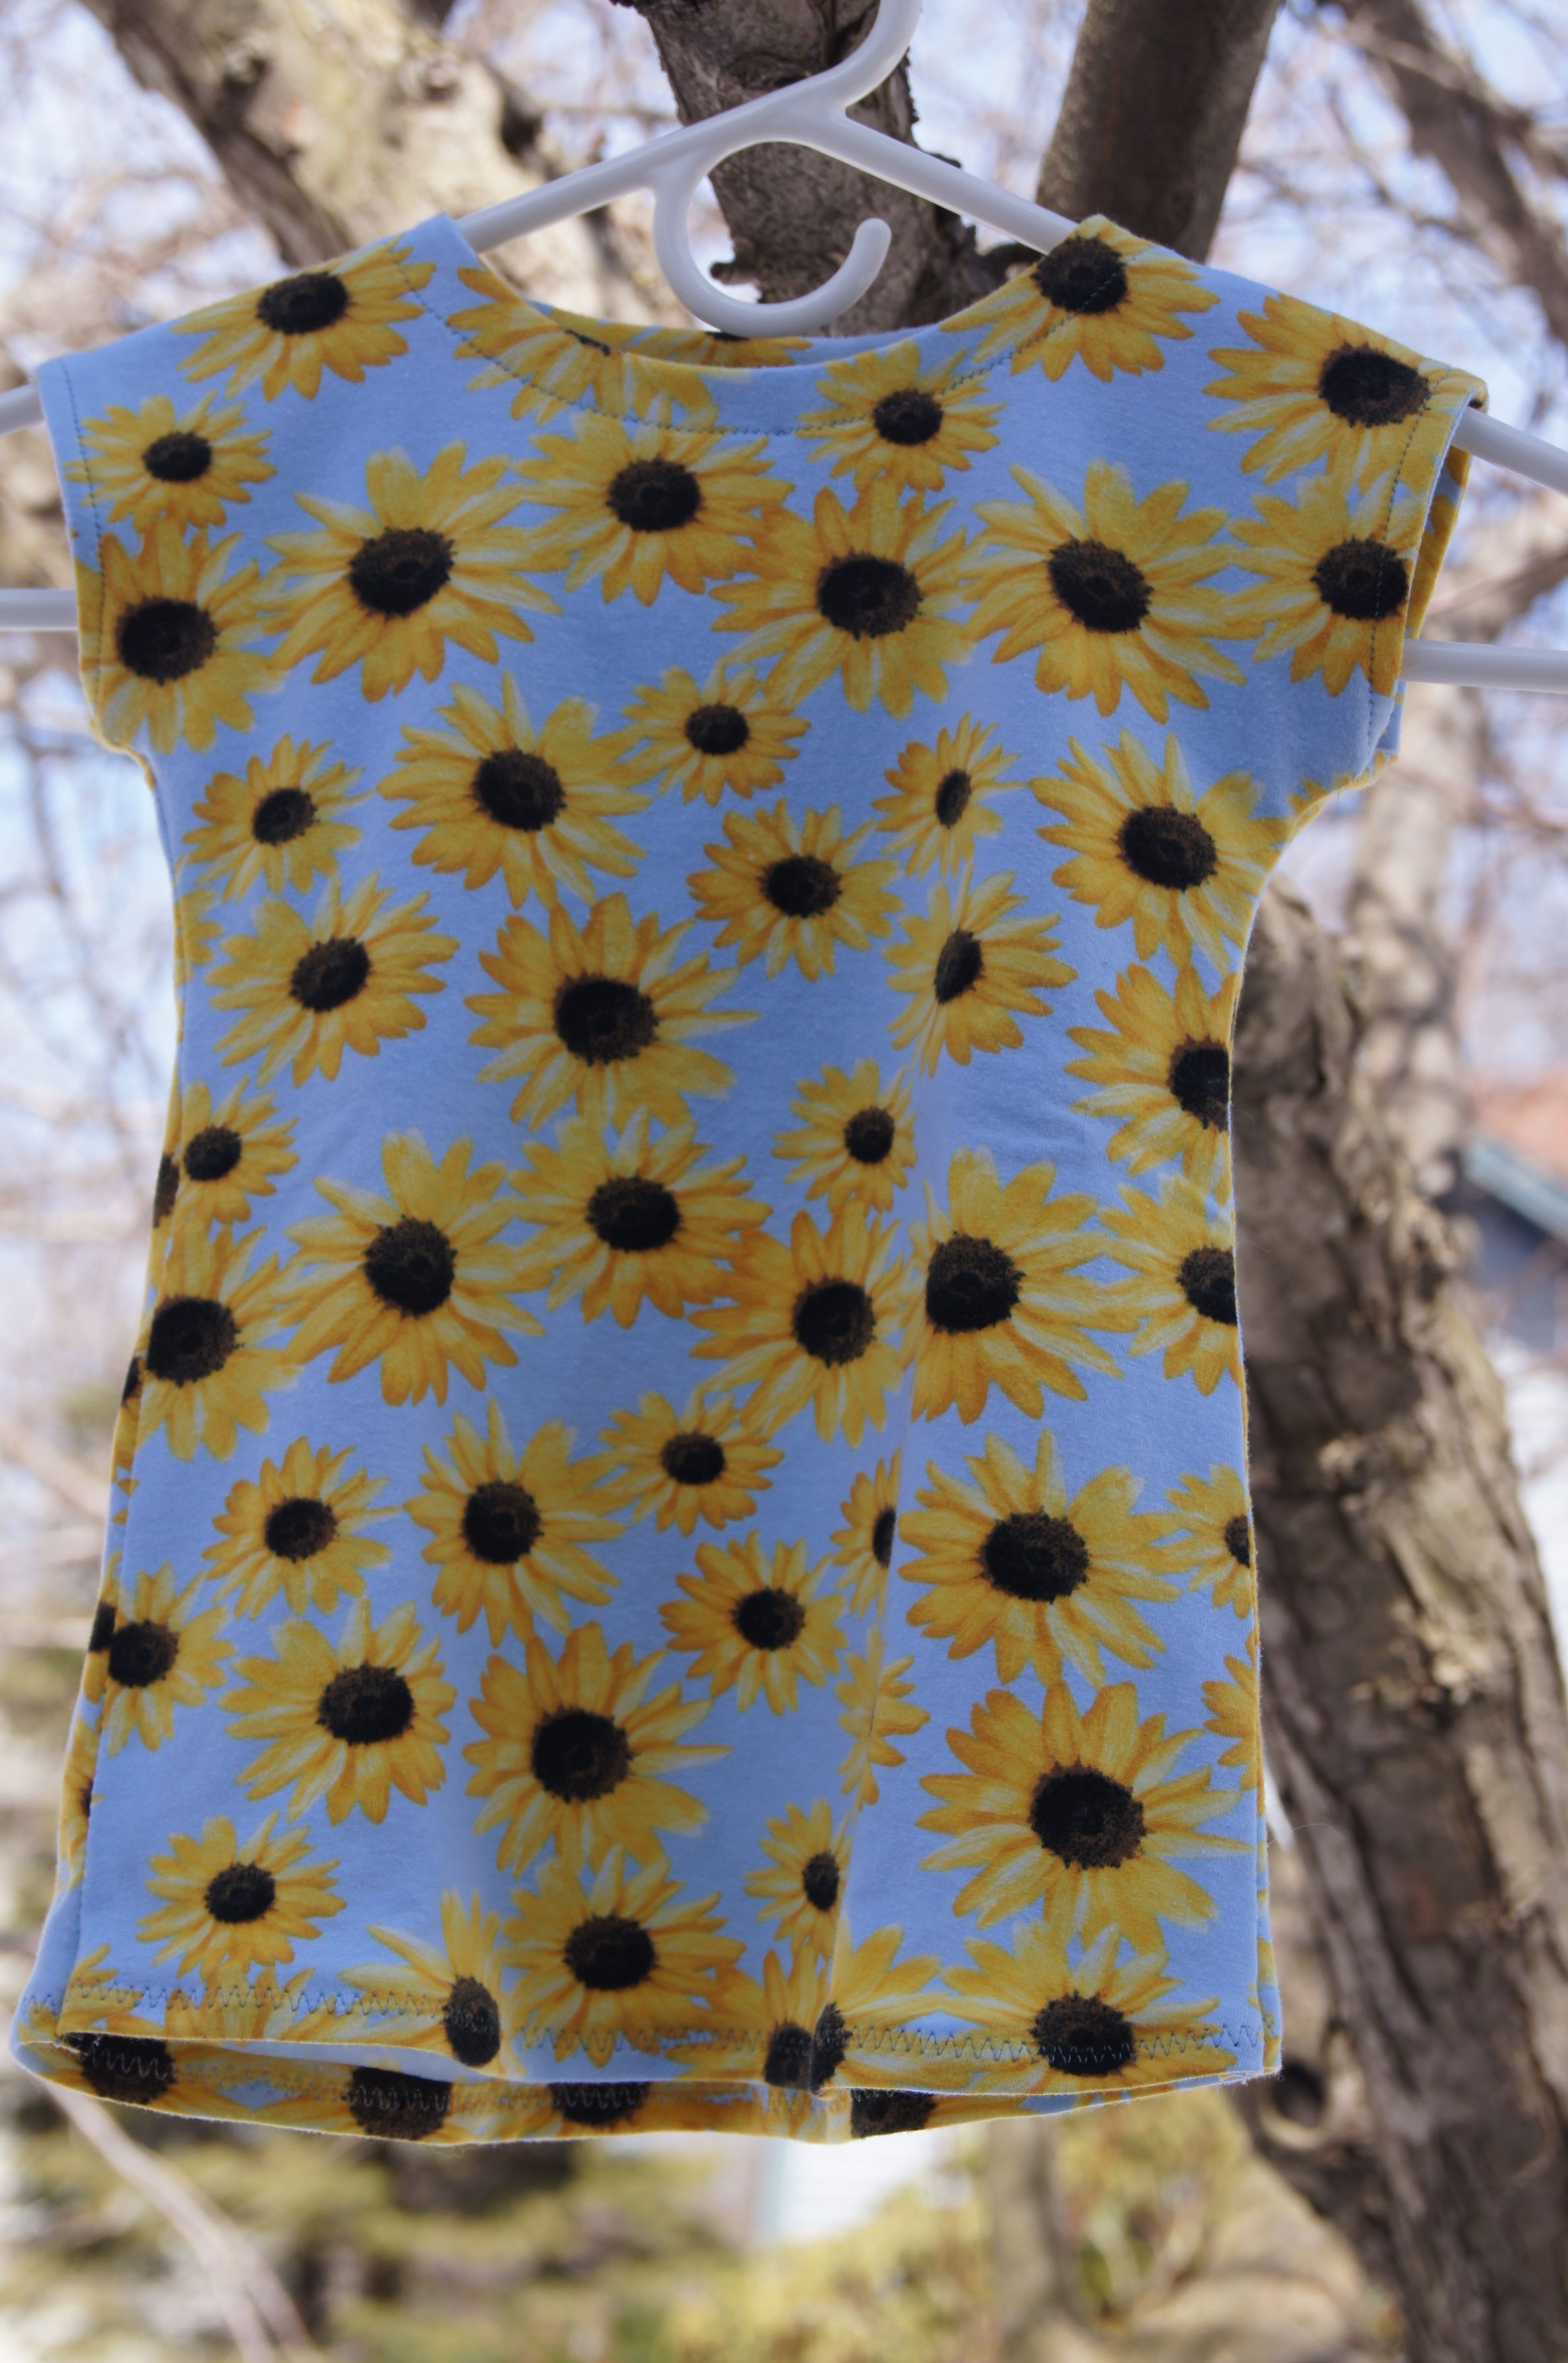
SeeSaw Dress by FishSticksDesigns.com 95%Cotton, 5%Lycra 12 month size