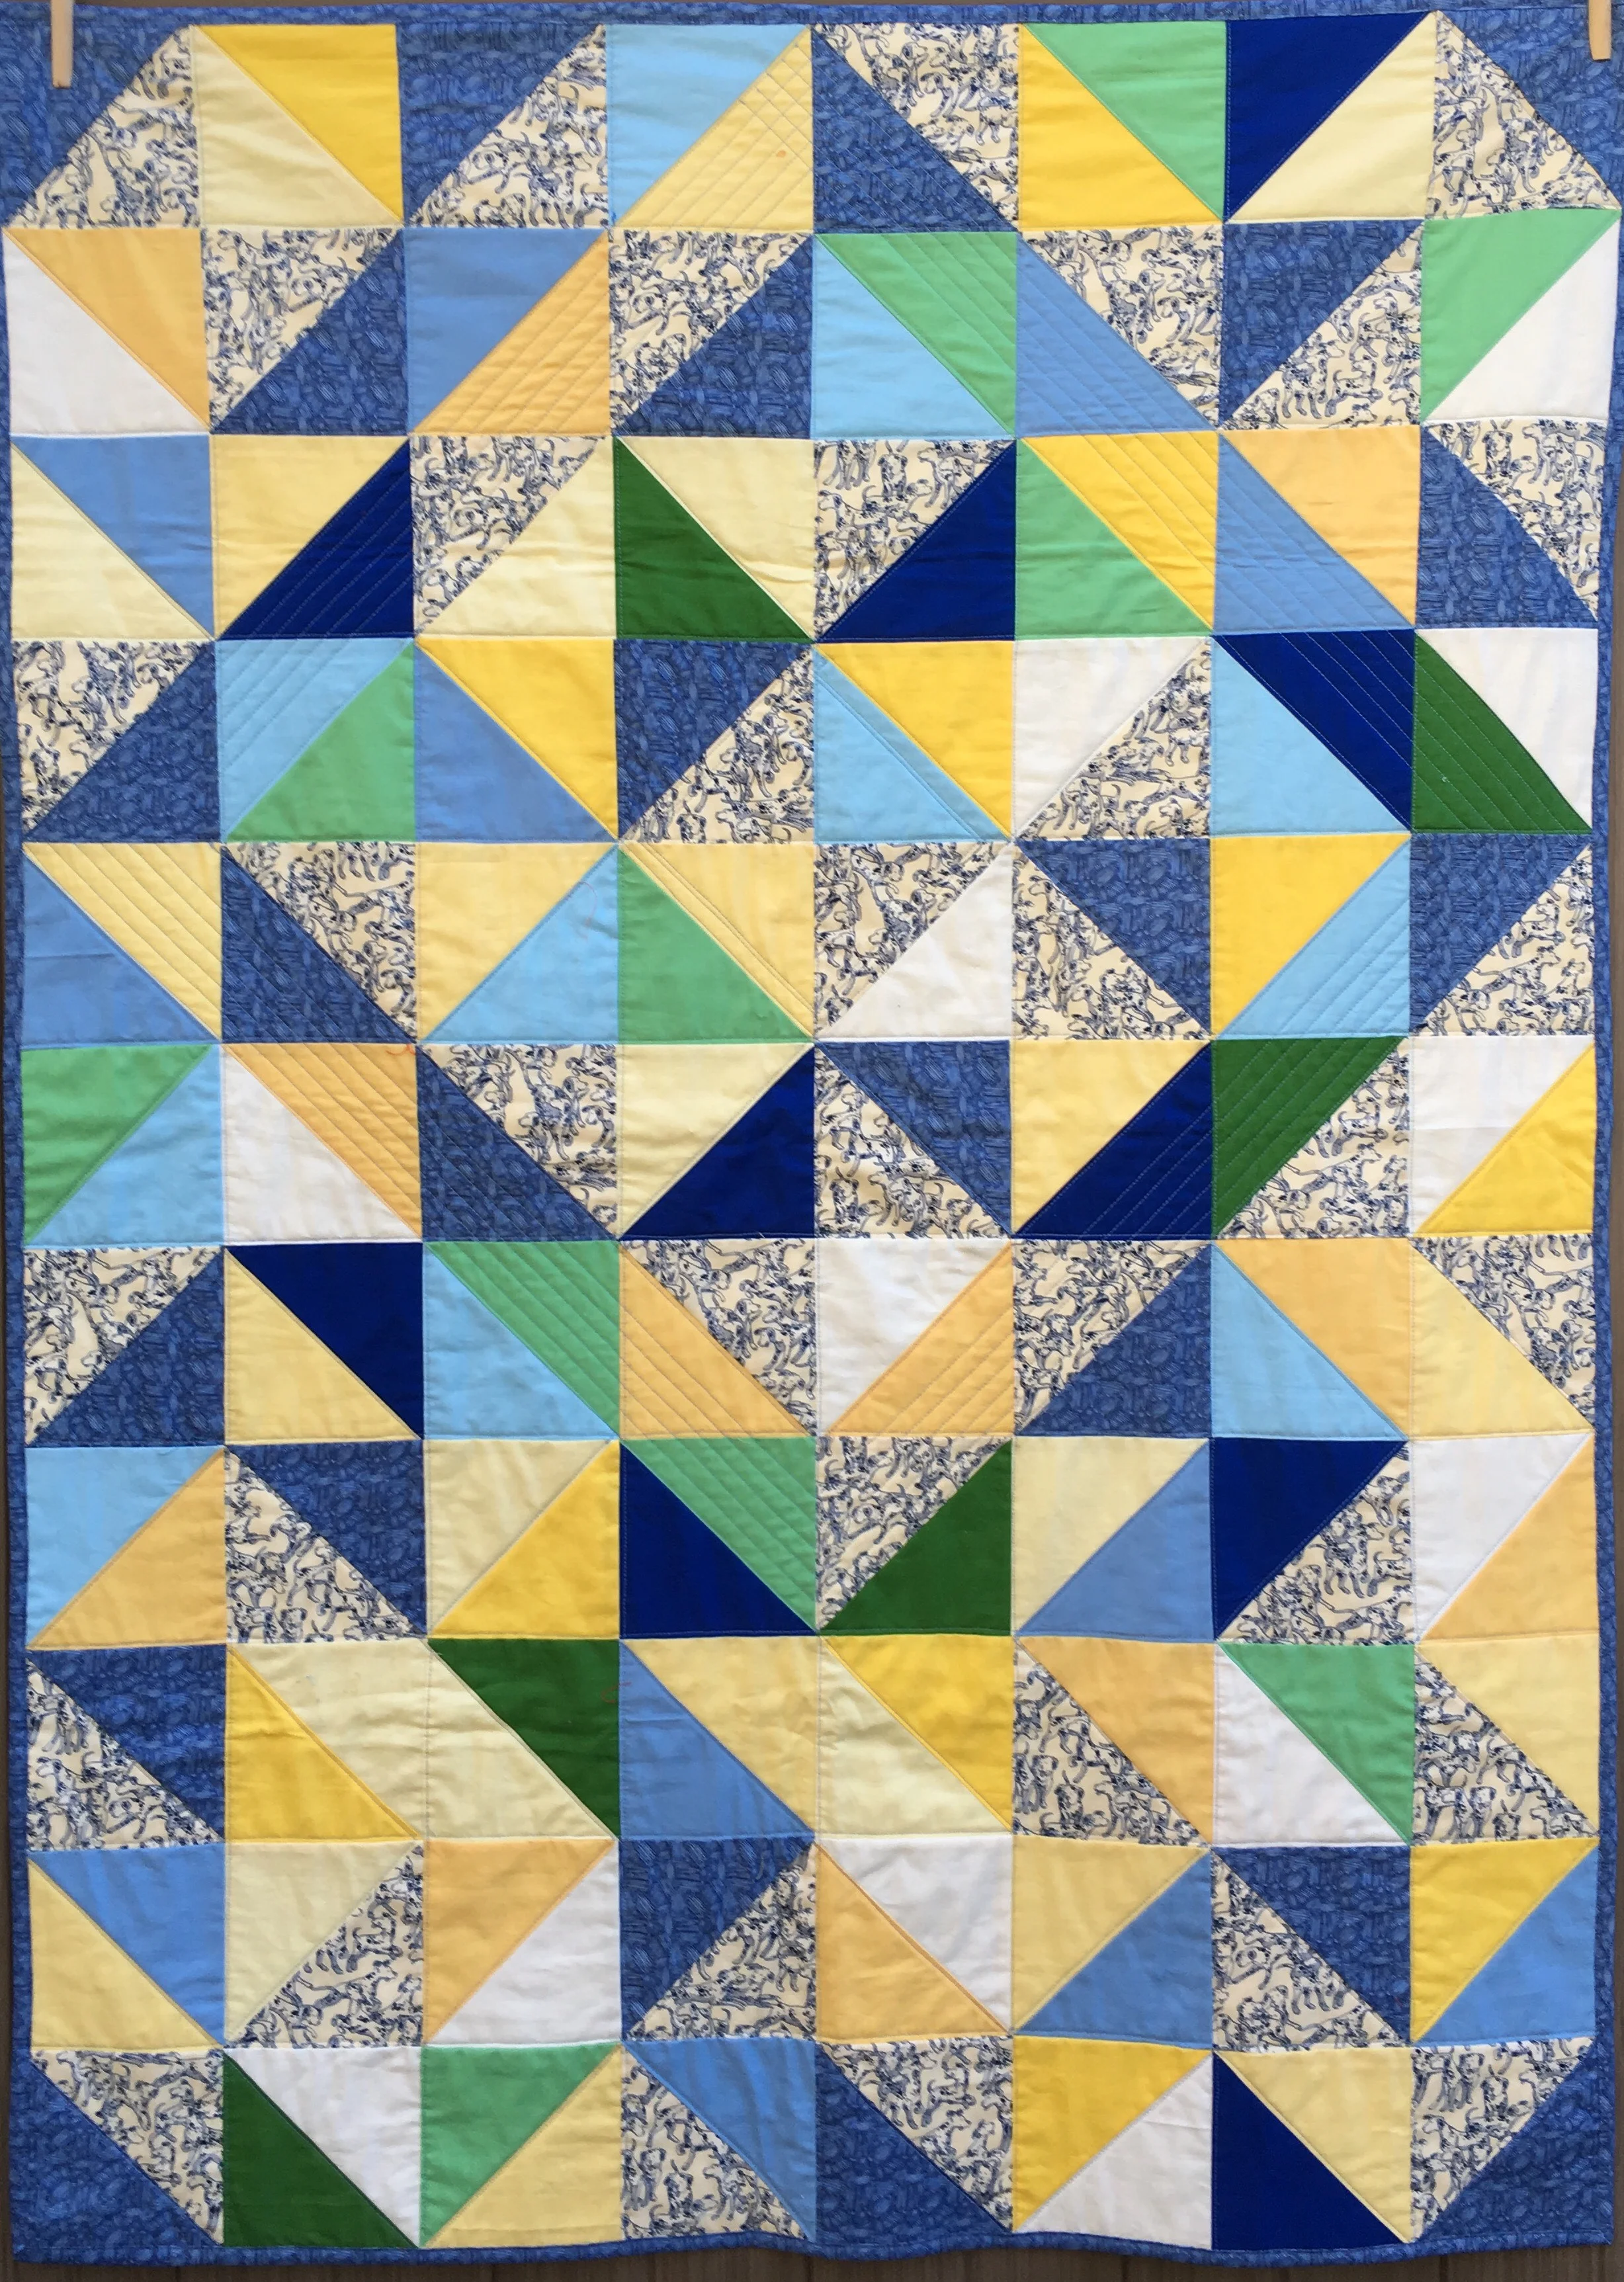
Search
  • Information
    • About
    • Contact
    • Privacy Policy
  • Blog
  • Subscribe
  • Tutorials
    • Tutorials
    • Doll Clothes: Photos and some Patterns
  • Suggested Reading
  • Quilts: My Original Designs
  • Gallery: Color Studies
  • Gallery: Quilts I've Made
  • Doll Making Blog Posts
  • Recent blog posts
  • Quilts Based on The Improv Handbook for Modern Quilters
Close
Menu
Search
Close
  • Information
    • About
    • Contact
    • Privacy Policy
  • Blog
  • Subscribe
  • Tutorials
    • Tutorials
    • Doll Clothes: Photos and some Patterns
  • Suggested Reading
  • Quilts: My Original Designs
  • Gallery: Color Studies
  • Gallery: Quilts I've Made
  • Doll Making Blog Posts
  • Recent blog posts
  • Quilts Based on The Improv Handbook for Modern Quilters
Menu

Sleeping Dog Quilts

SLEEPING DOG QUILTS

August 8, 2024

Doll Quilt in Progress: From Trash to Treasure

by Judy Tucker


Doll Quilt Top

Doll Quilt Top

I’ve been quilting for HOW long?? And still I made an avoidable error. I recently purchased a pattern. When I read the instructions for cutting the fabric and looked at the instructions I knew that there was serious error for cutting part of the pattern. I should have drawn the block in EQ8 and checked it, which is what I did…eventually…but instead I just went head and cut out the fabric as directed.

I thought I could wing it, or change some other parts of the pattern and make it work. I re-cut a lot of the pieces, but no. The half square triangles (HSTs) were never going to work.

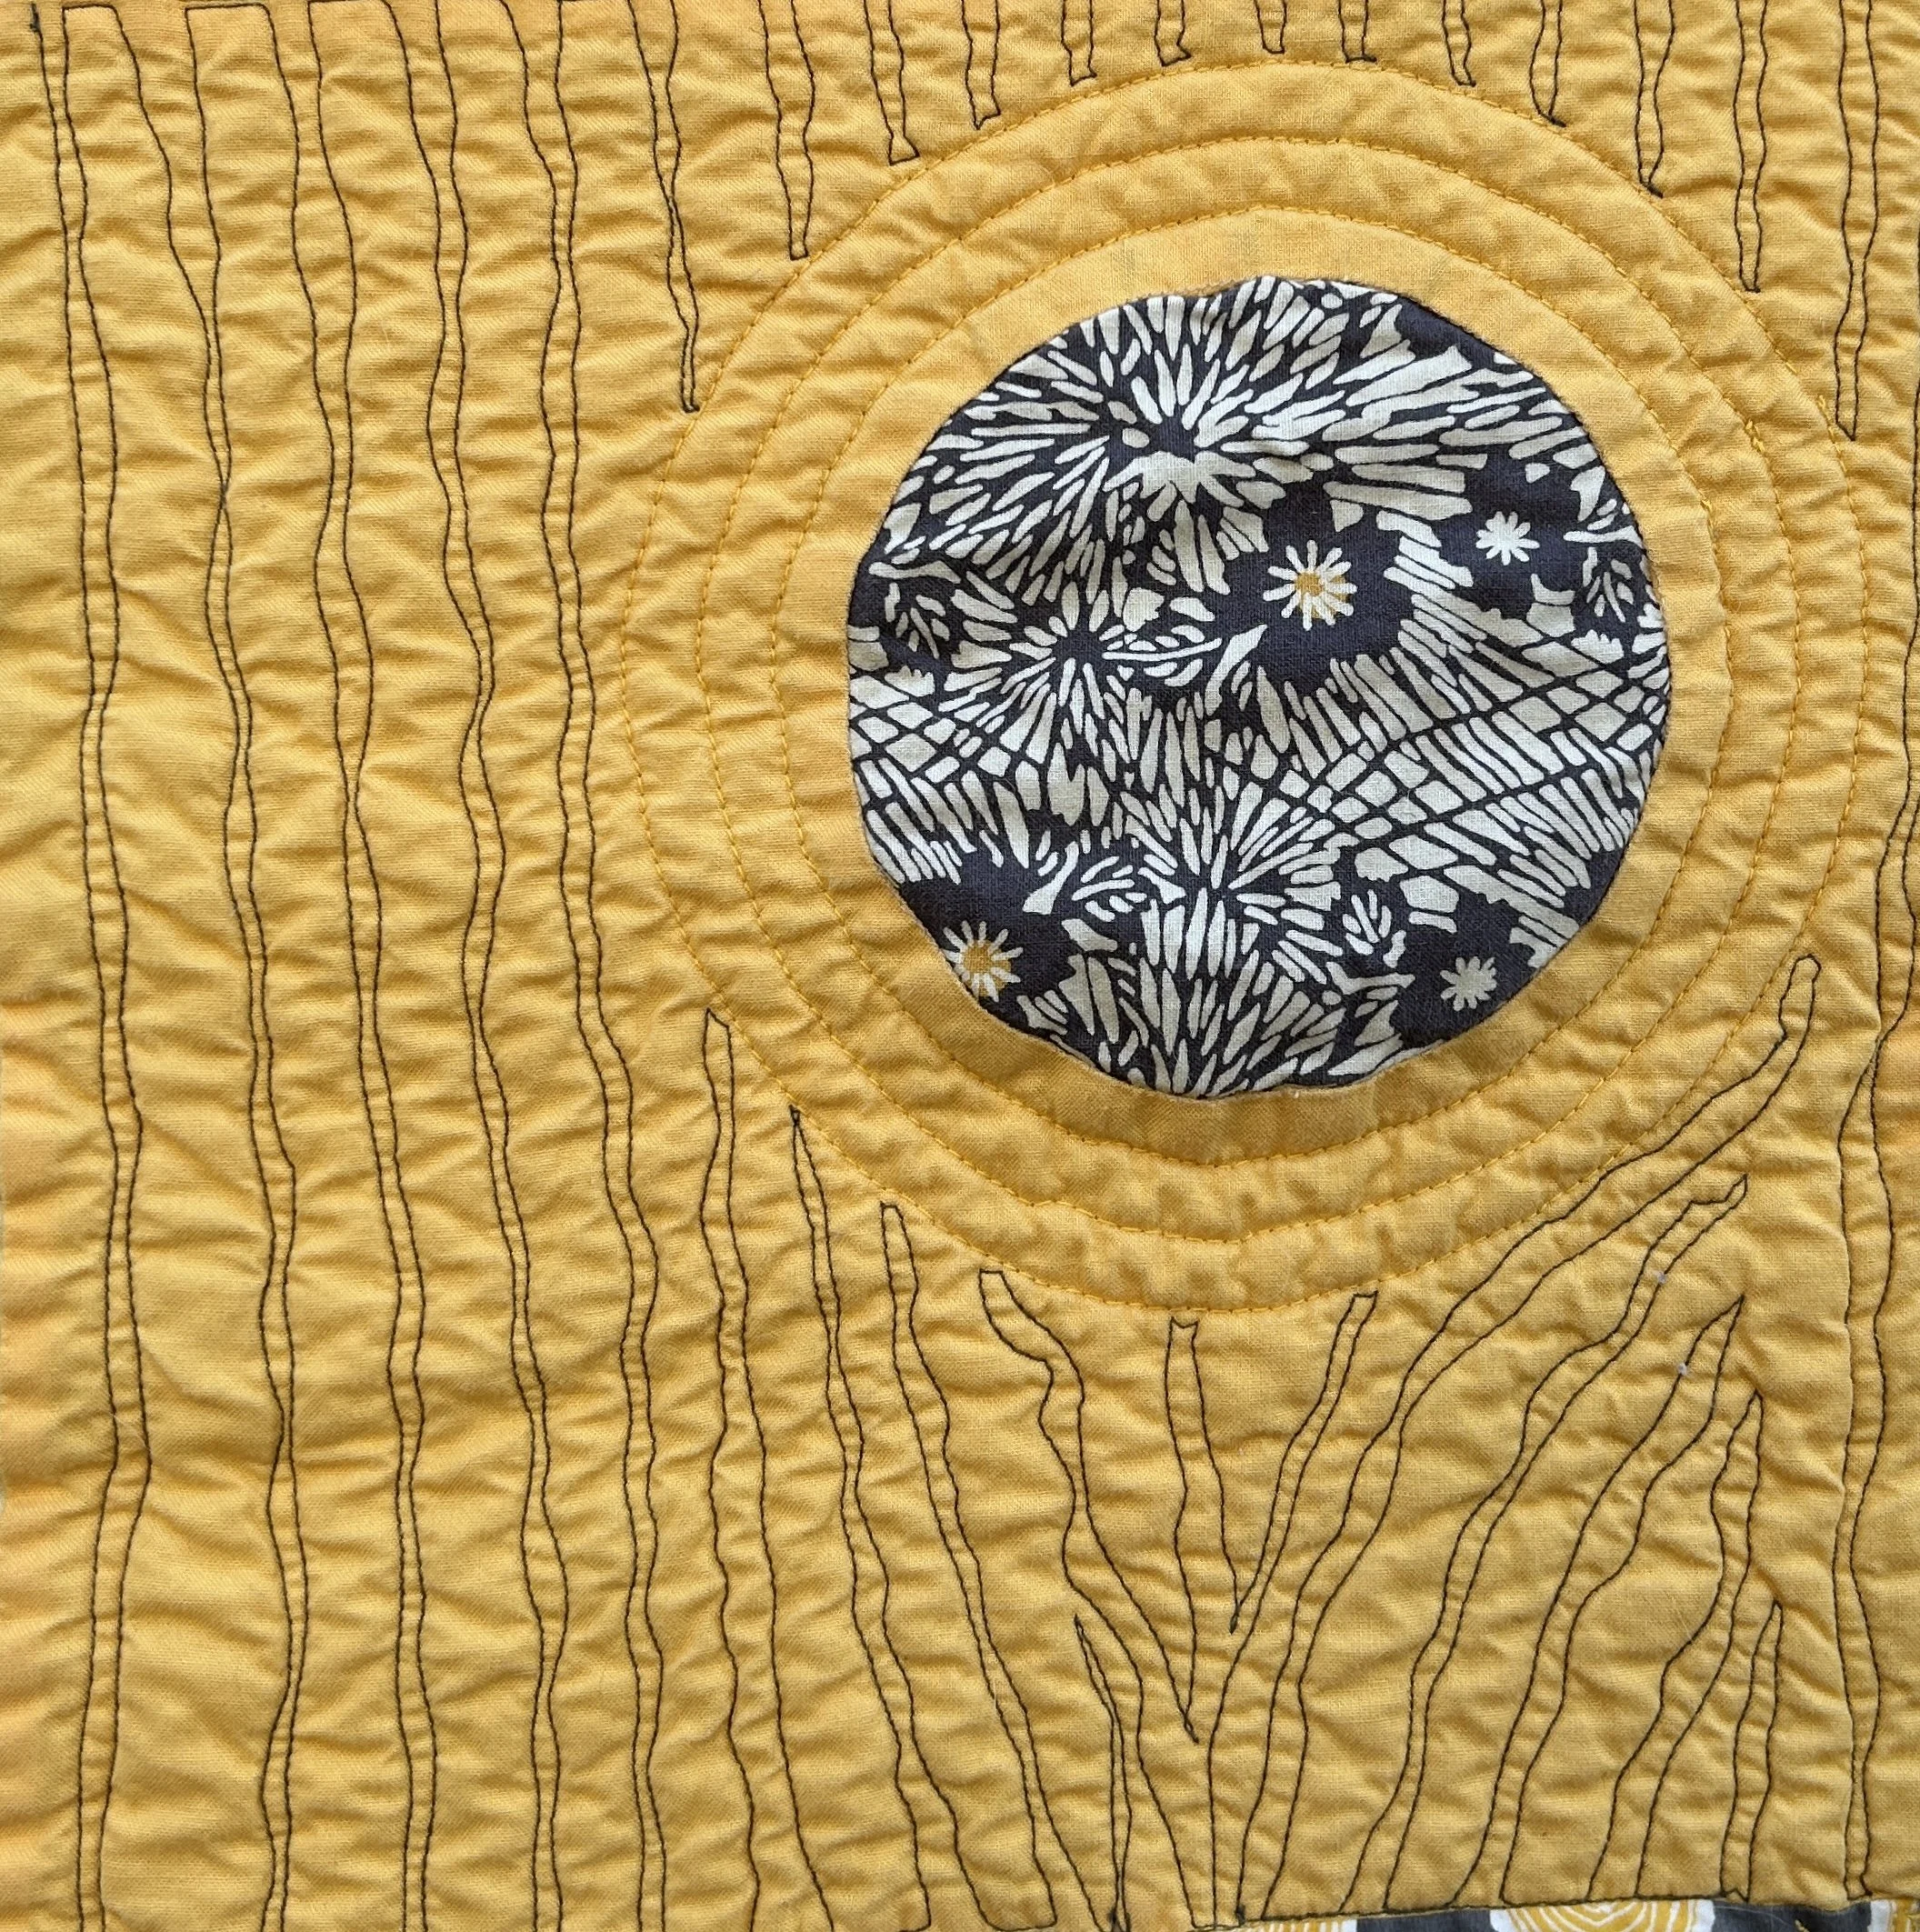
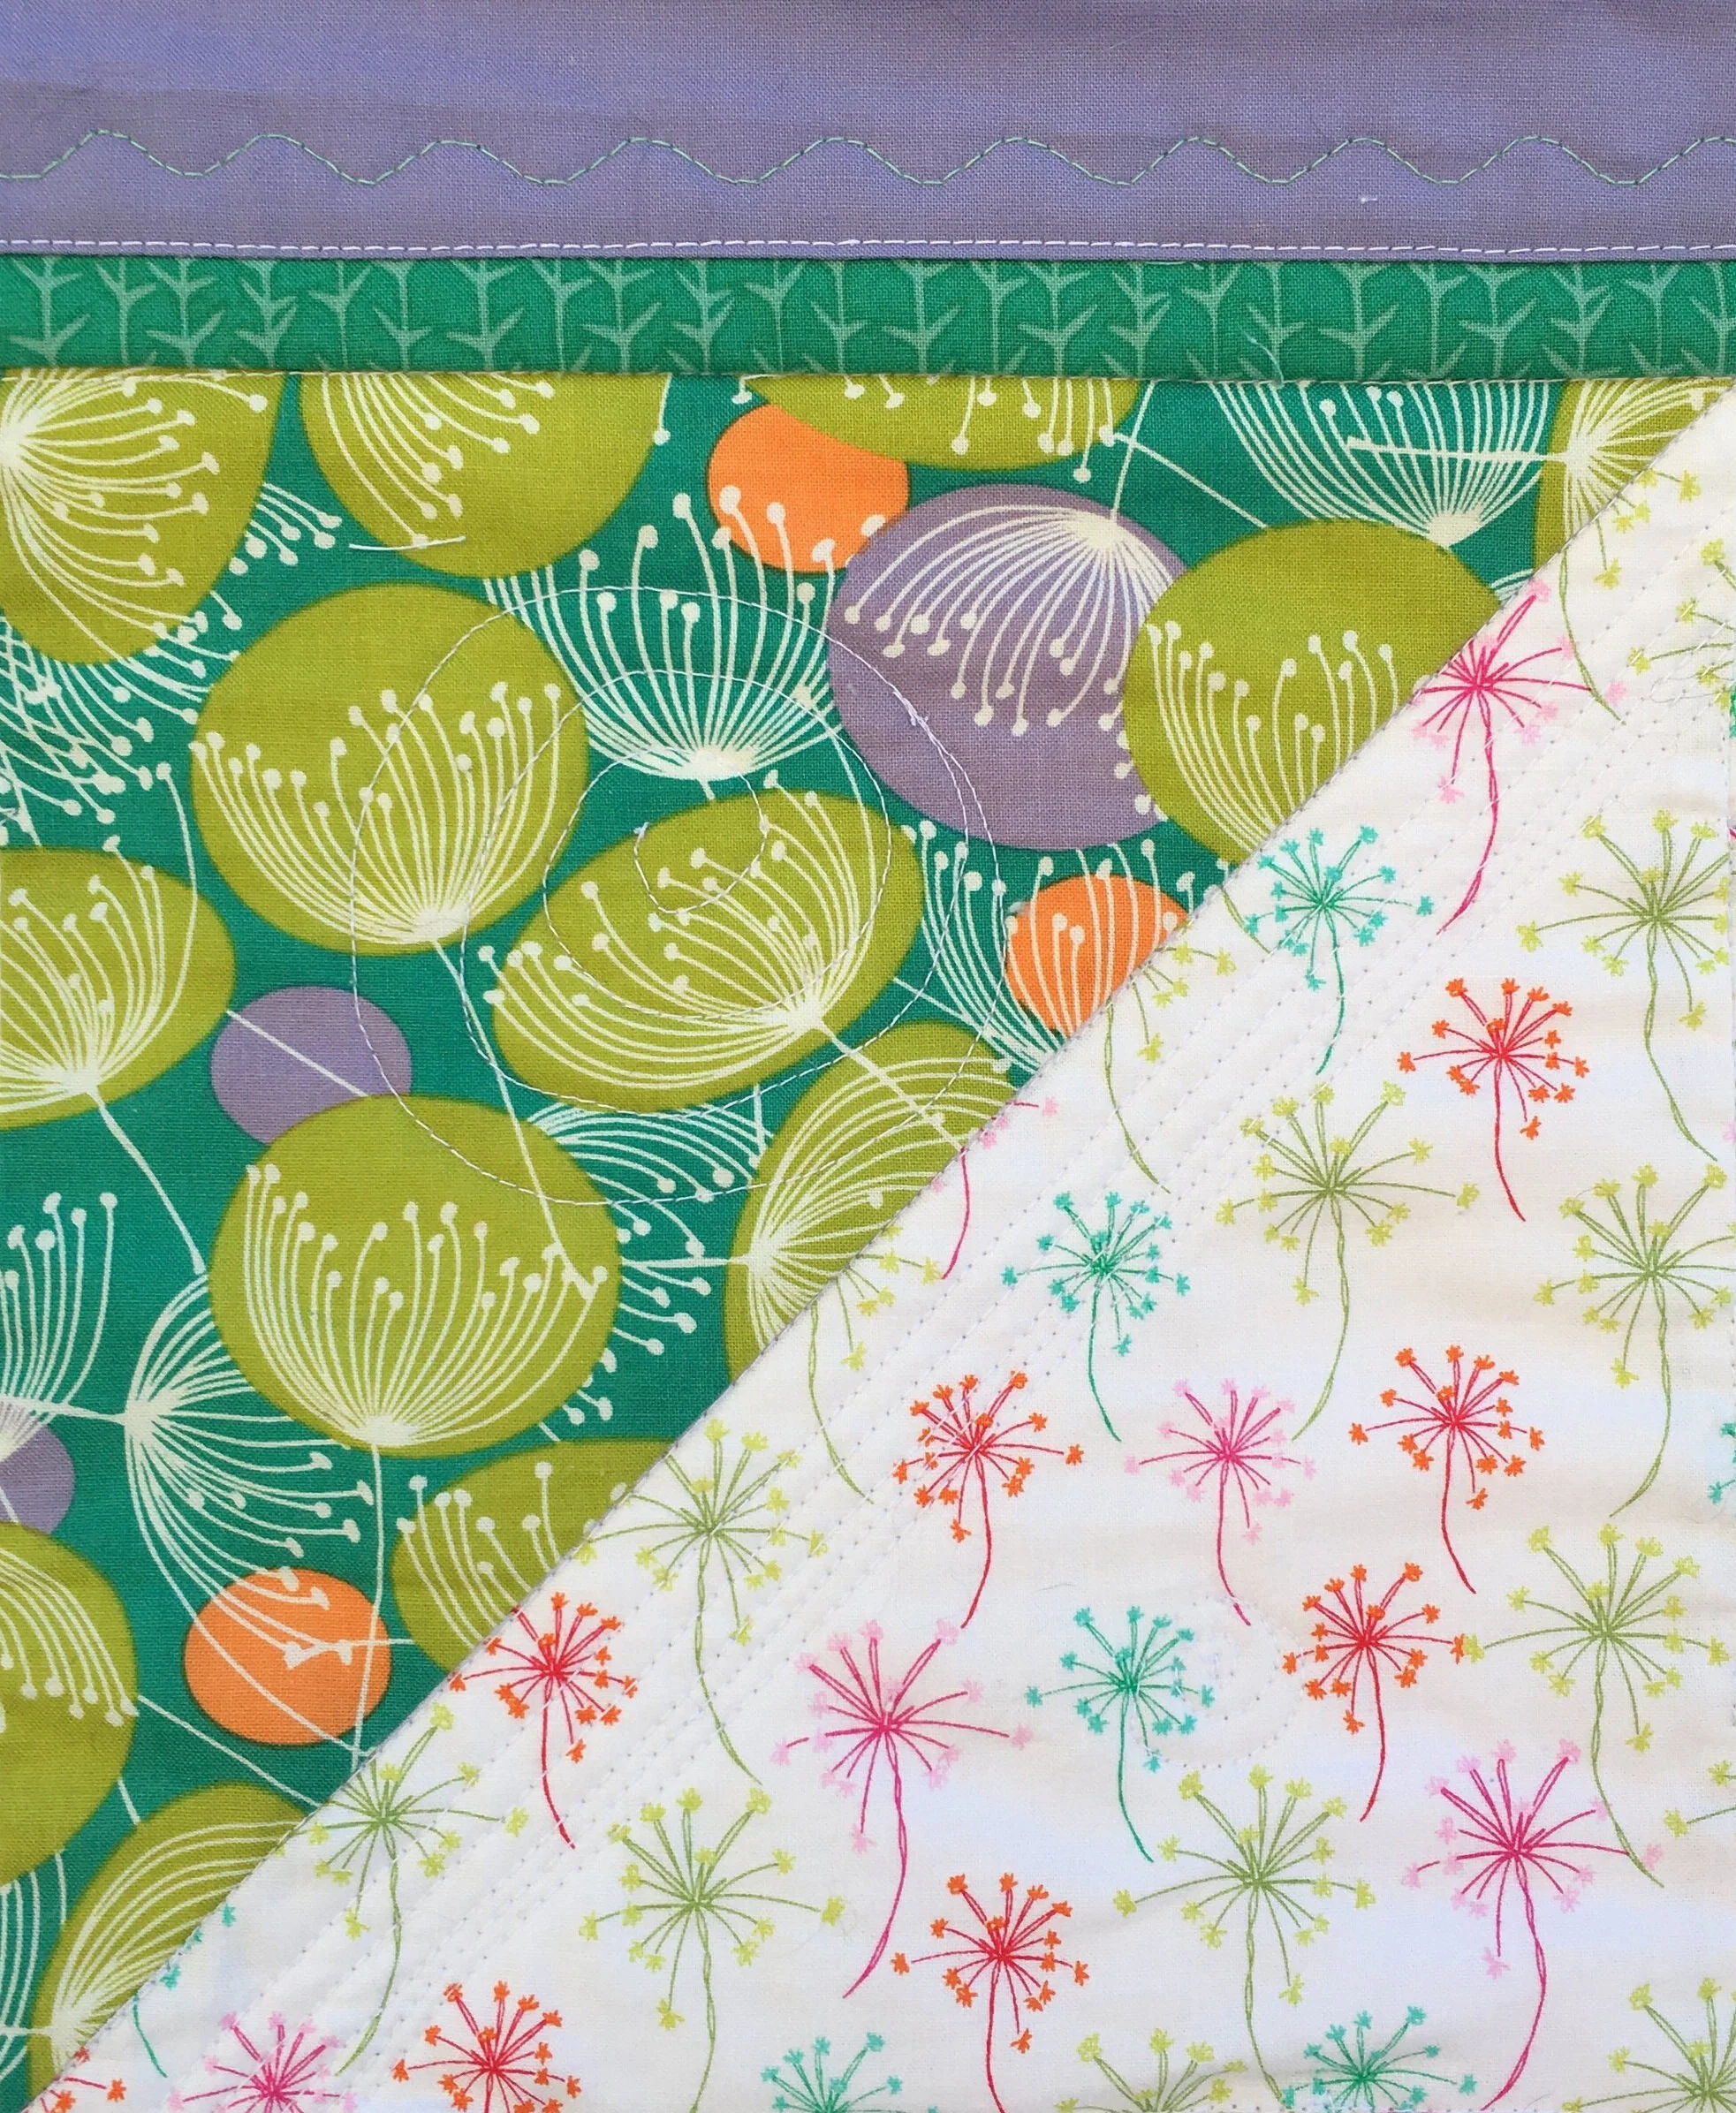
I could have just tossed the lot, but years ago I designed the apple fabric and had it printed at Spoonflower. No way I was tossing it!

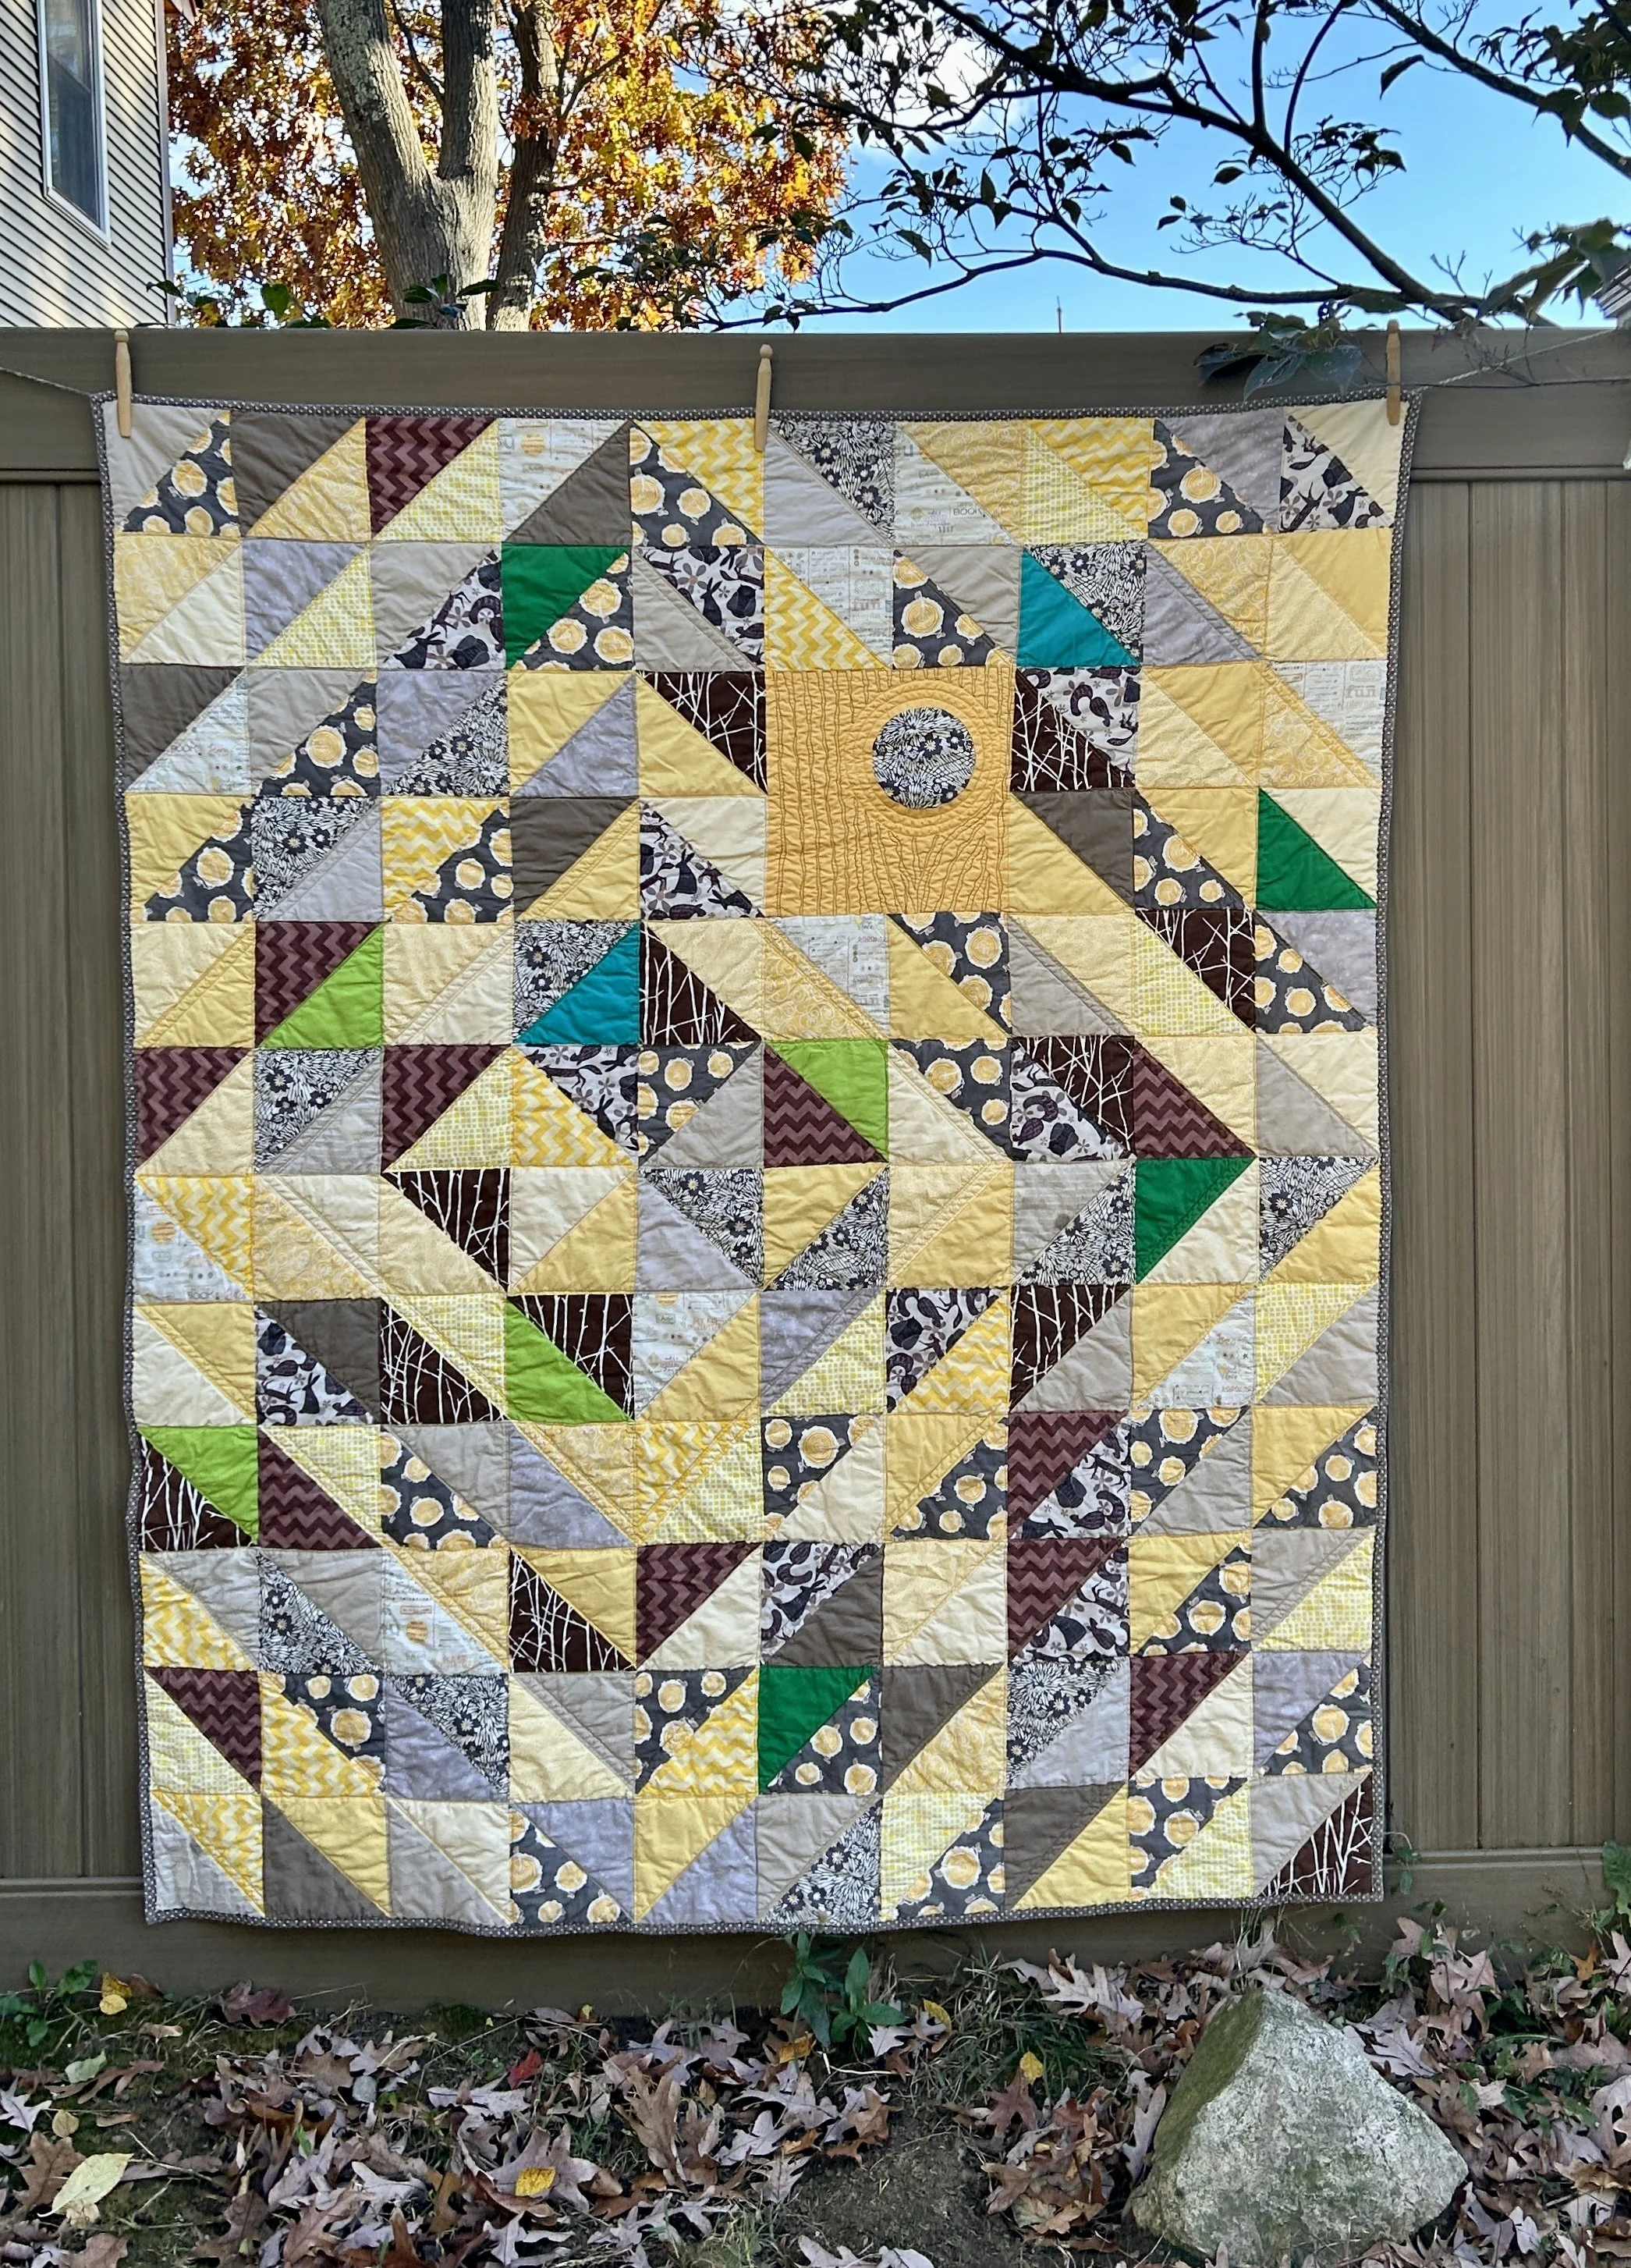
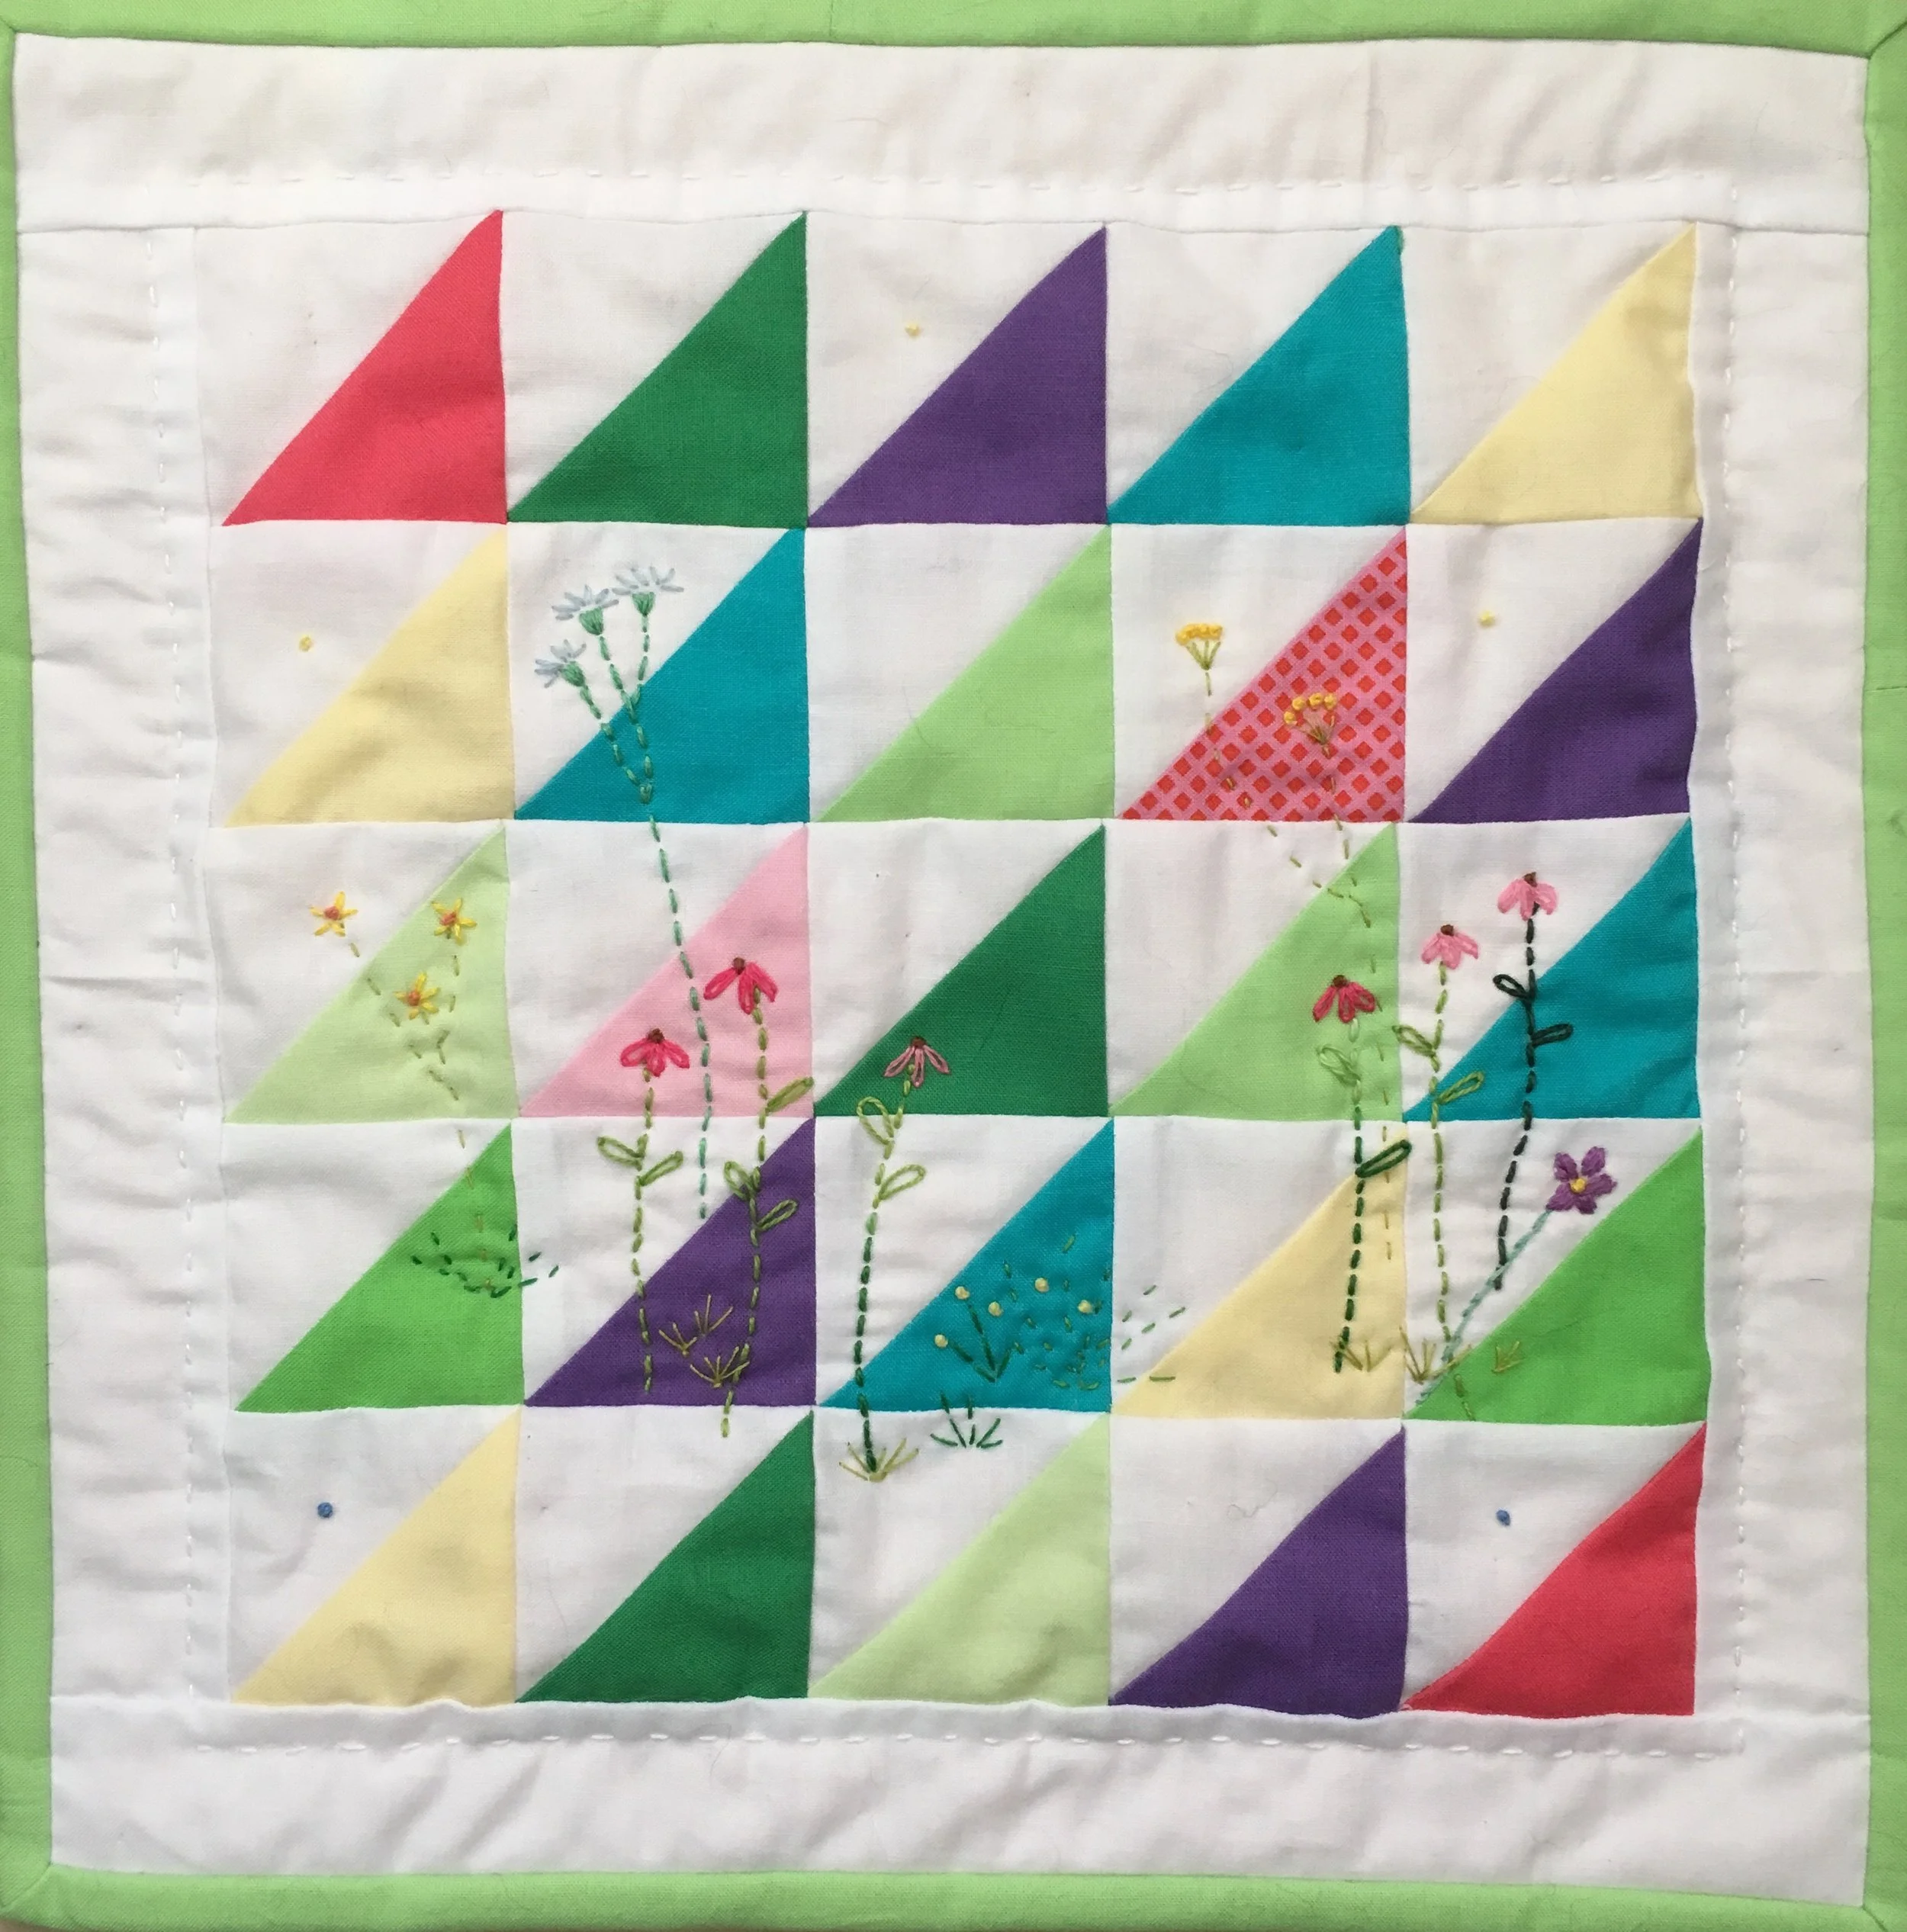
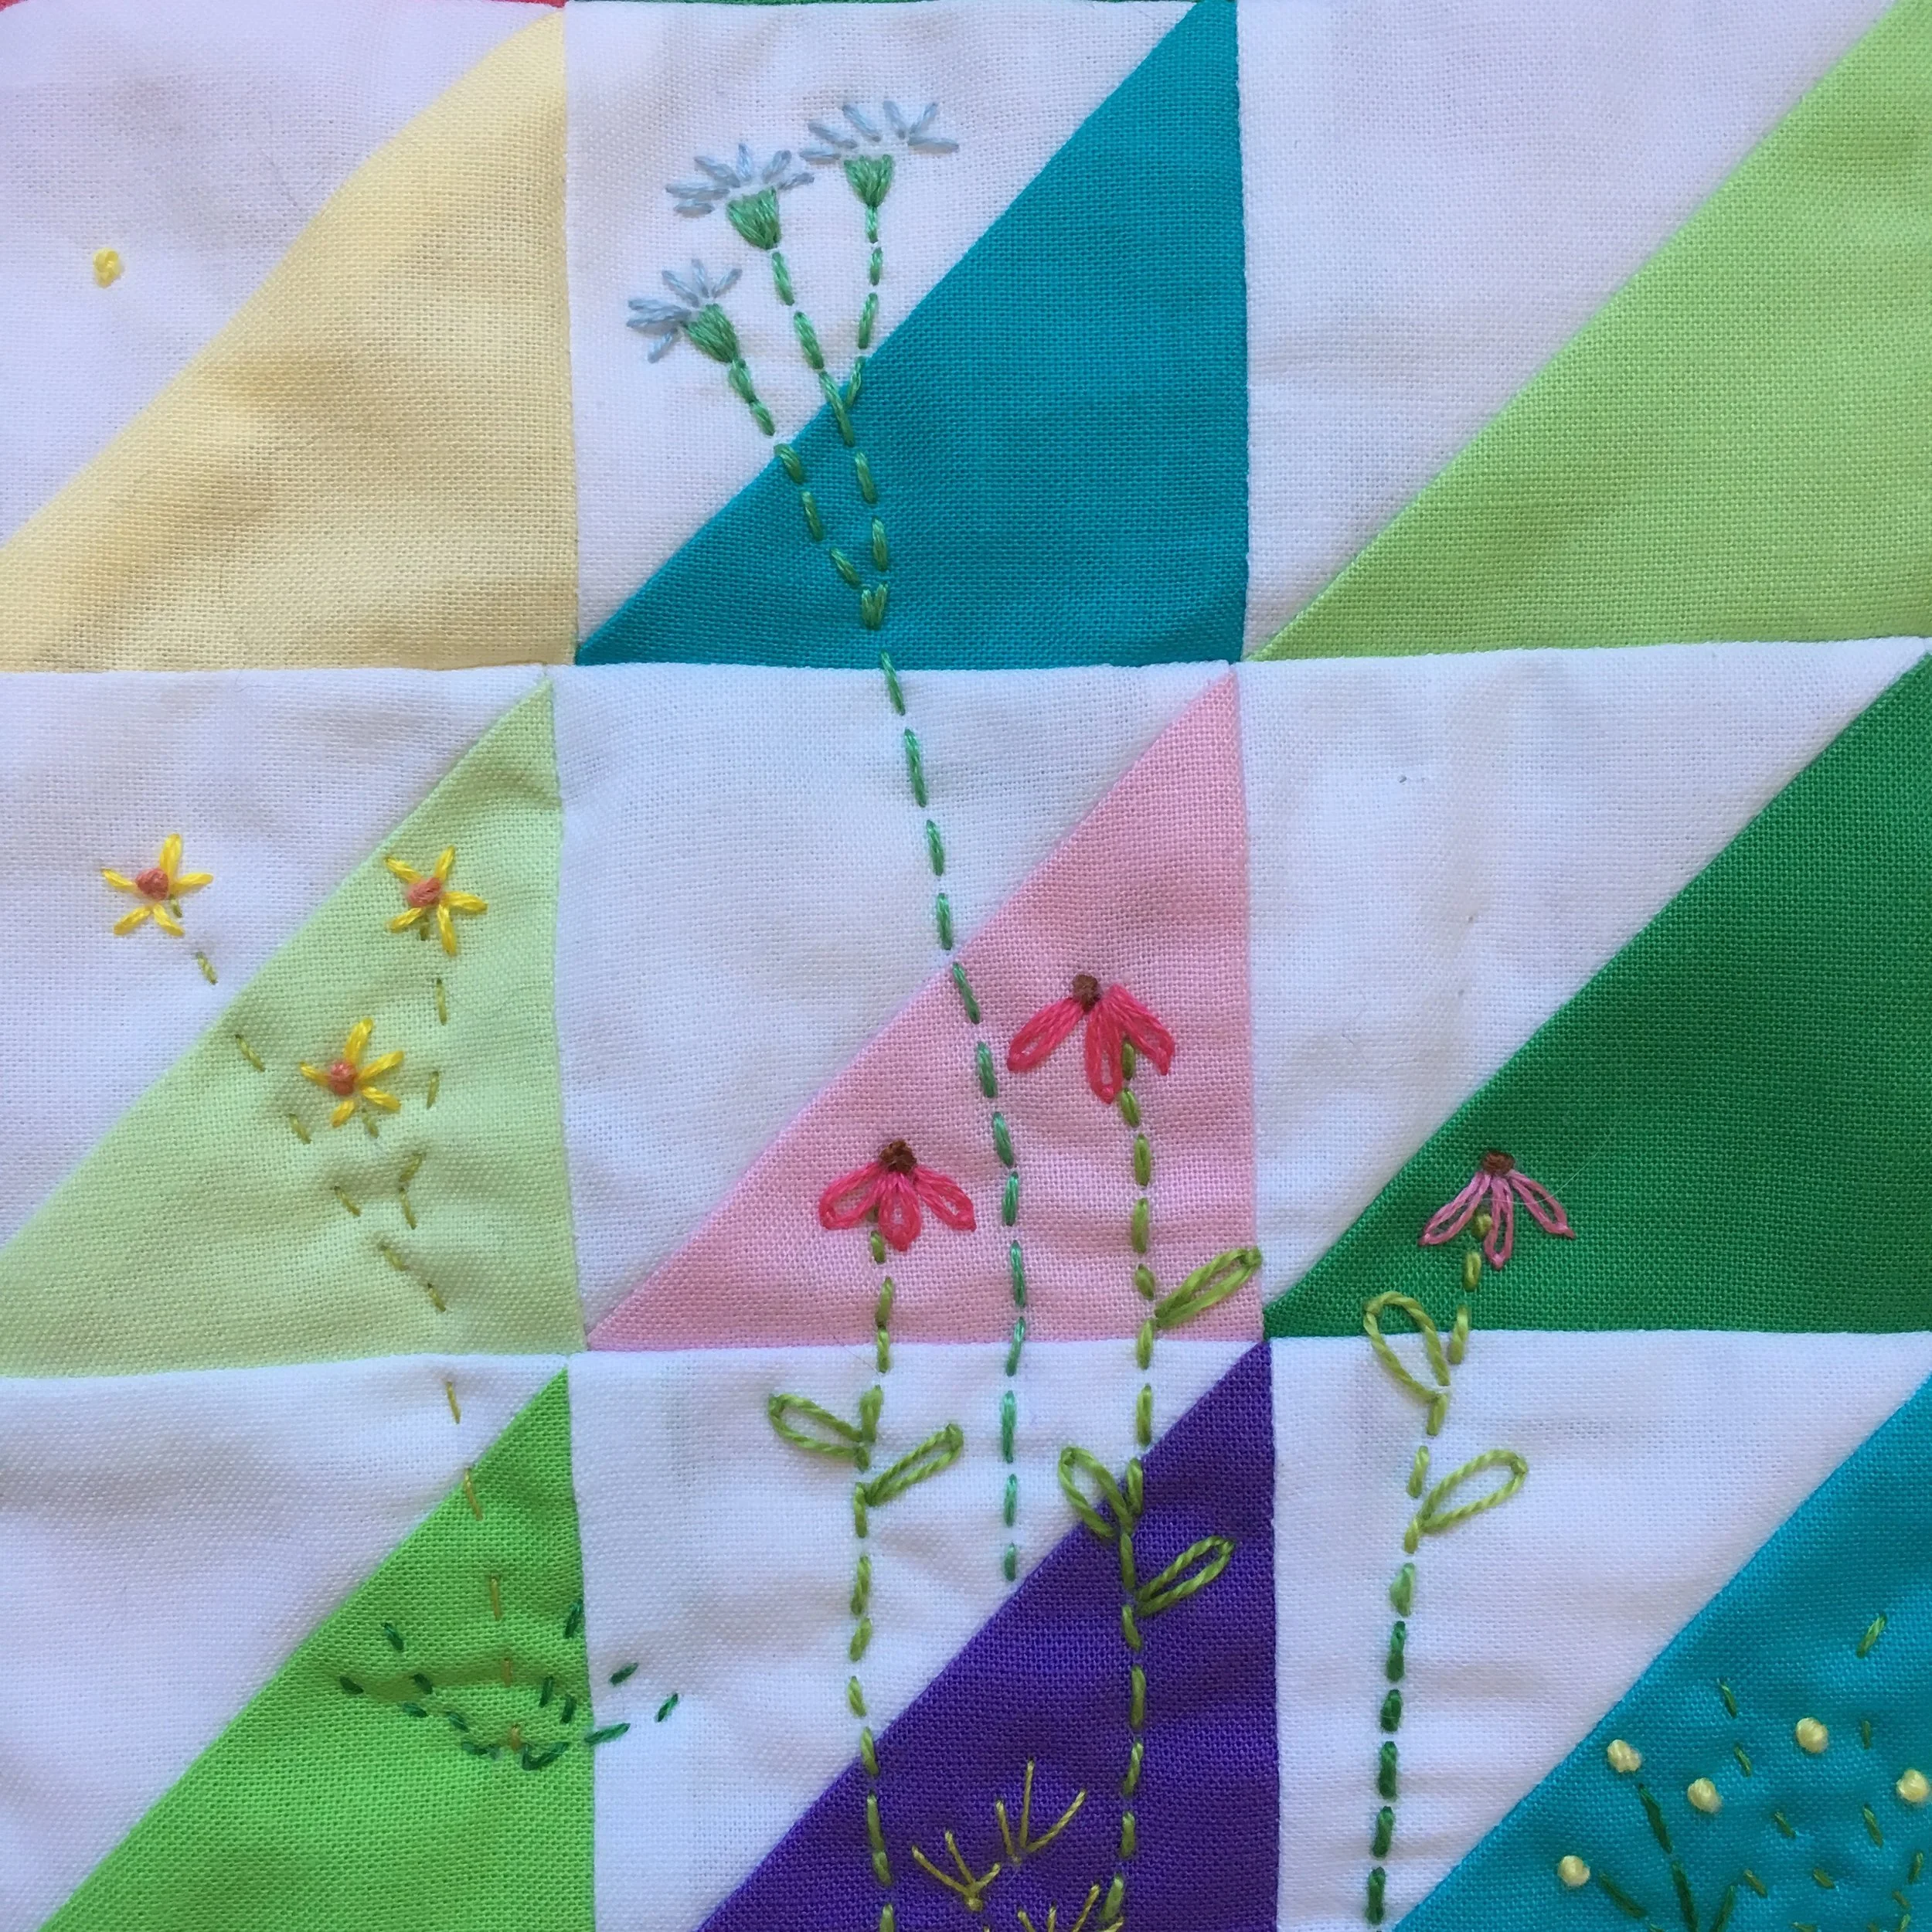
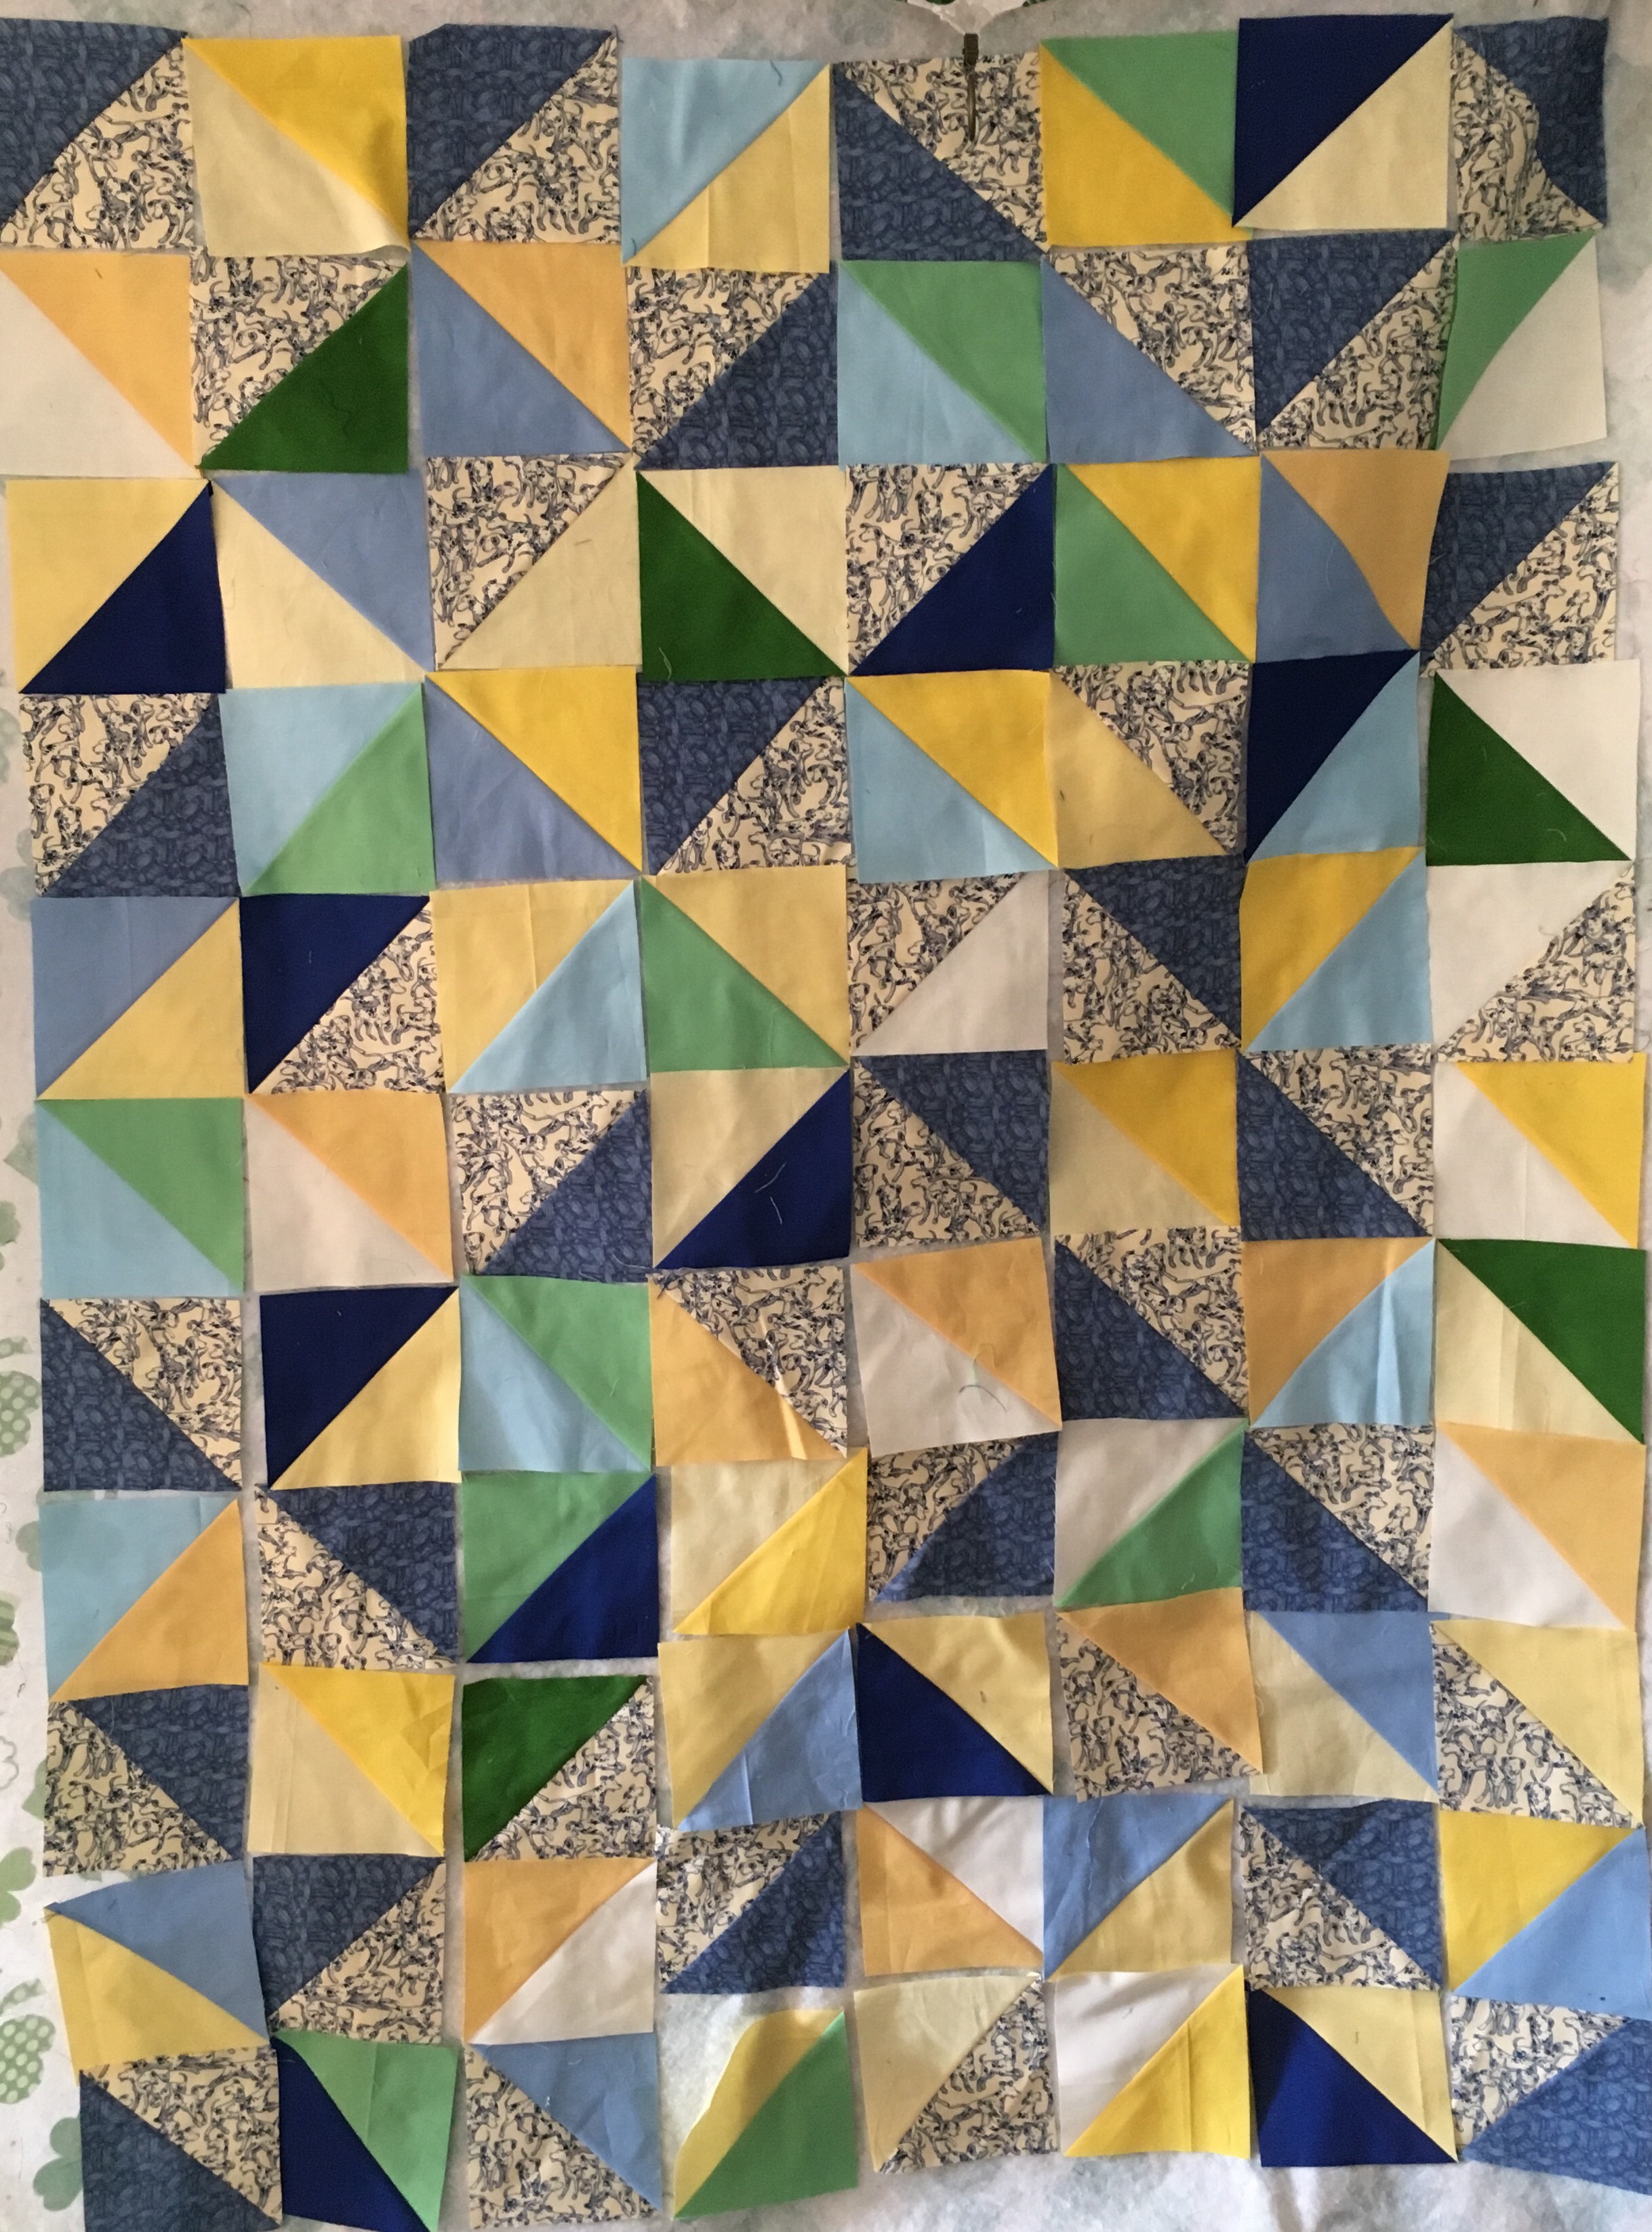
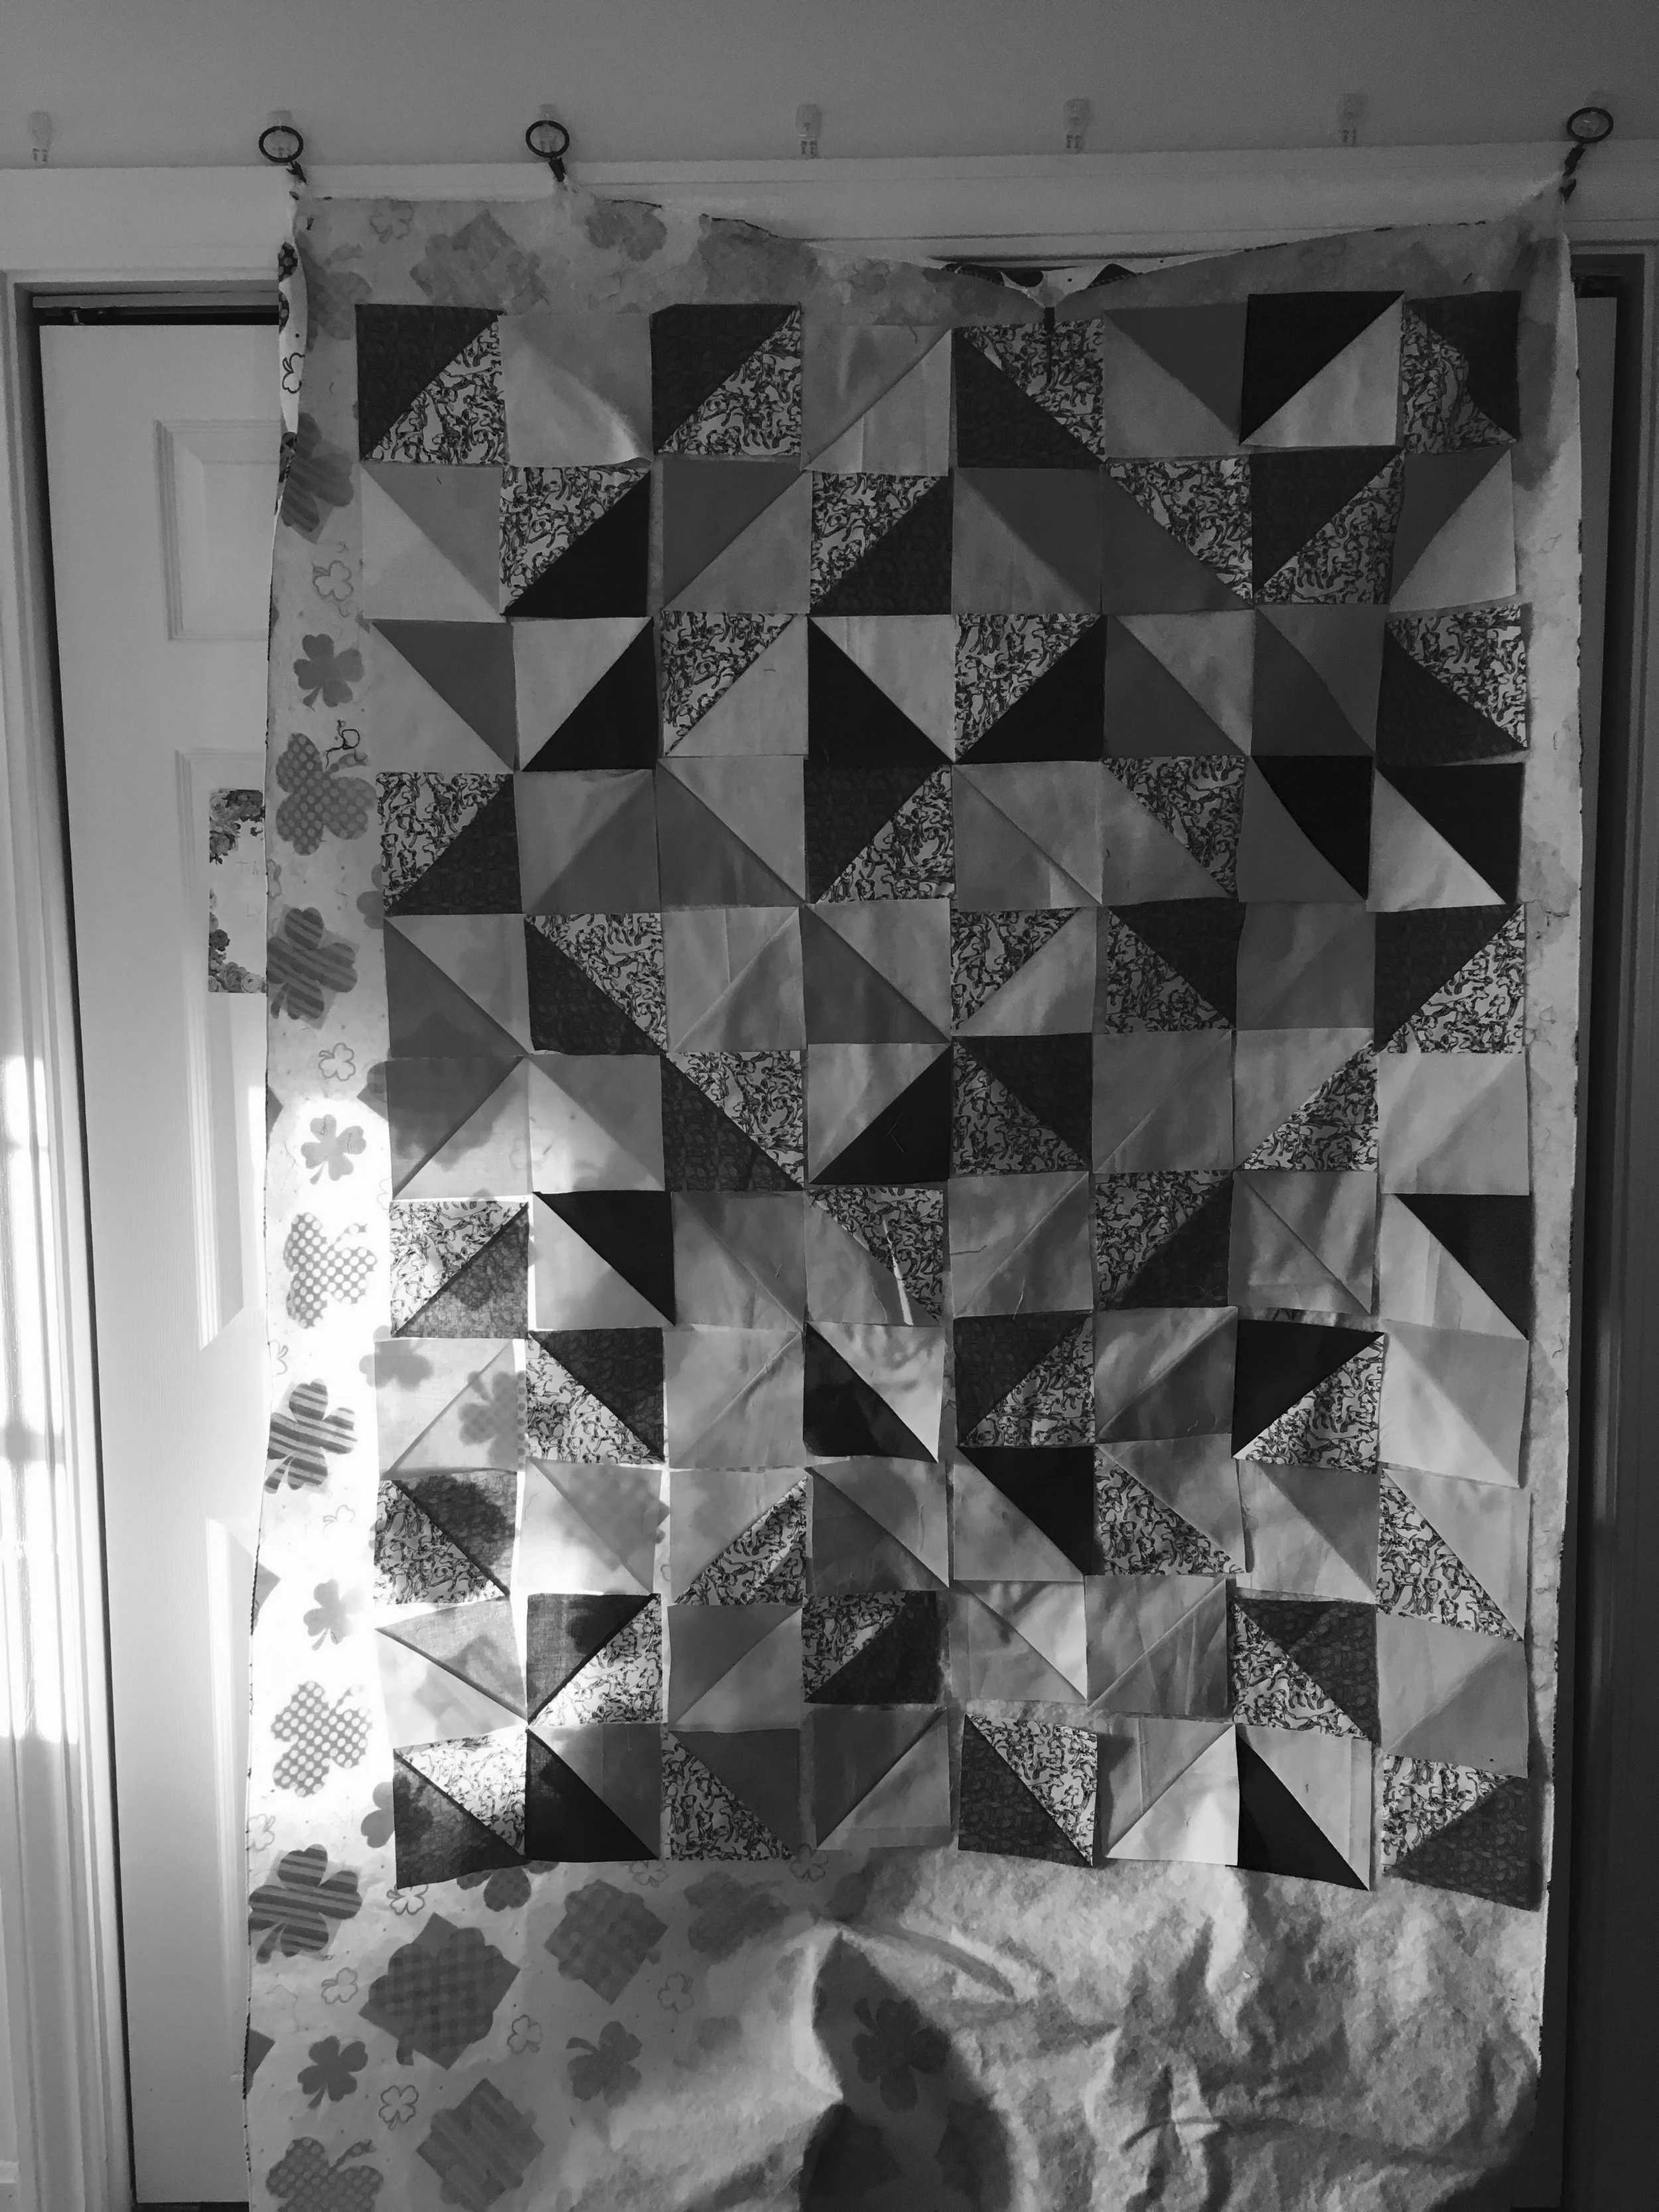
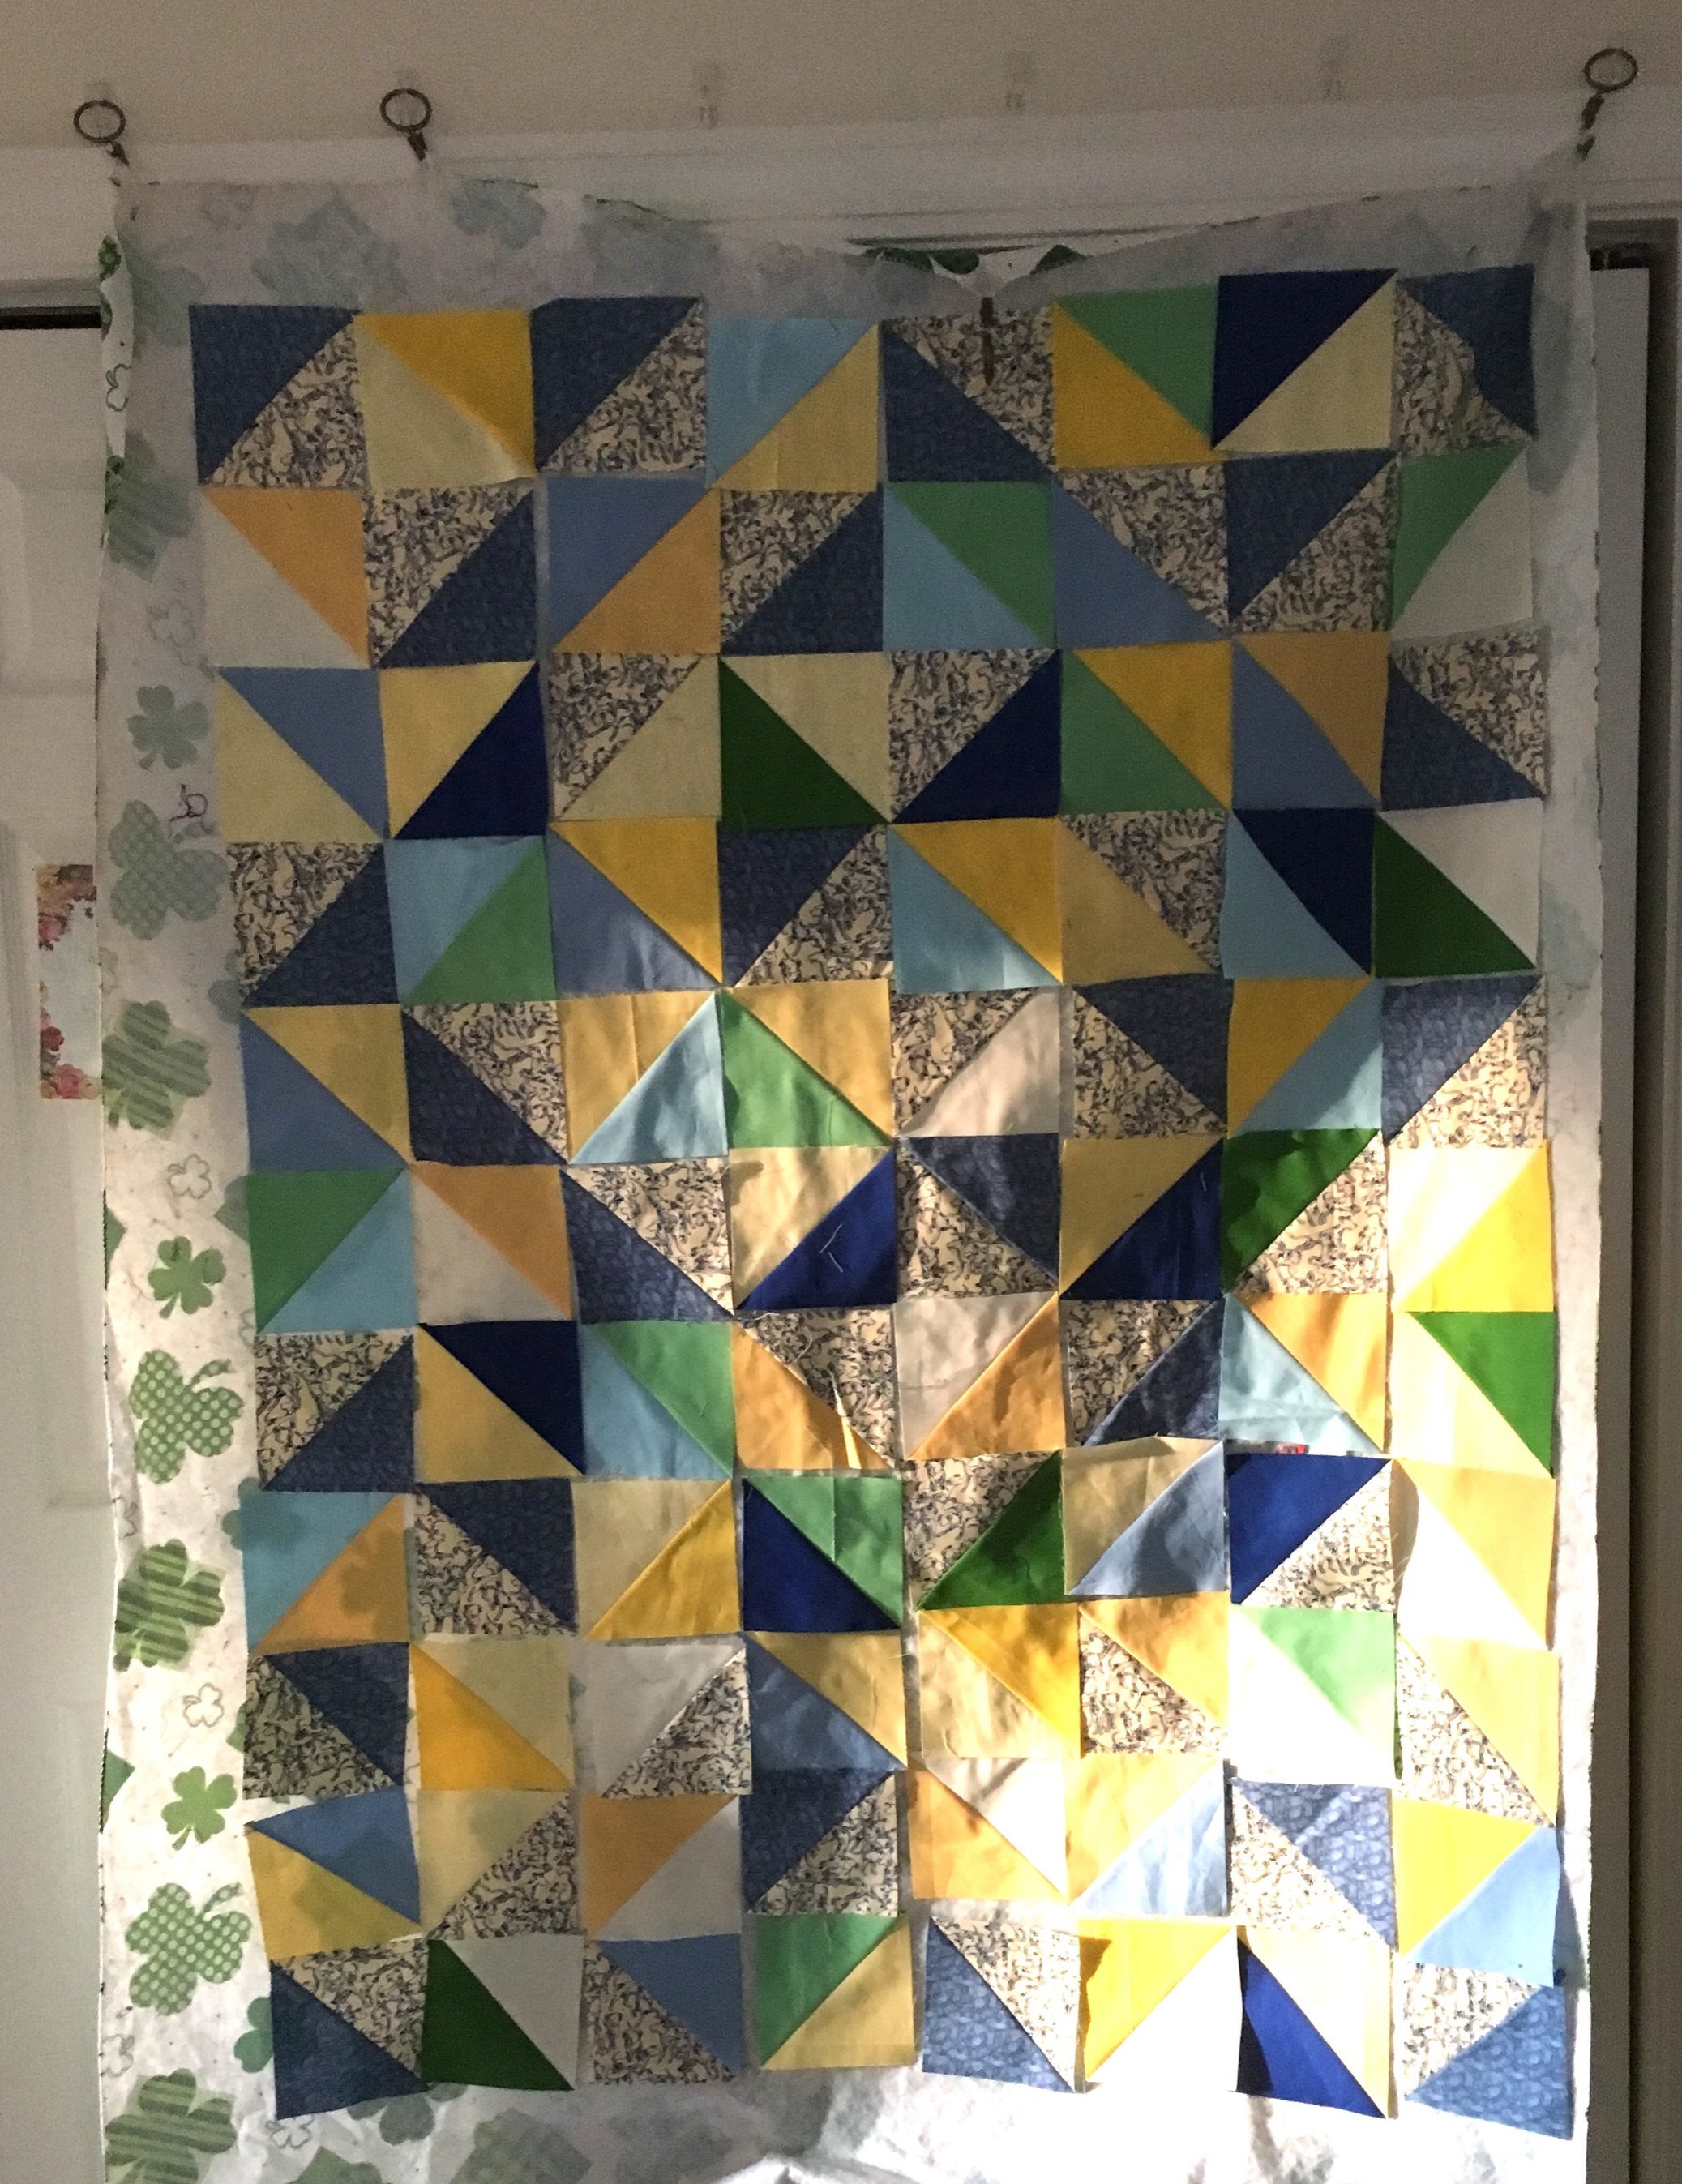
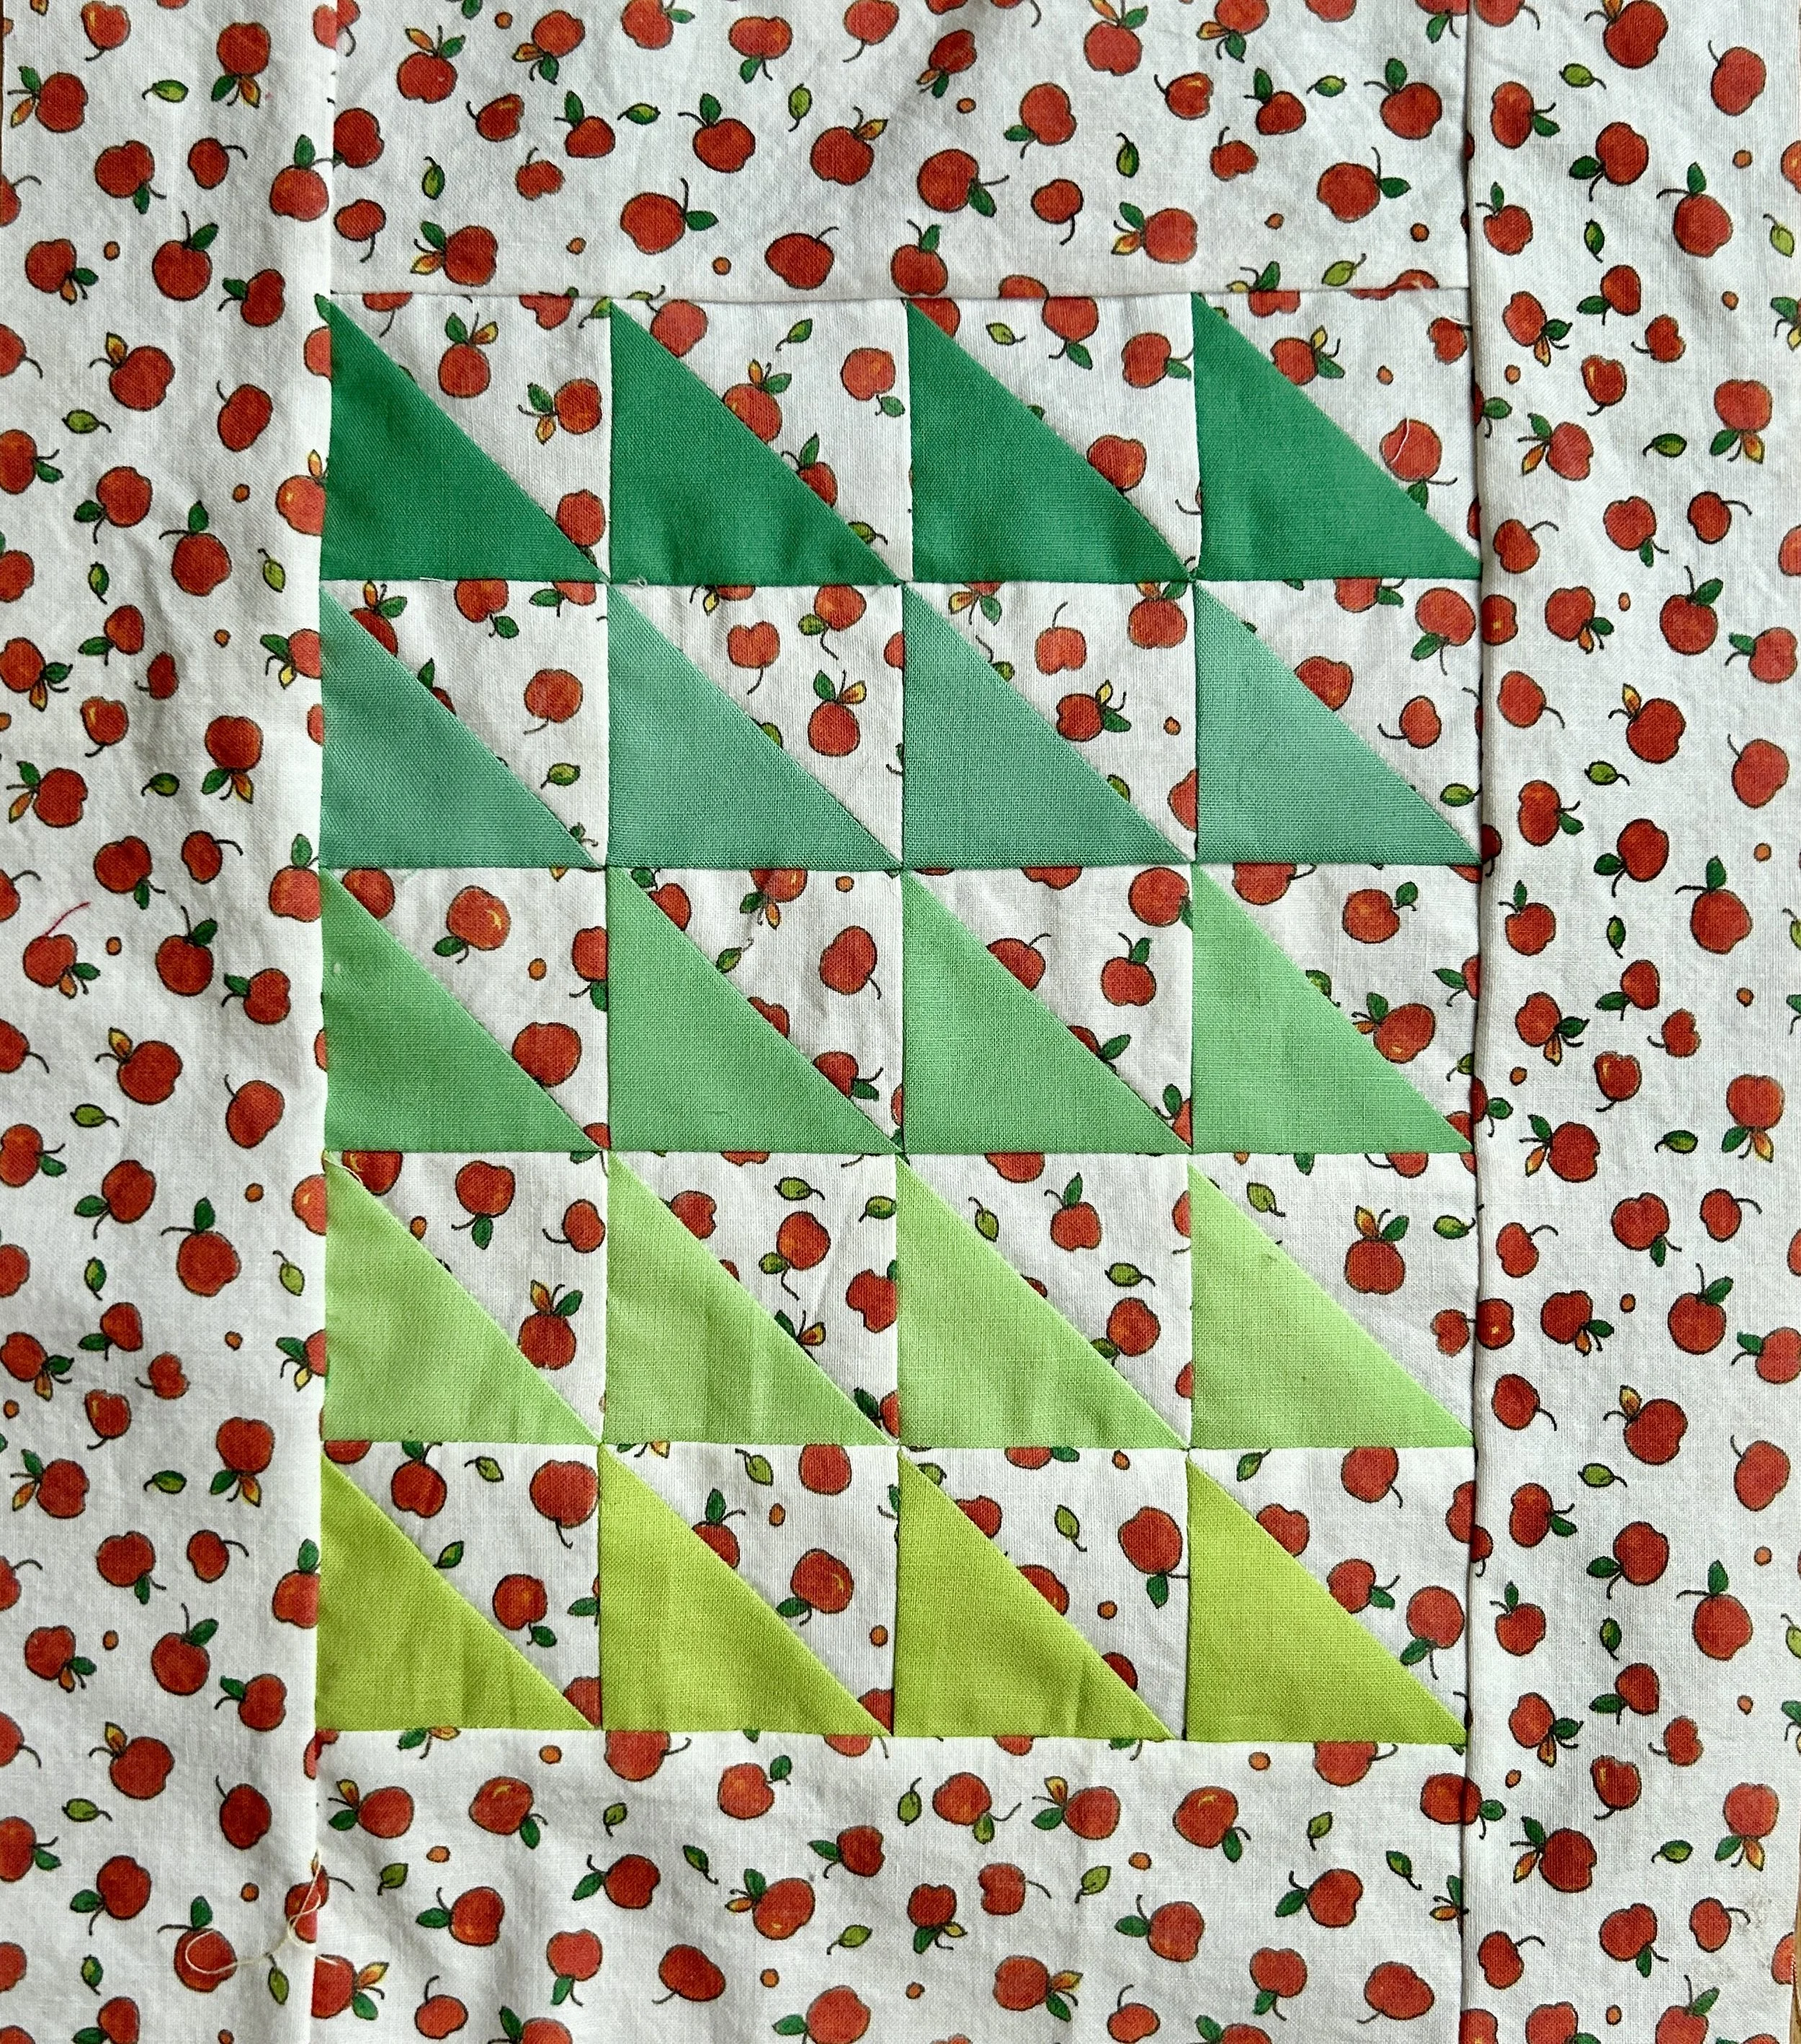
It didn’t take me long to figure it that the orphan patches would make a sweet doll quilt. I laid the HSTs out in lots of different patterns but finally decided I liked a simplest layout. I got it all sewed together and looked at it for a few days. Nice, but it could be better.

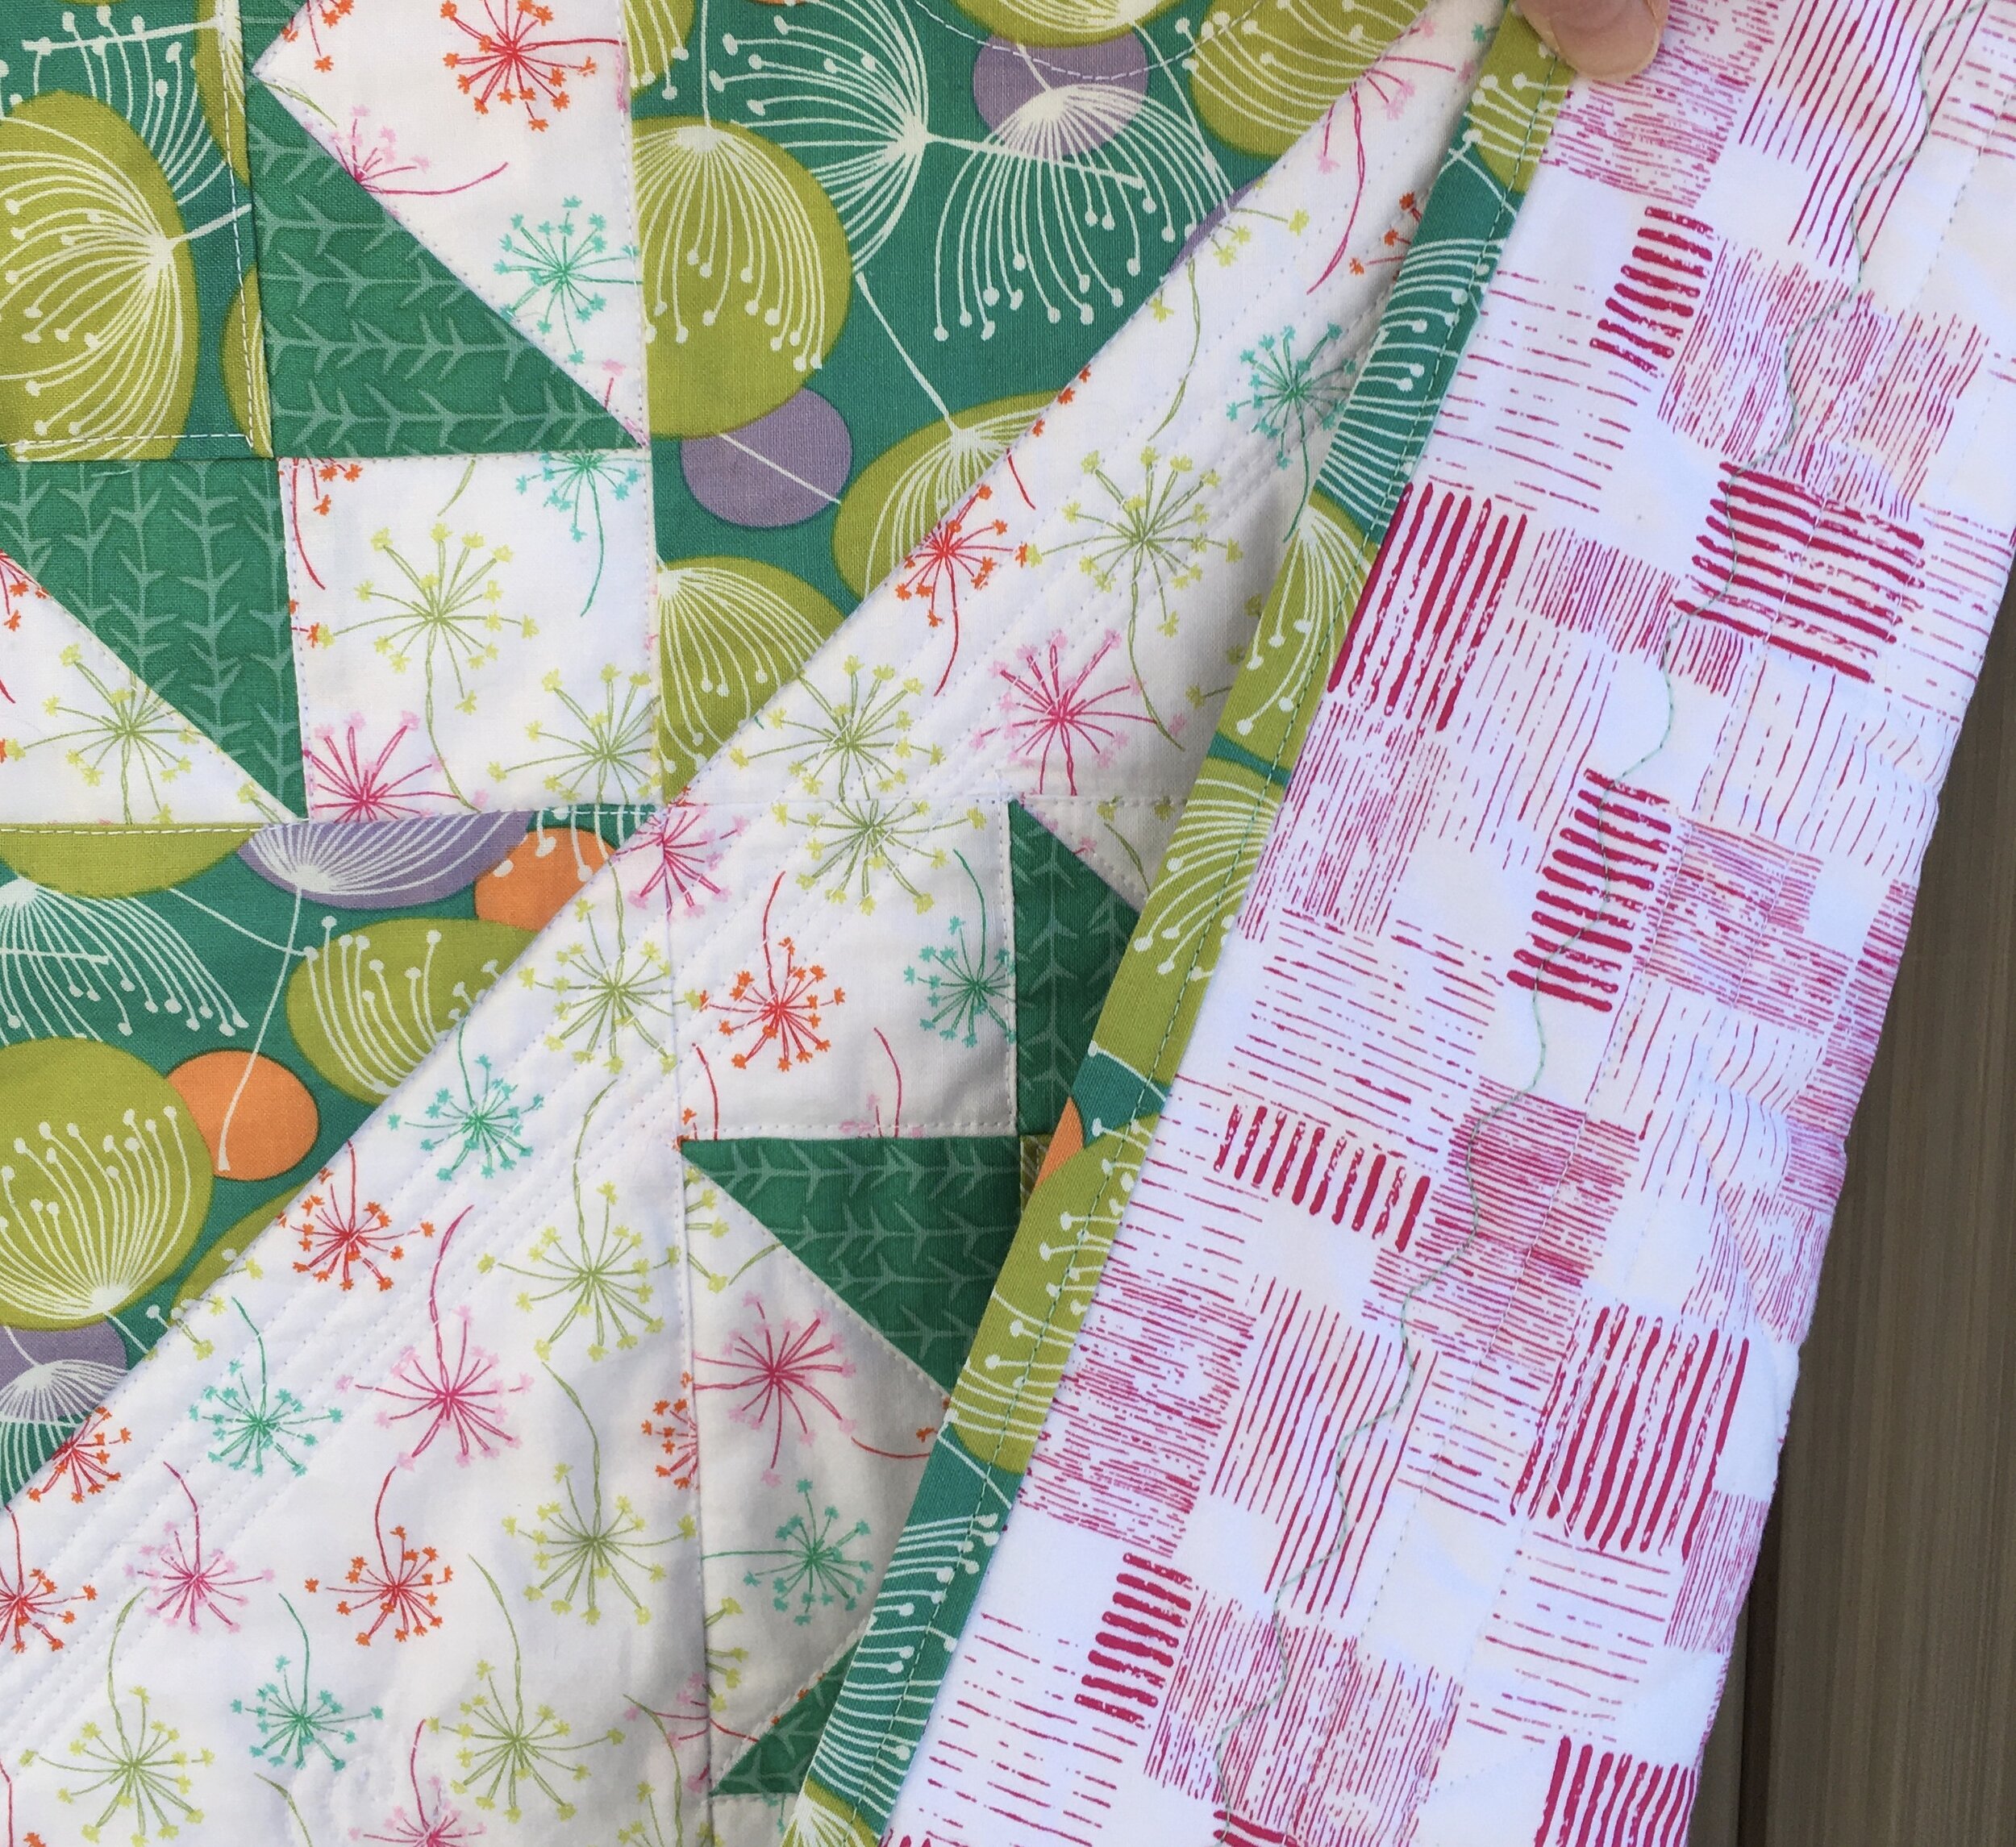
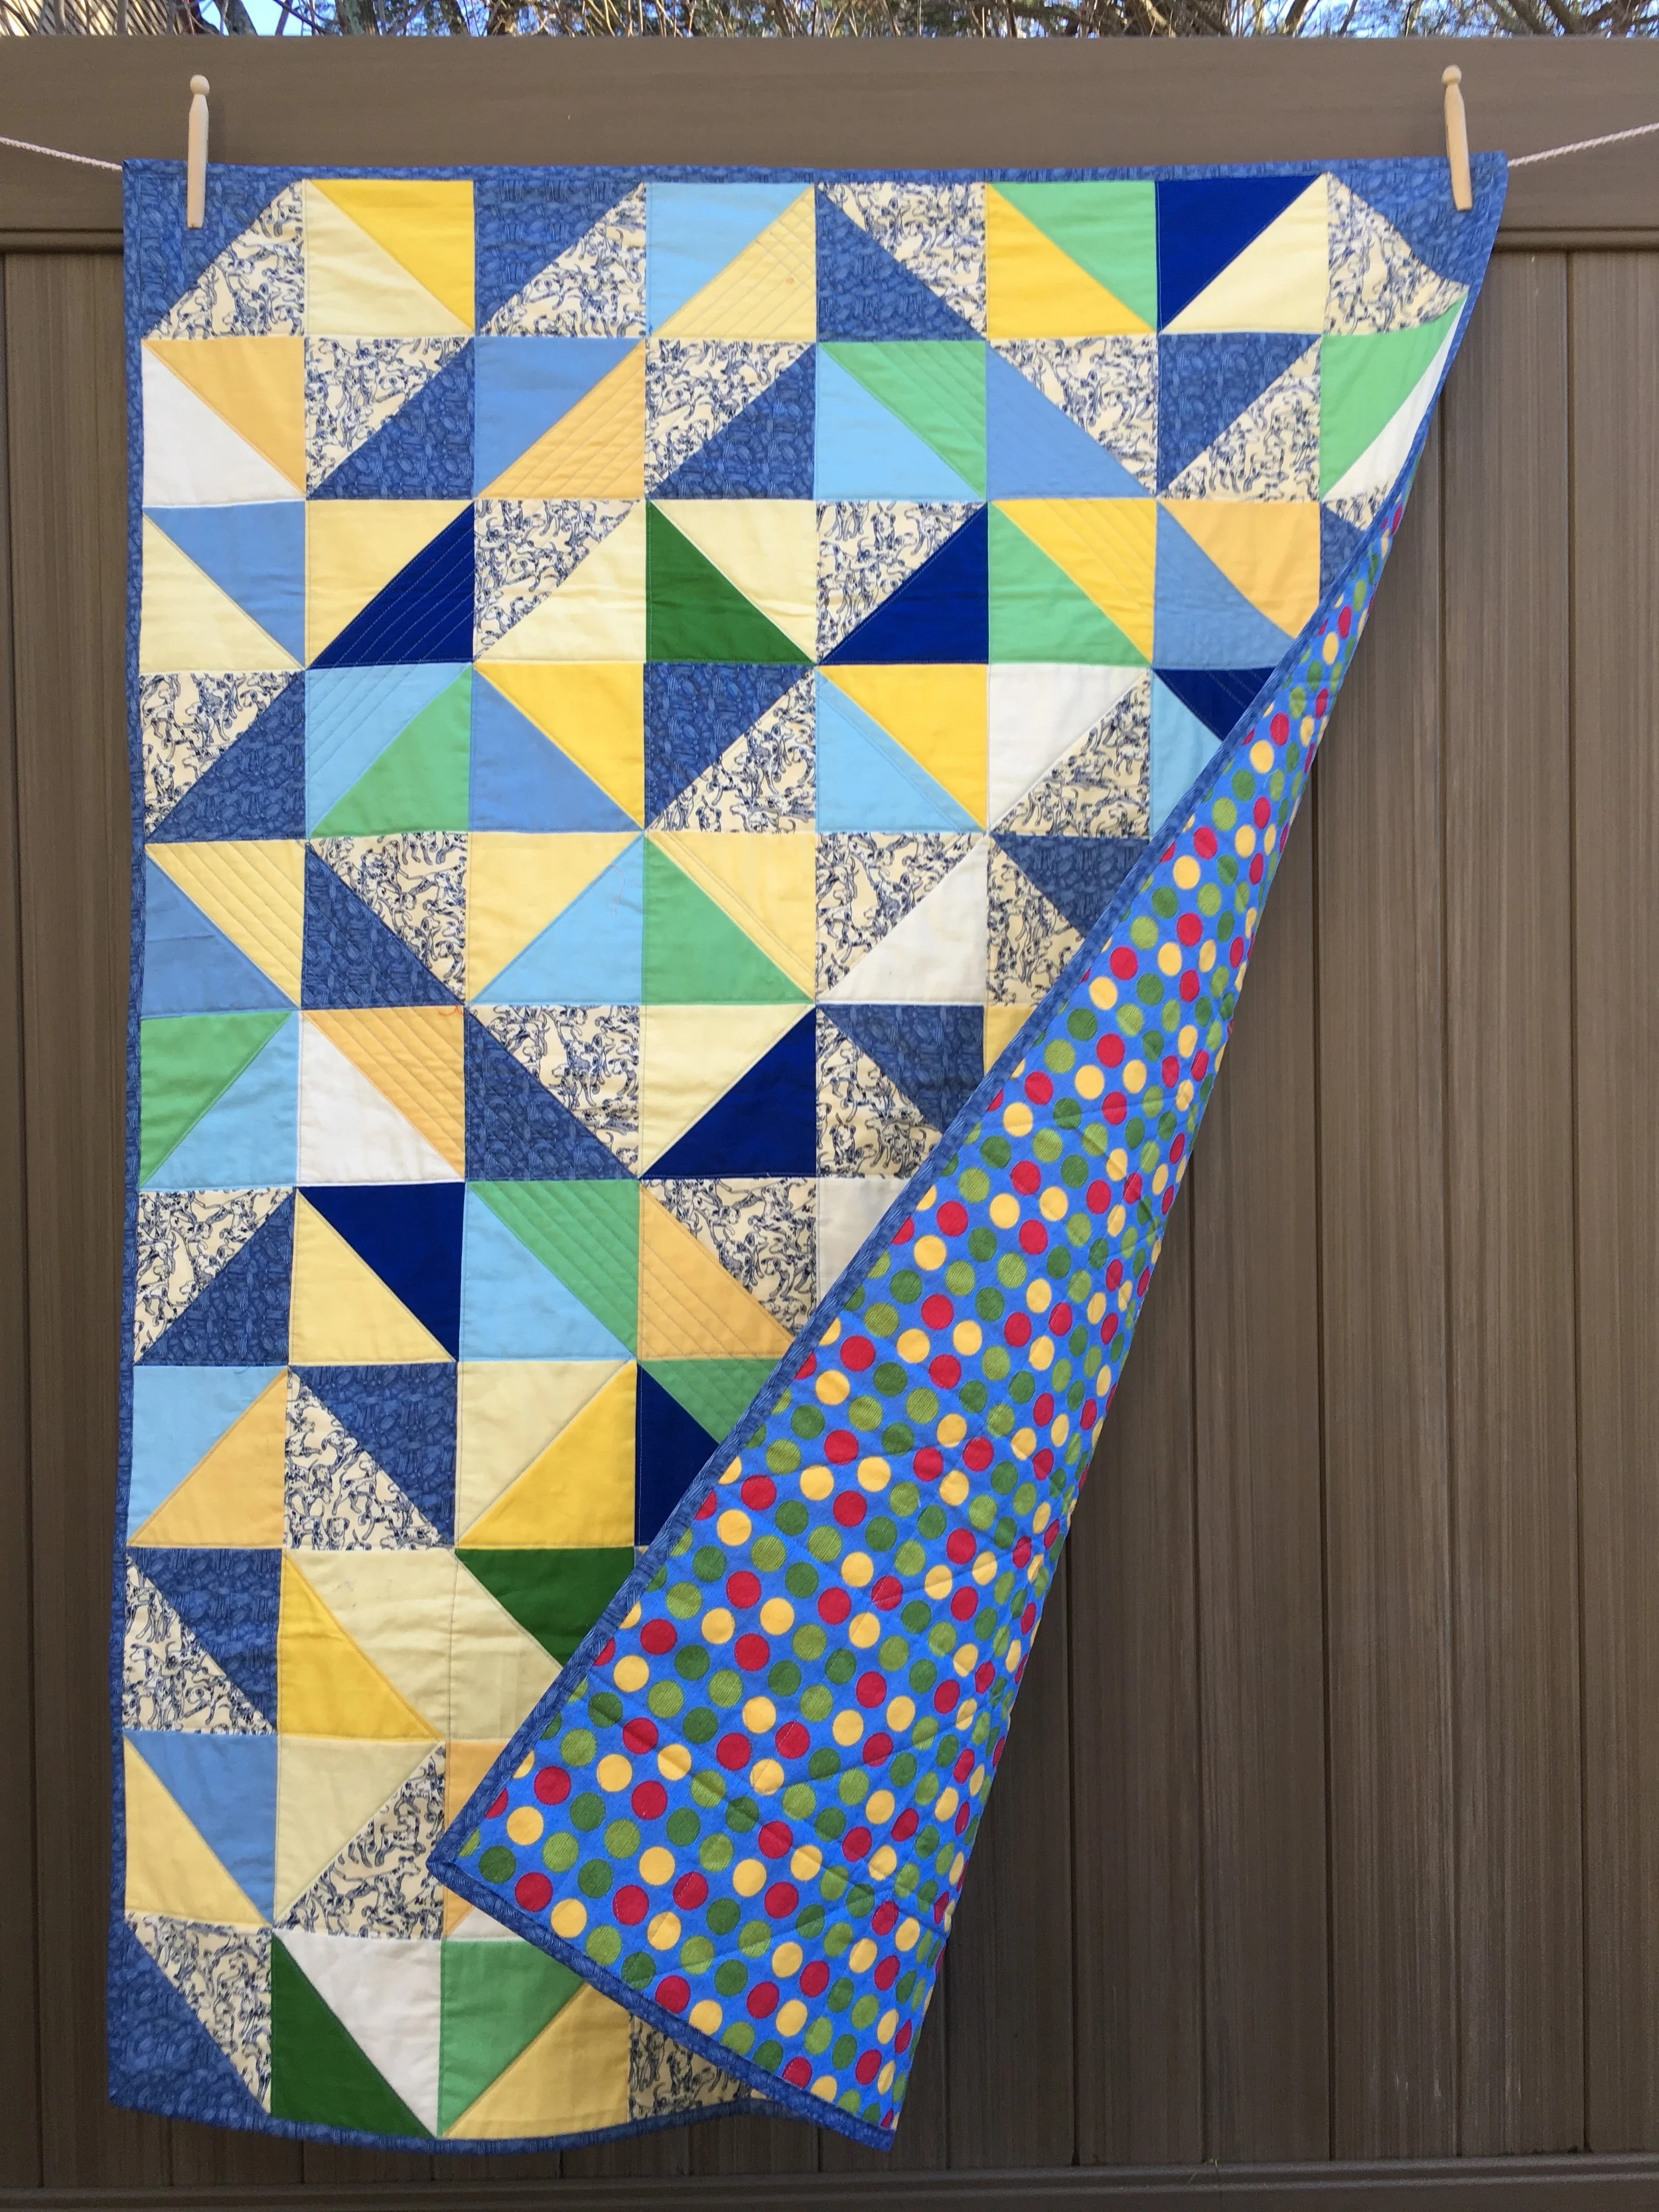
I couldn’t be believe I was doing this for a doll quilt, but I took off the borders to added an inner red strip. I made raised flange from a 1 1/8 inch strip of red fabric. I folded the strip in half the long way and pressed. Then I sewed it to the pieced blocks using a very scant 1/4 inch seam. And finally reattached the apple border using a full 1/4 inch seam.

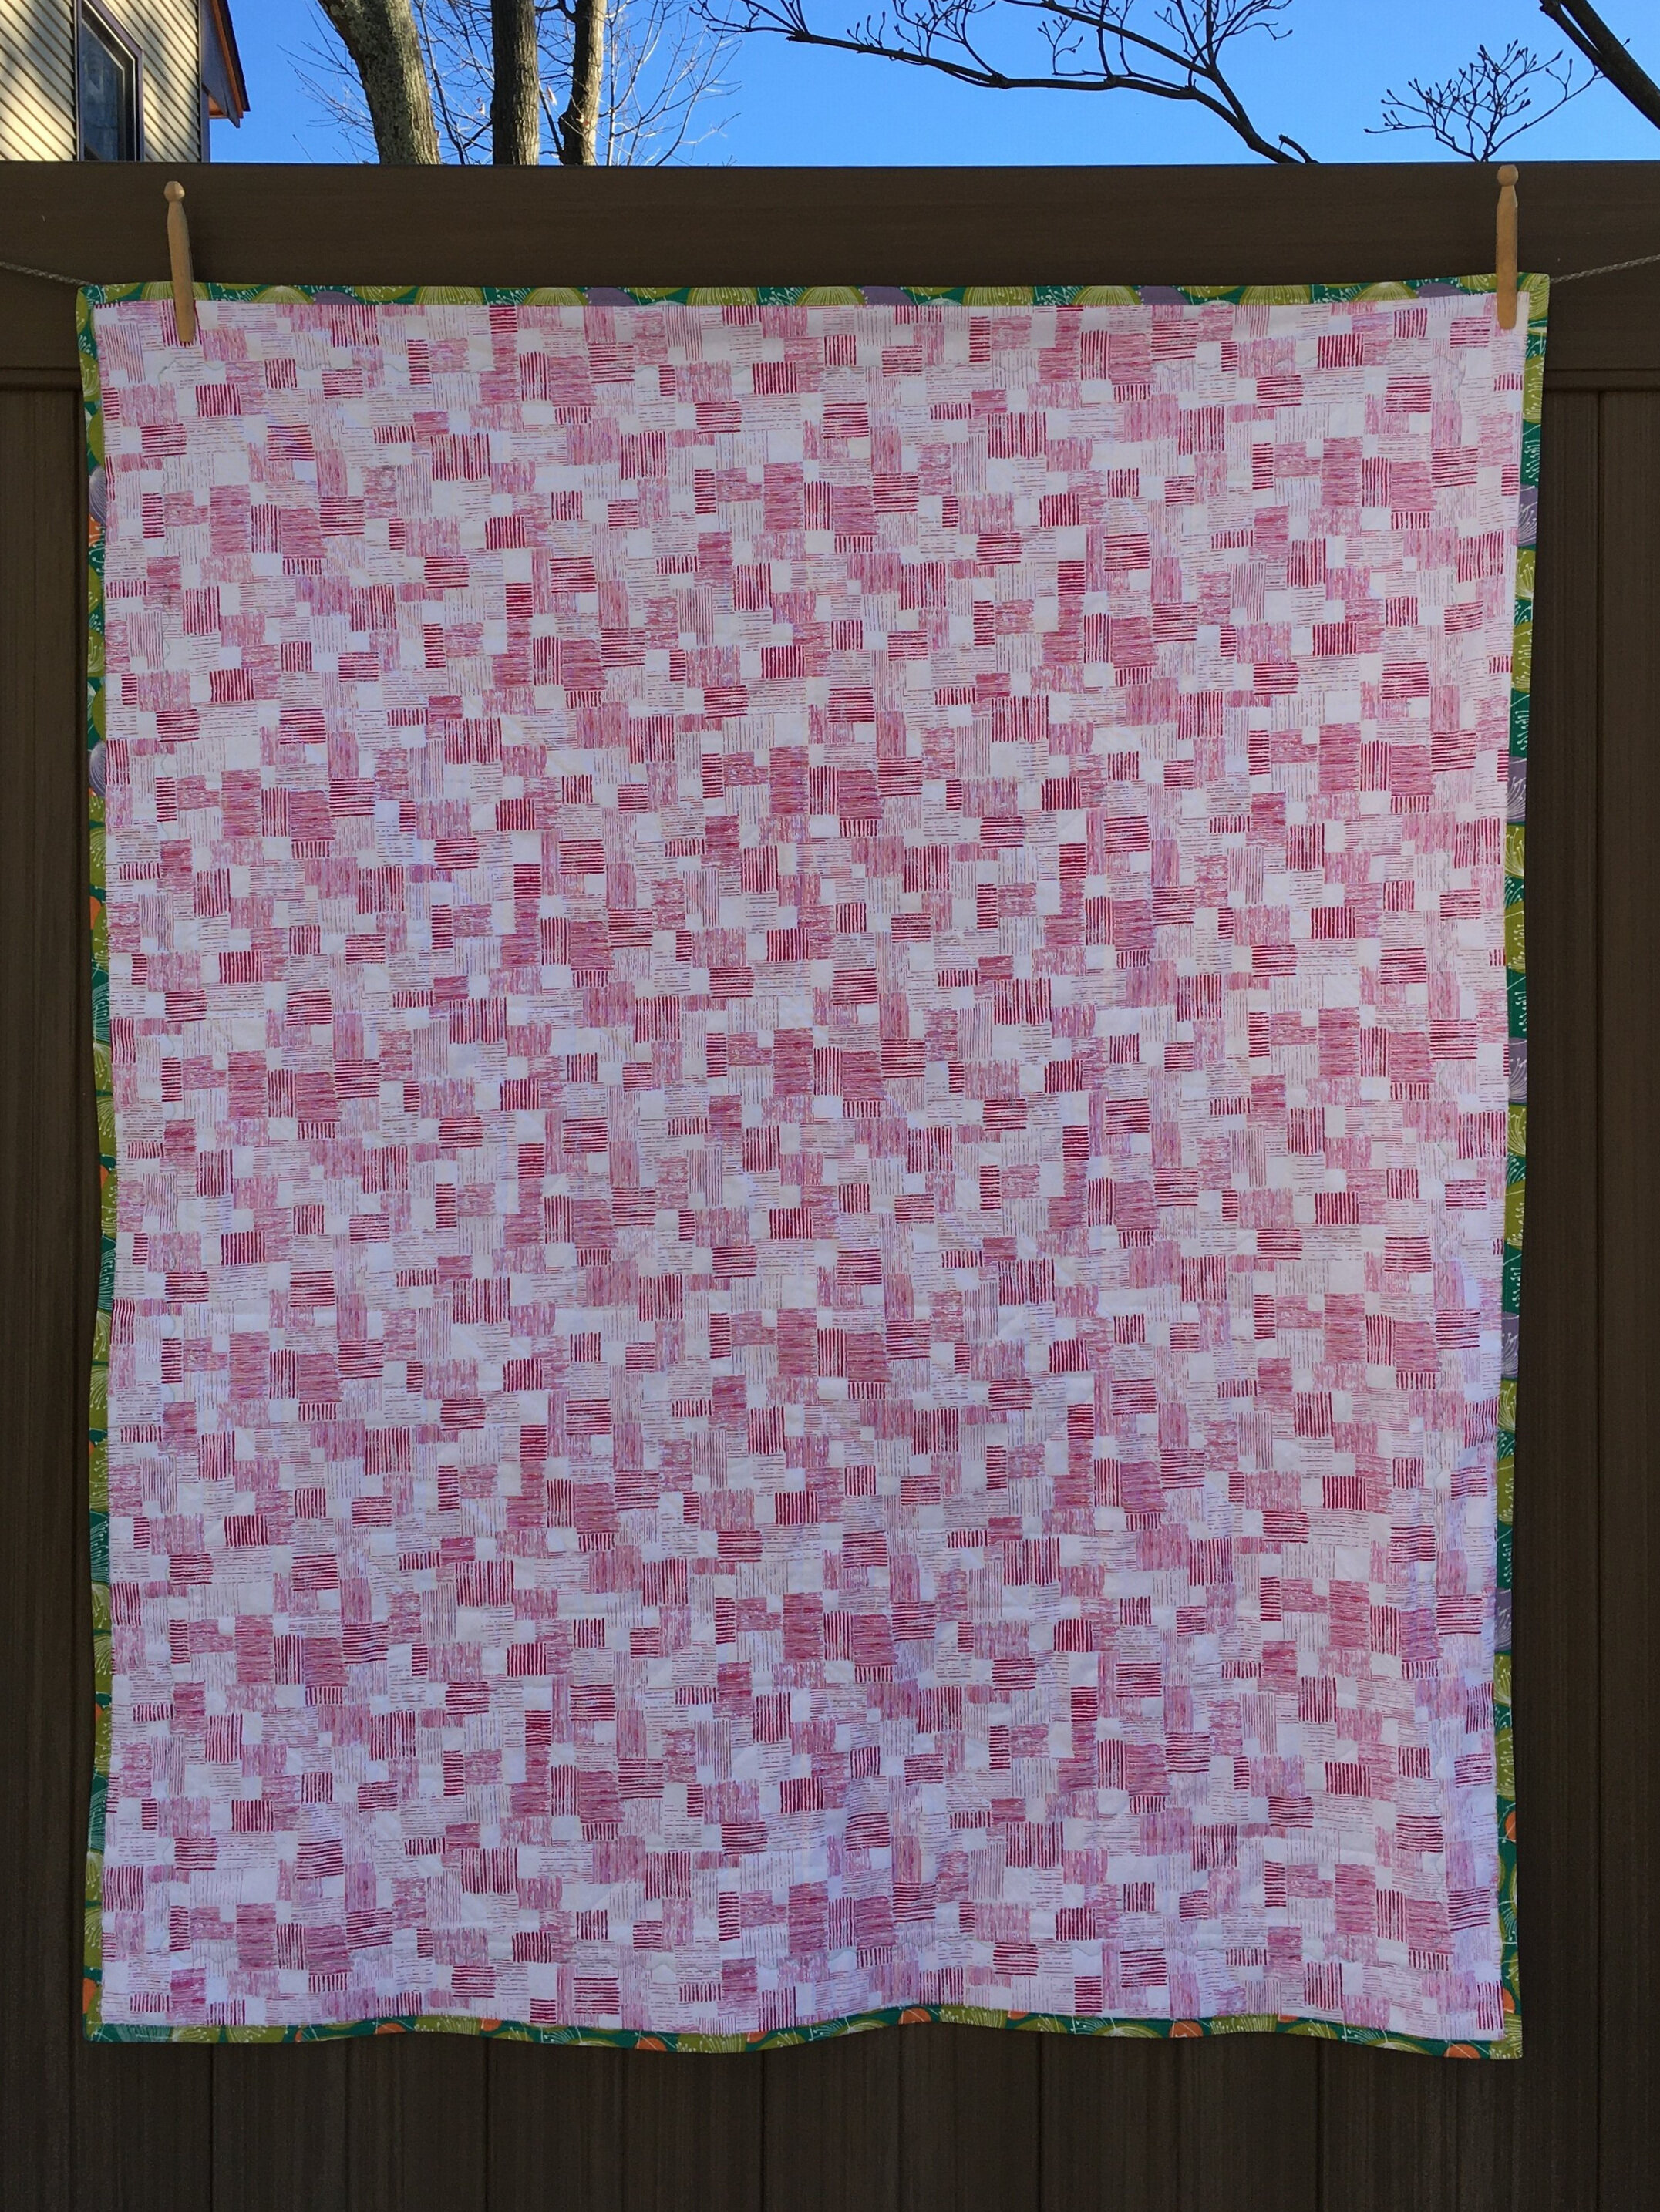
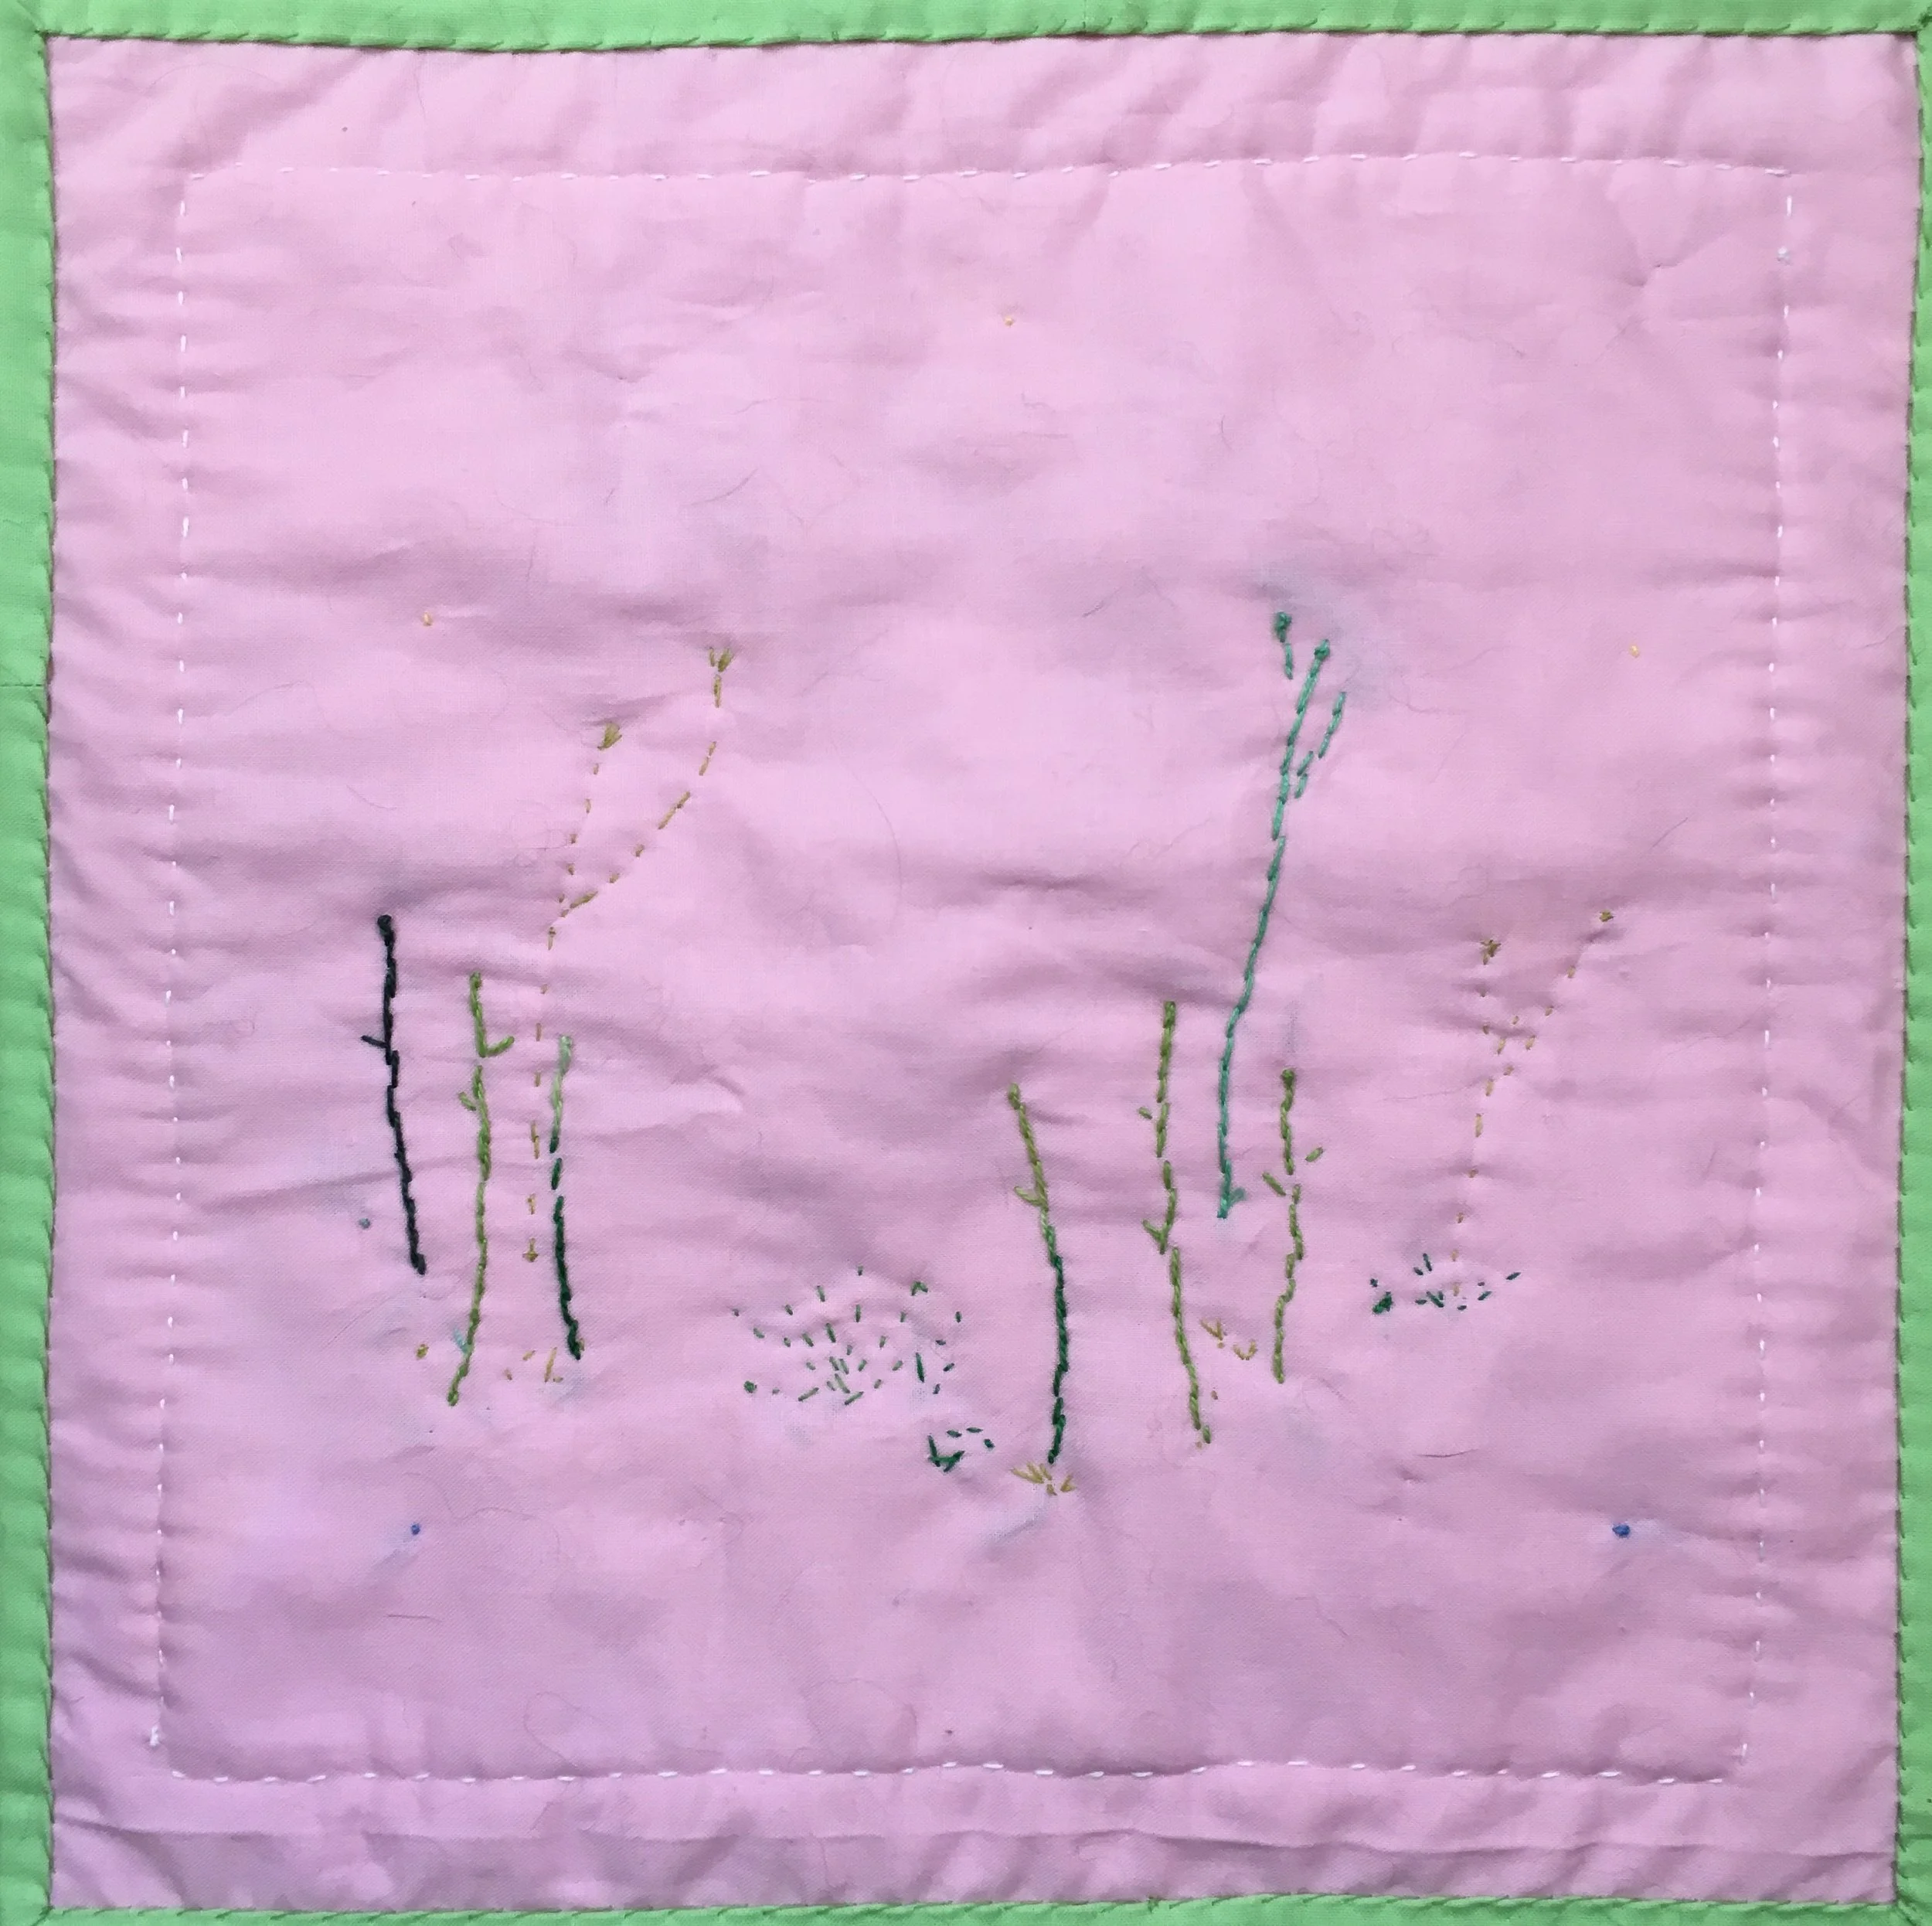
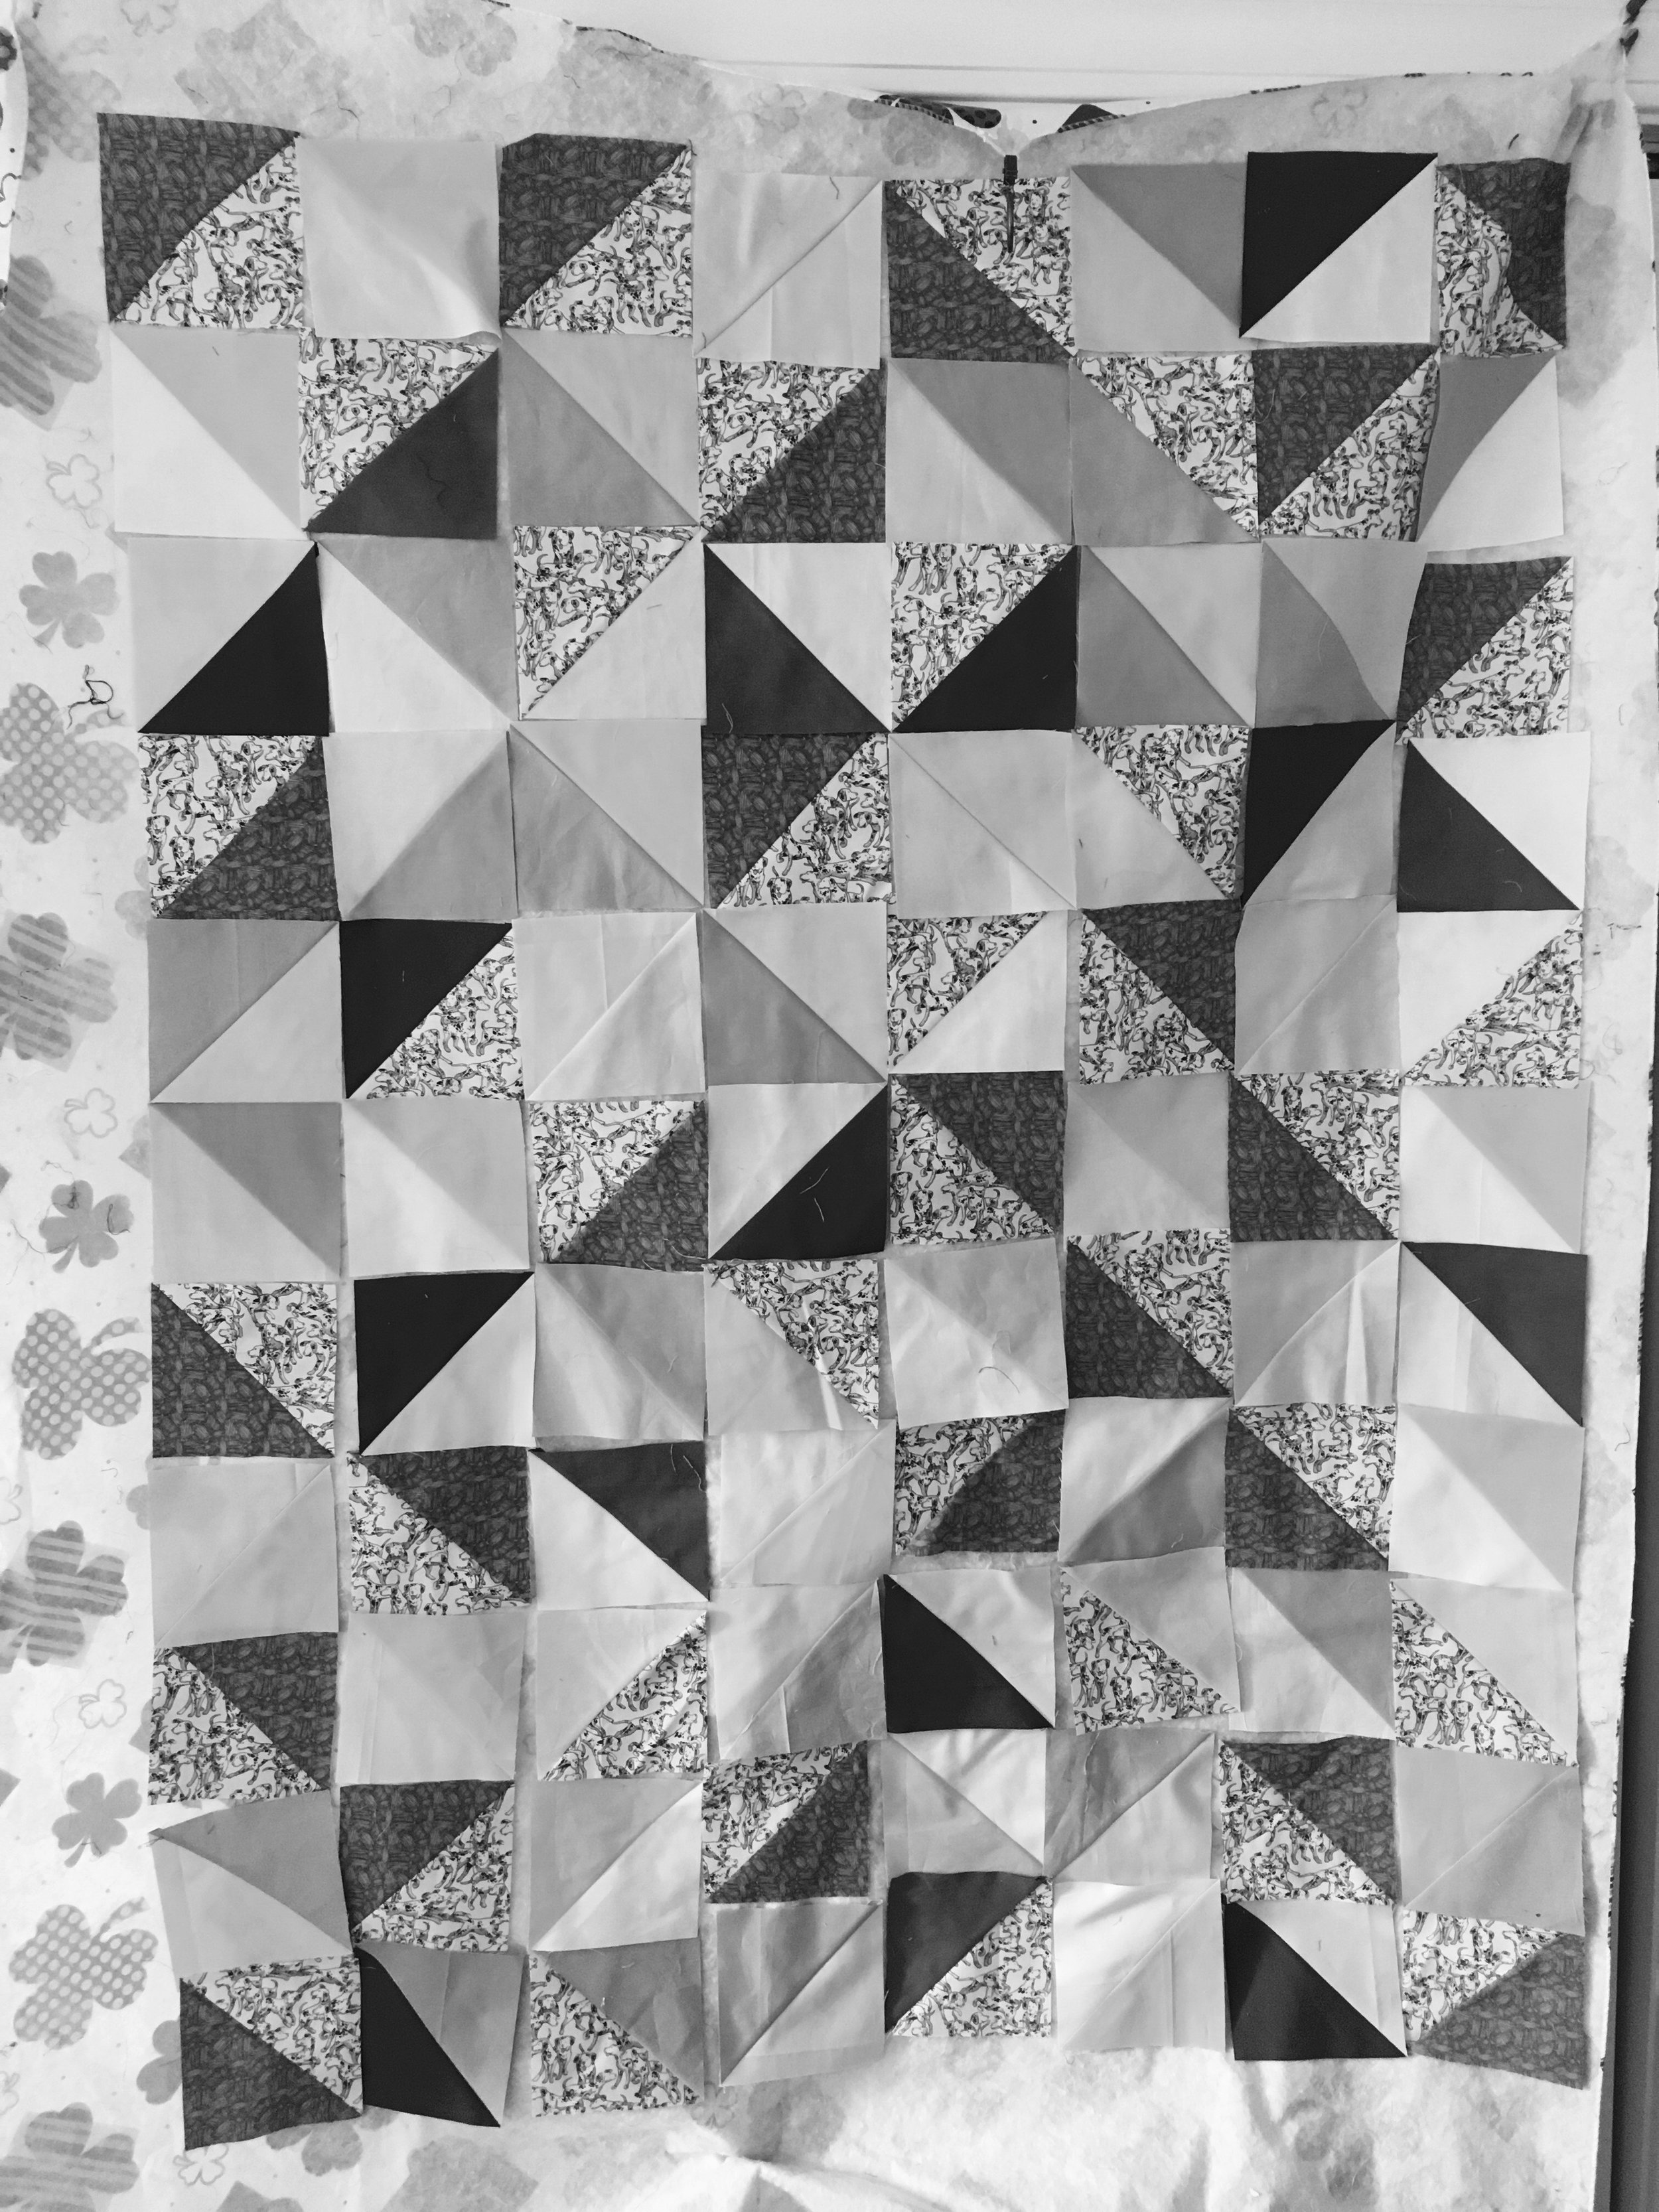
Doll quilt sandwiched, basted and ready to quilt

I do like version #2 better, though there was really nothing wrong with version #1! It’s all sandwiched, using up a remnant of cotton quilt batting, and is ready to quilt.

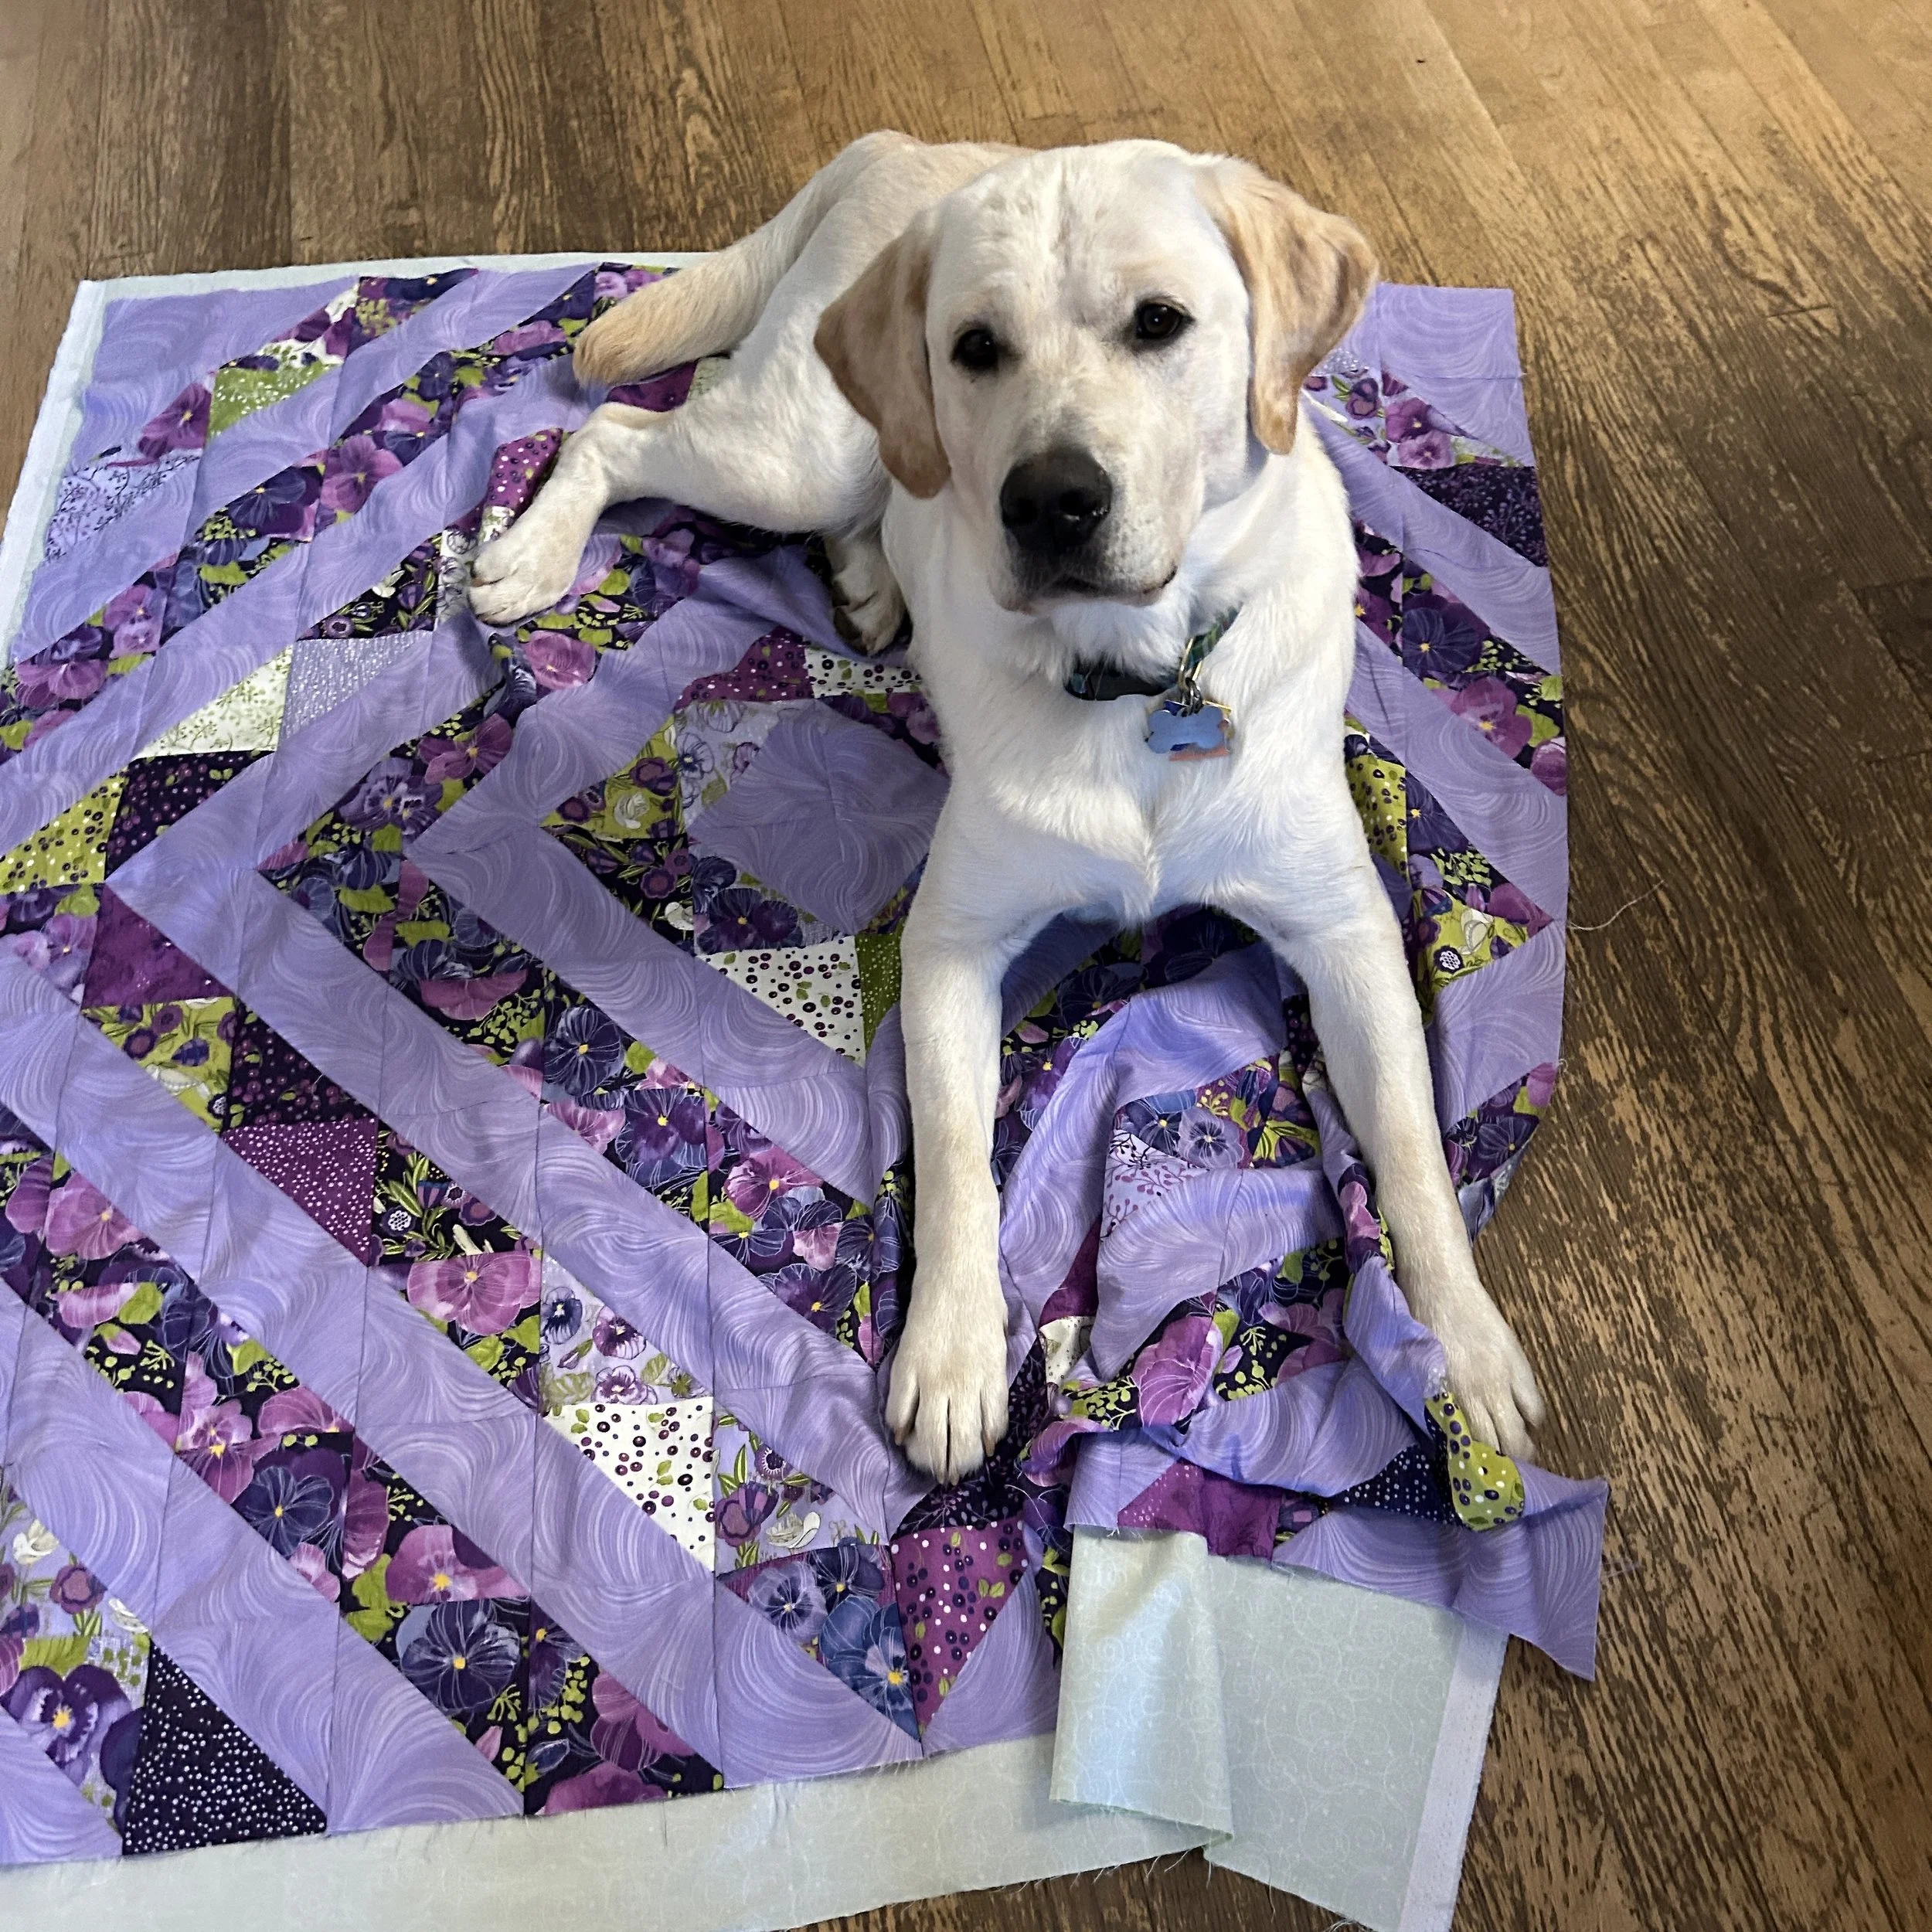
The puppy had surgery two days ago, so this will have to wait. The pup is sore, but doing well, but I’ll doing quiet tasks to be near her until she’s feeling better.

Once the it’s quilted, I’m planning on adding red binding. A doll somewhere is going to be toasty wrapped in her quilt, maybe dreaming of making an apple pie for her little person!

TAGS: Doll Quilt, Half Square Triangle quilt, half square triangles


November 16, 2023

"The Tree Quilt" also known as "Diamond in the Forest Quilt"

by Judy Tucker


“The Tree Quilt” 55 x 66 inches

“The Tree Quilt” 55 x 66 inches

Since I referenced this quilt in my previous post, I thought I’d show it again. (The completed quilt was first post in September 2014). It was fun to note that I renamed the quilt once it was complete, something I used to do frequently with quilts I designed myself. While under construction, I called it the “Diamond in the Forest” quilt but when it was done, it became “The Tree Quilt”.

It’s a half square triangle quilt, with one block that has a inset reverse circle patch. I quilted that block to look like it was a hole in a tree trunk. It was a lot of fun doing that free motion quilting. The quilt has a wool batting so it is light and lofty, and really shows off the quilting.

IMG_0665.jpeg
IMG_0670.jpeg

On the back there is a forest fabric. I looked to see the date on the label and … oops. No label. That’s a bit embarrassing! This is one of those times that I’m grateful for the blog and can look back to see the date on posts I wrote while making the quilt, so I can “post-label” this quilt I made in 2014!

TAGS: Half Square Triangle quilt, The HST Tree quilt, Diamond in the Forest quilt, Reverse Circles, Free motion Quilting


August 24, 2023

Purple Pansys Lap Quilt

by Judy Tucker


Purple Pansies “Cat’s Eye” Quilt, 48.5 x 48.5 inches

Purple Pansies “Cat’s Eye” Quilt, 48.5 x 48.5 inches

Here it is! The promised purple quilt. This pattern is “Cat’s Eye” from Just One Charm Pack Quilts and the charm pack “Pansys Posies” from Moda Fabrics.

This quilt design is was created using just half square triangle (HST) blocks. The number of designs you can create using HST blocks is just about endless. In fact, I was tempted to skip the pattern’s instructions and do something different. But when I starting thinking about doing something different, I had already made the exact number of blocks needed for the “Cat’s Eye” quilt, I decided just to stick to the pattern.

I quilted most of the quilt with a walking foot but included some of the decorative stitches built into my sewing machine on the swirly background fabric. I also sewed free motion flowers in the center of the quilt and the four outer corner triangles.

I used the large print pansy fabric to make the binding as this was a set of fabric in a kit from O’Sewpersonal Sewing Center in O’Fallon, Missouri. So, the second large print floral binding this month. Might be a tread!

IMG_0320.jpeg
IMG_0324.jpeg

The puppy turned one year old a week ago. He’s turning out to be an accomplished quilting dog! He does quality control on both the sandwiching of the quilt layers and the photography of the finished quilt. And he sleeps on the floor of the hall outside my sewing room. All very satisfactory! Mostly.

Still a bit over eager in his role as quality control inspector, the pup has yet to learn to lie on the floor next to the quilt with just a toe or a nose on it! But all in good time!


TAGS: "Cat's Eye" quilt from Just One Charm Pack Quilts book, Half Square Triangle quilt, Free motion quilted flower designs


July 1, 2021

"Off Course": The "Regatta" Mystery Quilt Takes a Different Tack

by Judy Tucker


“Off Course” 53 1/2 x 70 inches

“Off Course” 53 1/2 x 70 inches

“Off Course” 53 1/2 x 70 inches

“Off Course” 53 1/2 x 70 inches

The sails in my guild quilt project caught a different breeze and I deliberately veered off in a different direction from the pattern, “Regatta”, a Mystery Quilt Pattern by Merry Meyhem in several steps. “Off Course” by choice!

I’d been sailing against the wind from the beginning due to having a directional fabric as one of the light blue backgrounds. It has seagulls flying in it and the way I cut them, the seagulls would have been flying vertically had I followed the pattern. I flipped the direction the half square triangle sails were facing which solved that problem. It did complicate sewing the blocks together because the blocks in each strips were the mirror image of the pattern.

I”d also taken a guess about the border on the final layout when I was purchasing my fabric. I took a risk and purchased the royal blue instead of sticking with the light blues in the quilt’s background. So I knew from the start that my border was going to be different. It’s actually completely different from the borders in the pattern.

My border, with boats sailing across it, made my finished quilt is a bit smaller than the quilt in the pattern. And I needed it to be smaller. I had one piece of batting left from a roll, and it was just big enough for the quilt I made, which saved me from needing to by a new batting.

Here’s the back. This is “Sea Breeze” from Hoffman Fabrics “Shoreline Stories” collection. The fabric is a standard 42-44” width so I used the left over light blues from the quilt’s background to just squeak out a back that was wide enough.

Back of “Off Course”

Back of “Off Course”

I love this quilt. But if you are looking for a sneak peak to see what the finished “Regatta” Mystery Quilt looks like, this is NOT it! I used most of the pattern’s instructions, but the actual finished mystery quilt is a definitely a different day at the yacht club!

I think a certain Springer Spaniel is chuckling about all of this!

I think a certain Springer Spaniel is chuckling about all of this!

To see more about this Mystery Quilt which has been a project our quilt guild has been working on all year, check out my February 11, 2021 post. If you are working on this mystery quilt, or are interested in purchasing it, I hope you have fun making it. It’s not difficult at all…if your follow Merry Mayhem’s direction and don’t veer off course like I did. ( Don’t by fabrics with a directional prints for your background! Half square triangles just don’t play well with directional fabrics).

TAGS: Mystery Quilt, "Off Course" Quilt, Half Square Triangle quilt, Sailboat quilt, Guild Quilt Project


February 4, 2021

"Breezy Day" Star & Half-Square Triangle Quilt

by Judy Tucker


“Breezy Day” quilt, 41 x 49 inches

“Breezy Day” quilt, 41 x 49 inches

“Breezy Day” quilt, 41 x 49 inches

“Breezy Day” quilt, 41 x 49 inches

Here it is—my “Breezy Day” lap quilt. The name was inspired by the fabric in the quilt, rather than the quilt’s design. IF I’d gone with the quilt design, it might have been “Stars on the Stairs”. At least, that what it looks like to me!

There is straight line quilting along the long white diagonals—just under the “stairs” as it were! The quilting starts at 1/2 inch between the lines of stitching, decreases to 1/4 inch and then 1/8 inch “match stick” over 6 rows of stitching. It will create great texture to the quilt once it has been washed.

I had a hard time deciding what to do with the large half square triangle blocks. The diagonal stitches run through the light side of the half square triangle block, but there was still a large section of the block without any quilting. The floral fabric design is so organic, that I didn’t want all the quilting be be straight line.

If finally decided to go with a free-motion quilted large spiral in the dark green block and echo that with a 1 inch spiral in the light half of the block. I love it!

Spiral Free-motion quilting and match stick straight line quilting

Spiral Free-motion quilting and match stick straight line quilting

I did a stitch-in-the-ditch with my walking foot around each of the stars. I started in one corner of the central square, stitched around the square and then around the star points. This made it possible to quilt the entire star without stopping until it was completed quilted. This works on a small quilt with my domestic sewing machine but would be a struggle with a large quilt. On a large quilt, it would be better done free-motion or on a long-arm machine.

The fabric on the back of the quilt is an irregular linear grid design which I think is a perfect complement to the organic floral design fabric on the front of the quilt.

7B5F0022-348C-4D66-BF9B-AD7B62342486_1_201_a.jpeg
37657CB2-6AC2-416A-B2C8-8780E9005072.jpg

So that’s it—a lap quilt from design to completion.

TAGS: Half Square Triangle quilt, Star Blocks, Free motion Quilting, match stick quilting, Lap Quilt


September 17, 2020

"Kaleidoscope" Three Yard Pattern by Fabric Café®

by Judy Tucker


Fabric Café’s® “Kaleidoscope” 3 yard quilt.  44 x 56 inches.  Hanging on a neighbor’s fence in front of their sunflowers!

Fabric Café’s® “Kaleidoscope” 3 yard quilt. 44 x 56 inches. Hanging on a neighbor’s fence in front of their sunflowers!

Fabric Café’s® “Kaleidoscope” 3 yard quilt.  44 x 56 inches.  Hanging on a neighbor’s fence in front of their sunflowers!

Fabric Café’s® “Kaleidoscope” 3 yard quilt. 44 x 56 inches. Hanging on a neighbor’s fence in front of their sunflowers!

Last week I shared a quilt I entered into Bits ‘n PIeces Quilt Shop’s Three Yard Customer Quilt Challenge. Here is my 2nd entry. (Head over to Bits ‘n PIeces Facebook page to see all the quilts in the competition, and vote on your favorite).

This bright cheerful fabric line called “Sunny Fields” was just released by Clothworks. It was designed by Sue Zipkin. It was one of those fabrics…when I saw all those sunflowers on one of Bits ‘n Pieces Facebook unboxing videos I went right to the computer and purchased it!

The pattern is a three yard pattern by Fabric Café® called. “Kaleidoscope”. This is really a classic quilt pattern.

But there was a challenge with this fabric. The butterflies flutter in many directions but the flowers all are directional, standing tall on the fabric. But this is diagonal pattern. What to do? Try to get the flowers upright or just let them be jumbled?

"SunnyFields"in"Kaleidoscope". jpg

I thought about it while I was walking the dogs. It came to me that there was a way to get the flowers all going in the same direction.

One way that half square triangles are constructed is by placing two squares of fabric, right sides together. Then a line is drawn on the lighter fabric from one corner to the opposite corner, diagonally. A seam is stitched 1/4 inch on each side of the center line. Then the block is cut along the center line, yielding two half square triangle blocks.

Here’s what I did. With the flowers standing upright in each square, I drew the center diagonal line from the lower left corner to the upper right corner on 1/4 quarter of the square blocks, and then from lower right corner to upper left corner on another 1/4 of the squares.

THEN I flipped the remaining half of the blocks upside down so that the flower stems were at the top of each block. Then I drew my center lines the same way as above.

And it worked. All the flowers were facing upright. I sorted the blocks into the four groups and that made assembling the quilt easy. Each block was either dark upper quadrant left, dark upper quadrant right, dark lower quadrant left or dark lower quadrant right.

However, I did make an error sewing my strips together. Instead of sewing block to block across the strip, I sewed them in pairs. I accidentally flipped one of the pairs upside down in one row. The pattern was correct, but in those two blocks, the flowers are upside down. Oops!!

The quilt was fully assembled and I was sandwiching the layers of the quilt when I saw what had happened. I thought about taking it all apart, but then decided that since with this busy floral fabric, it just wasn’t that noticeable. And left as is, it’s a teachable moment. See if you can find the upside flowers! (I’m not telling)!!

If I were making this quilt again, I would probably tone it down! (It is busy, busy, busy!! But fun)! There is a lovely light green fabric with dark green dots in the “Sunny Fields” line. I would use that with one of the sunflower fabrics in the half square triangles and use the butterflies as the border.

But I do like this quilt as is. It’s the quilt you’ll want to grab if you need to stay AWAKE! Not the one you should choose for a nap!

Here’s the back.

Back of the quilt.

Back of the quilt.

TAGS: Fabric Café® "Kaleidoscope" pattern, Half Square Triangle quilt, Sewing half square triangles with a directional fabric


April 6, 2017

Half Square Triangle Embroidered Mini Quilt Completed

by Judy Tucker


HalfSquareTriangleEmbroideredMiniQuilt.jpg

I've completed up my Half Square Triangle Embroidered Mini Quilt. It finished at 12 1/2 x 13 inches.  I'm so happy with these embroidered flower designs which I found in Kazuko Aoki's book, The Embroidered Garden.

I really like the front of this little quilt. As I showed in my last post, some of the threads from the flower embroidery are hidden inside the the quilt. I wanted to use the flower stems as part of this little quilt's quilting. I used two stitches for the stems--the running stitch which has gaps between each stitch and the back stitch. The running stitch looks like quilting stitches on the back of the quilt. The back stitch really doesn't look good.

BackofEmbroideredMiniHSTQuilt.jpg

I'm not unhappy about the back since this is a quilt that will be used as a wall hanging.  But if I were doing it again, I'd just use a running stitch for all the flower stems.

TAGS: Half Square Triangle quilt, half square triangles, Mini Quilt, embroidery on a quilt, Embroidered flowers


March 30, 2017

Half Square Triangle Mini Quilt with Embroidered Flowers--WIP

by Judy Tucker


Detail of embroidered flowers on HST Mini Quilt

Detail of embroidered flowers on HST Mini Quilt

Detail of embroidered flowers on HST Mini Quilt

Detail of embroidered flowers on HST Mini Quilt

I'm currently working on a Half Square Triangle (HST) mini quilt made with more left over triangles from another quilt made with the stitch and flip method of block construction.  These HSTs finish at 2 inches square.

I had a idea about embroidering flowers, peaking out in the white patches but hidden by the colored triangles. It was an interesting idea, but when I found the designs I wanted to embroider, it made more sense just to work on the surface.

I embroidered just the flowers through the top of the quilt and the batting, saving the stems to use as part of the quilting. That worked really well. The colored threads are buried in the back of the batting and so aren't visible on the front of the piece. Here's a look "behind the scenes" on the back of the batting.

EmbroideryBehindTheSceneonBatting.jpg

I learned to embroider in school in second grade, so it's an established skill. But I decided to look around the internet to see if I could find some inspiration and new ideas. 

I discovered a beautiful book, The Embroidered Garden: Stitching Through the Seasons of a Flower Garden, by Kazuko Aoki.  This is such a lovely book. I highly recommend it if you are interested in embroidering flowers. All her embroidered pieces are together in the front half of the book, with detailed stitching instructions in the back of the book.

fullsizeoutput_62c.jpeg
fullsizeoutput_62d.jpeg

I drew my flowers, one at a time as I worked, with a fading marking pen, using her embroidery as a guild. I needed to redraw portions of some flowers because the pen faded faster than I could stitch! I used flowers from two of her Summer Garden pieces to make my design, but I didn't very stray far from her beautifully balanced floral compositions. My embroidery design clearly echoes hers.

I'm nearly done!  I'll show the completed mini quilt in my next post.

TAGS: half square triangles, Half Square Triangle quilt, embroidery on a quilt, Embroidered flowers


February 2, 2017

Dalmatians and Half Square Triangles

by Judy Tucker


Dalmation HST Quilt, Lap/Crib size 40 x 55 inches

Dalmation HST Quilt, Lap/Crib size 40 x 55 inches

Dalmation HST Quilt, Lap/Crib size 40 x 55 inches

Dalmation HST Quilt, Lap/Crib size 40 x 55 inches

The Dalmatian fabric I used in the "Dalmations and Diamonds" quilt has now been used in 3 quilts and one improv block (see my last post). That fabric is all gone now! Here is the second quilt in the series. I picked colors from the cool side of the color wheel for this quilt.

I call this one "Calm in the Kennel, Chaos Outside"! The blocks in the large diamond are all arranged into small diamonds. The blocks outside the large central diamond are all random.  I had thought this was going to be a totally random HST quilt. But when I saw the central diamond begin to appear, I really liked it so went with it.

In the gallery below you can see some of the process of transforming it from a stack of half square triangles to its final design. I use the black and white photos to look see if the more intense colors are balanced in the quilt. It's easy to go from color to black and white on a cell phone, but the photography program on a computer can do it too. These are quick design-in-progress photos so not "pretty"!

The top two images are the same. The HST blocks had just been put up on the design wall randomly. There is no sign of the central diamond.  You can begin to see it in the bottom two photos. The blocks inside the diamond in the lower photos are still random.

Quilt  Dalmation HST BW design wall.jpg
Quilt Dalmation HST 1 color Design wall.jpg
Quilt  Dalmation HST BW 2 Design wall.jpg
Quilt Dalmation HST 2 Color DW.jpg

Here's final photo of the quilt. The wind has flipped an edge so you can see the back.

The third quilt in this series of Dalmation quilts features colors on the warm side of the color wheel.  I'm quilting it now so it should be ready in time for my next post.


TAGS: half square triangles, Half Square Triangle quilt, dog quilt, Quilt Design wall


Powered by Squarespace 7