Search
  • Information
    • About
    • Contact
    • Privacy Policy
  • Blog
  • Subscribe
  • Tutorials
    • Tutorials
    • Doll Clothes: Photos and some Patterns
  • Suggested Reading
  • Quilts: My Original Designs
  • Gallery: Color Studies
  • Gallery: Quilts I've Made
  • Doll Making Blog Posts
  • Recent blog posts
  • Quilts Based on The Improv Handbook for Modern Quilters
Close
Menu
Search
Close
  • Information
    • About
    • Contact
    • Privacy Policy
  • Blog
  • Subscribe
  • Tutorials
    • Tutorials
    • Doll Clothes: Photos and some Patterns
  • Suggested Reading
  • Quilts: My Original Designs
  • Gallery: Color Studies
  • Gallery: Quilts I've Made
  • Doll Making Blog Posts
  • Recent blog posts
  • Quilts Based on The Improv Handbook for Modern Quilters
Menu

Sleeping Dog Quilts

SLEEPING DOG QUILTS

February 9, 2023

Piano Key border--a Brief Tutorial

by Judy Tucker in Tutorial


Making a Piano Key Border

Making a Piano Key Border

For years I have looked at “piano key” borders on quilts and thought there was no way. It looked like way too much sewing. But I wanted to widen the quilt top in my last post and I only had some strips left from my stack of fat quarters. So I decided to finally try making a piano key border. It’s actually really easy!

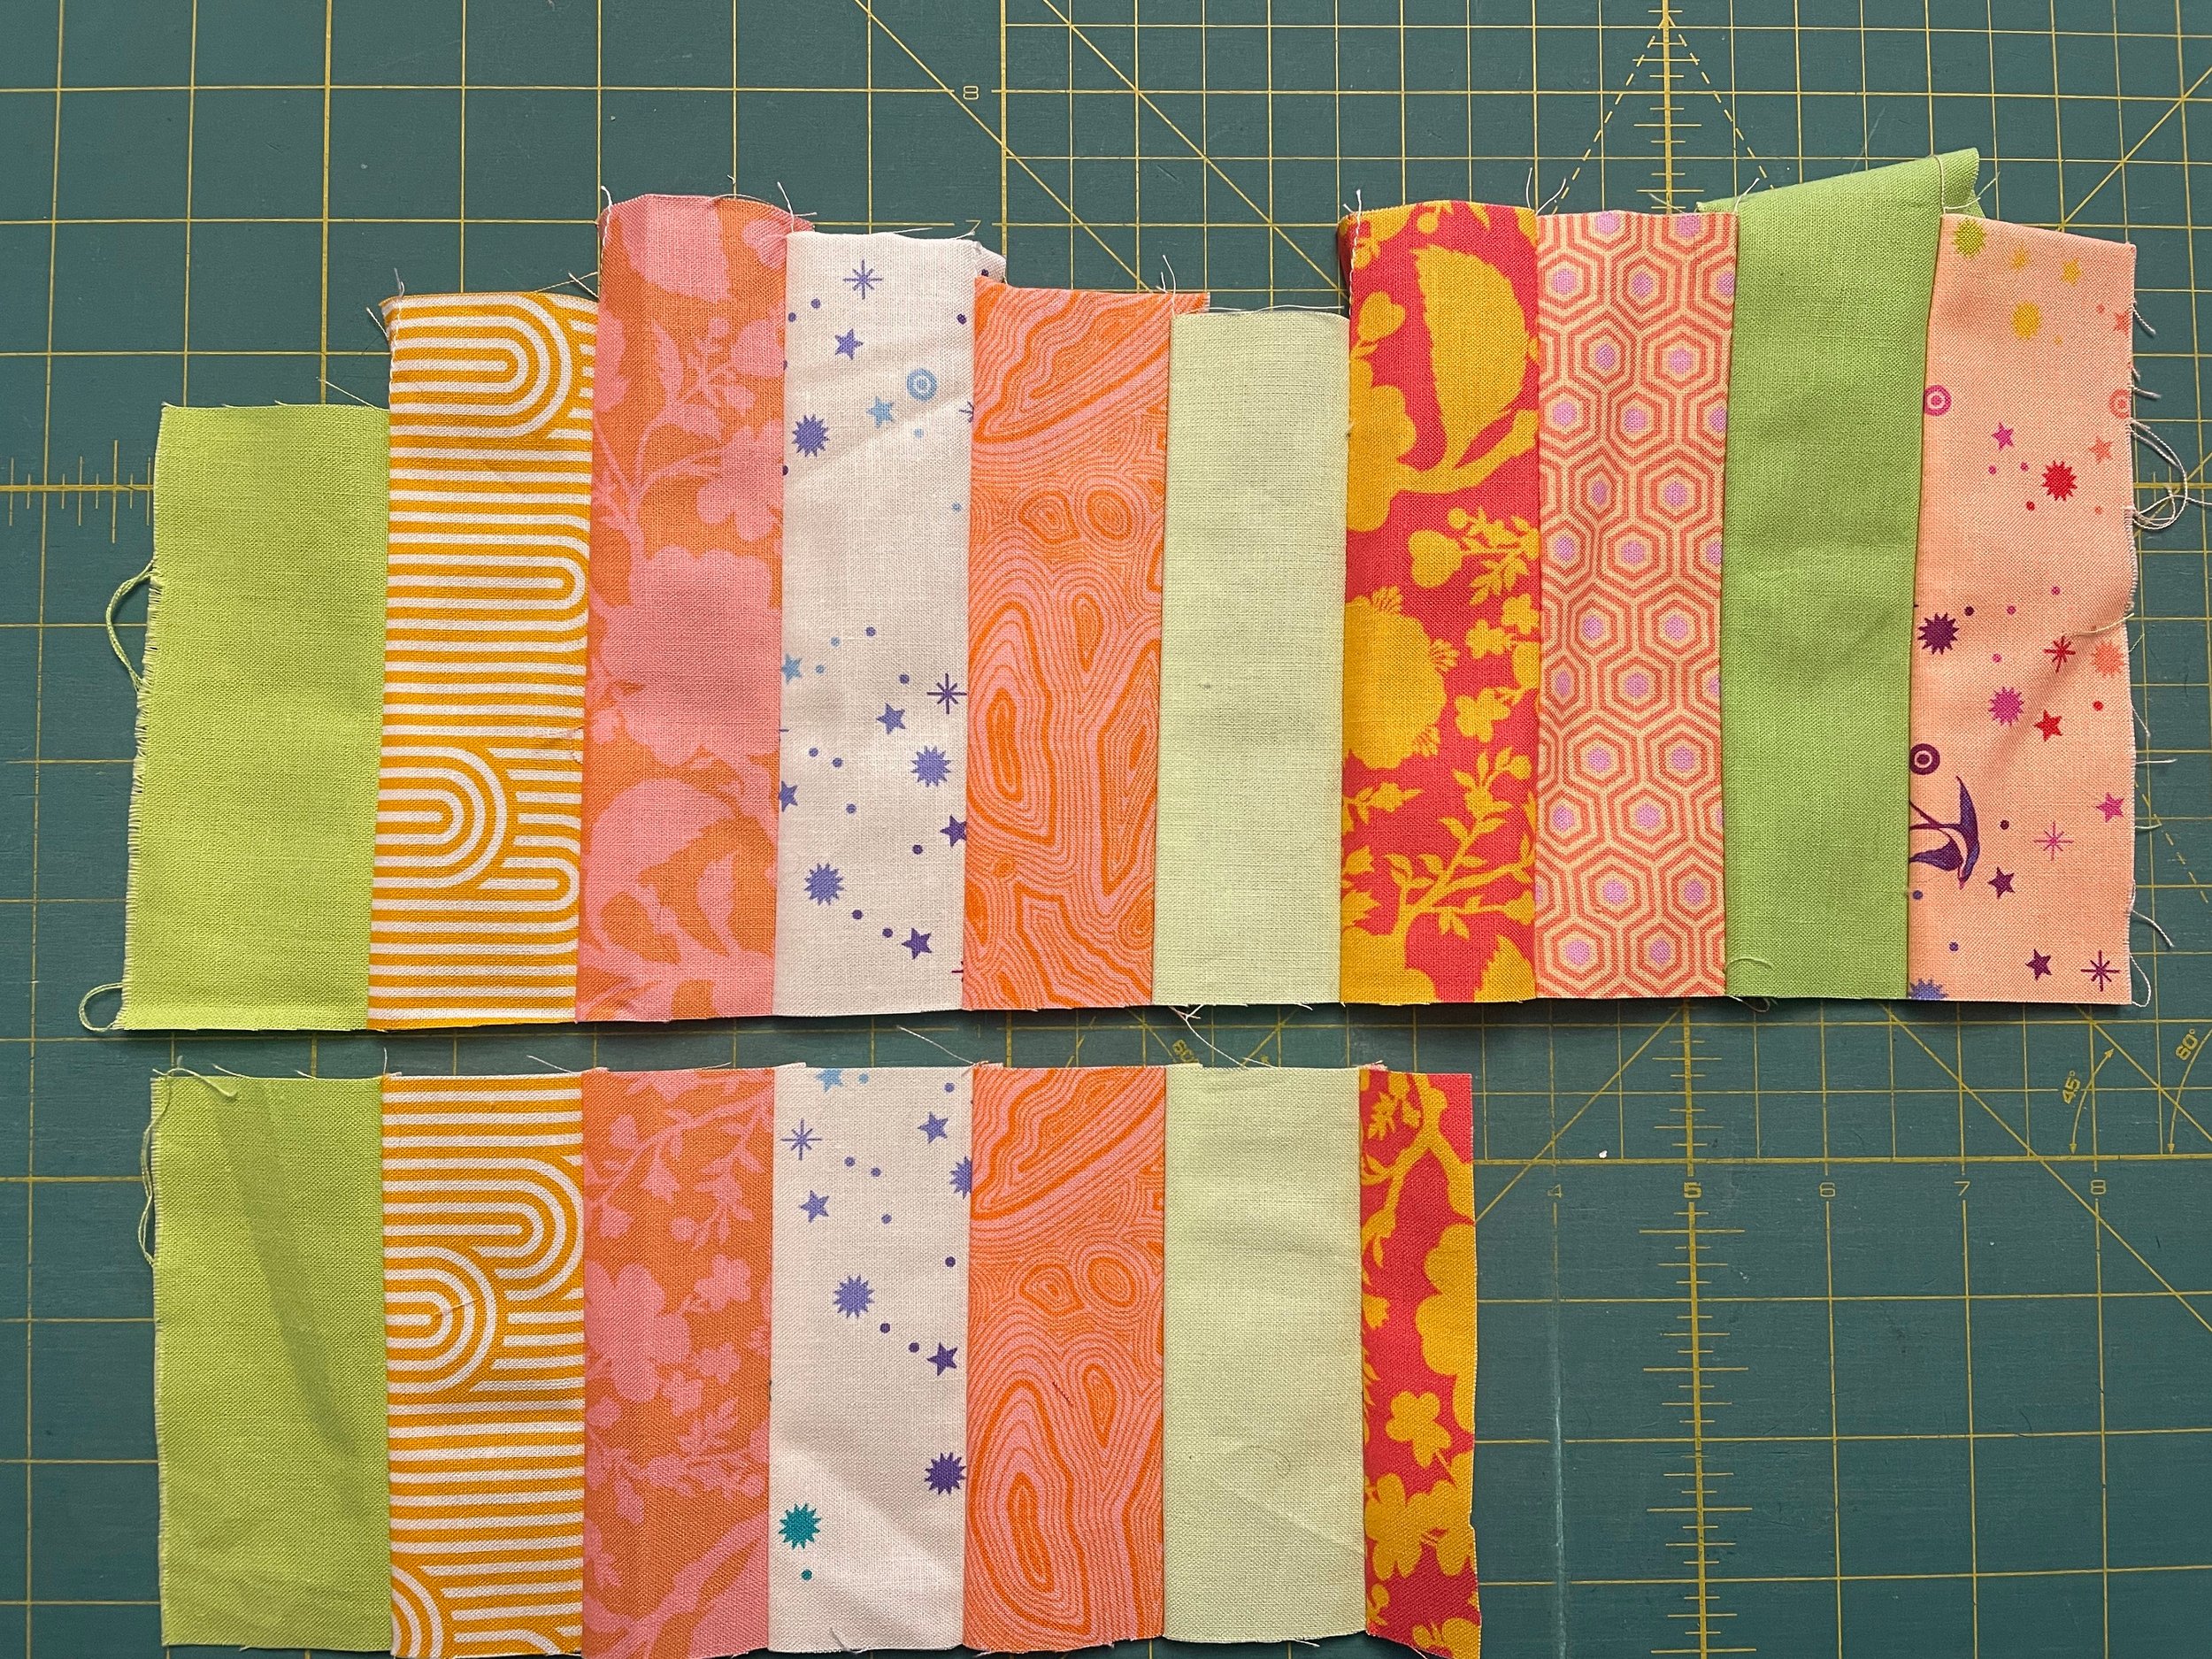
I wanted fairly narrow keys, so I cut 2 inch strips the width of the fat quarters. That gave me strips 2 x 20 inches. As you can see from the photo above, I sewed 10 of these strips together.

TIP: if you cut strips 40 inches wide (a full width of fabric) or use a 2 1/2 inch strip set, sew the strips together starting the seam at the opposite end of the strips from where the last one started. This will help keep the strip set straight. There is a chance they will start to develop a slight curve if you start each seam at the same end of the strip set.

Press the seams all in the same direction. Then cut the set of piano keys the width you want for your quilt. I chose 4 inches. That gave me 5 strip sets from my 20 inch wide strips.

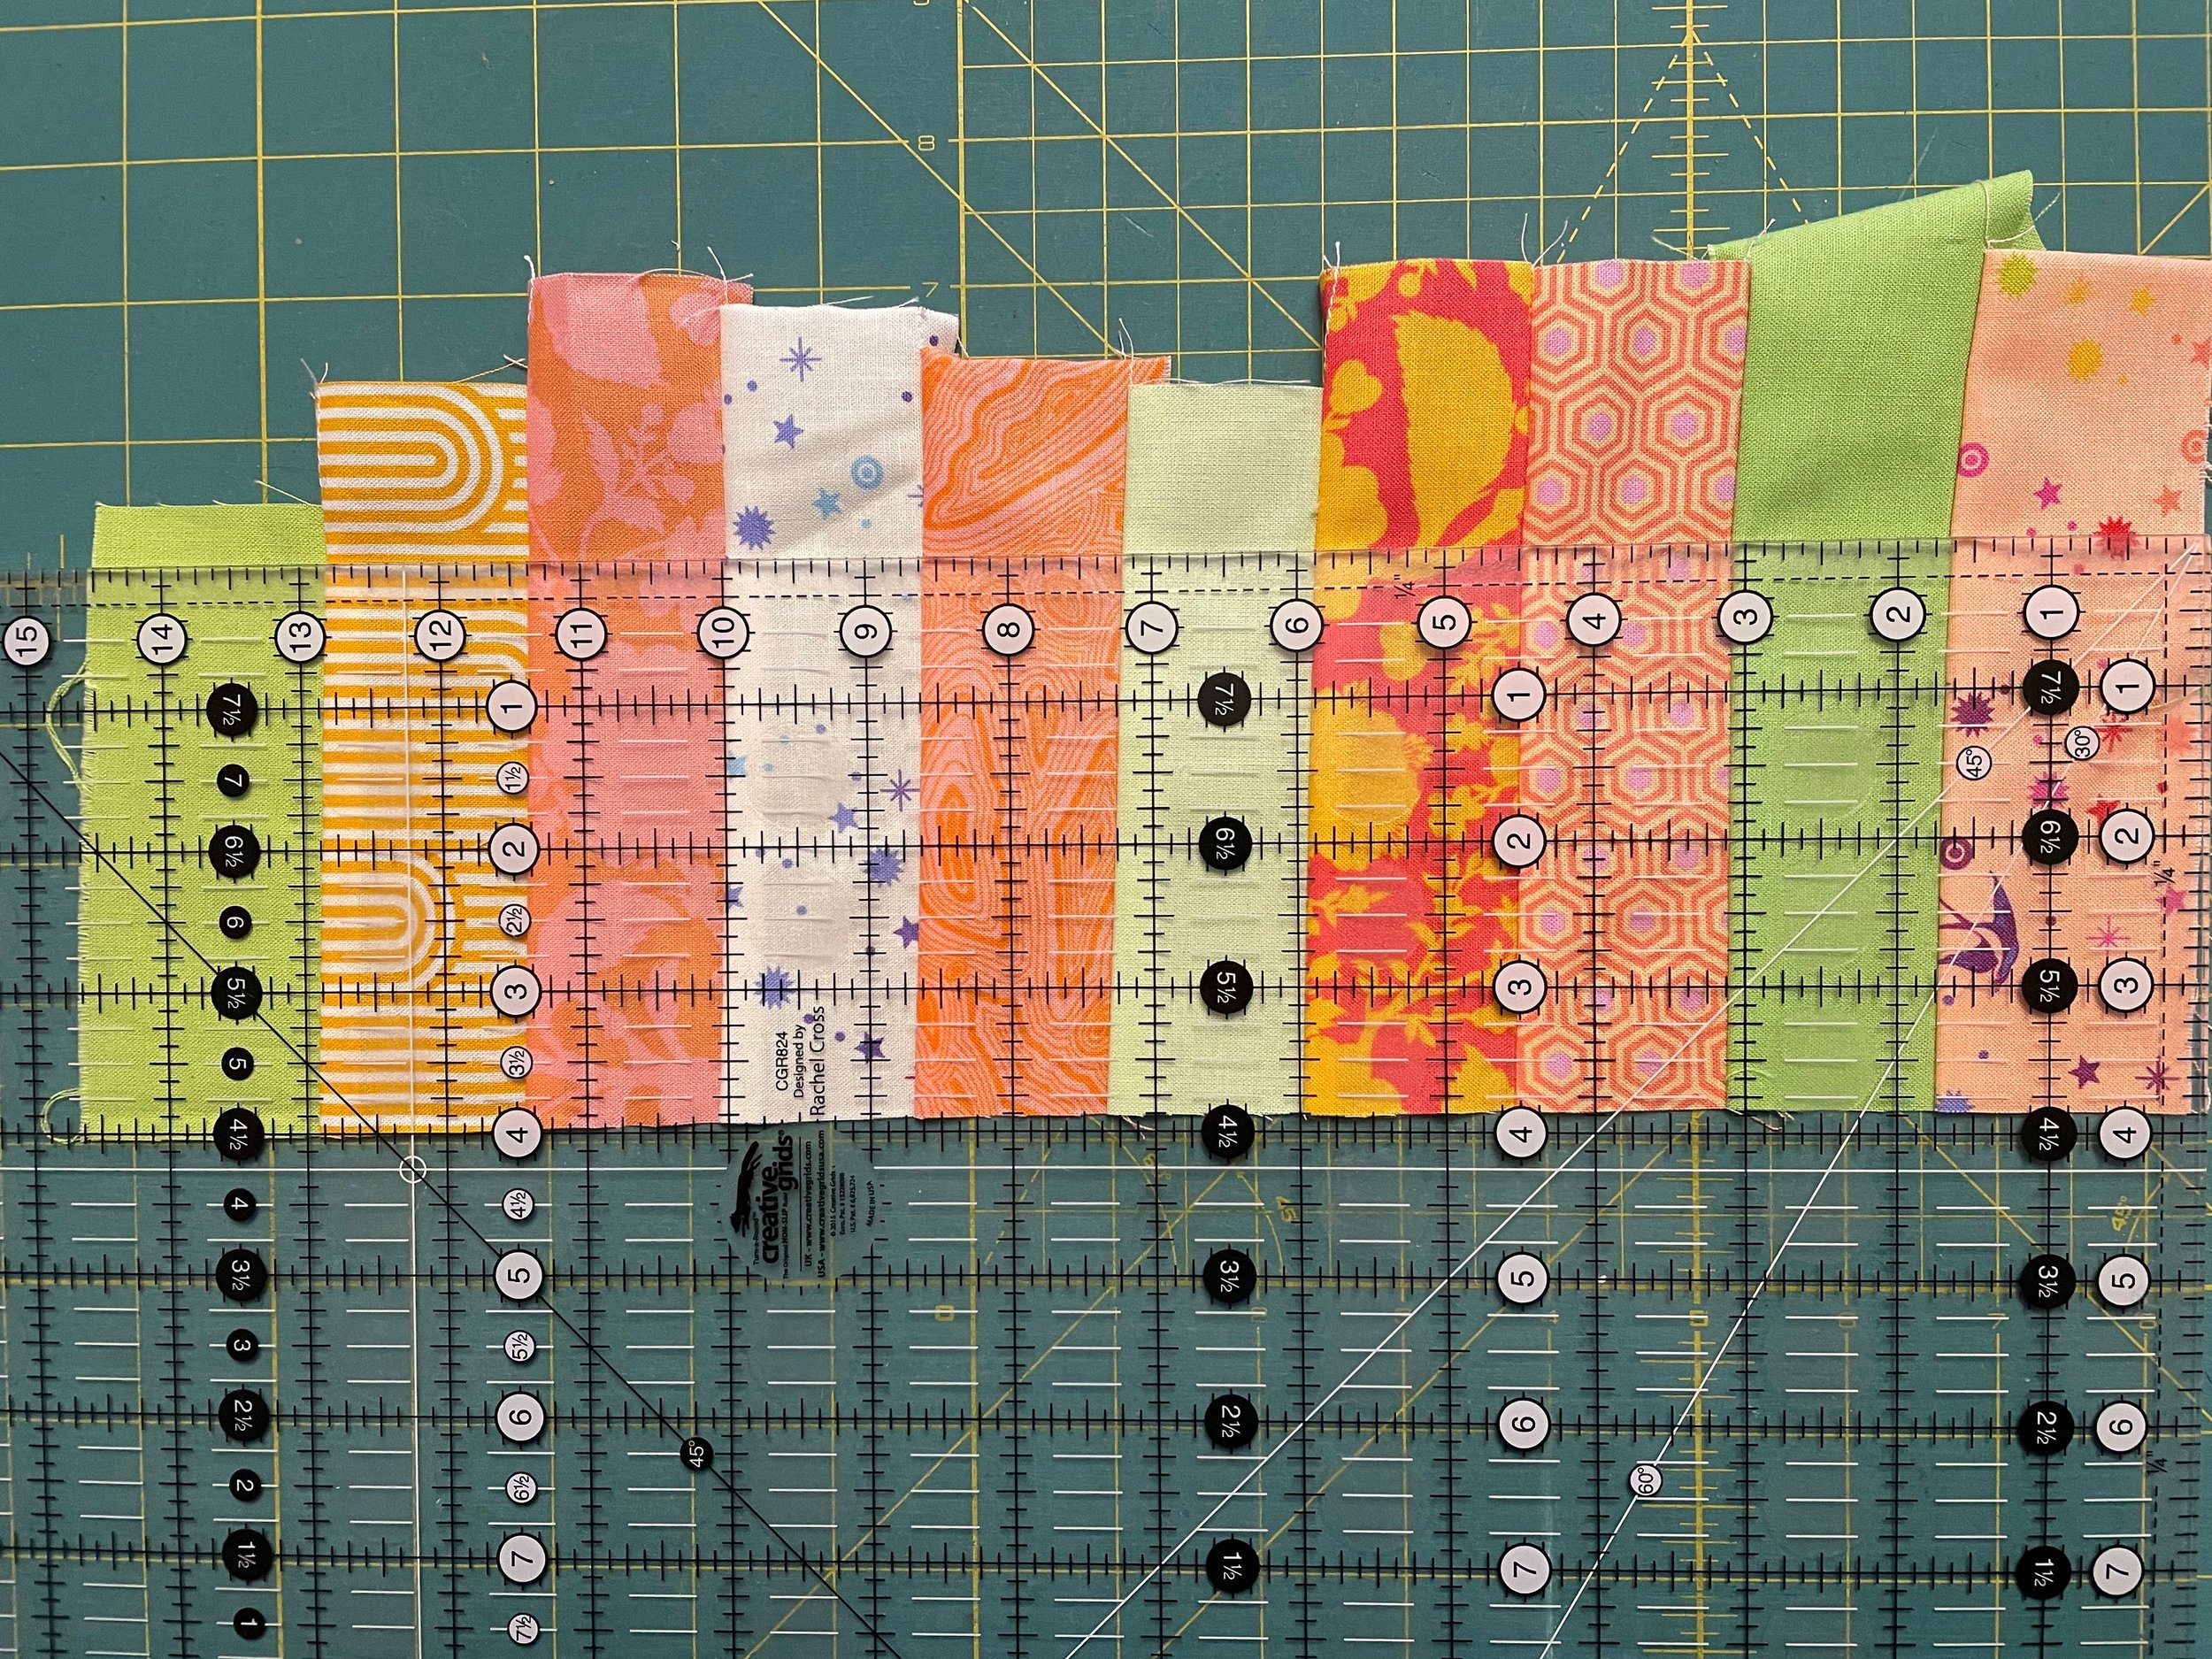
Cutting a set of piano keys for a quilt border from a strip set

I’d recommend keeping the number of strips you sew together in you wide strip set to under 20 inches long. I think cutting the piano key sections will get really unwieldy if you have a very long strip set. Make a couple of sets rather than one super long set of strips.

Sew you cut piano key strips together end-to-end to make the border. Cut to the length needed. Attach the border to the quilt and press toward the body of the quilt. If you have really light colored quilt and are worried about the seam from the keys showing, add a narrow border between the quilt and the piano key border as I did in my quilt shown below.

Have fun! This is so much faster and easier than it looks!

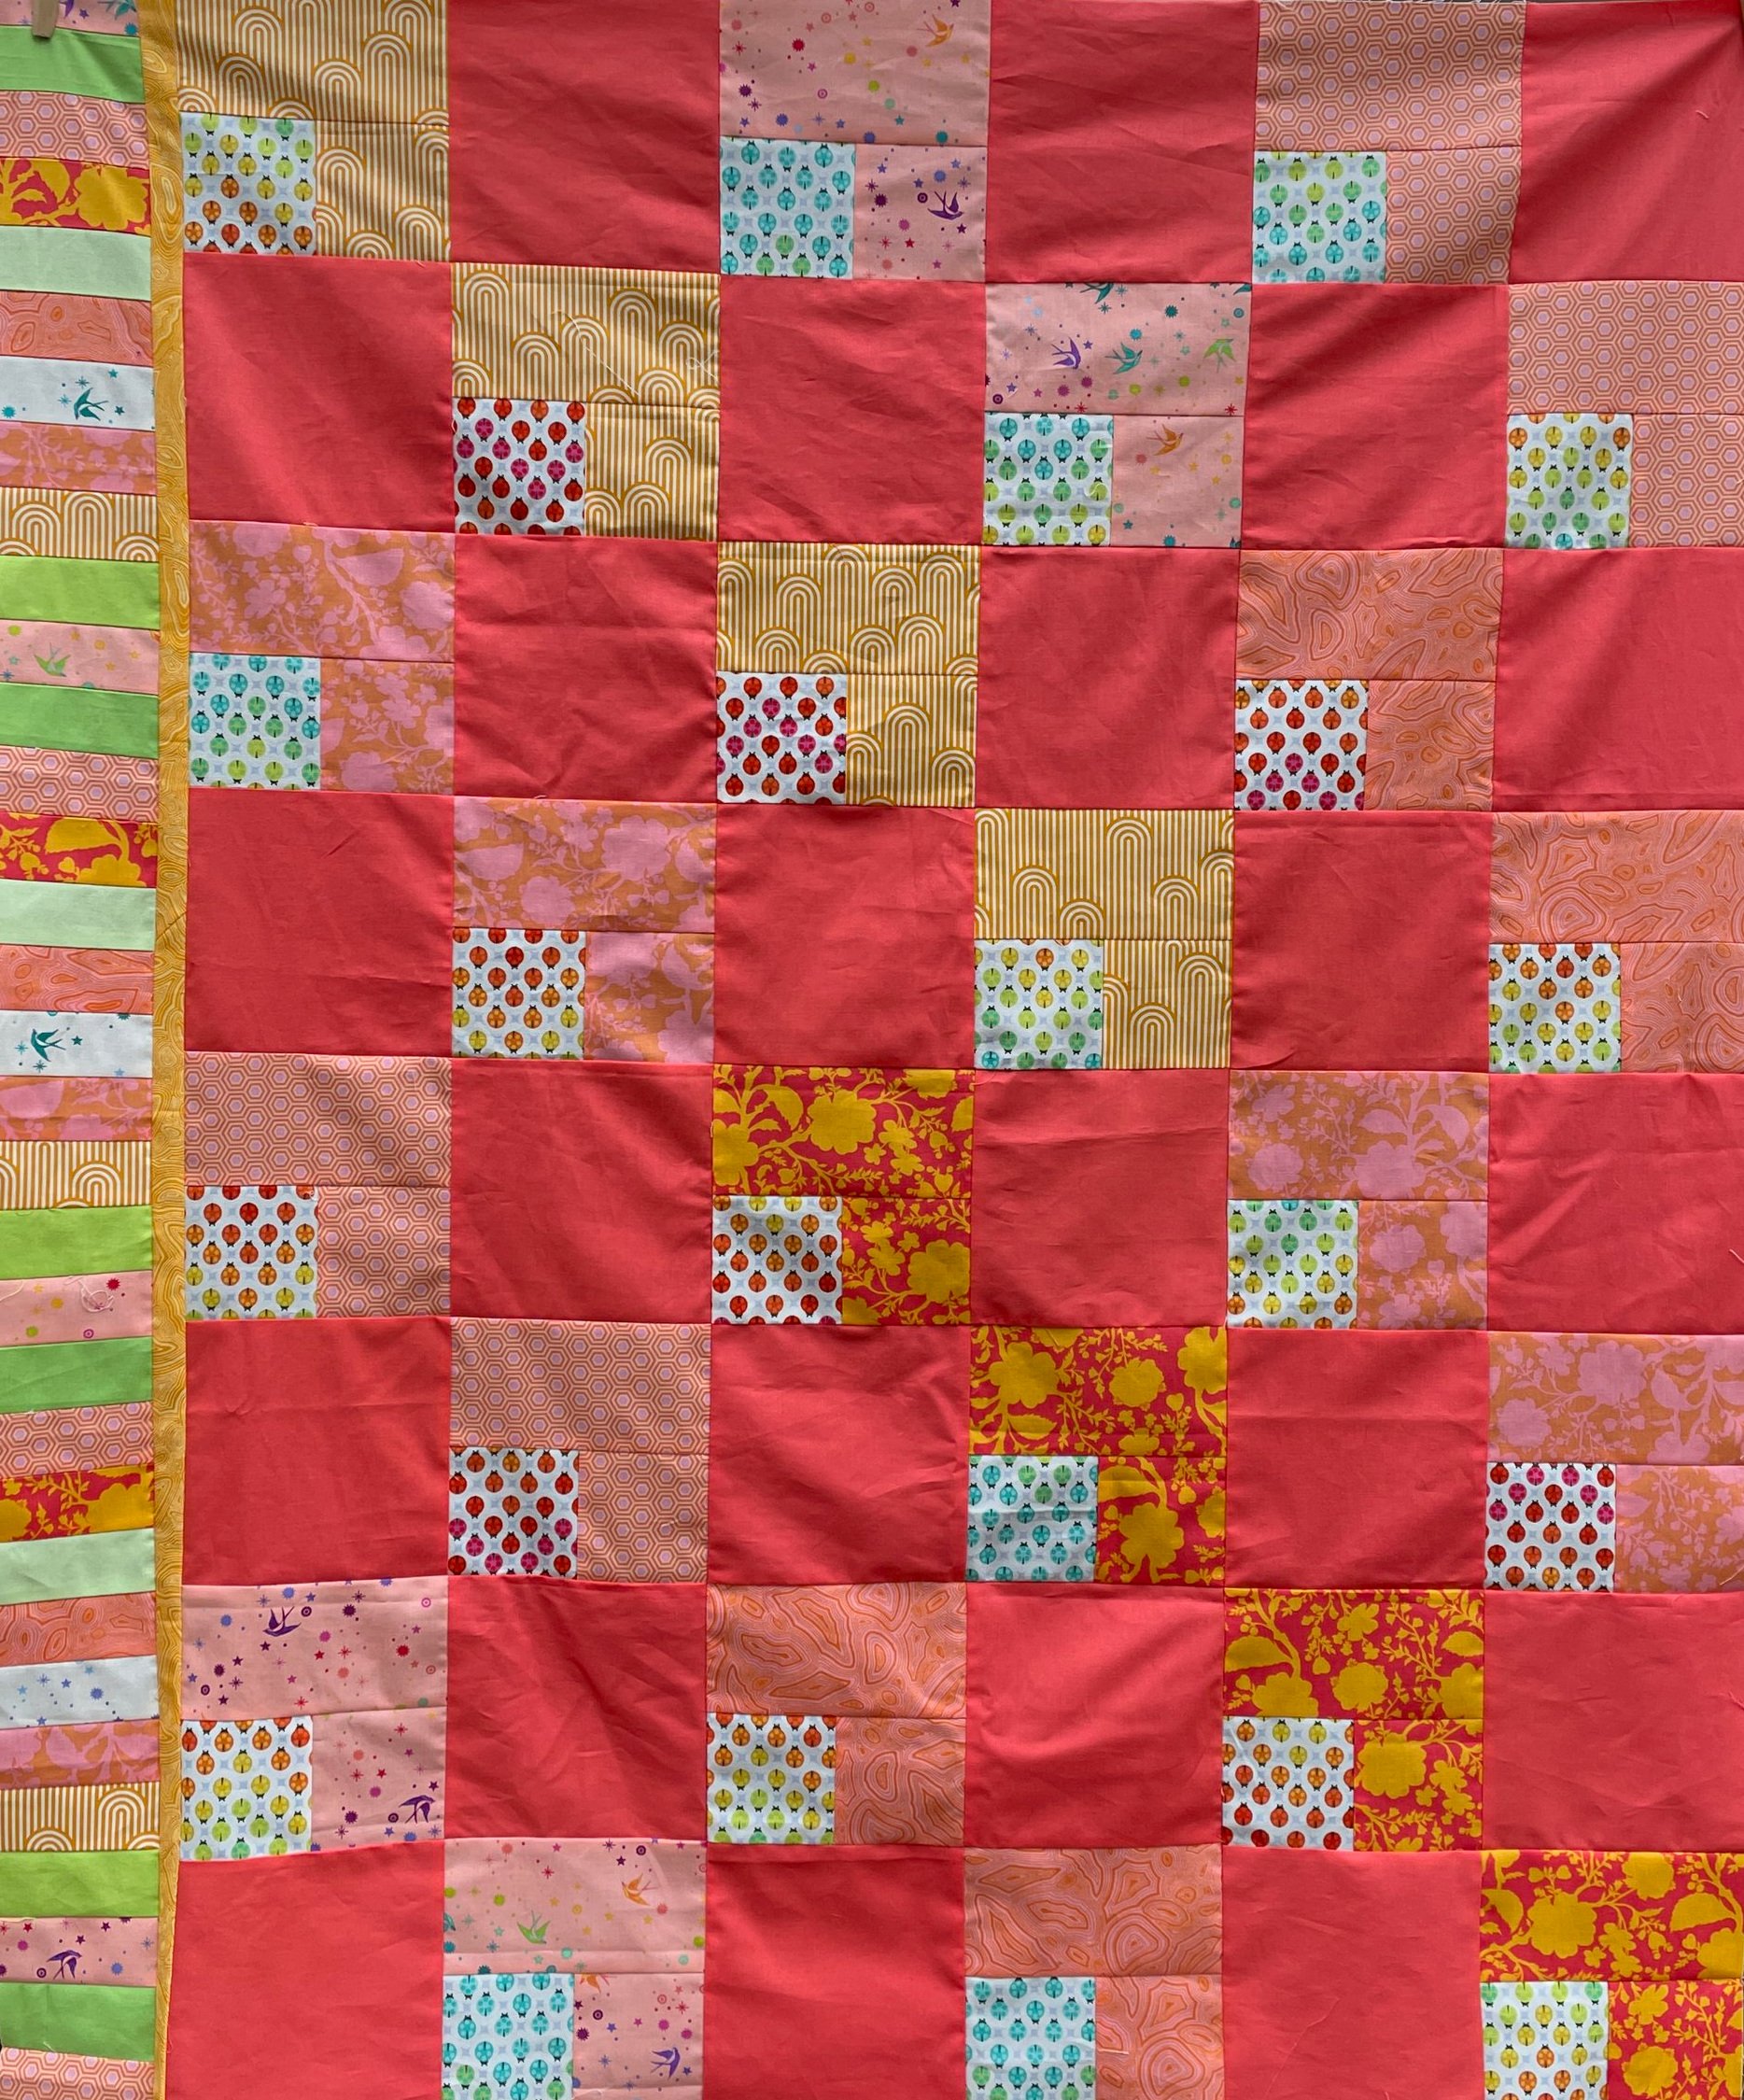
Piano key border on a quilt top

TAGS: Piano Key Border, Piano Key Border Tutorial


February 2, 2023

"Puss in the Corner" Quilt Top

by Judy Tucker


Puss In the Corner Quilt Top

Puss In the Corner Quilt Top

This is the quilt I made with the fabrics I pulled for my last post. The pattern is a classic—”Puss in the Corner.”

The puss in the corner patches (the ladybugs here) look like an open chain. And depending on the fabrics used, the rest of the block can create a stair-step effect. You can see that best with the 2 yellow-orange fabrics in this quilt. I really like how those two yellow-orange fabrics are out of step with each other. It catches the eye in a way that a continuous series would not.

The basic quilt is only 36 x 48 inches. I liked the length but not the width. So for the first time ever, I added a “piano key” border. Not only does it widen the quilt by about 4 inches, it also allowed me to add a few pops of green. The cool greens are a really welcome relief in a quilt that is really HOT!

In my next post I’ll give a short tutorial on making a piano key border. It looks like a it would be a lot of work but it really isn’t!

TAGS: Puss in the Corner Quilt, Piano Key Border


Powered by Squarespace 7