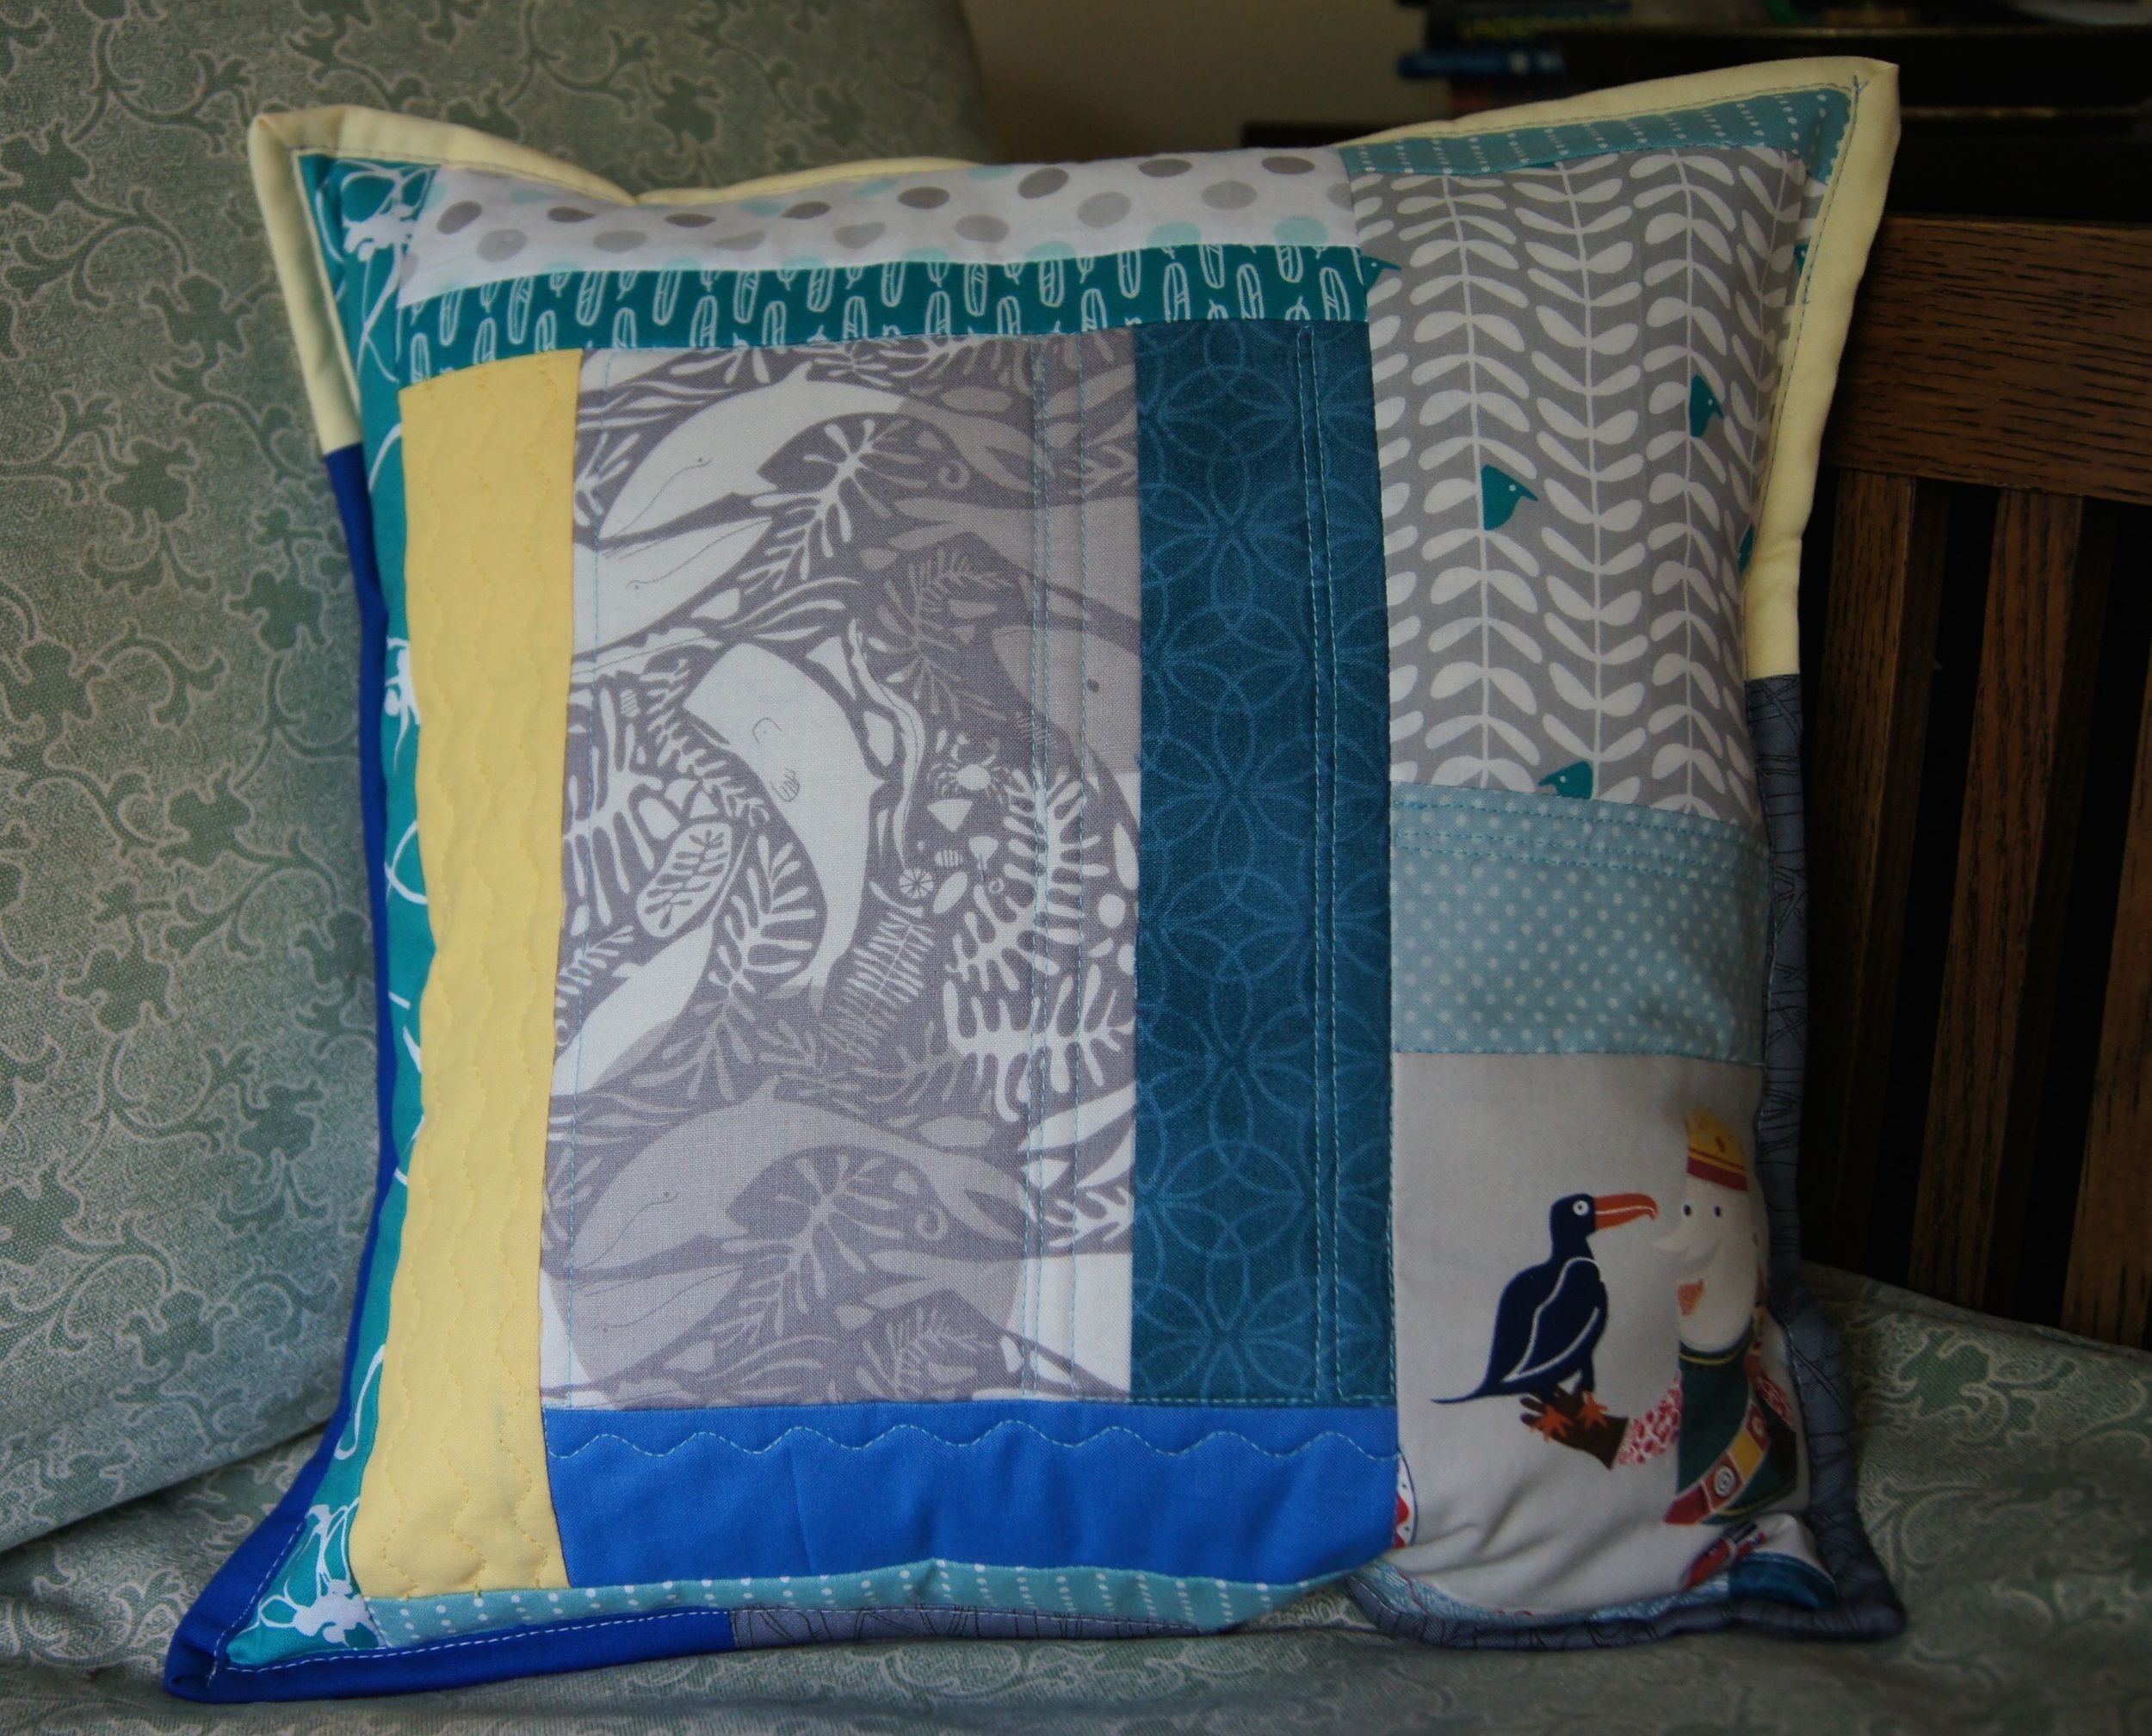
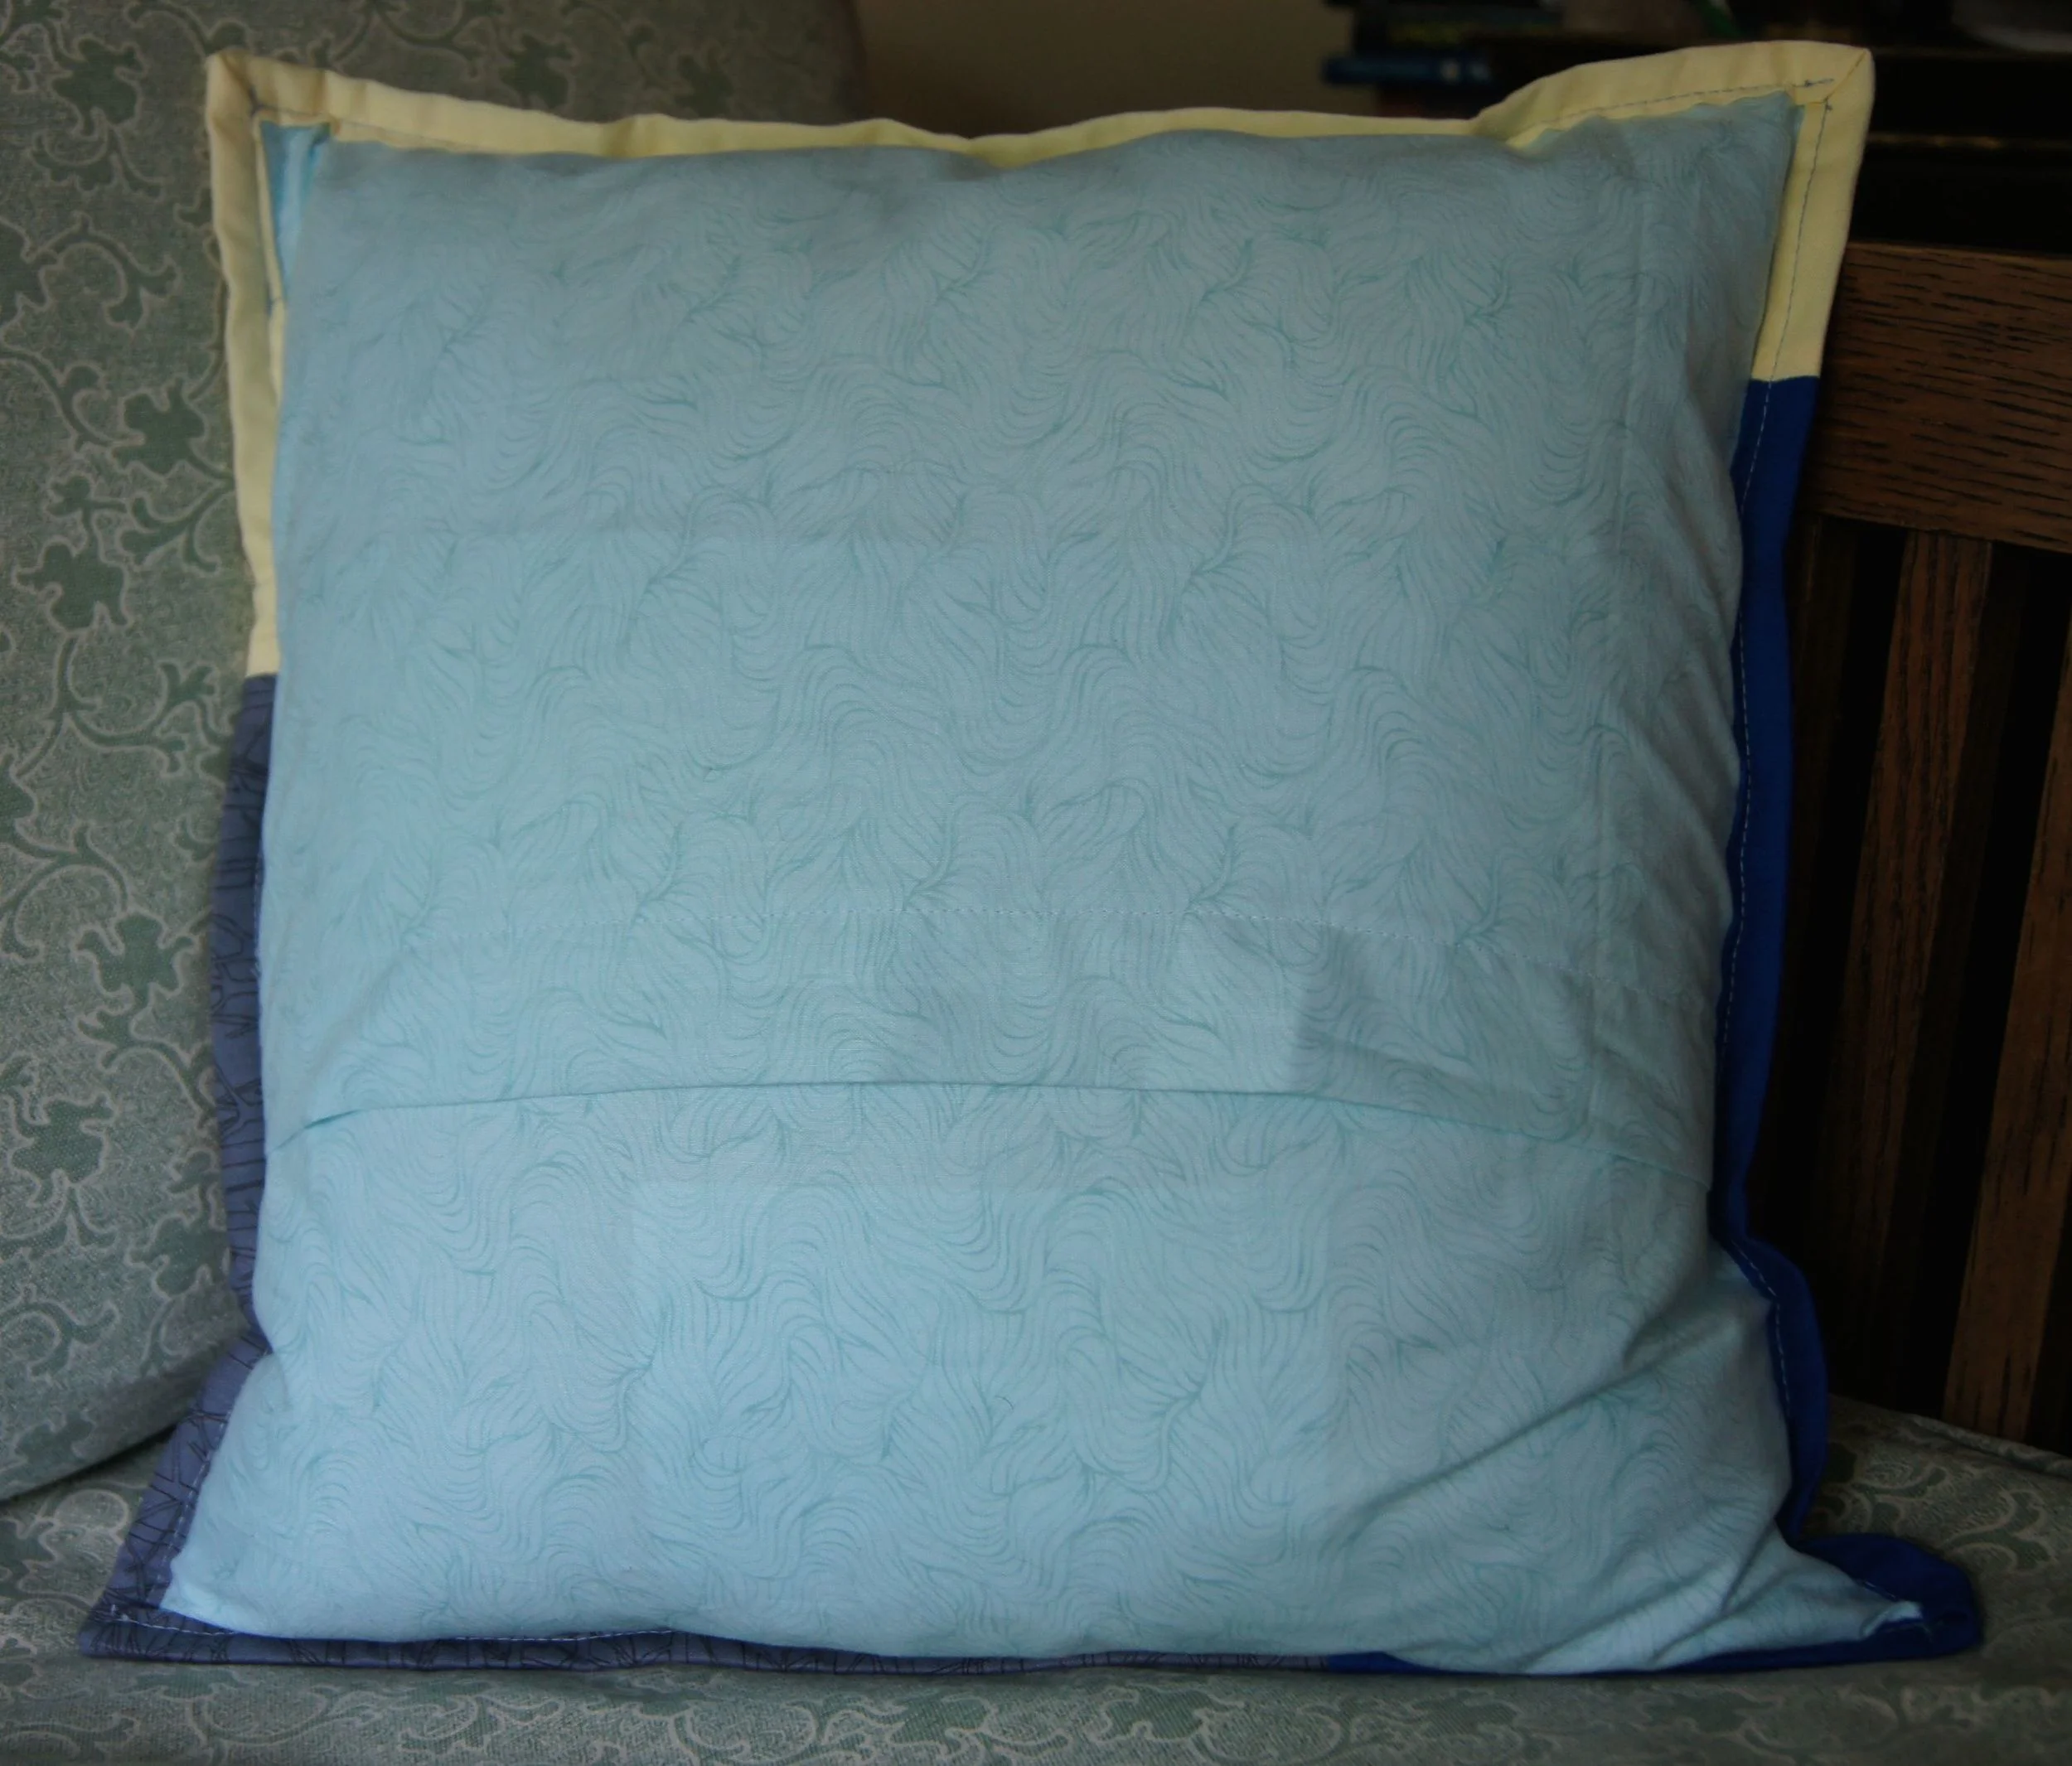
Eiffel Tower Pillow Cover 17 x 17 inches
We lived in Paris for about a year when I was 6. My brother loved being there. So when I saw Michael Miller's "Eiffel Tower" fabric line last year I purchased 1/2 yard in red and black. (This fabric line is still available for purchase). The other fabrics are from my stash.
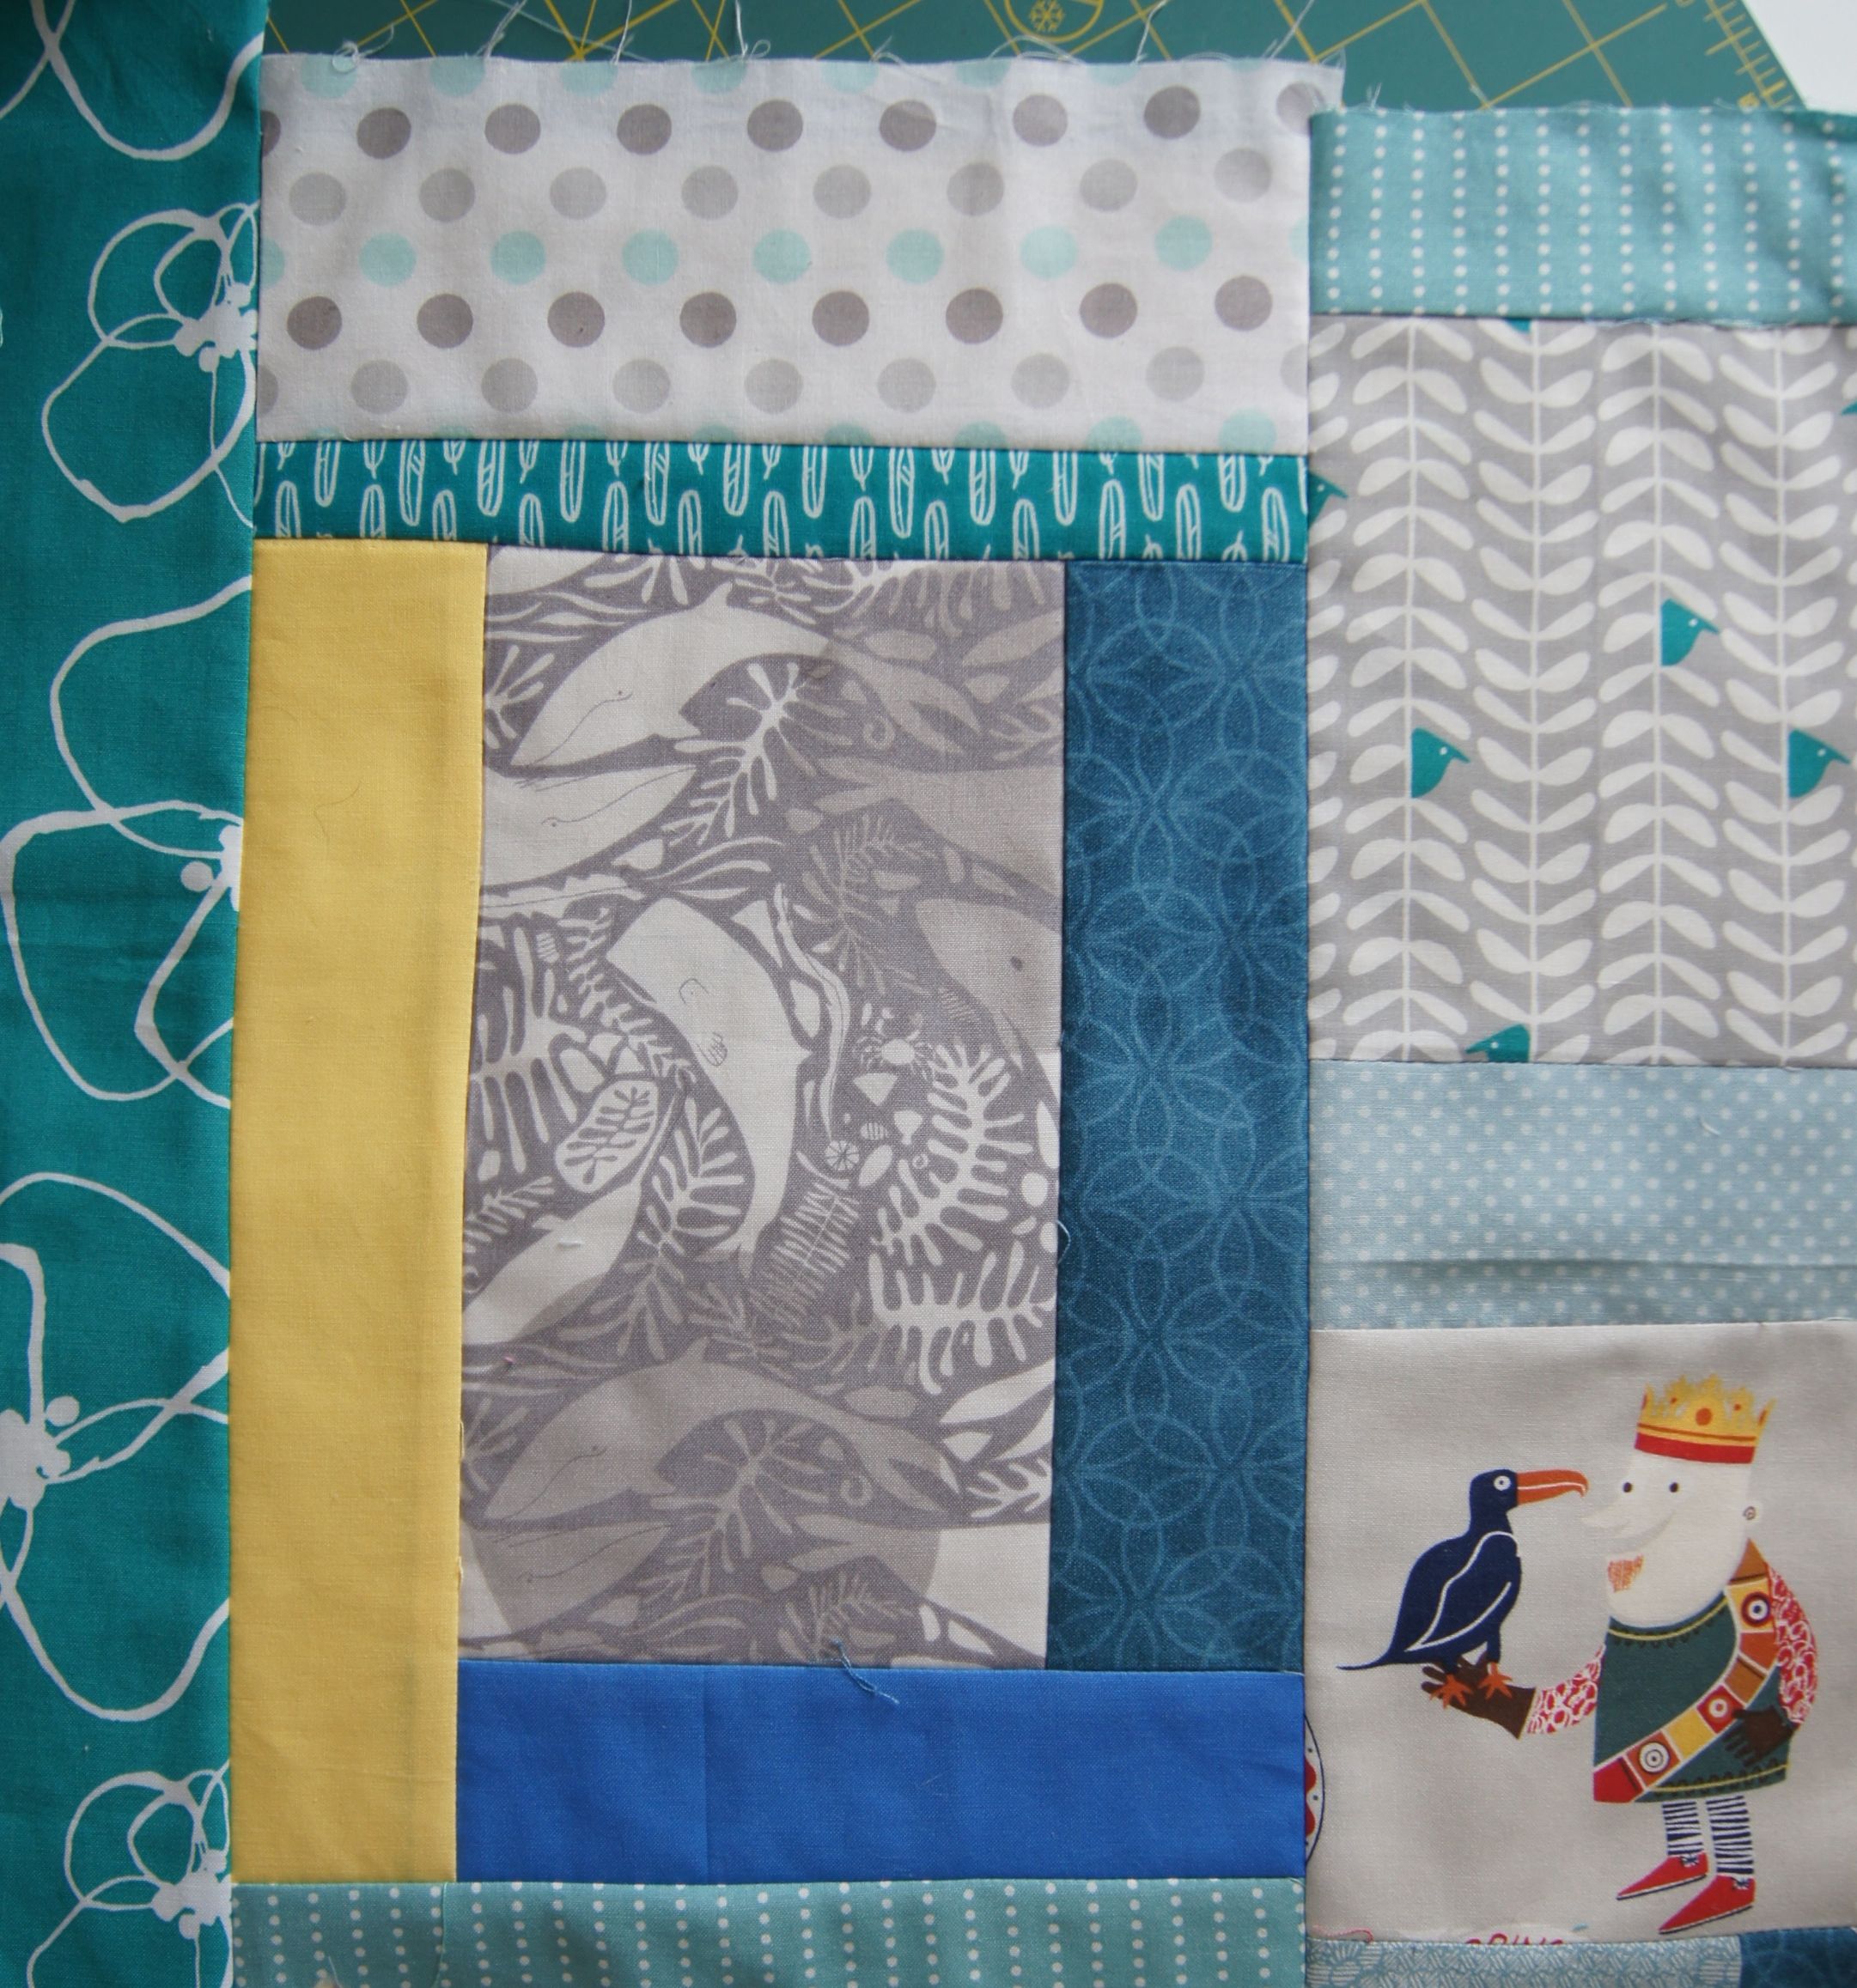
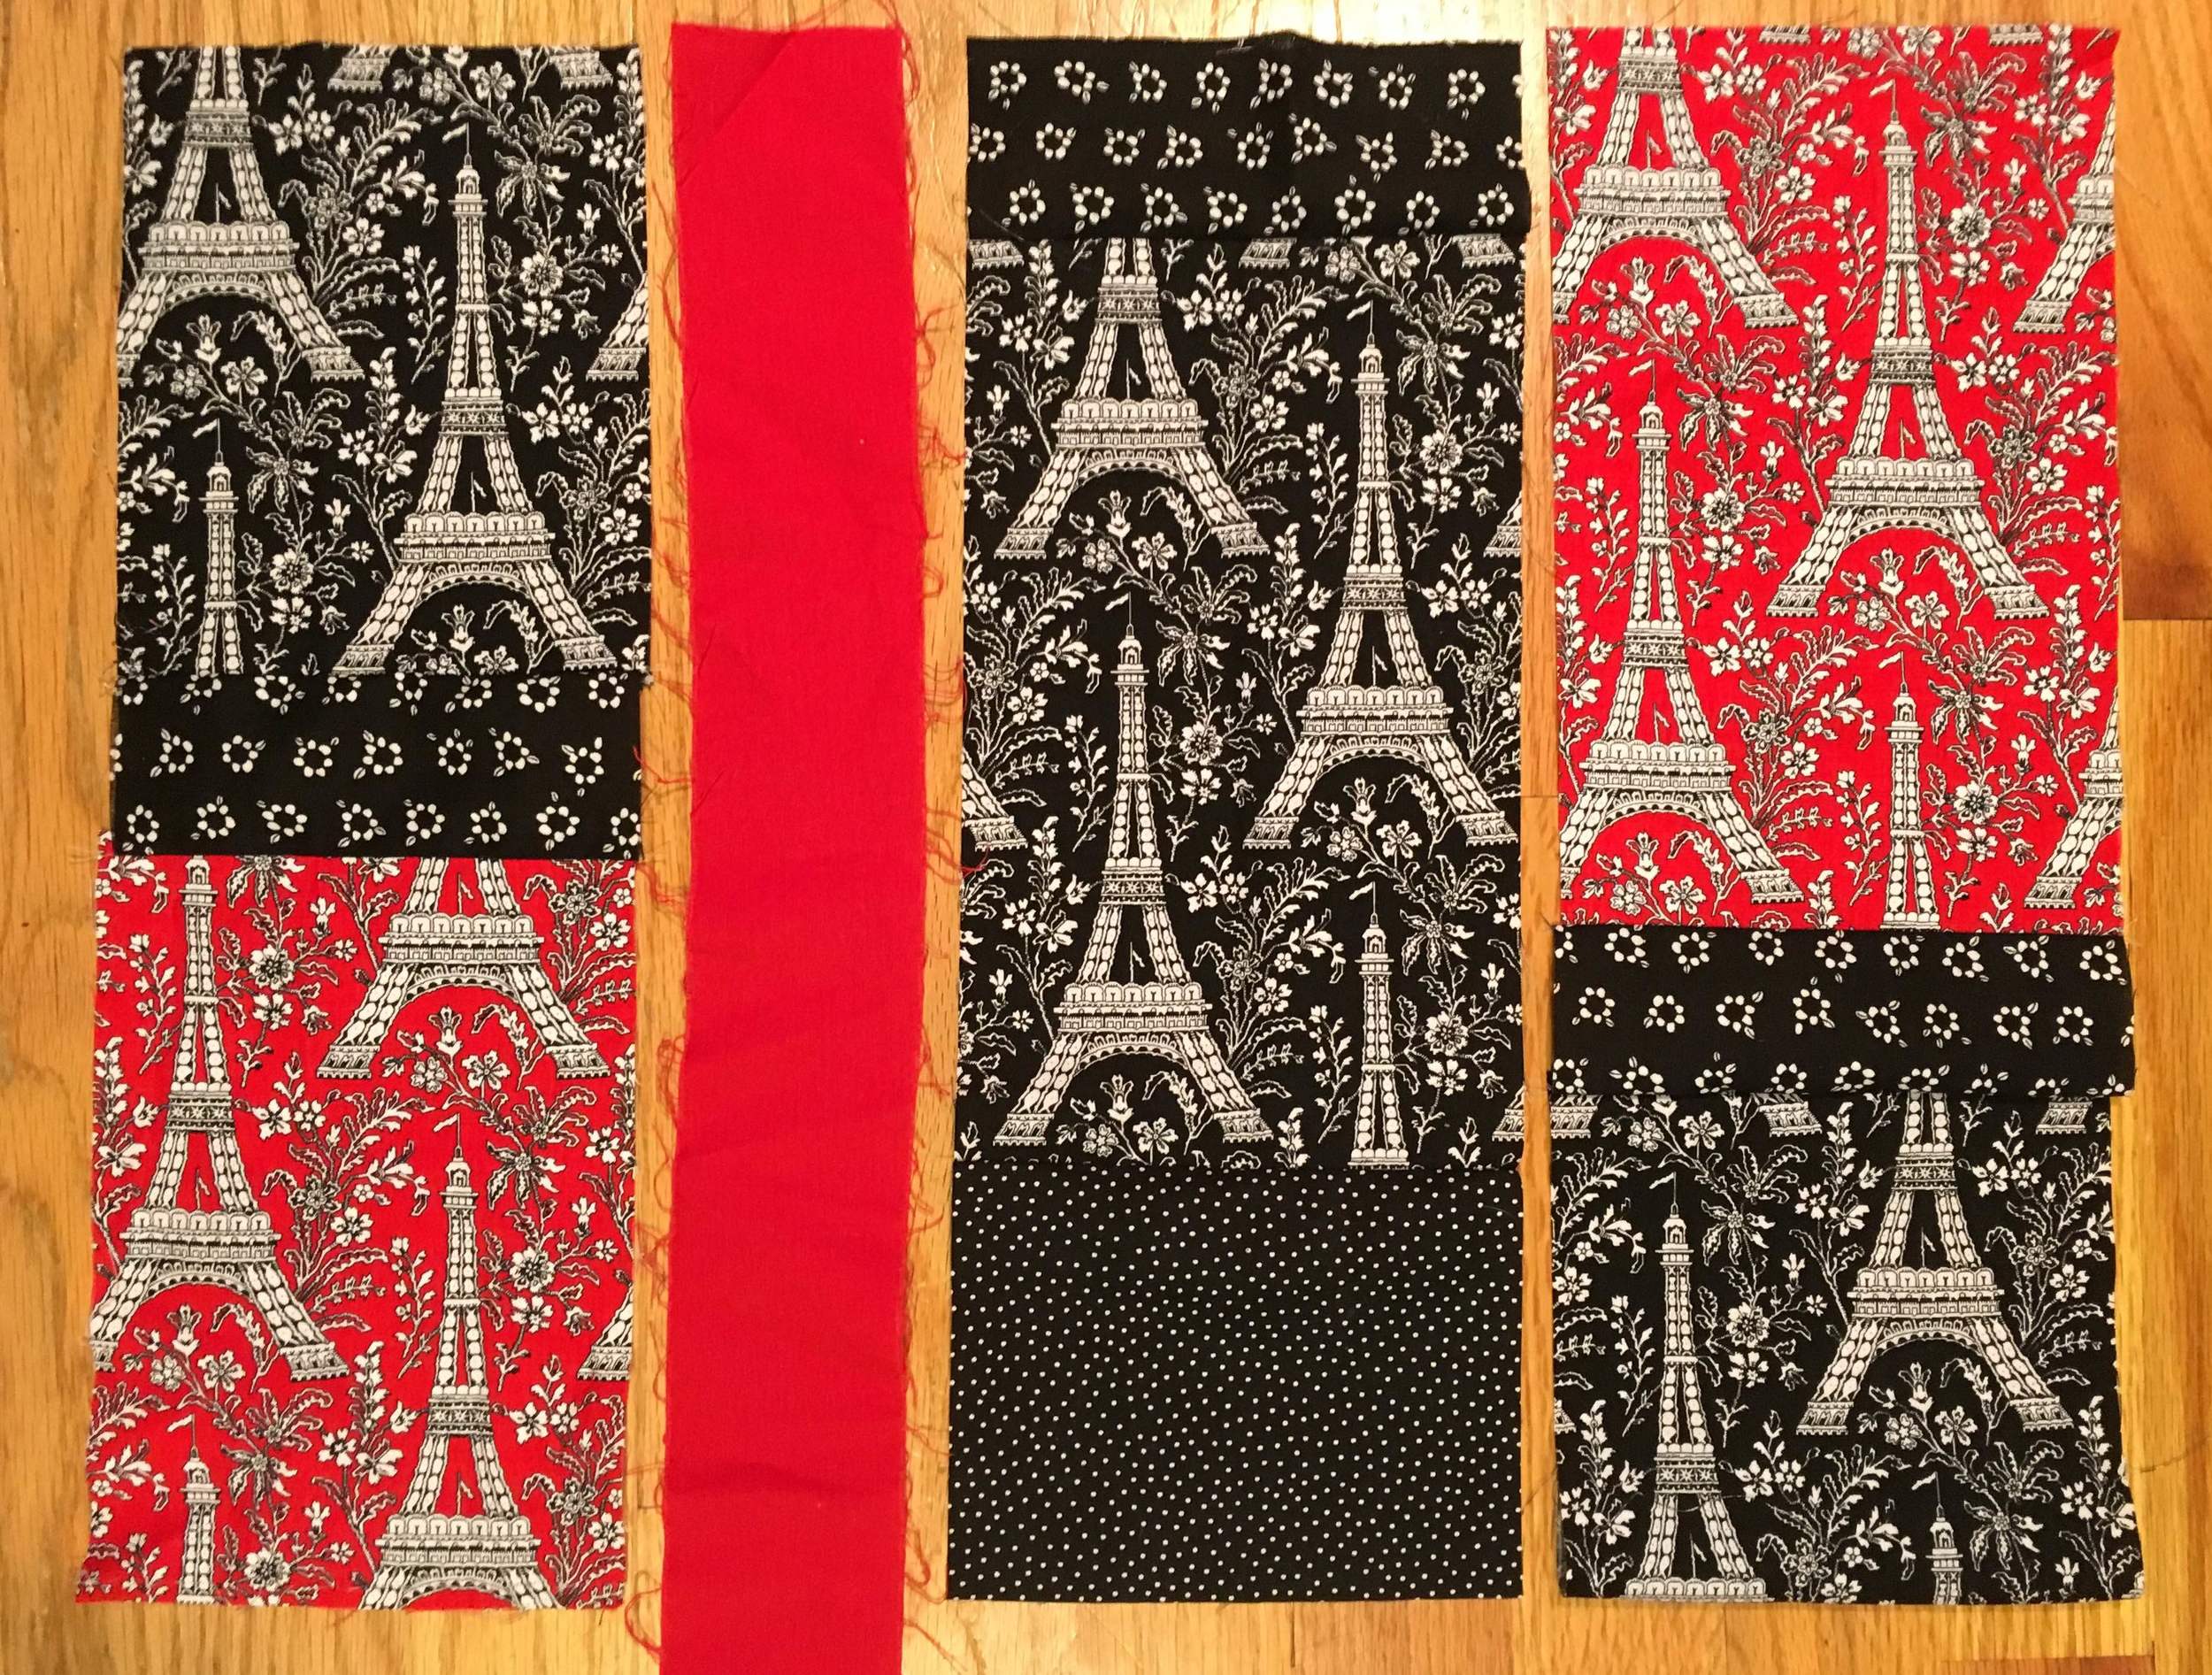
Cutting Instructions for finished 17 x 17 inch cover for a 16 x 16 inch pillow form:
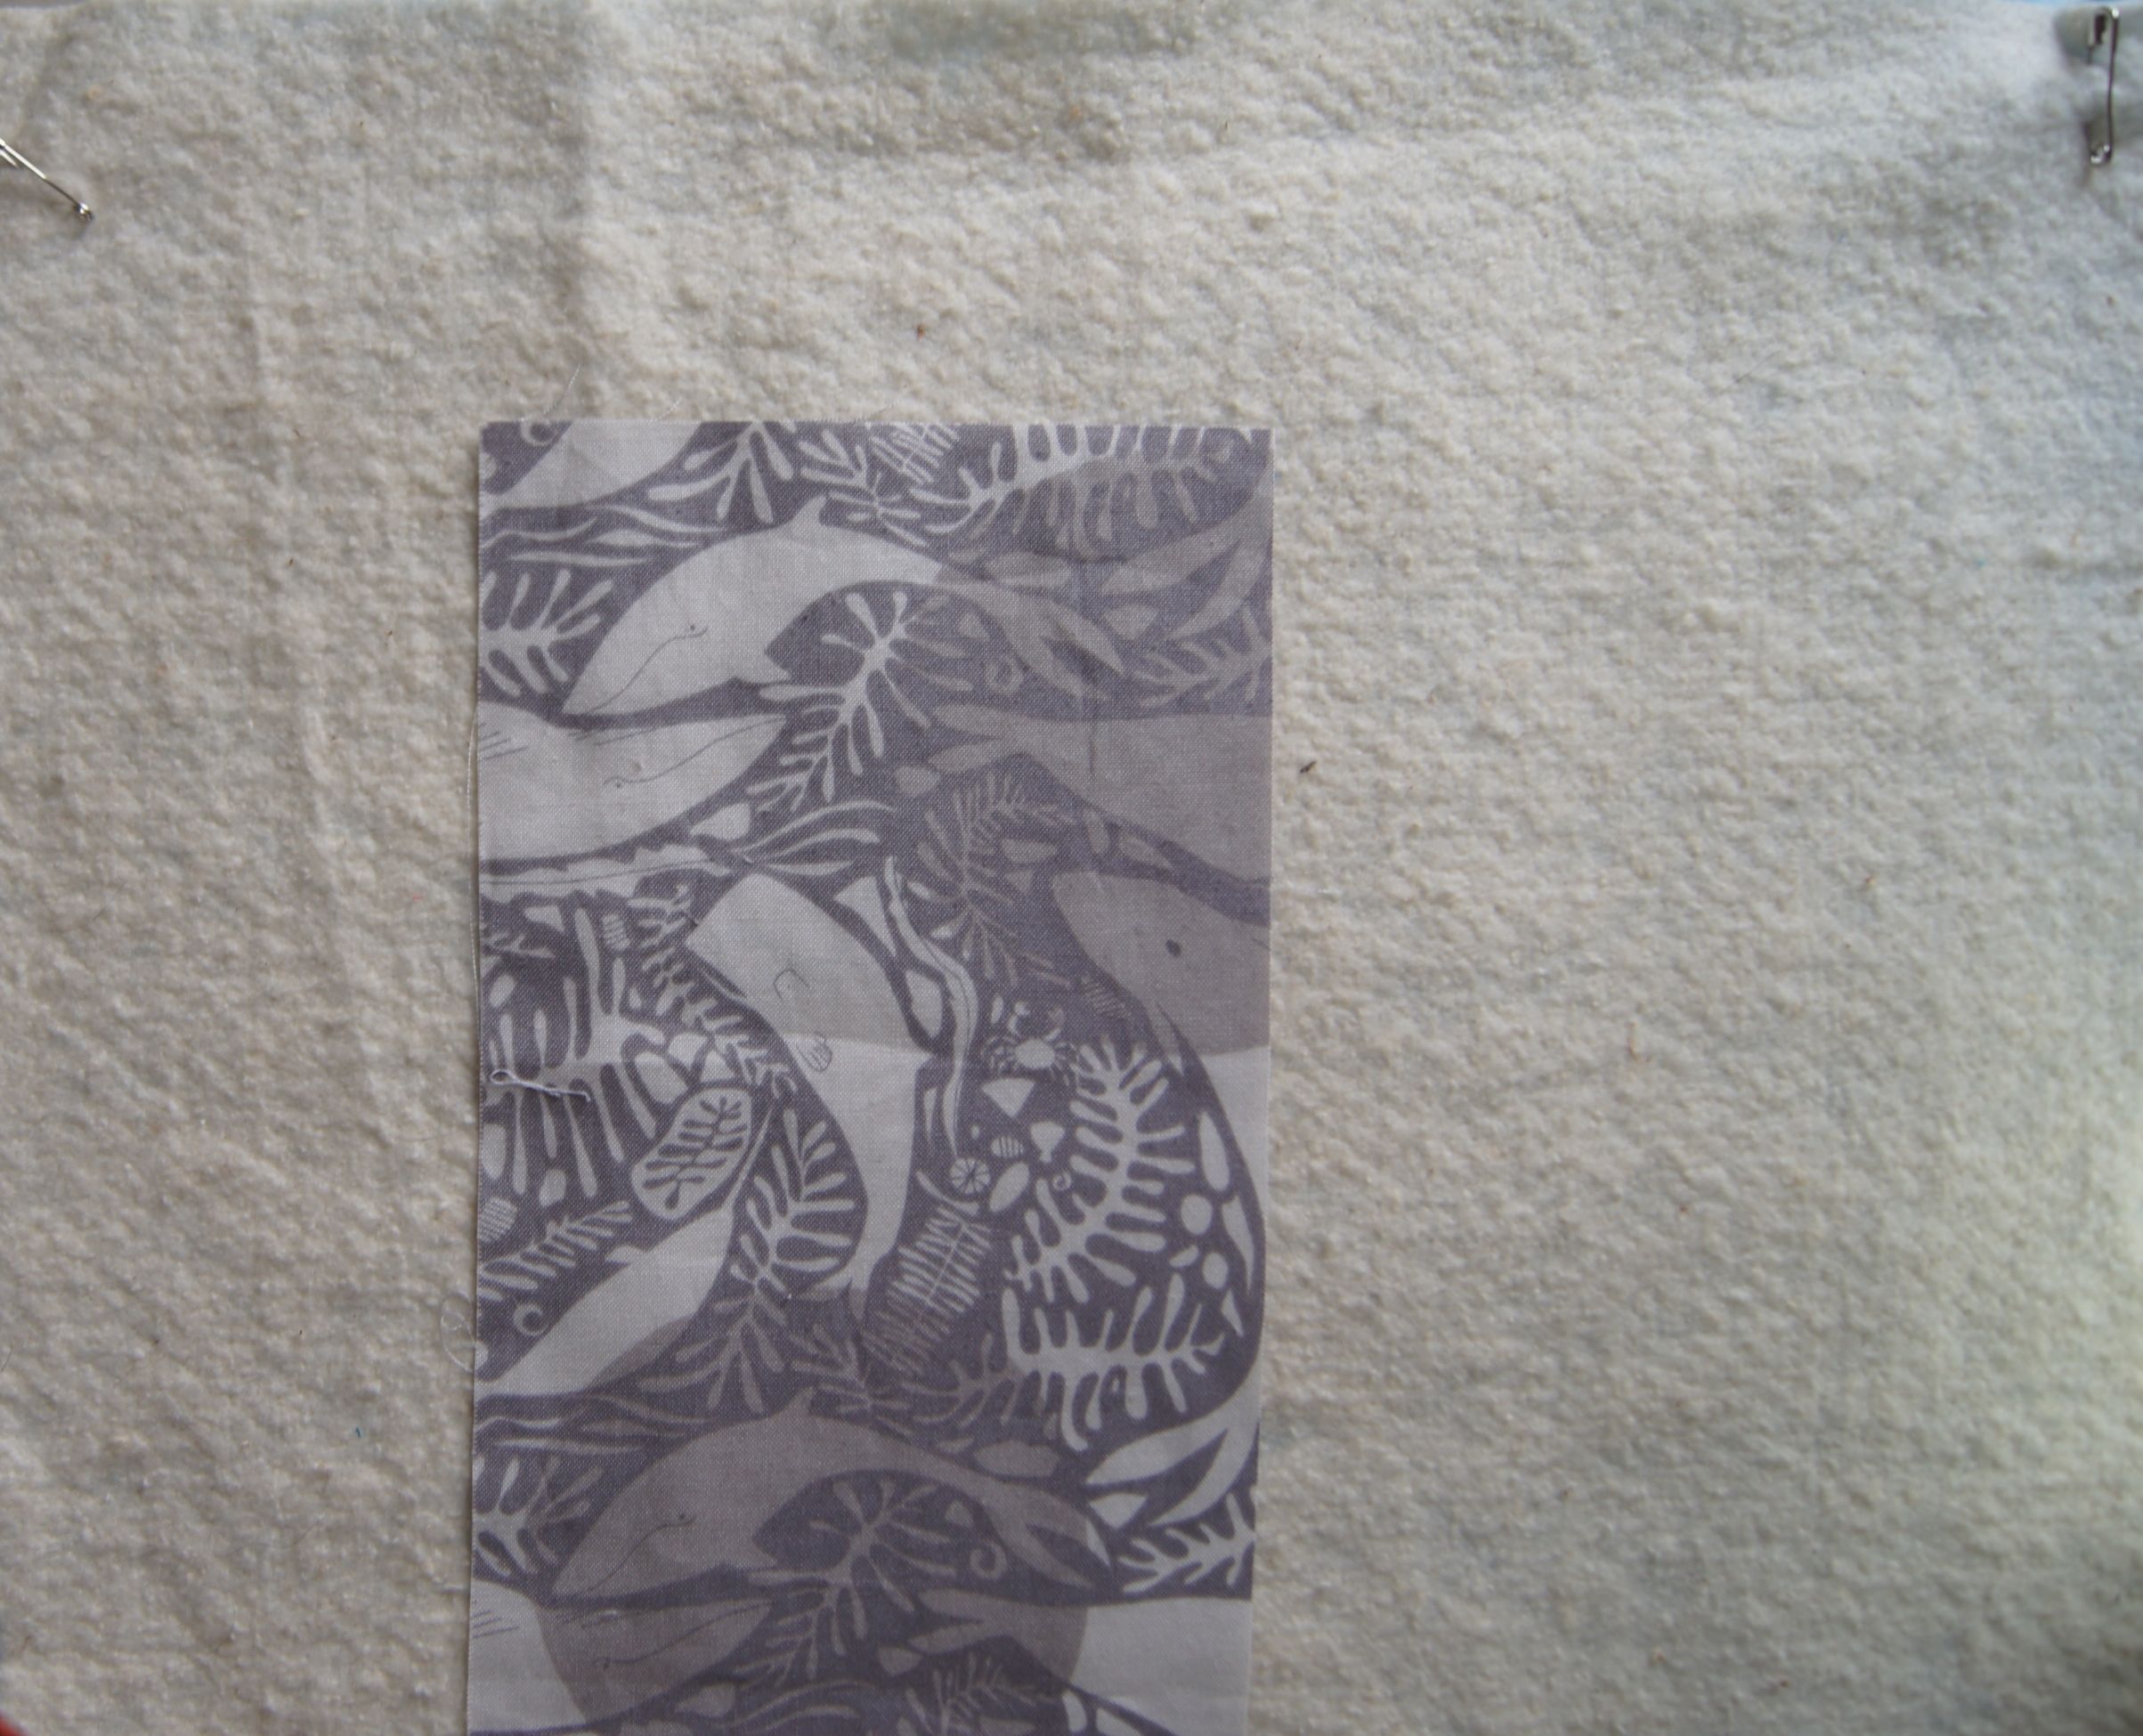
- Left column: 5 1/4 x 6 3/4" Black Eiffel Tower fabric, 2 1/2 x 5 1/4" black floral, 5 1/4 x 8" Red Eiffel Tower fabric
- Red accent strip 2 1/2 x 17 1/2"
- Middle column: 2 1/2 x 6" Black floral, 6 x 10 3/4" Black Eiffel Tower fabric, 6 x 4 1/2" Random dot
- Right column: 5 1/4 x 10" Red Eiffel Tower fabric, 5 1/4 x 2 1/2" Black Floral, 5 1/4 x 5" Black Eiffel Tower Fabric
- Bottom Strip: 1 3/4 x 17 1/2" Black polka dots.
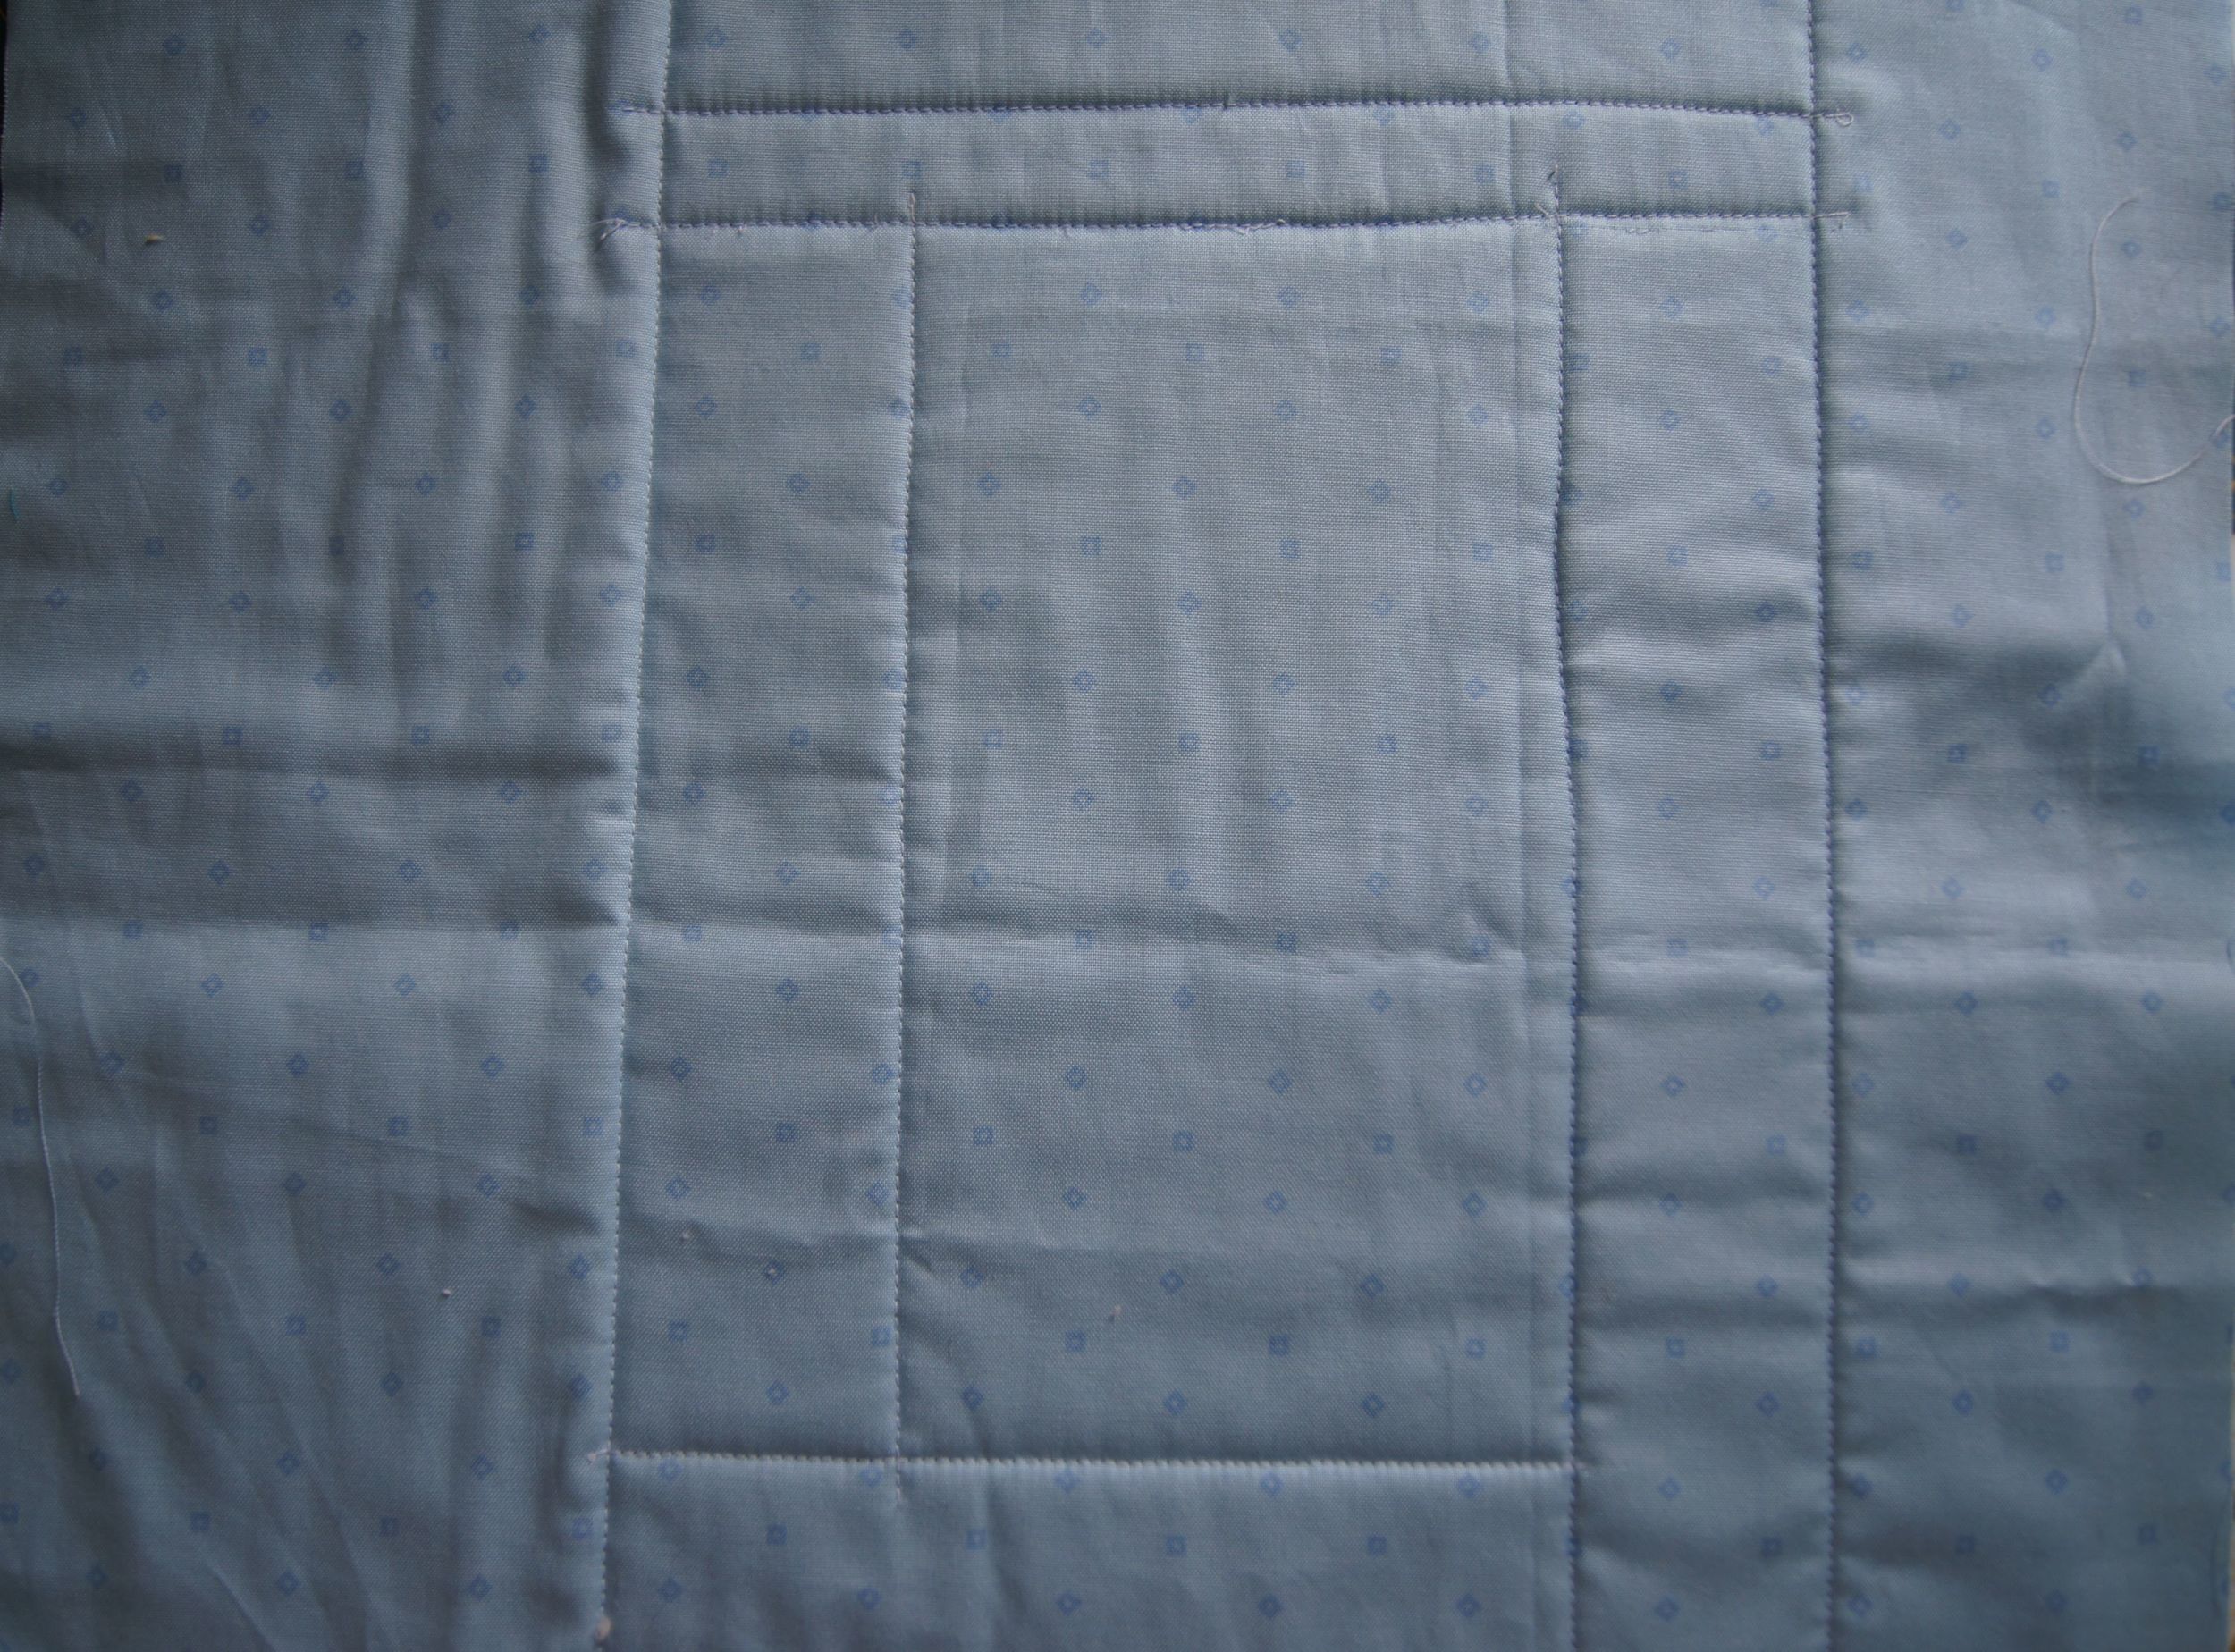
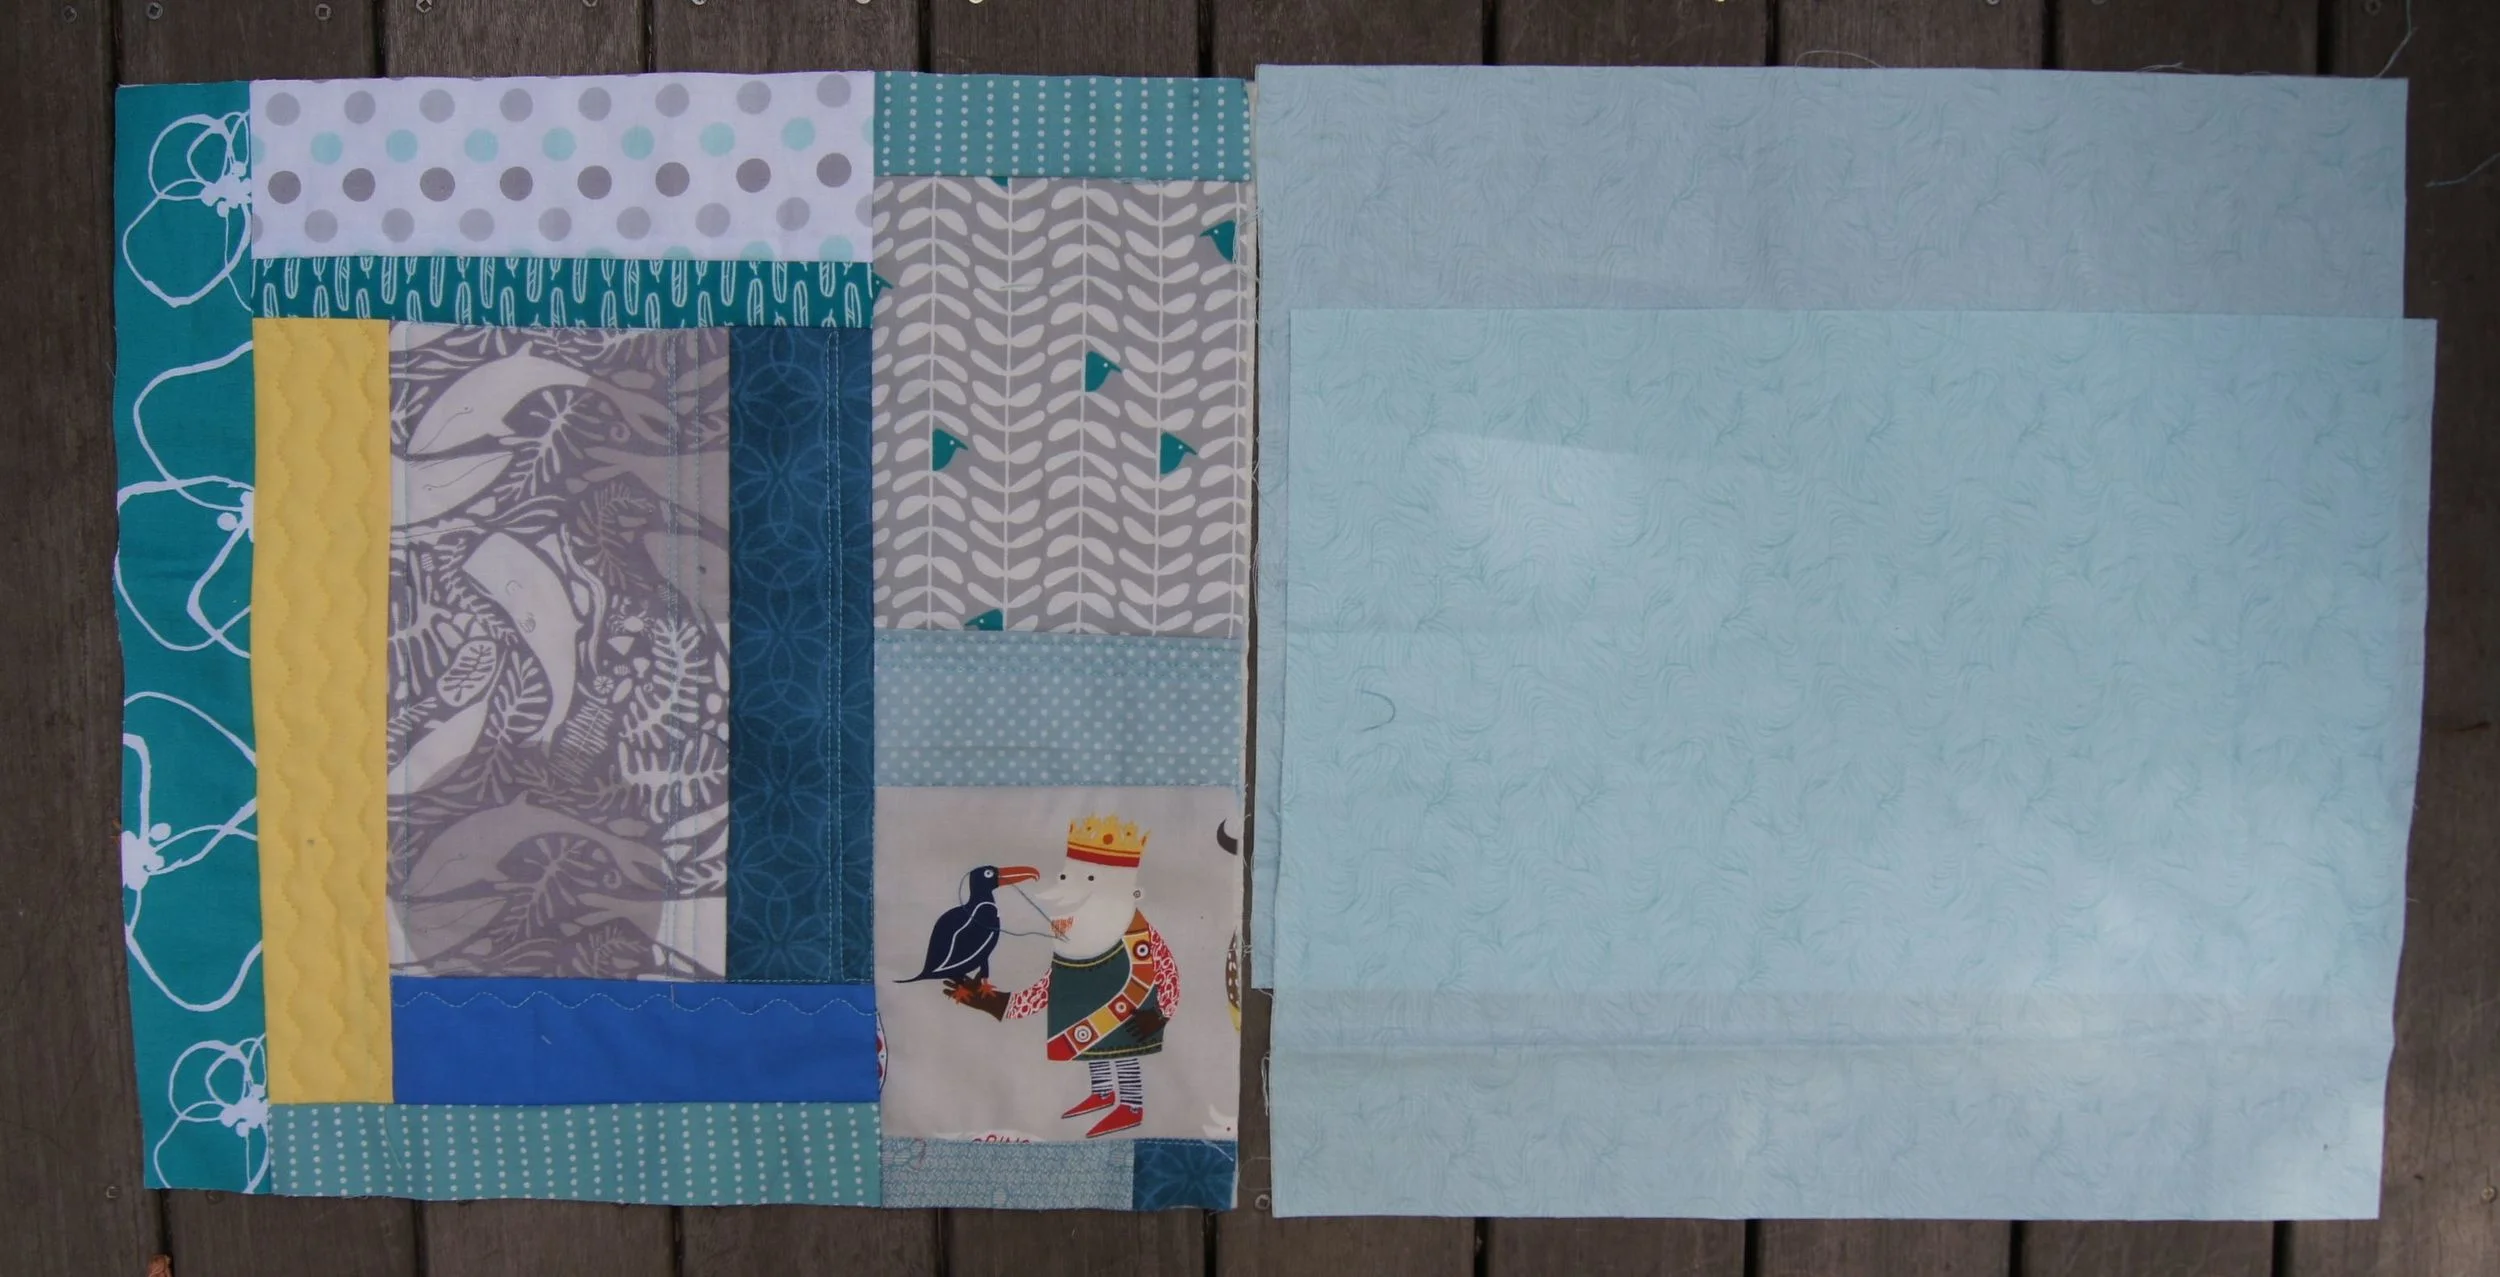
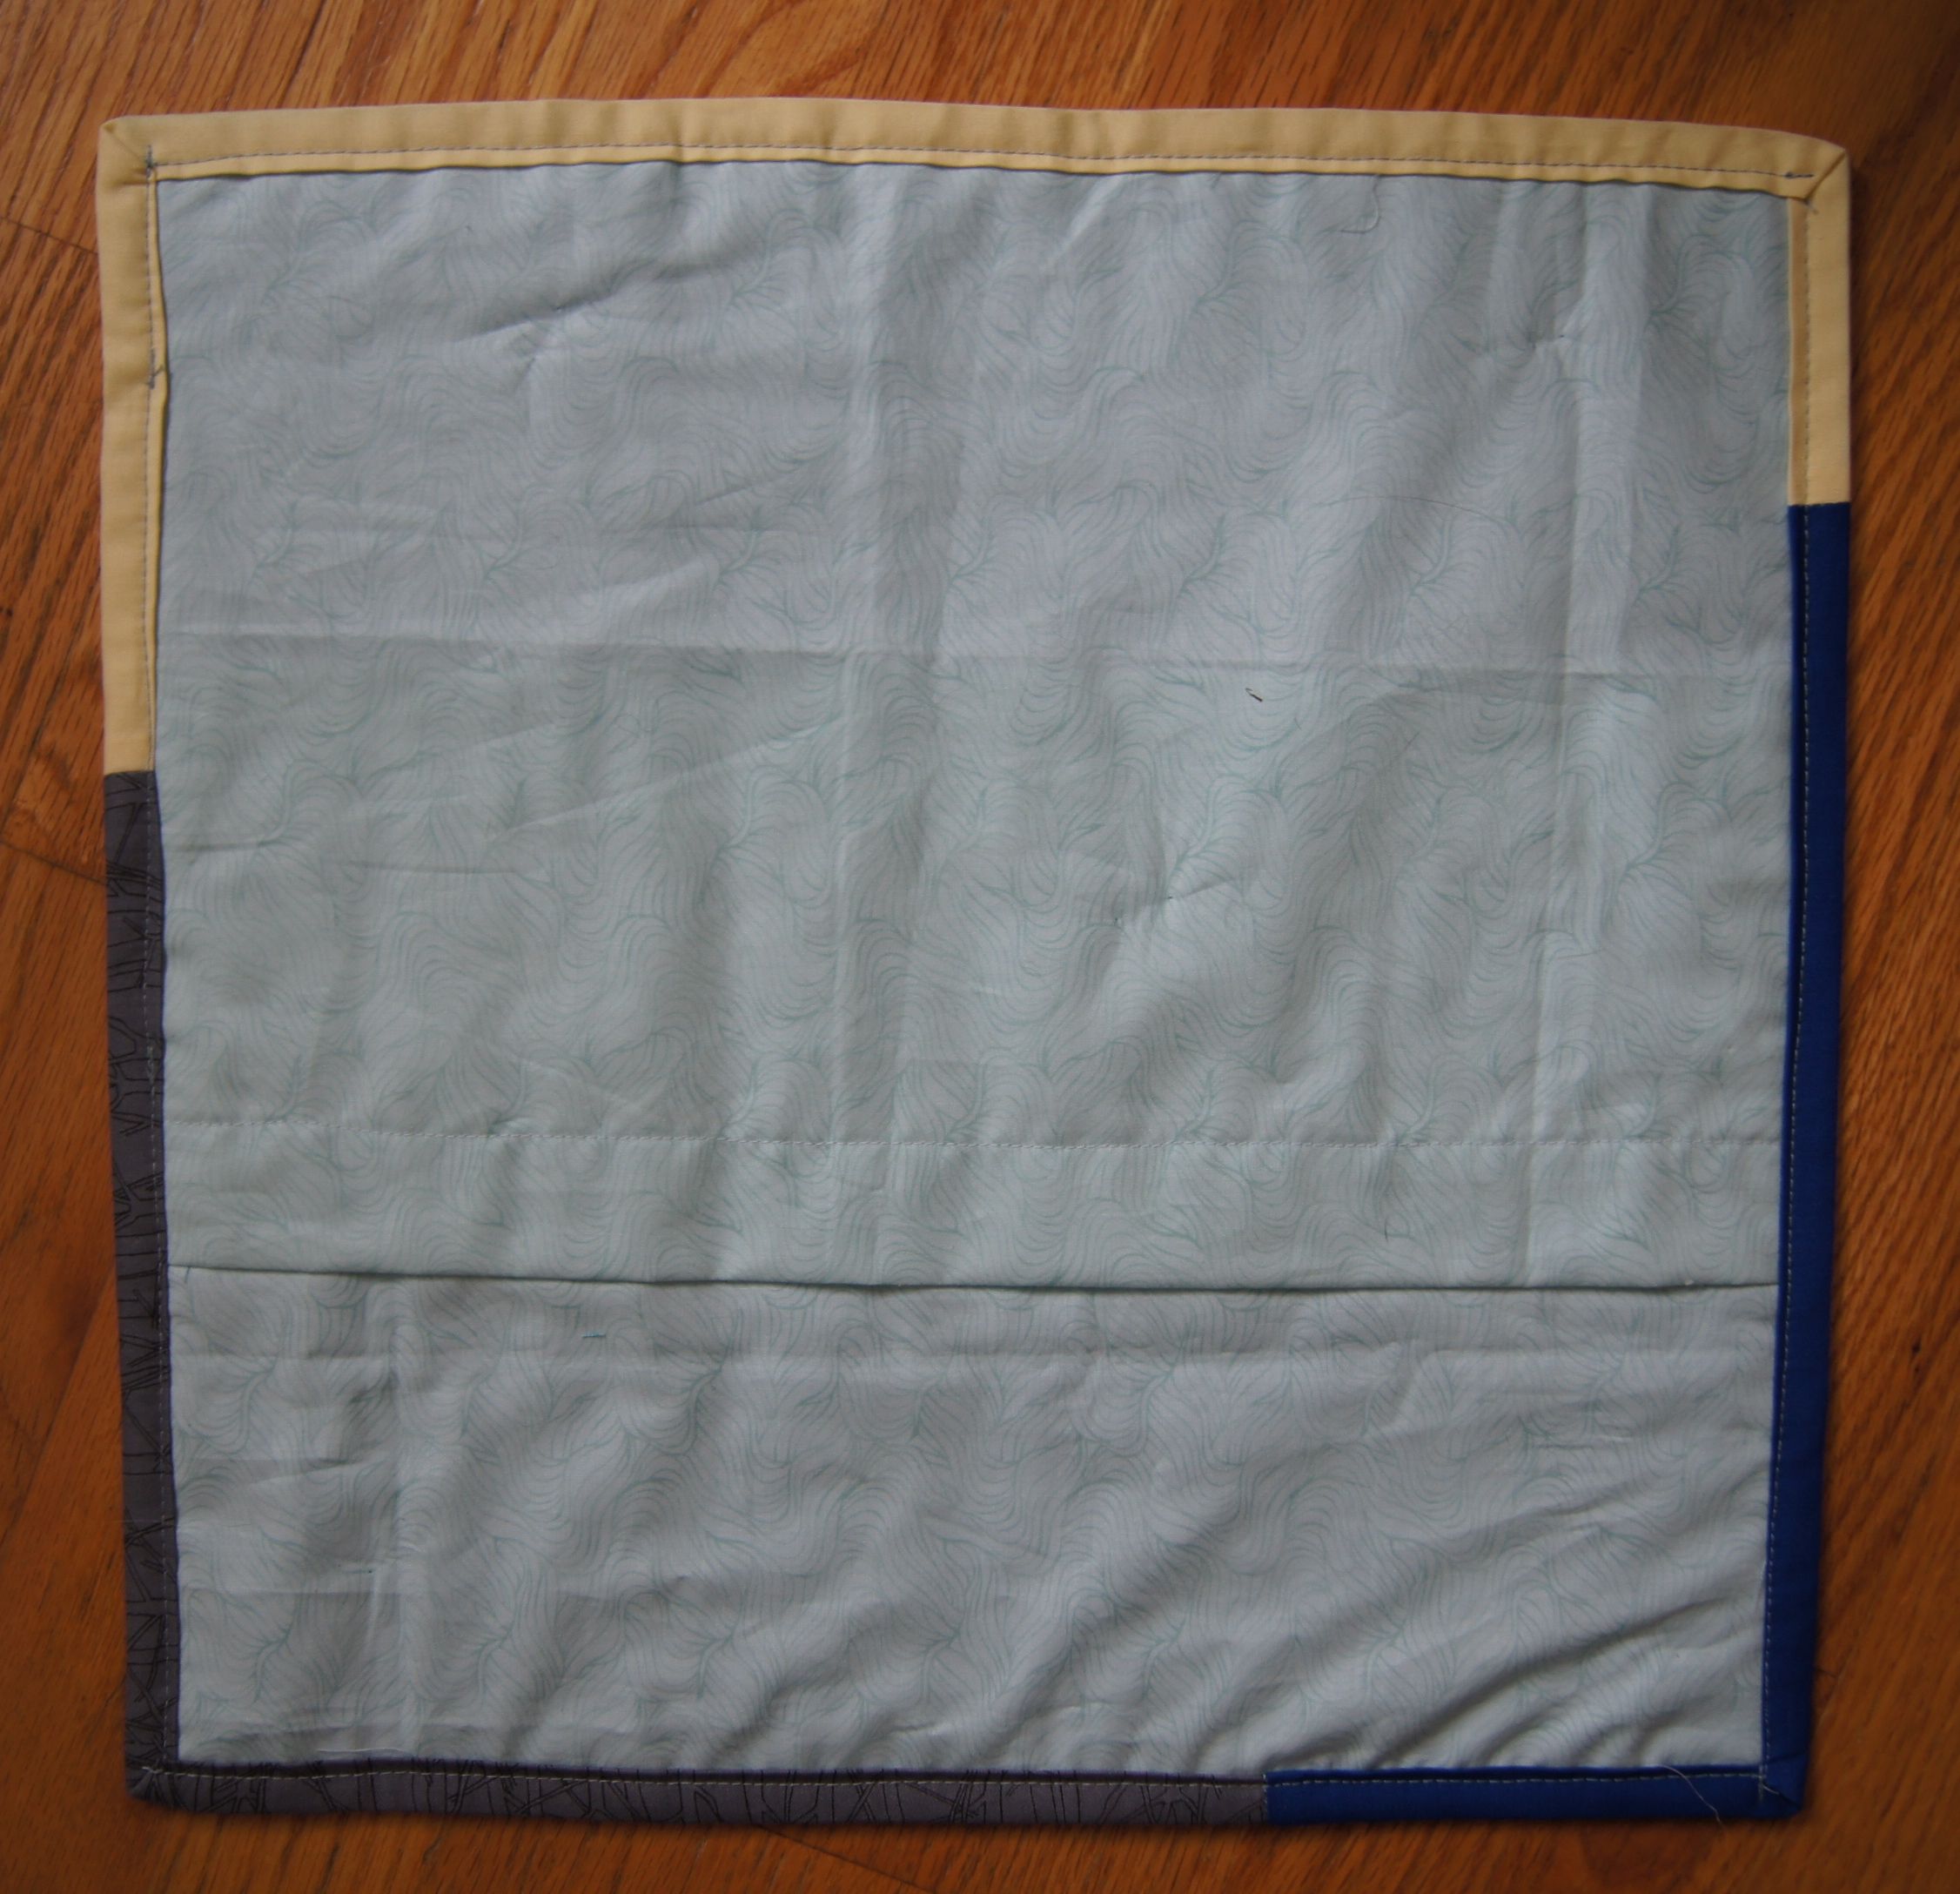
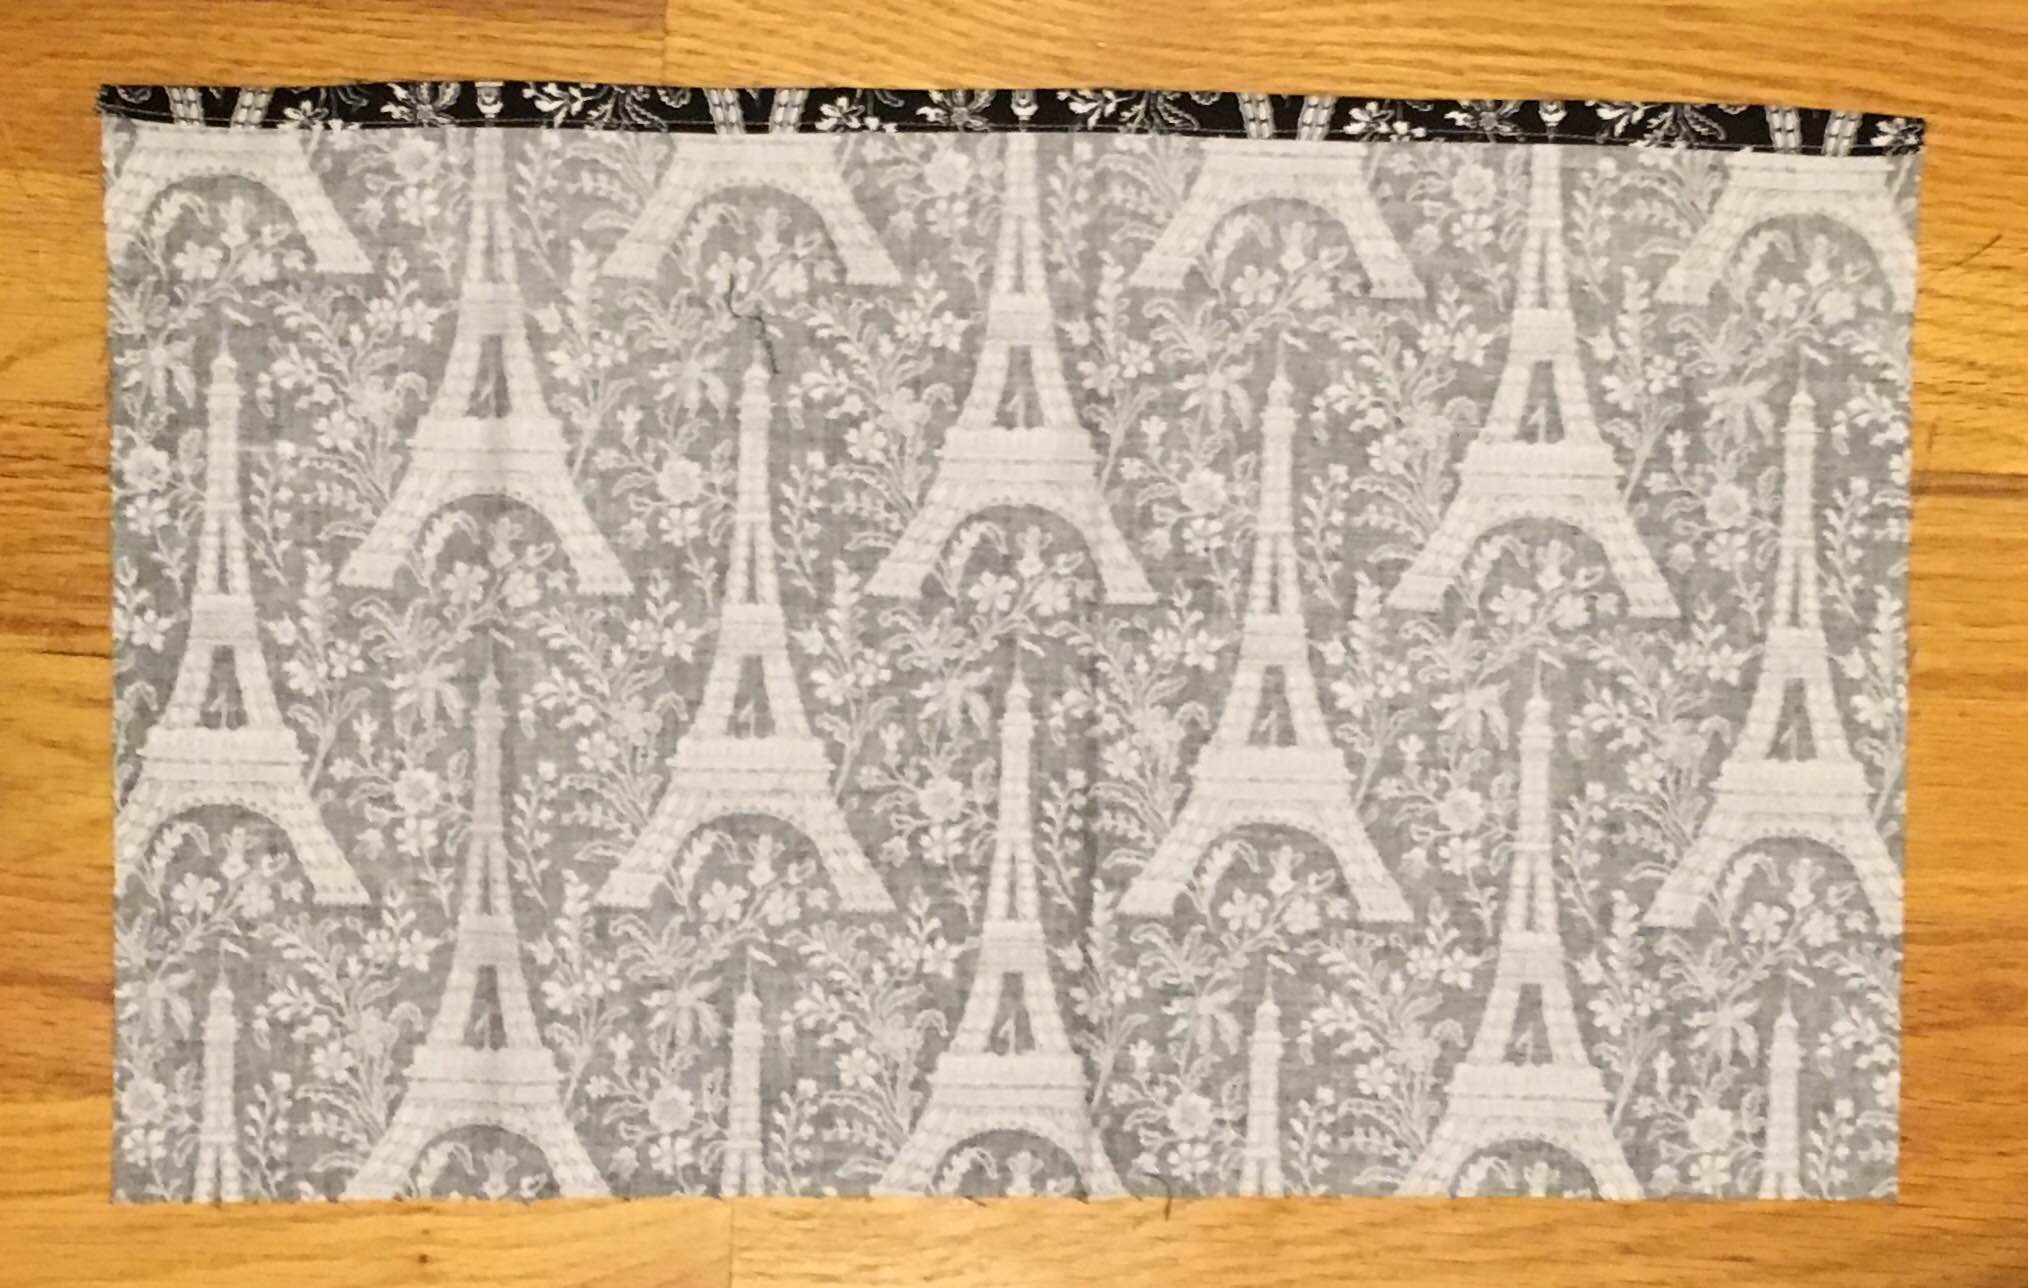
- Back--cut 2 sections 11 1/2 x 17 1/2 inches
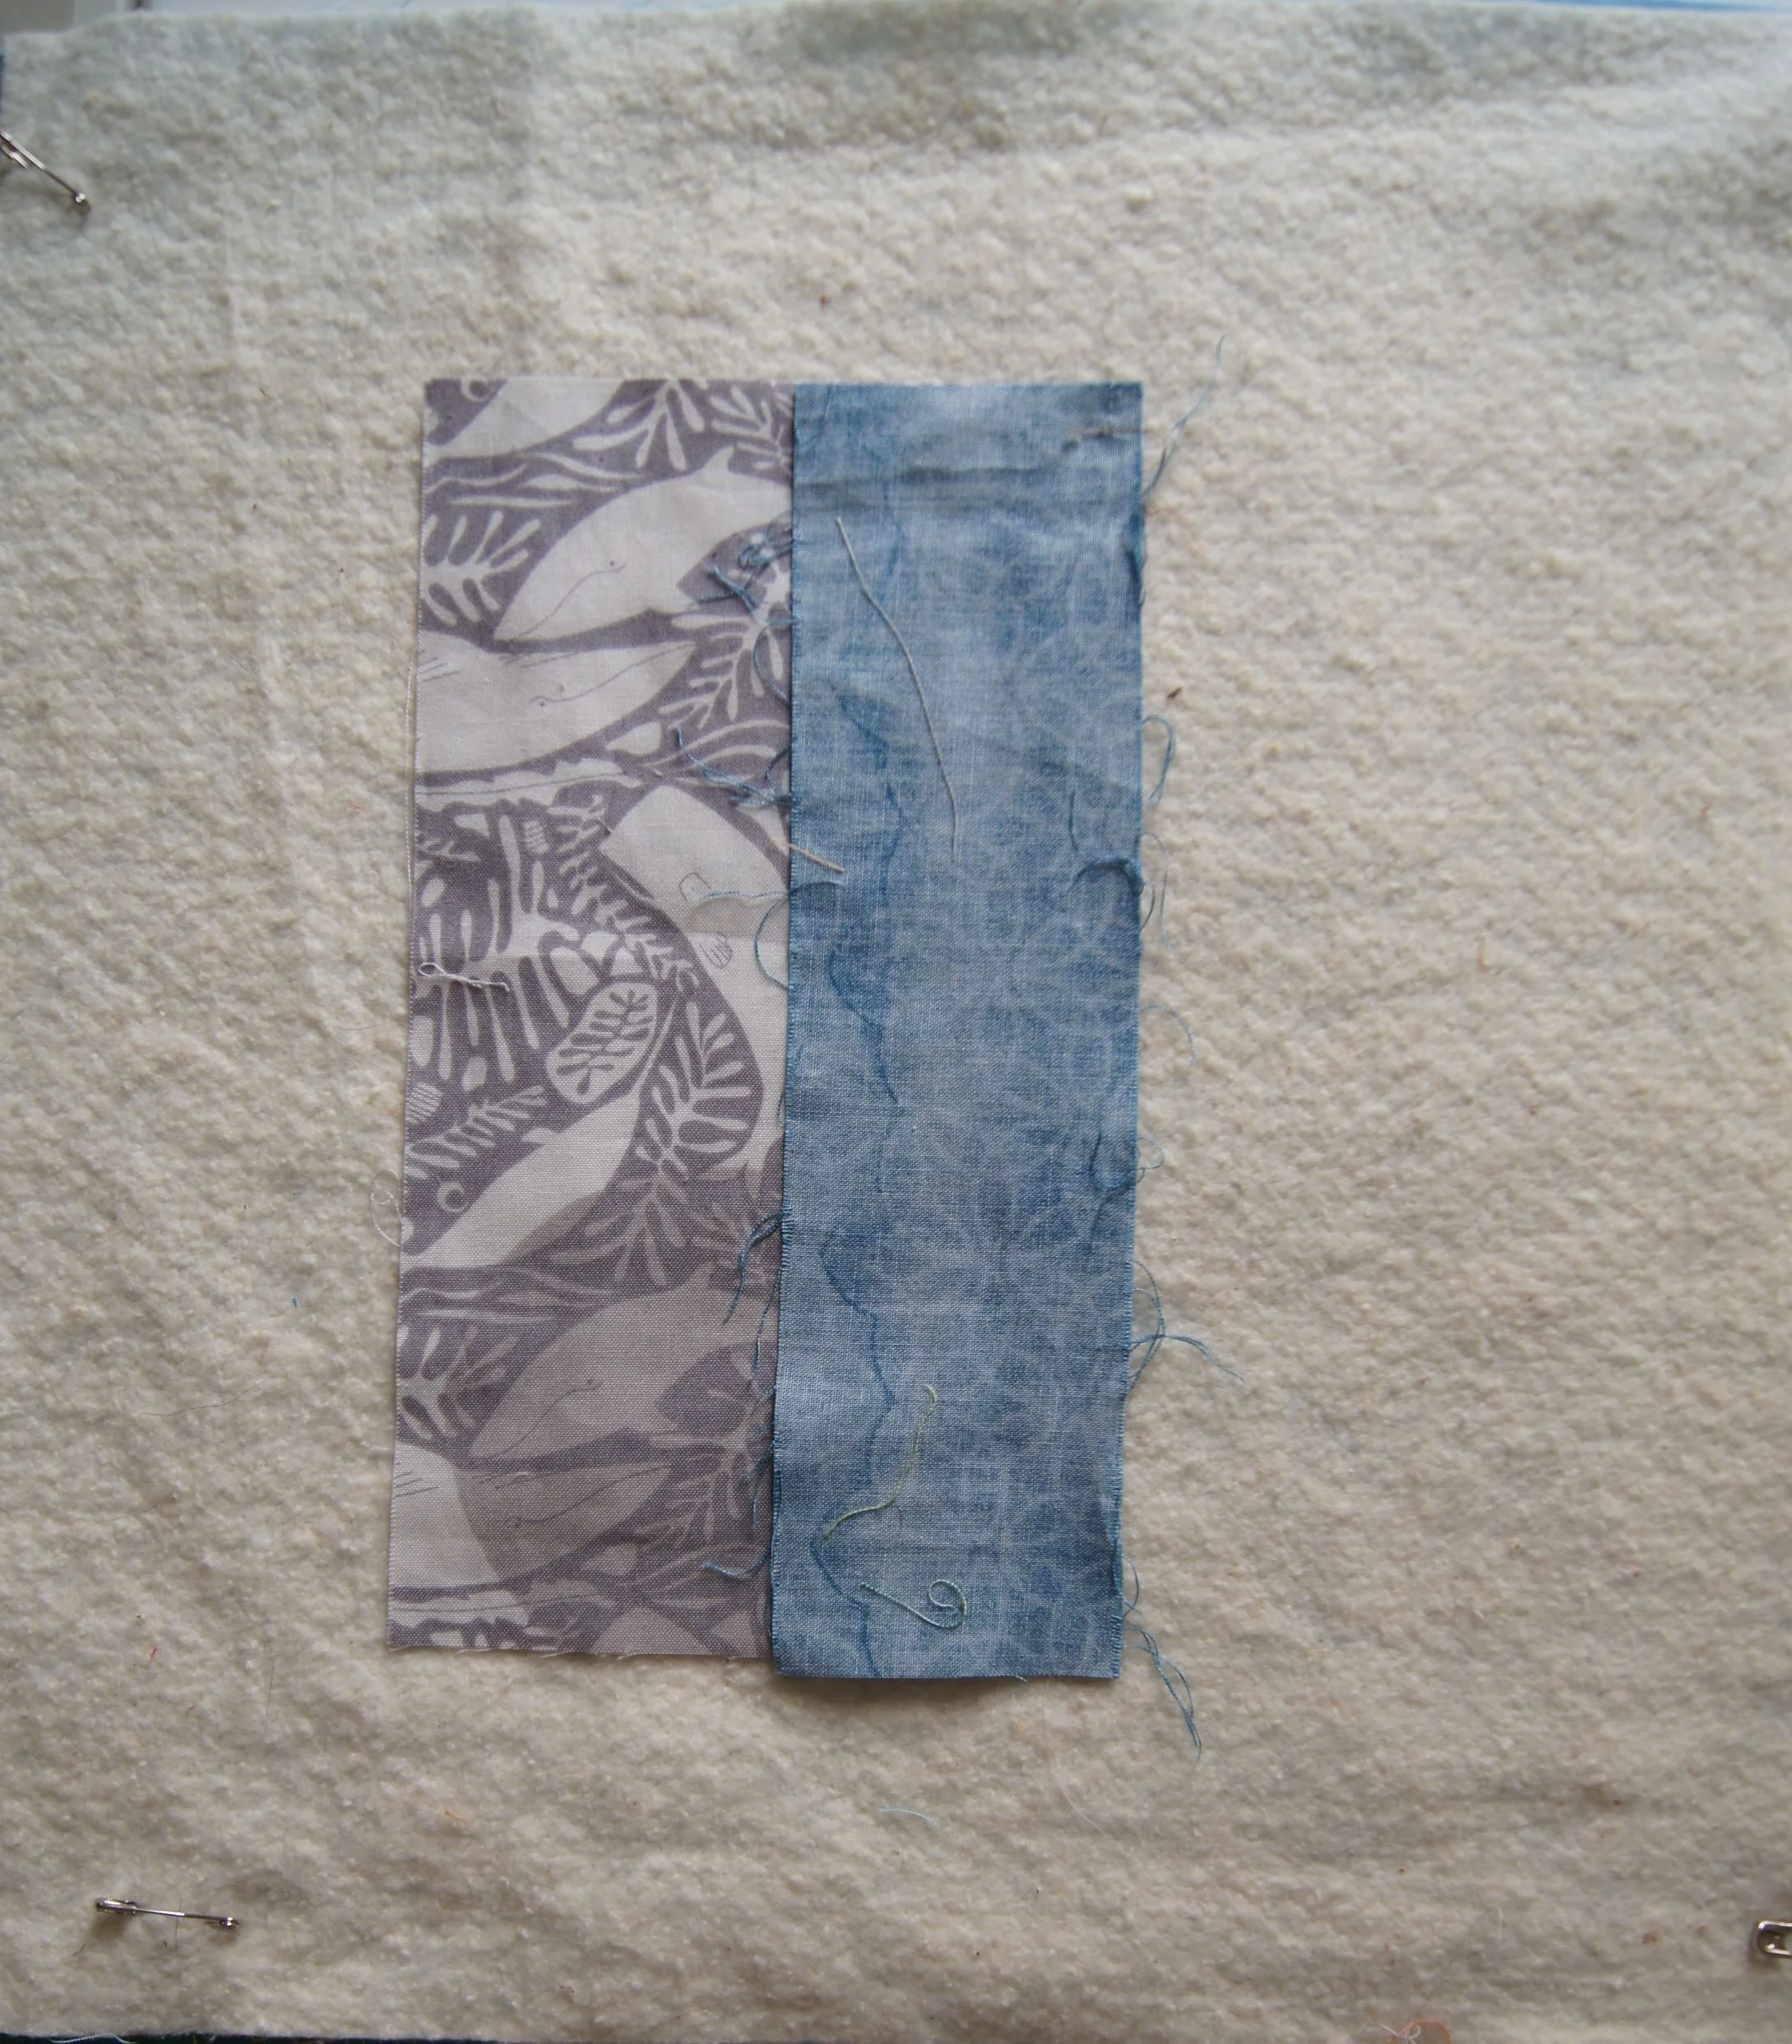
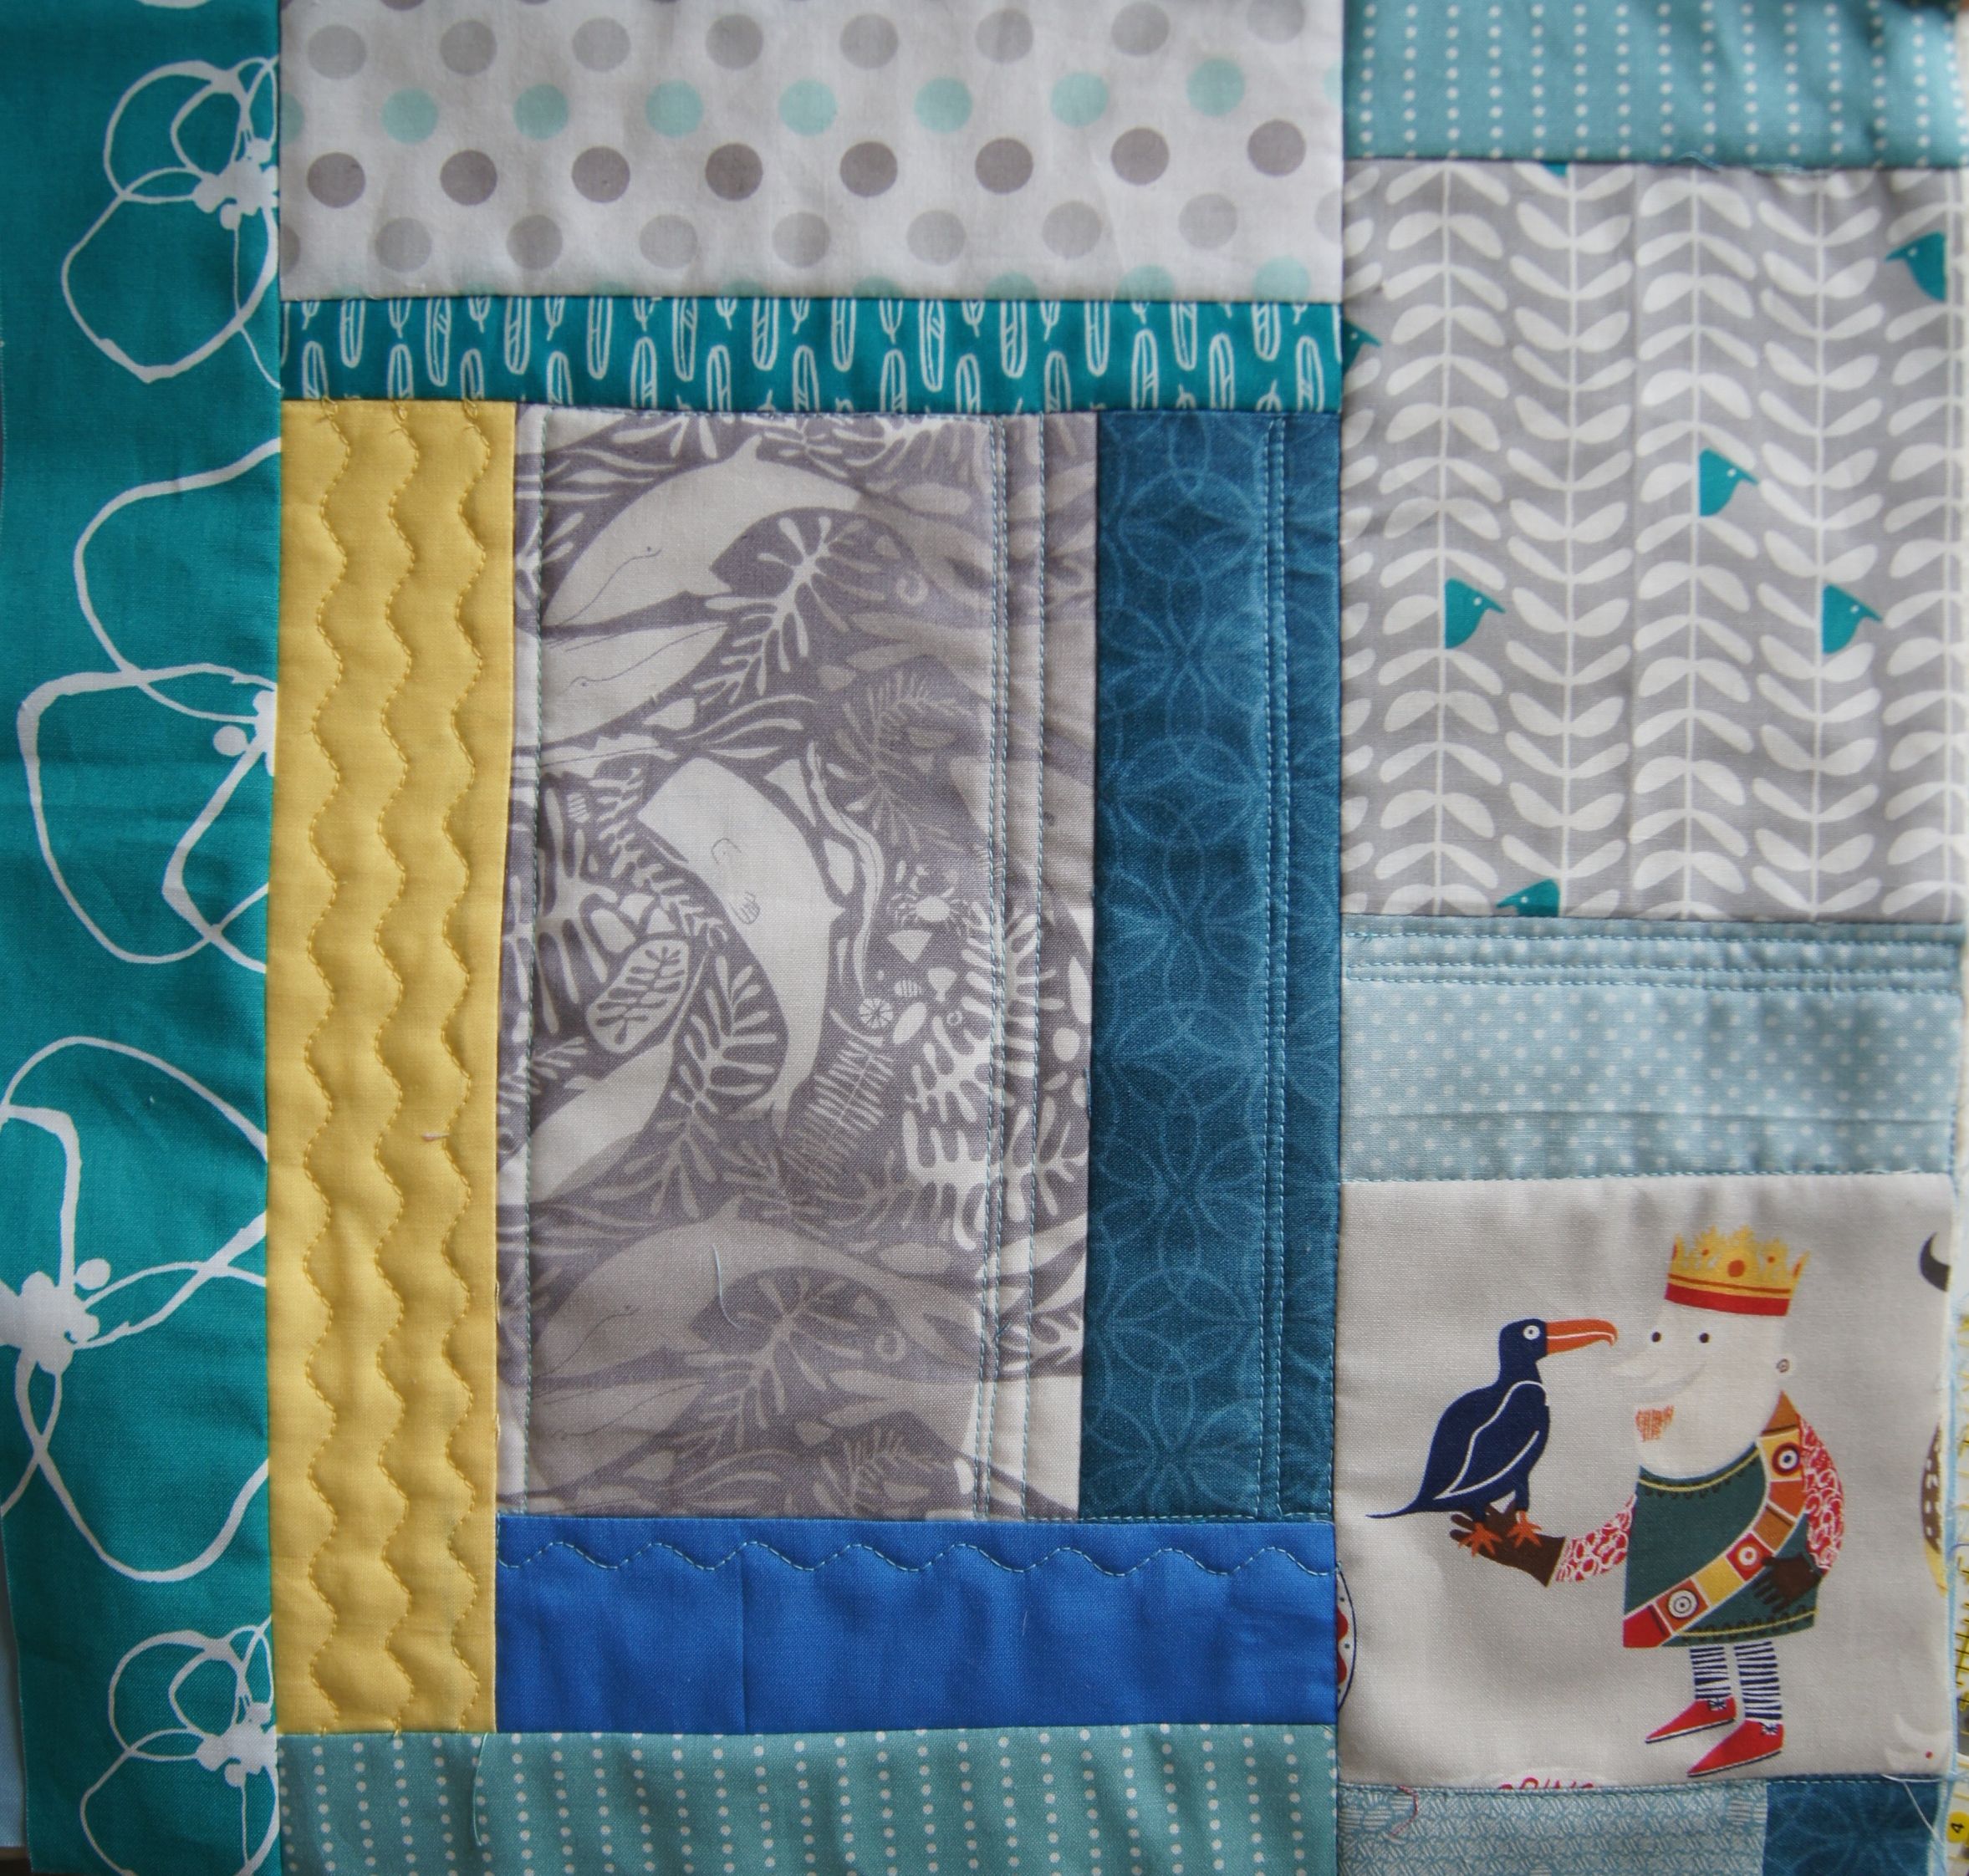
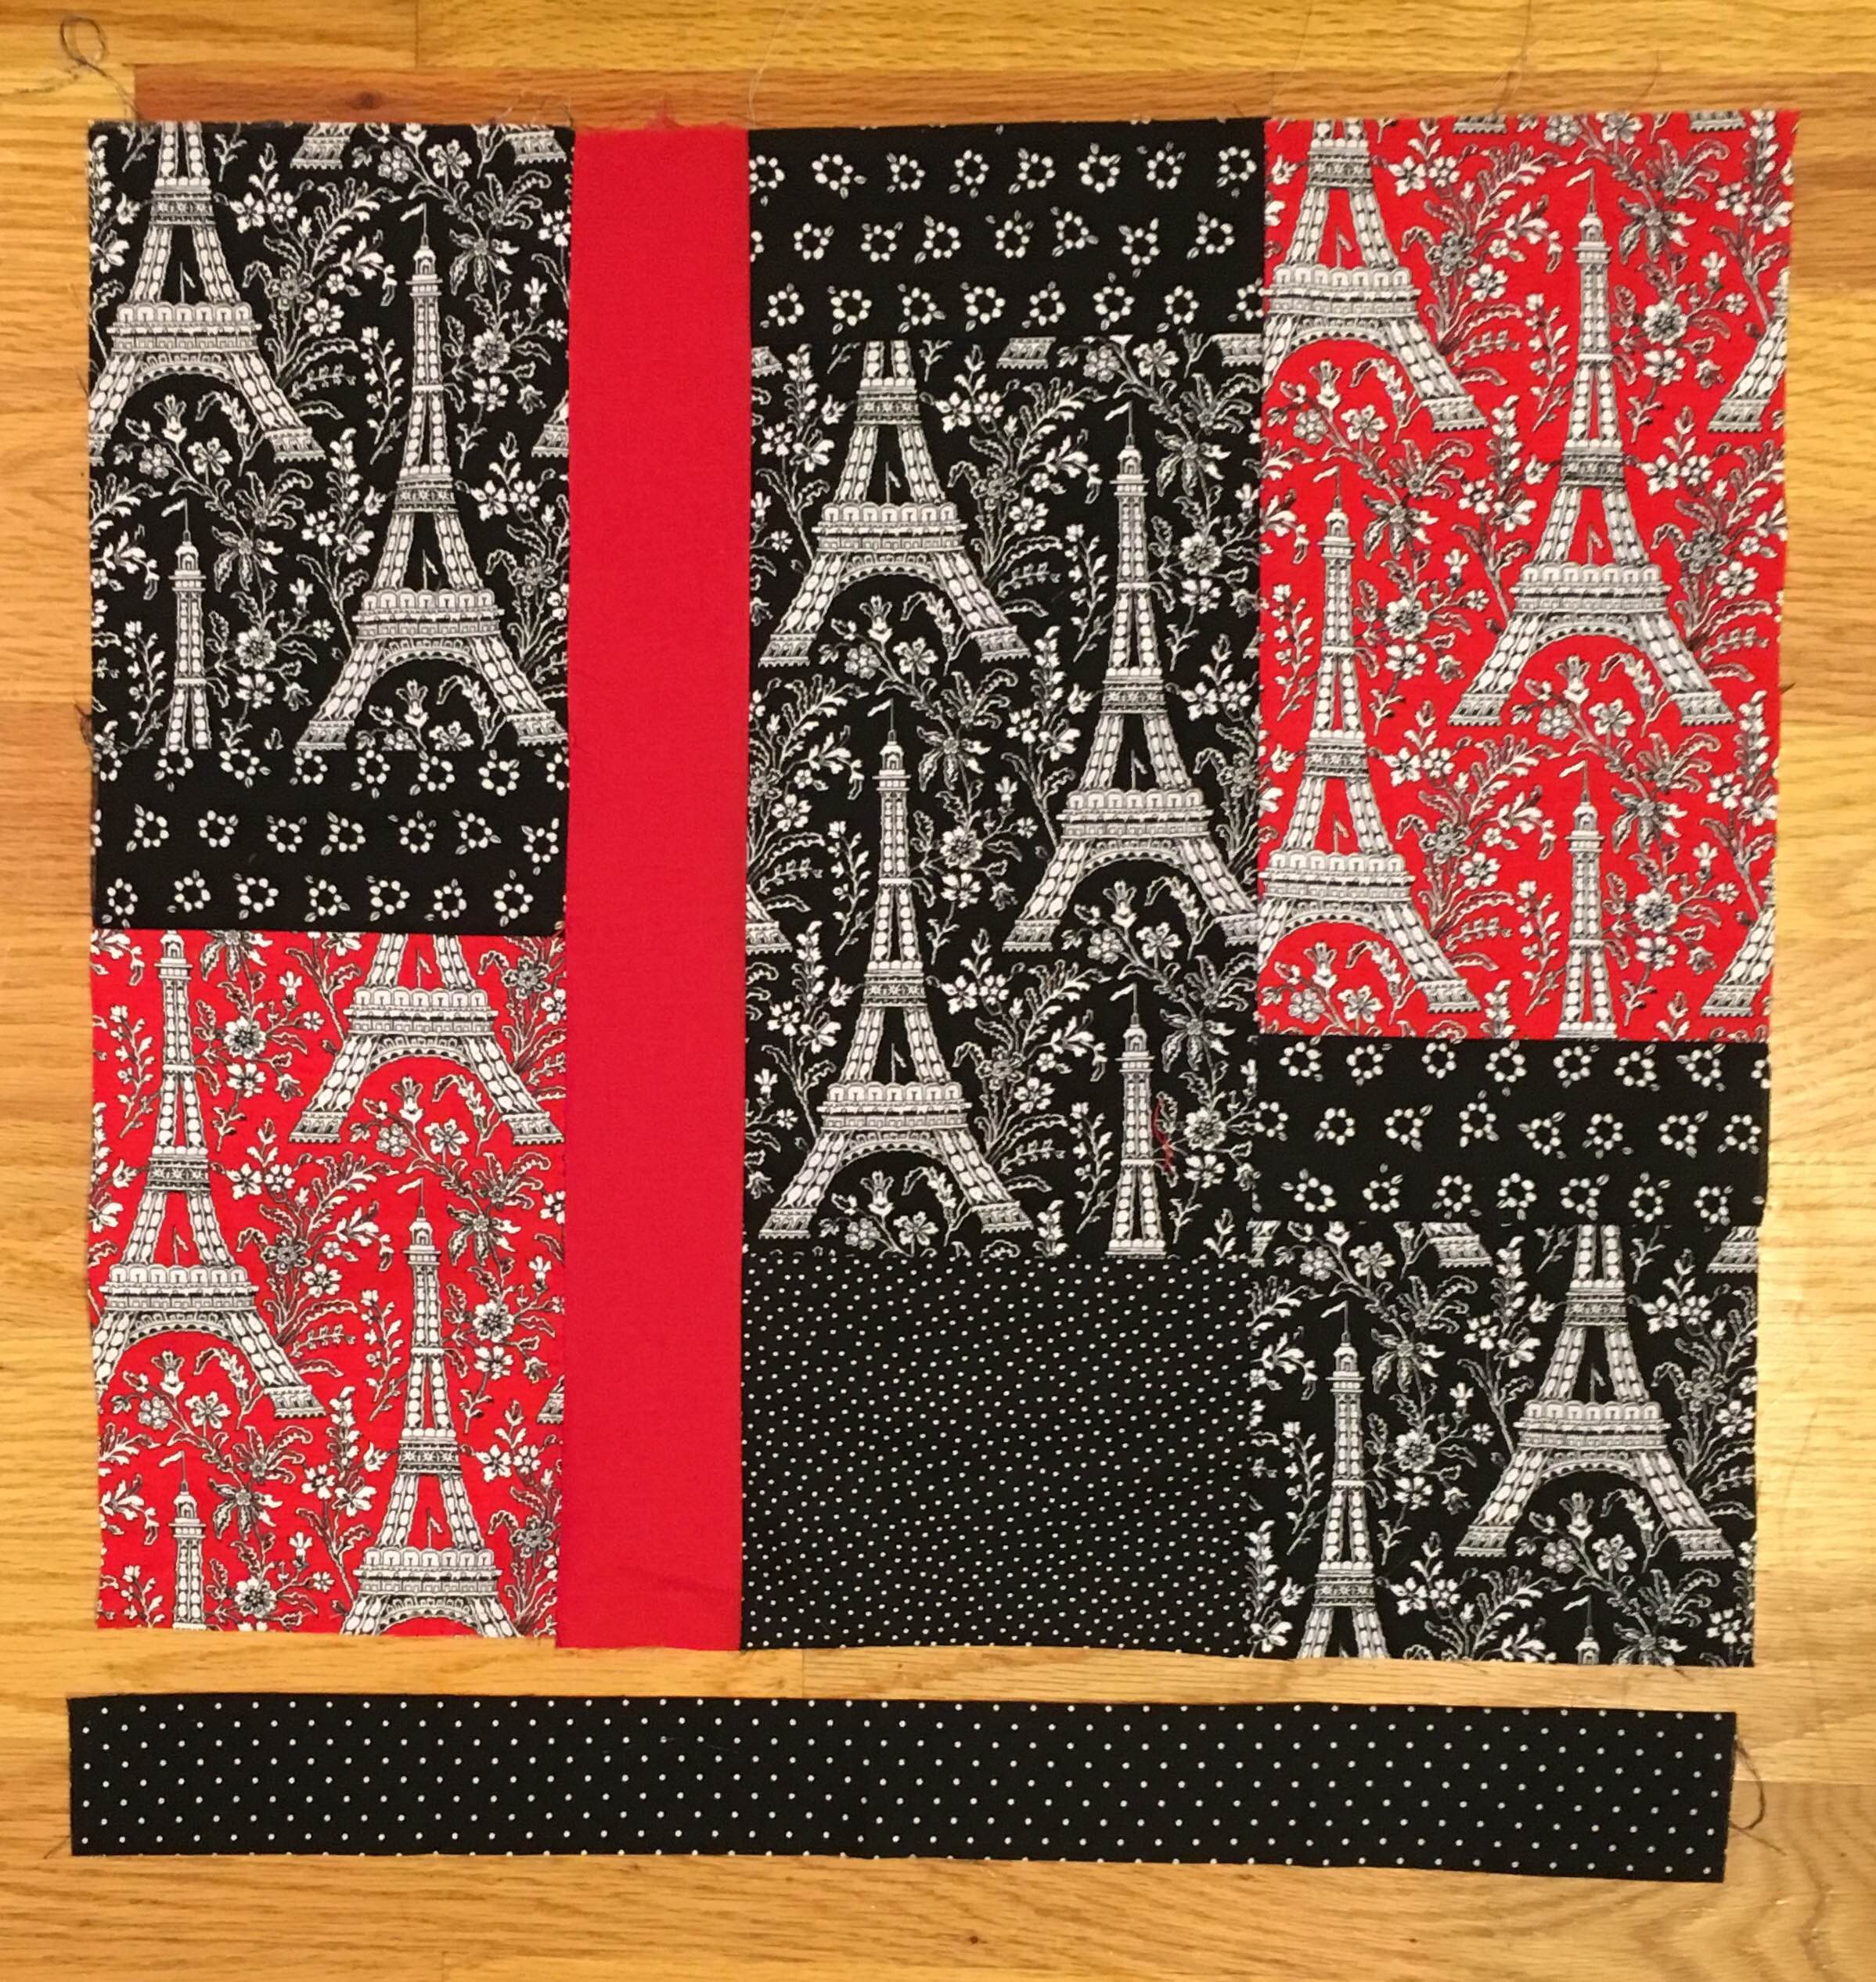
Stitch together the columns, then sew them together. Add the bottom strip.
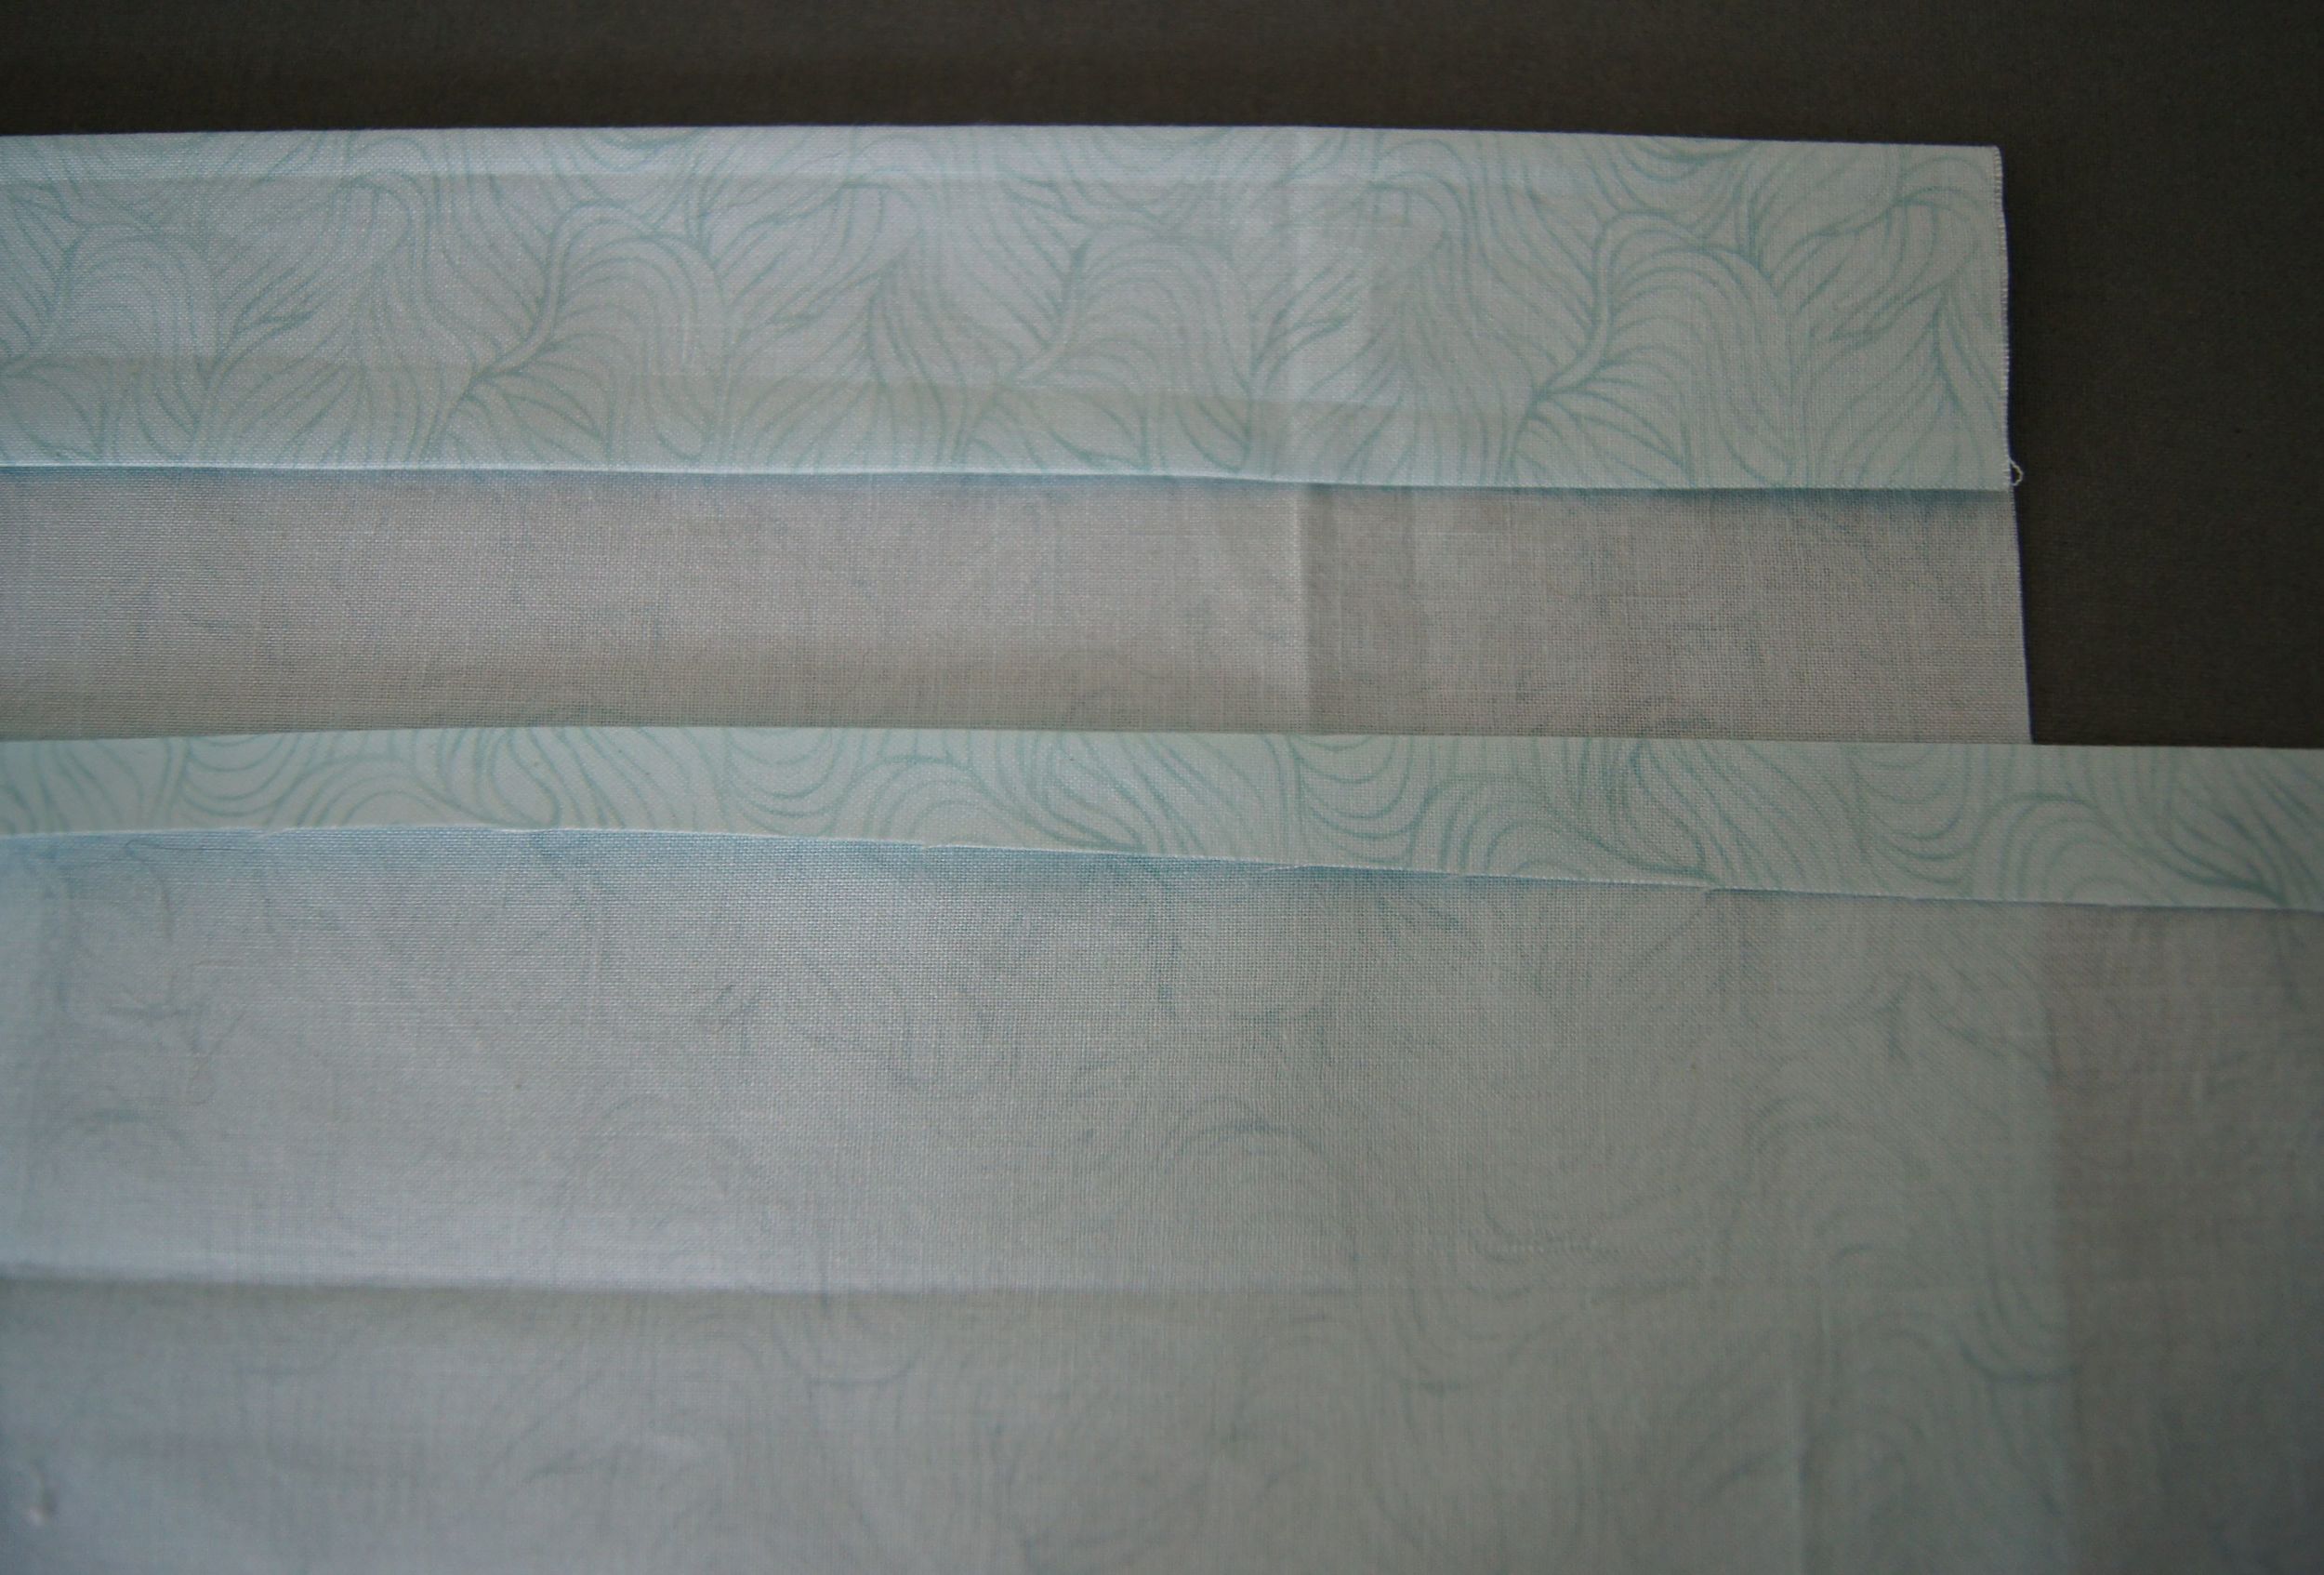
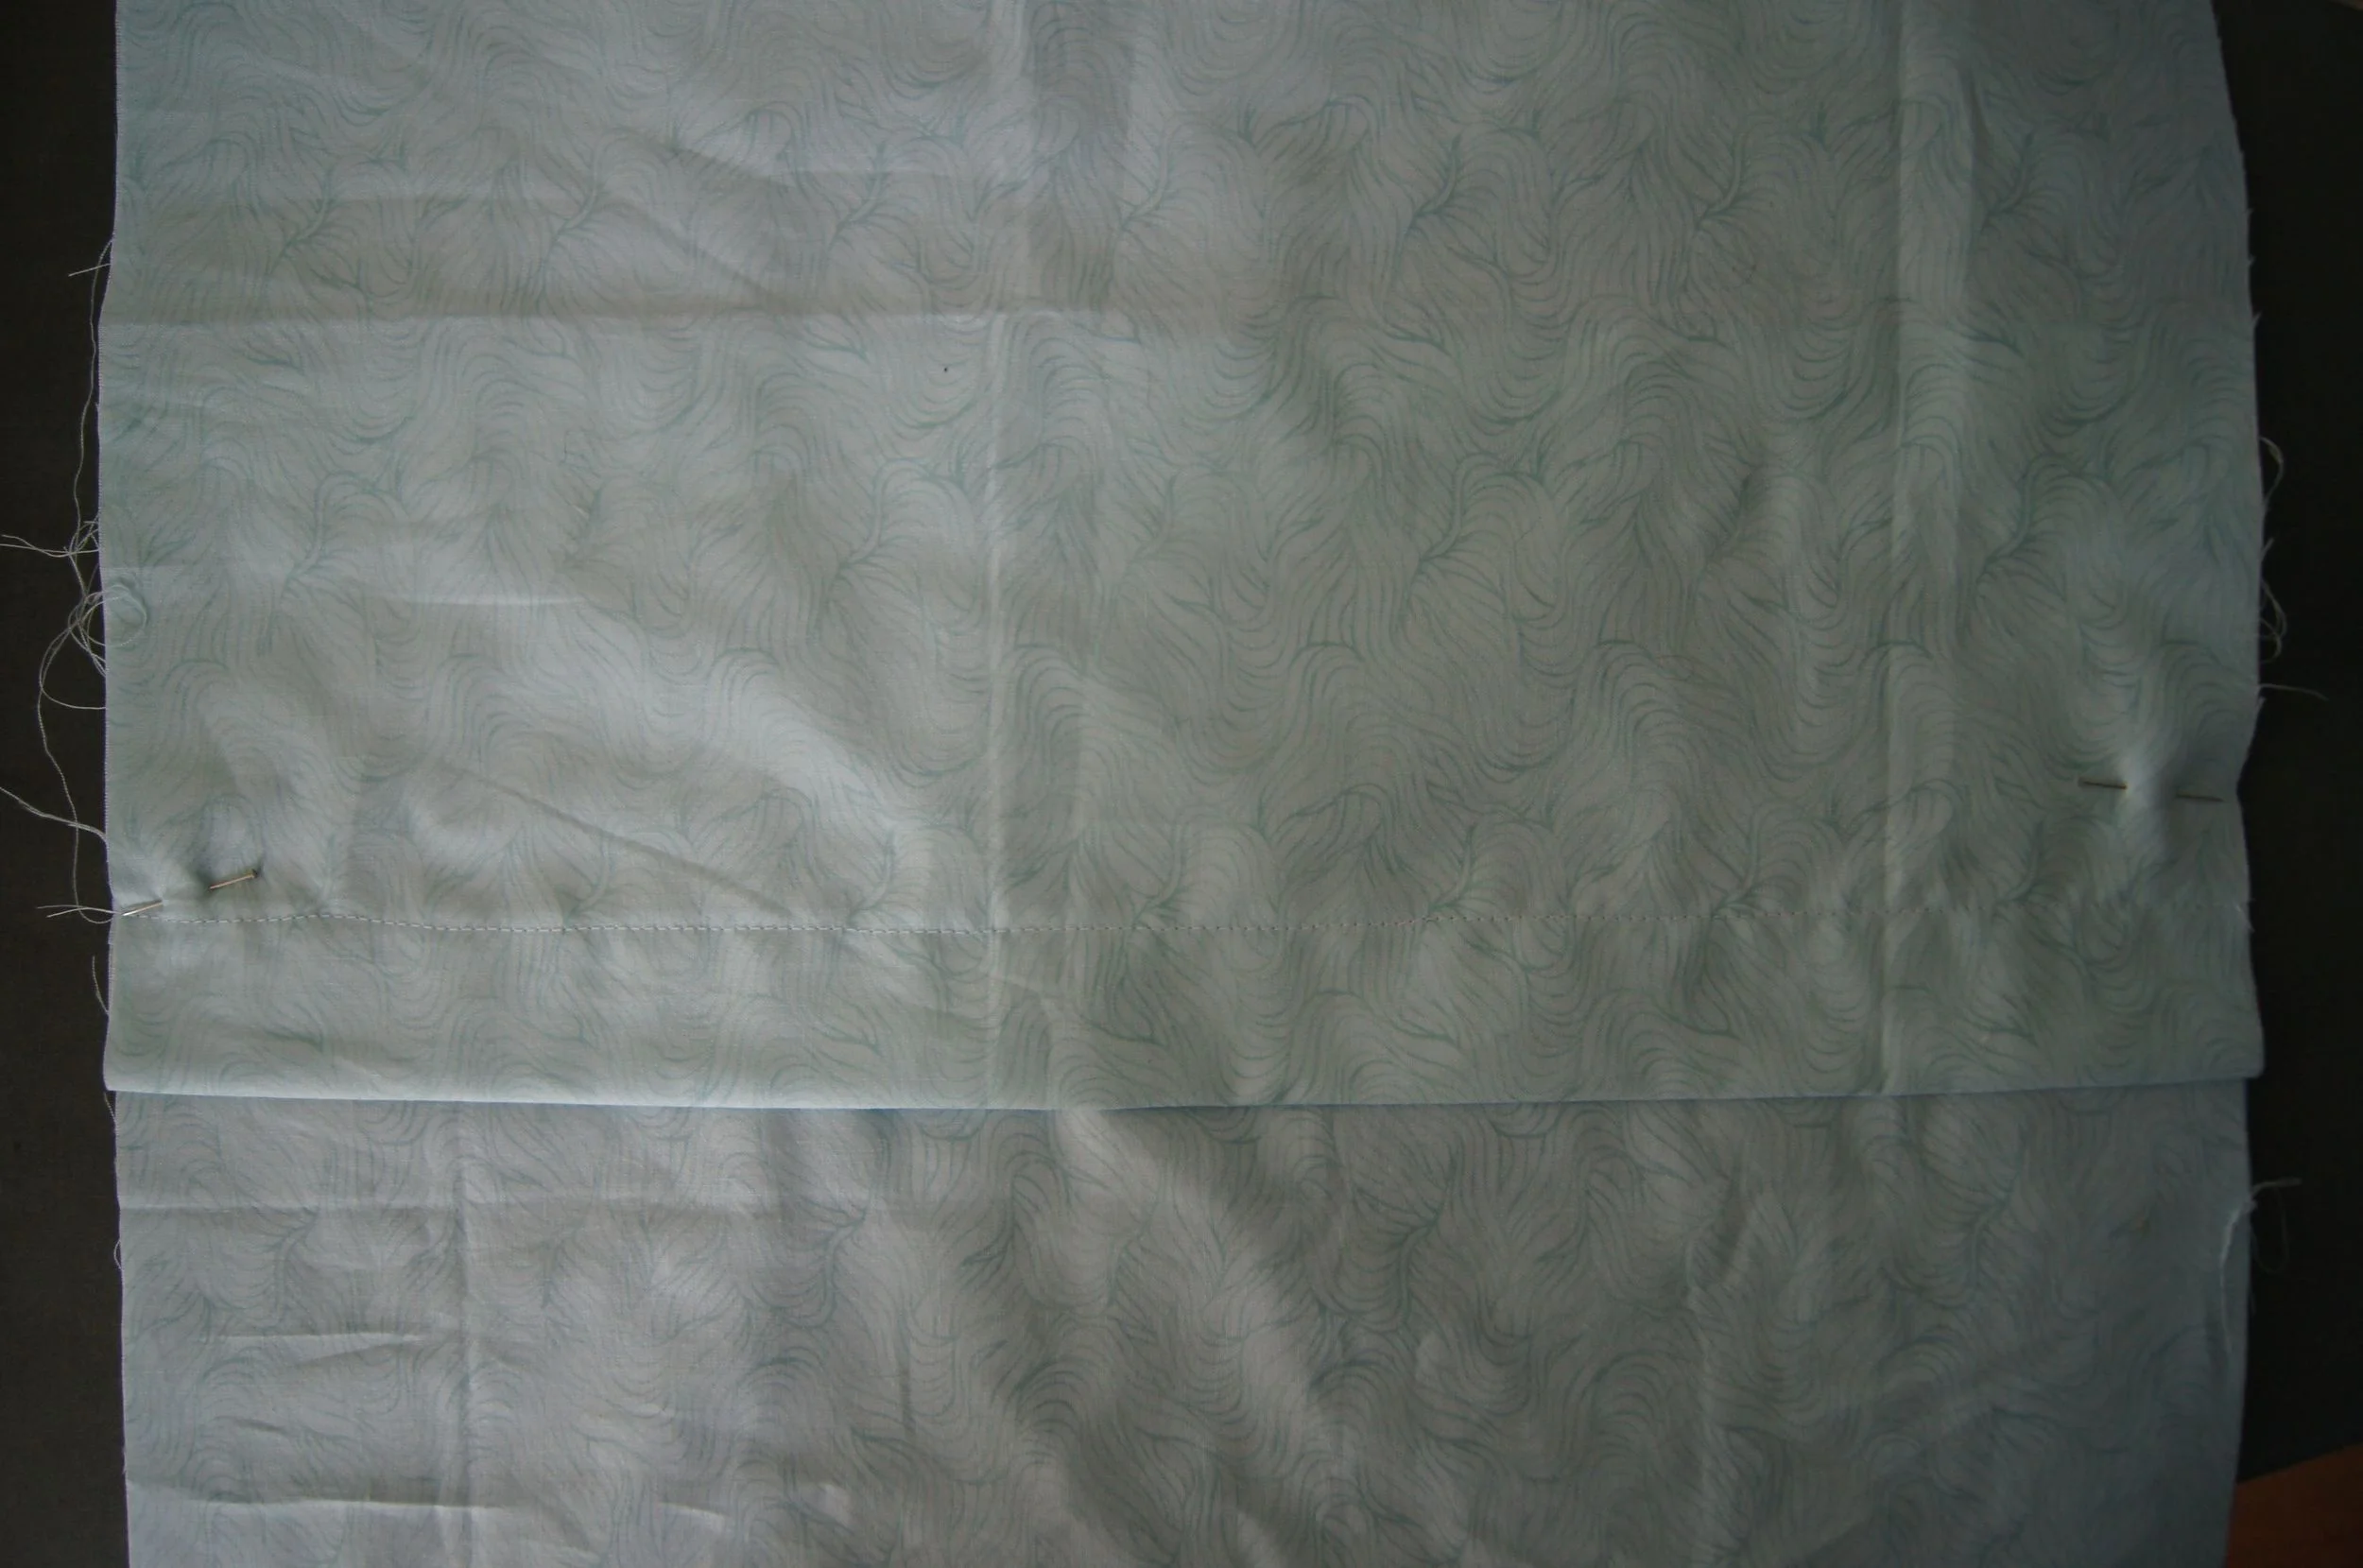
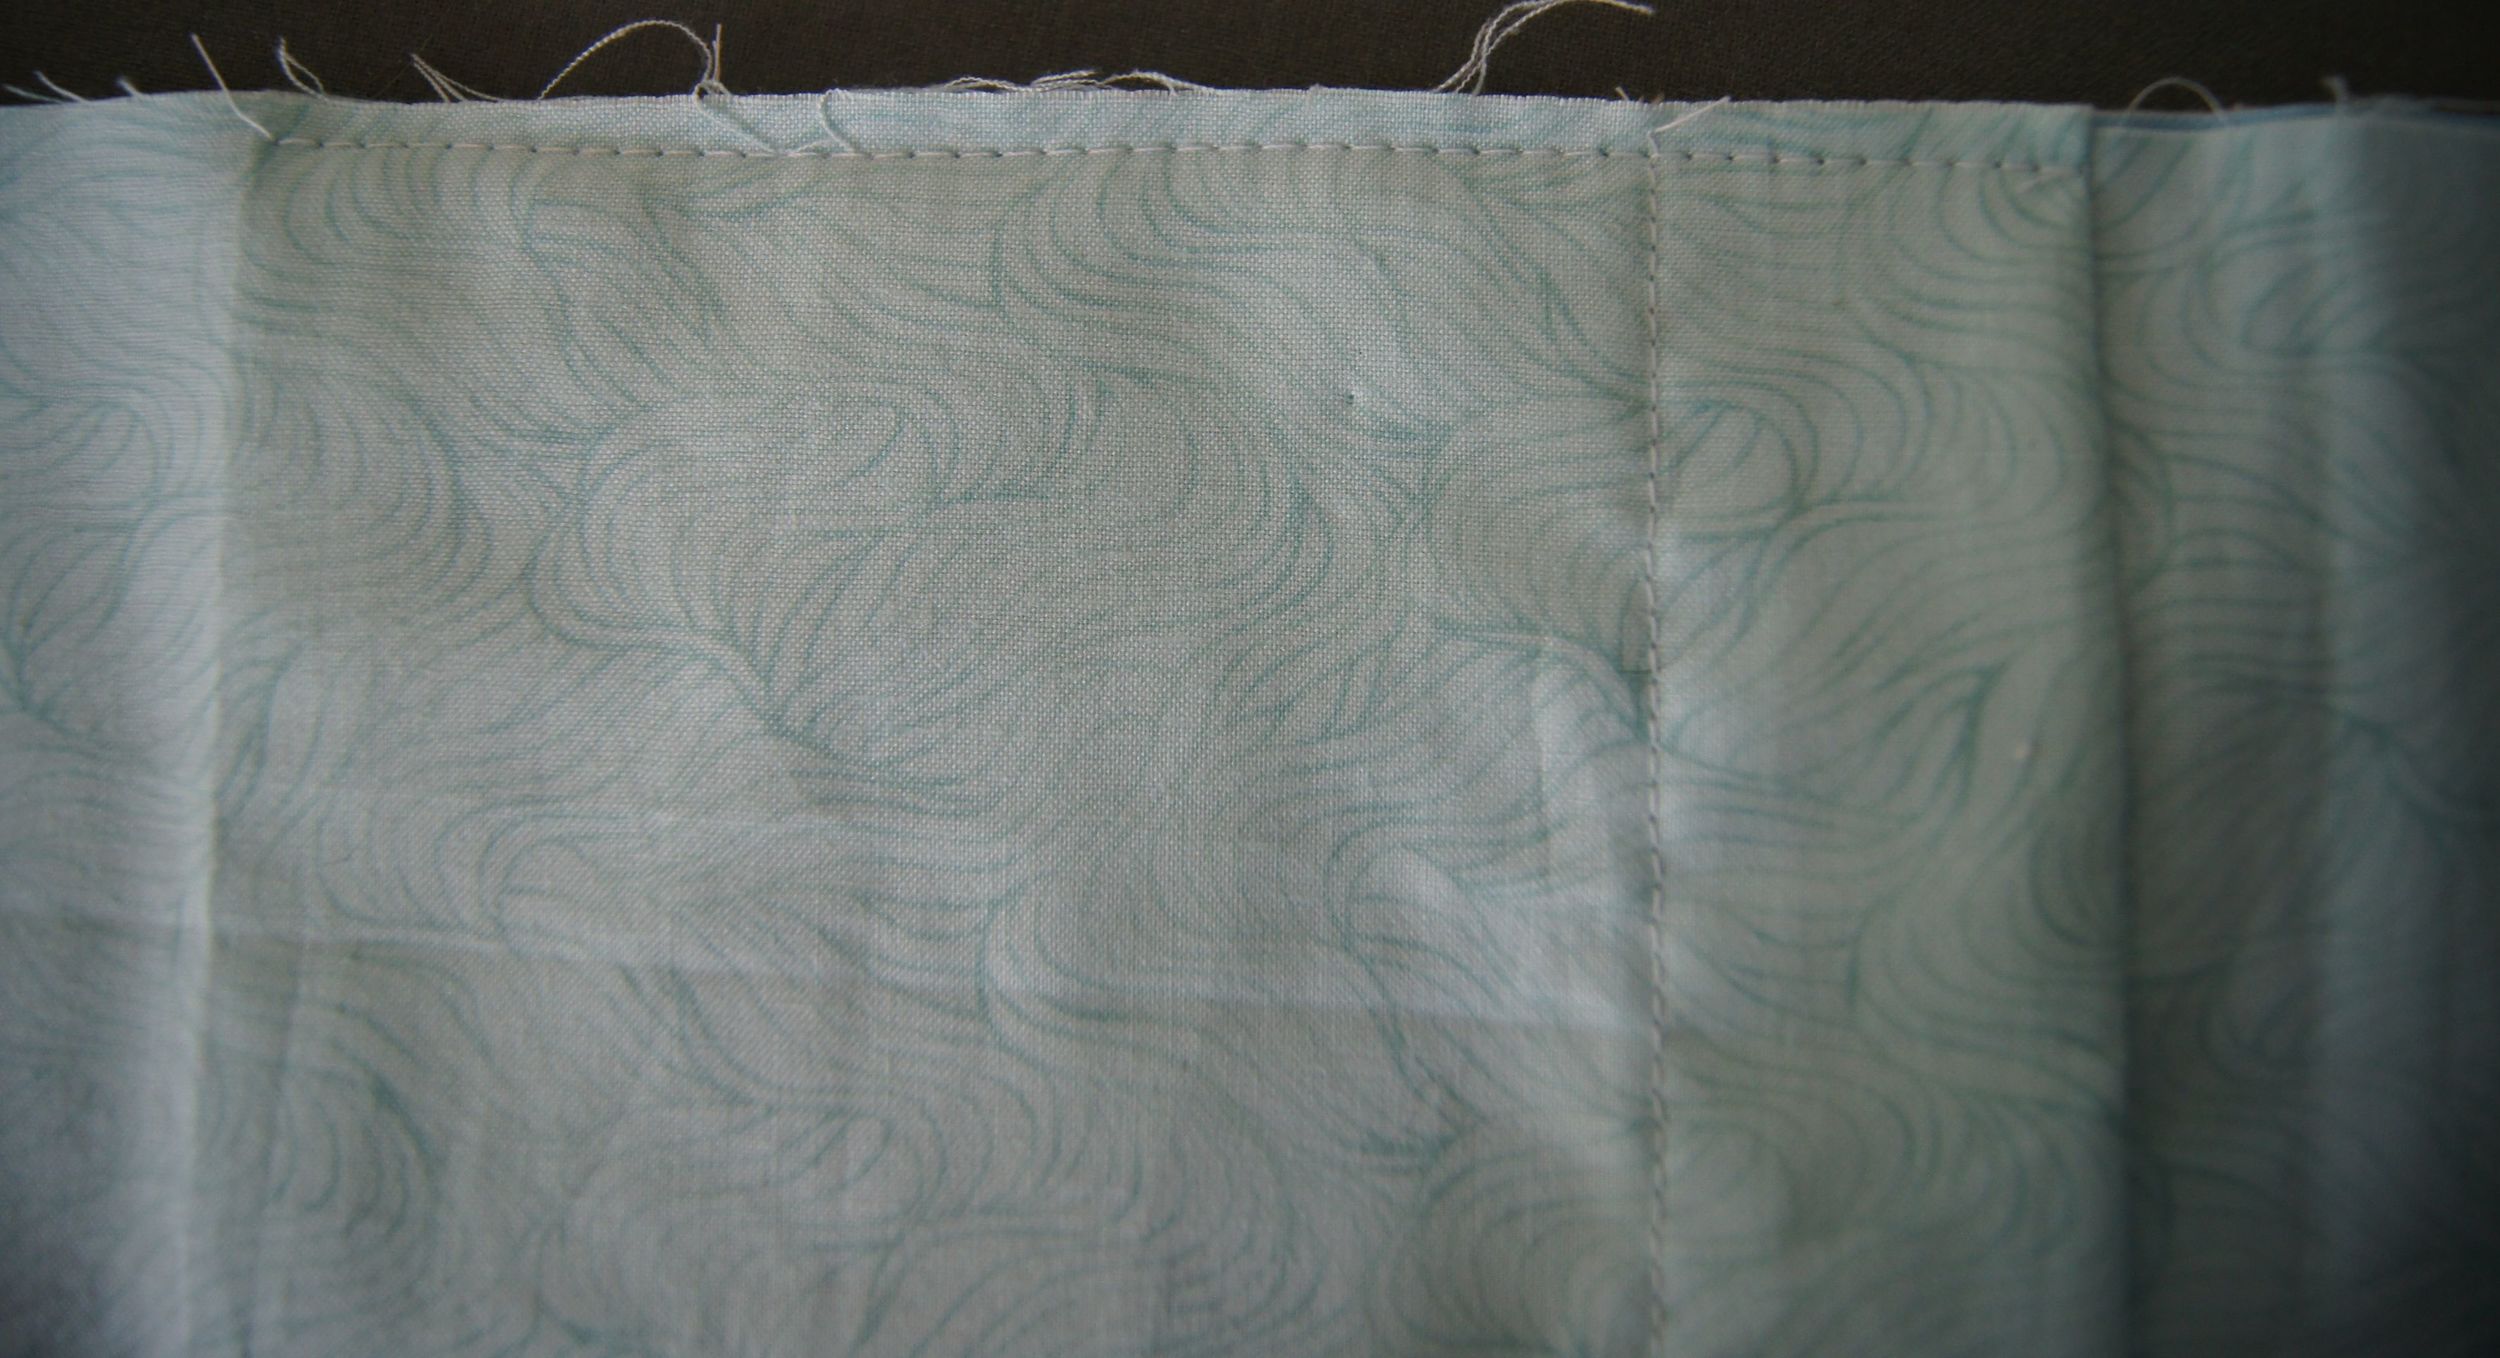
Make the back cover. Fold the top edge of the bottom section under 1/4 inch twice, press and stitch along the bottom edge of the fold. Fold the bottom edge of the top section under 1/4 inch twice, press and sew along the edge.
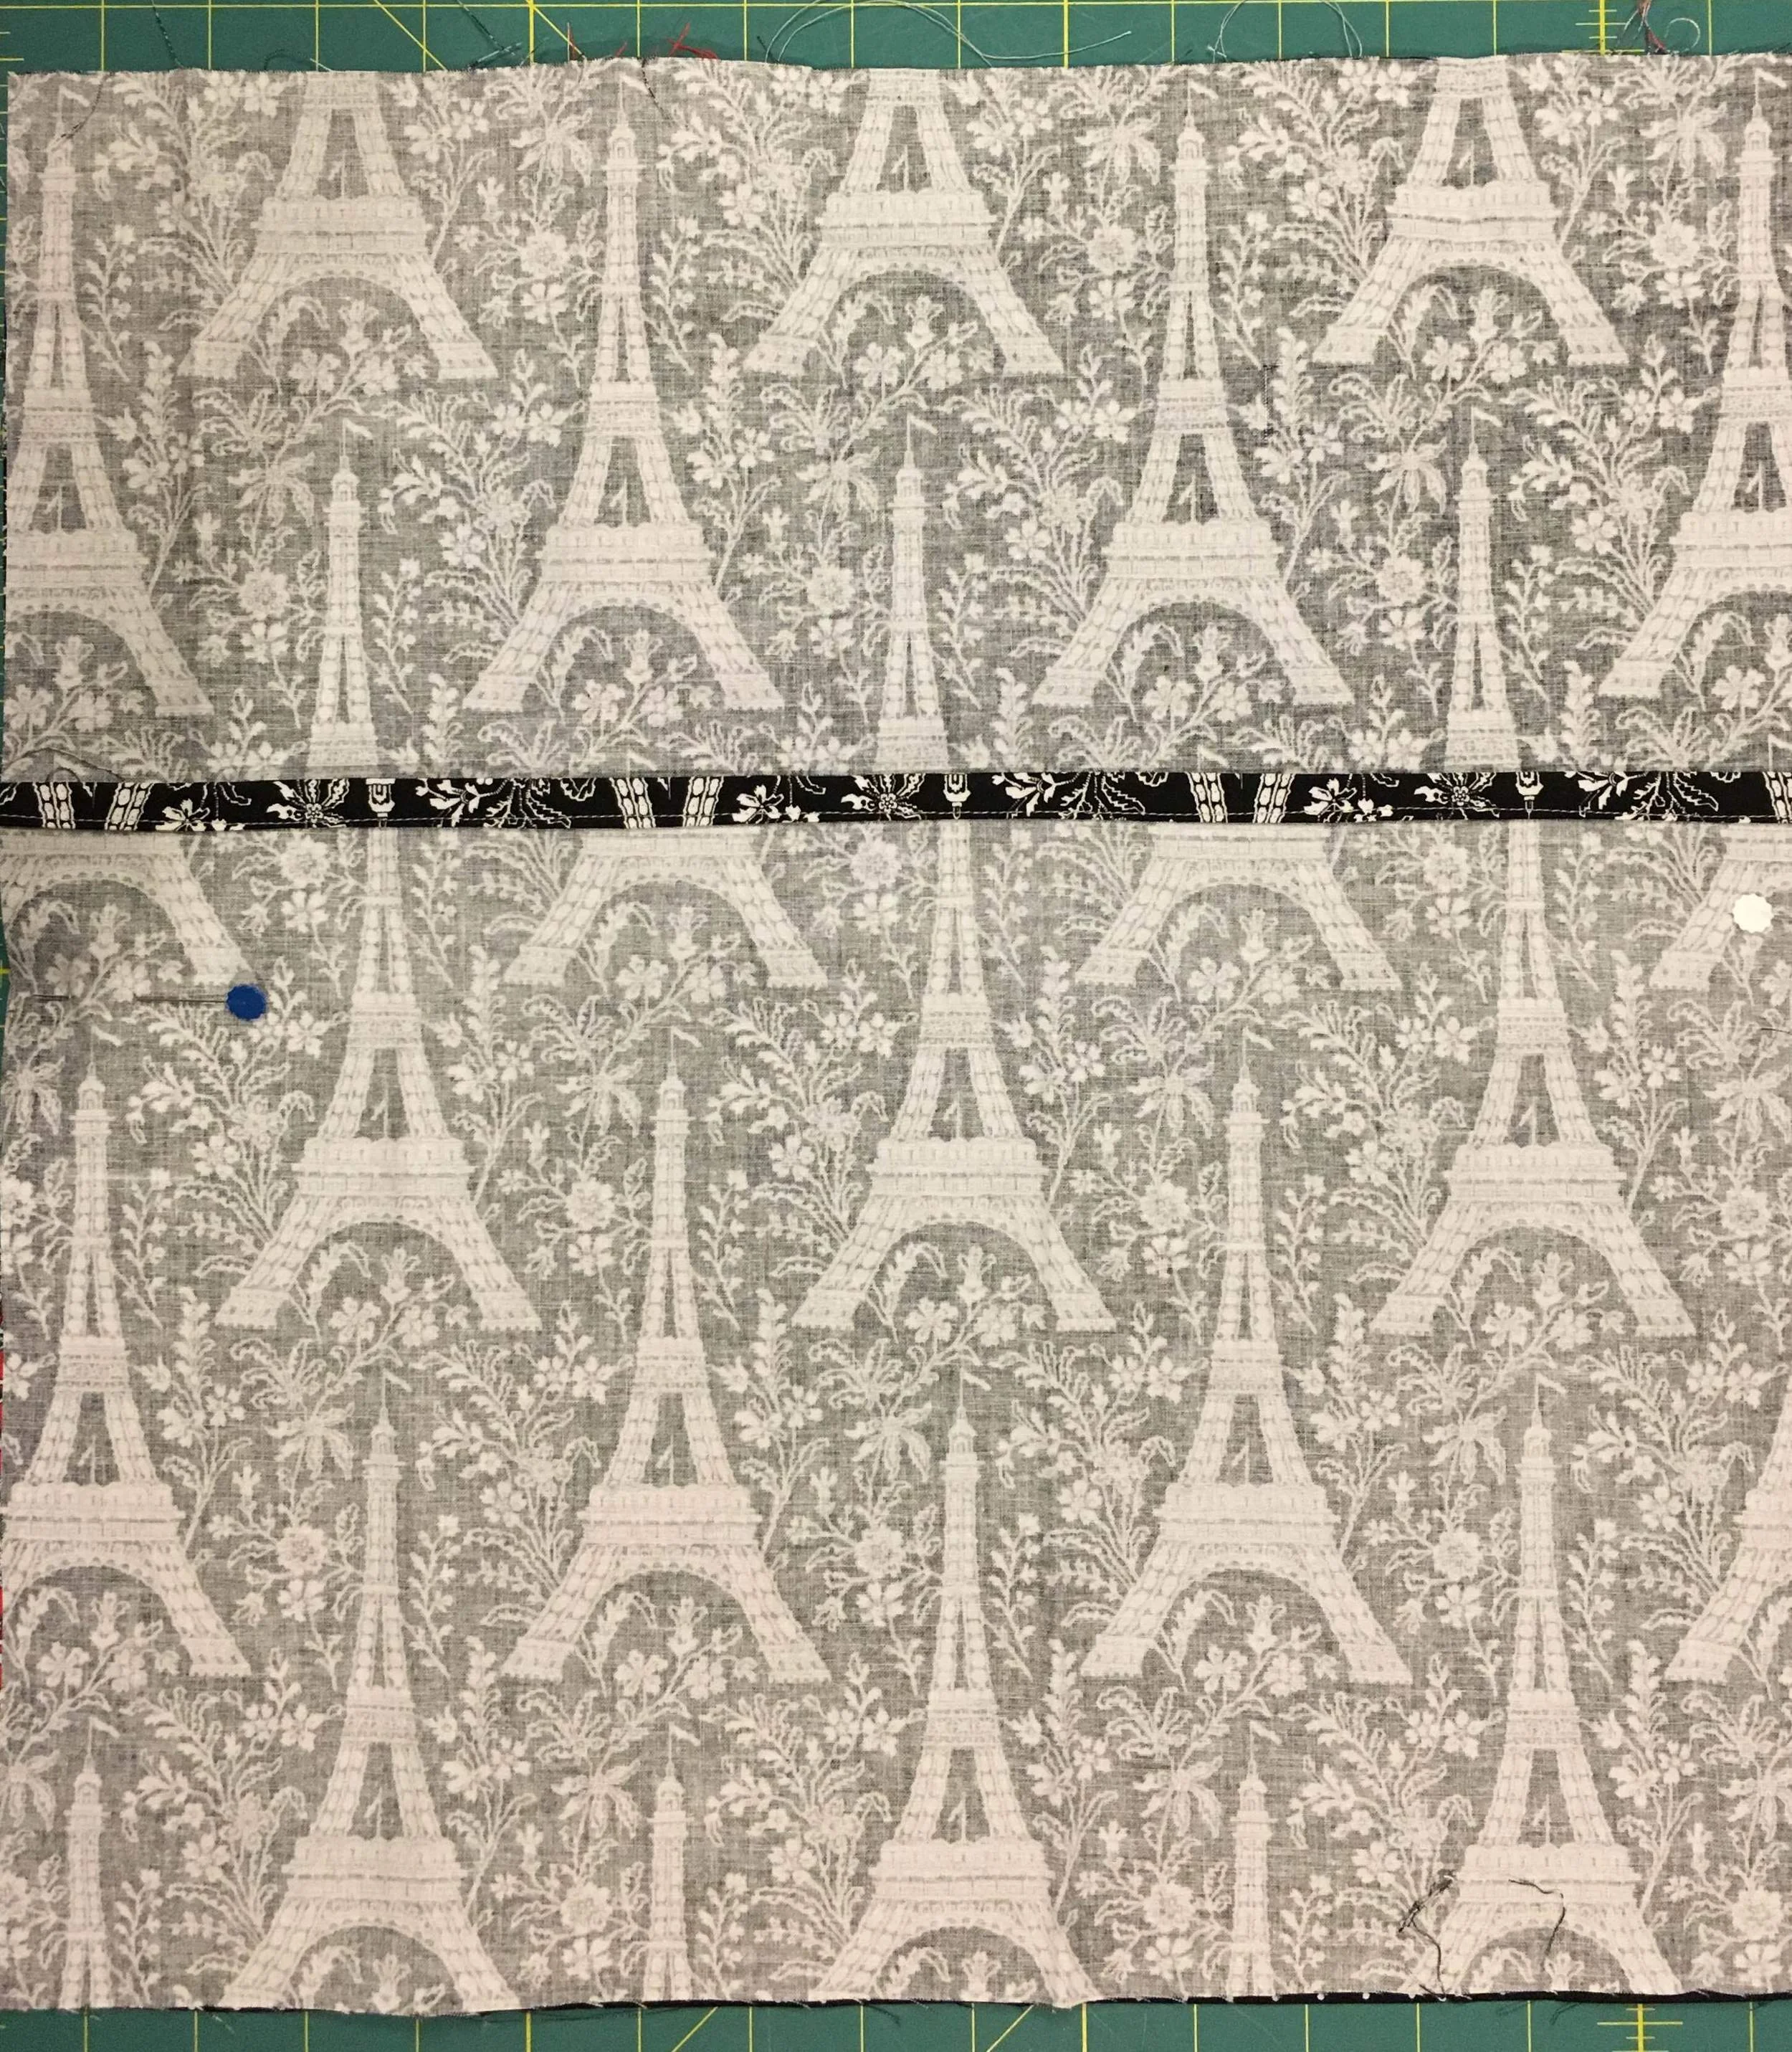
Put the Top section of the back down first, the put the BOTTOM section on top of it to create an envelop opening.
Sew the back to the front of the pillow, right sides together. Turn right side out and press. Finish by top stitching 1/4 inch around all 4 sides of the pillow cover to give a decorative edge. I didn't pre-wash the fabrics I used so I left the cover large to allow for shrinkage when washed and dried. If you did pre-wash your fabrics, top stitch in 1/2 inch.
Enjoy a bit of Paris at home!!