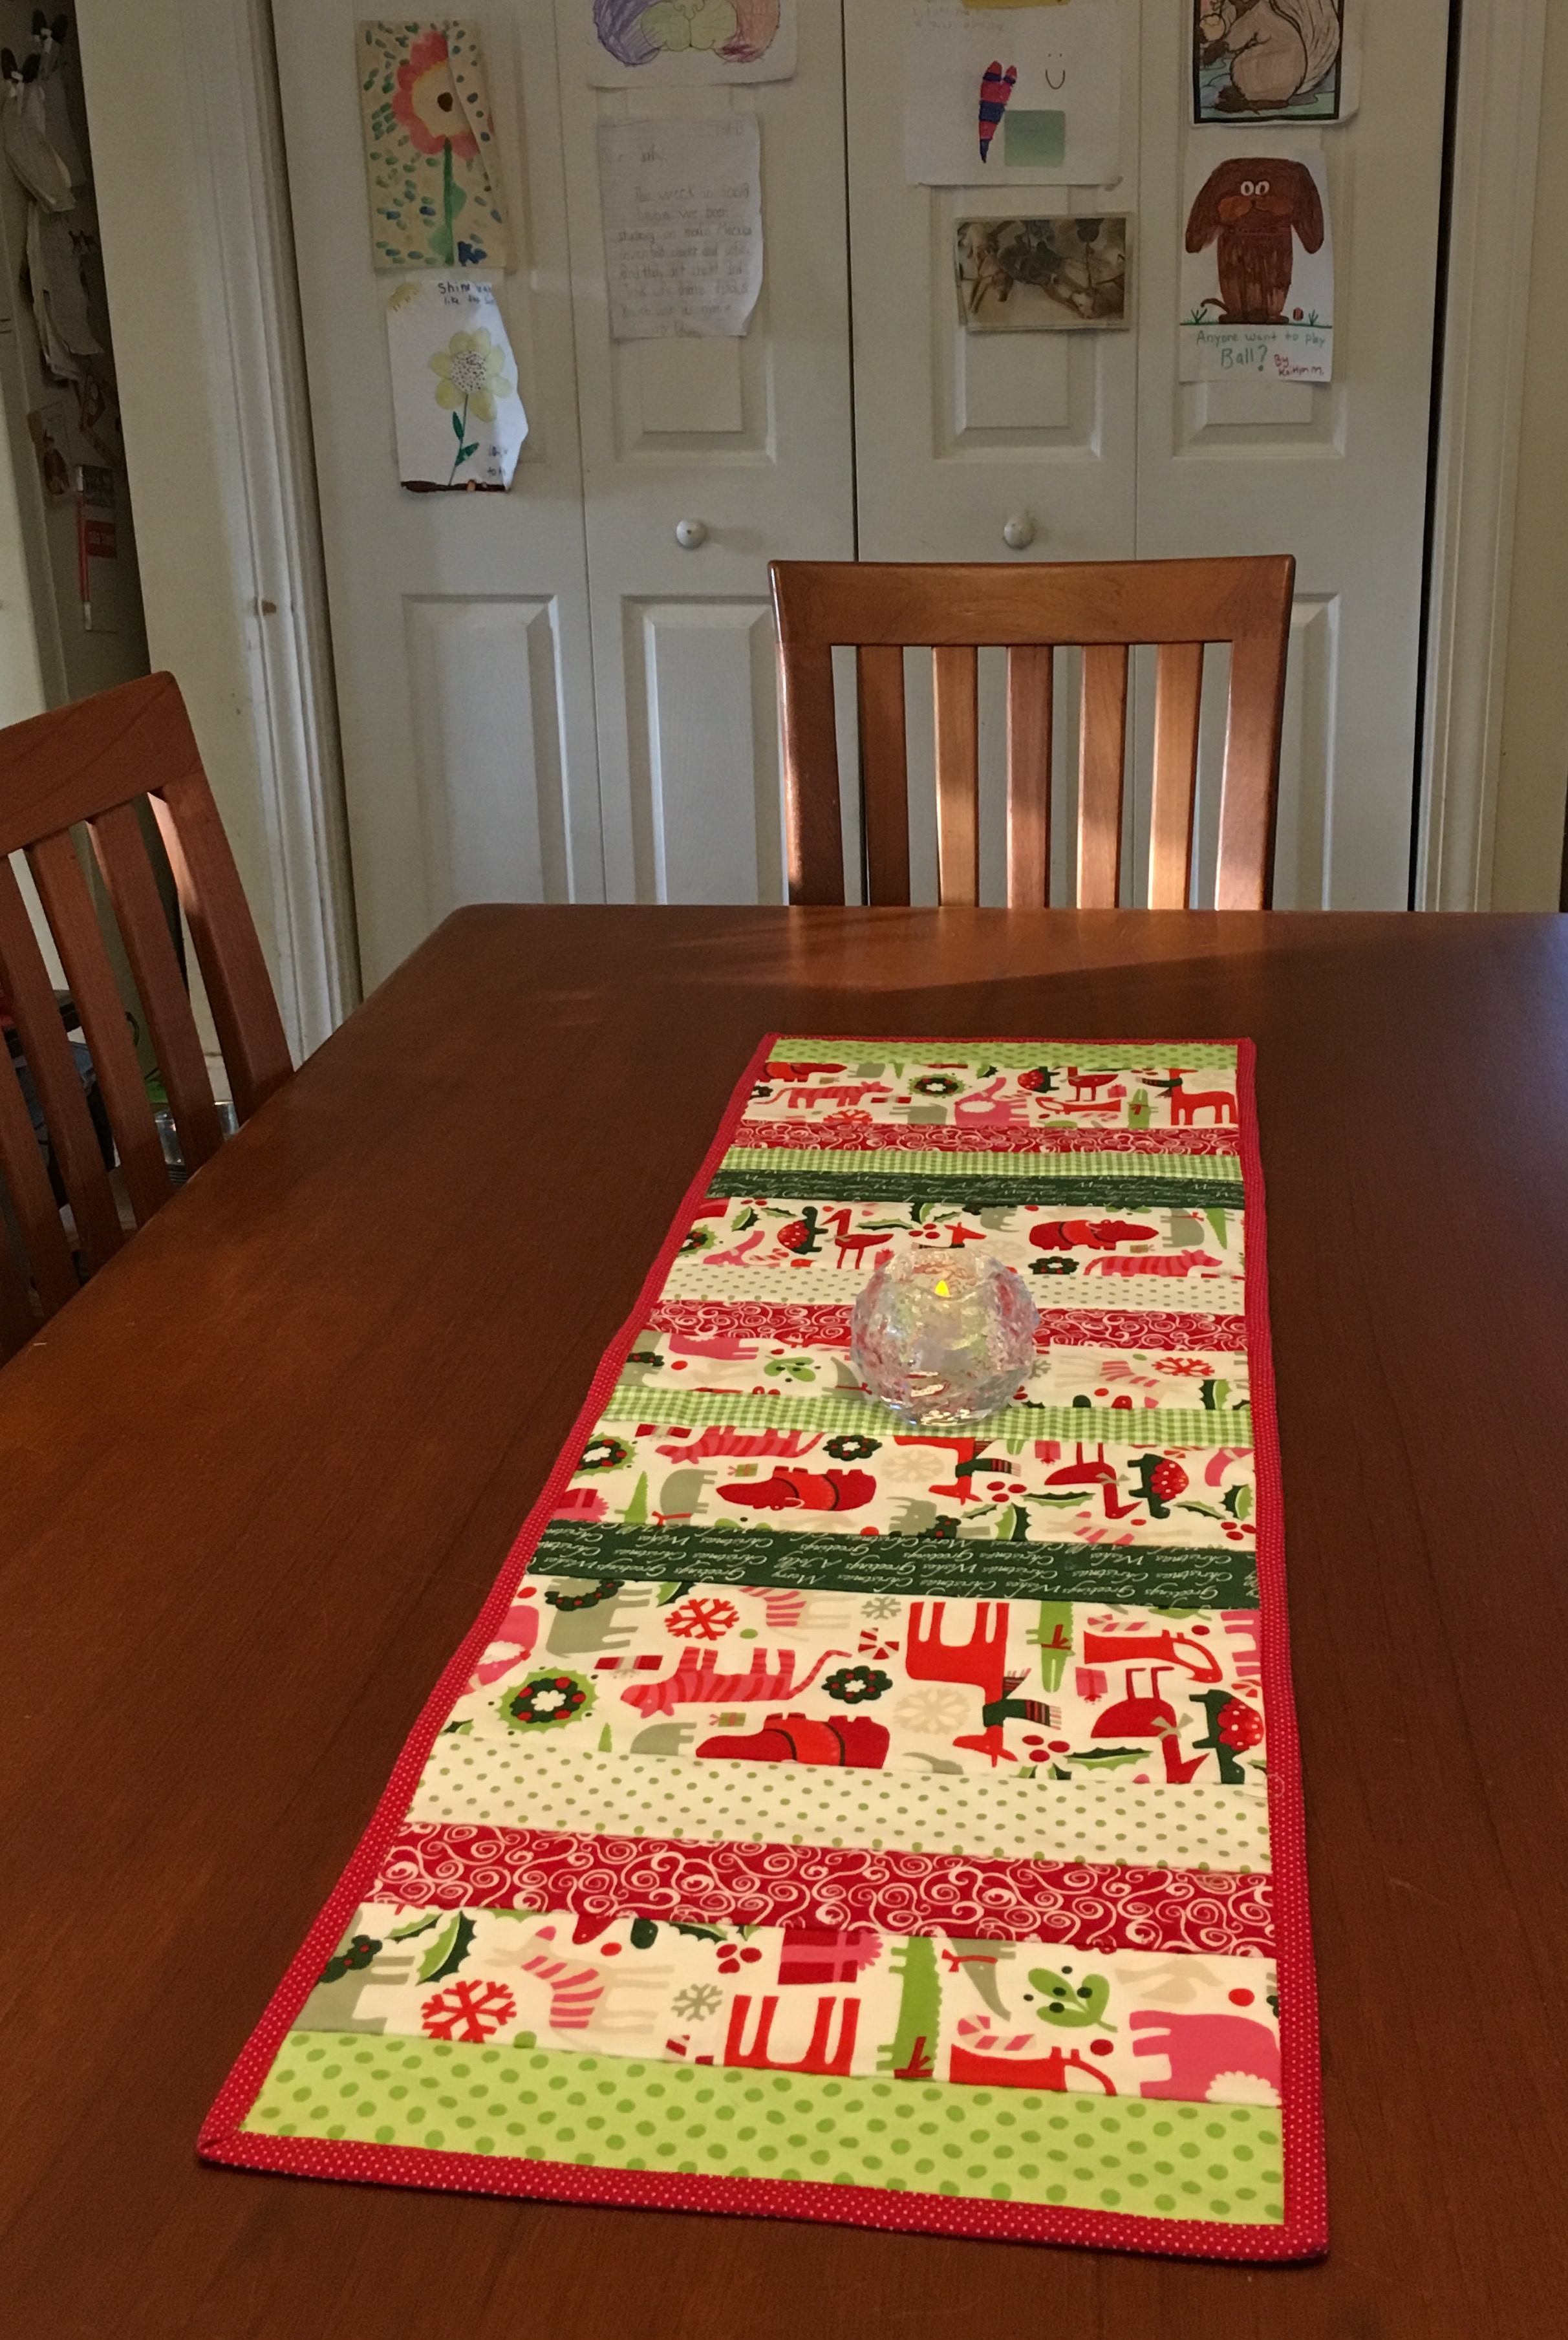
Table Runner 13 x42 inches
Christmas is just a week away but it isn't too late to make a fast holiday table runner! It will just take a couple hours to complete.
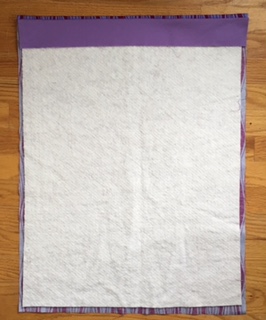
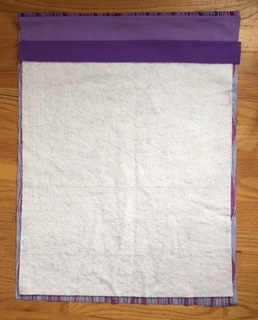
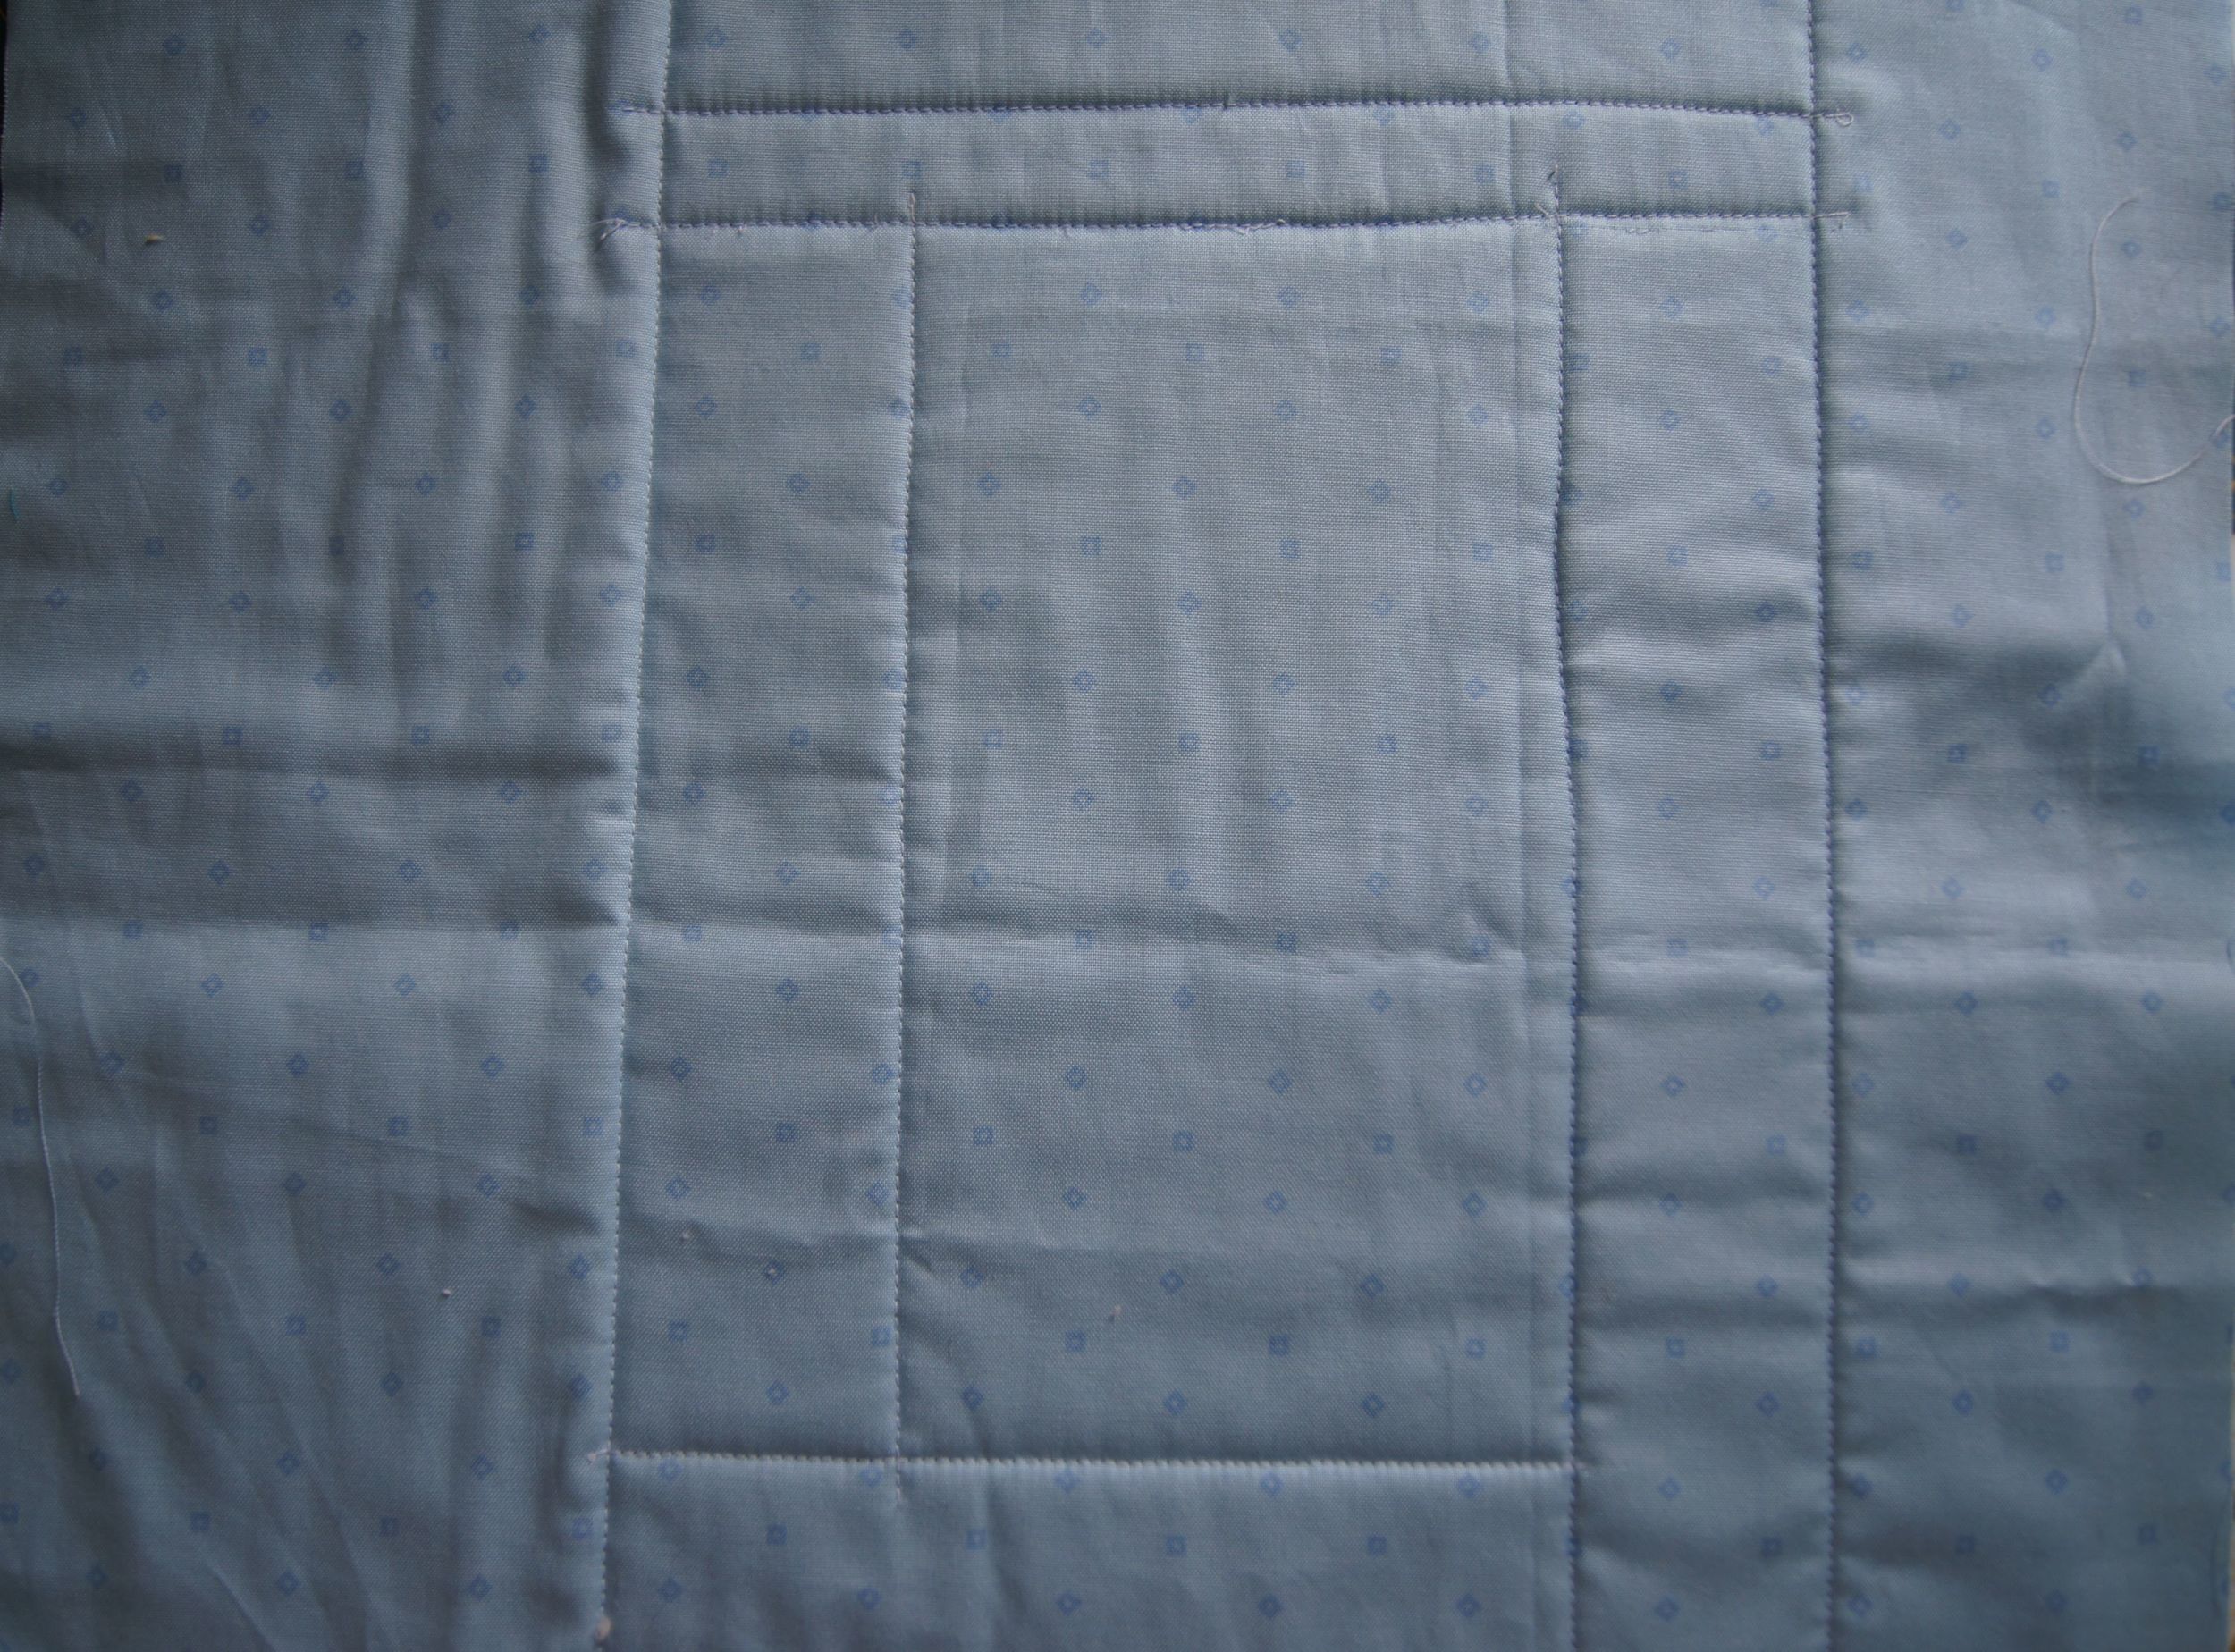
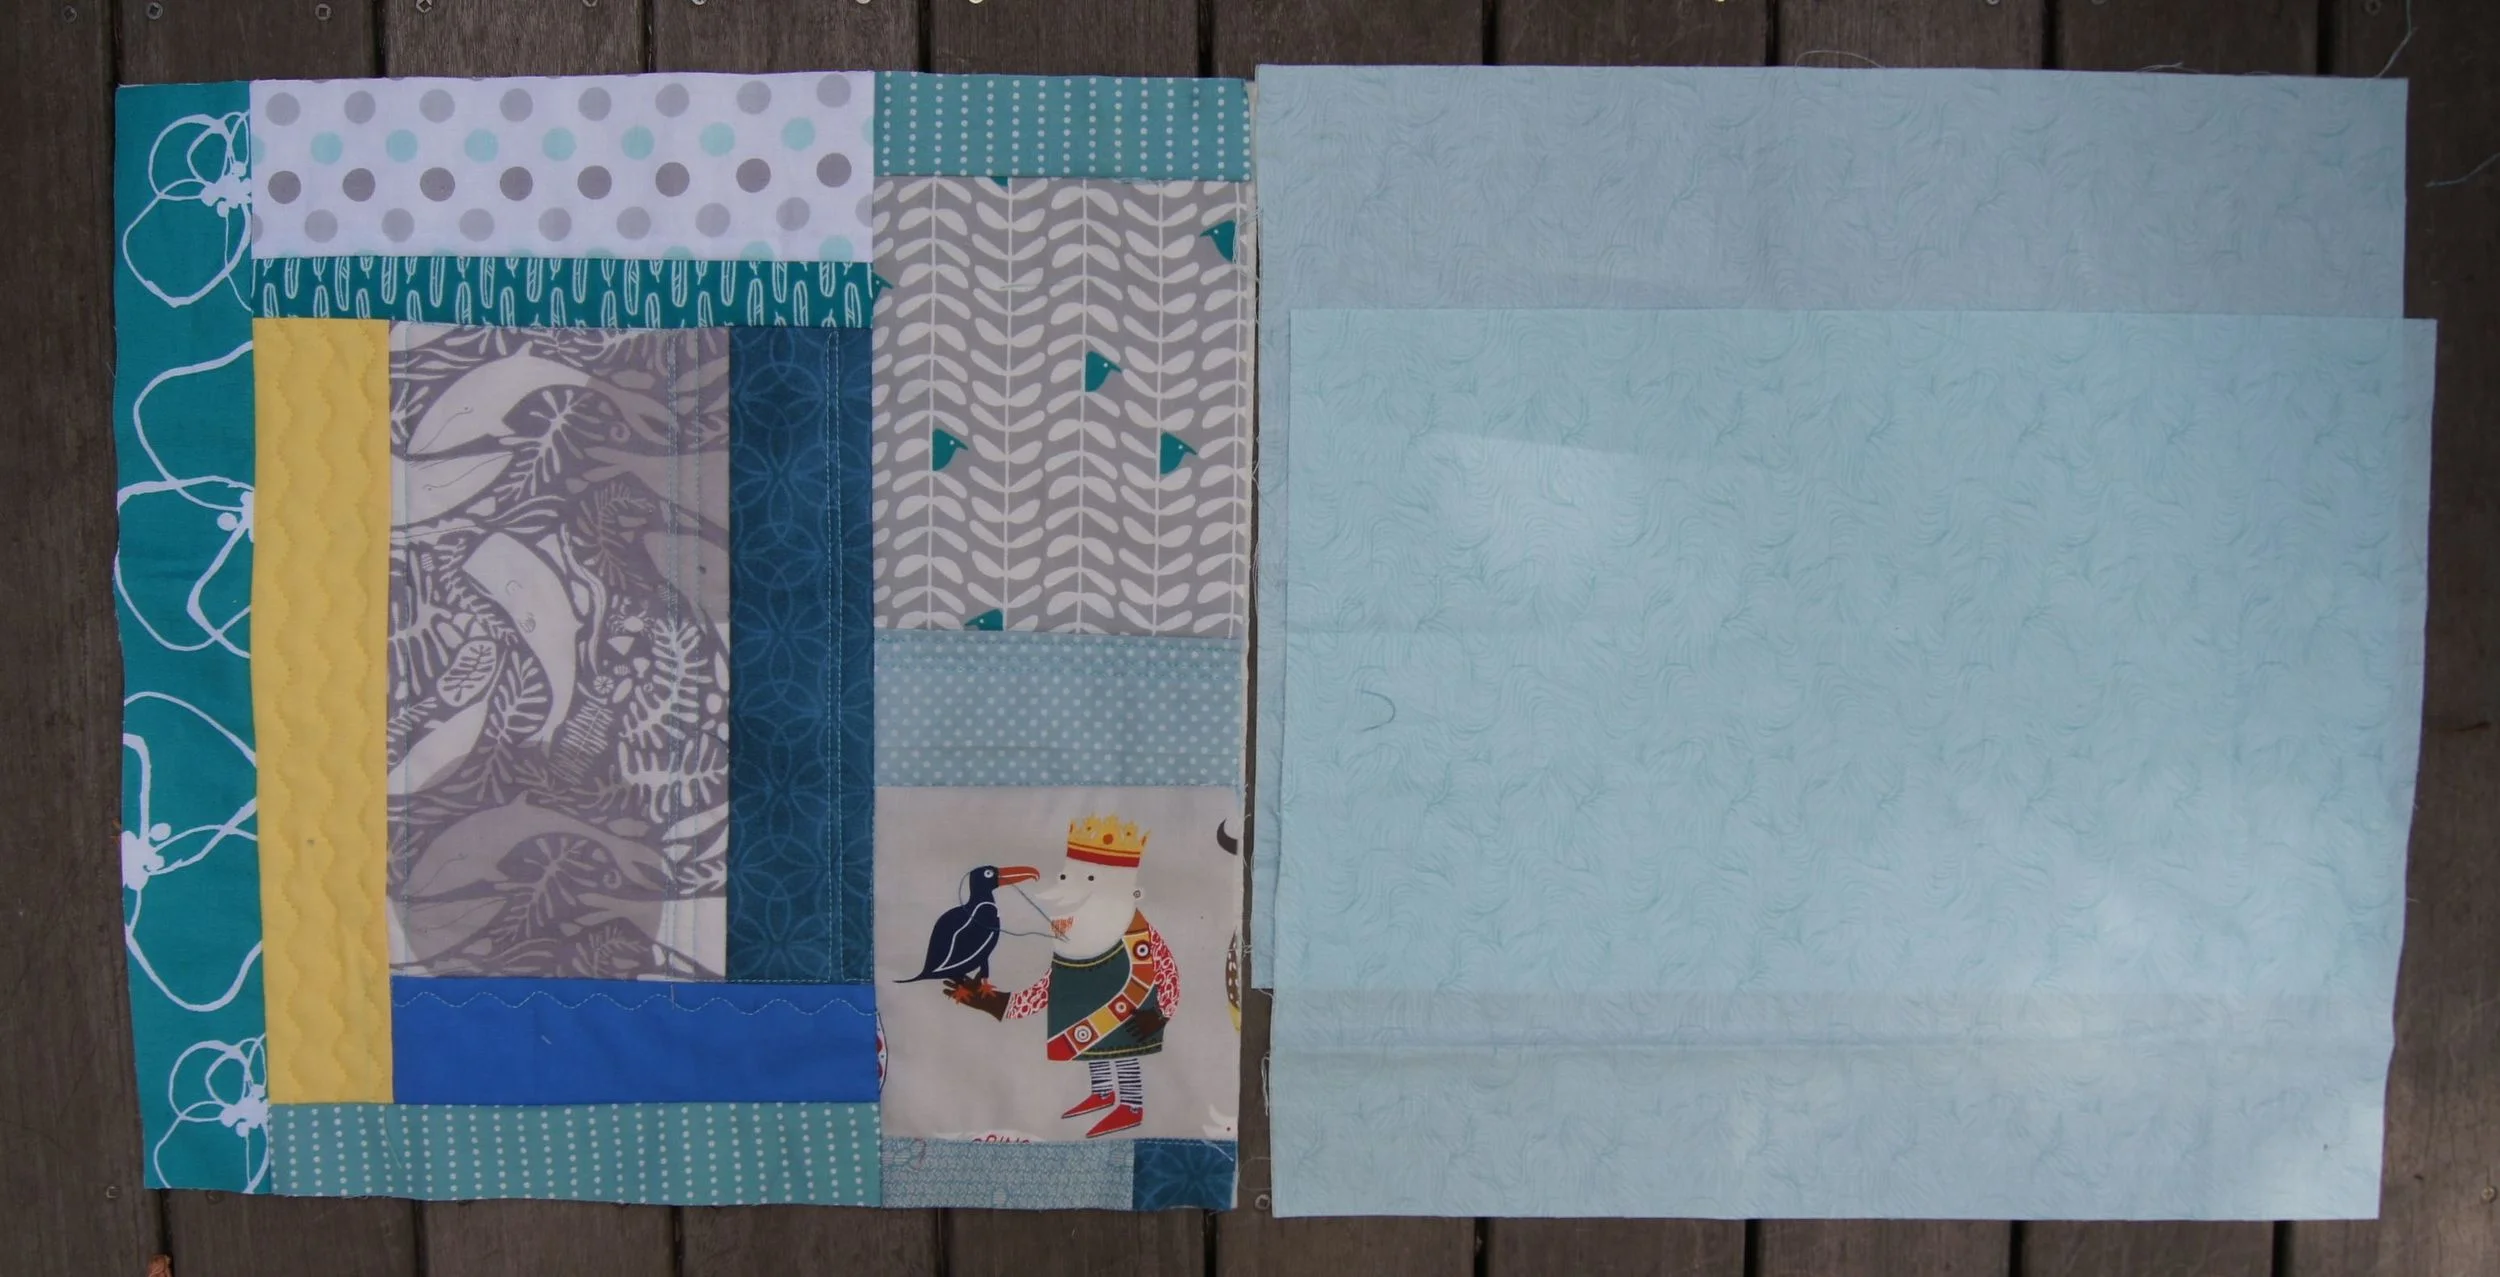
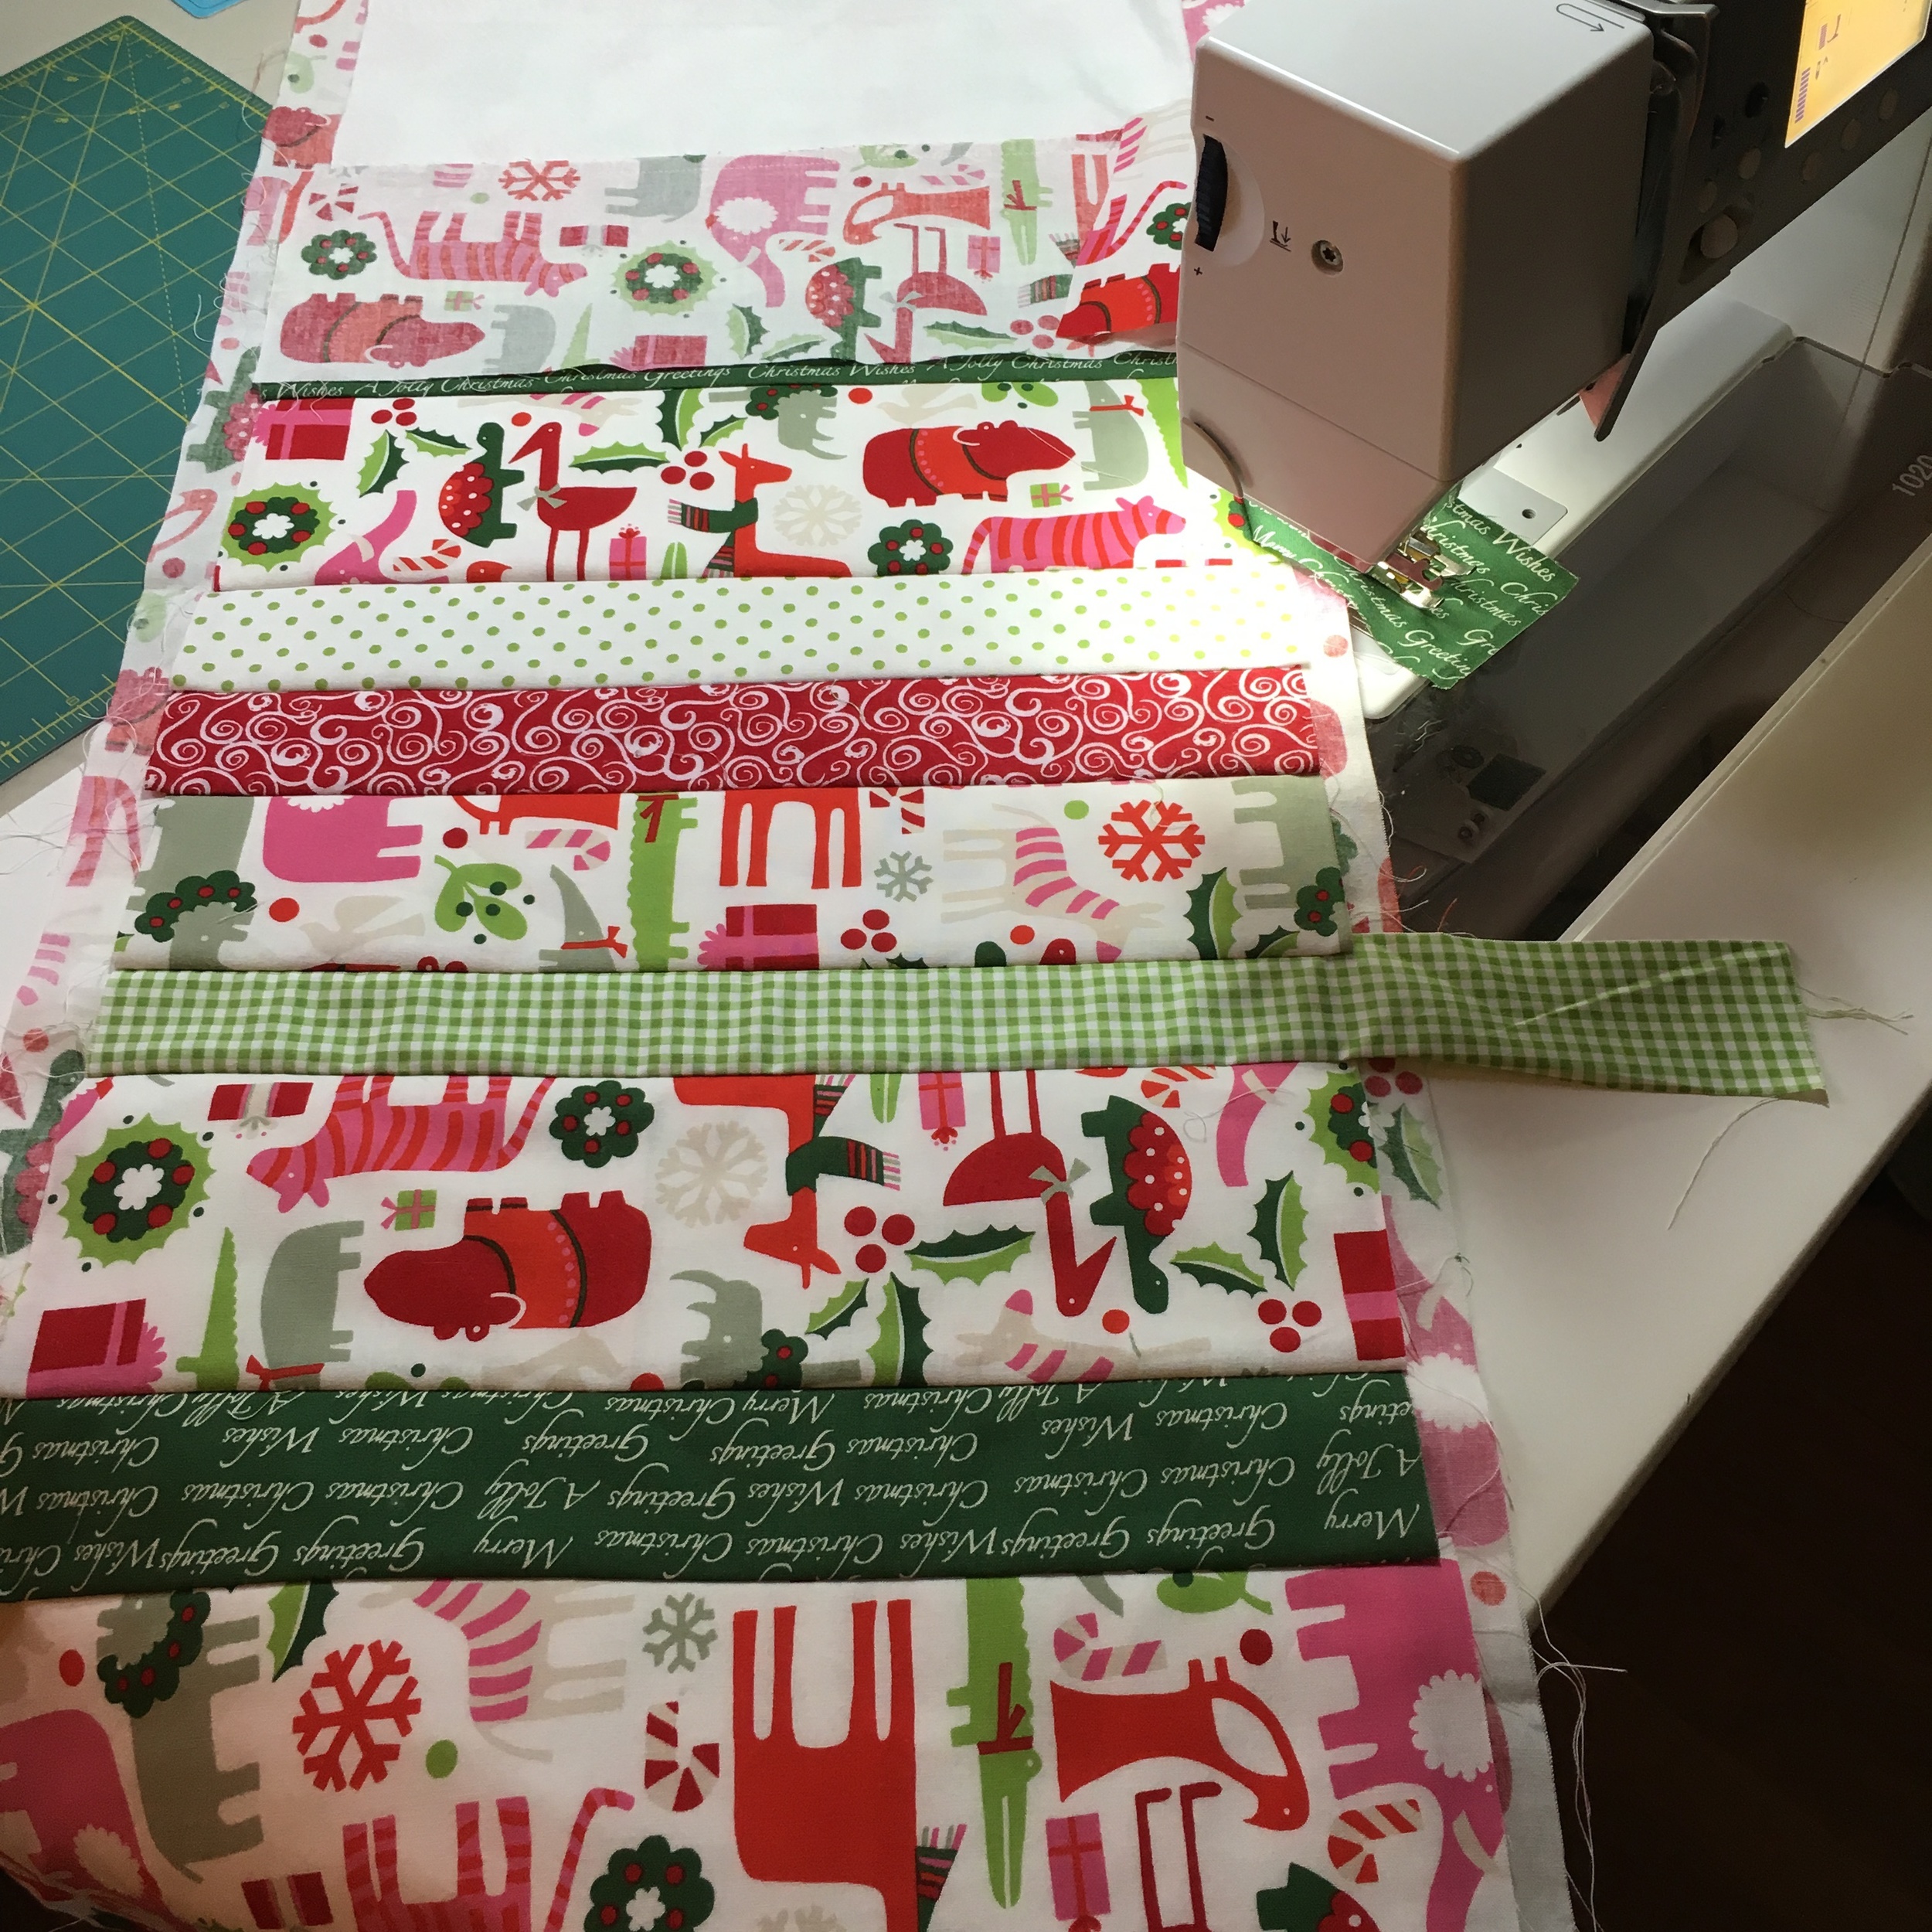
I used the Quilt As You method. I had a scrap of batting, 13 inches wide x 42 inches long. I cut the backing fabric, the animal print, an inch larger than the batting on all 4 sides, so approximately, 15 x 44 inches (or width of your fabric). I used spray fabric adhesive to attach the batting to the backing.
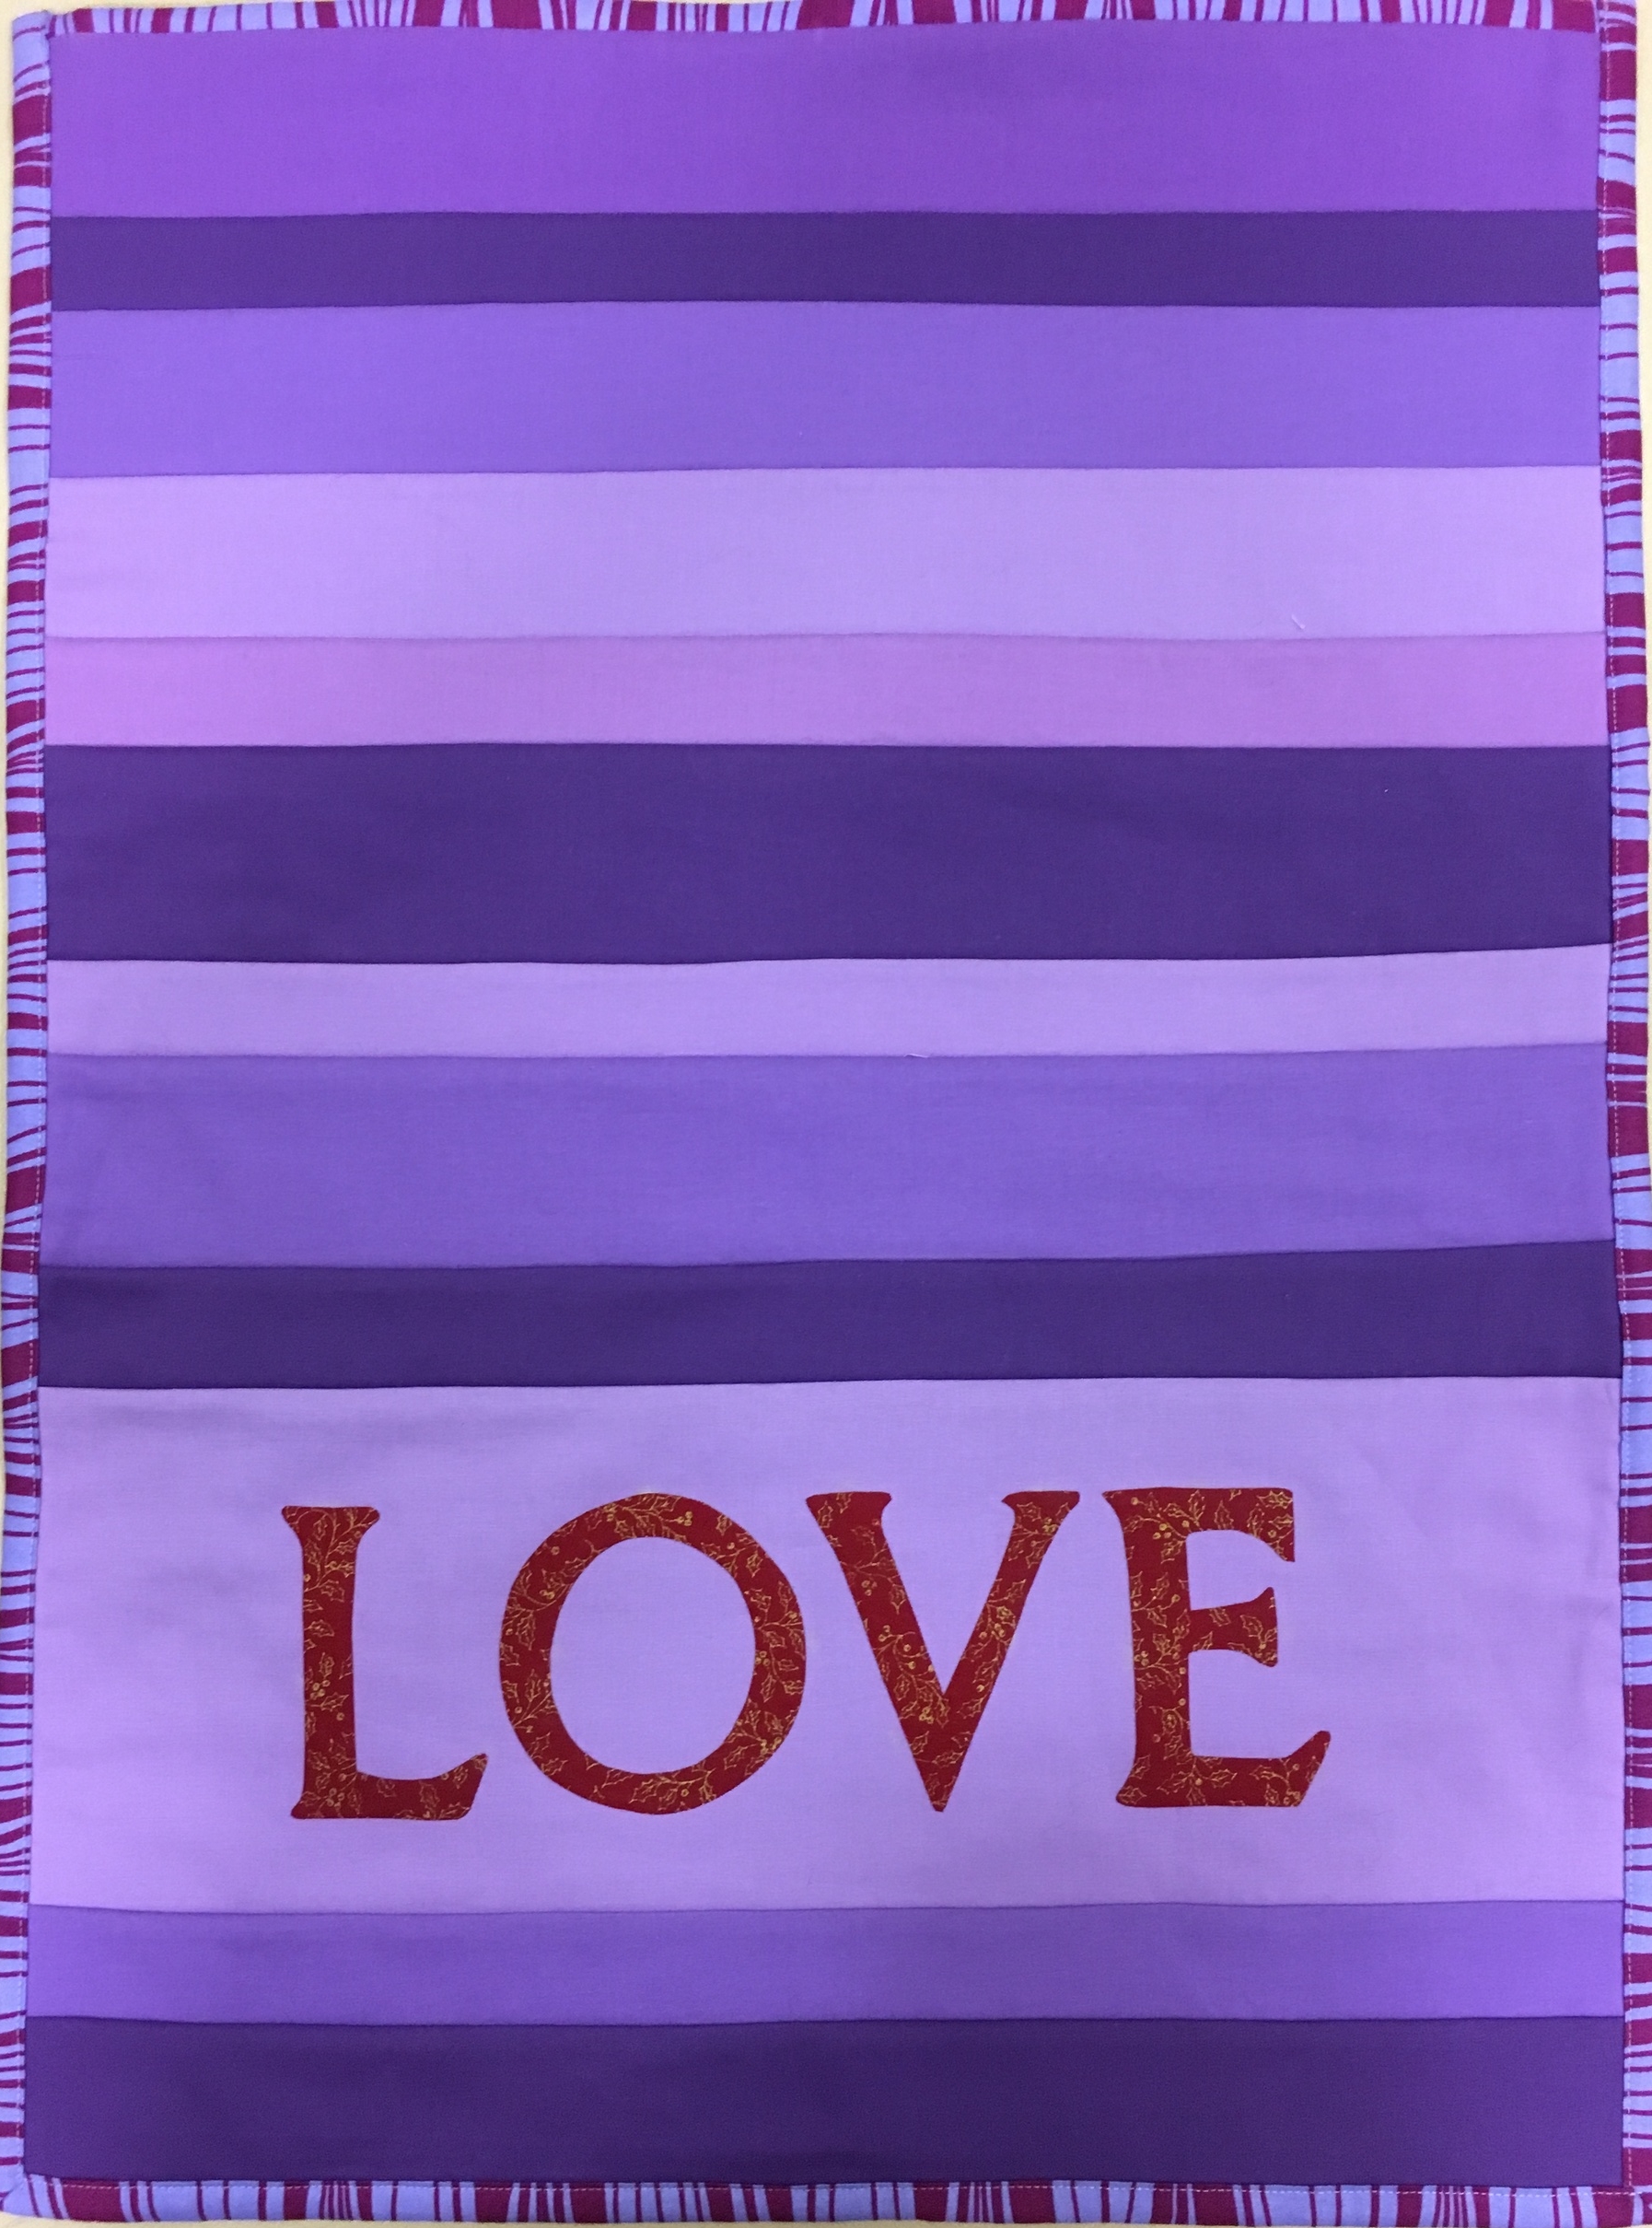
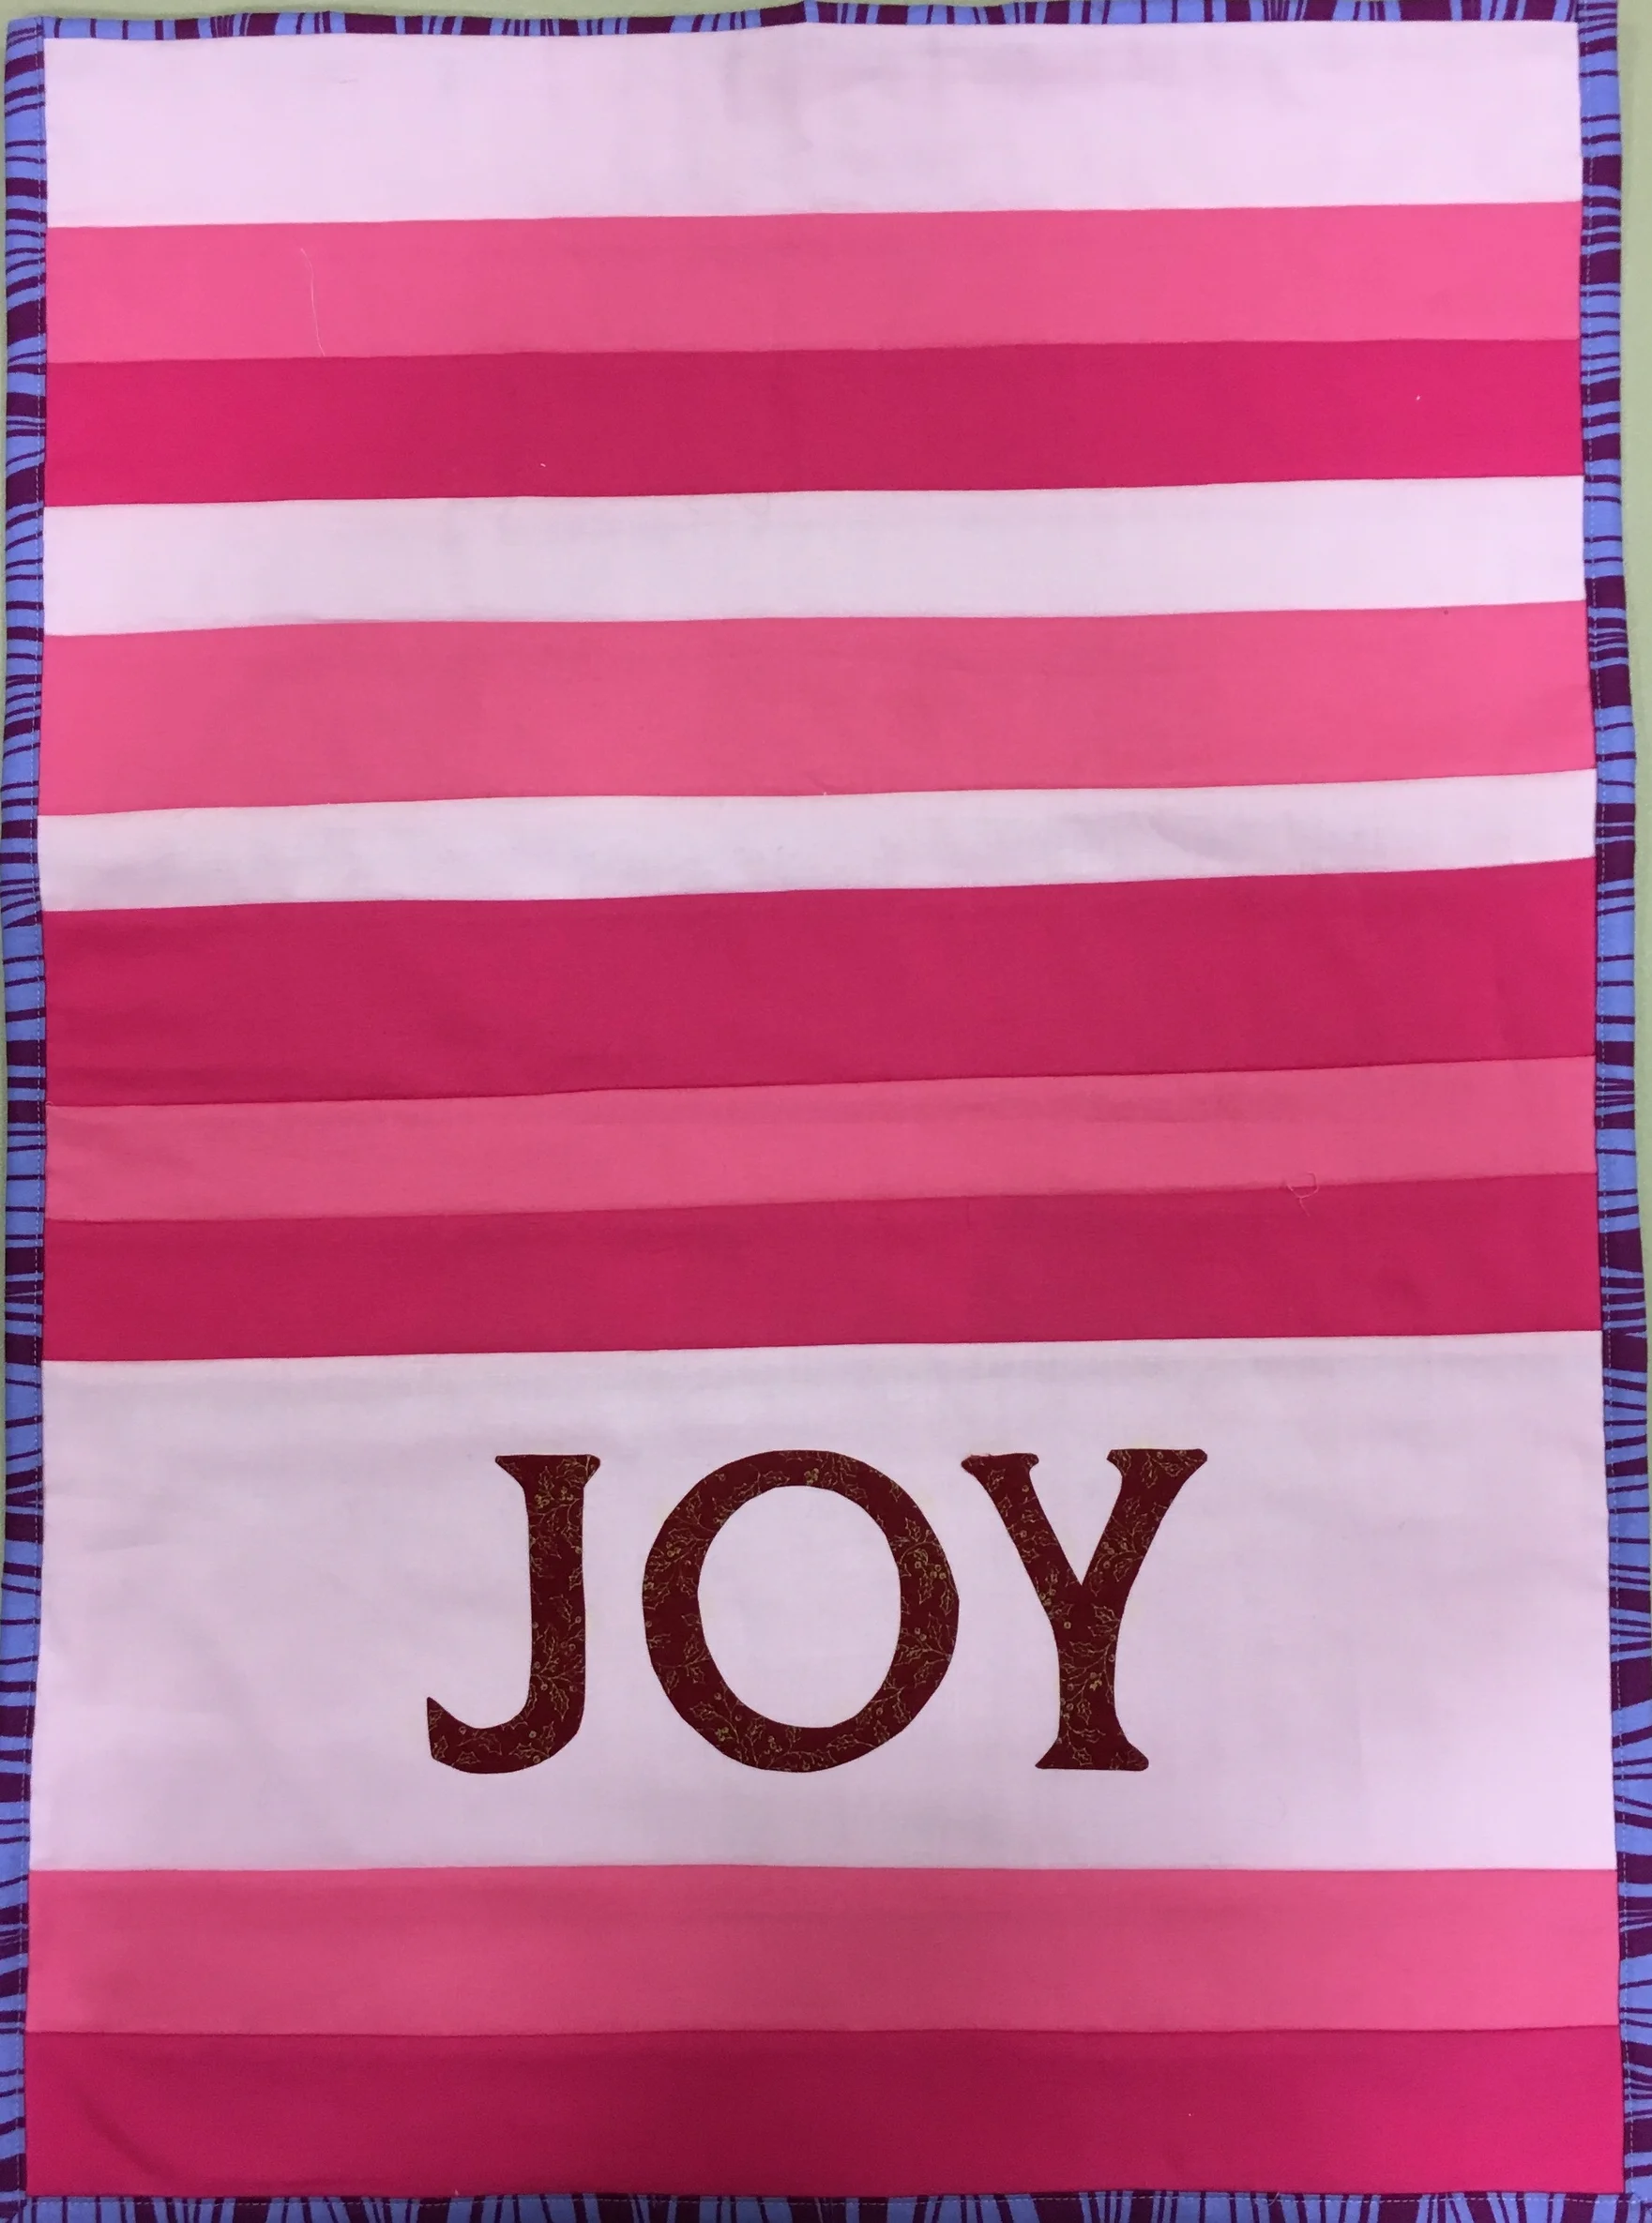
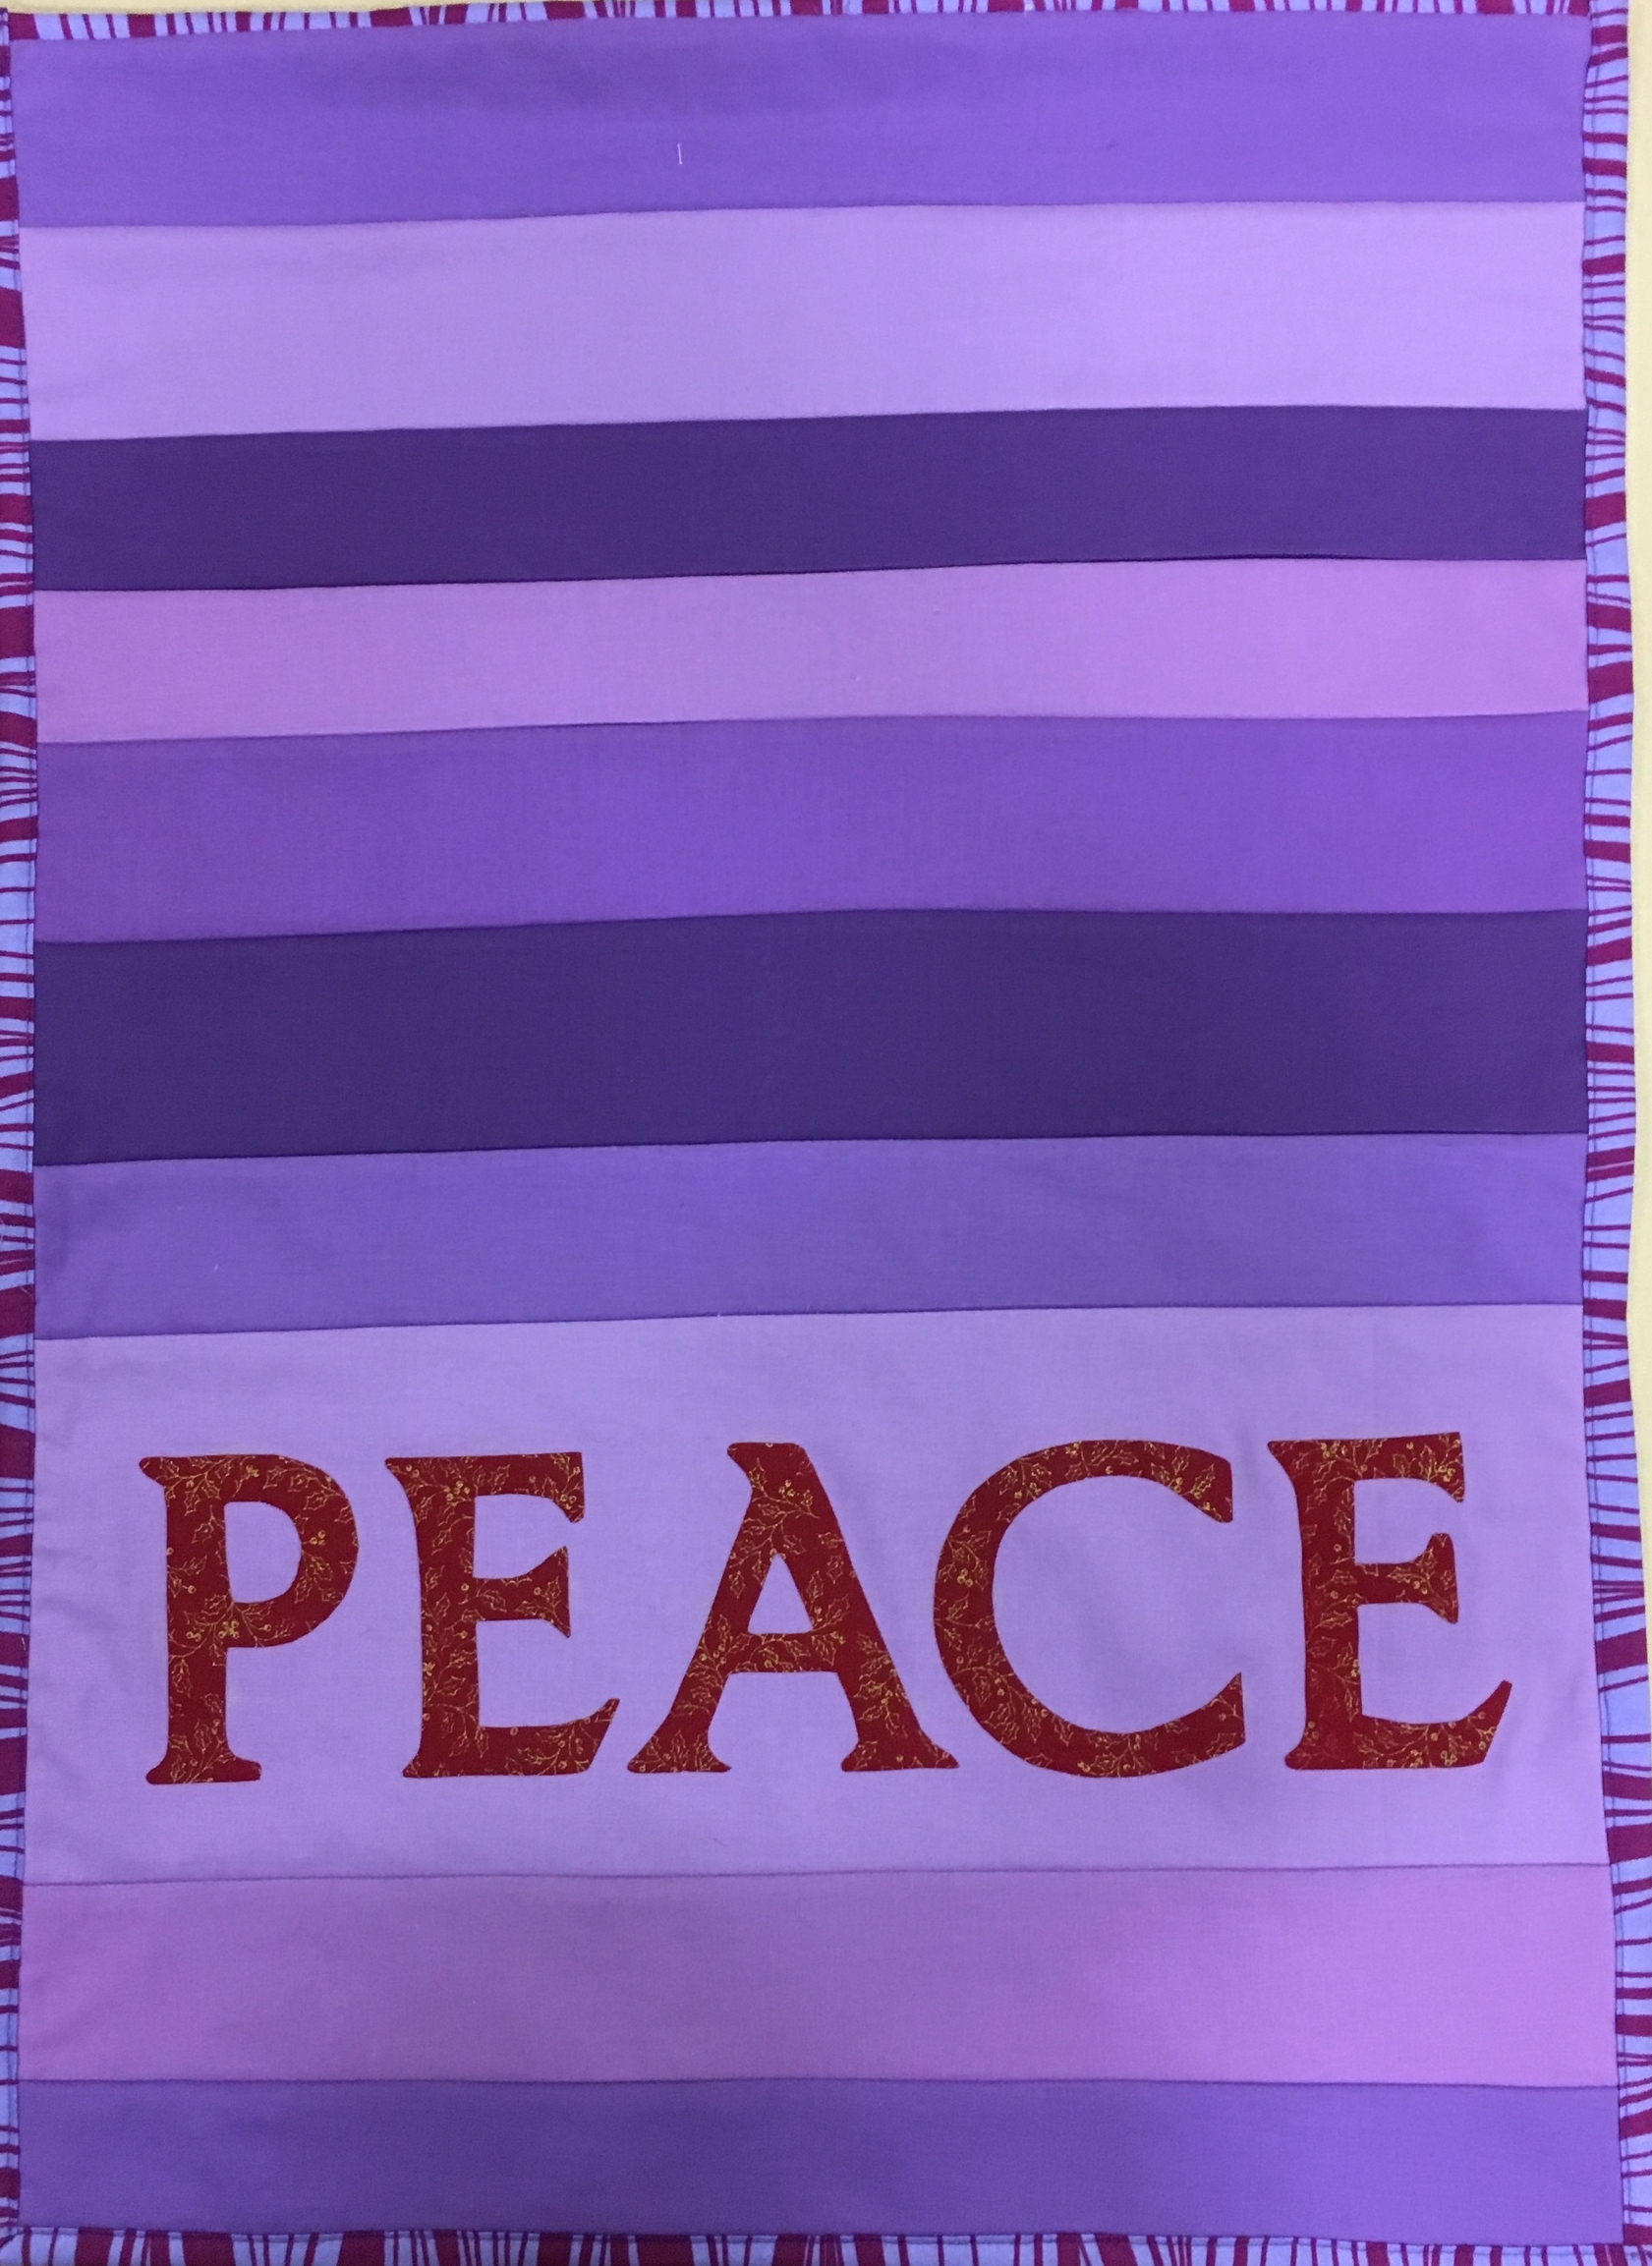
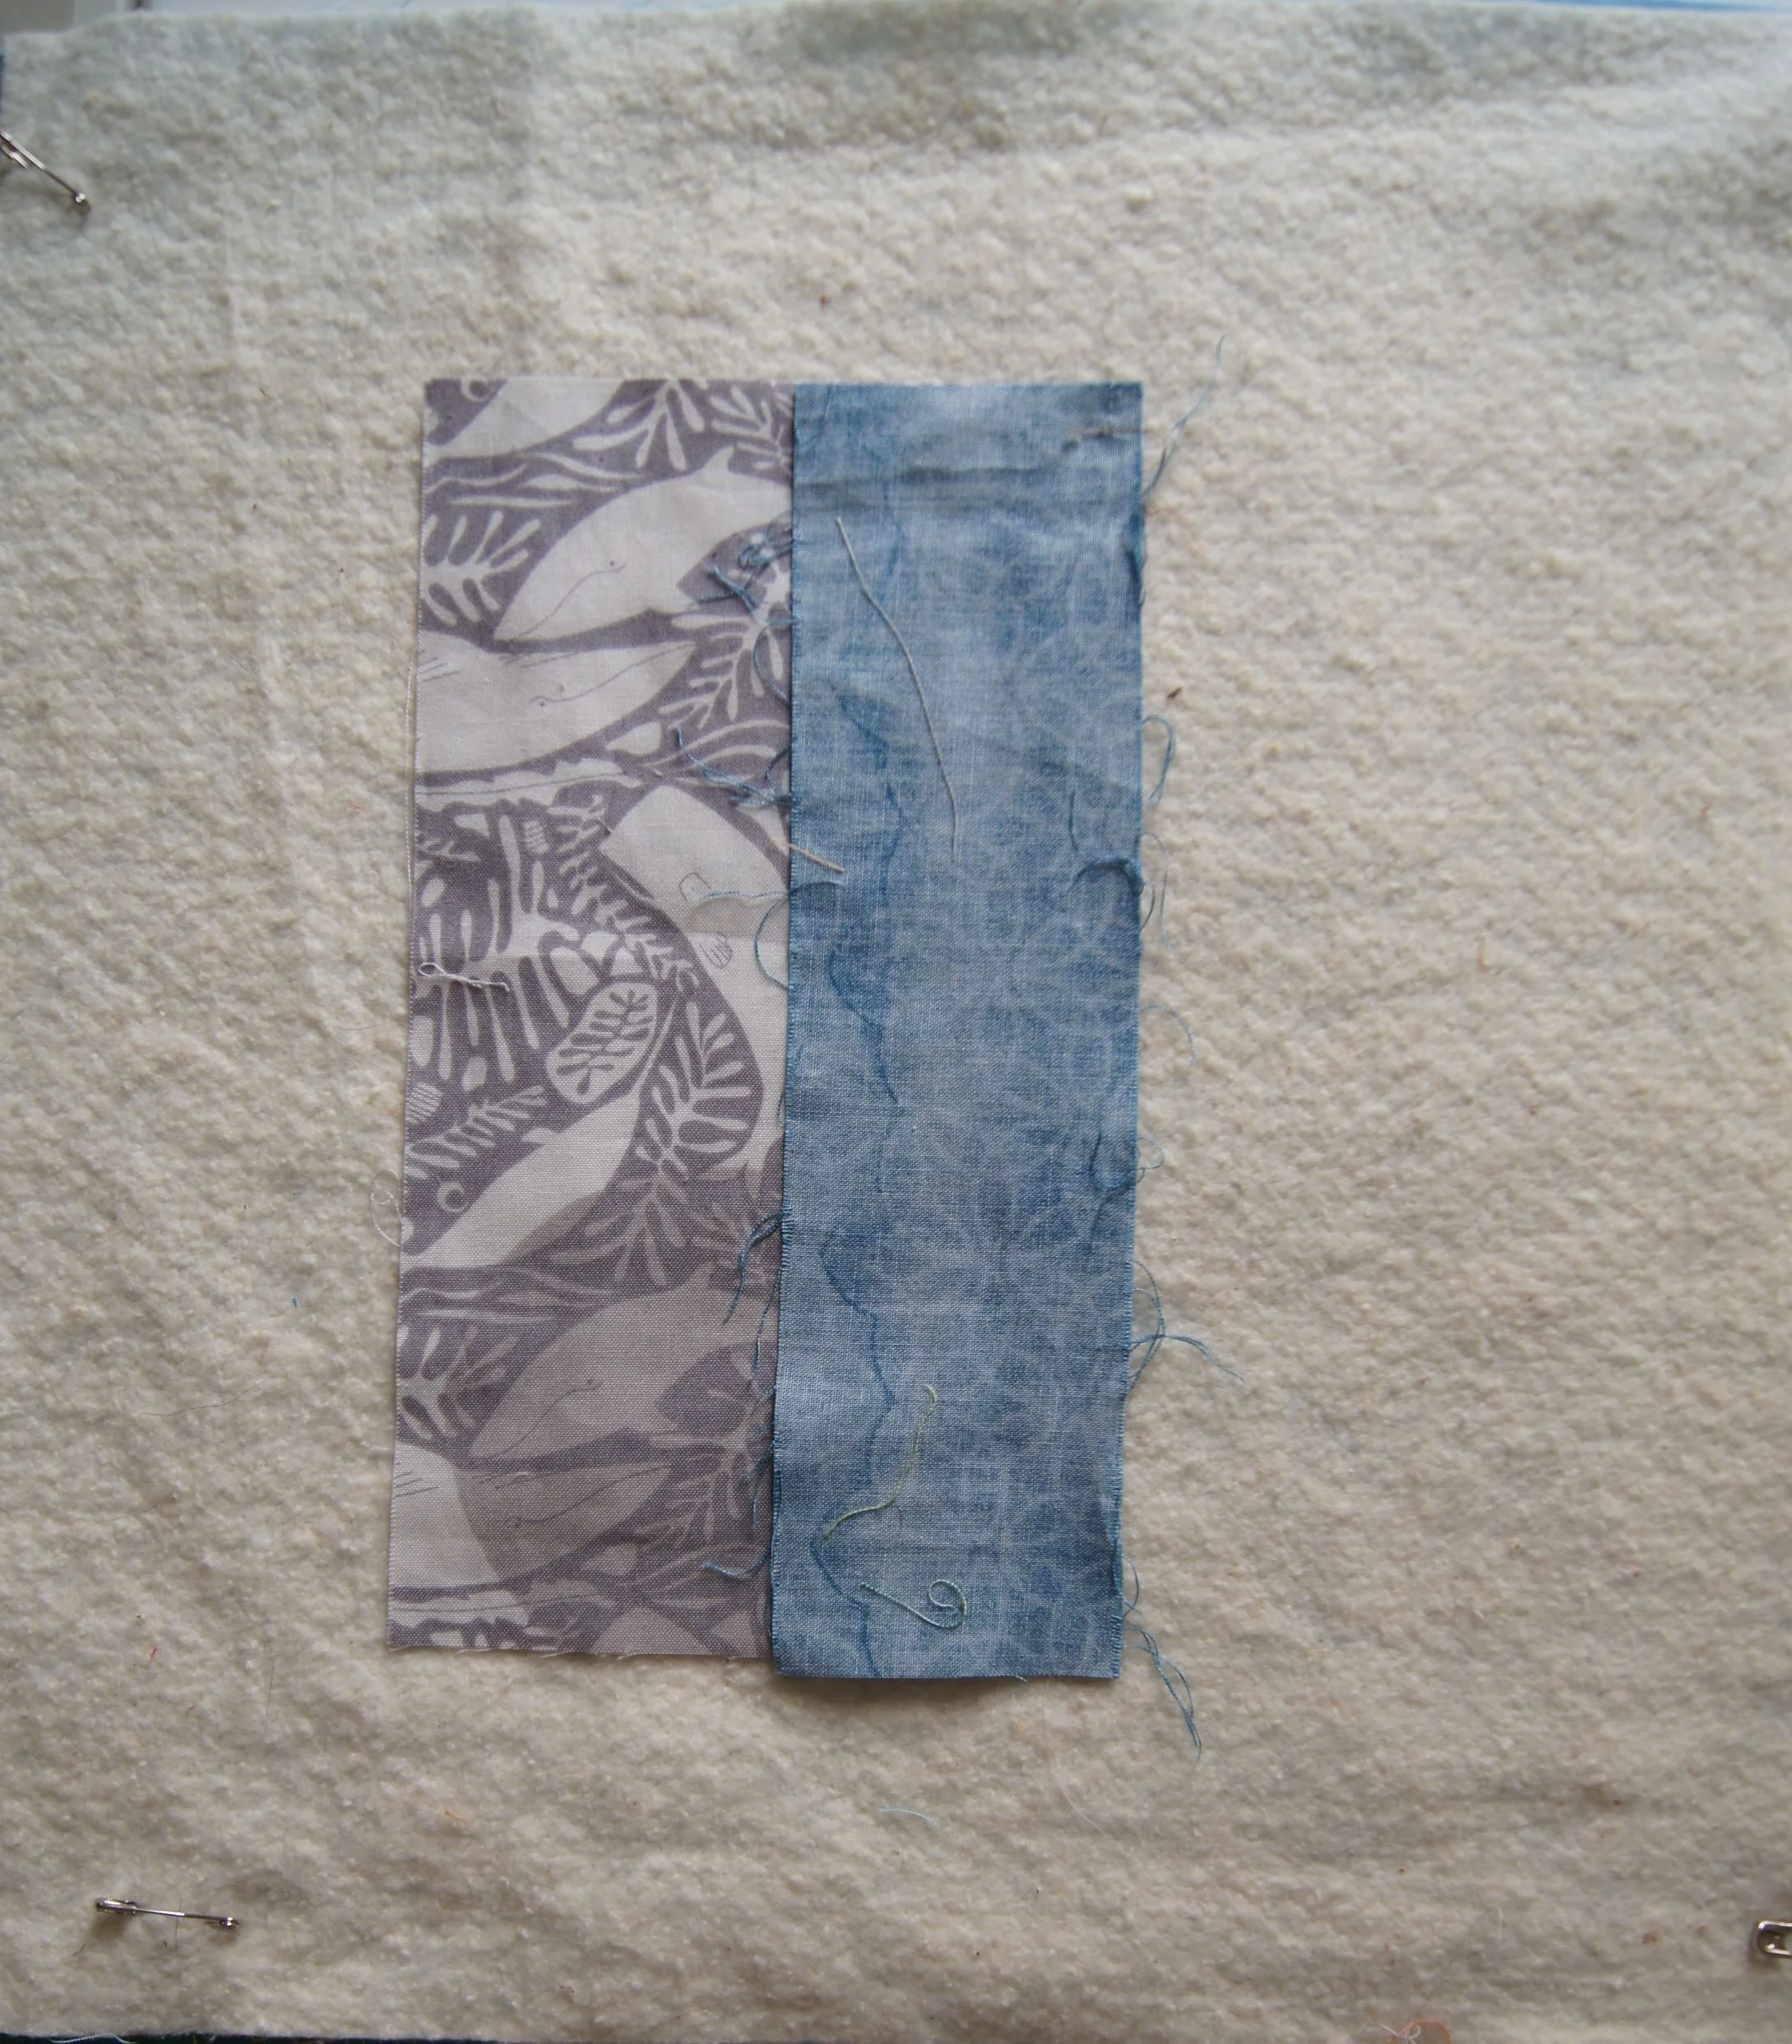
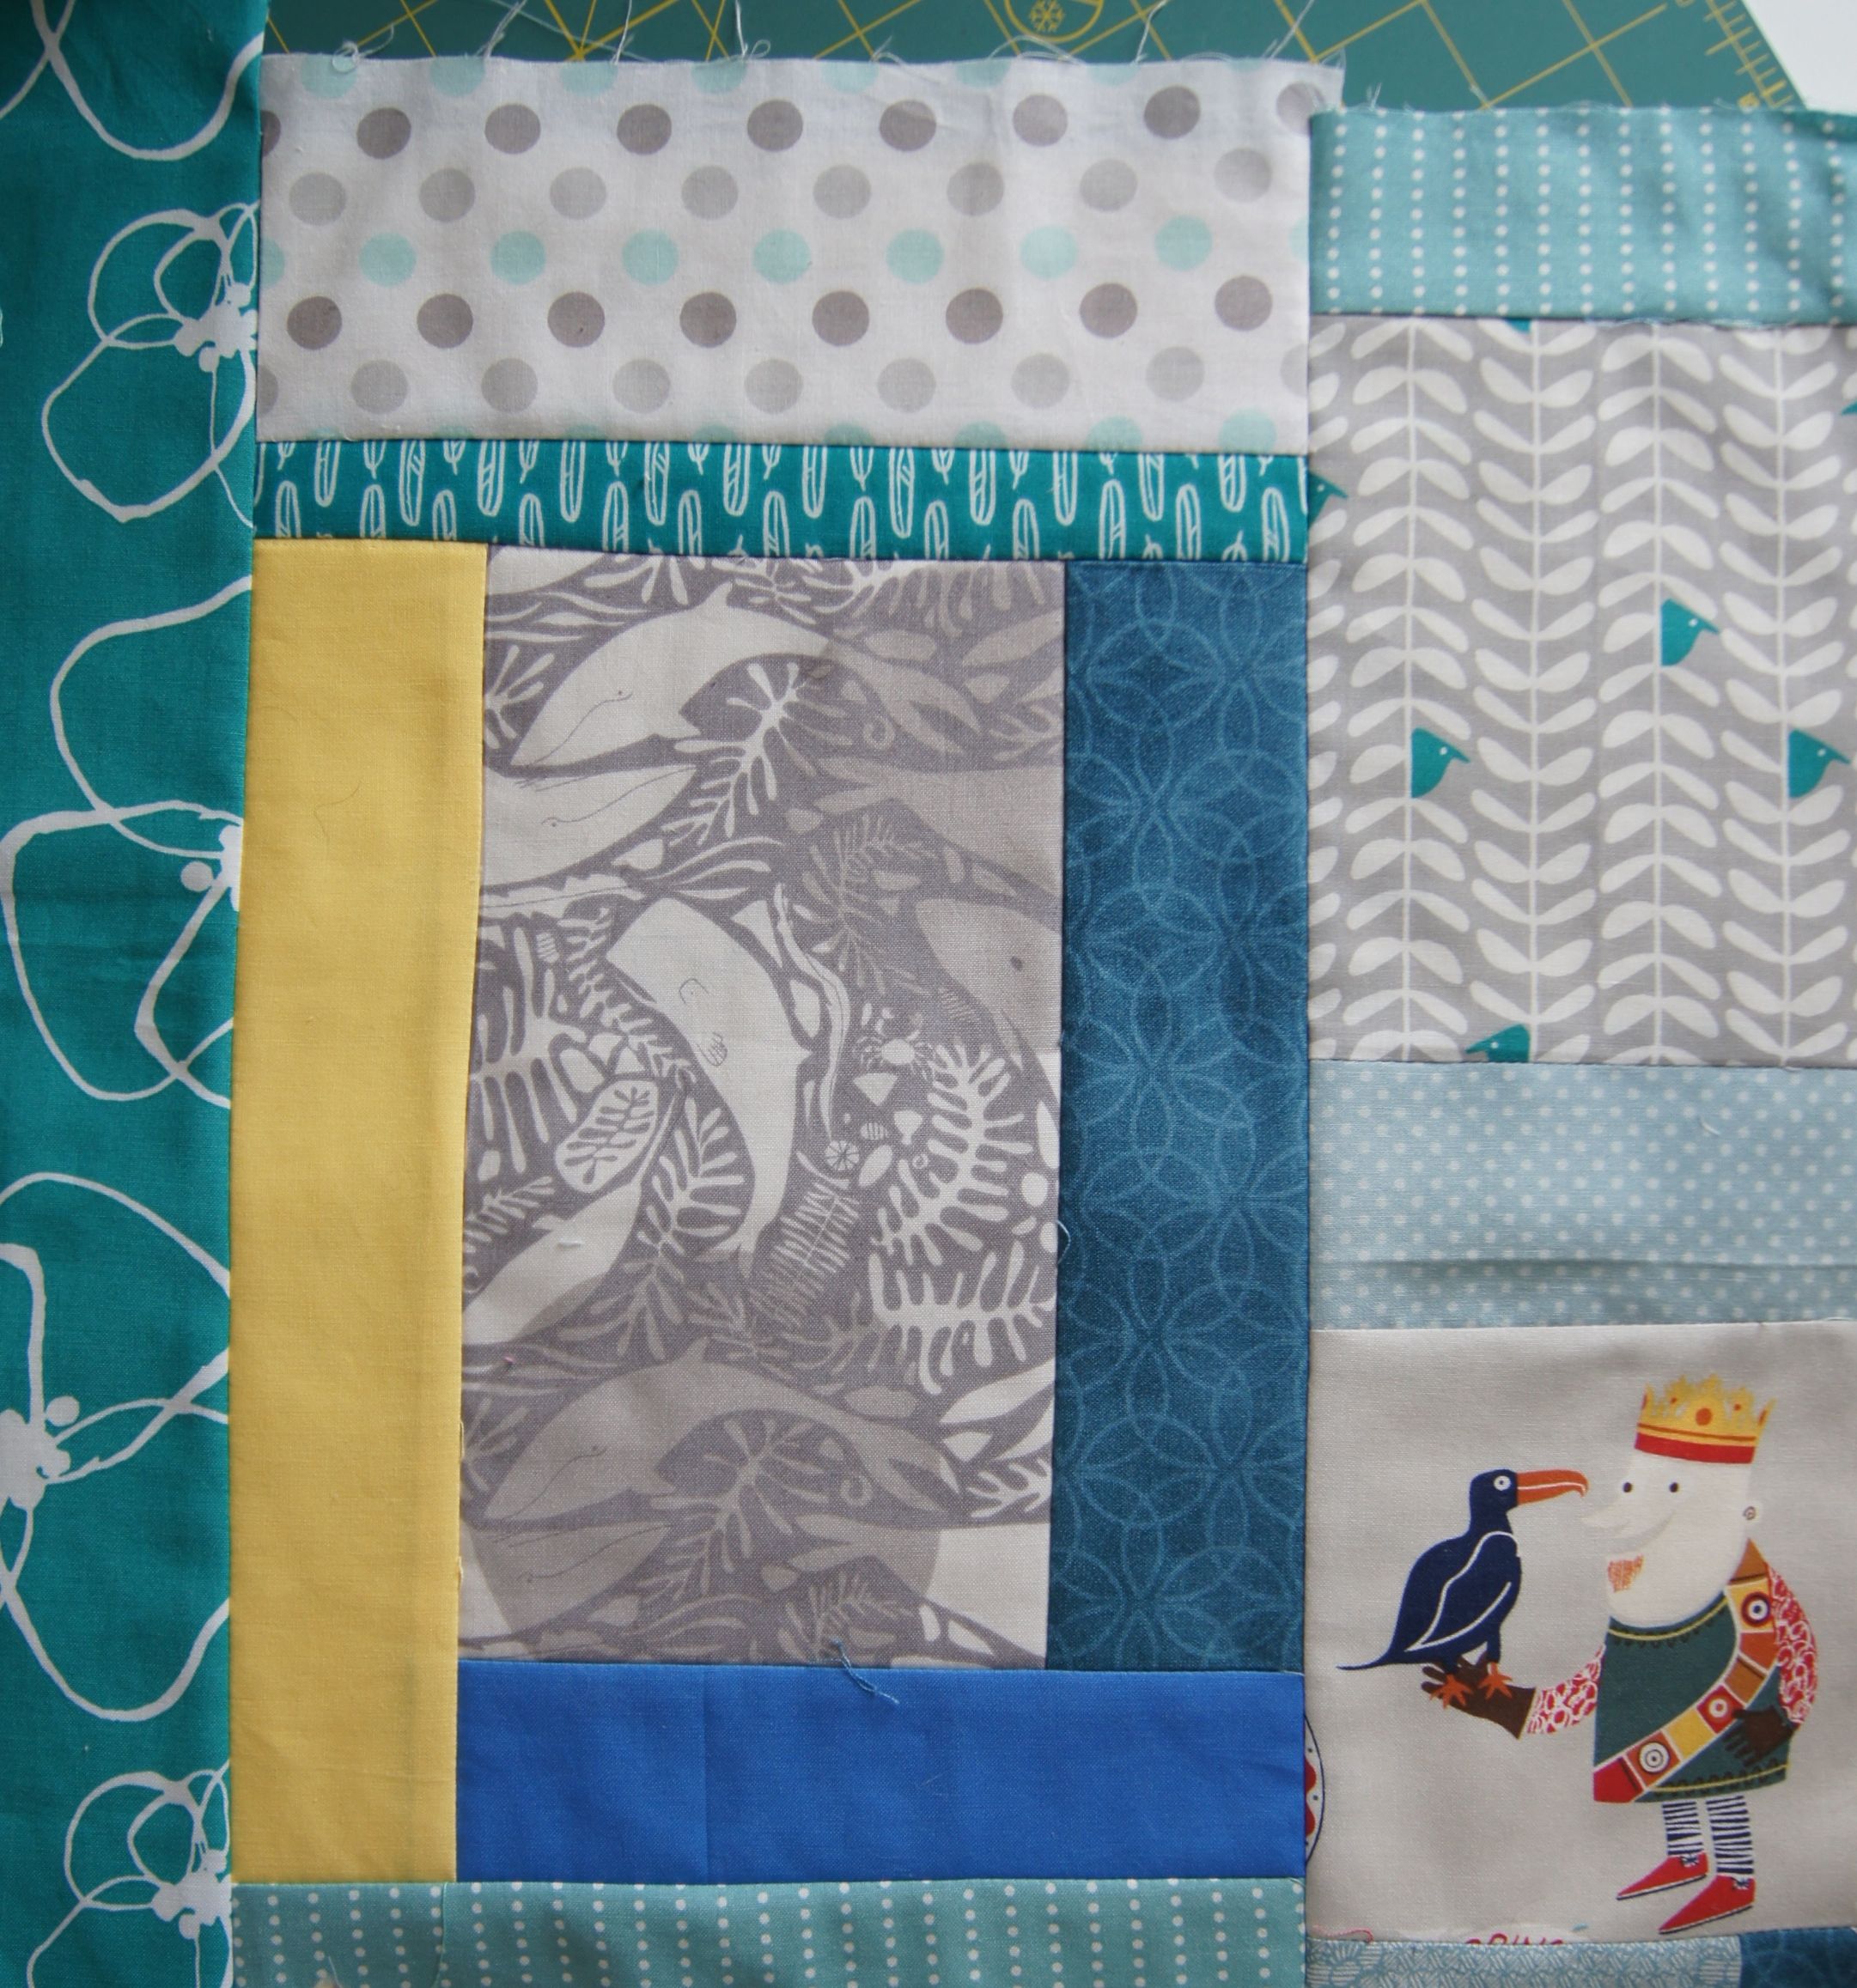
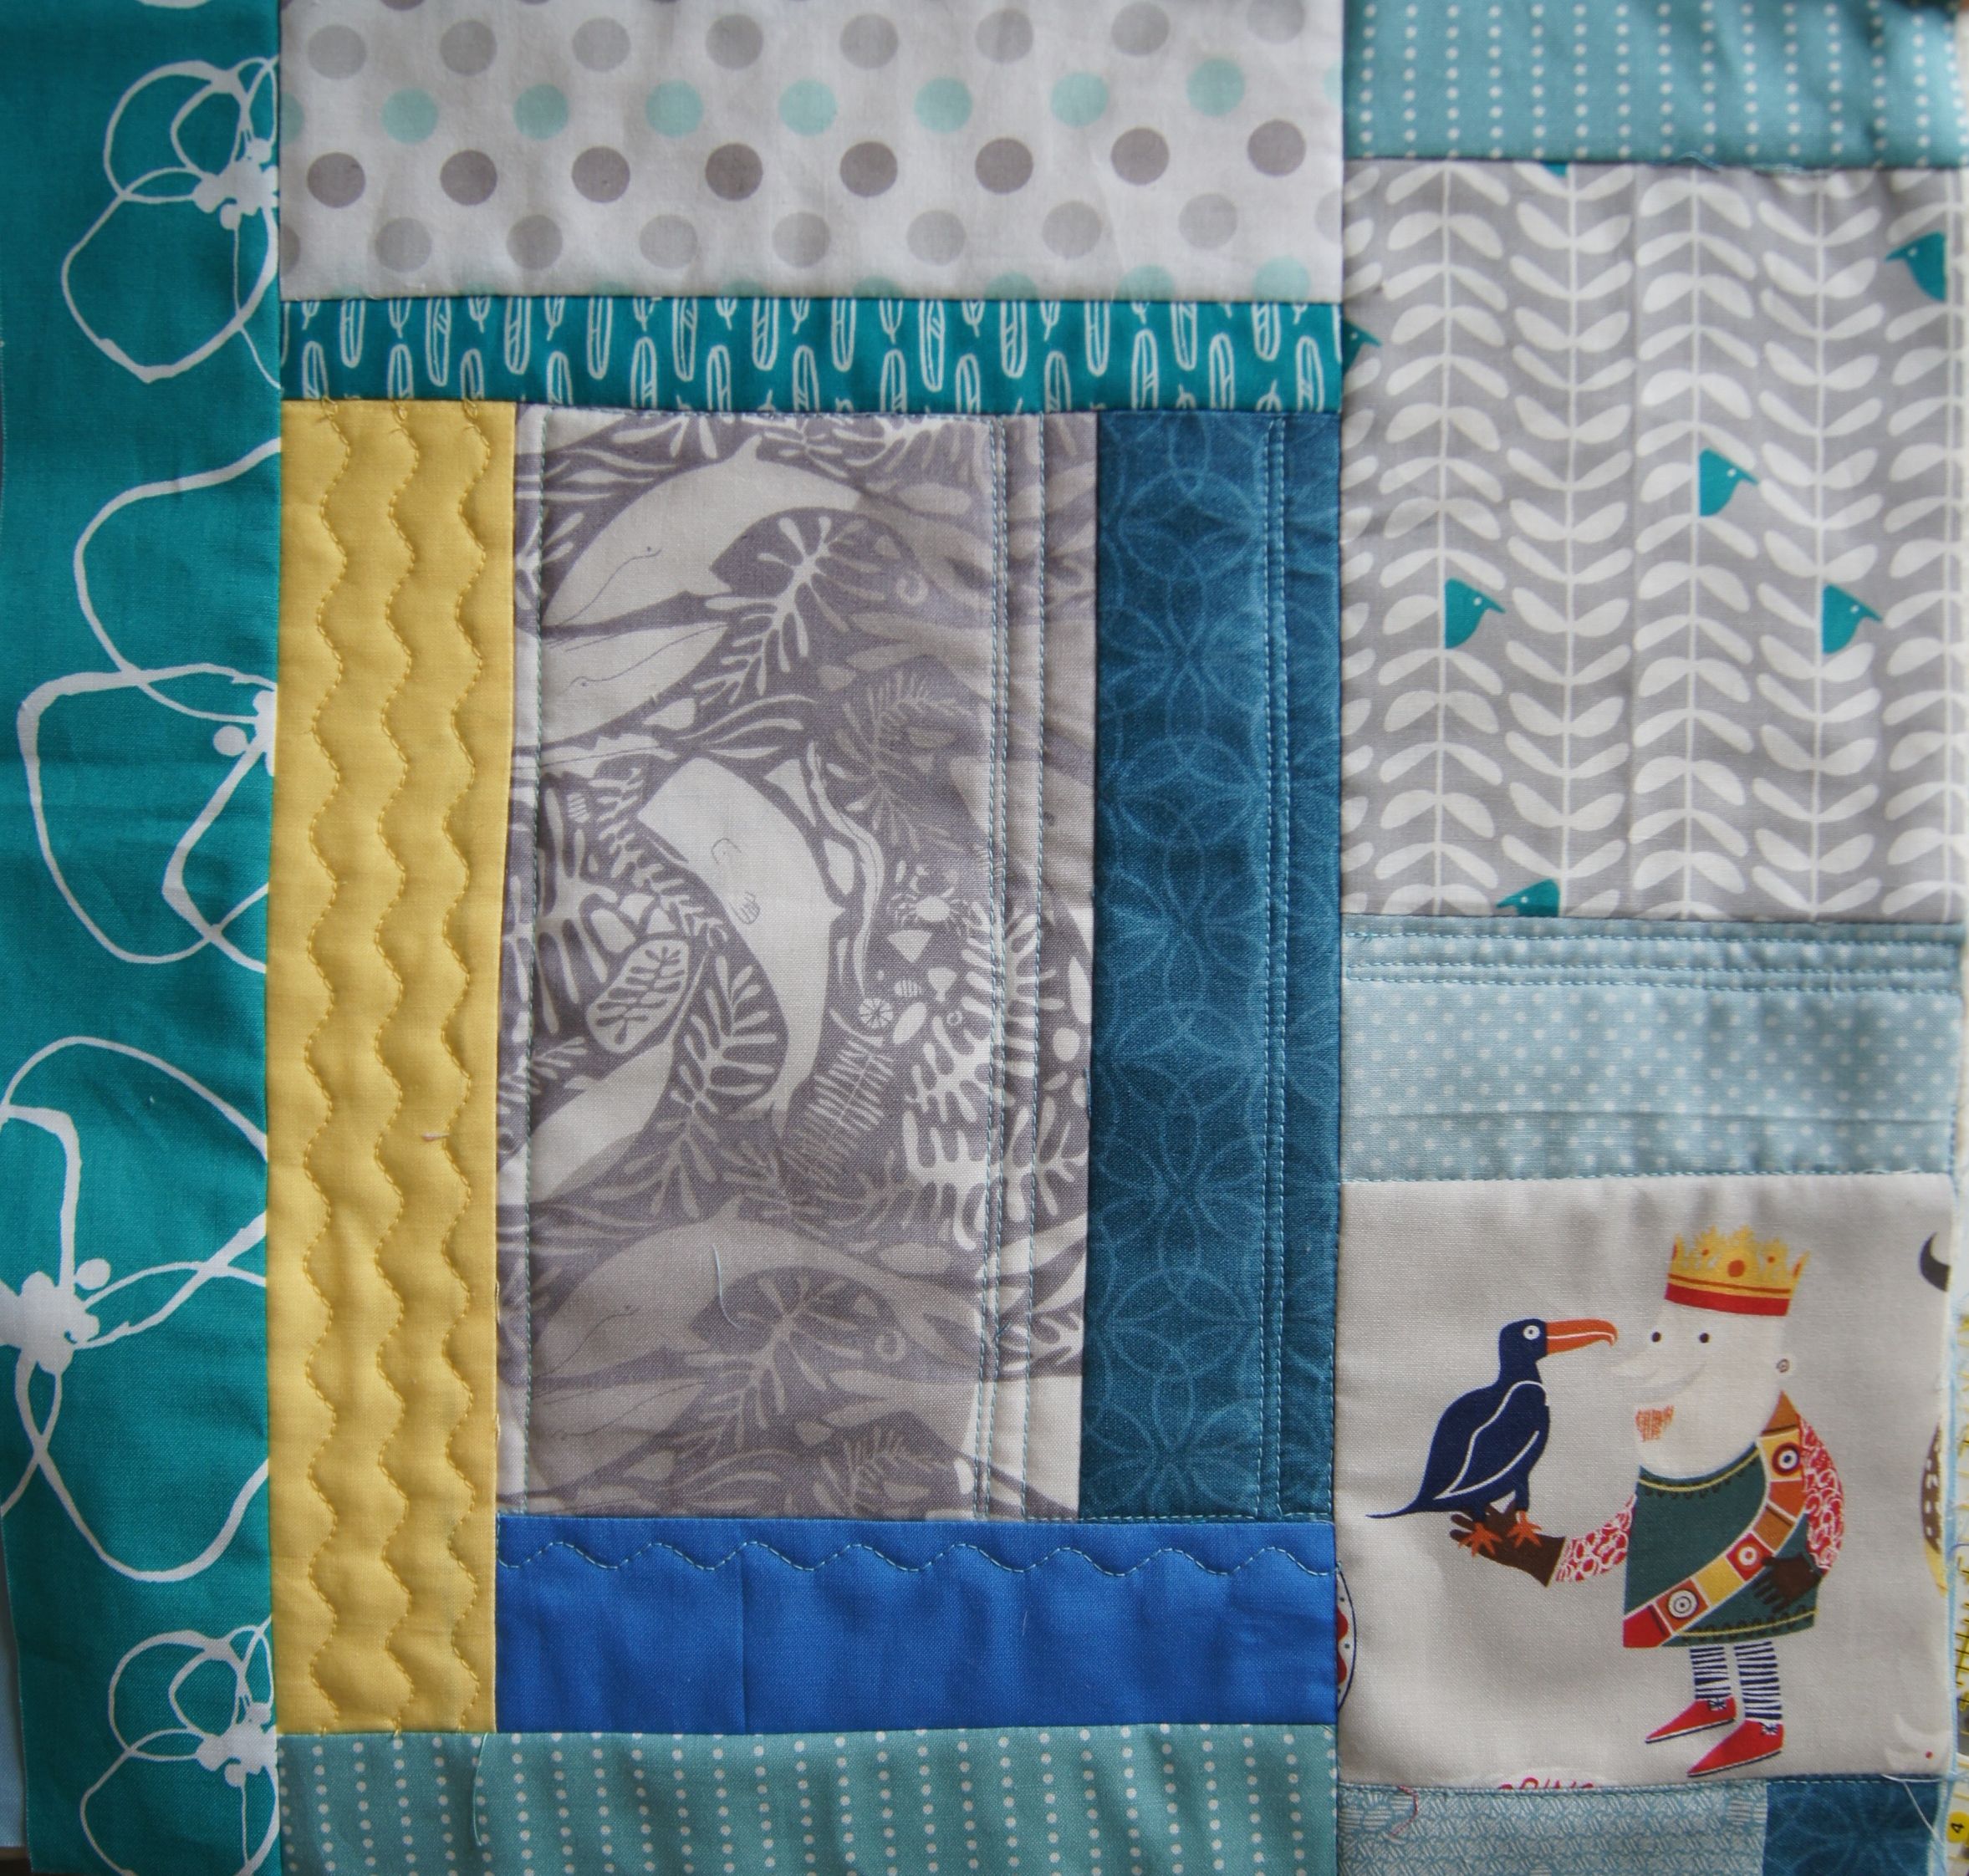
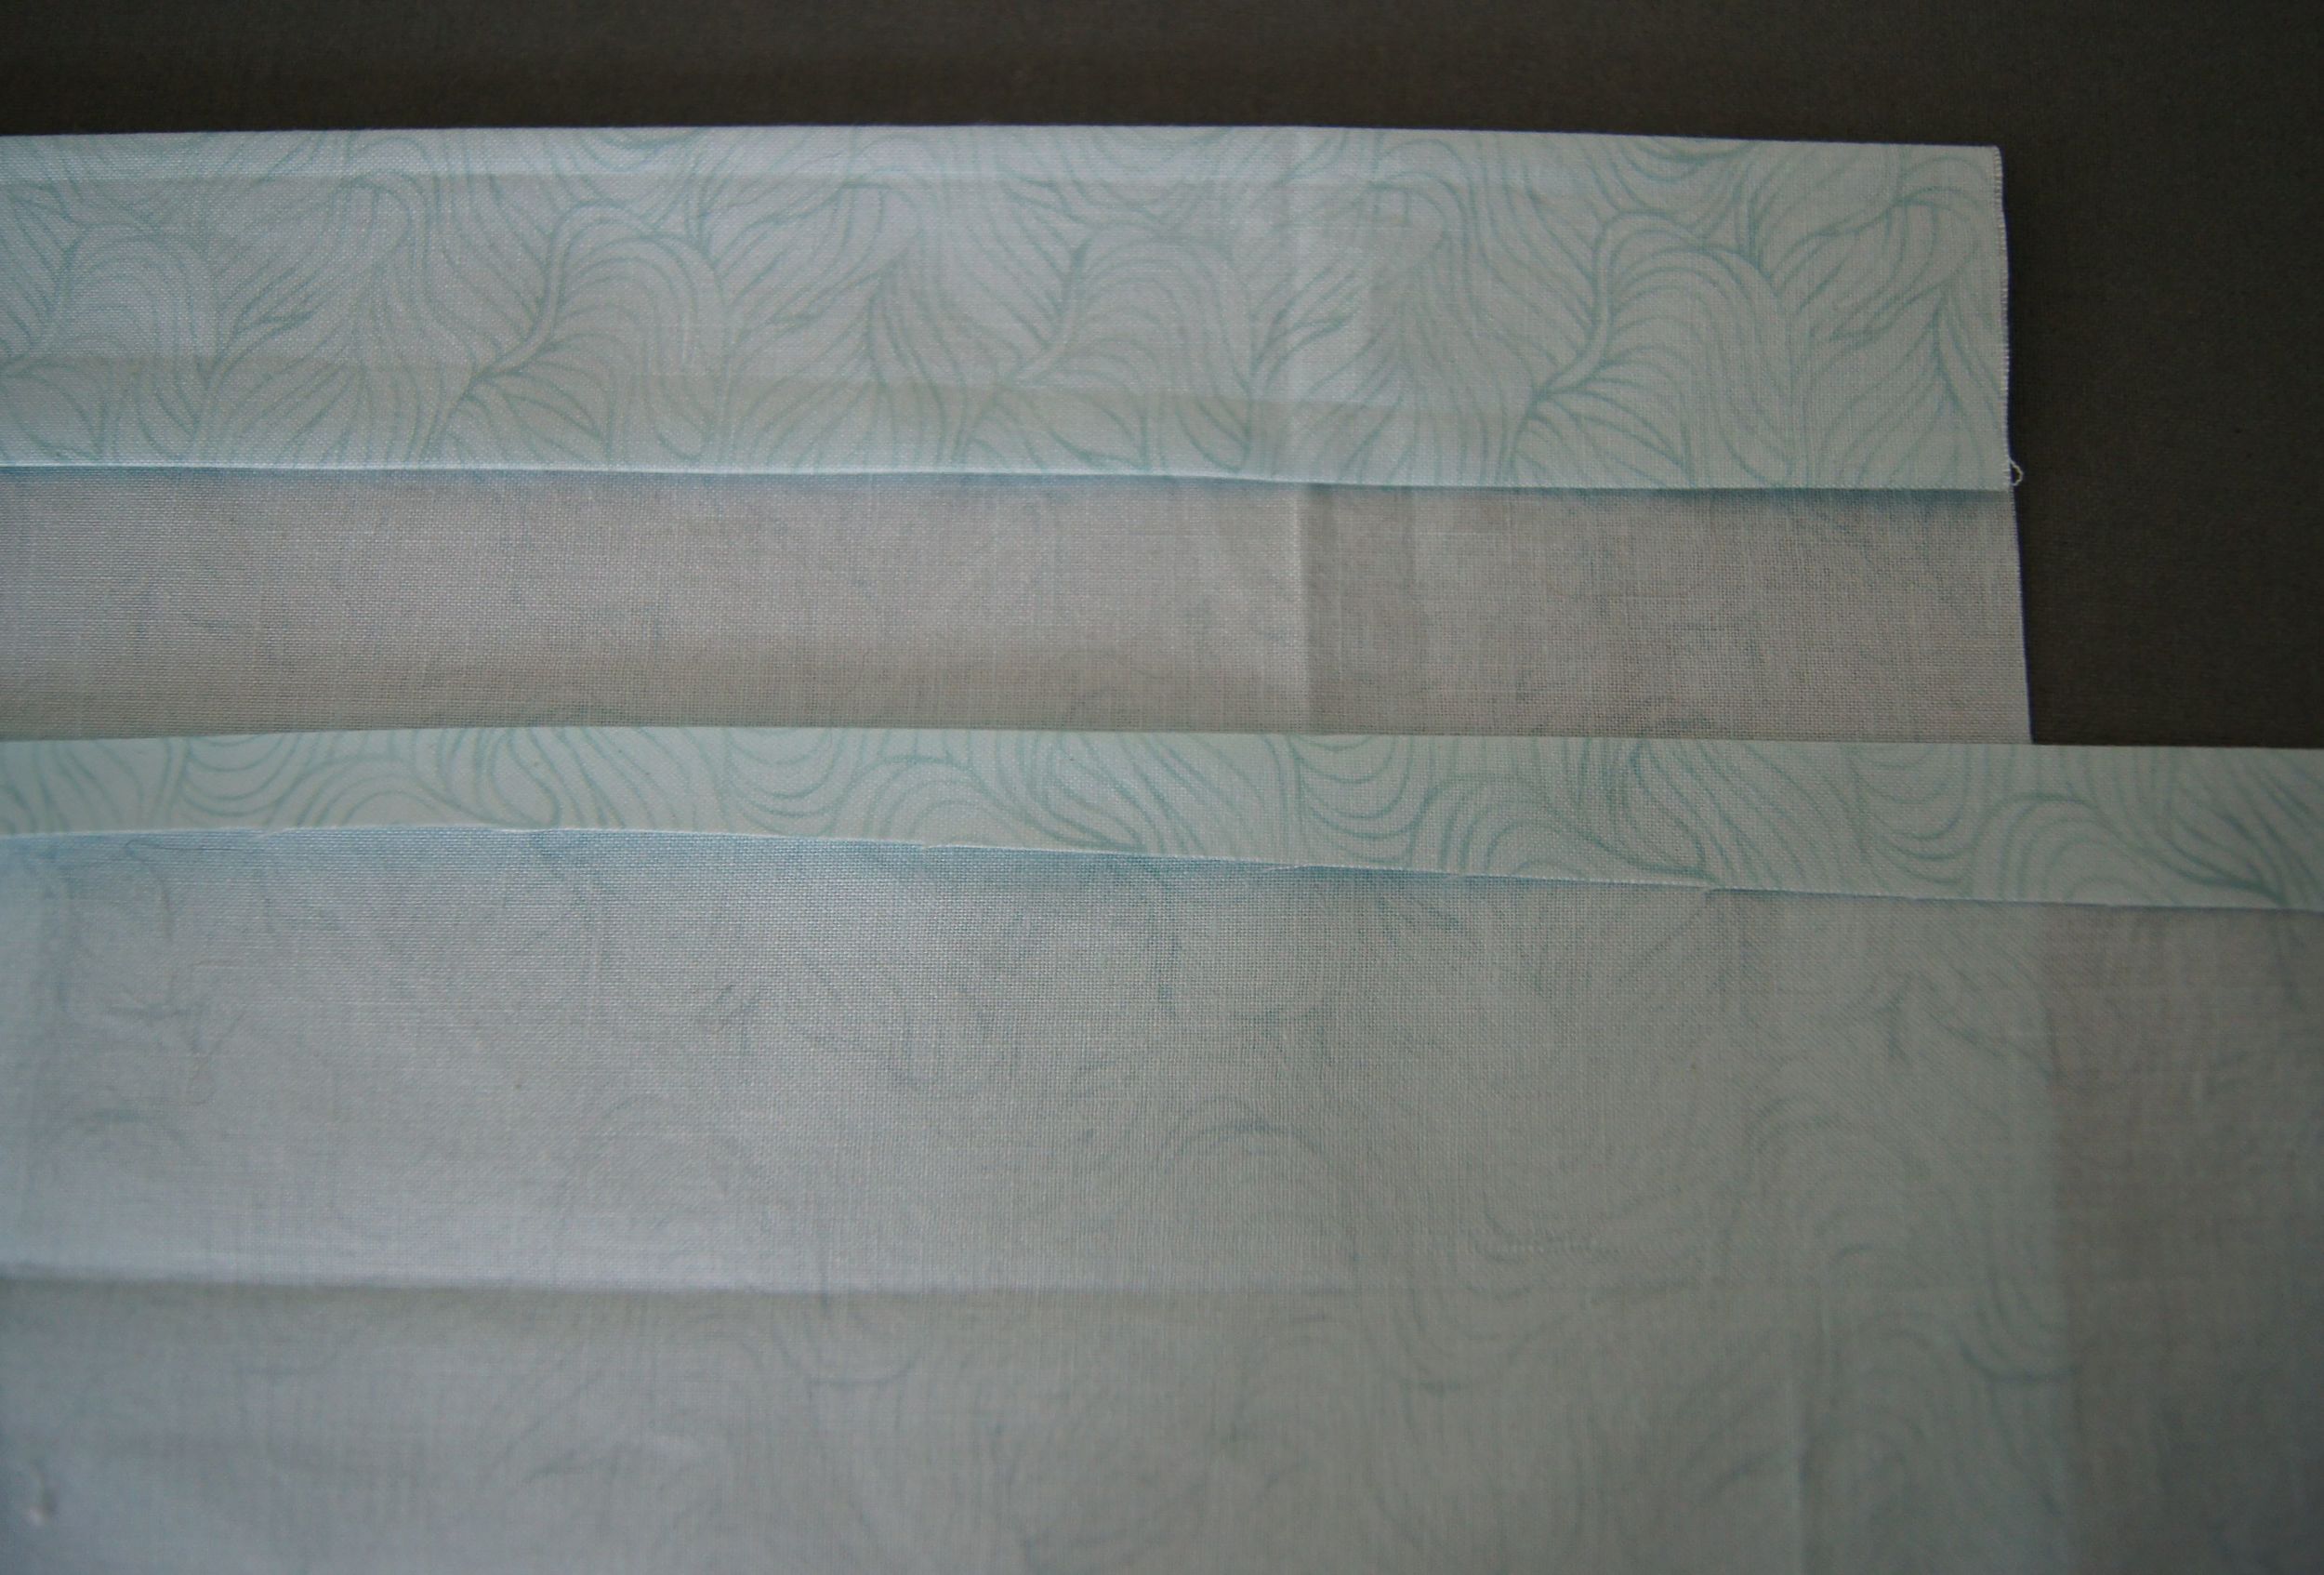
Next I cut the strips of assorted fabrics in various widths, just long enough to extend an inch over each side of the batting (about 15 inches long). I wanted to showcase the animals in the fabric so the width of those strips was determined by the fabric design.
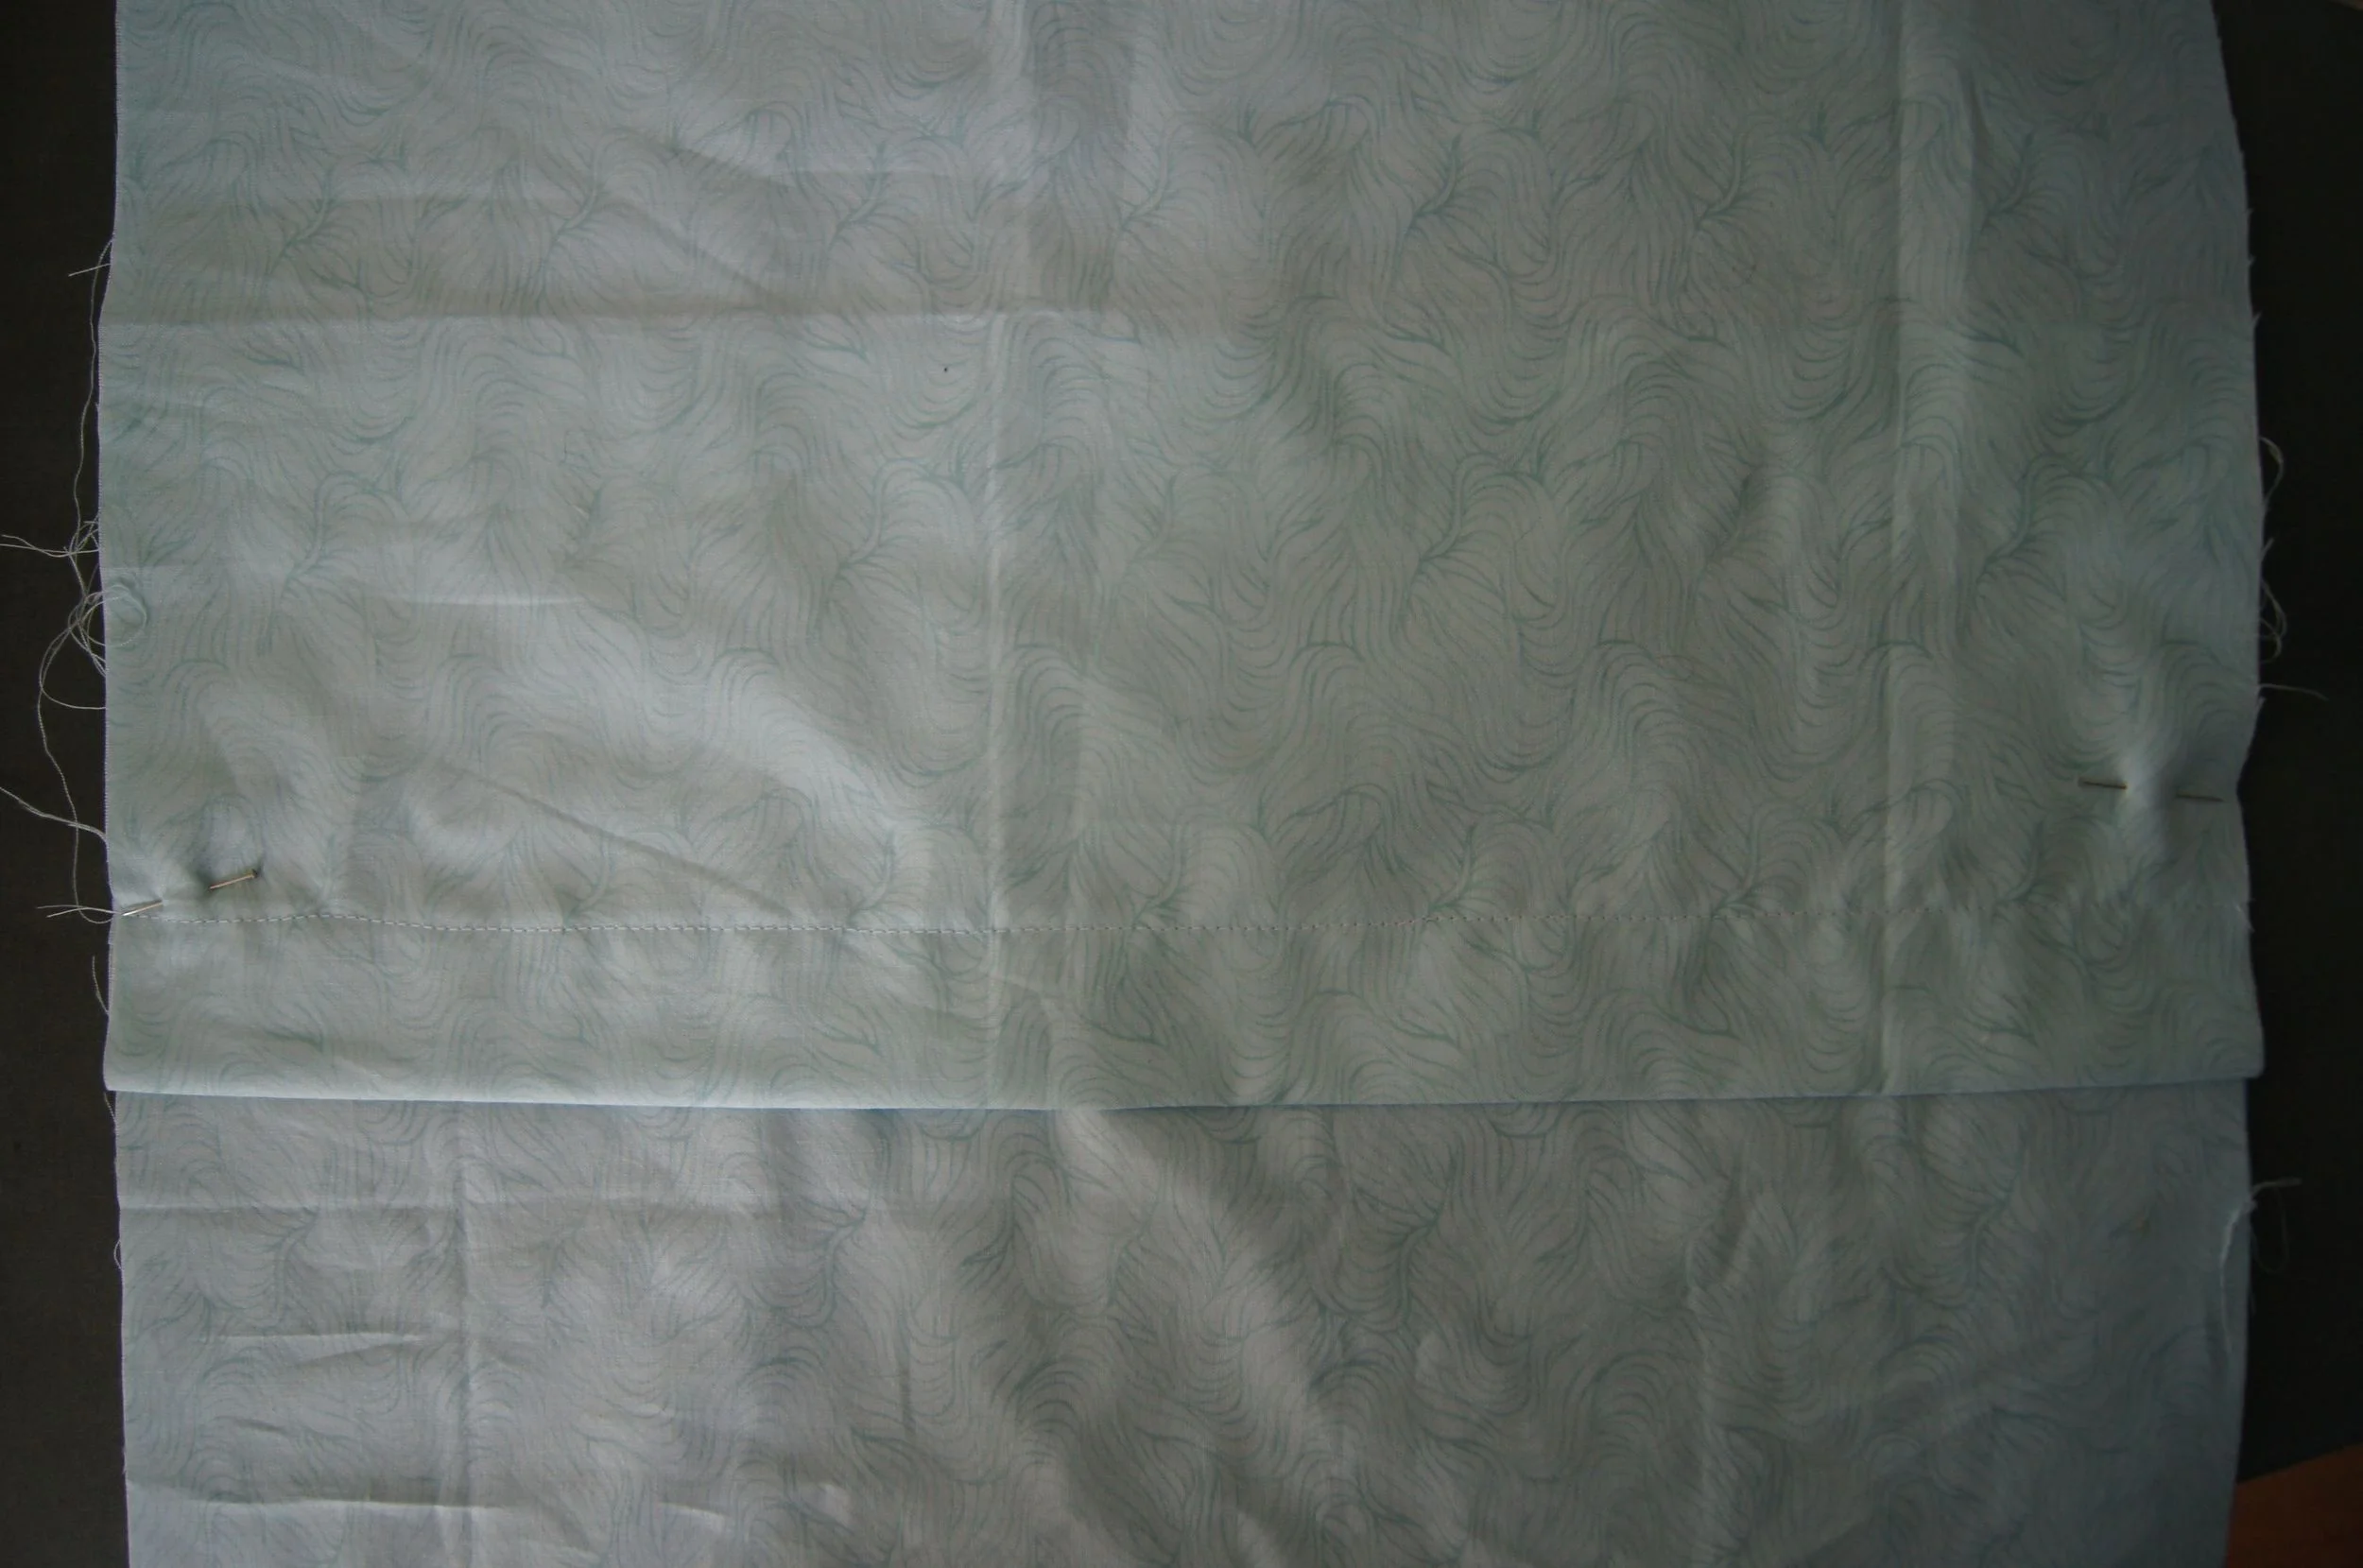
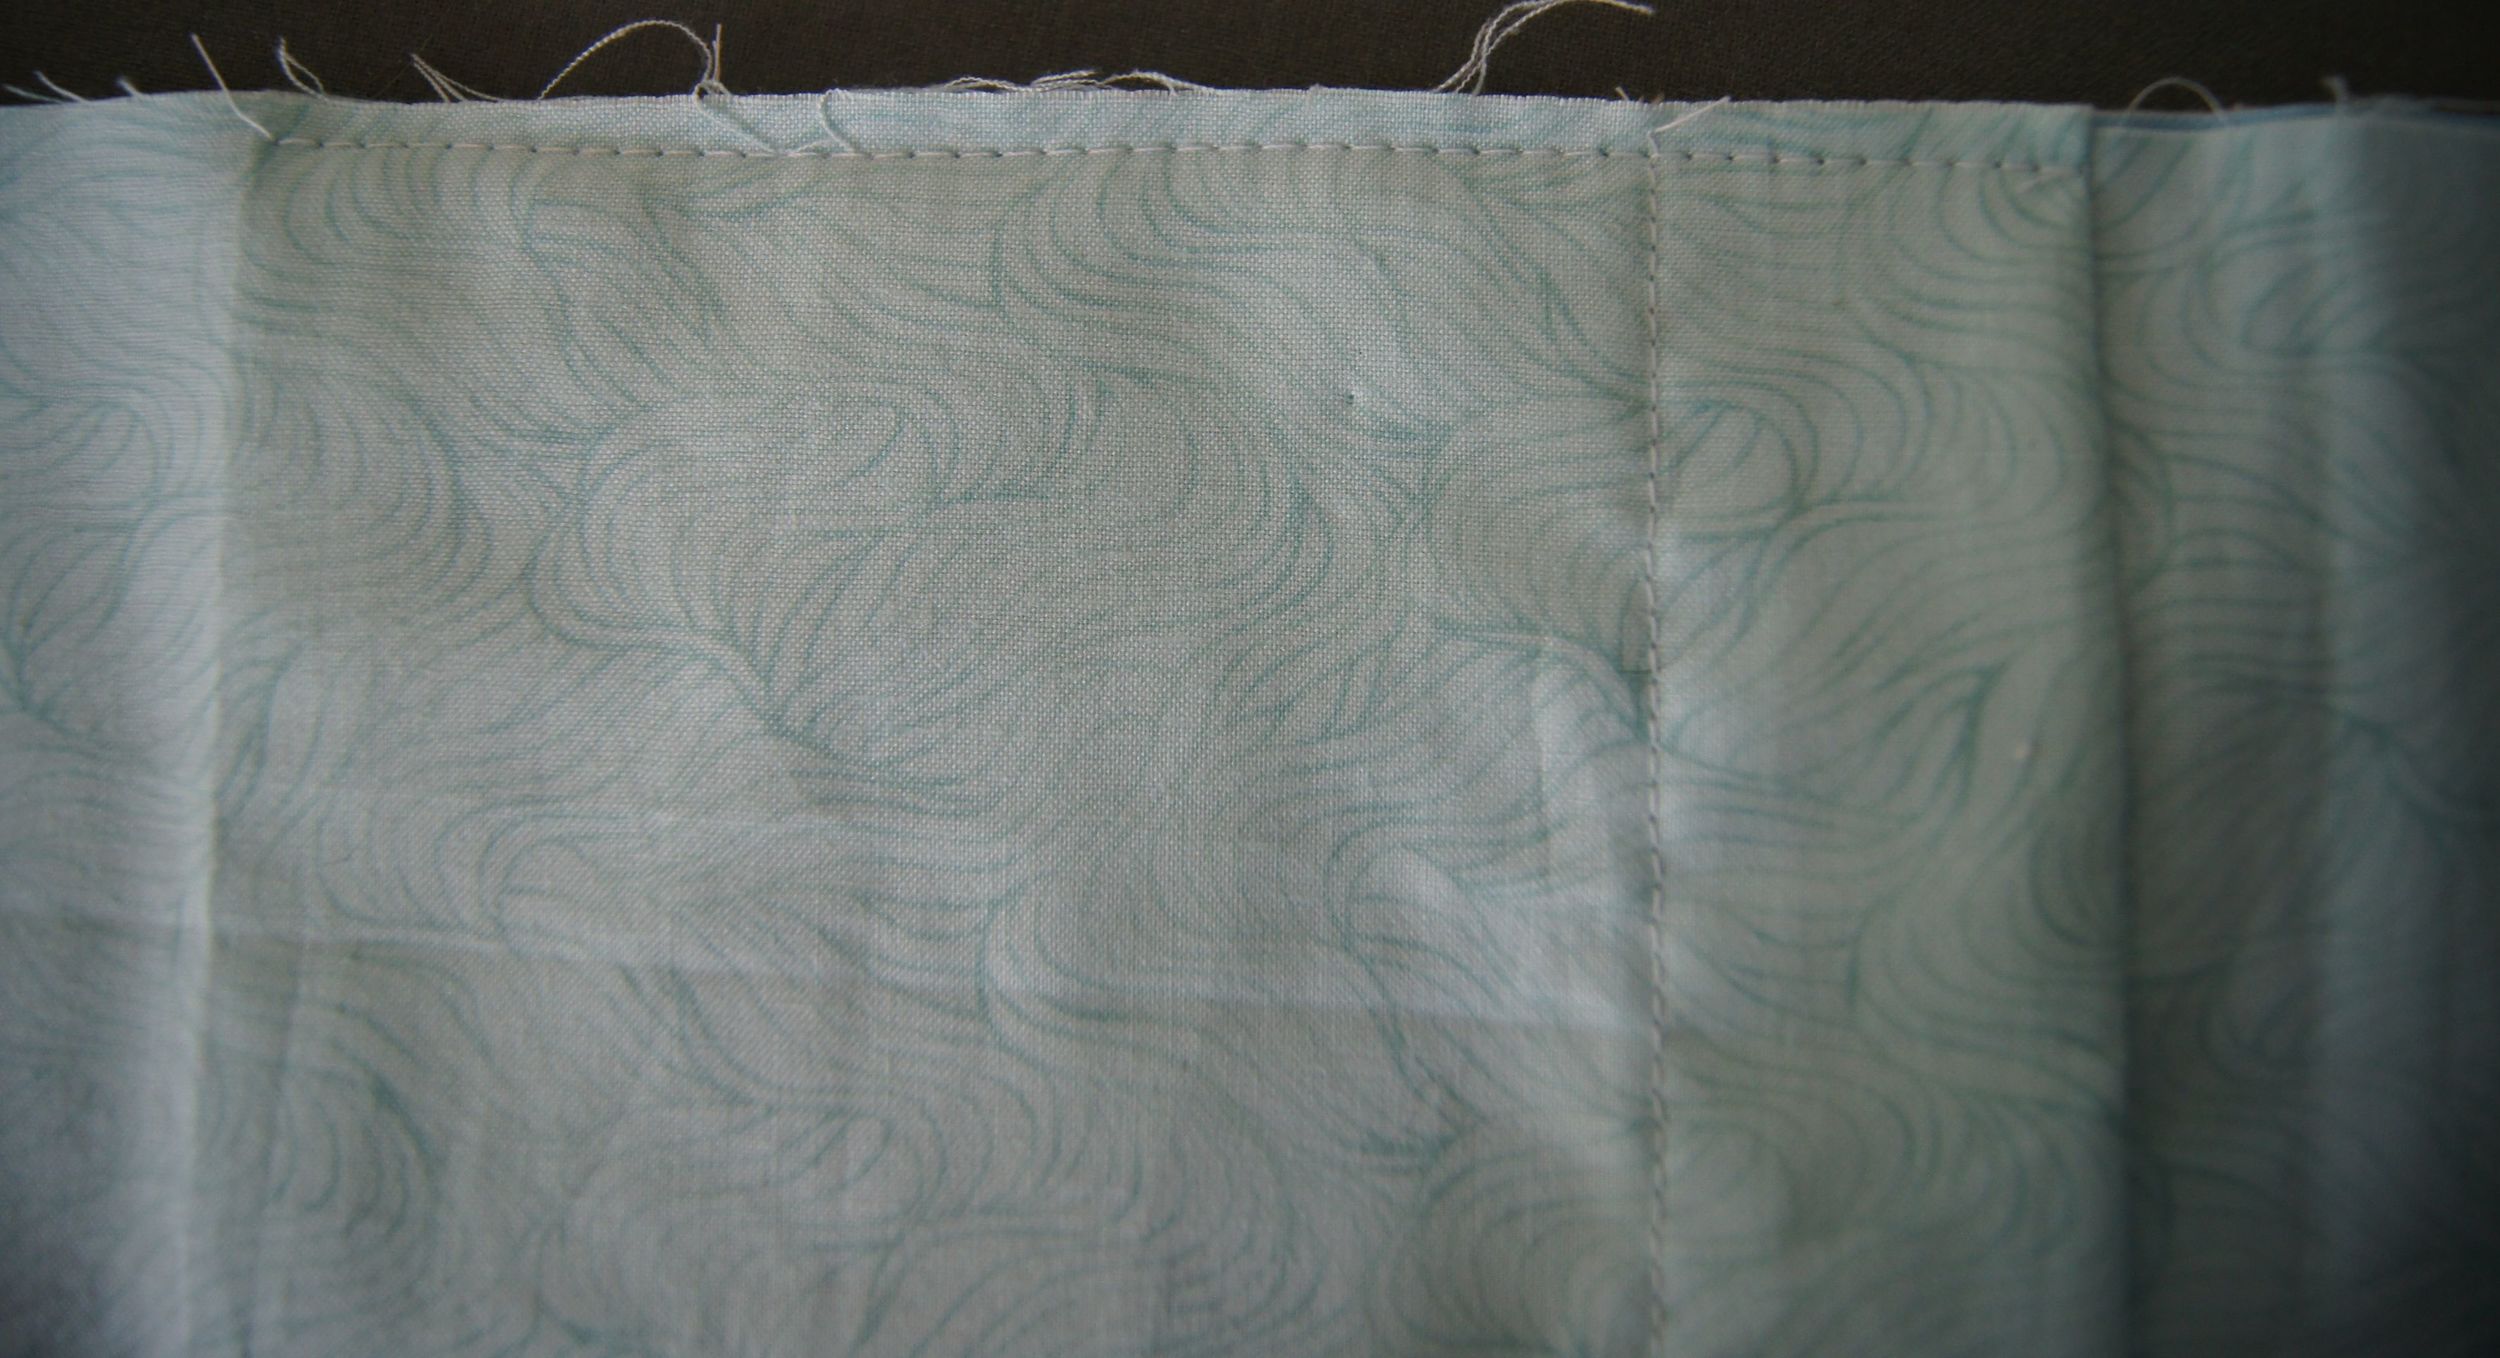
Here are several photos of the table runner as I was working on it.
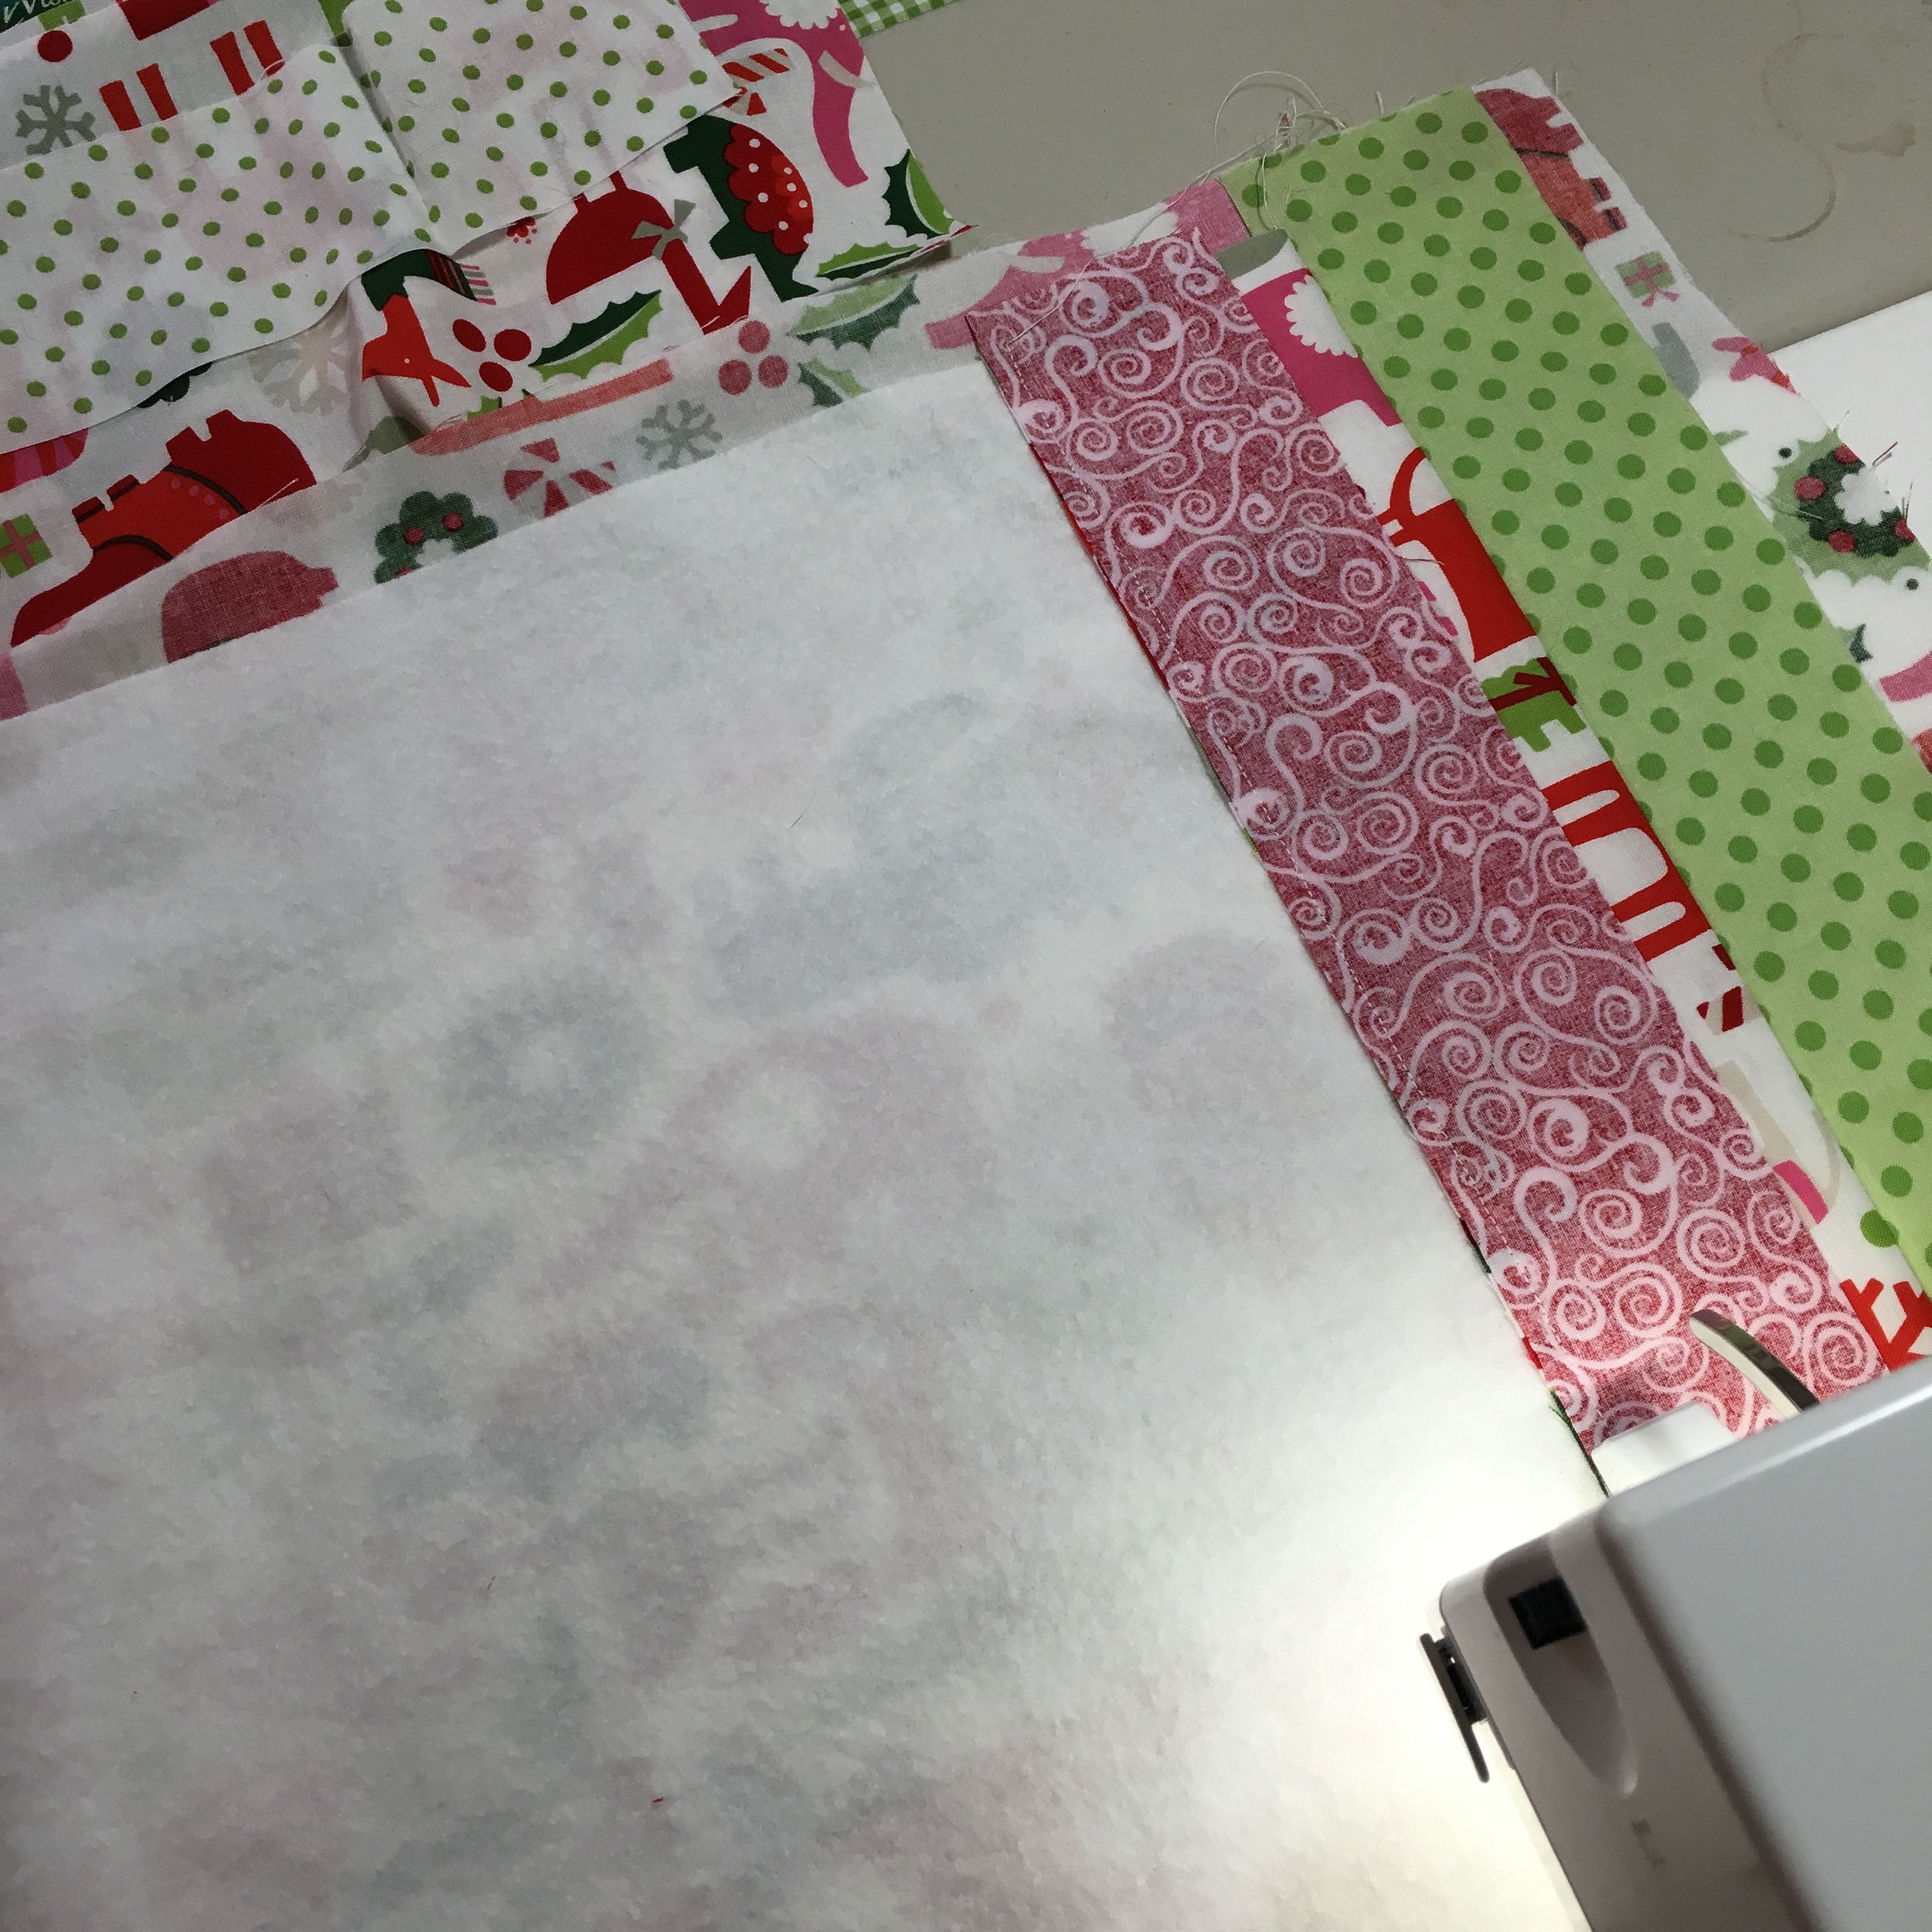
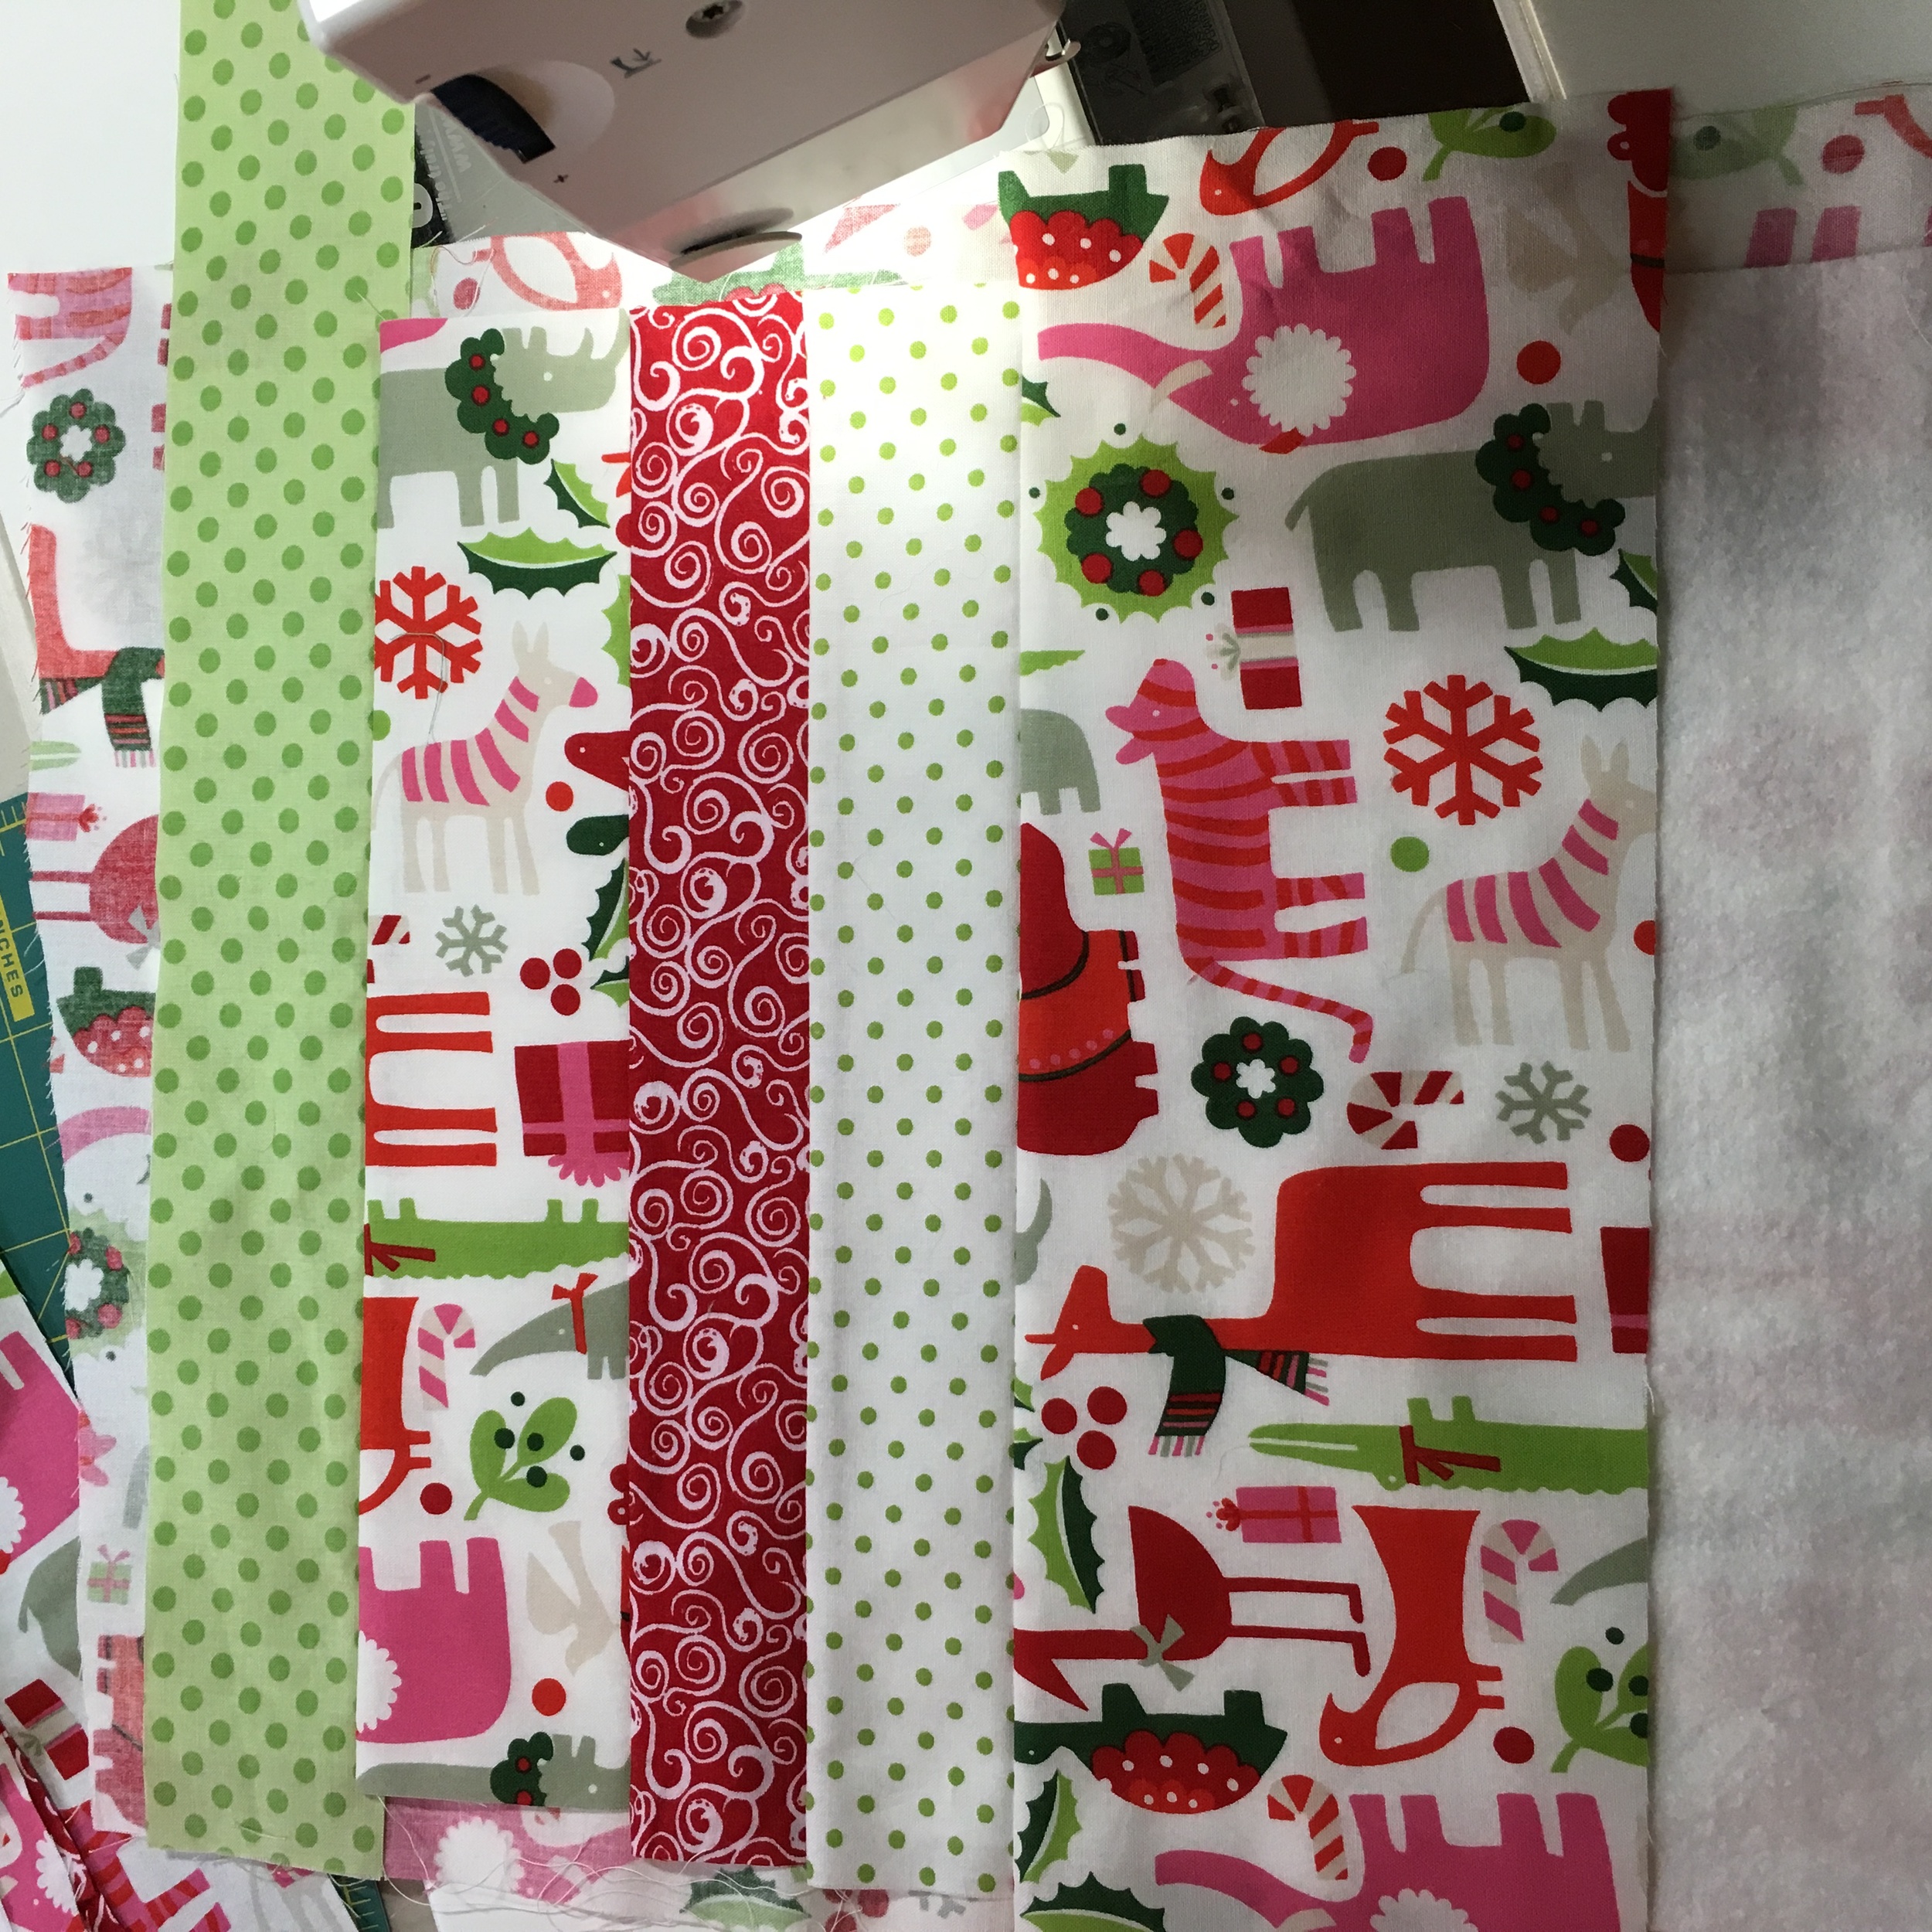
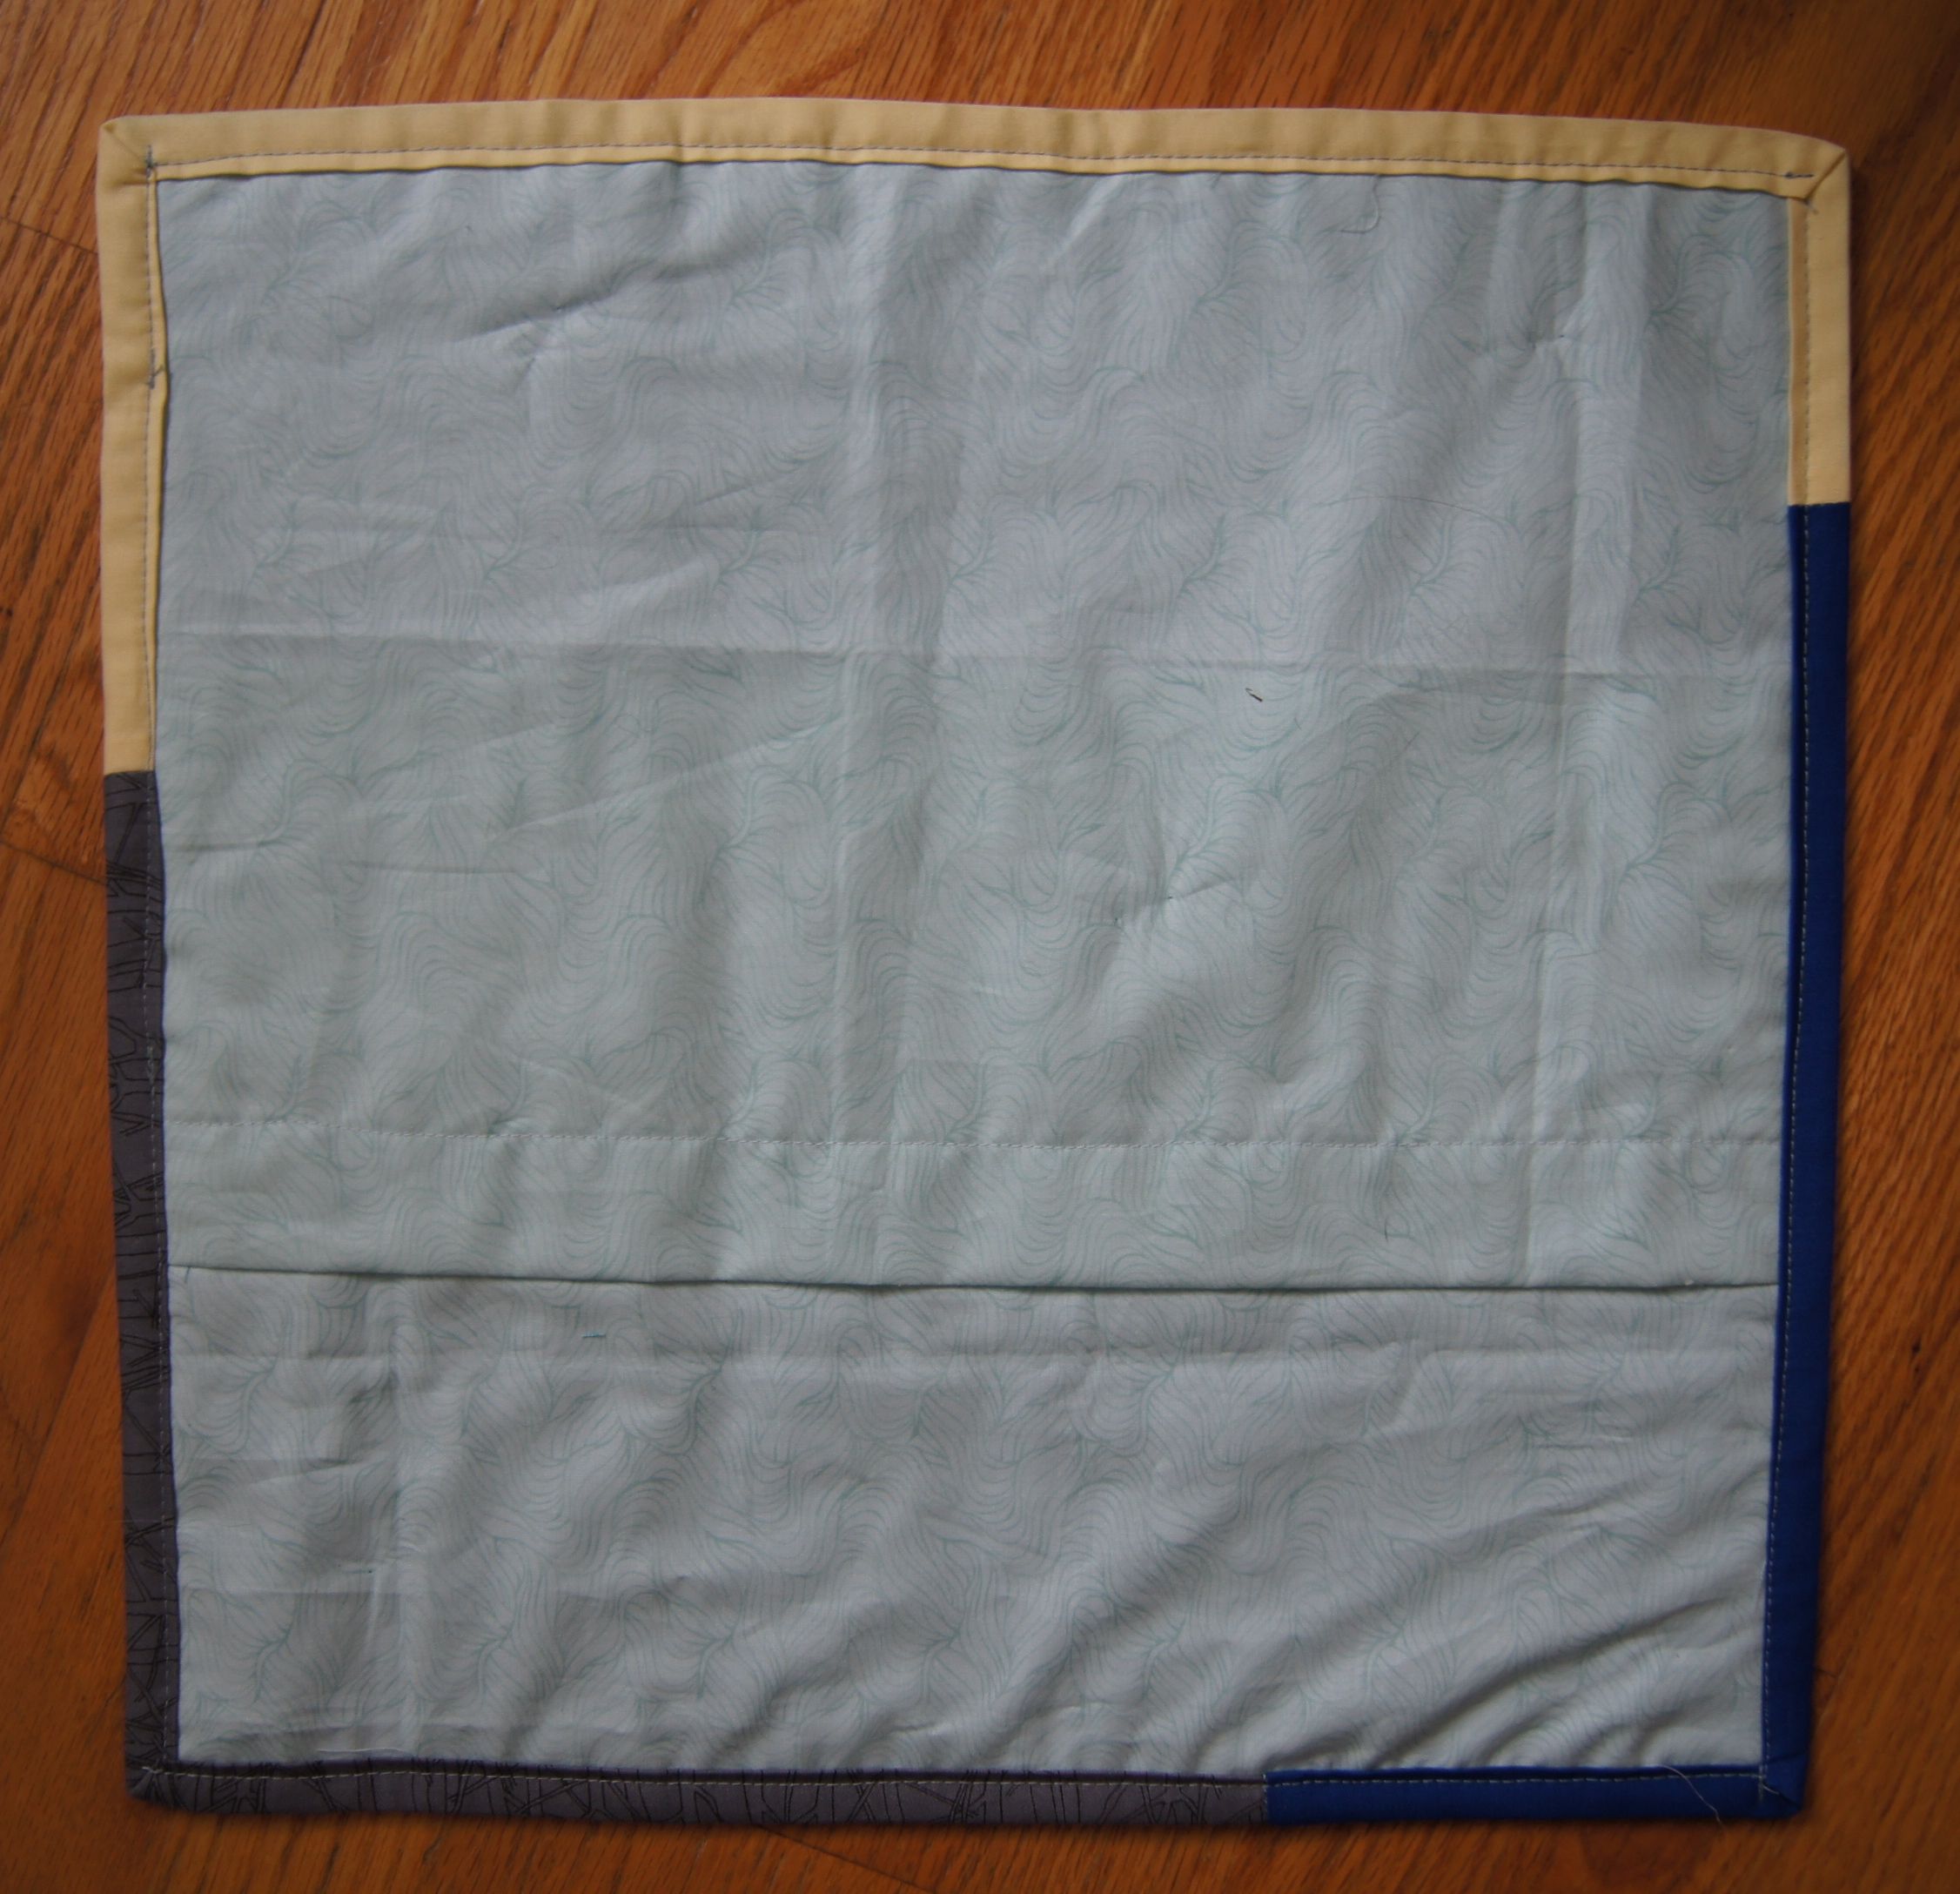
Once the batting was completely covered with strips, I trimmed the table runner to the size of the batting and attached a binding.
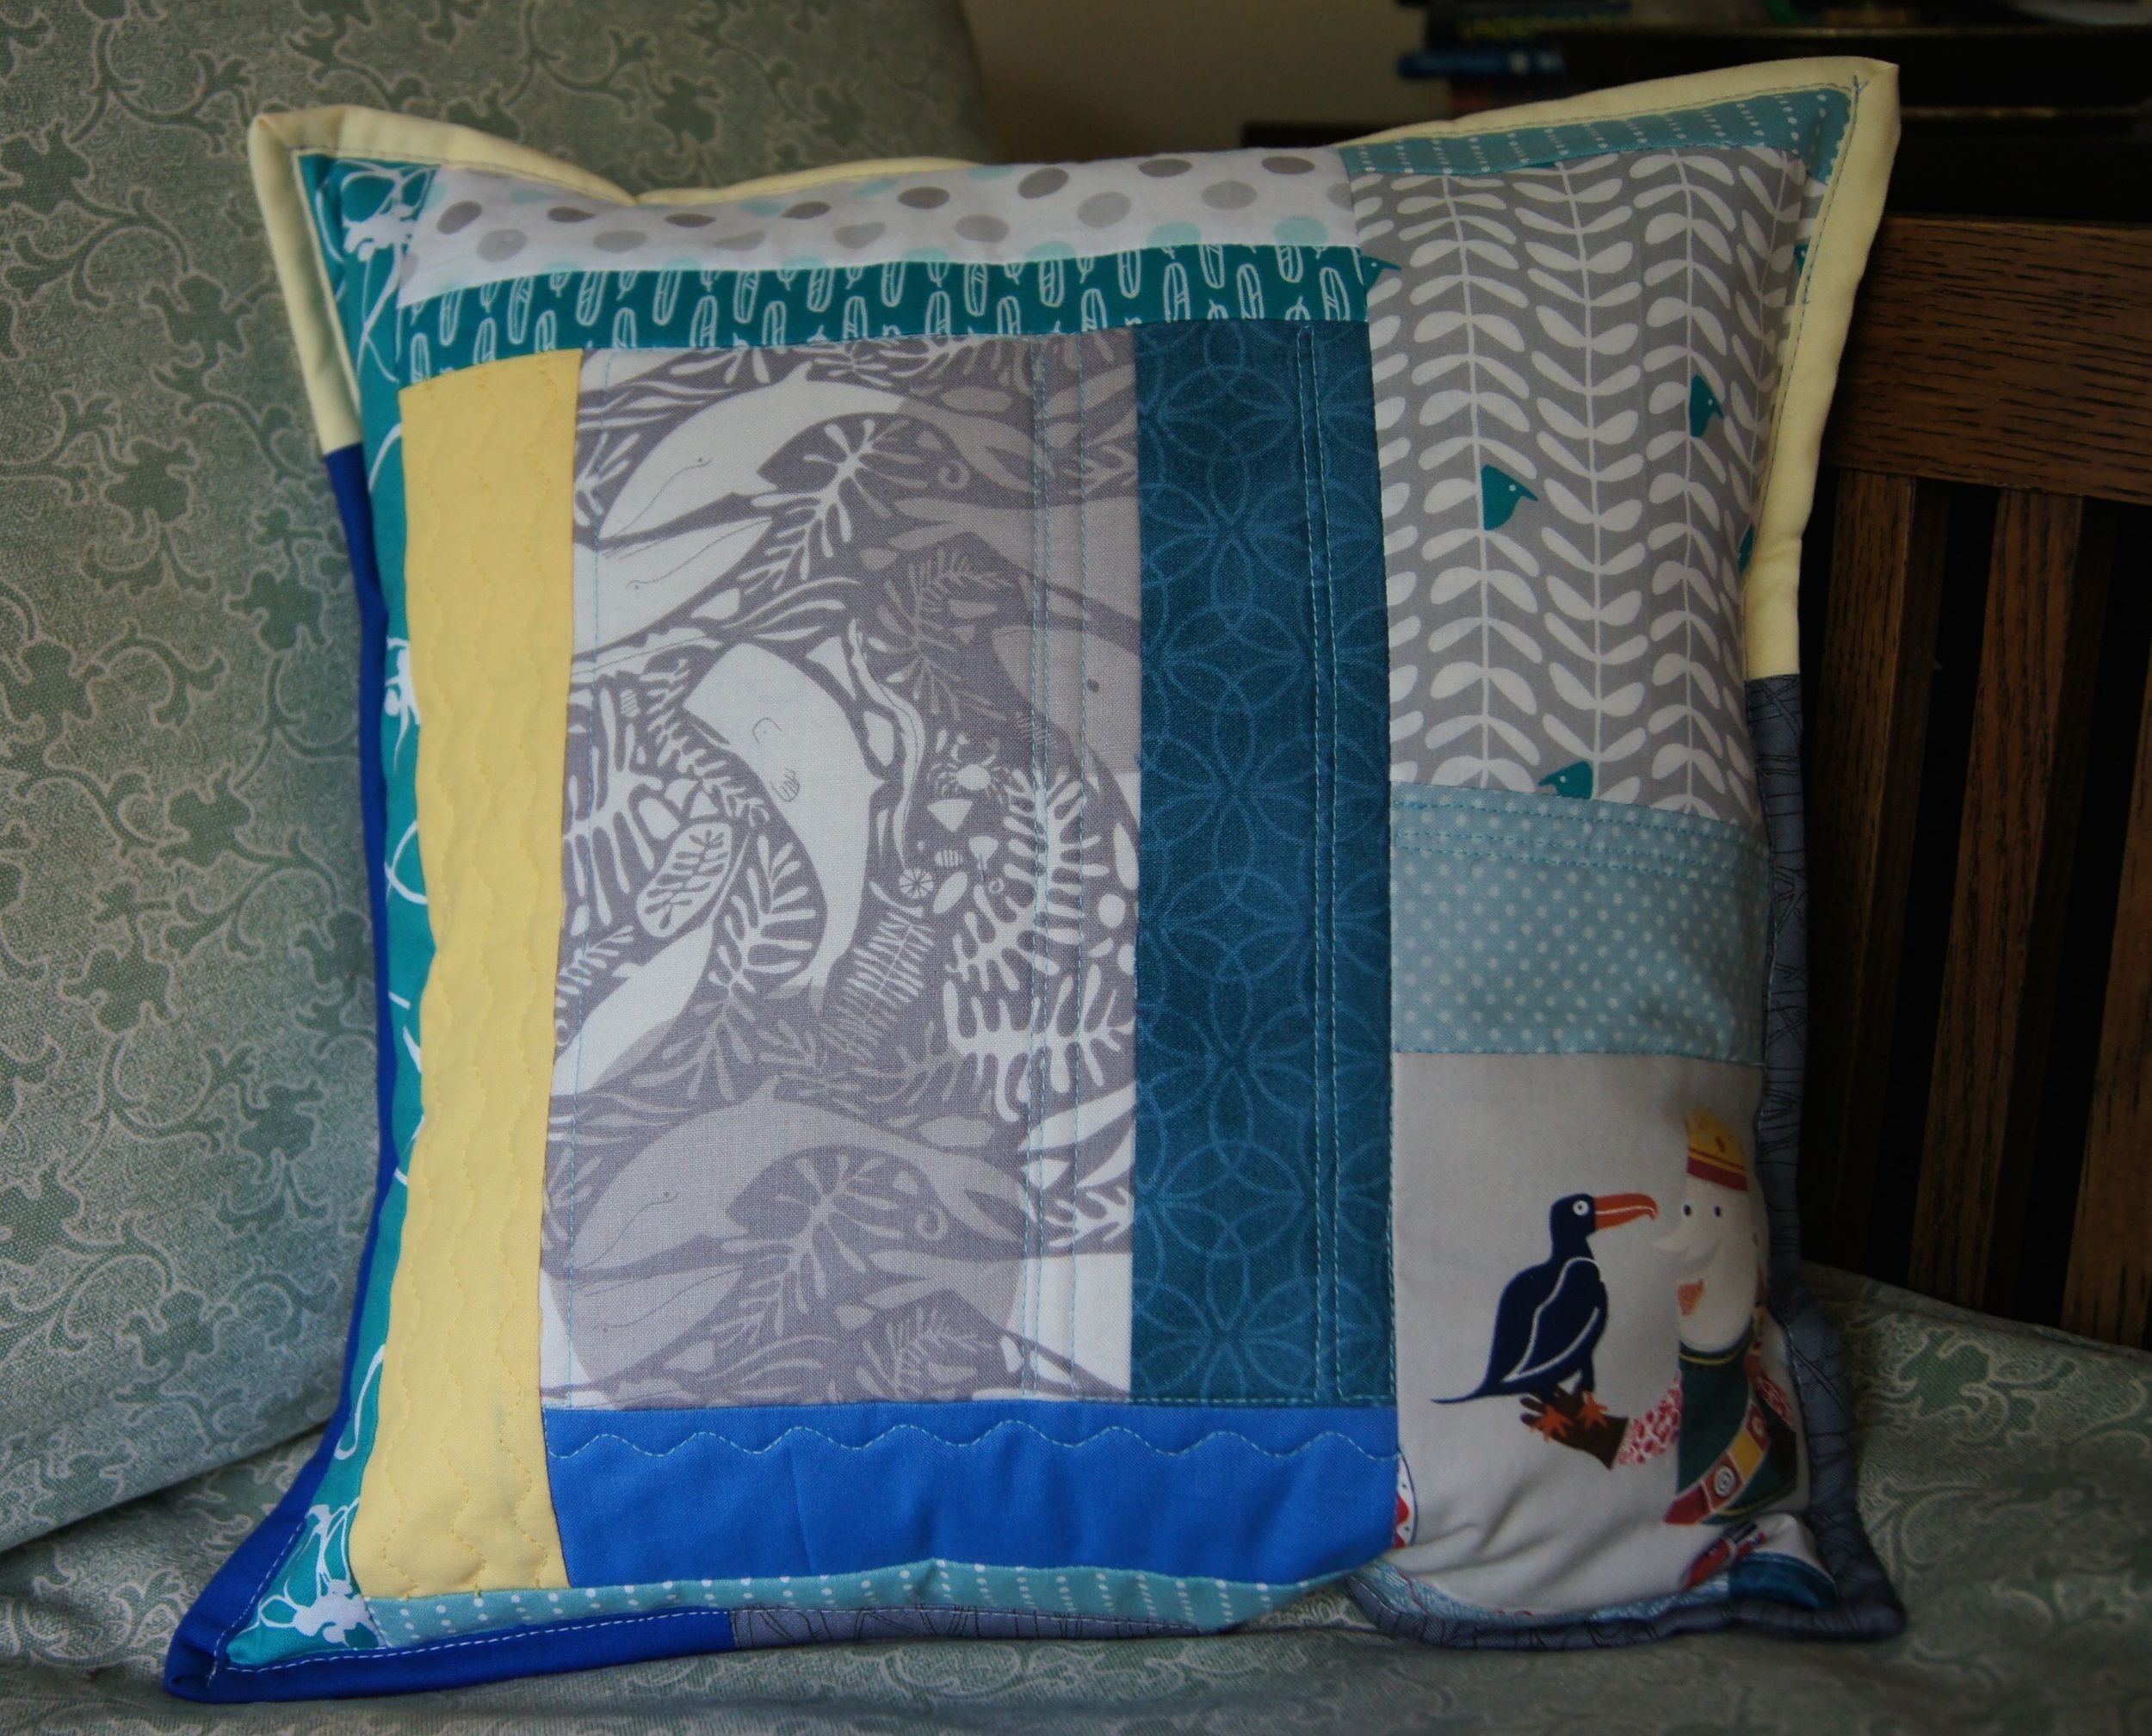
The runner is reversible--strips on one side, the solid print on the reverse! A great table runner from an afternoon's sewing!