
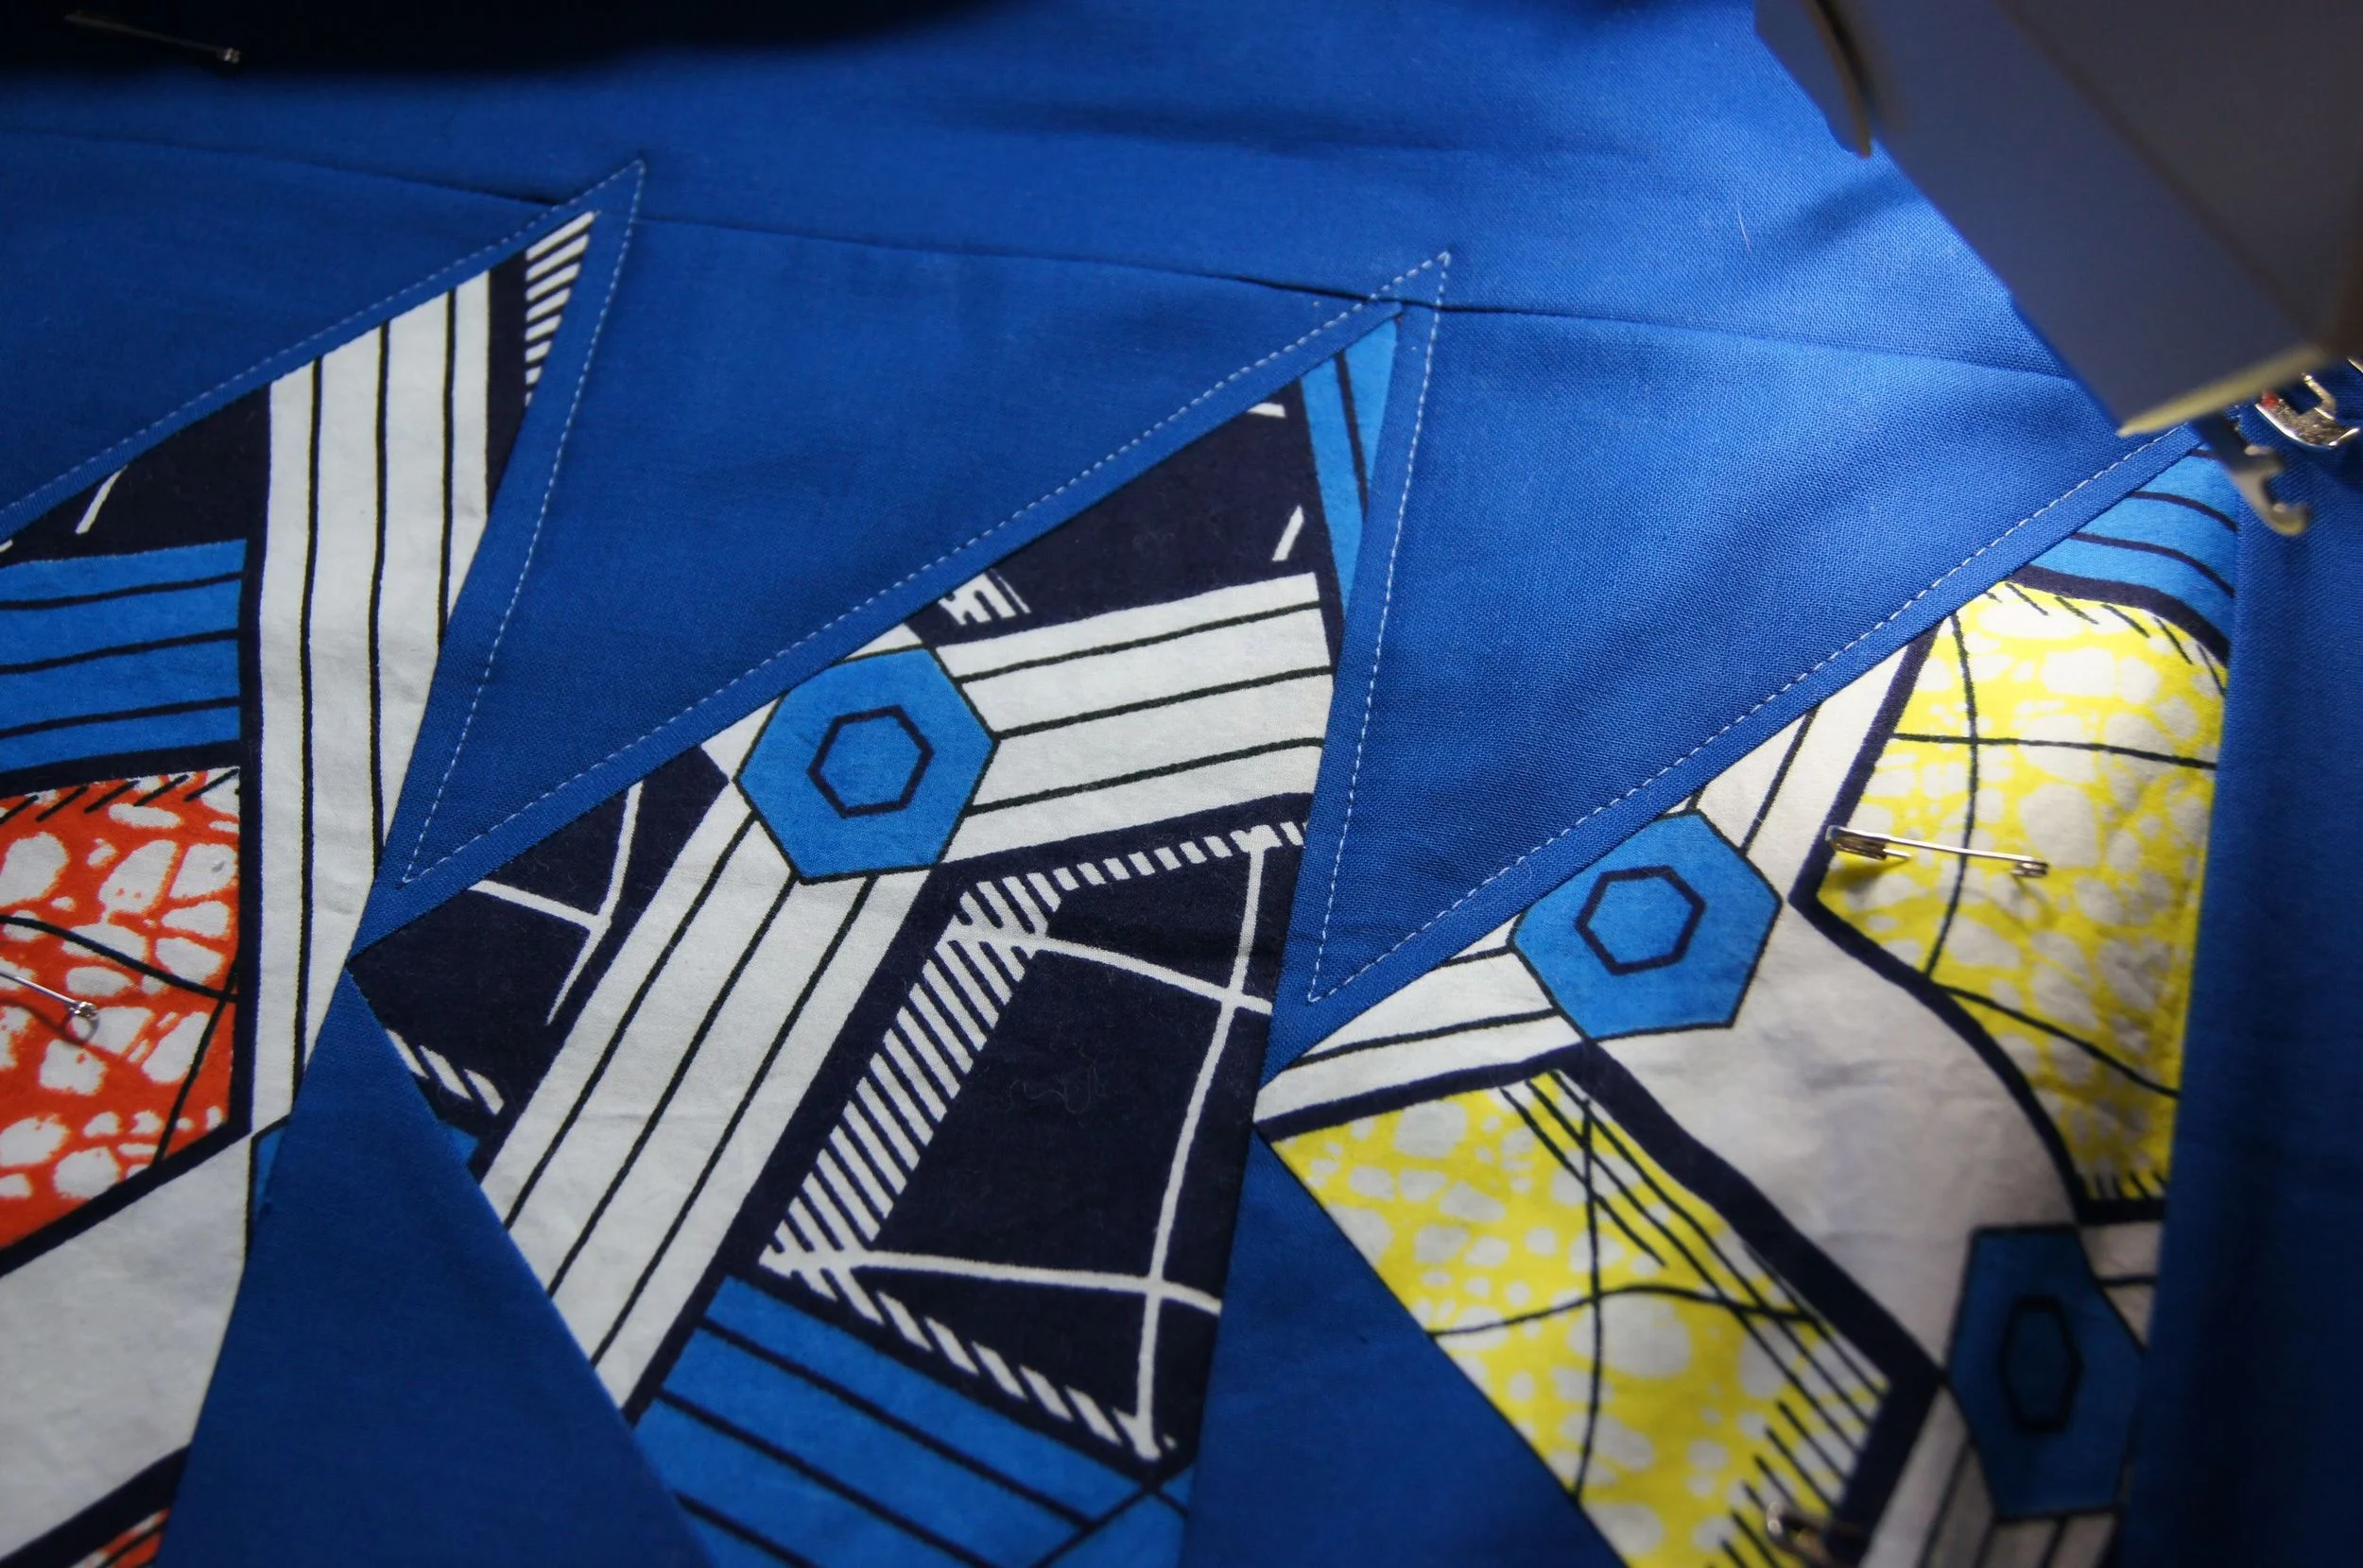
Finish It February is underway. I'm currently working on the royal blue flying geese lap quilt. It's so modern, that quilting using straight lines using my walking foot felt like the best match for most of the quilt. Here are some photos of my quilting.
Echo stitching the "geese" in the flying geese blocks
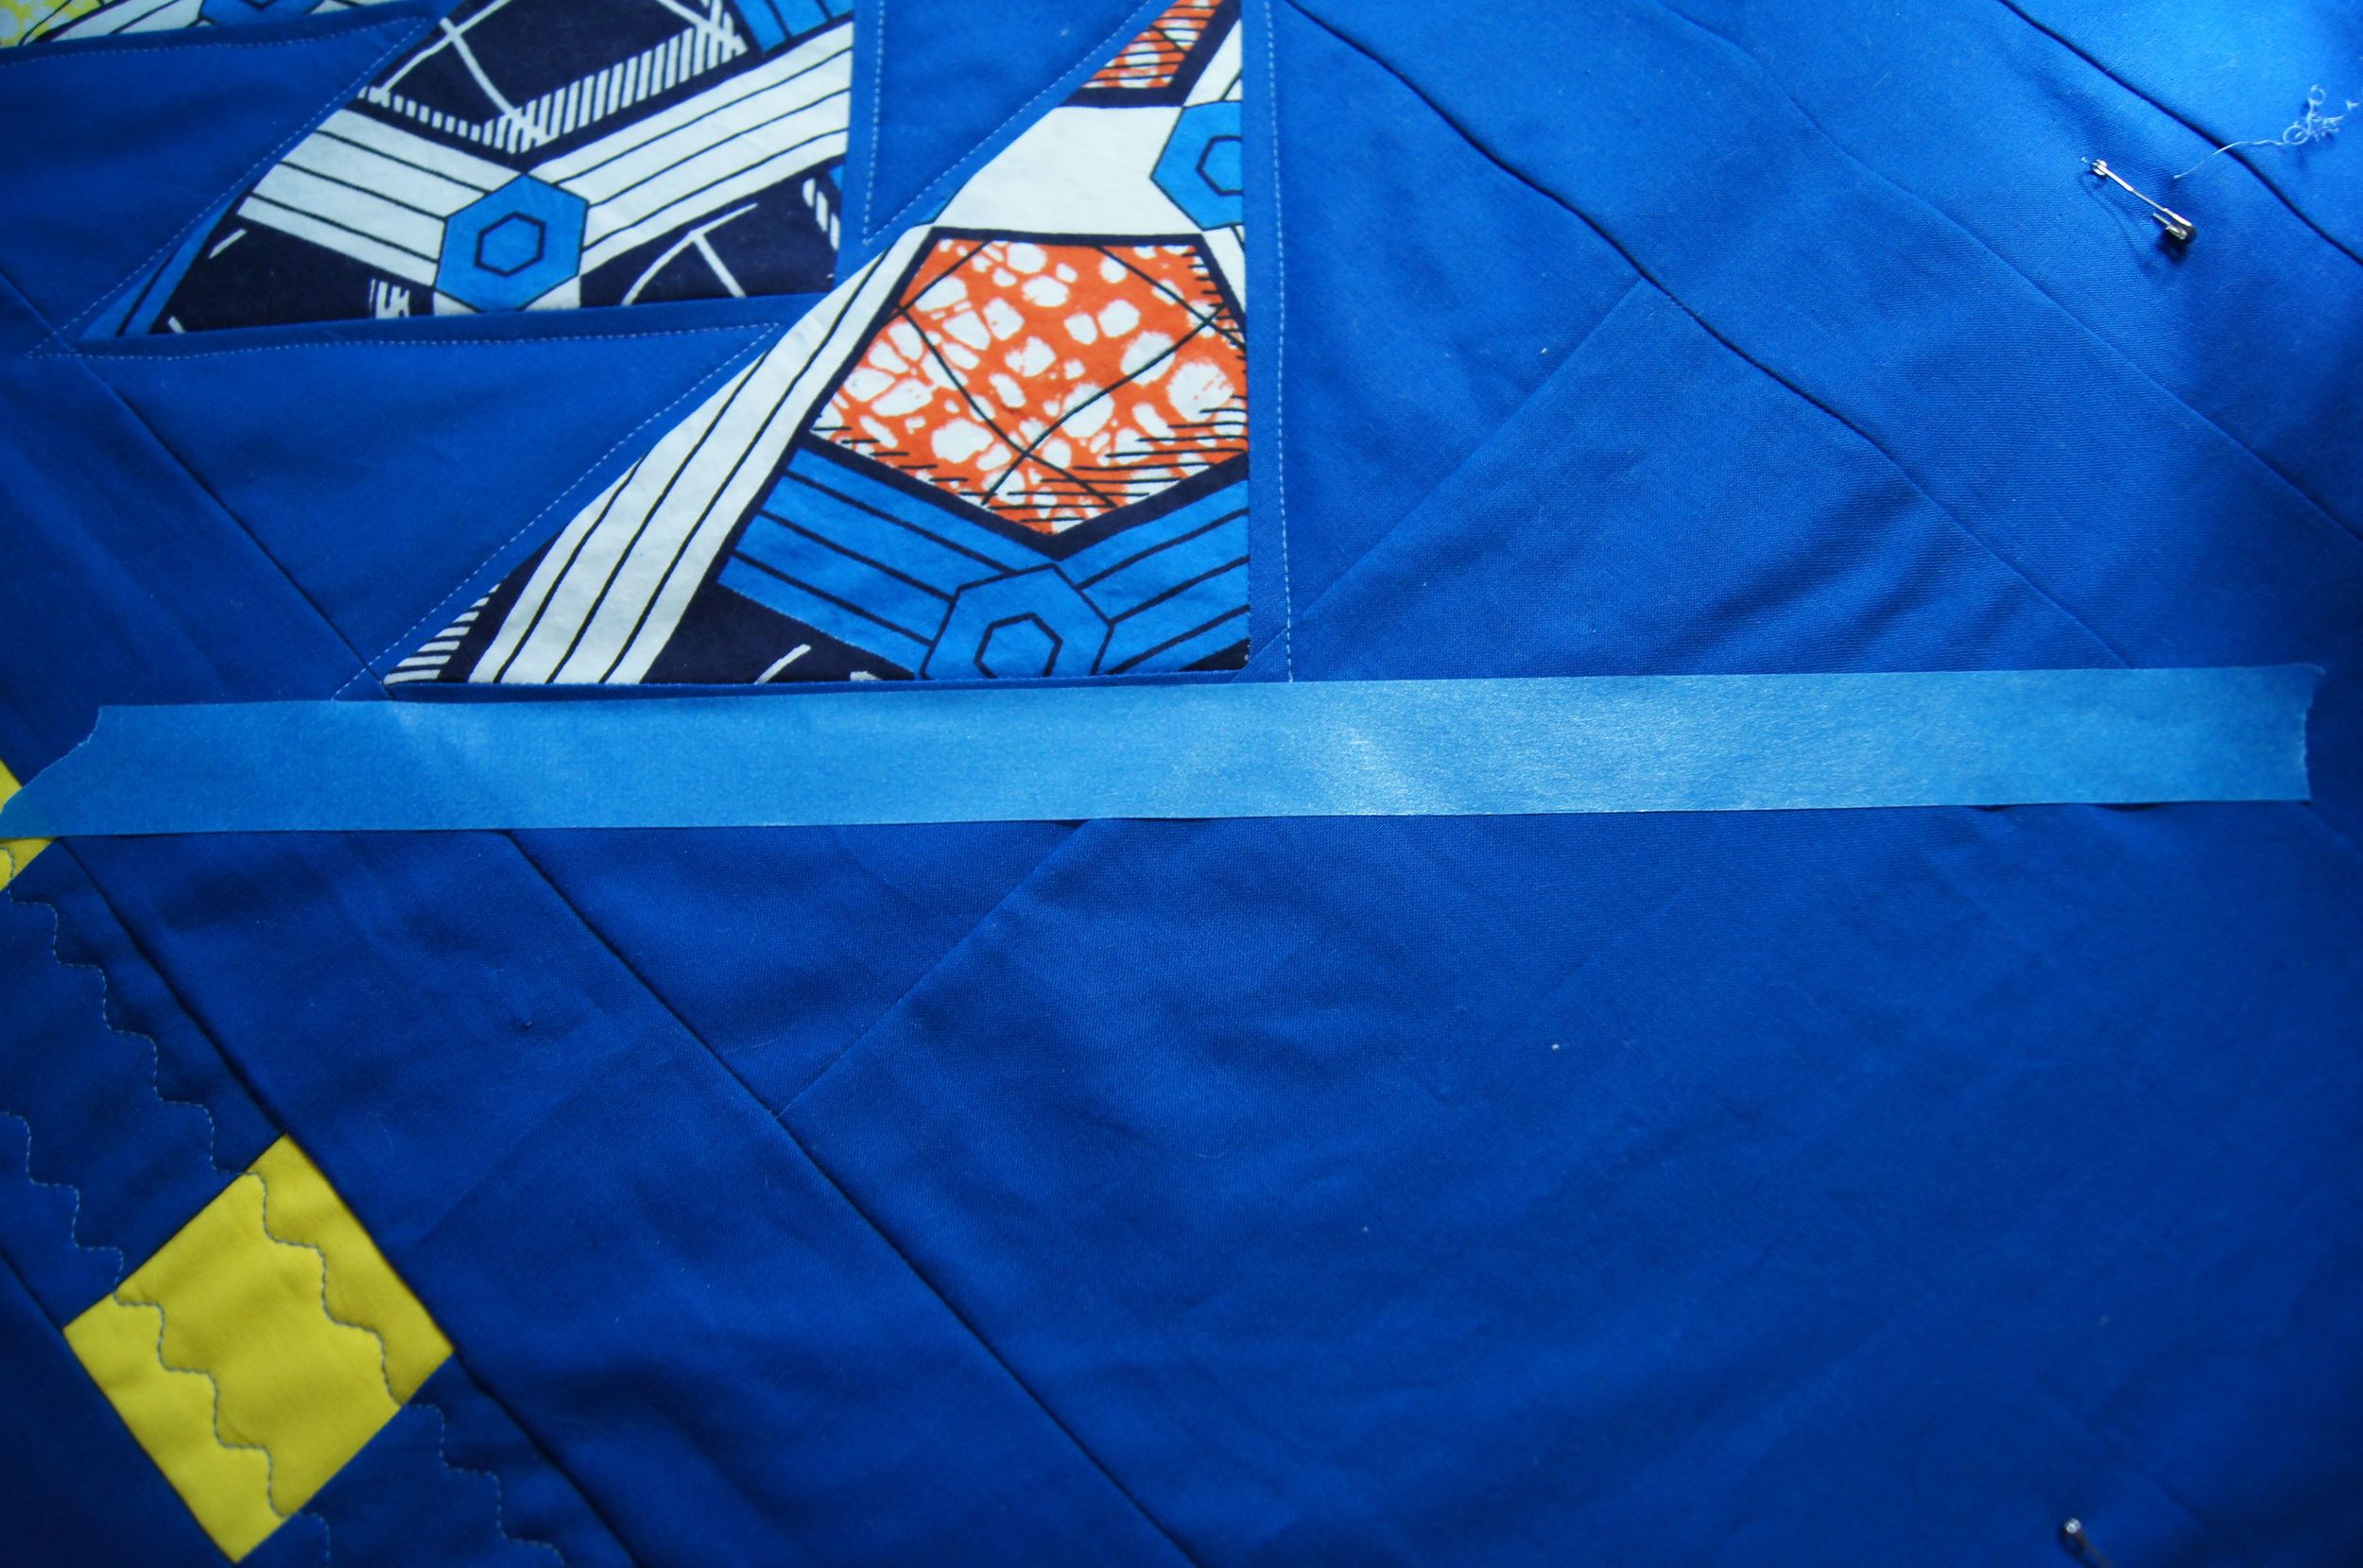
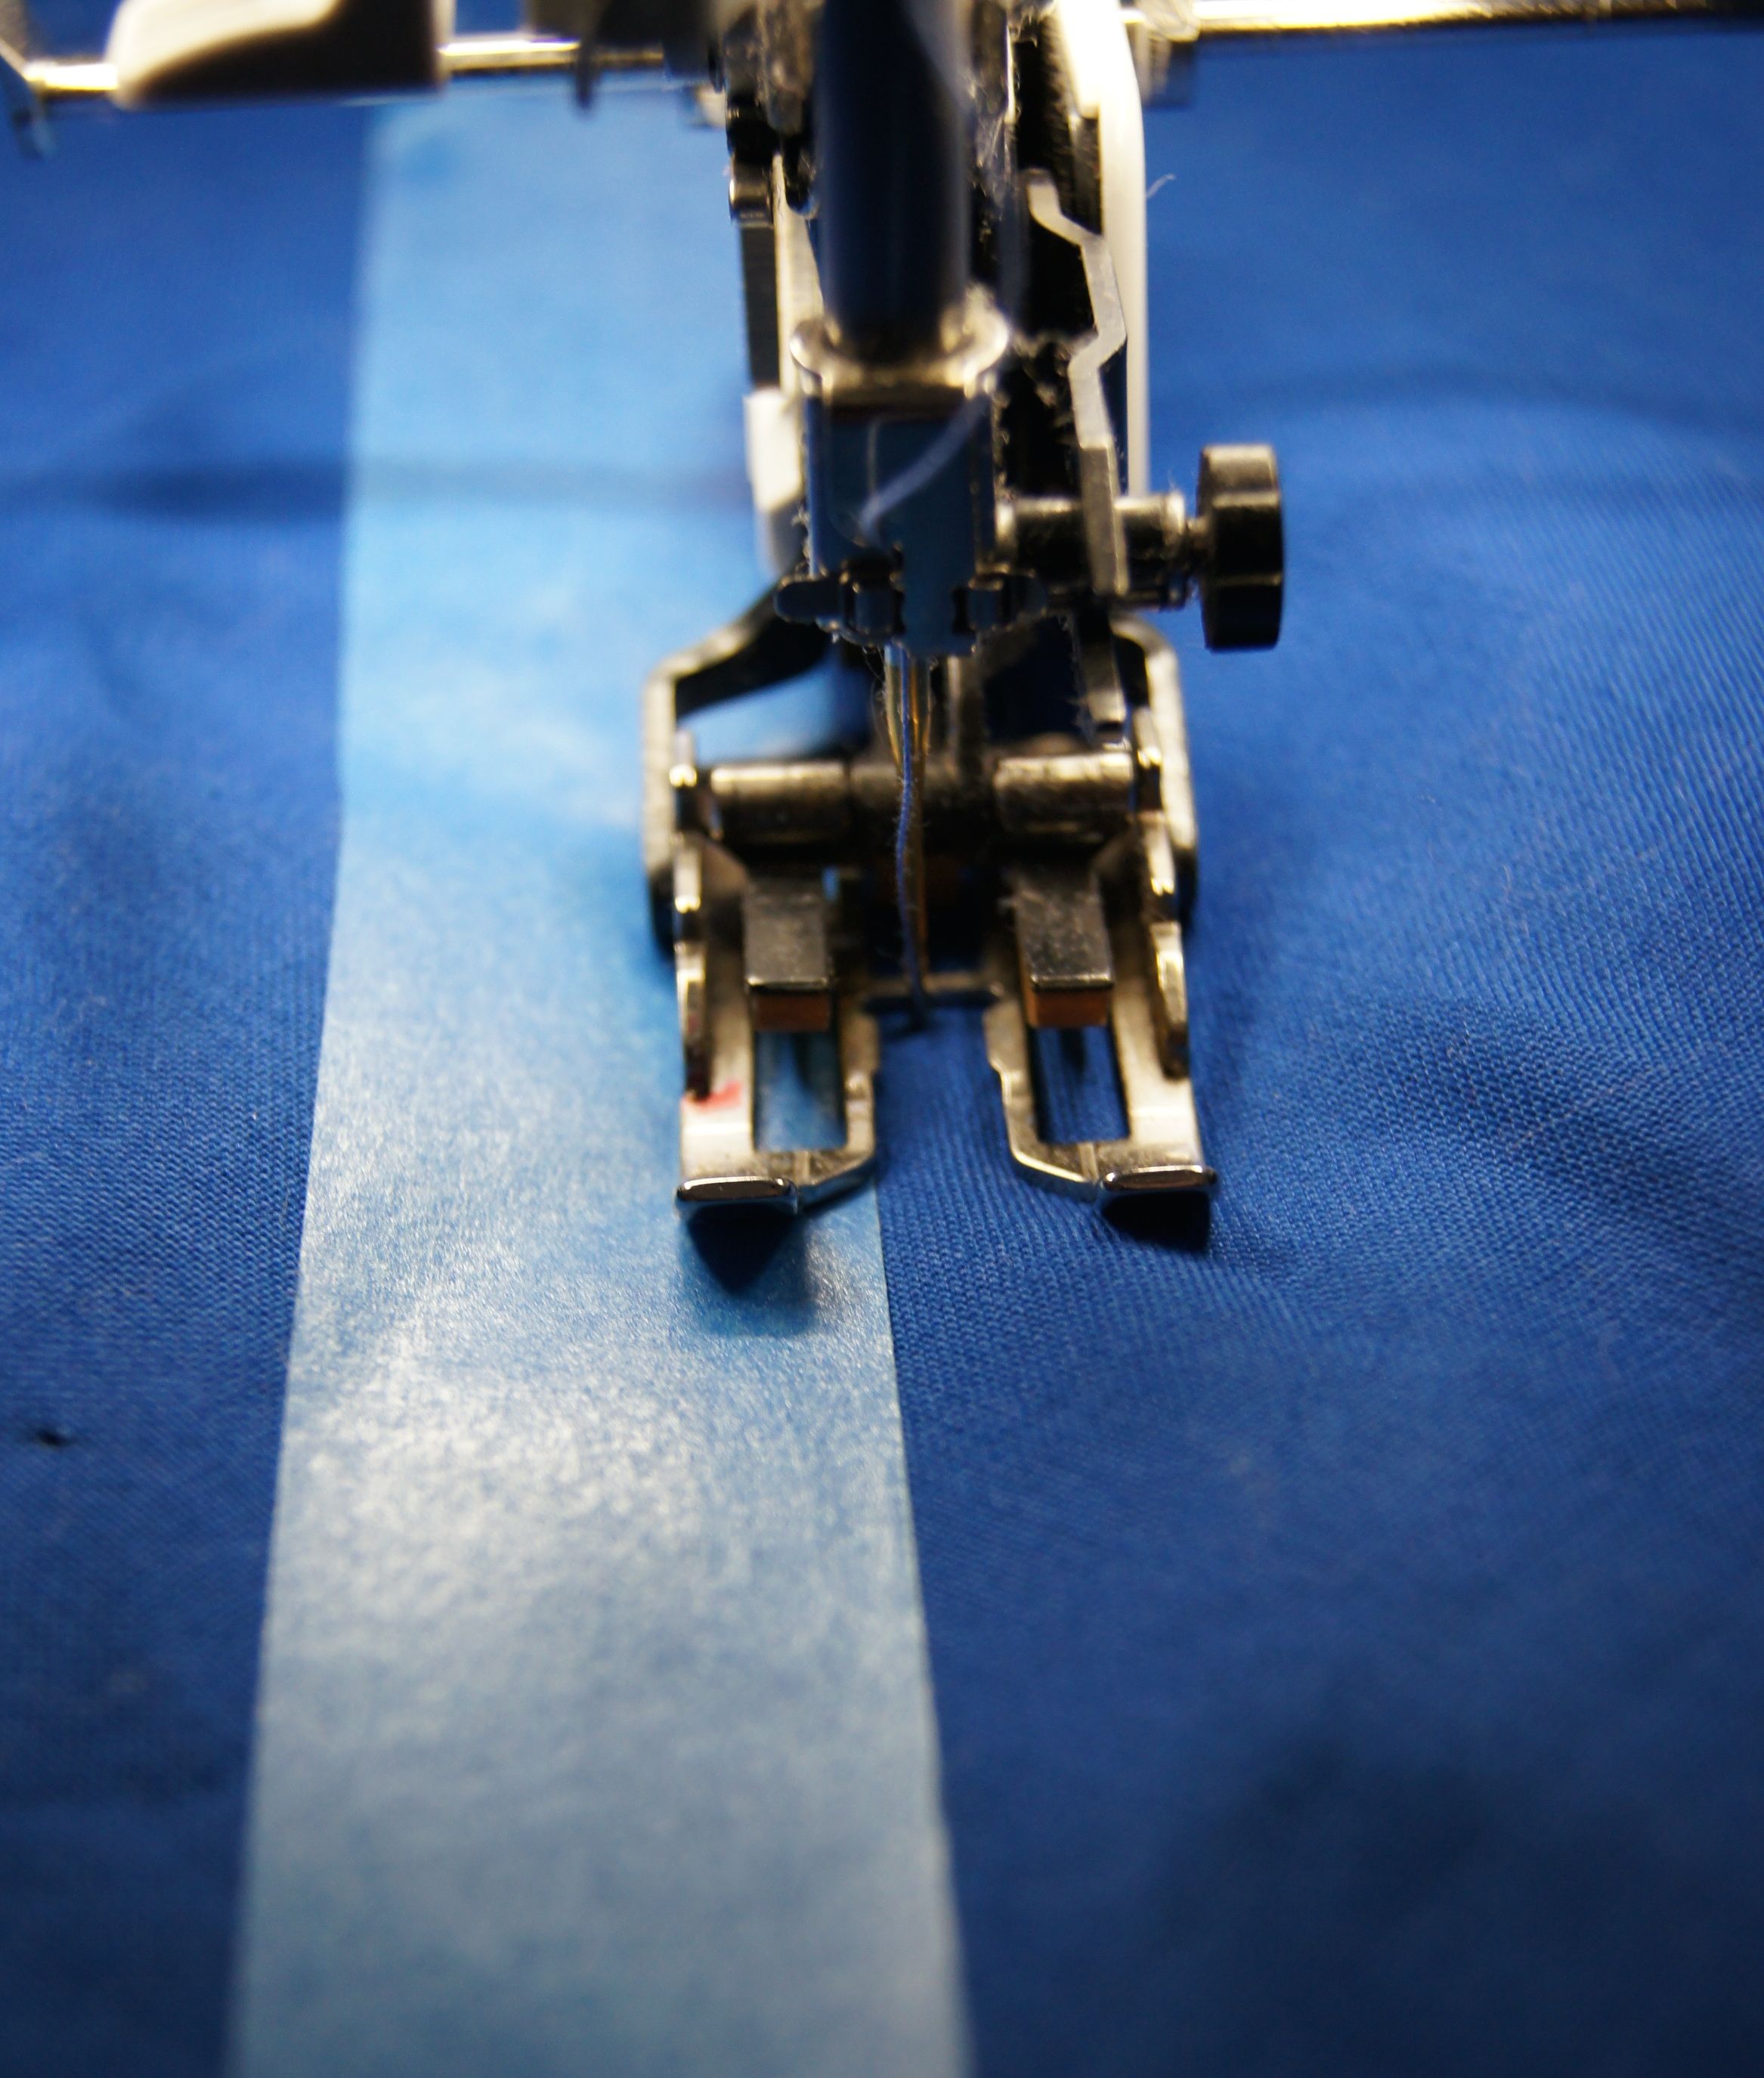
I like to use painter's tape for straight line quilting over areas with negative space, especially if I am quilting diagonally. It's easy to apply, it stays in place and can be used several times before it gets too linty to stick well, and it doesn't leave a glue residue when removed. The painter's tape in the photos is 1 inch wide. When I stitch, I keep the inner edge of my walking foot right at the edge of the painter's tape. It's easy to follow as I sew and it keeps me from sewing over the tape.

If I have a stitch line that I want to follow but I want the distance between rows of stitching to be more than 1 inch, I use the metal guide bar on the walking foot. The bar runs right over the line of stitches. The line of stitching you get is only as good as the row of stitching you are following. Daydreaming isn't advised!
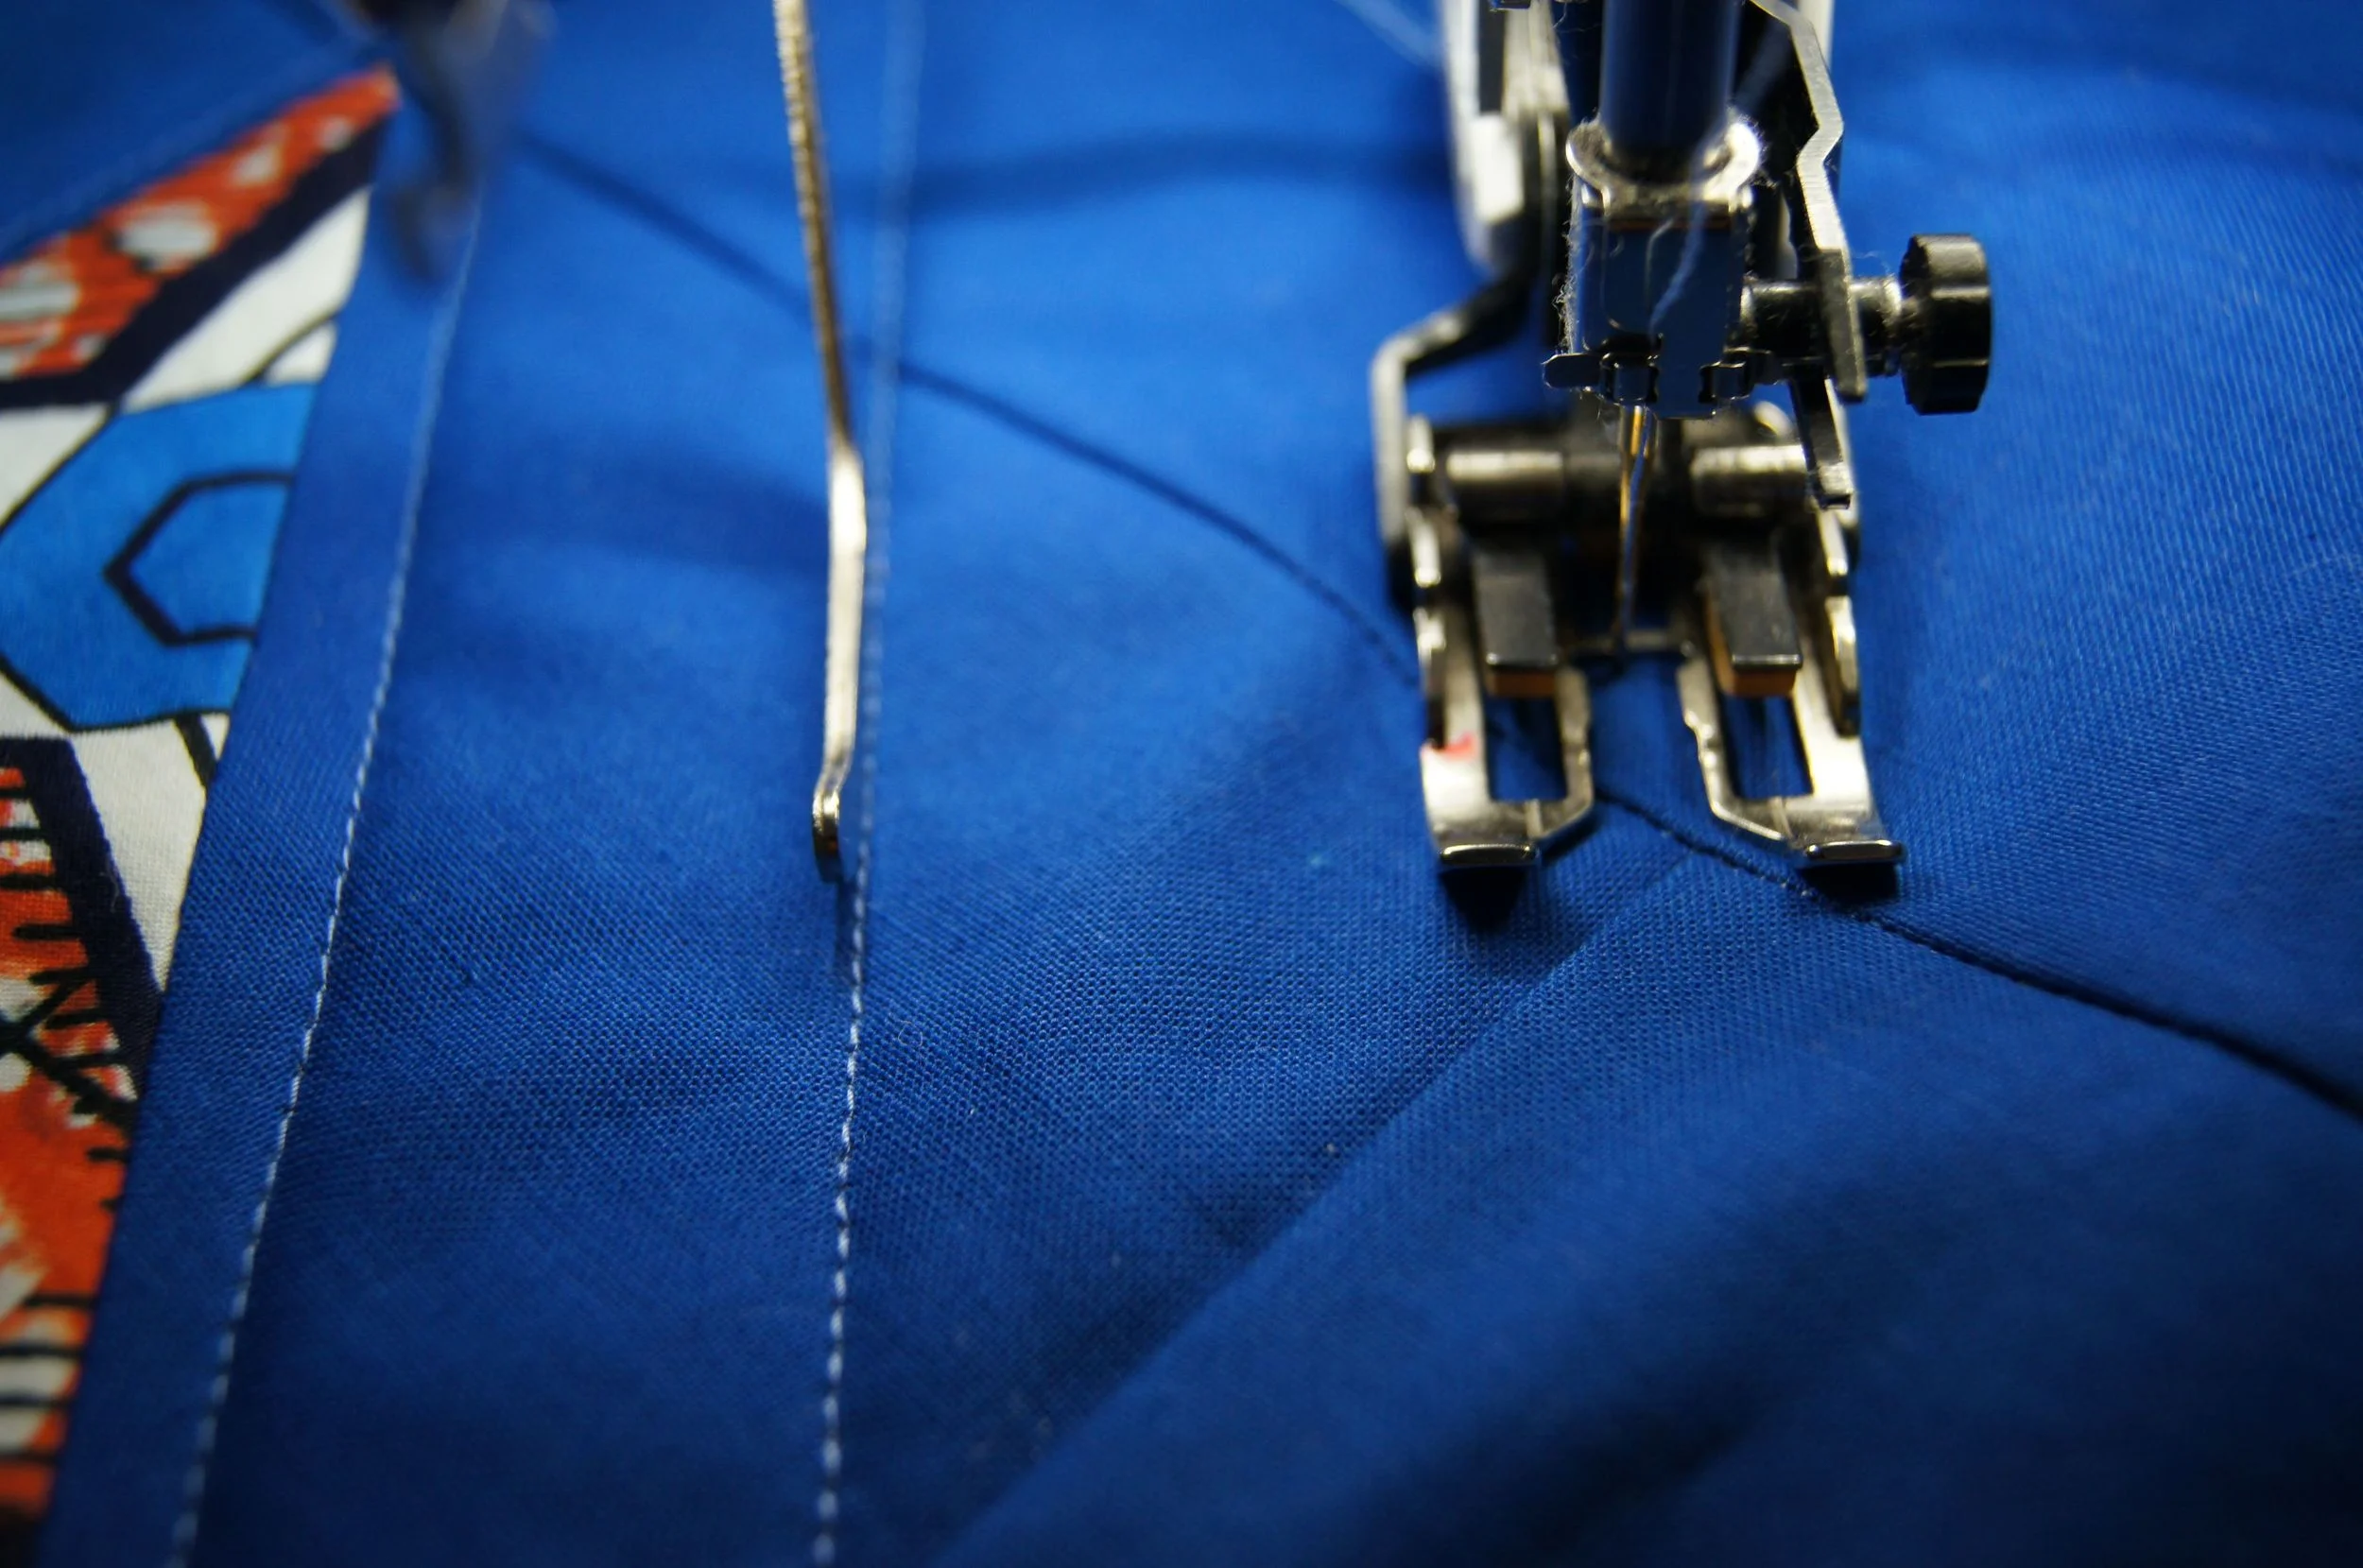
Using the guide bar on the walking foot
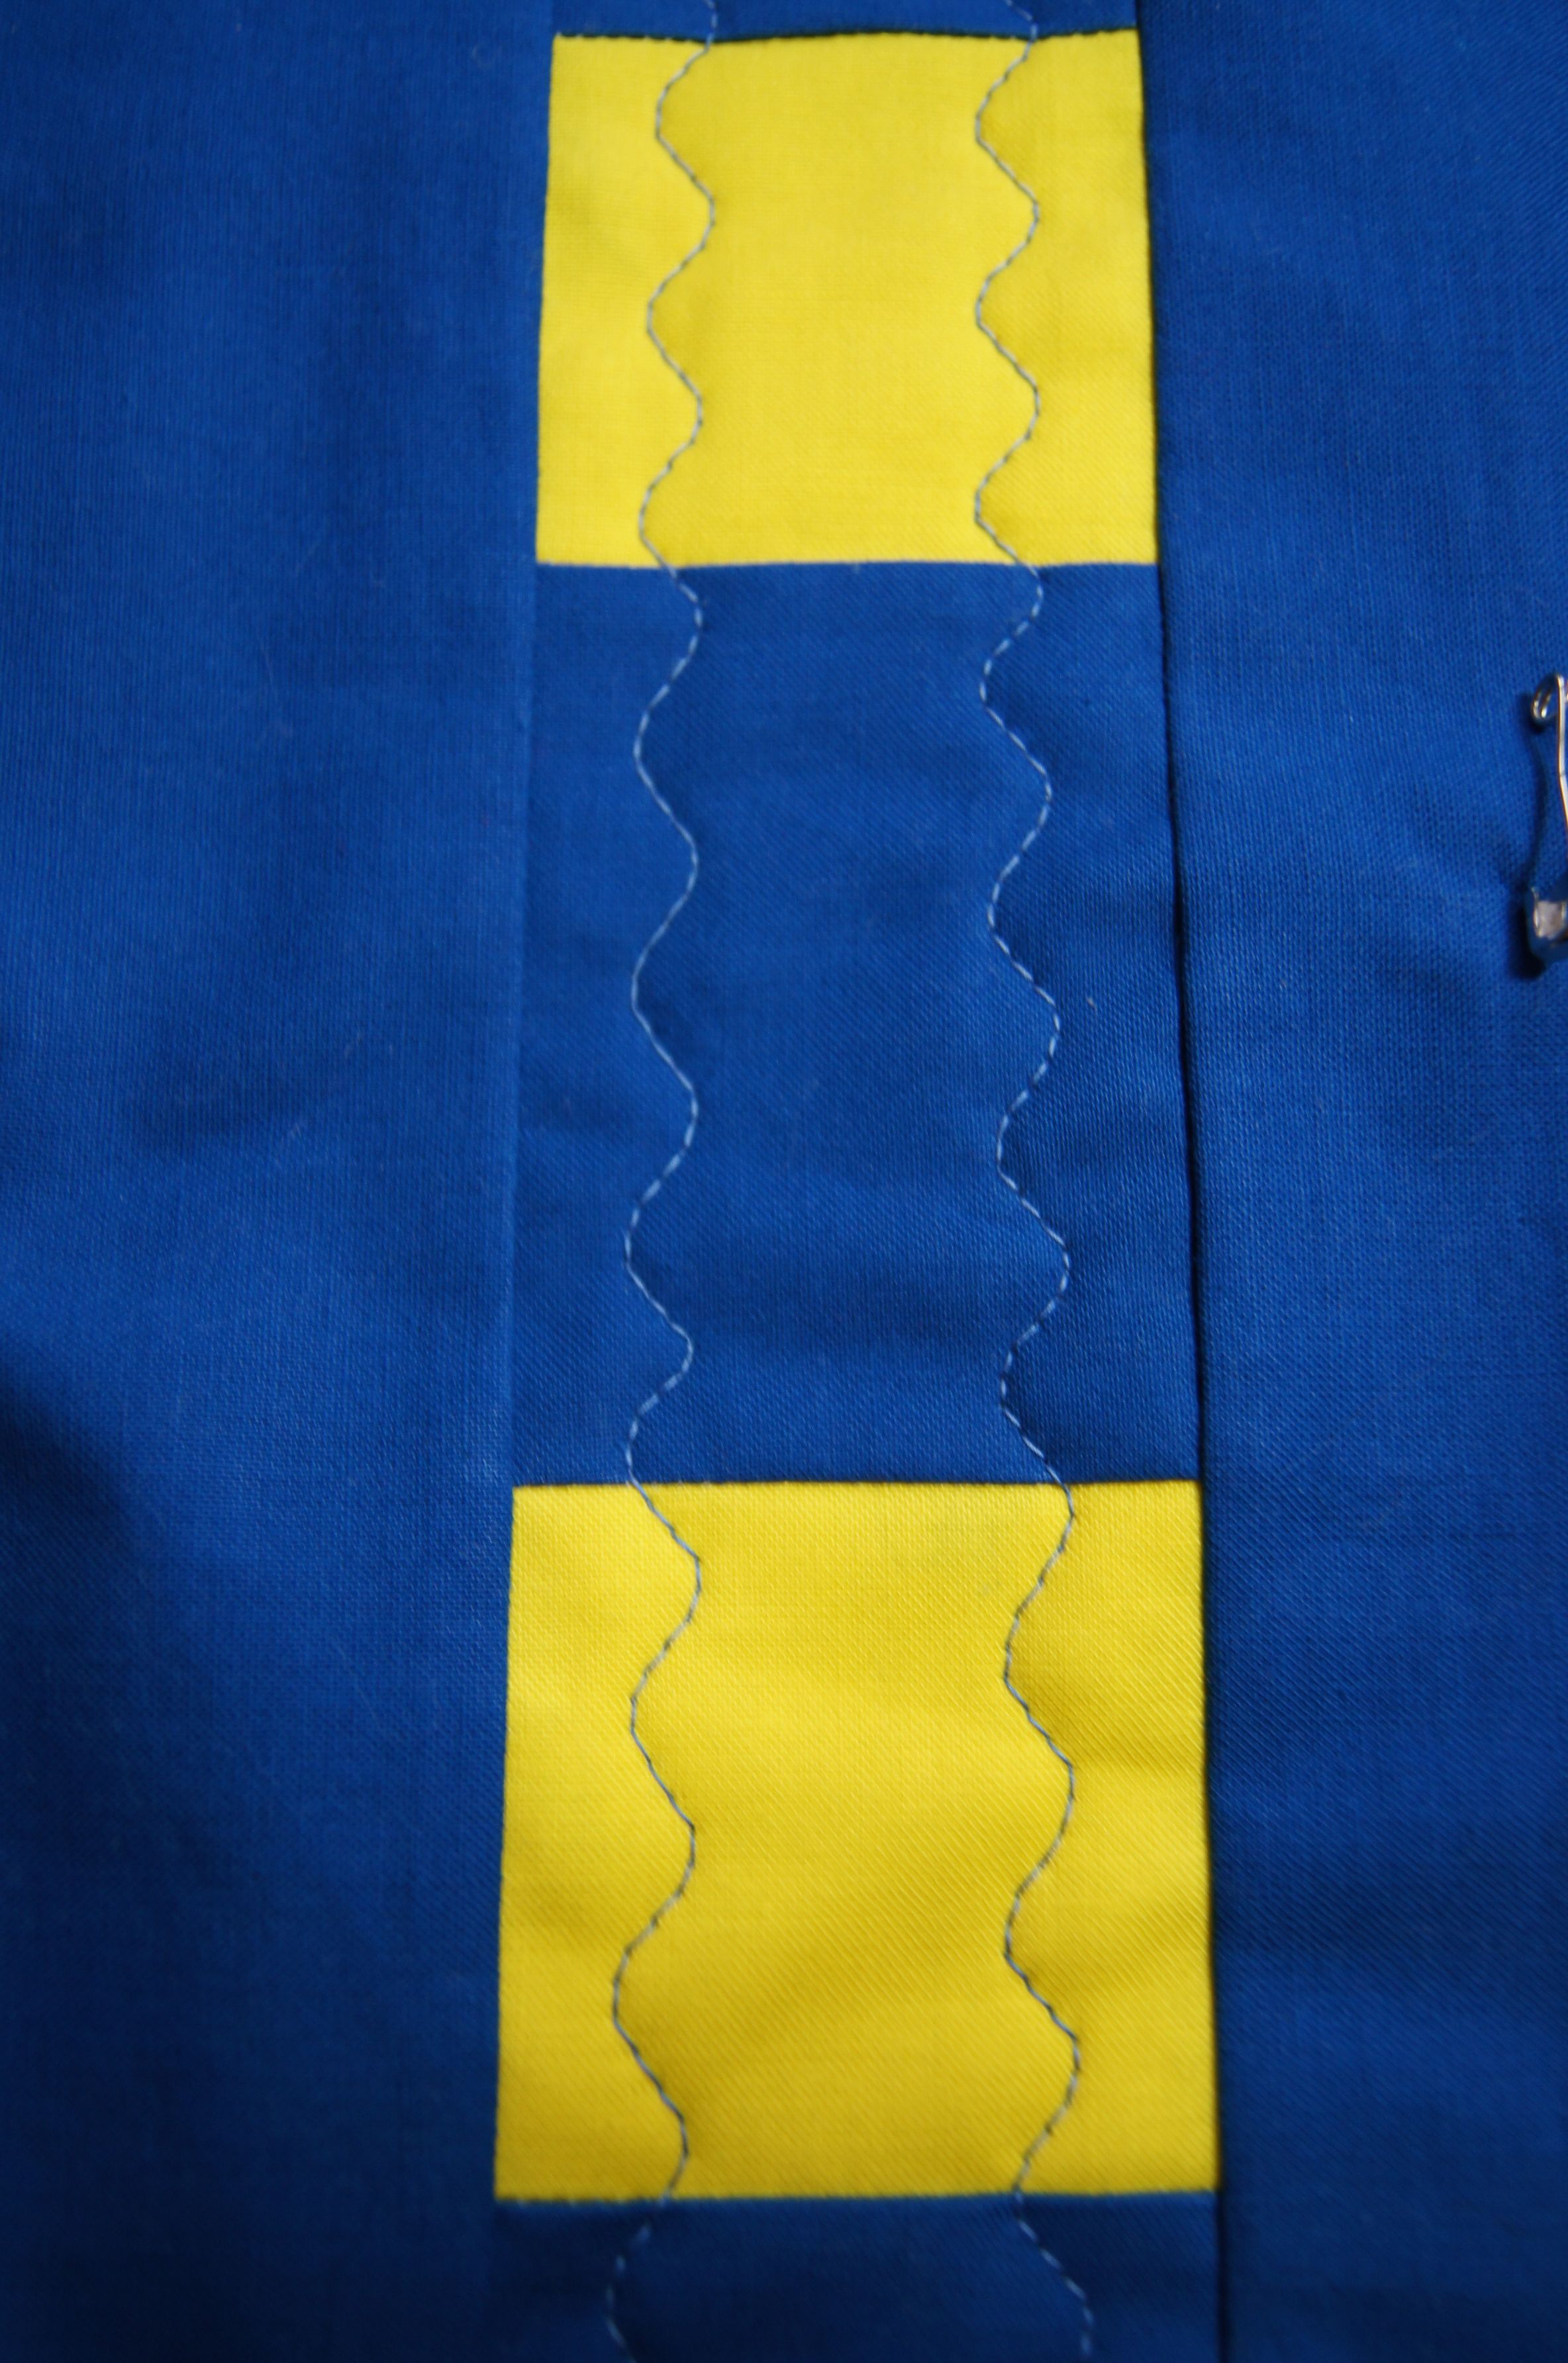
I used the wavy serpentine stitch on the blue and yellow strips in the quilt. It's stitch #4 on my Bernina and I increase the length to 25 to get a wider wave and I use the walking foot.
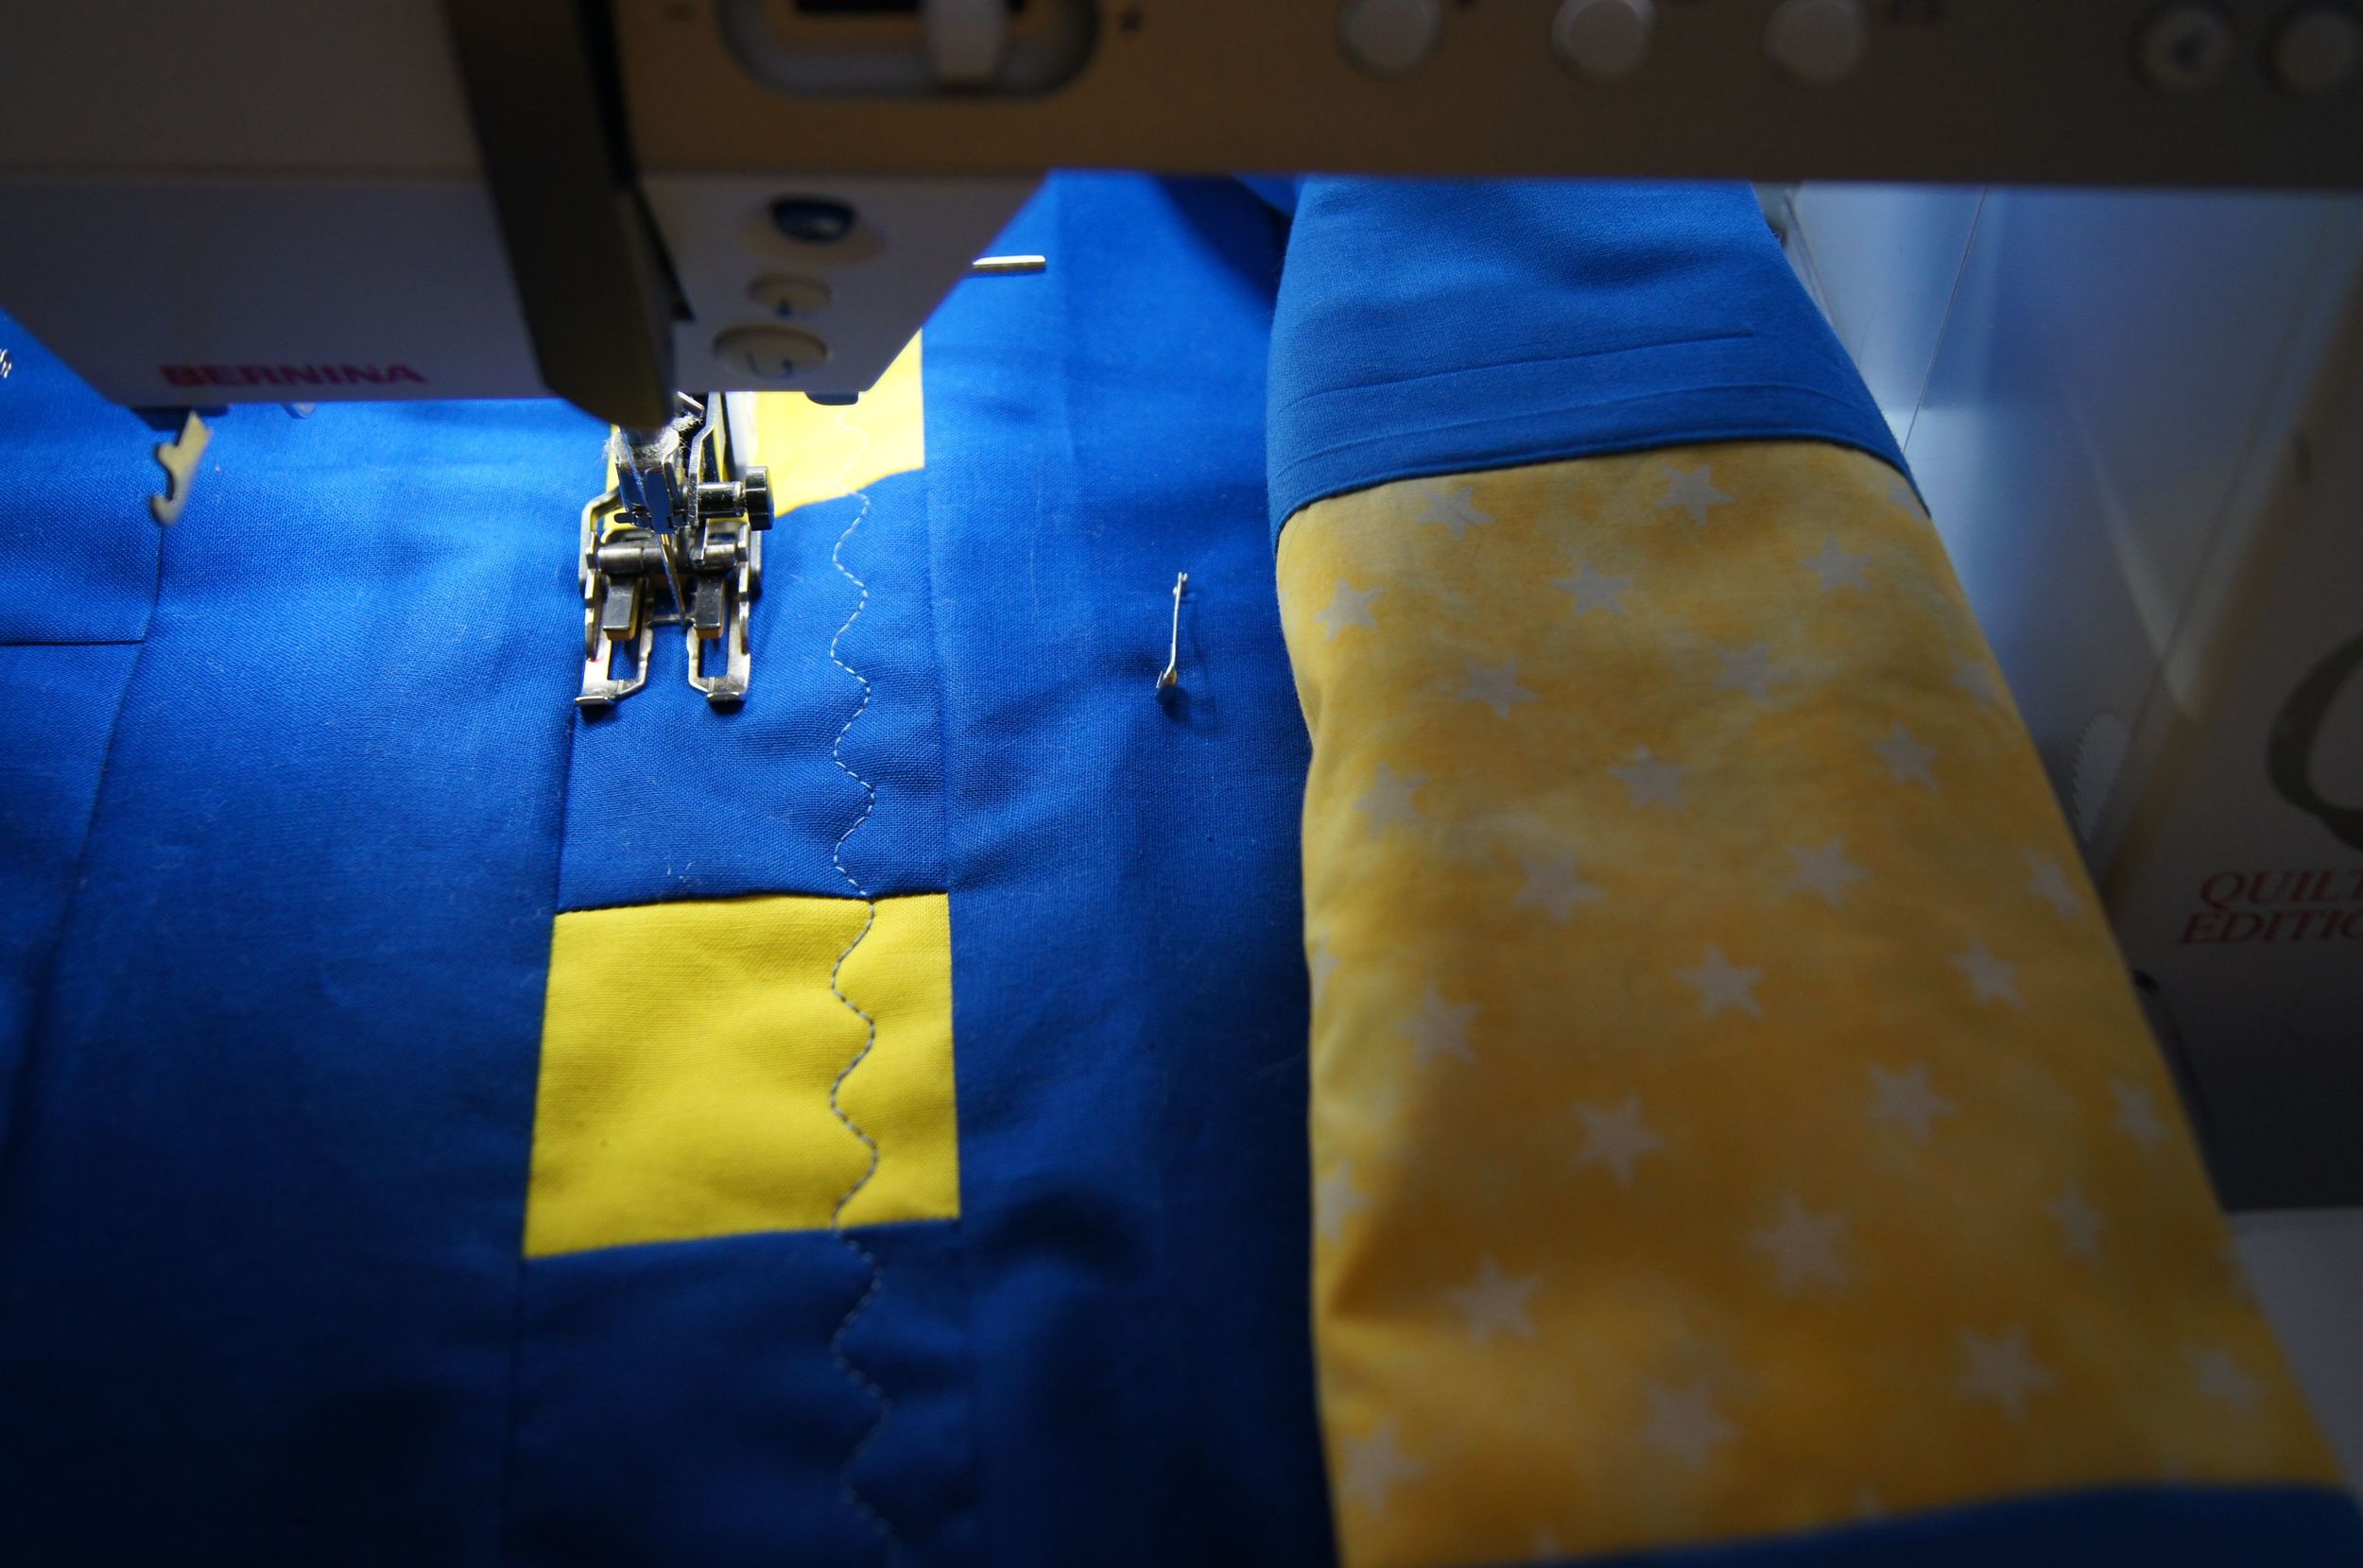
This quilt is almost done. I'm still thinking about how to quilt the small flying geese blocks.
Quilt number two has top, backing and batting all set to sandwich! Hopefully I'll get that done today.