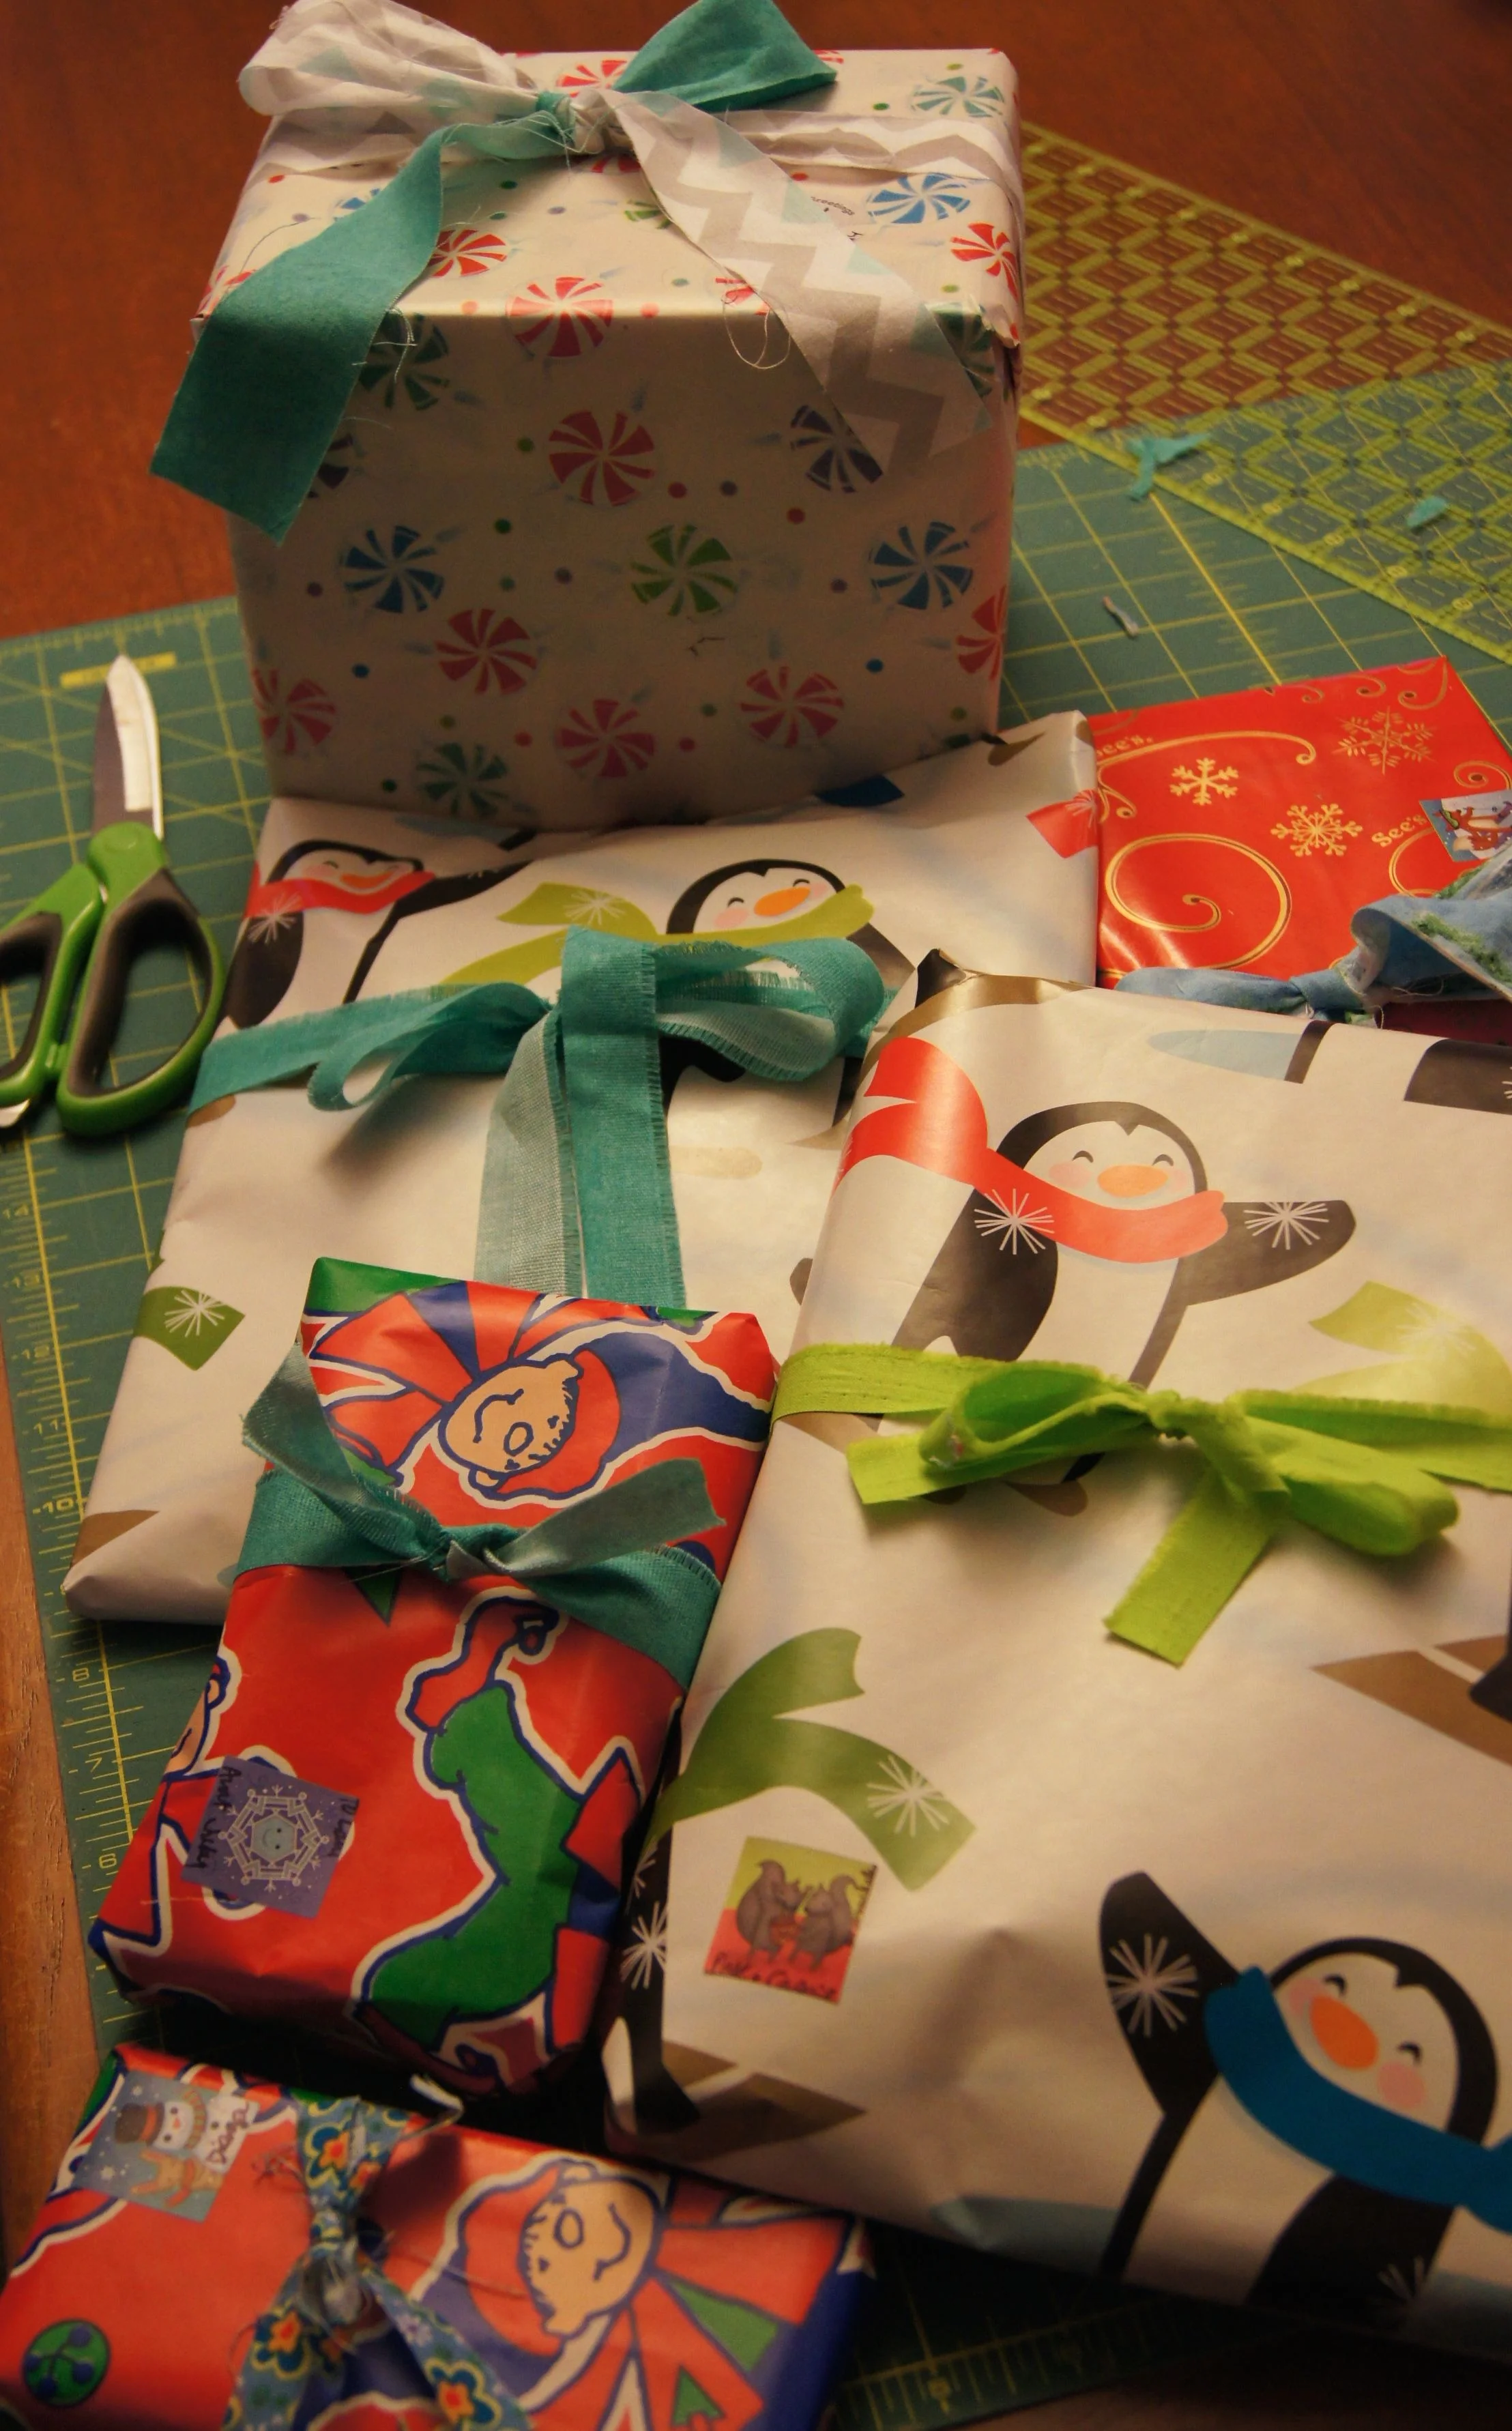
Gifts with fabric strip scraps in place of ribbons
I settled down at my dining room table the other day to wrap holiday presents. The table is a nice big surface and it is where my cutting mat lives. I had brought out the wrapping paper but not the ribbons and I was at the point where I was ready to tie some bows.
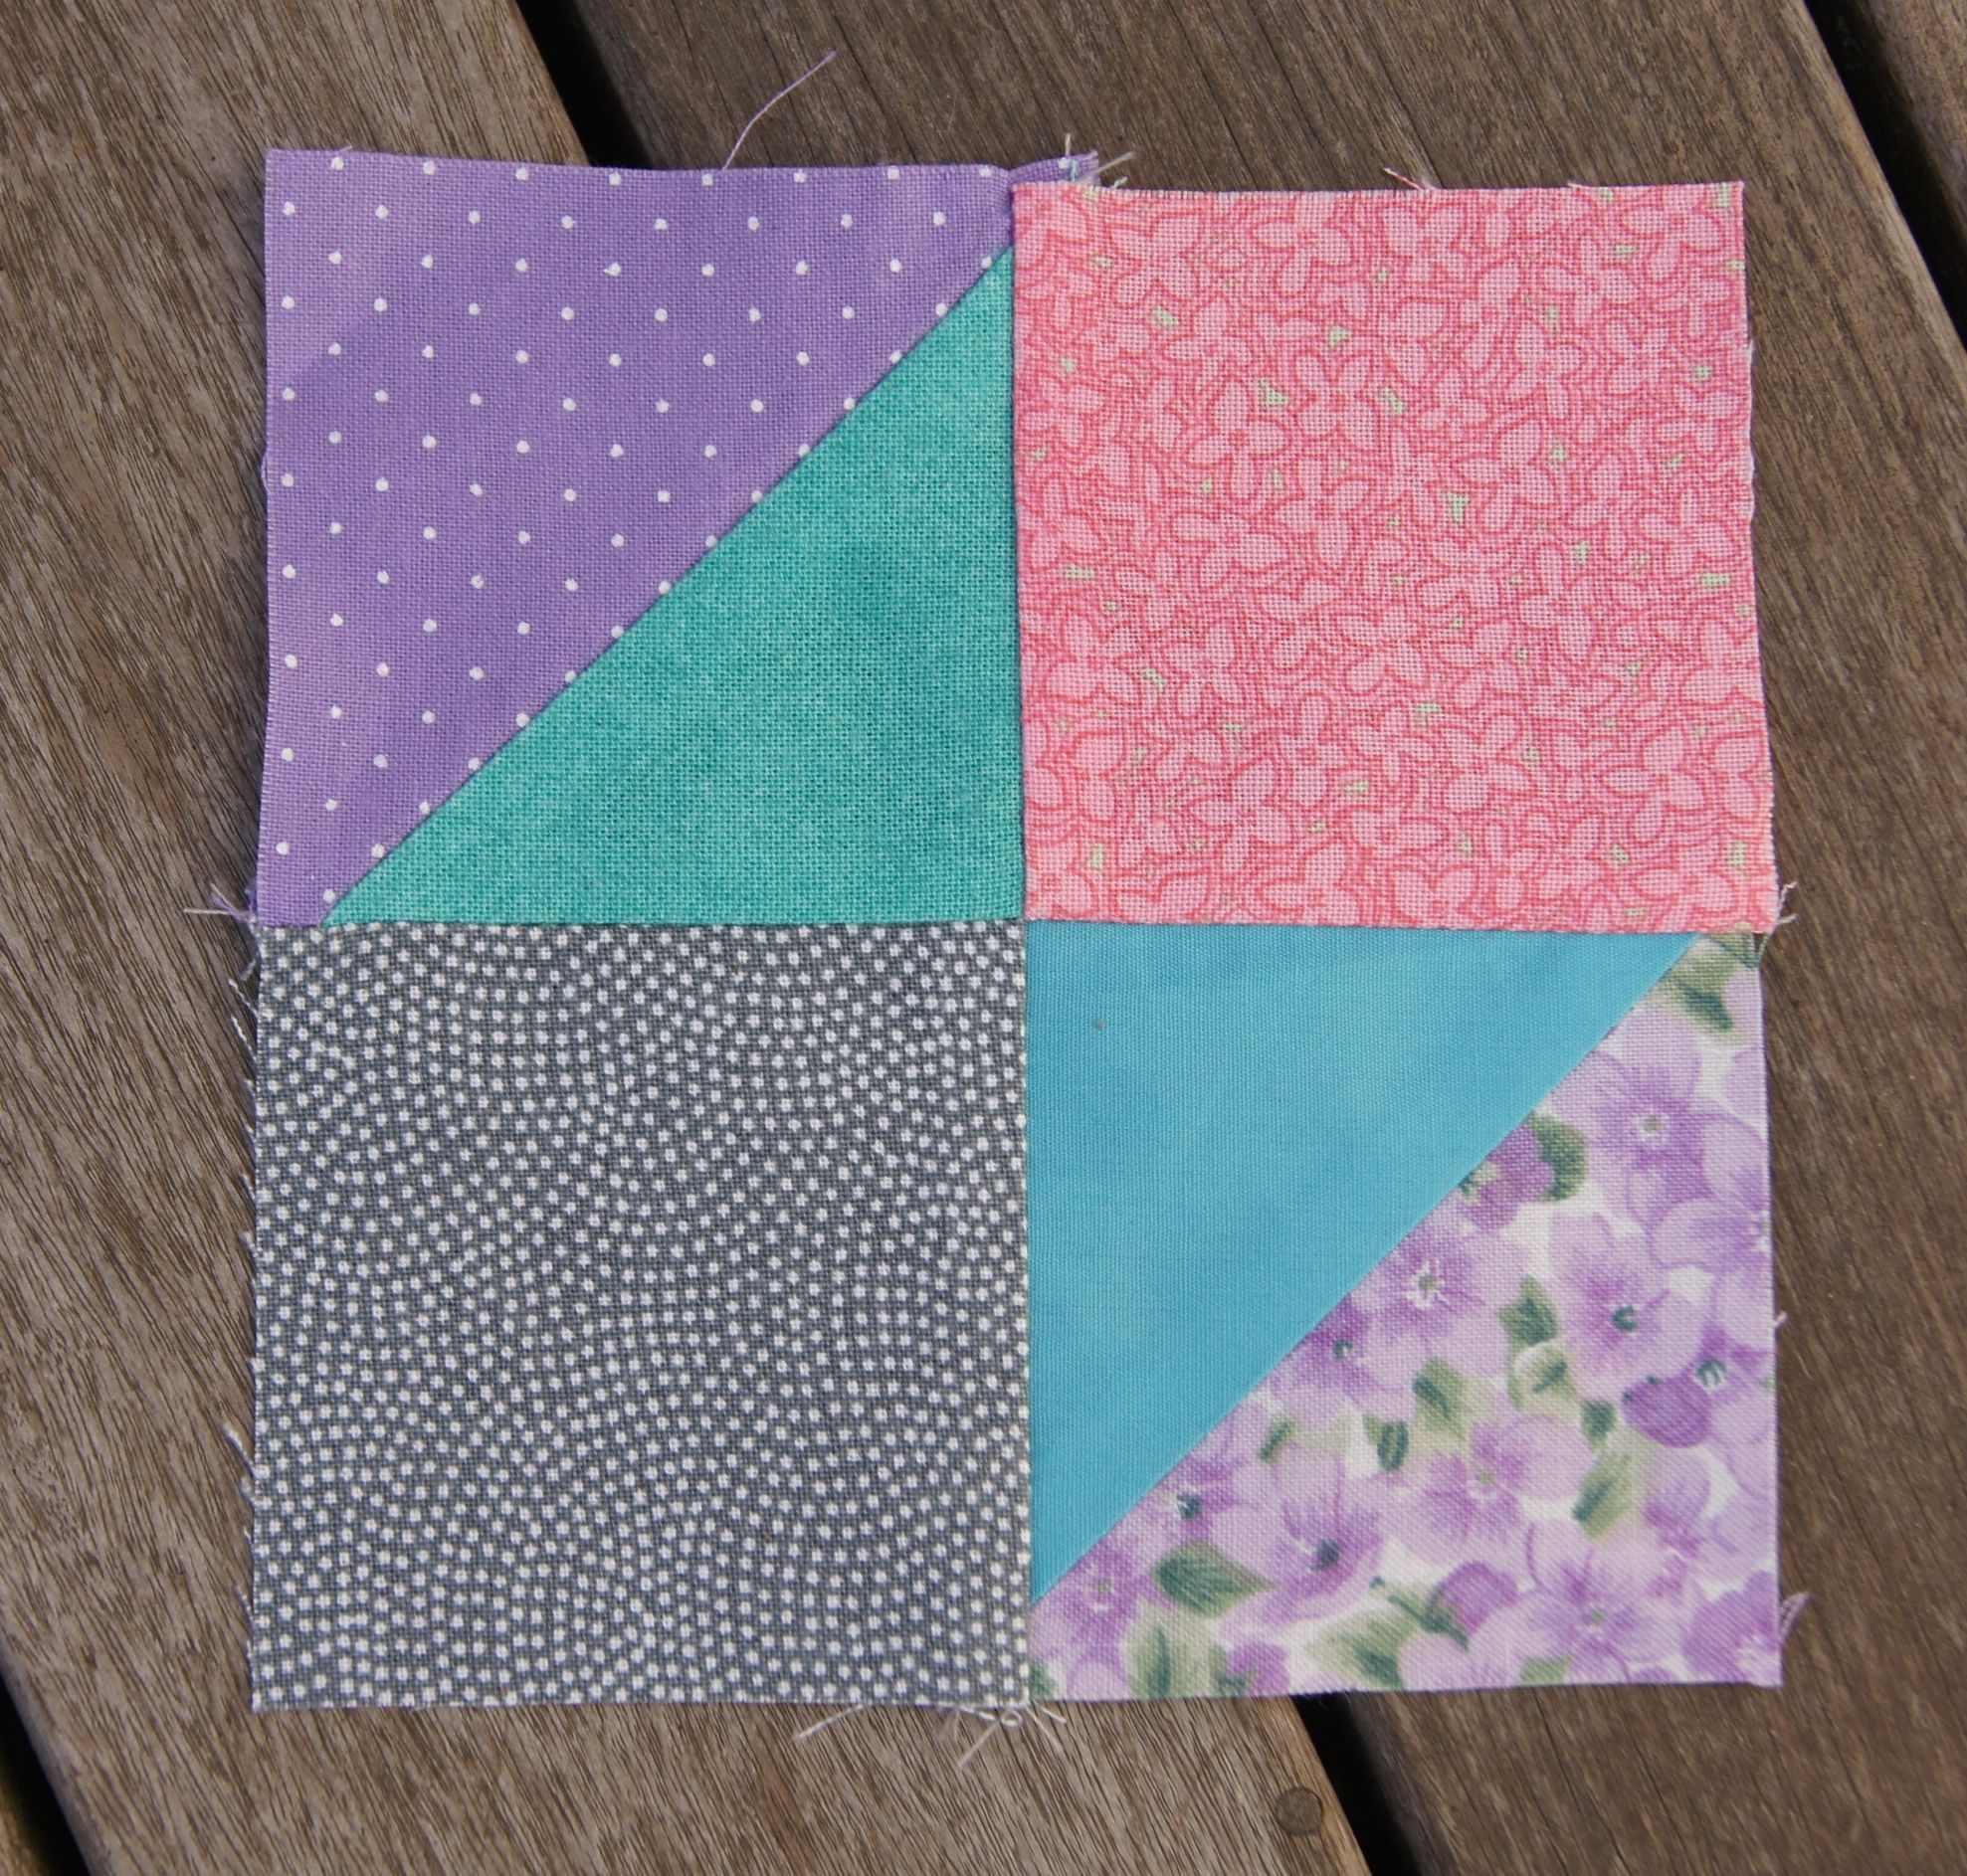
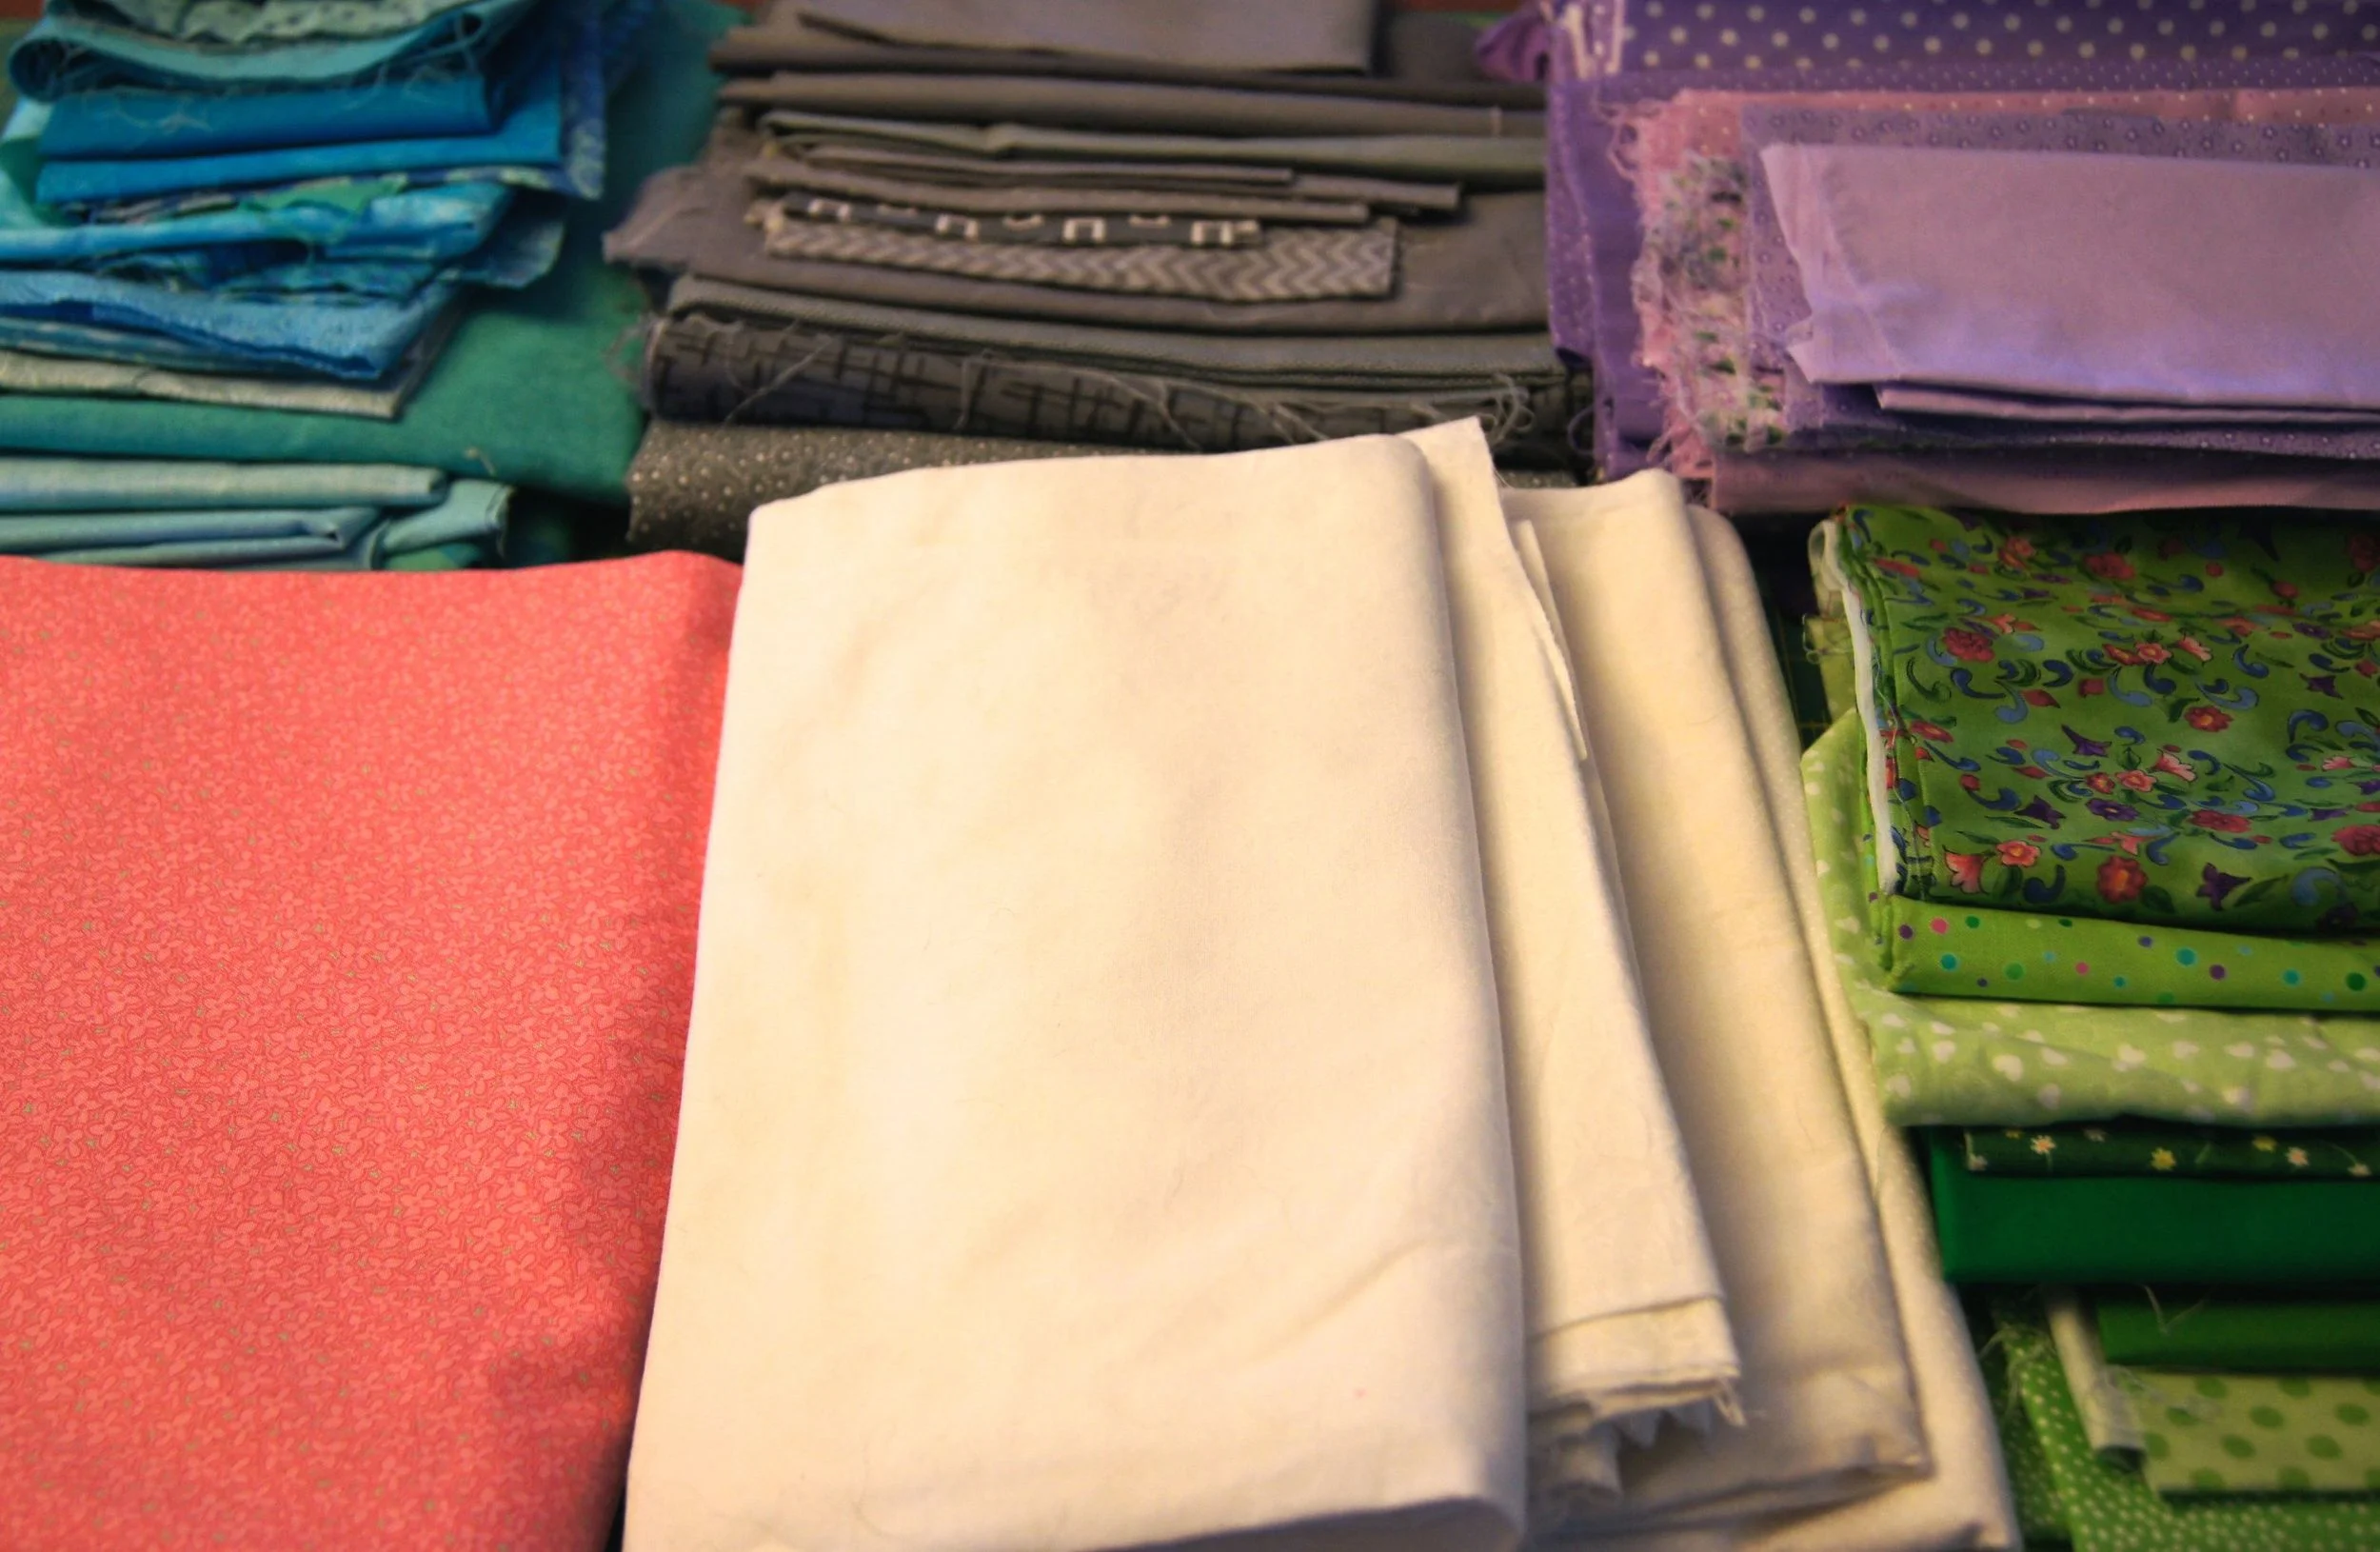
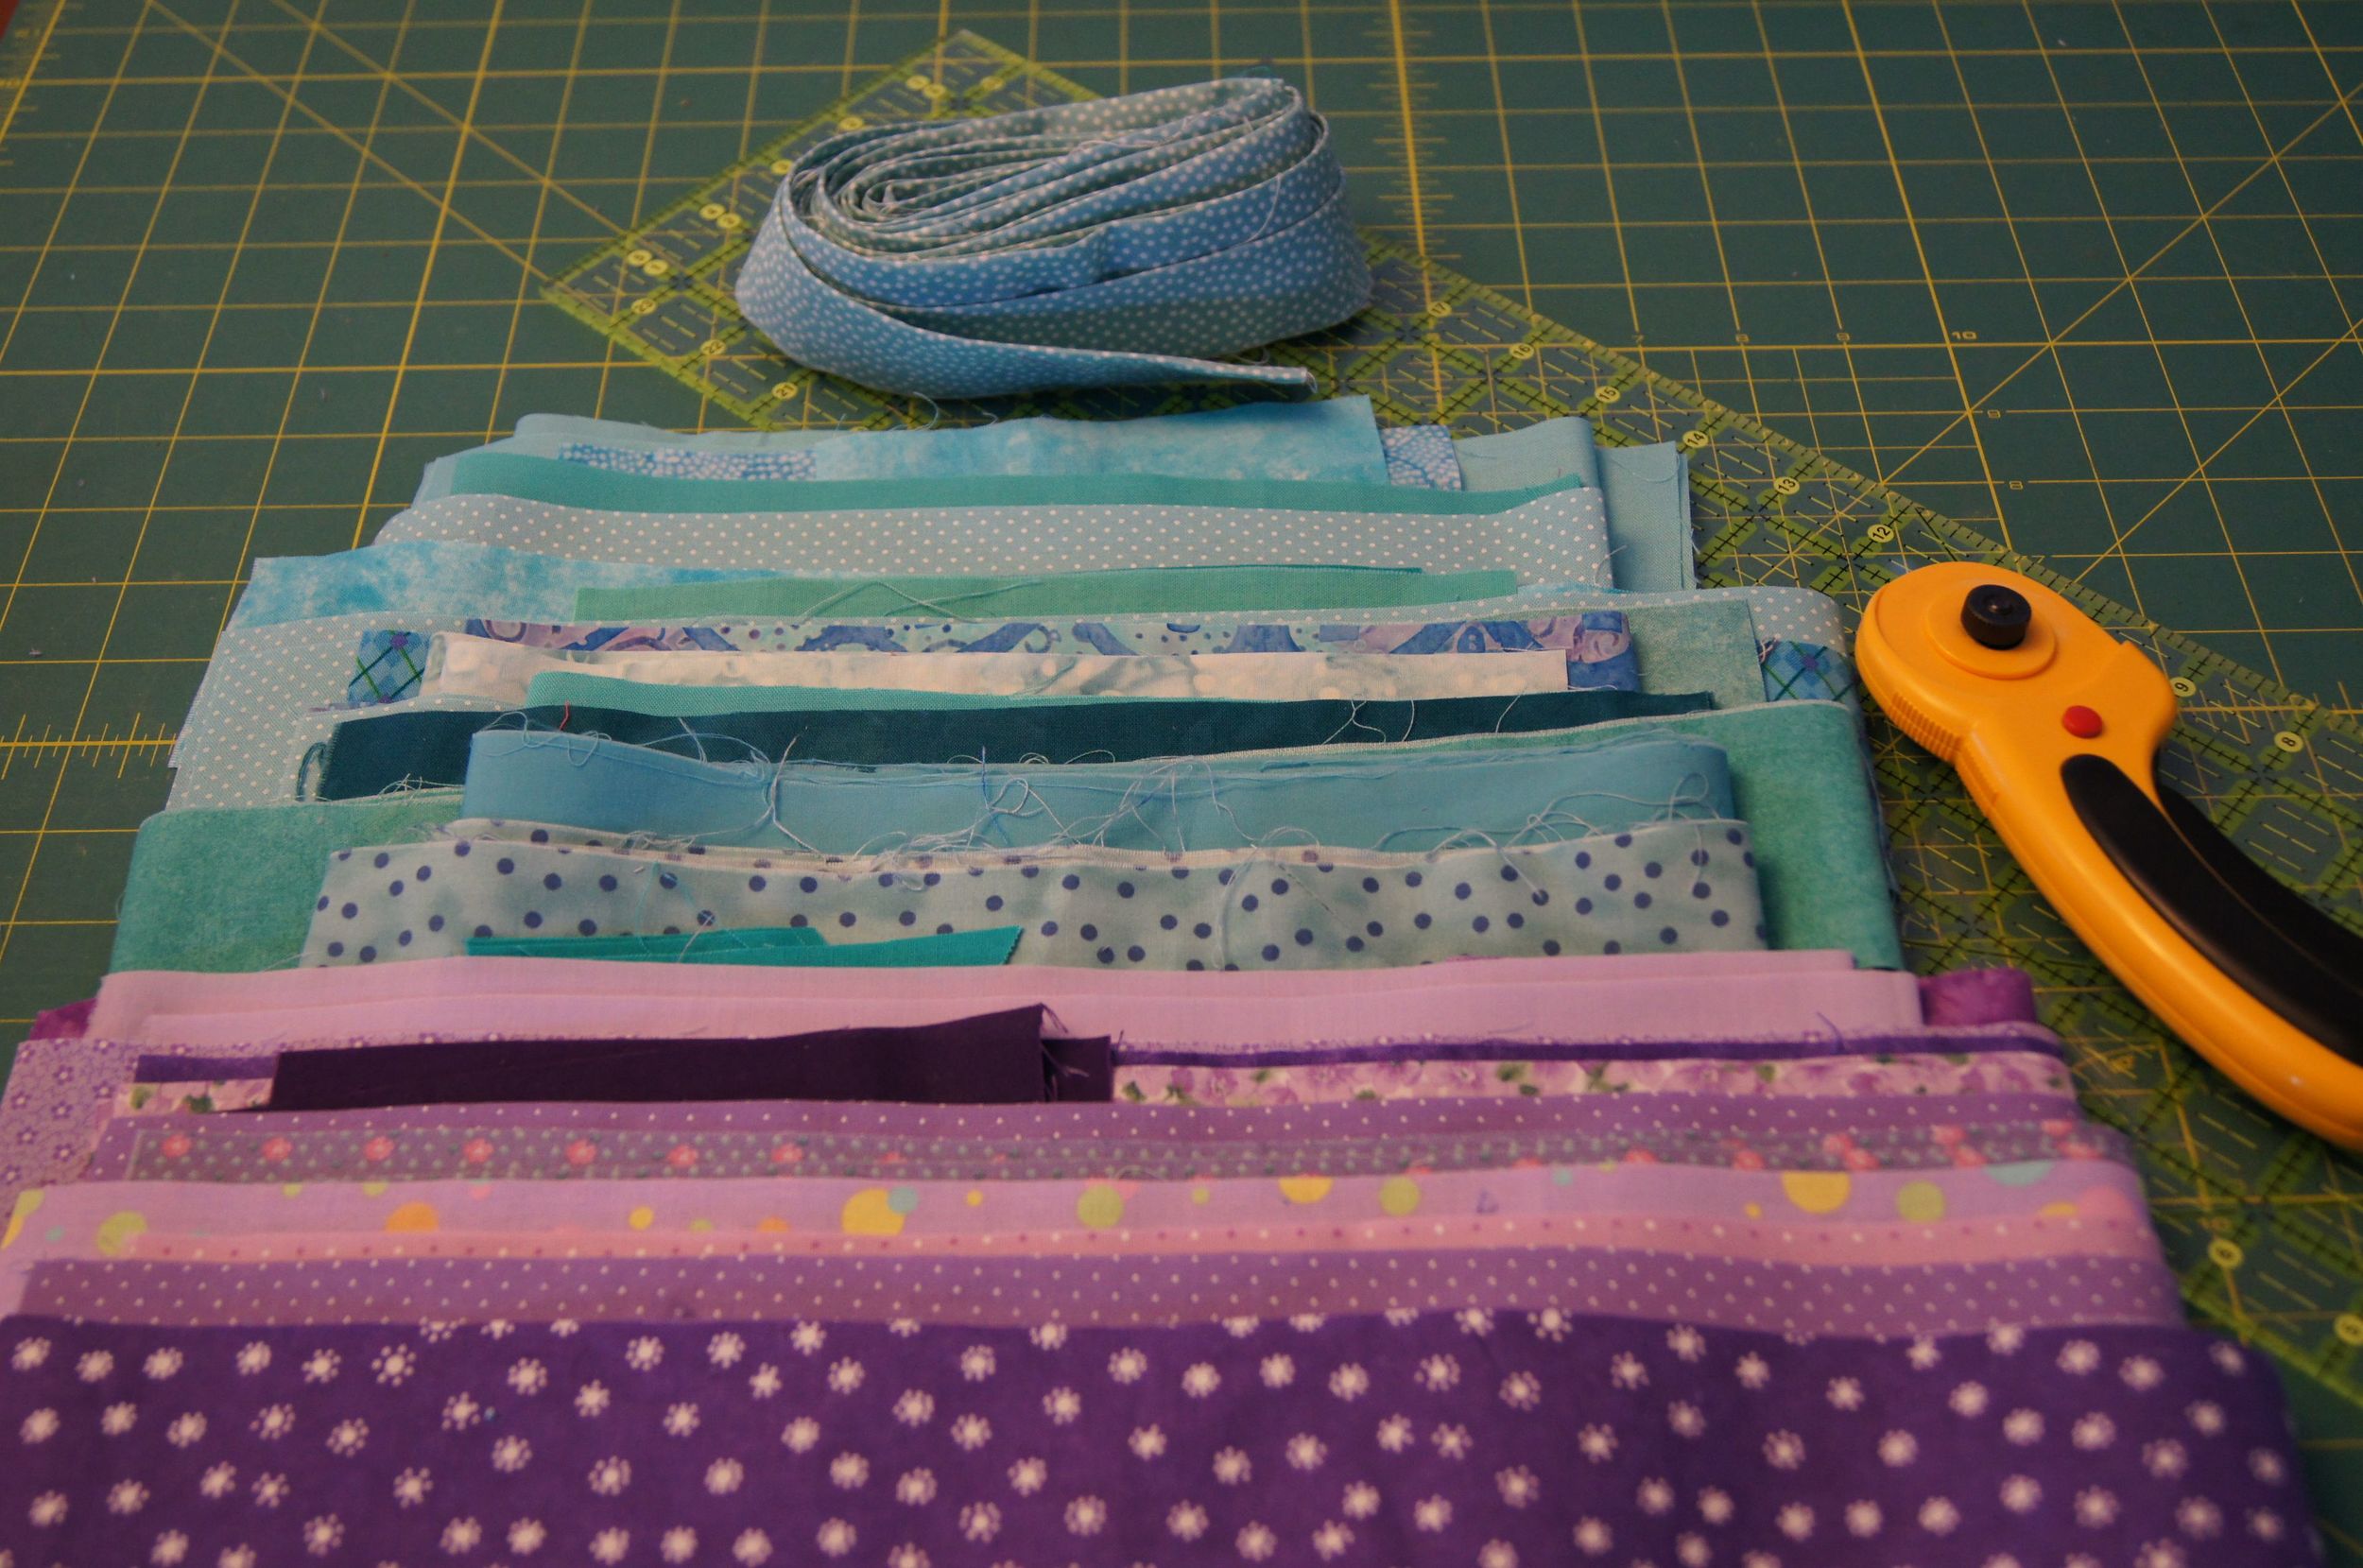
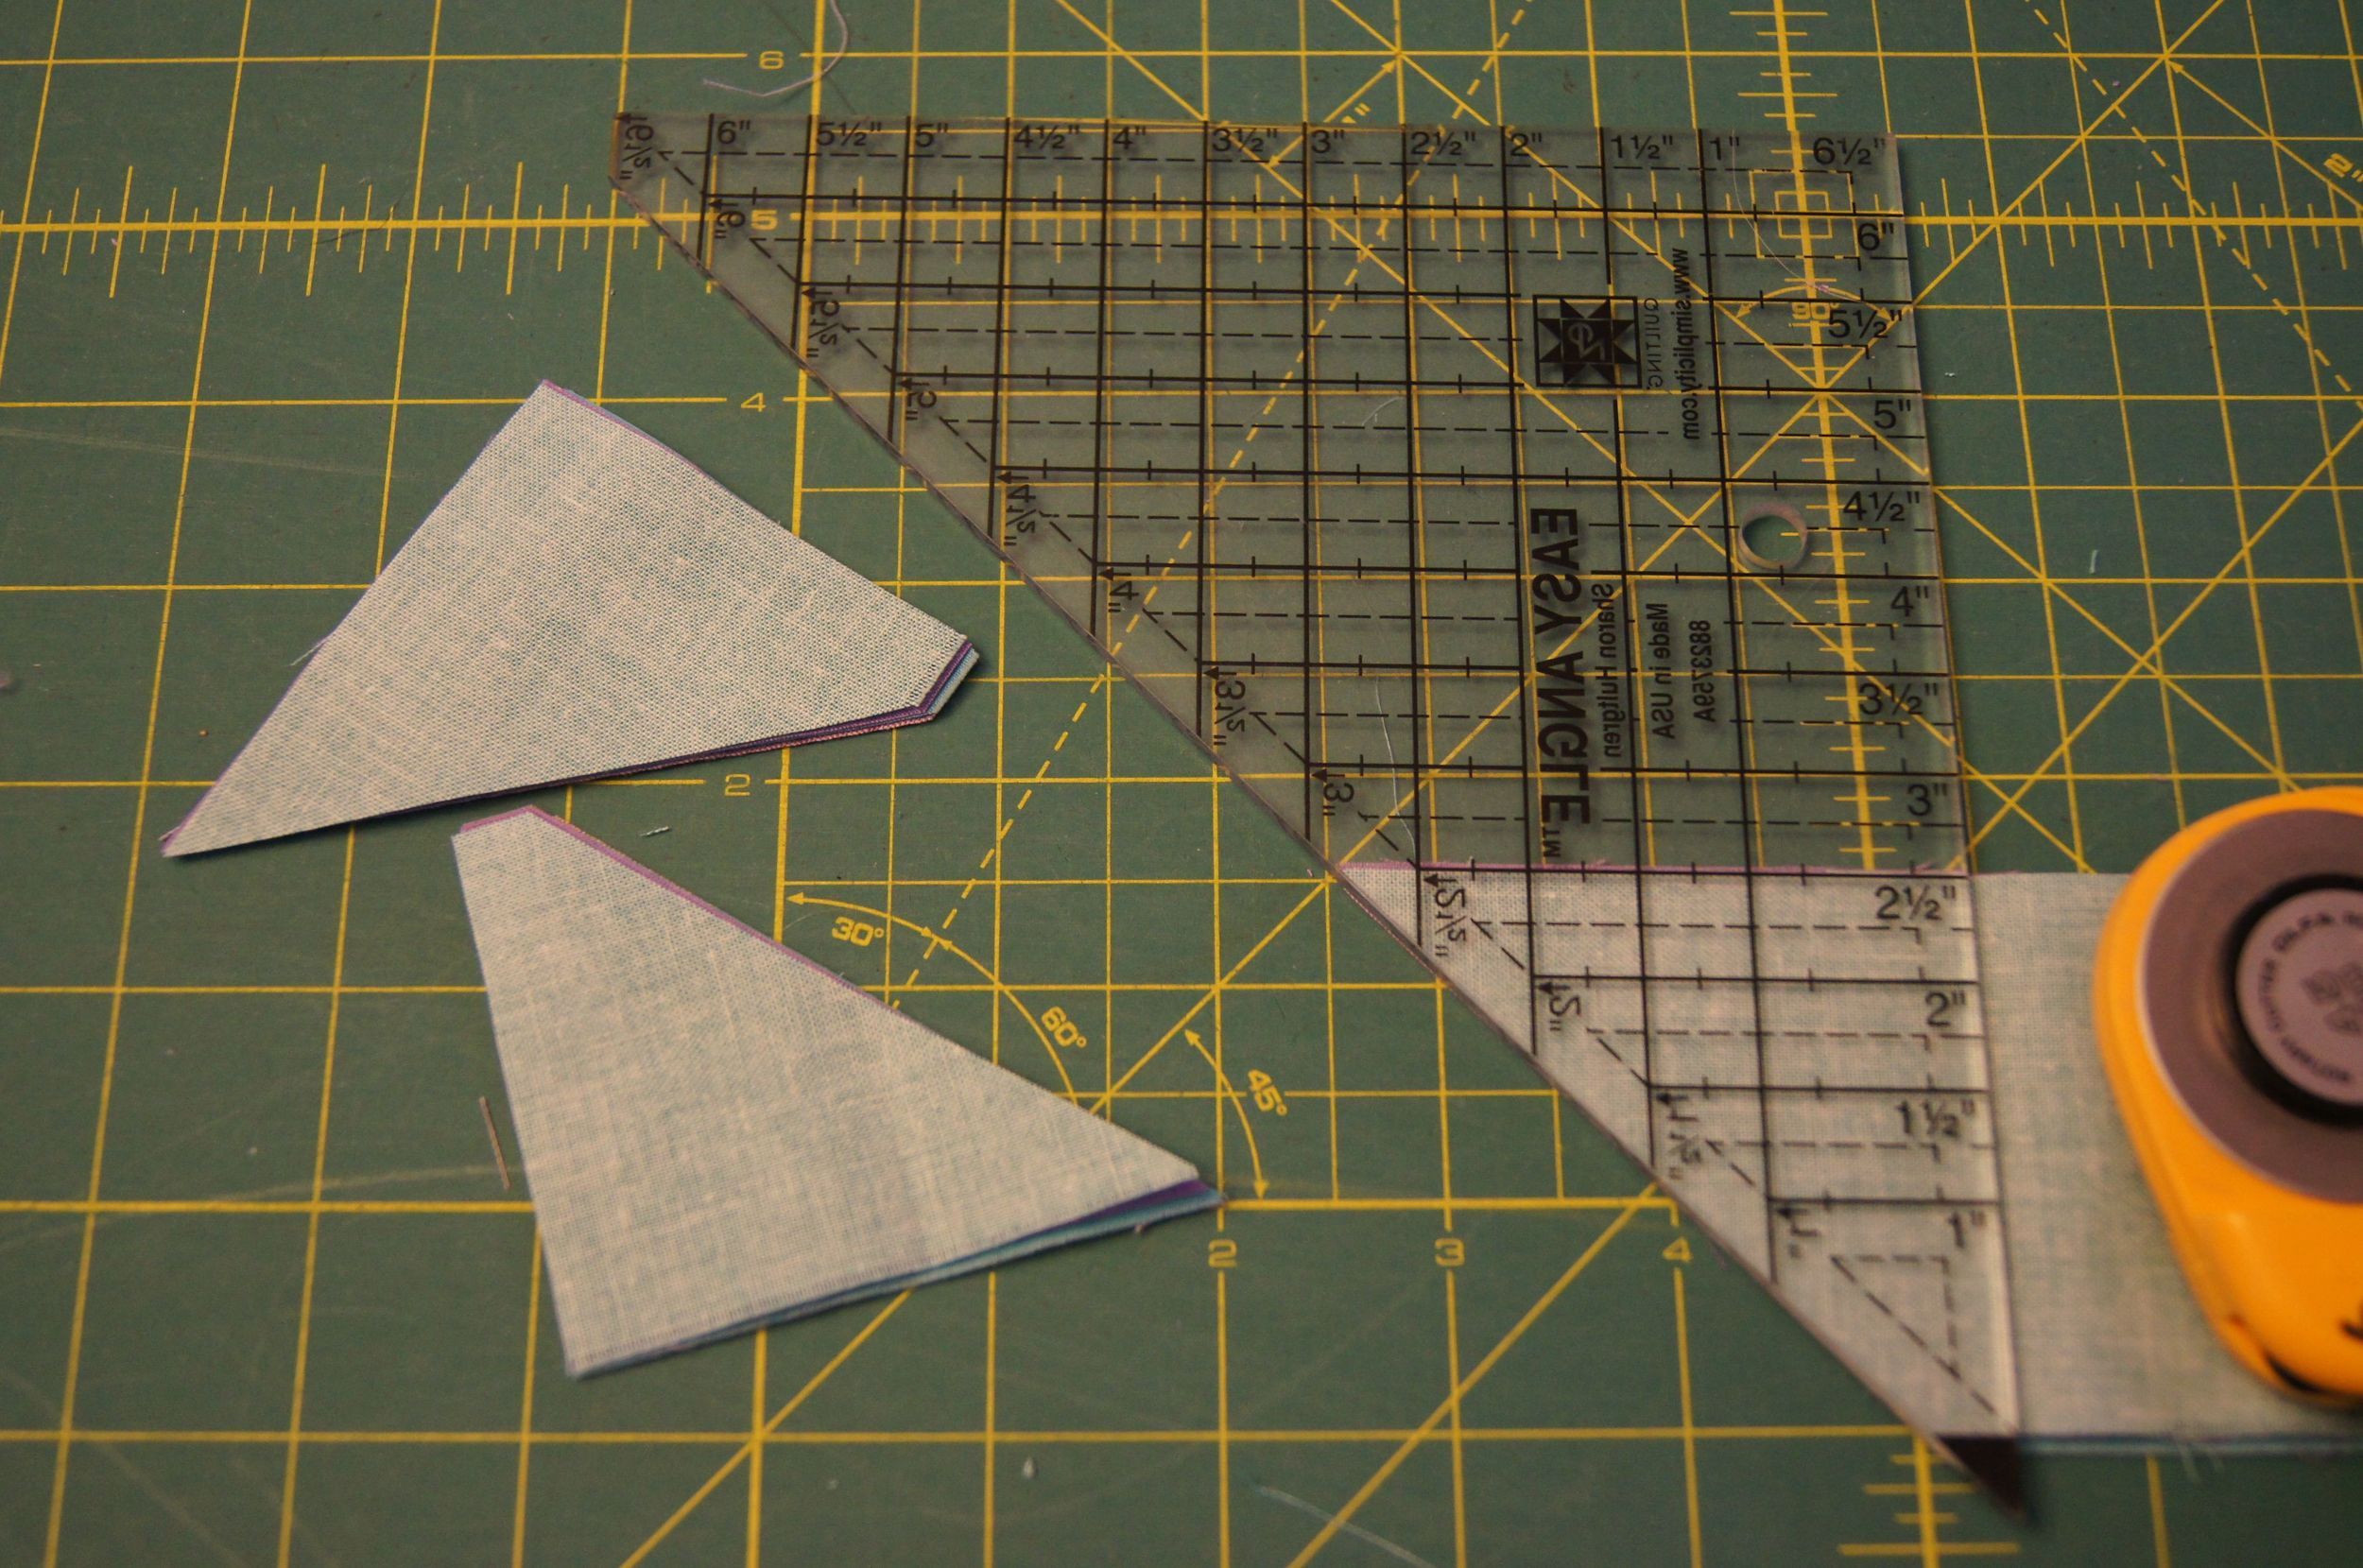
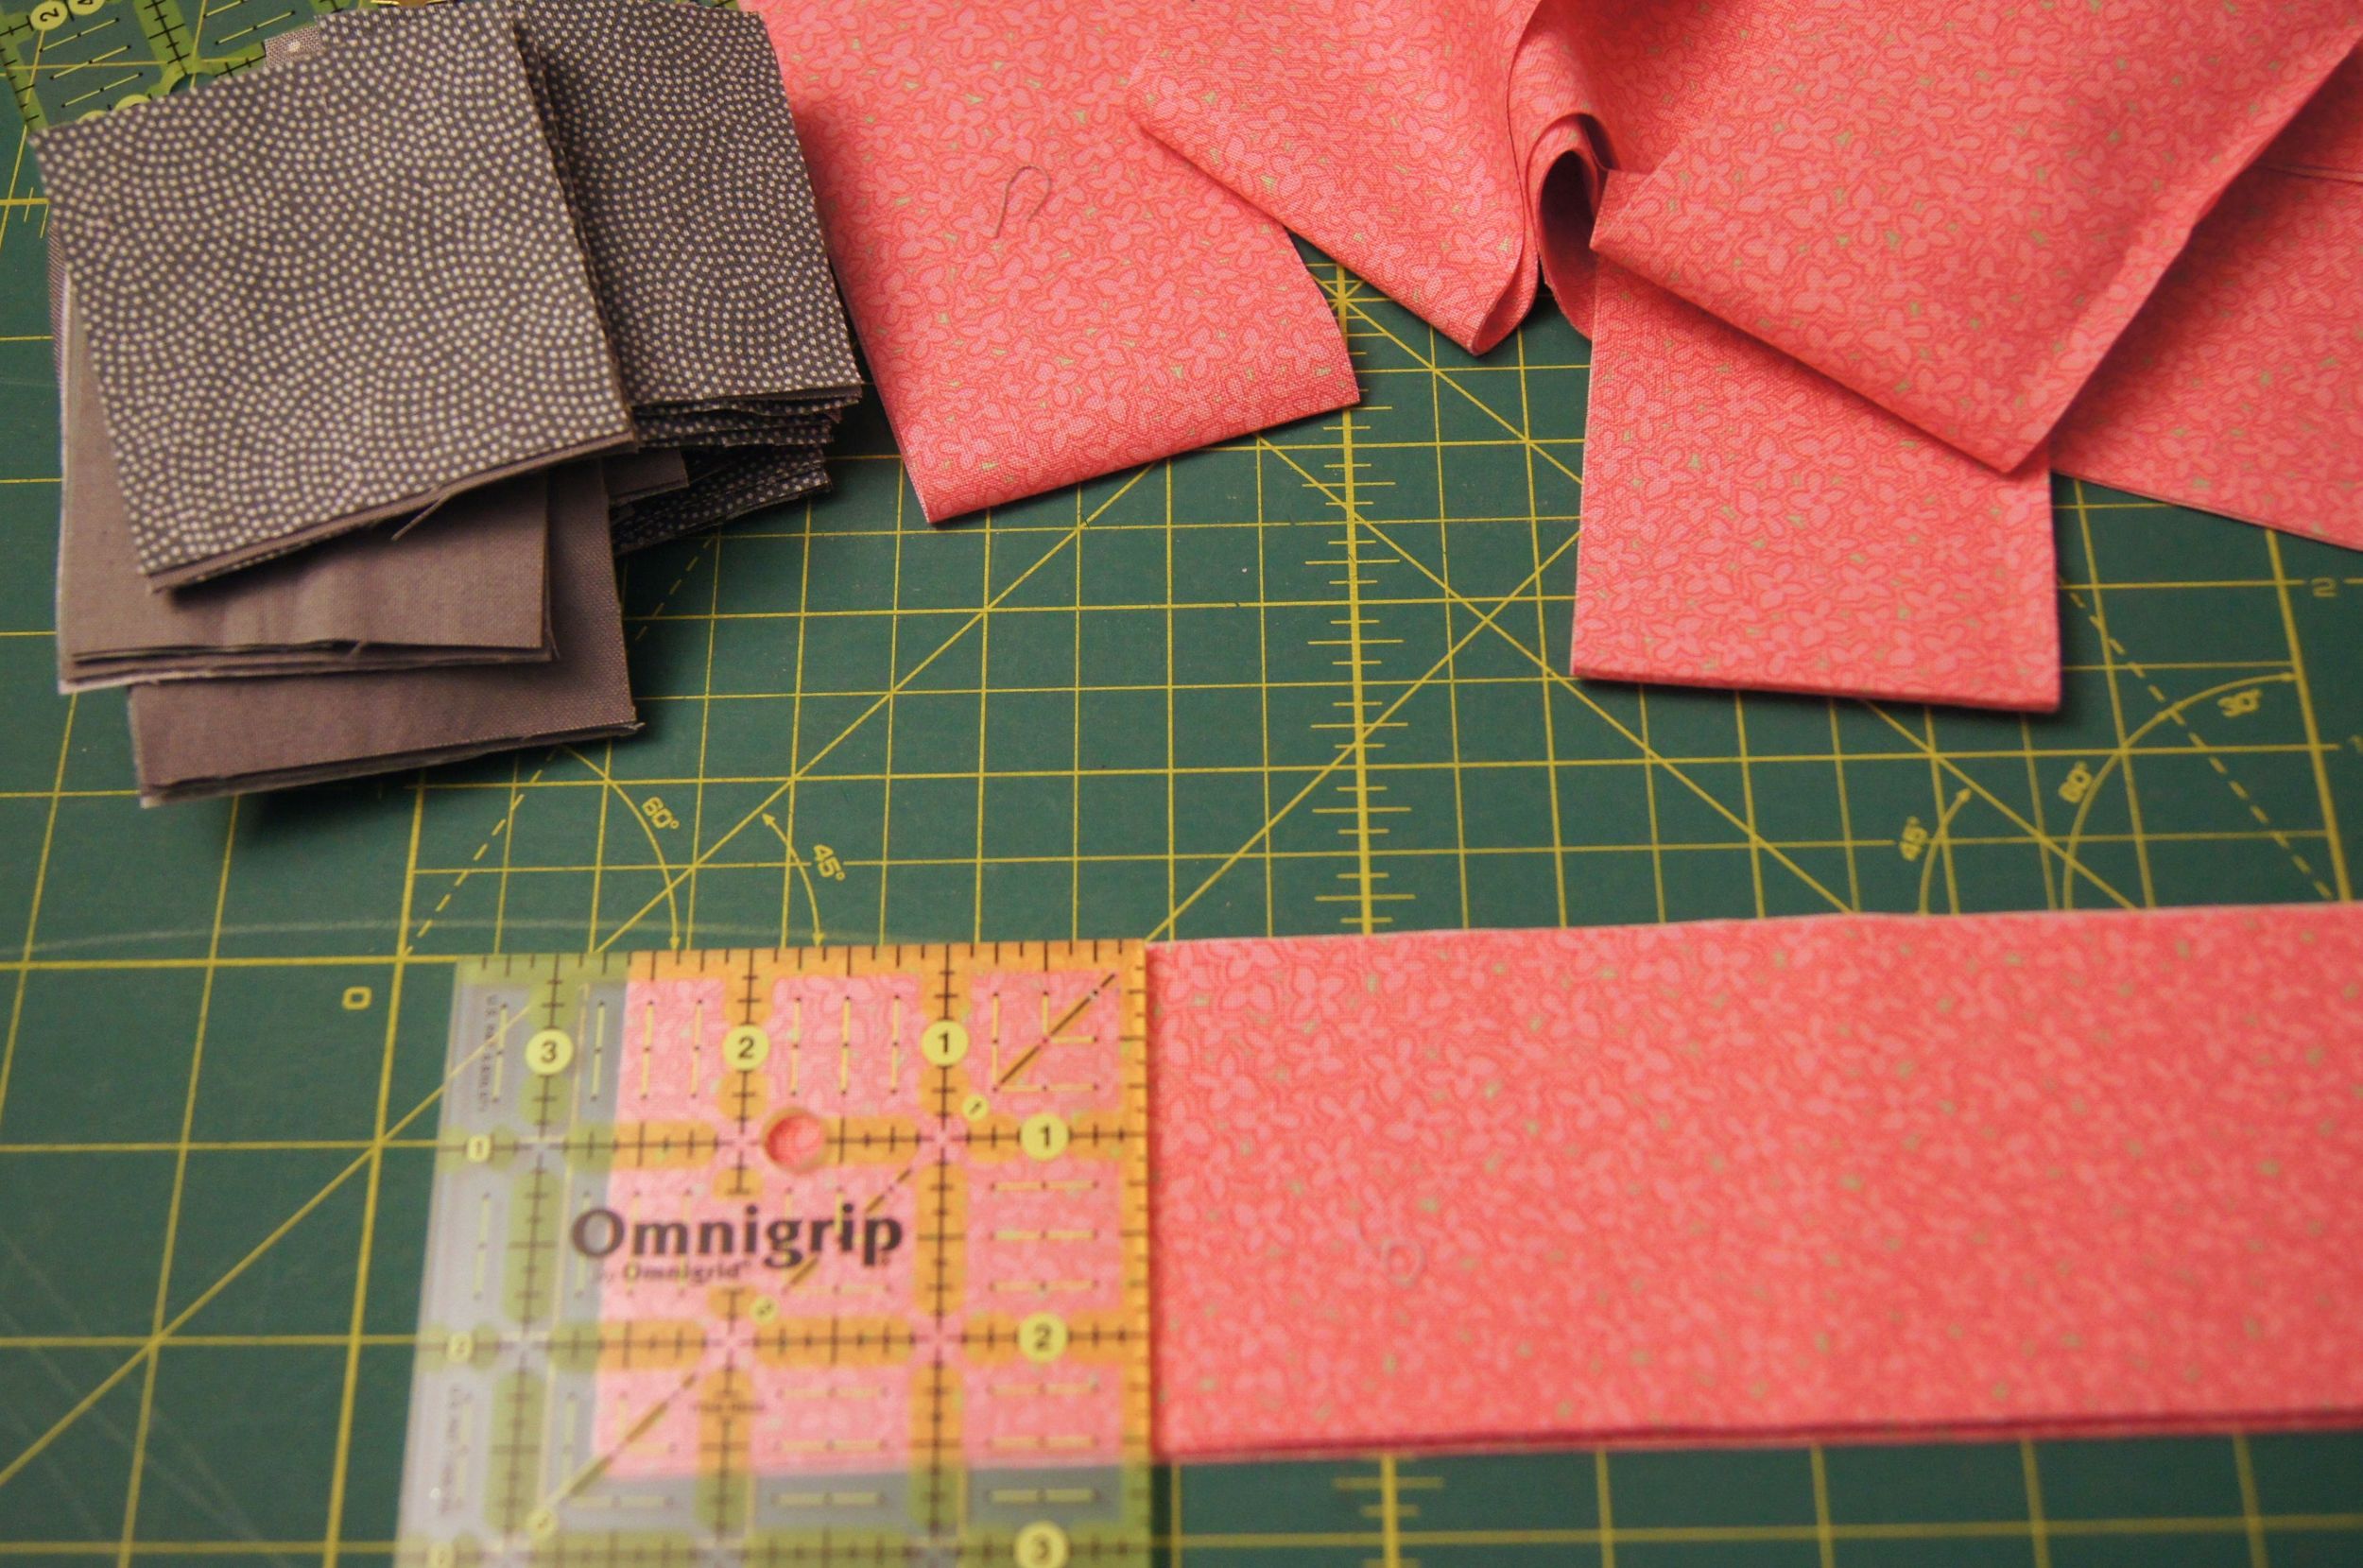
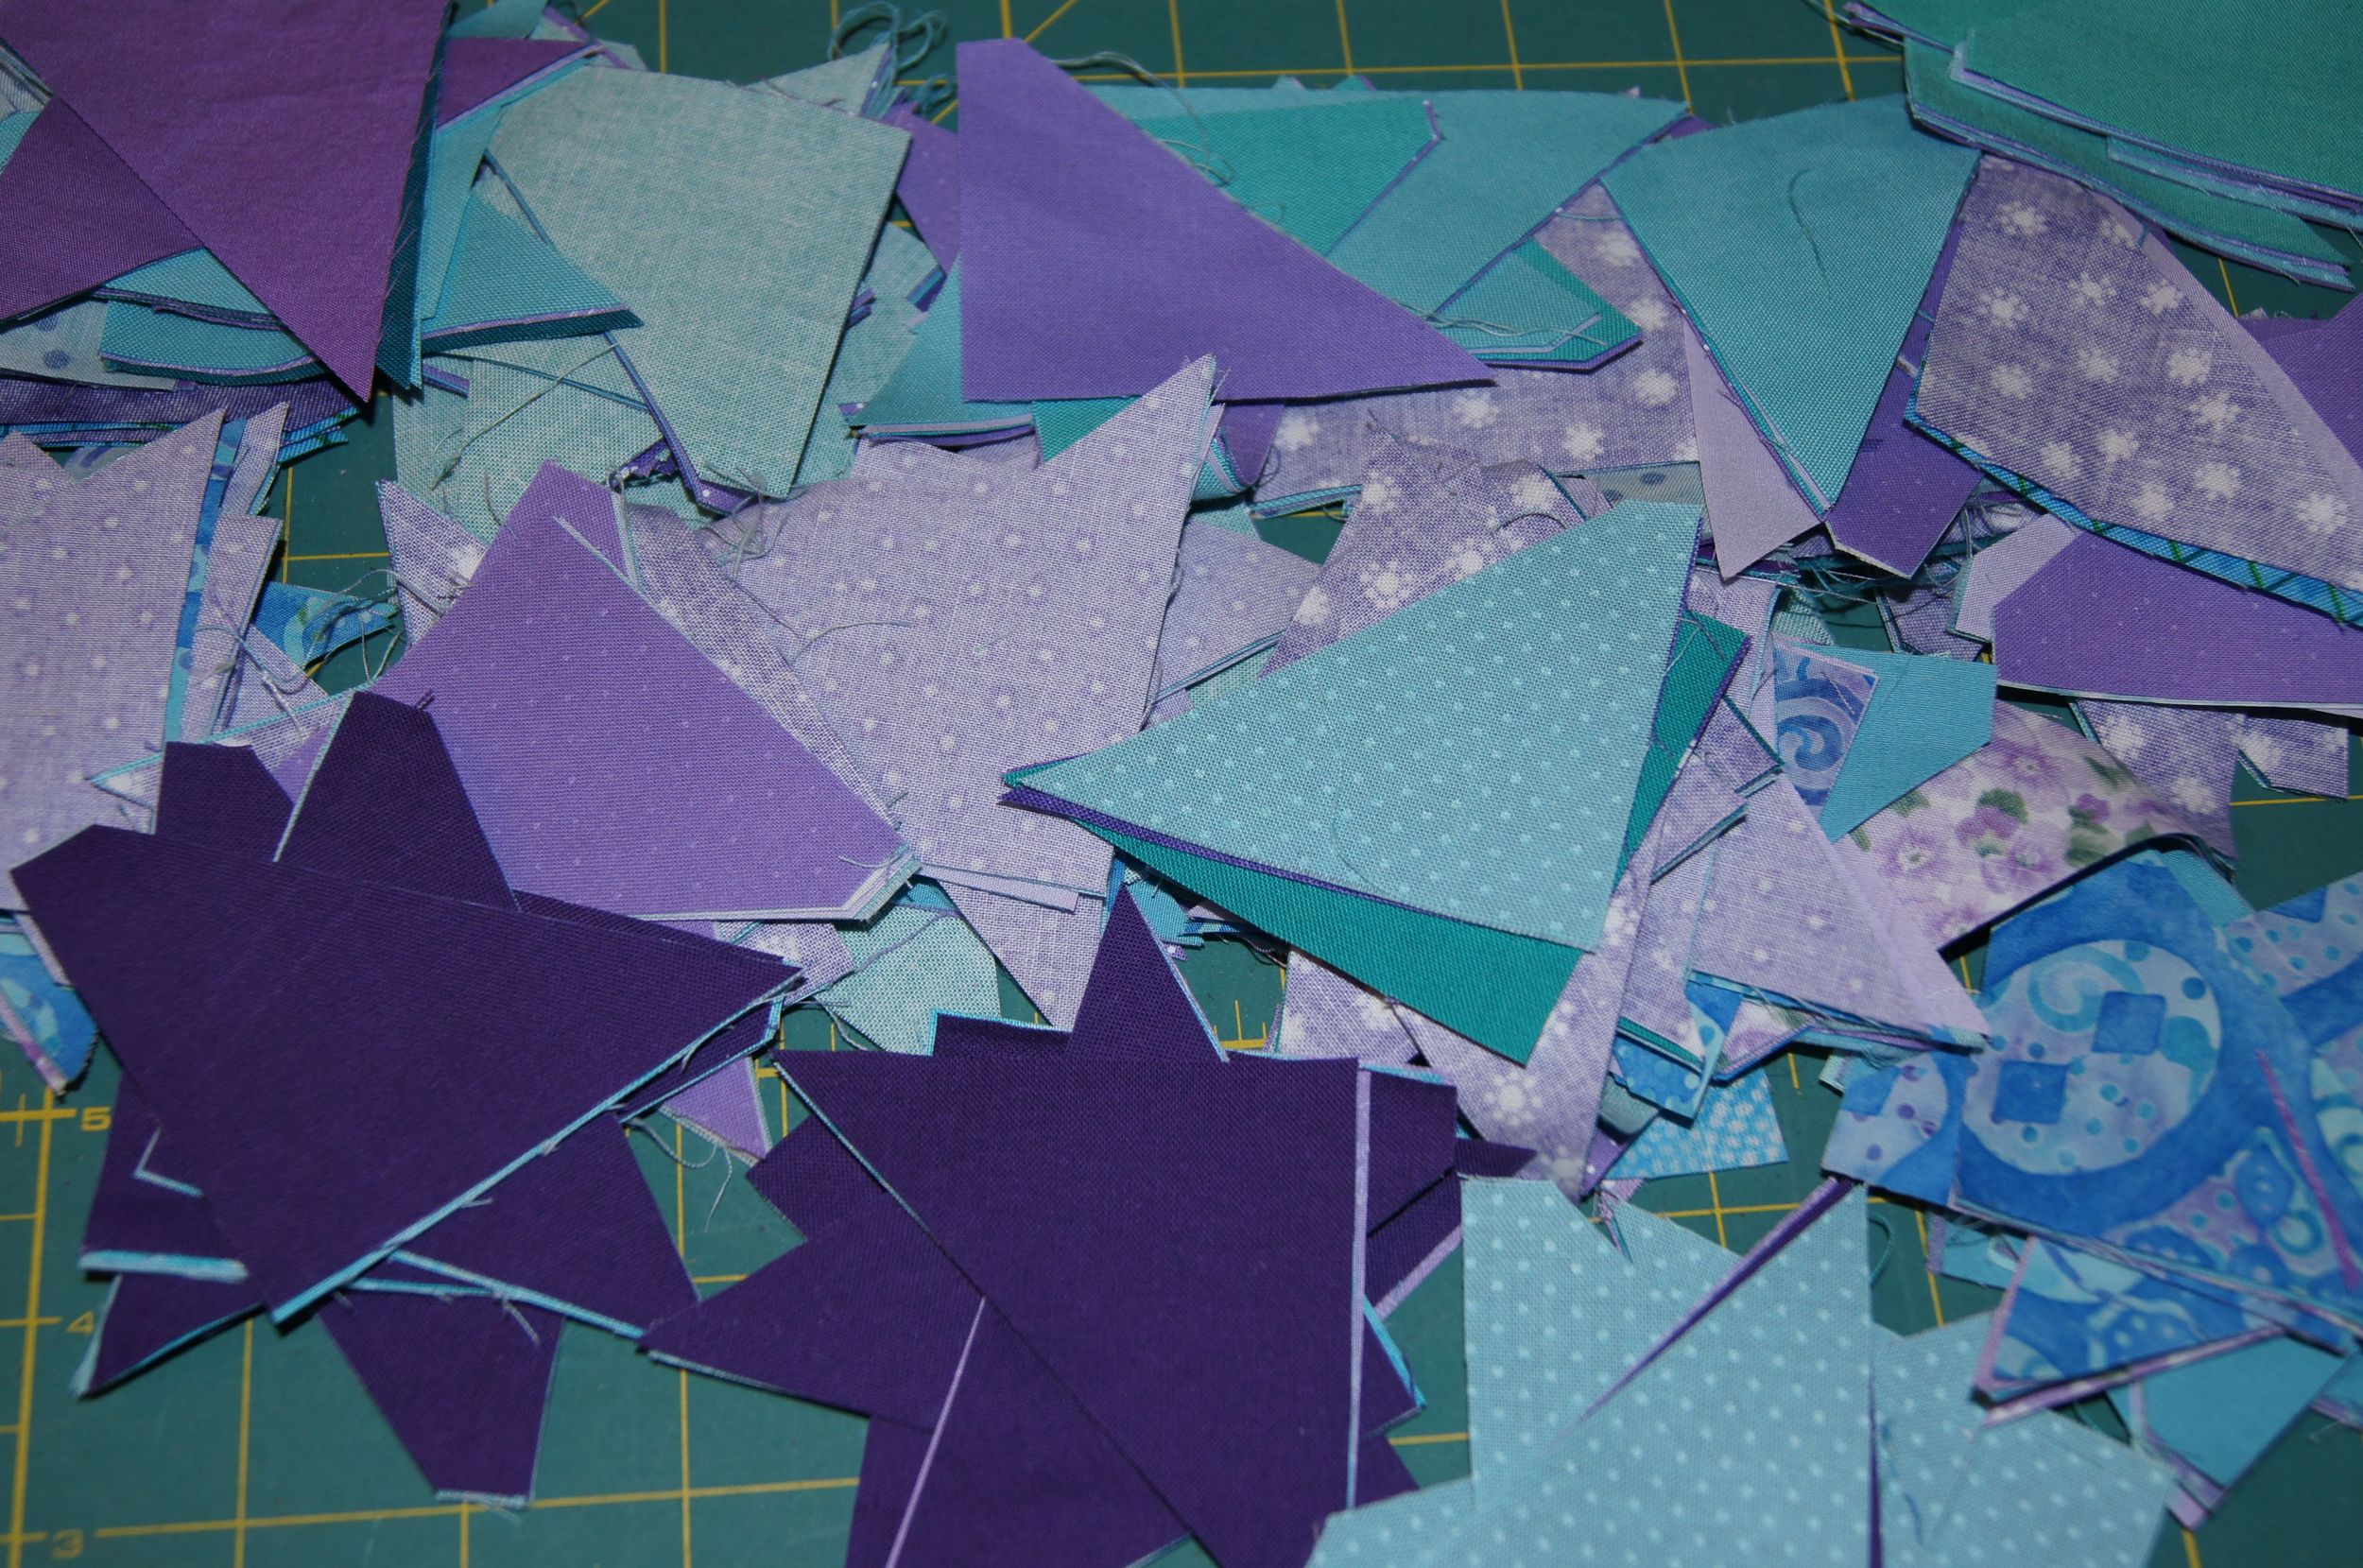
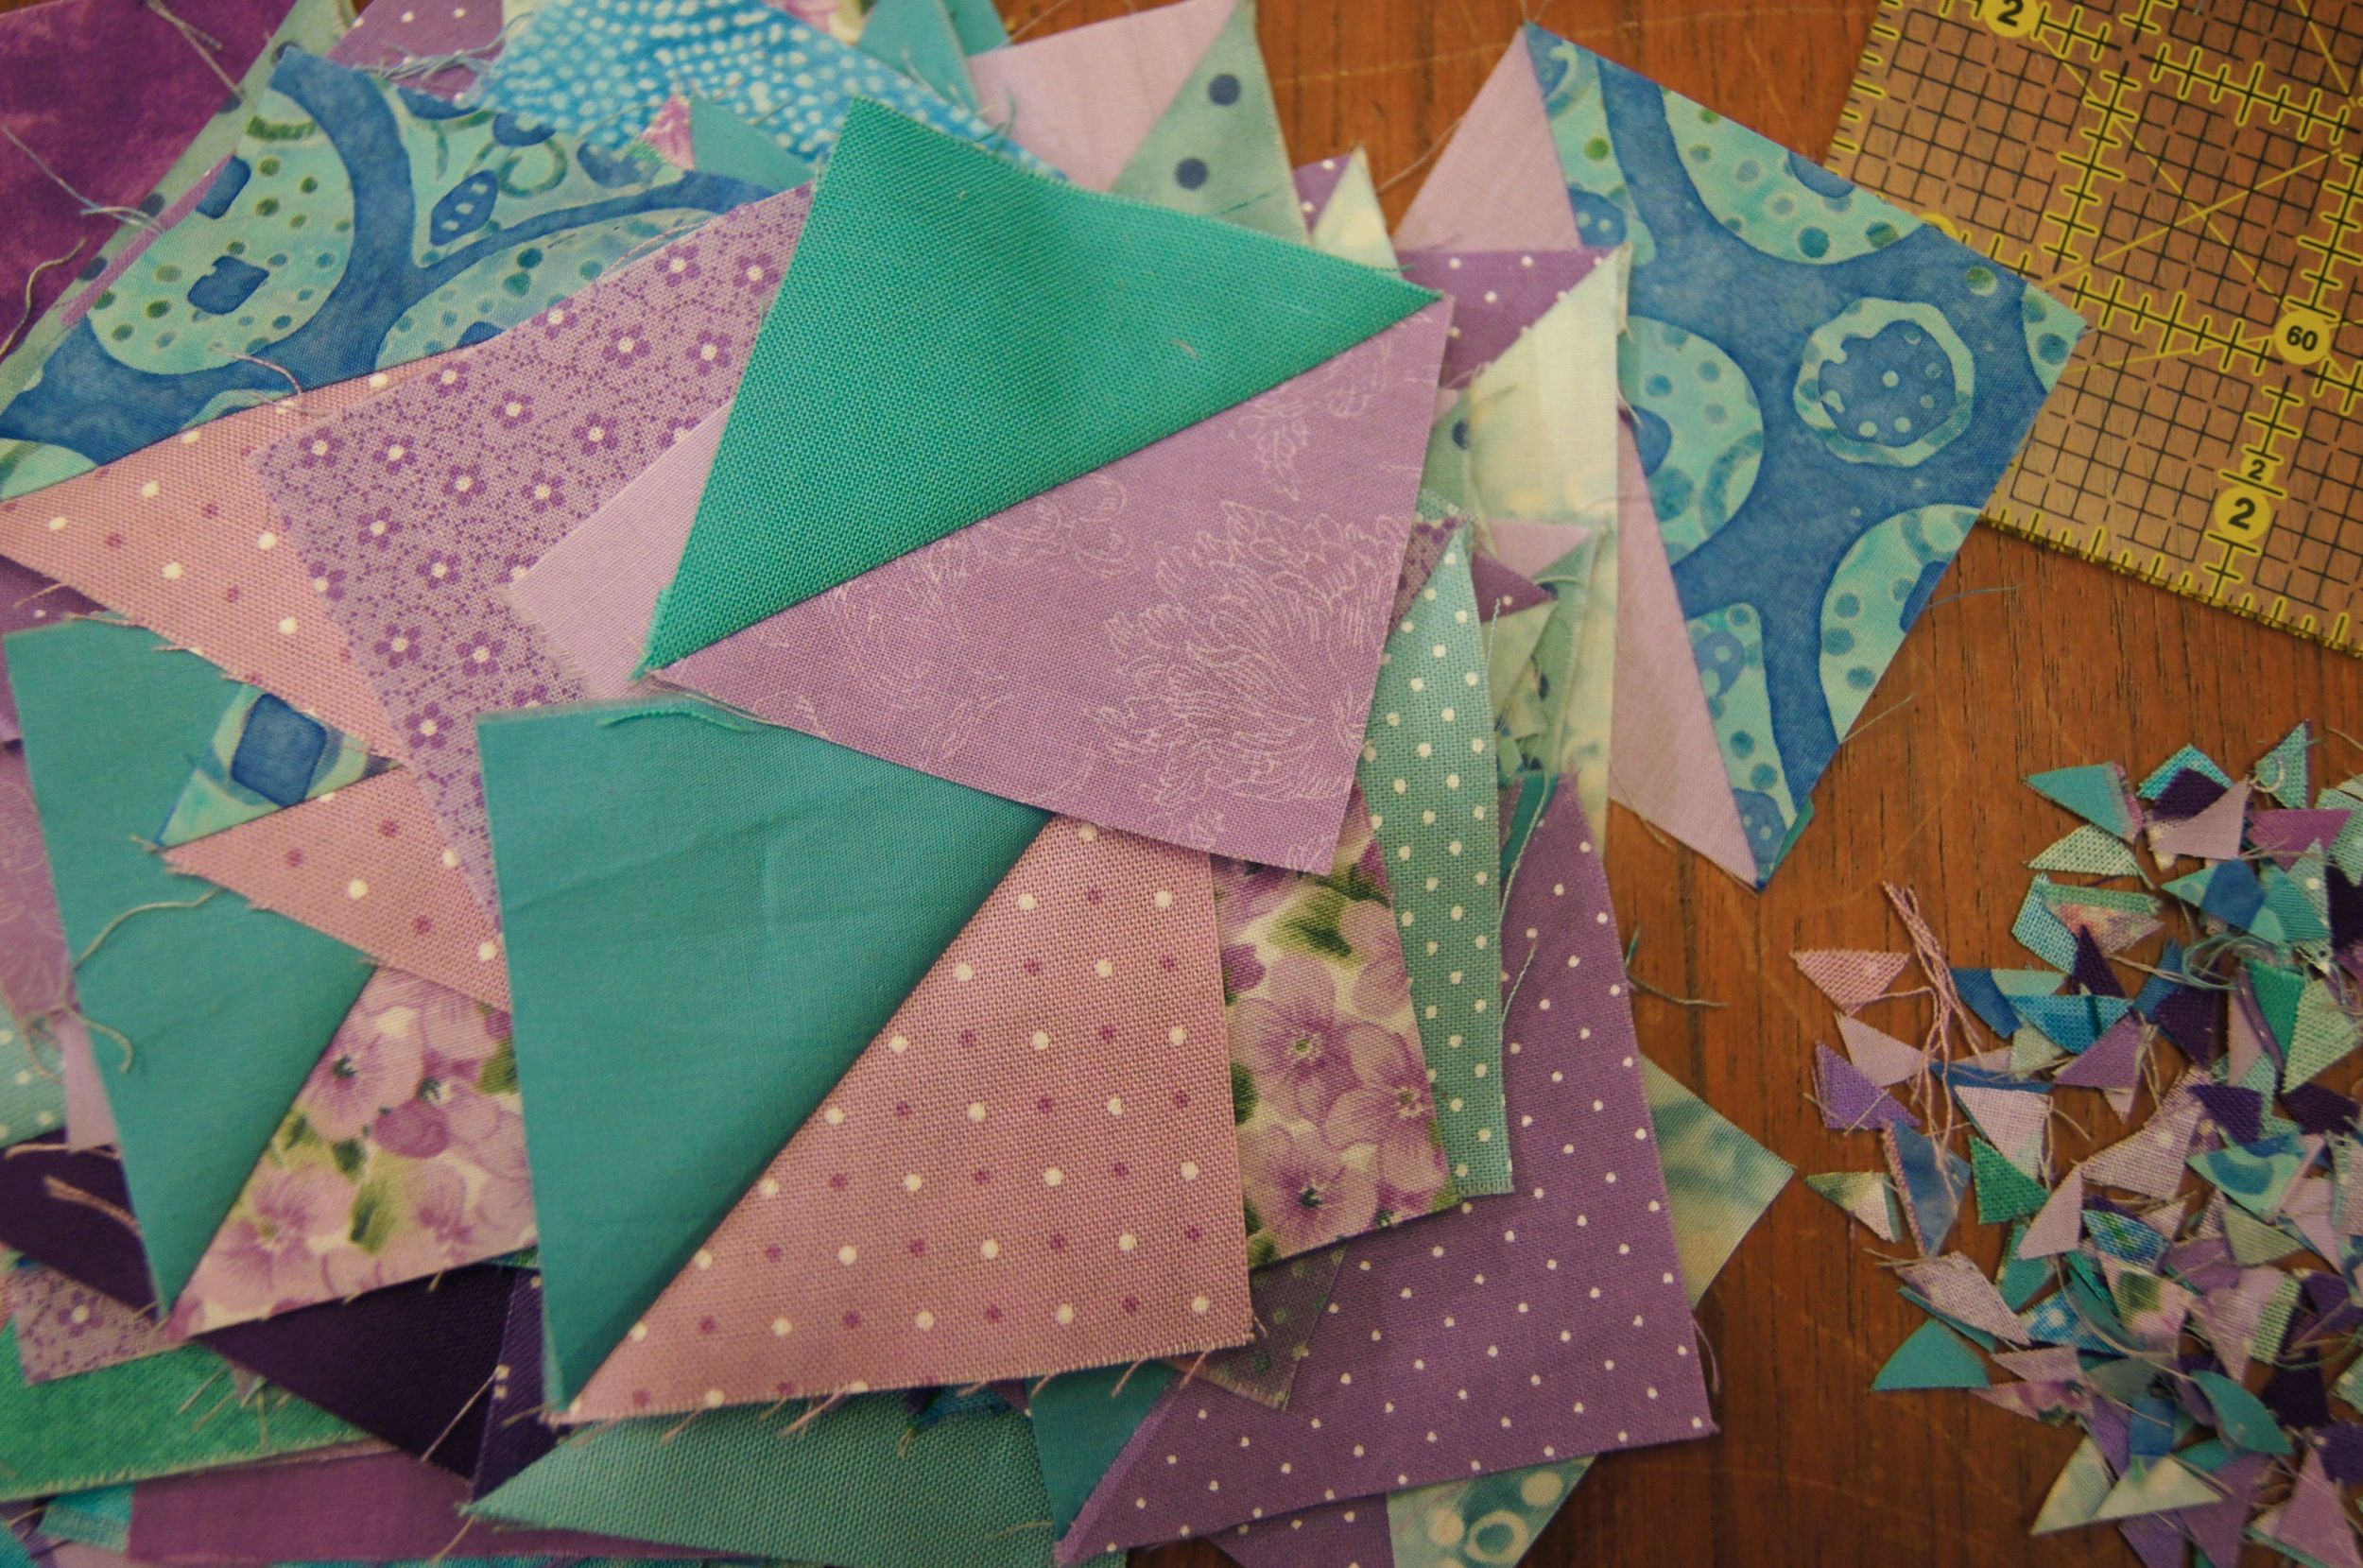
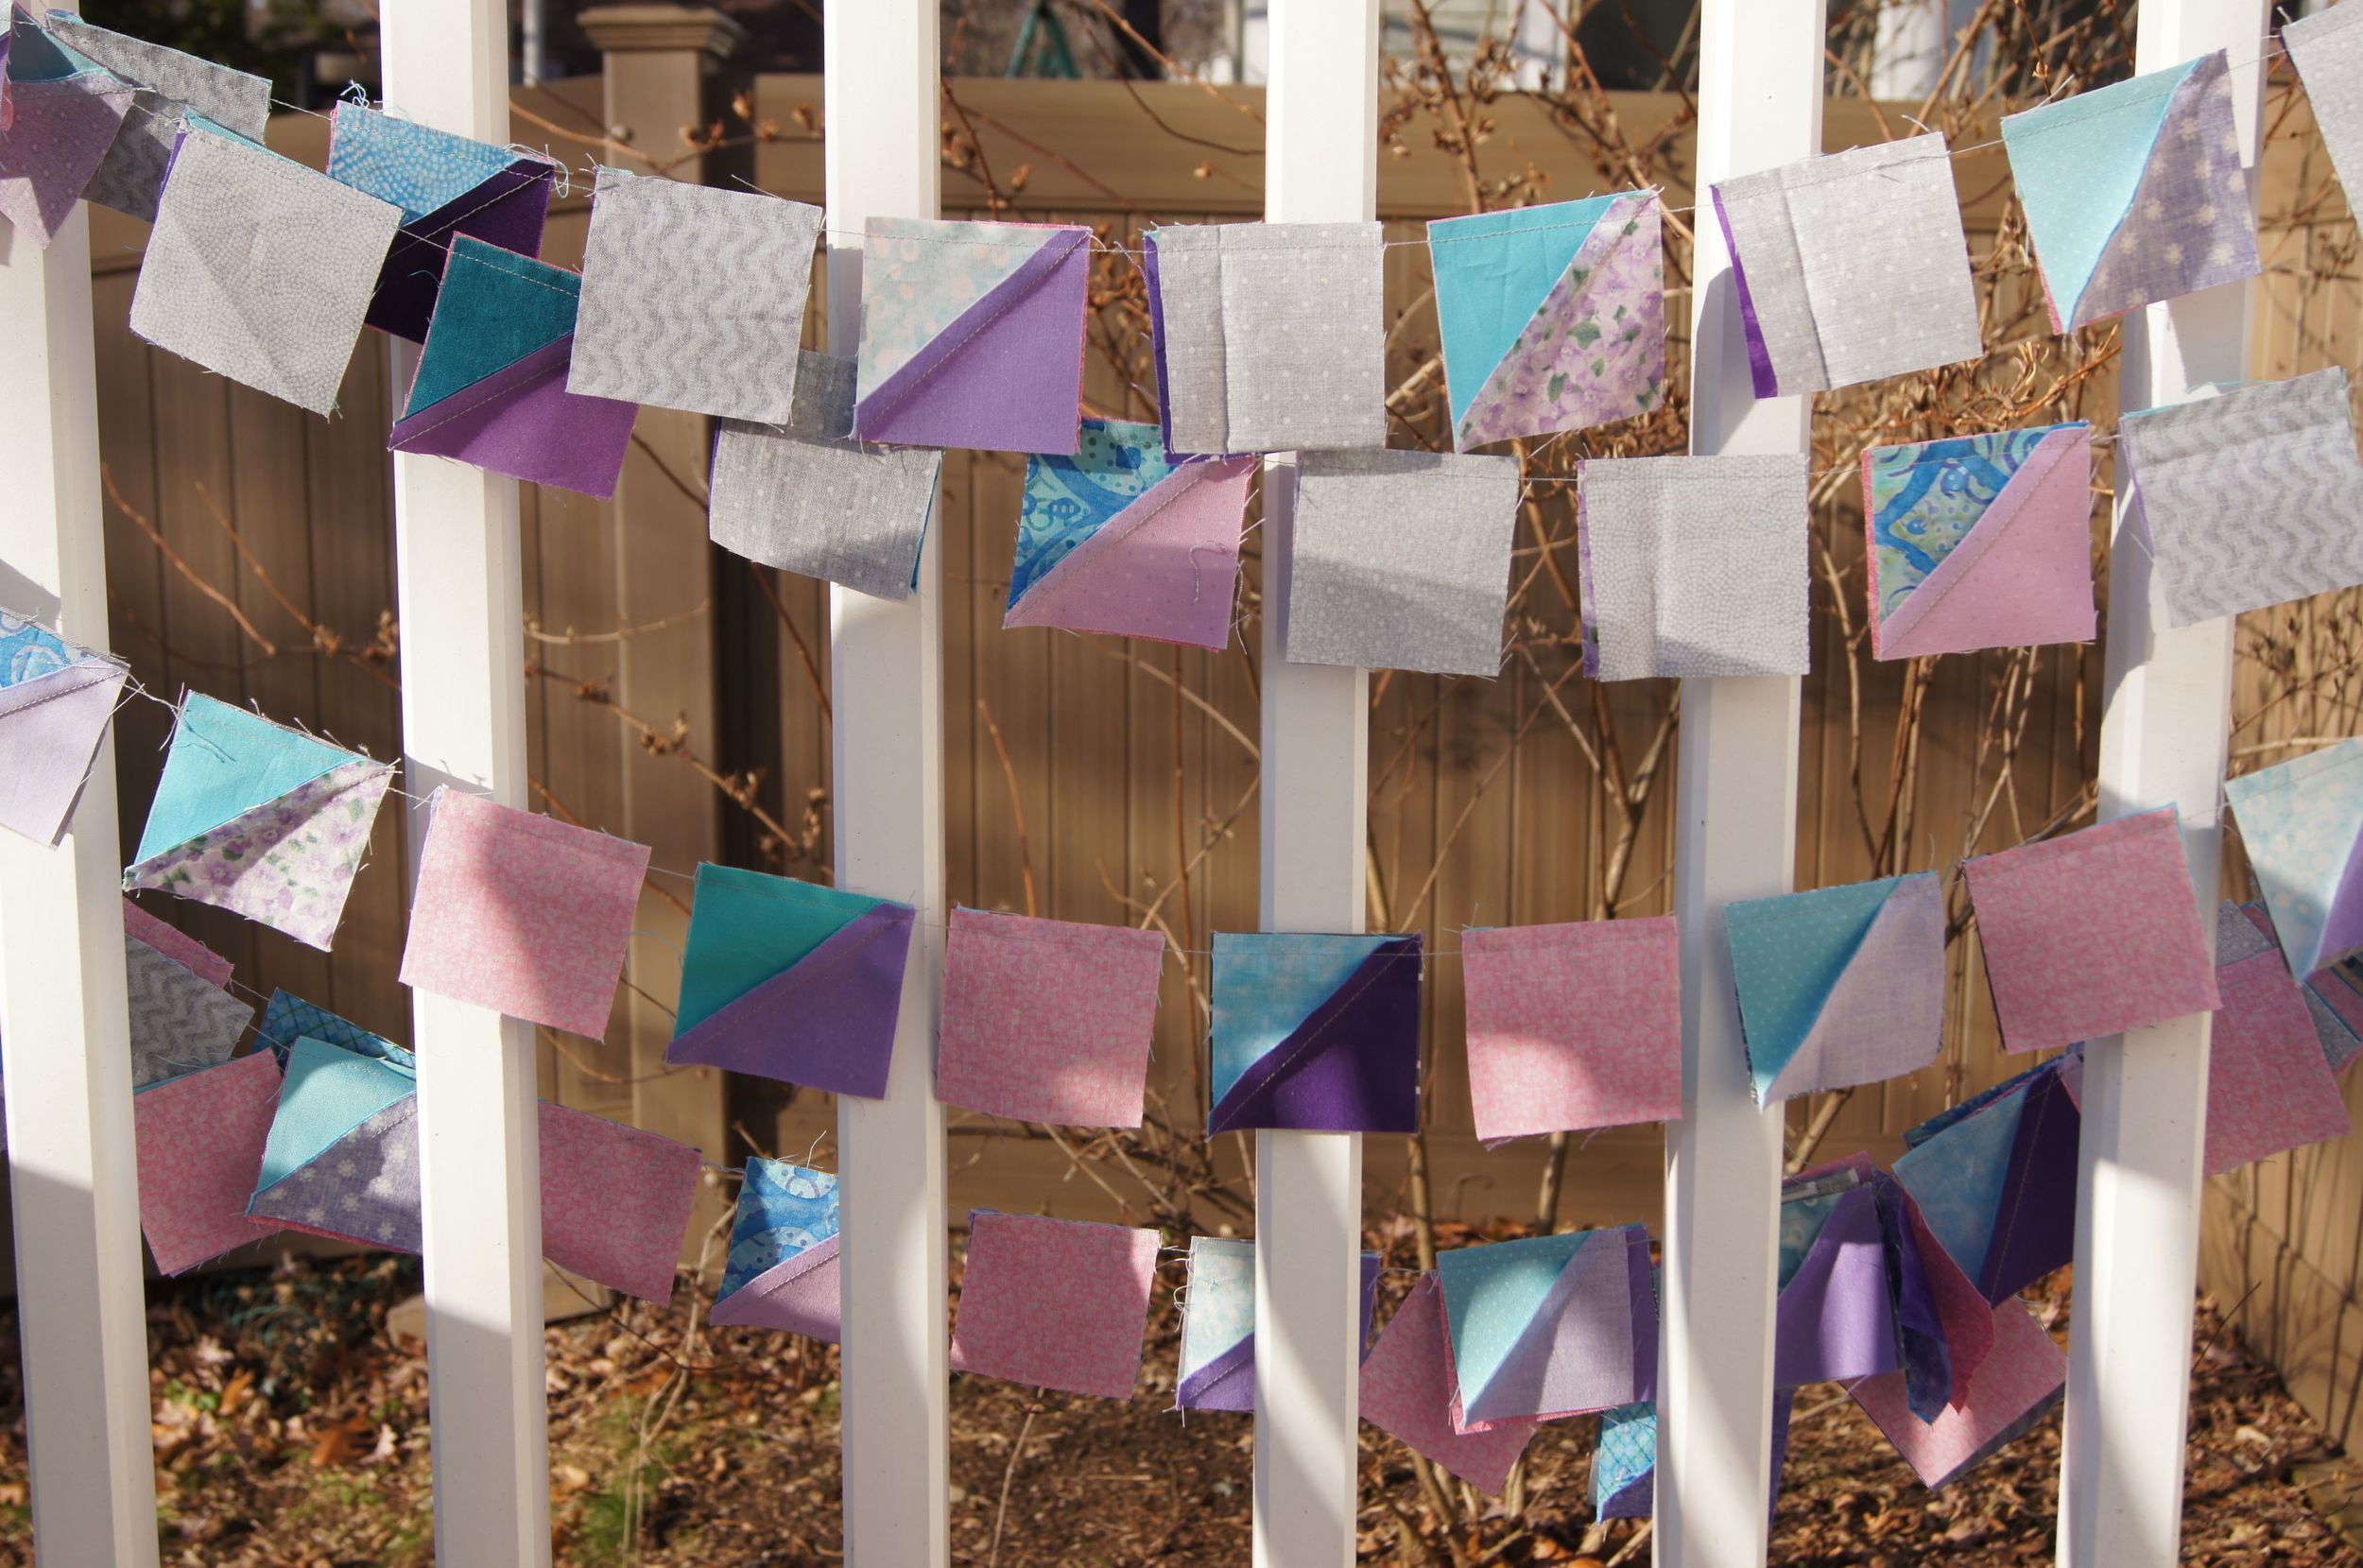
On the table was a mound of trimmings from my recent projects--strips from straightening fabrics for cutting, a few pretty selvages and a few wider trimmings from cutting the backing after a quilt was done and ready for binding. My mom, a knitter, used yarn remants instead of ribbons on the presents she wrapped. I decided to use my collections of odd strips to decorate my packages--carrying on a family tradition, but as a quilter!
TIP: If you wrap presents on your cutting mat, don't use any wrapping or cards with glitter. One fleck of glitter will ruin your rotary cutter blade. GOT GLITTER? Put the cutting mat away until you are done and your surface has been cleaned and is glitter free.
Gifts wrapped, I looked over at the greeting cards which were propped on a table in the living room. And I noticed that the table needed to be dusted. Only a few cards have arrived but I know more are coming. Did I want to pick them all up every time I need to dust? Not really.
I have sometimes hung my cards to ribbons taped to the wall. Another Ah-Ha moment--strip scraps would make a great, colorful card swag! And to carry on the quilting theme, I used Clover Wonder Clips to attach the cards to my swag. Those little red clips are the best--good for all sorts of things in addition to keeping a binding in place during sewing!
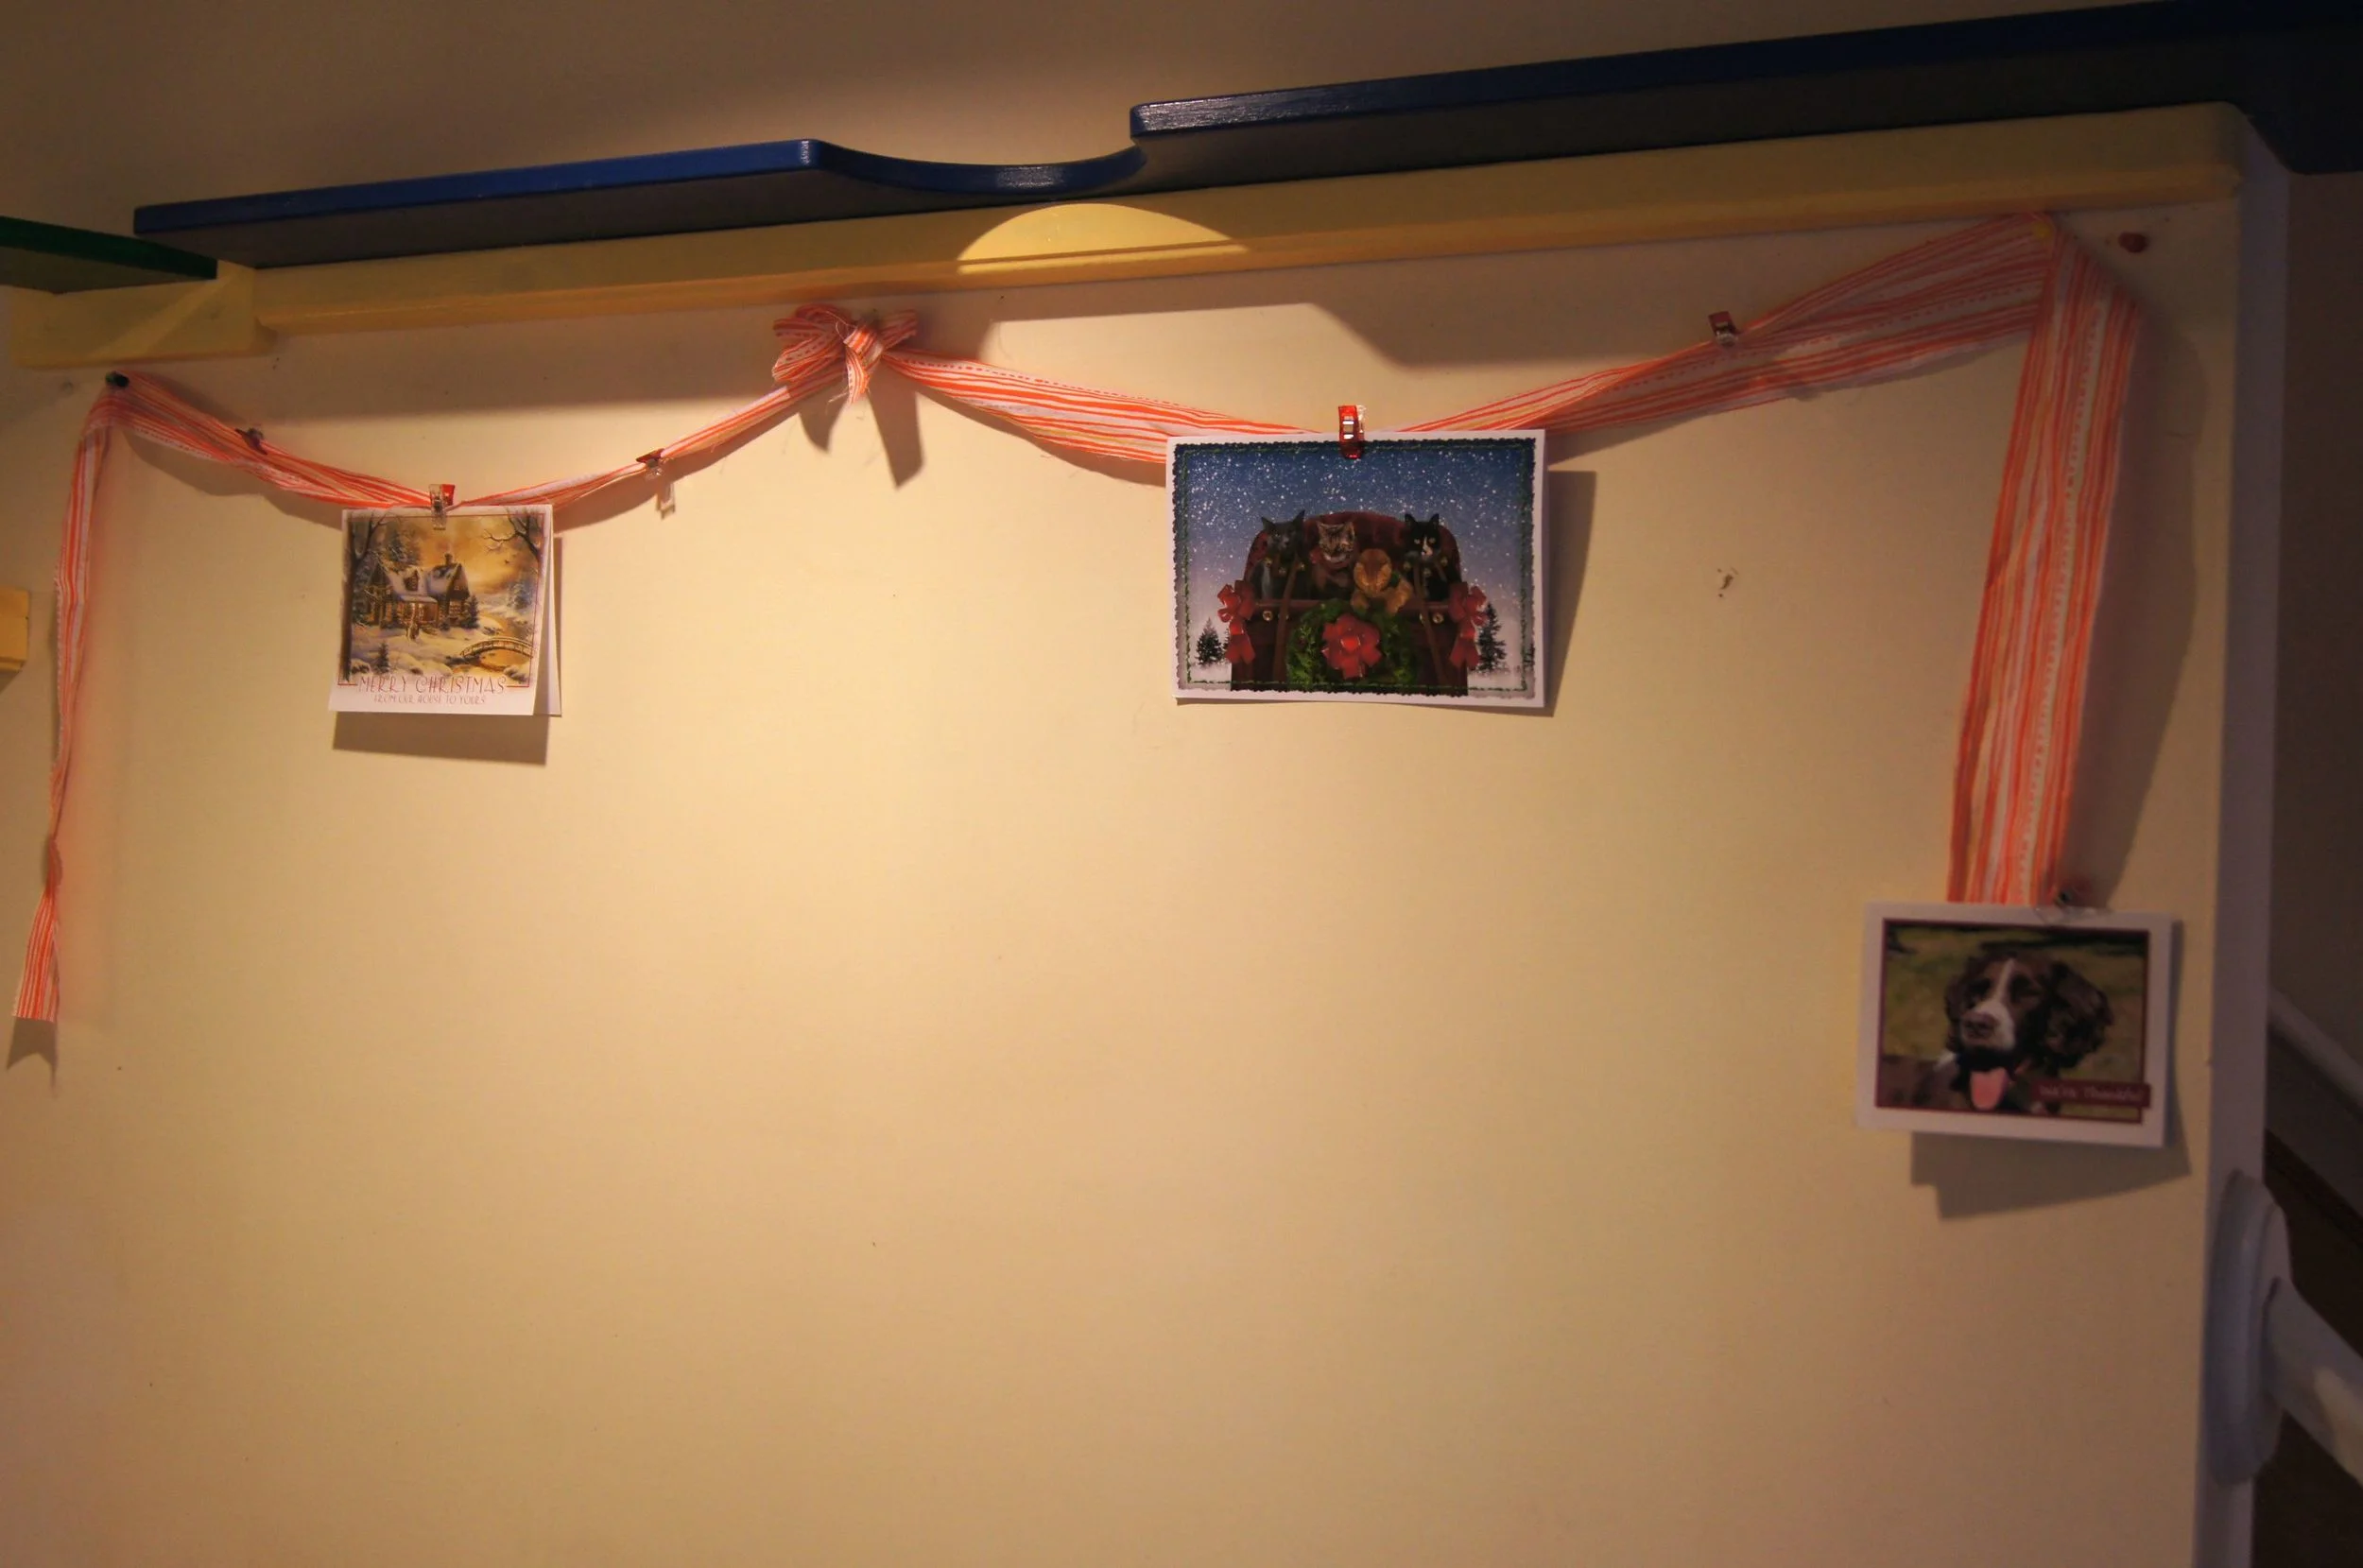
Scrappy Holiday Swag with Greeting cards. (The wooden structure at the top of the photo is the cat walk my brother build for the cats)!
The evening I that I wrote this post I went to the annual holiday party at the Proper Bostonian Quilters Guild. We always have a Yankee swap. When all the swapping was done, I came home with a set of 3 beautifully quilted Santa potholders. The wrapping for this present was a fat quarter of fabric, not paper! I appreciated this quilter's use of fabric in place of disposable wrapping paper! Here are 2 of the potholders on top of the FQ wrapping. Aren't they fun?
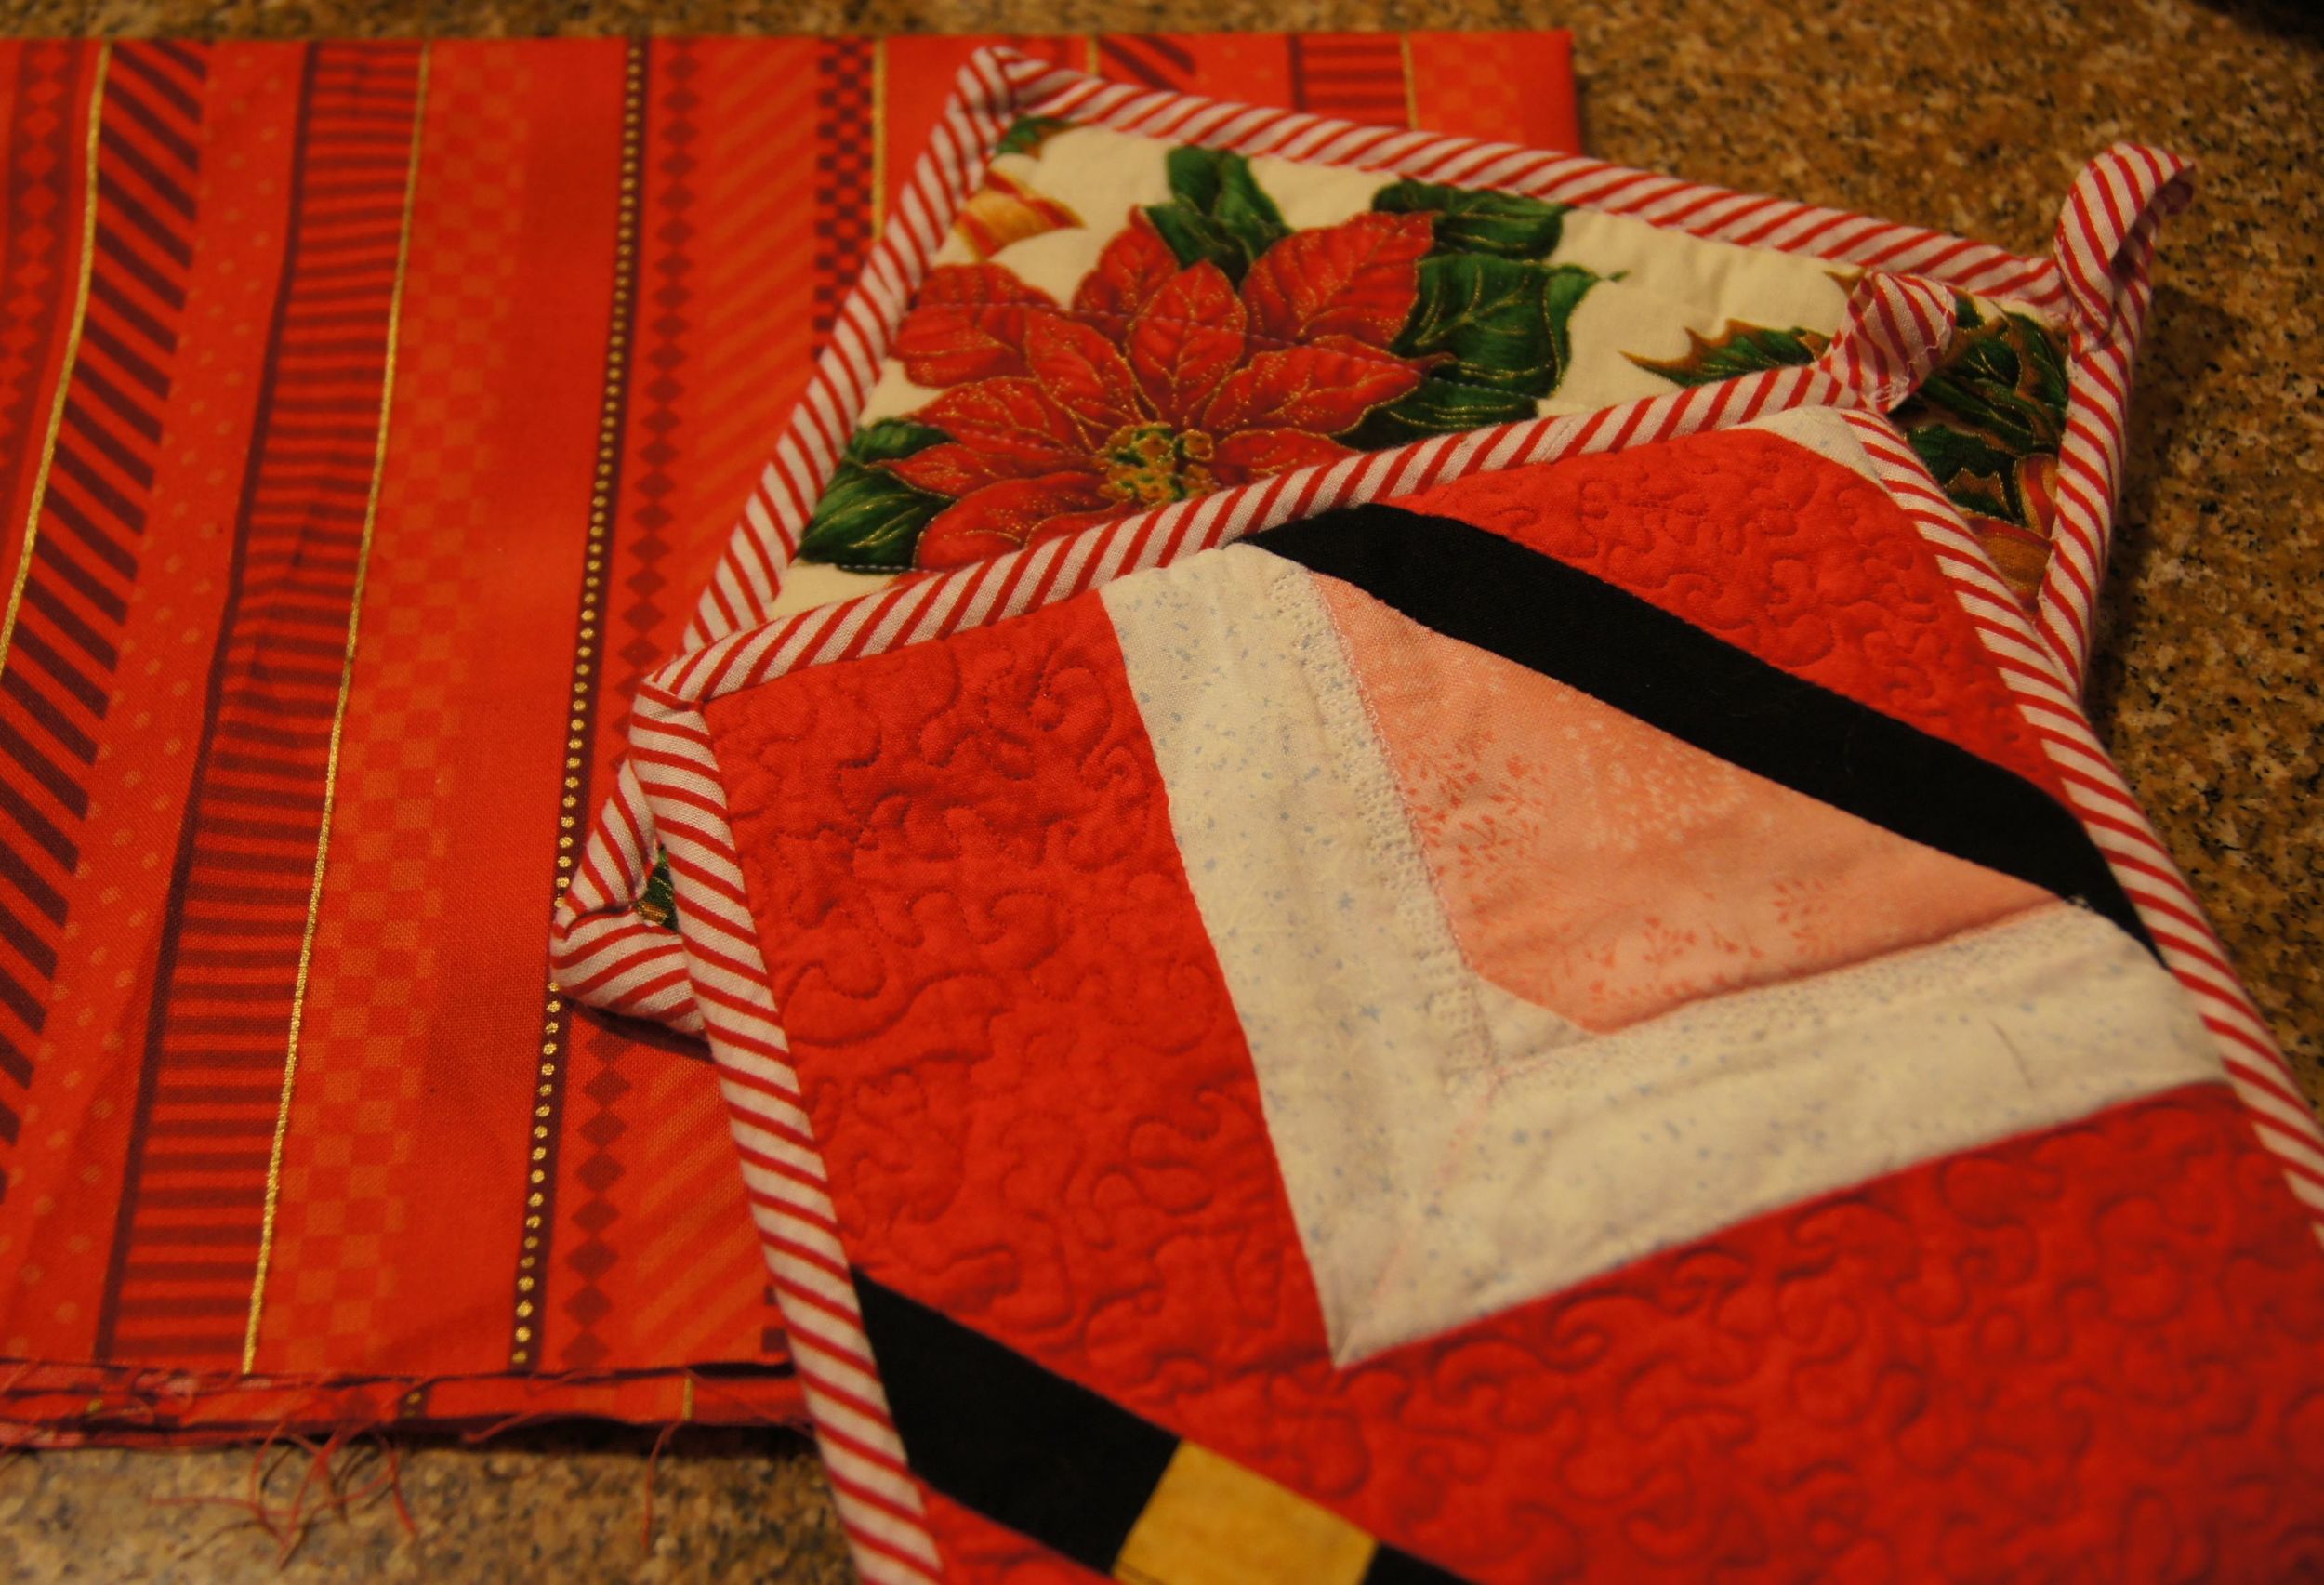
Quilted Santas on one side of the potholders, poinsettias on the flip side. Quilter--PBQ Guild member, identity unknown
Have fun with your Holiday preparations. Try using some of those quilting scraps! What else can you do with them? Leave me a comment if you have other Holiday uses for your quilting scraps! I'd love to hear what you're doing!