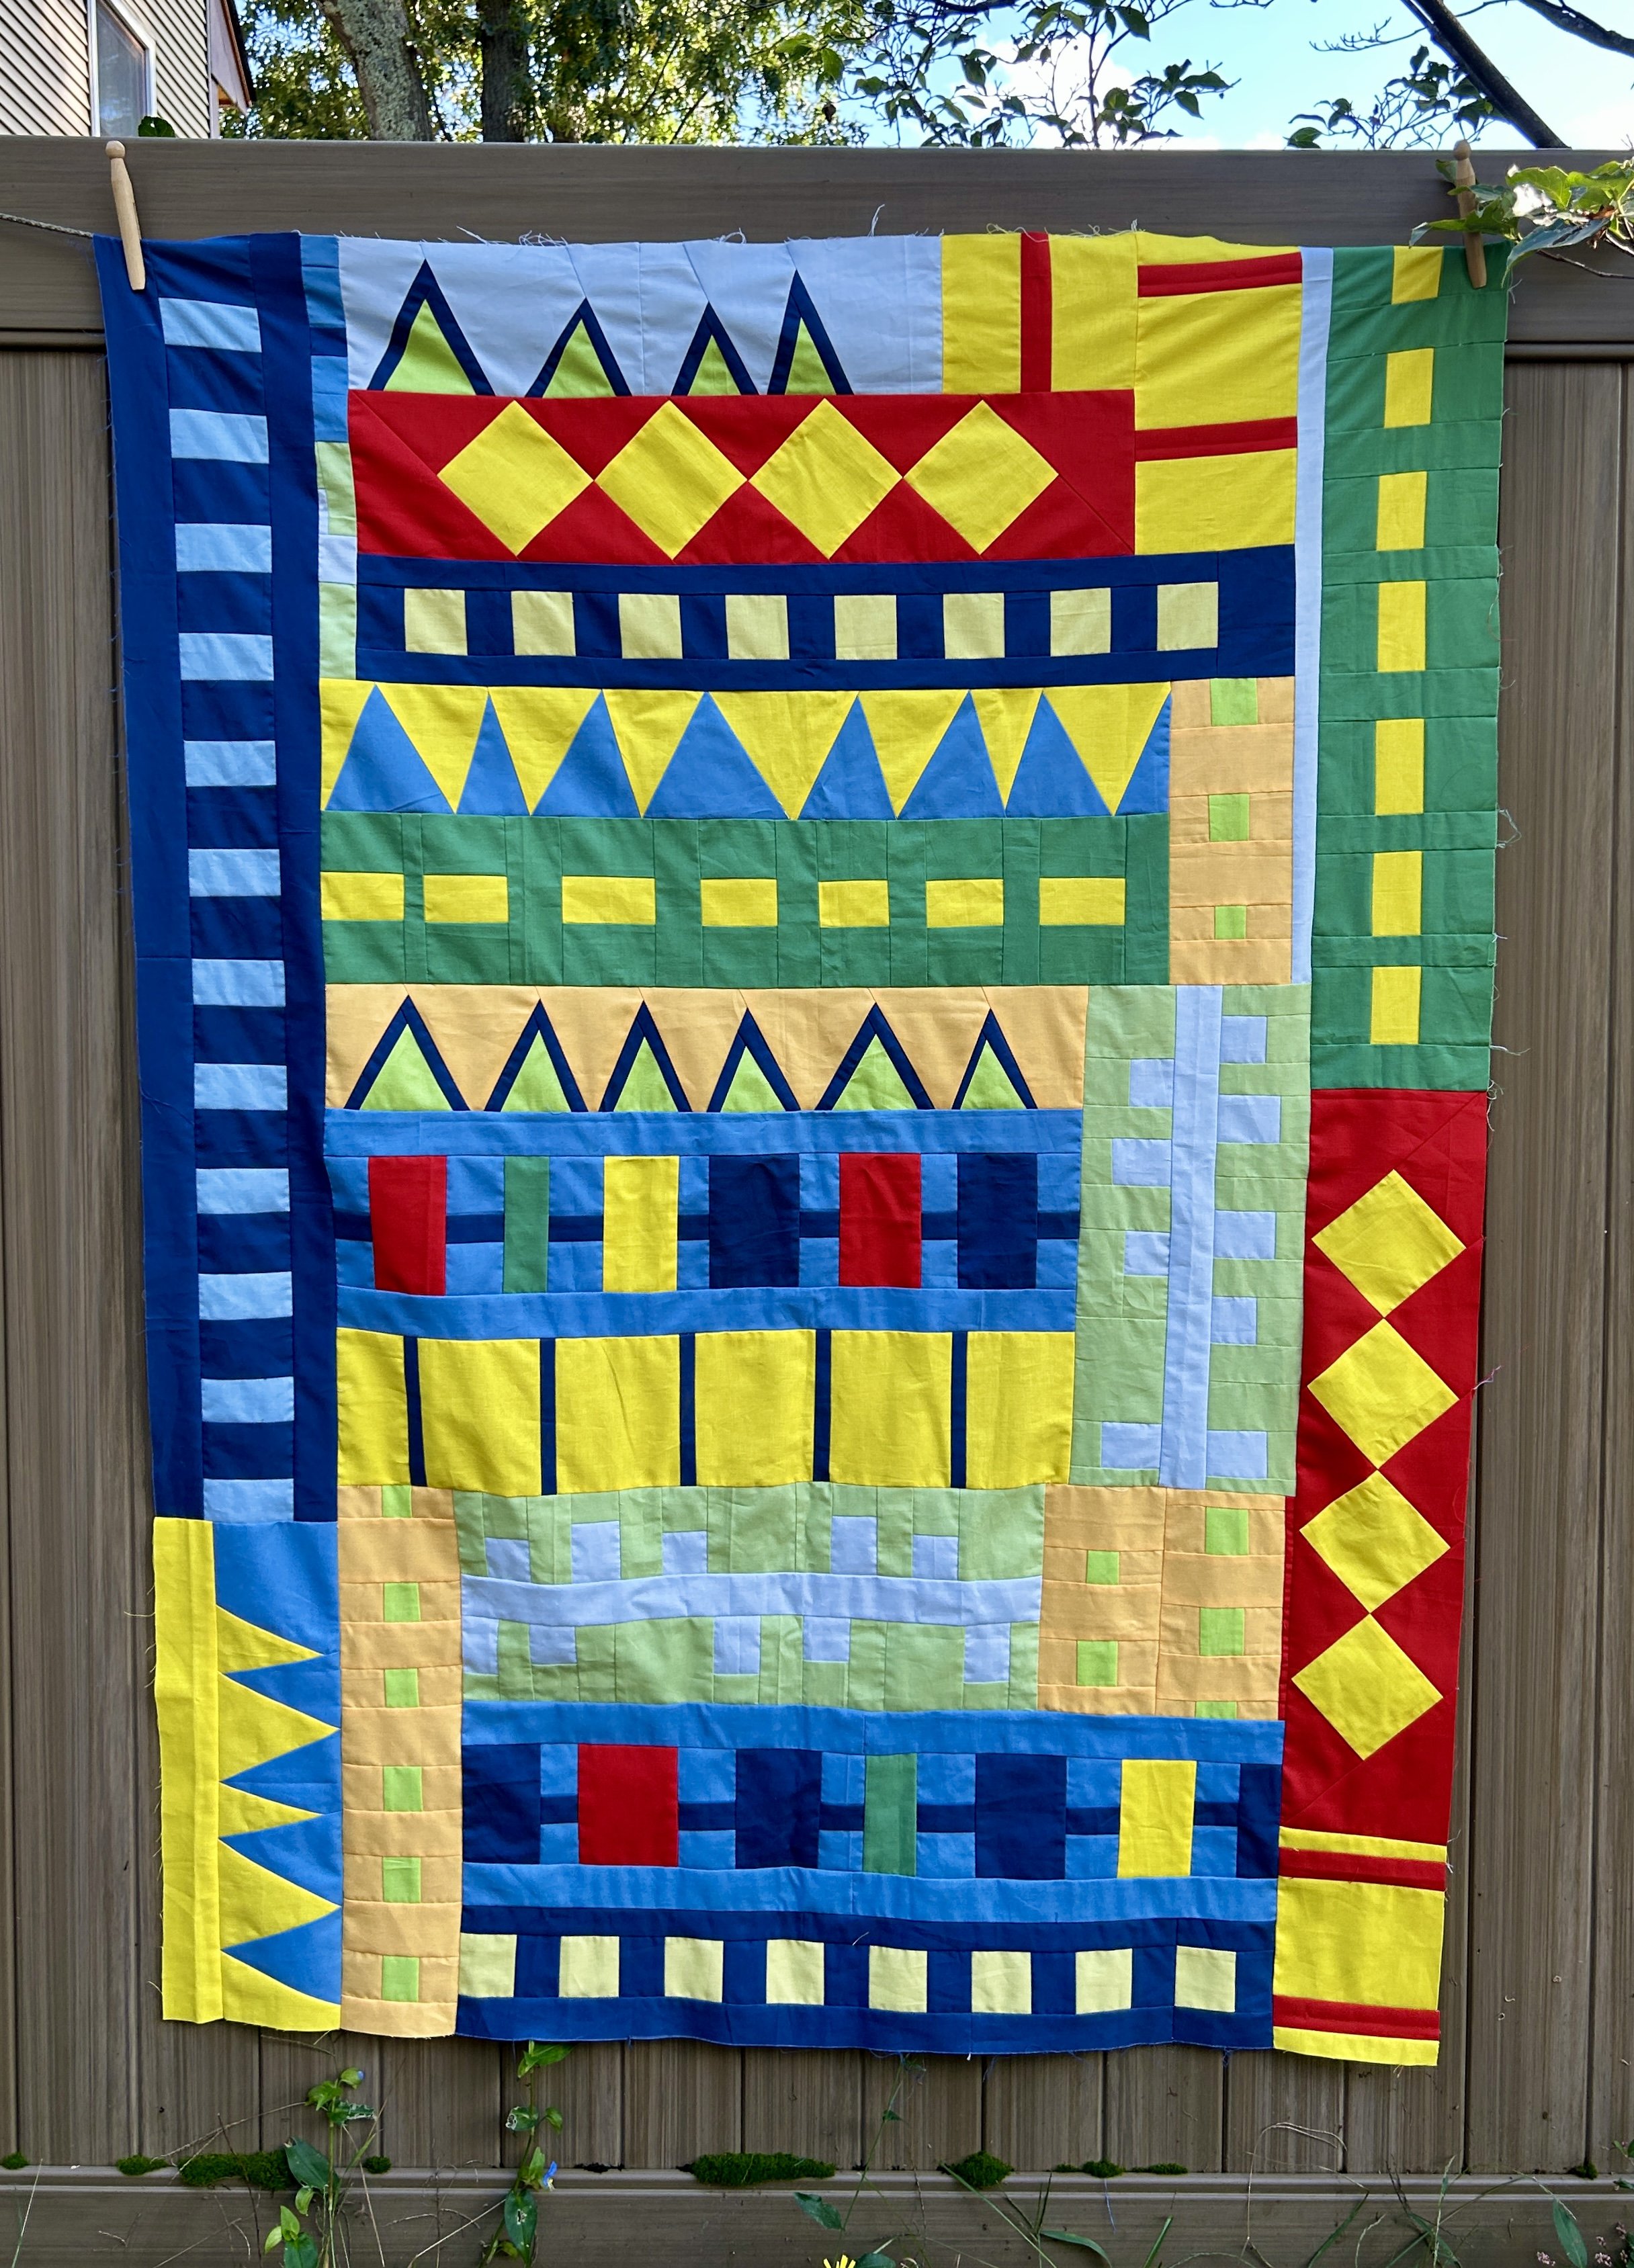
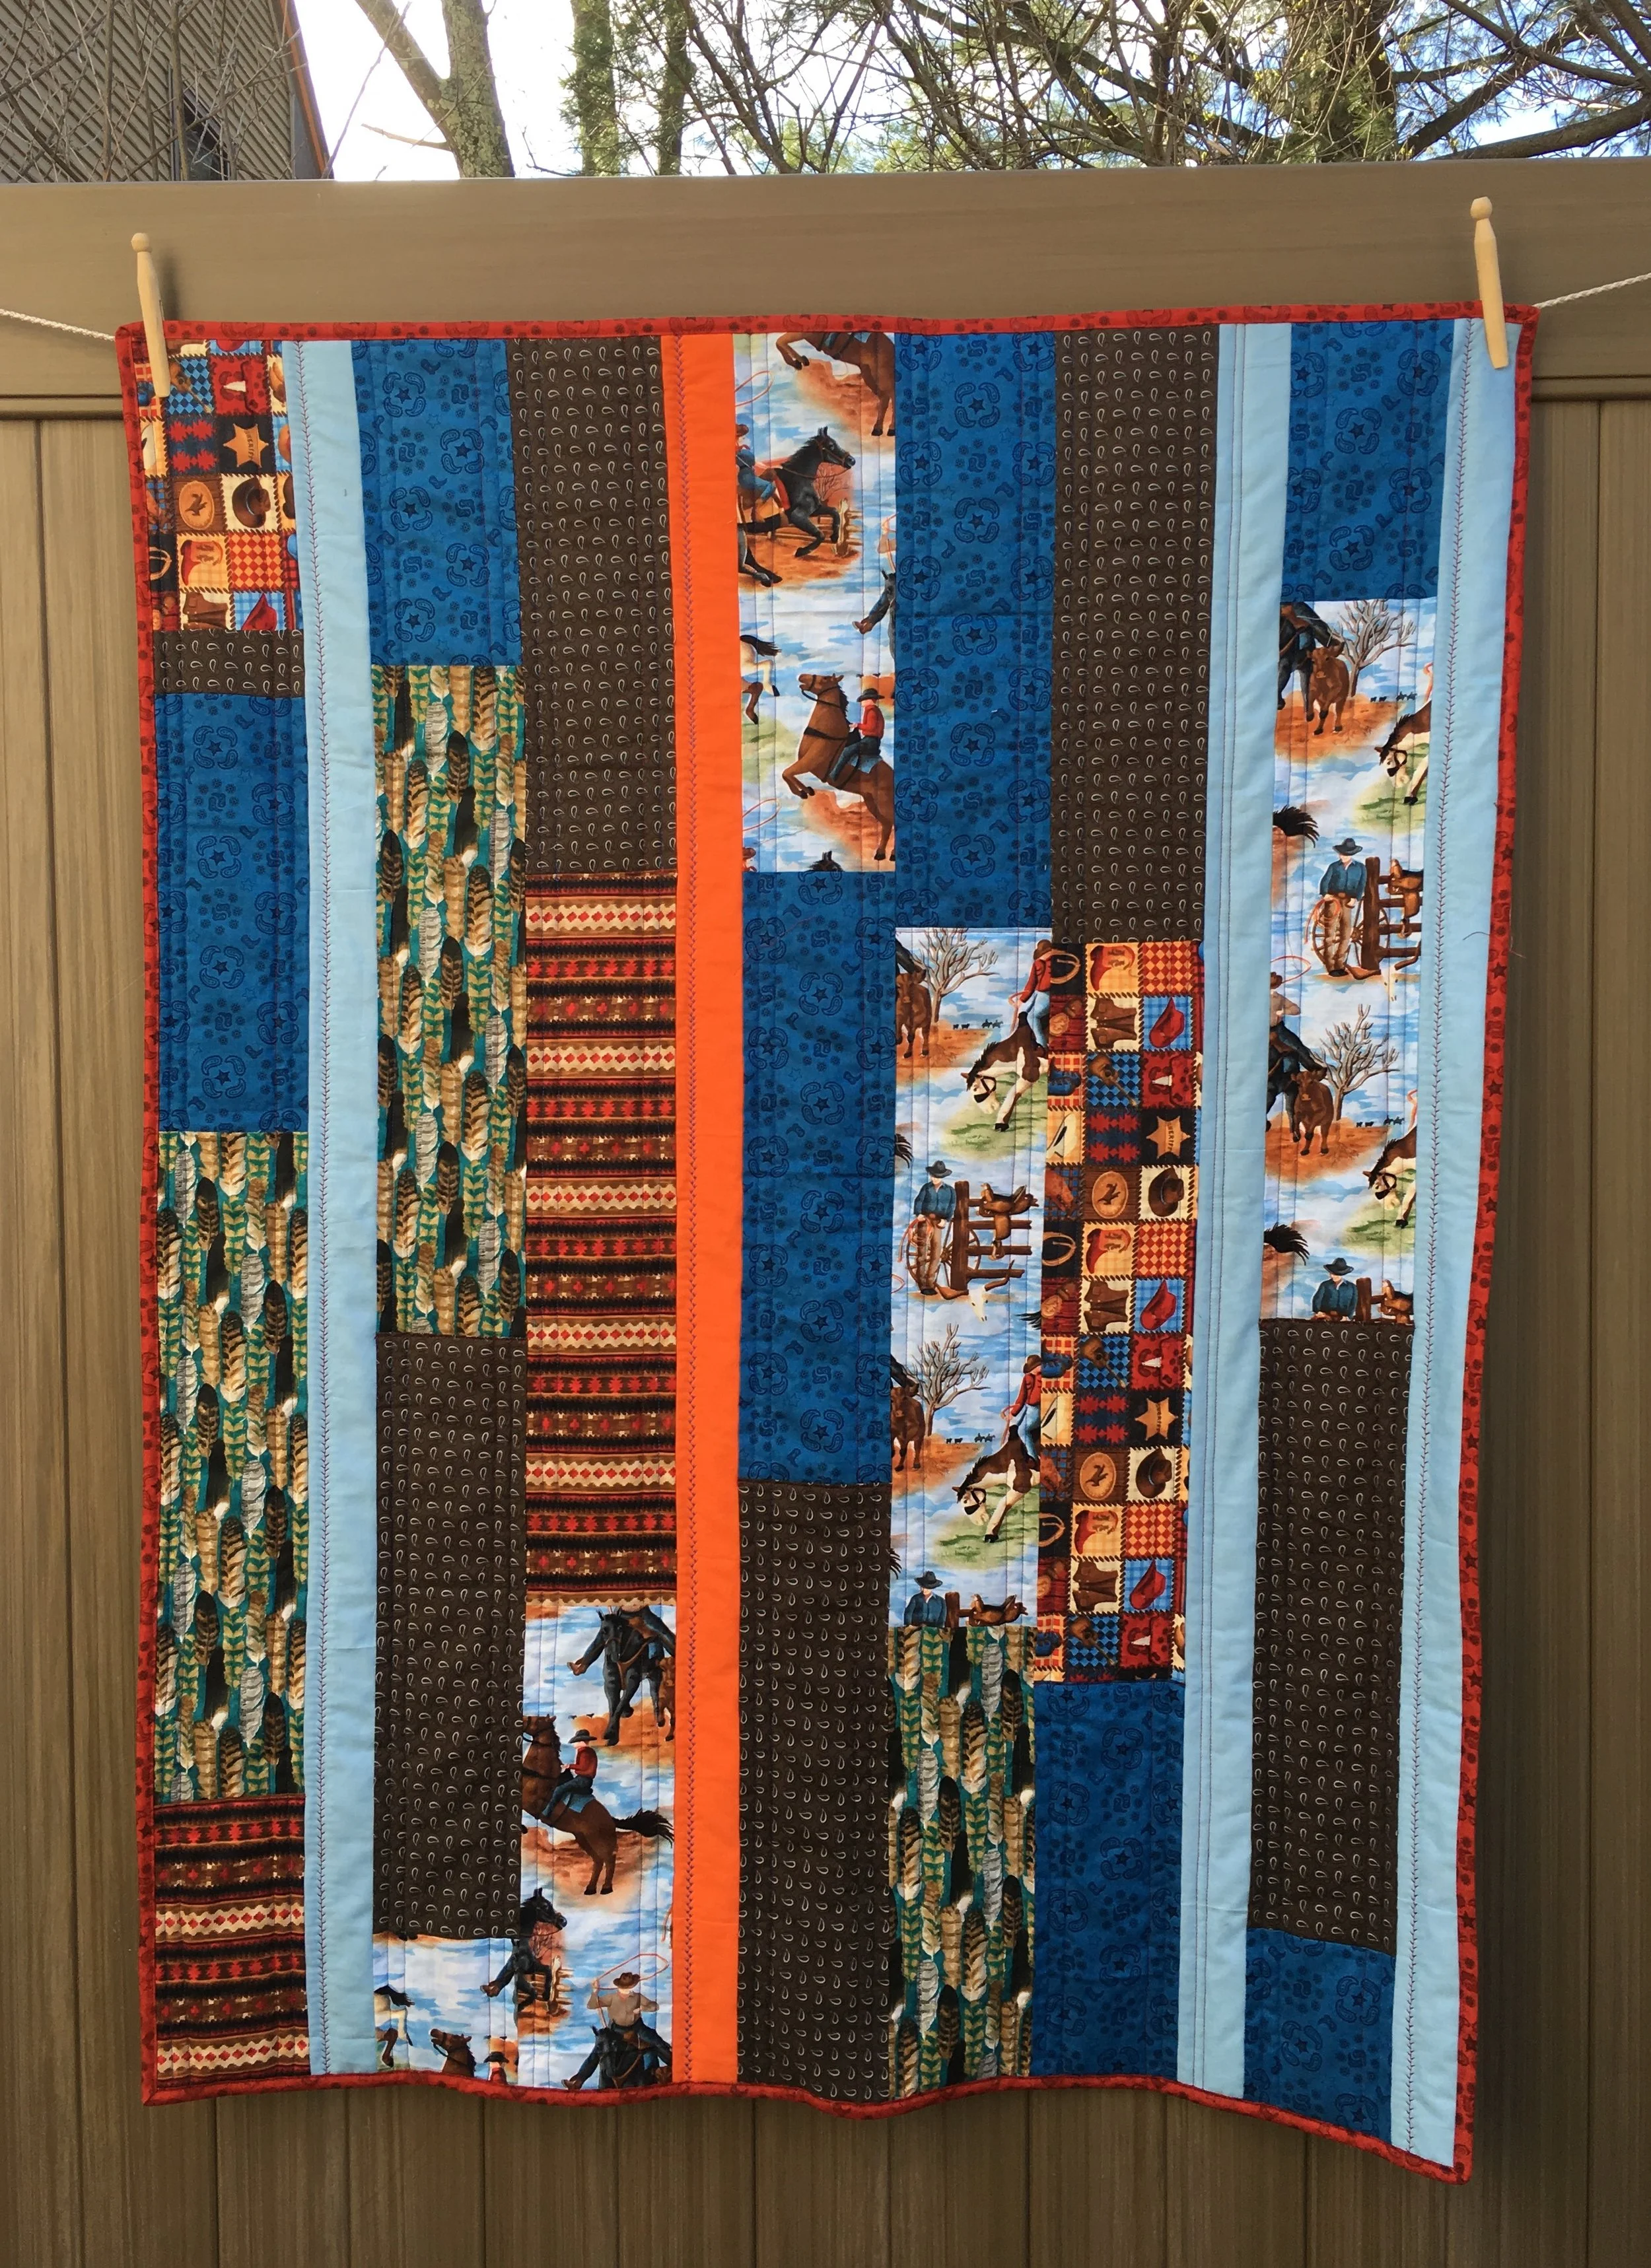
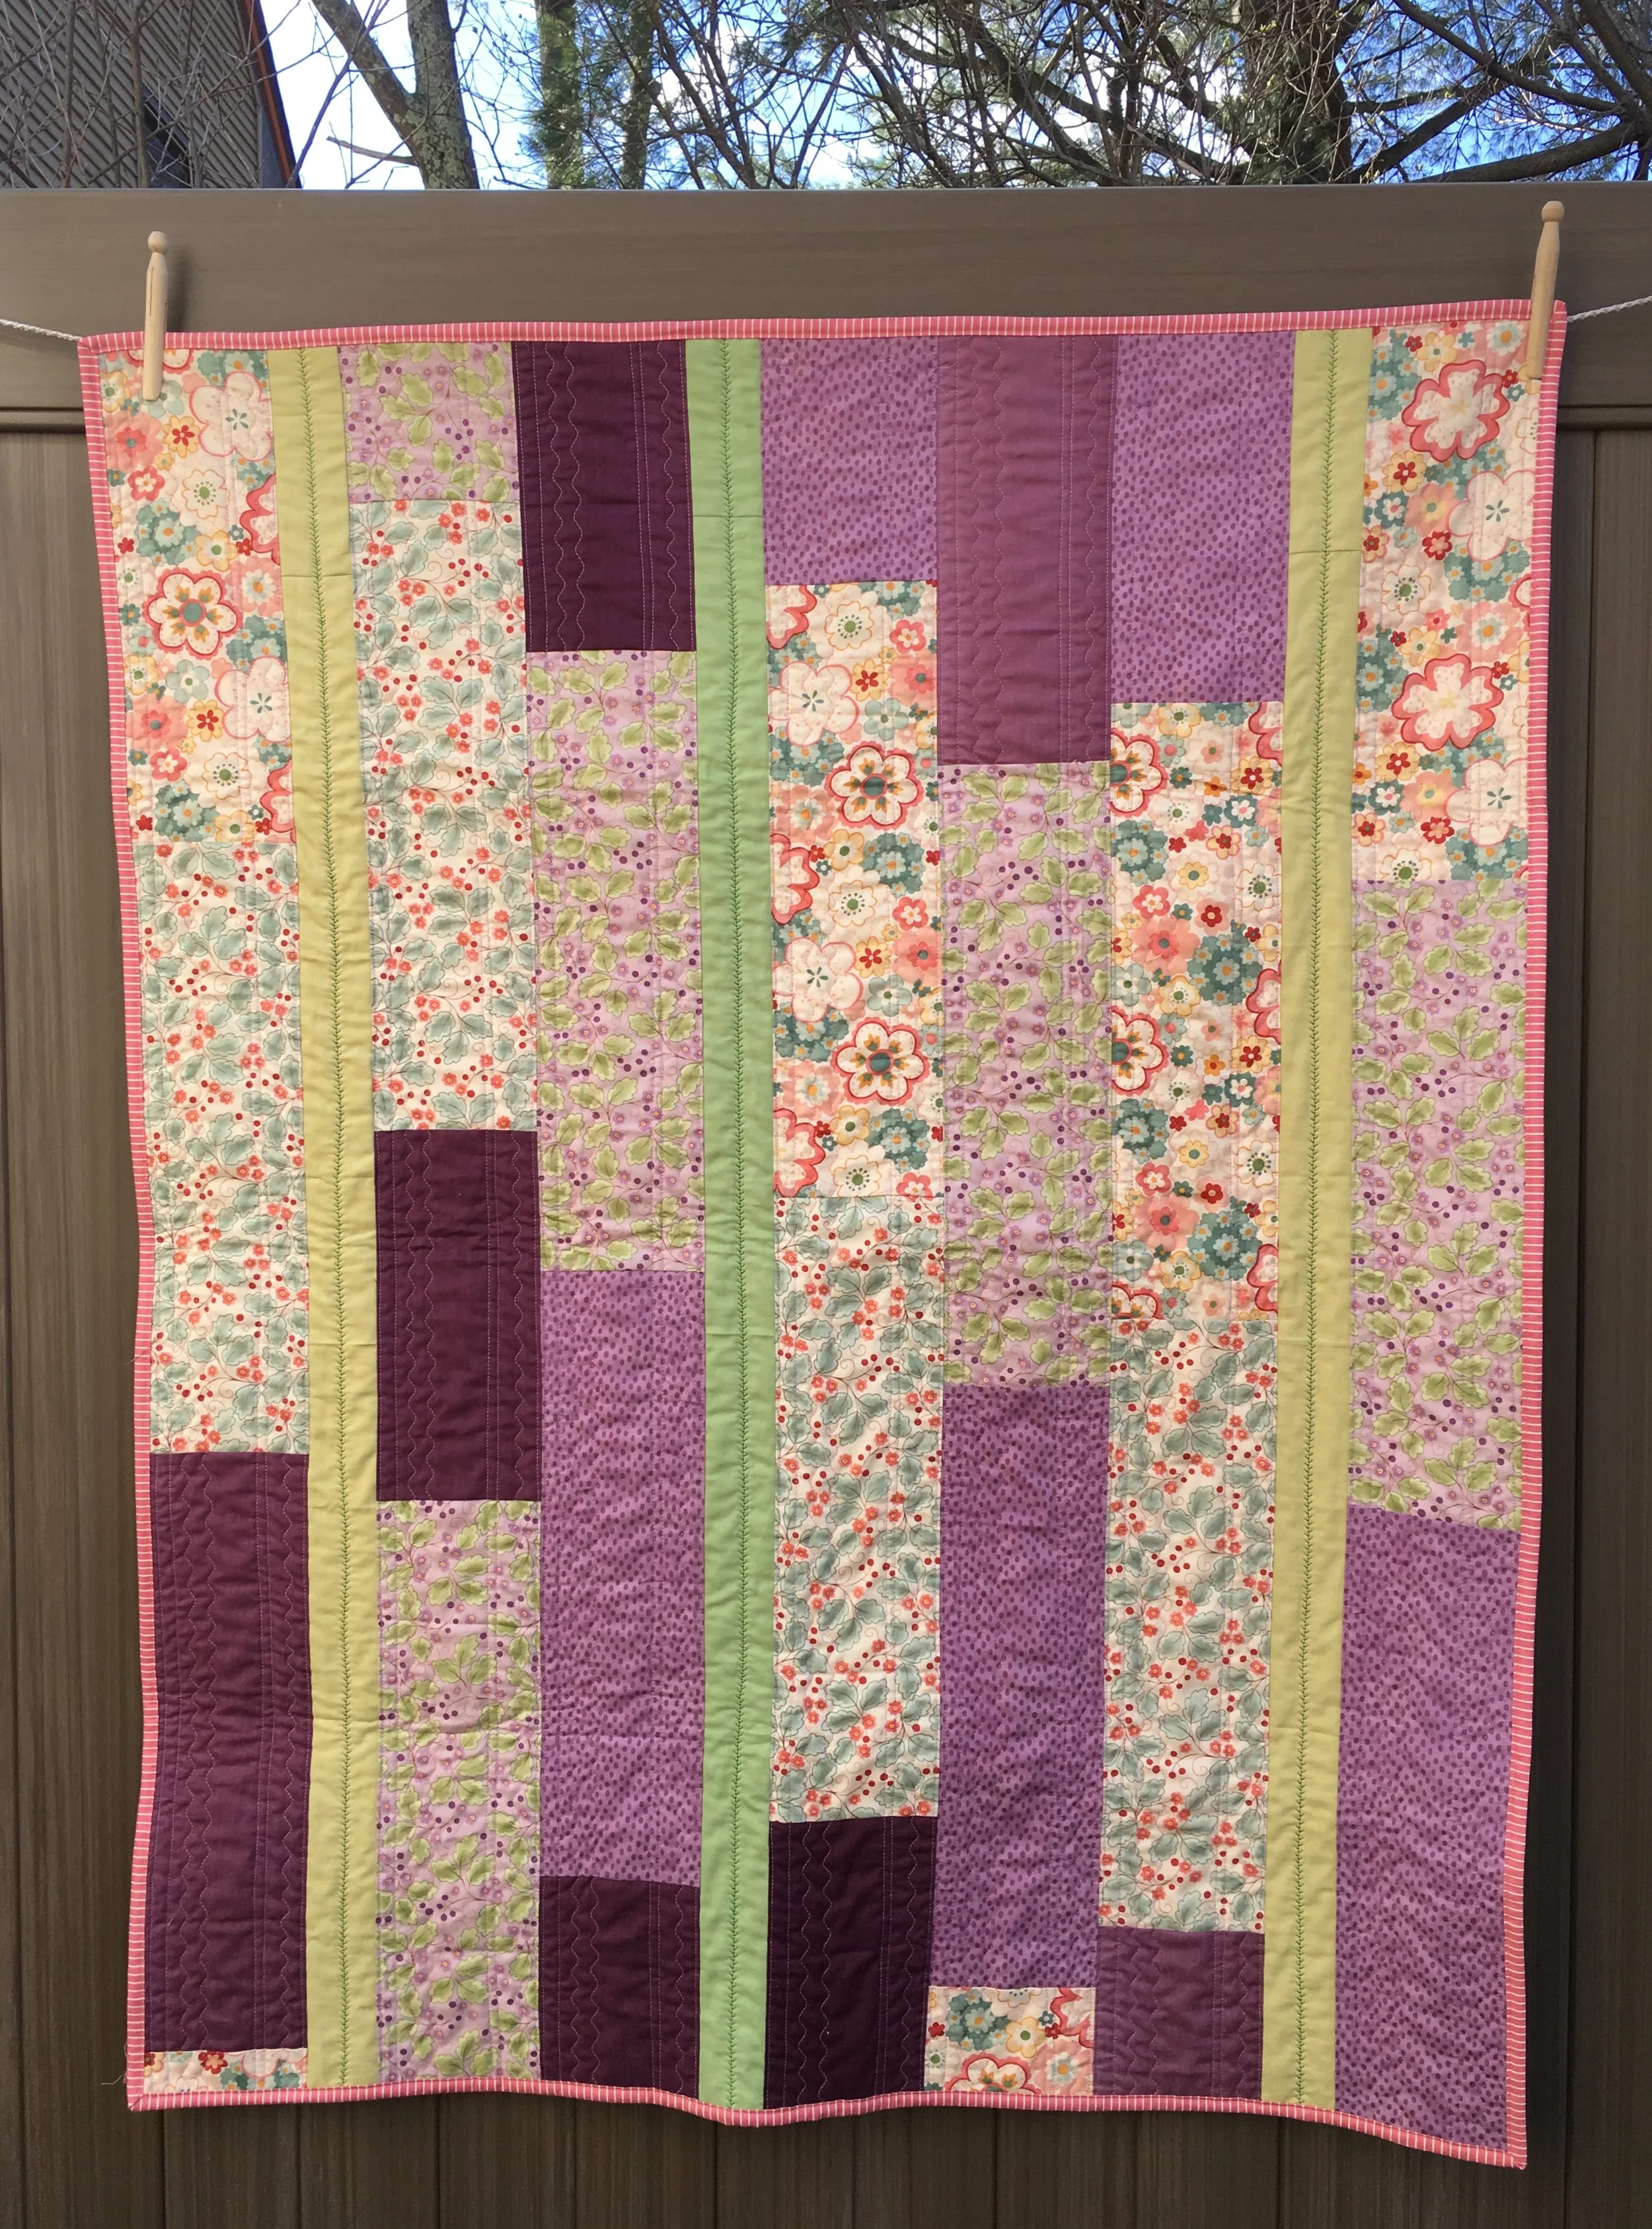
Dreamlines 2023 Quilt 43 x 58.8 inches
Here it is! My Dreamlines 2023 completed quilt.
I decided to echo the designs of the quilt blocks with my quilting. I thought about stitching flowers in the large yellow diamonds or doing some free motion interlocking rectangles in some of the larger rectangular blocks. This is such an angular quilt that flowers didn’t feel right and it’s already so busy I thought a busy quilting design would end up as a distraction.
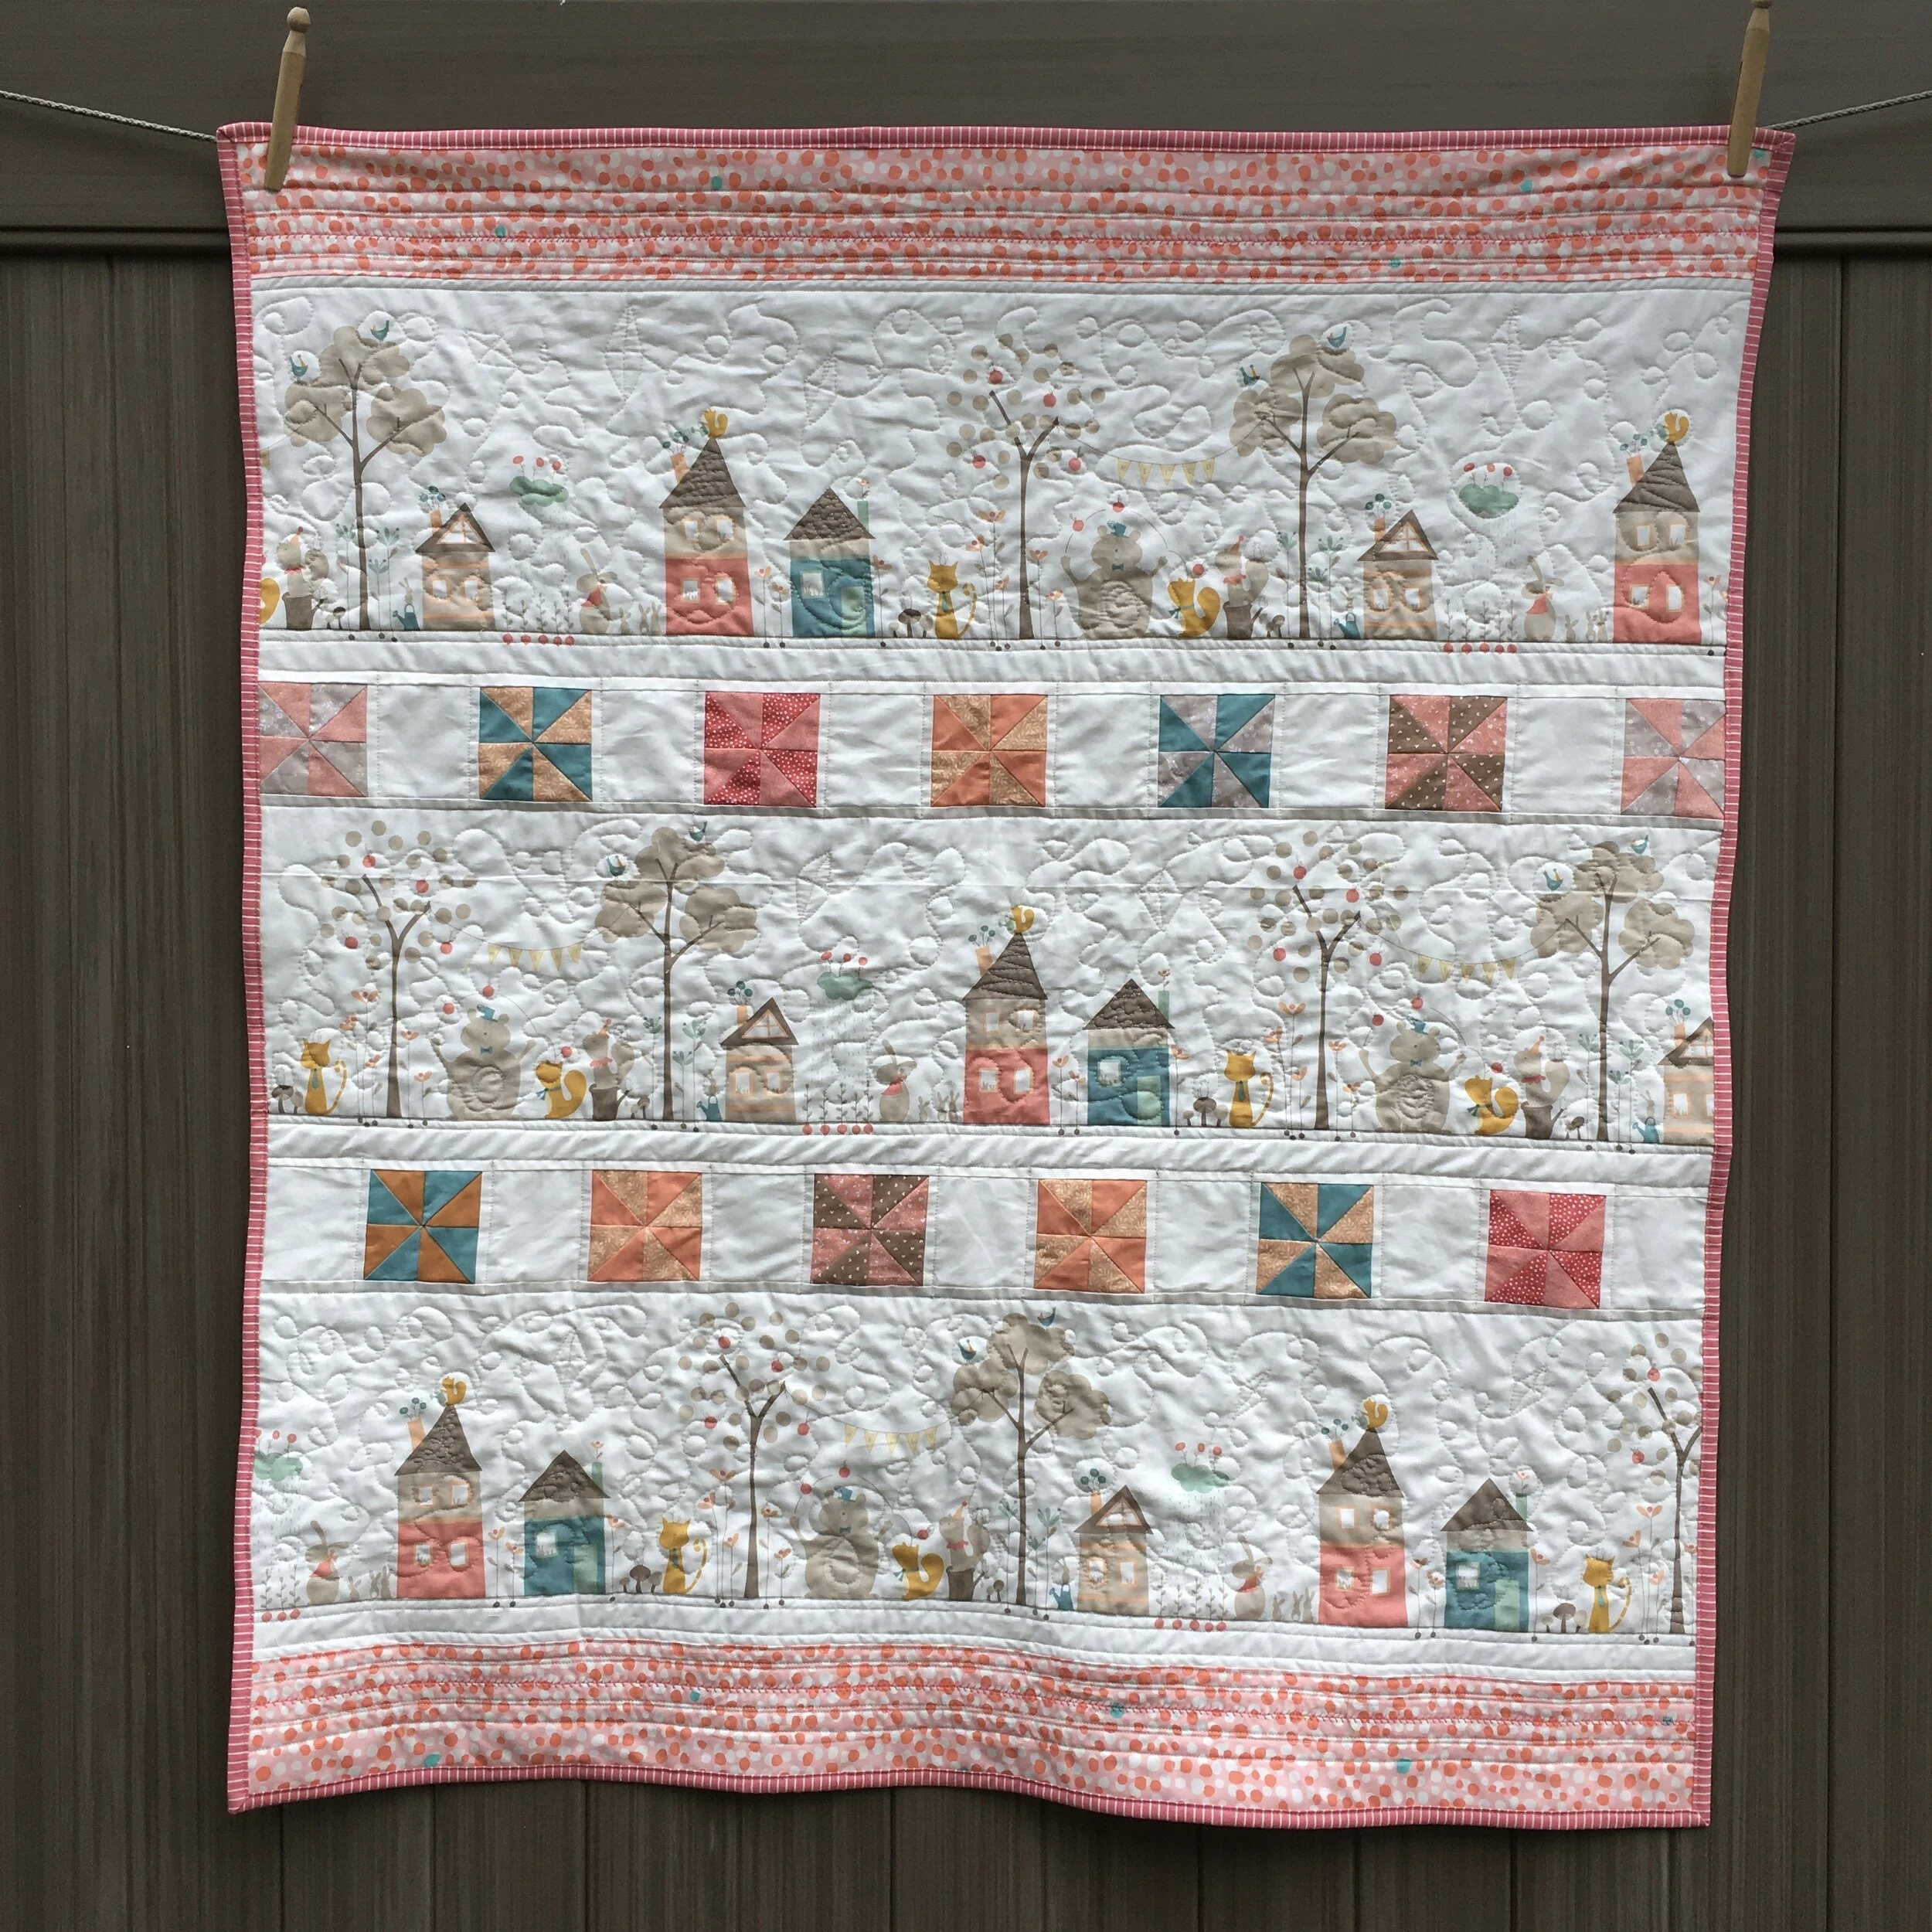
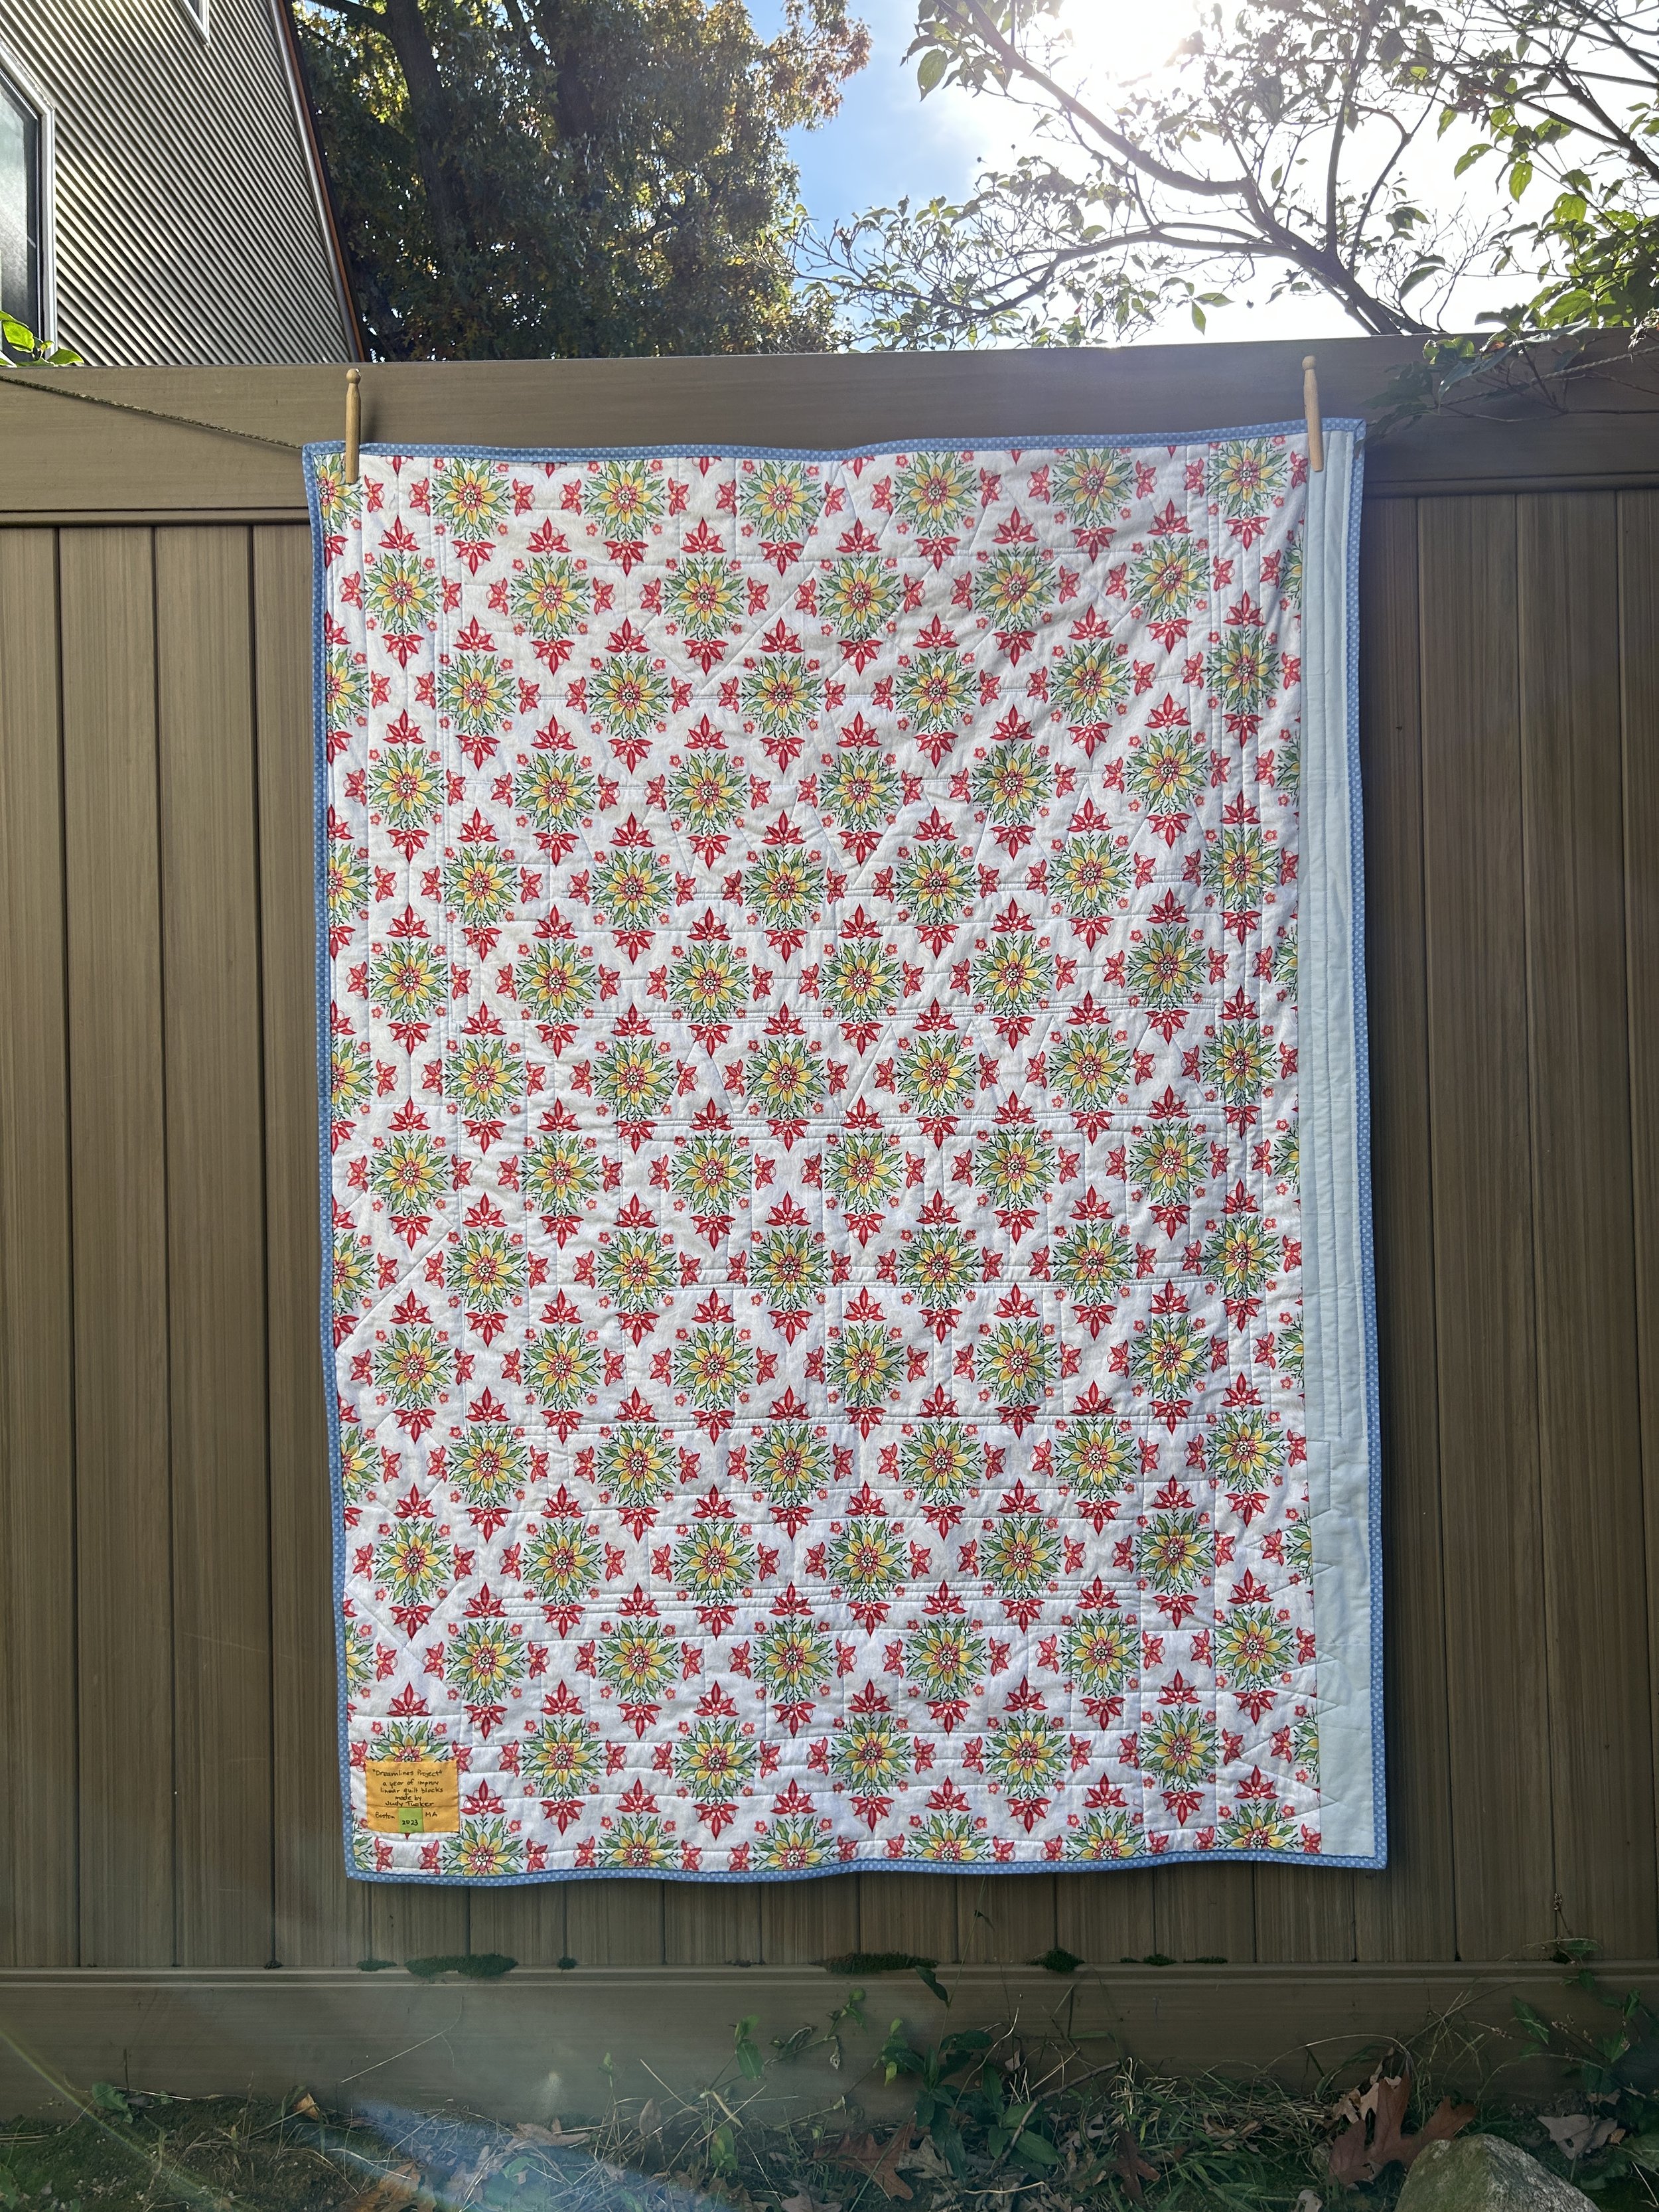
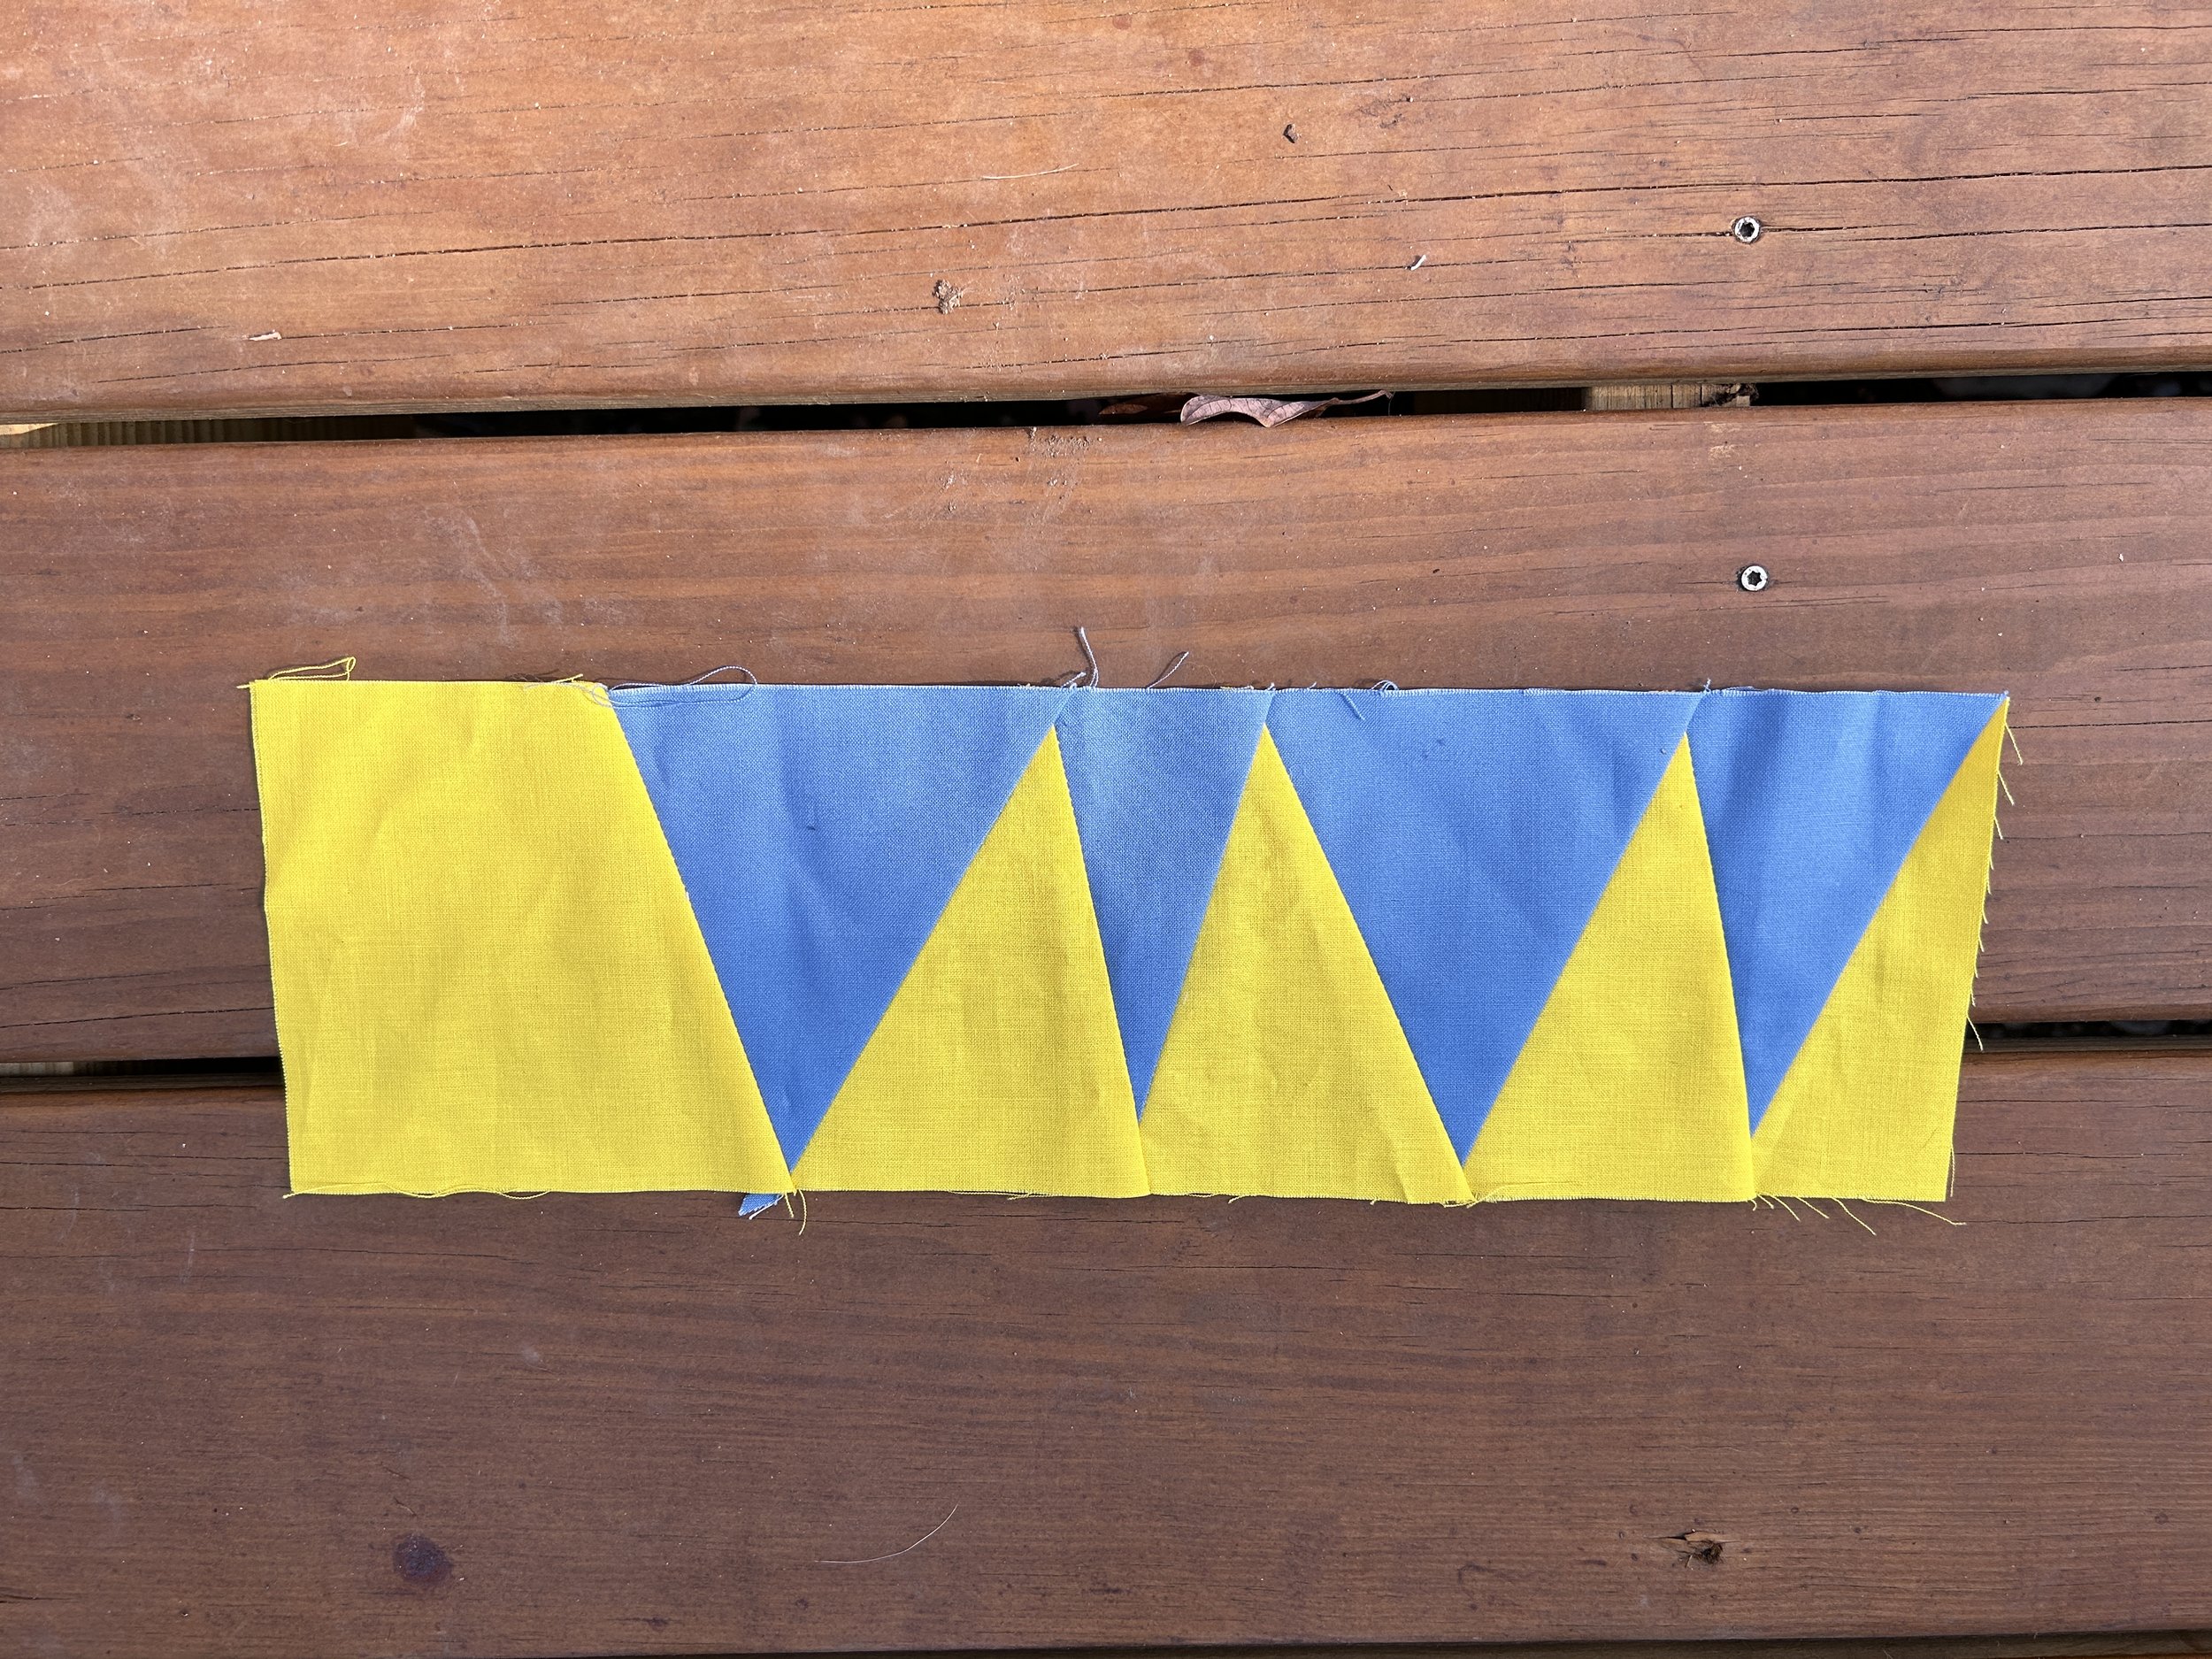
The backing came out of my stash. It has so many of the colors of the quilt…and I got flowers included in this quilt after all! I used a scrap of the piecing as the label on this quilt and on another one too. All I had left was a small strip of the blue and yellow peaks!
Thanks to Brenda Gael Smith for this fun year long project!