Have you seen Robert Kaufman's Mammoth Flannel? It's amazing! Like fine wool plaids without the itch!
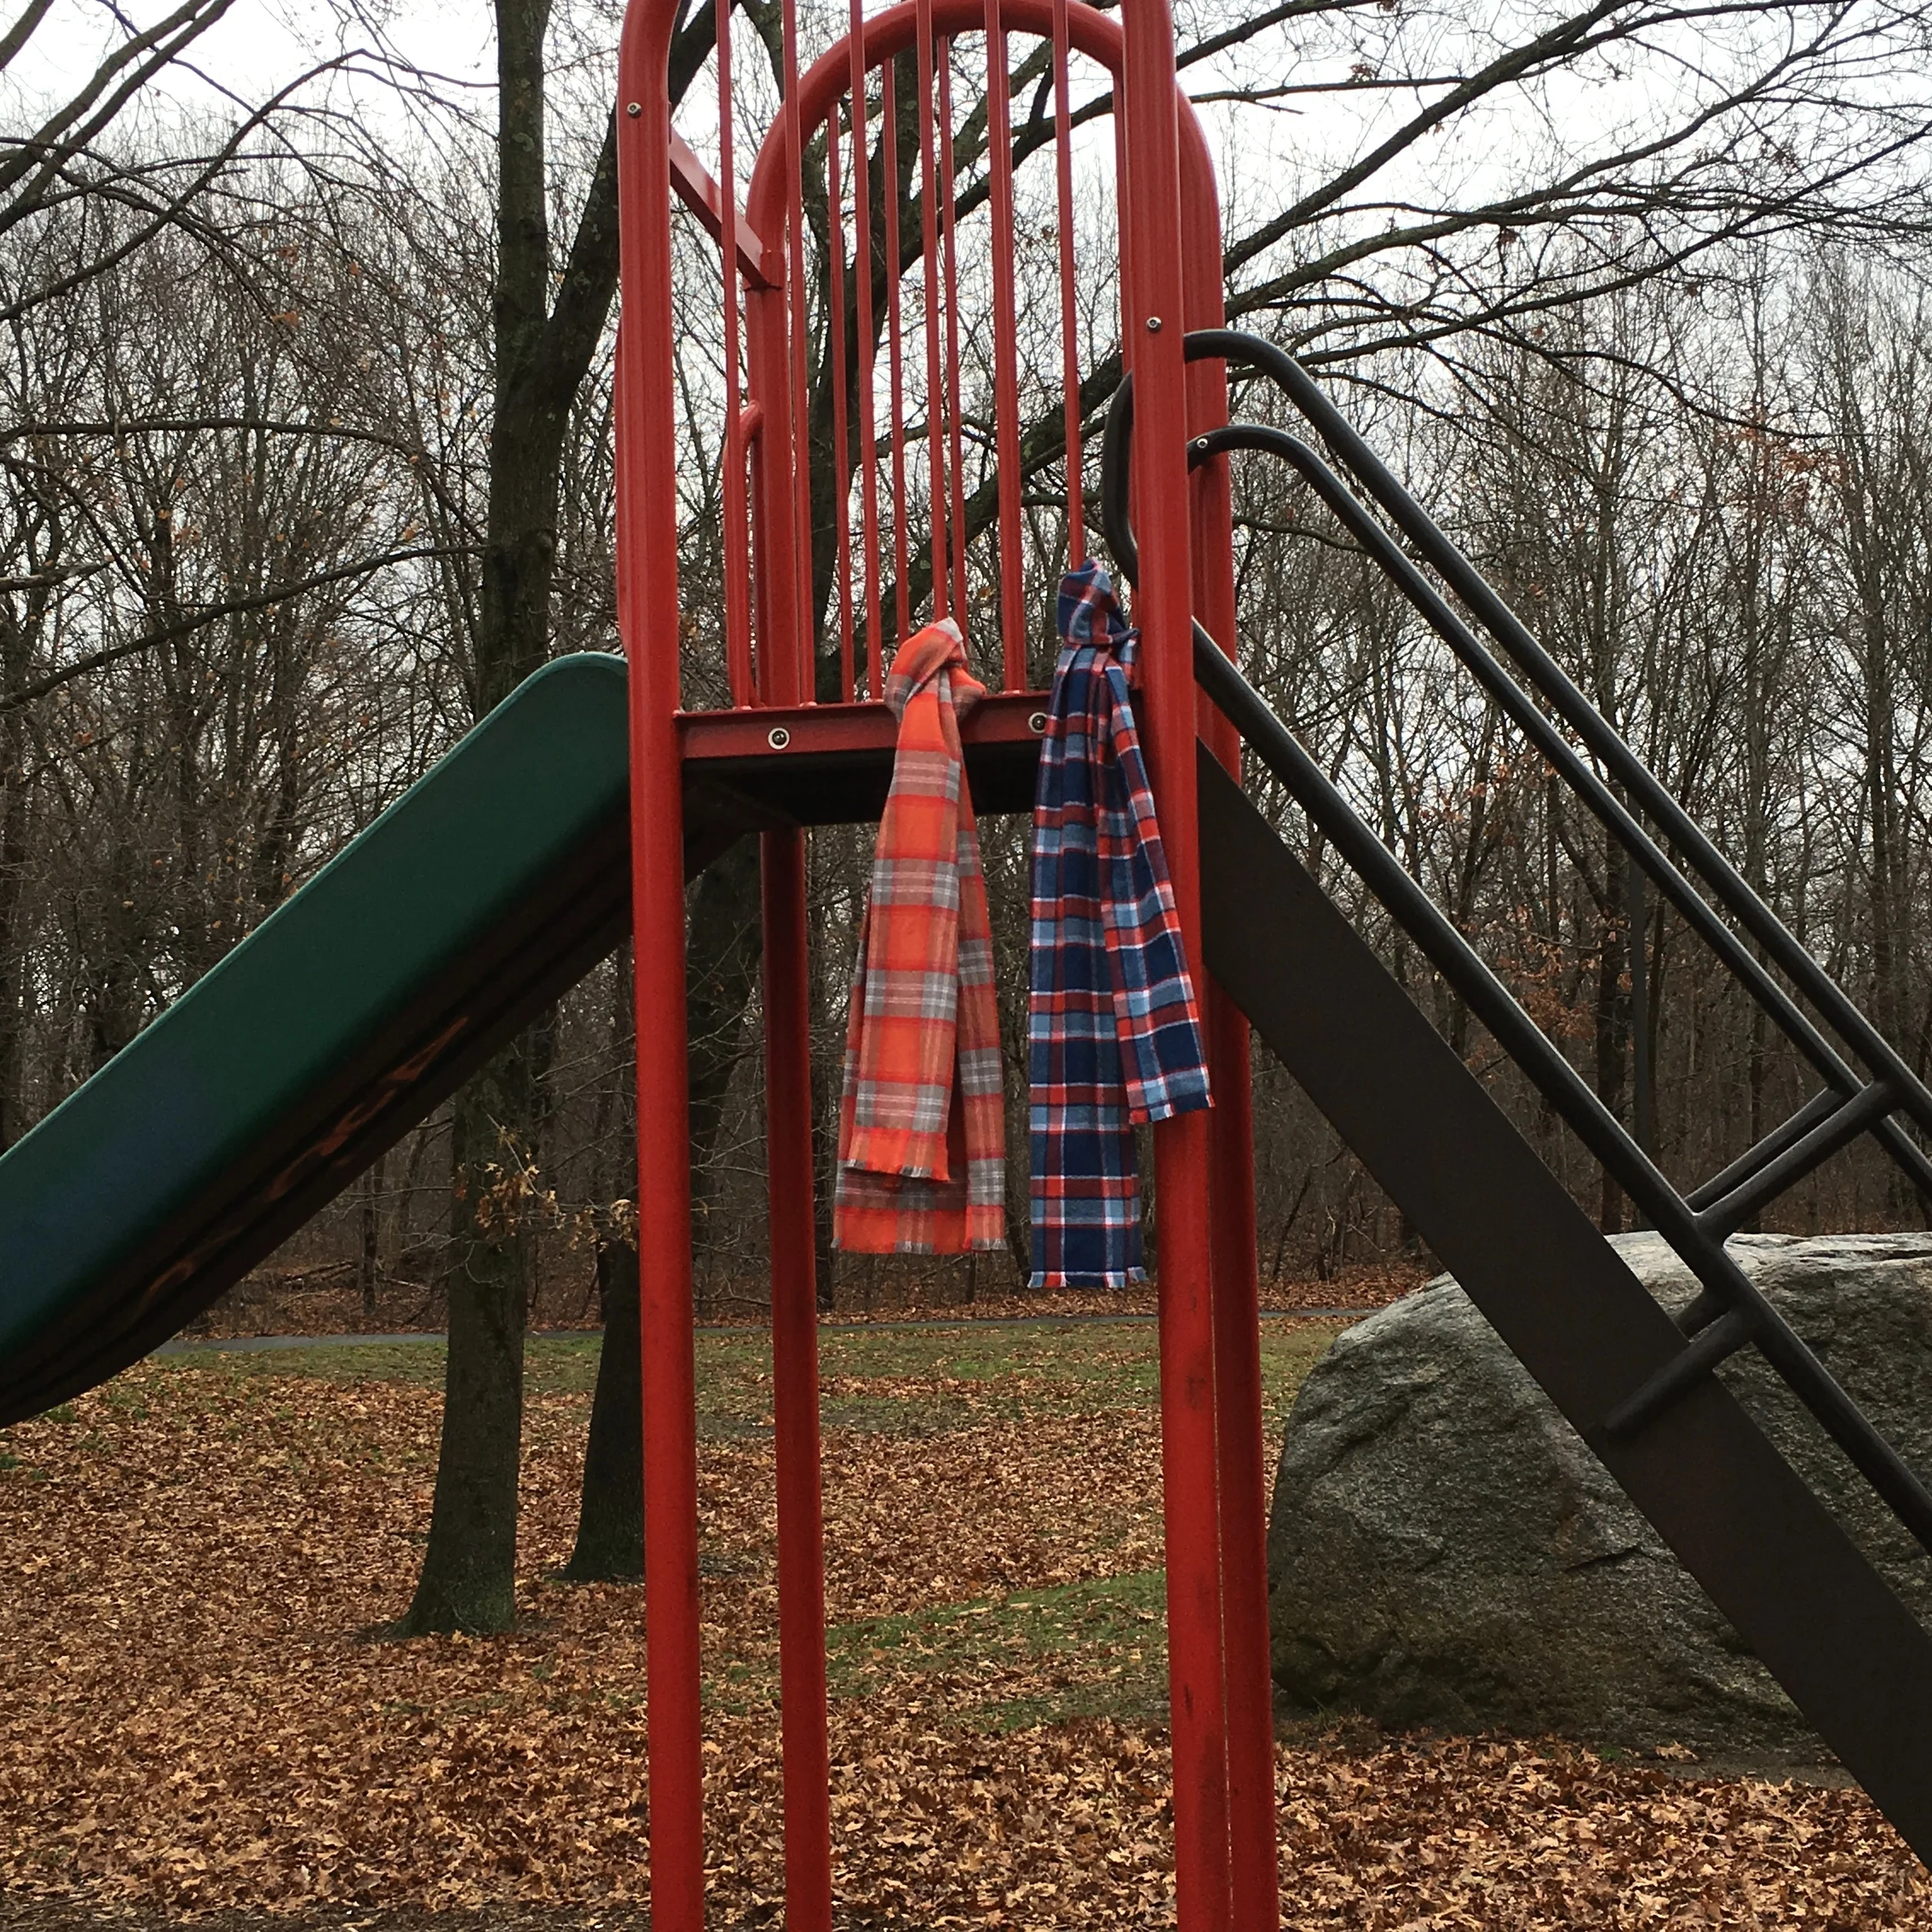
This flannel makes soft, warm scarfs. Here's a tutorial for a very quick, double layer flannel scarf.
Supplies:
- 2 yards of Robert Kaufman's Mammoth Flannel (makes 2 scarves)
- Thread to match the dominant color in the plaid
- Sewing machine
- Pins
- Rotary blade and ruler or scissors
Instructions:
- Trim the ends of your yardage. Open it up and cut along one of the lines in the plain from selvage to selvage.
- Cut off each selvage. A rotary blade and ruler makes this job easy but scissors are just fine too.
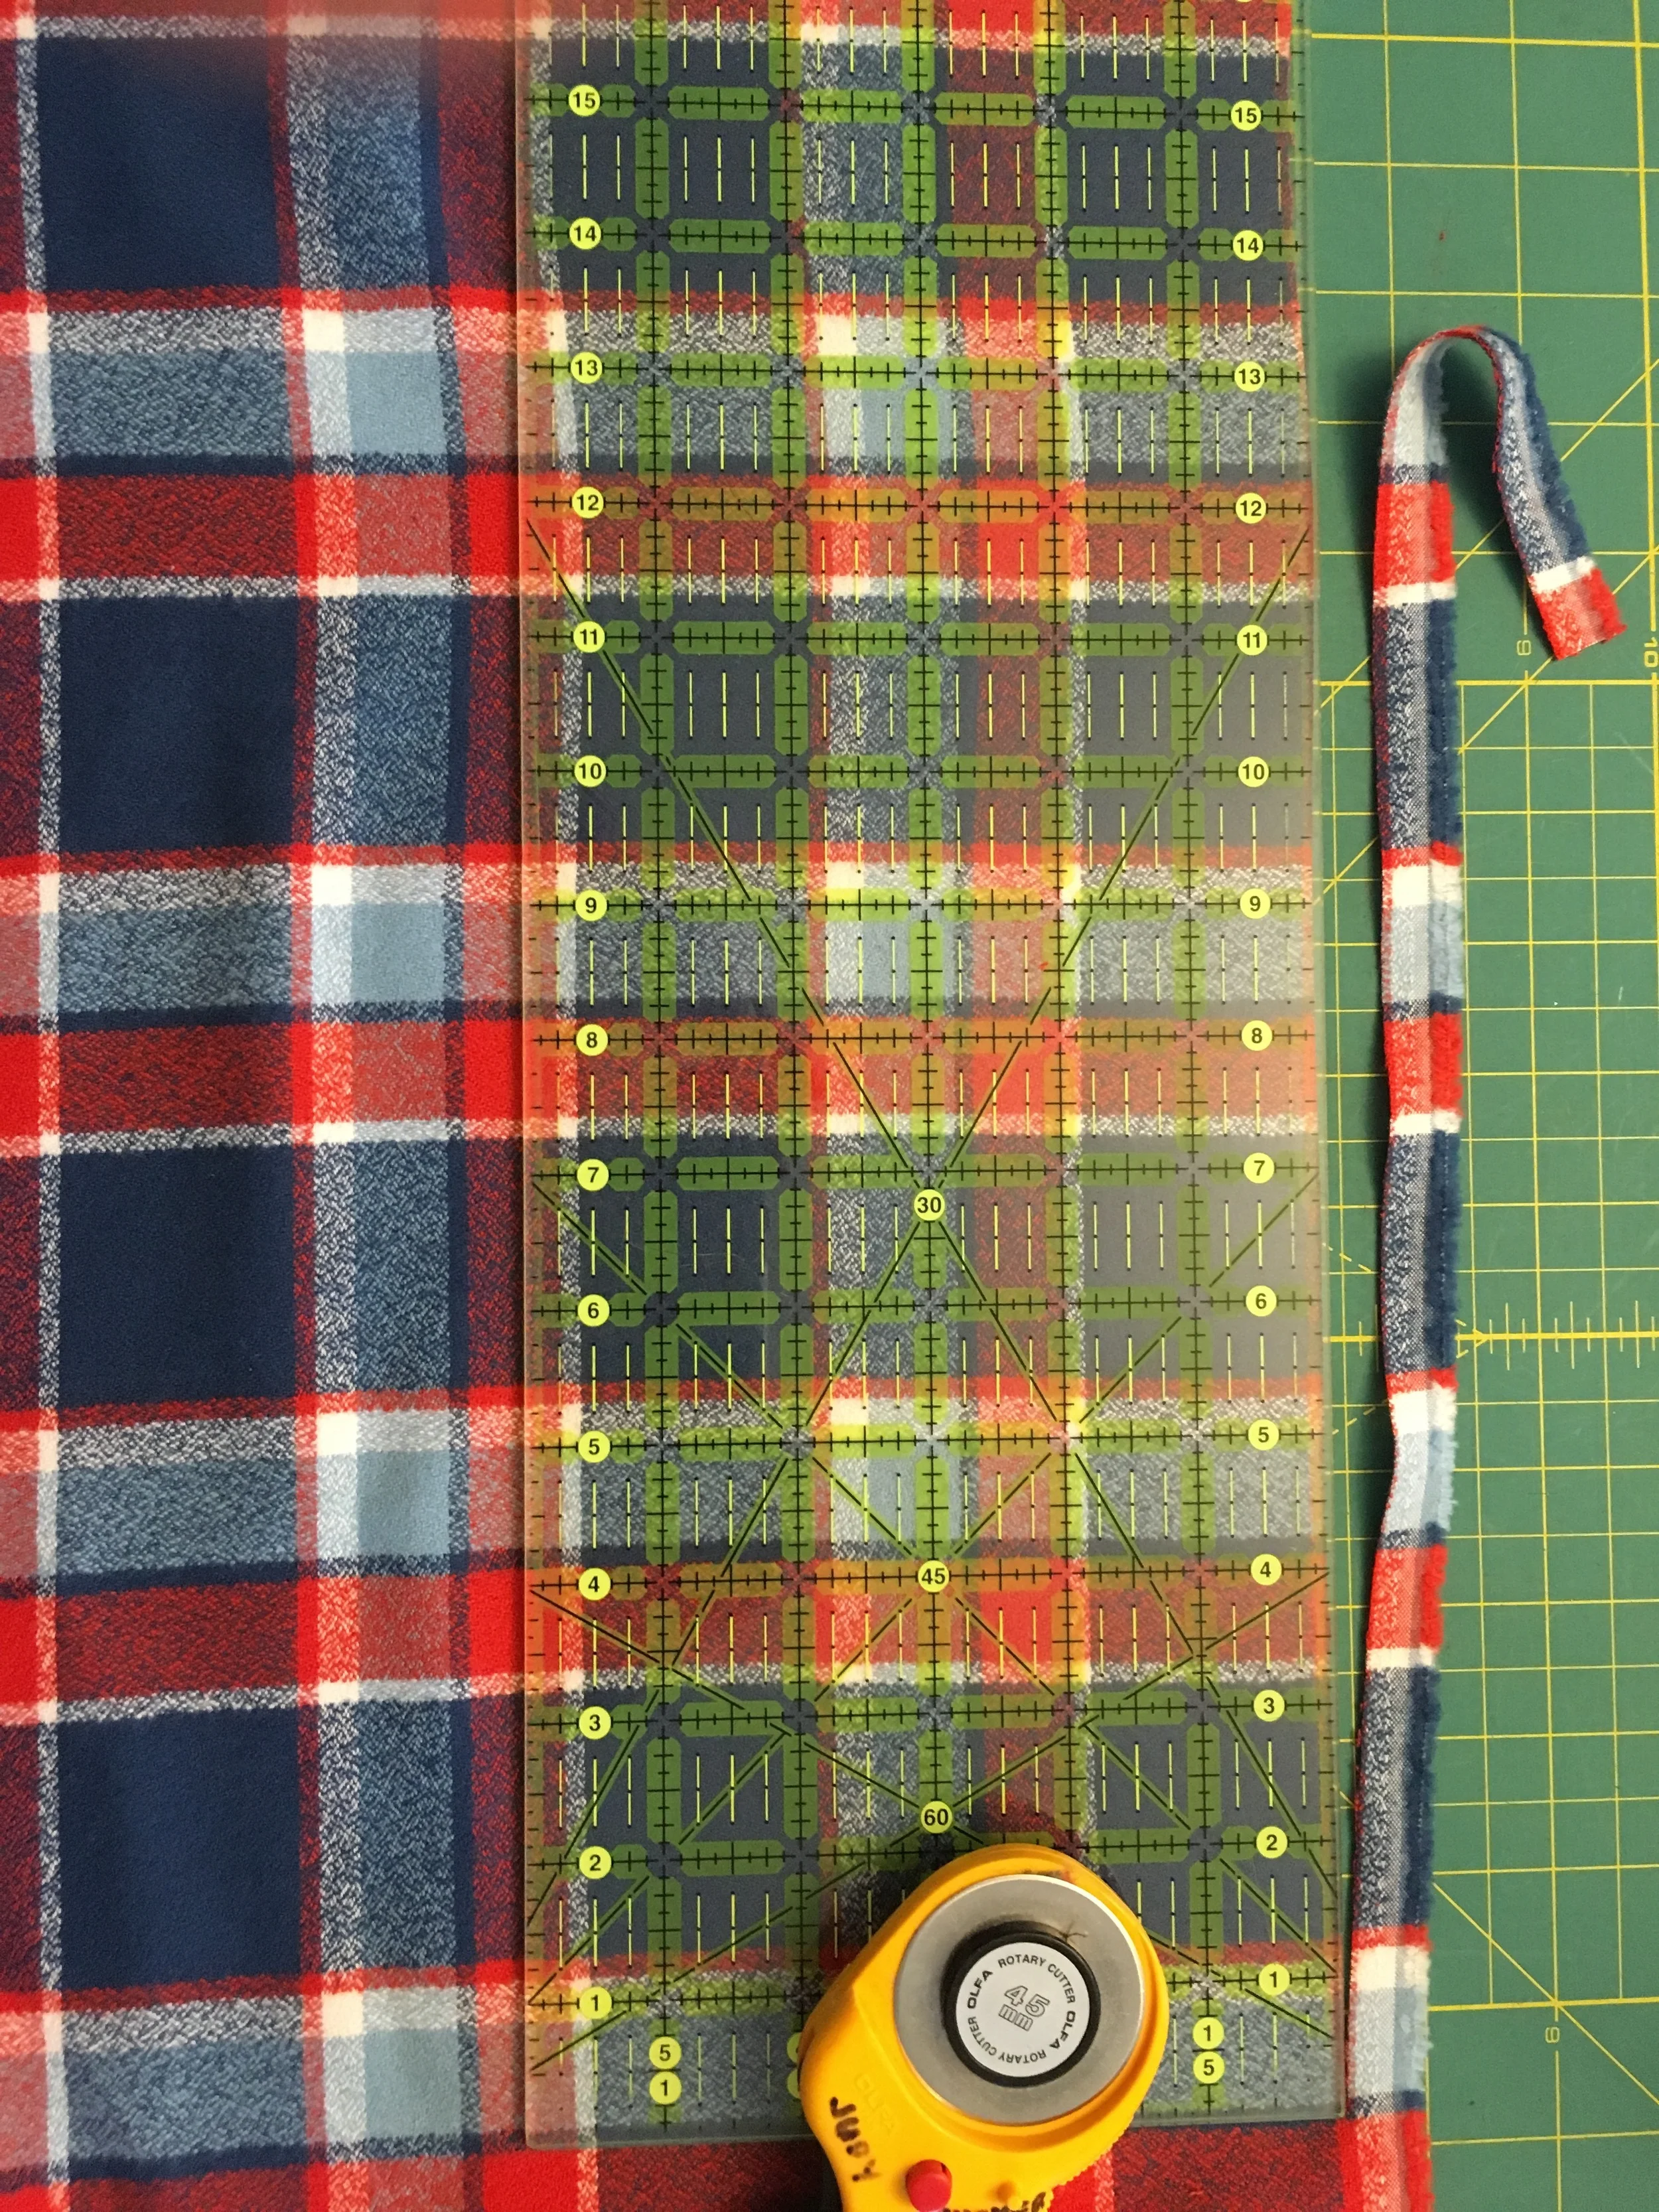
Trim the selvage
- Cut the yardage in half along the length of yardage. This will make 2 scarves approximately 72 inches long and 20 inches wide.
- Create a fringe along both SHORT sides of the scarf. This is done by removing threads running across the fabric. It helps to use a pin to pull out a thread so you can grasp it with your fingers and pull it out. It is possible to pull 2 threads at a time but the threads tend to break if more than 2 threads are pulled out at a time. I made a fringe about 1/2 inch long.
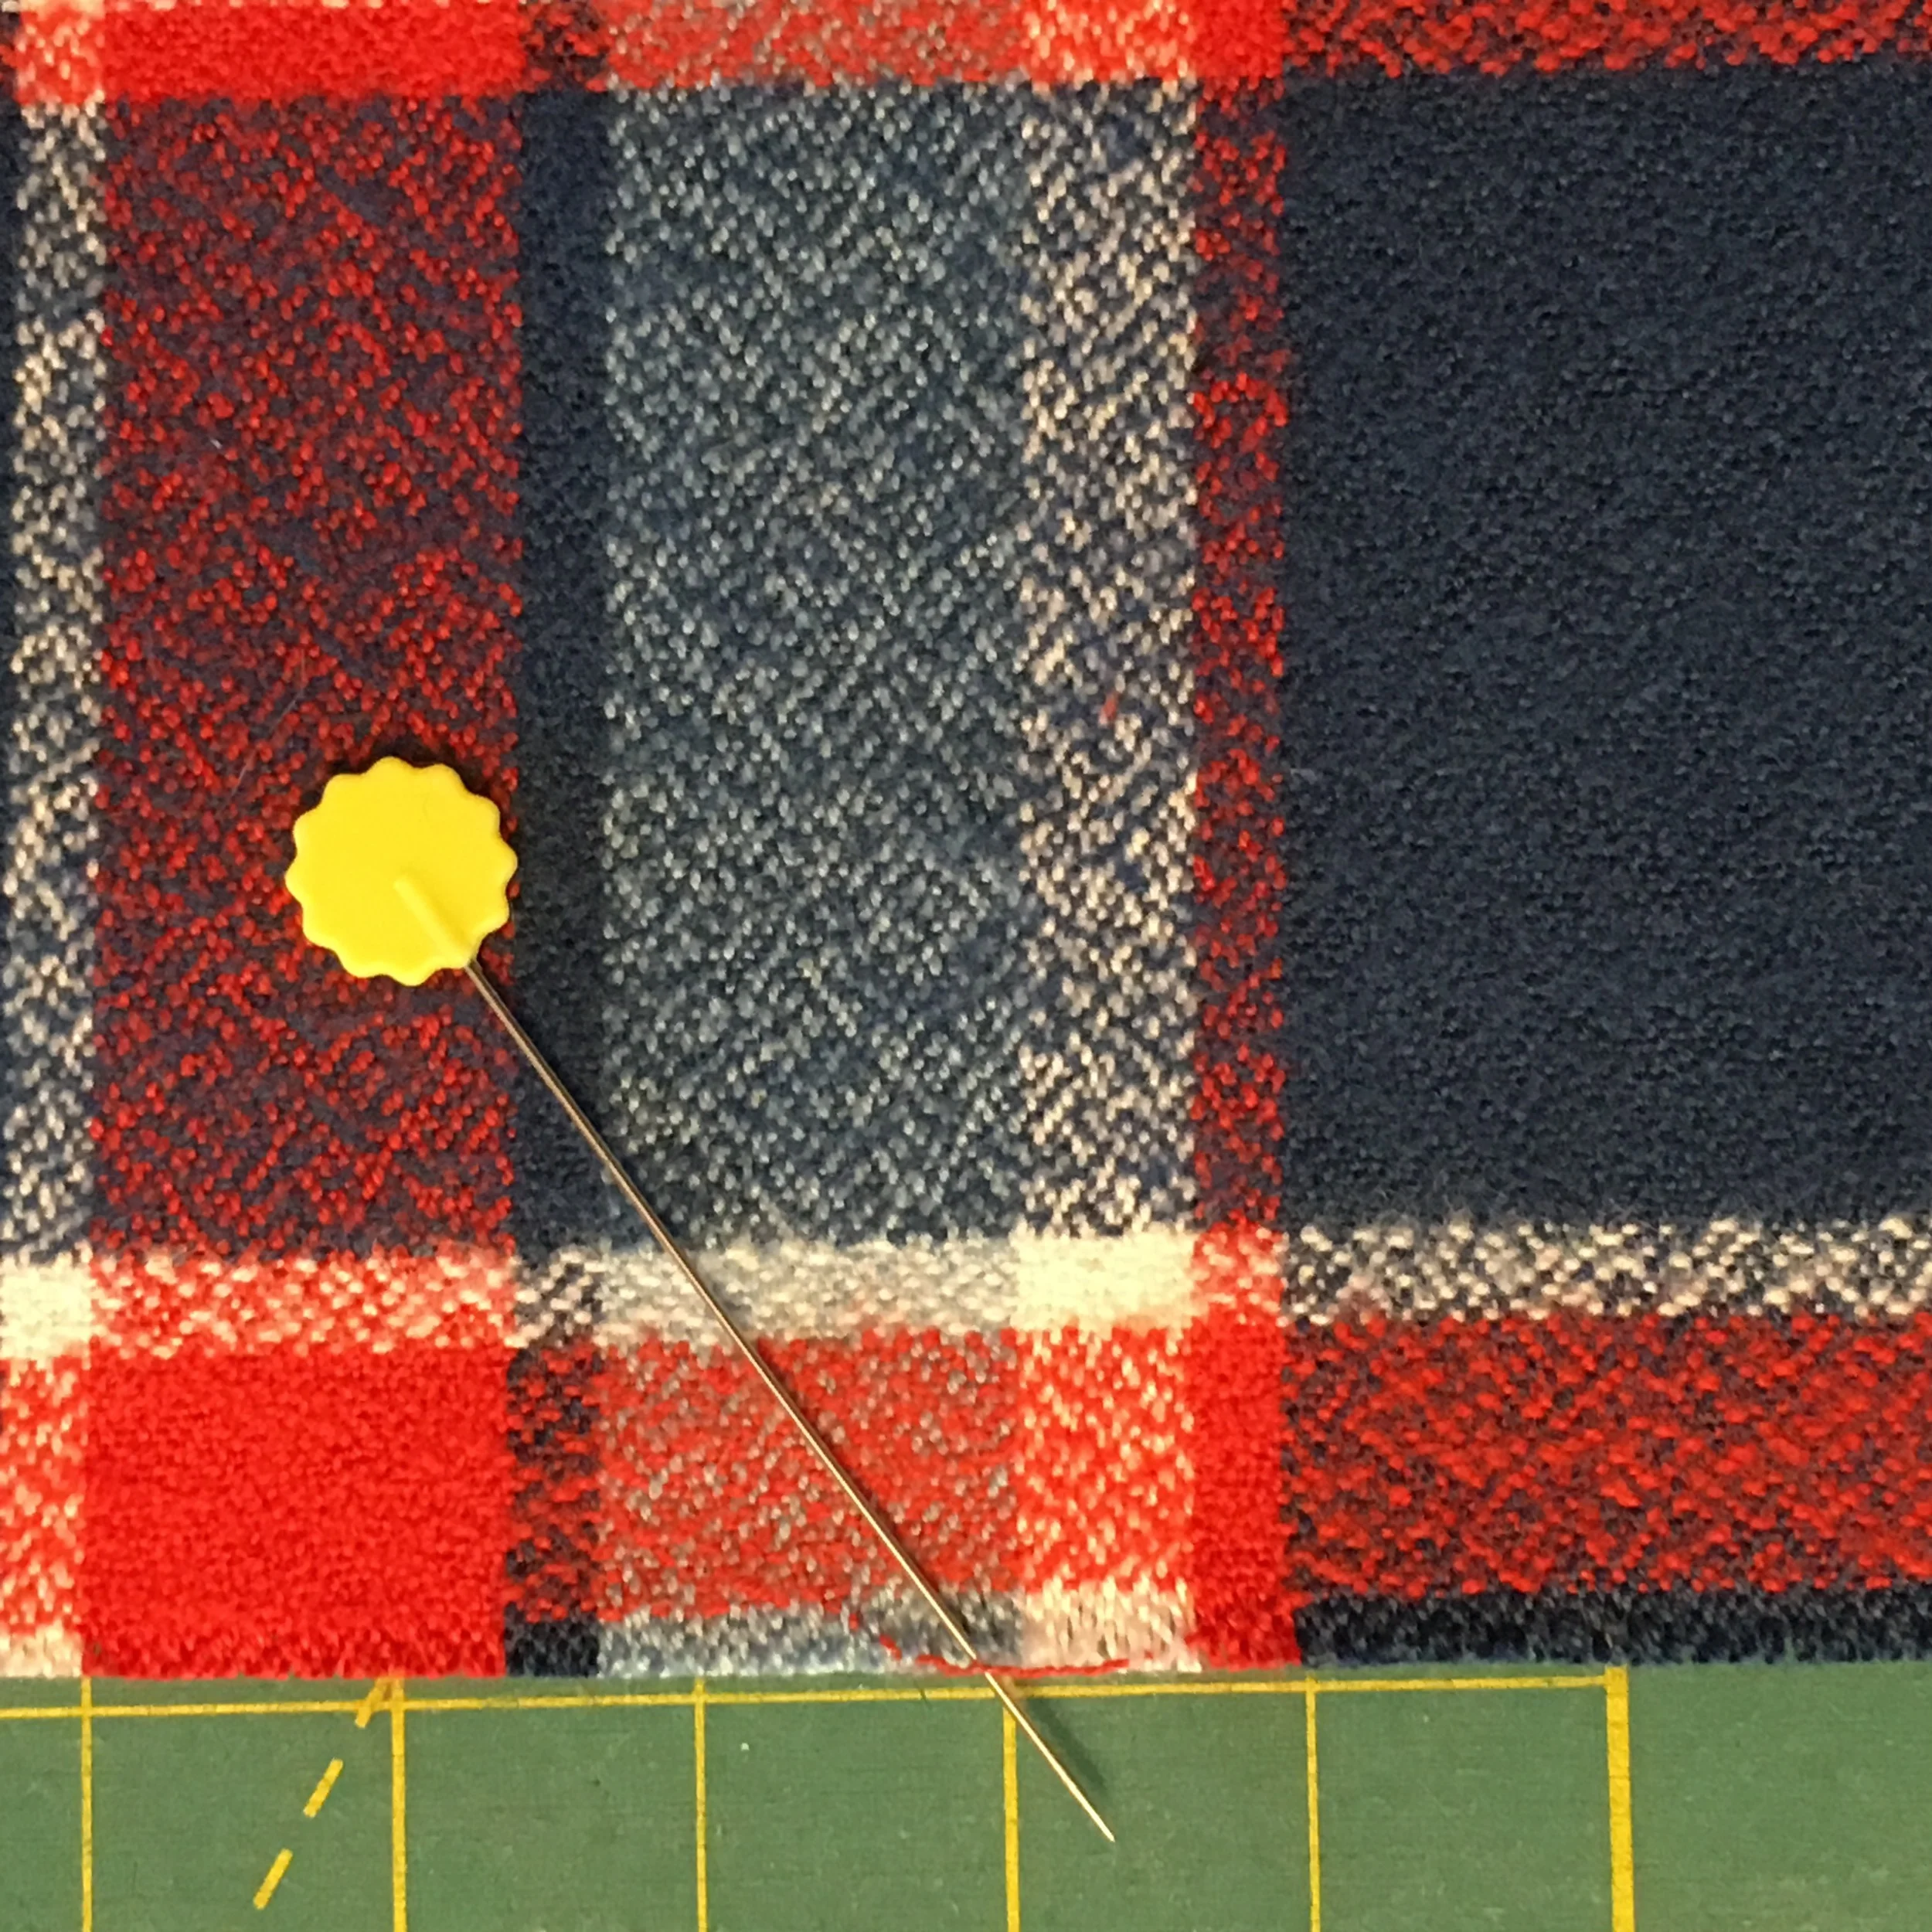
Using a pin to pull out a thread which will be removed, creating a fringe
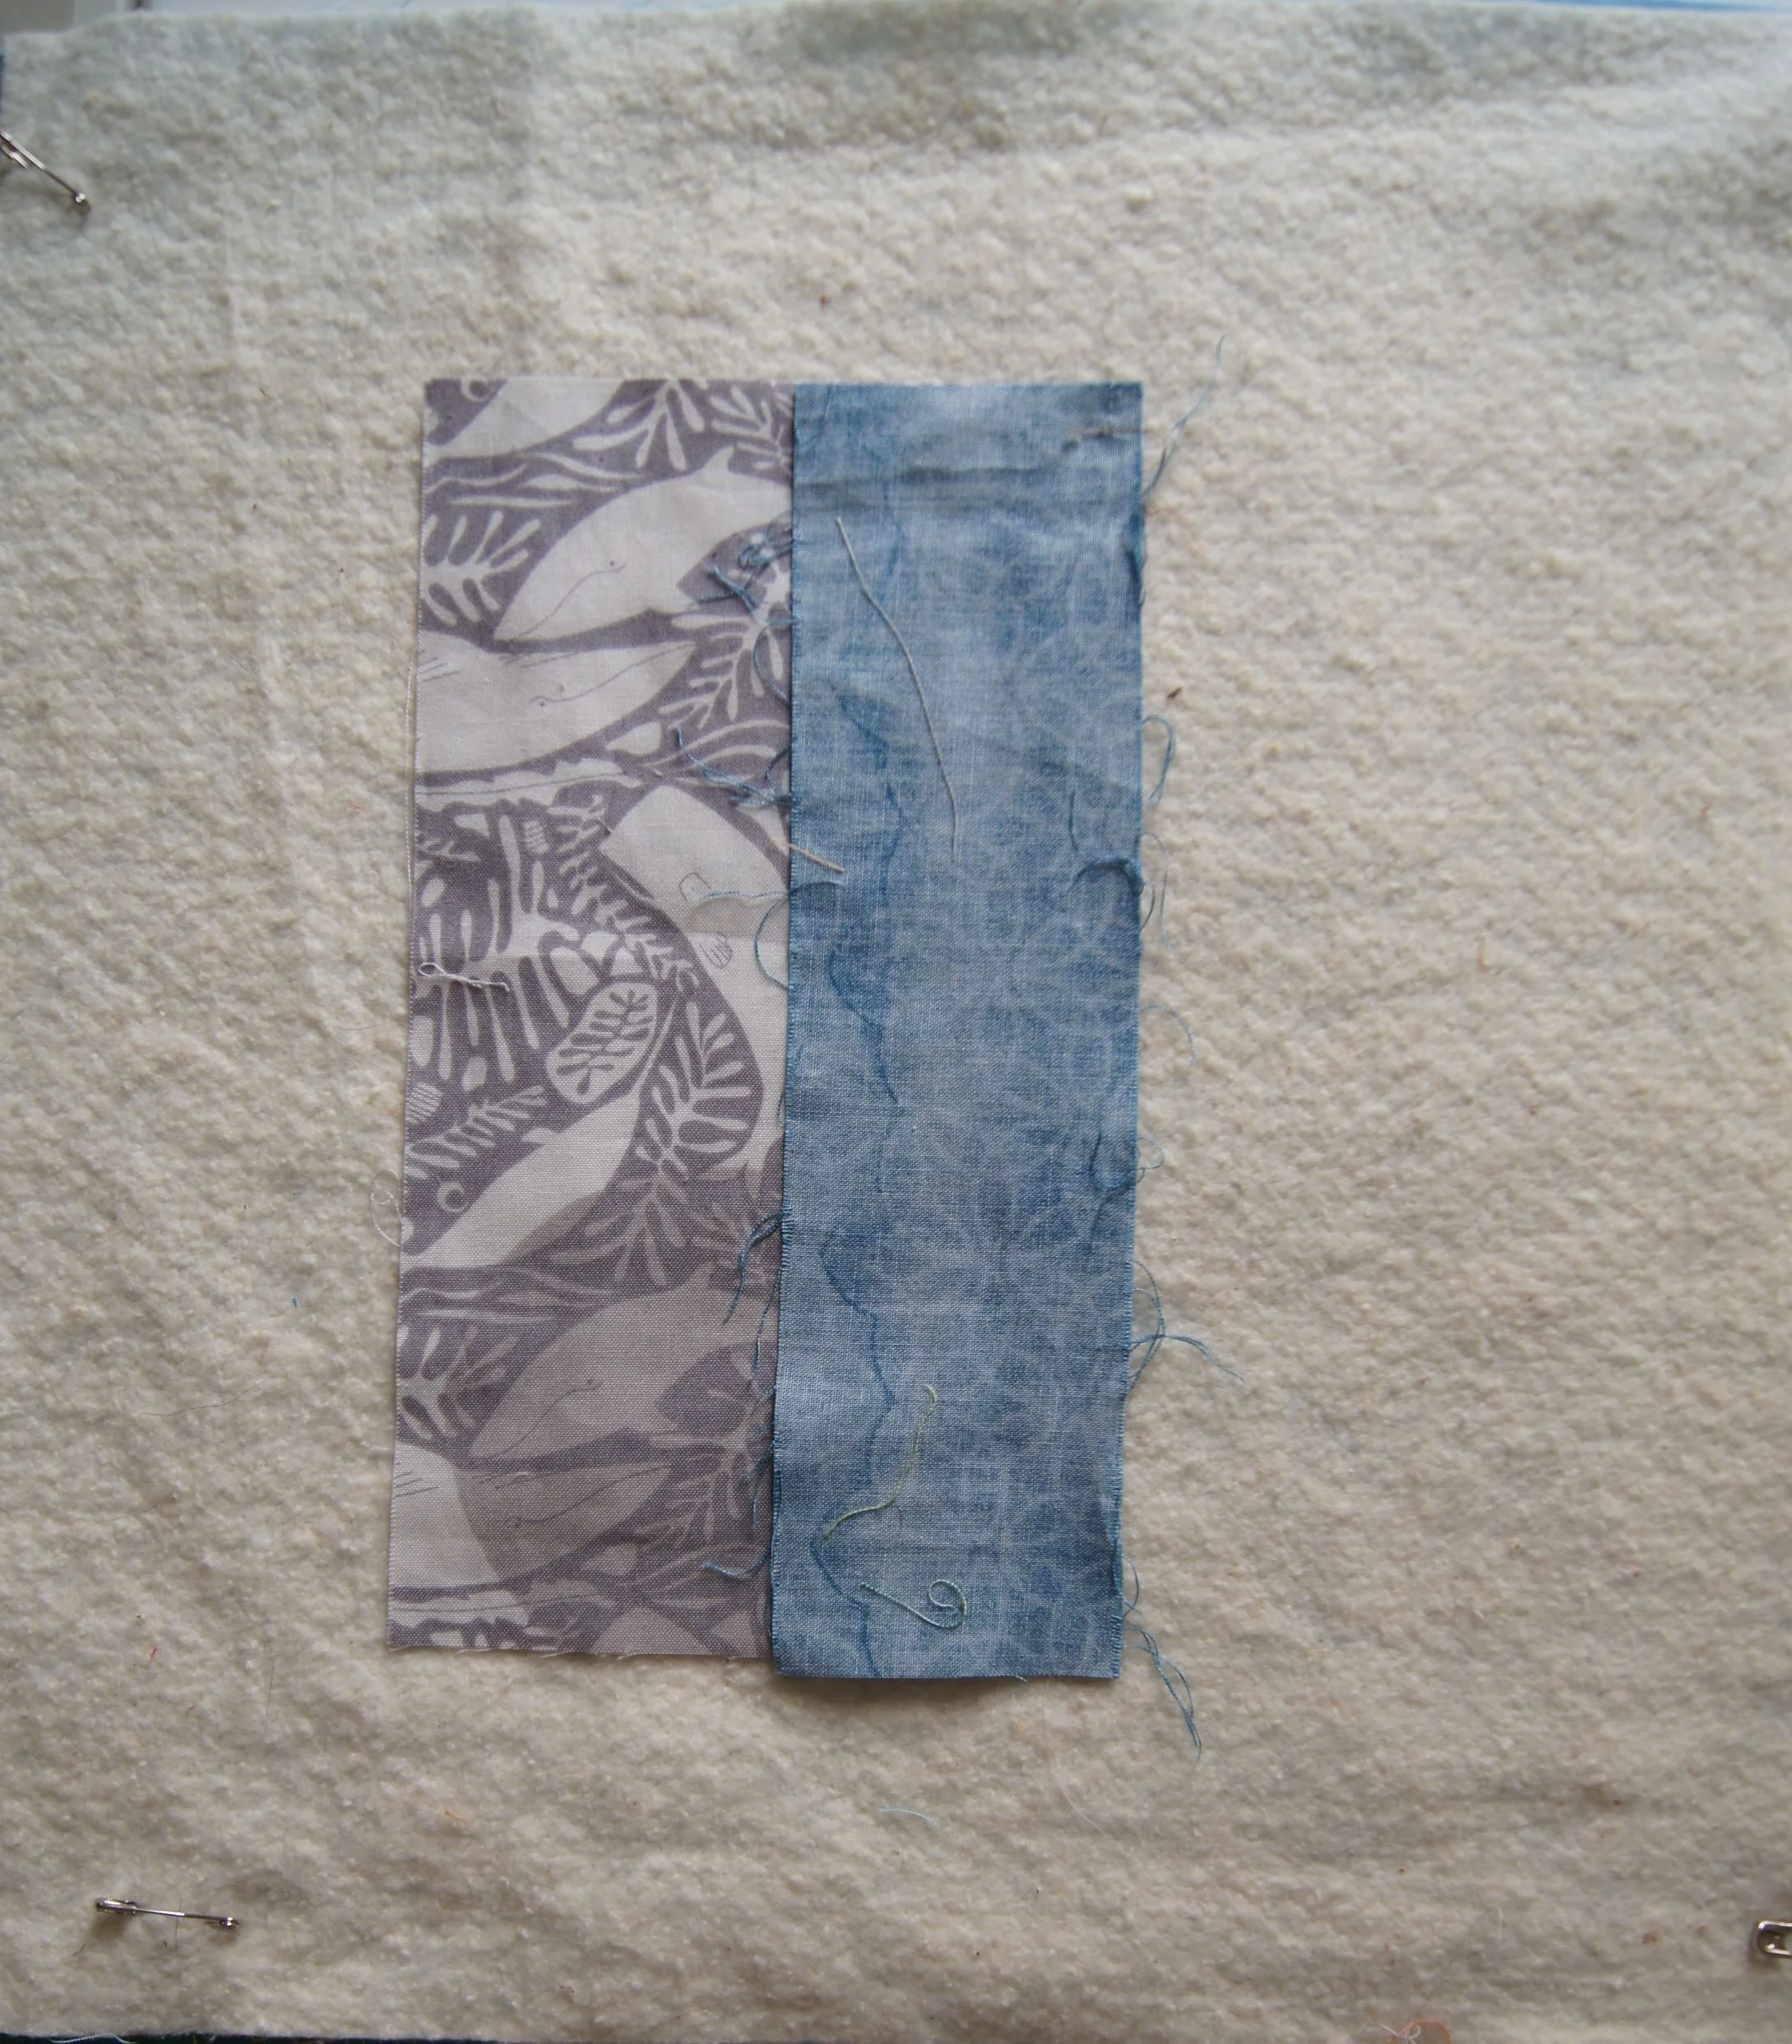
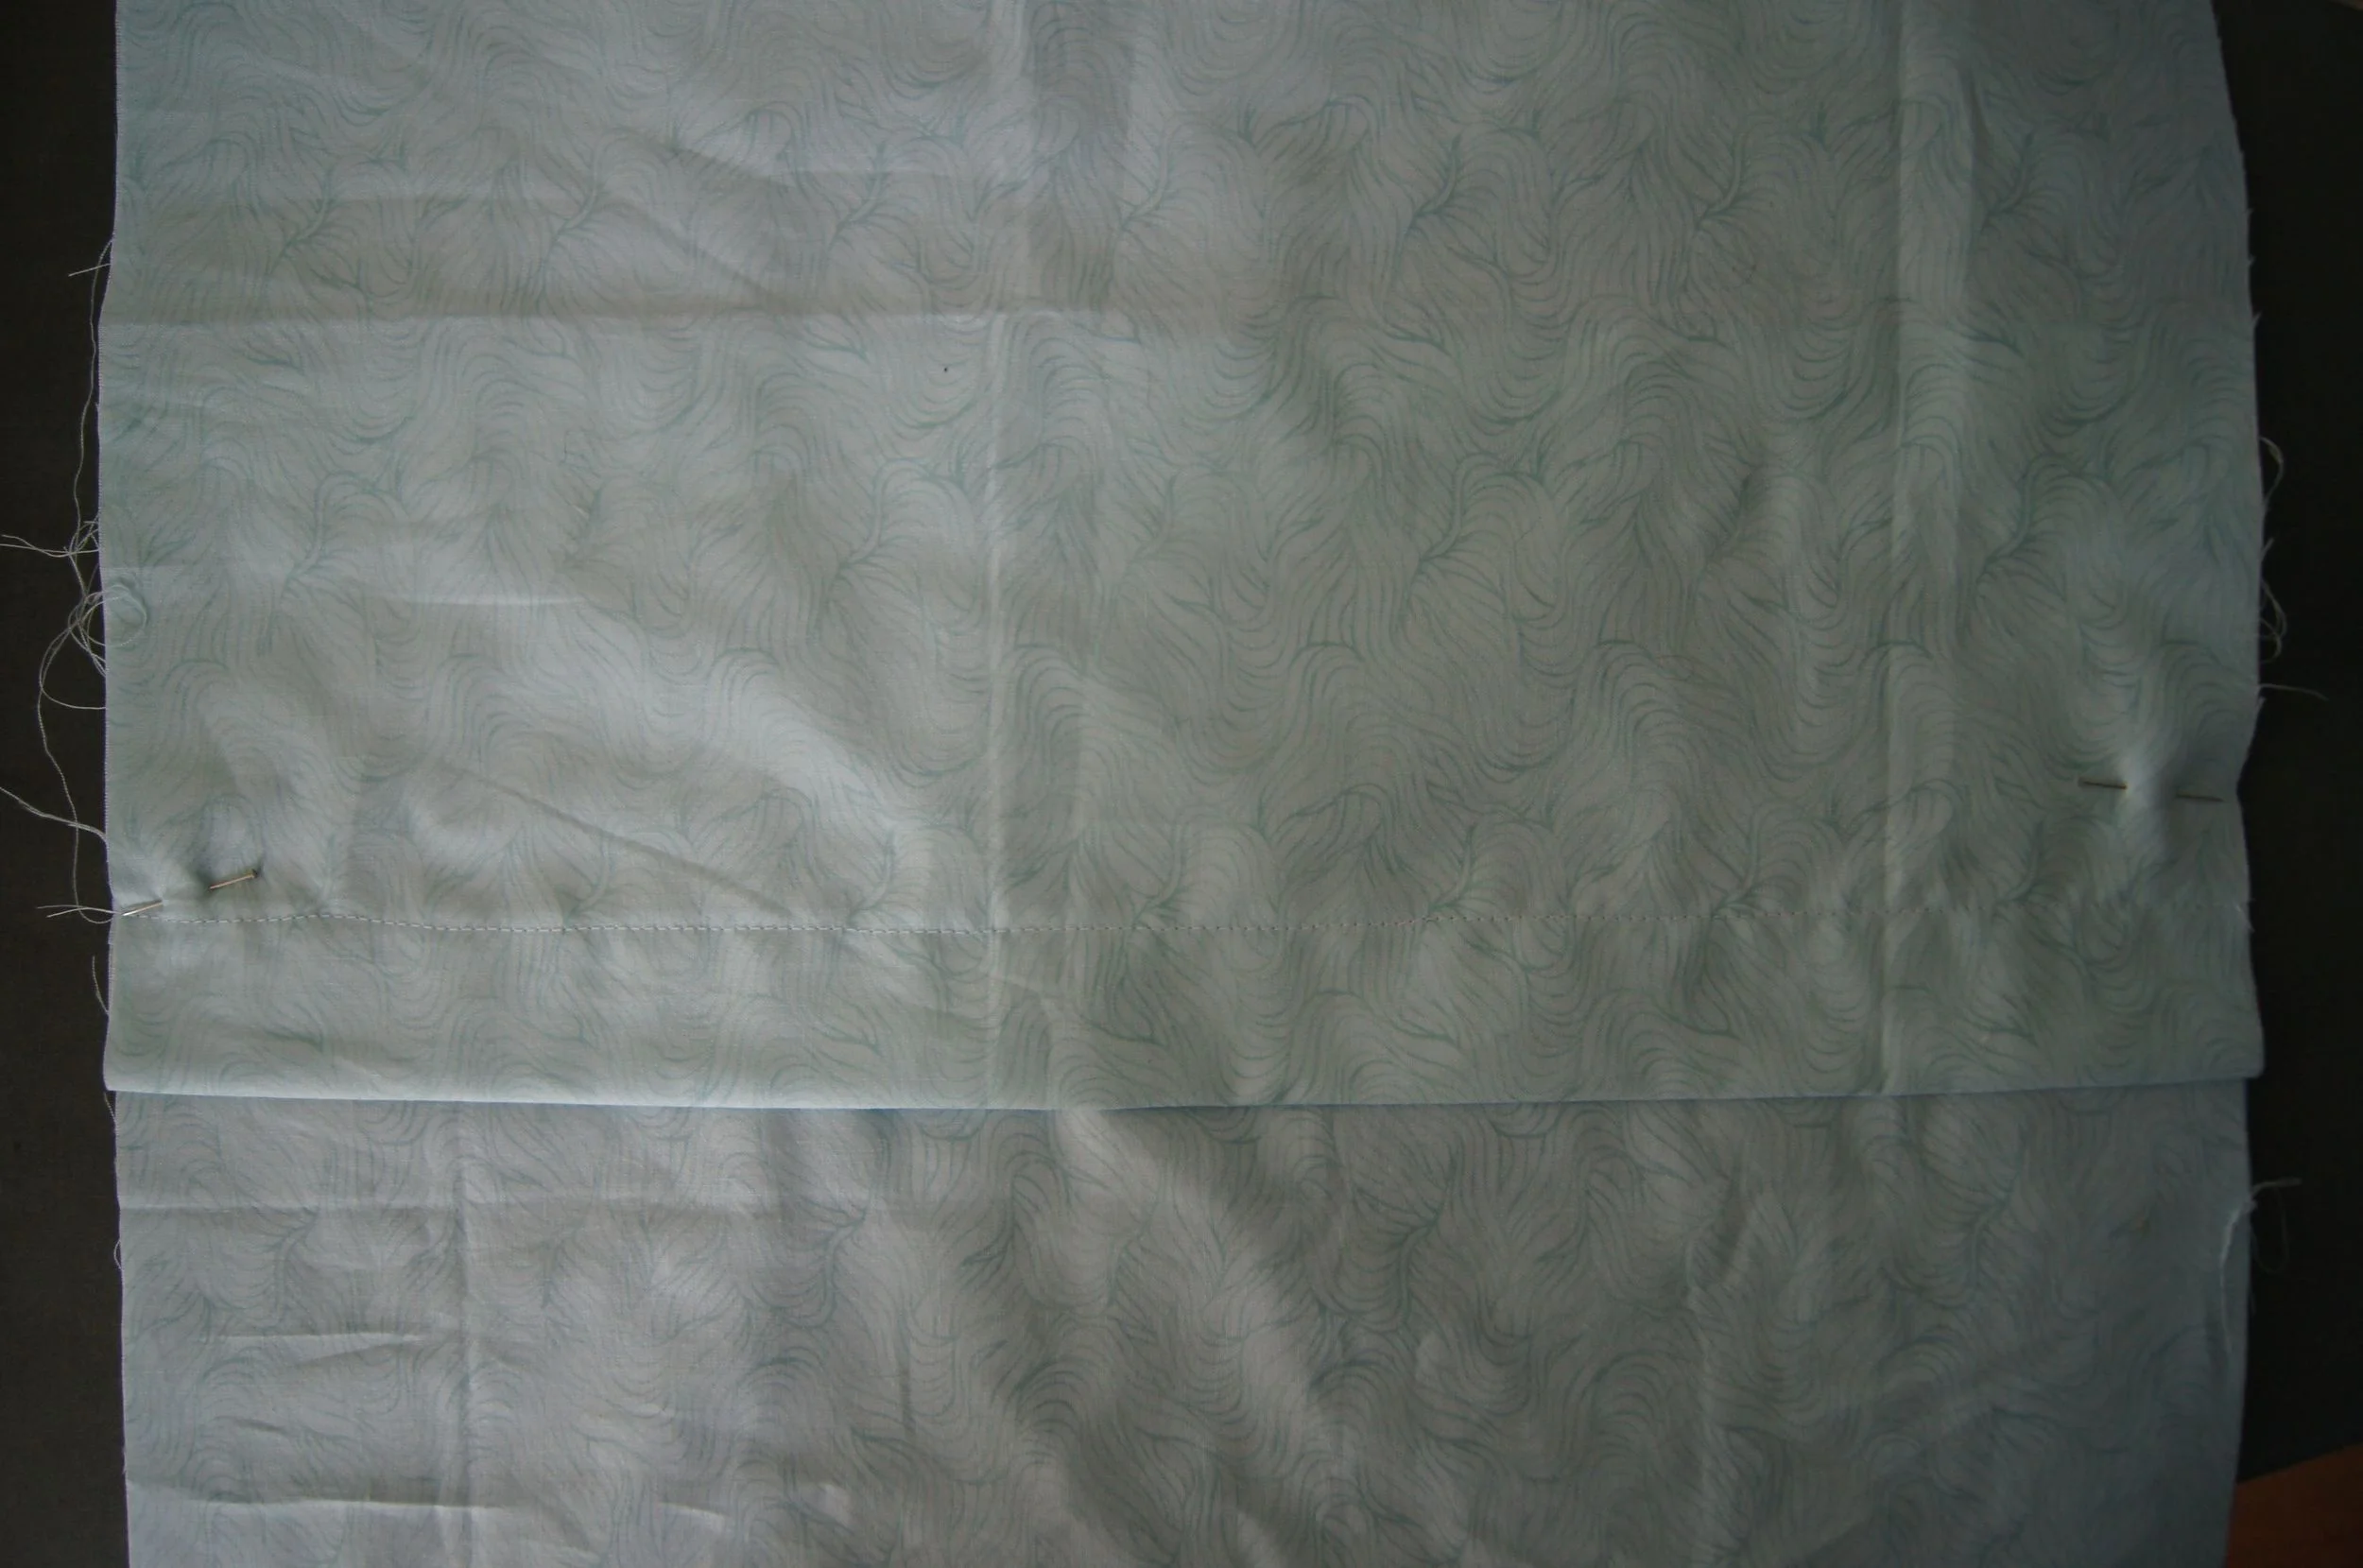
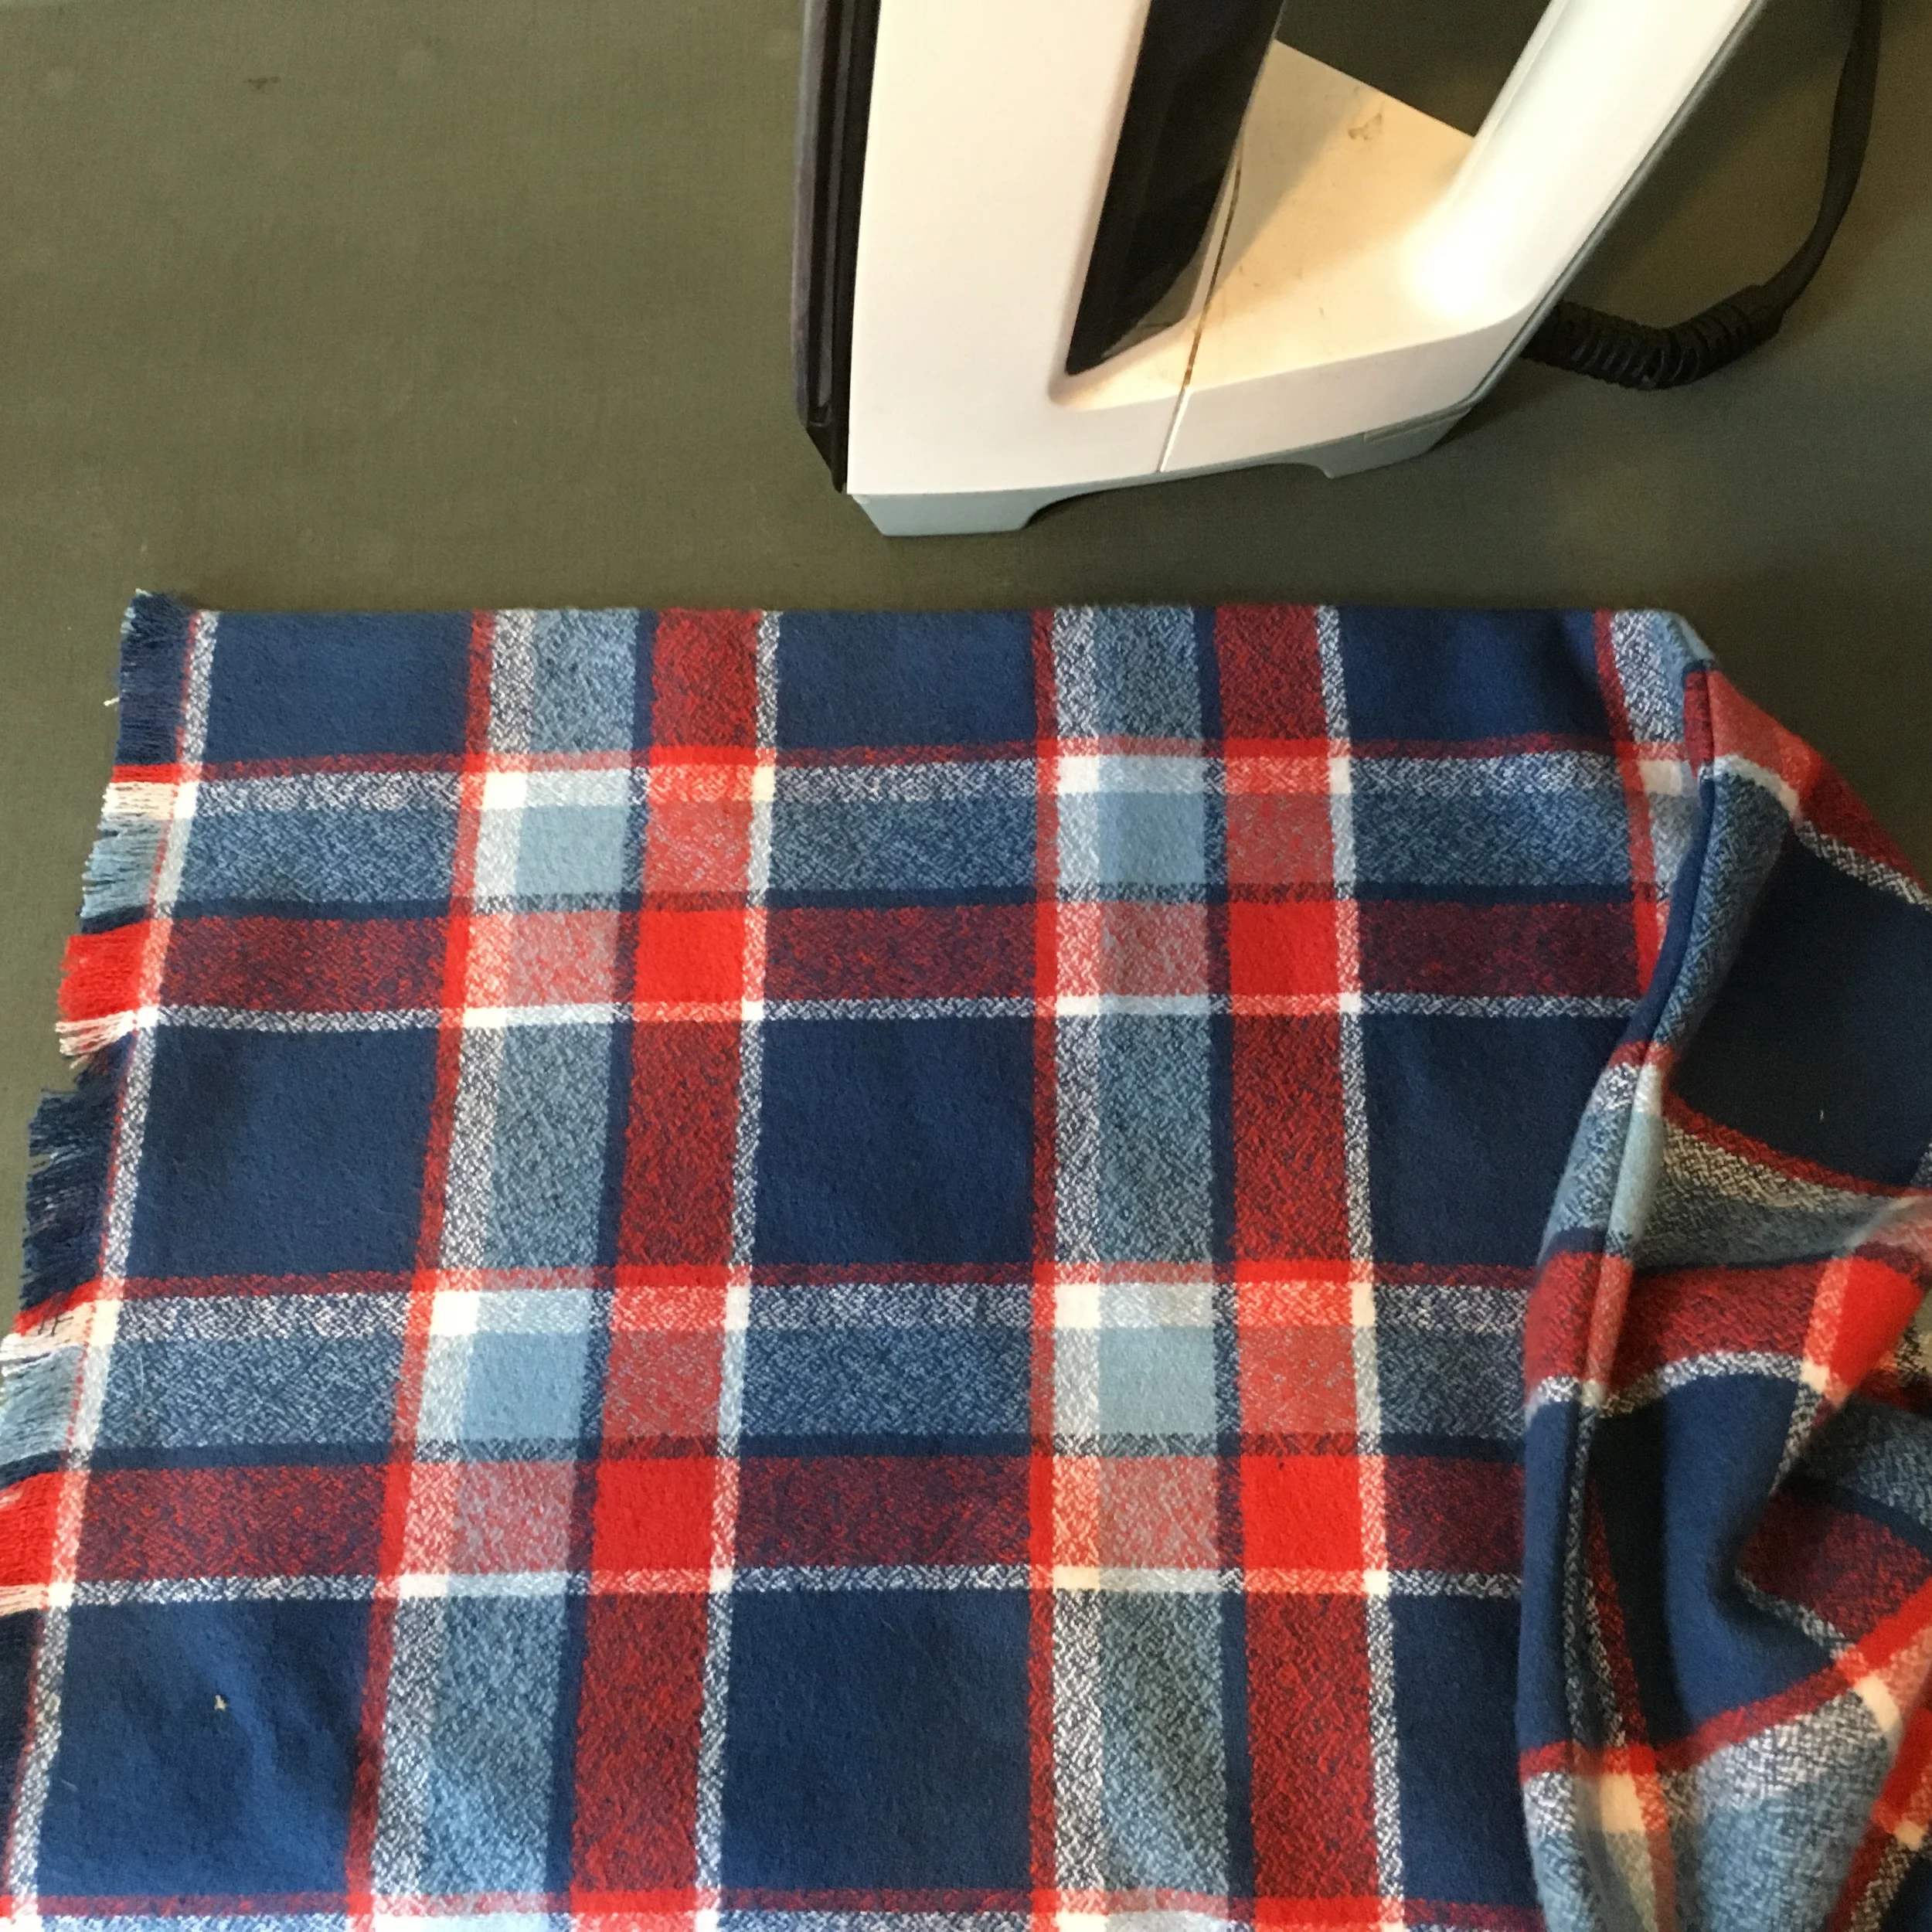
- Using one of the lengths of cut flannel, fold in half with RIGHT sides together on the LONG side. Pin along the long side, making sure the plaid matches at the raw edges of the fabric.
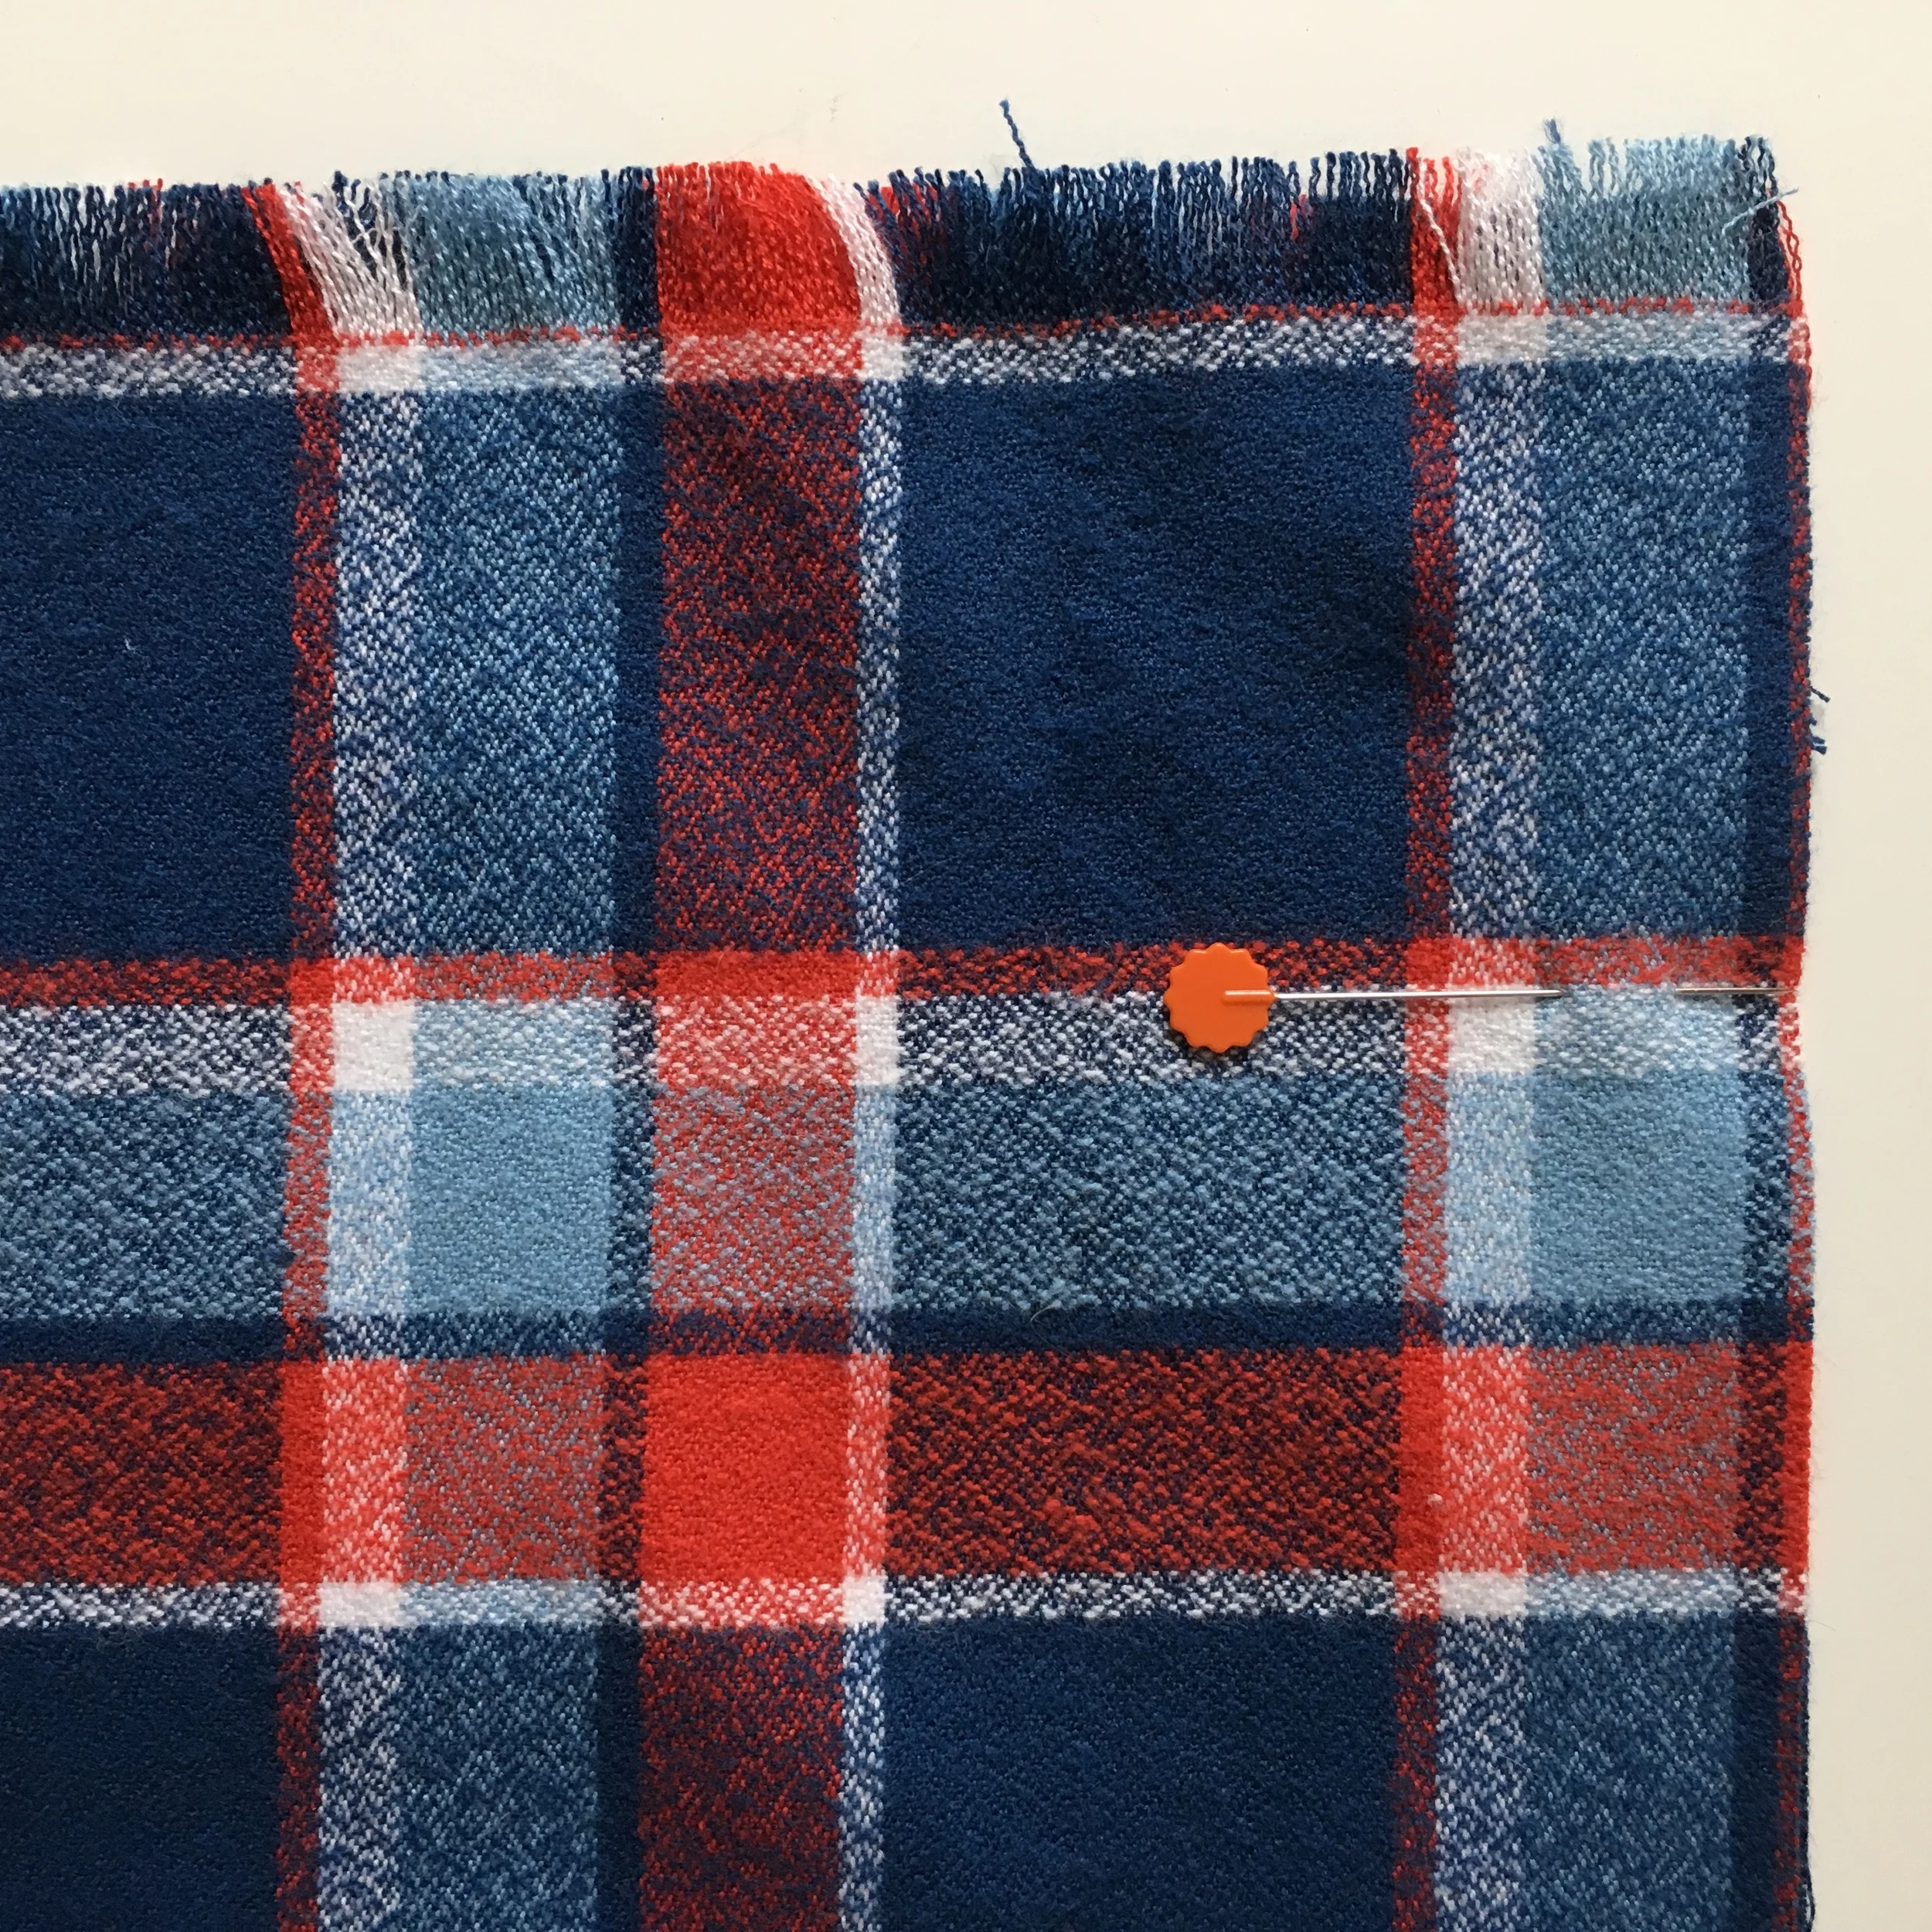
The scarf is folded in half the long way and pinned on the raw edge, matching the plaid carefully
- Sew a 1/2 inch seam along the LONG side of the scarf, backstitching at the beginning and end of the seam to reinforce the stitching. Press the seam to set the stitches.
- Turn the scarf right side out. Press the seam flat.
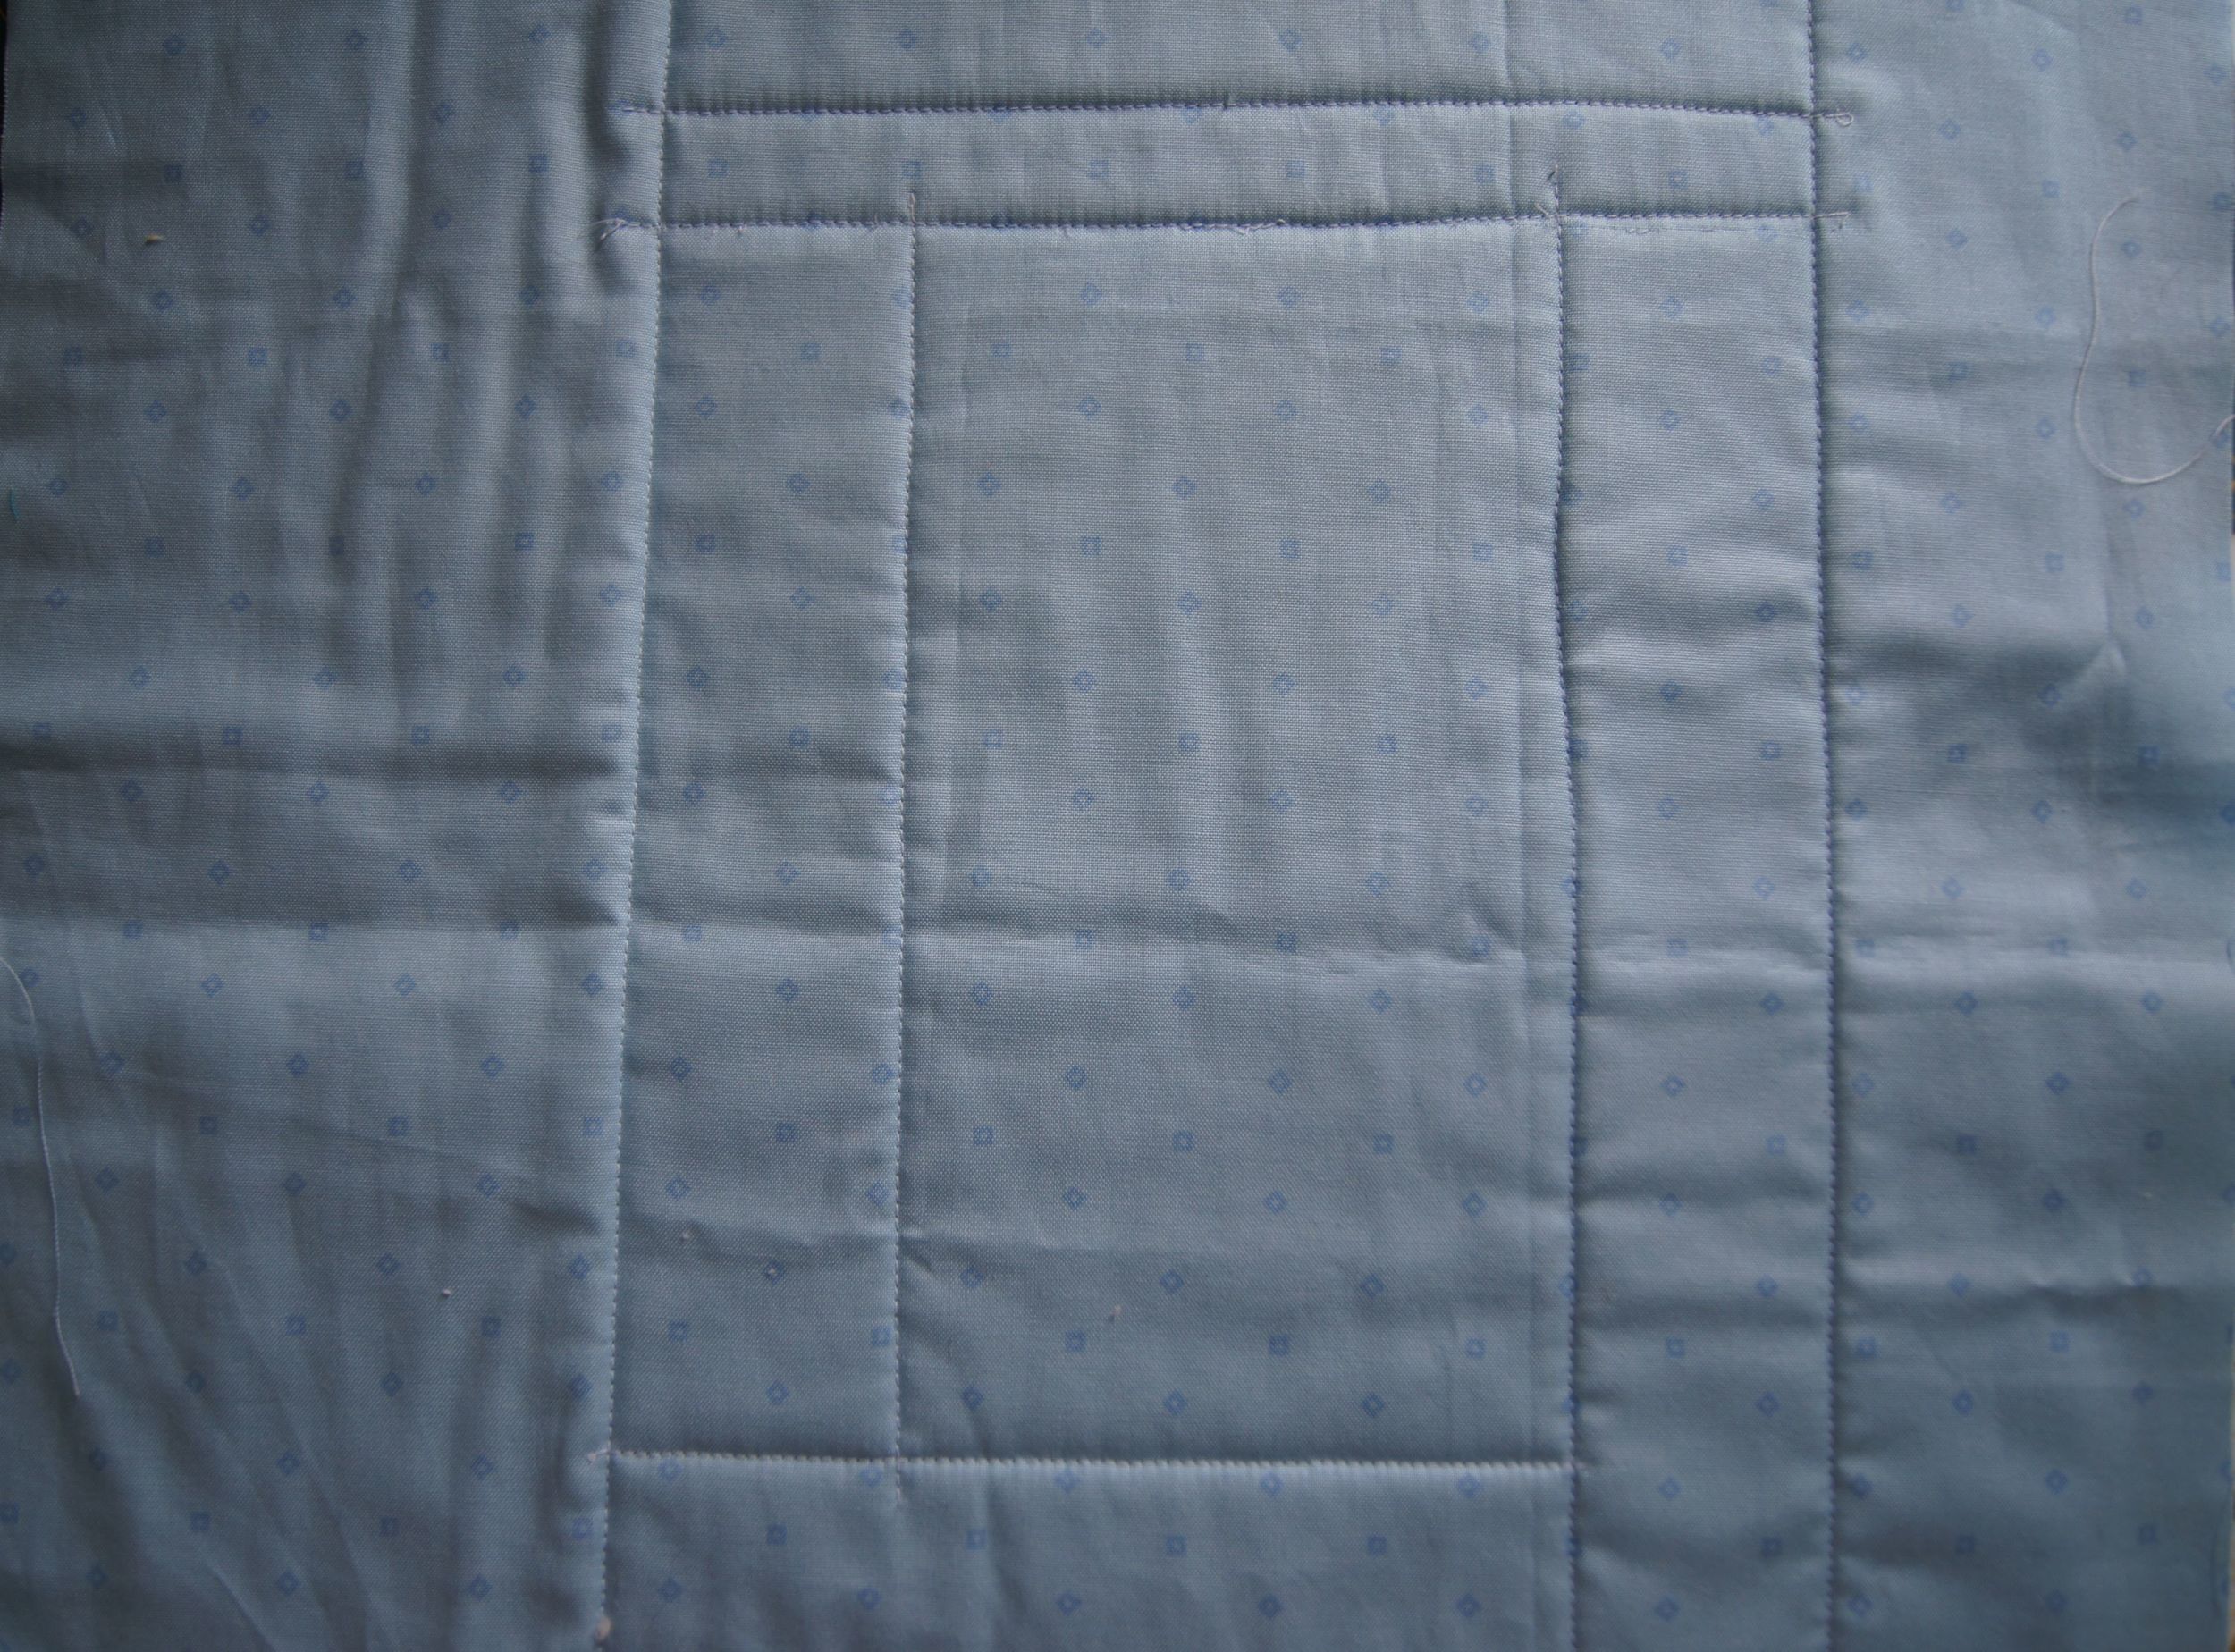
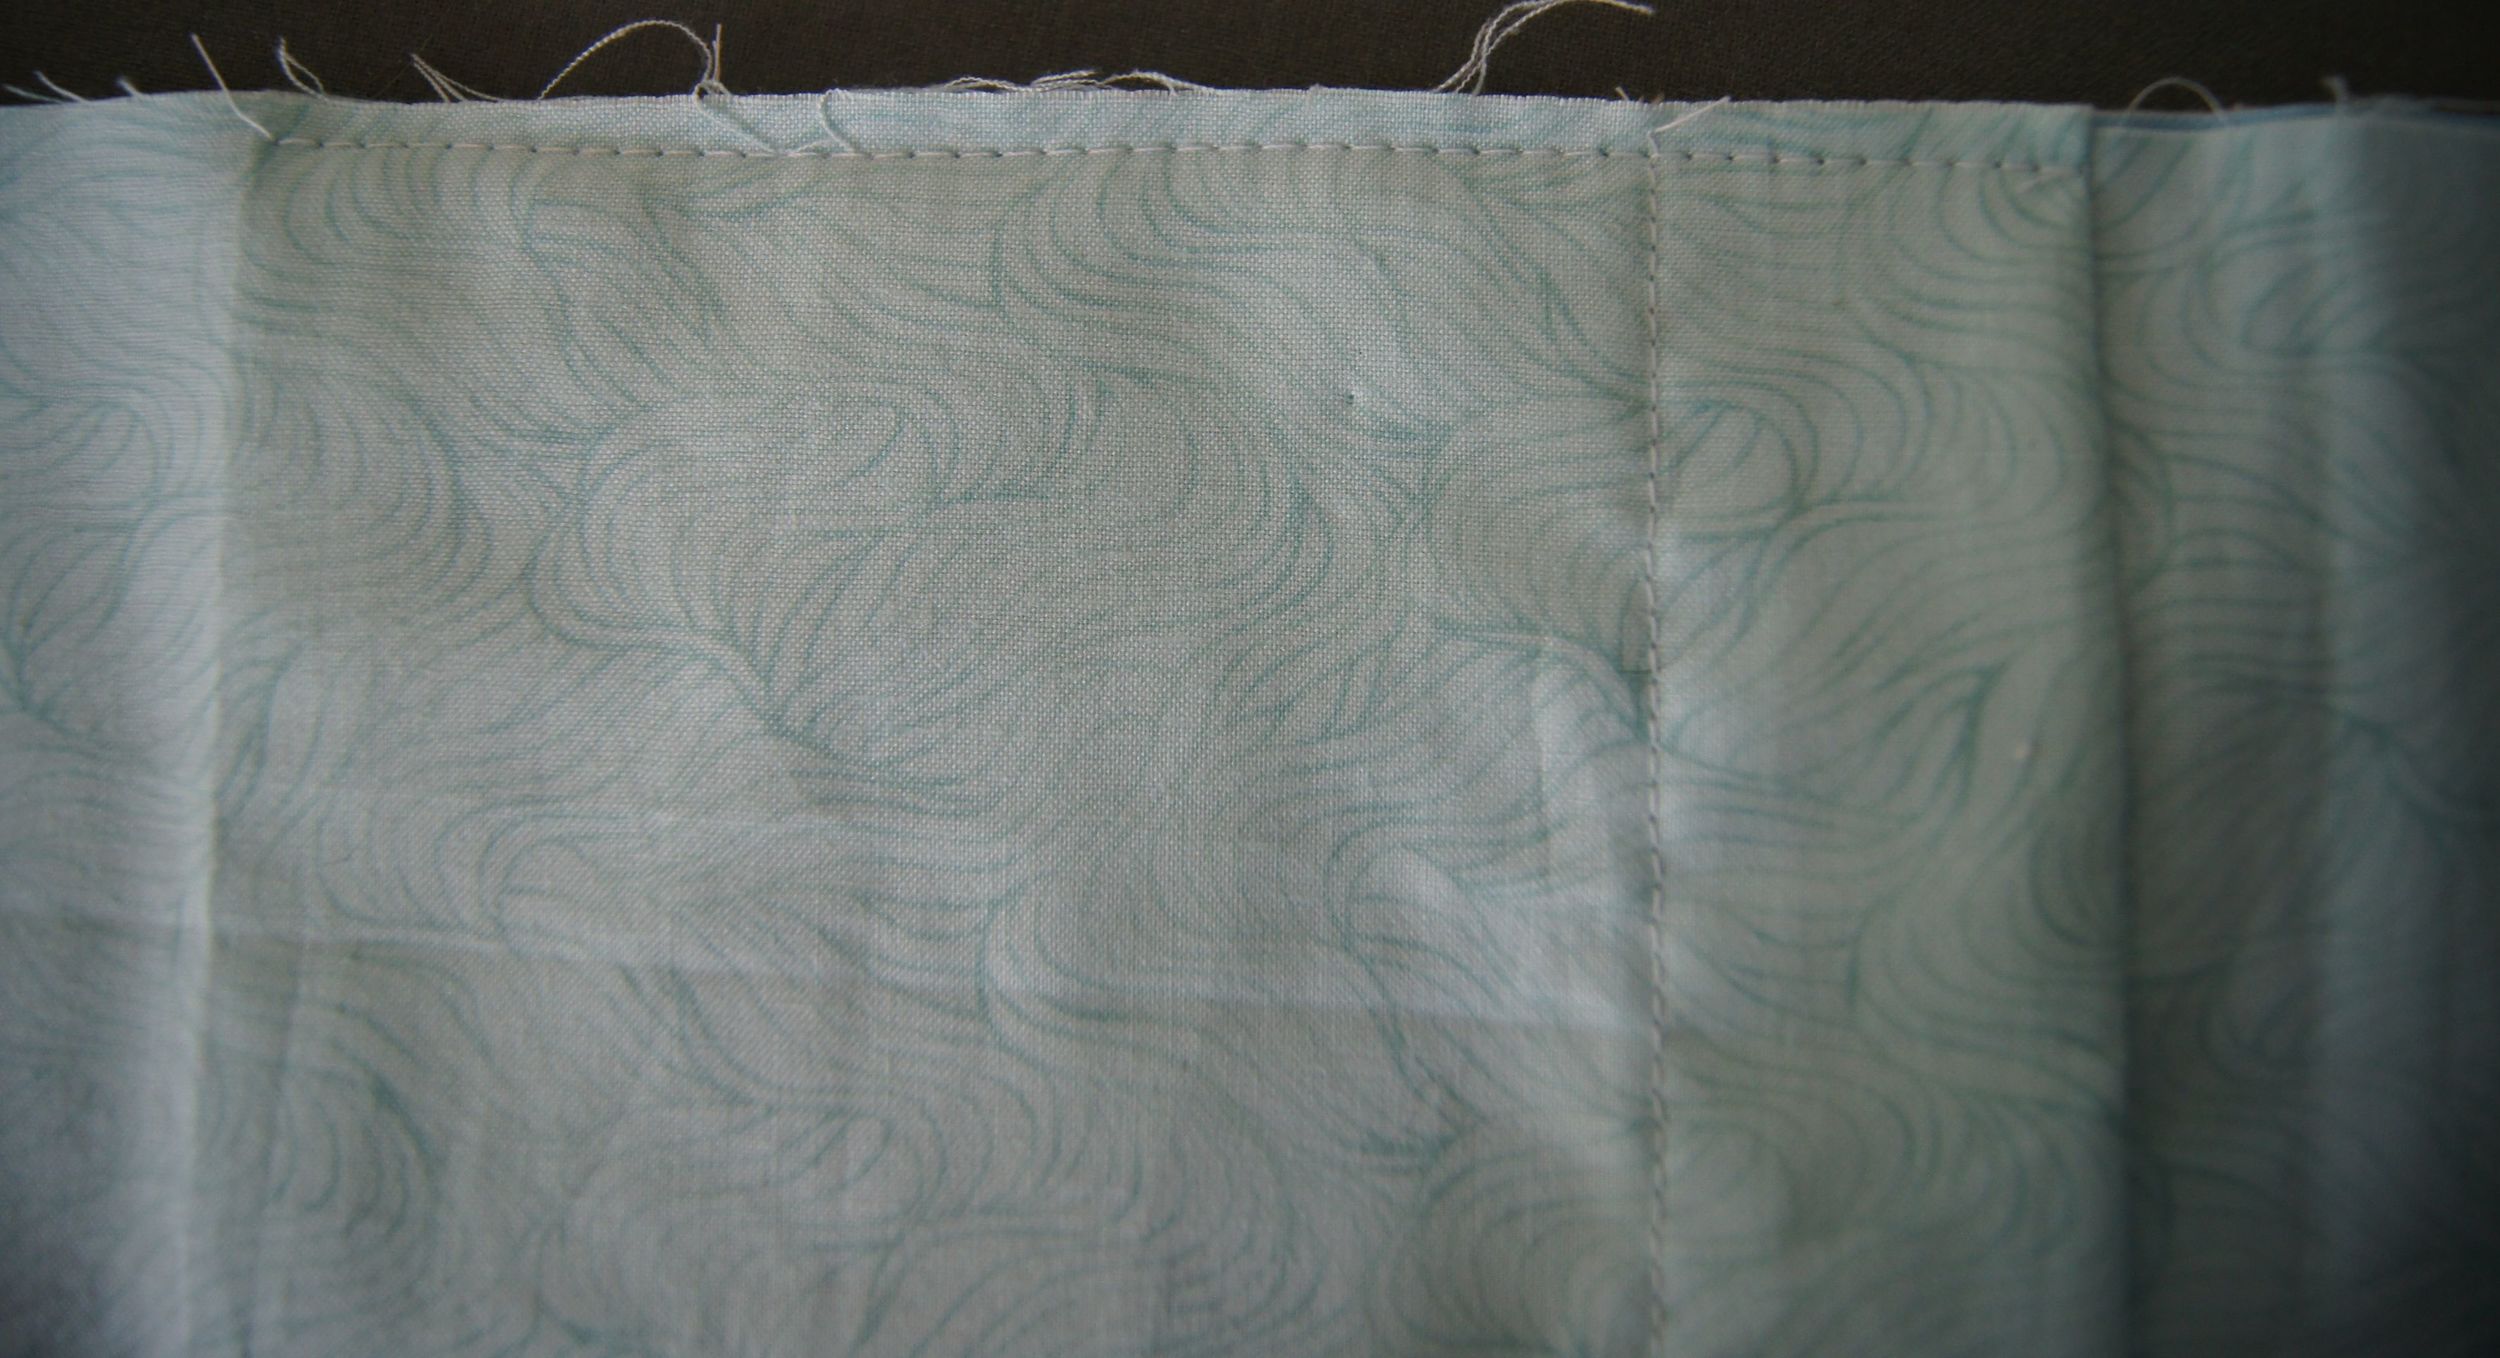
- Sew the 2 layers together at each end of the scarf, stitching about 1/4 inch in from the fringe.

Stitching 1/4 inch in from the fringe (the thread used is a navy blue)
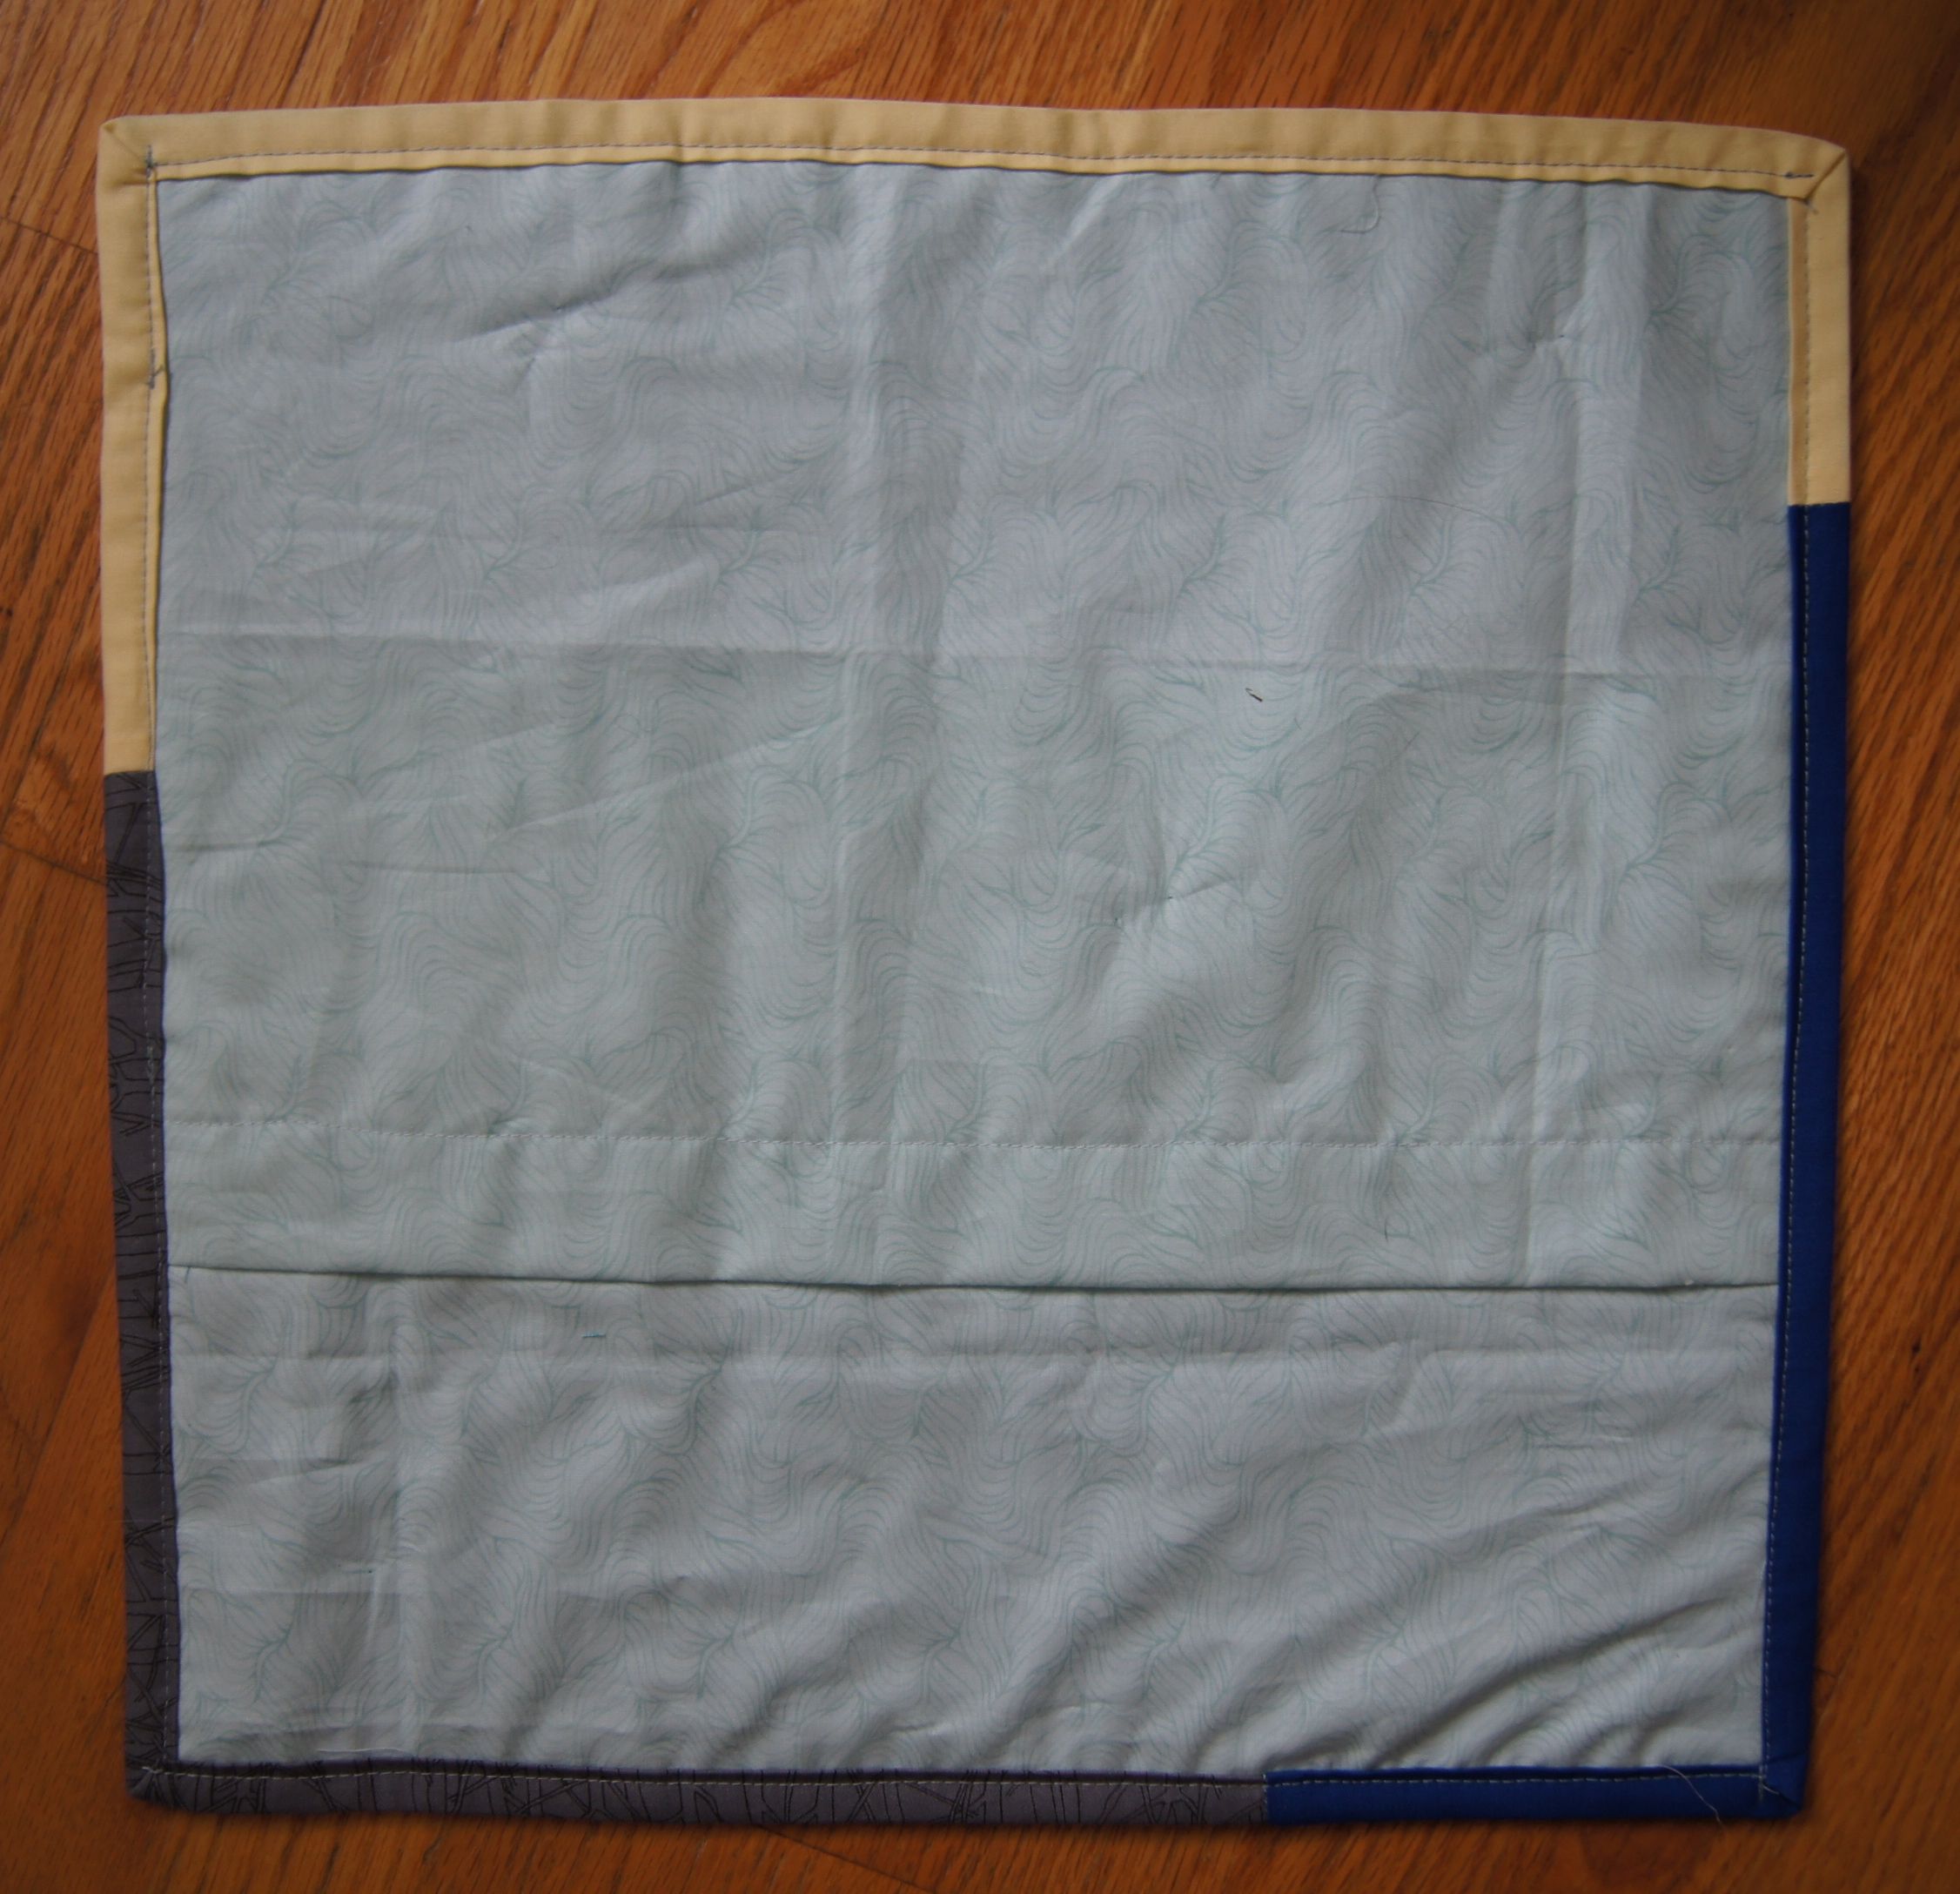
- Trim any straggling threads along the edge of your fringe.
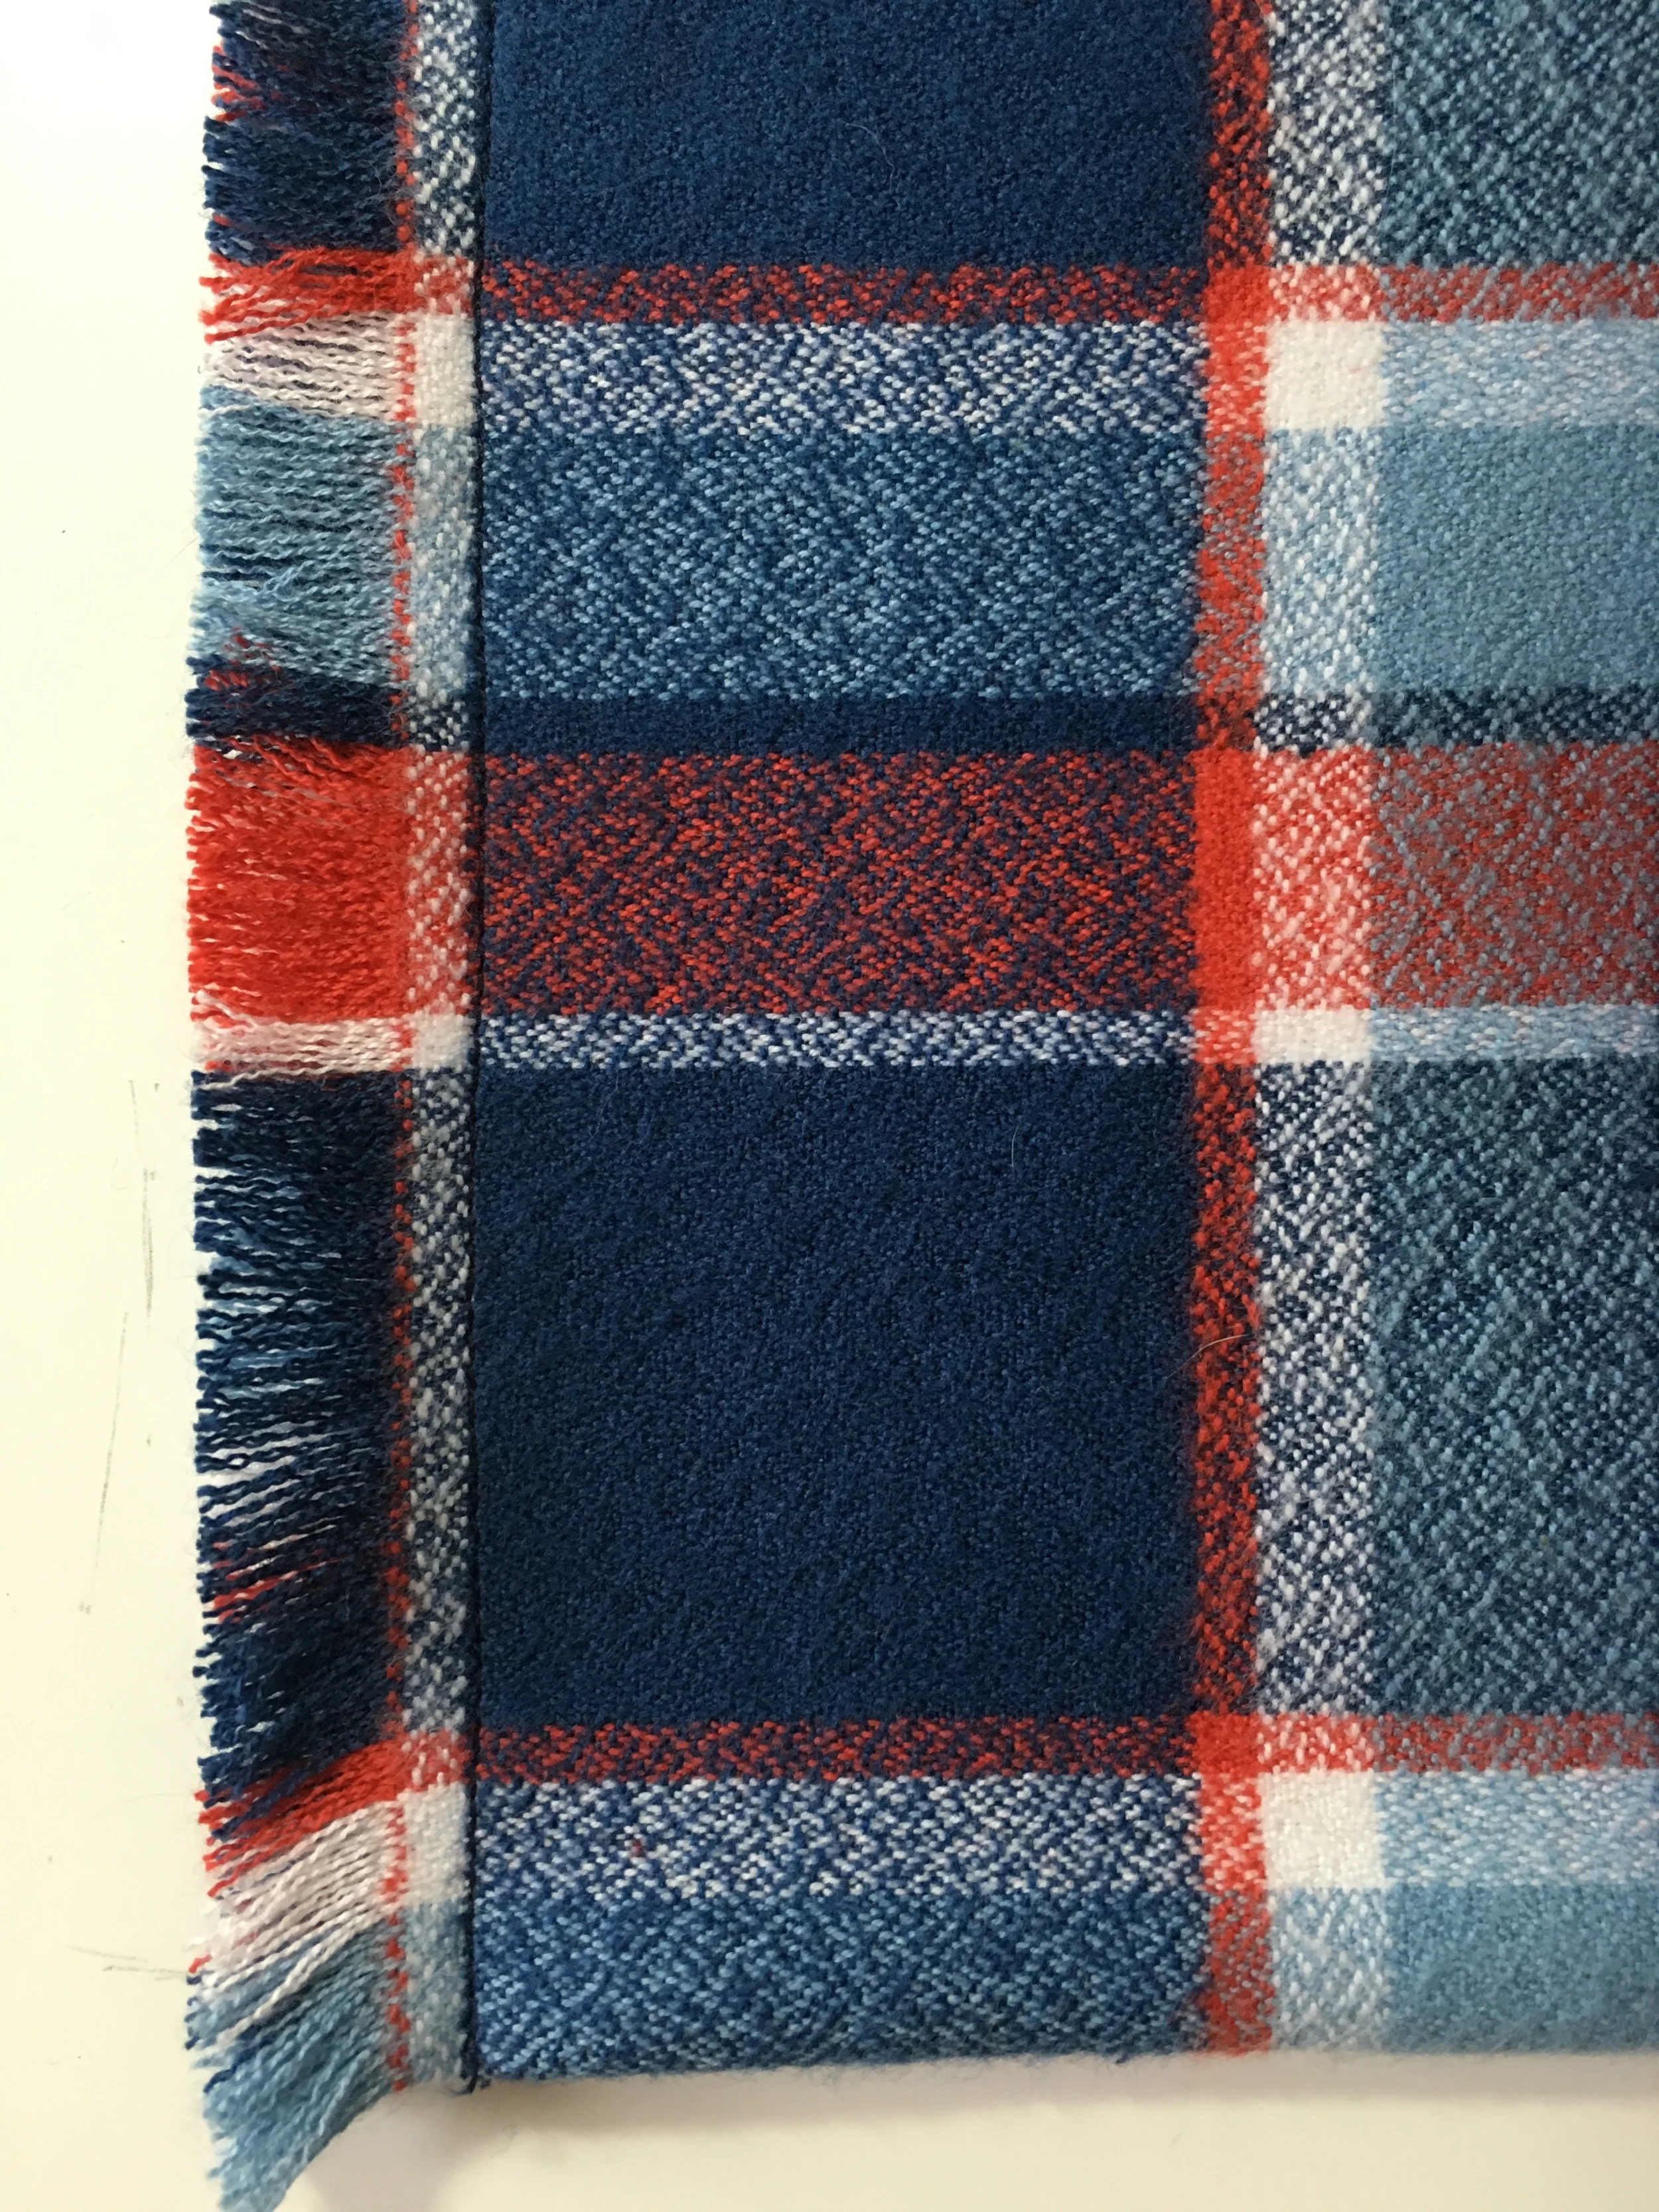
Straggling threads have been trimmed from the fringe.
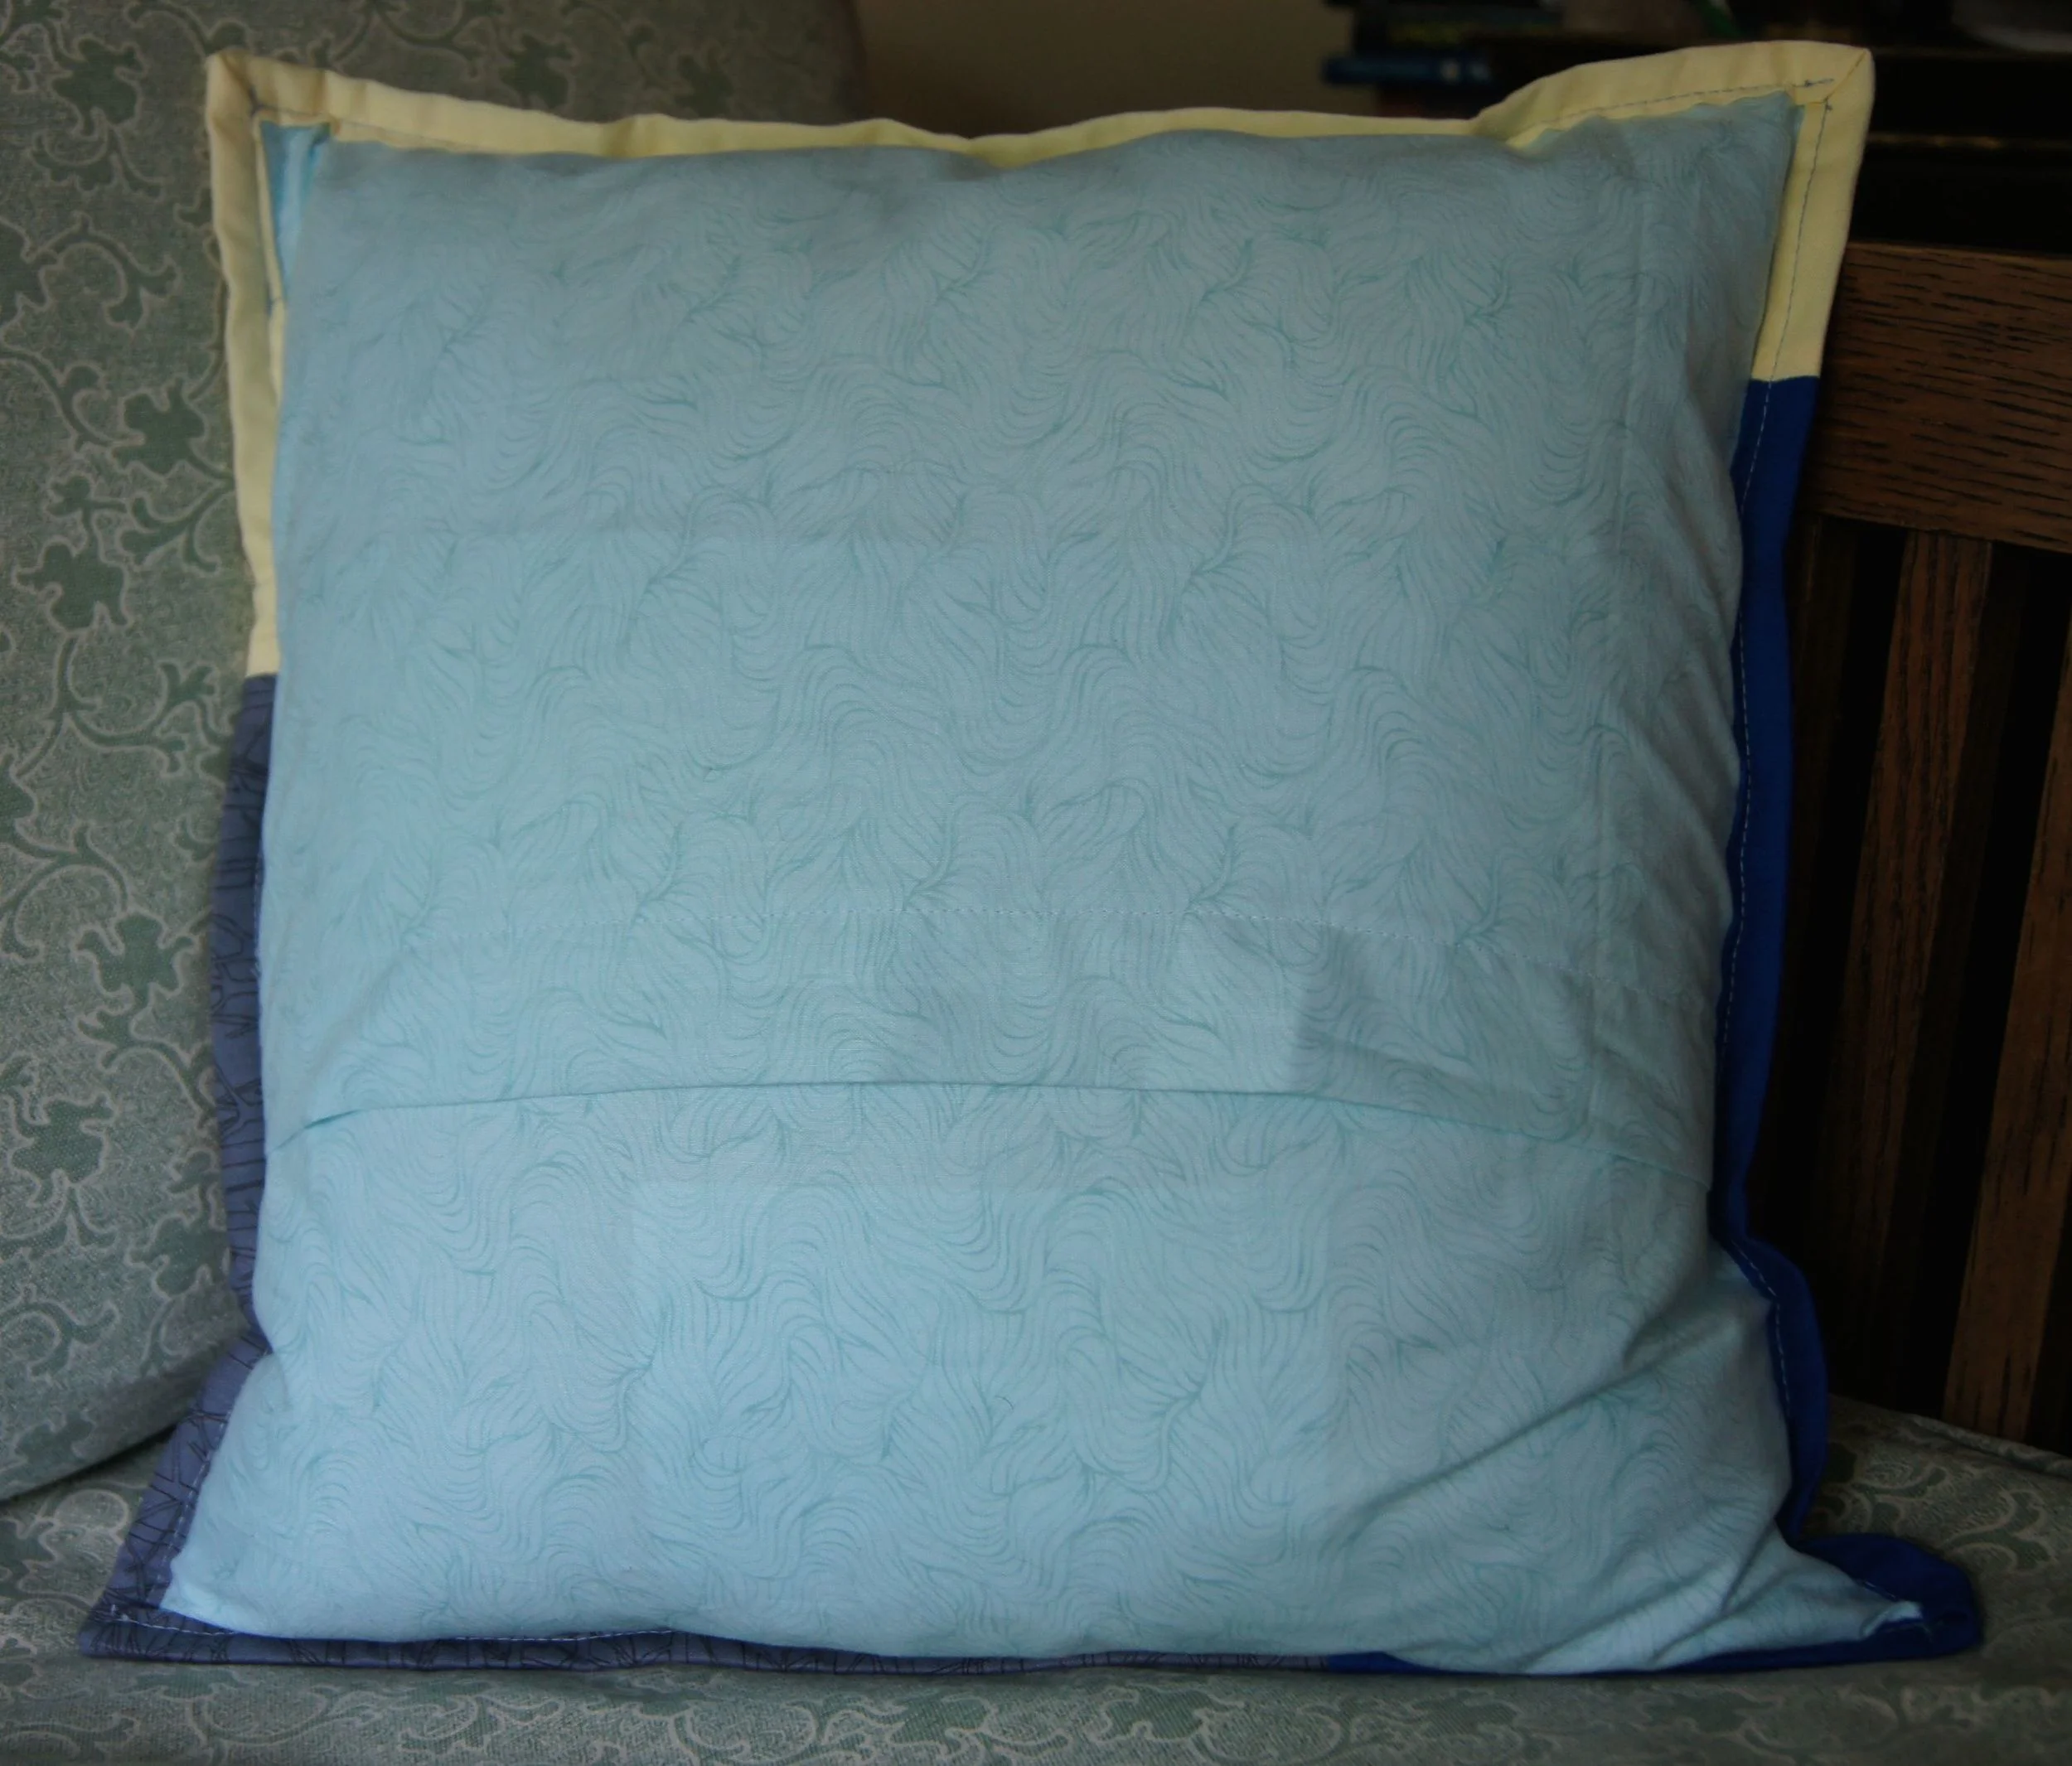
That's it! Your scarf is ready to wear! Now make the other one for a friend!!