Last summer I heard about hand dyed fabrics from Fiber on a Whim. I wanted to see (and touch!) some of their fabric so ordered their Kona Pack 5.5, a stack of 35 5.5 inch squares, all dyed in different colors. Such fun! I knew I wanted to make a Modern quilt with them but didn't have a plan when I ordered them. They have great original Crayon Box Pattern for their Kona Pack available on their website but I wanted to try something else.
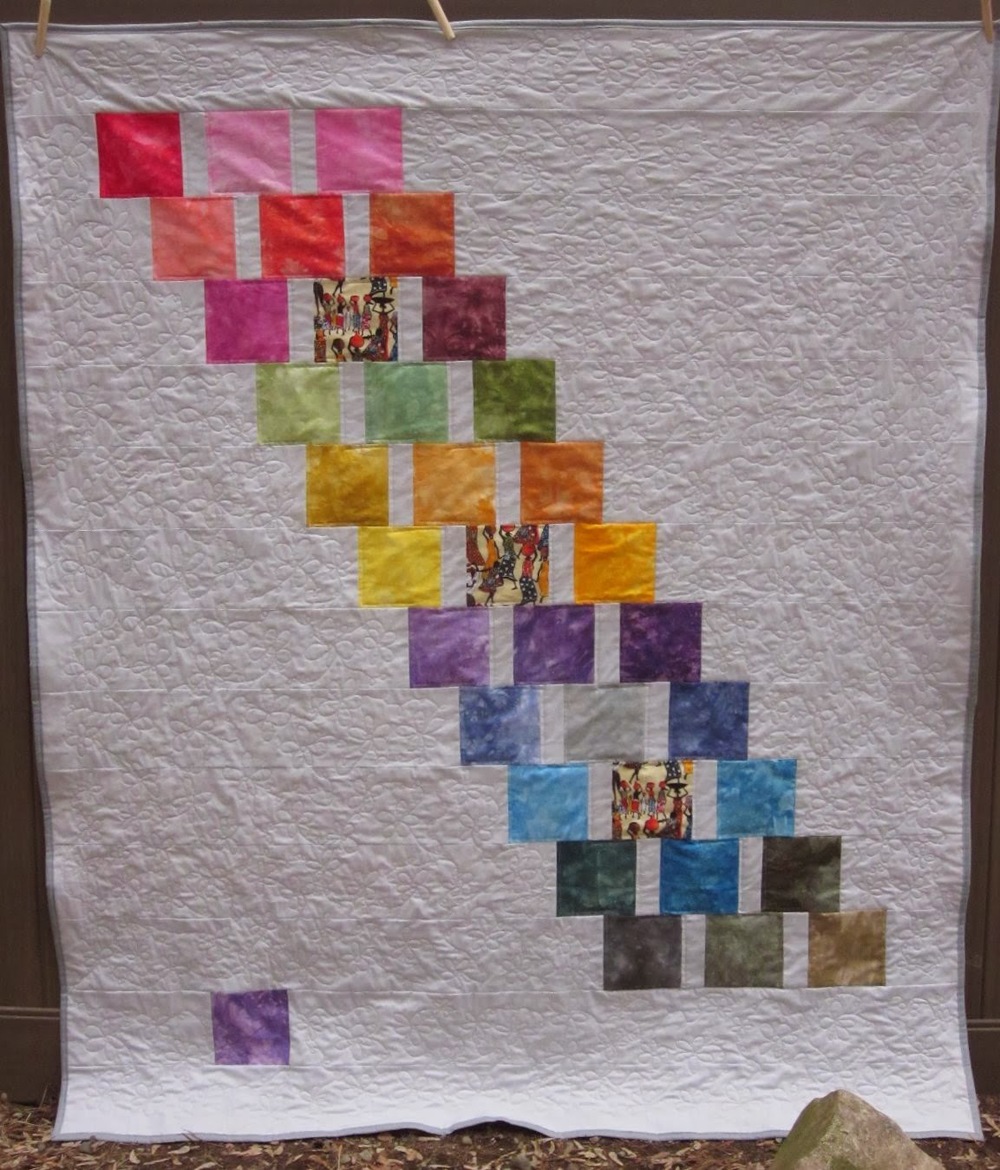
I found the inspiration for the pattern I designed for this quilt after seeing Ashley Newcomb's Modern Hexagon Quilt on The Modern Quilt Guild blog. I really liked what she did with the cascading hexagons and the outlying blocks.
I made this quilt is for one of my dog trainers. She has some African print art work and the African print fabric echoes her art. I was so excited to find it!

COLORFUL PATH TO MARKET PATTERN
Finished size after washing: 54.5 x 65” (approx. 58.5 x 69 unwashed)
Fabric requirements:
-- 34 5.5” squares. Use all color blocks or add some patterned blocks if desired
(Note: Charm packs have 5” squares so this pattern won’t work for them).
--3 yards solid light grey for background.
--3 yards for backing
--1/2 yard for binding
I recommend using design wall to keep your strips and steps organized. If you don’t have one, you can mark the backs of each strip with the Row number and Right or Left to keep them in order.
Cut from grey fabric:
Step 1:
14 5.5” strips WOF (width of fabric). You will recut these in Step 2 and you will need to use your scraps so save them.
22 2 x 5.5” strips
Step 2:
The quilt is strip pieced. There are 14 horizontal strips in the quilt. Cut the grey WOF strips from step one as noted below:
Strip 1 AND 14: 58.5” grey strip (use 1 WOF strip and scraps from other steps to get the full length)
Strip 2: From grey WOF strip, cut one 5.5” piece to use on left side of the color blocks and one 35.5 piece to use on the right side of the color blocks.
Strip 3: From grey WOF strip, cut one 8.5” piece to use on left side and one 32.5” piece for right side
Strip 4: From grey WOF strip cut 11.5” piece for left side and 29.5” piece for right side
Strip 5: From grey WOF strip cut 14.5” piece for left side and 26.5” piece for right side
Strip 6: From grey WOF strip cut 17.5” piece for left side and 23.5” piece for right side
Strip 7: From grey WOF strip cut 20.5” piece for left side and 20.5” piece for right side
Strip 8: From grey WOF strip cut 23.5” piece for left side and 17.5” piece for right side
Strip 9: From grey WOF strip cut 26.5” piece for left side and 14.5” piece for right side
Strip 10: From grey WOF strip cut 29.5” piece for left side and 11.5” piece for right side
Strip 11: From grey WOF strip cut 32.5” piece for left side and 8.5” piece for right side
Strip 12: From grey WOF strip cut 35.5” piece for left side and 5.5” piece for right side
Strip 13: Use grey WOF strip, one color block and scraps to make a 58.5” wide strip
Strip 14: Same as strip 1
ASSEMBLE STRIPS
--Sew the color block sections first:
Color block, 2 x 5.5” strip, color block, 2 x 5.5” strip, color block
--Then attach the grey strips as cut in Step 2.
--Sew the horizontal strips together in order. To help keep the rows from warping, sew the even numbered rows starting from the Right side and the odd numbered rows from the Left side.
--Back and quilt as desired.
Copyright 2014 Judy Tucker, SleepingDogQuilts@blogspot.com. You may use this pattern for your personal use only.
I found the inspiration for the pattern I designed for this quilt after seeing Ashley Newcomb's Modern Hexagon Quilt on The Modern Quilt Guild blog. I really liked what she did with the cascading hexagons and the outlying blocks.
I made this quilt is for one of my dog trainers. She has some African print art work and the African print fabric echoes her art. I was so excited to find it!
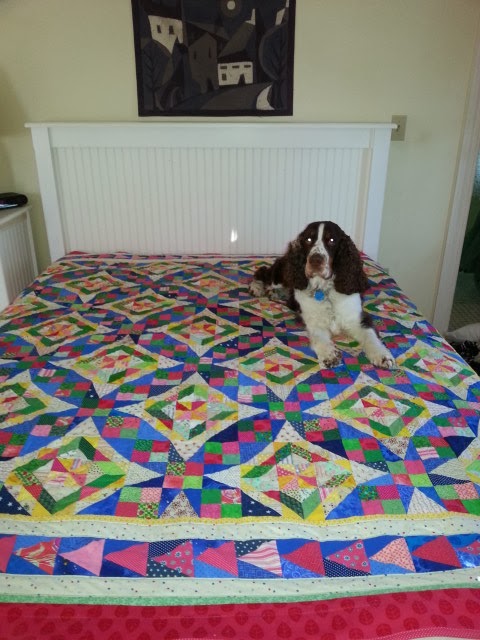
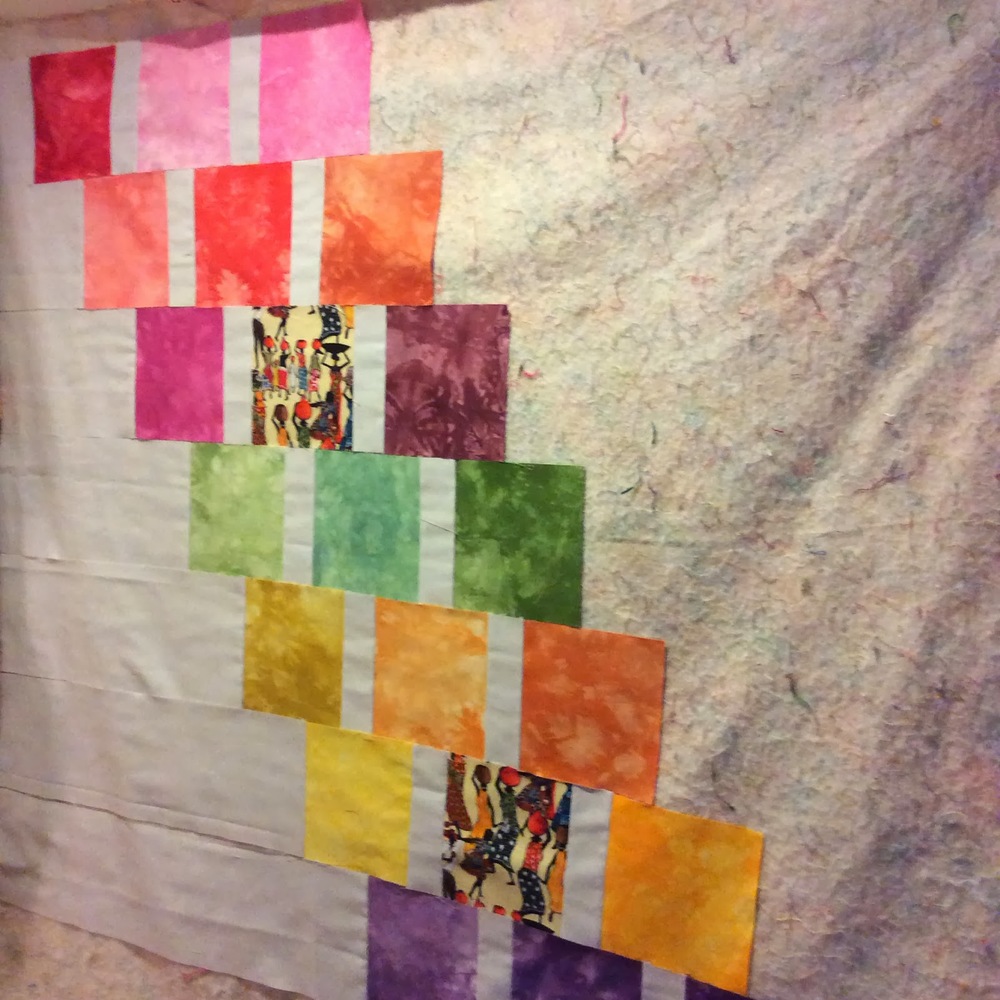
Front of quilt
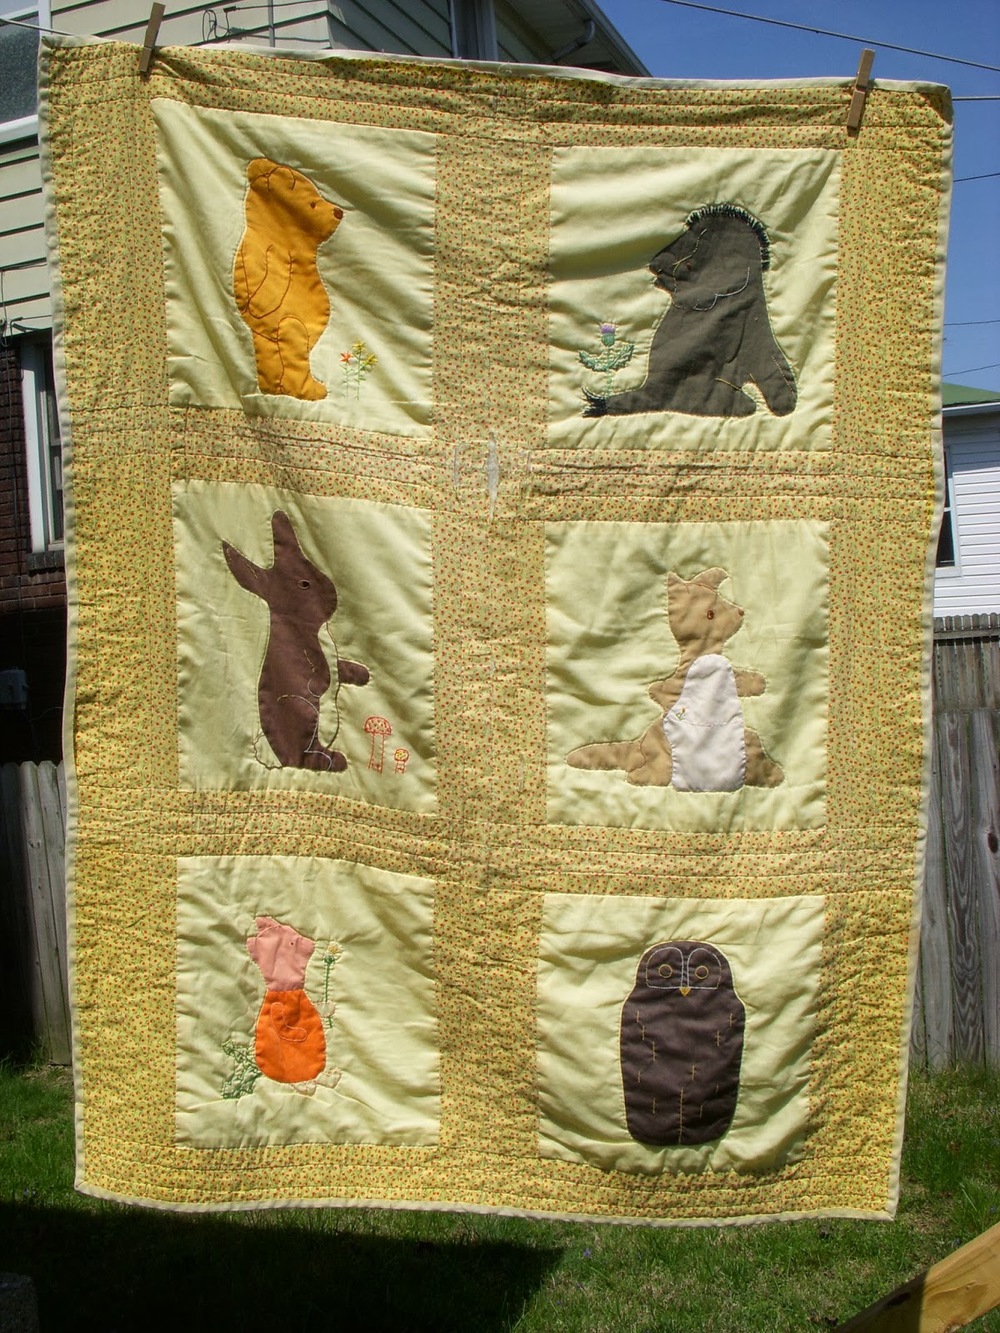
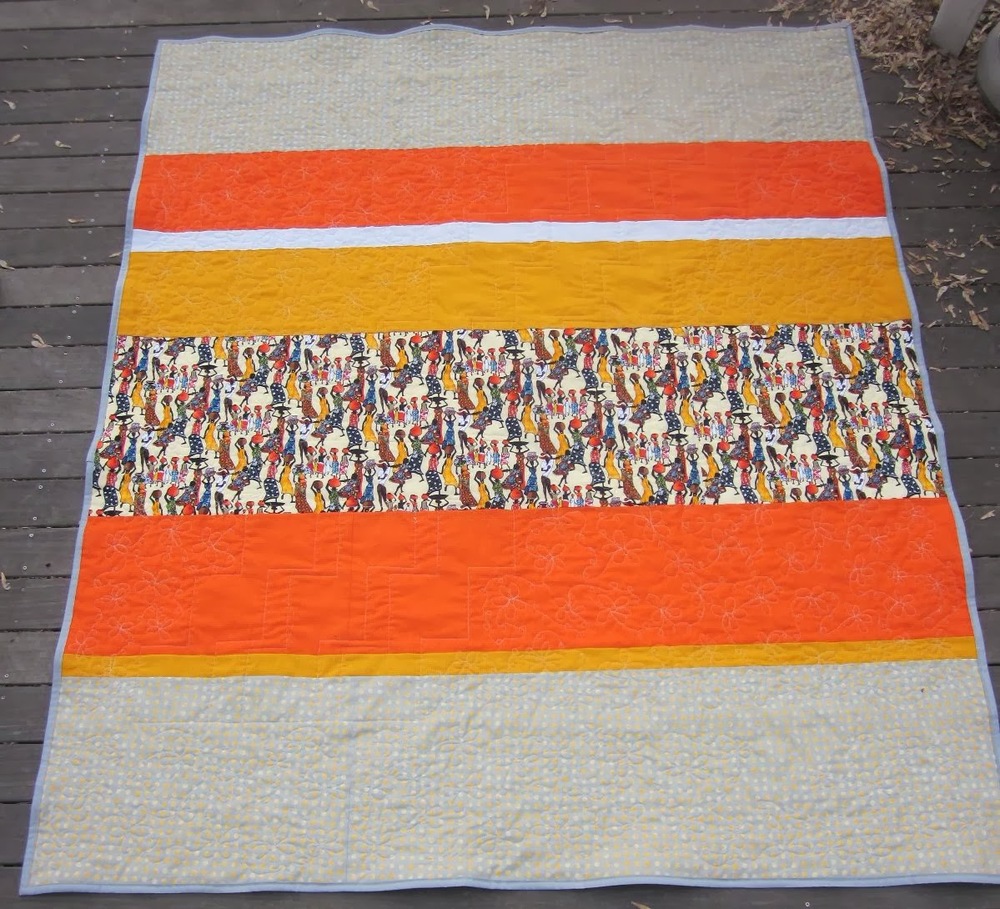
Back of Quilt
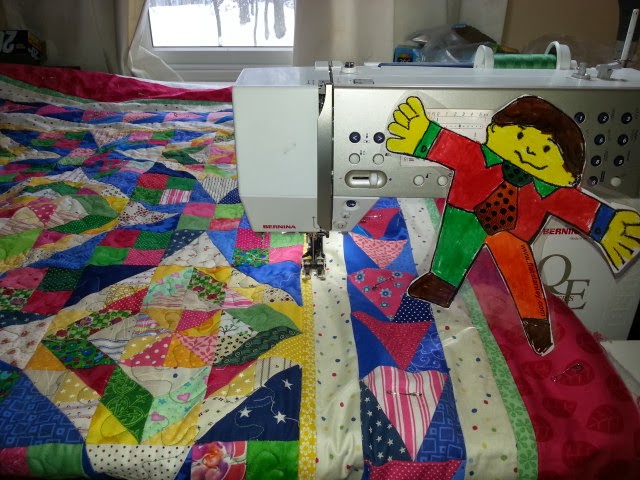
SEWING THE QUILT
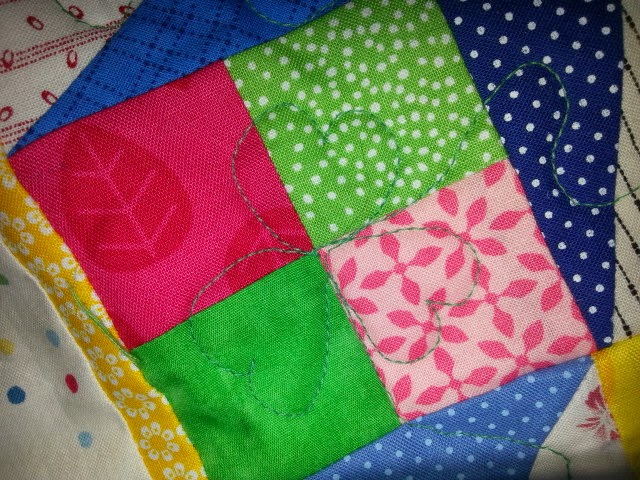
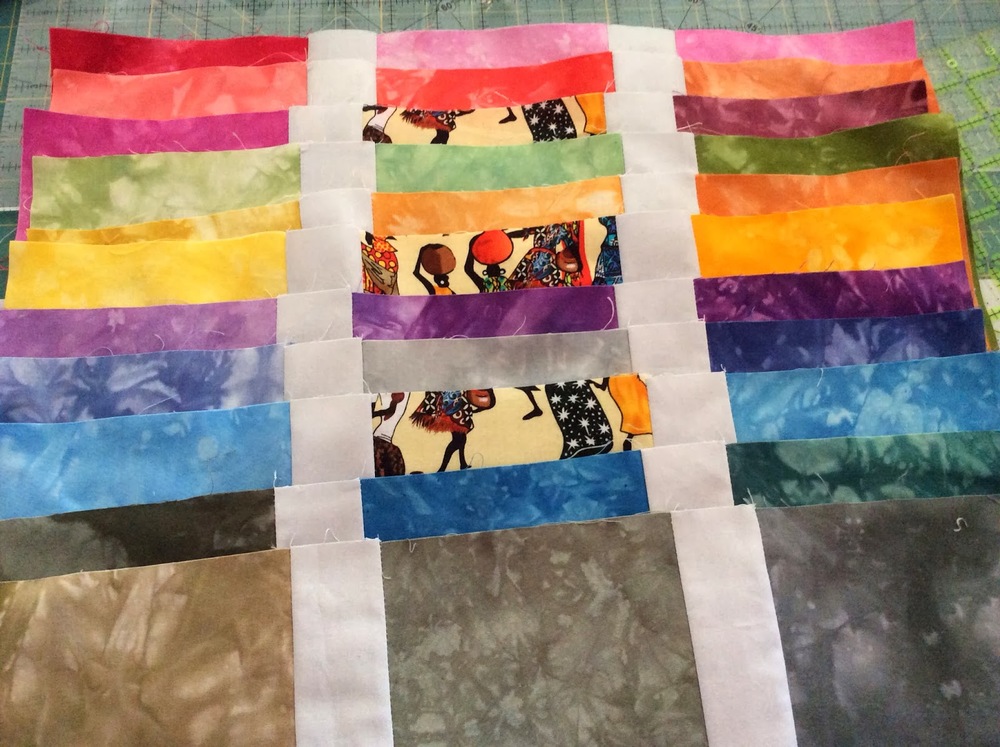
Sewing the color blocks
Color strips all done!
In process on the design wall
COLORFUL PATH TO MARKET PATTERN
Finished size after washing: 54.5 x 65” (approx. 58.5 x 69 unwashed)
Fabric requirements:
-- 34 5.5” squares. Use all color blocks or add some patterned blocks if desired
(Note: Charm packs have 5” squares so this pattern won’t work for them).
--3 yards solid light grey for background.
--3 yards for backing
--1/2 yard for binding
I recommend using design wall to keep your strips and steps organized. If you don’t have one, you can mark the backs of each strip with the Row number and Right or Left to keep them in order.
Cut from grey fabric:
Step 1:
14 5.5” strips WOF (width of fabric). You will recut these in Step 2 and you will need to use your scraps so save them.
22 2 x 5.5” strips
Step 2:
The quilt is strip pieced. There are 14 horizontal strips in the quilt. Cut the grey WOF strips from step one as noted below:
Strip 1 AND 14: 58.5” grey strip (use 1 WOF strip and scraps from other steps to get the full length)
Strip 2: From grey WOF strip, cut one 5.5” piece to use on left side of the color blocks and one 35.5 piece to use on the right side of the color blocks.
Strip 3: From grey WOF strip, cut one 8.5” piece to use on left side and one 32.5” piece for right side
Strip 4: From grey WOF strip cut 11.5” piece for left side and 29.5” piece for right side
Strip 5: From grey WOF strip cut 14.5” piece for left side and 26.5” piece for right side
Strip 6: From grey WOF strip cut 17.5” piece for left side and 23.5” piece for right side
Strip 7: From grey WOF strip cut 20.5” piece for left side and 20.5” piece for right side
Strip 8: From grey WOF strip cut 23.5” piece for left side and 17.5” piece for right side
Strip 9: From grey WOF strip cut 26.5” piece for left side and 14.5” piece for right side
Strip 10: From grey WOF strip cut 29.5” piece for left side and 11.5” piece for right side
Strip 11: From grey WOF strip cut 32.5” piece for left side and 8.5” piece for right side
Strip 12: From grey WOF strip cut 35.5” piece for left side and 5.5” piece for right side
Strip 13: Use grey WOF strip, one color block and scraps to make a 58.5” wide strip
Strip 14: Same as strip 1
ASSEMBLE STRIPS
--Sew the color block sections first:
Color block, 2 x 5.5” strip, color block, 2 x 5.5” strip, color block
--Then attach the grey strips as cut in Step 2.
--Sew the horizontal strips together in order. To help keep the rows from warping, sew the even numbered rows starting from the Right side and the odd numbered rows from the Left side.
--Back and quilt as desired.
Copyright 2014 Judy Tucker, SleepingDogQuilts@blogspot.com. You may use this pattern for your personal use only.