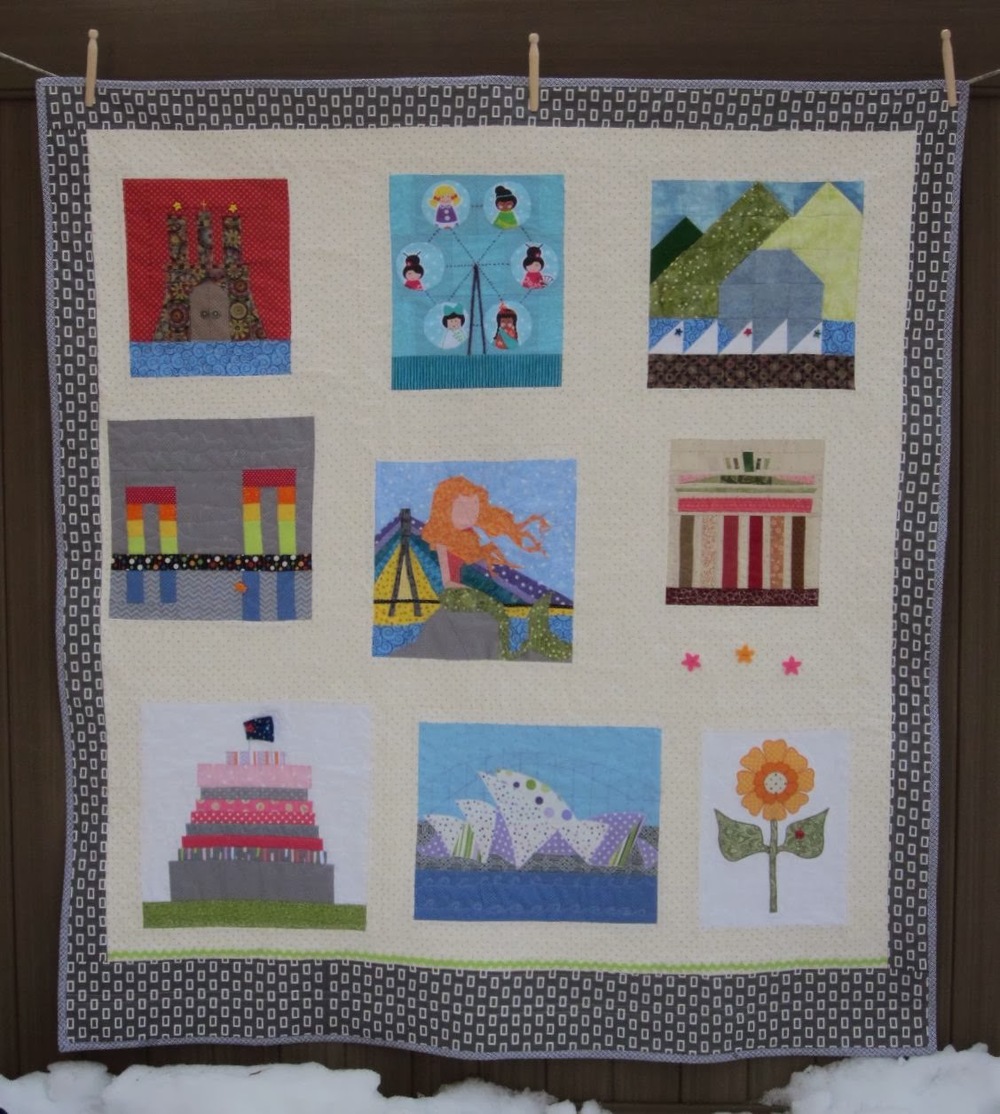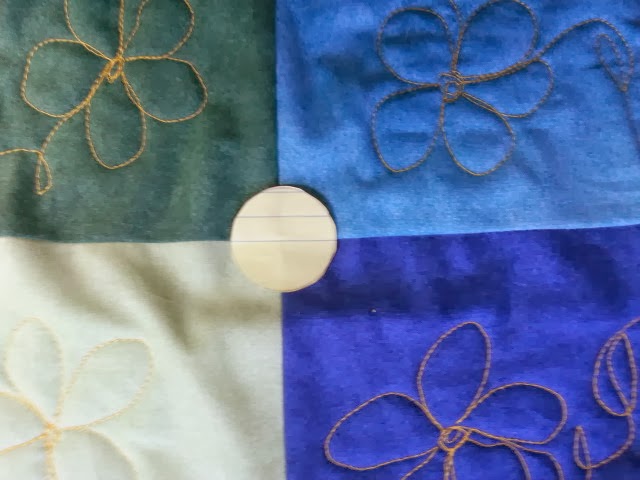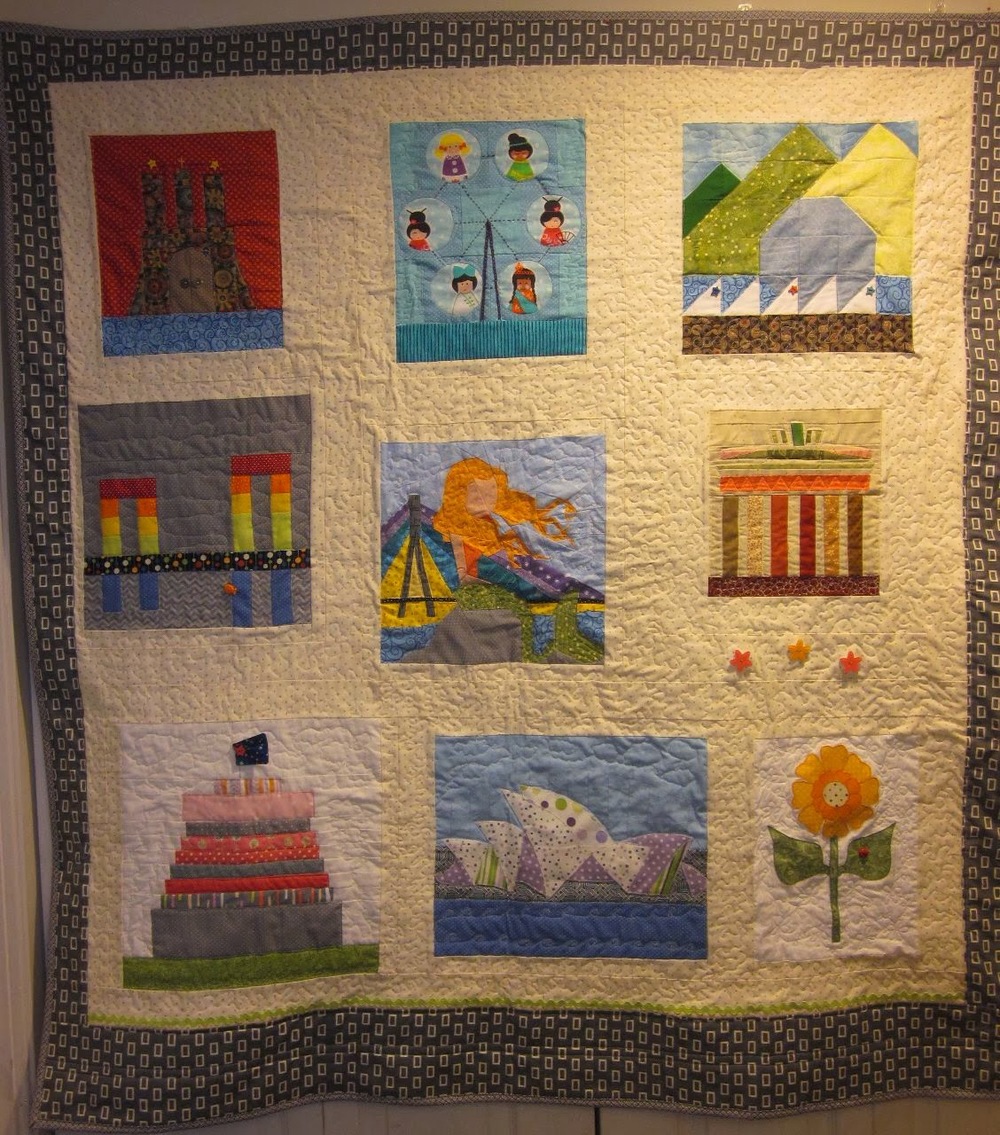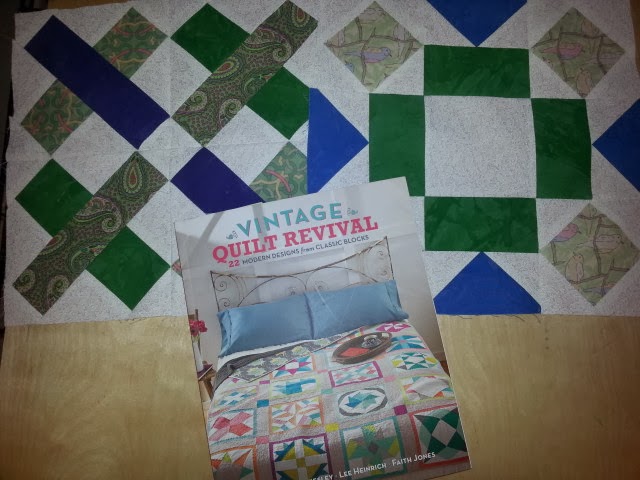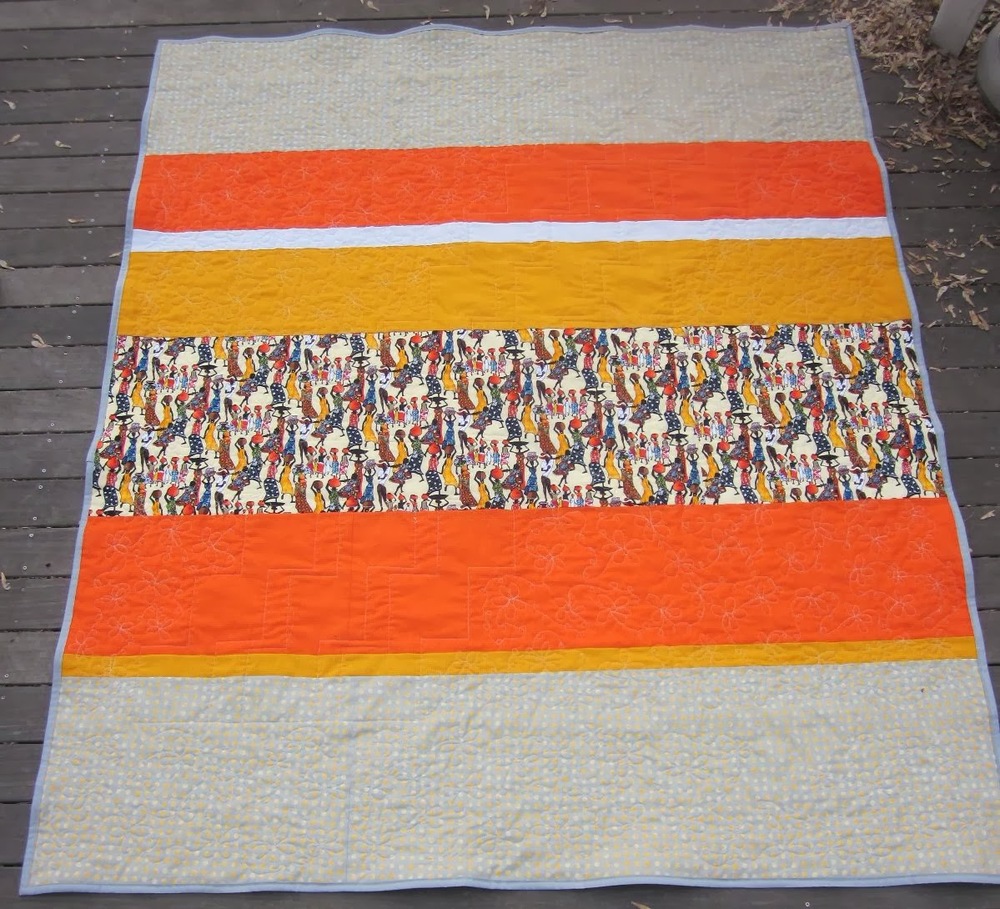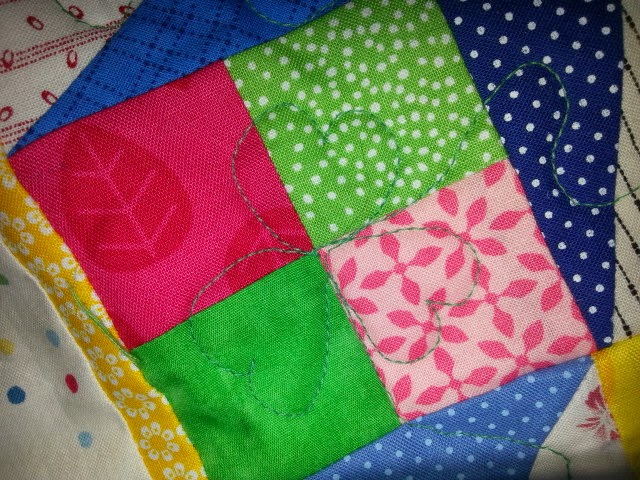
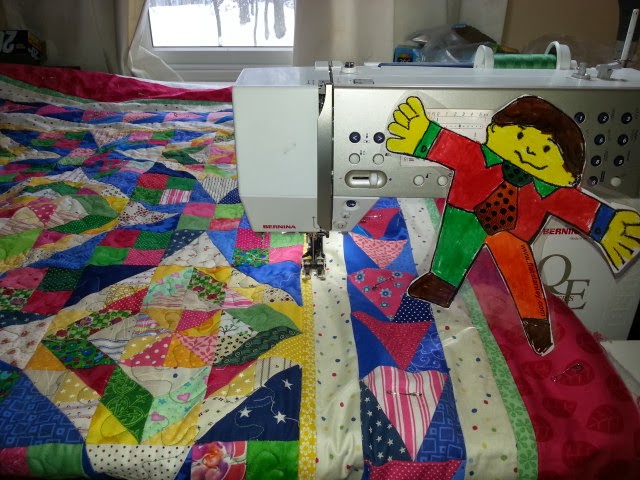
All the quilting was done on my domestic Bernina sewing machine. I used both free motion quilting with the stitch regulator and the walking foot for long straight lines.
Here's what I got done this month:
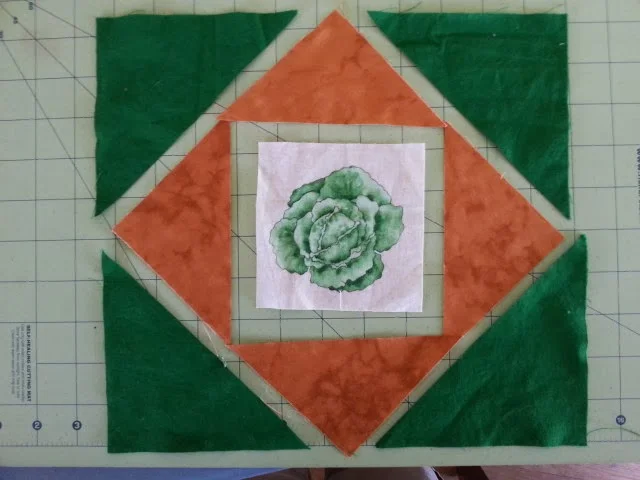
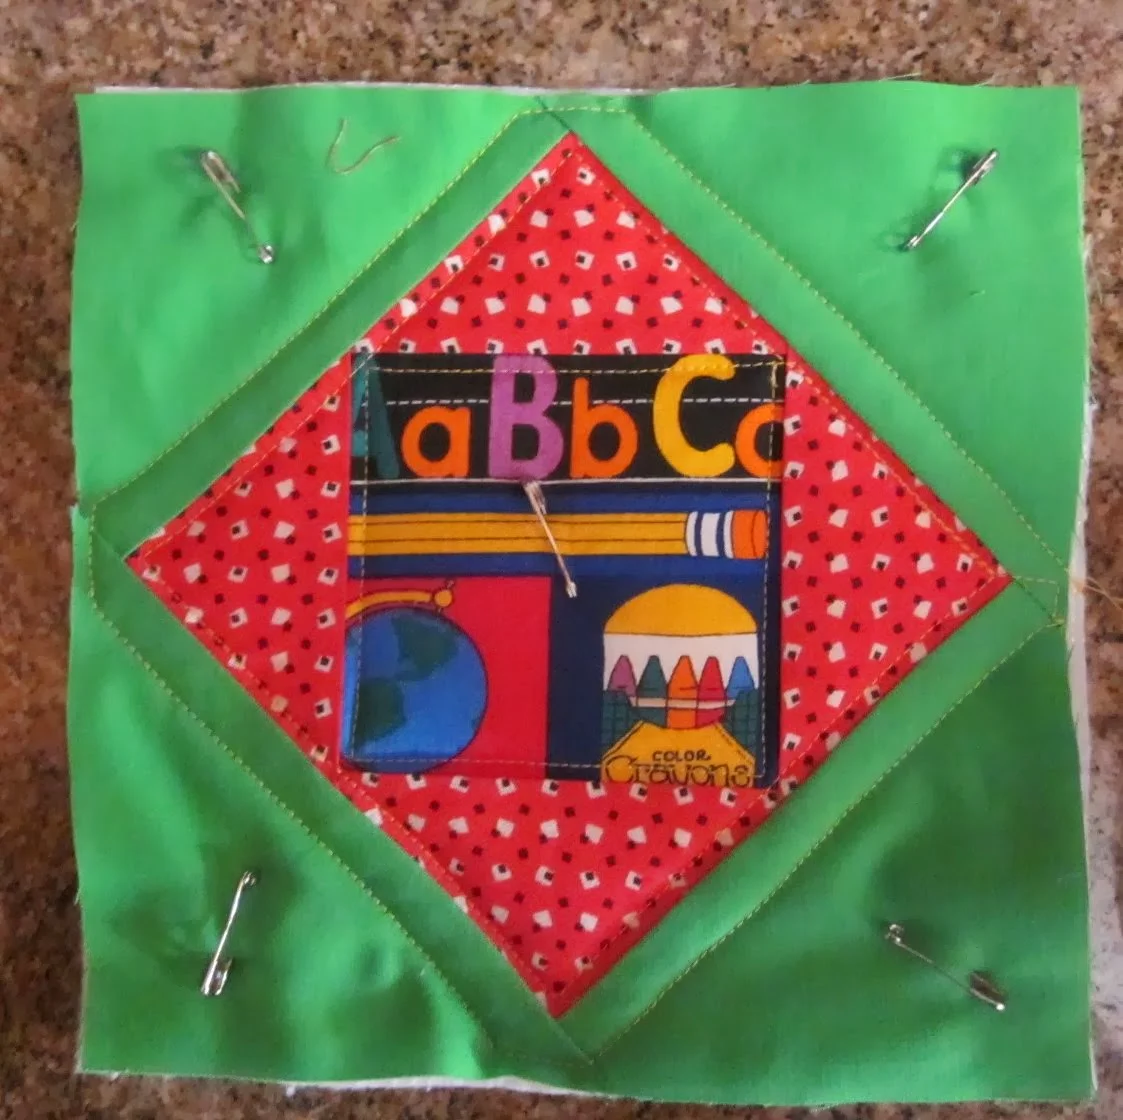
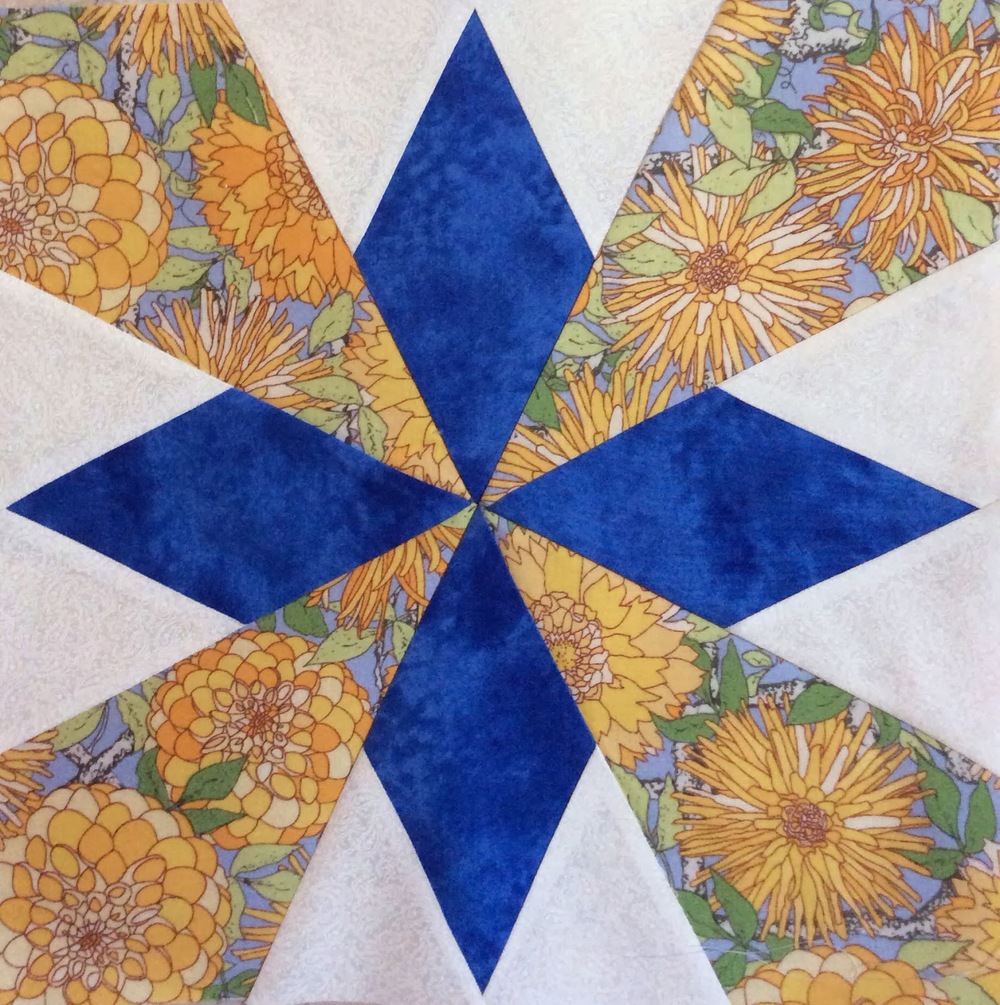
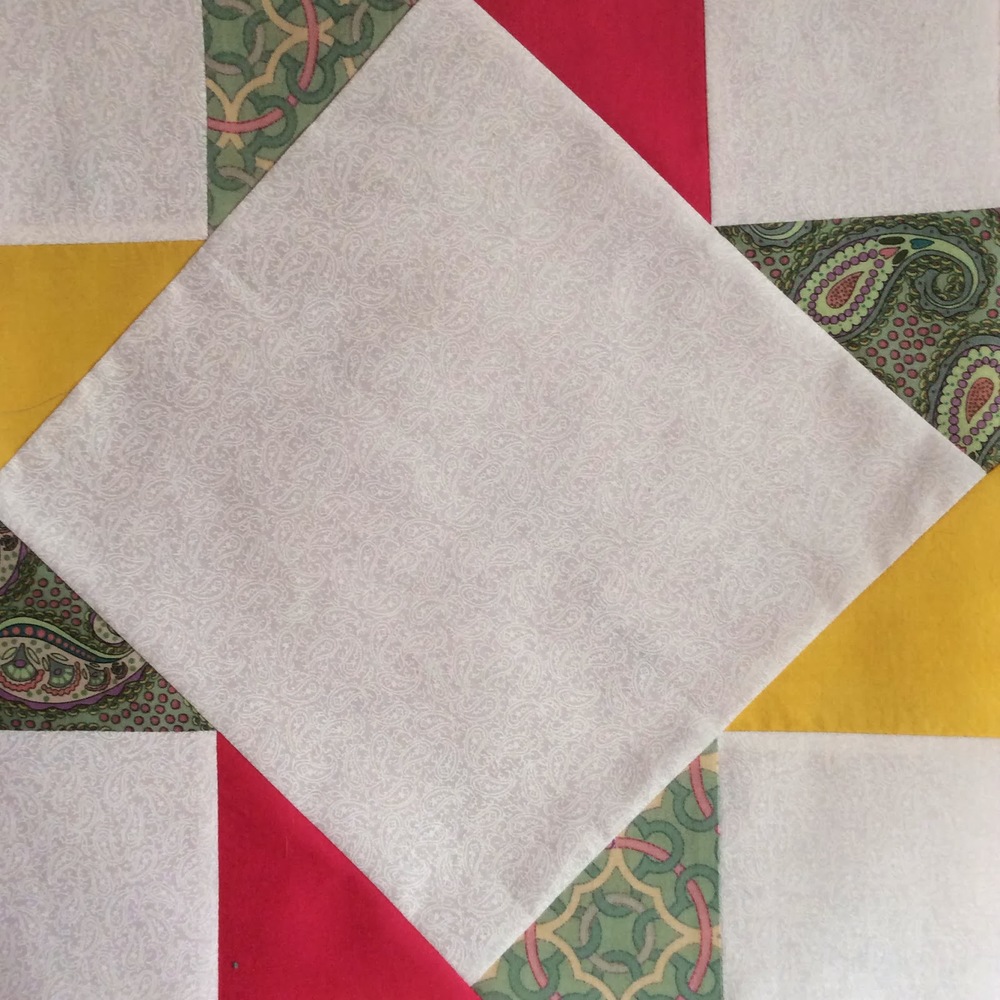
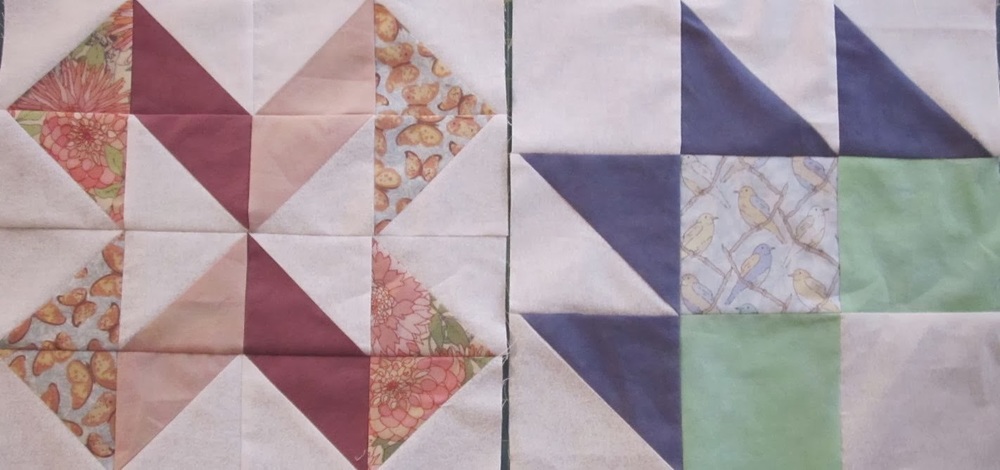
Economy Blocks are just so much fun to make and I really like the way this blocks showcases fussy cut fabrics. The go-to
is on the Red Pepper Quilt blog. Her blocks have 3 inch center blocks and finish at 5.5 inches. I recommend you use her tutorial to make the block.
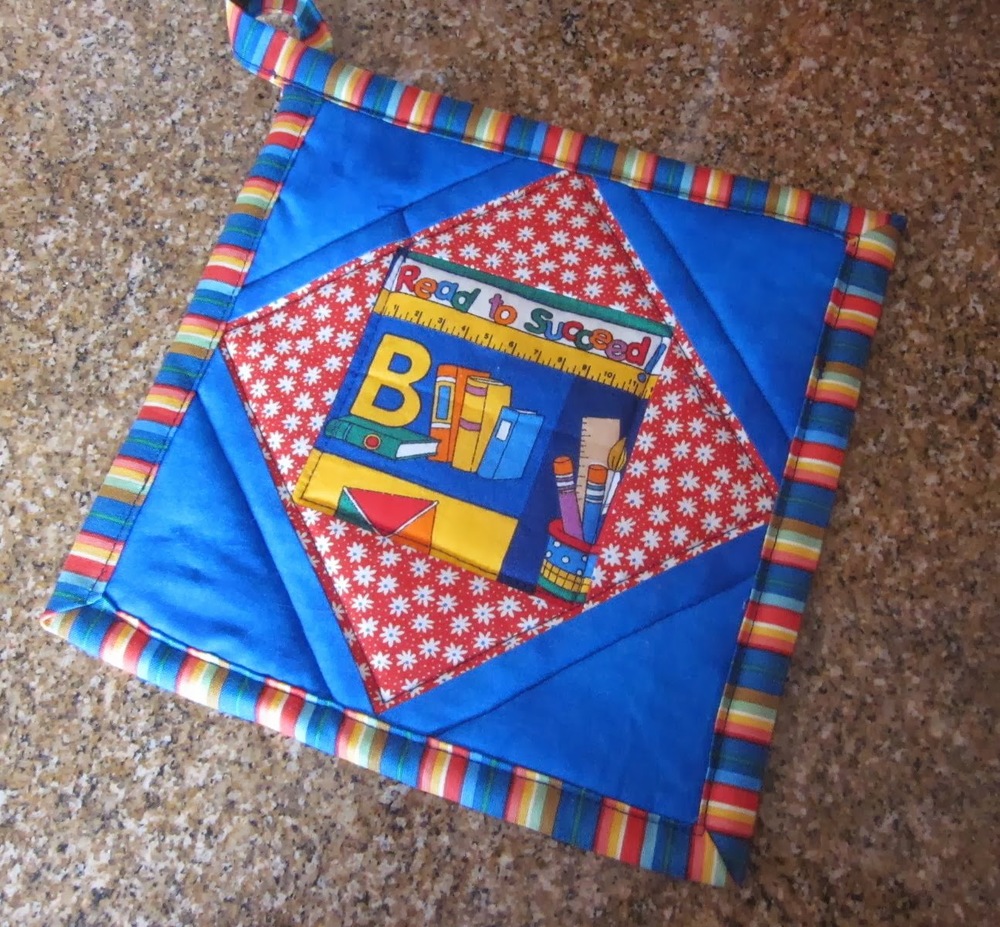
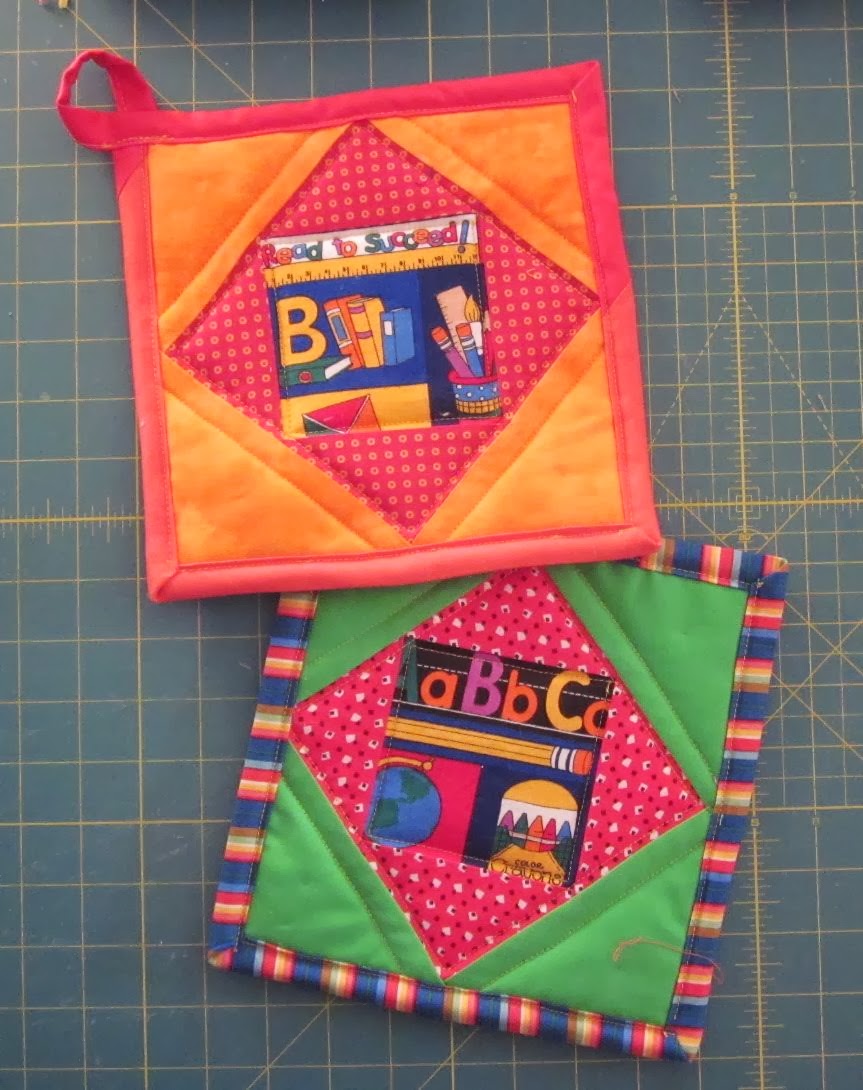
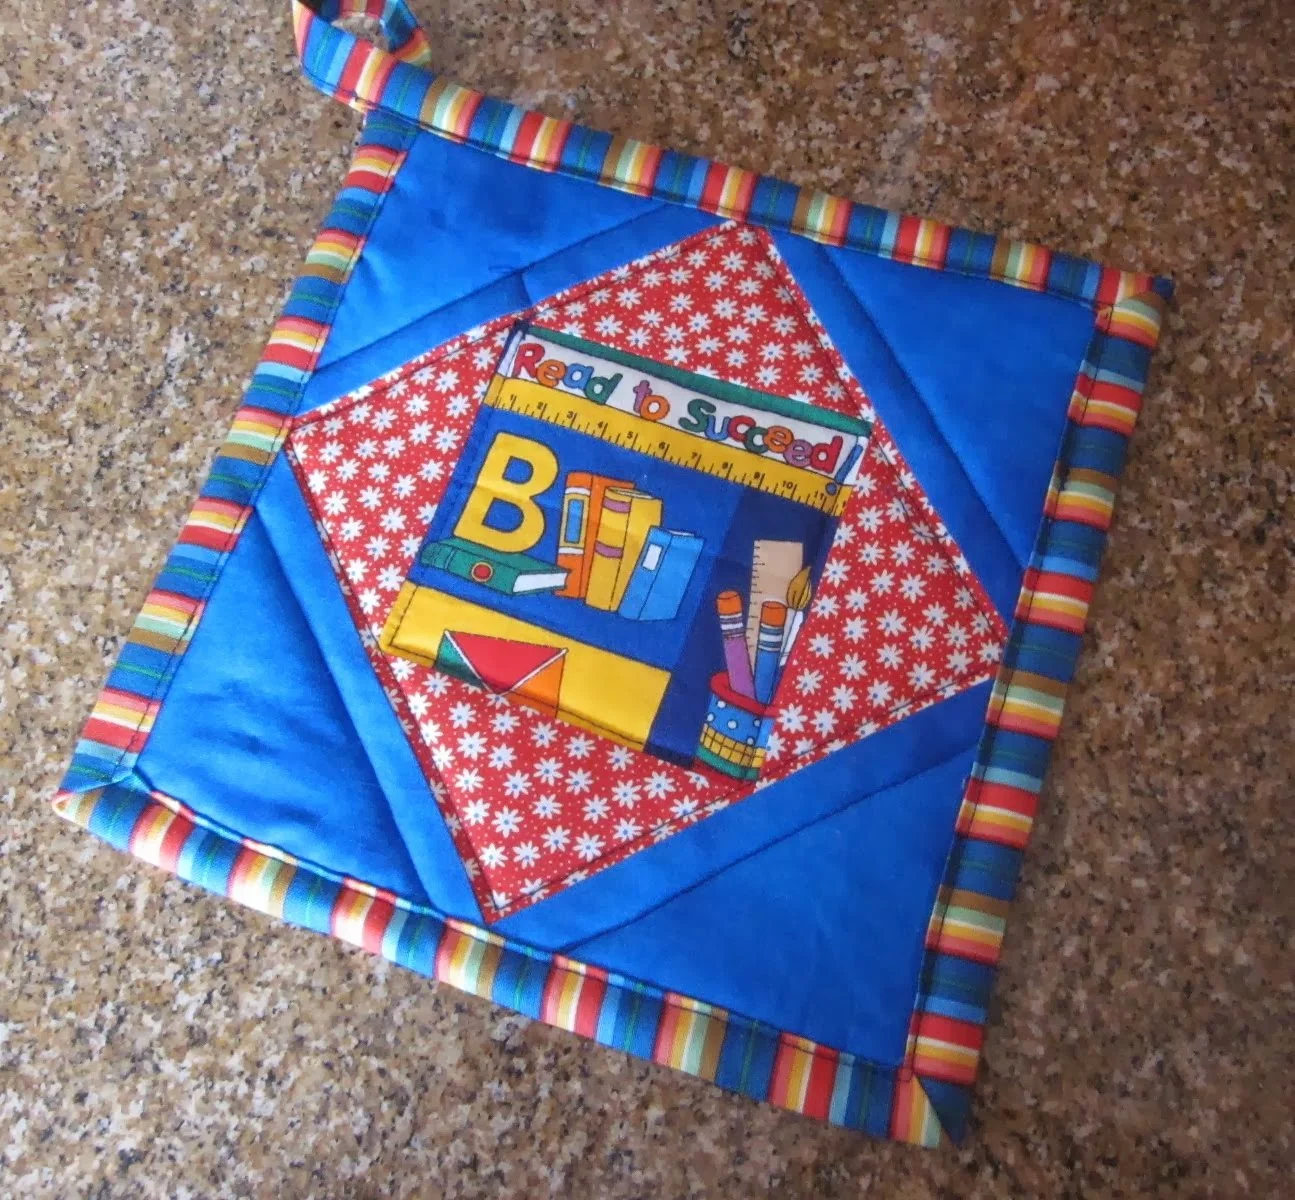
I wanted to make an Economy Block potholder, finishing at 8 inch square. It turns out that that is the perfect size to use a pre-cut 5" Charm square for the outer square!
To make the 8" Economy block you need:
One 4 inch center square
Two 4 inch squares cut on the diagonal to make 4 triangles
Two 5 inch squares (Charms) cut on a diagonal to make 4 triangles.
One 8 inch square for the back of the potholder
Bias binding or make your own for the border (about 38-40 inches). I used binding left over from a couple of quilts.
To insulate the potholder you need:
One 8 inch square of Insul-Bright insulated lining made by The Warm Company. This material reflects heat so you don't get burned when you pick up something hot. You'll find it with the quilting products in your fabric store.
One 8 inch square of
cotton
batting. This is needed to absorb any moisture.
1. Assemble the Economy Block. The outer triangles just finish at 8 inches. You won't have much to trim so make sure to keep that 1/4 inch seam on the scant side.
2. Make the sandwich for your potholder:
Economy block
Insul-Bright square
Cotton batting square
Backing square
It doesn't matter which way you pair the batting and Insul-Bright. It will work either way.
3. Quilt as desired.
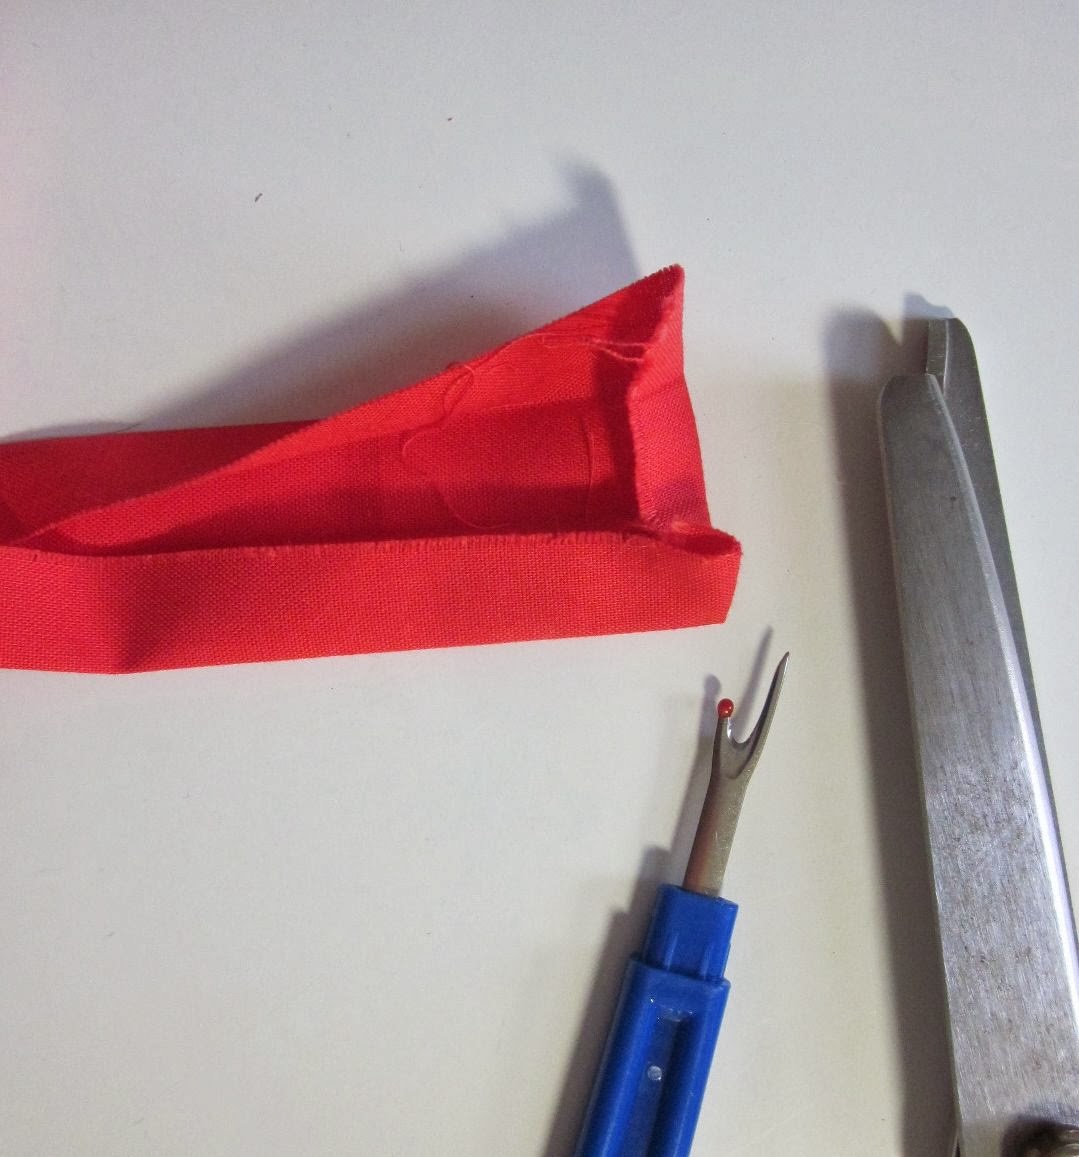
4. Fold under the raw edge of your bias tape.
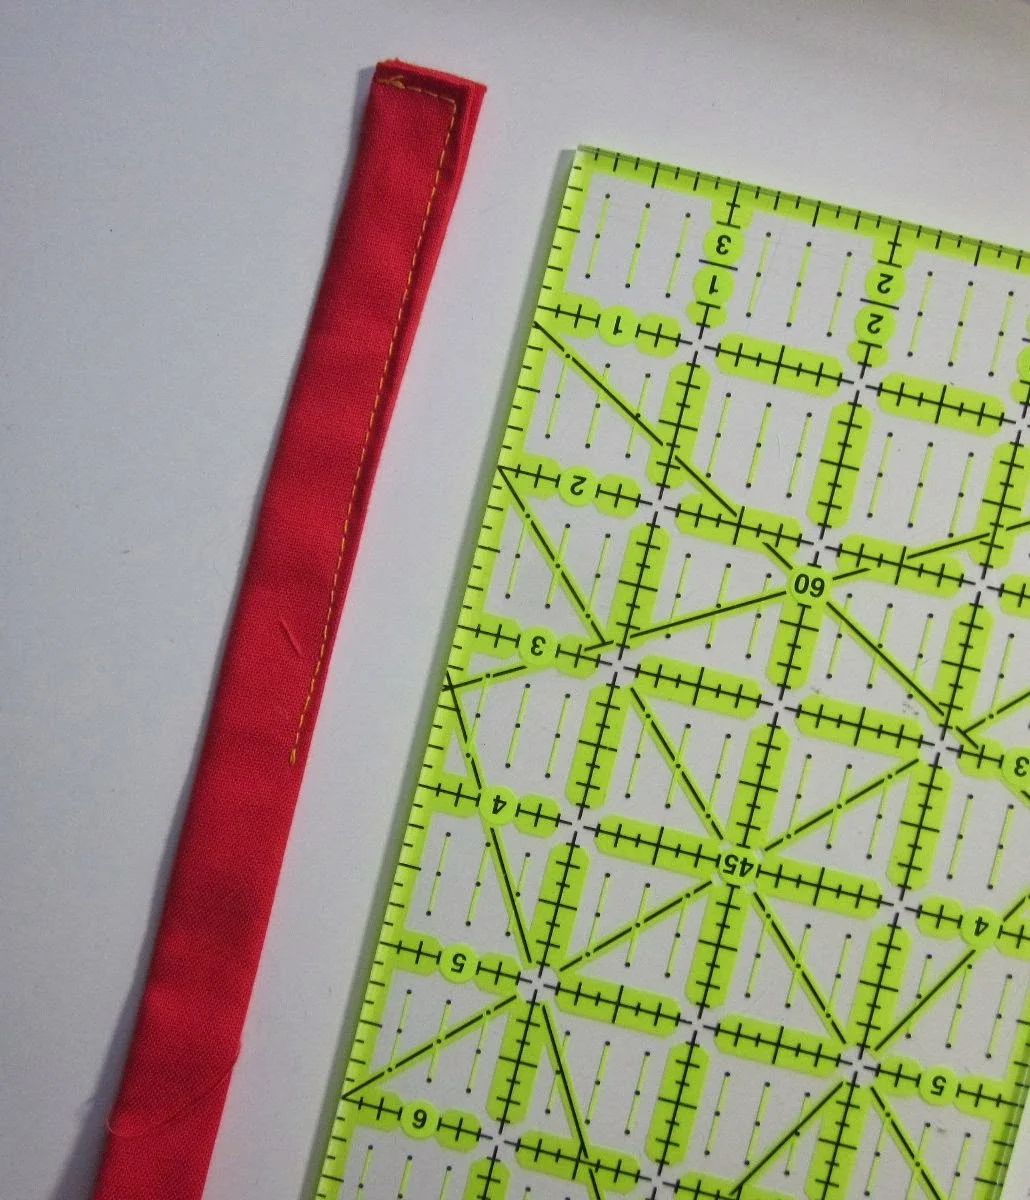
5. Sew together the folded end and the first 4 inches of your bias tape.
6. Place the tape over the top edge of your potholder. Start sewing about
1 inch from the corner.
Continue sewing around the 4 sides of the potholder, mitering the corners as you go around the block.
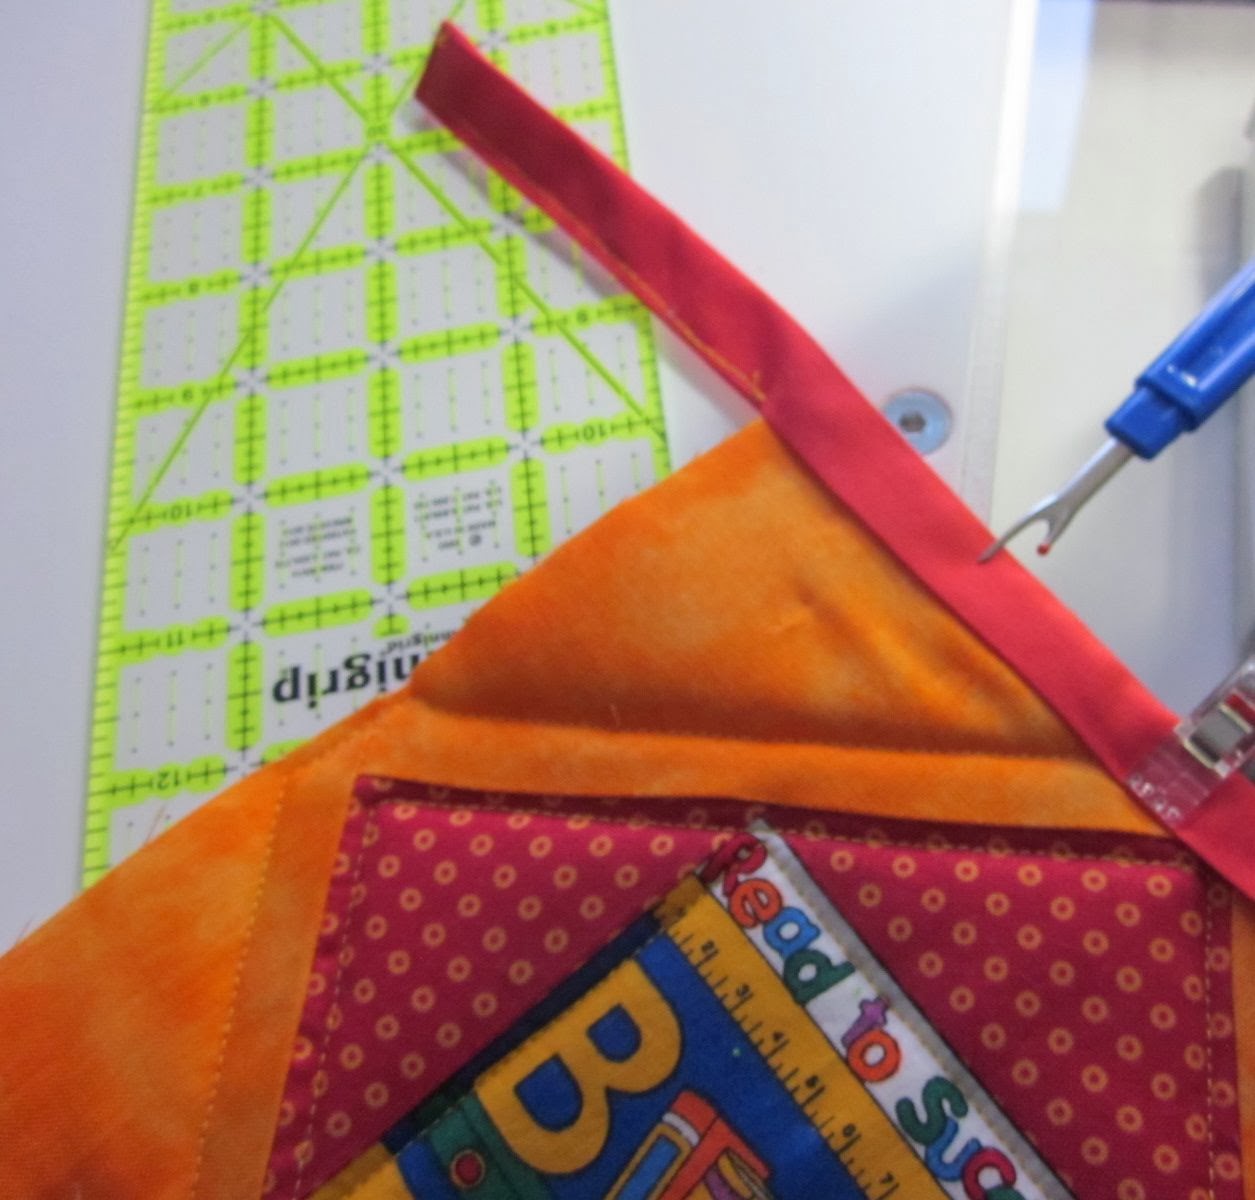
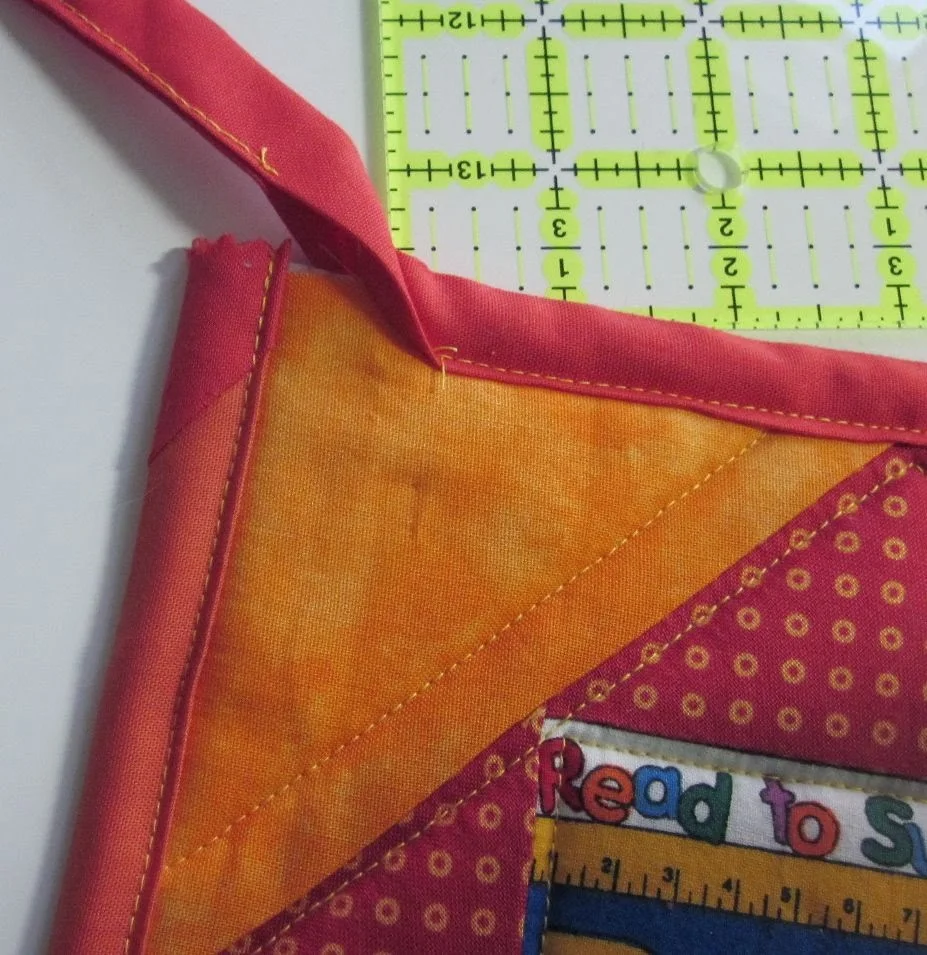
7. Trim the bias tape at the upper edge of the potholder.
8. Now tuck the open tape from step 6 over the top edge of the potholder, covering the cut edge of the bias tape where you just finished sewing.
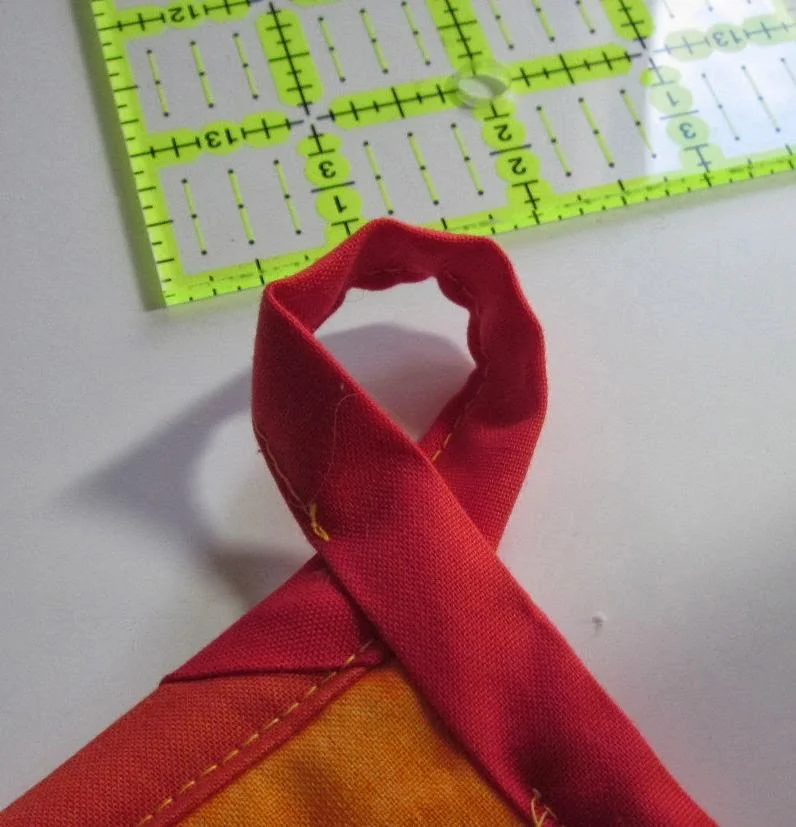
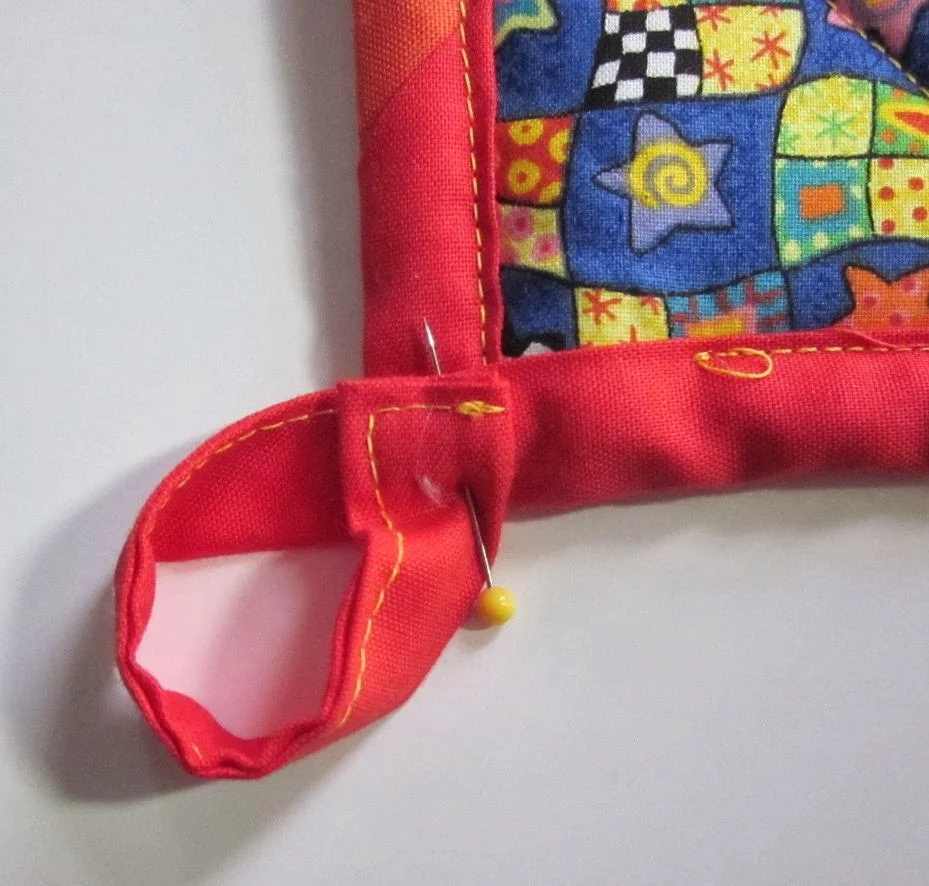
9. Make a loop out of the 4 inch of bias tape you sewed together in step 5.
10. Sew all the layers together, closing the open tape and catching the loose edge of the bias tape loop on the back of the potholder.
That's it! Time to head to the kitchen to bake something.
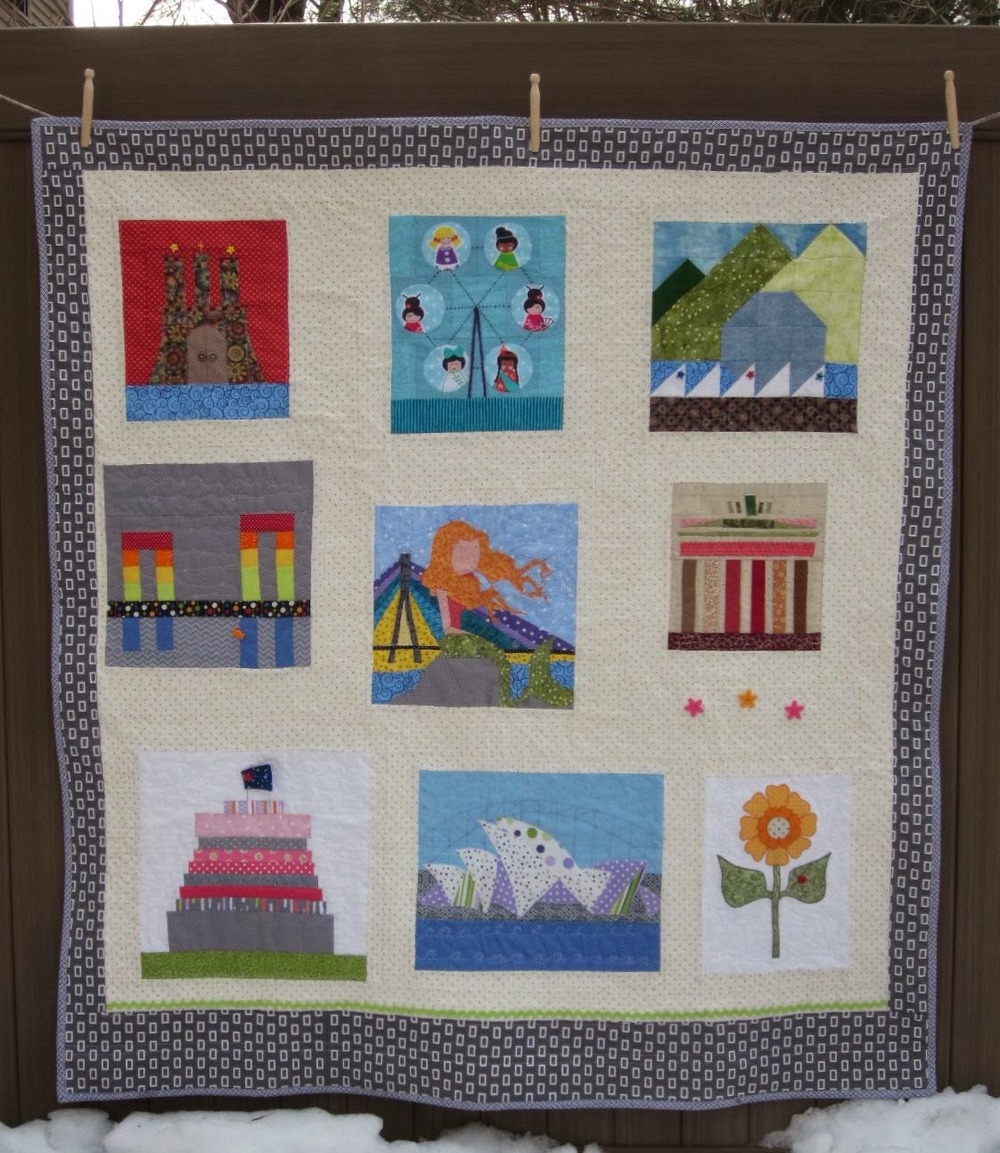
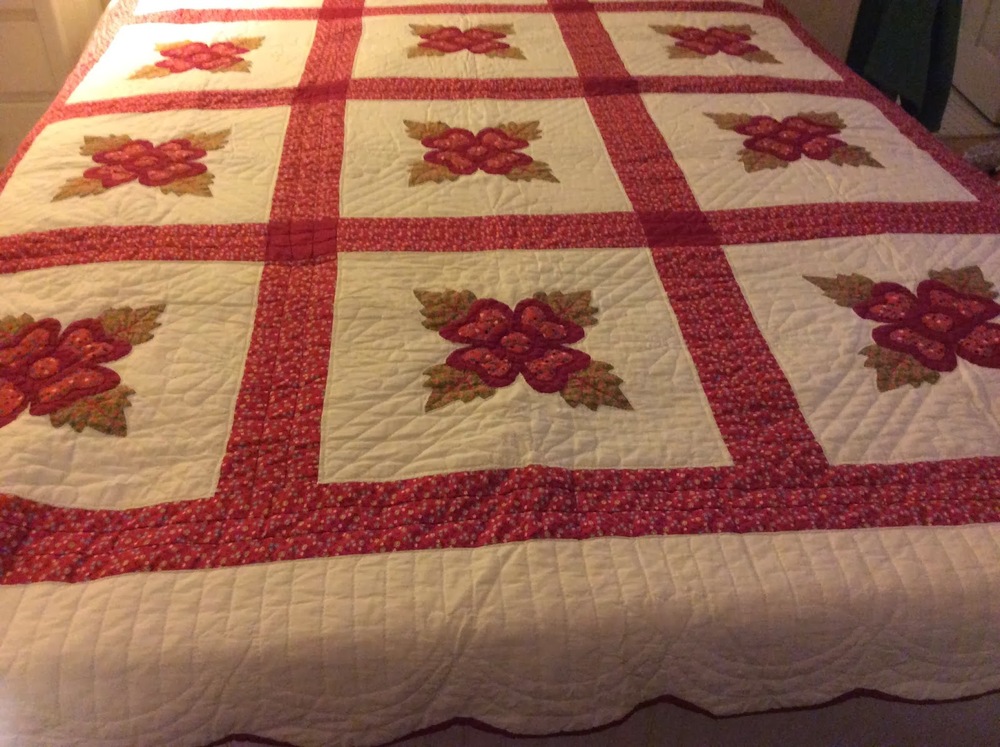
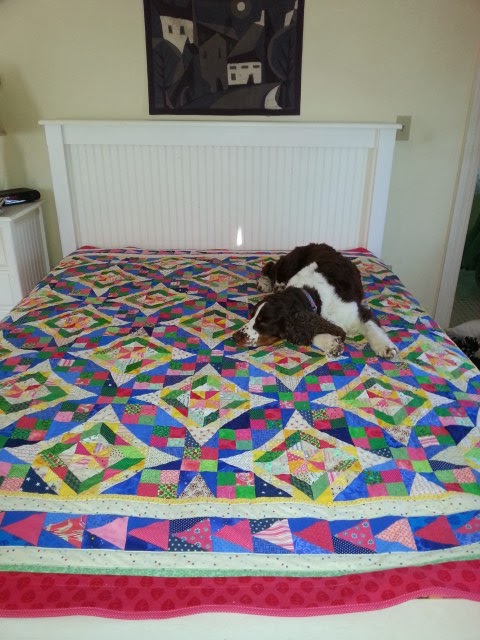
| Outdoors, cloudy day. This has the best color and is the best overall photo of the quilt, but it doesn't show off the quilting. |
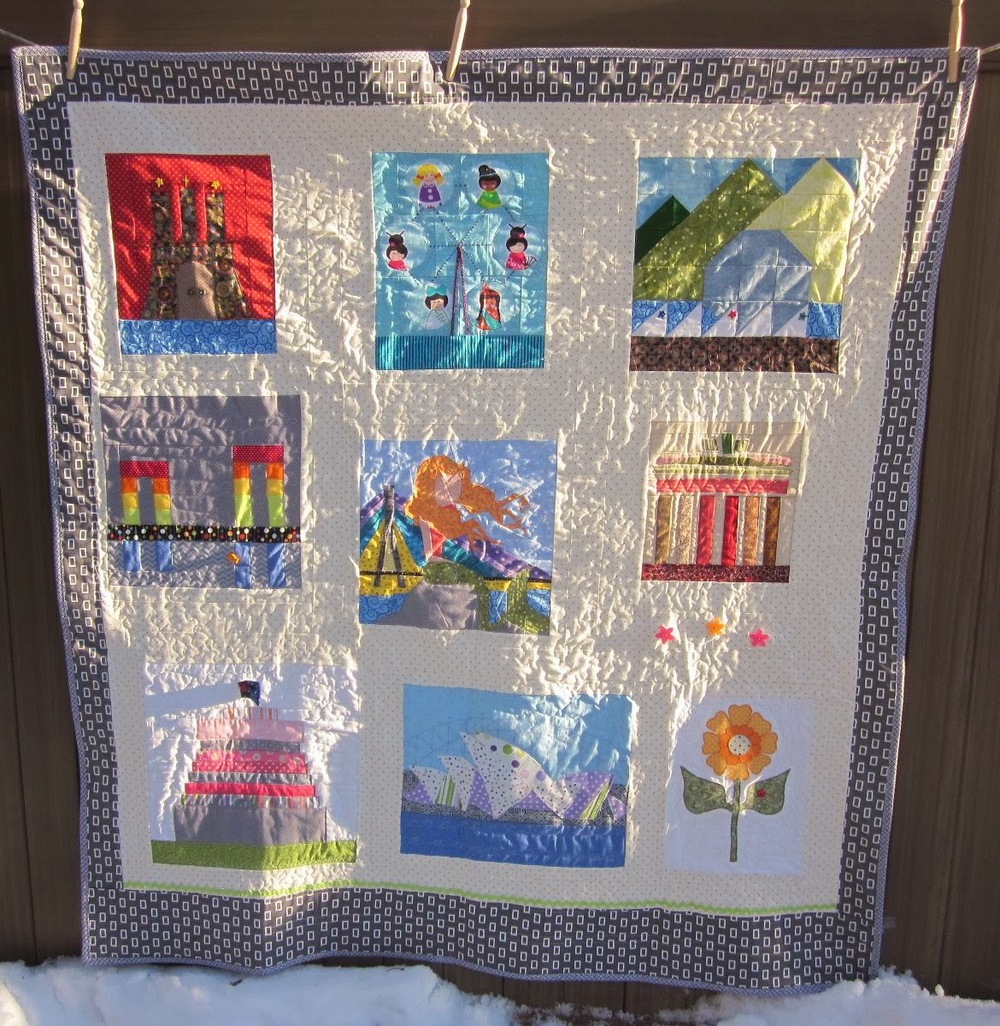
| Outdoors, late afternoon winter sun. This shows off the texture from the quilting but it's hard to see the blocks. |
| Indoor lighting shows the quilting details nicely. While Fluorescent light may be good for the environment, it dulls and alters the colors of the quilt. |
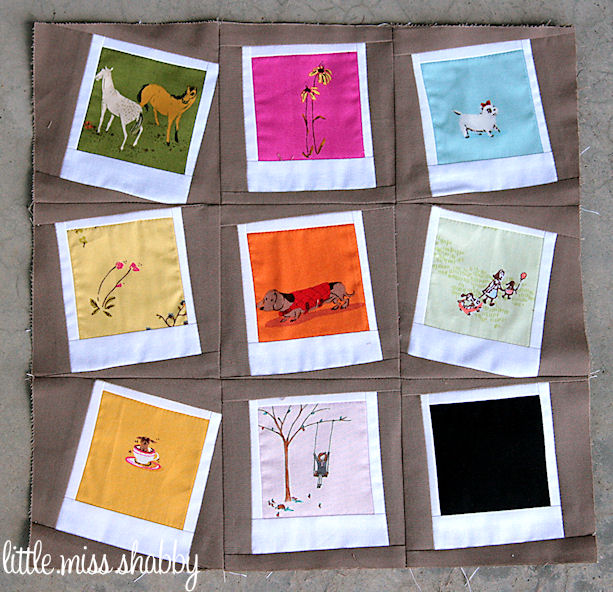
When I first saw Little Miss Shabby's
I was really impressed with its modern simplicity and the potential for using it a variety of ways. But I never had a Polaroid camera so I wondered if I could use the idea of a fussy cut "photo" and take it in another direction.
And then it came to me. Do you remember those little black picture corners your folks or grandparents used to paste photographs in albums with plain black paper pages? That was it!
My "photo" has a narrower lower border than the Polaroid Quilt Block since the deep lower border was just found on Polaroid photographs. I sewed black triangles to make the picture corners.
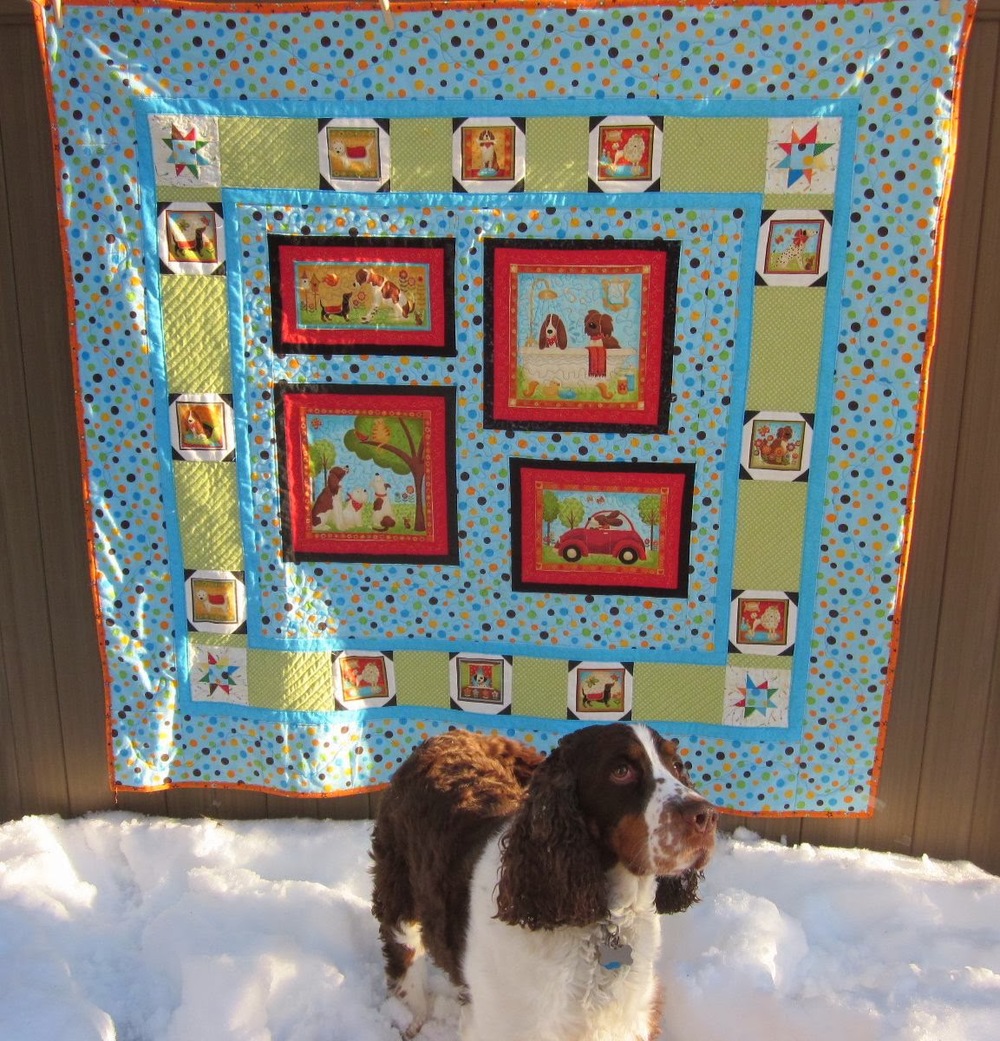
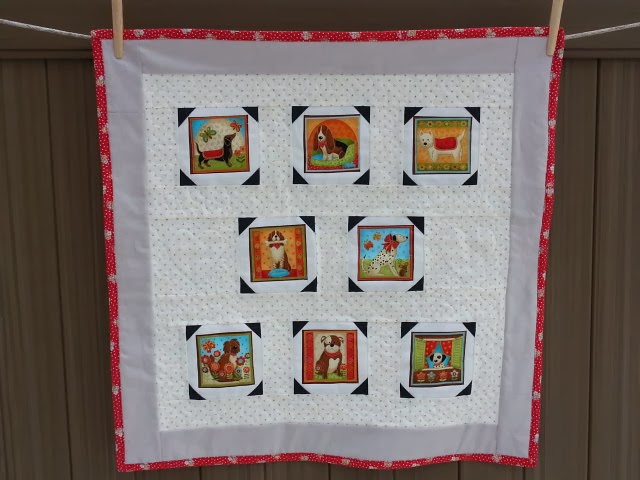
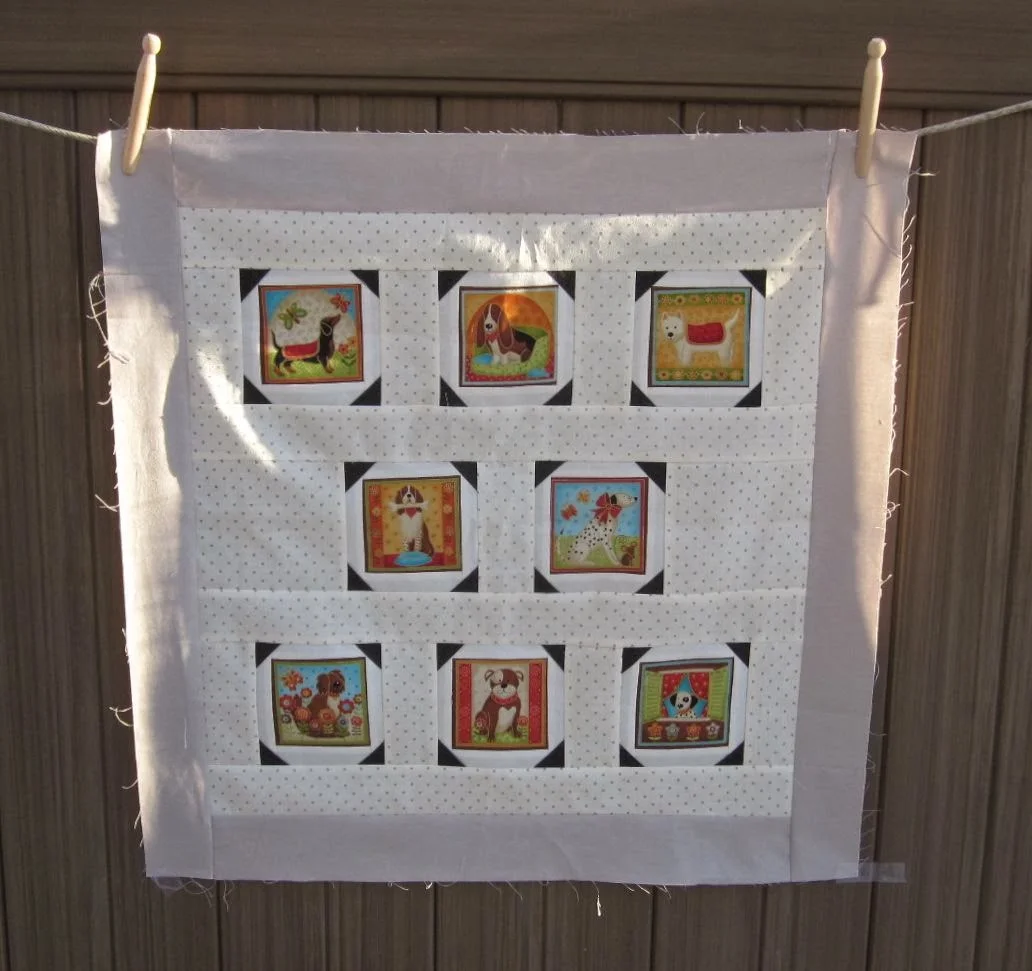
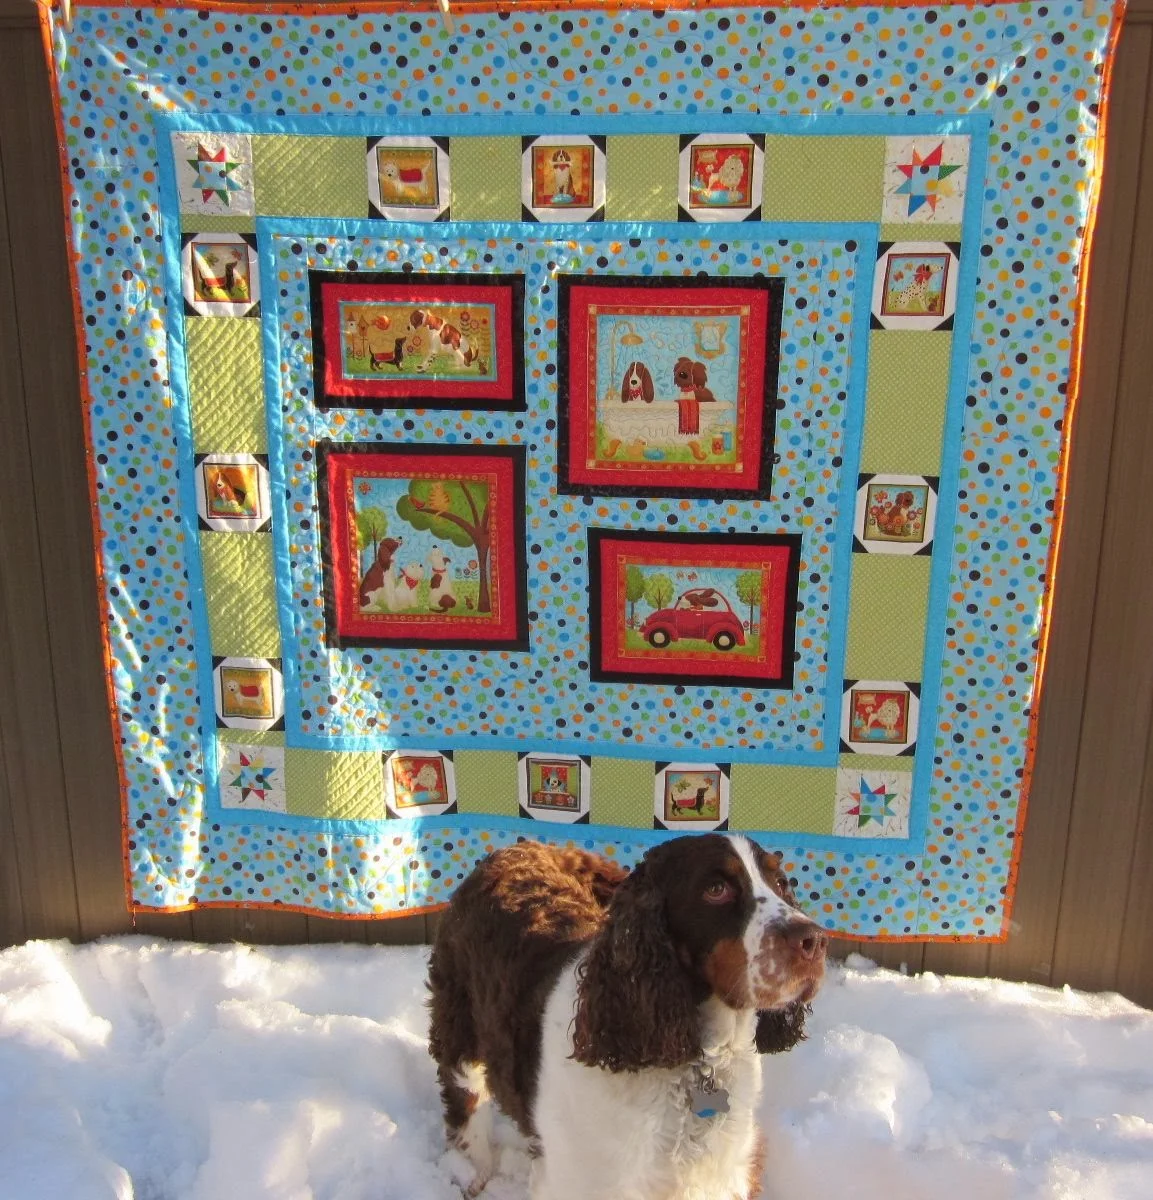
I've used my Vintage Photo Album block in a couple quilts with fussy cut quilt blocks...mostly dogs "photos"!
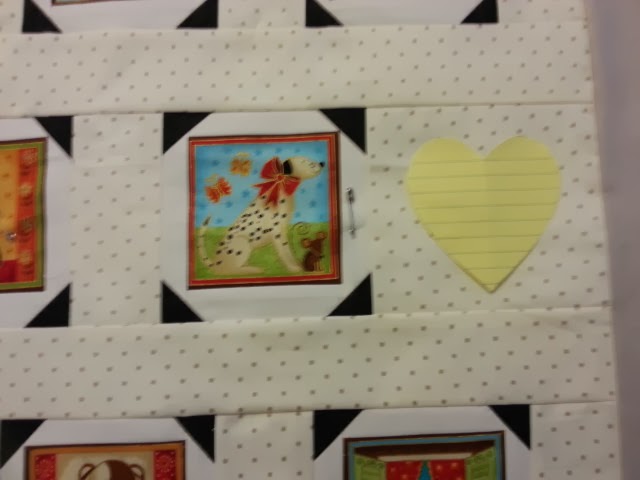
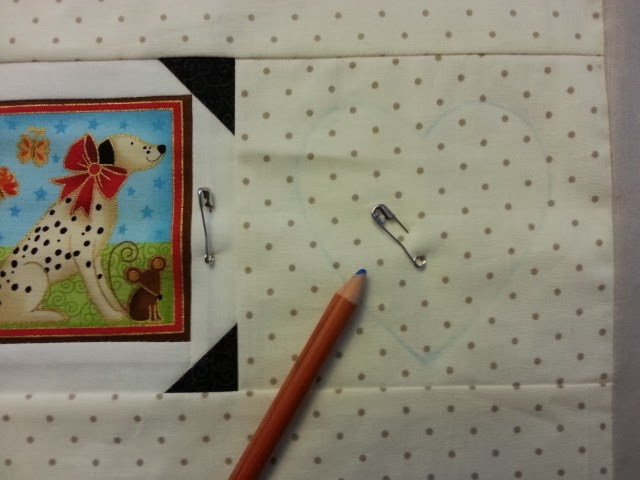
Here is a a wall-hanging Work In Progress that I was working on today:
Materials:
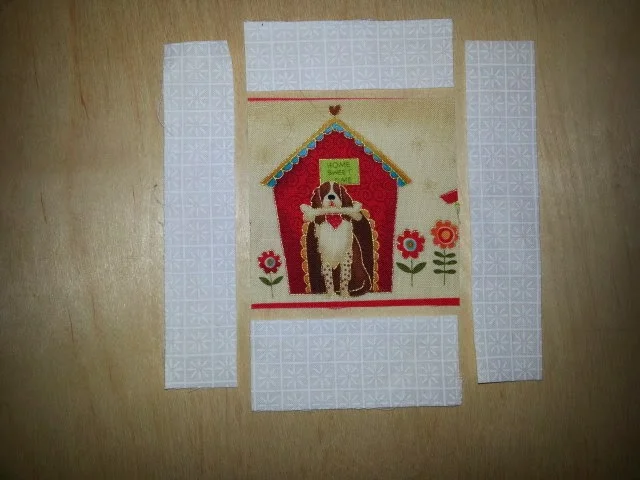
Solid white or light cream fabric for the margin of the photo
Solid black or black patterned fabric to make the picture corners. Great way to use those little scraps!
Fabric you want to fussy cut or print actual photos onto fabric
Step 1:
--Fussy cut your "photos" or print your real photos on fabric.
Step 2:
--Cut a 1" wide strip and a 1.25" wide strip
of white or light cream fabric.
Cut the 1" wide strip into 1 piece the width of your fussy cut piece. This will be at the top of your photo.
Cut 2 pieces of the 1" wide strip the length of your fussy cut piece adding 1.75". These will be the sides of your photo.
Cut the 1.25" strip to the width of your fussy cut. This is the bottom of your photo.
--Cut a 1" wide strip of black or patterned black fabric.
Cut this strip into 1" squares. You need 4 for each photo. Theses will be the photo corners.
Step 3:
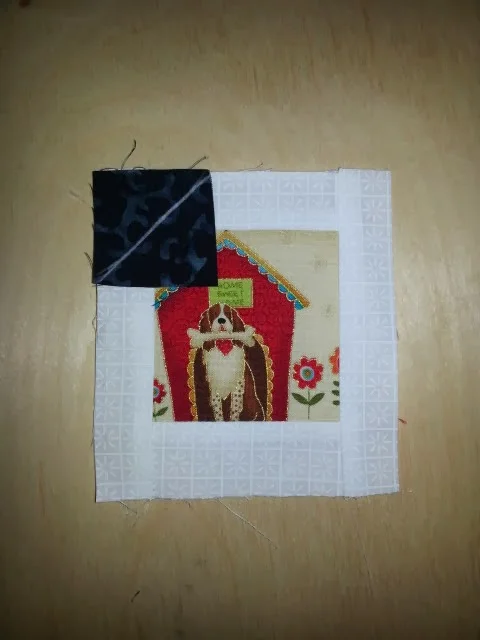
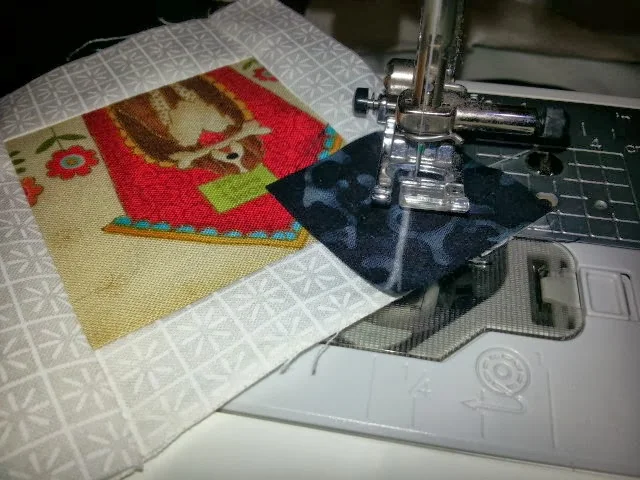
--Draw a diagonal line on the back of the black squares. I used white tailor's chalk to draw the line. This line will be a guide for your sewing.
--Move your needle 1-2 places
to
the right so that you sew just to the right of the line drawn on your black square.
Sew a black square on the first corner of your block
Step 4:
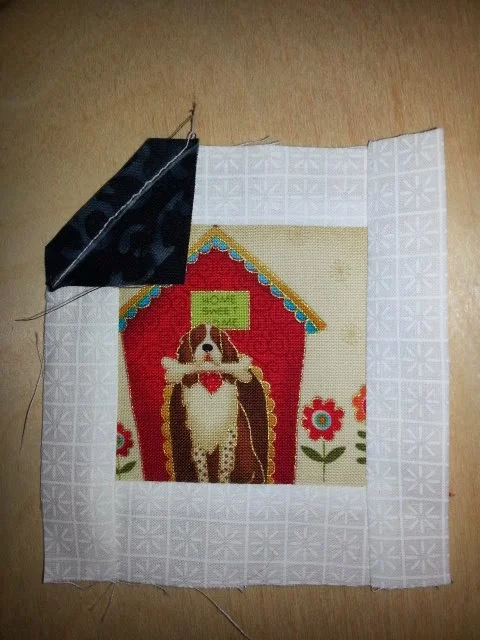
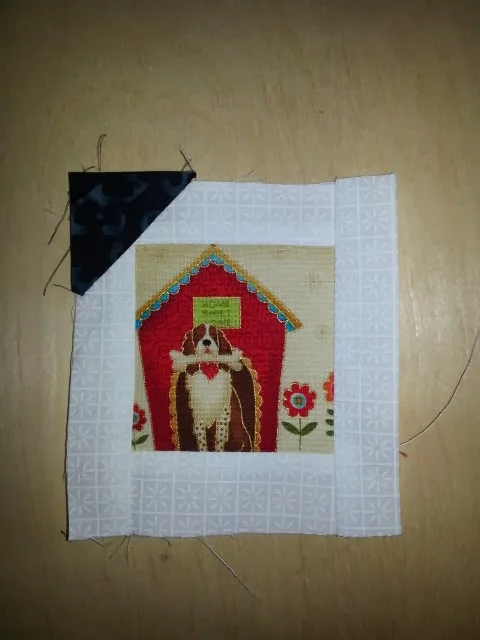
--Fold back the the inner edge of the square making a triangle. Press and trim the seam UNDER the new corner to 1/4". This keeps the block from getting too bulky.
Step 5:
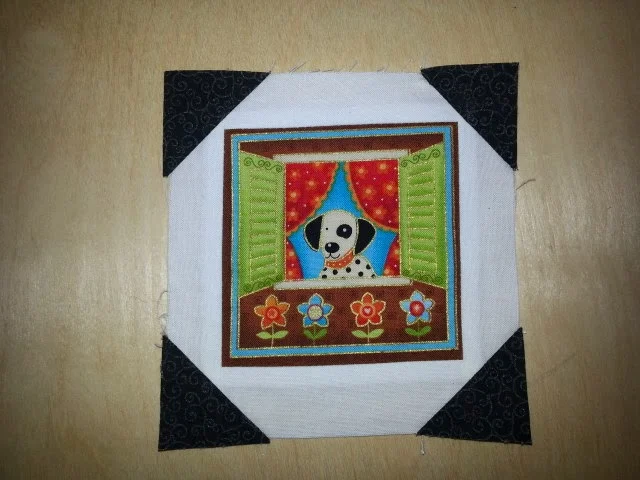
--Sew a black square on all 4 corners. That's it! Your Vintage Photo Album Block is
ready
for you to use in your project!
Here's a quilt I made using the Vintage Photo Album Block. It has some "framed pictures" too!
Hope you've had fun and will enjoy using this block. Let me know what you do with it!