Recently my friend Janet was asked if our guild,
Proper Bostonian Quilters, would be interested in making a Log Cabin quilt for
The Somerville Homeless Coalition. They Coalition would like to raffle the quilt at a concert in December to raise funds for their charity.
Janet was really excited about doing this project and the Guild president approved the project. We sat down to think about colors, design and logistics for making the quilt.
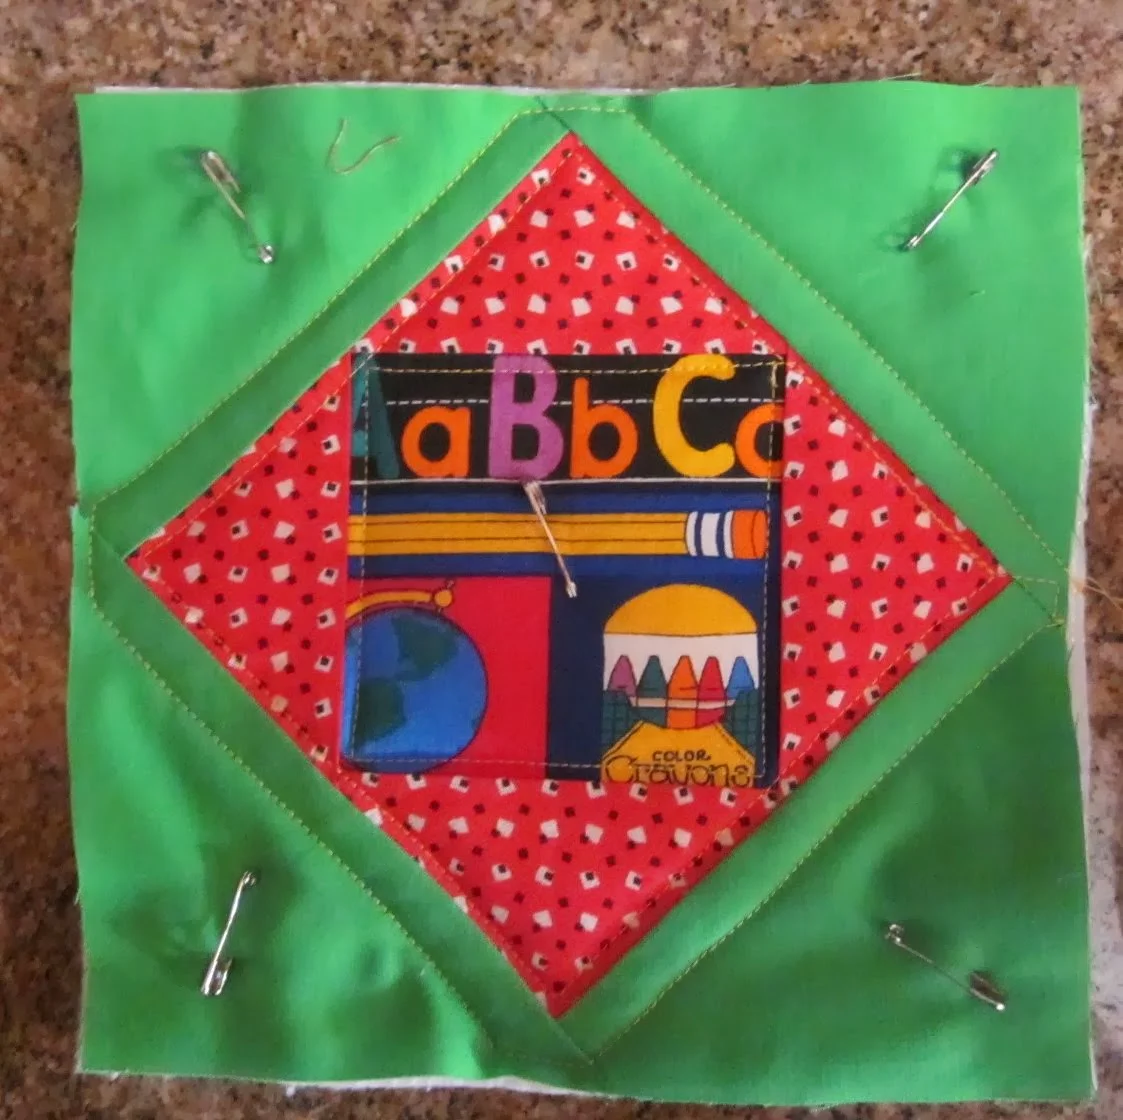
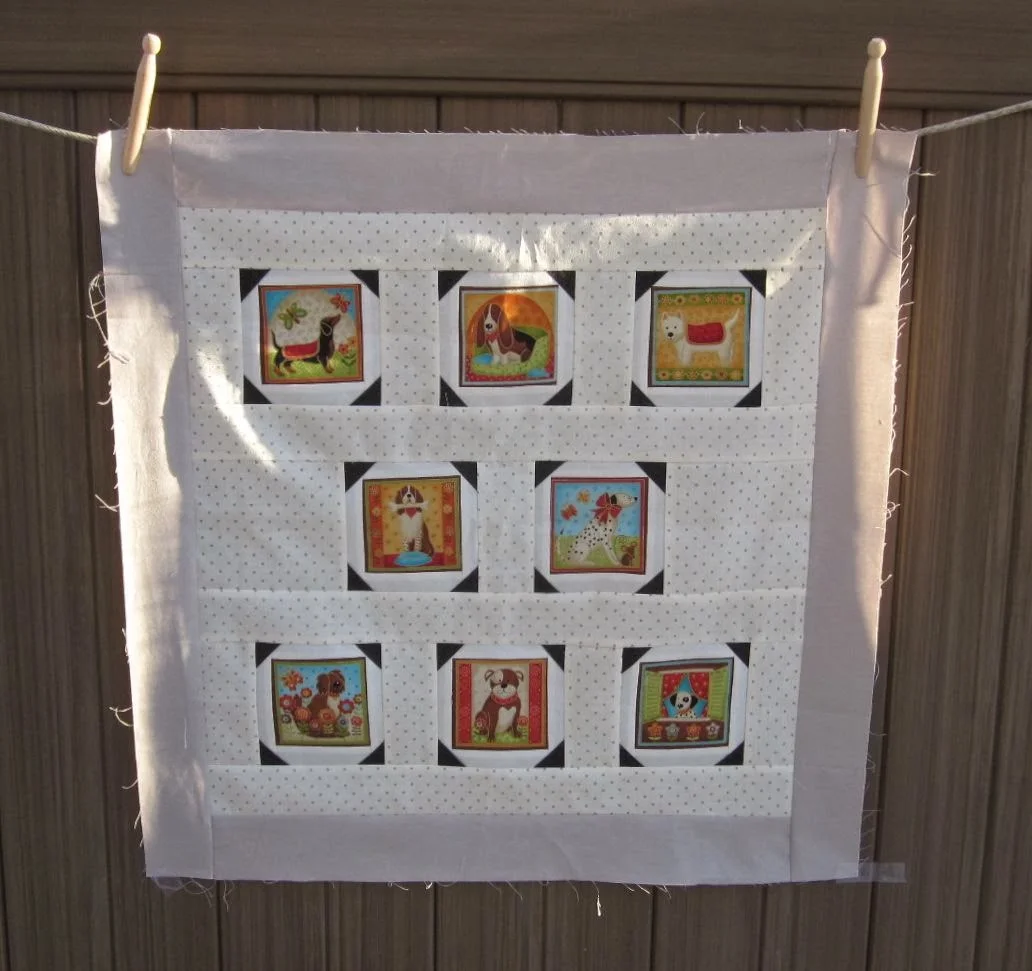
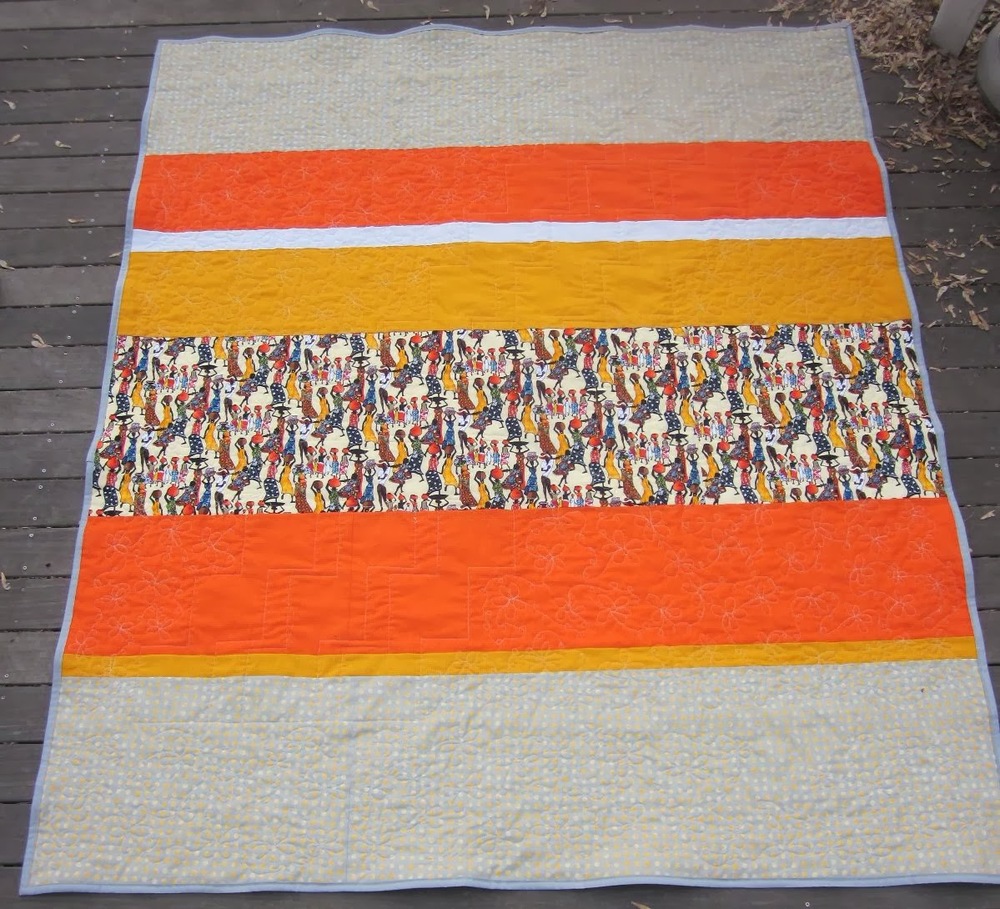
Our guild made a Log Cabin raffle quilt,
Cabin in the Woods,
3 years ago for our biennial show. And a couple months ago we made "Urban Cabin" from
Modern Designs for Classic Quilts by Kelly Biscopink and Andrea Johnson. We wanted the guild members to be excited about making a block for the quilt. Would they have Log Cabin block fatigue?
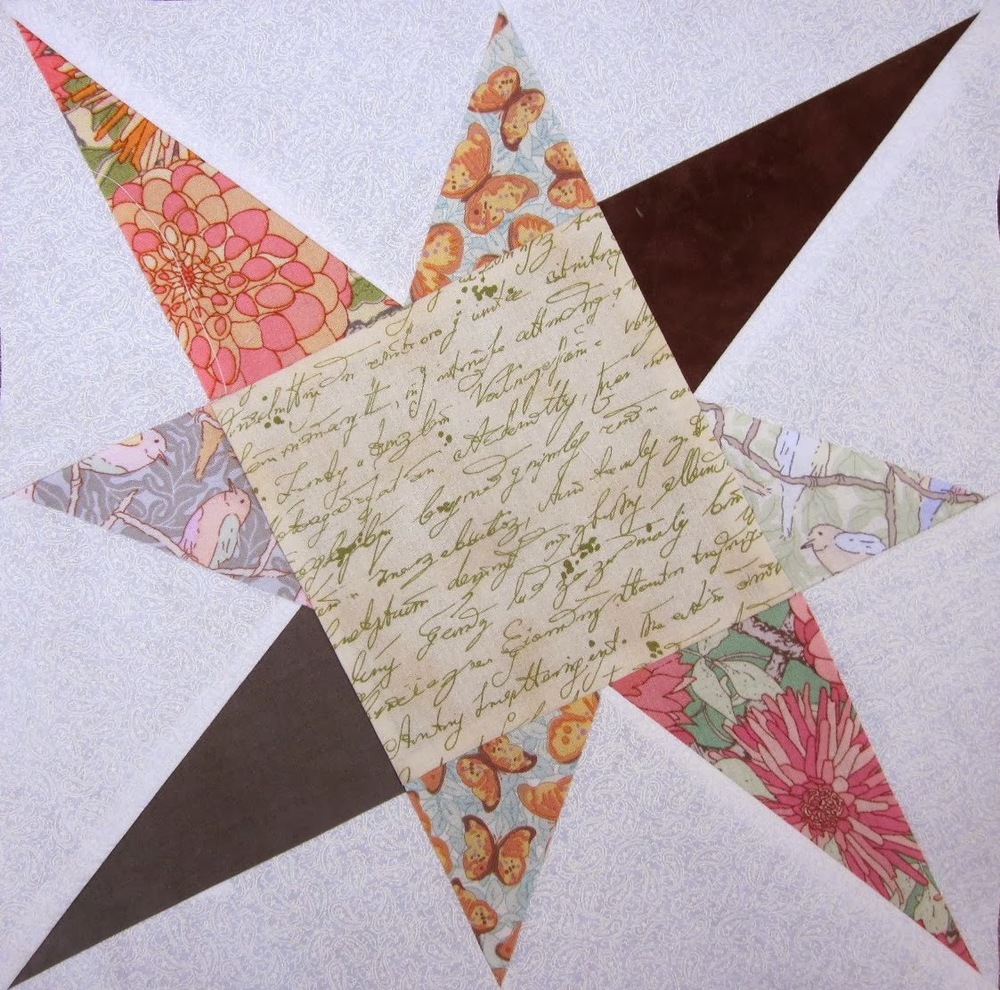
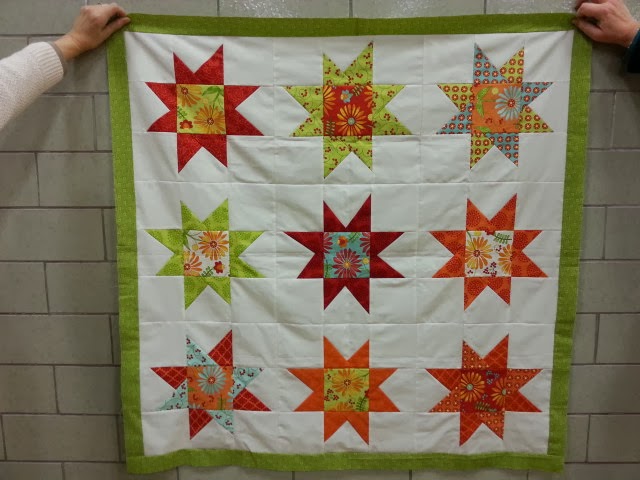
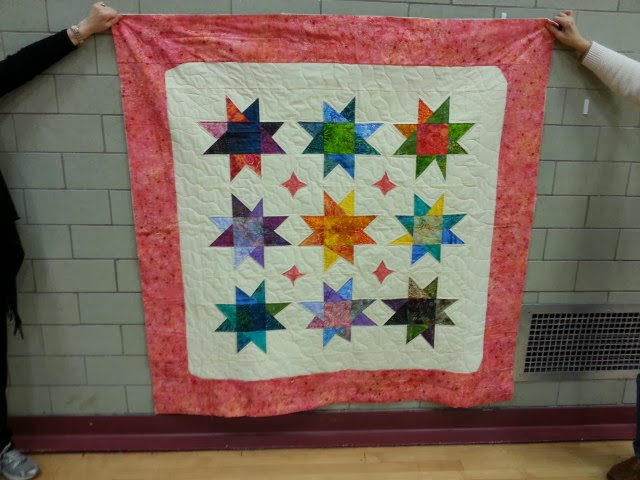
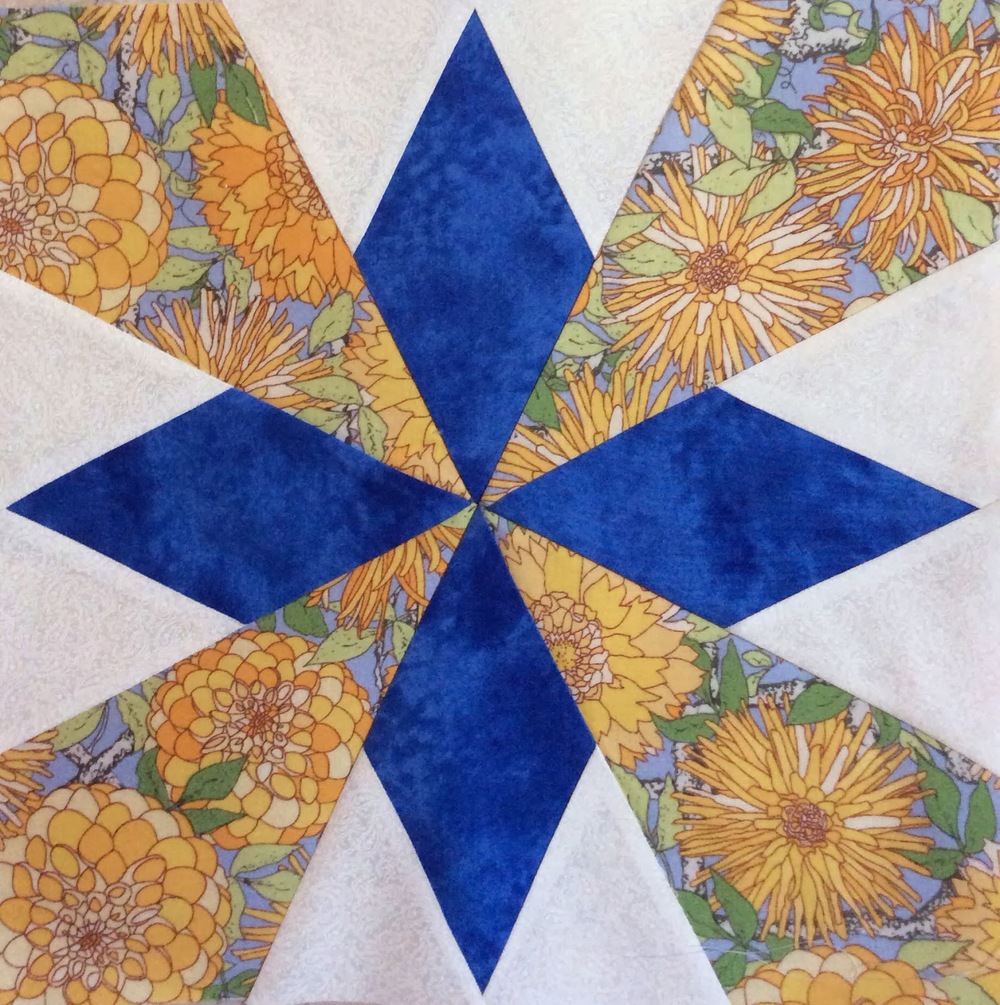
At the last meeting the group really enjoyed seeing the
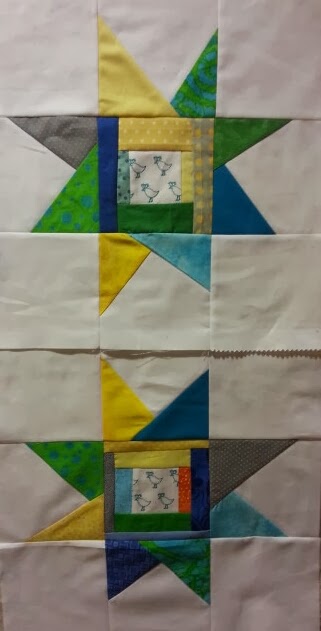
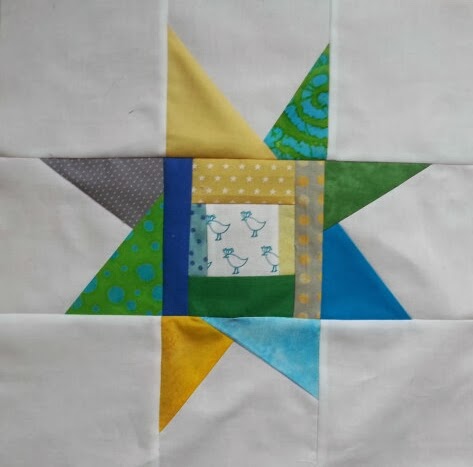
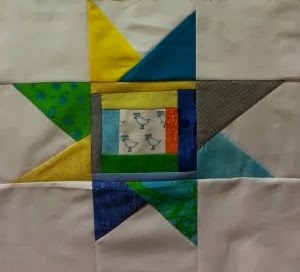
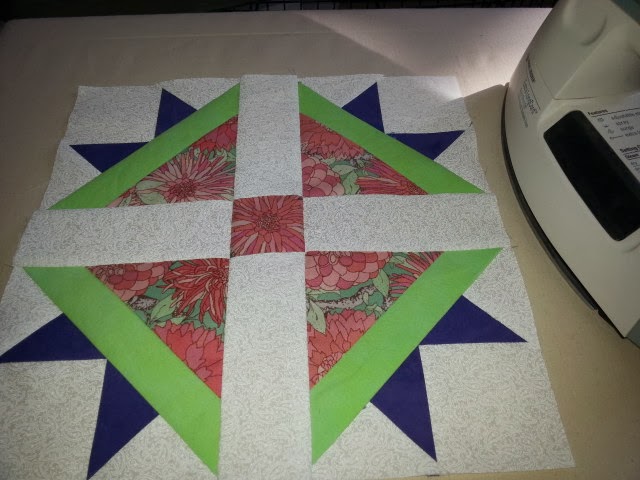
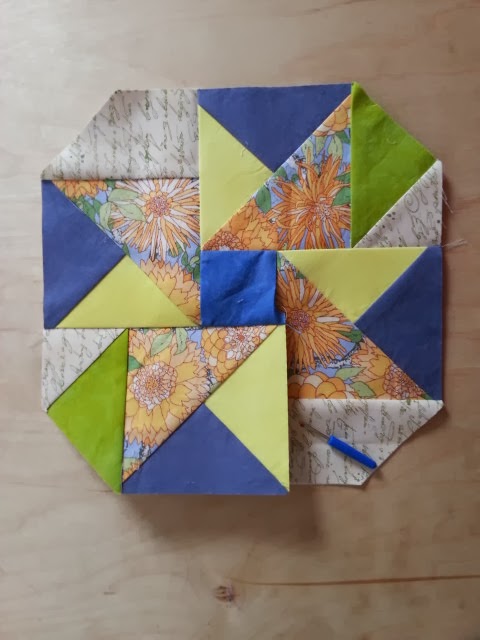
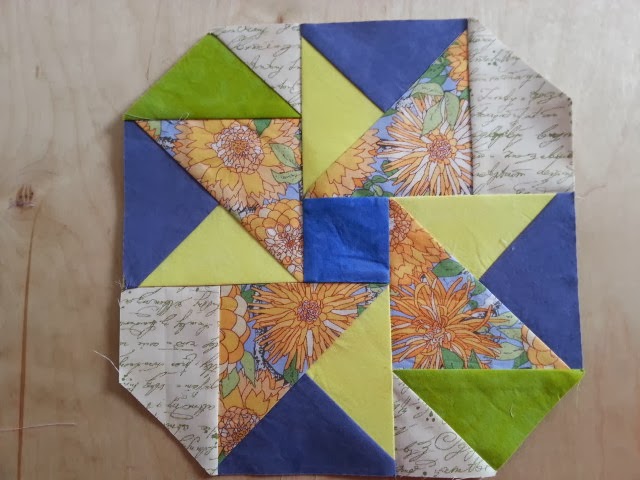
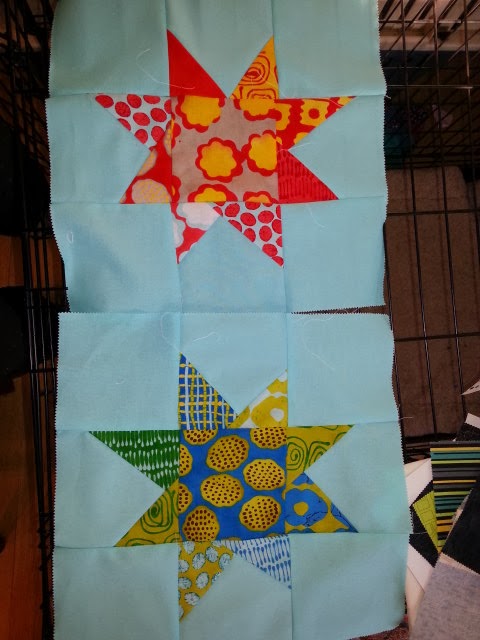
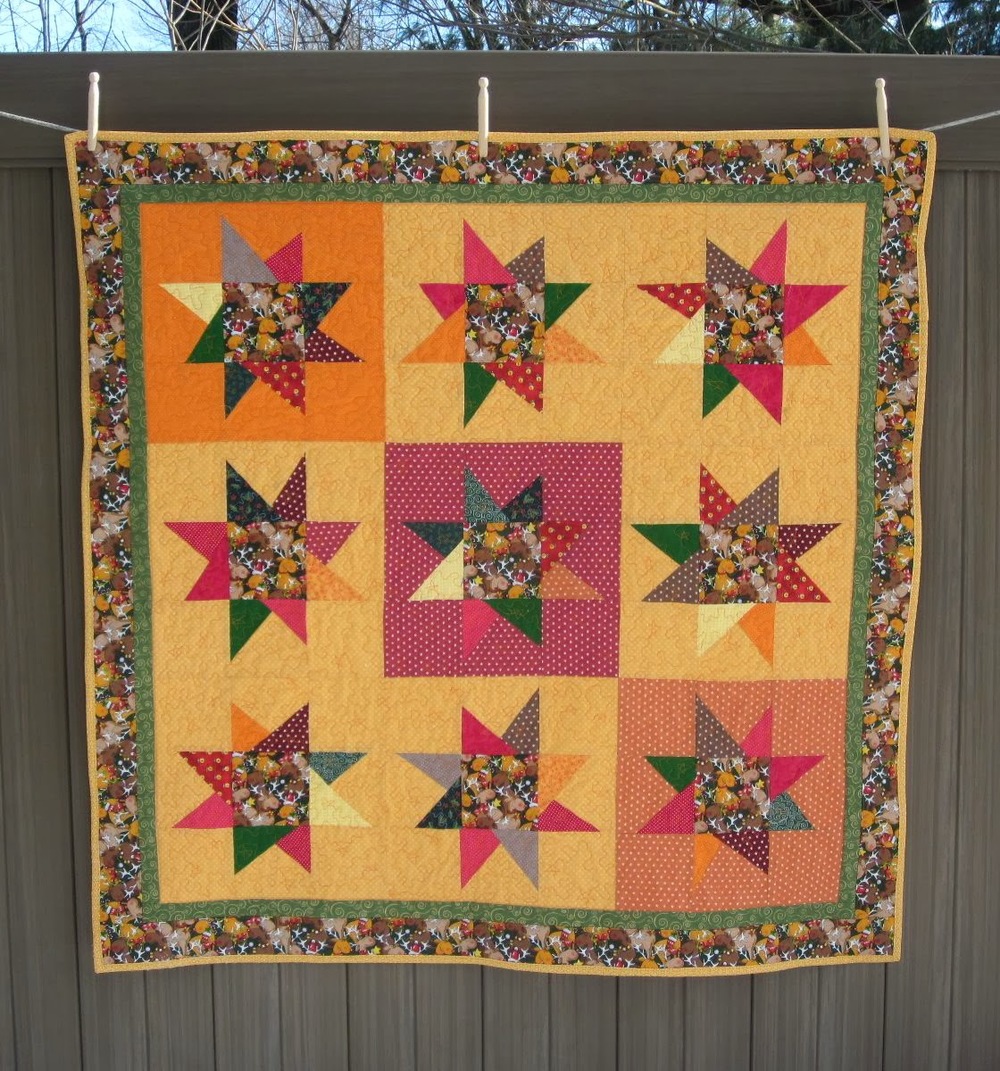
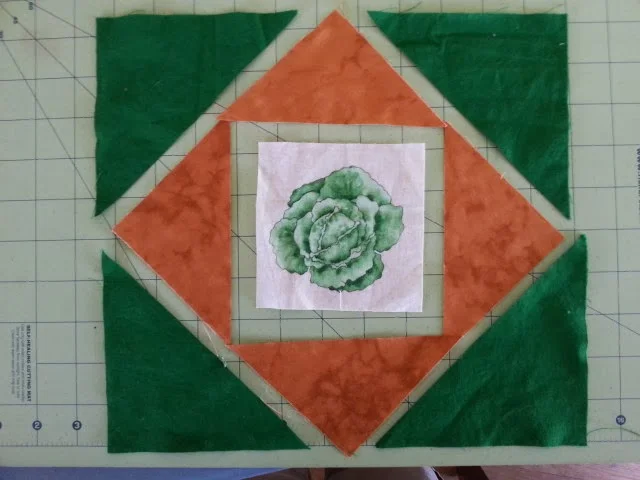
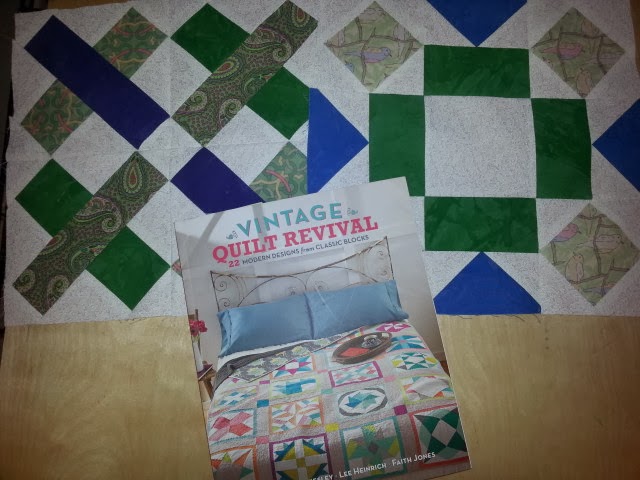
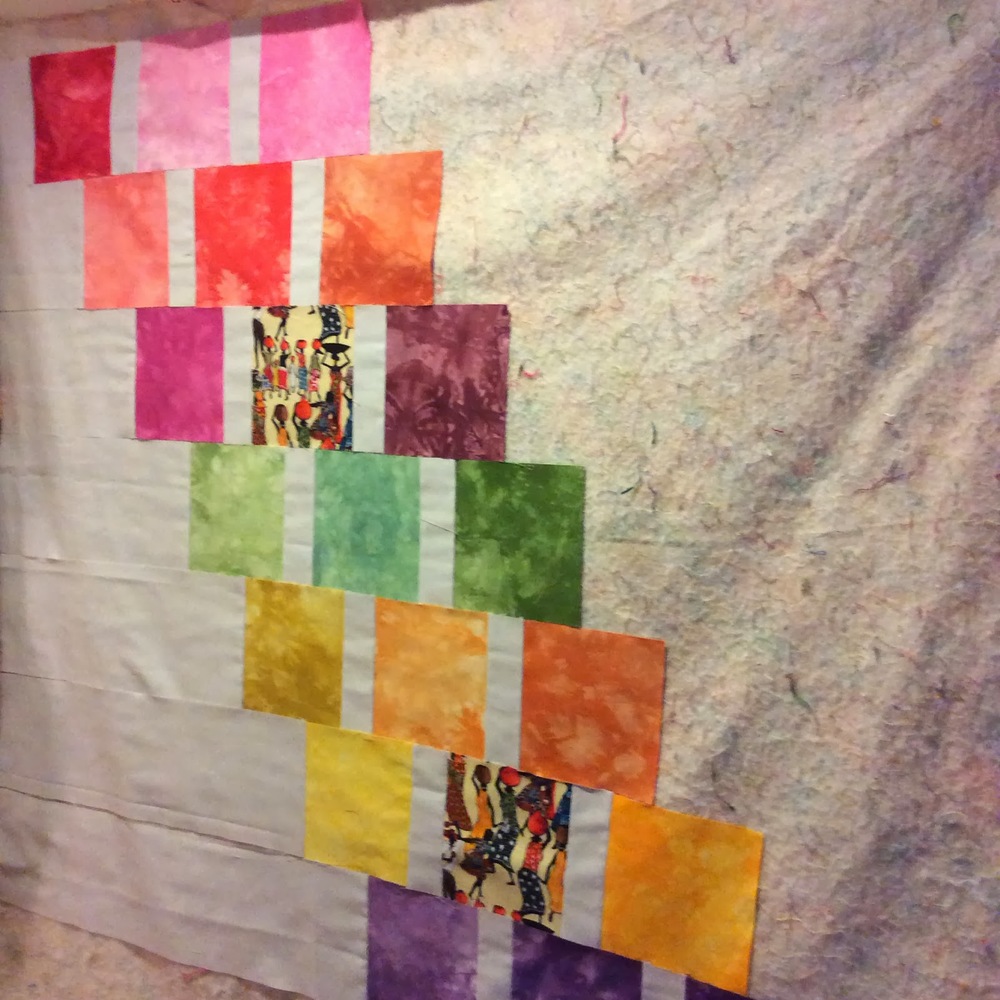
Wonky Star Quilts from our New Years Day Quilt Along. Our guild has been very interested modern quilt blocks this year and this one is fun and easy to make. But it isn't a Log Cabin. But then I realized we could put a Log Cabin in the center of some of the blocks. We could have a modern block with a Log Cabin!
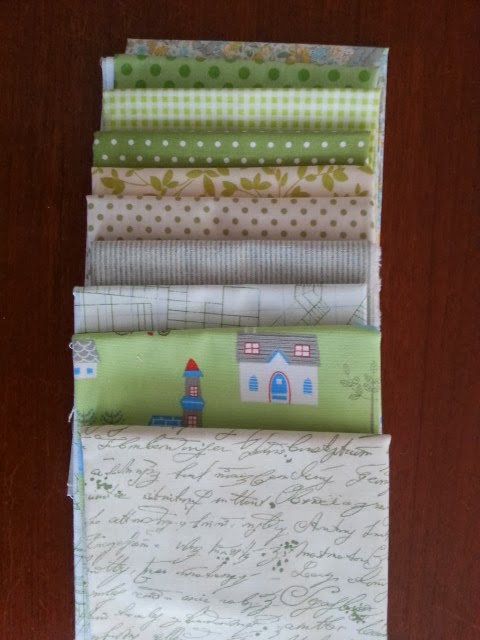
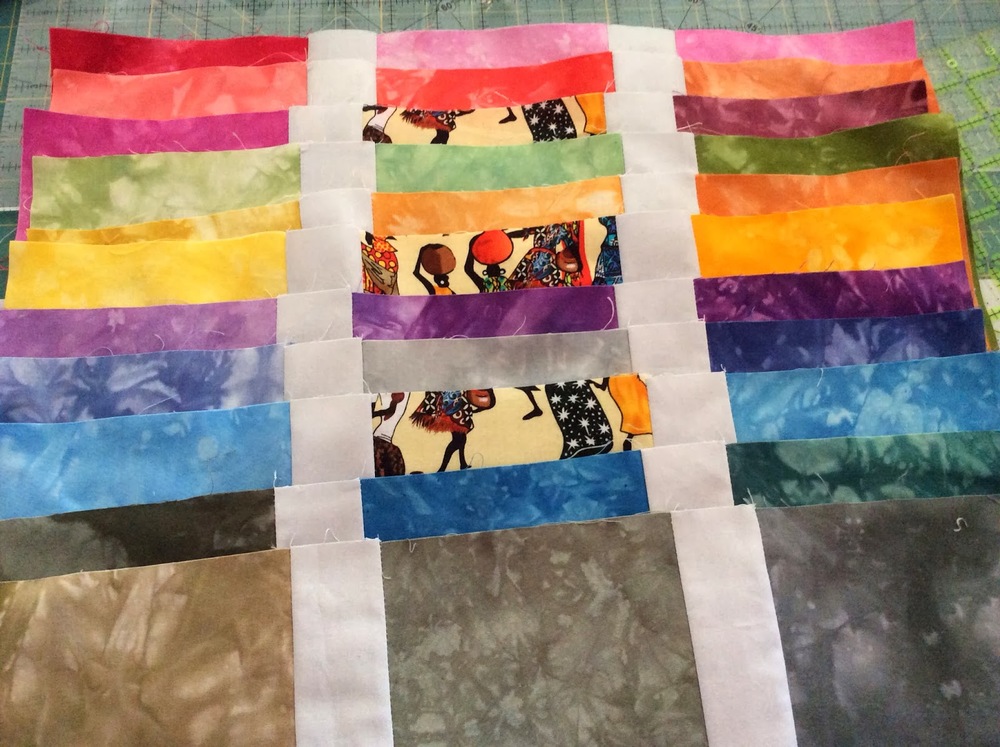
Janet was reading about Log Cabin blocks and discovered that red is often added to the block to symbolize the hearth in the home. So we decided to add a little hot orange to 3-5 blocks in the quilt.
The quilt will have 30 blocks. 10-12 blocks will have Log Cabin Centers. The other blocks in the quilt will have solid center squares which we are supplying so that the quilt has some continuity. Each member making a block will supply the fabric from the star points from their own stash.
Our background fabric is Kona White.
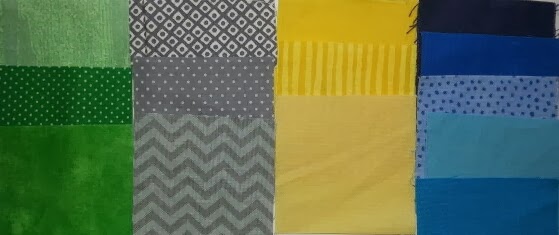
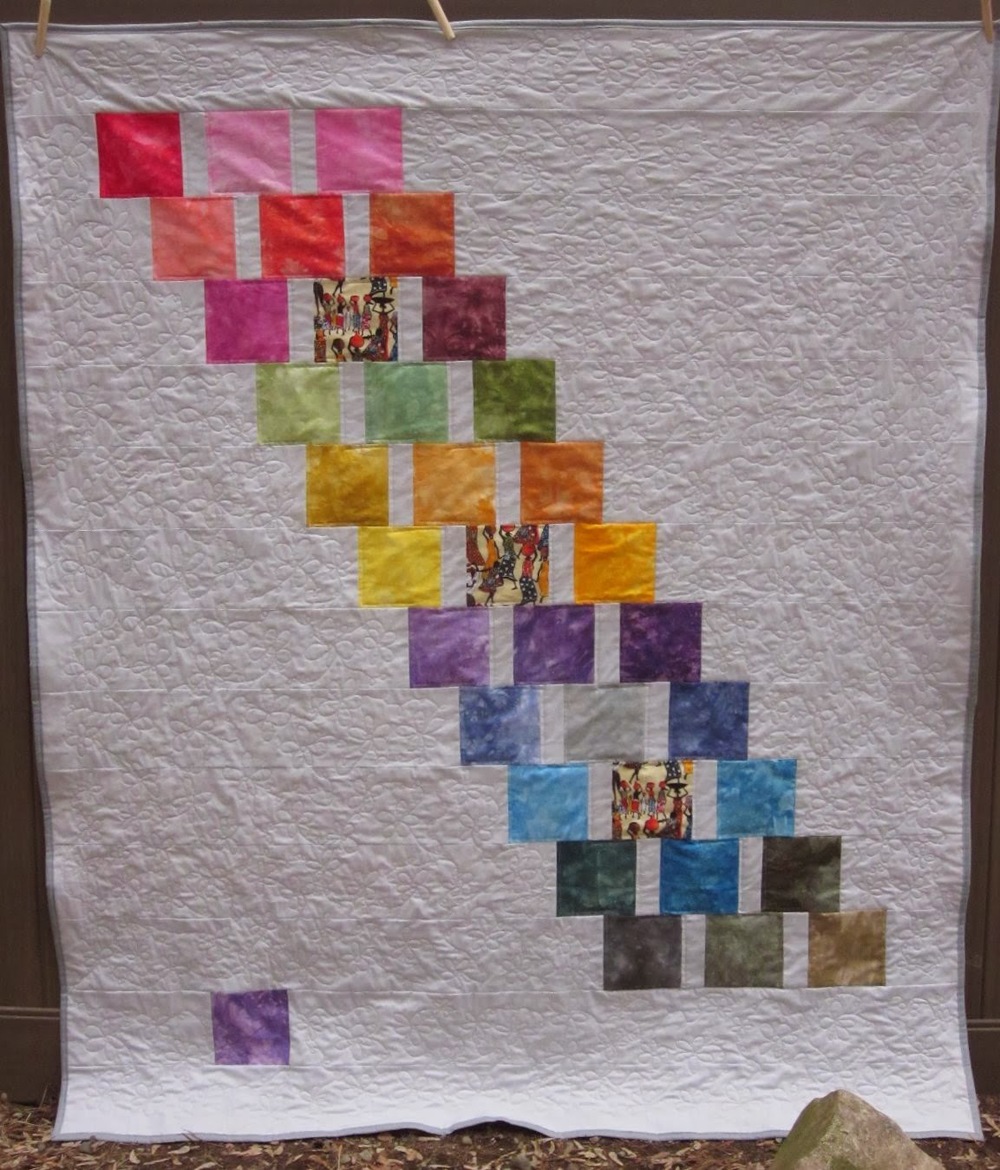
Here is our color scheme for the stars:
We are distributing the fabric for the blocks at our guild meeting tonight. I'll keep you posted as our project progresses.
Two days after I designed this block, the new catalog arrived from
Connecting Threads. It has a kit for a classic Ohio Star with a Sunshine and Shadow Log Cabin in the center block! I wonder, is going to be a new hot trend?
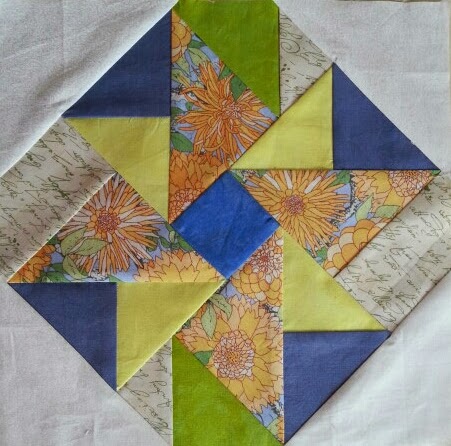
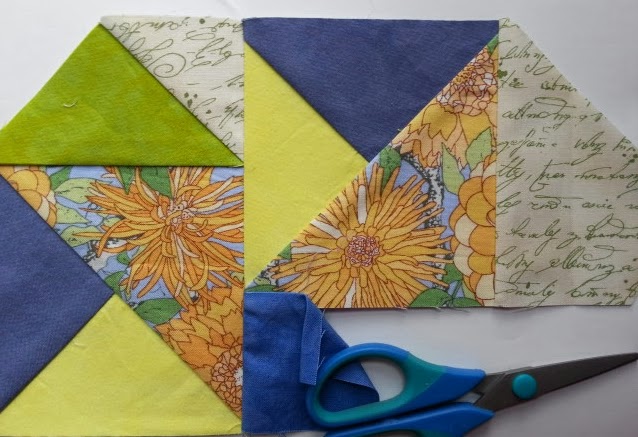
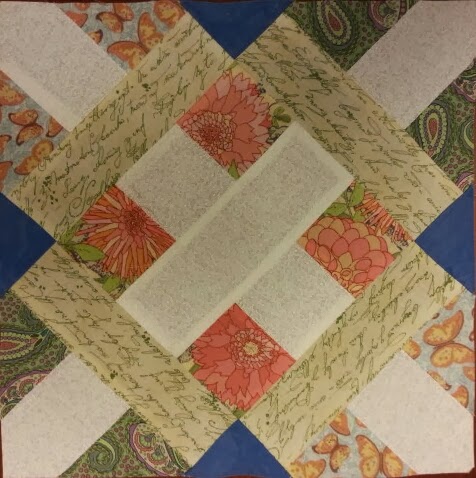
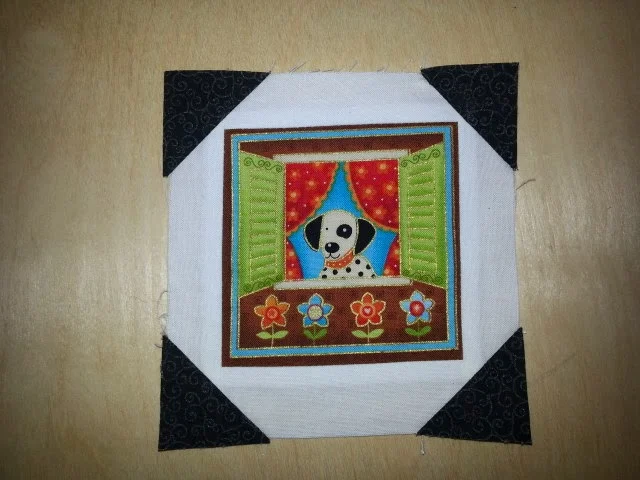
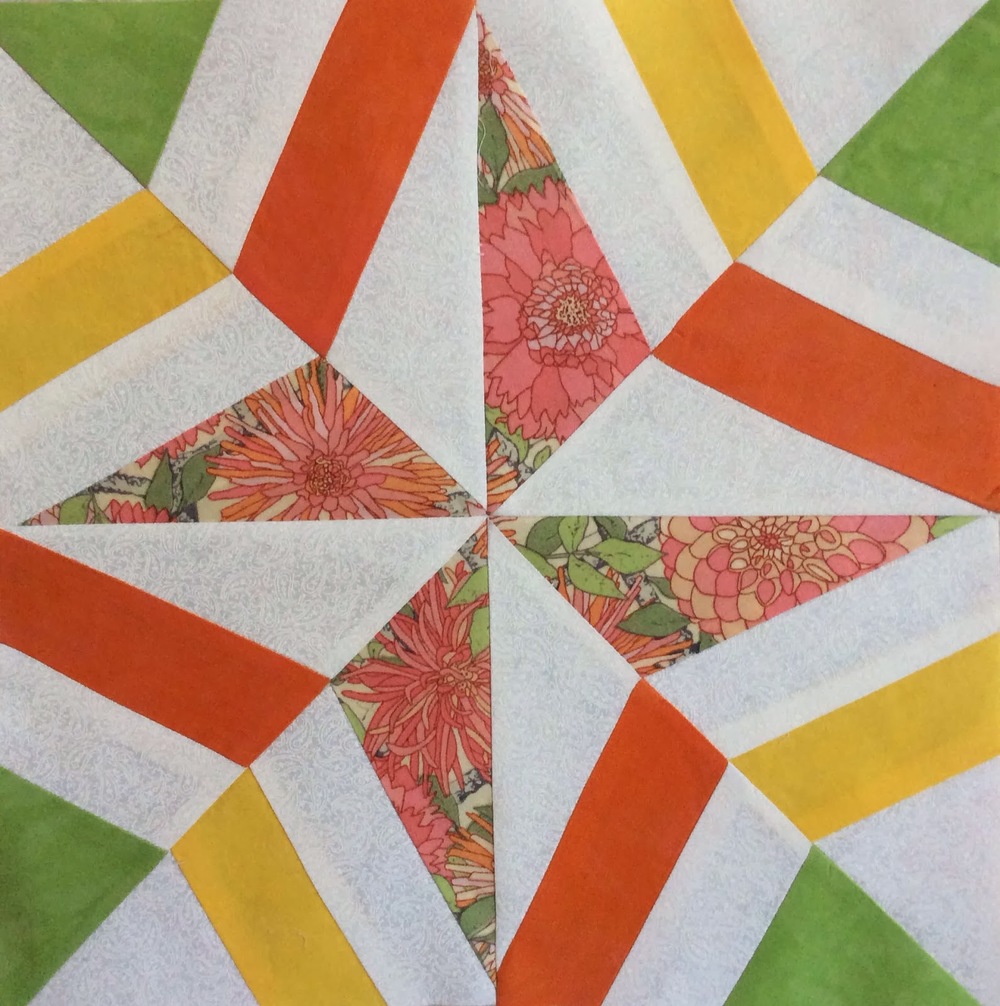
To make a Log Cabin Variation of the Wonky Star Block
Materials needed:
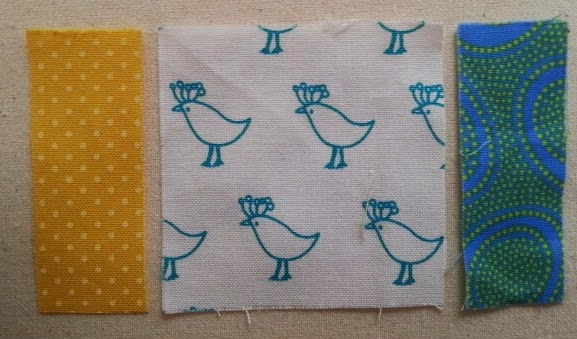
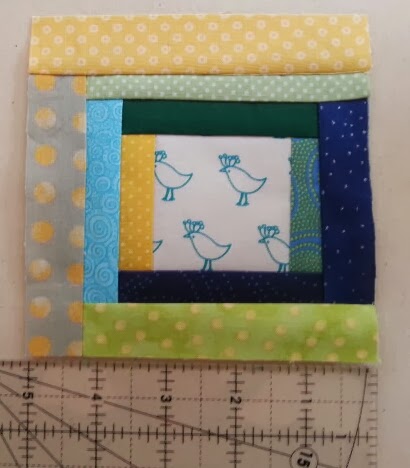
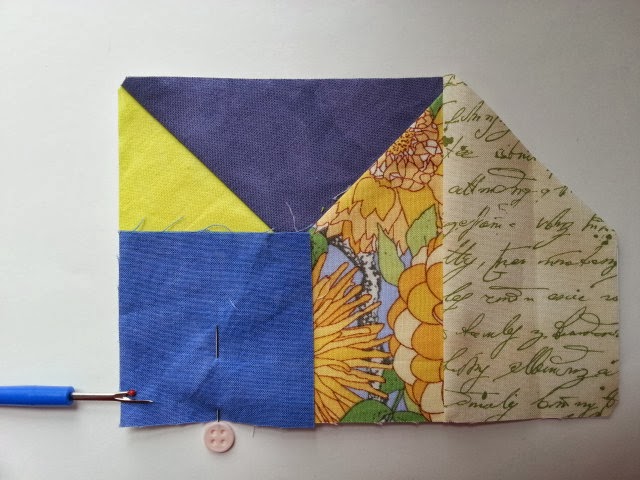
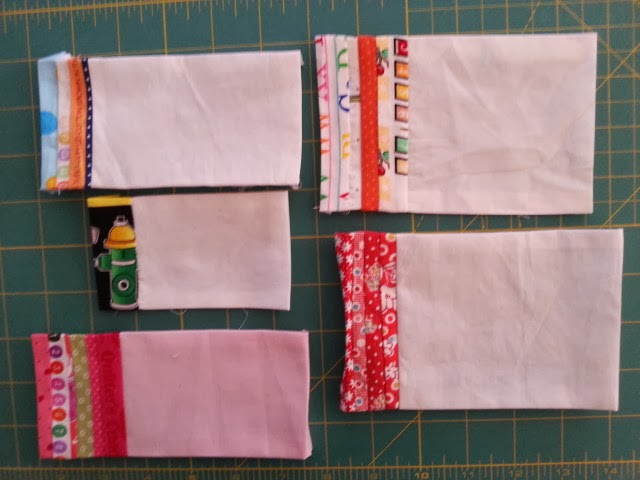
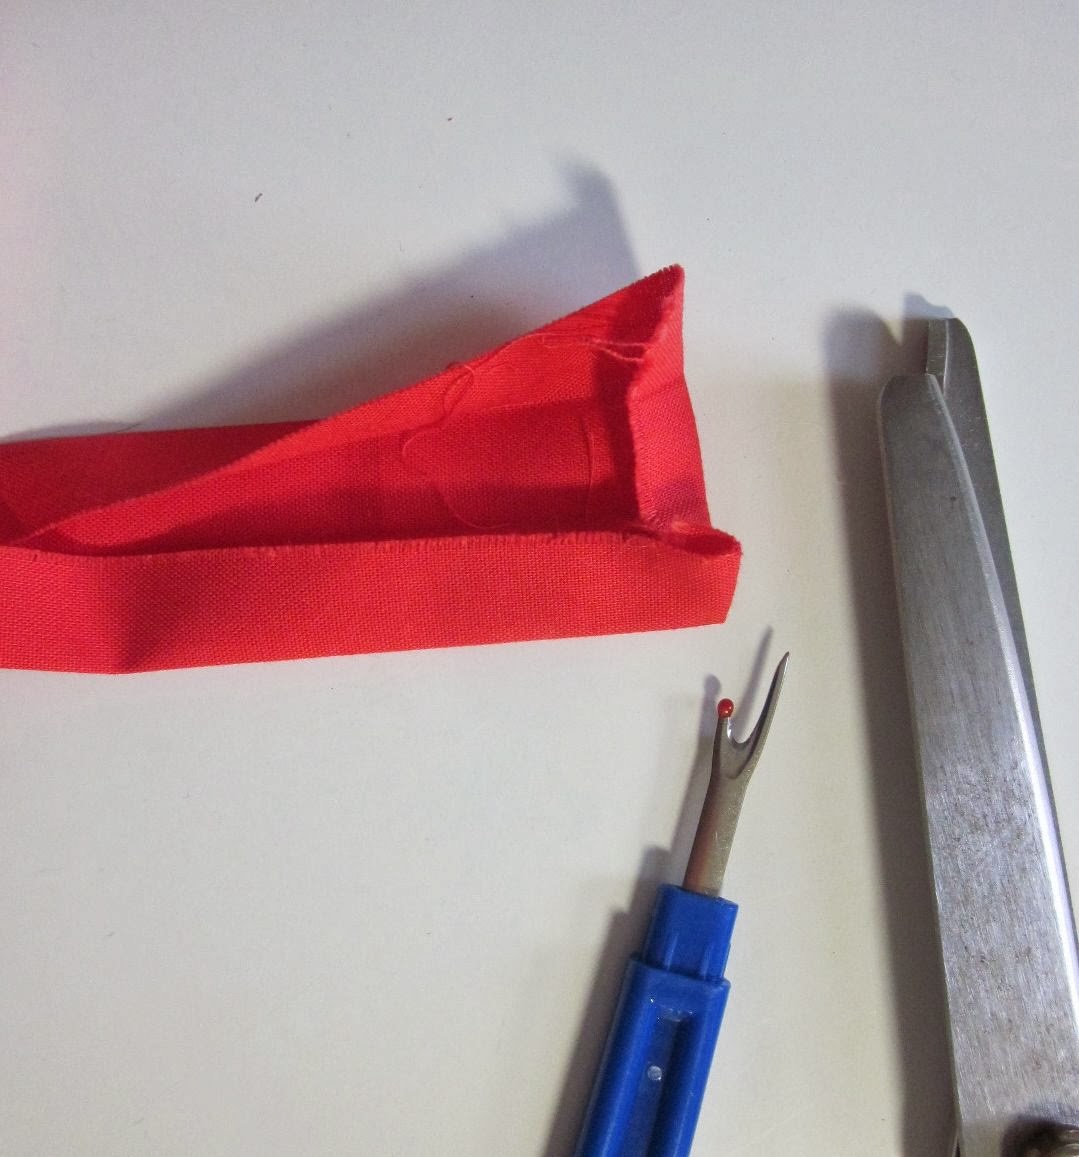
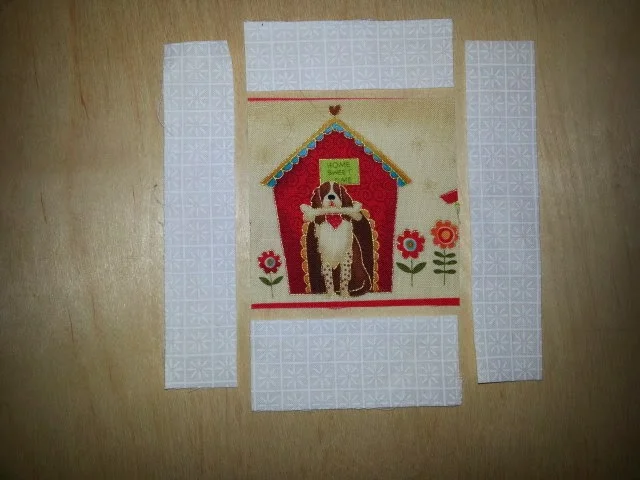
2.5 inch square for the center of the Log Cabin block
6-8 strings (strips 3/4 inch to 1.5 inches wide) They can be symmetric widths or asymmetric. It's a modern block so it's up to you!
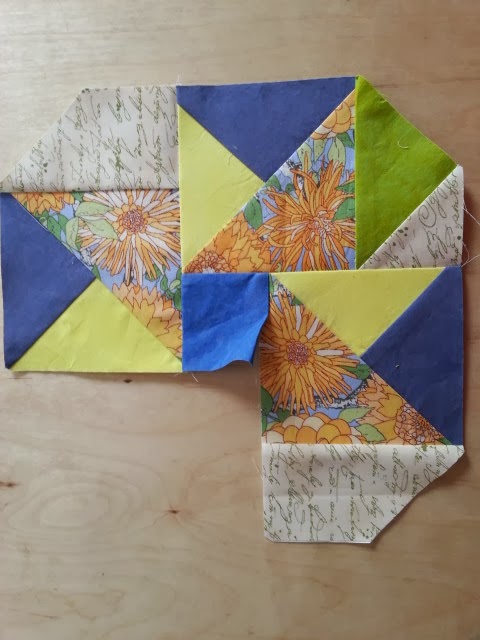
Directions:
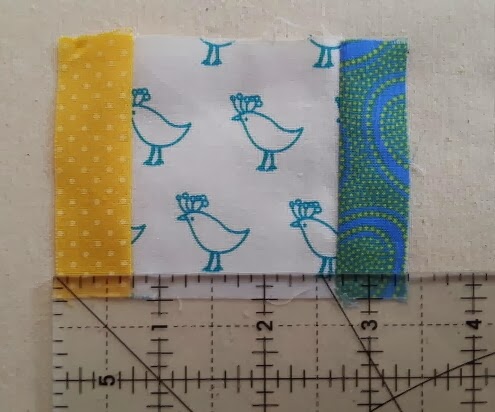
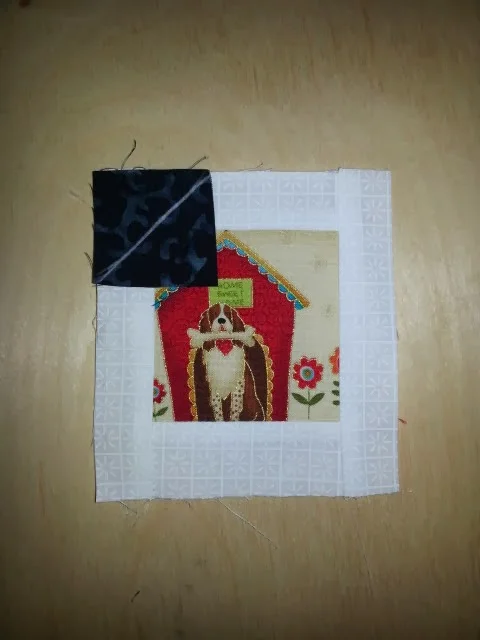
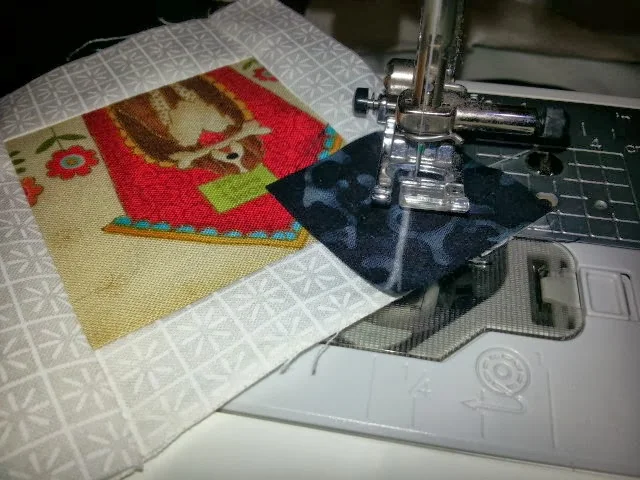
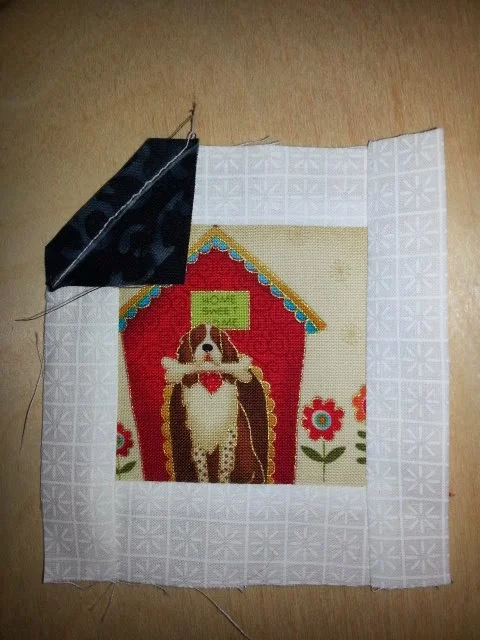
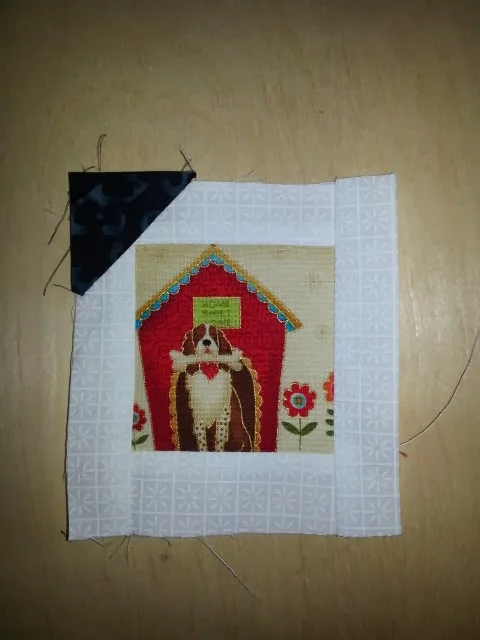
The center block for the Wonky Star needs to measure 5 inches (finishes at 4.5 inches)
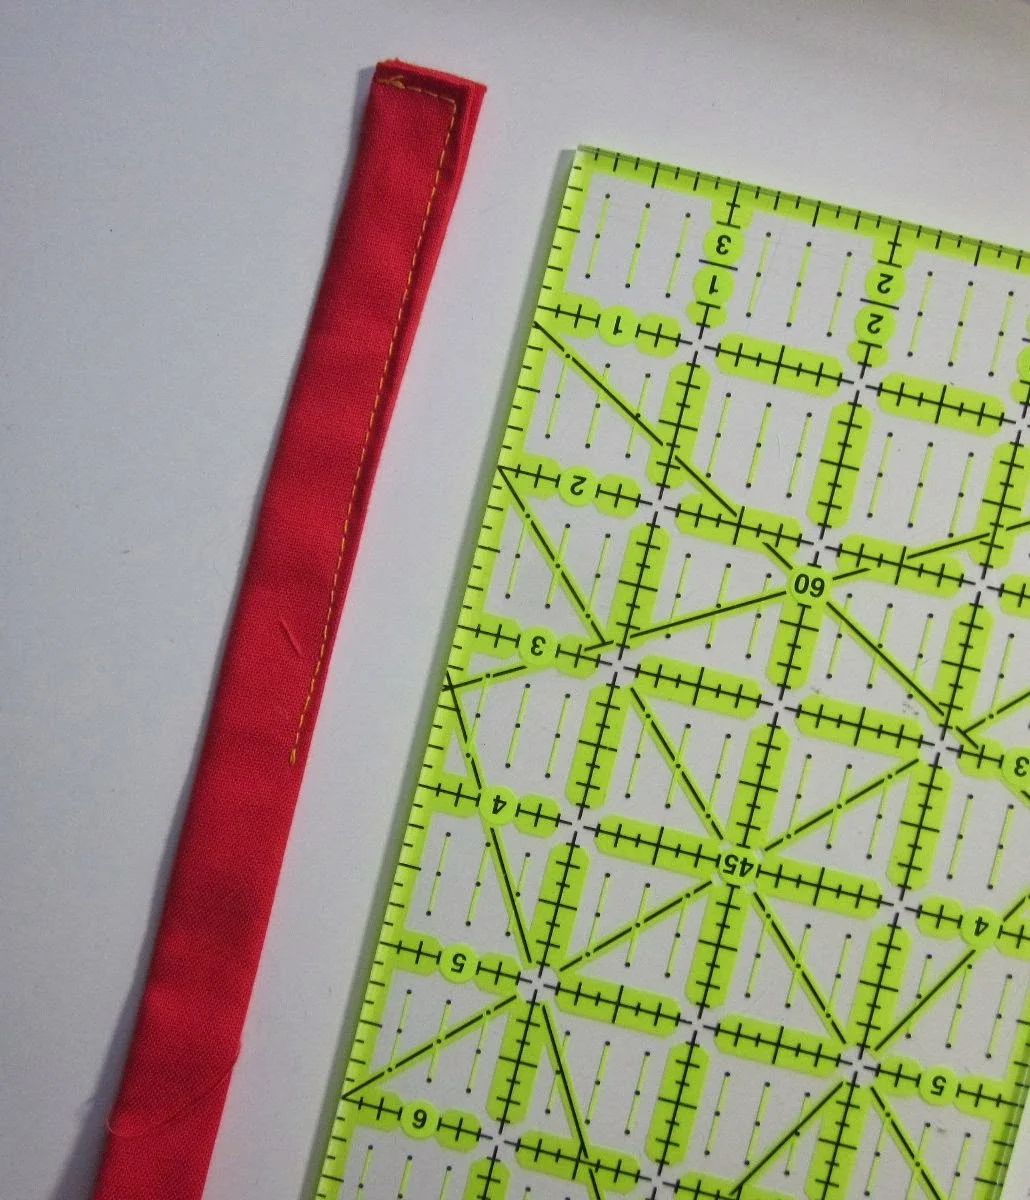
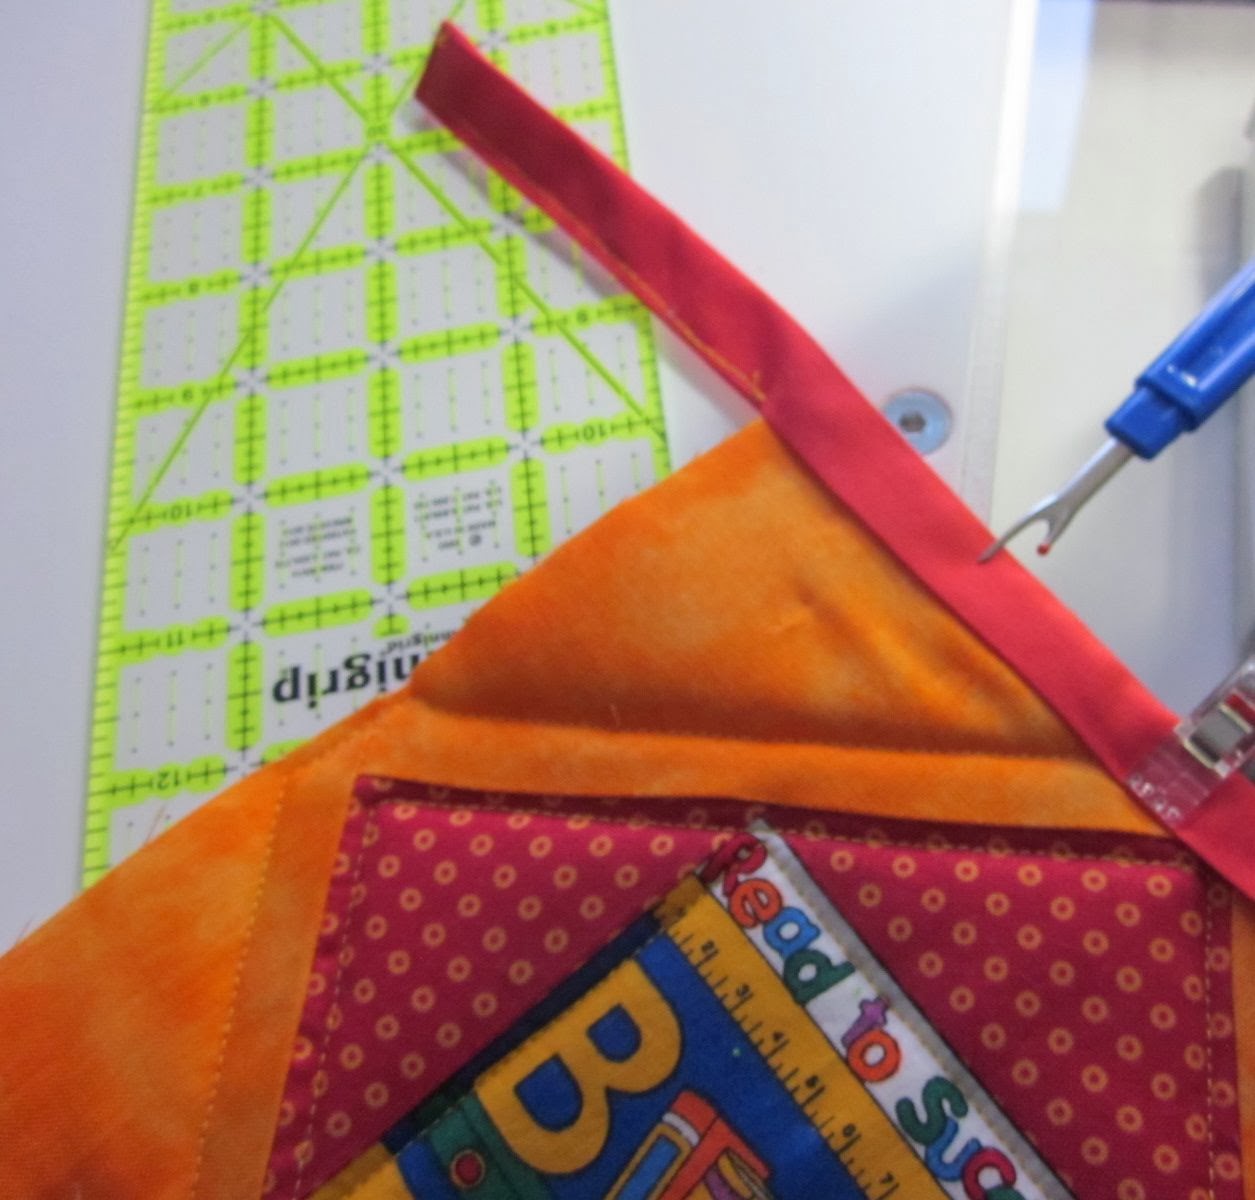
Cut the first 2 strings 2.5 inches and sew to the right and left sides of the center square
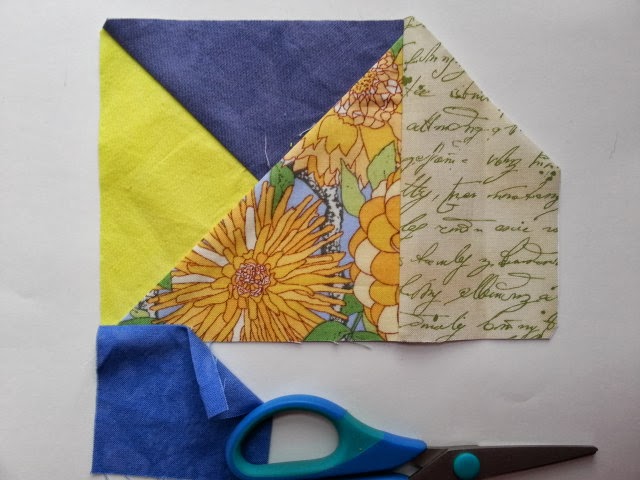
Measure the width of the block you have just sewn
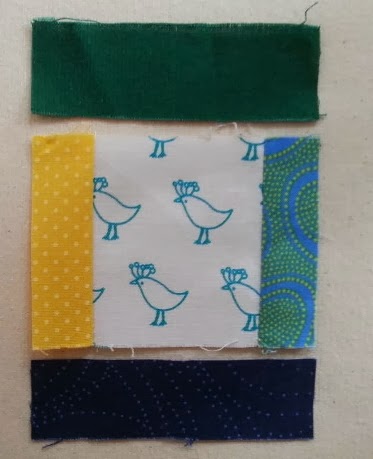
Cut 2 more strips to and sew to the top and bottom of the block.
Continue to build this block until you have a block at least 5 inches square. If your block is larger than that, trim it to 5" square. This block ended up asymmetric when it measured 5 inches. That's fine.
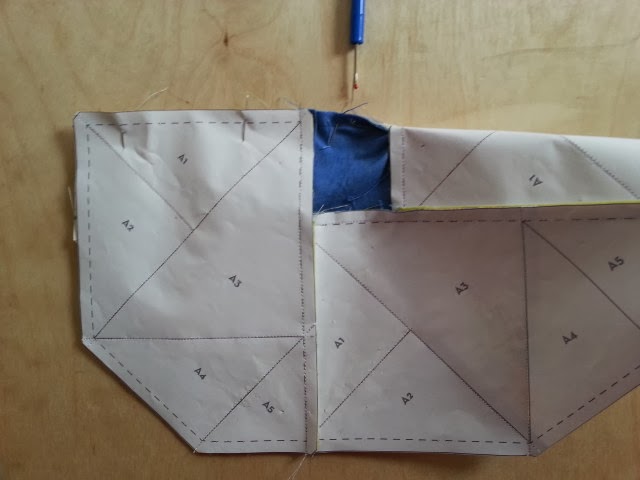
Now you are ready to make your Wonky Star. I recommend that Victoria Gertenbach's excellent
Wonky Star Tutorial to make the Wonky Star block.
Have fun!


