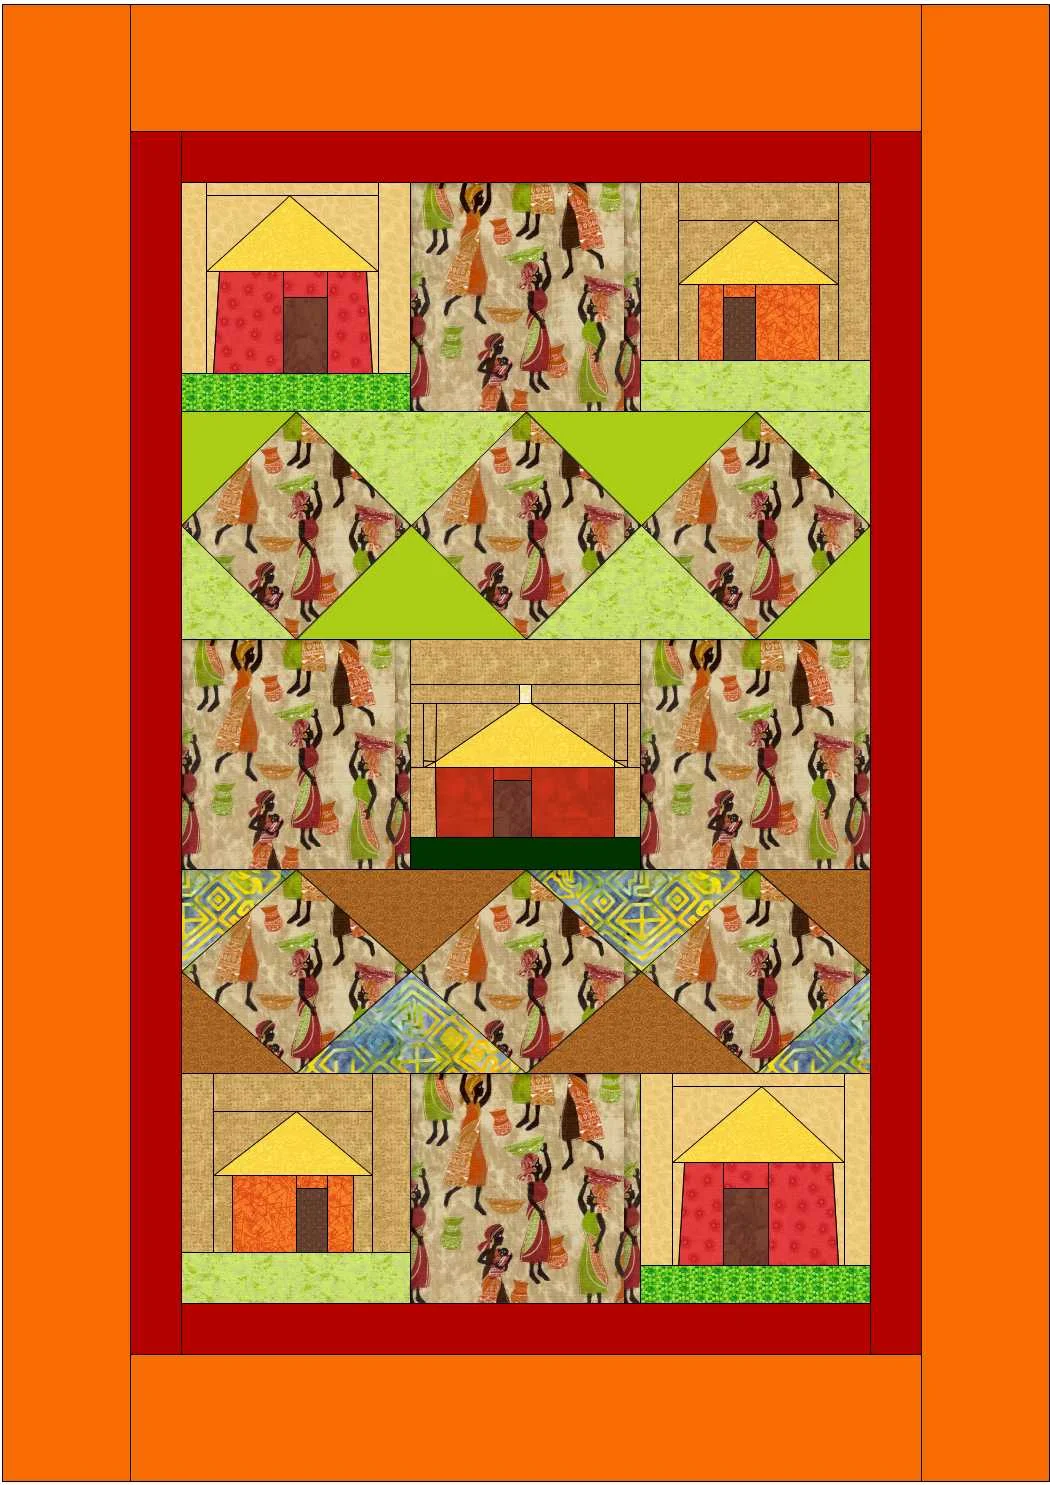
African Village Diamond panel
NOTE 2021: The PDF patterns for this quilt are no longer available so the links to them have been deleted. I’ve left the other instructions in case you still have the original patterns.
We are in week 2 and up to Step 4 of the African Village Quilt! You have sewn all the paper pieced huts for the quilt. The rest of the quilt will all be rotary cut pieces with regular 1/4 inch piecing.
Today we are going the make the 2 diamond panels in the quilt.
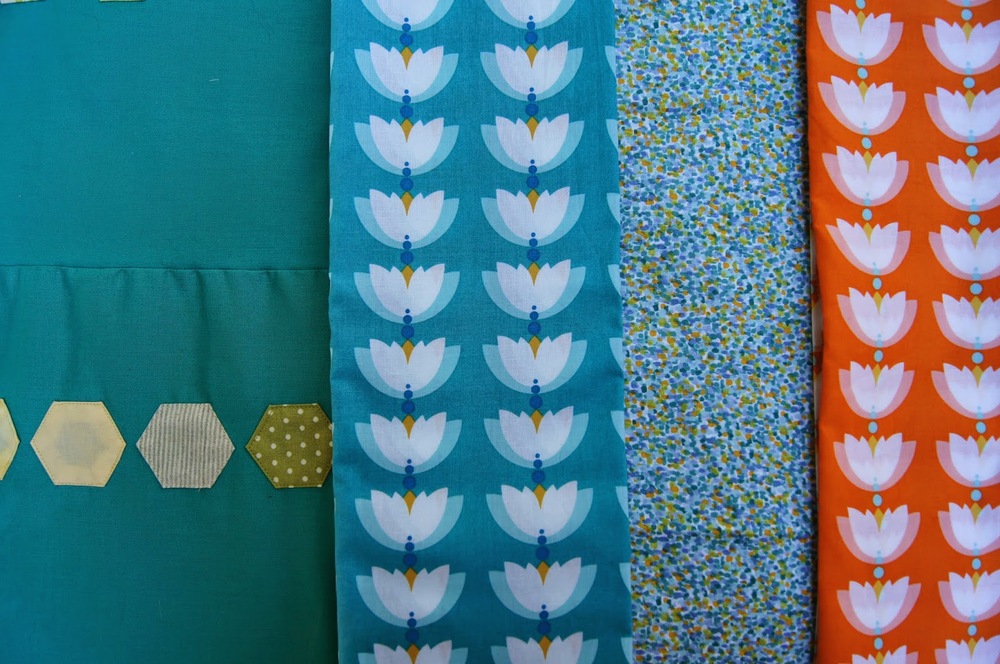
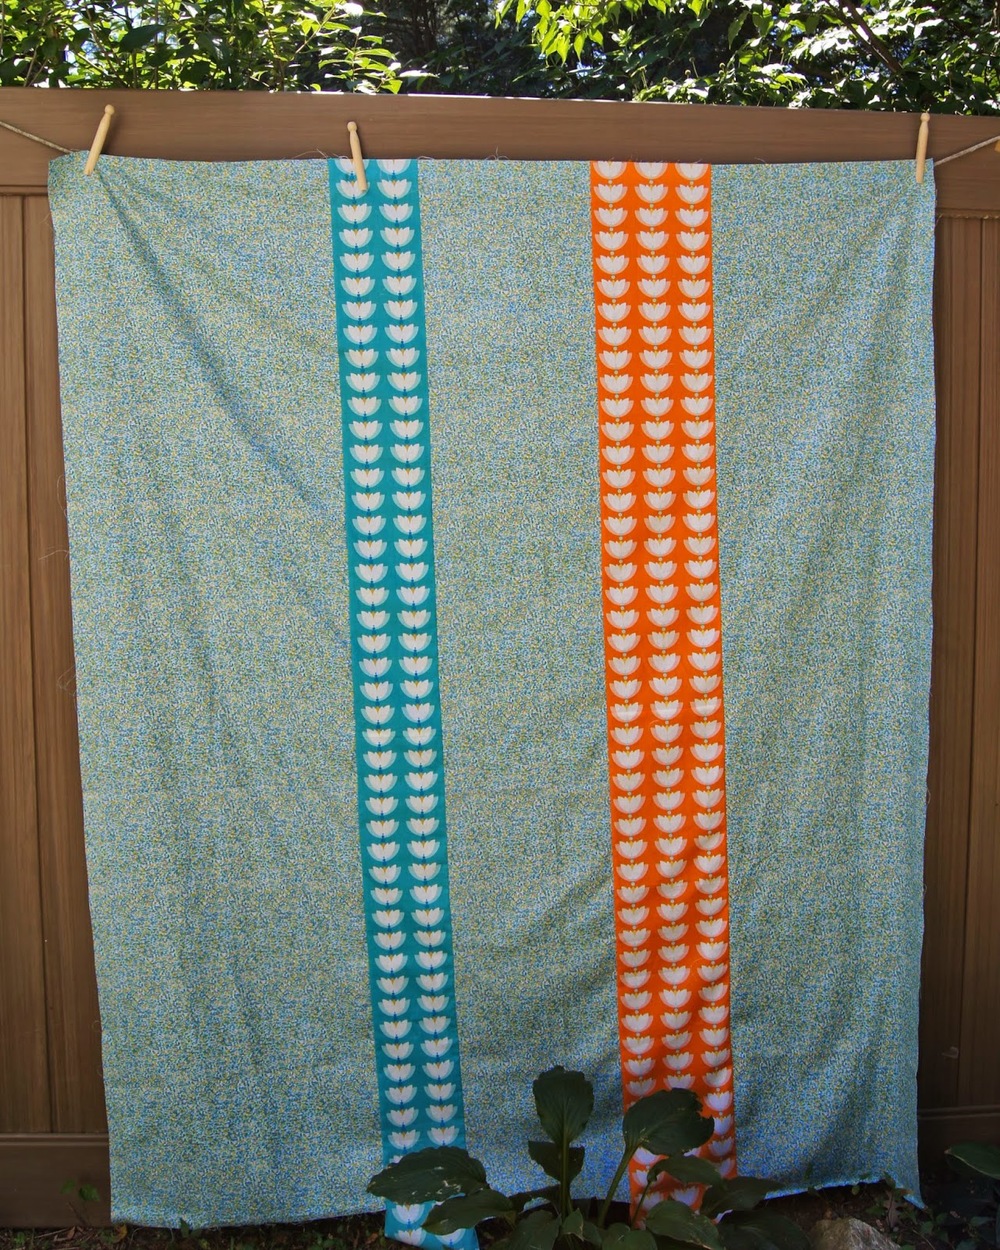
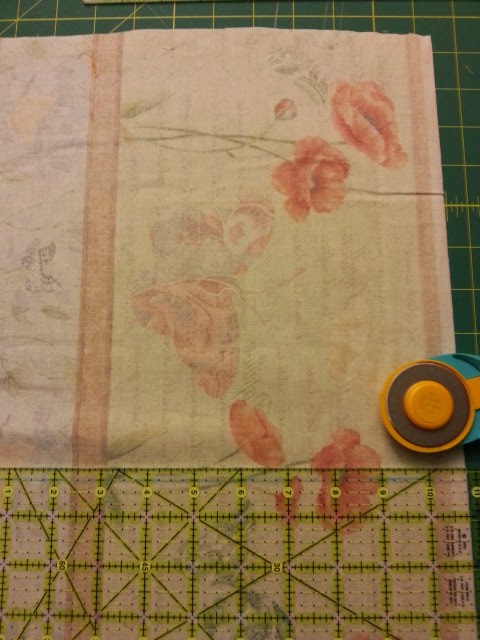
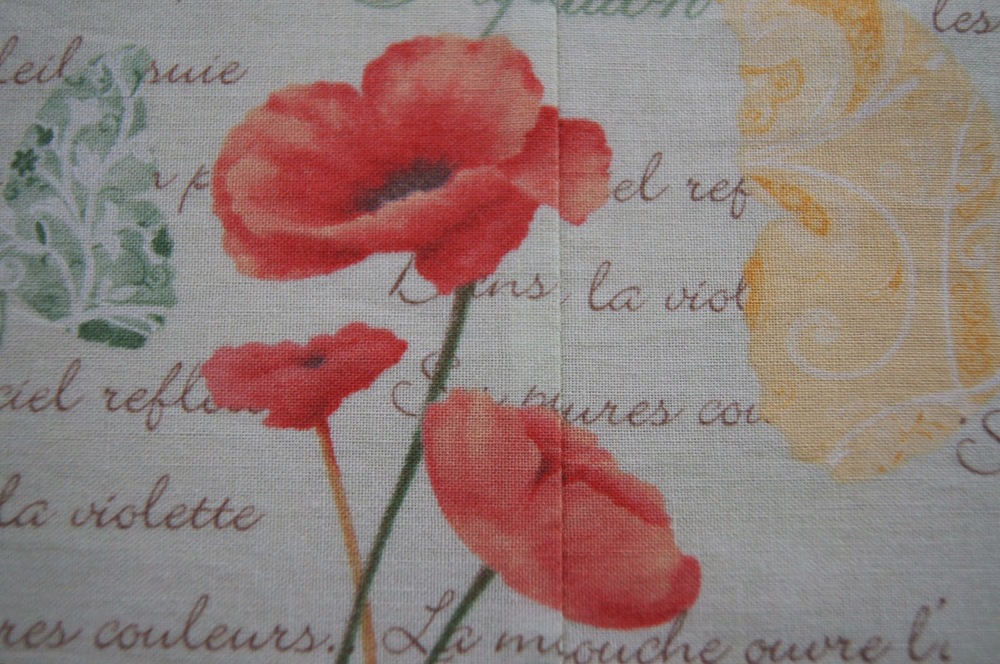
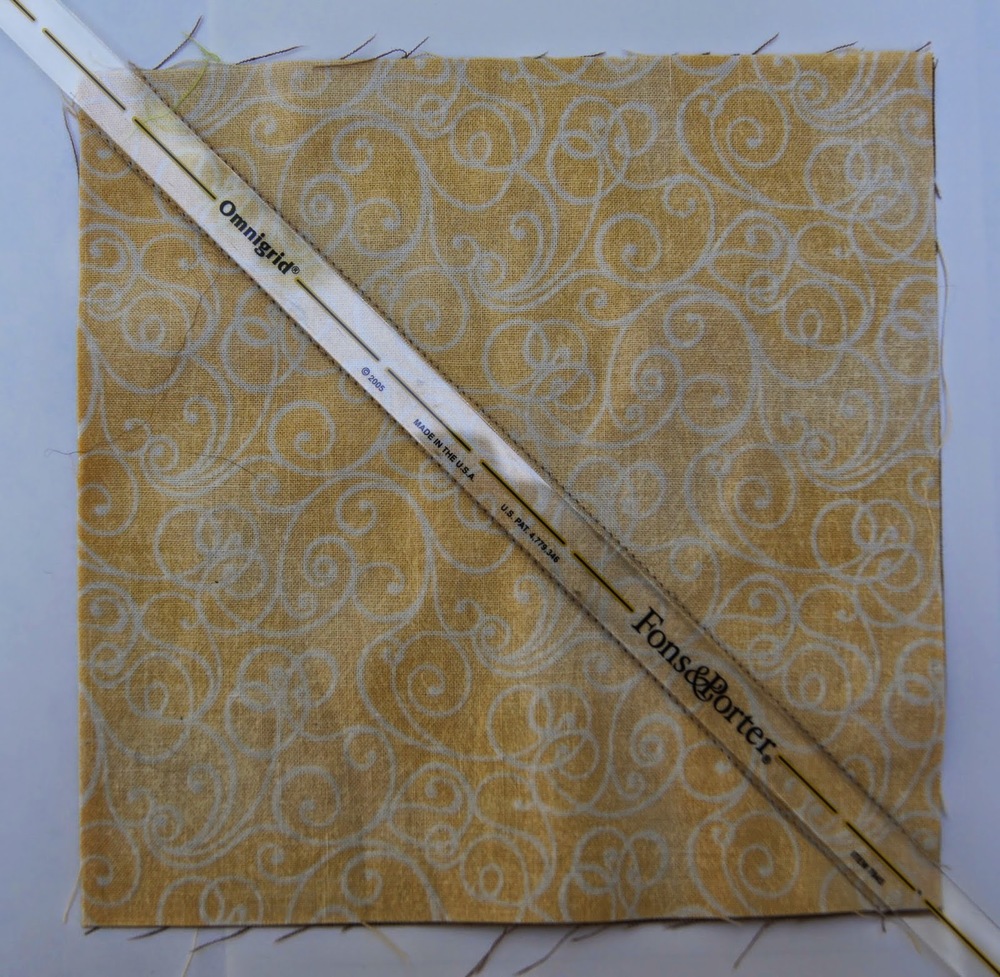
If you have a directional ethnic fabric like the one I am using, you will probably want to fussy cut the diamond shaped pieces.
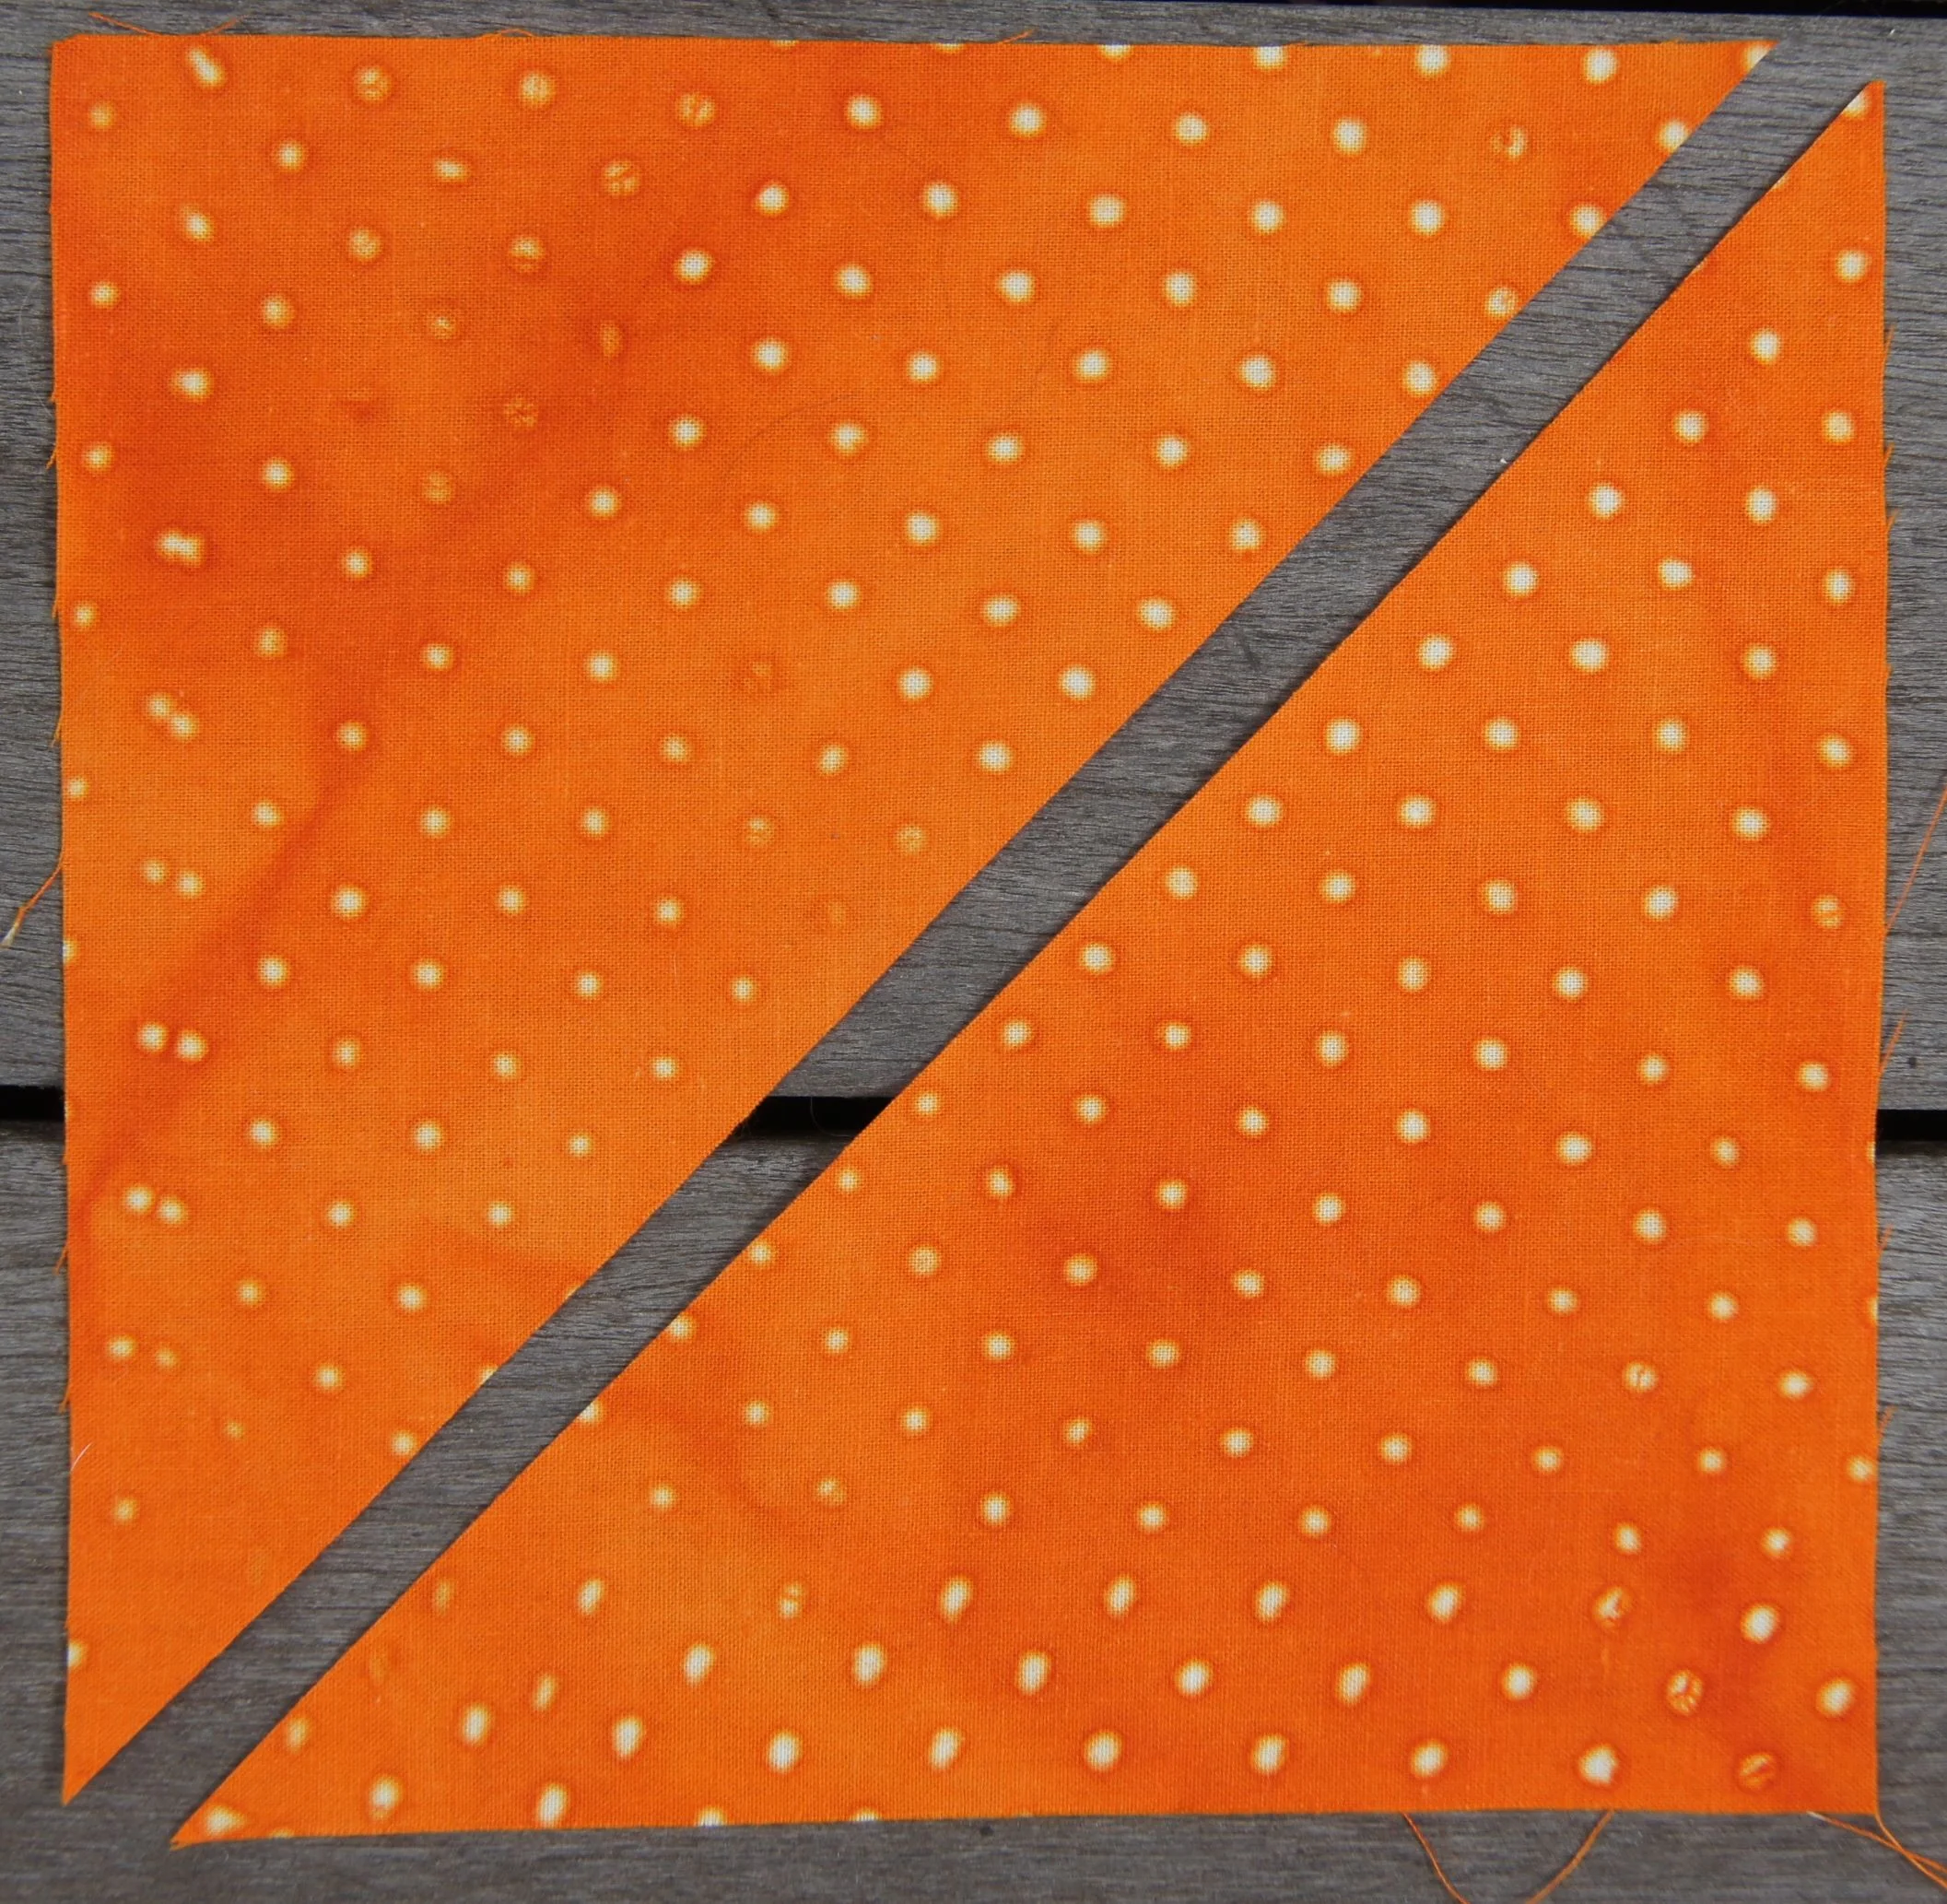
For the Diamonds:
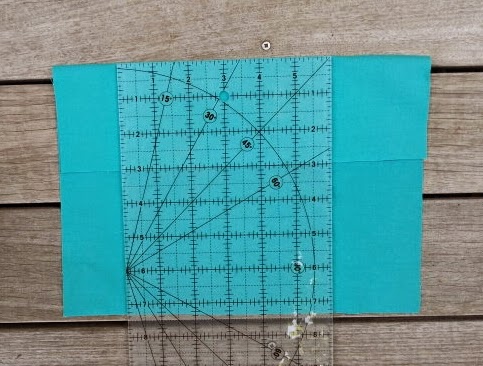
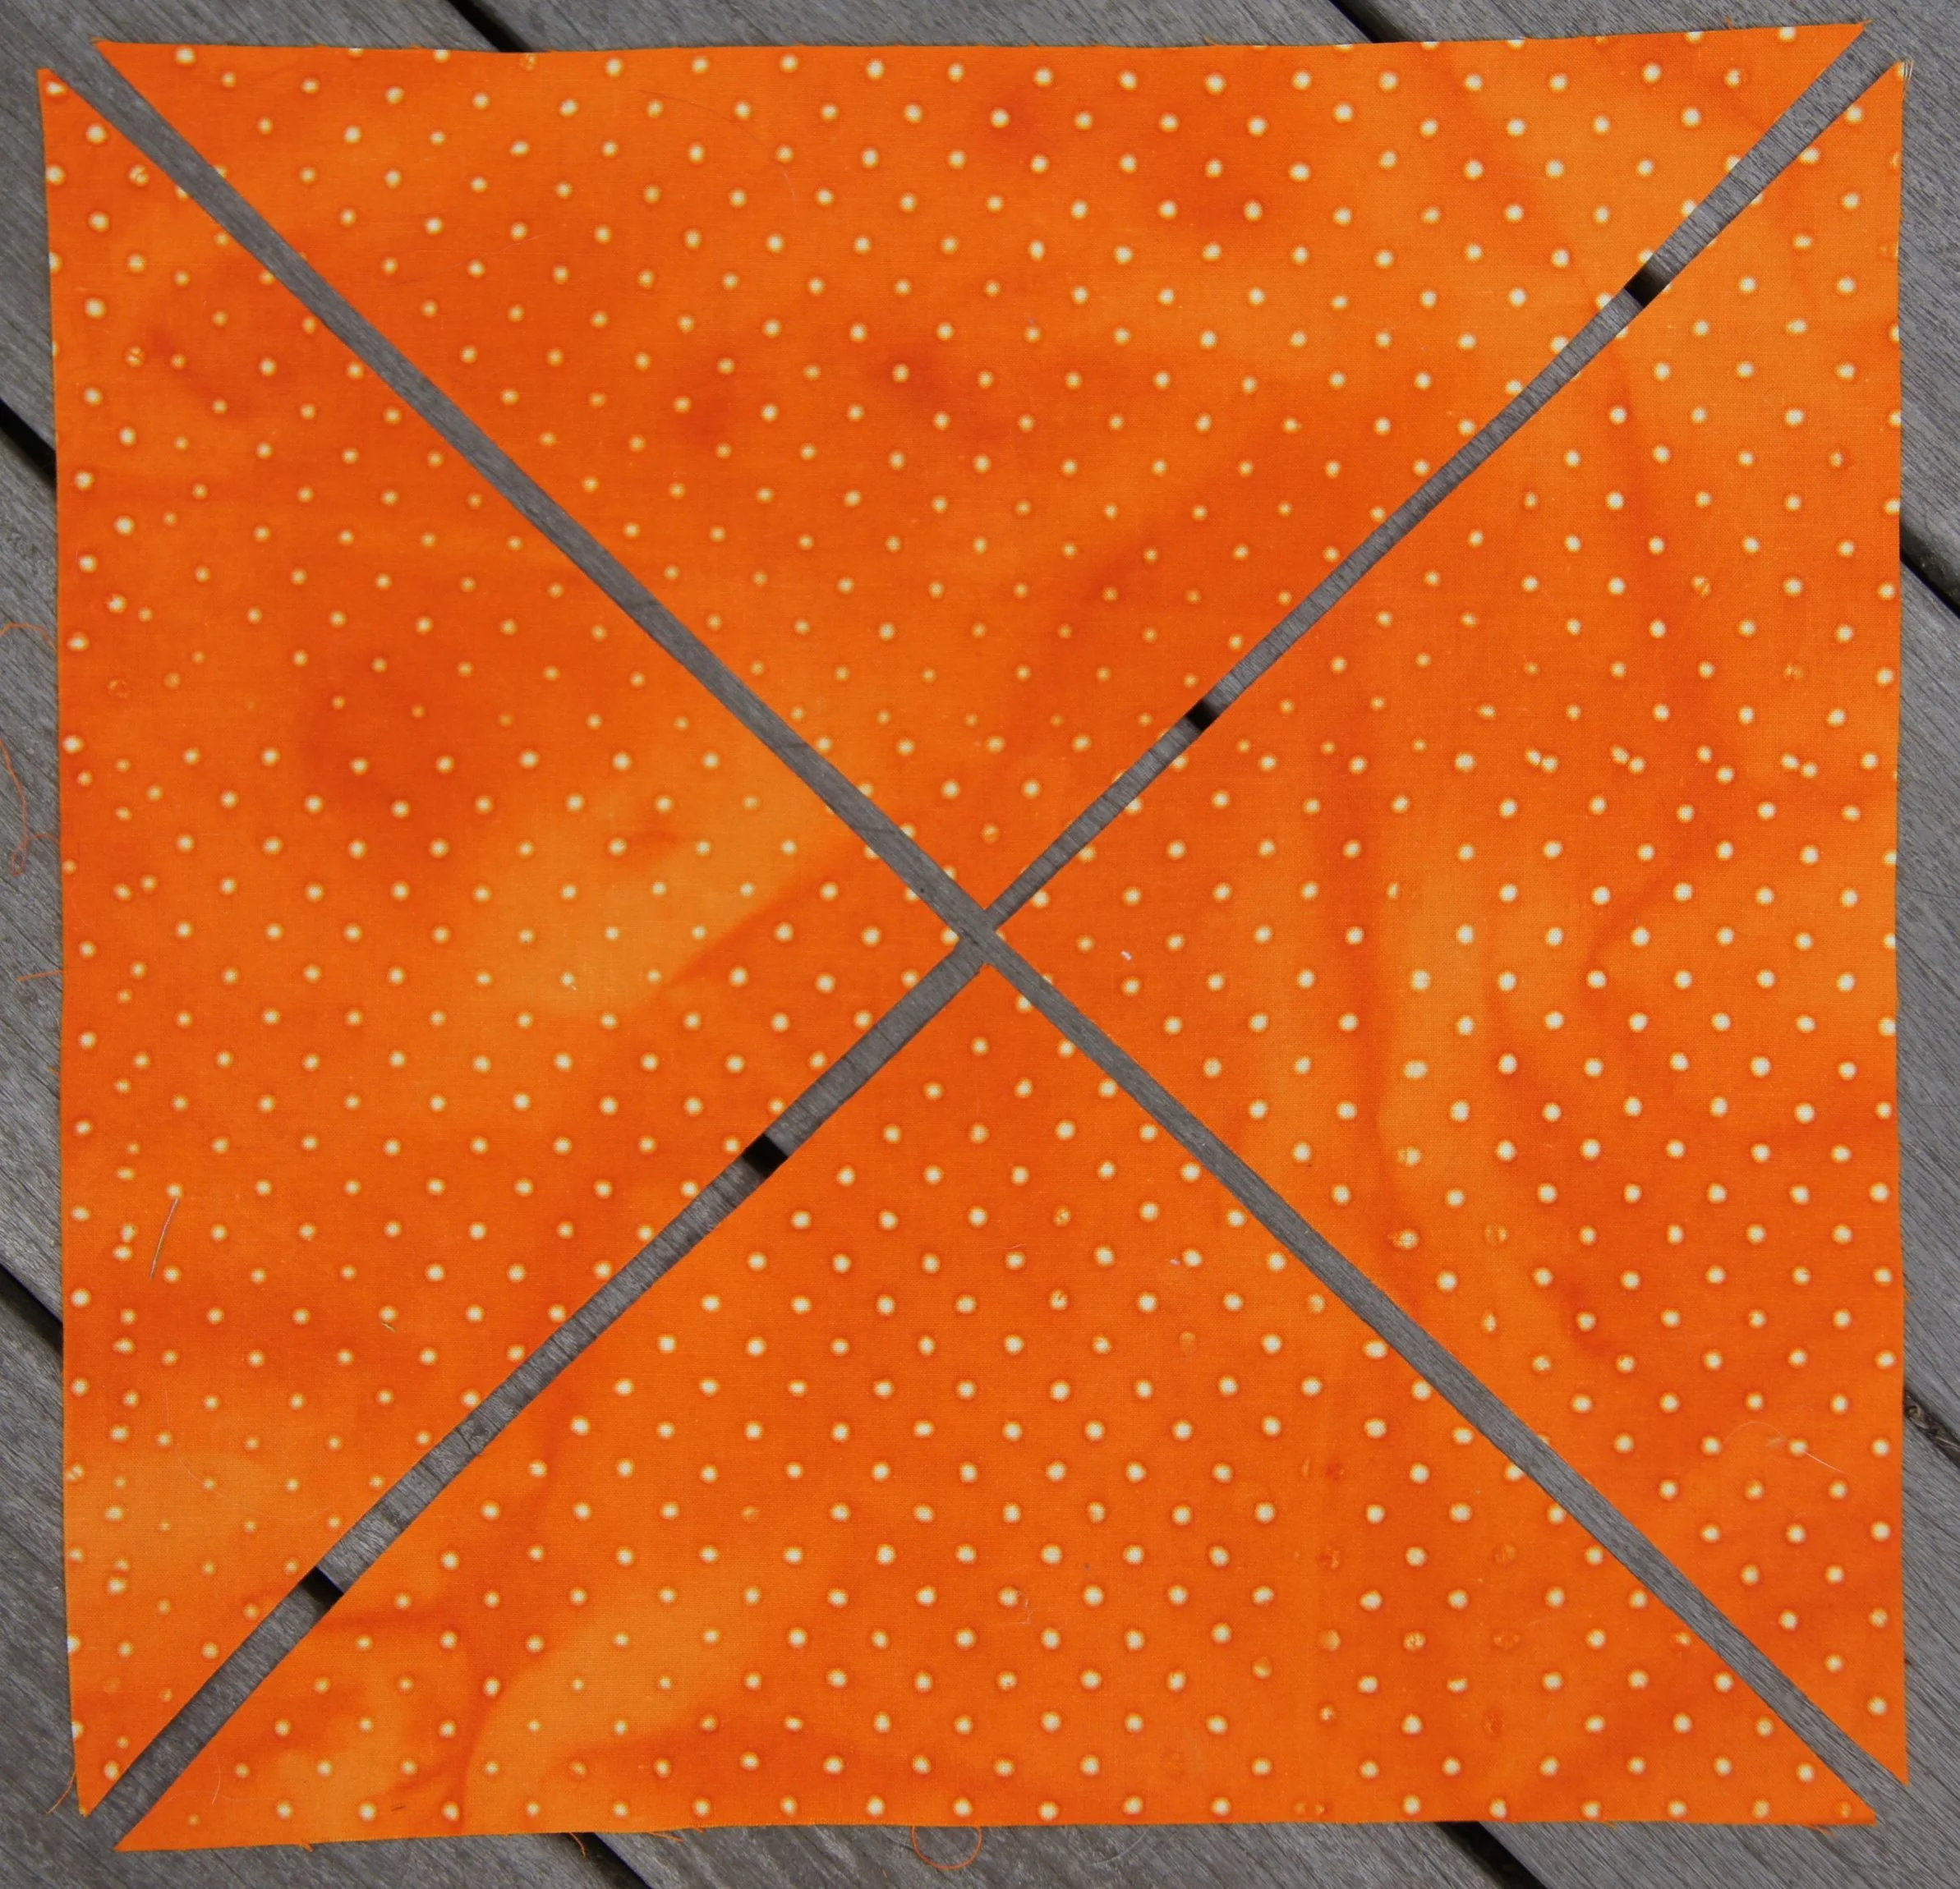
Cut 6 Diamond pieces. These are squares set on point. If you fussy cut them like I did, that will mean all 4 edges of your square will be on the bias. I highly recommend that you starch your fabric before your cut and again after you cut the pieces out to avoid warping when you sew the pieces together.
The diamonds are 6 7/8 x 6 7/8 square.
For the setting triangles:
All the setting triangles and the corner triangles have bias edges, so make sure you starch these fabrics and handle them carefully too.
For 8 setting triangles:
Cut (2) squares 10 1/4 x 10 1/4 inches. Then cut each square again diagonally both ways. One square will give you 4 setting triangles. You need a total of 8 for the quilt.
Setting triangles cut
For the corner triangles:
For 8 corner triangles:
Cut (4) squares 5 3/8 x 5 3/8 inches. Then cut each squrre diagonally 1 way to give you 2 corner triangles.
Corner Triangles cut (these triangles are smaller than the setting triangle above)
Sewing Instructions:
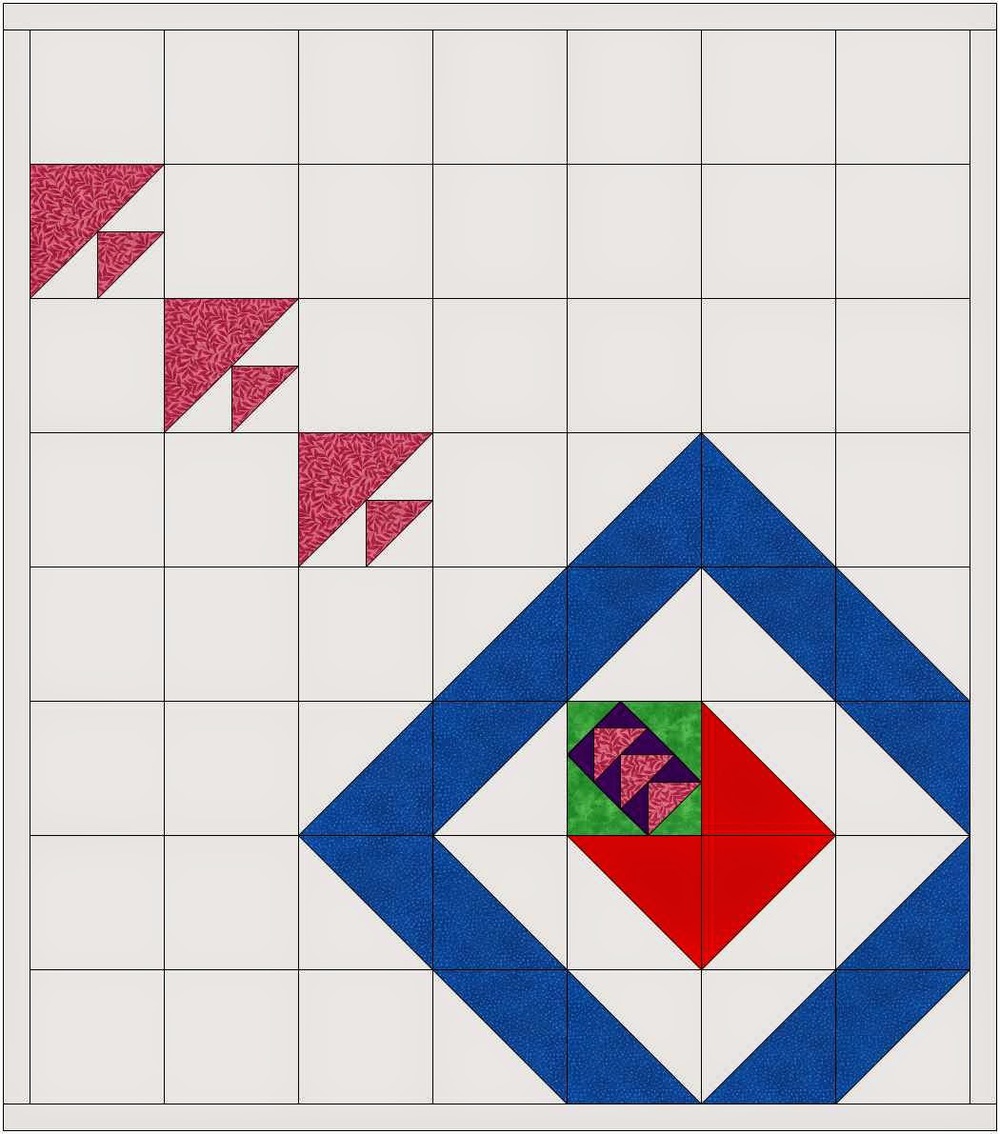
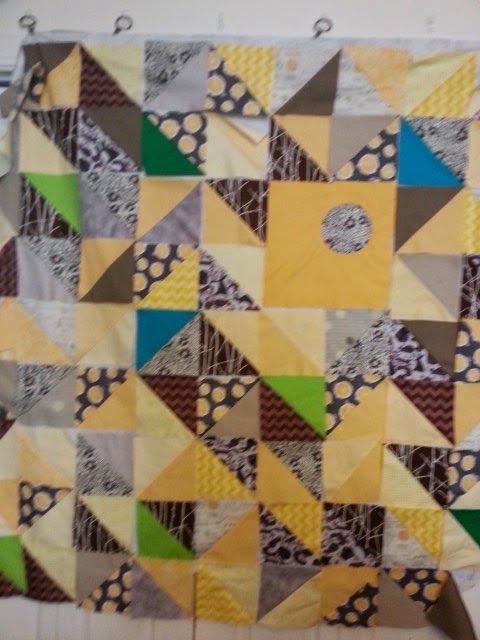
First sew the setting triangles to the on-point squares. You will do this in sections. See photo below.
1. Sew a setting triangle to the lower right side of your first diamond. Start sewing from the squared edge. The point of the triangle will extend beyond the edge of the diamond.
2. Sew a setting triangle to the upper left side of the middle diamond and then another one to the lower right side of the middle diamond.
3. Sew a setting triangle to the upper left side of the 3rd diamond.
4. Attach the corner triangles on each end. It helps if you fold the setting triangle in half to mark the middle of the long side of the piece. Match that fold to the middle of you diamond piece.

Sewing the triangles to the diamonds
That's Step 4!
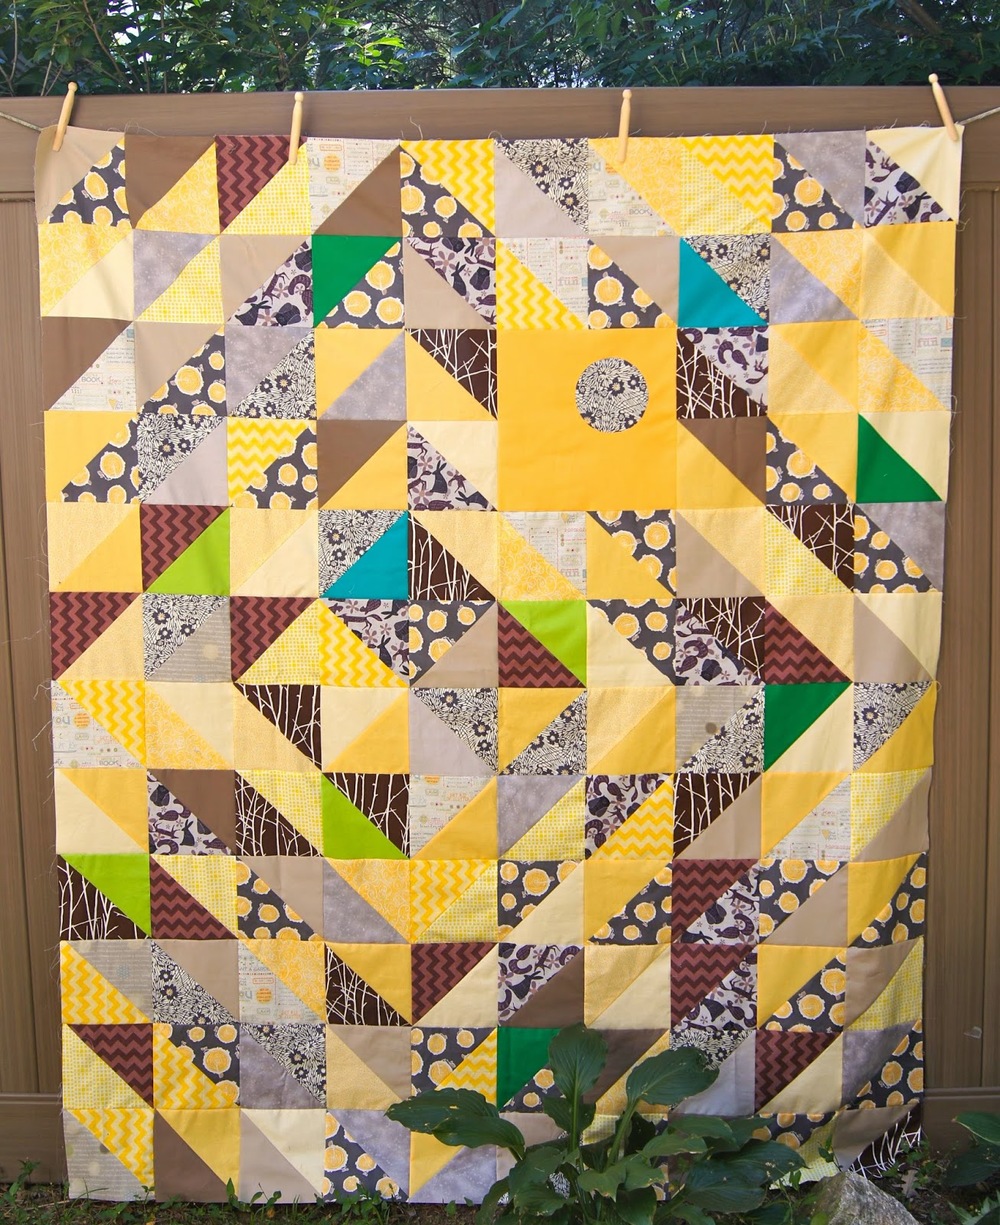
Design Variation Option:
I used squares of the focus fabric between my African Village Quilt. But it would also look great if you want to used diamond blocks instead of the squares. Here's what it will look like:

African Village quilt Variation with all Diamond blocks
If you wish to use diamond blocks:
1. Cut 4 more 6 7/8 x 6 7/8 inch squares set on point
2. Cut 16 corner triangles from (8) 5 3/8 x 5 3/8 inch squares
Sew 2 corner triangles on opposites sides of each diamond. Press. Then sew the remaining 2 corner triangles to each diamond.
I'll post the next step on Wednesday, August 13, 2014.
Please post a comment! I'd love to hear how you are doing!