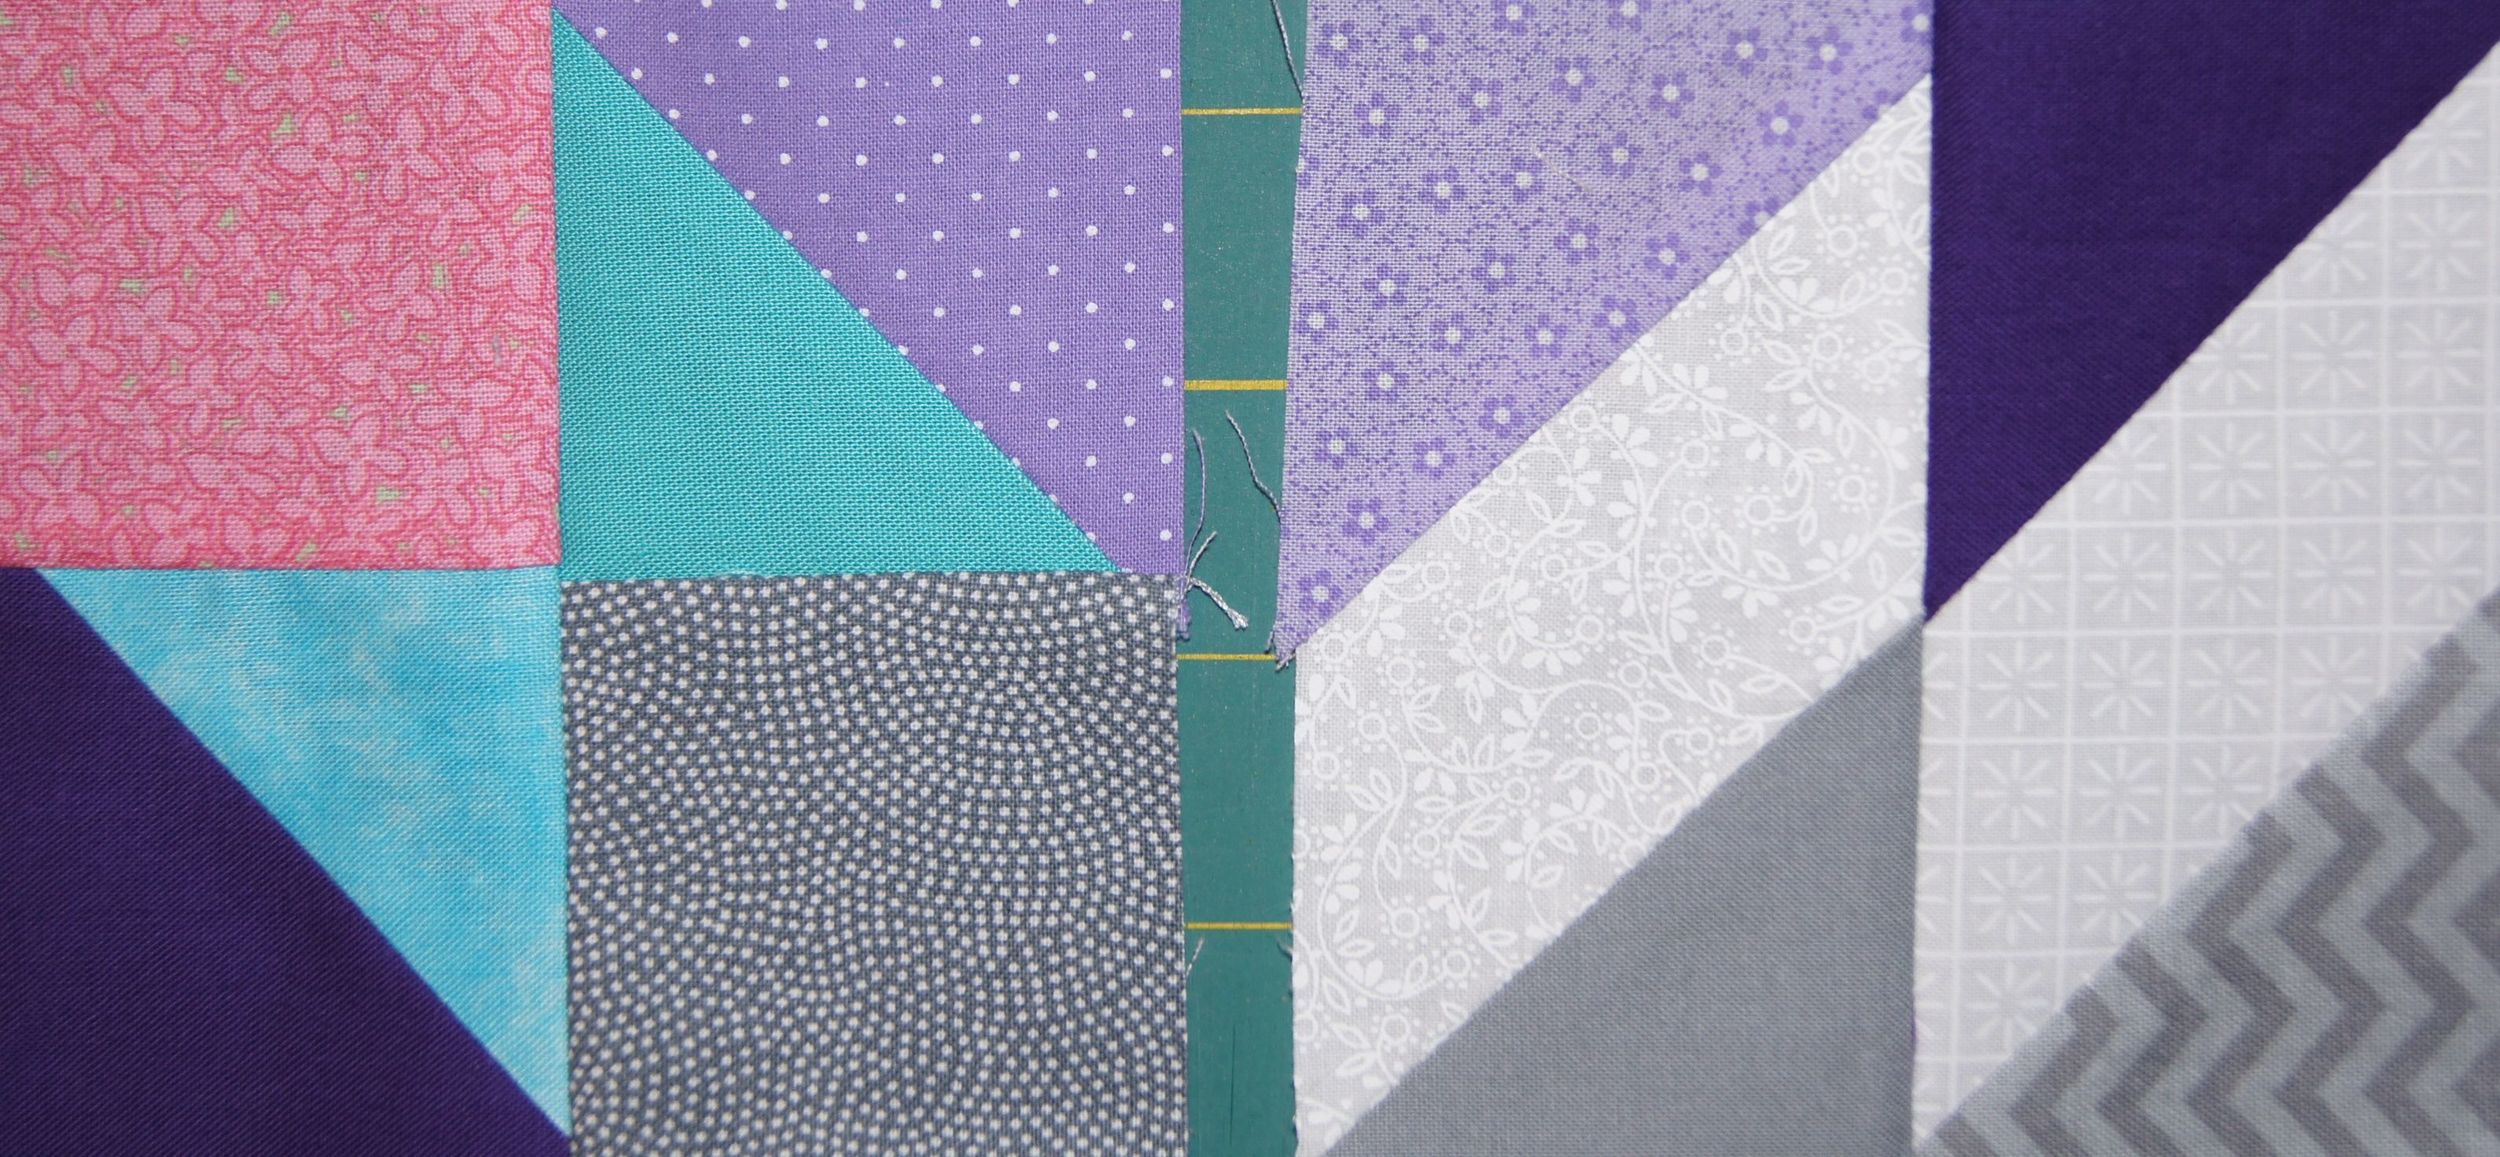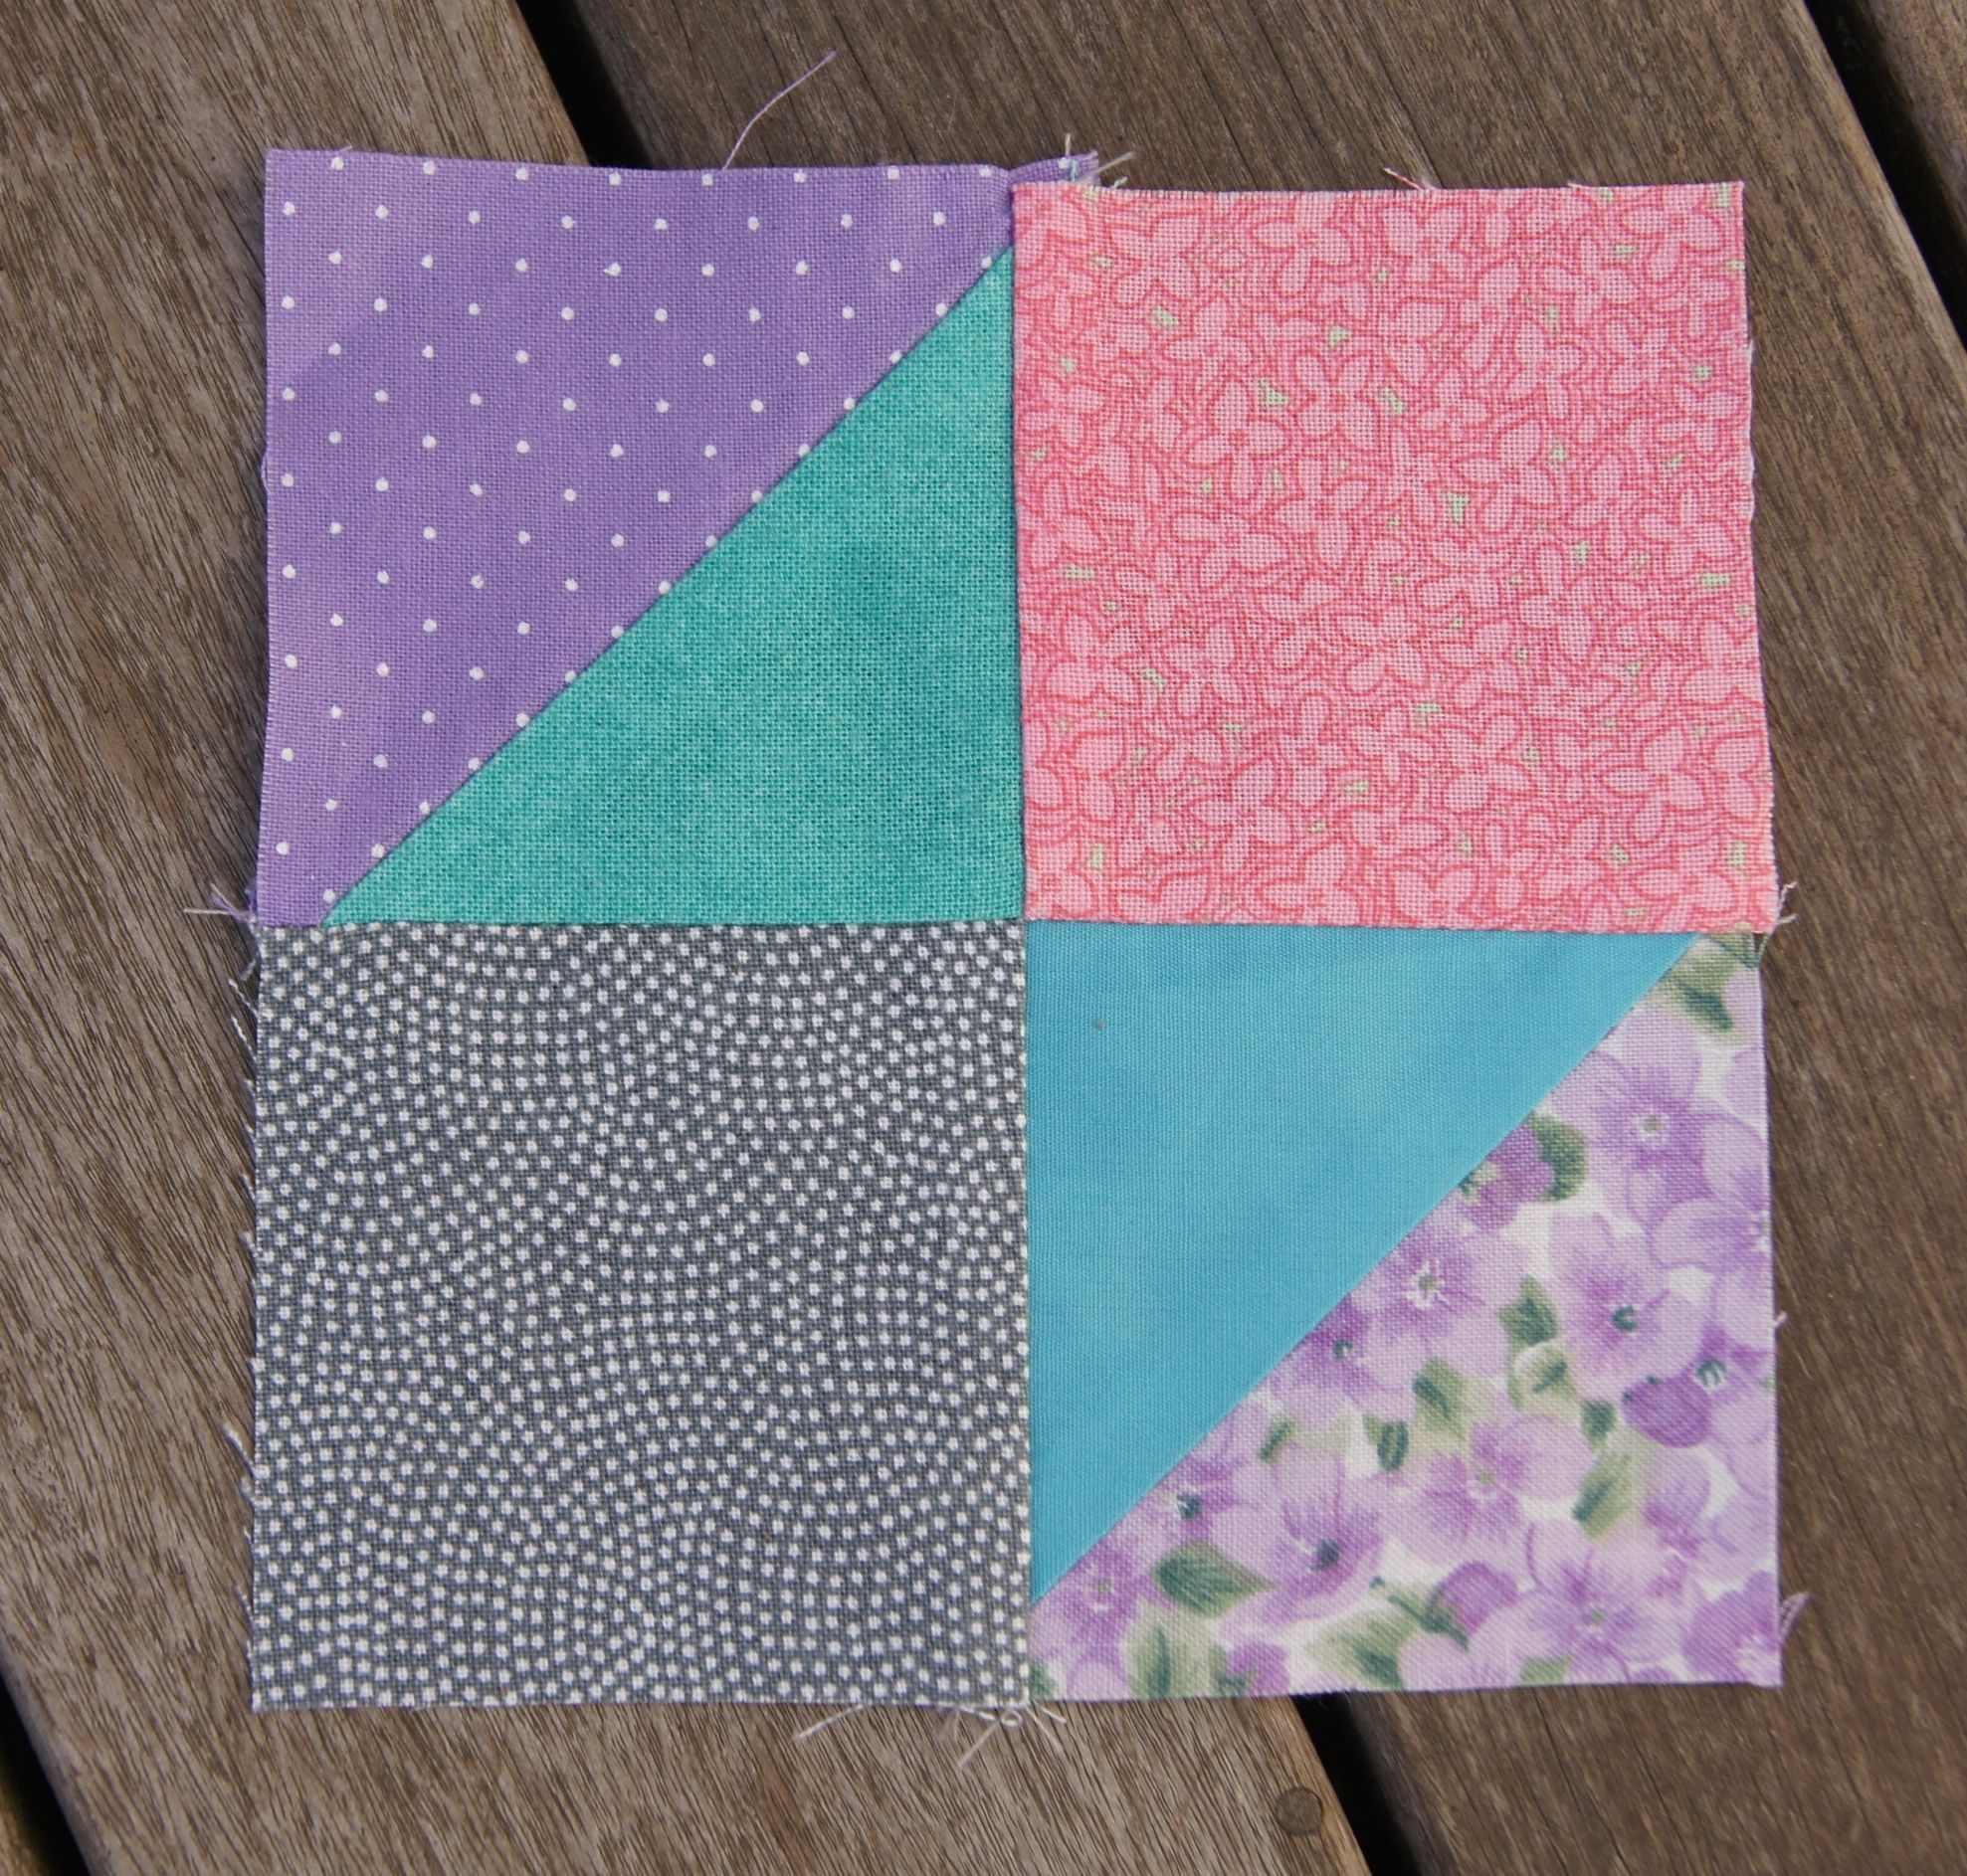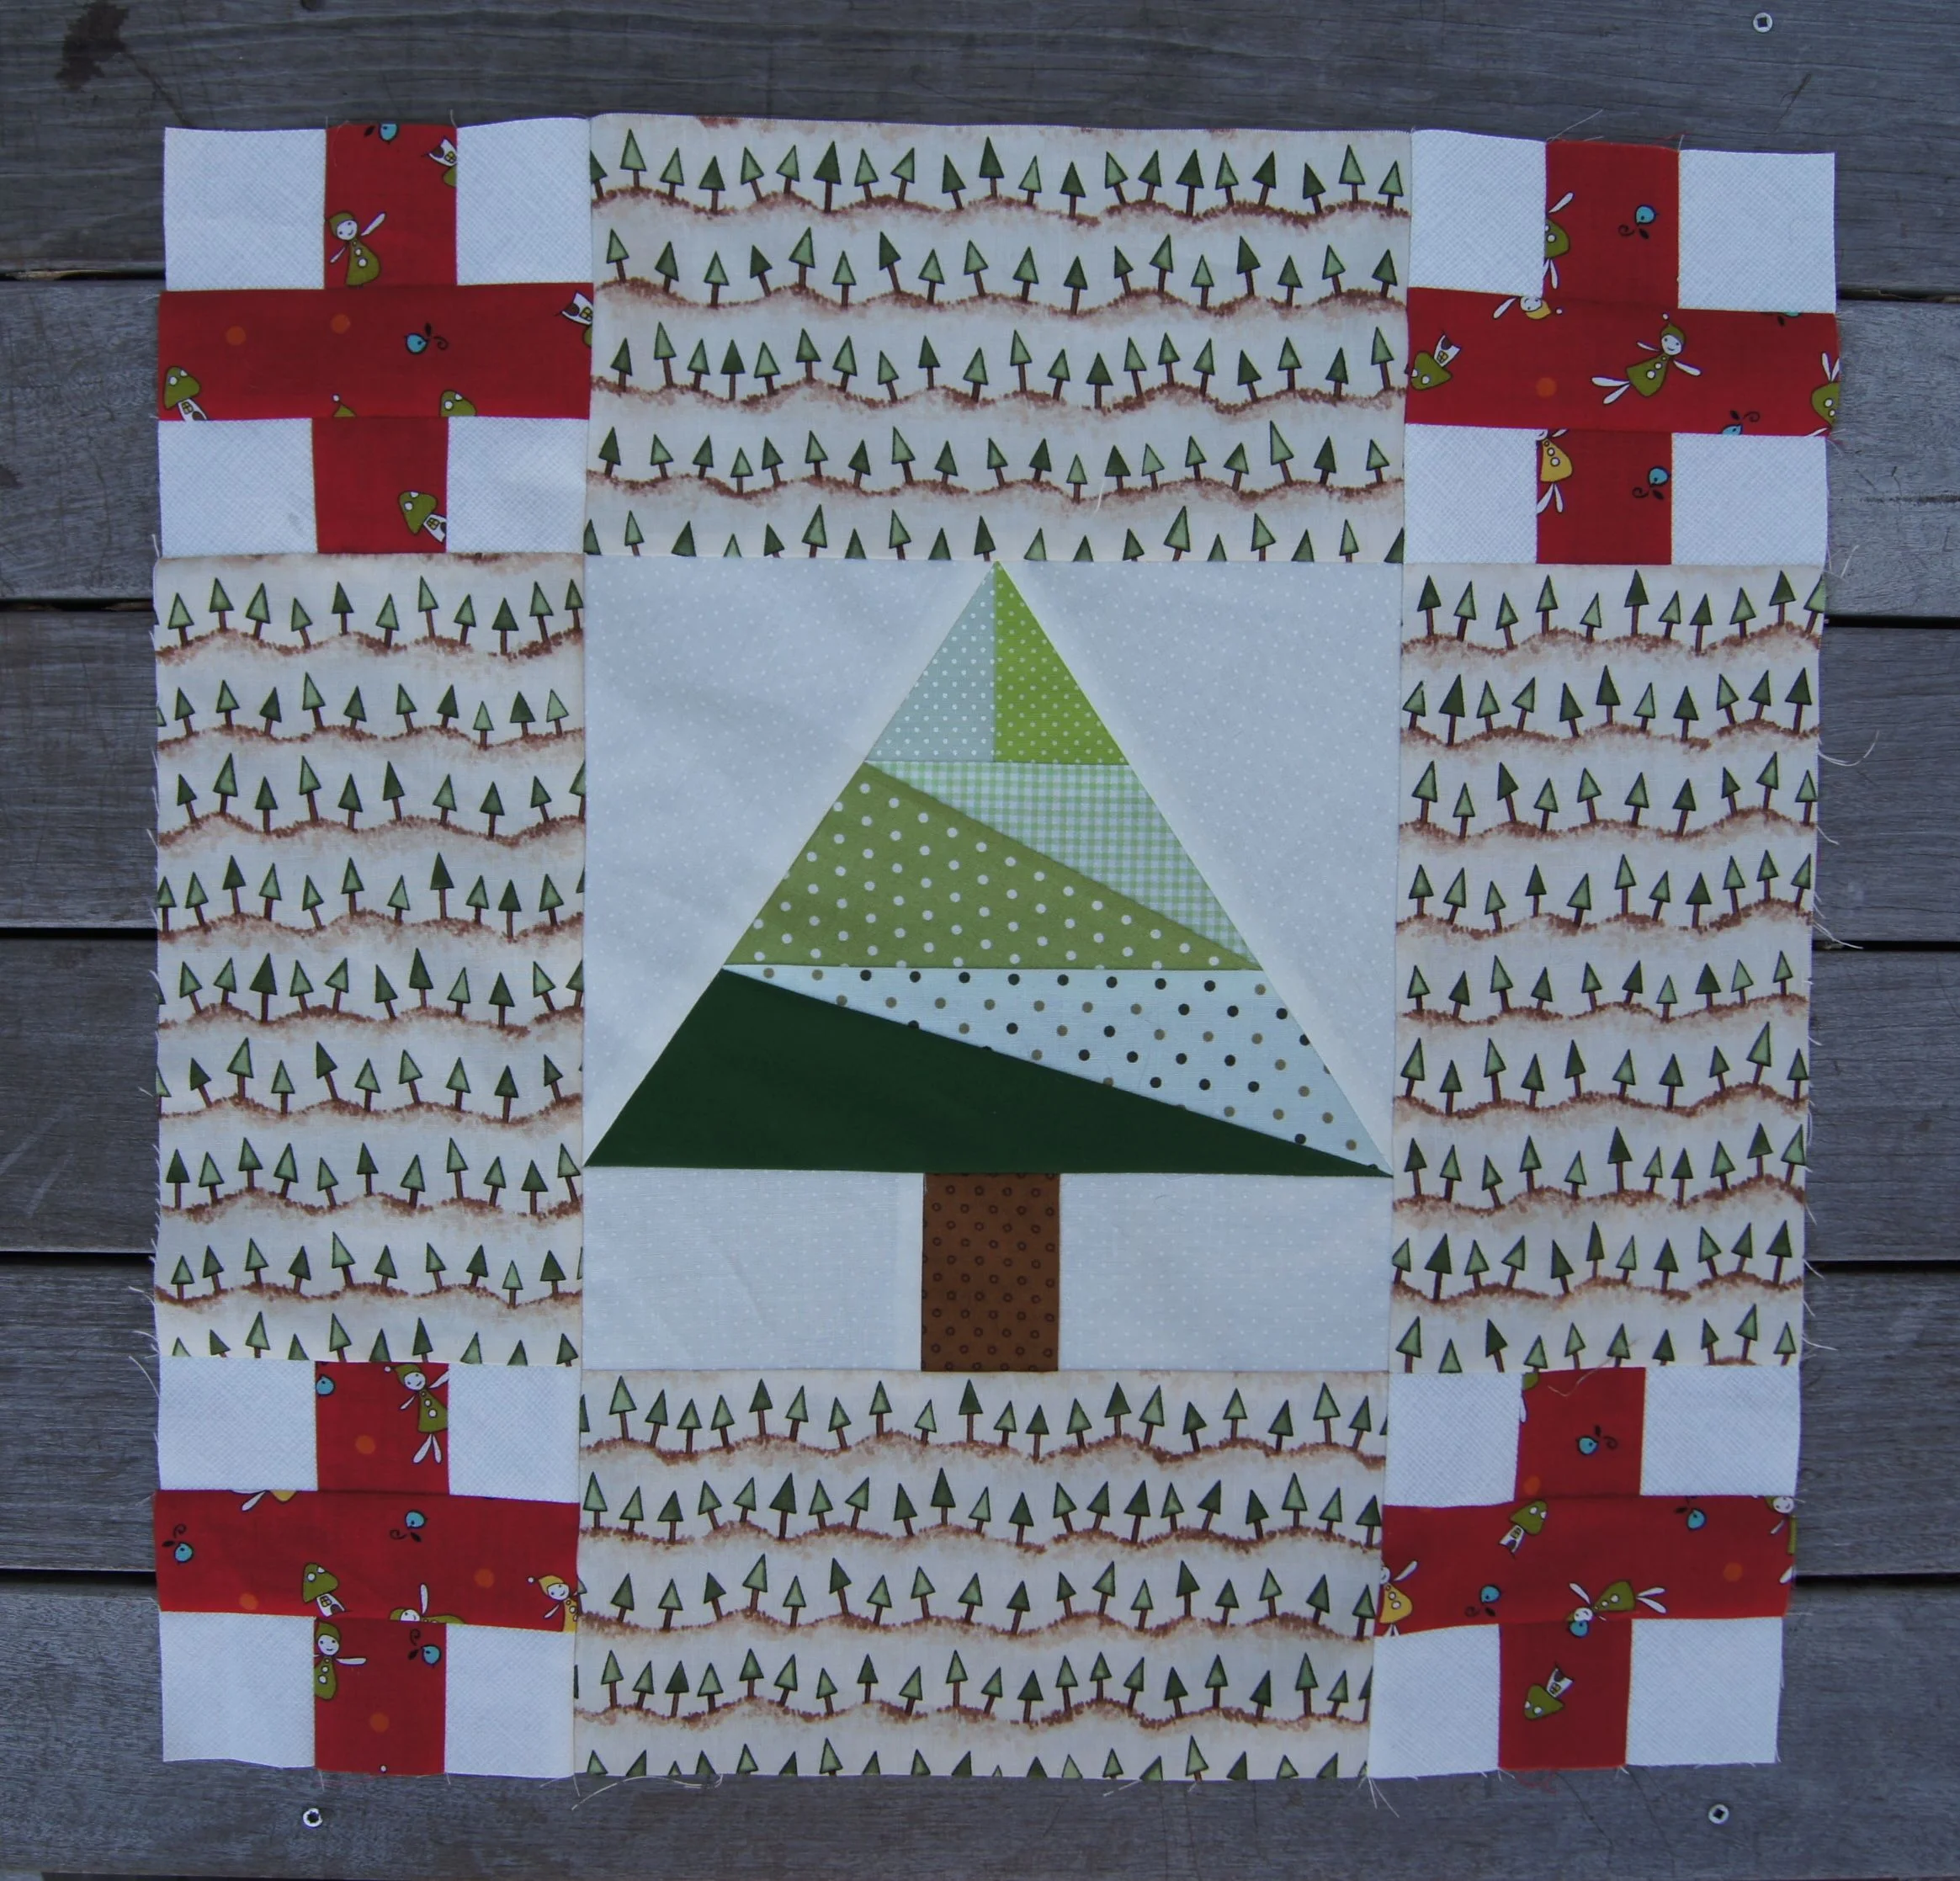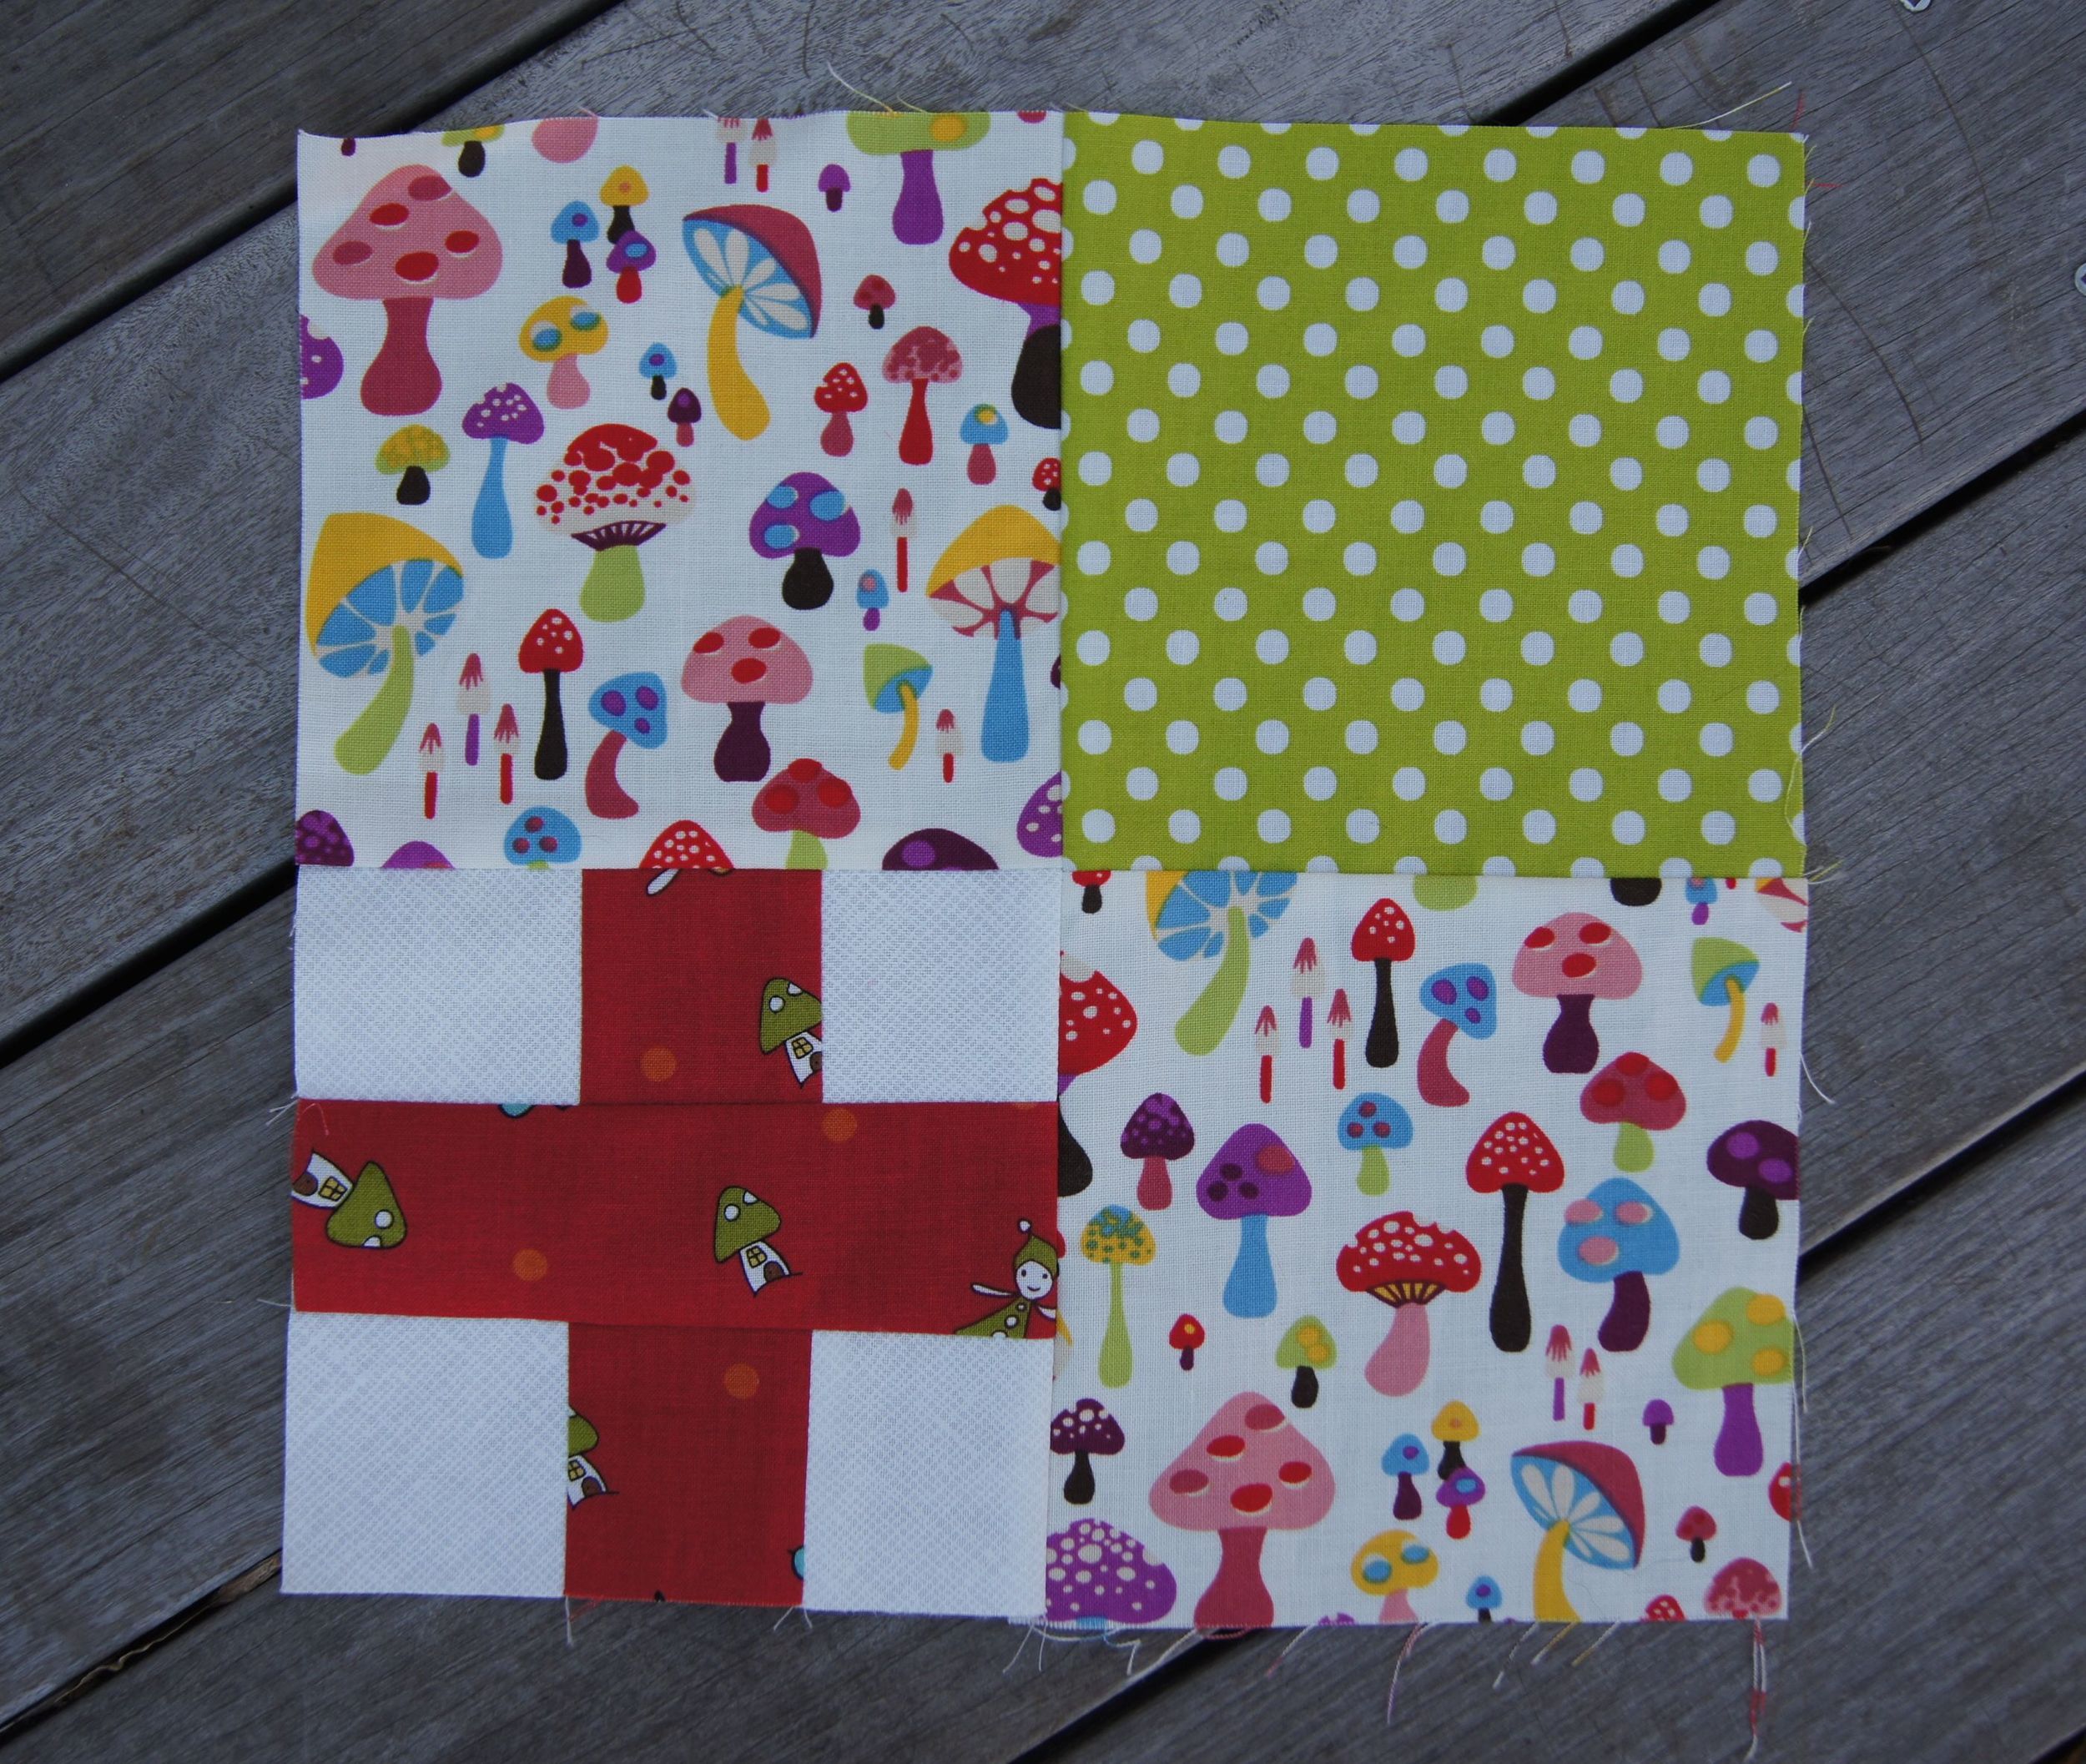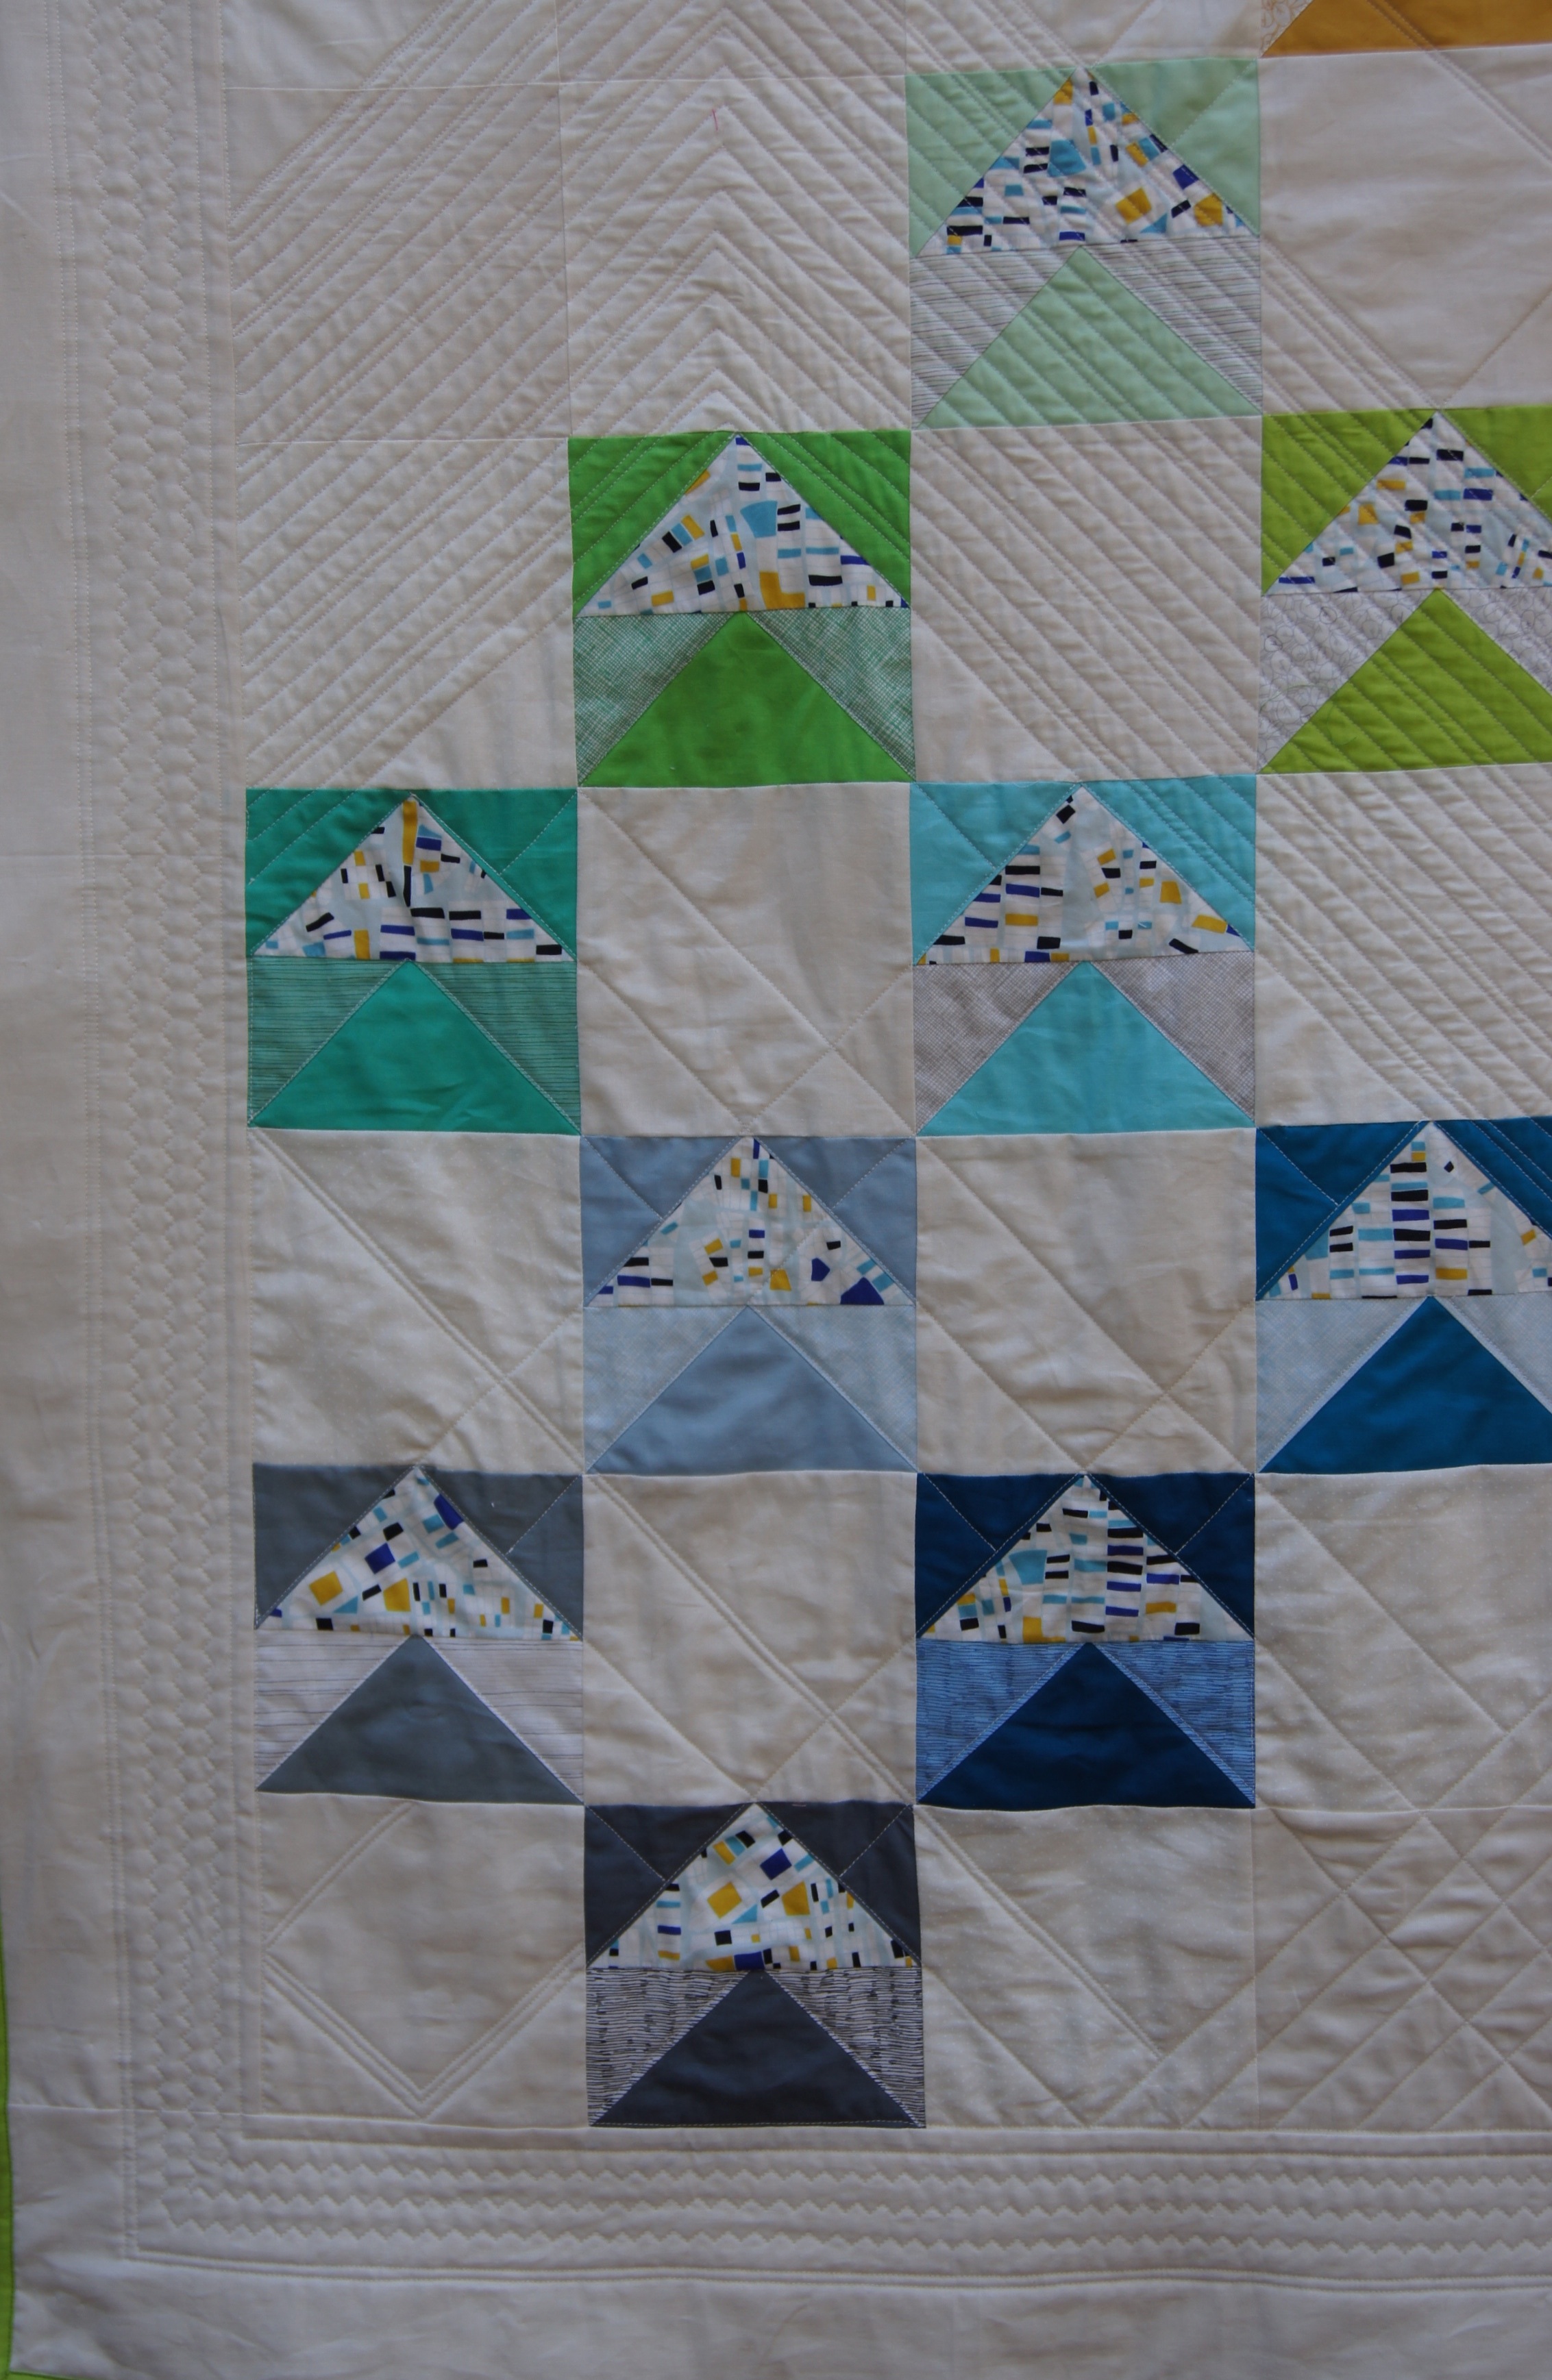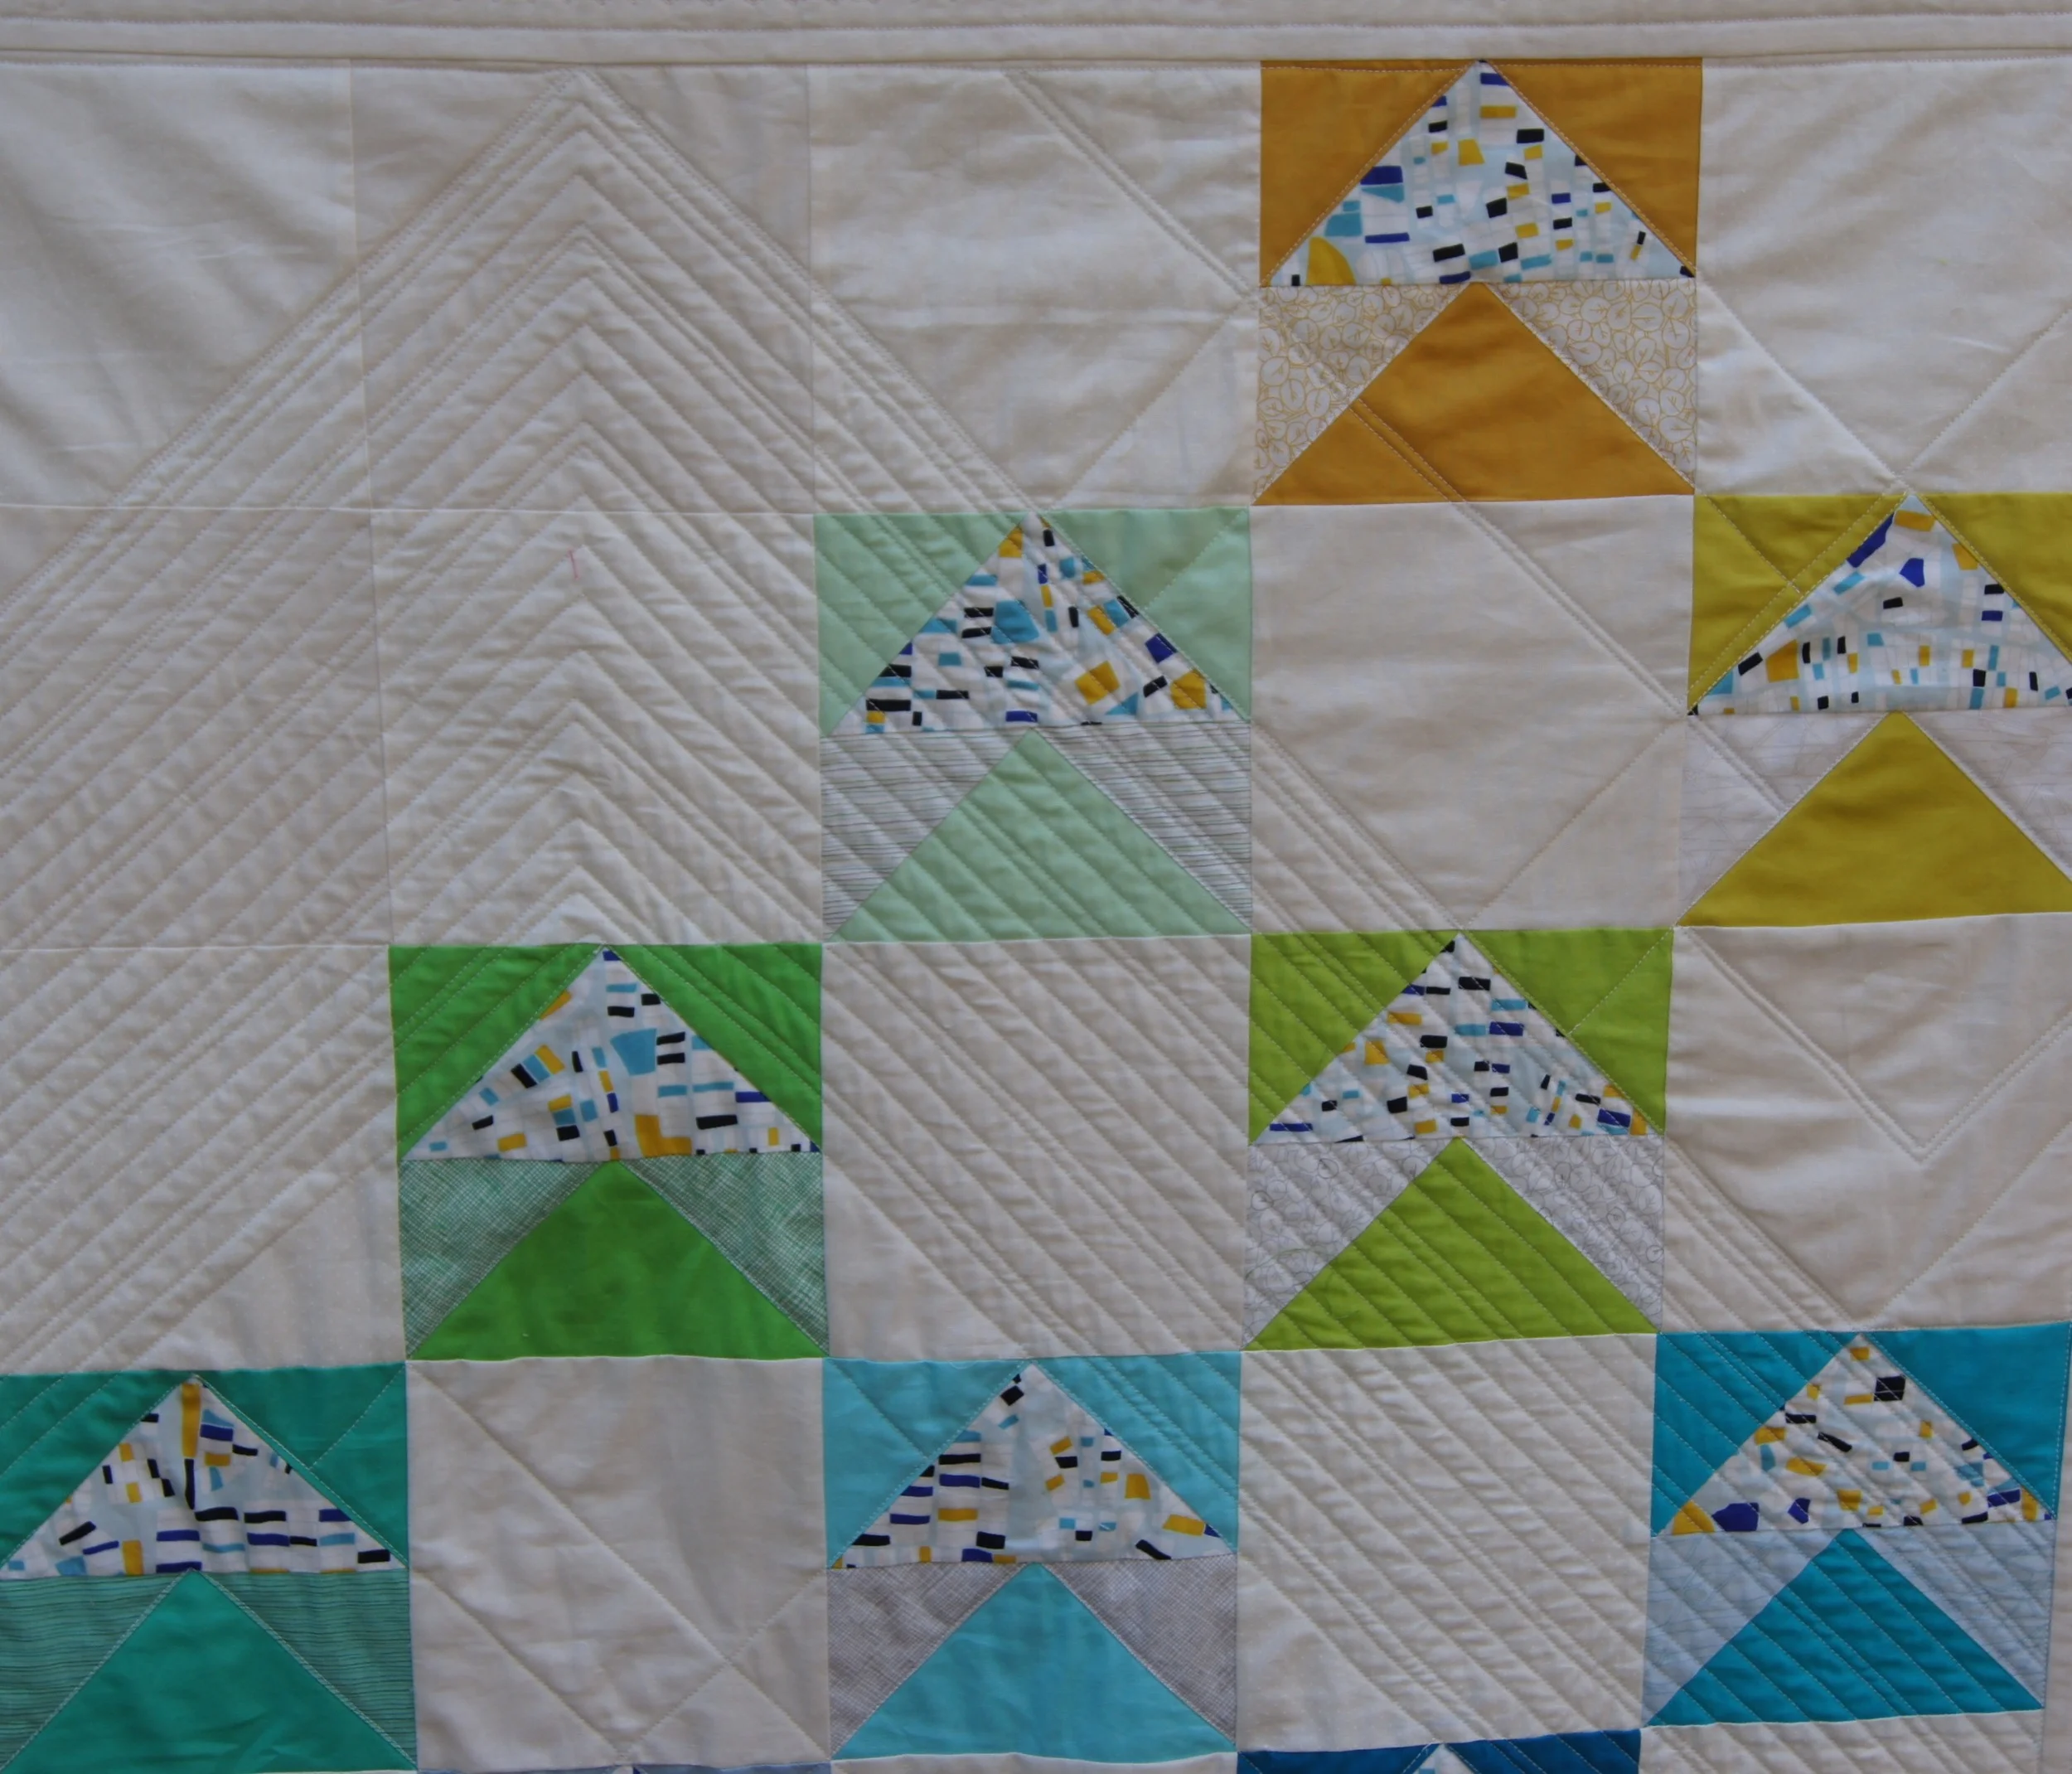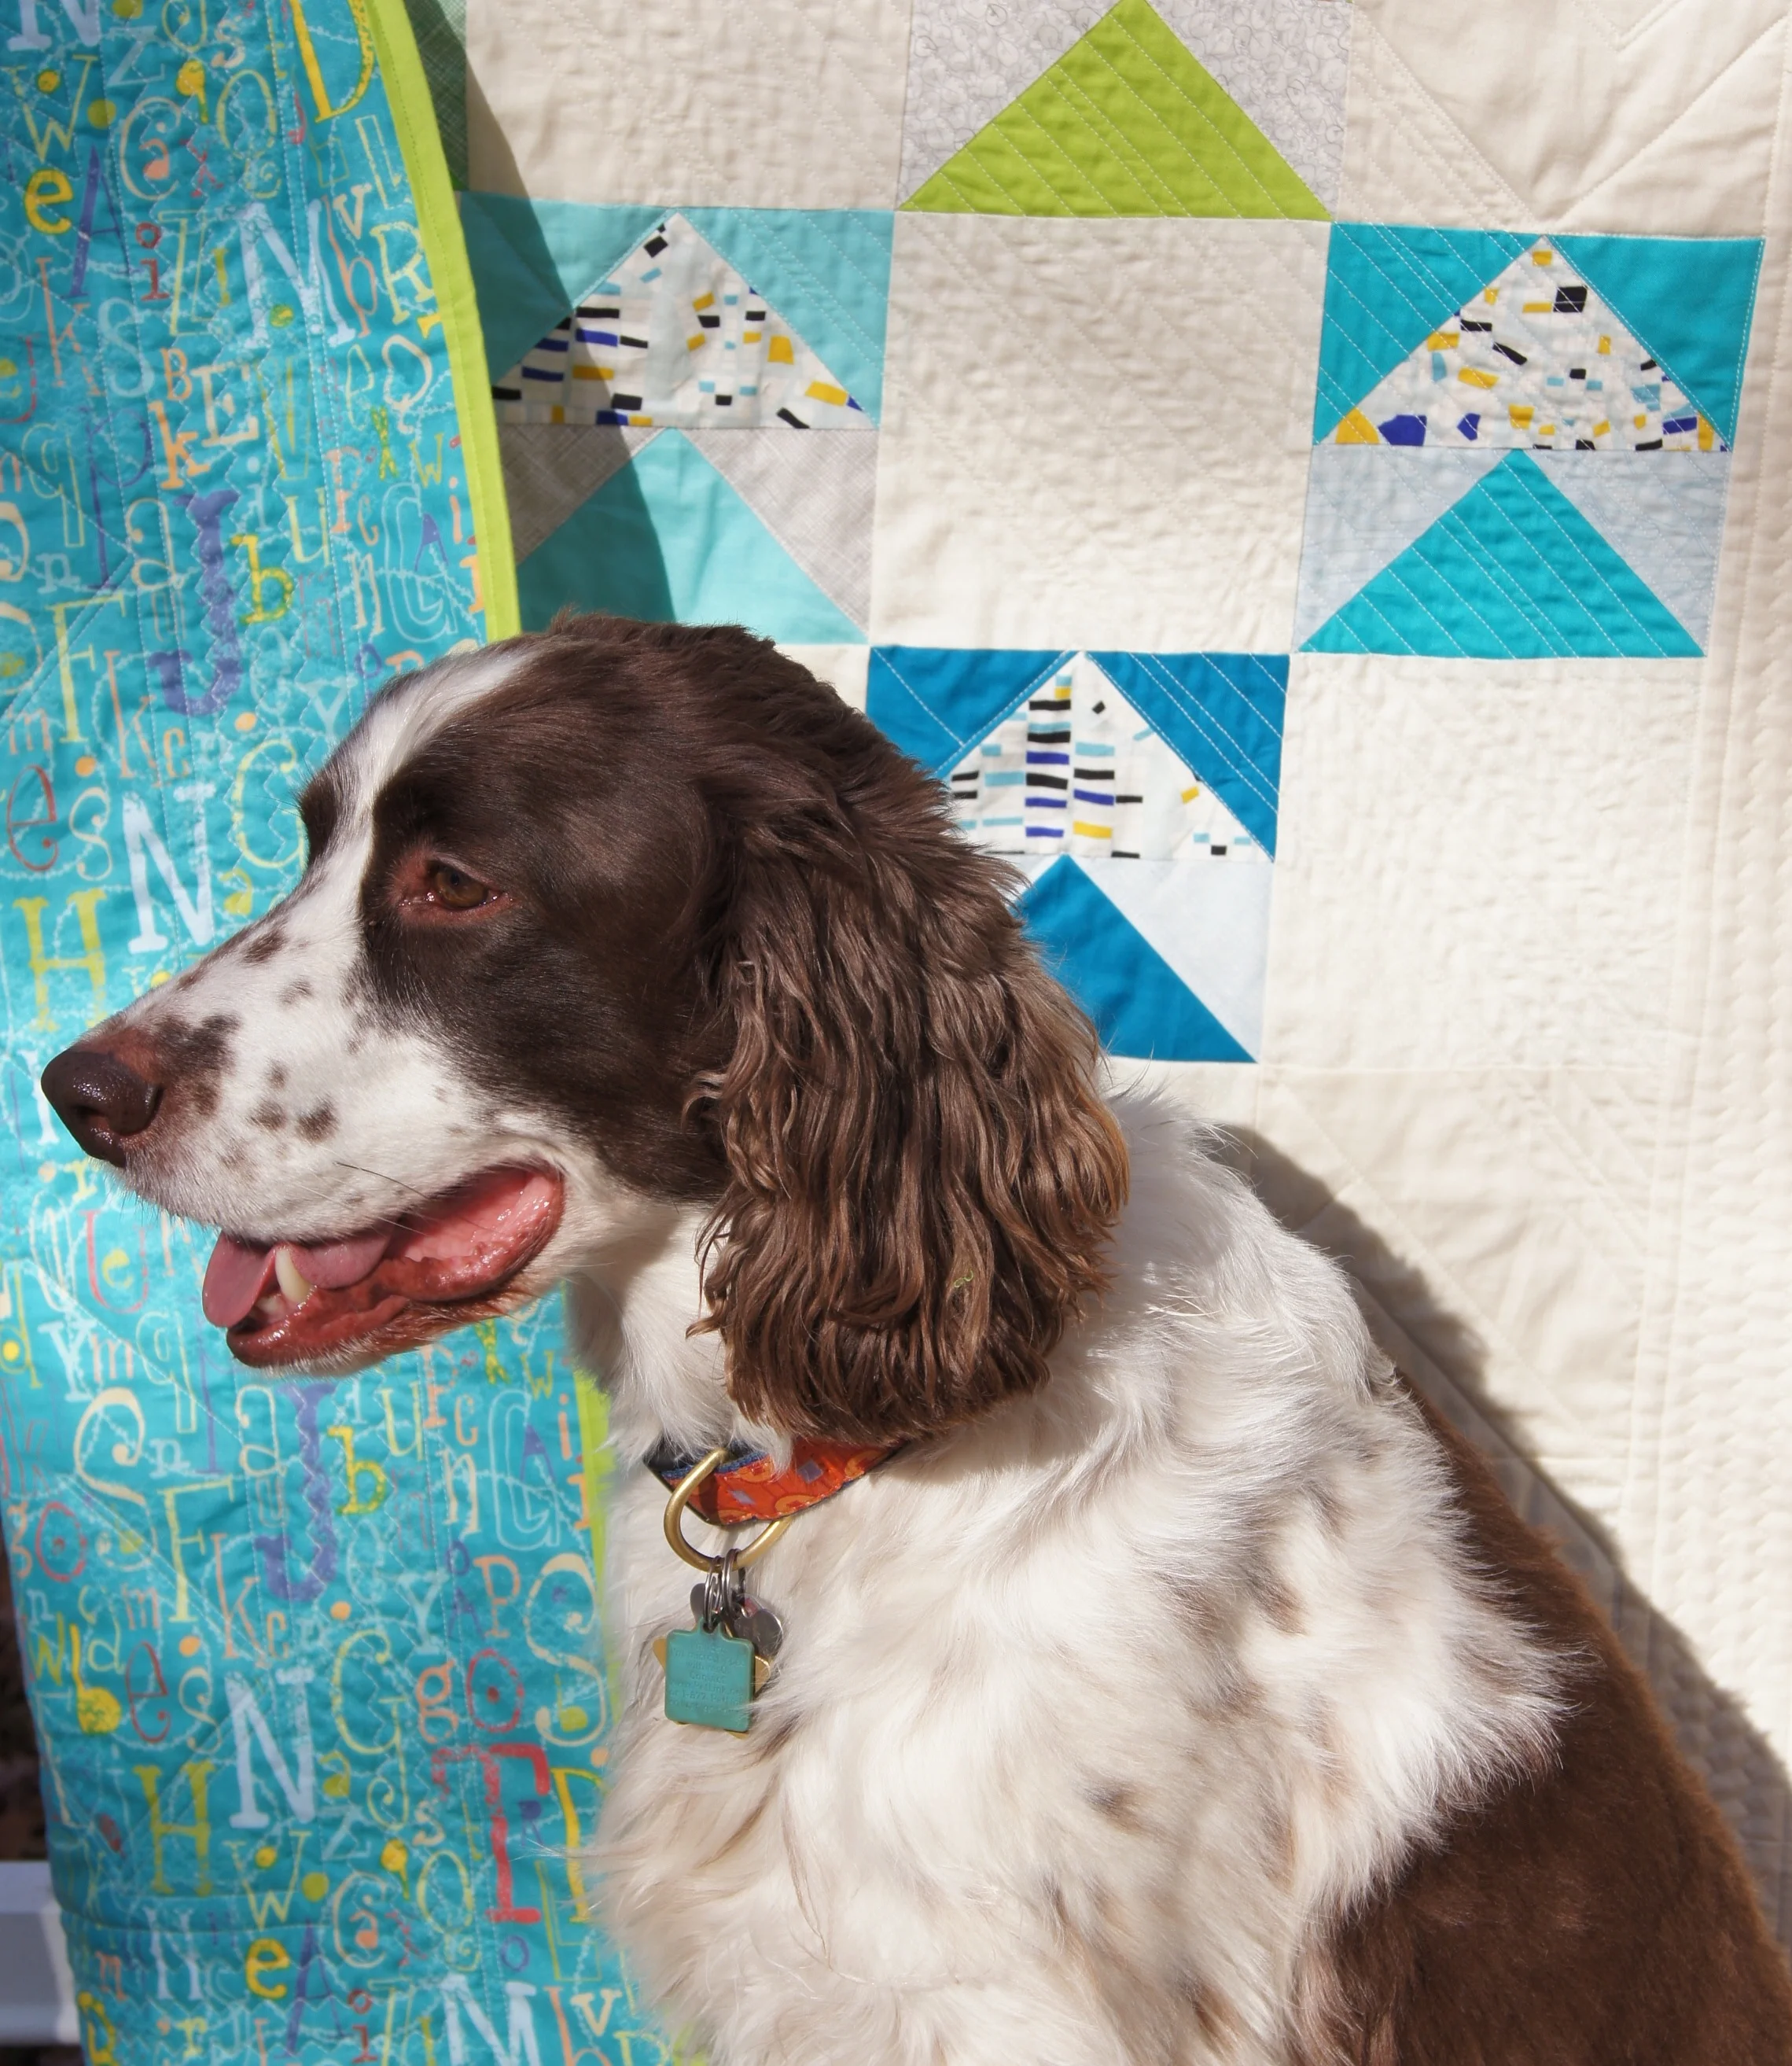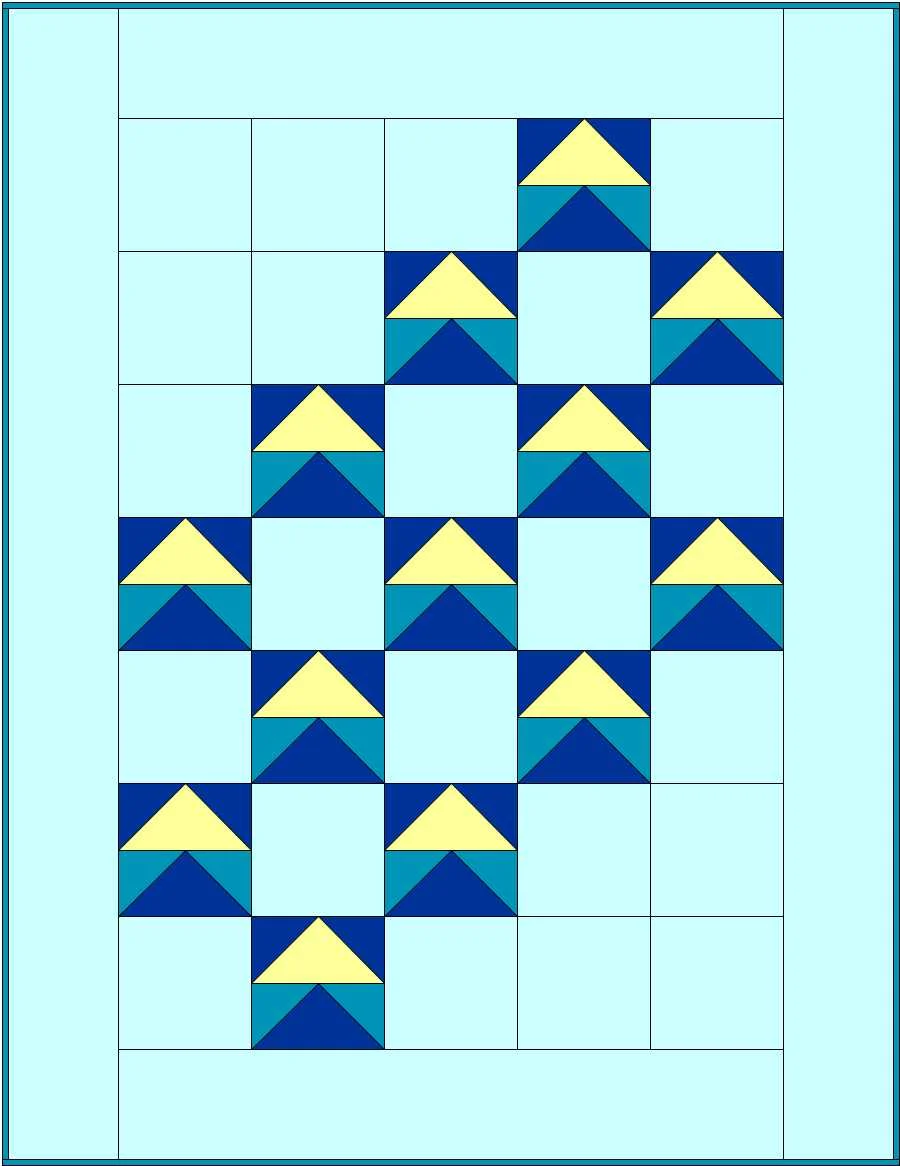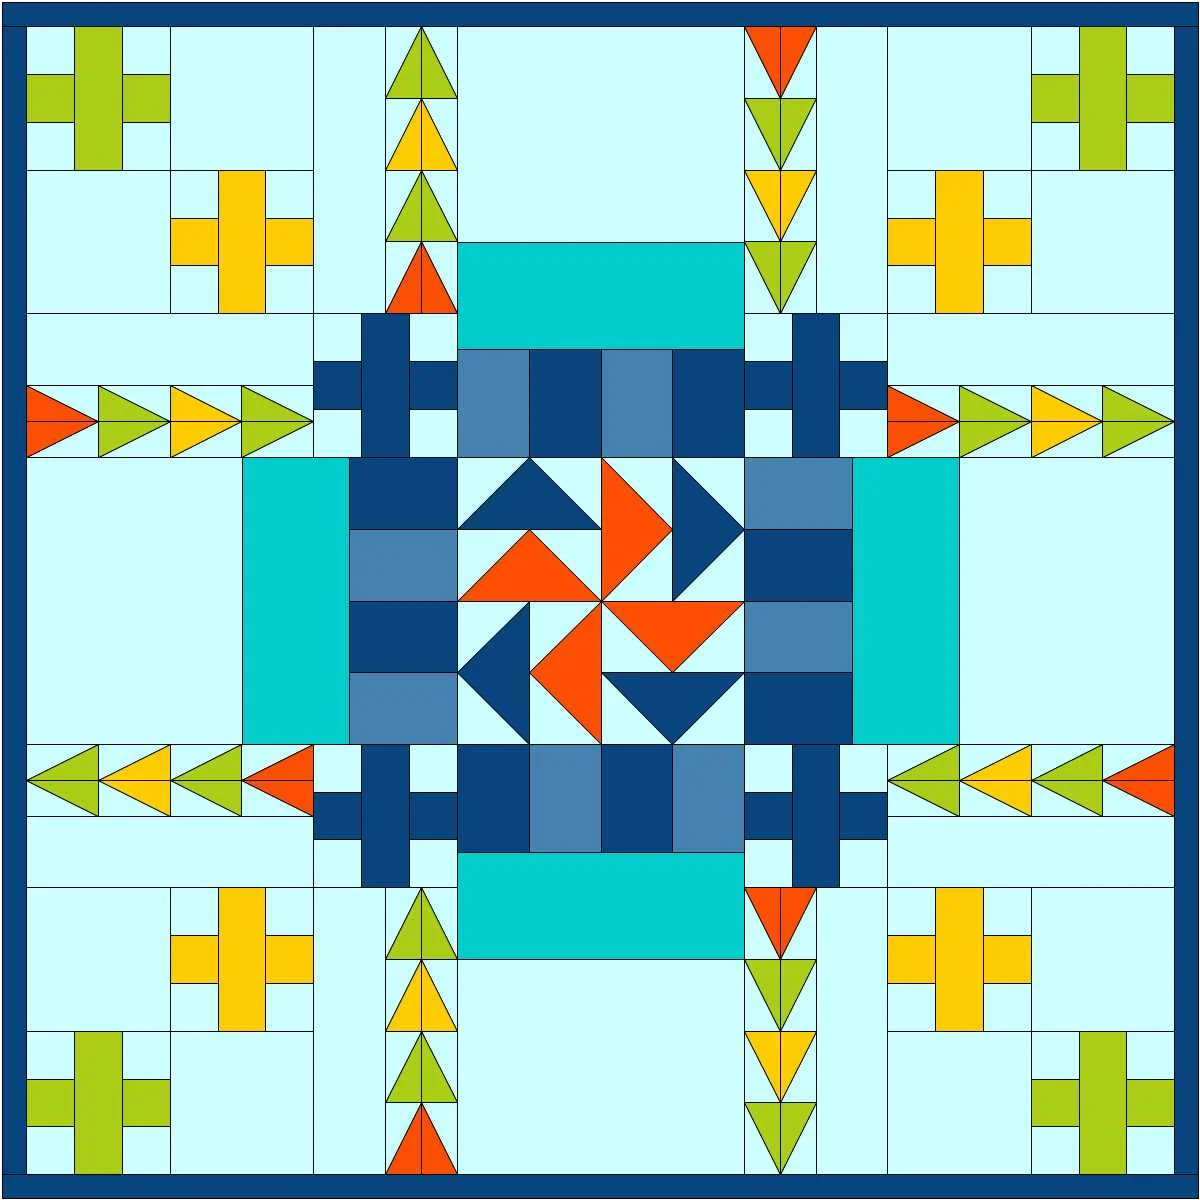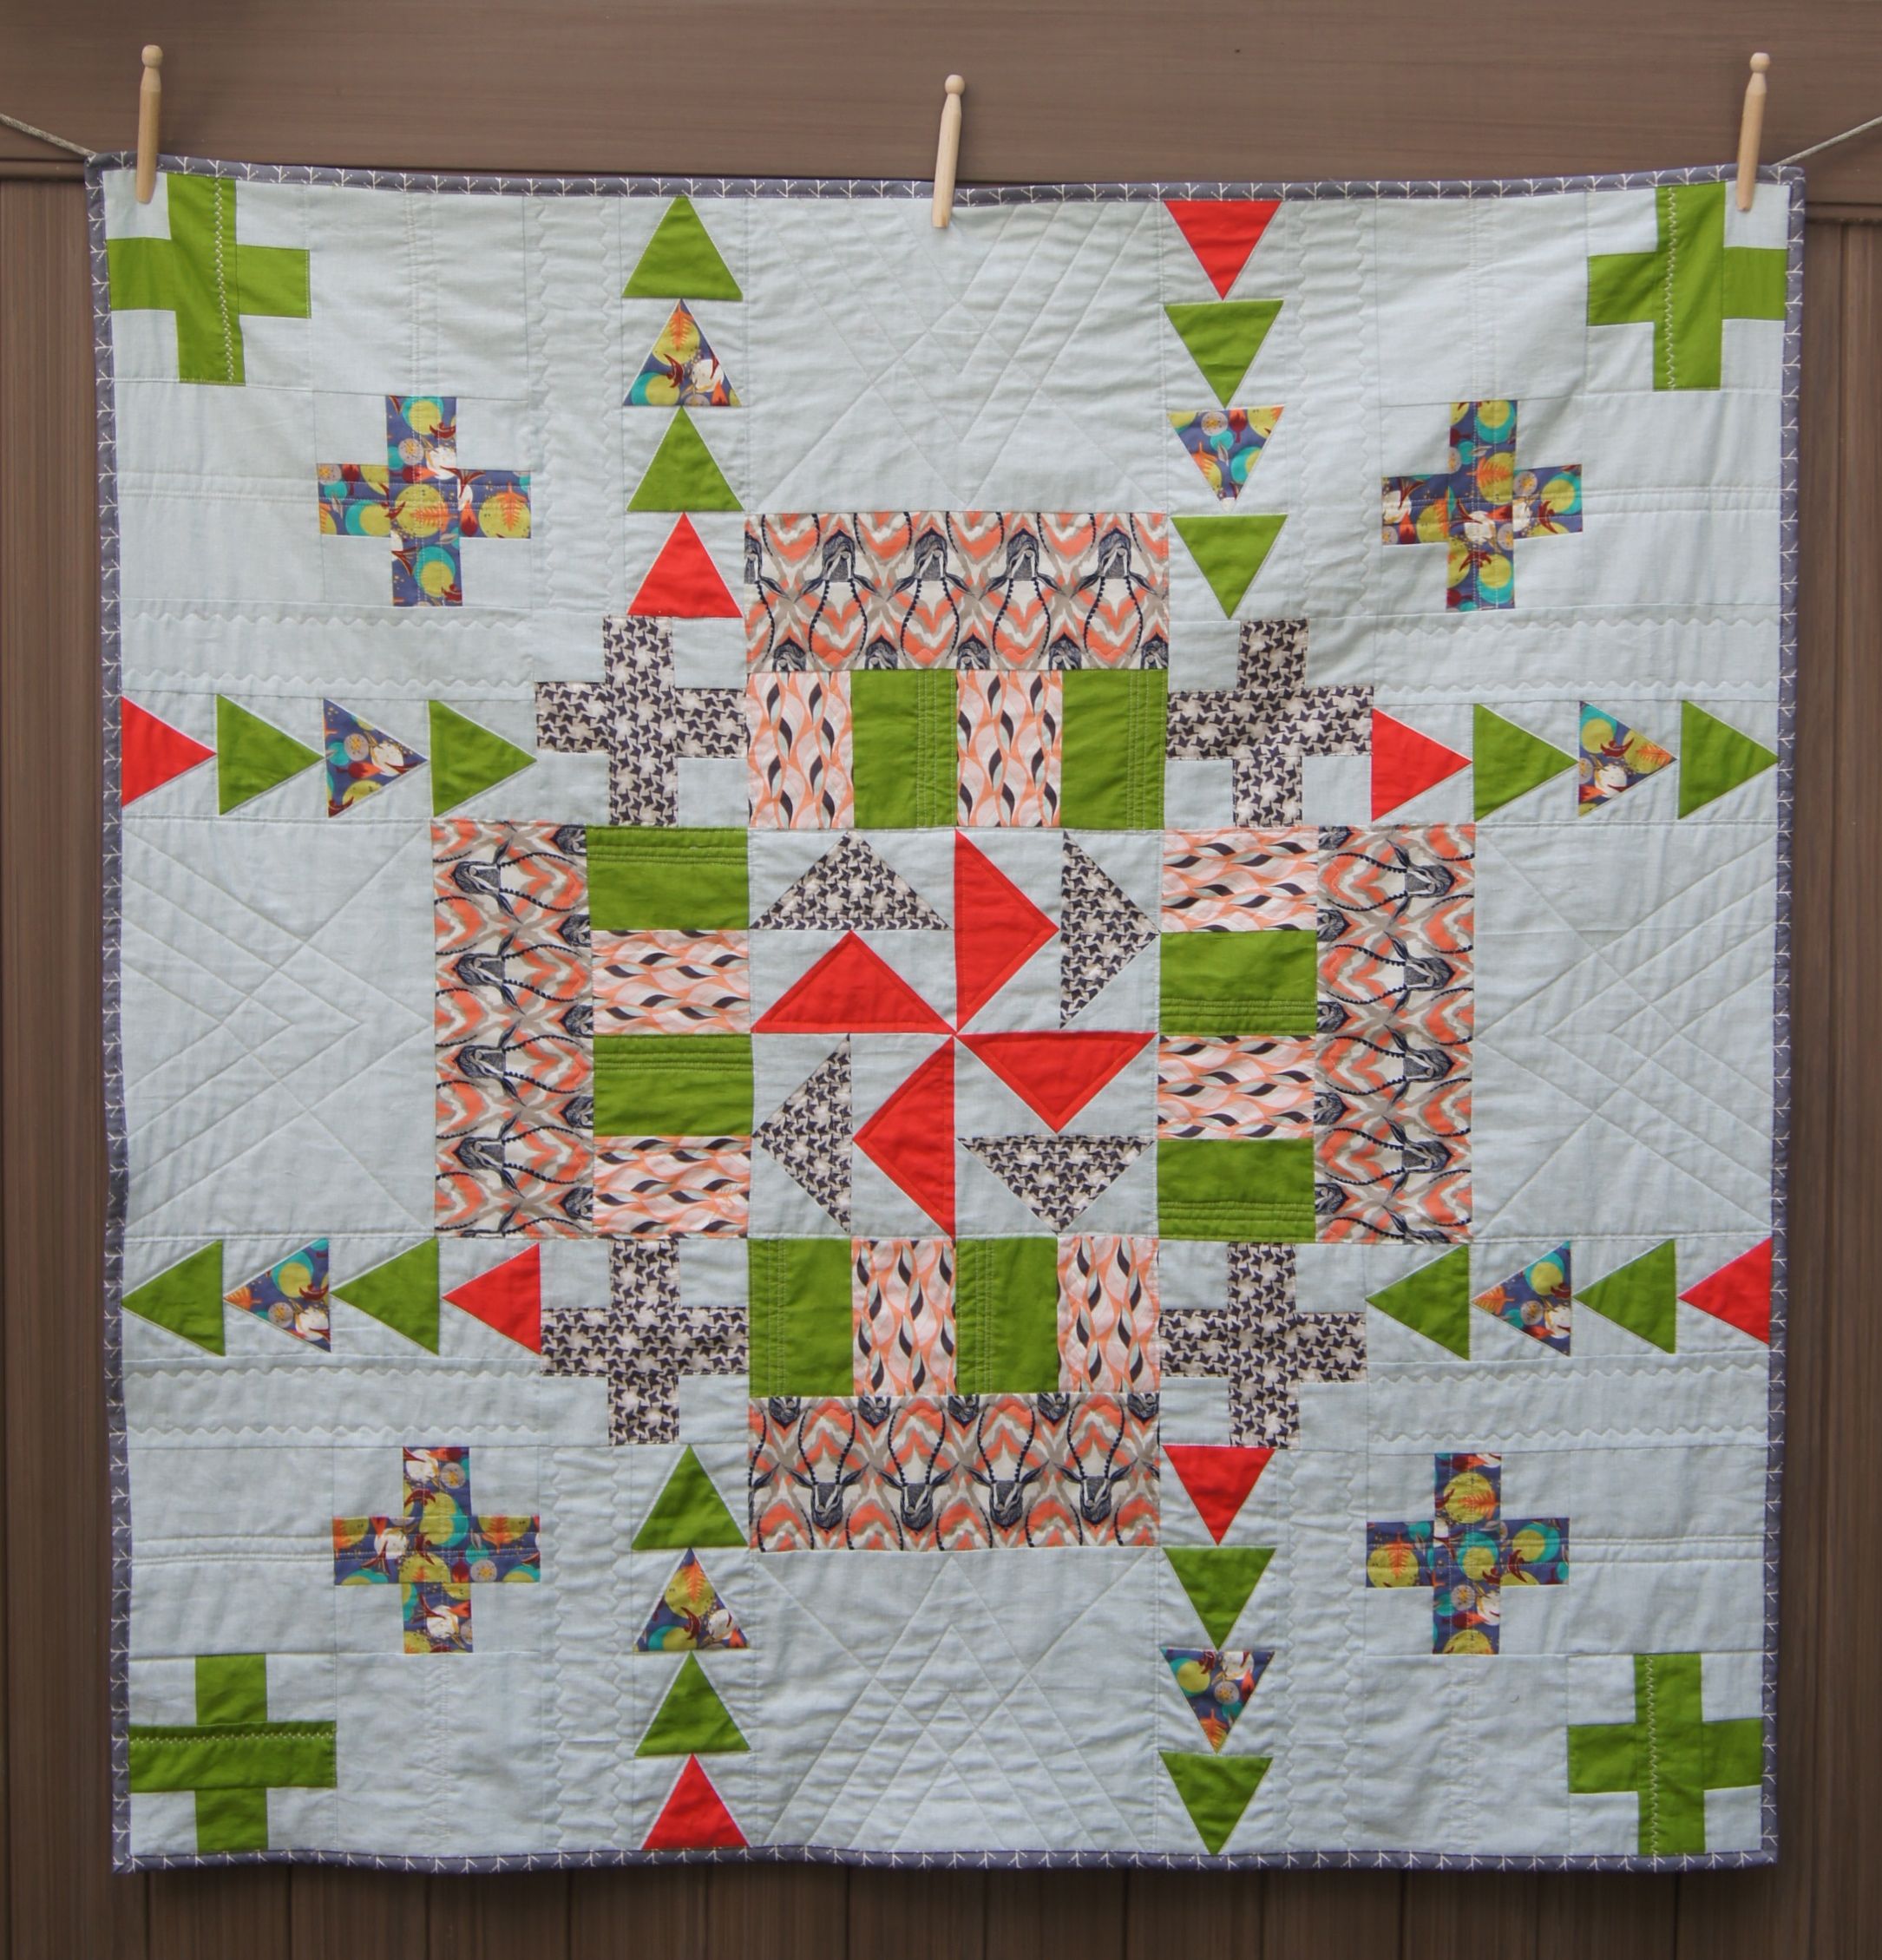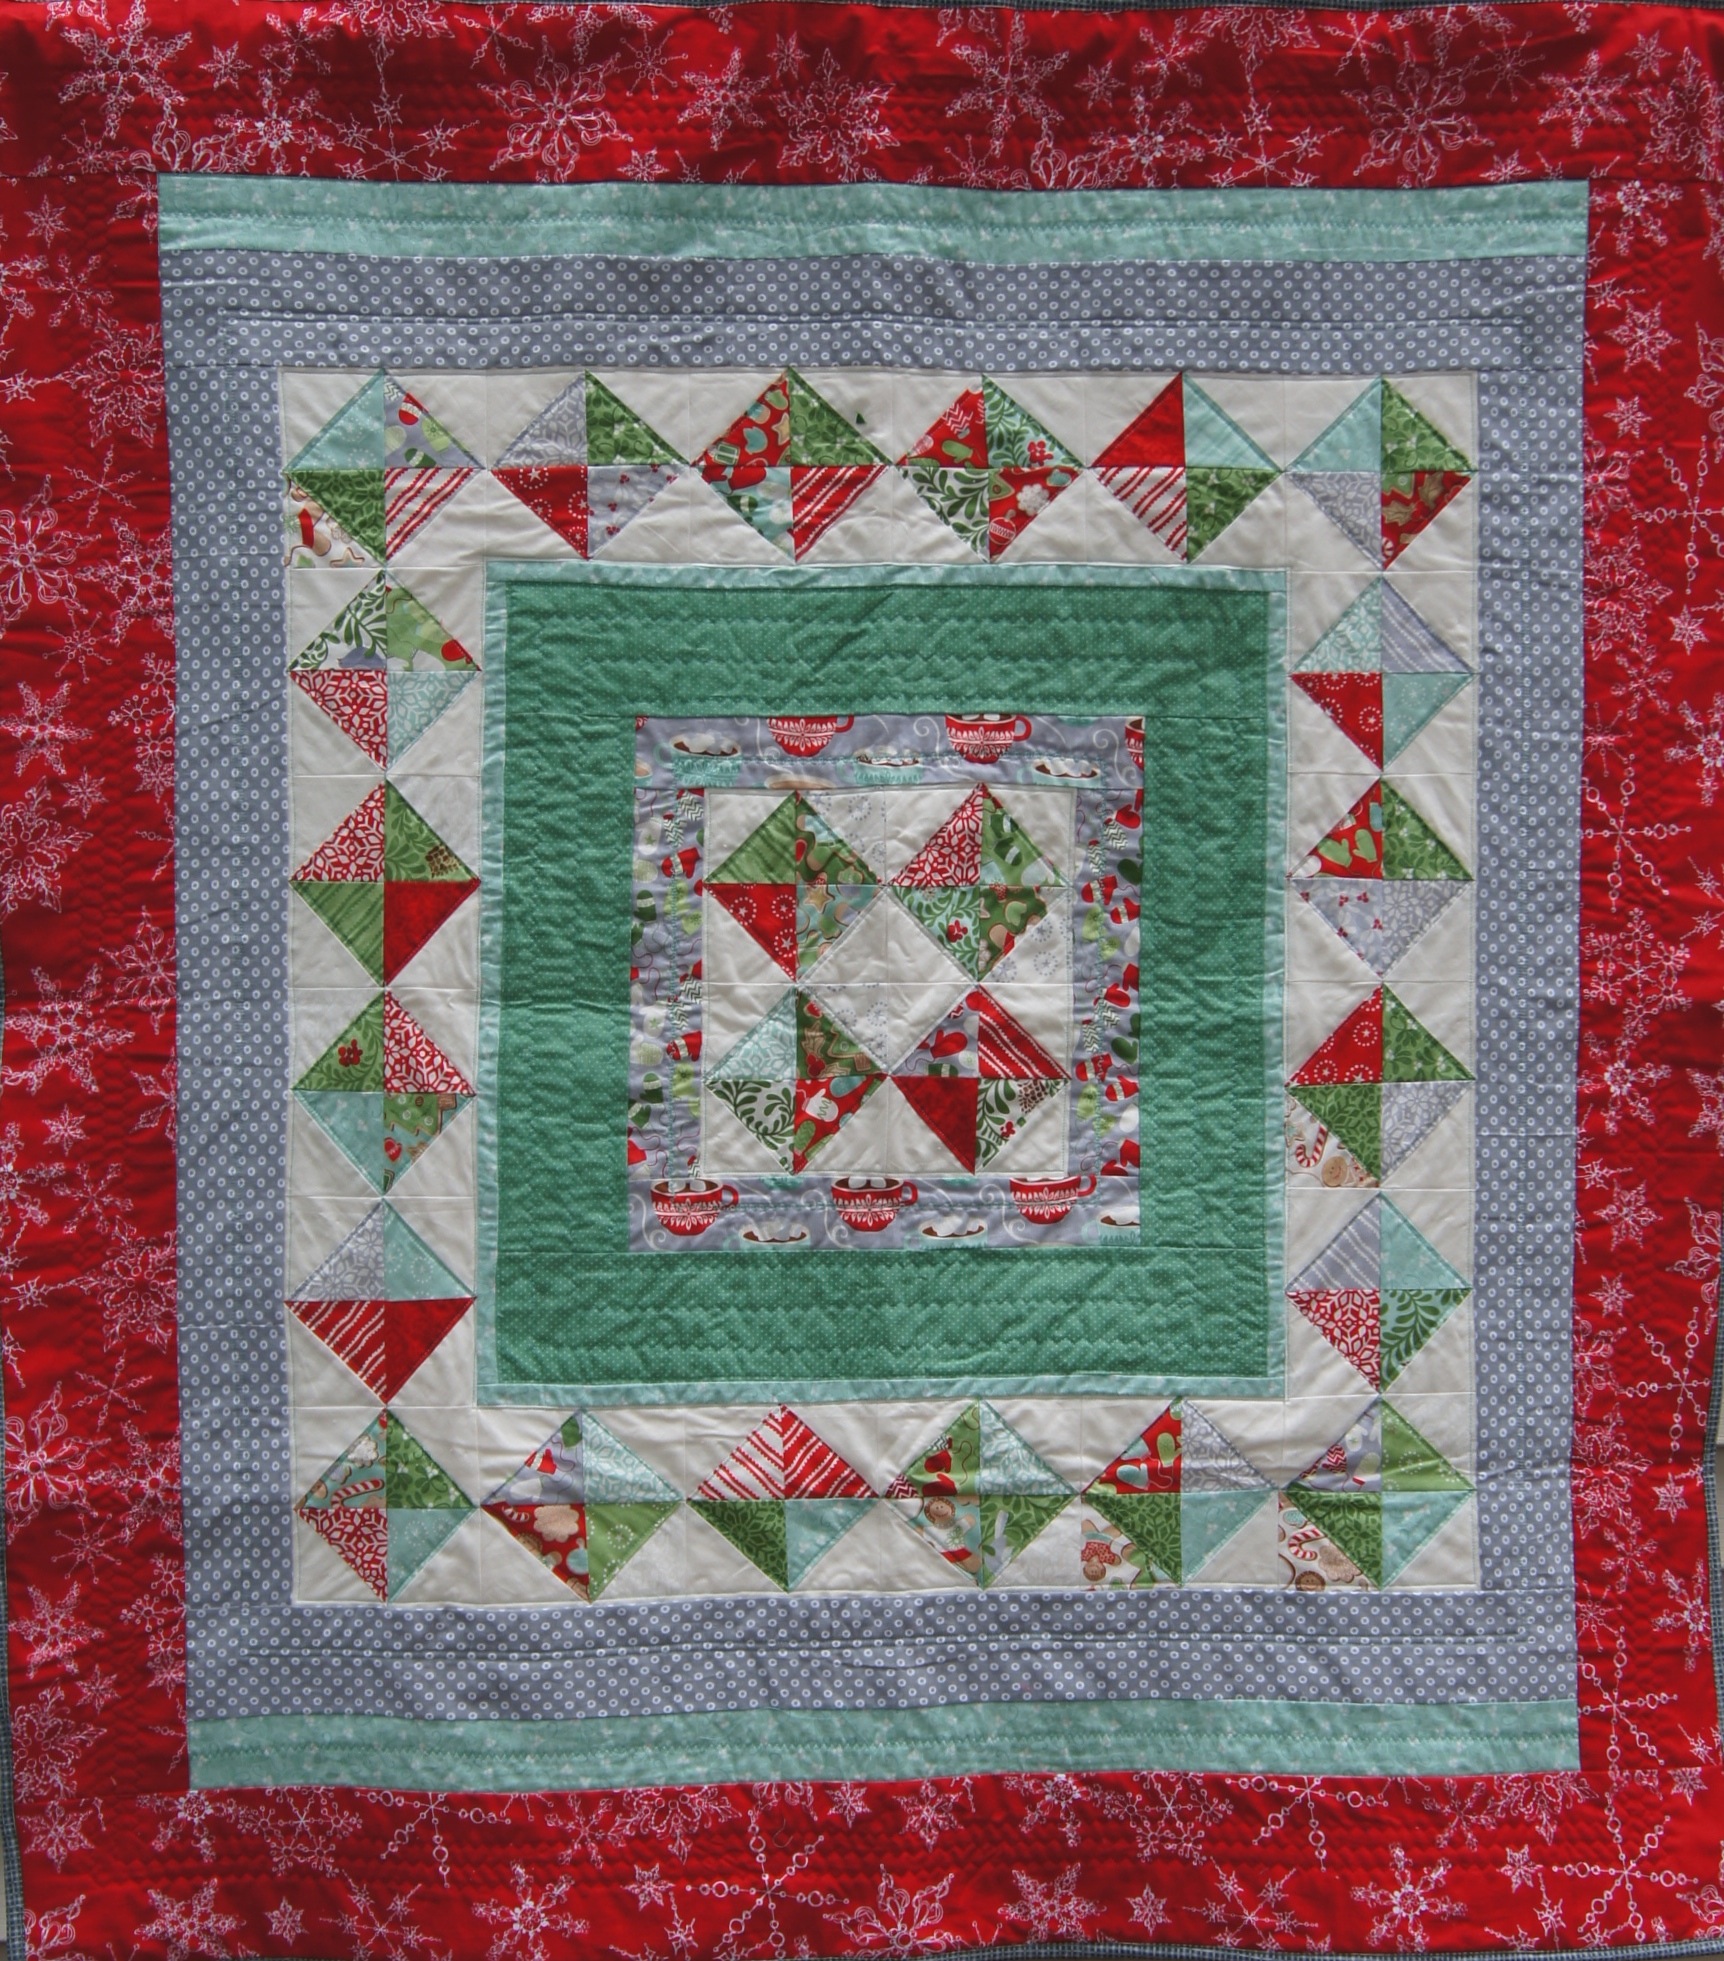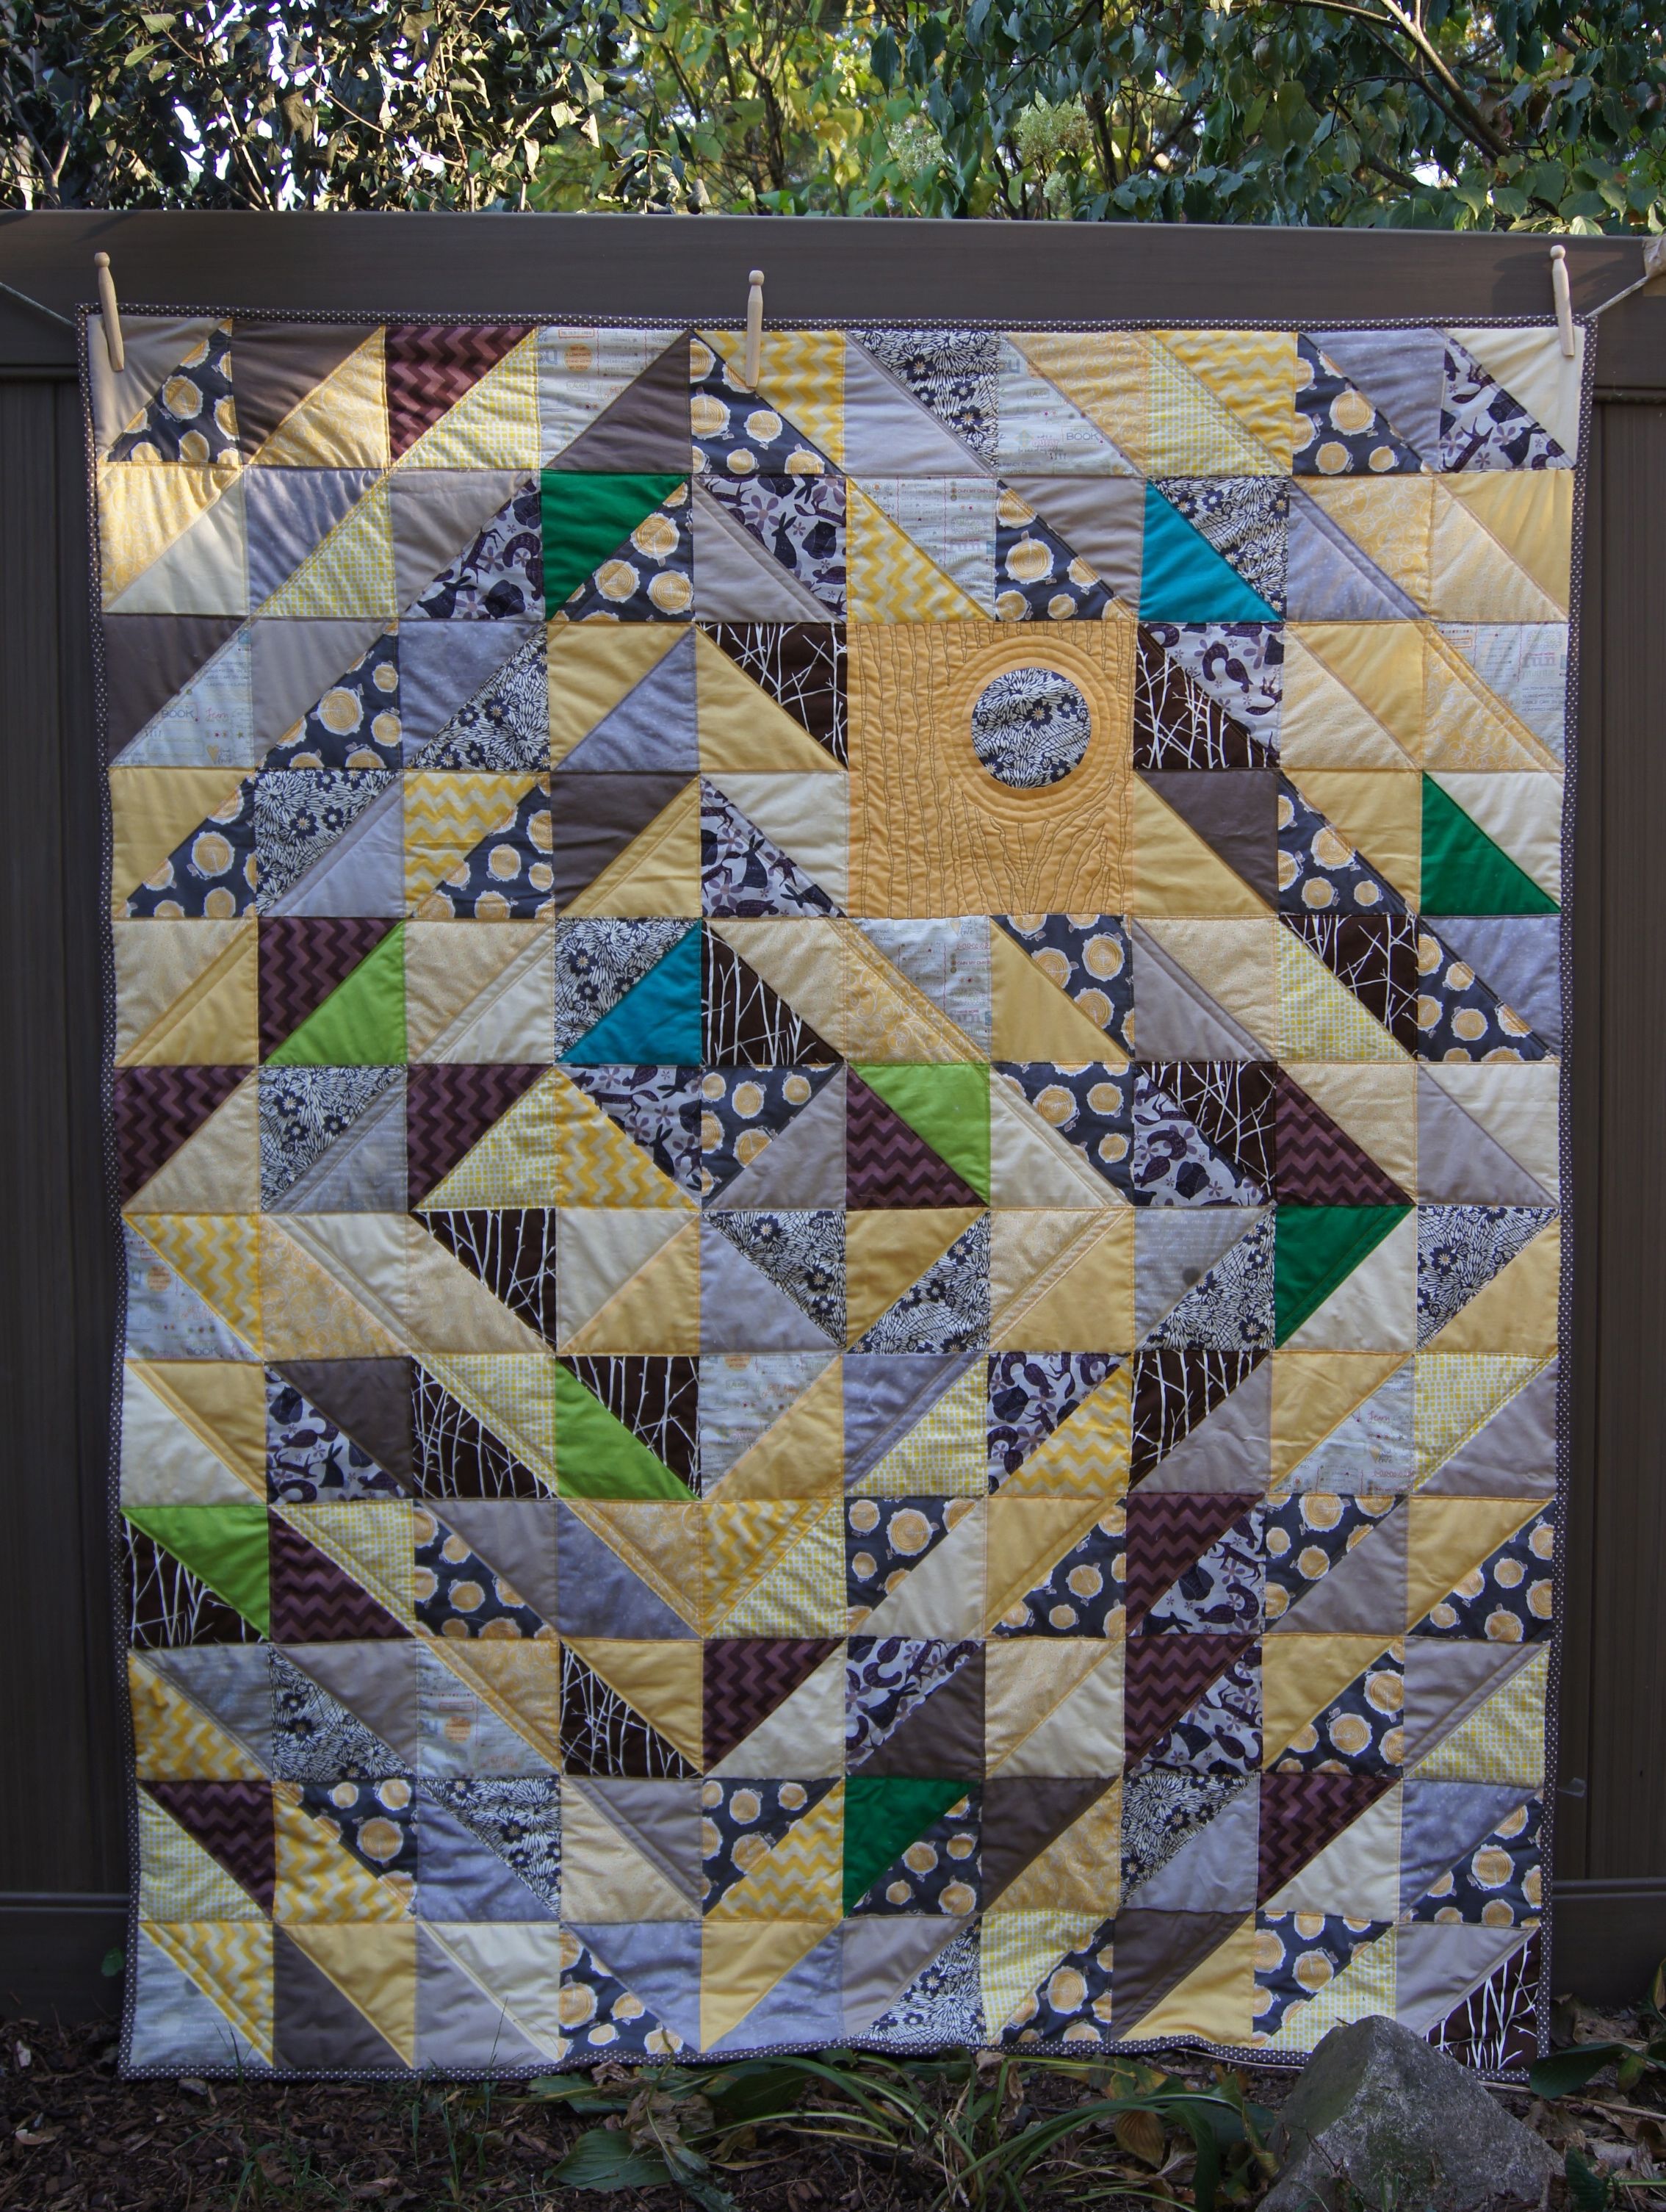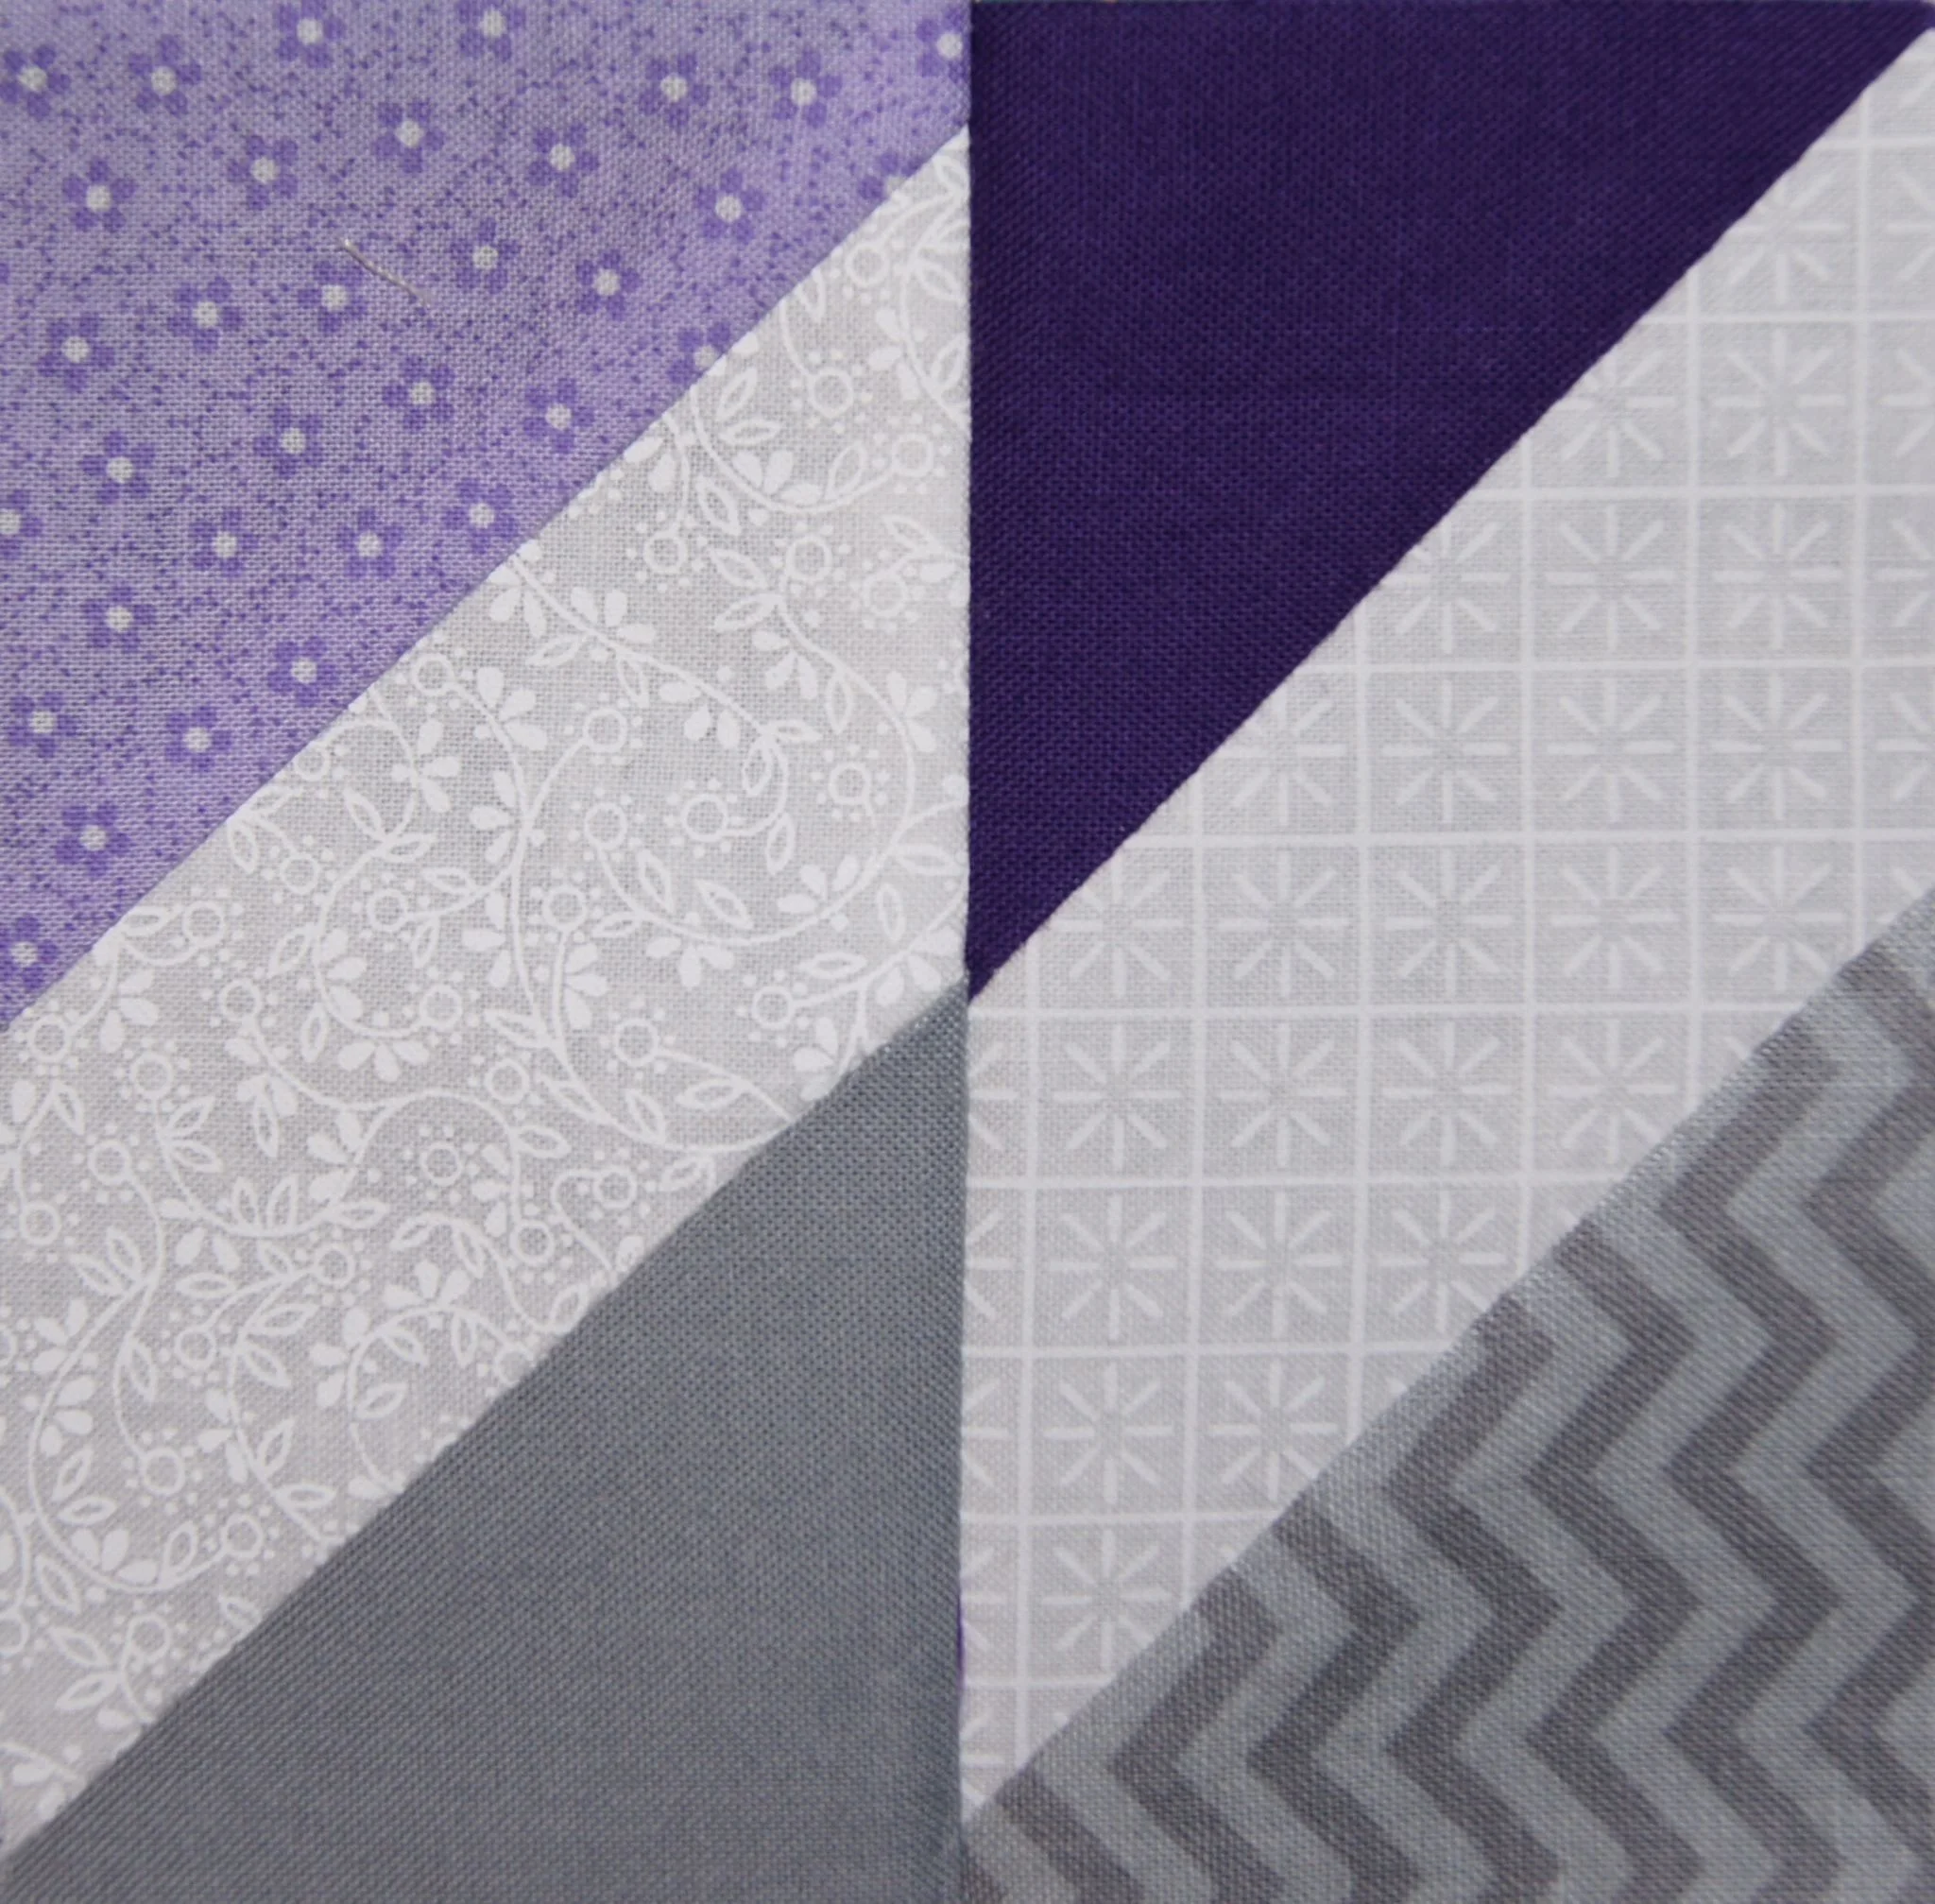
Step 2 block, "Grand Illusion" 2014 Mystery Quilt designed by Bonnie Hunter
I think the most challenging aspect of Part 2 was deciding how to cut the fabric for this block.
I considered doing the stitch and flip with bonus blocks but decided just sewing the seams needed for these blocks was all I wanted to do. So, no bonus 2 inch squares for me.
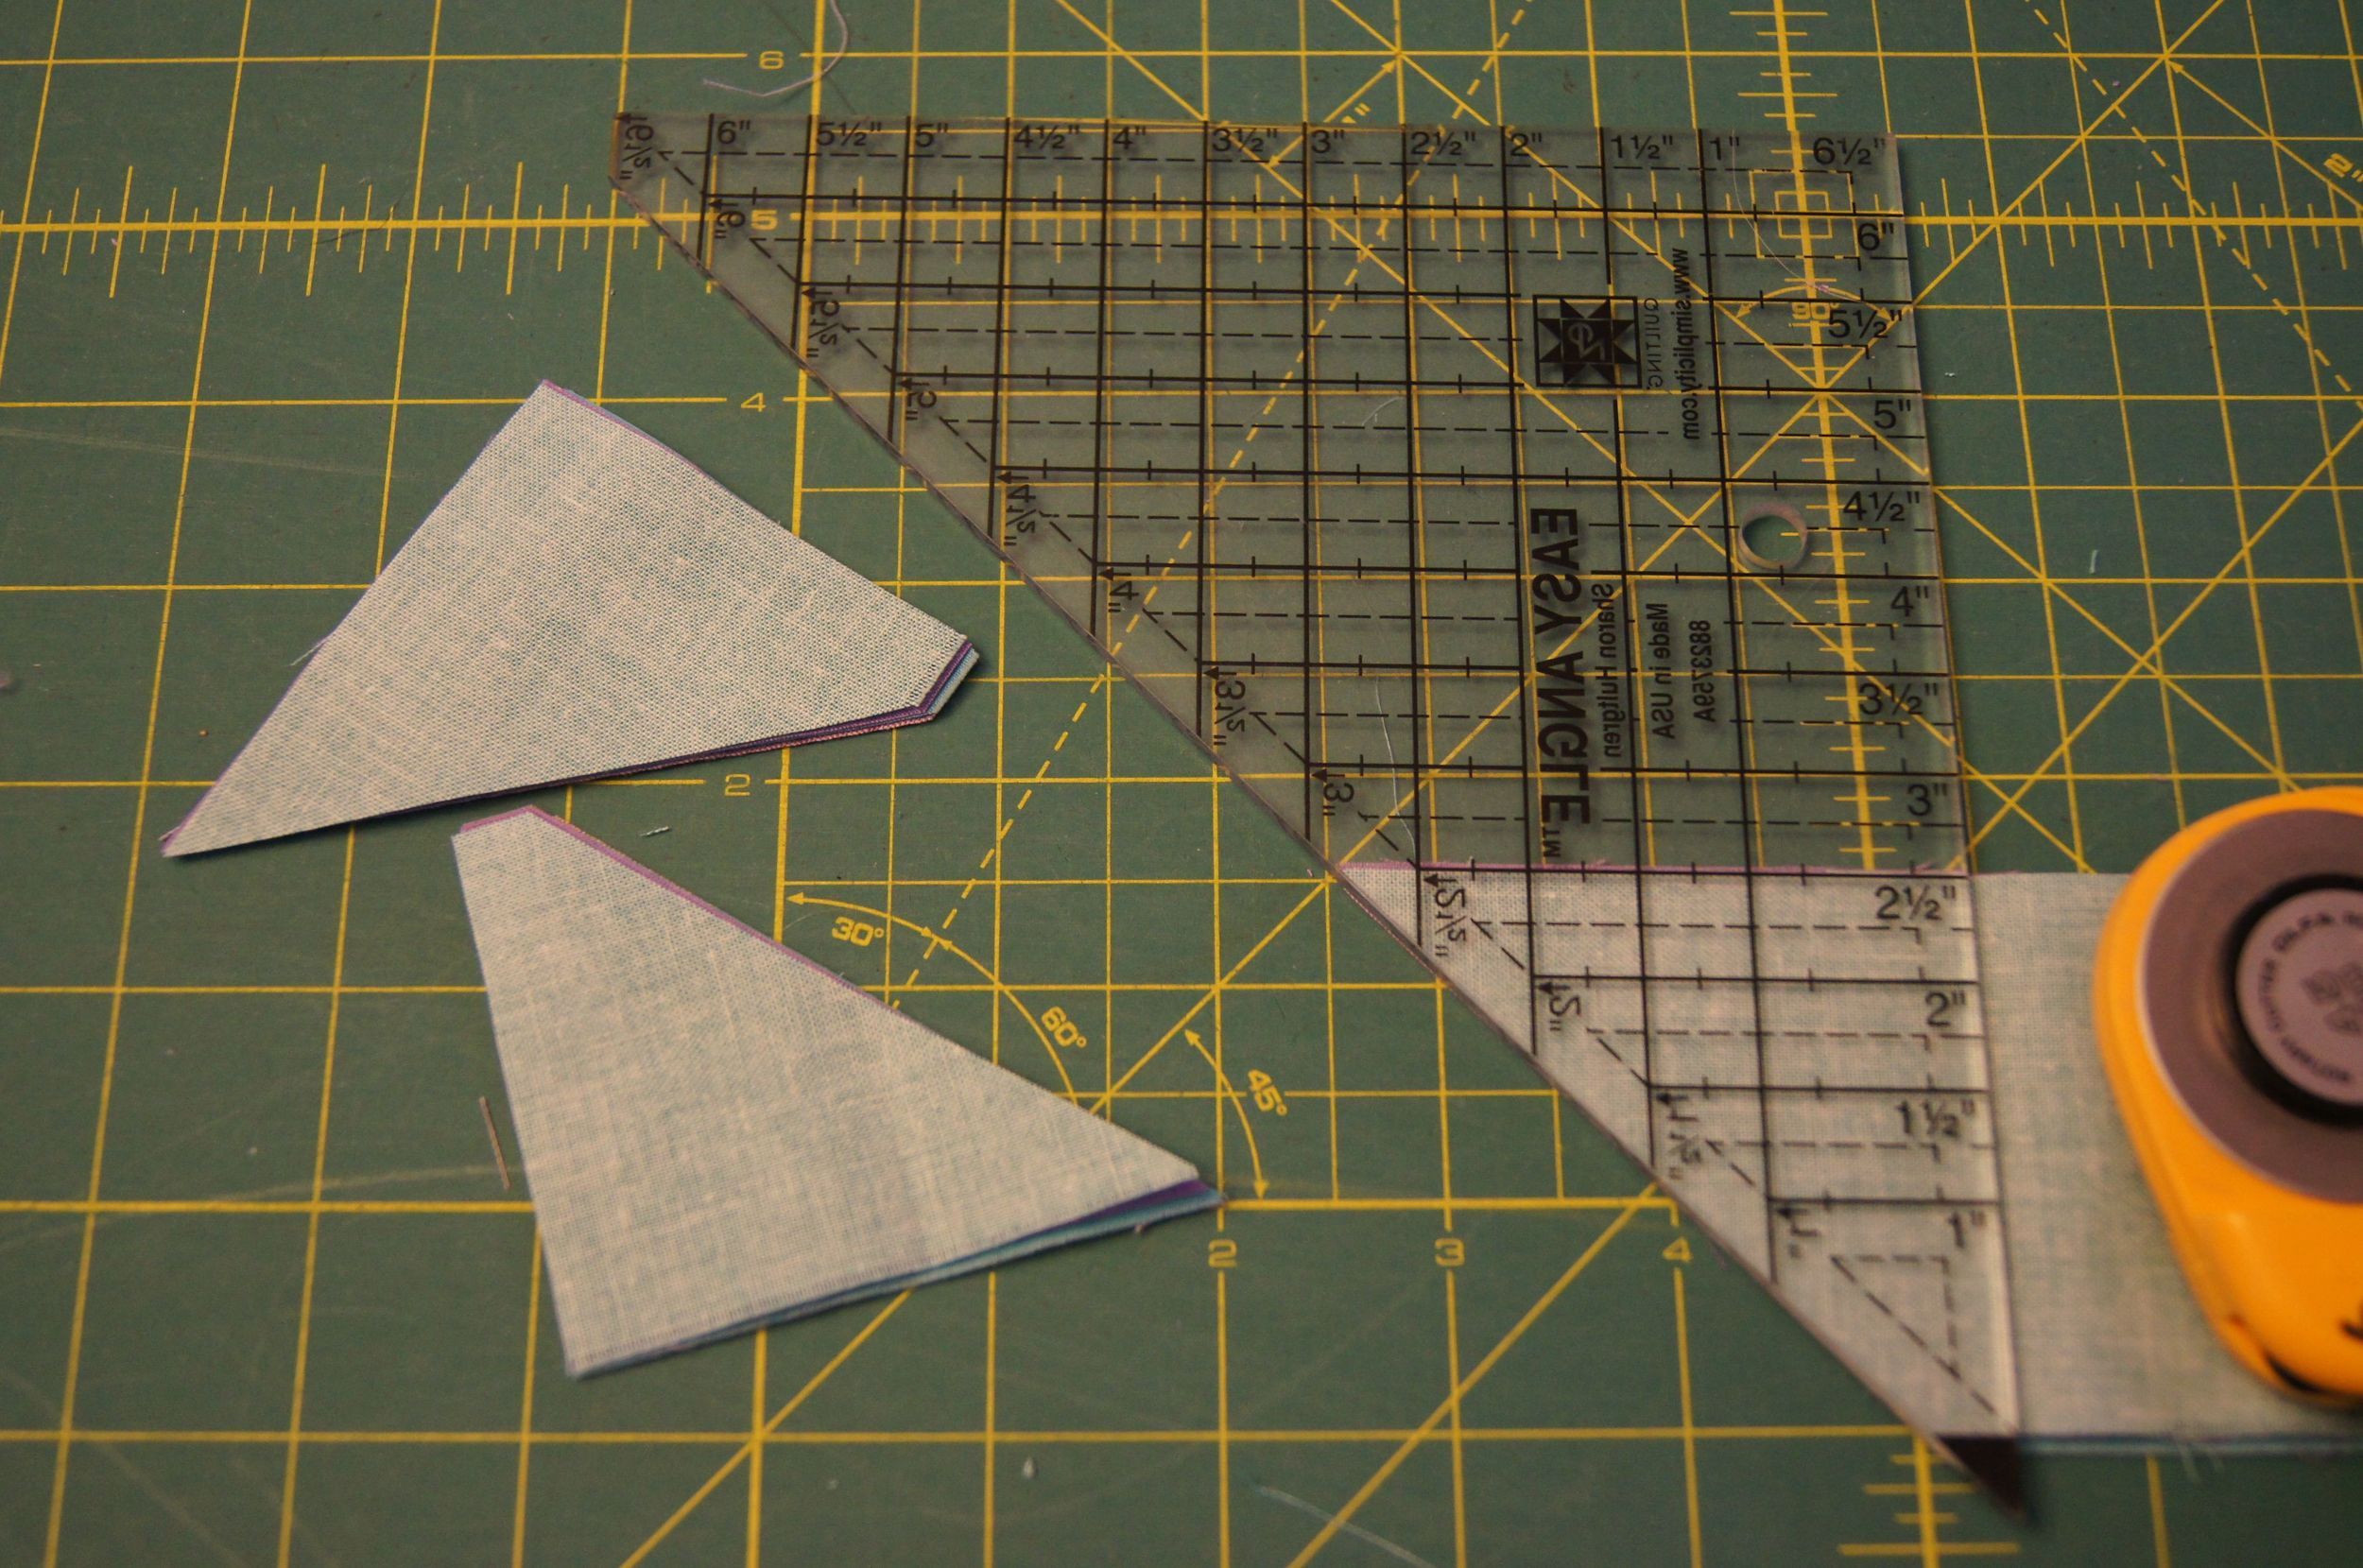
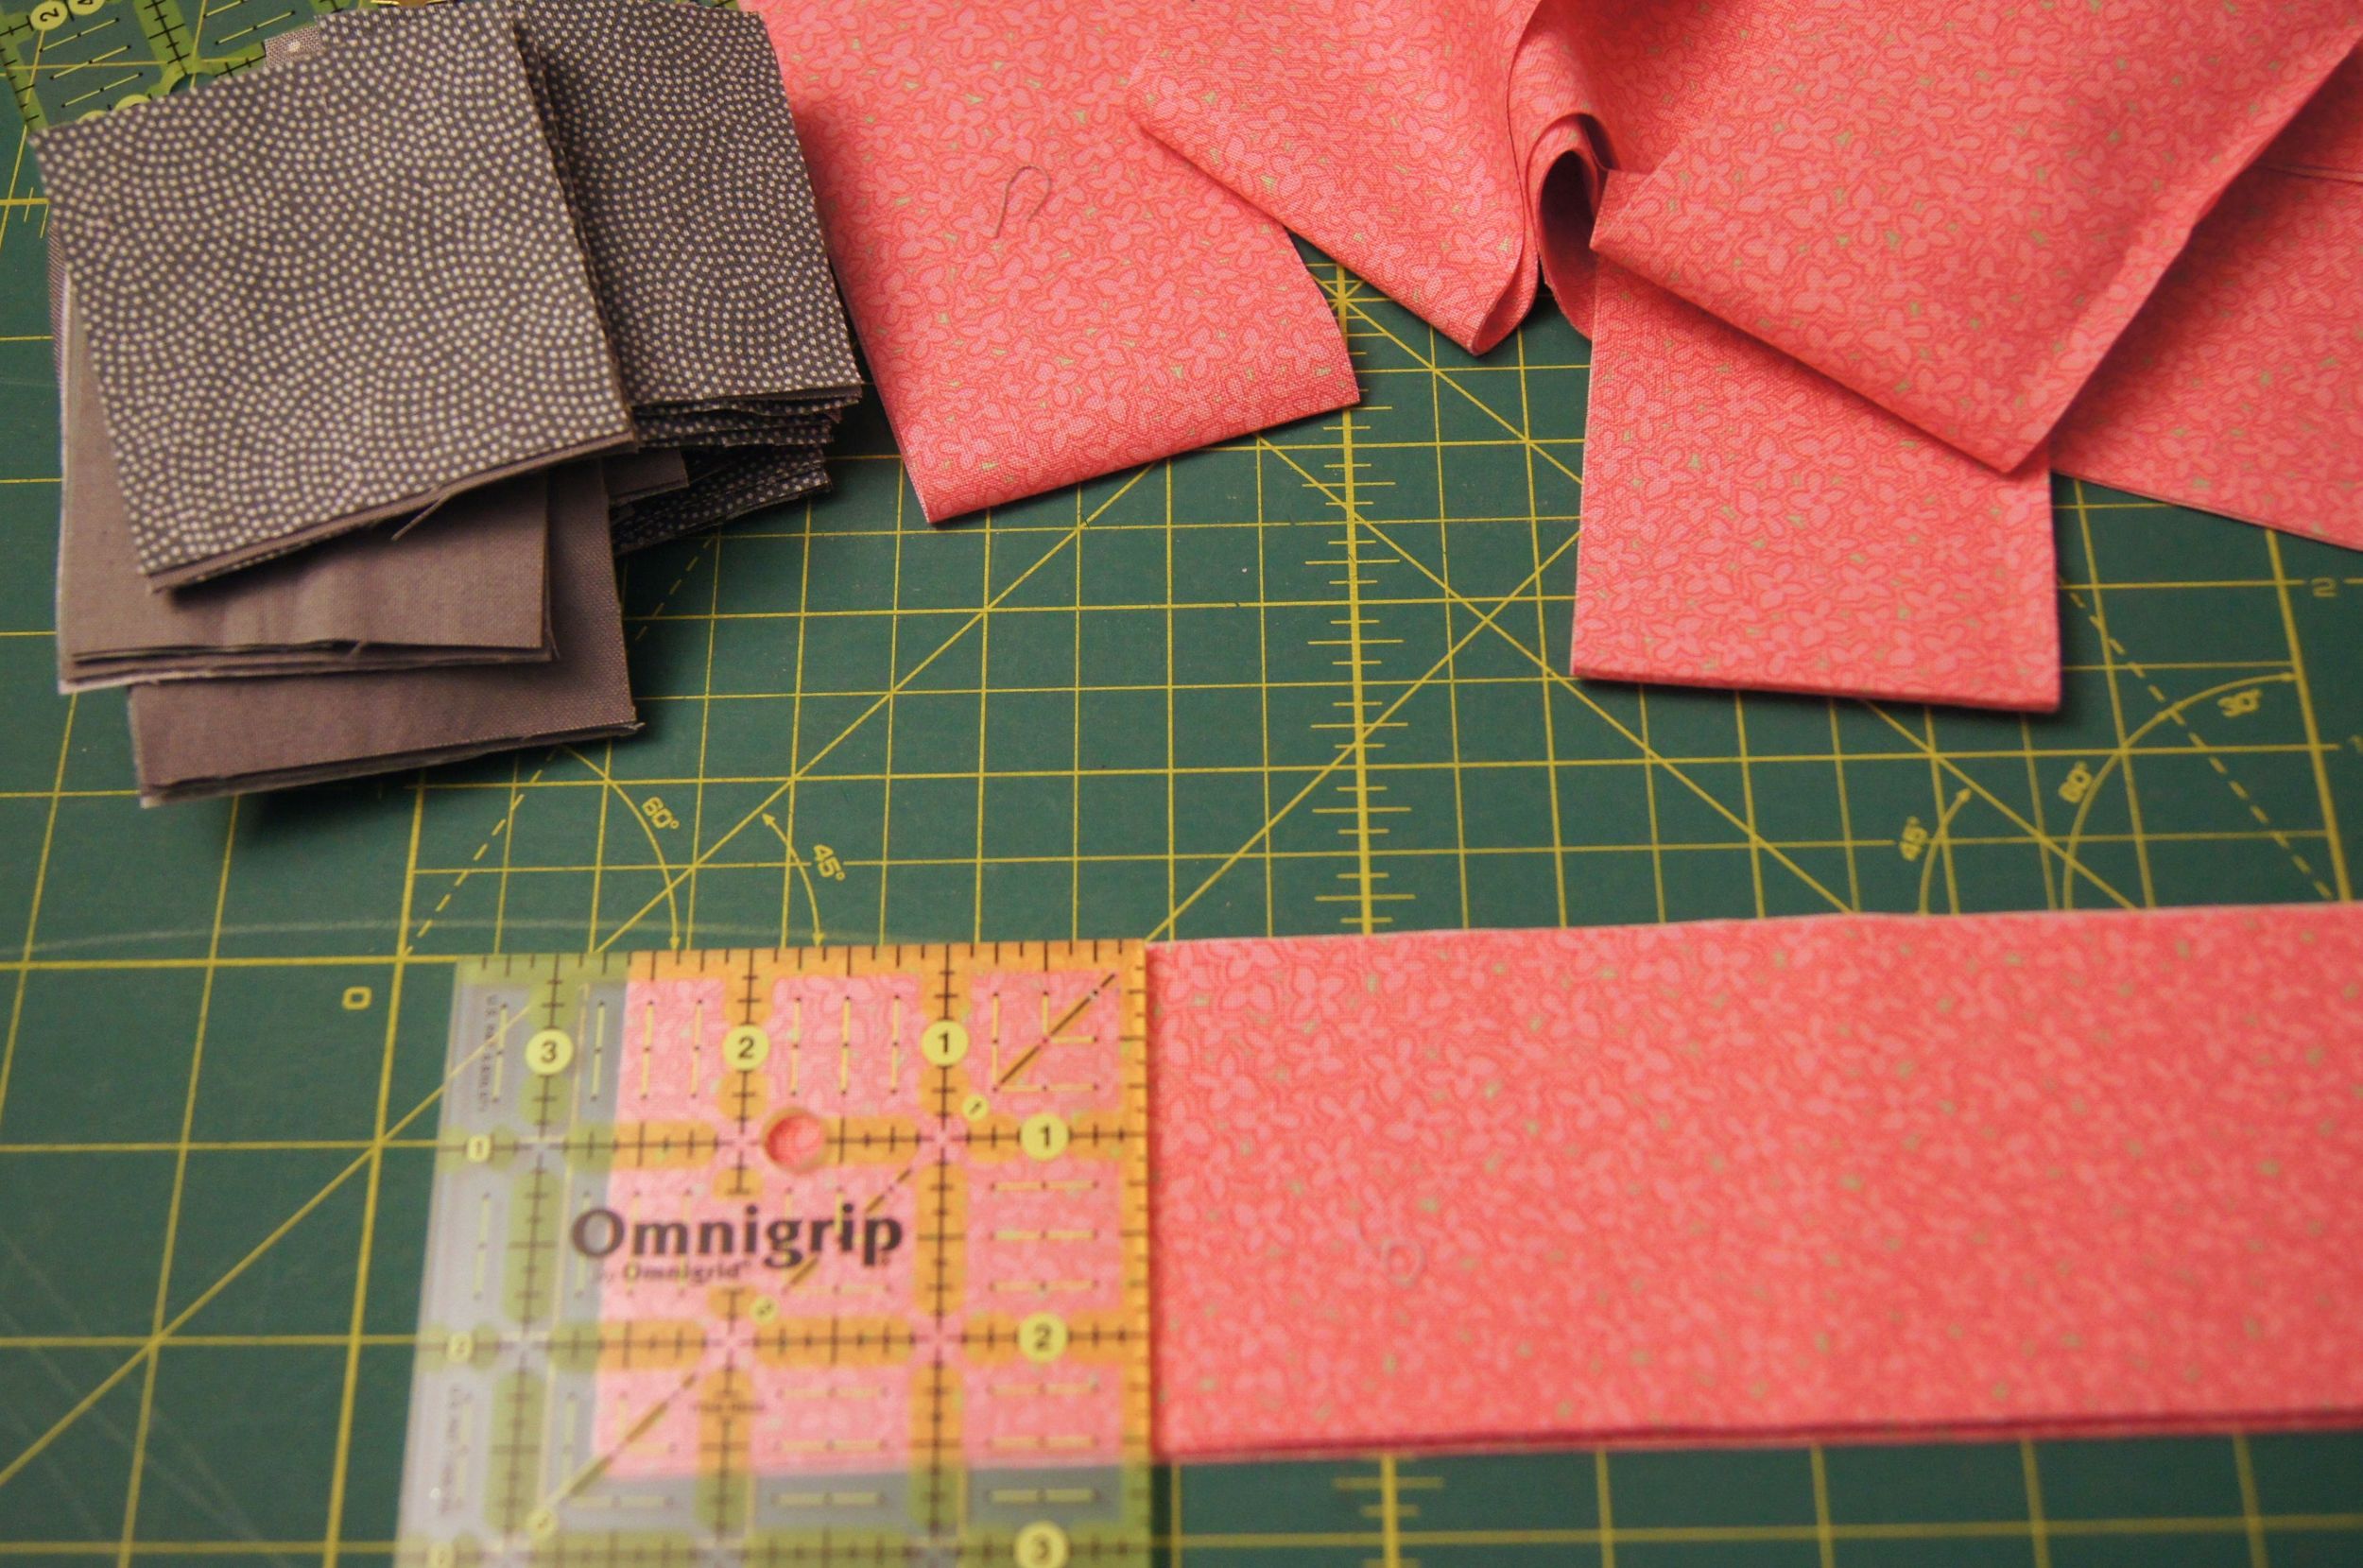
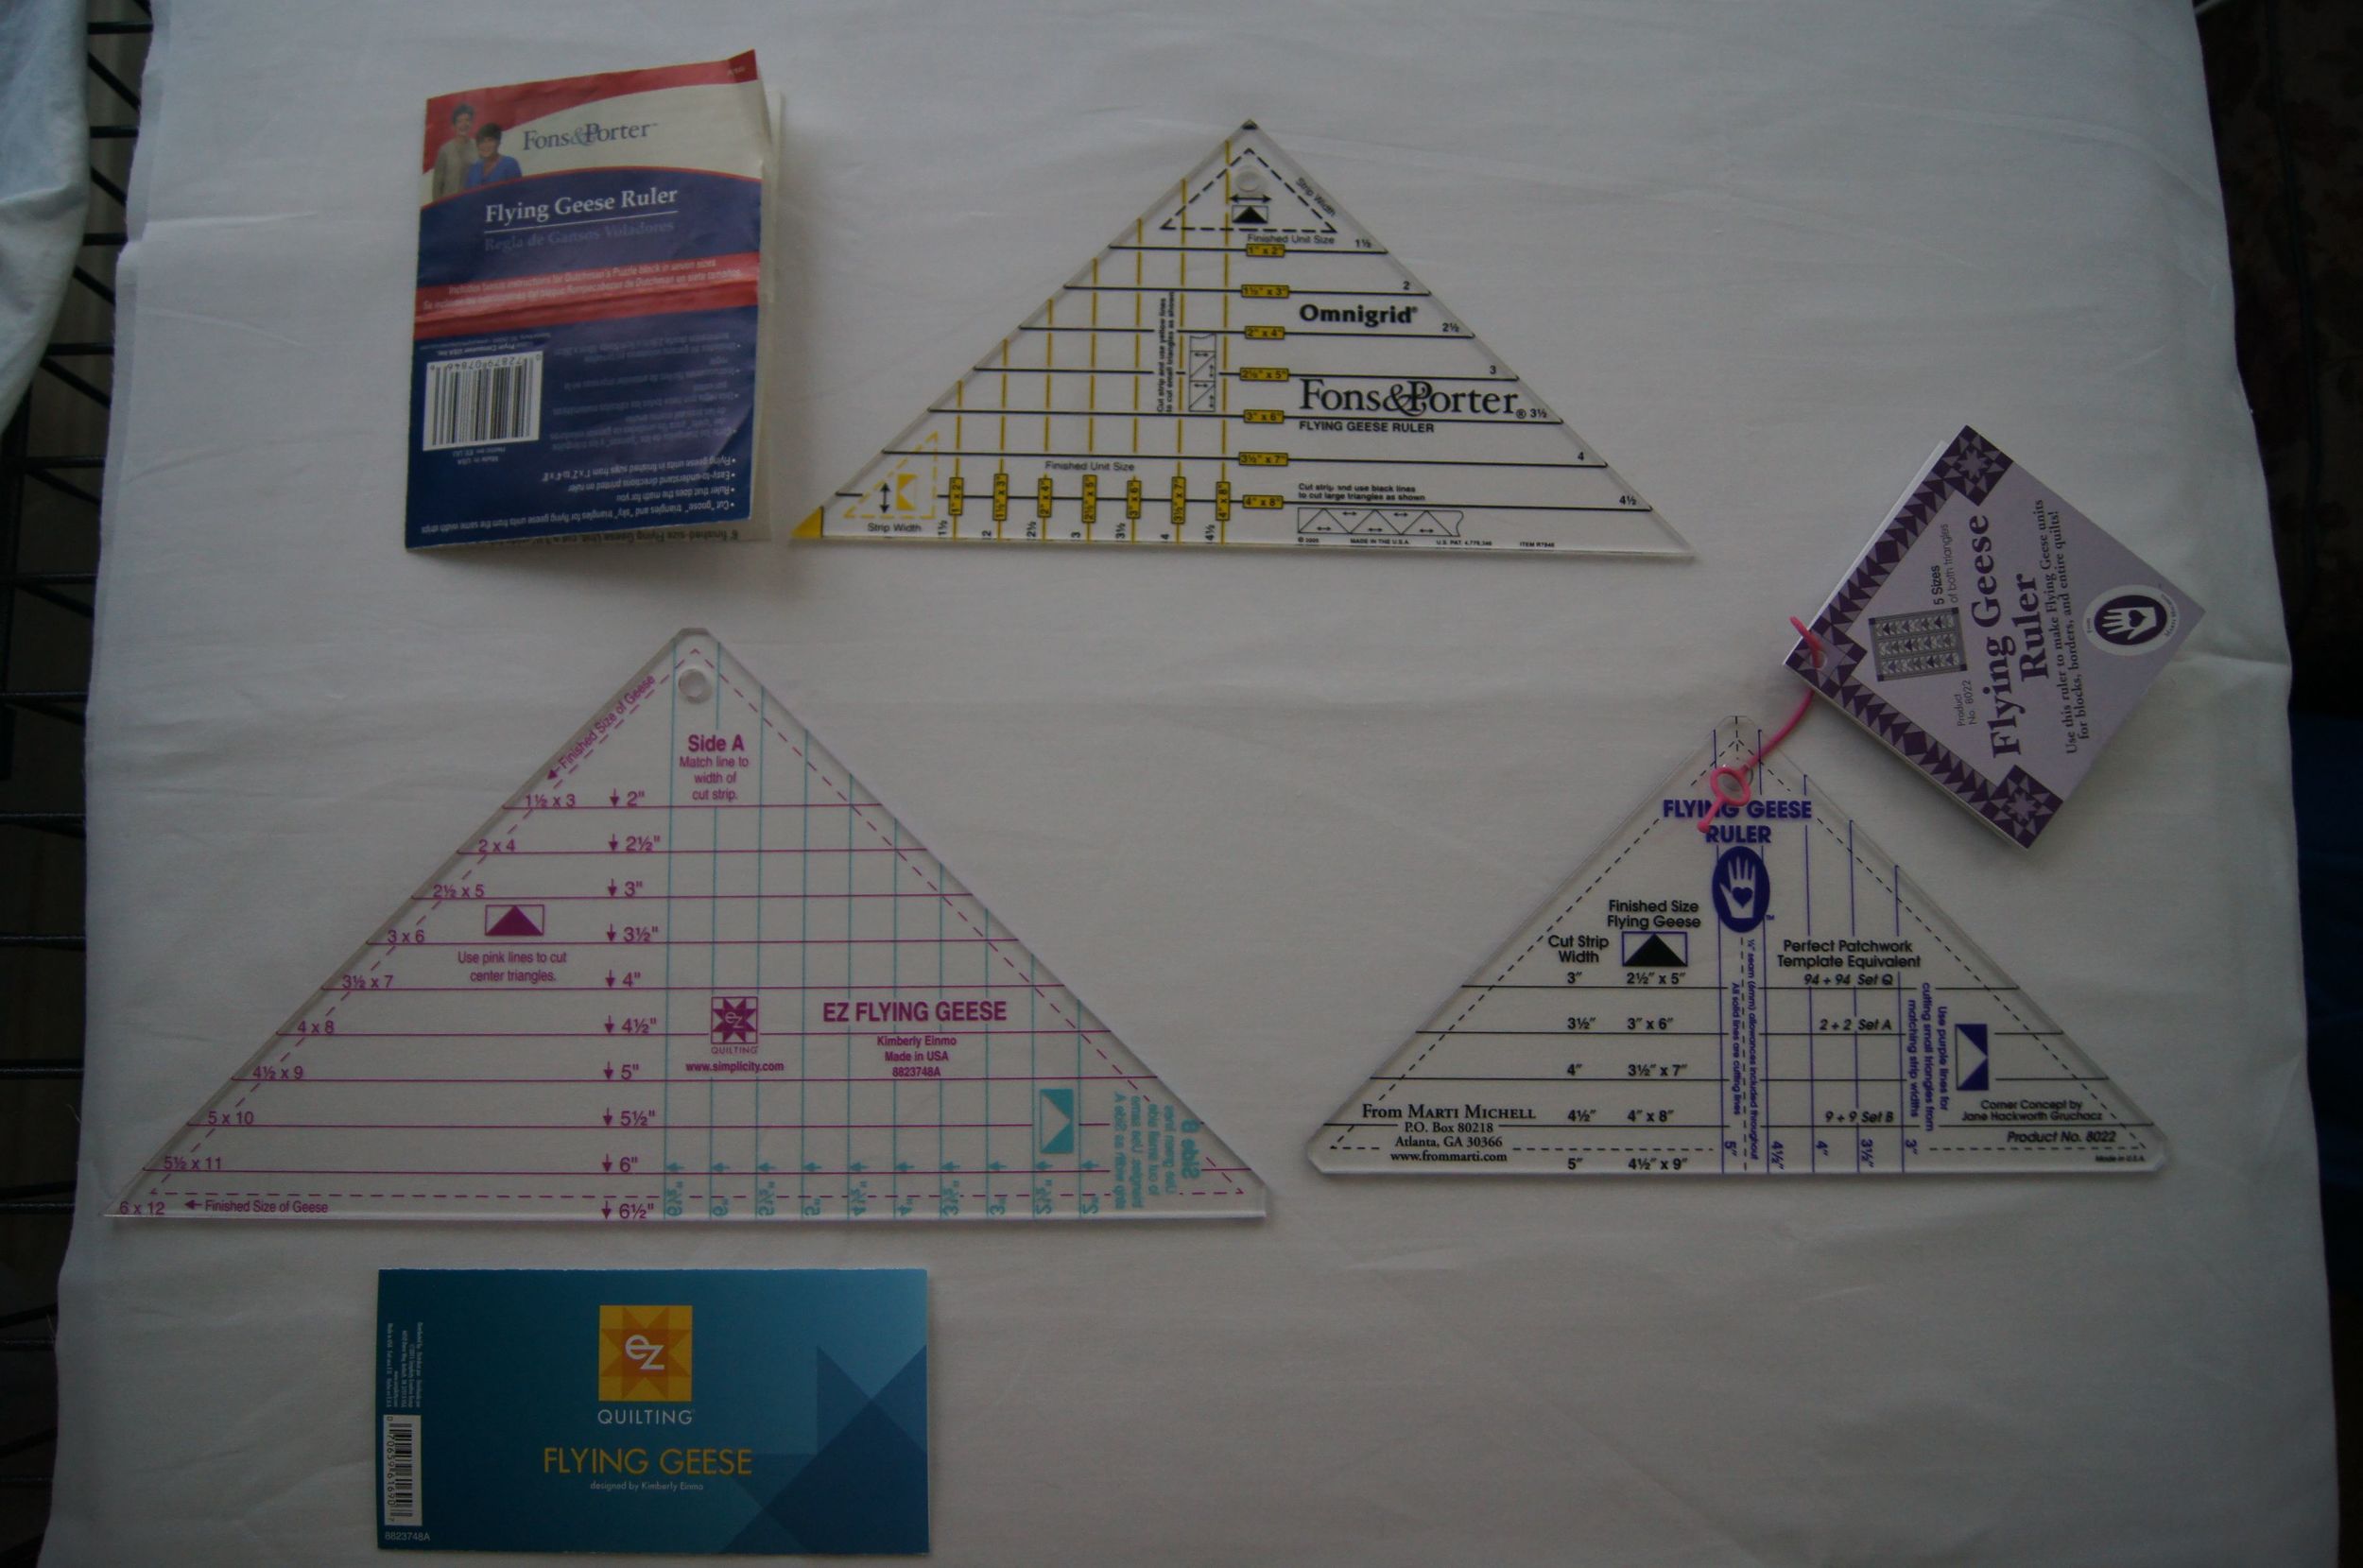
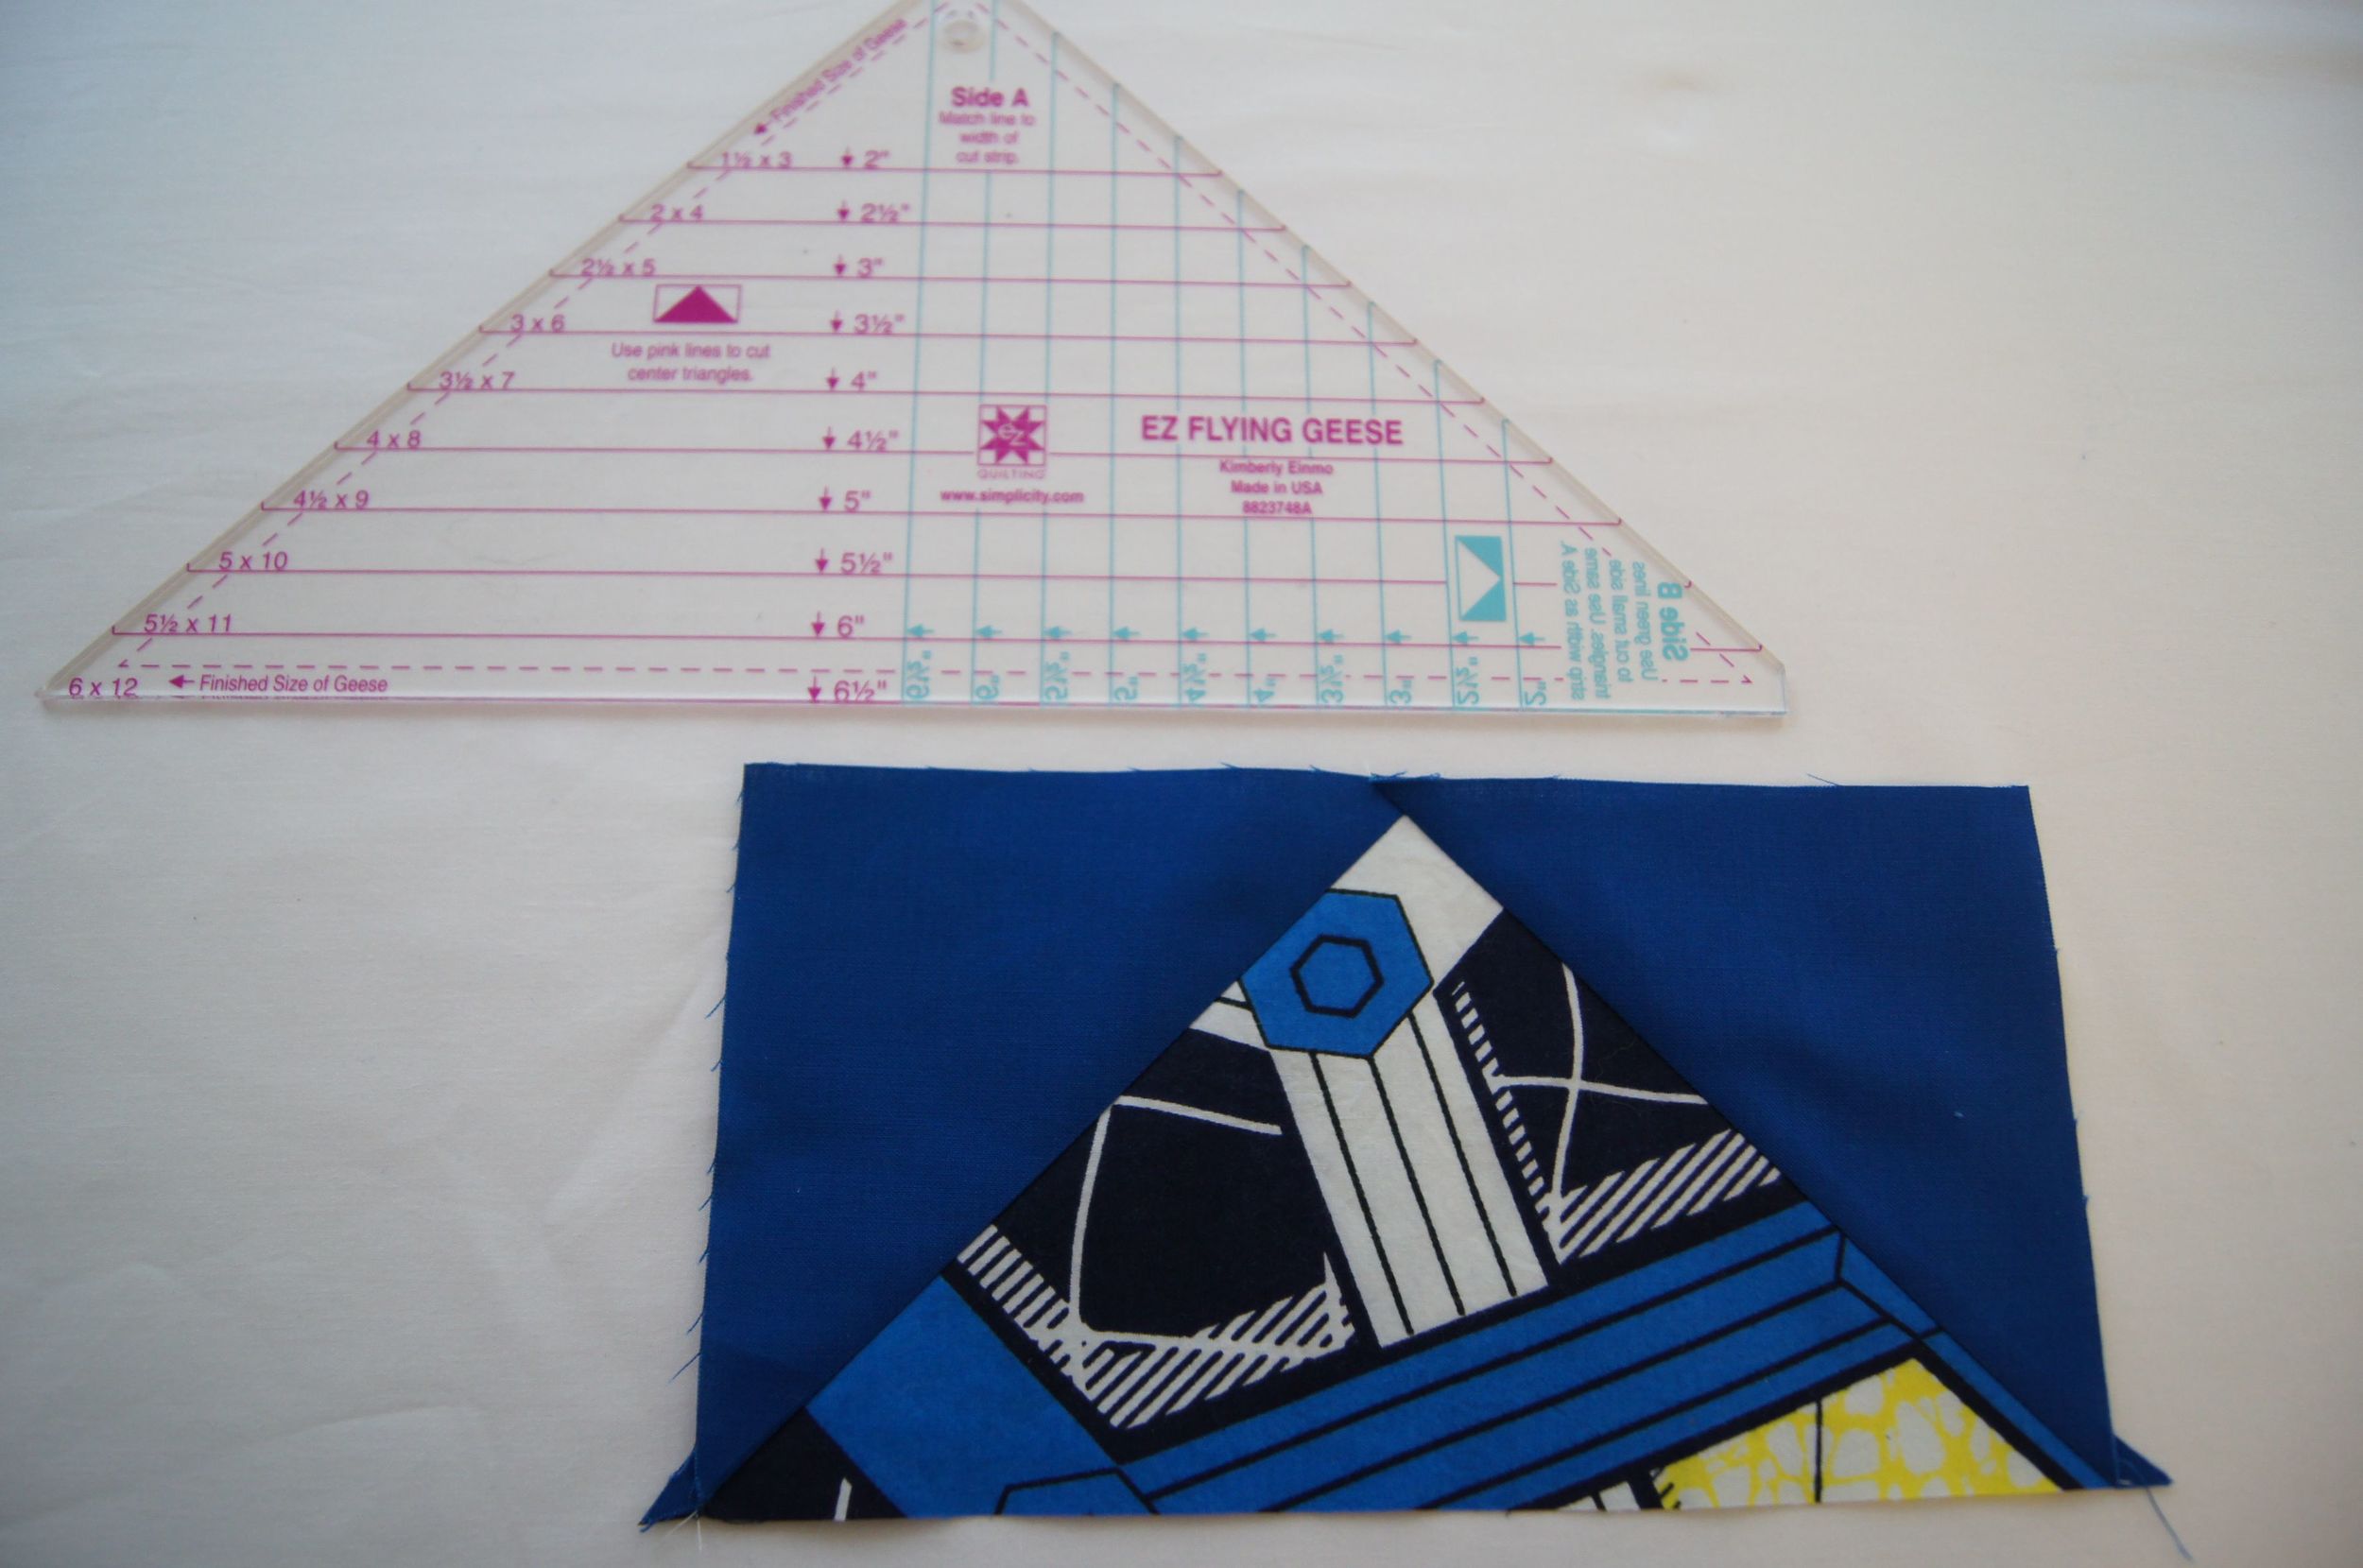
I chose to use the E-Z Angle Ruler with the template taped to the back side. Homemade templates--paper, cardboard or plastic are all easily damaged so that option had no appeal for me. So I really appreciated Bonnie's suggestion of cutting a paper template and taping that to the back a lucite ruler. That worked really well.
However, I struggled to get the paper template printed to the correct dimensions. As they say, little knowledge can be a dangerous thing....but in this case, it just resulted in taking me twice as long to get to the cutting mat!! I've used a number of paper pieced patterns from PDF files and created a few of my own. So I was puzzled when I saw the notation on the Block 2 EQ7 printable template PDF that it was 1 and 9/50th actual size. When I measured the templates they were slightly larger than the numbers Bonnie had listed. The side which was supposed to be 1 7/8 inch line was 2 inches on the paper template I printed.
So I reduced the size of the template to match that 1 7/8 inch measurement. I thought I was ready to go. But when I tried to match the template to the 2 1/2 inch line on the E-Z Angle Ruler--it was too short and didn't reach the 2 1/2 line. Back to the computer.
I decided to print the template "as is" and make a block to see if it finished at the correct size.
I use a MacBook Pro and have an HP printer. My printer screen didn't have the scaling option "None." Here's a screen shot of my options.
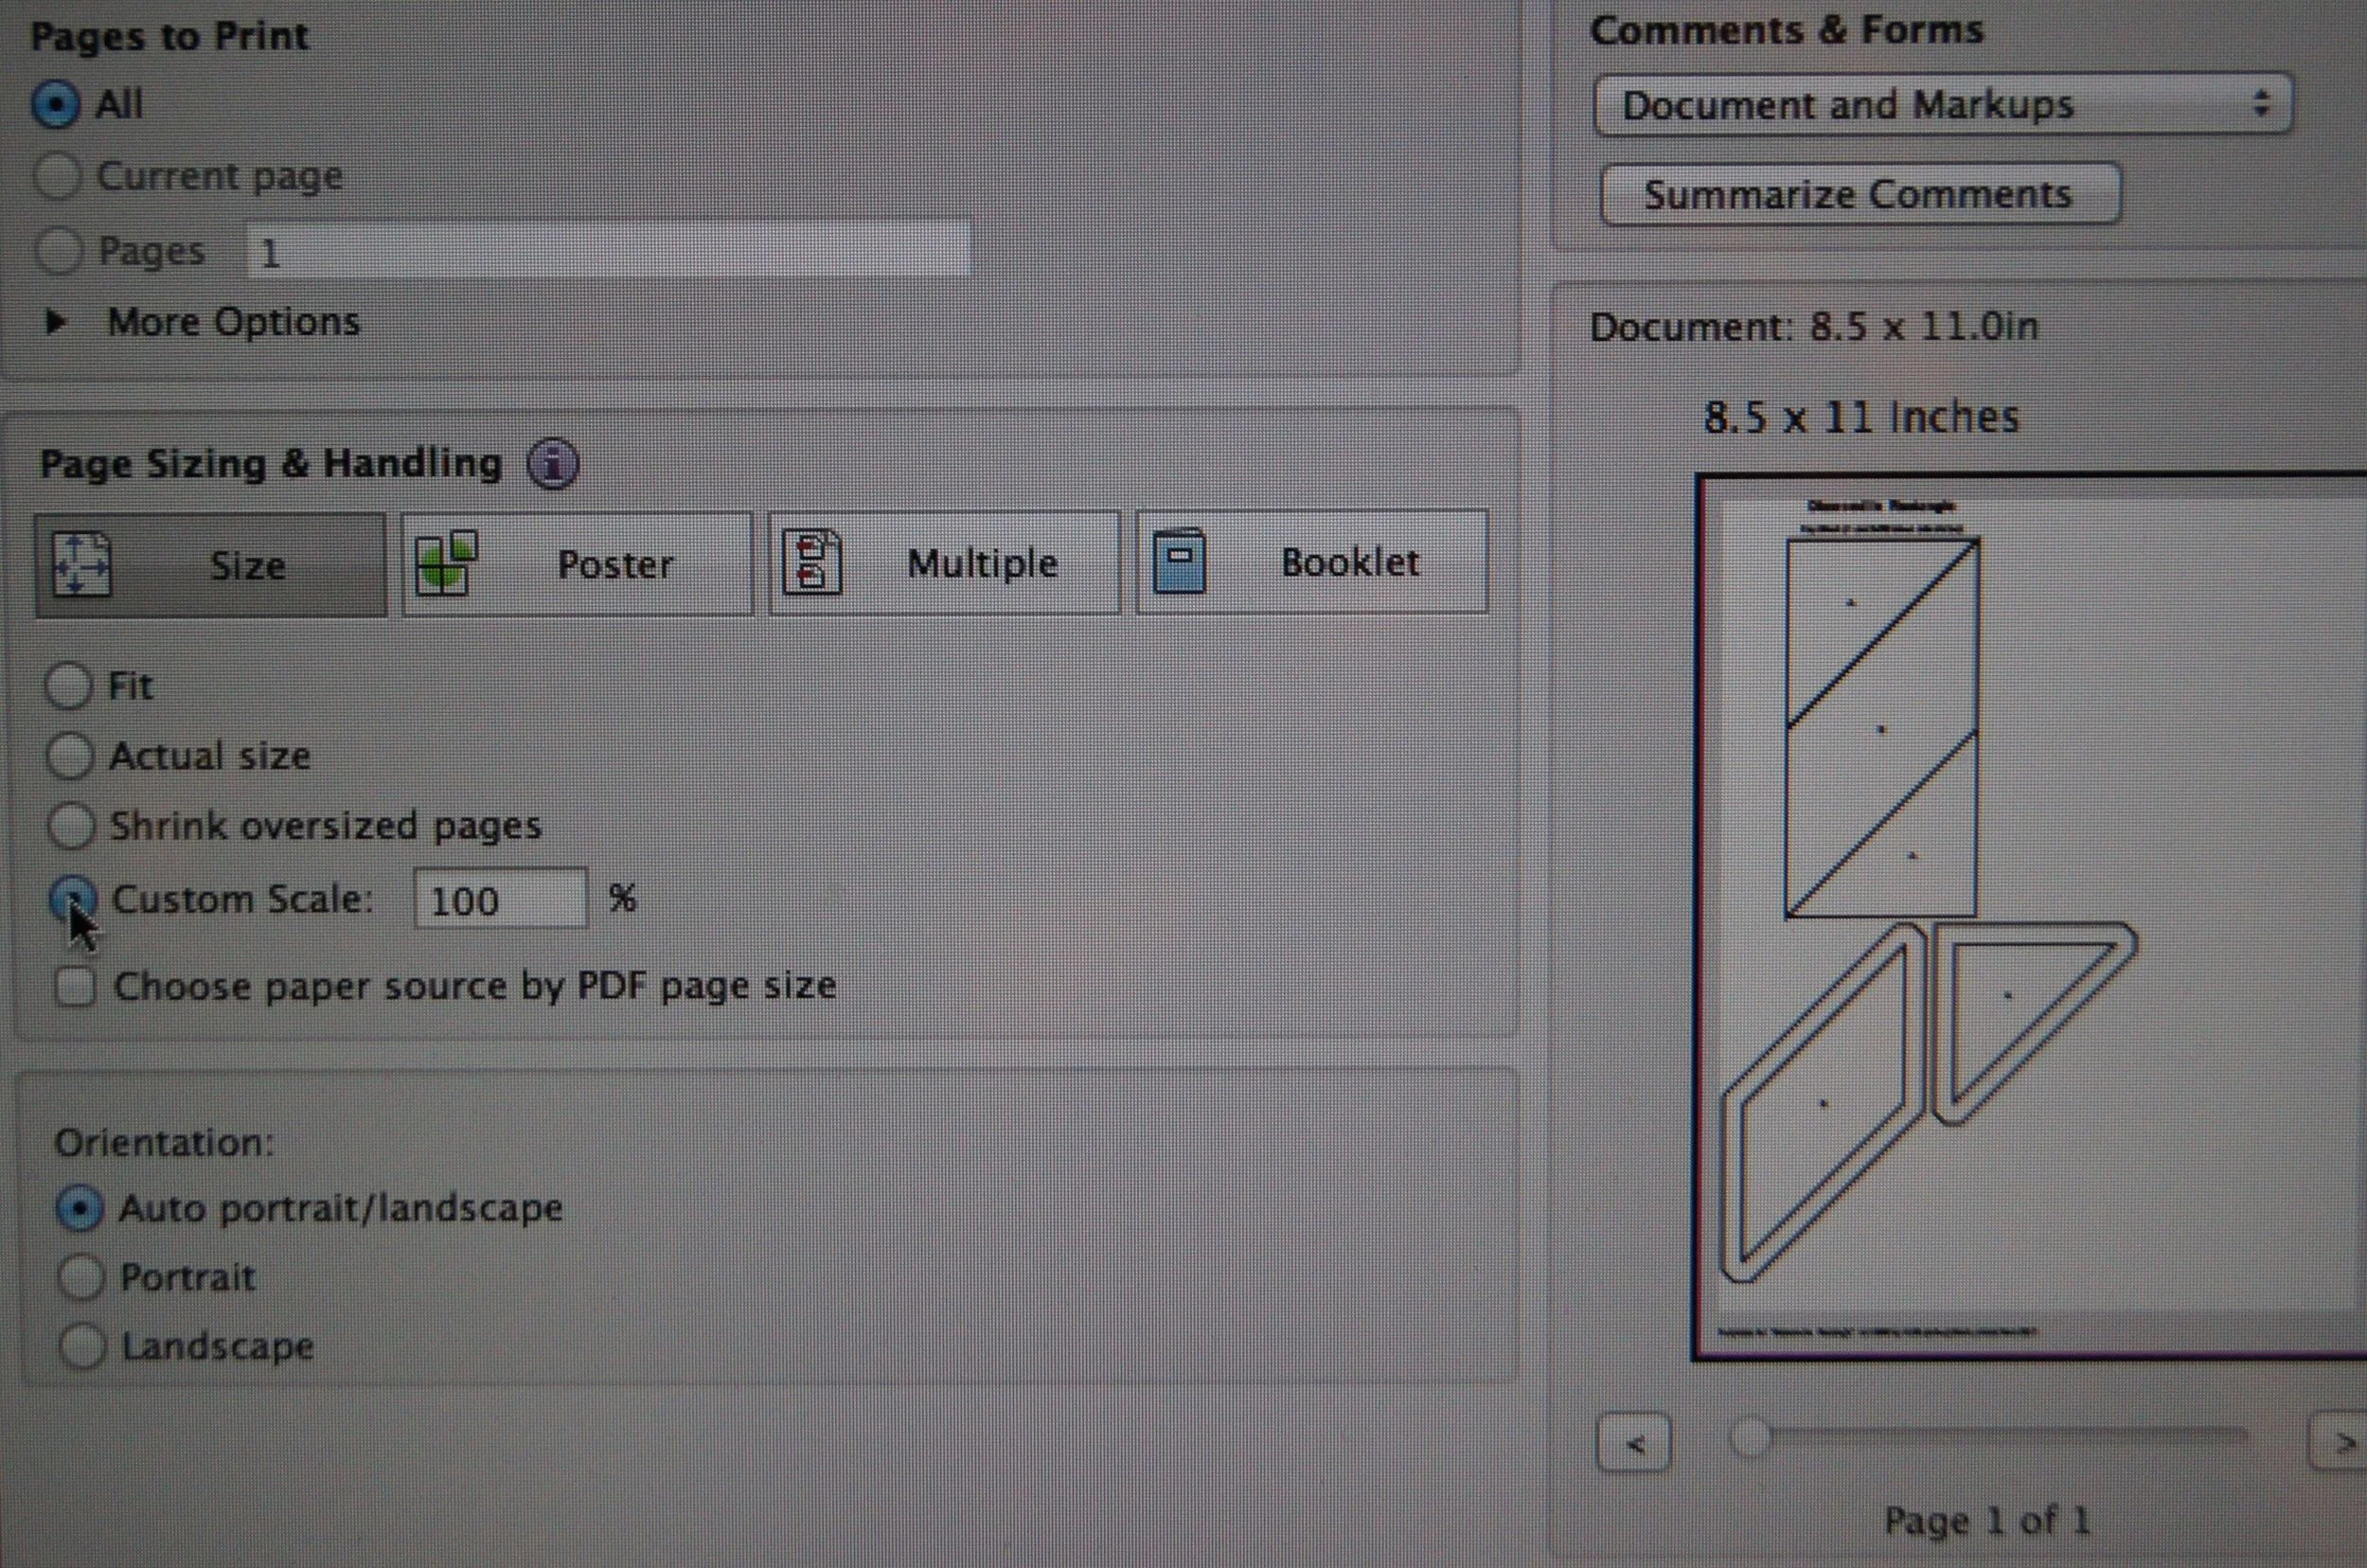
I used the Custom scale 100% option which is what I always use with PDF patterns for paper piecing. The template that printed fit perfectly on the 2 1/2 inch line on my ruler!
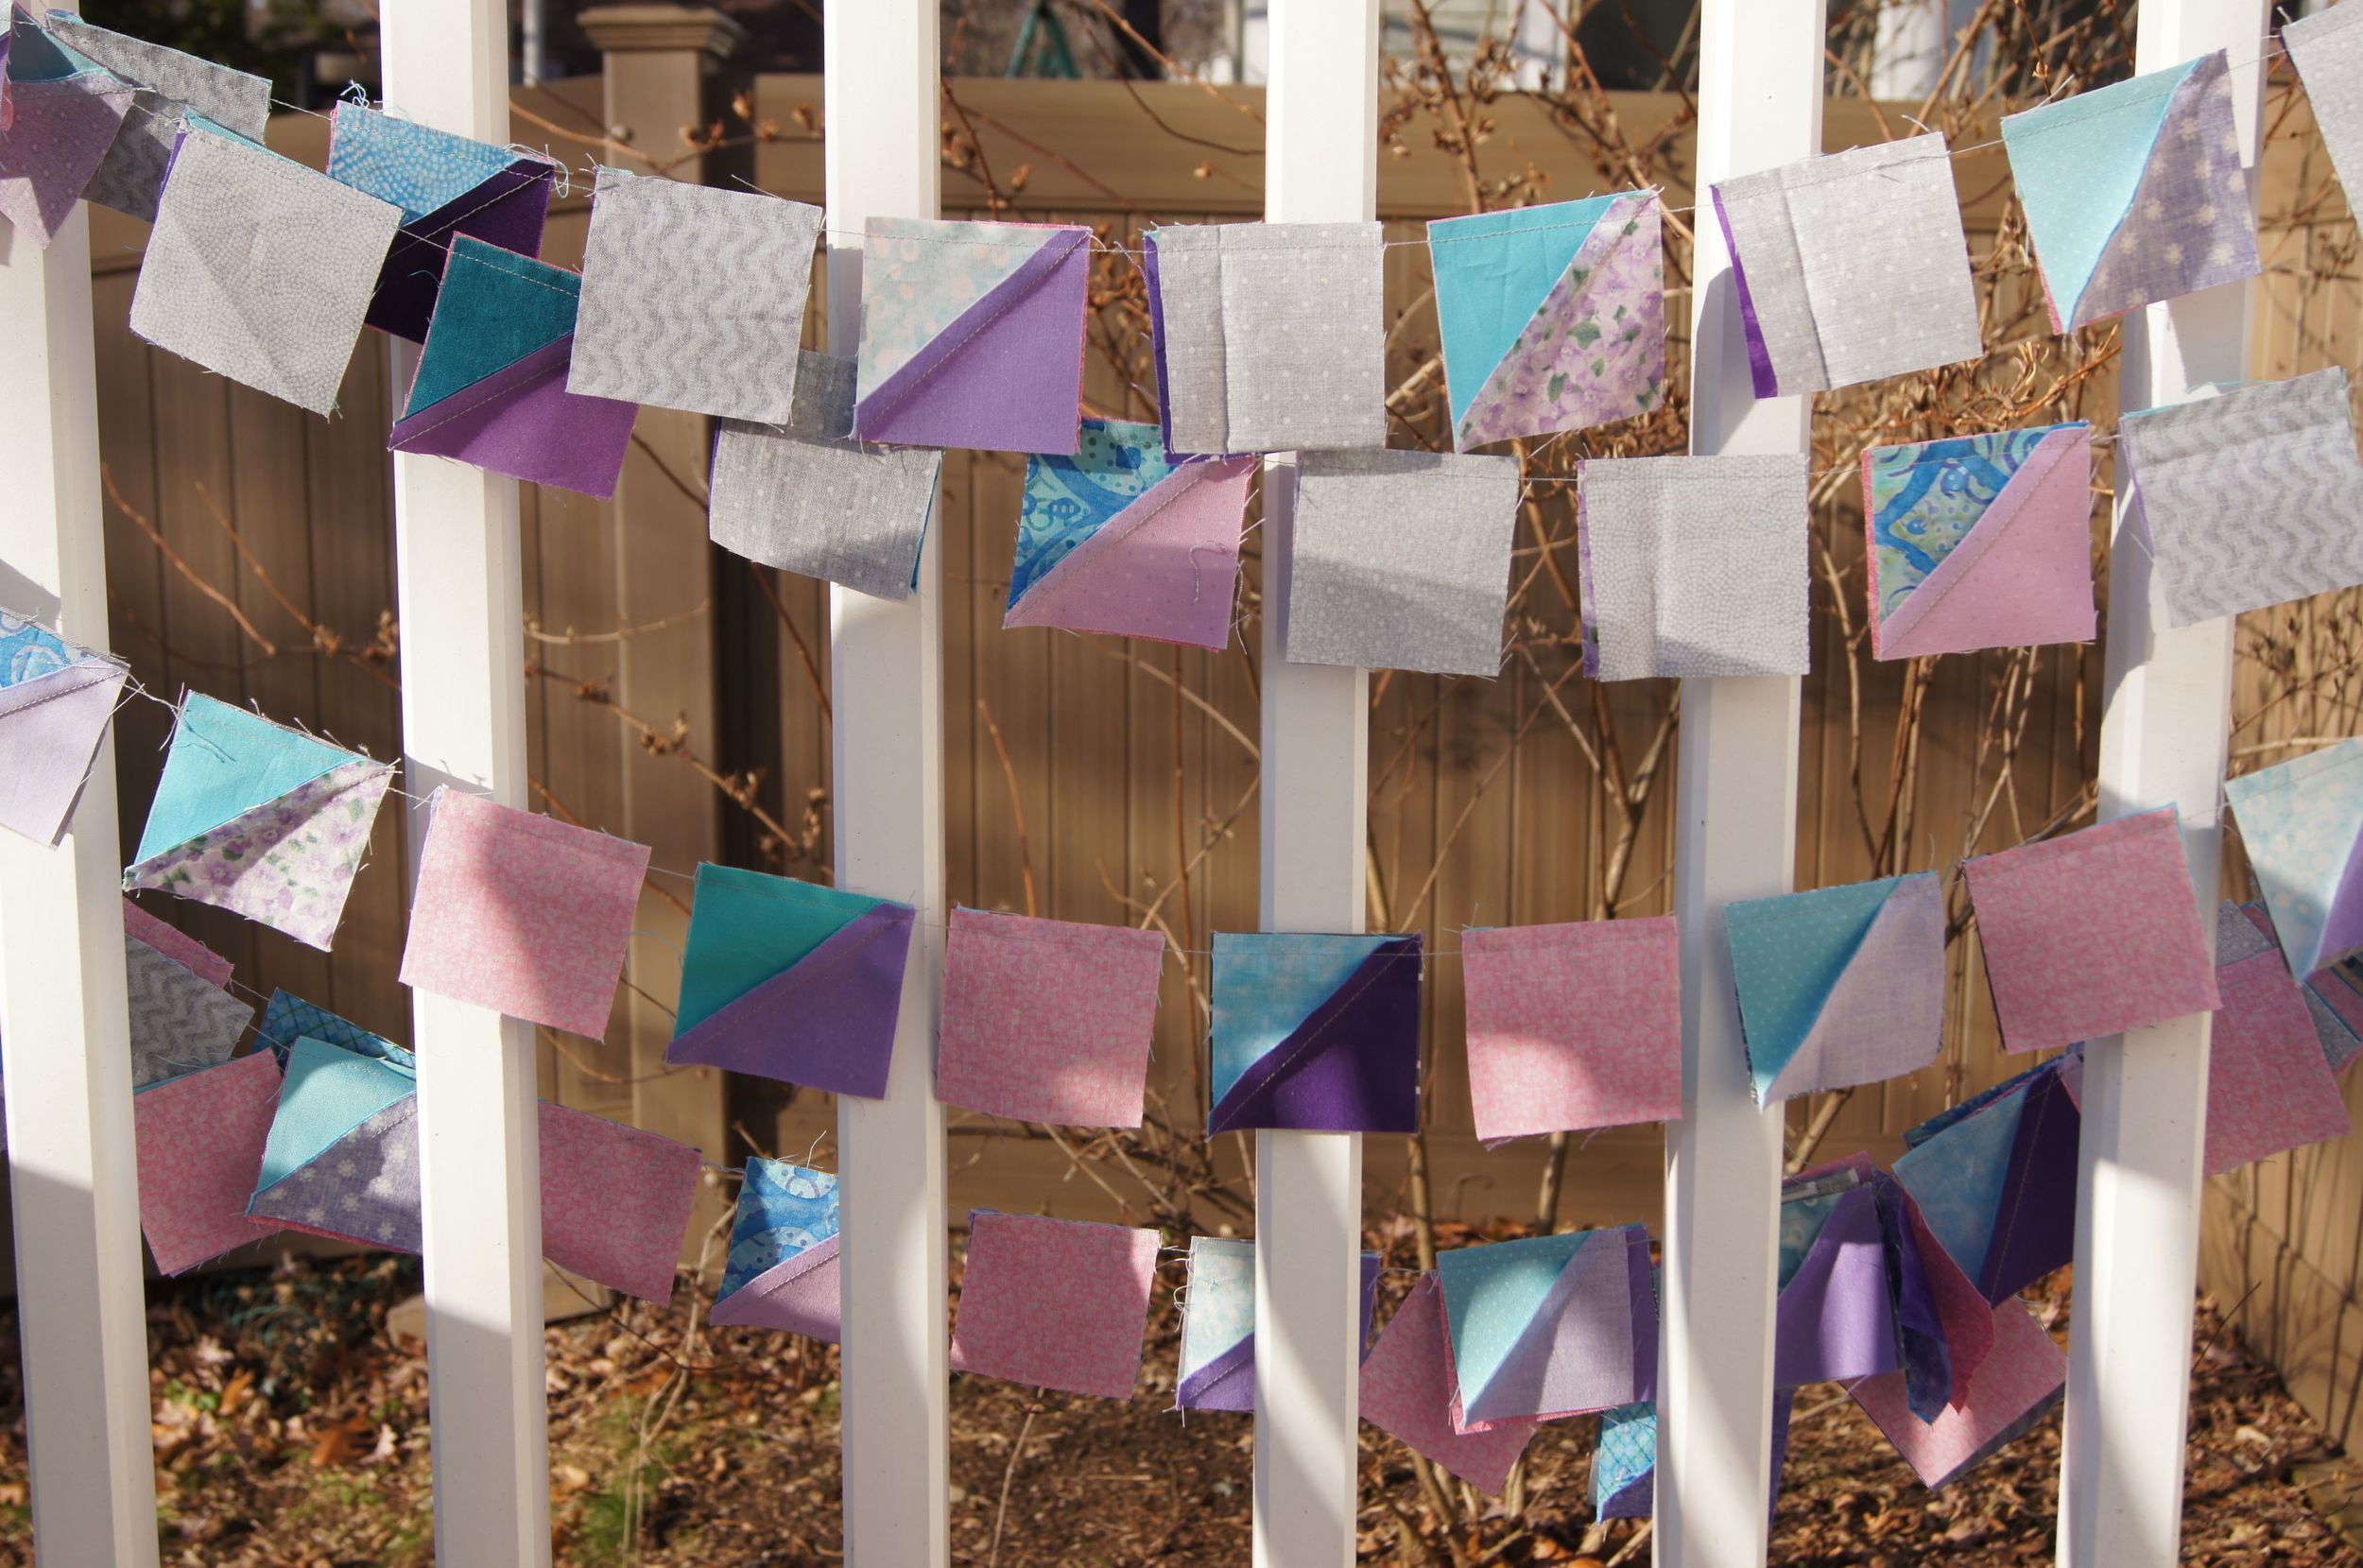
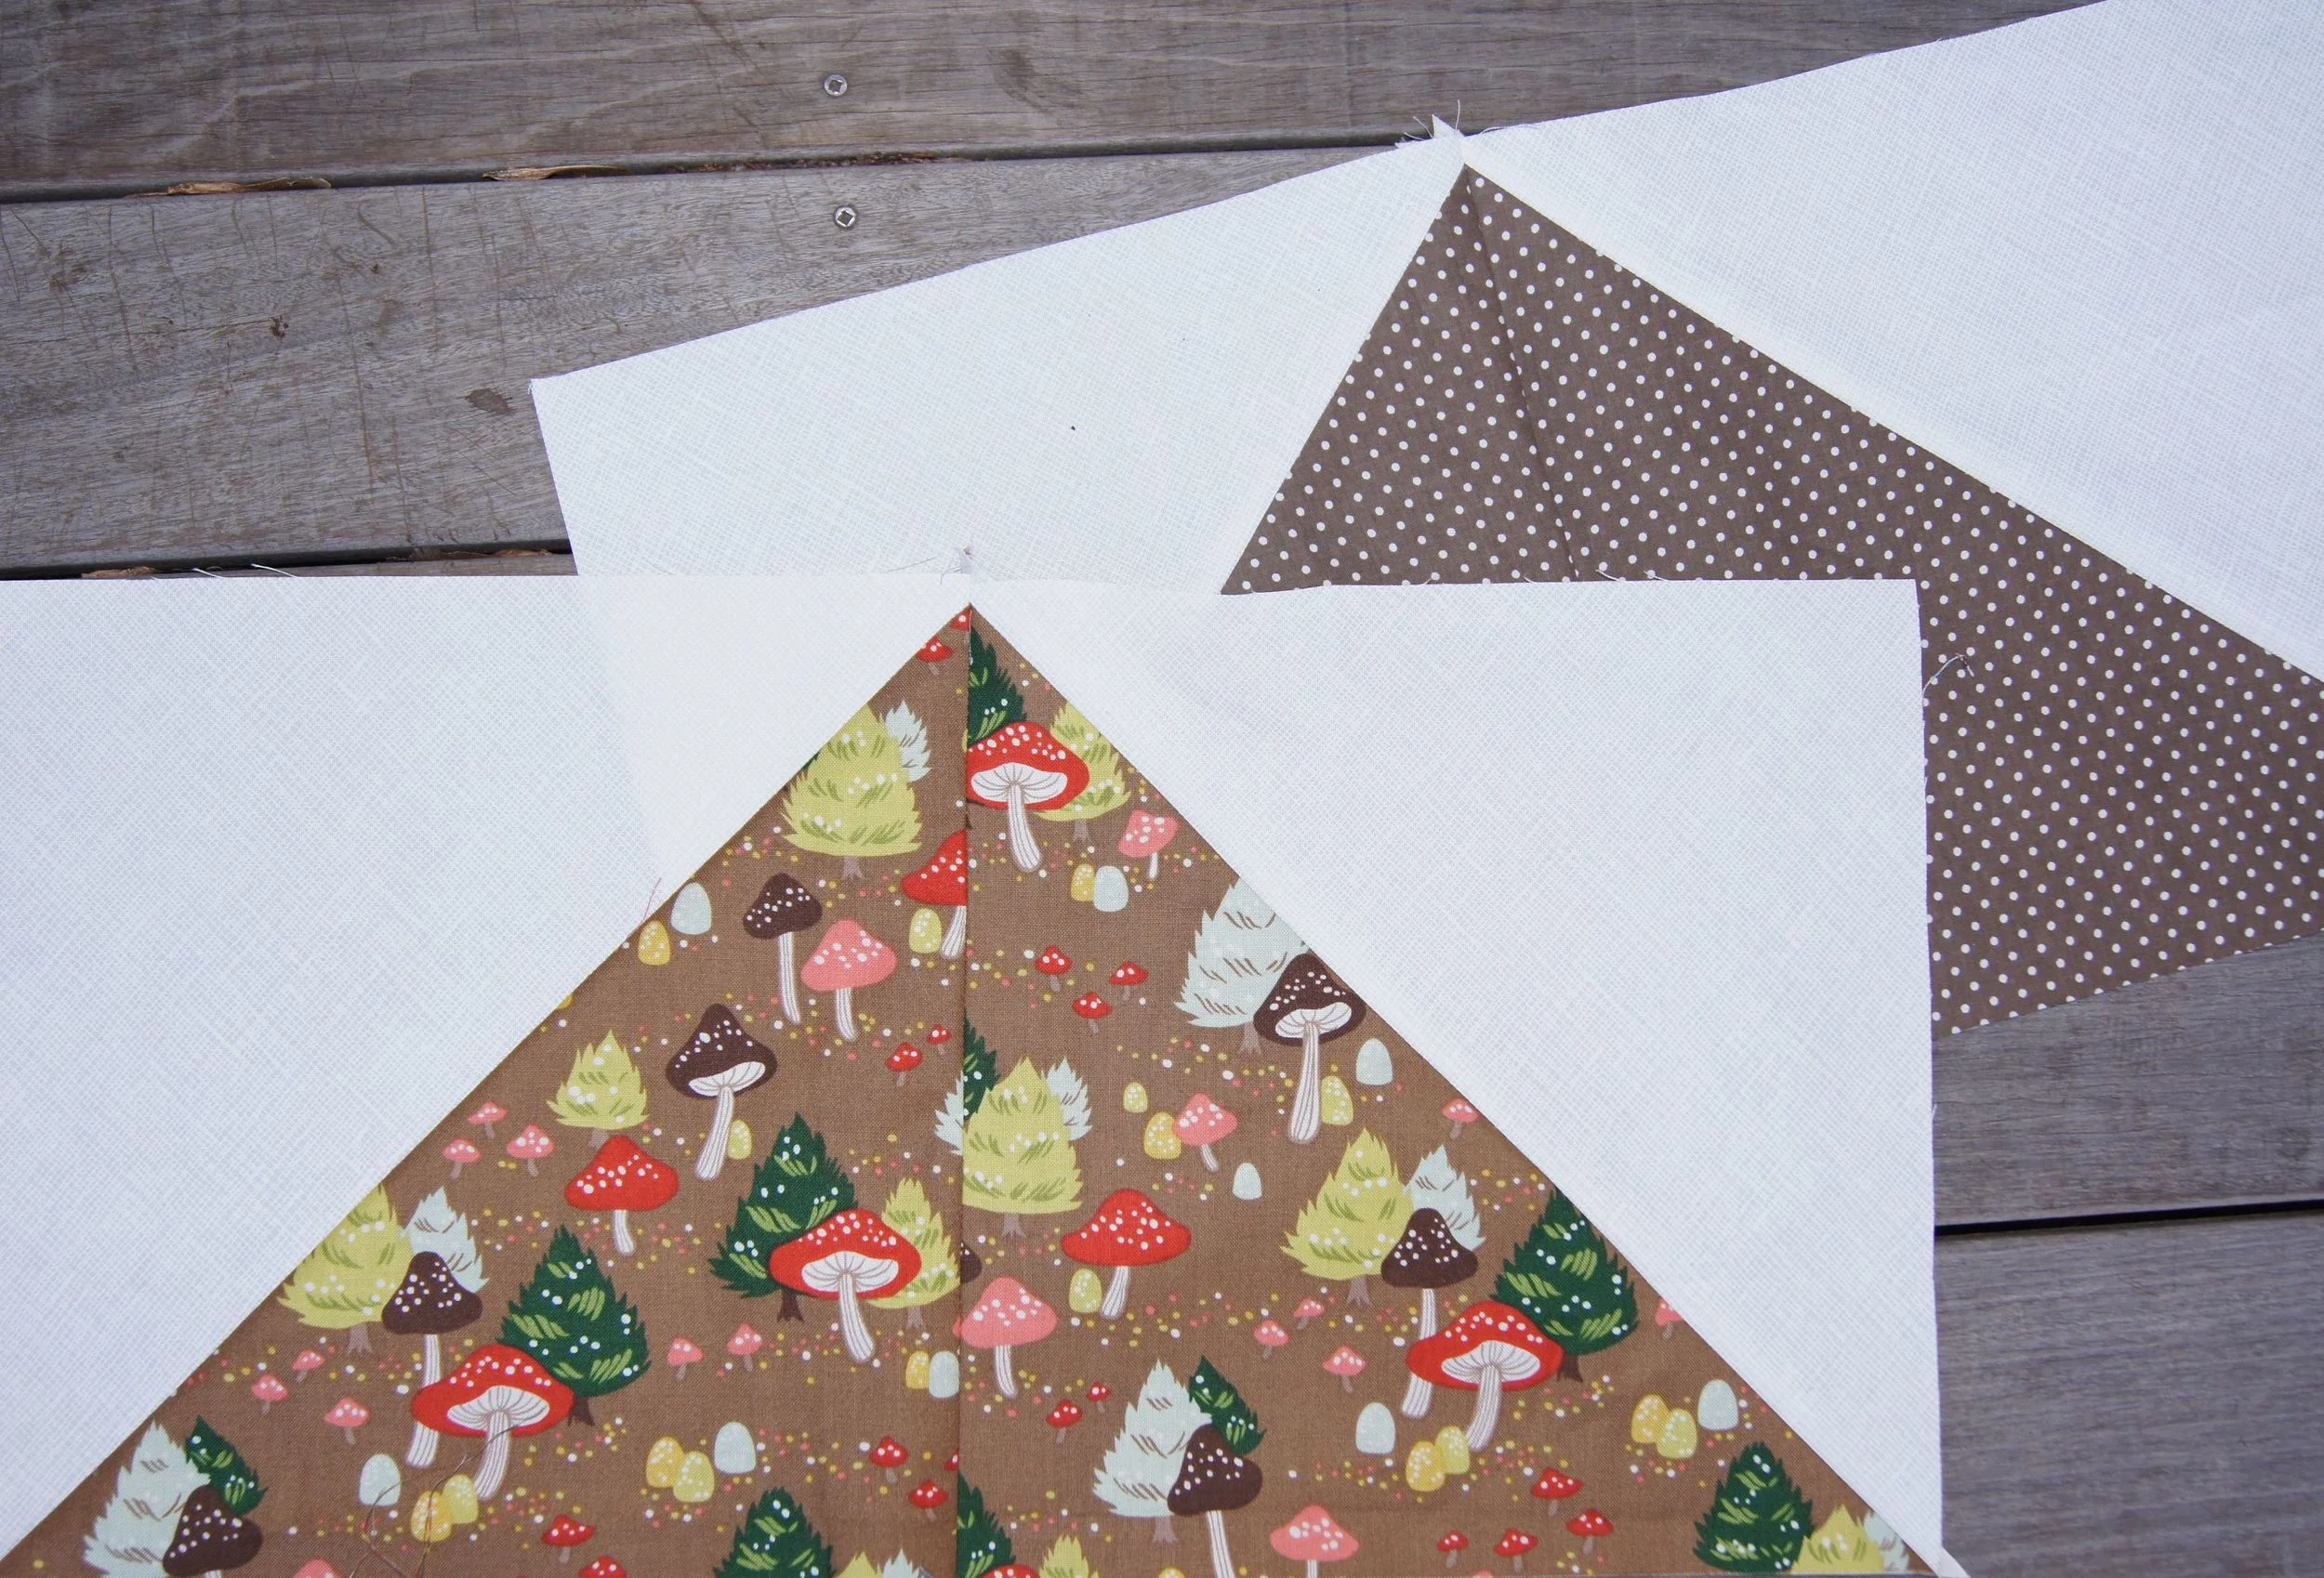
My test block was a perfect 2 1/2 x 4 1/2 inches. Good to go! This step was really straight forward once I had the correct template.
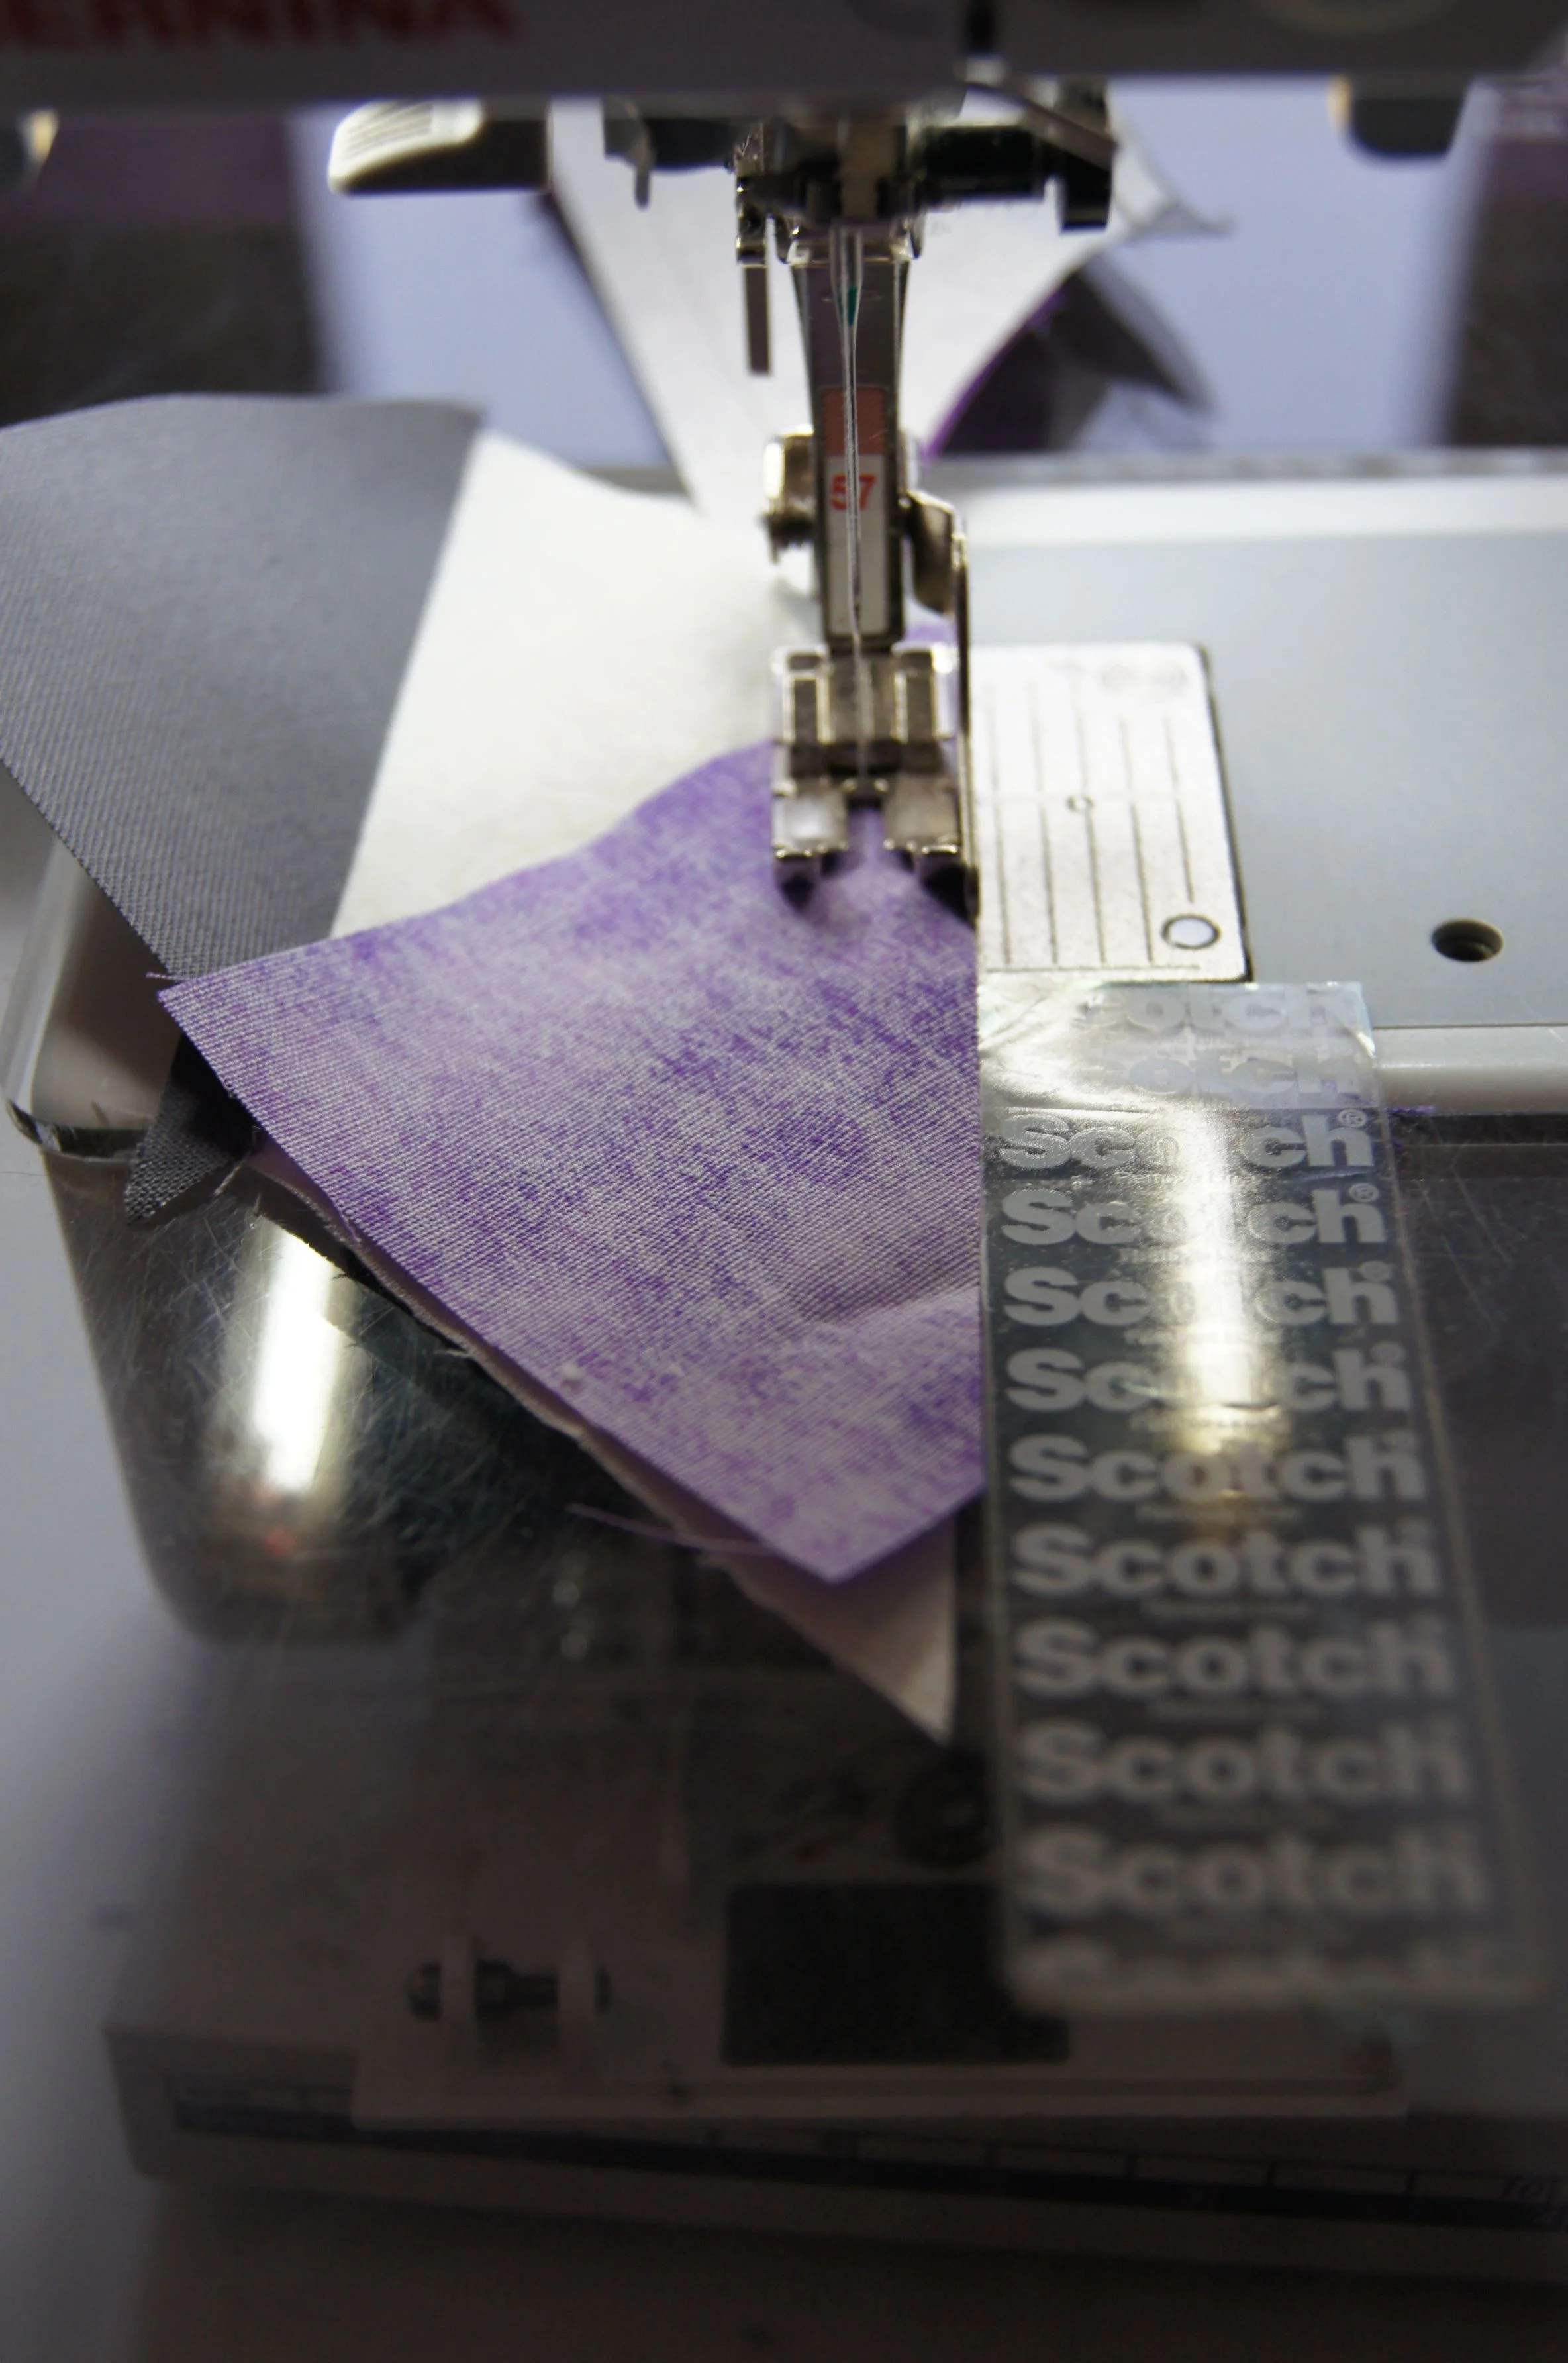
I used a "fence" to help keep my seams that scant 1/4 inch. I like using Scotch Brand "Restickable Strips." This works well for me. Just make sure you don't buy the permanent stick strips!!
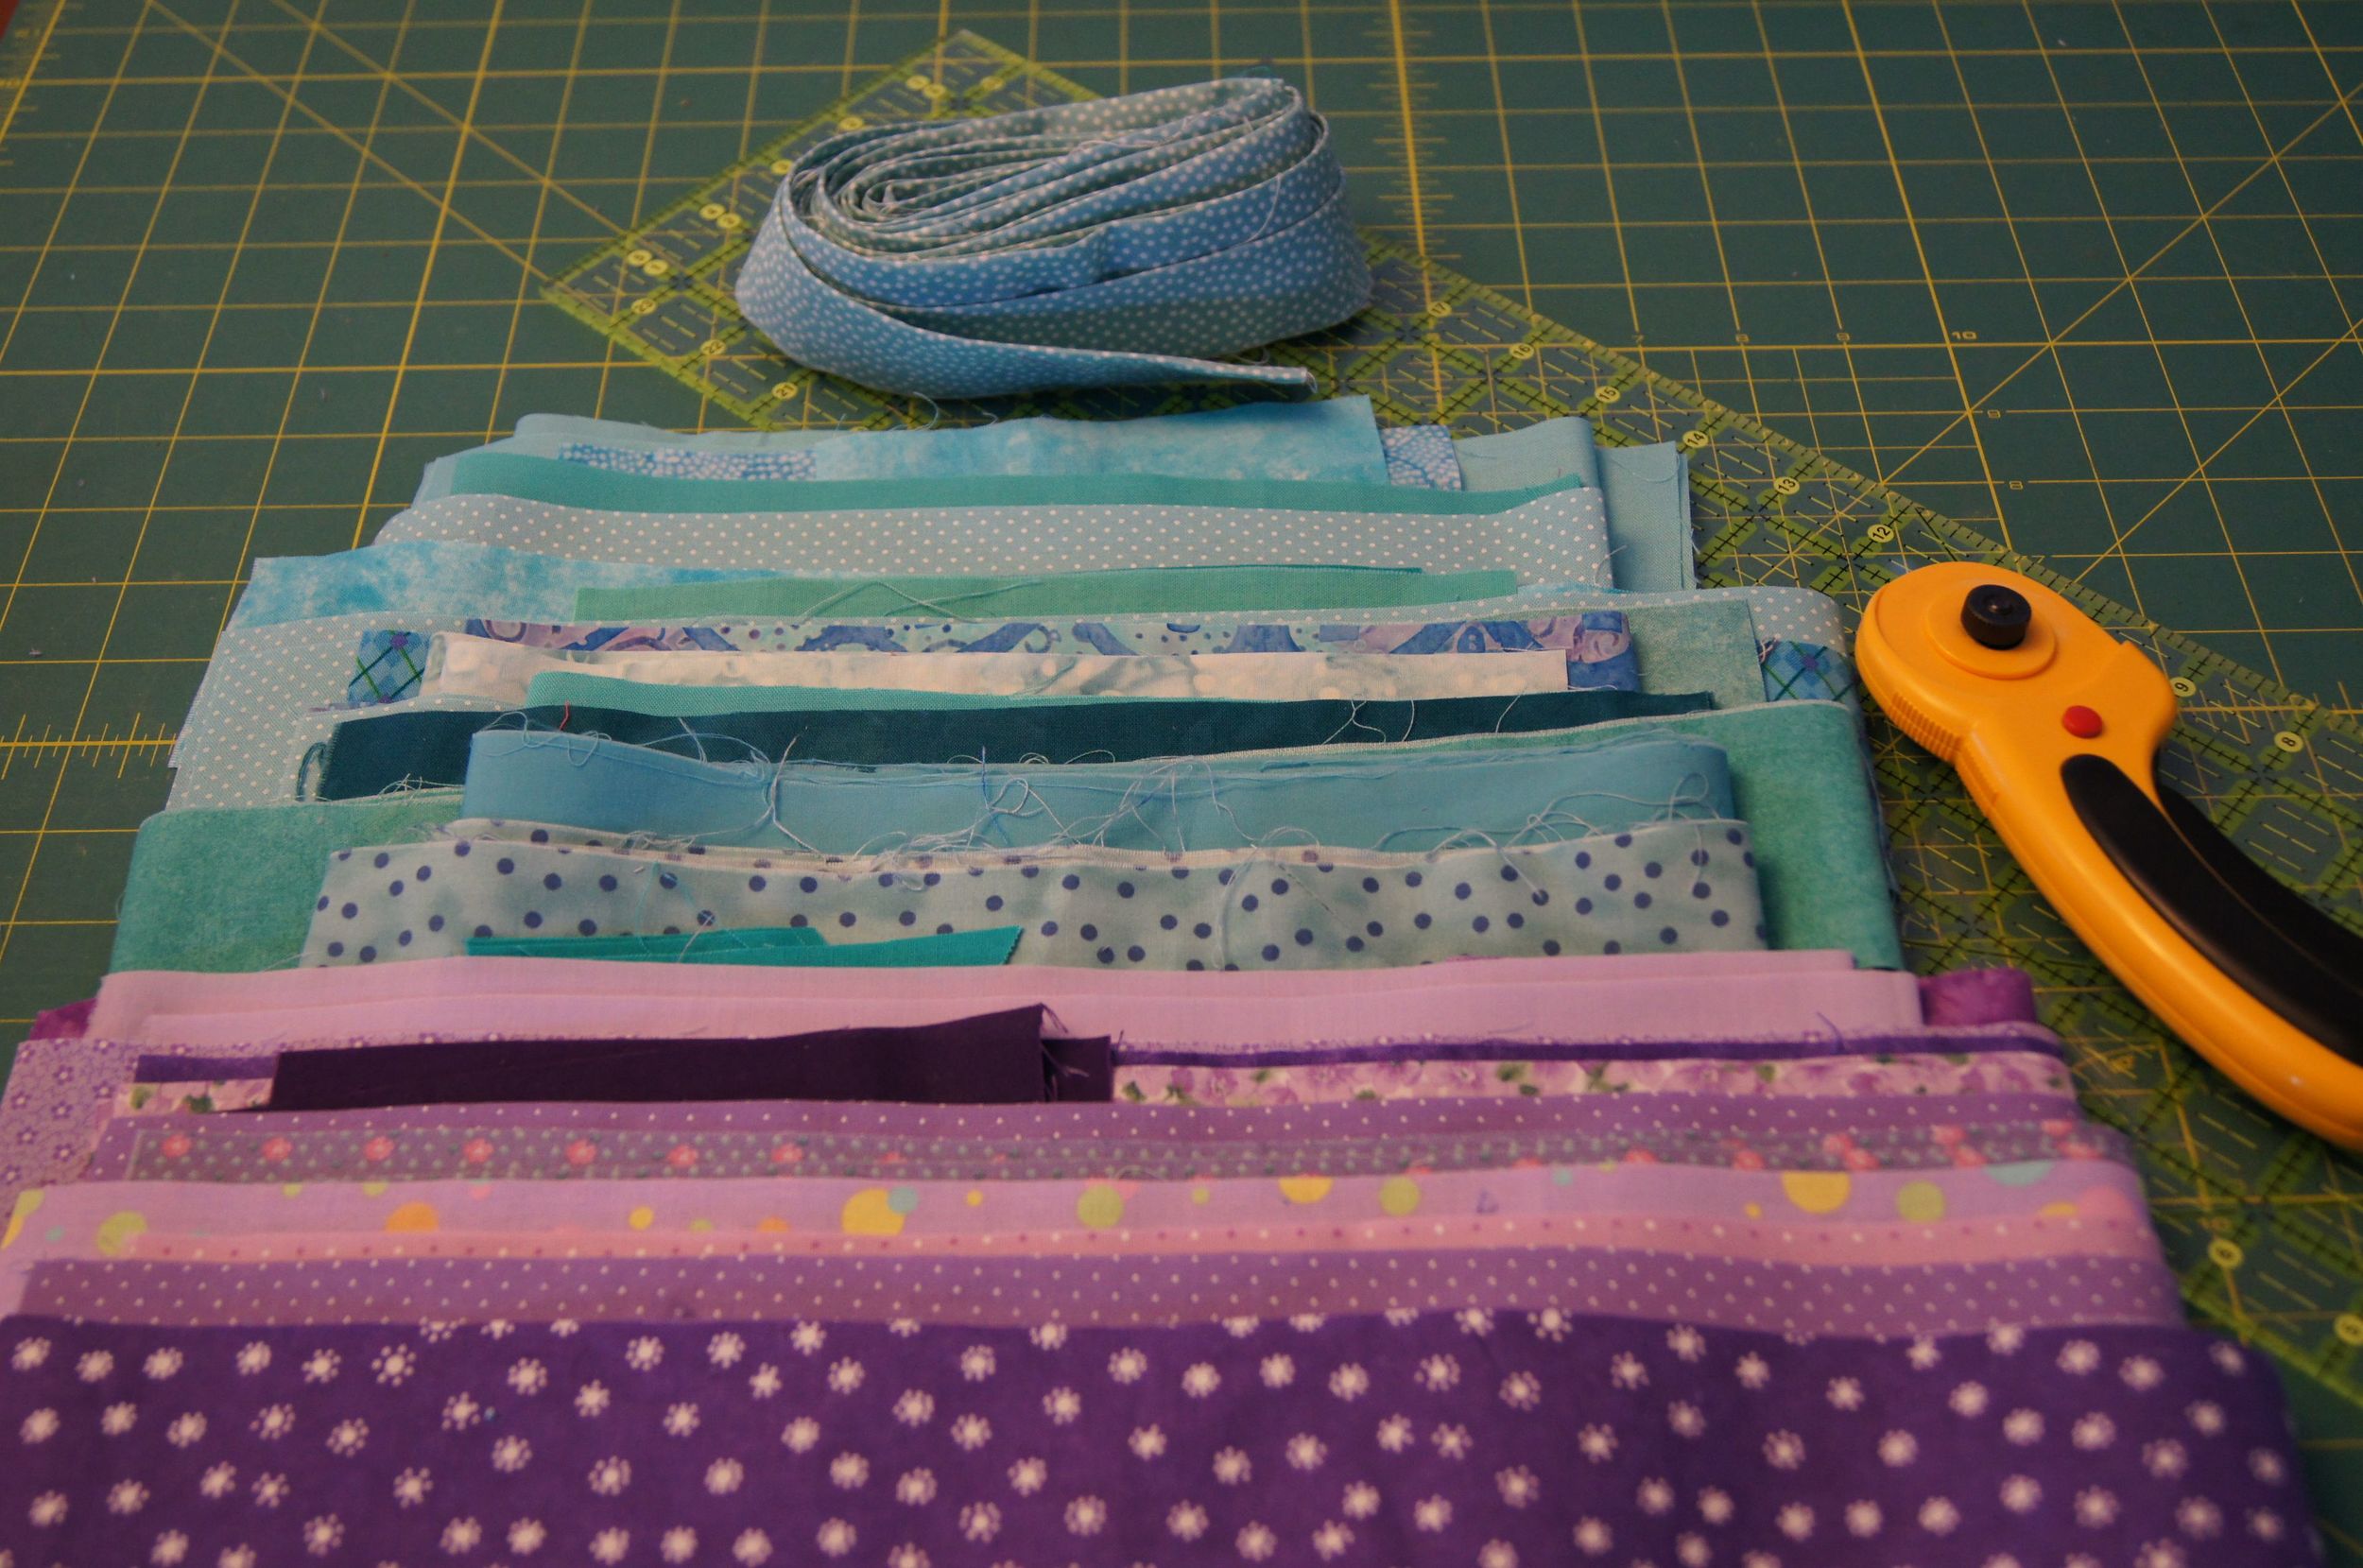
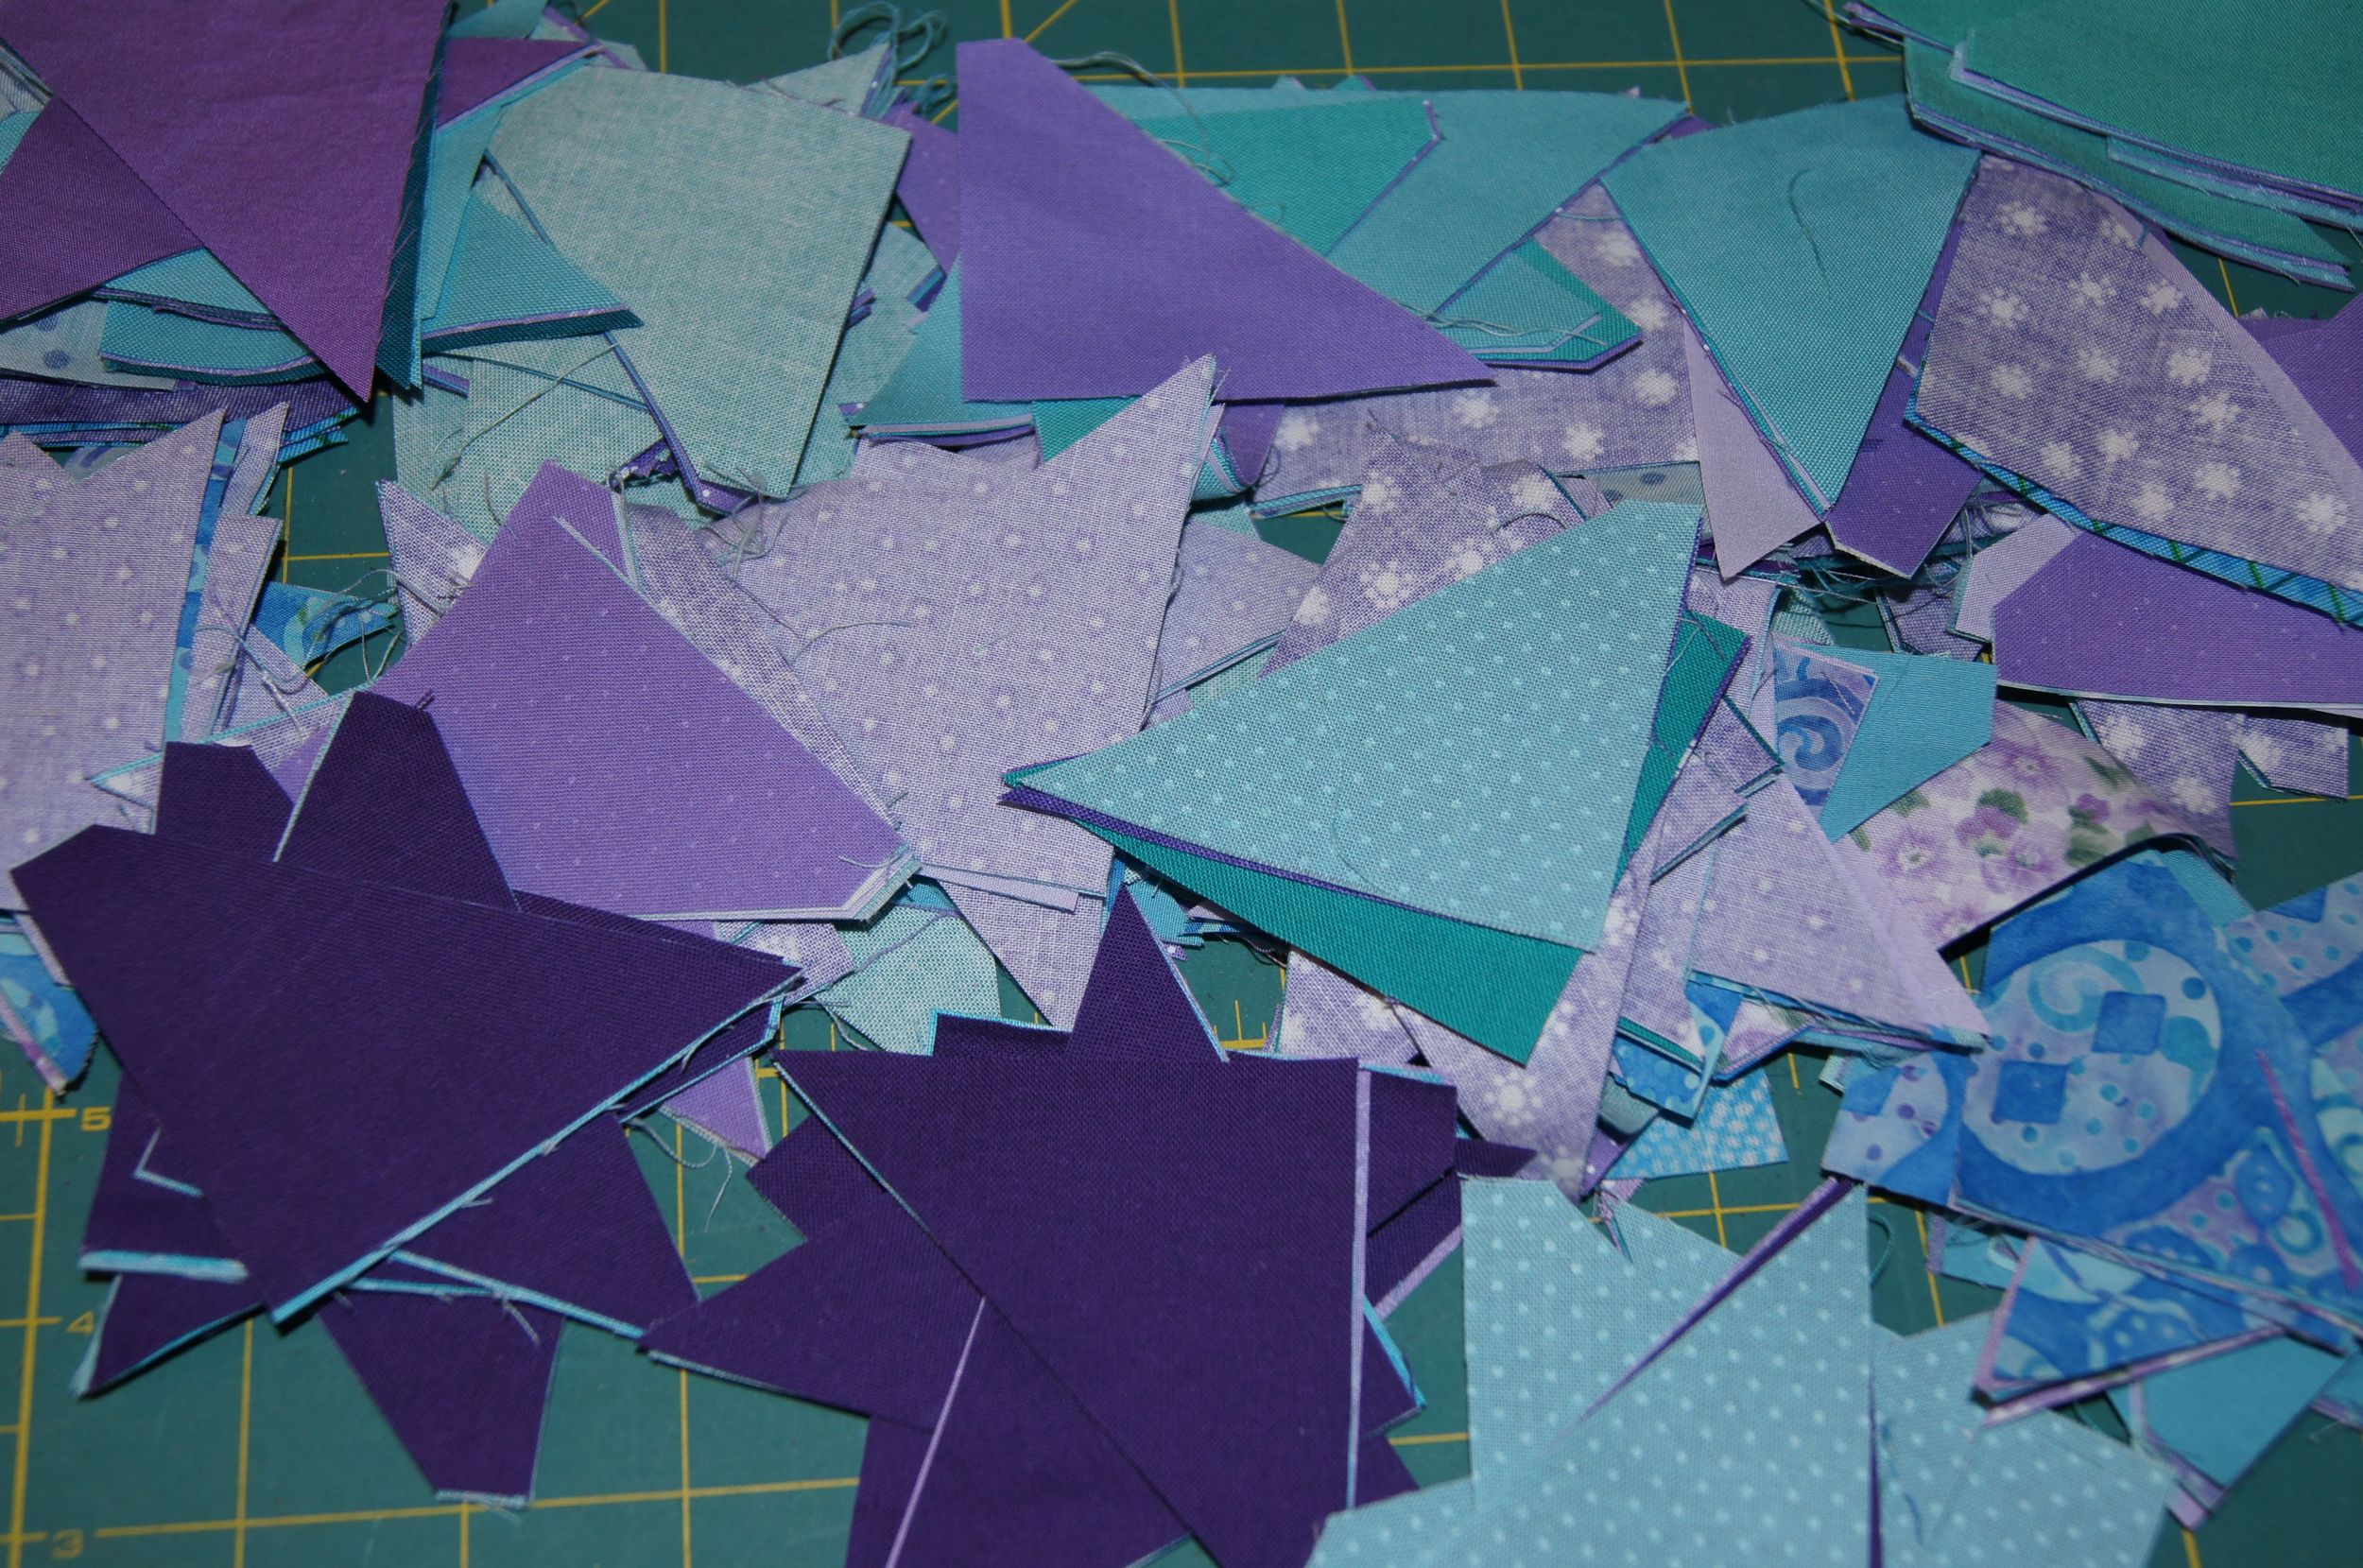
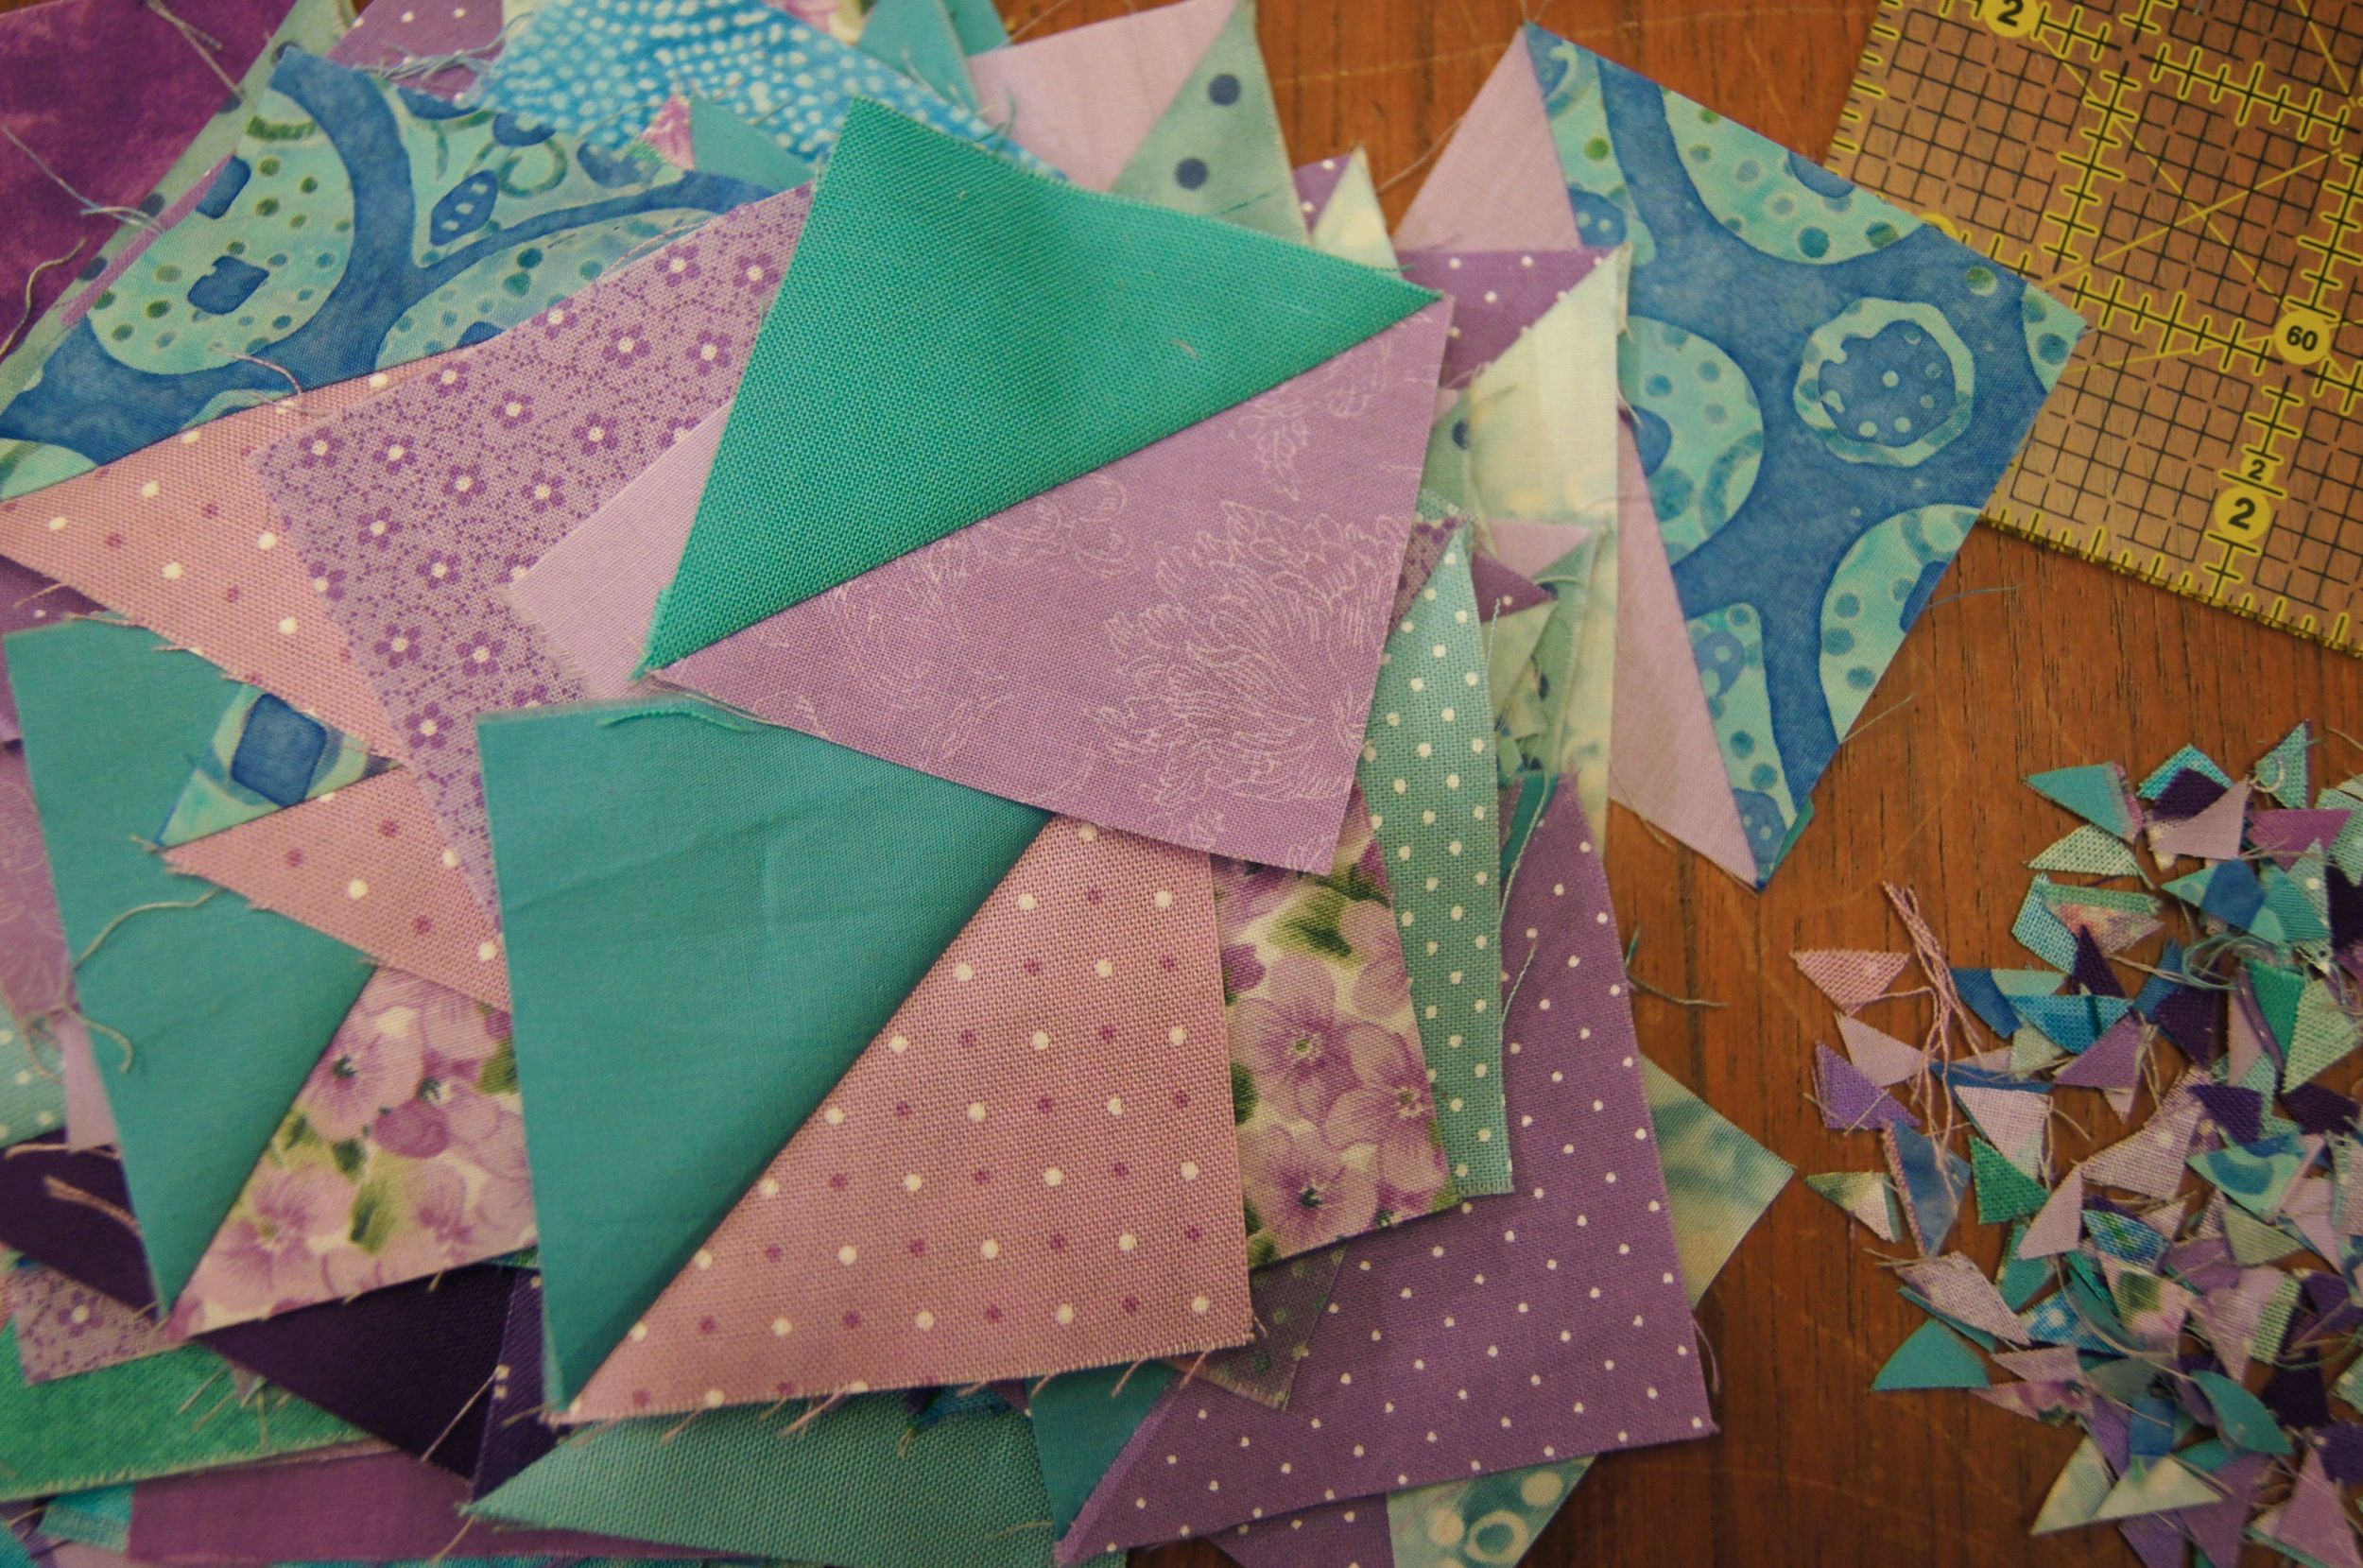
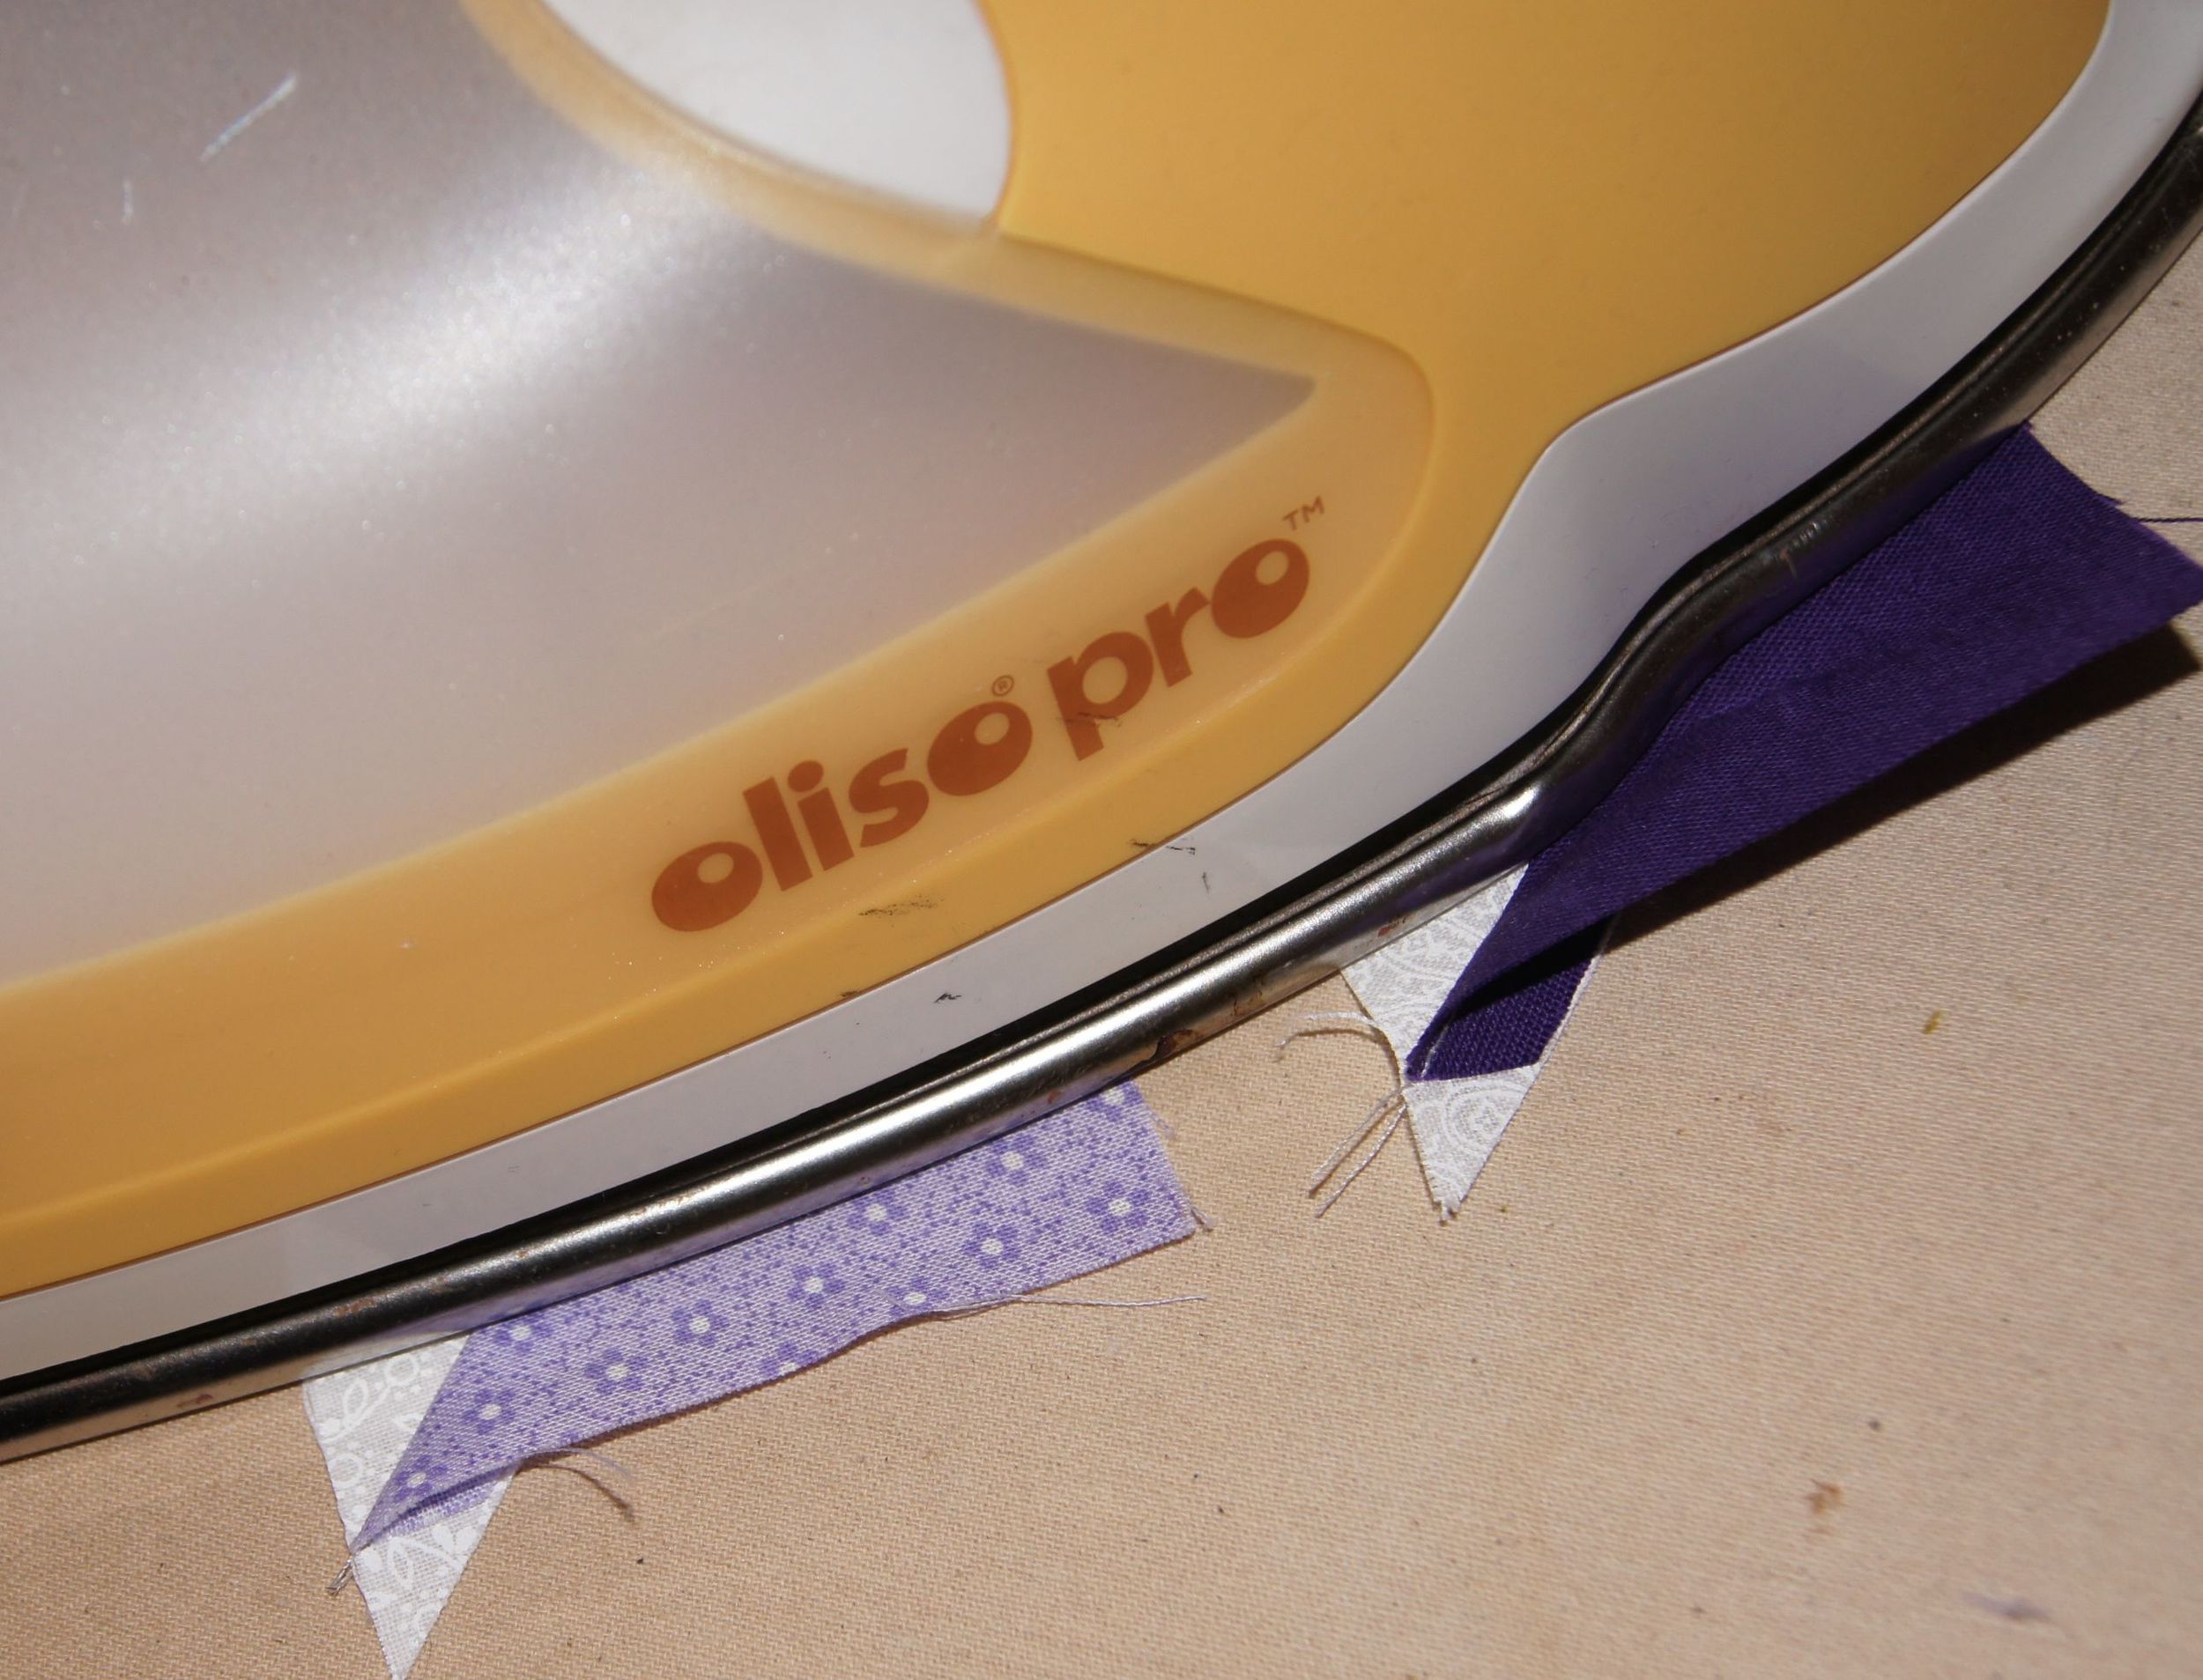
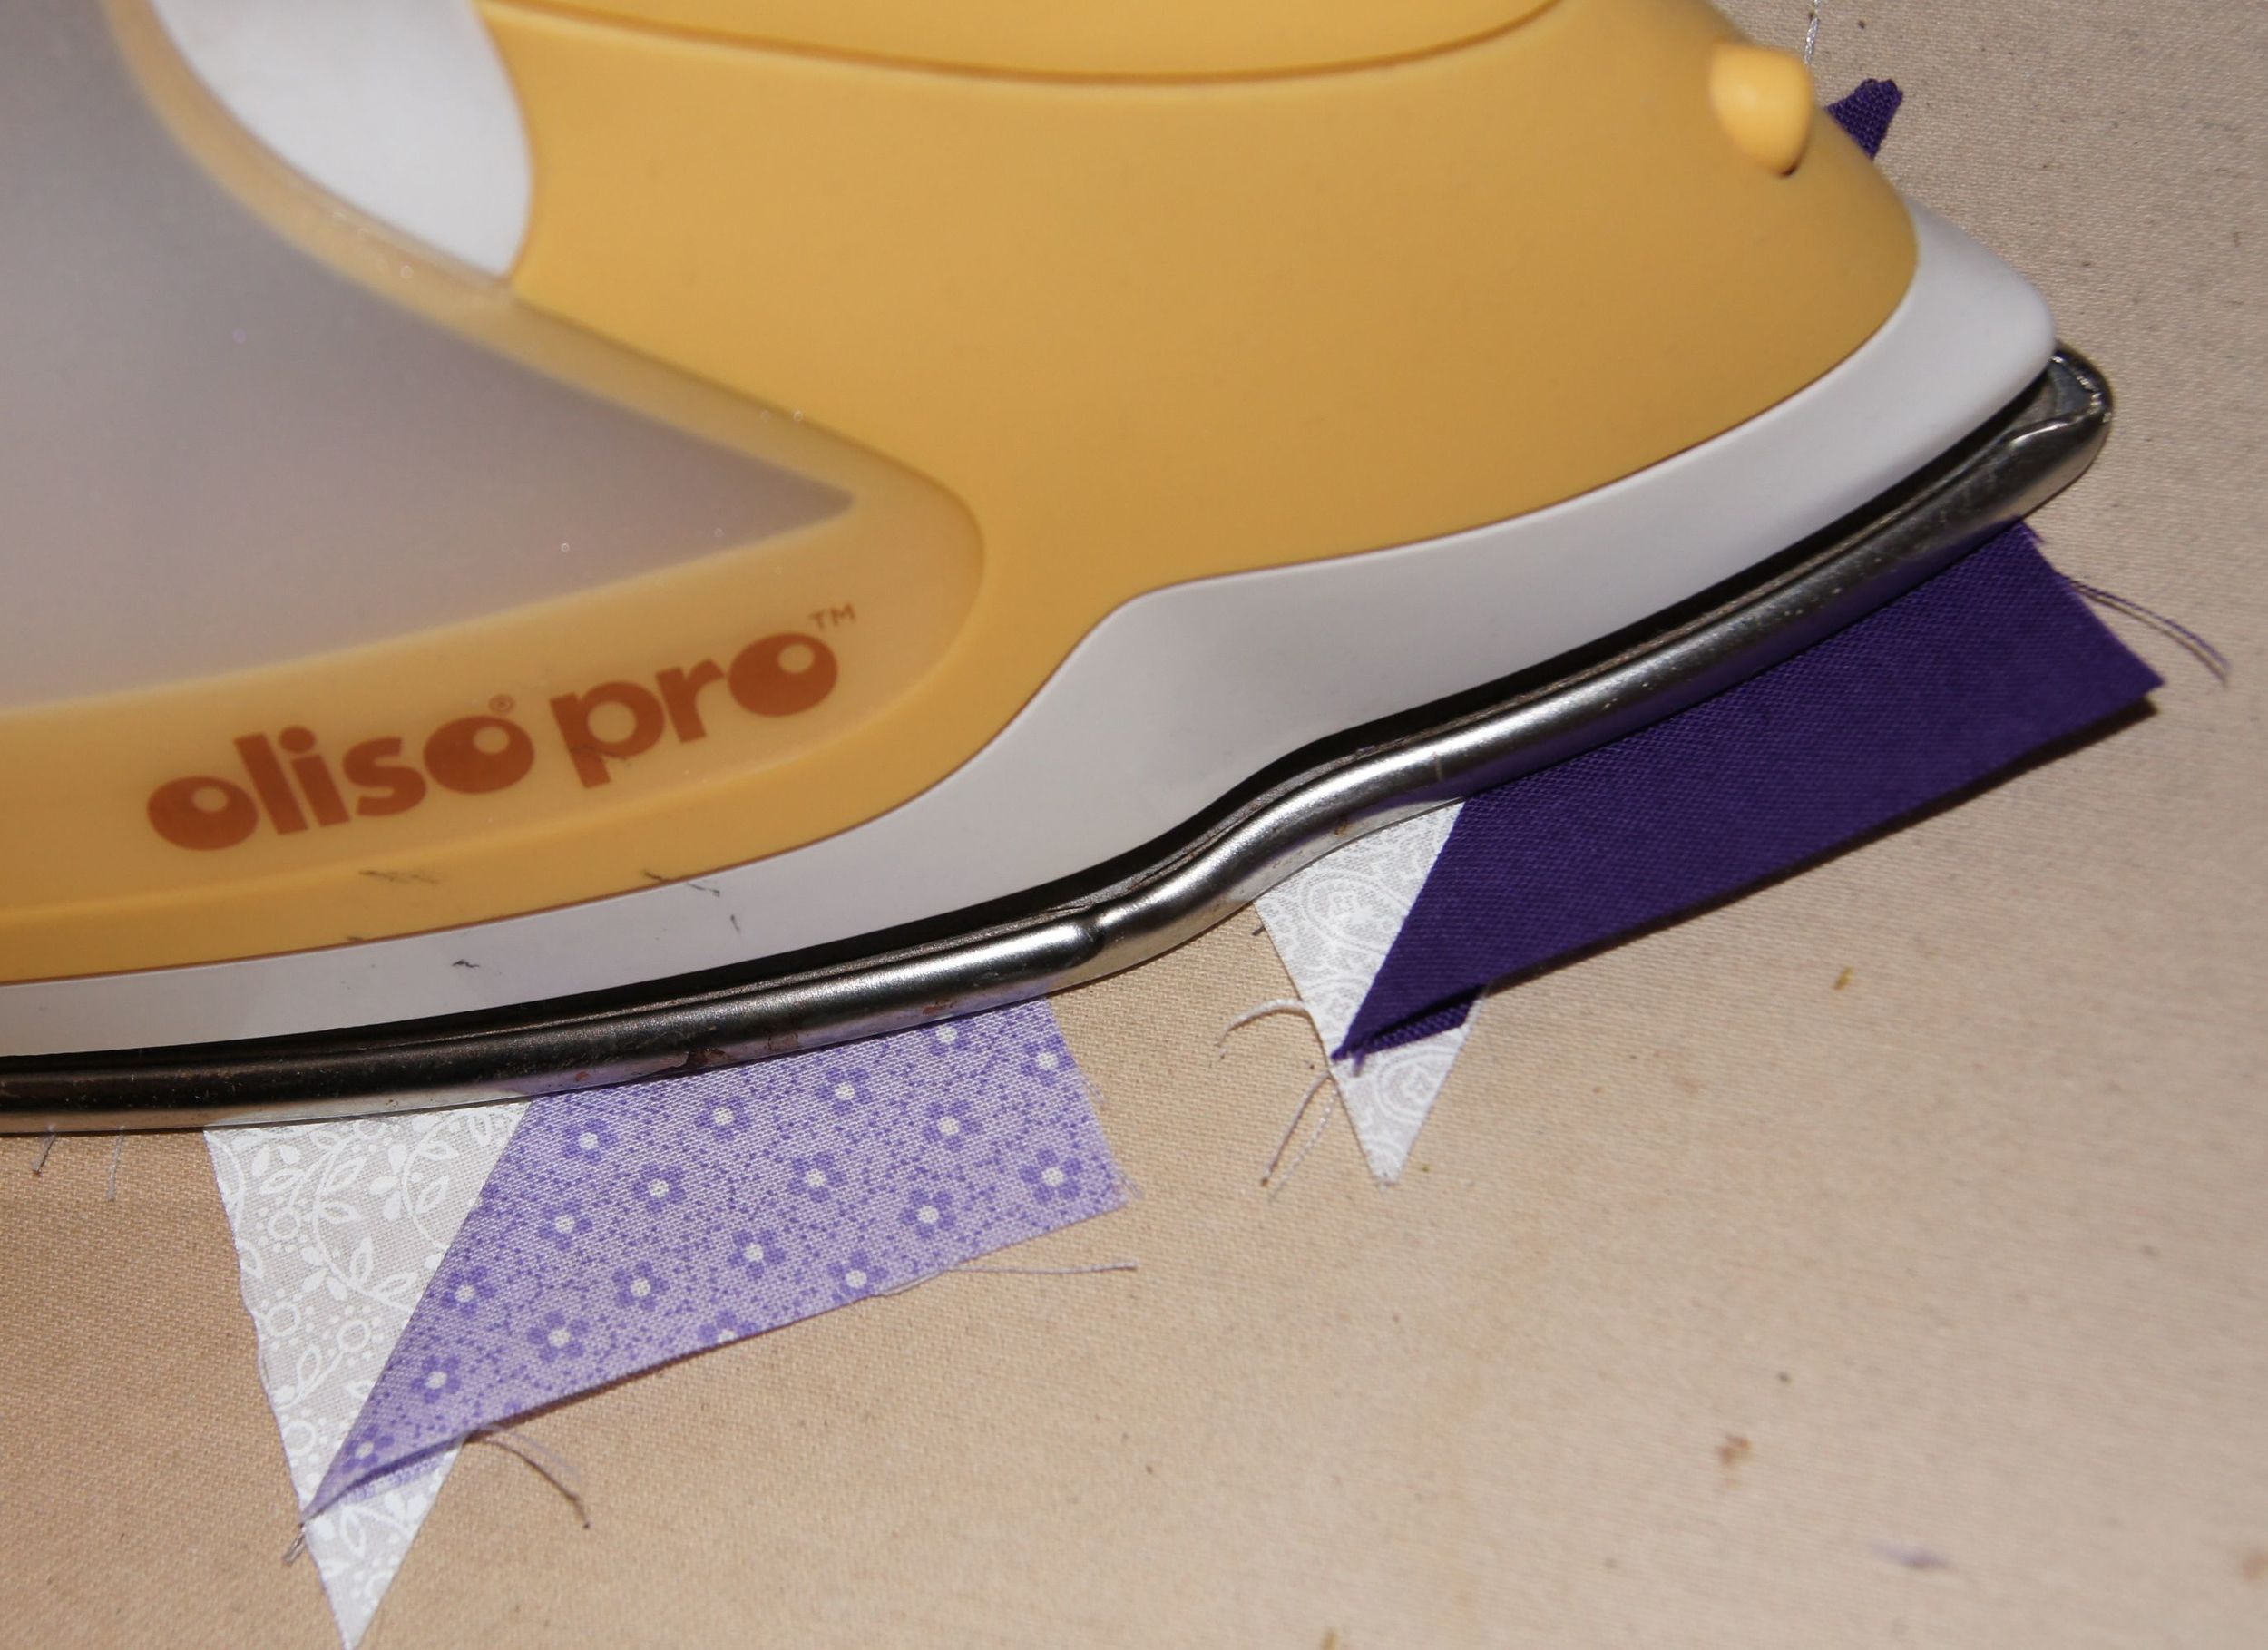
I attached the first set of triangles and then pressed the blocks. Then I sewed on the 2nd triangle. In all, that was 400 triangles to press! Here's what I found helpful pressing all those triangles:
- Set the blocks up in pairs on the pressing board
- Press the unopened triangle to set the stitches
- Then slide the tip of the iron under the first triangle, closest to you, and then the one just above it, without lifting the iron. This goes quickly and it gives both blocks a few more seconds of heat which helps keep the triangles from popping back up, which they really want to do!
OK. That's it. Step 2.
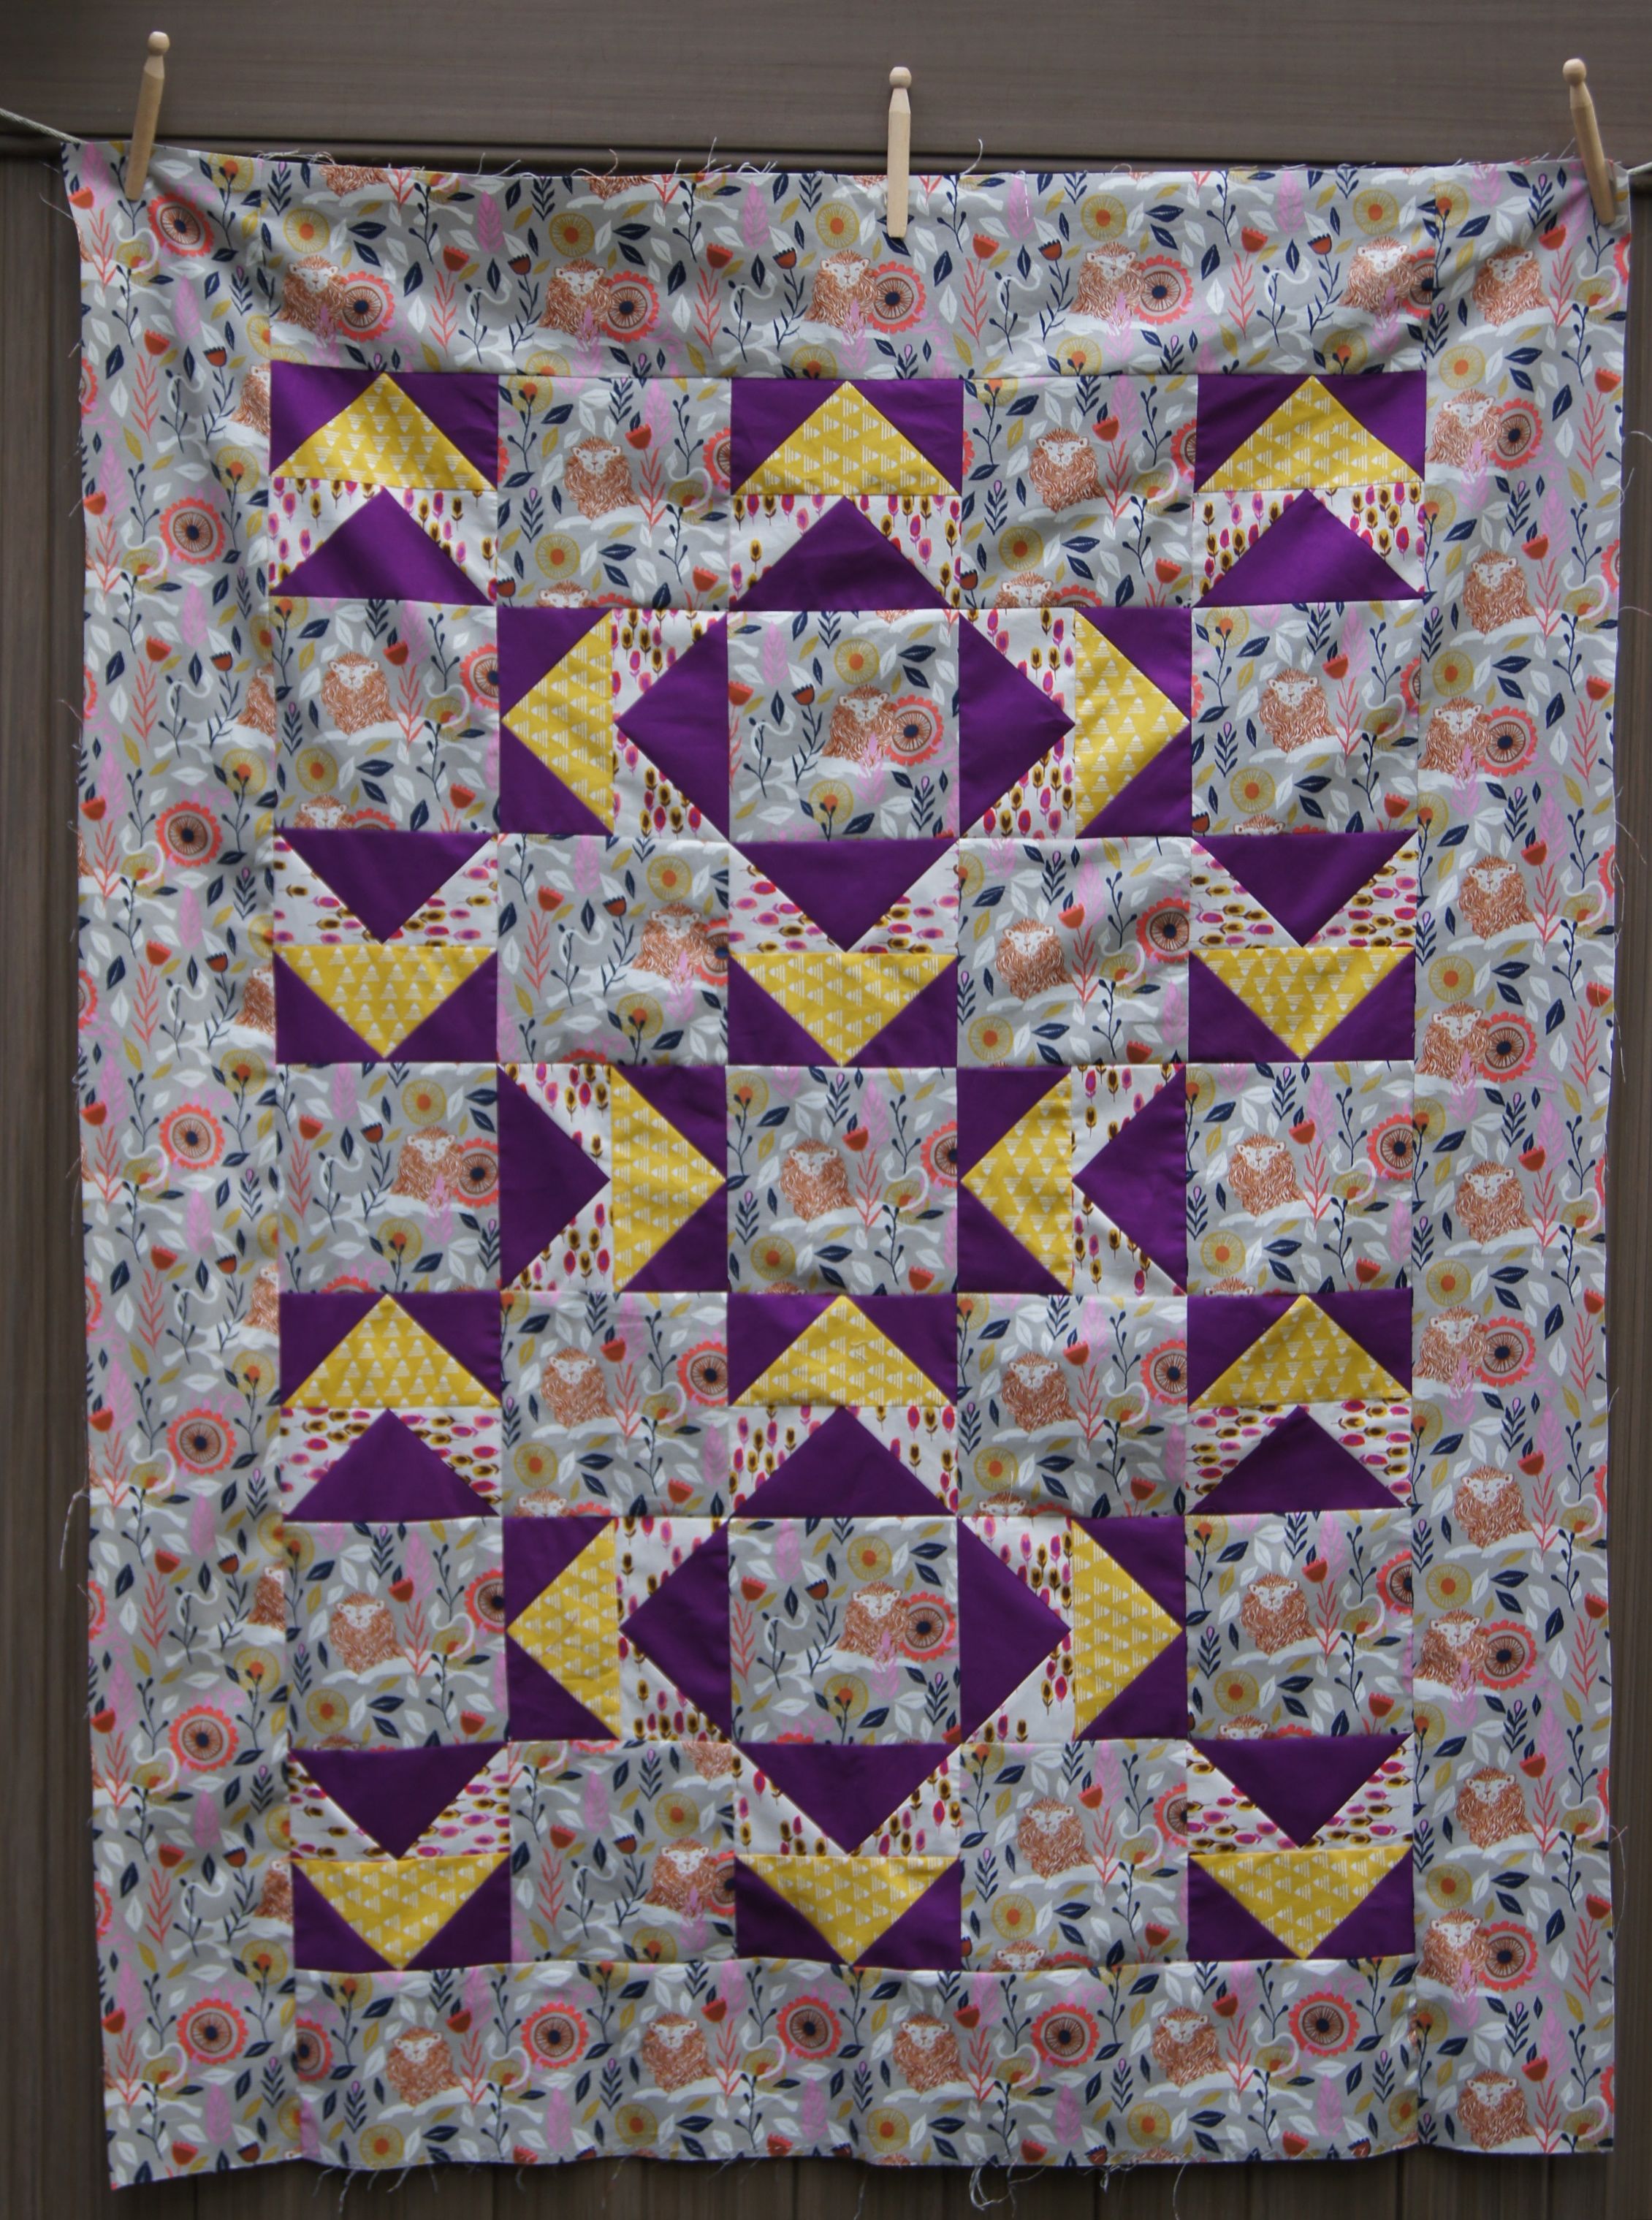
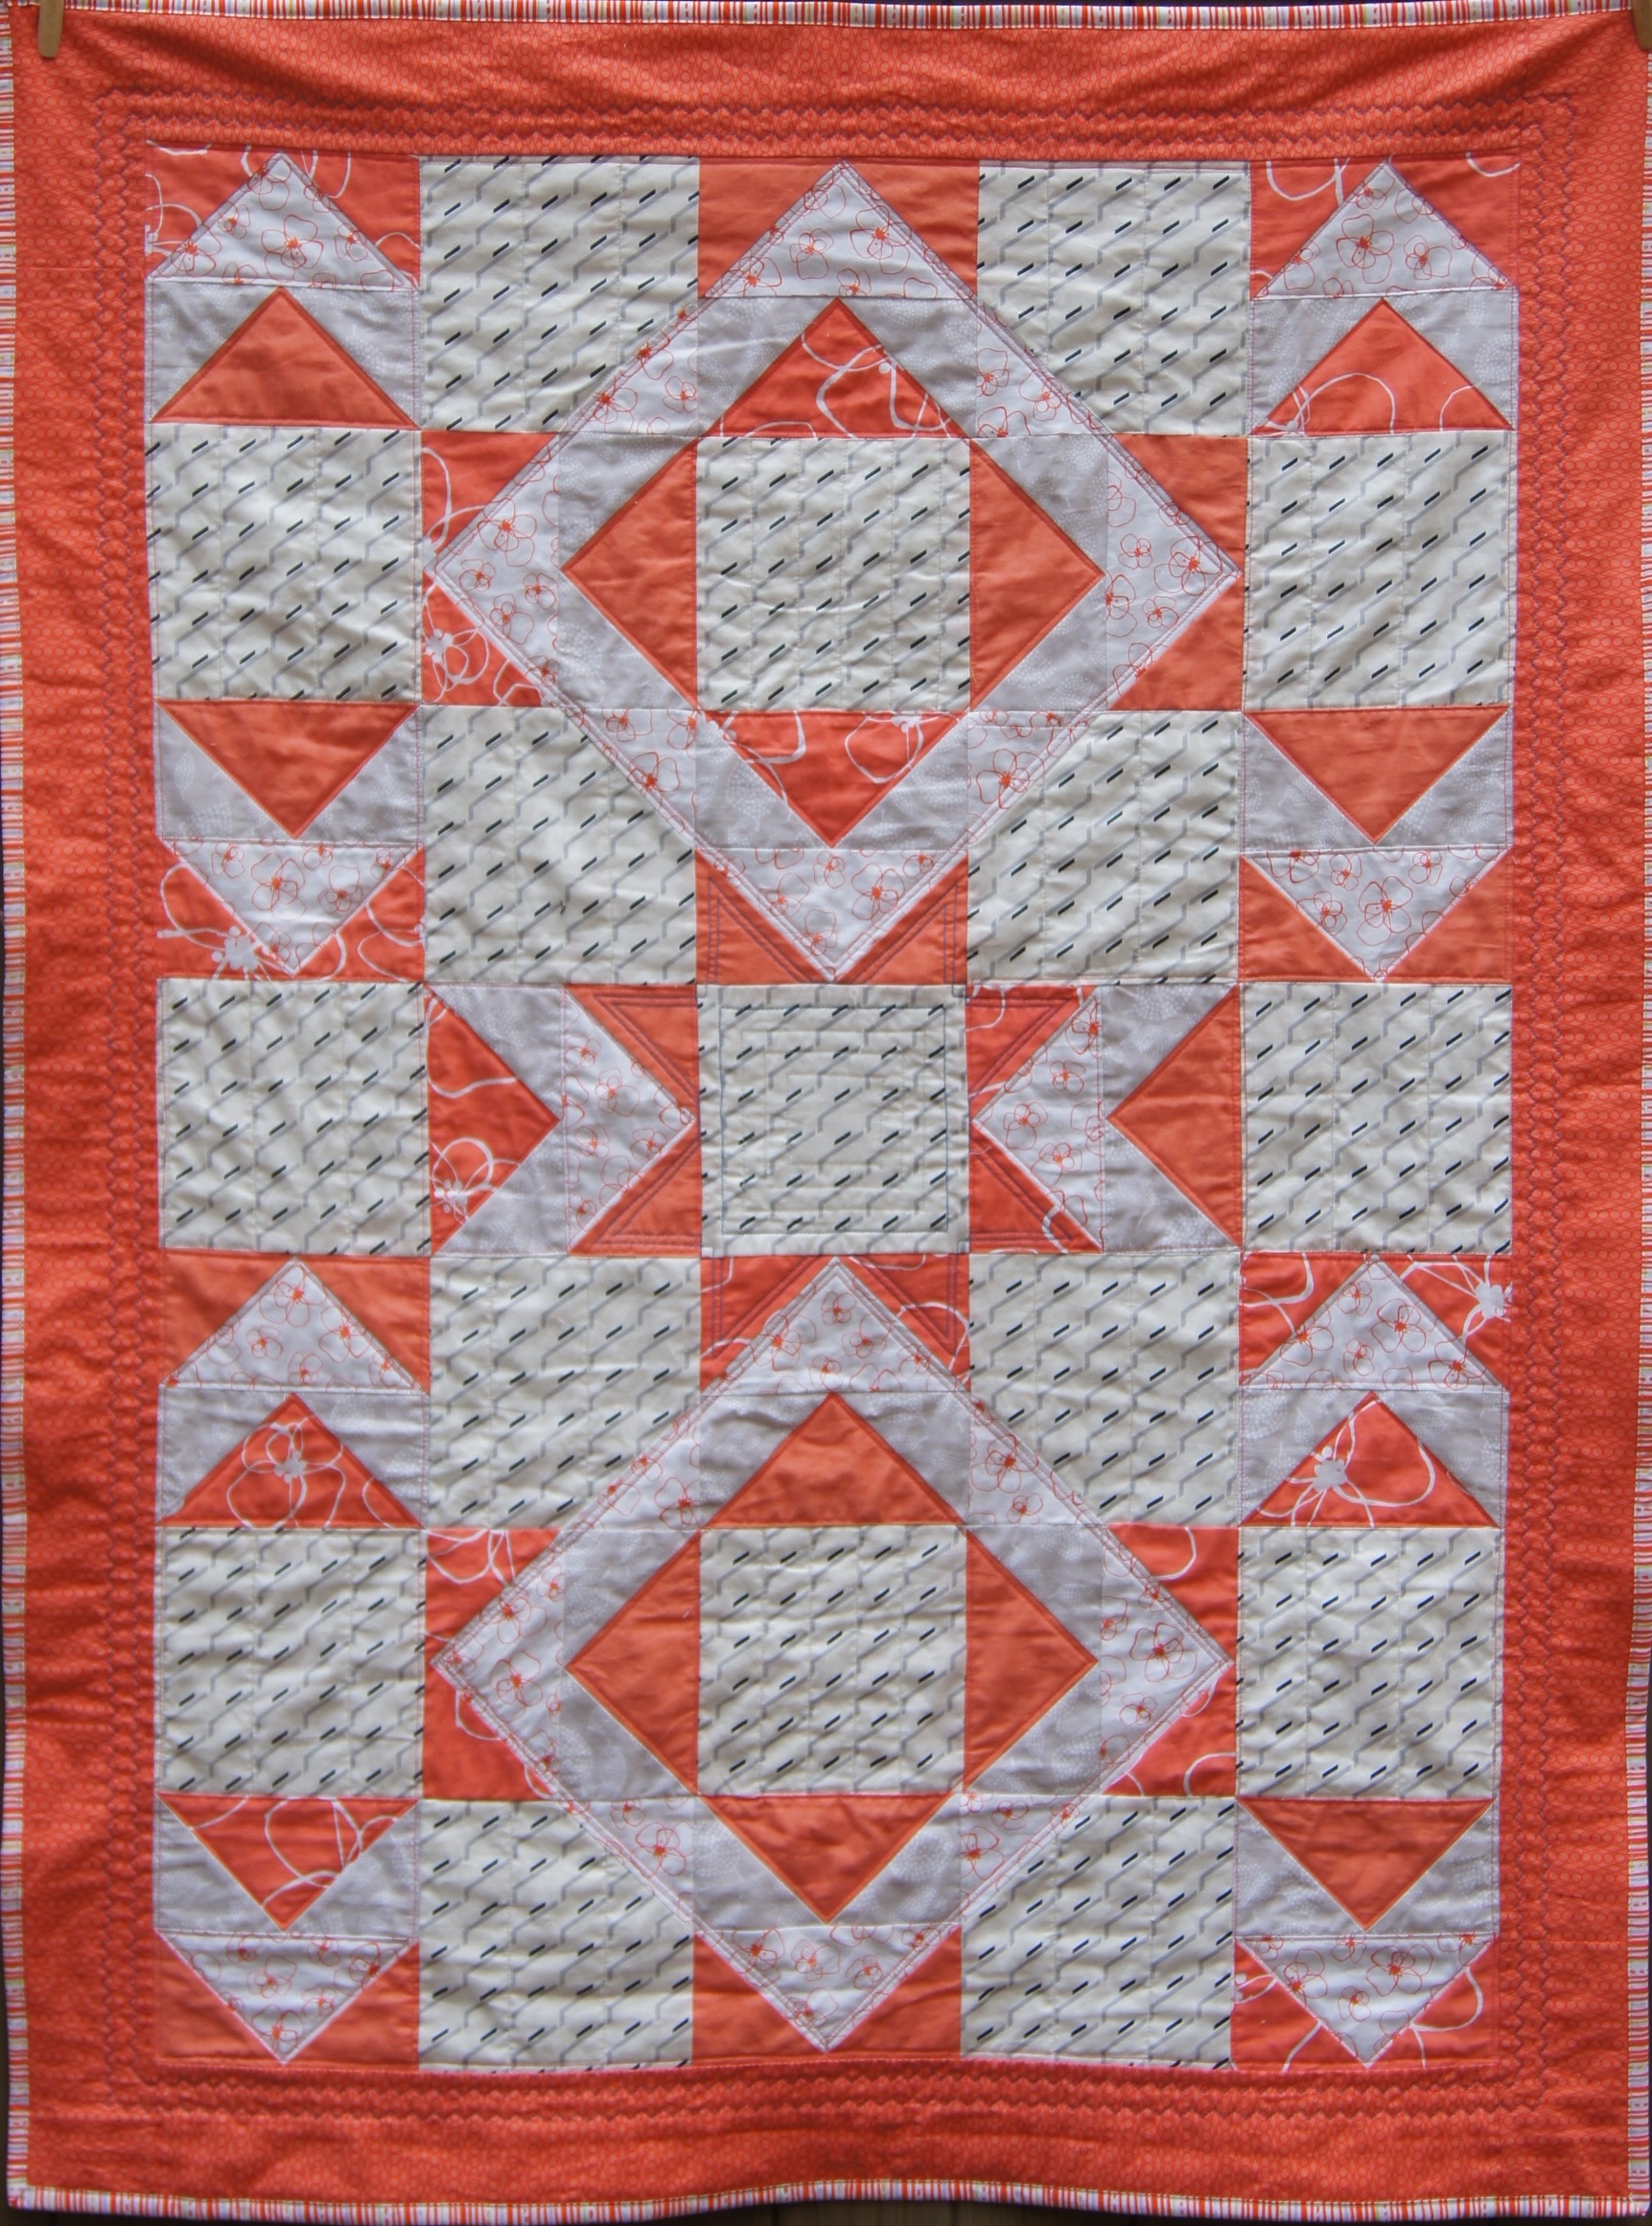
Here's the link to Bonnie Hunter's Linky for Step 2. Click the link to see blocks participants have made.
Do you think we'll be seeing green in Step 3?
We'll know on Friday! Have a great week!