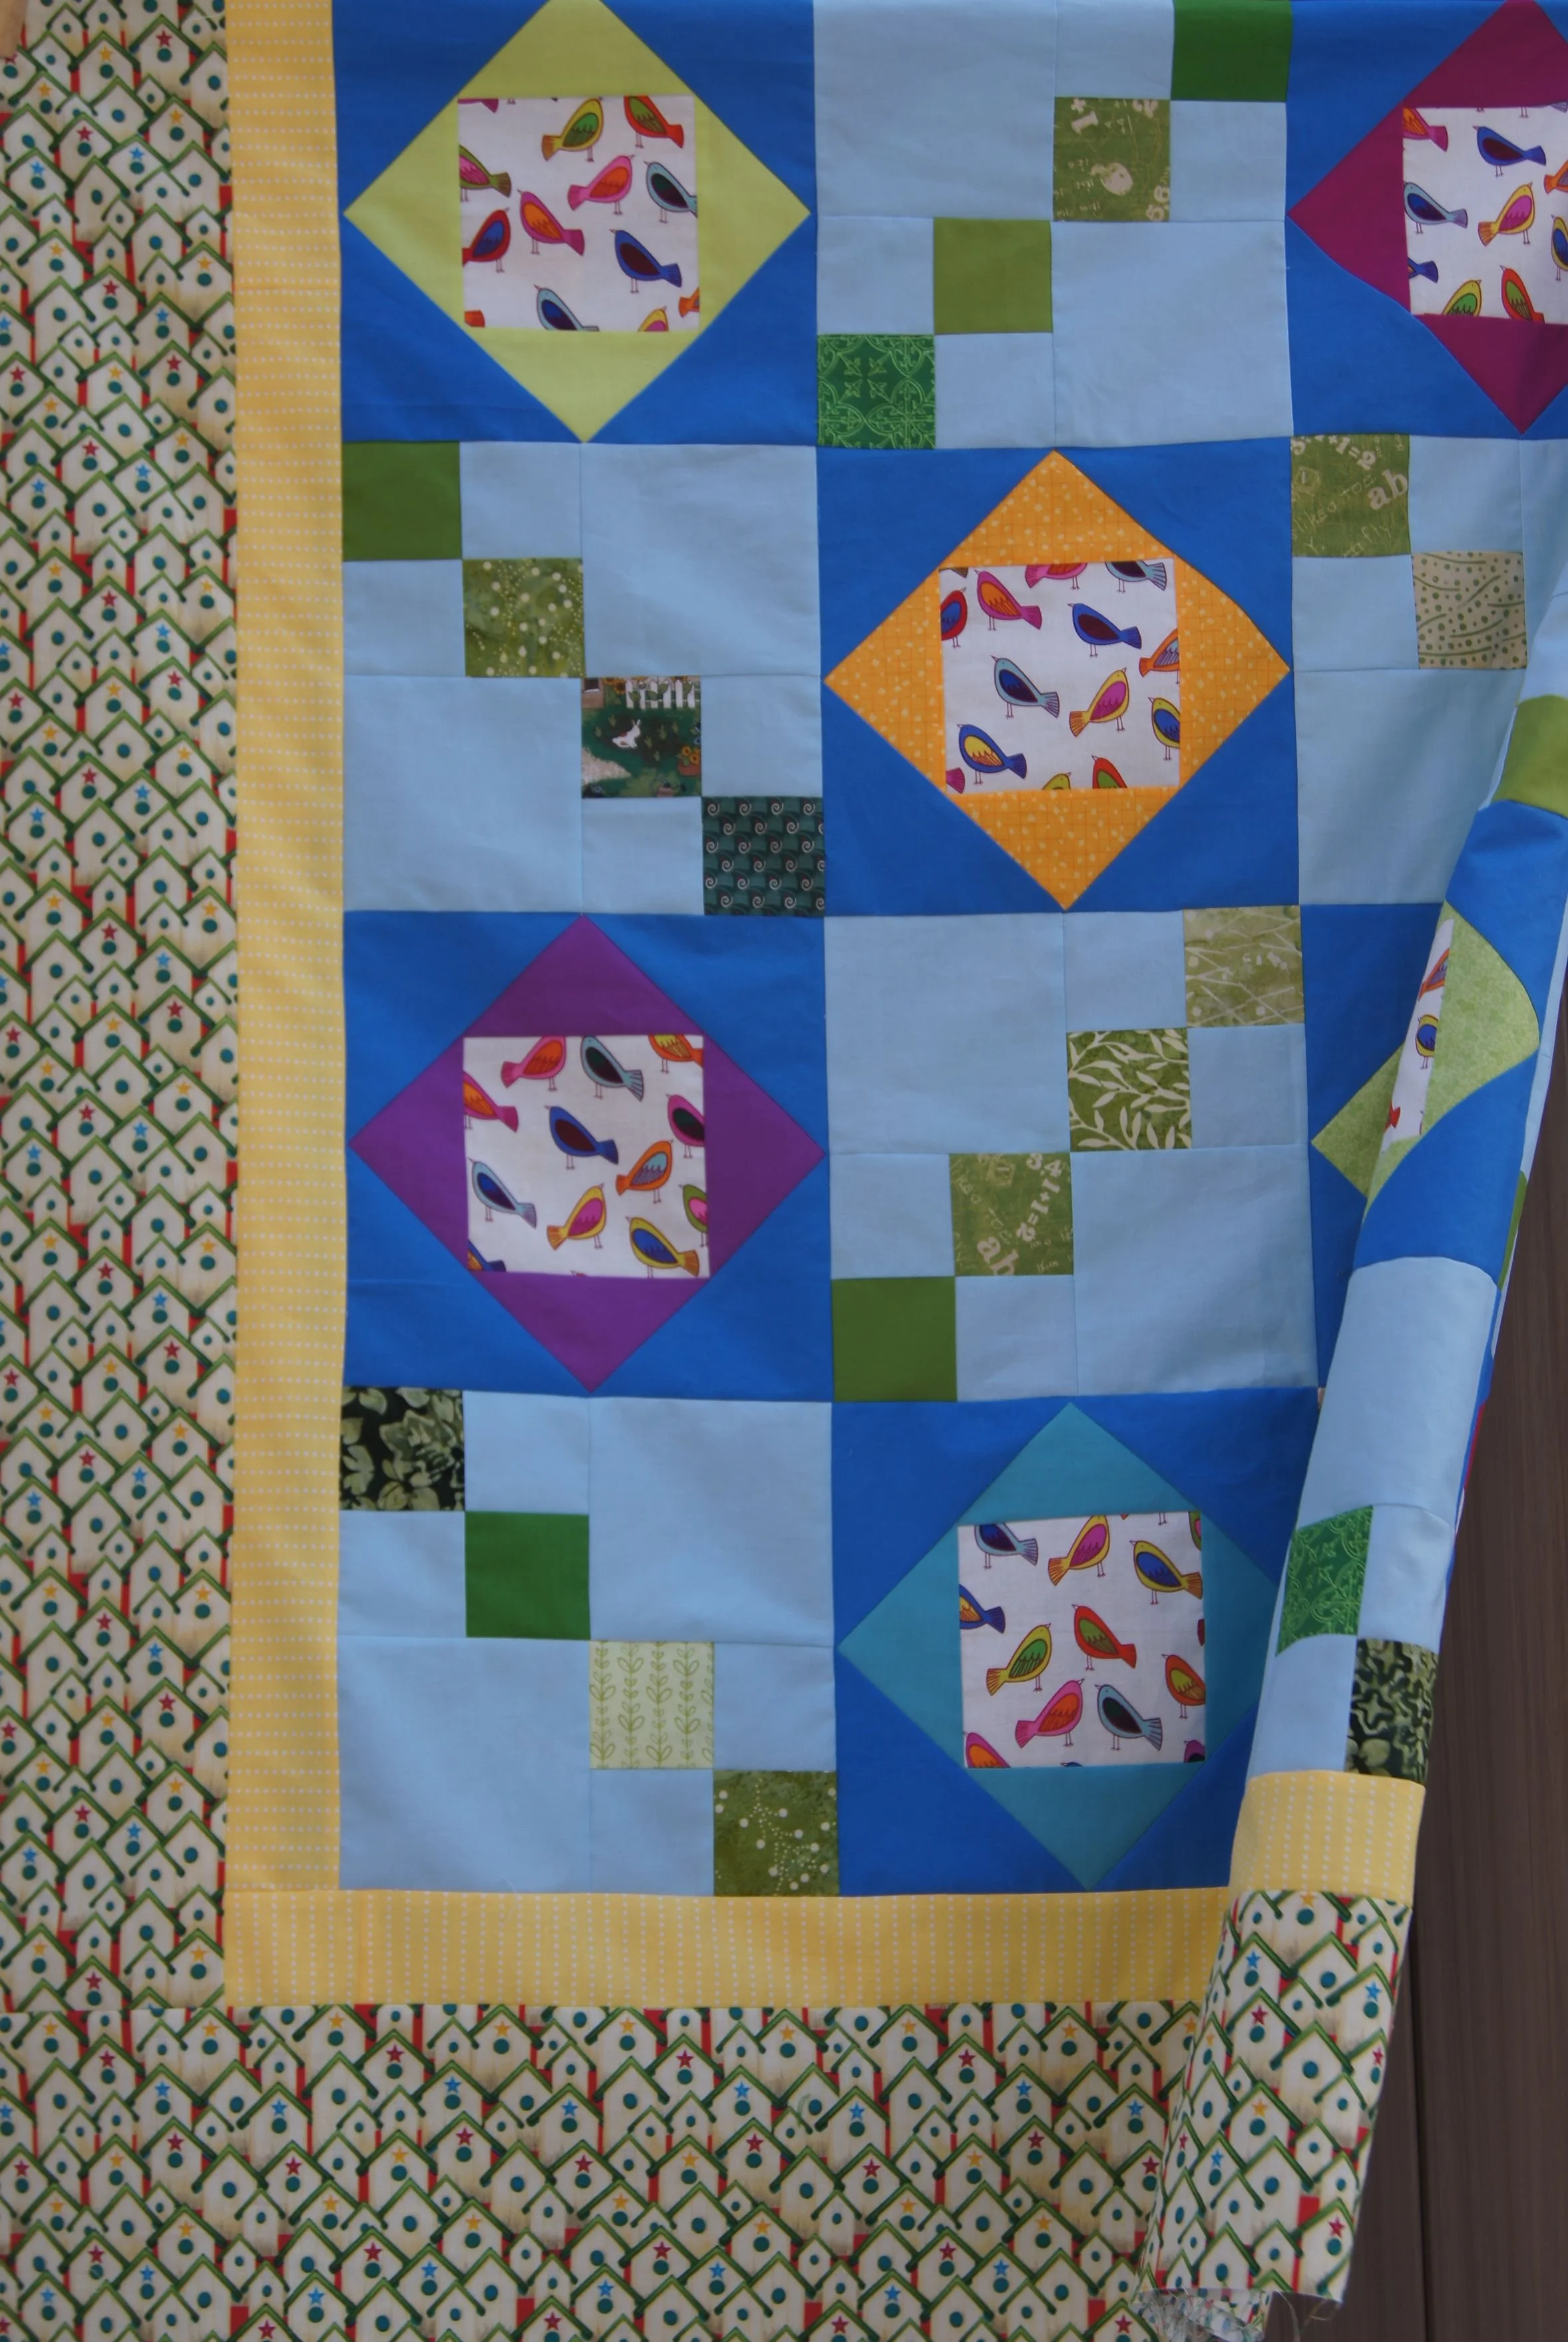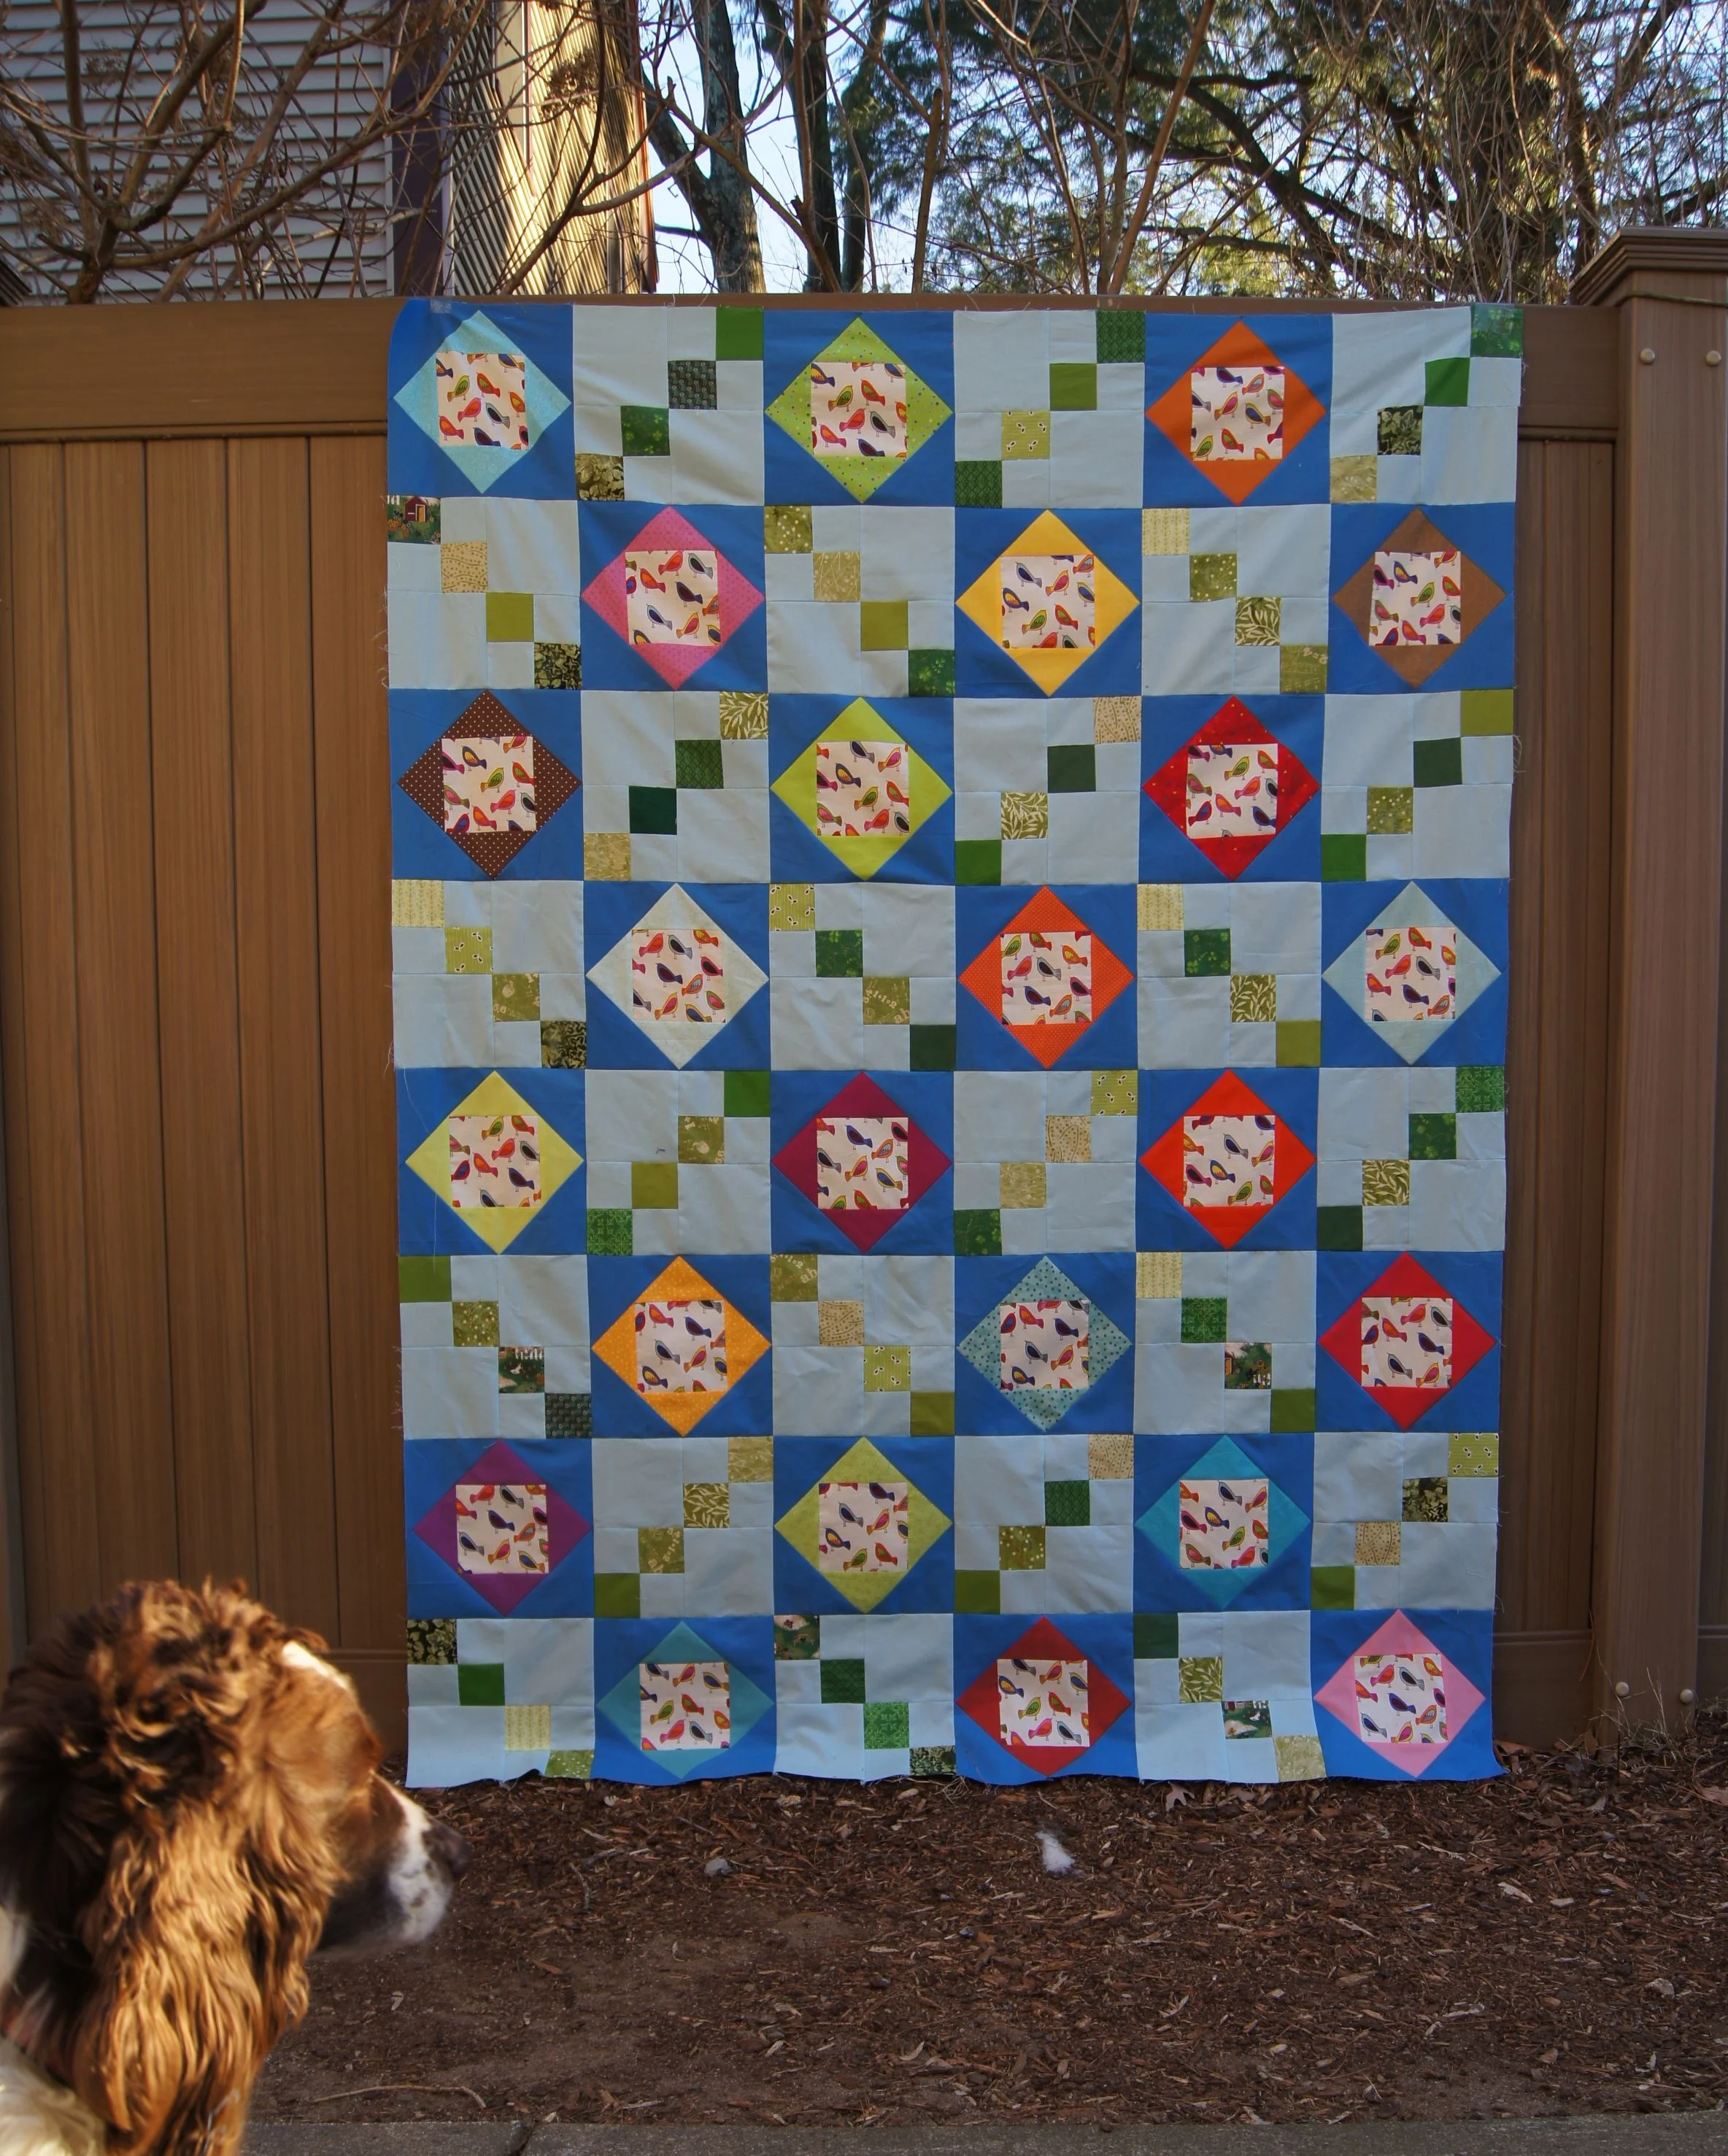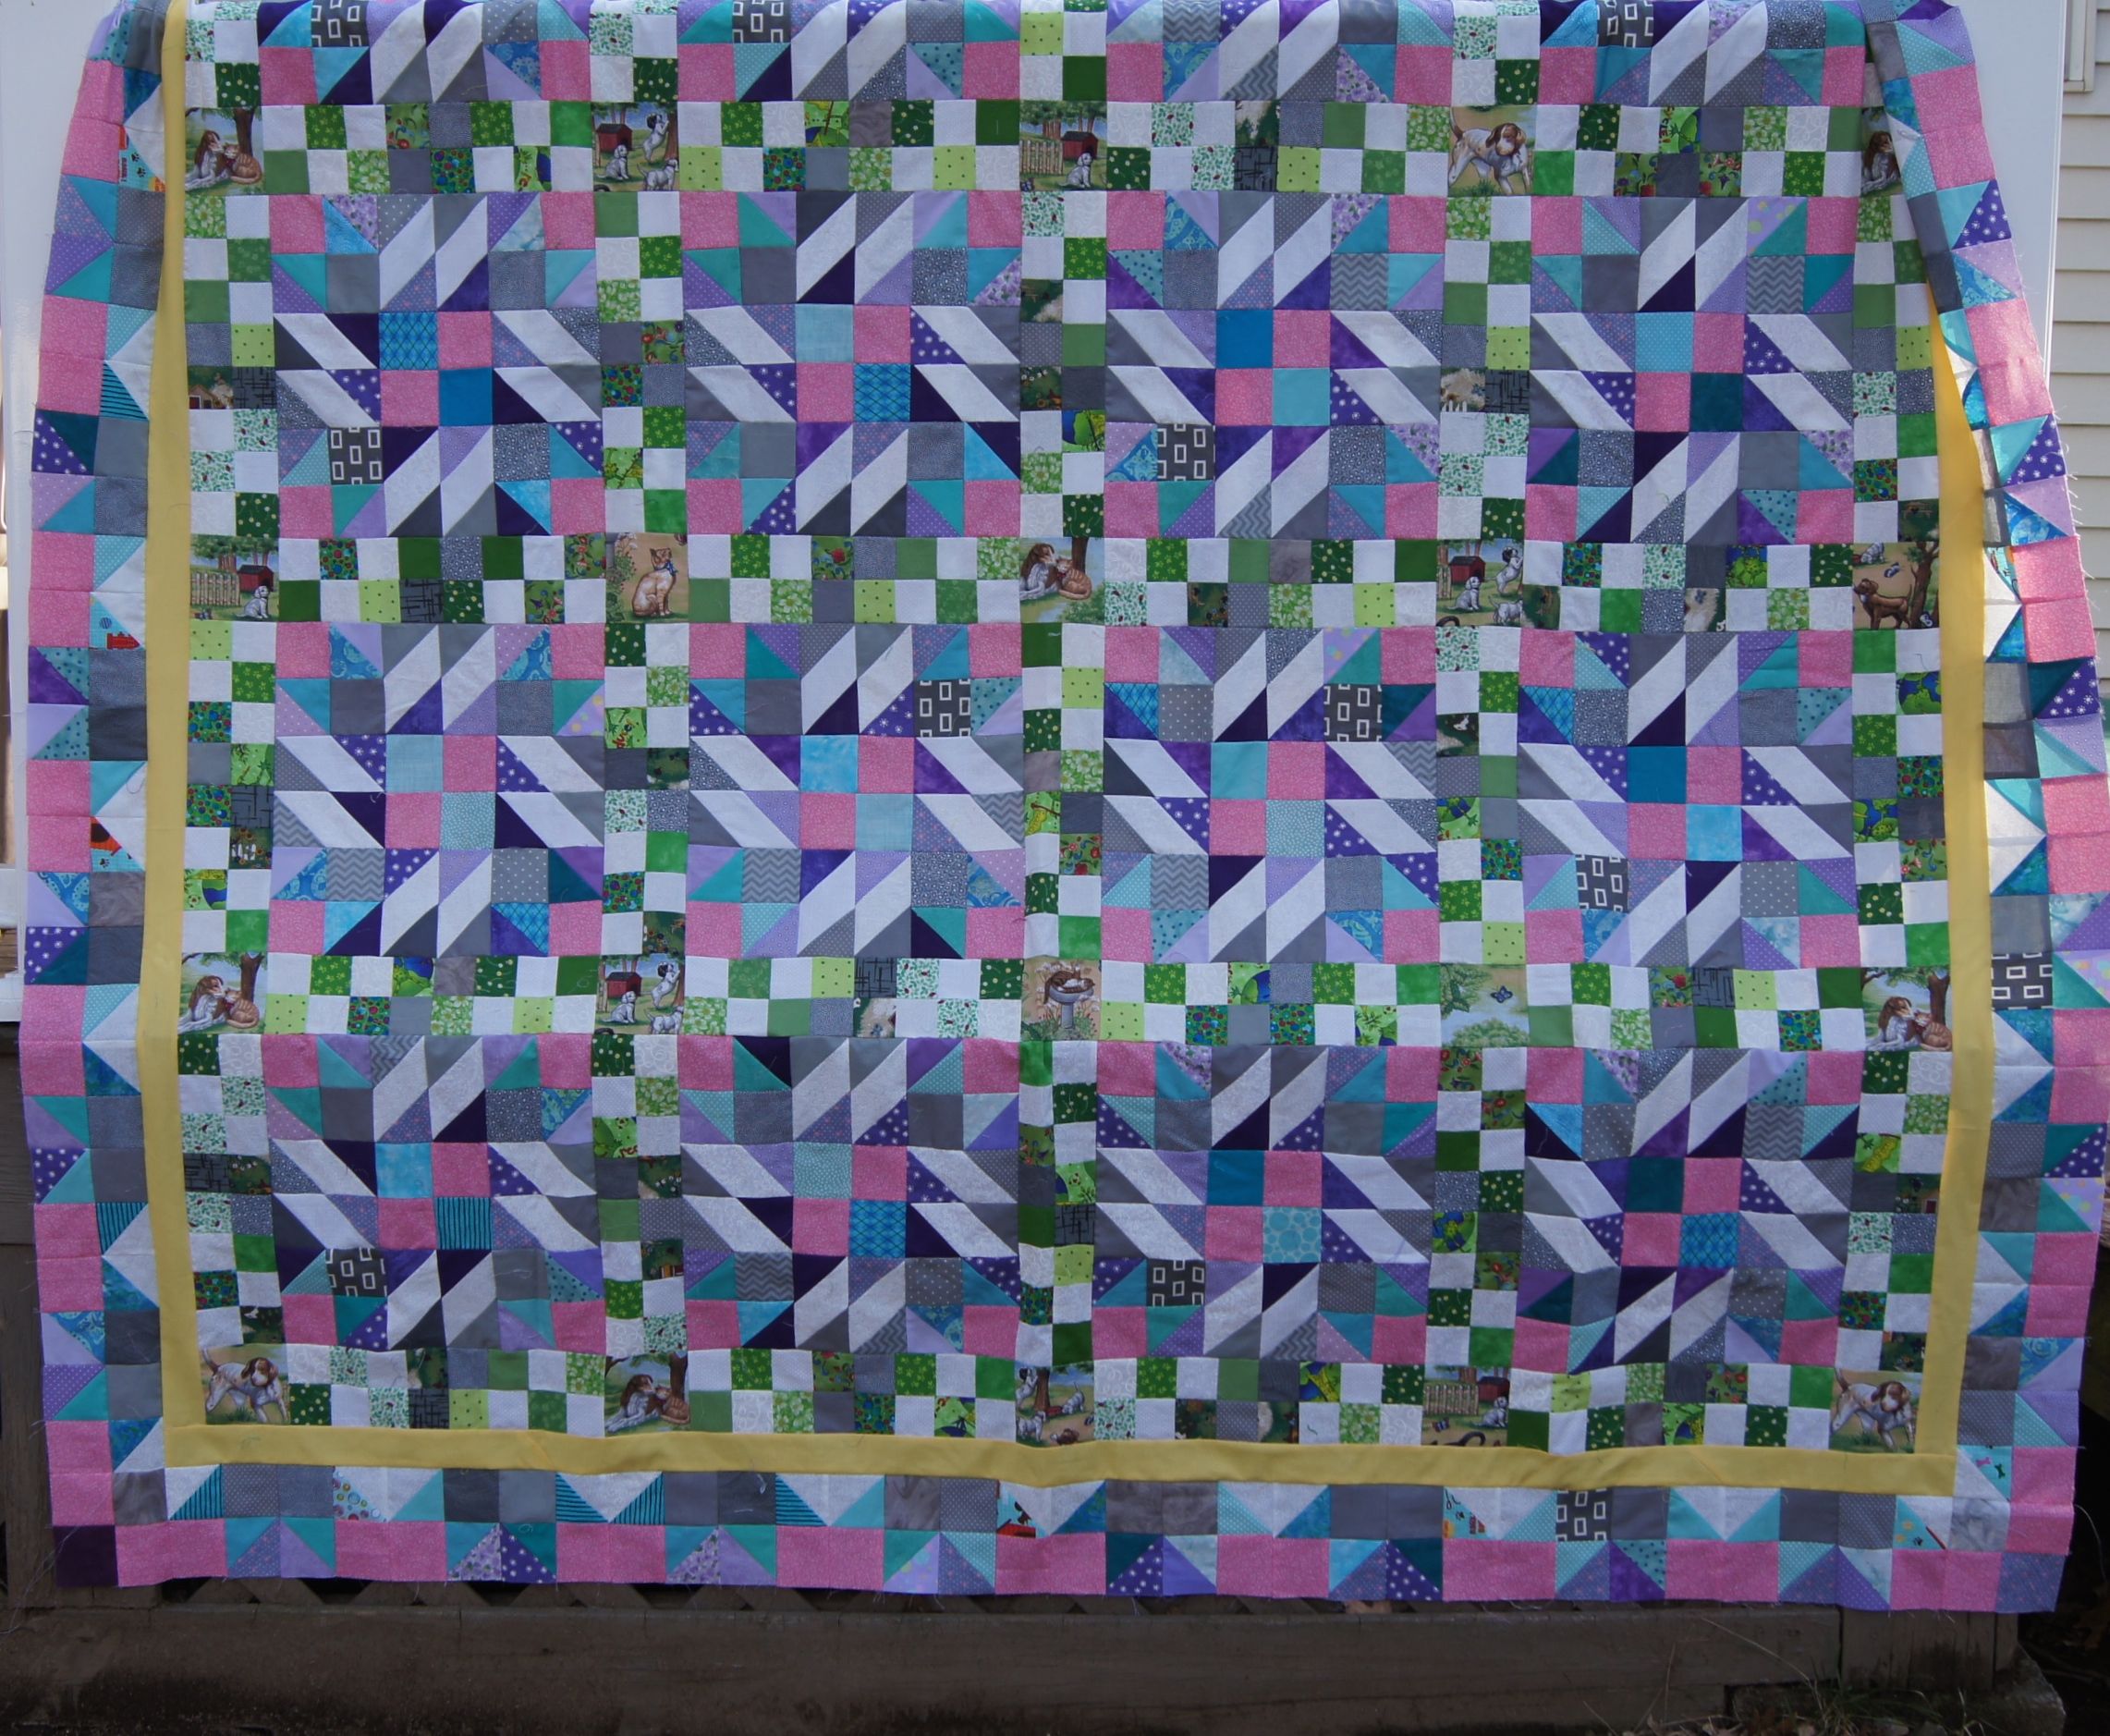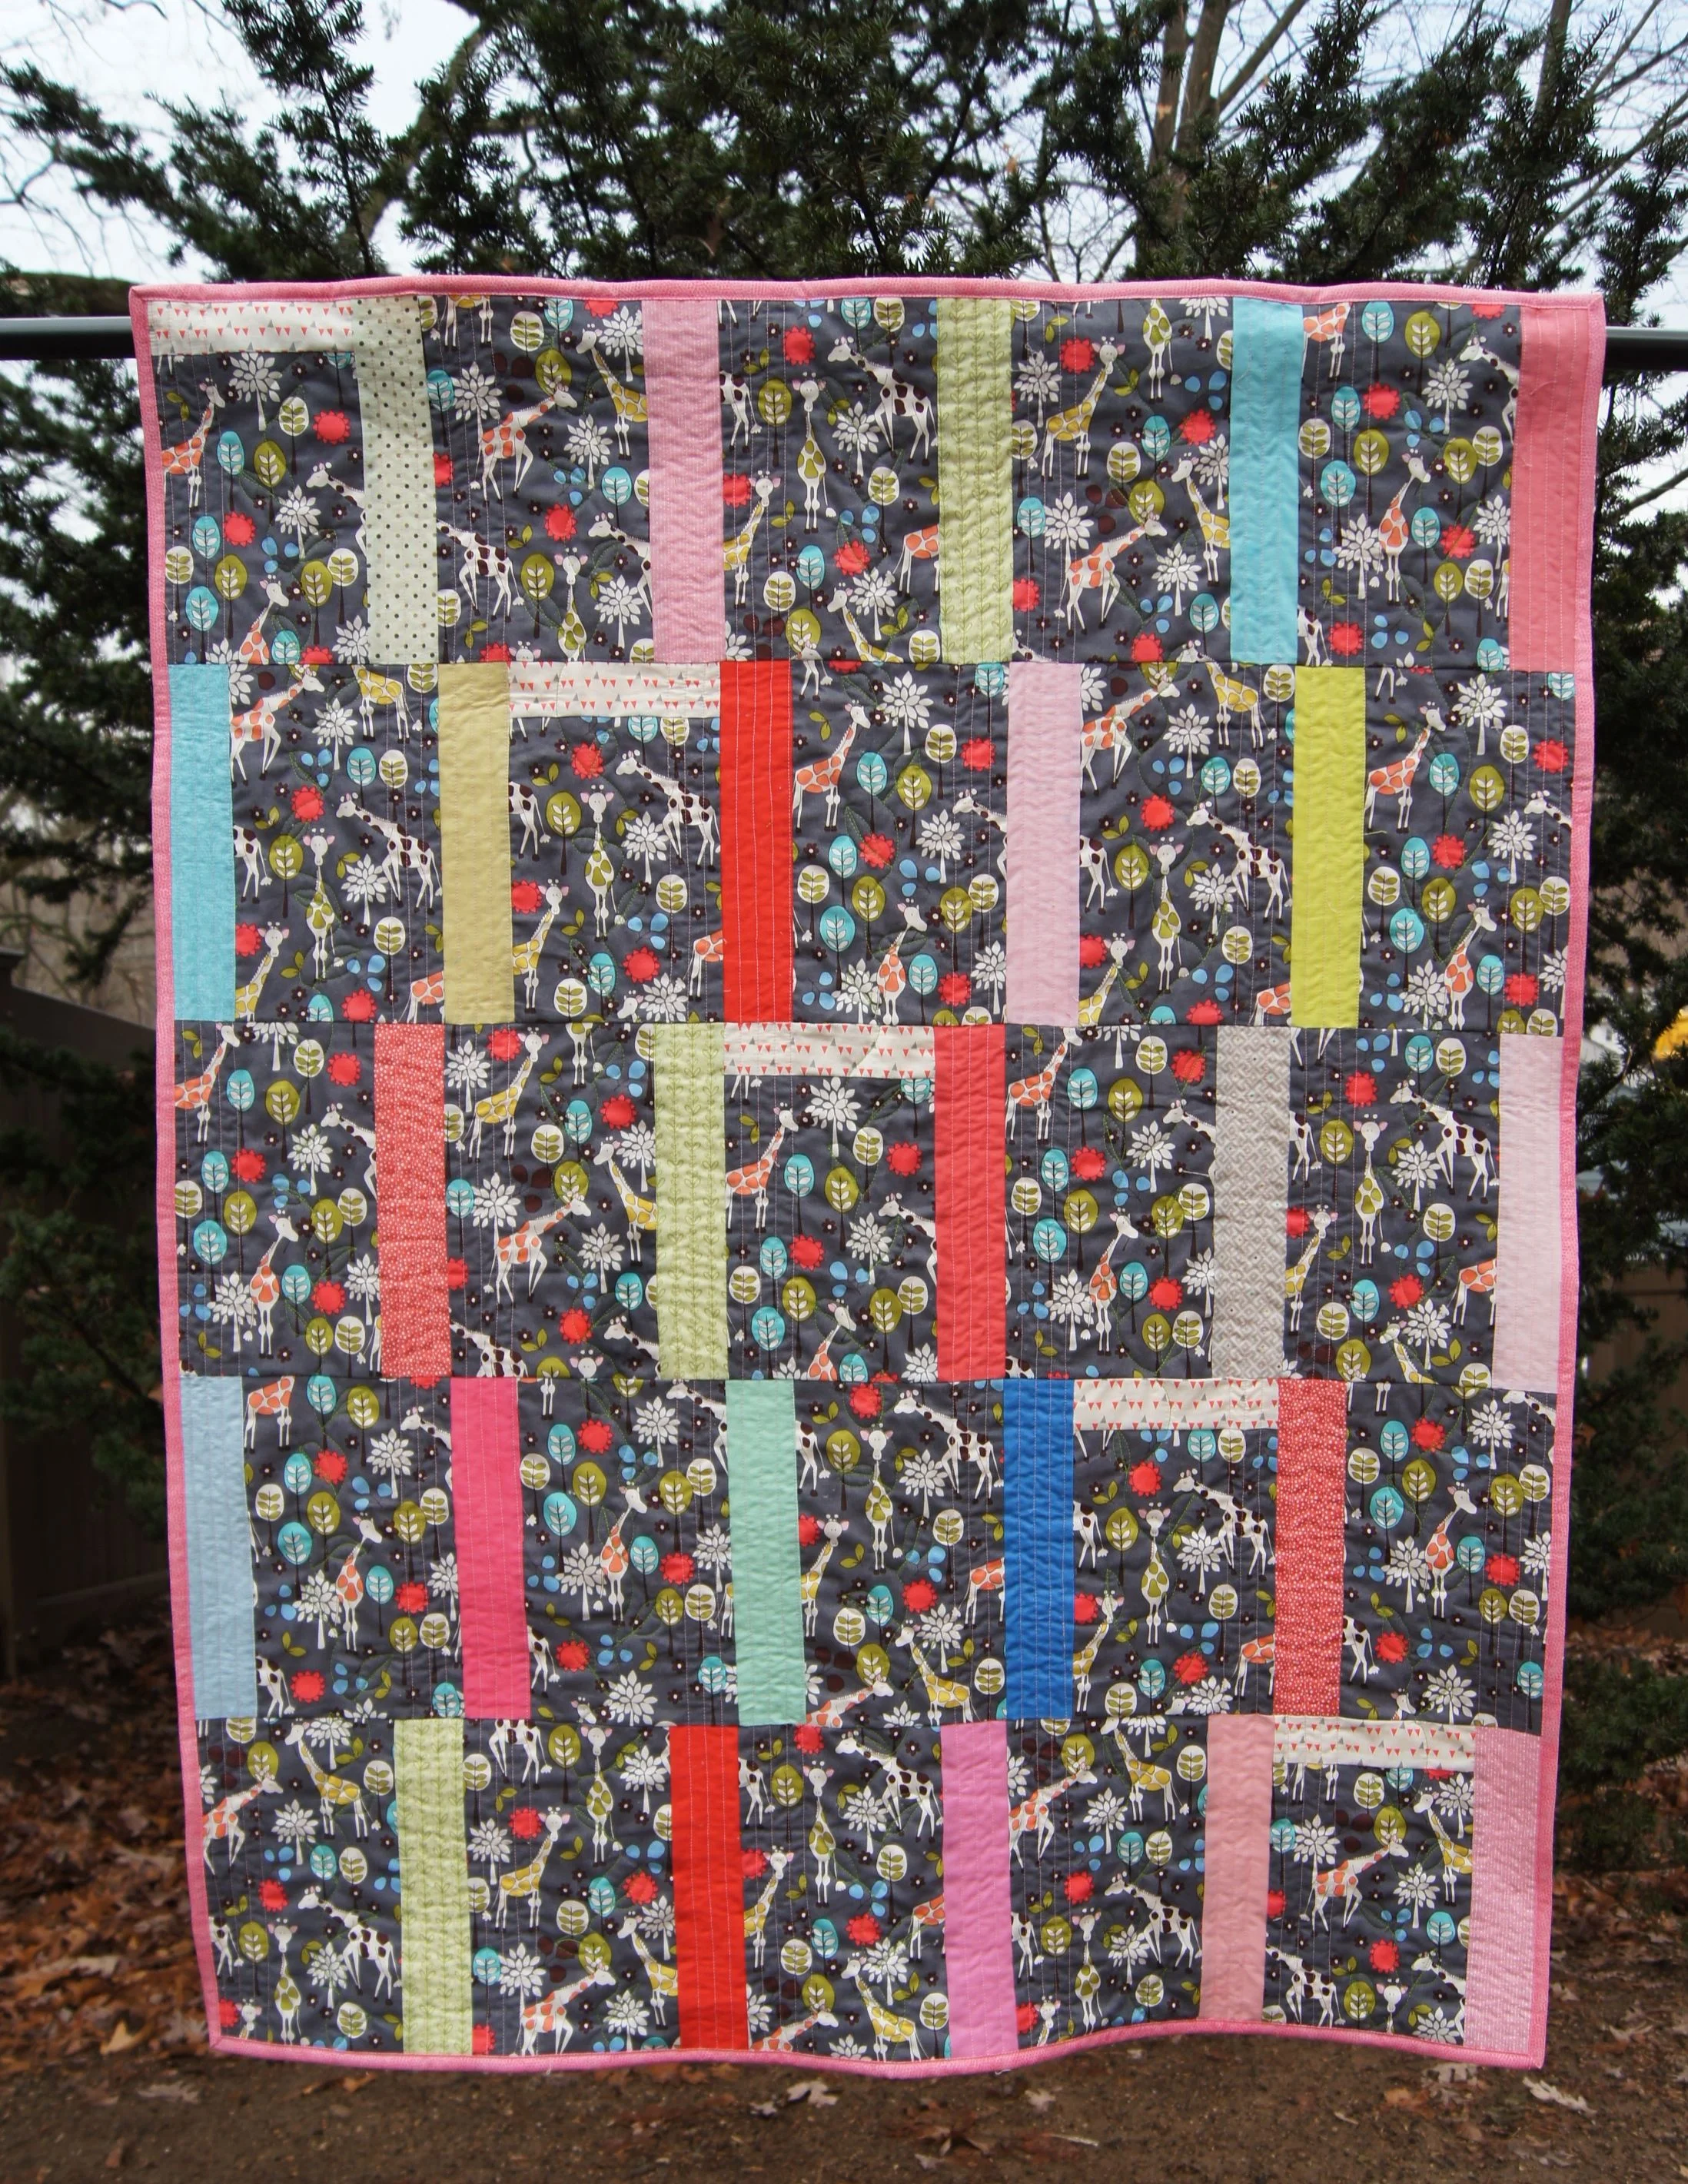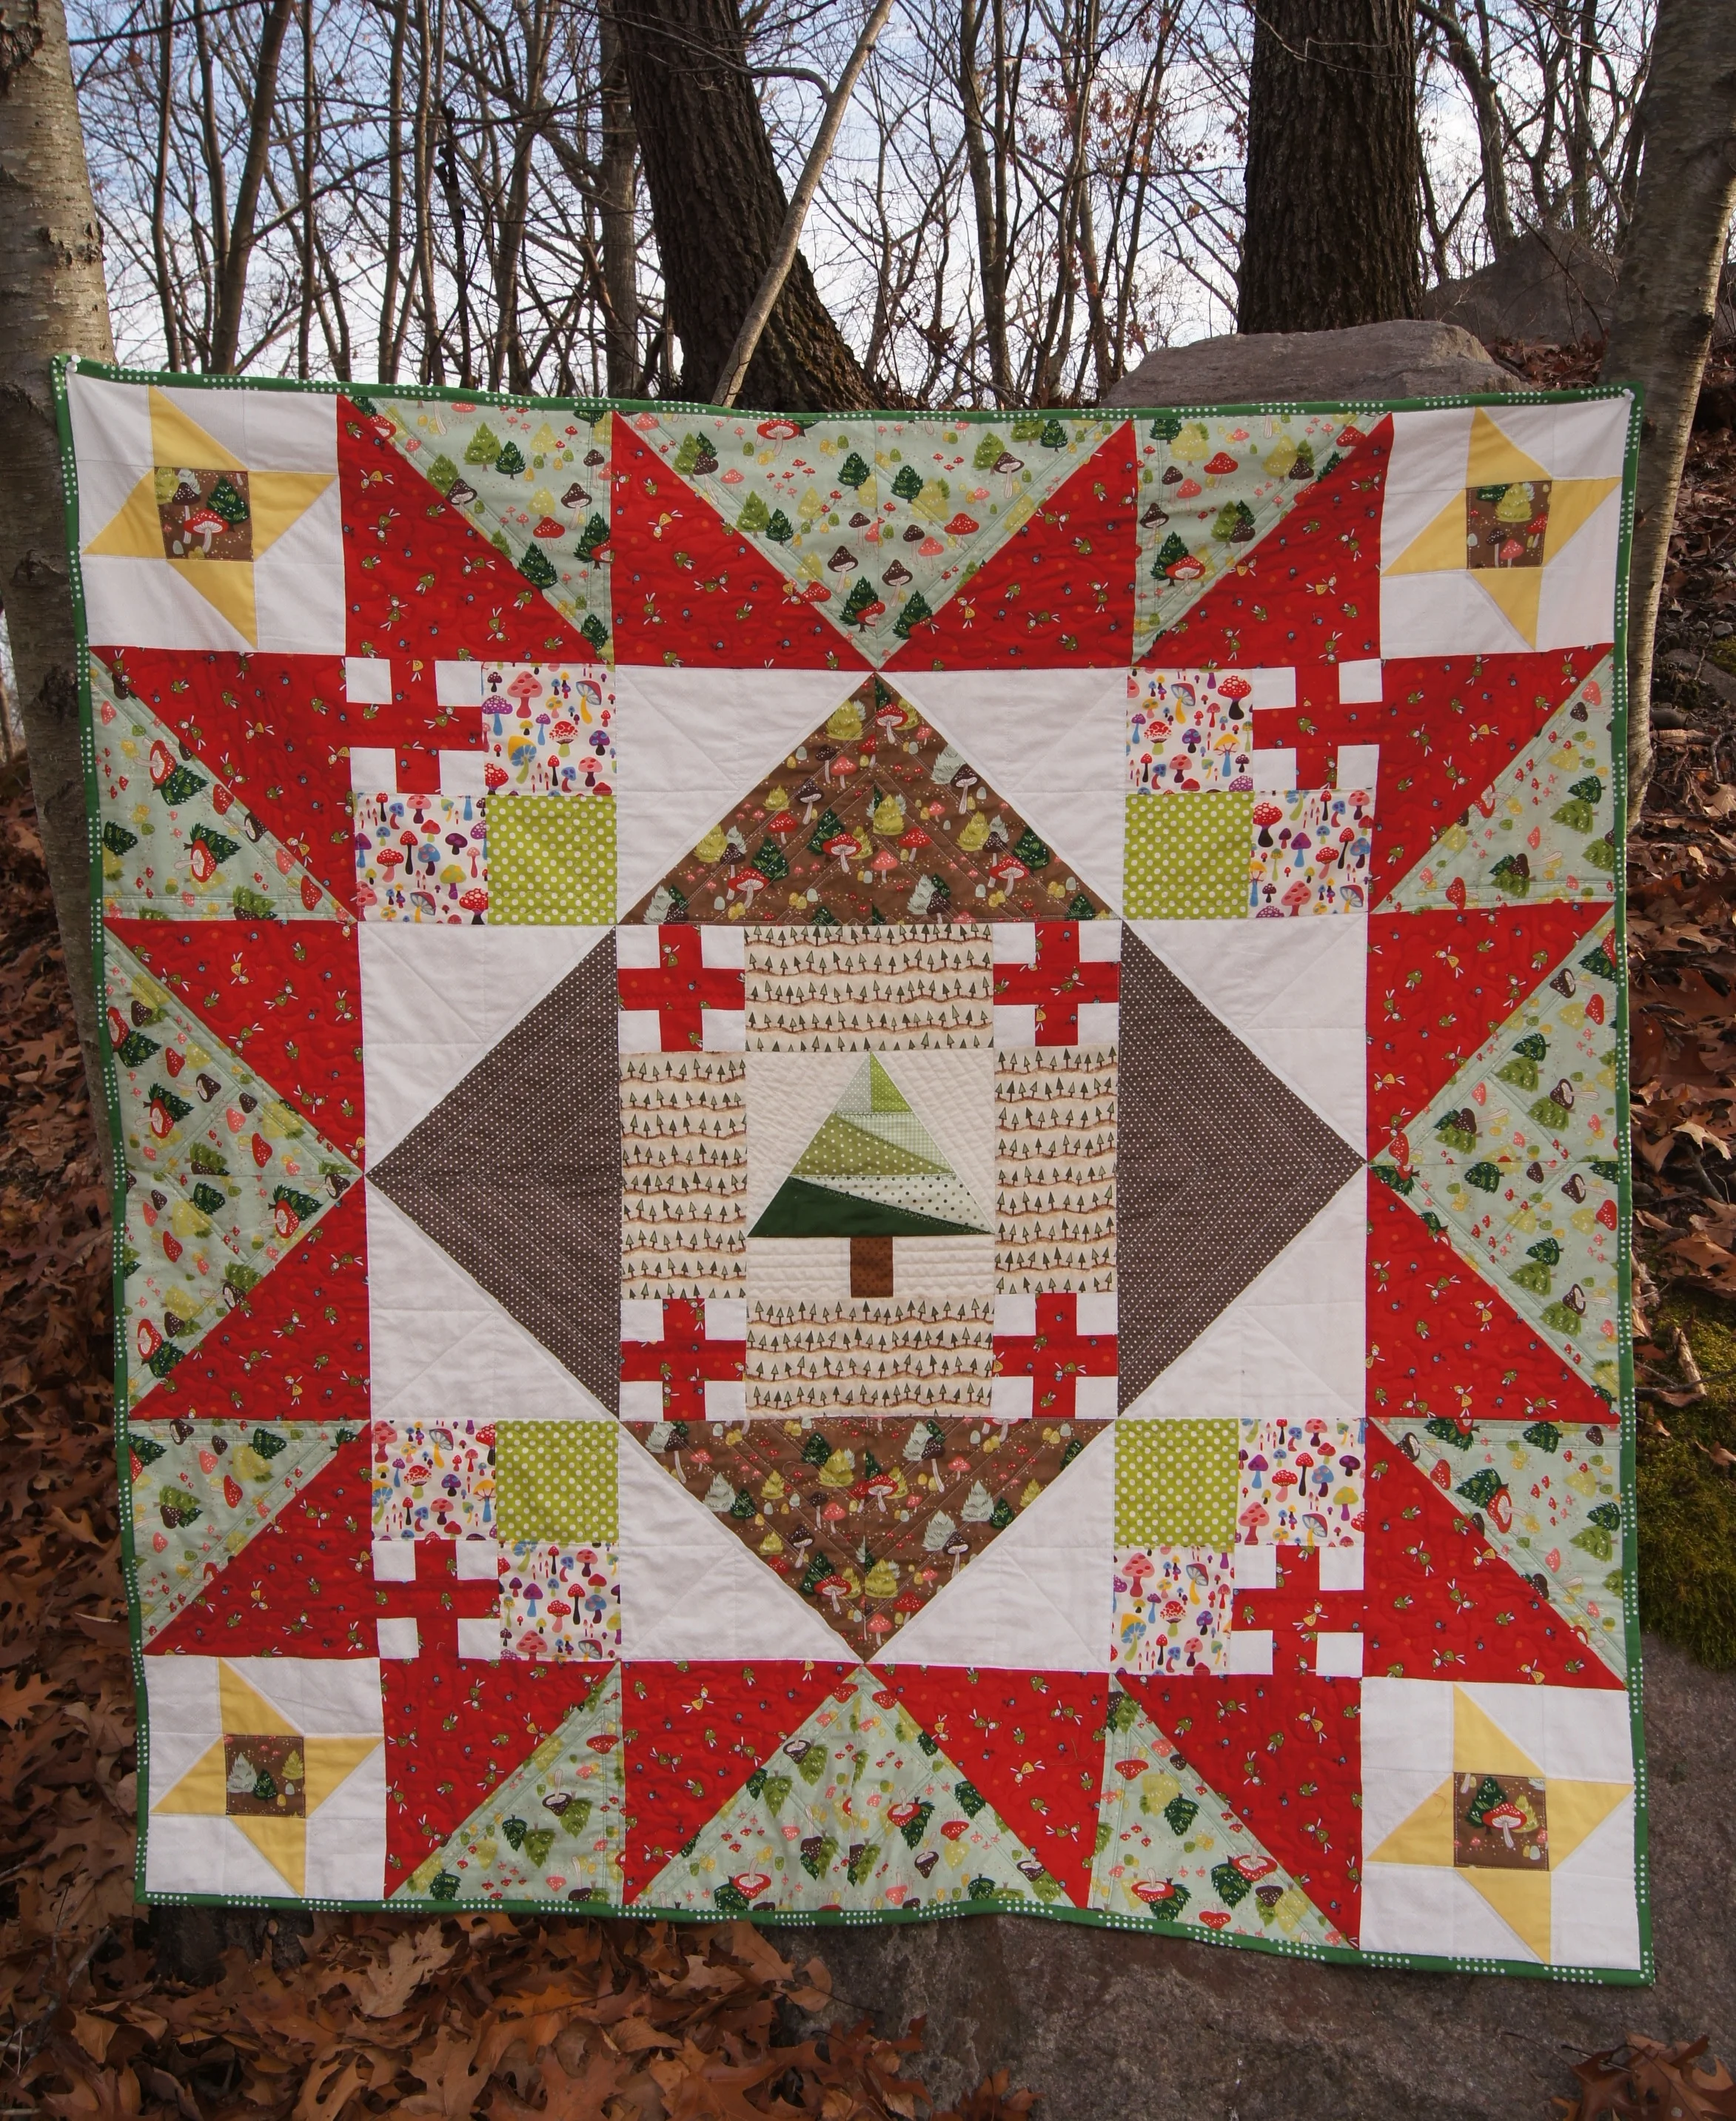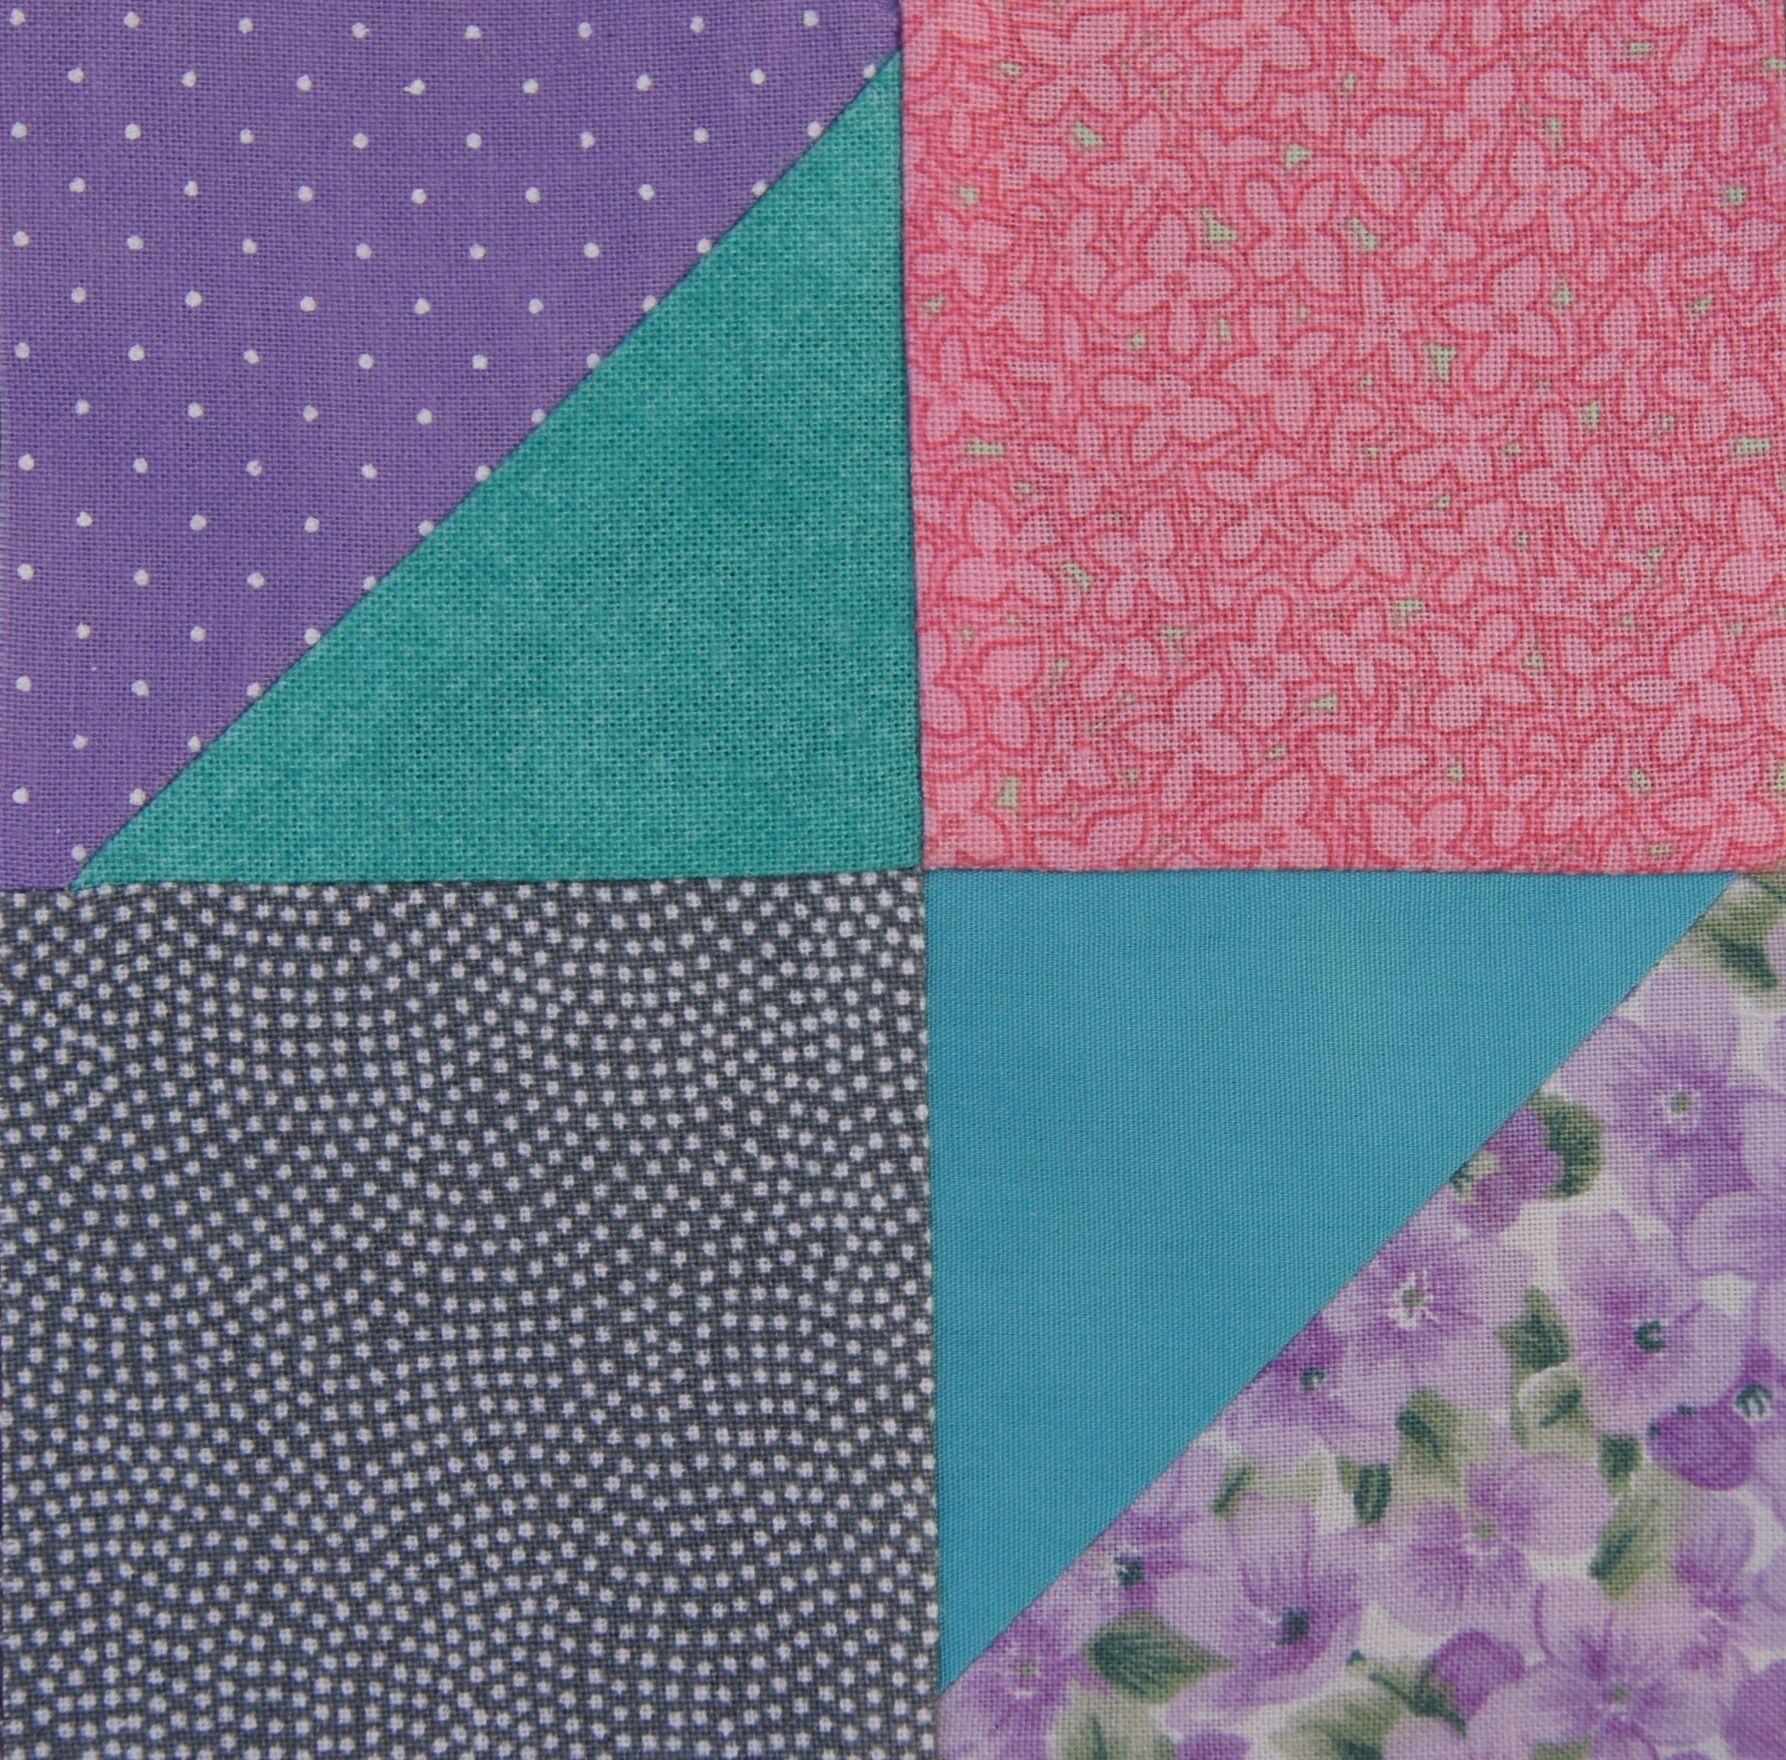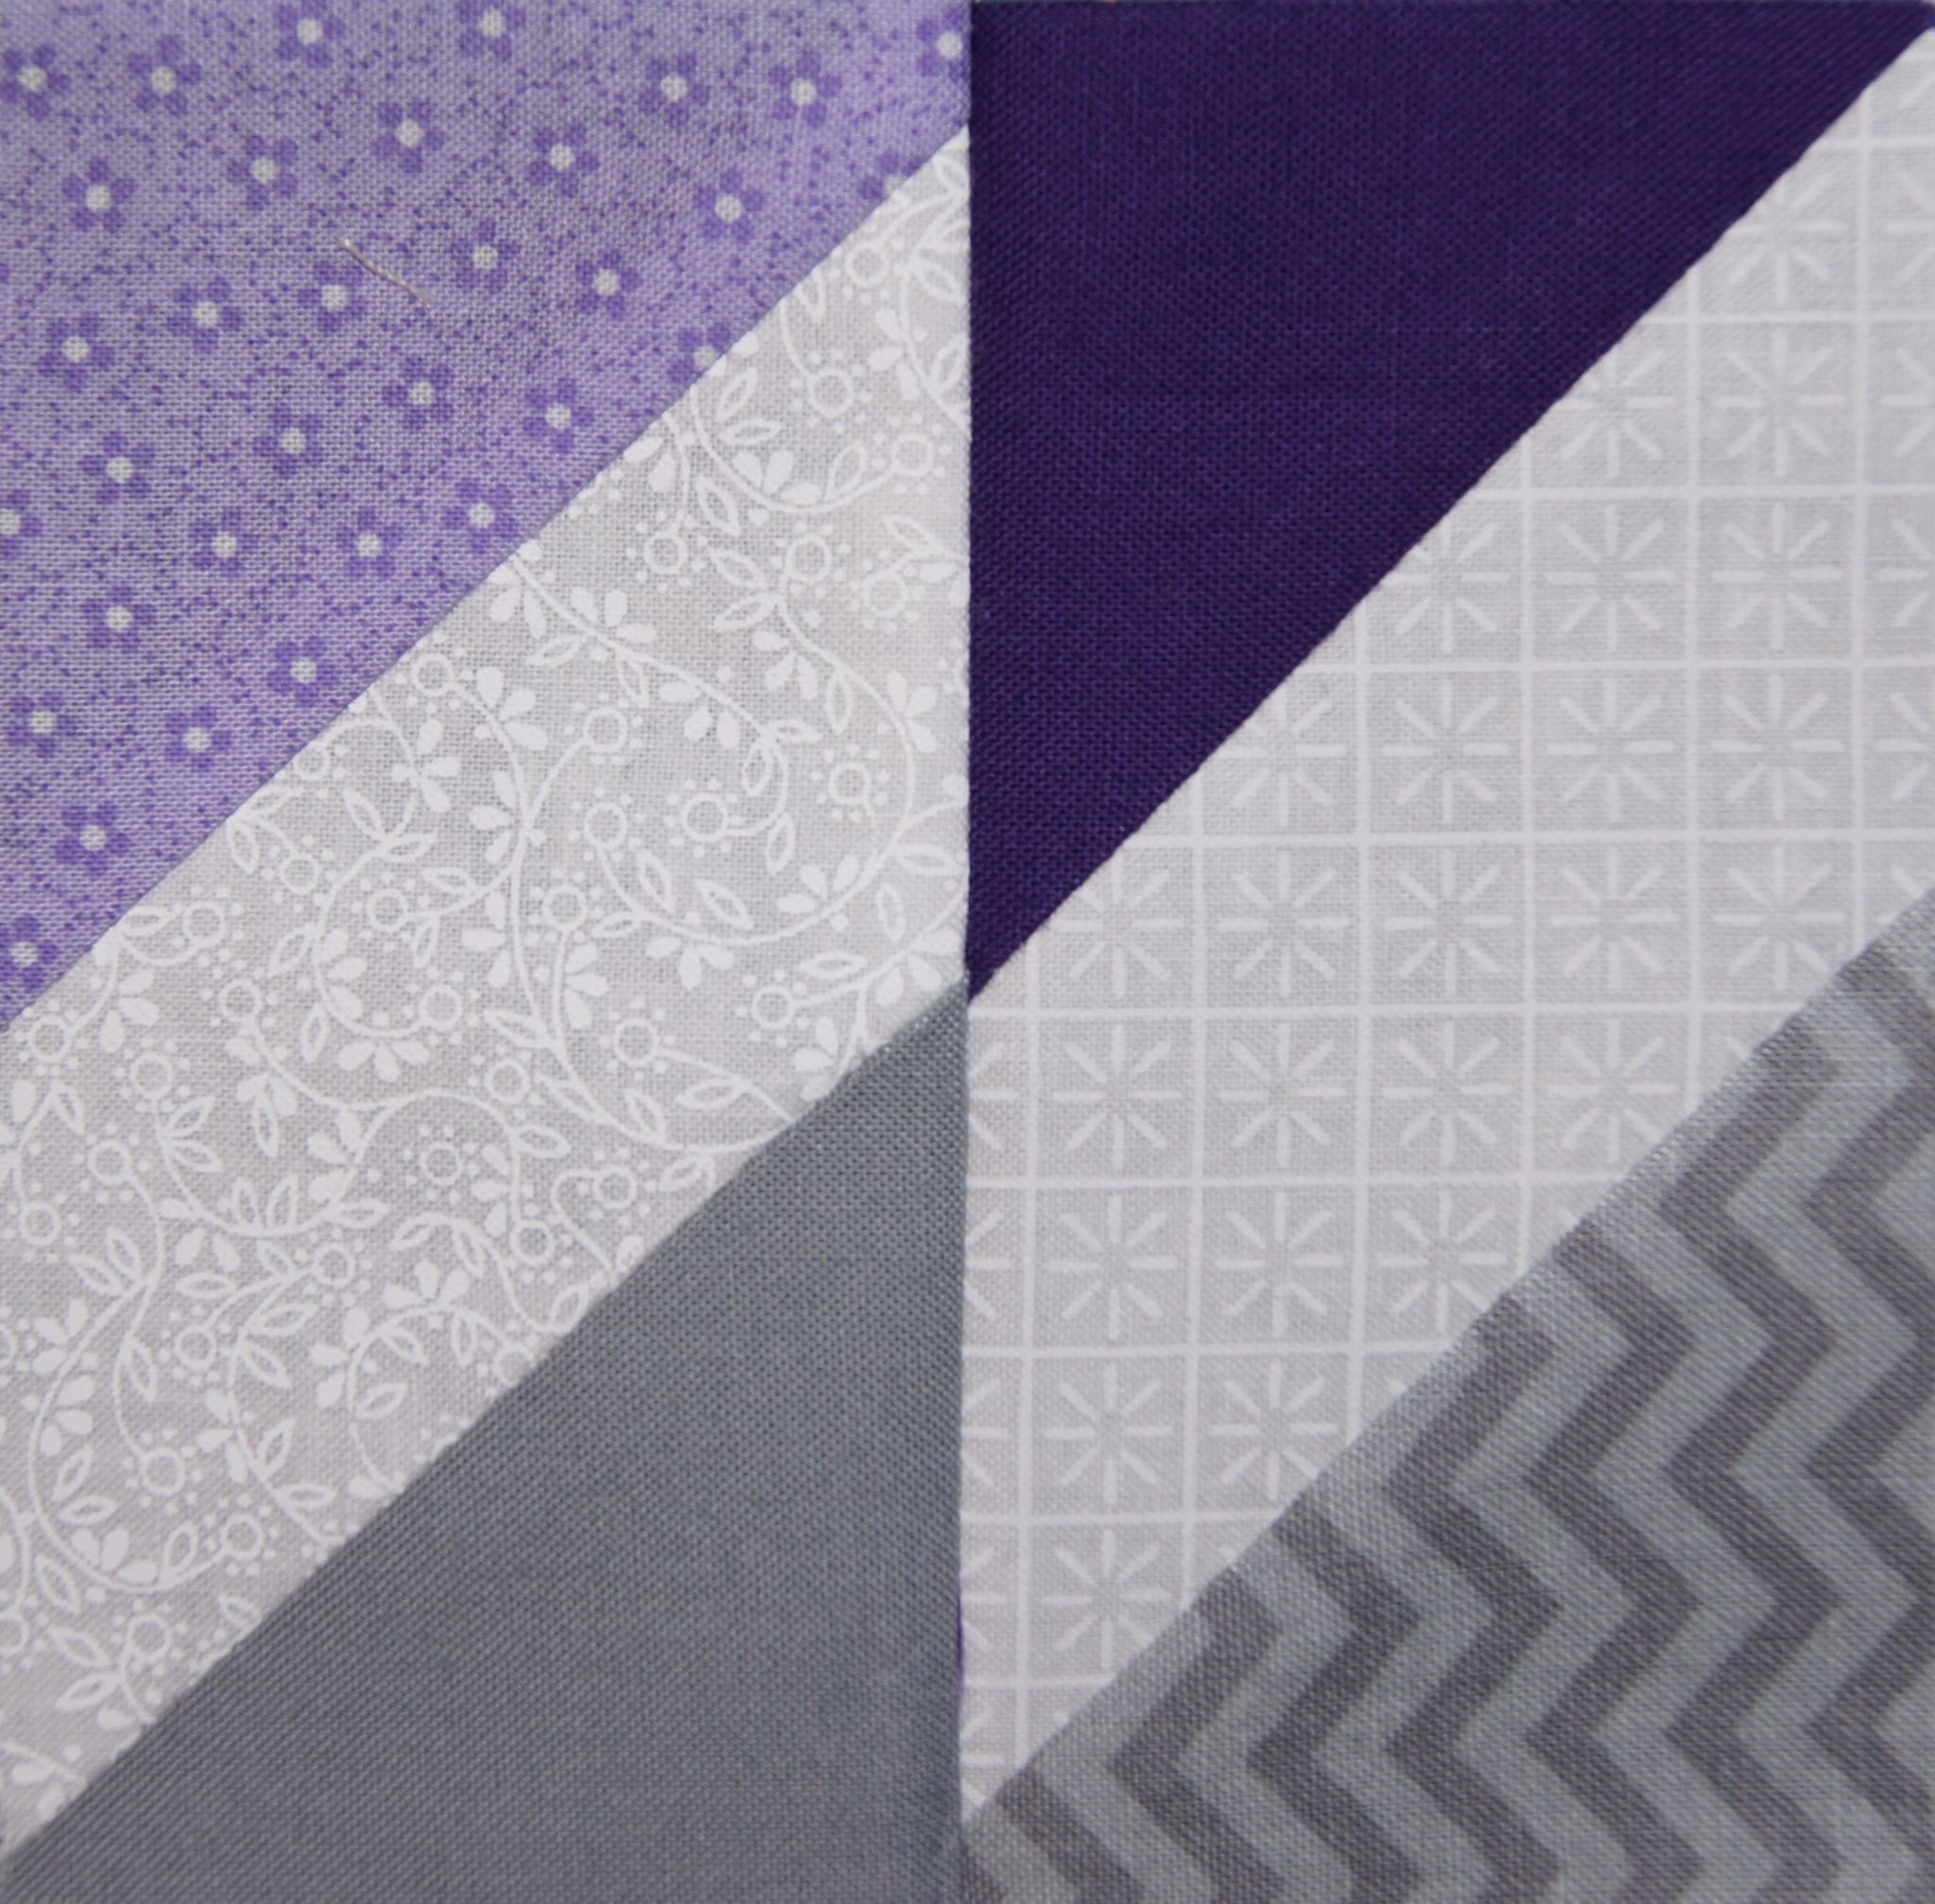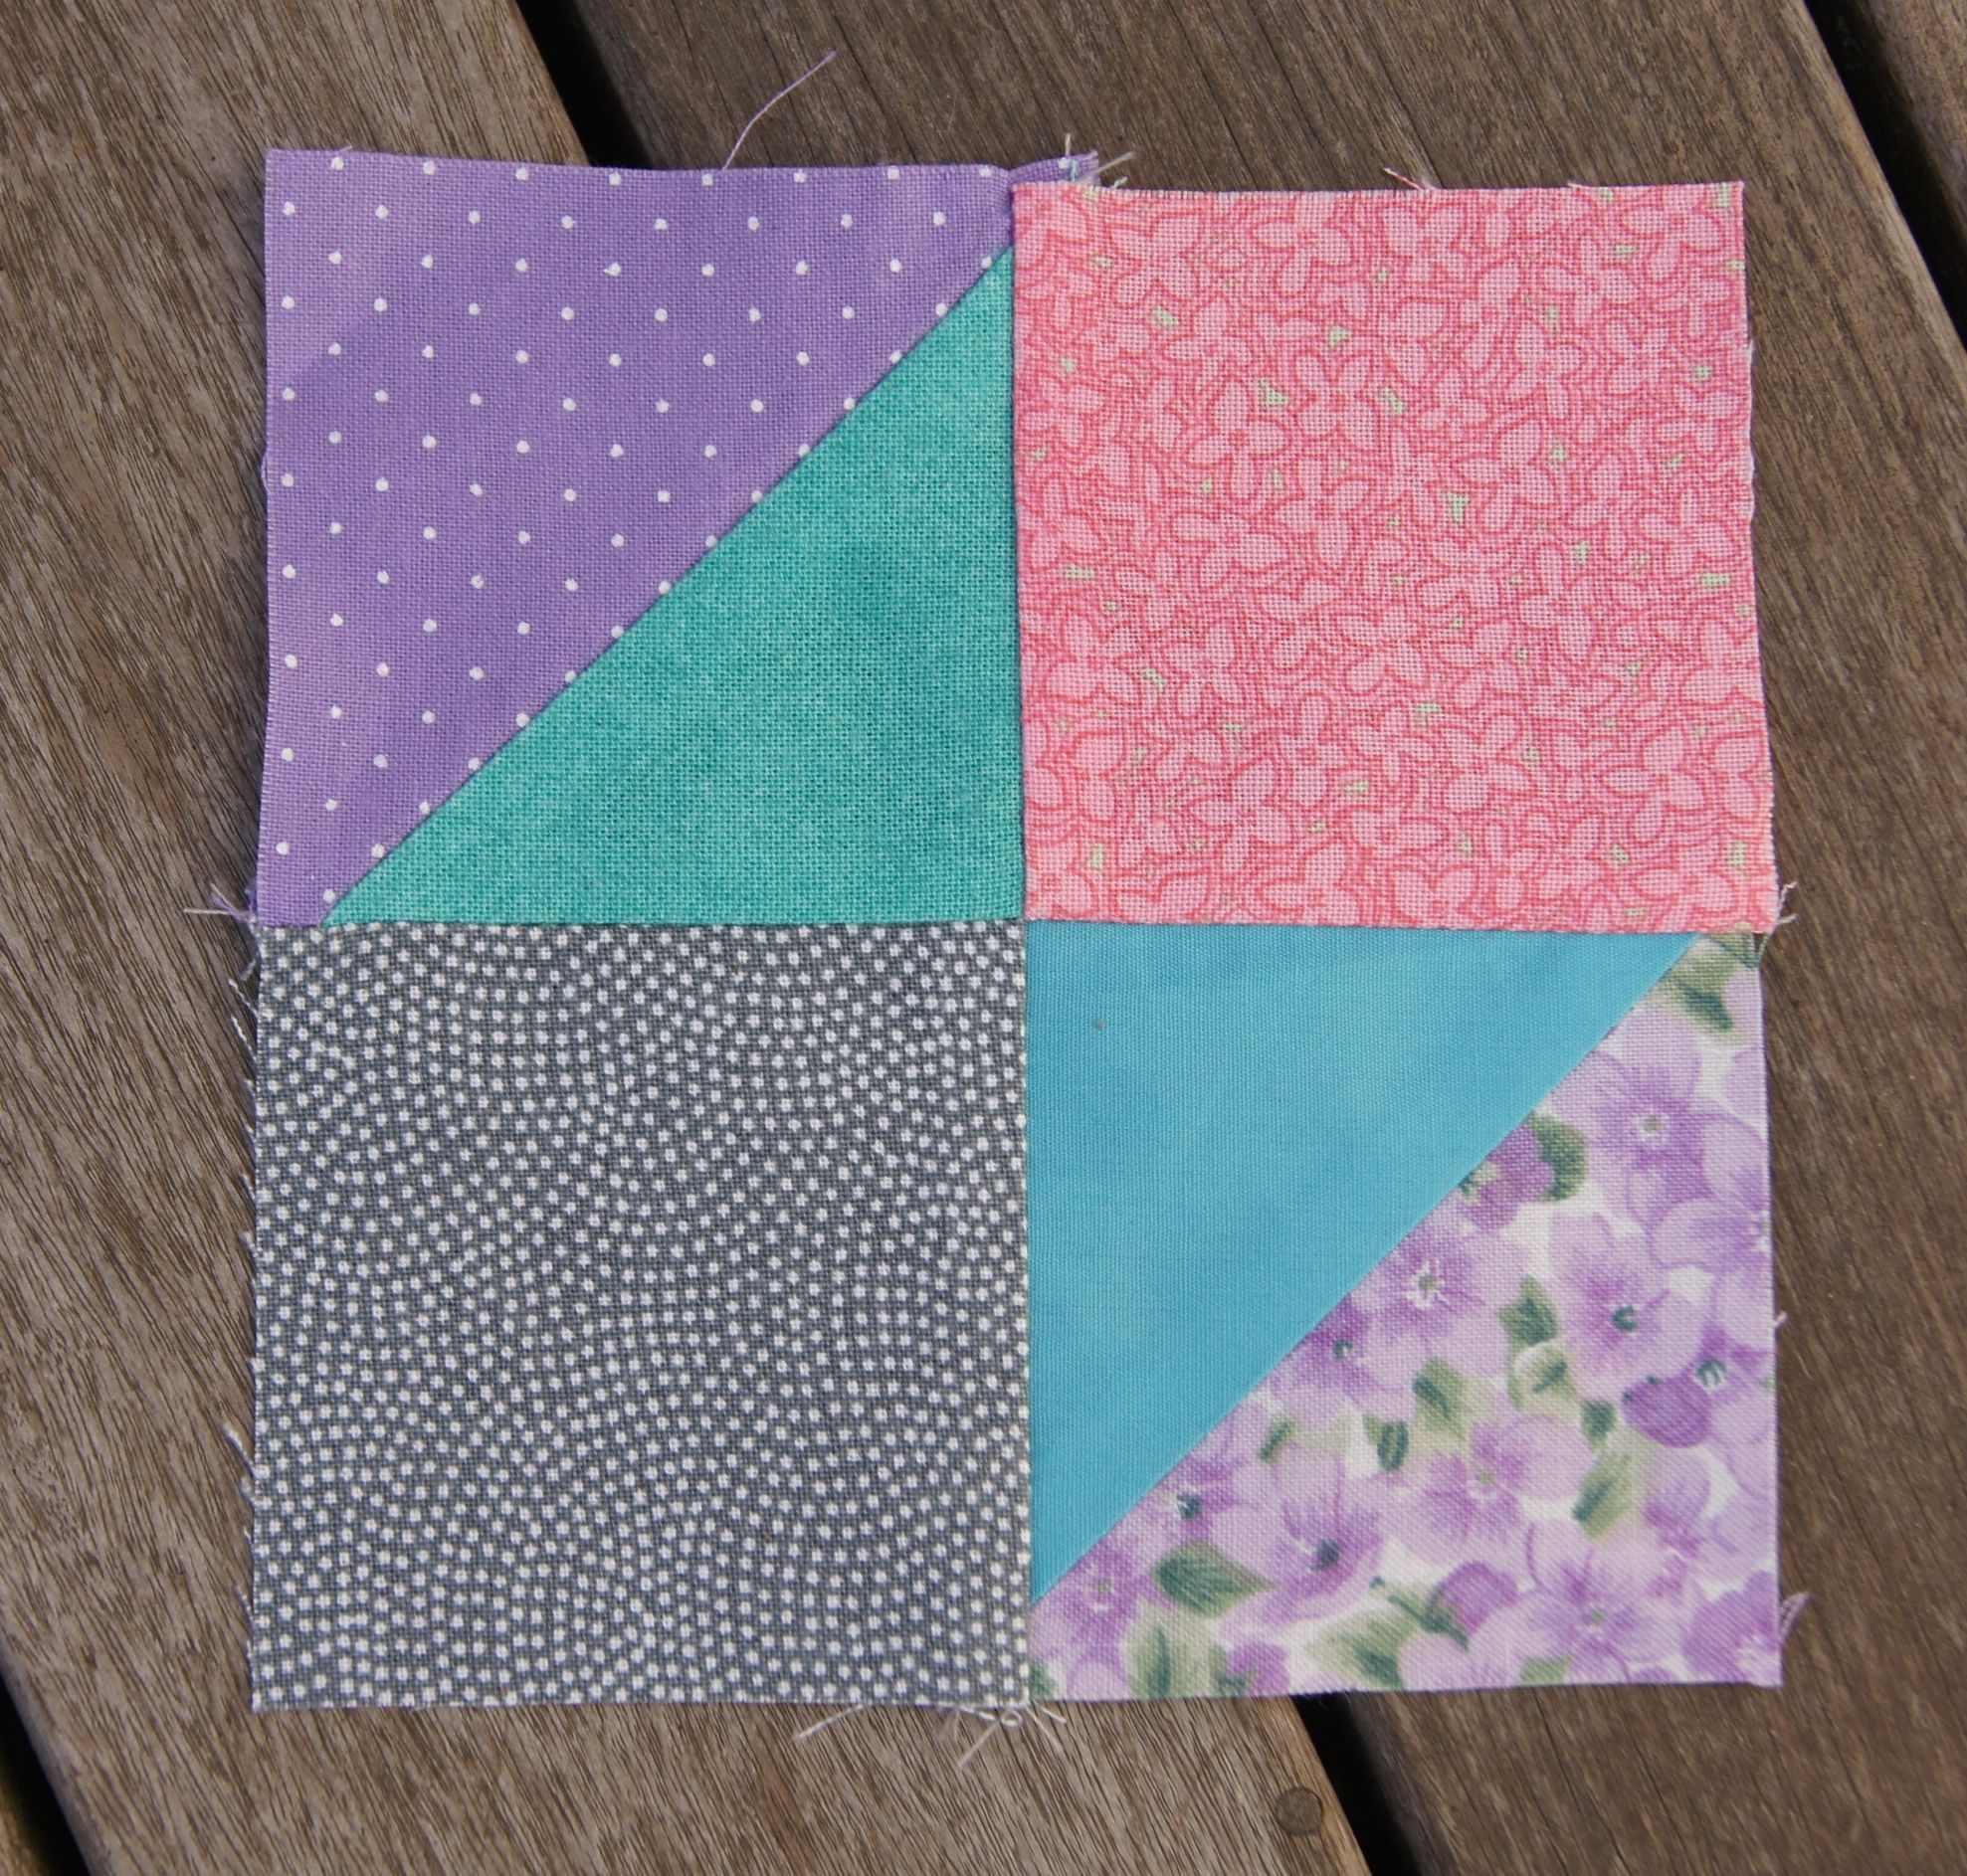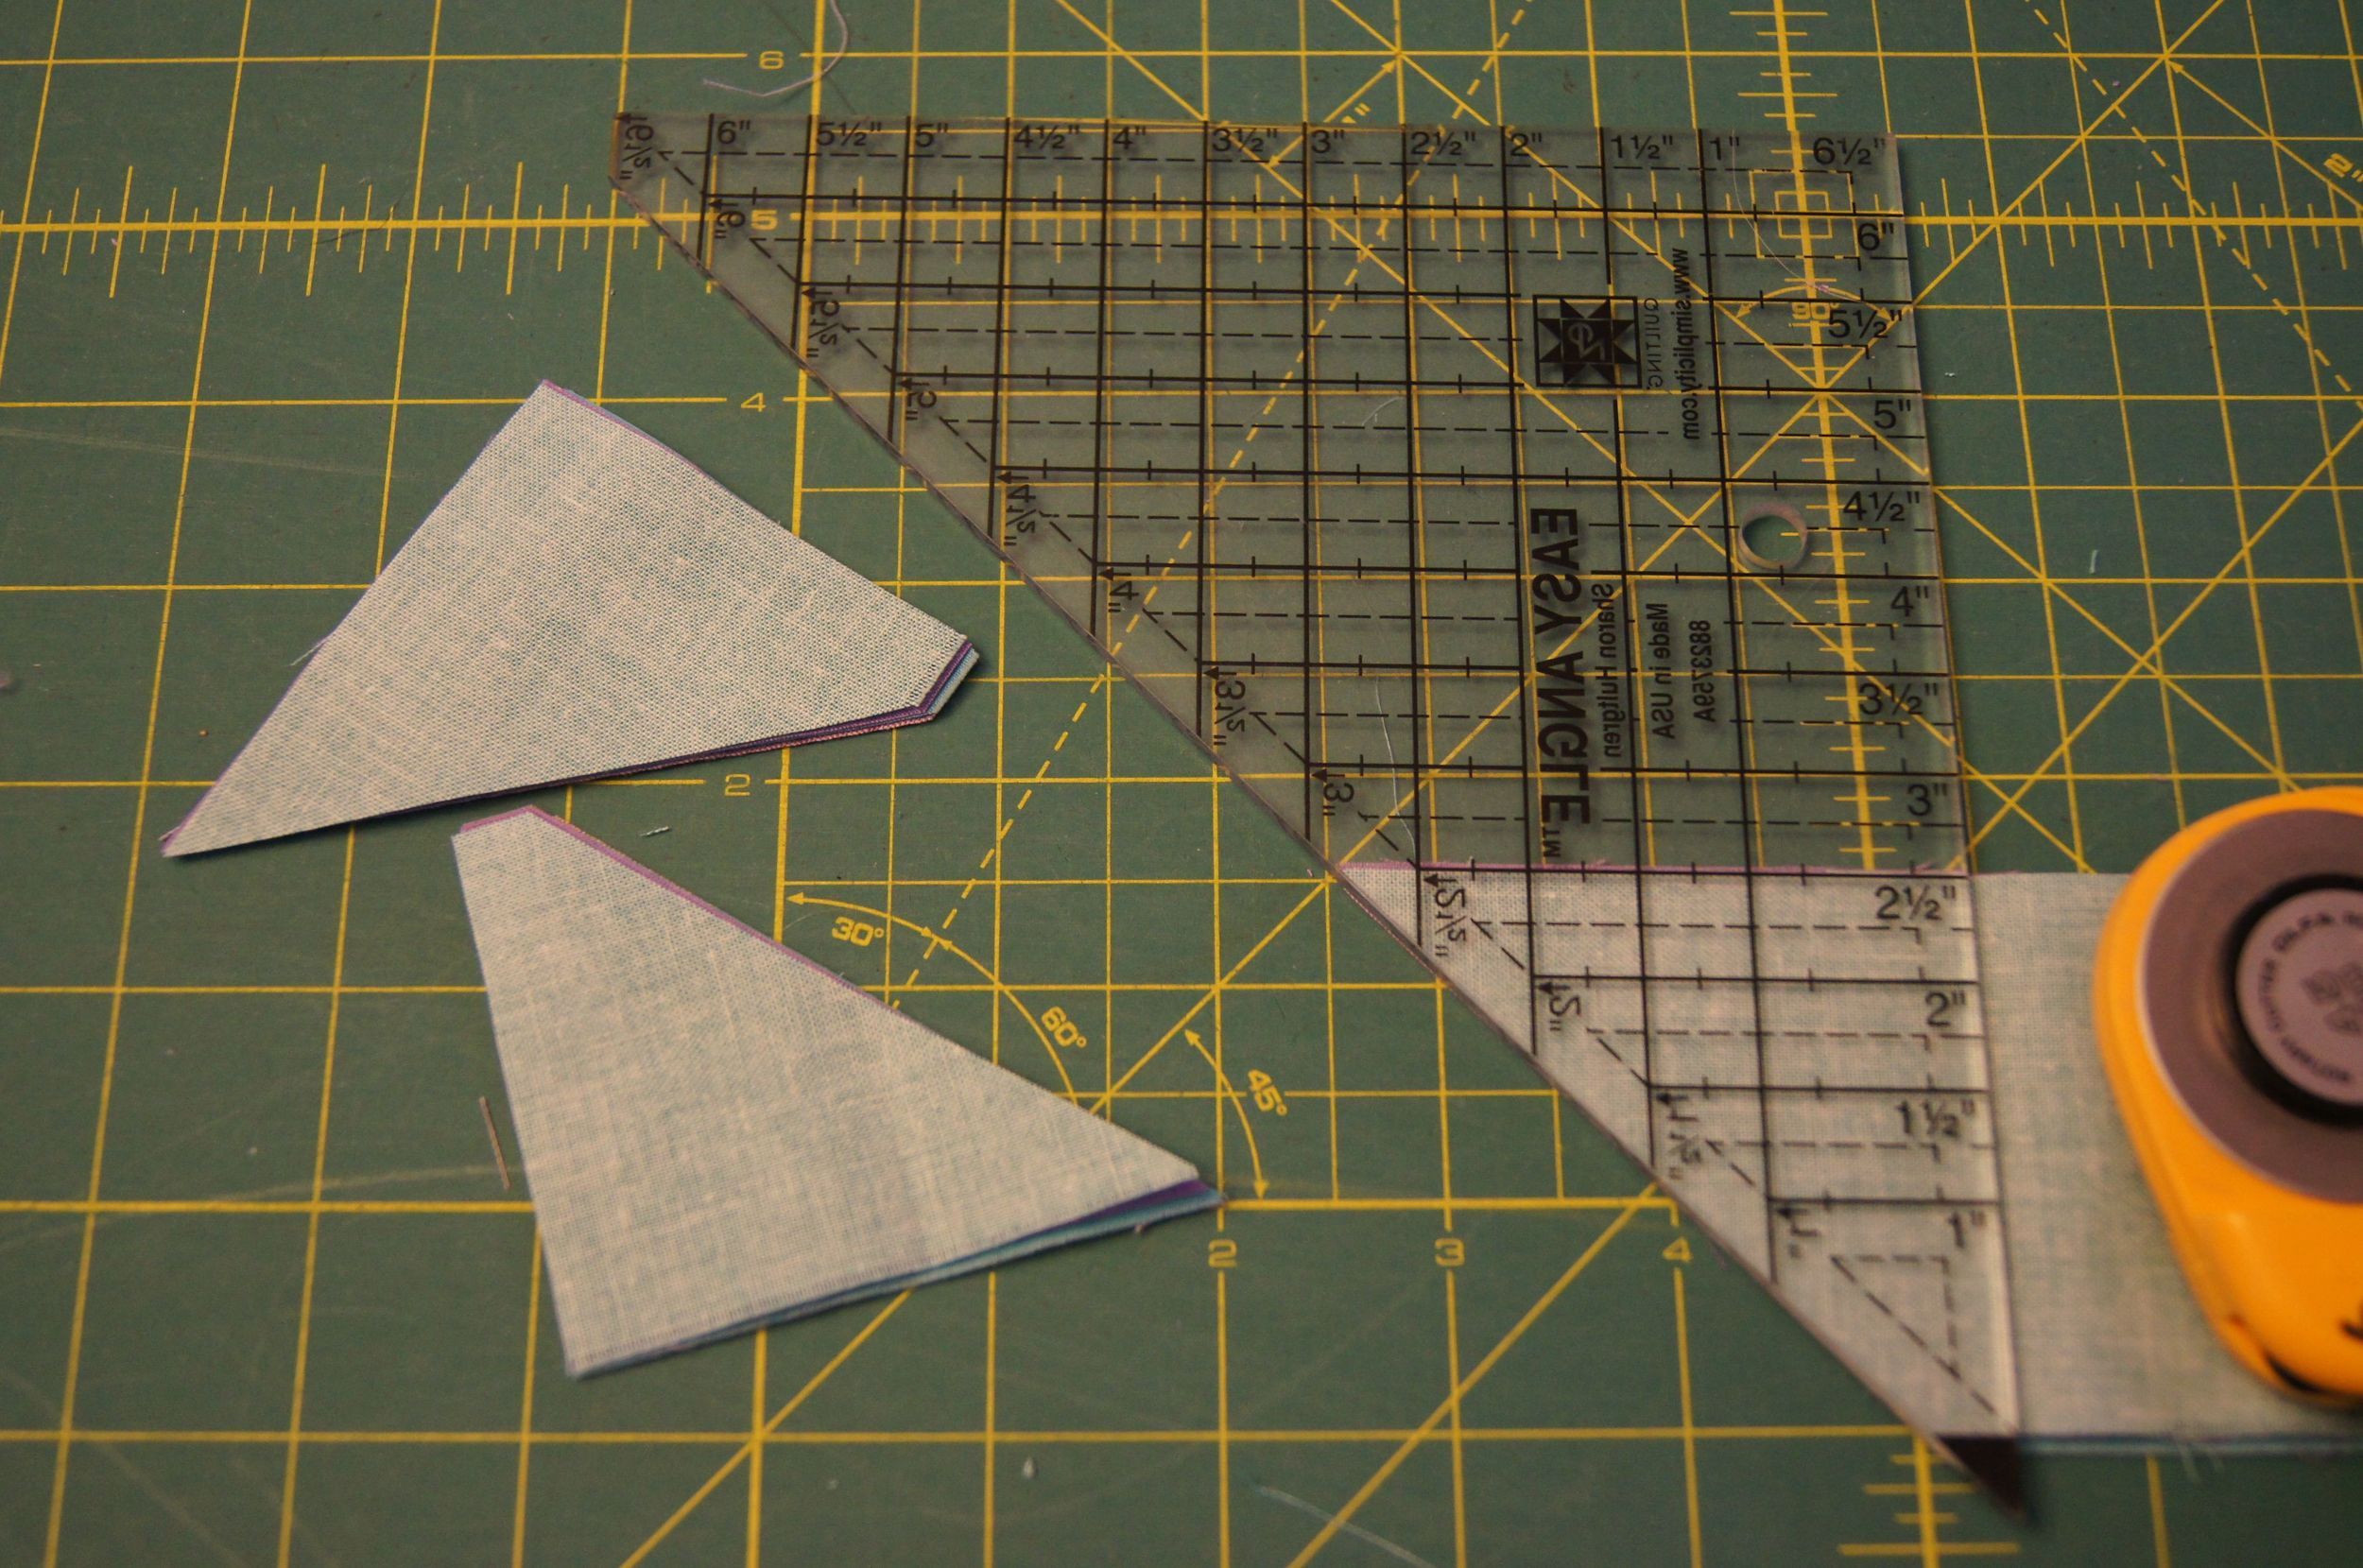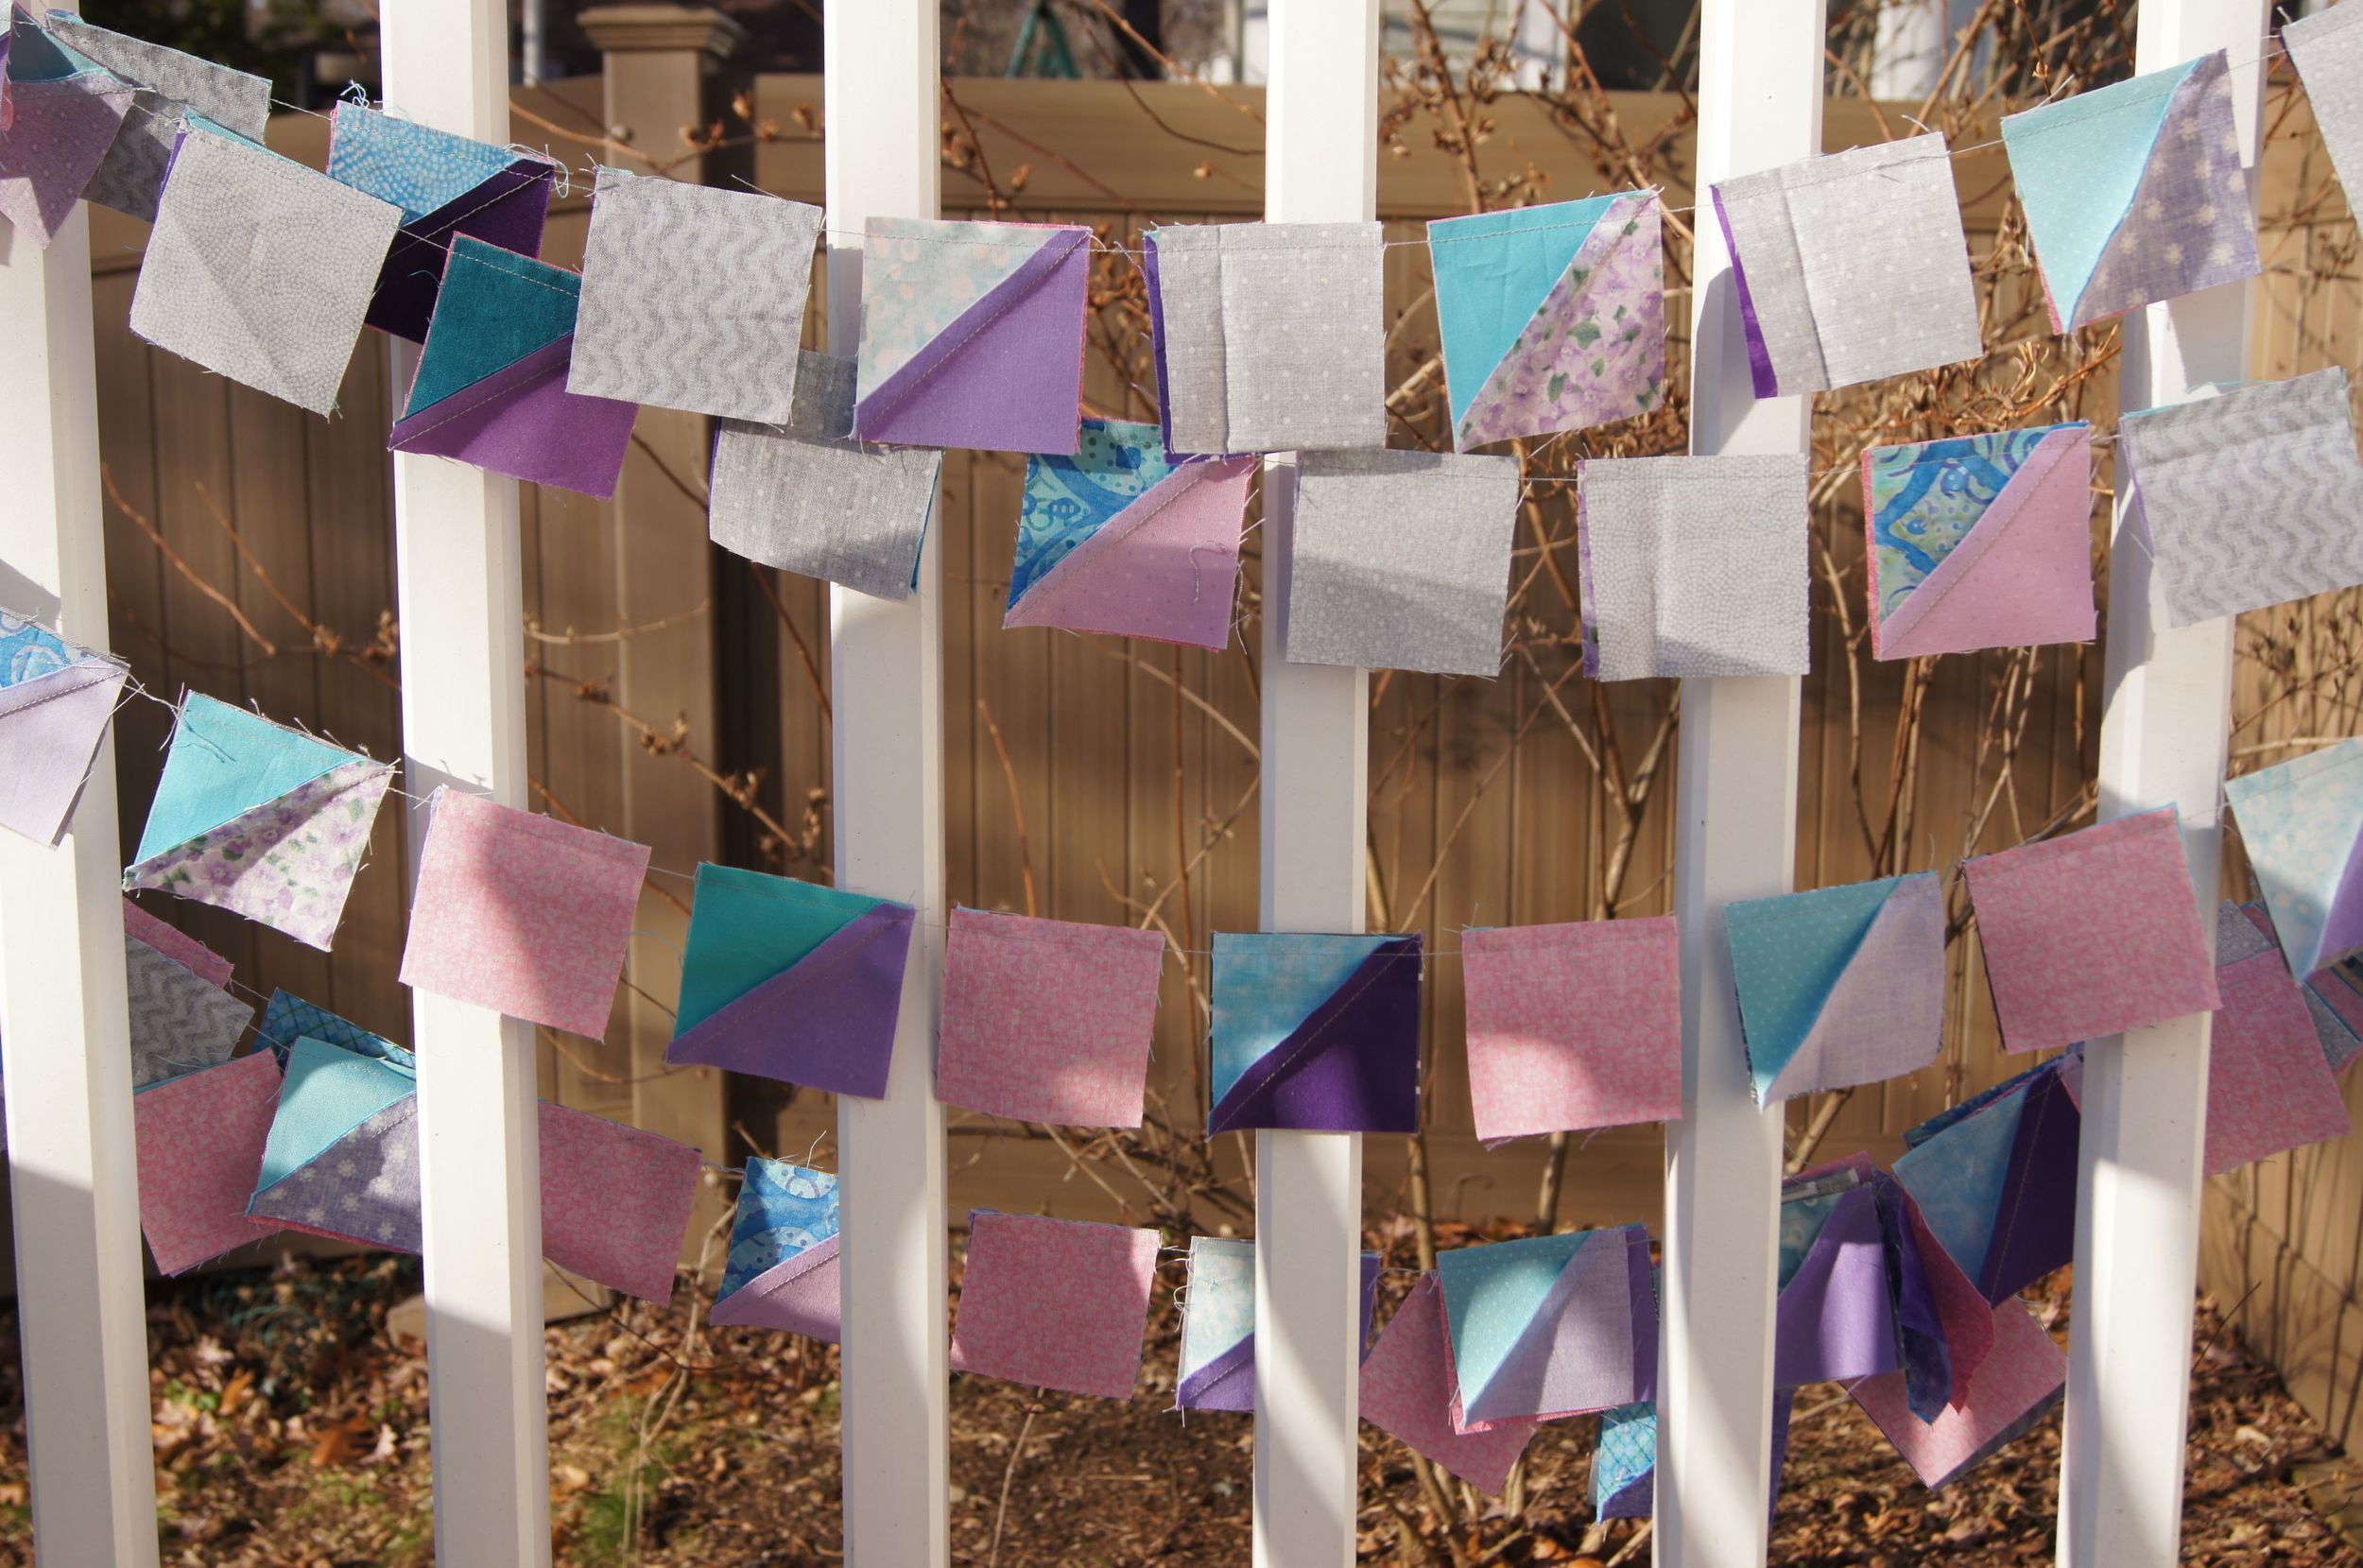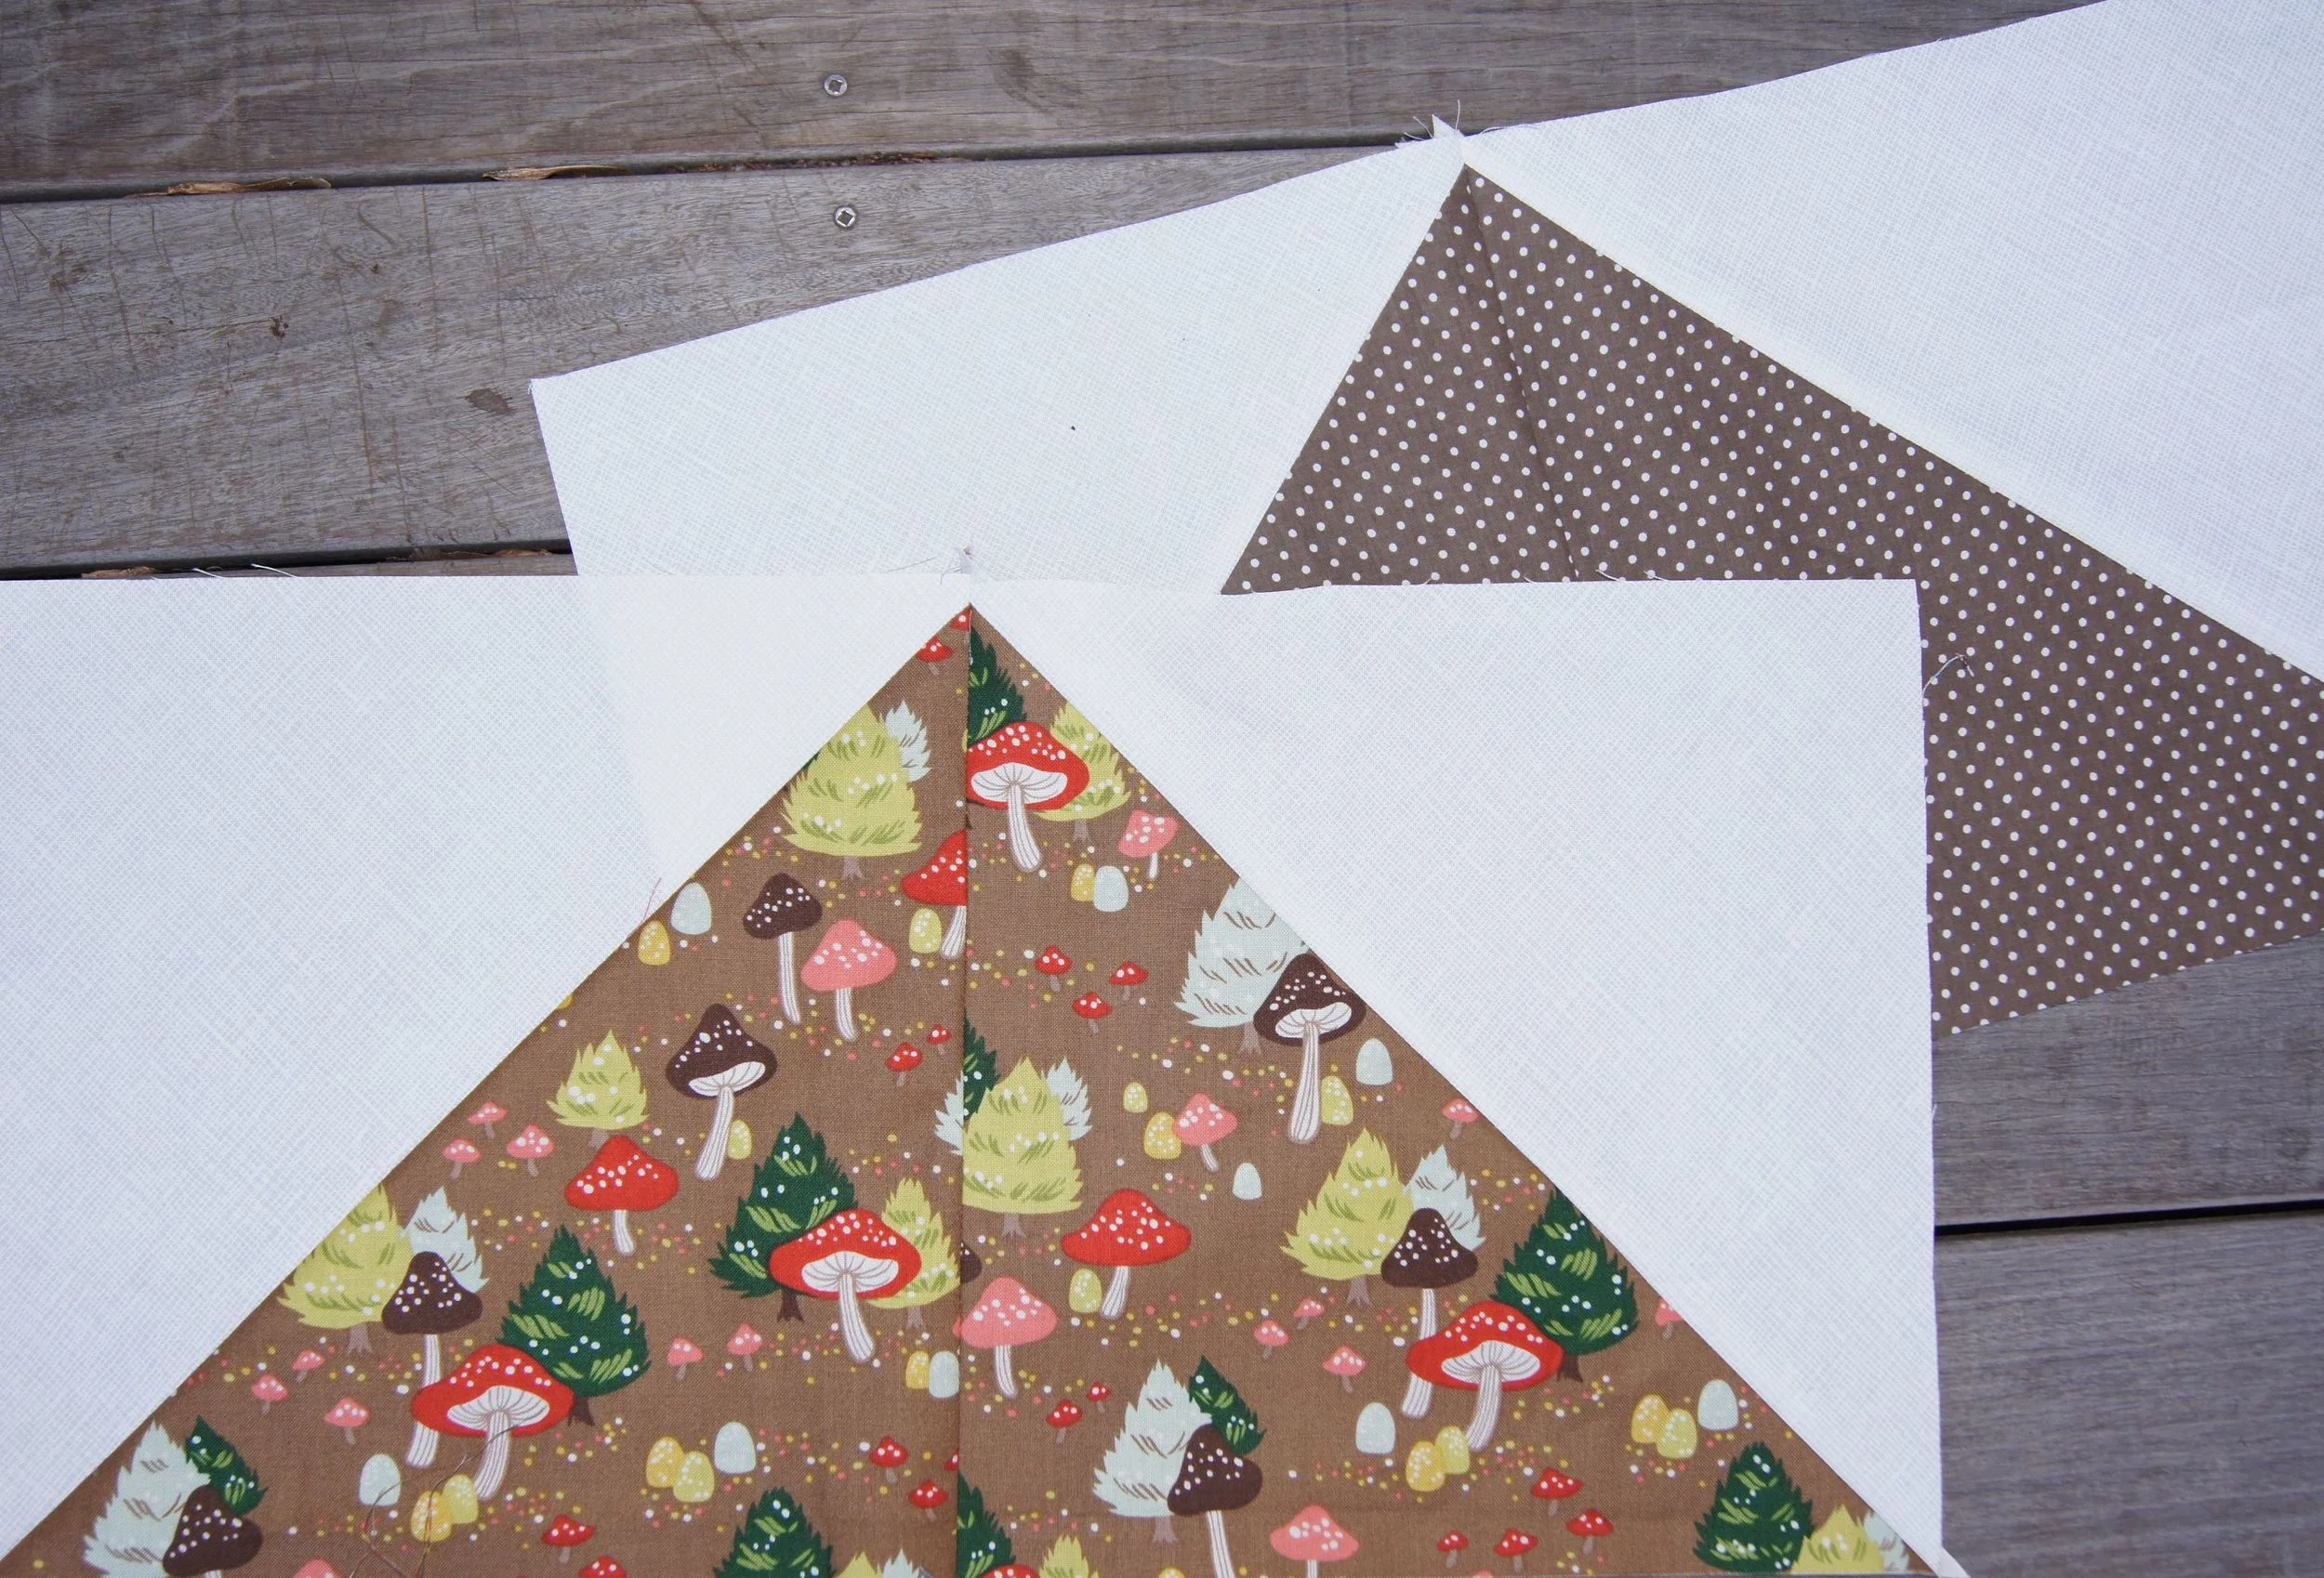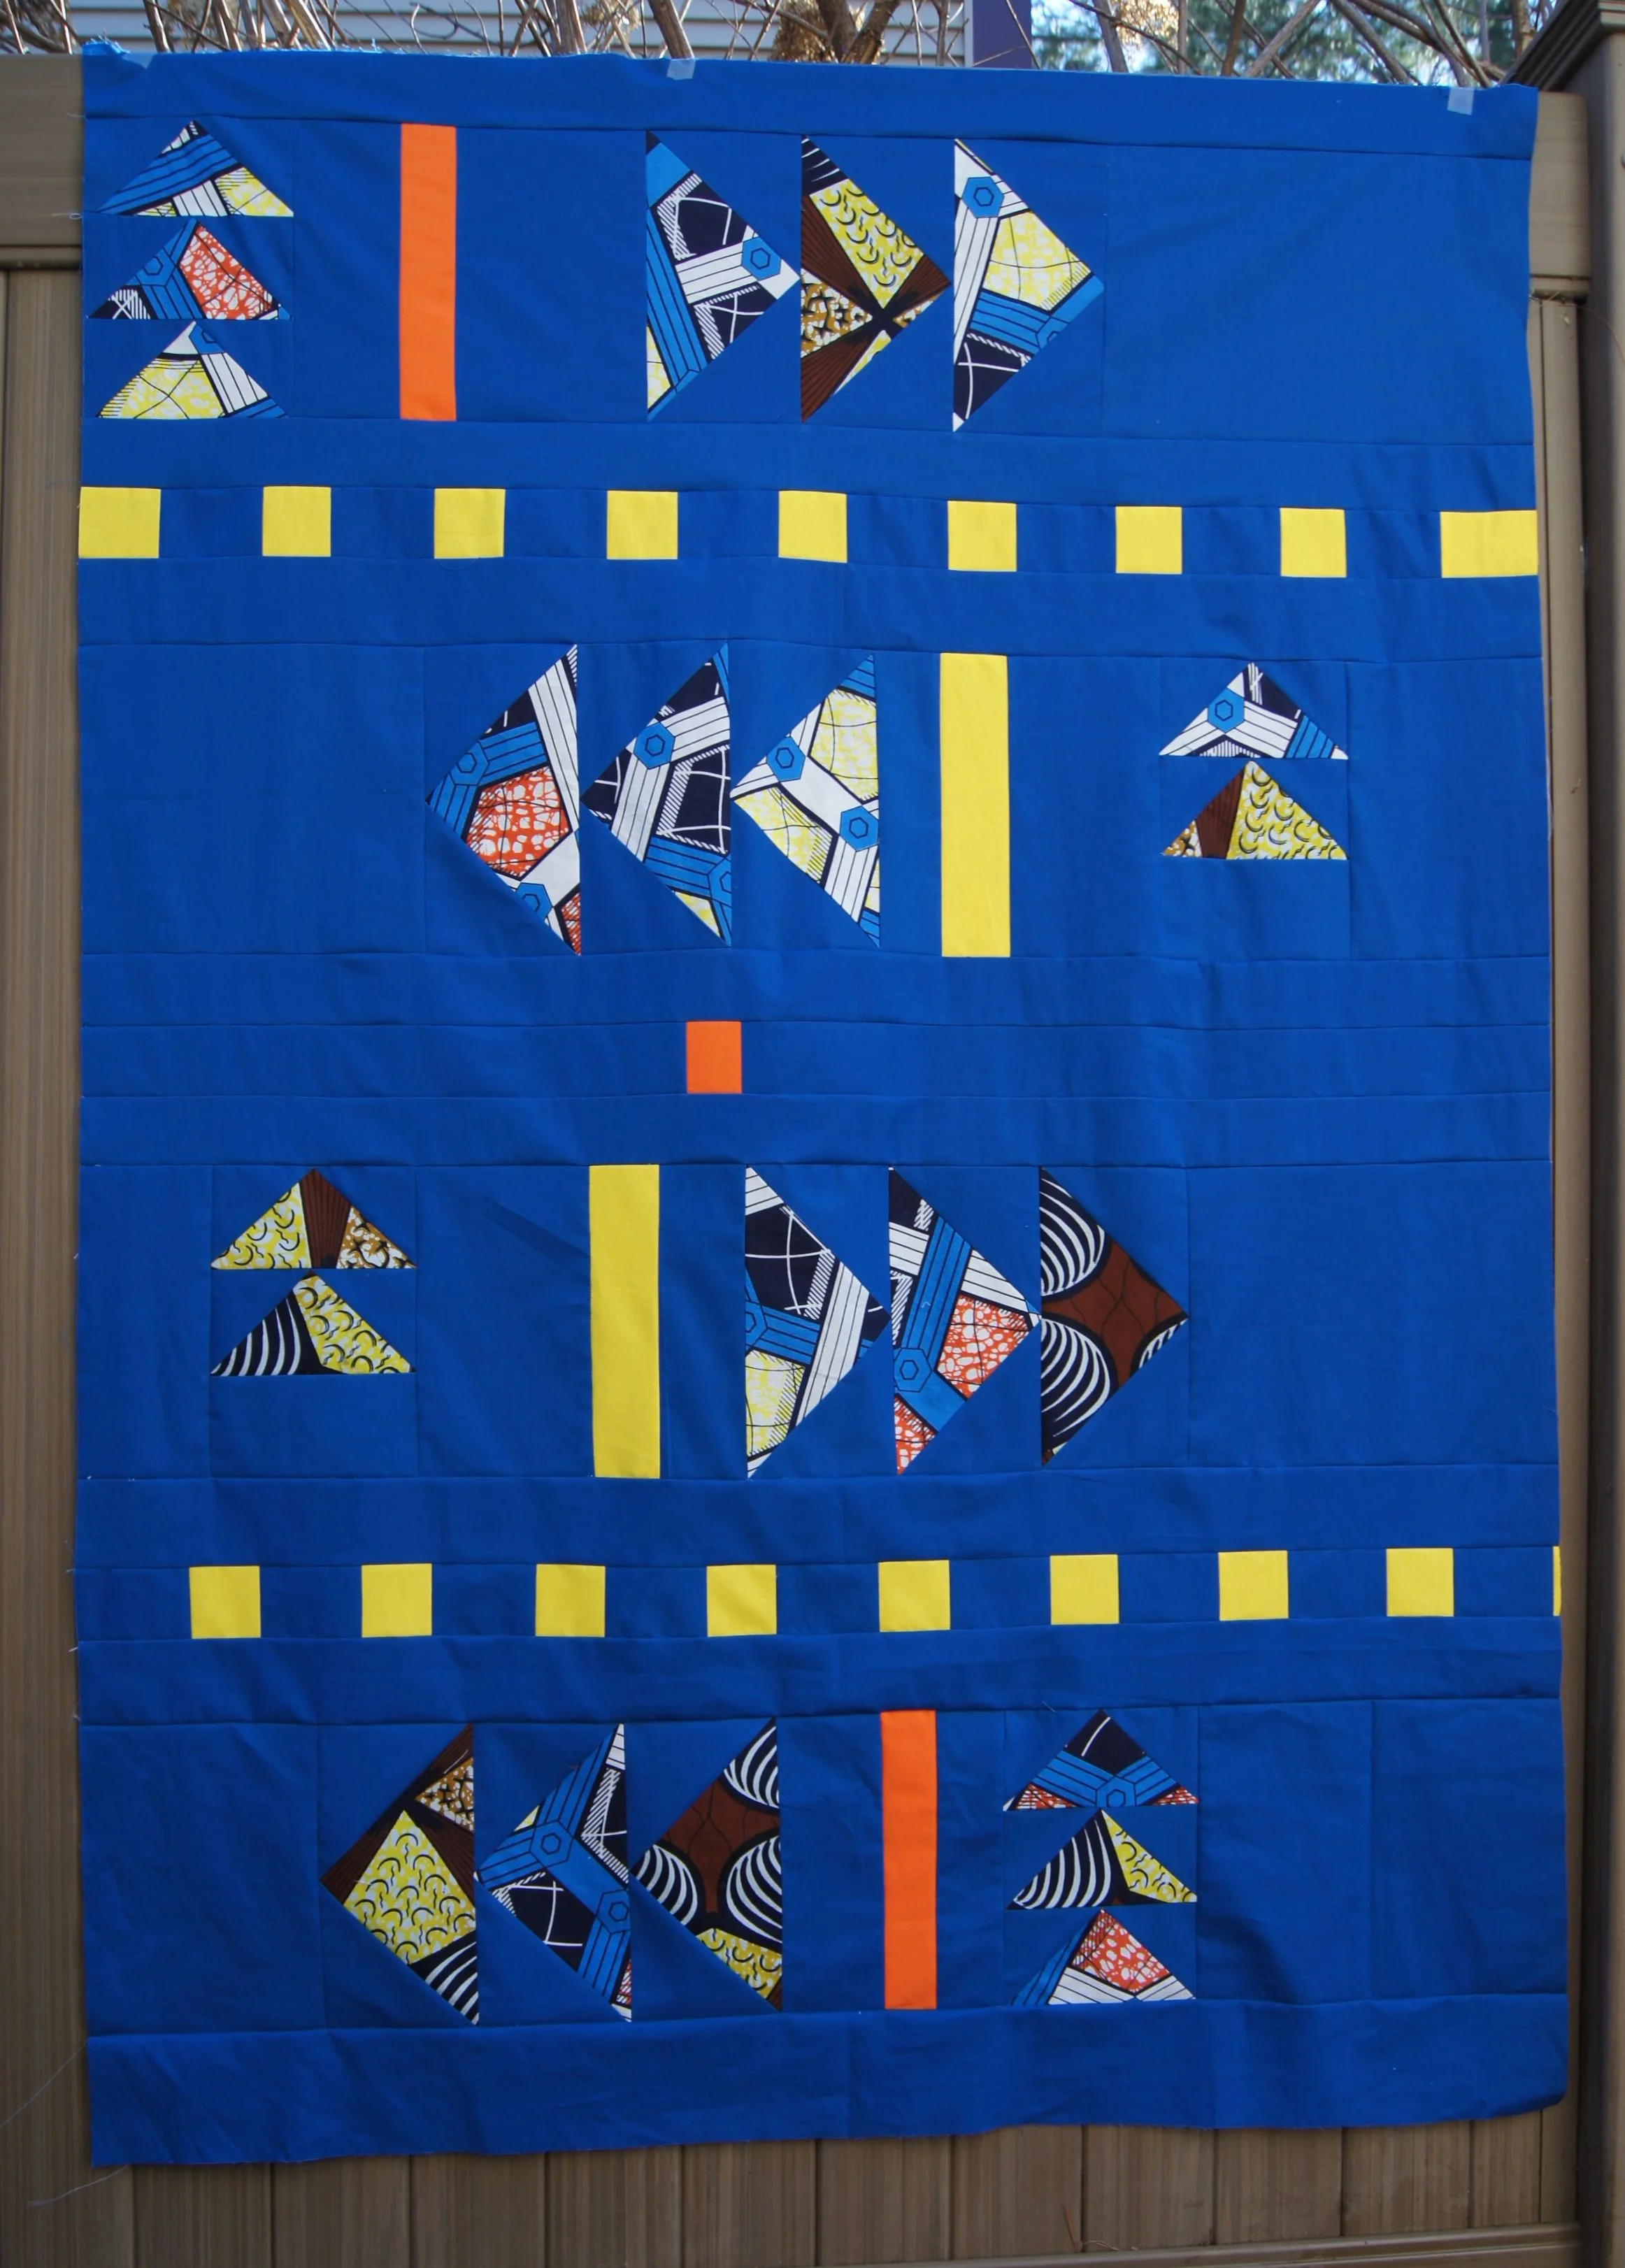
This flying geese quilt is something I started in the fall. There was no urgency to complete it so it went to the bottom of the pile when I started working on Christmas quilts.
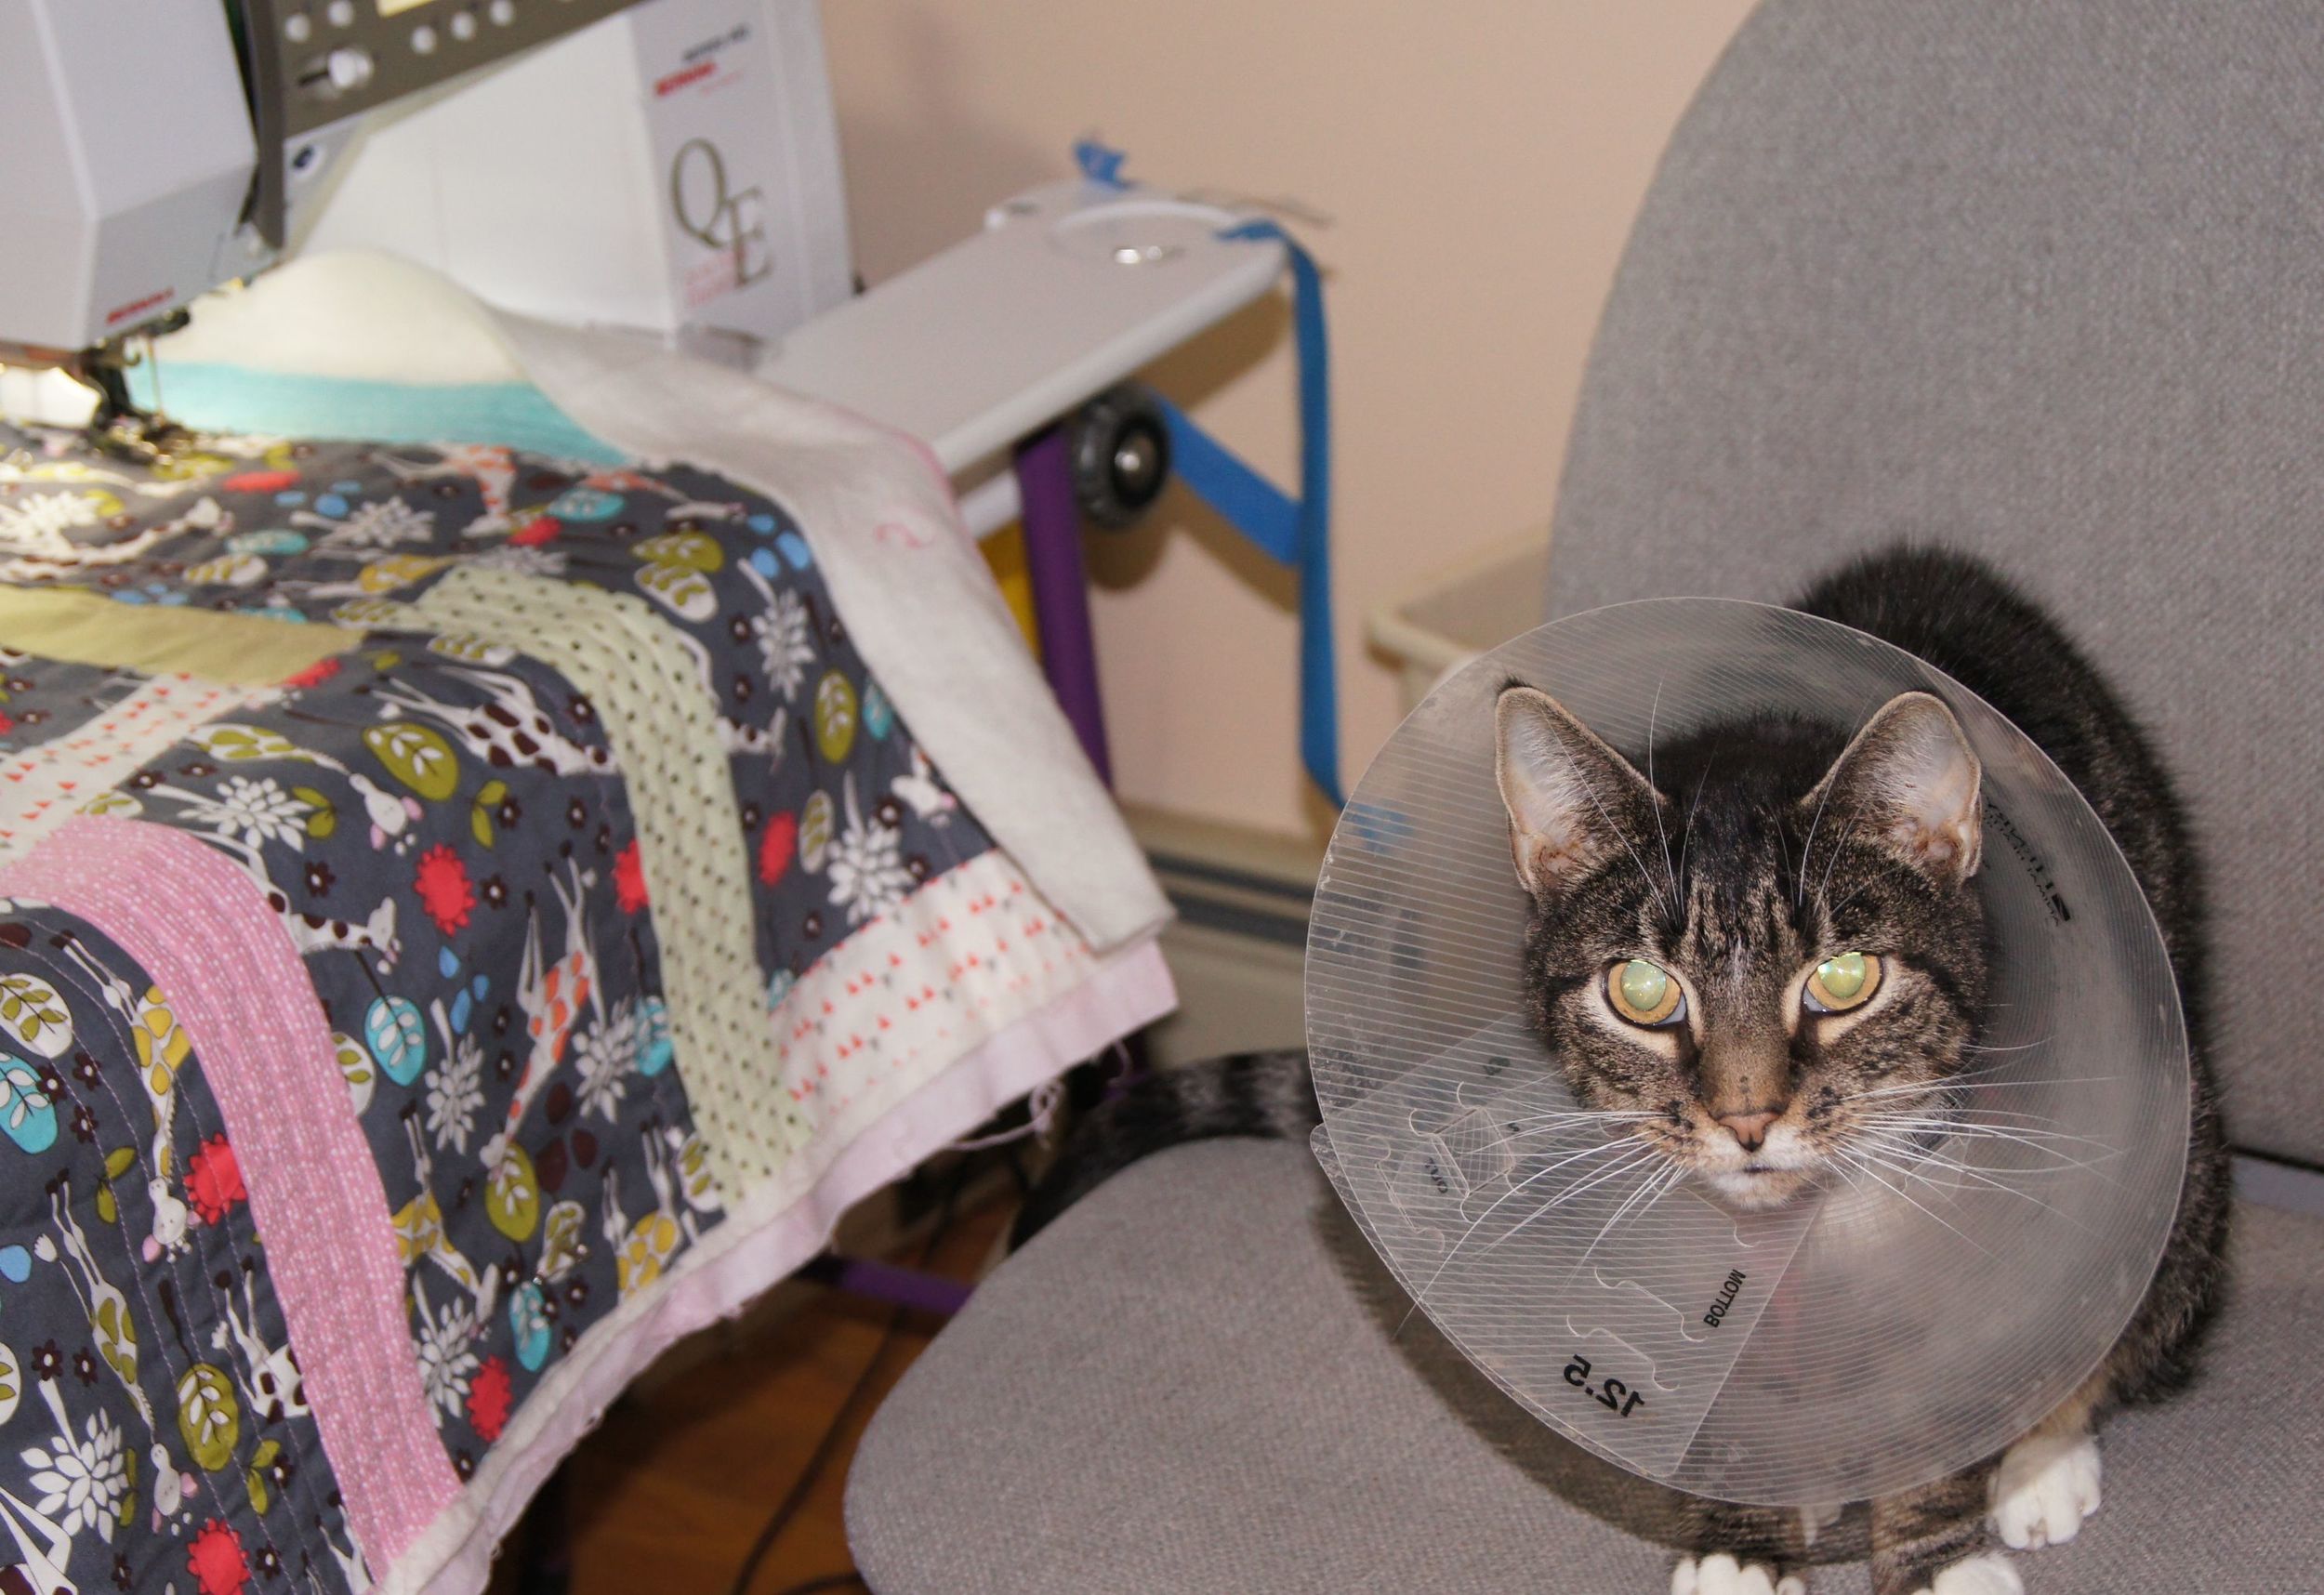
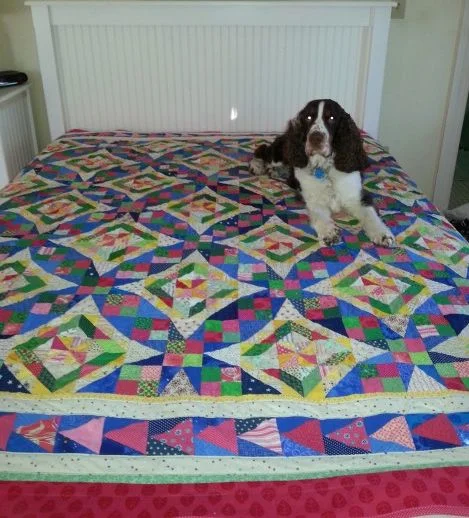
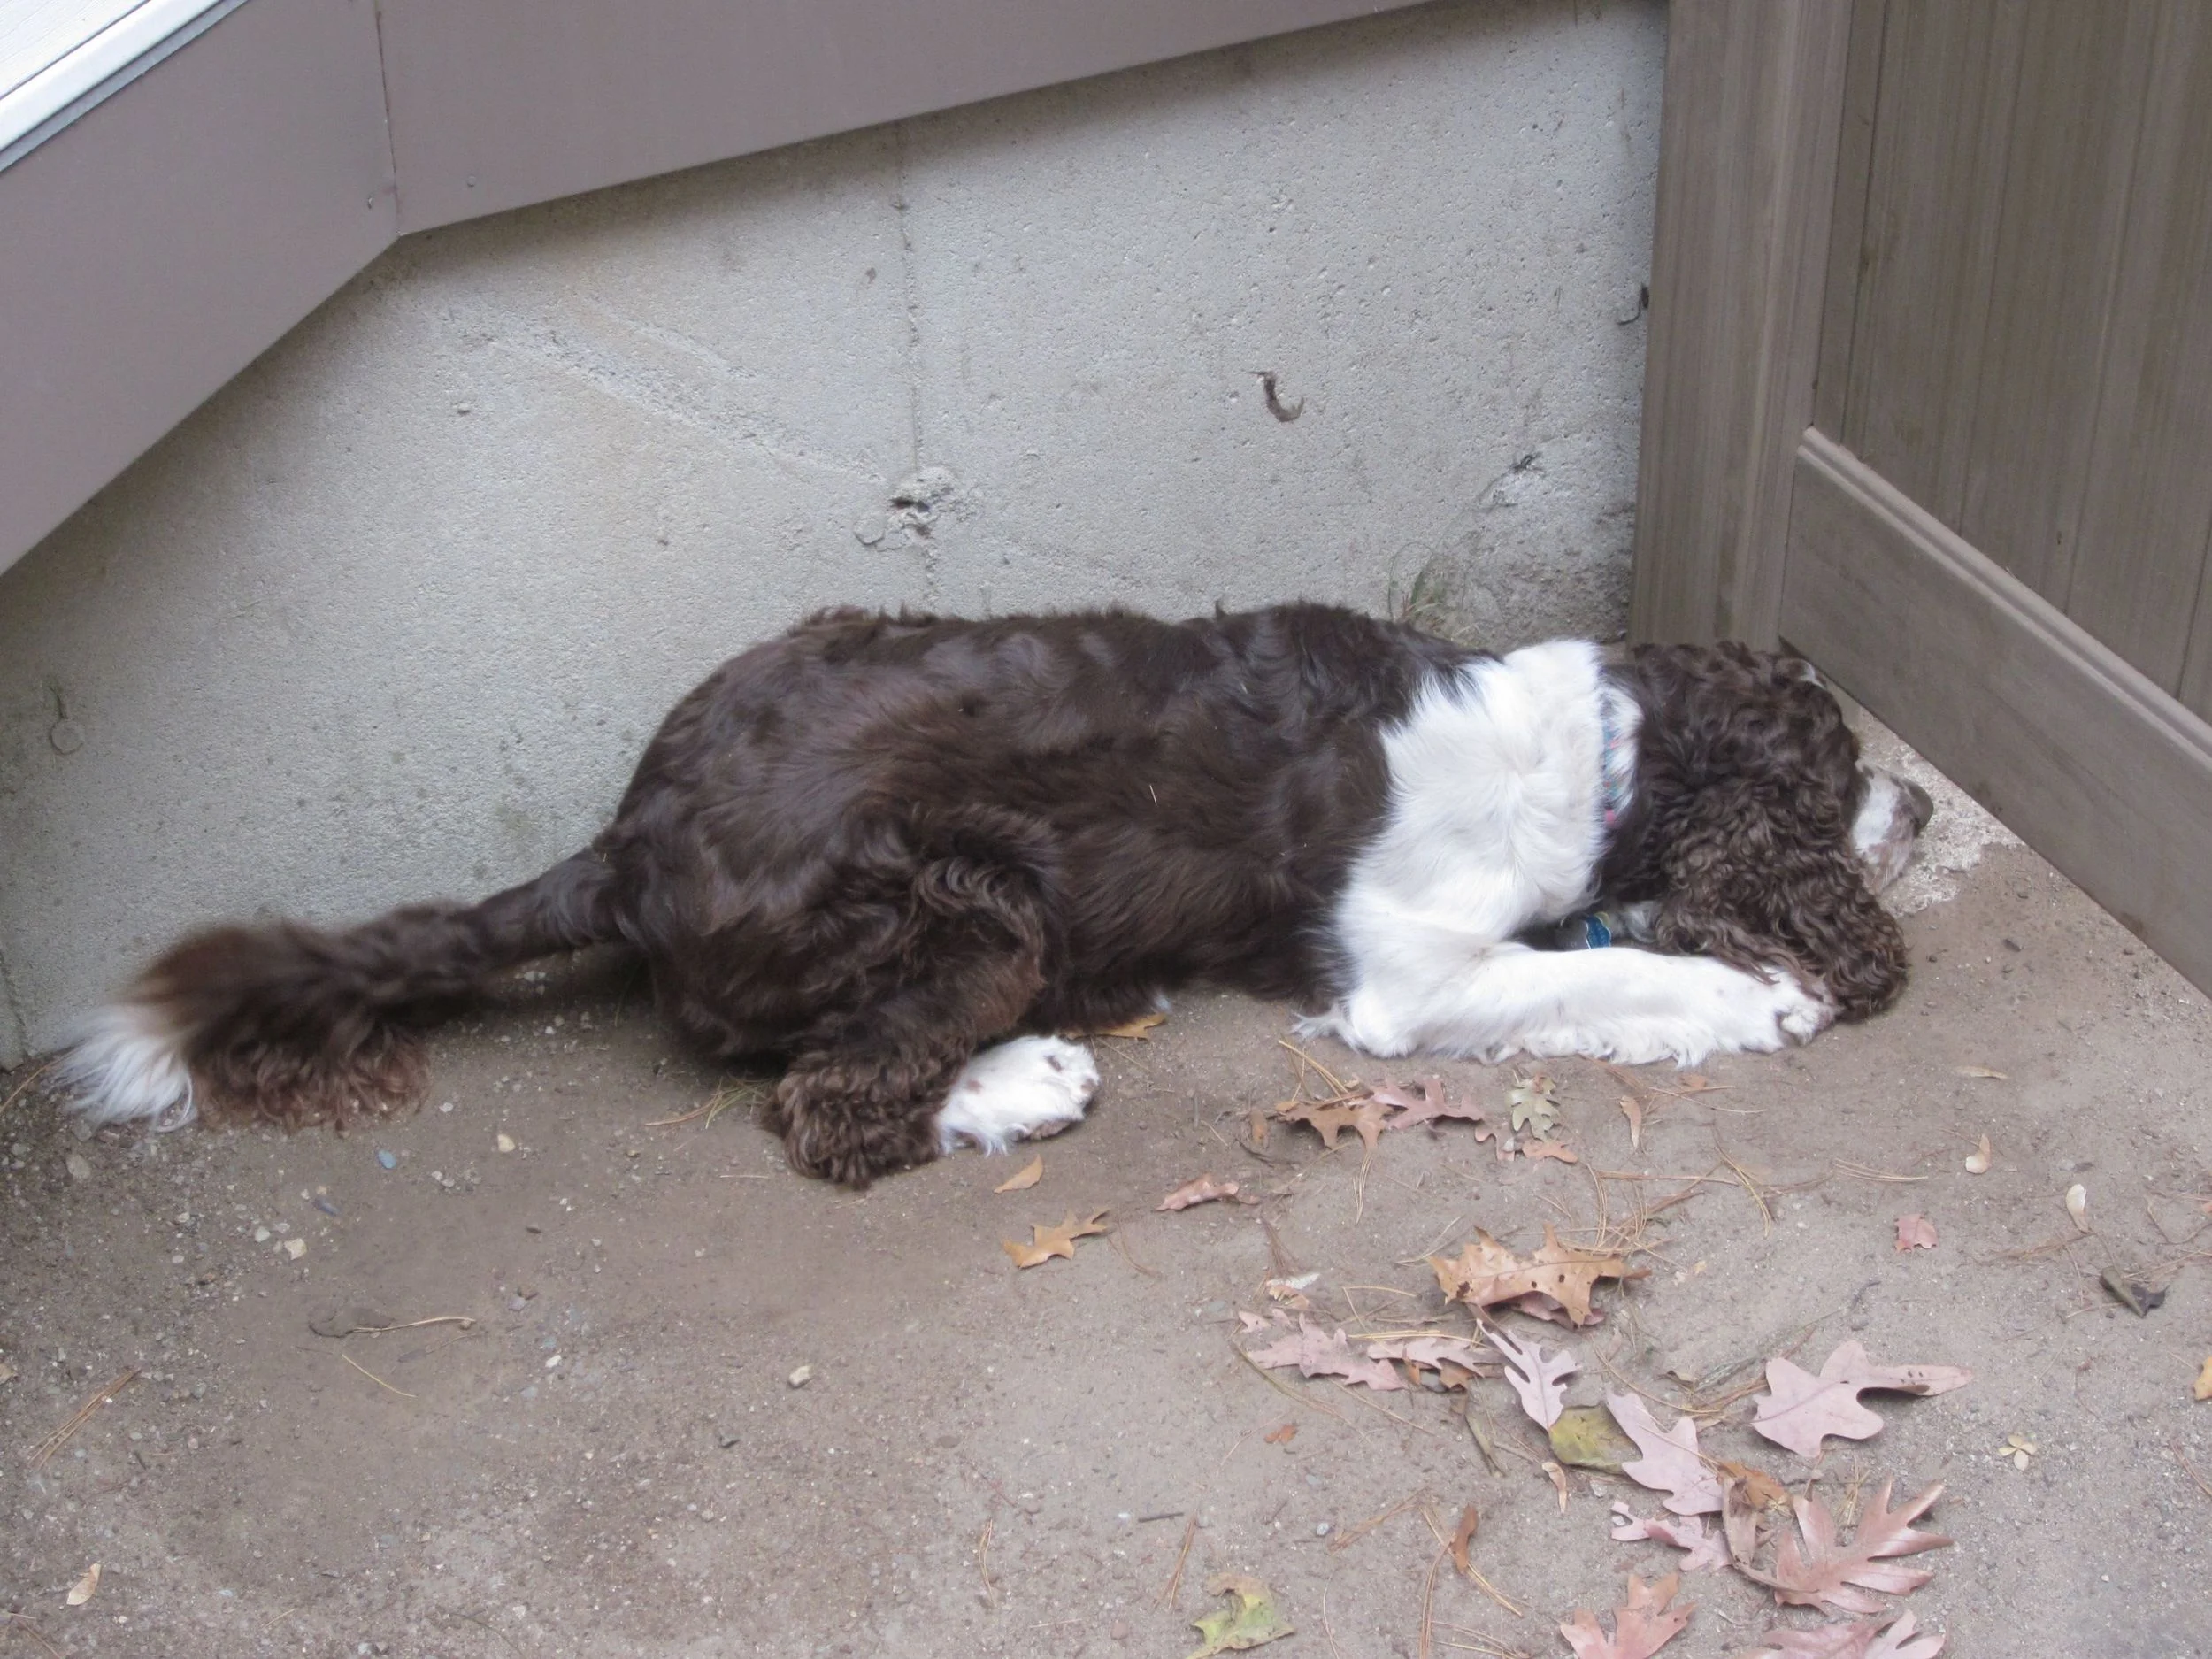
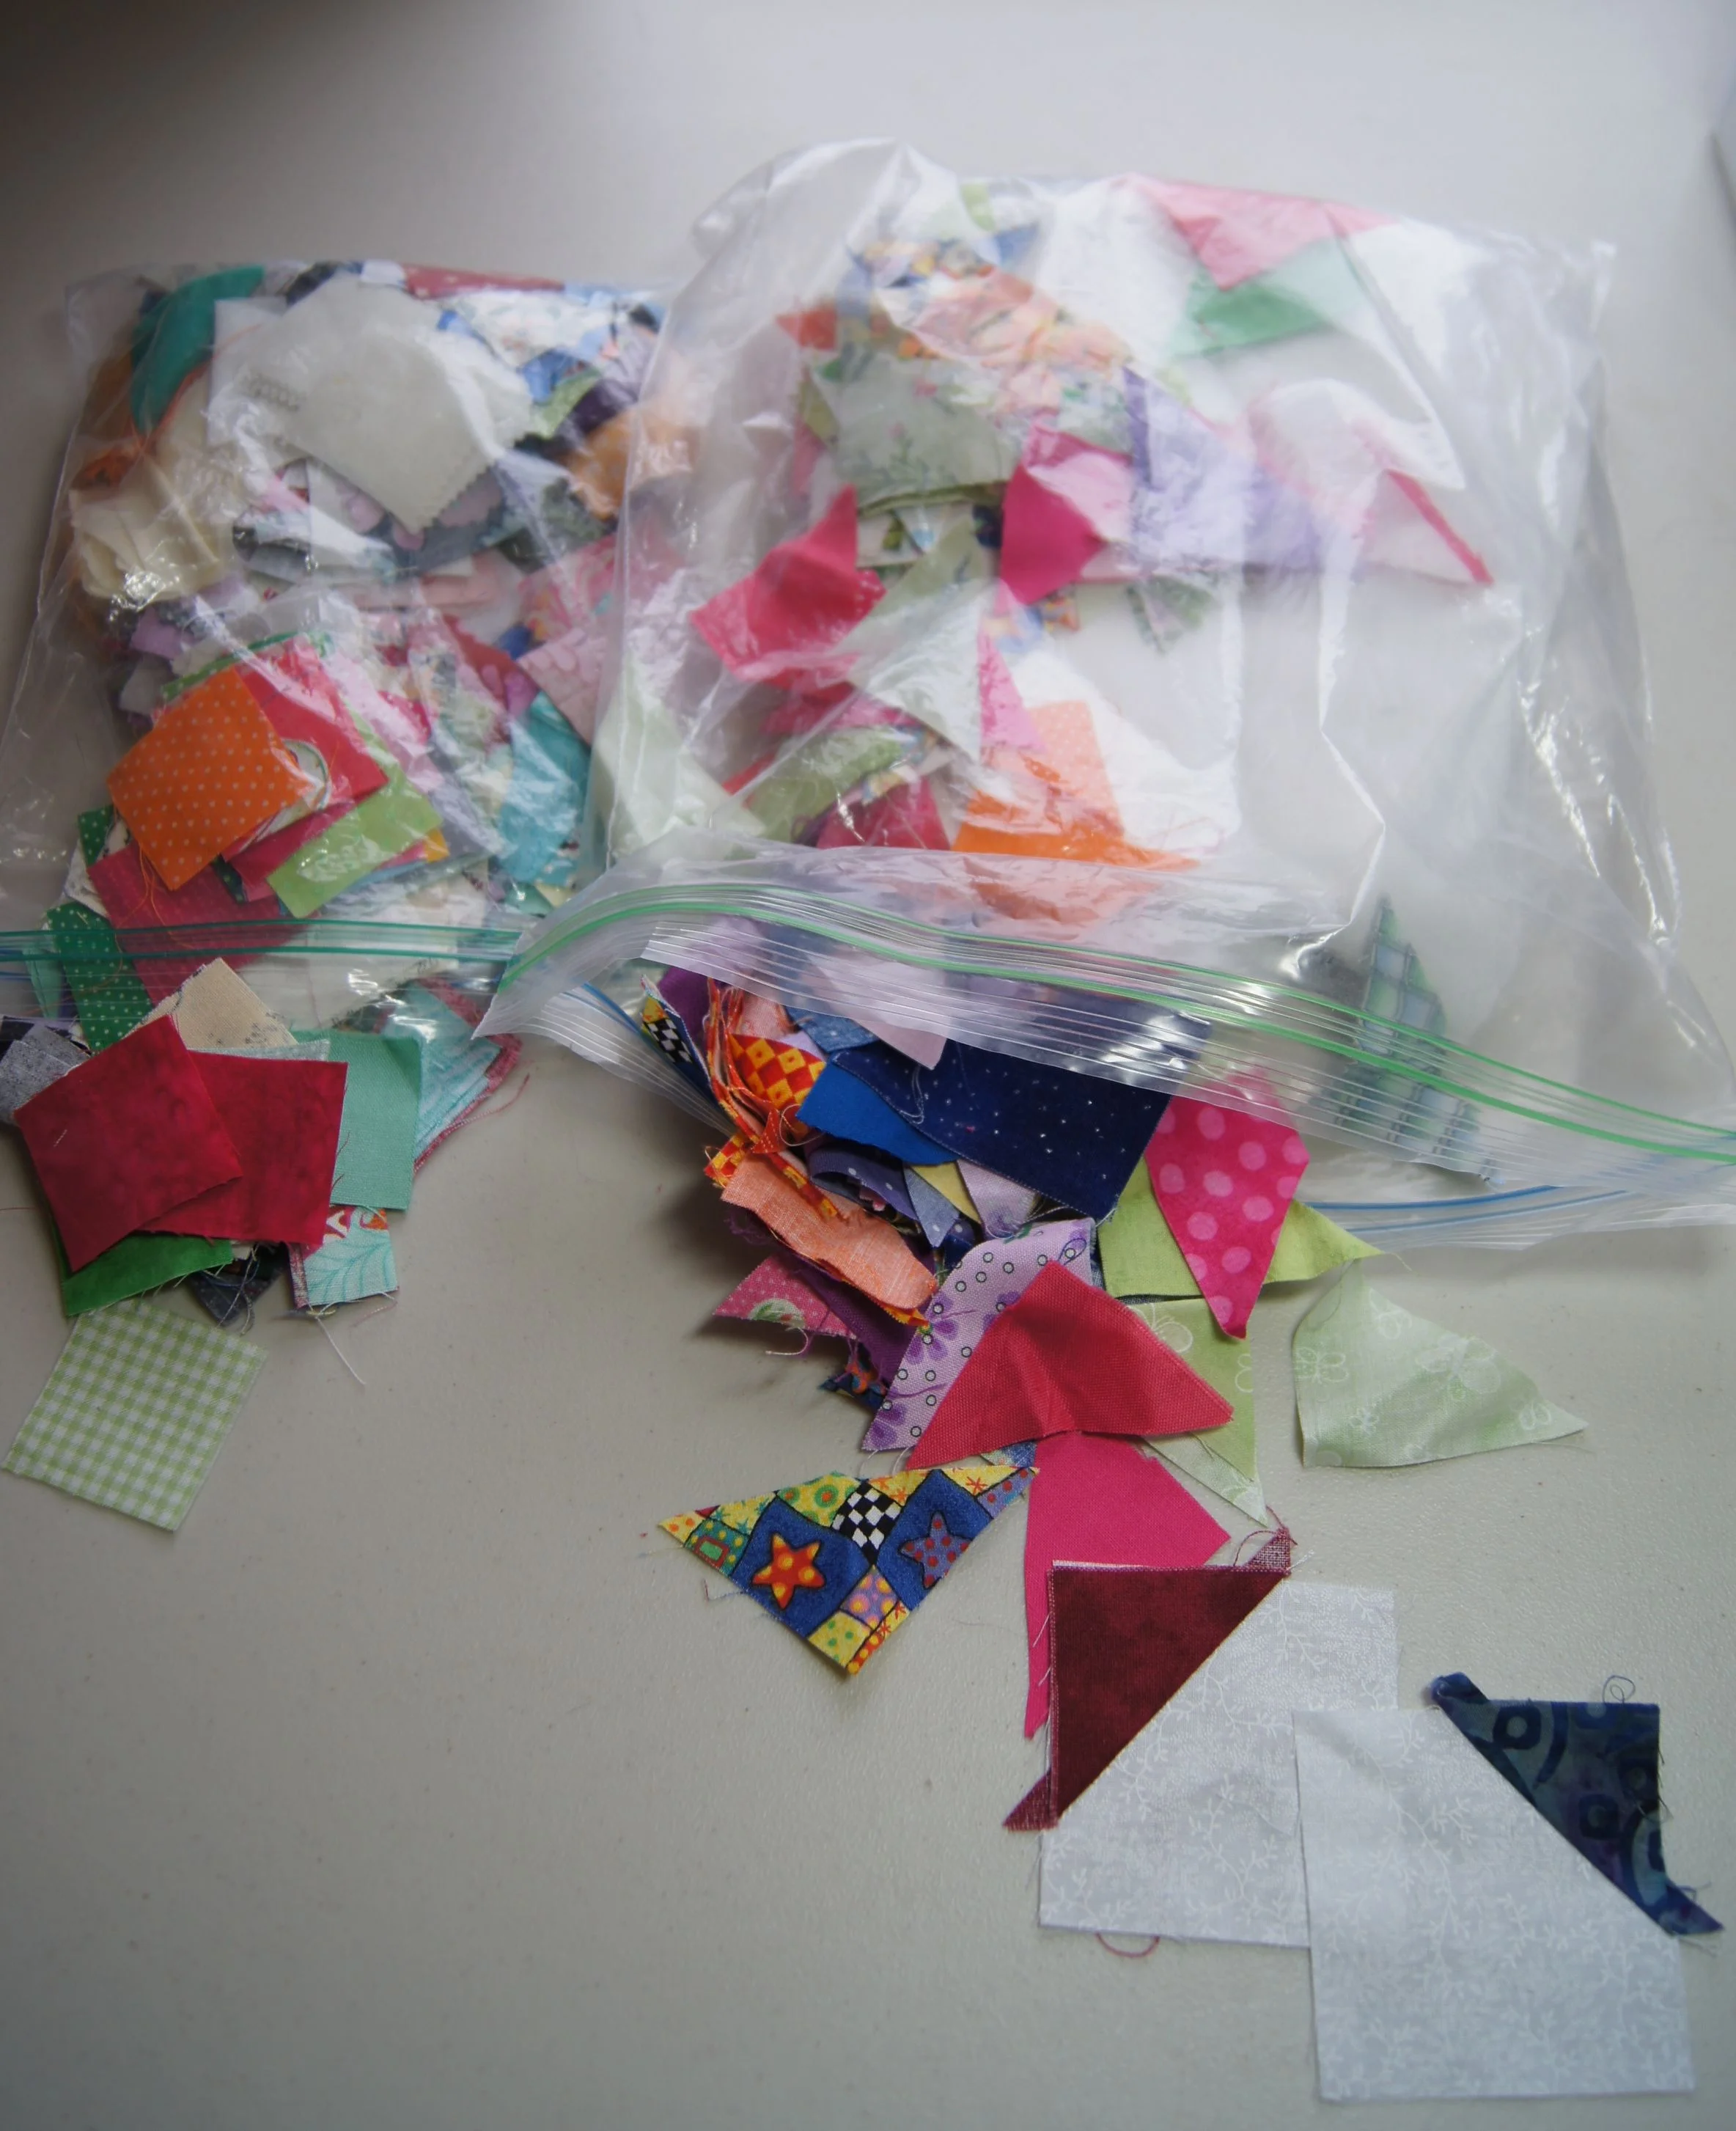
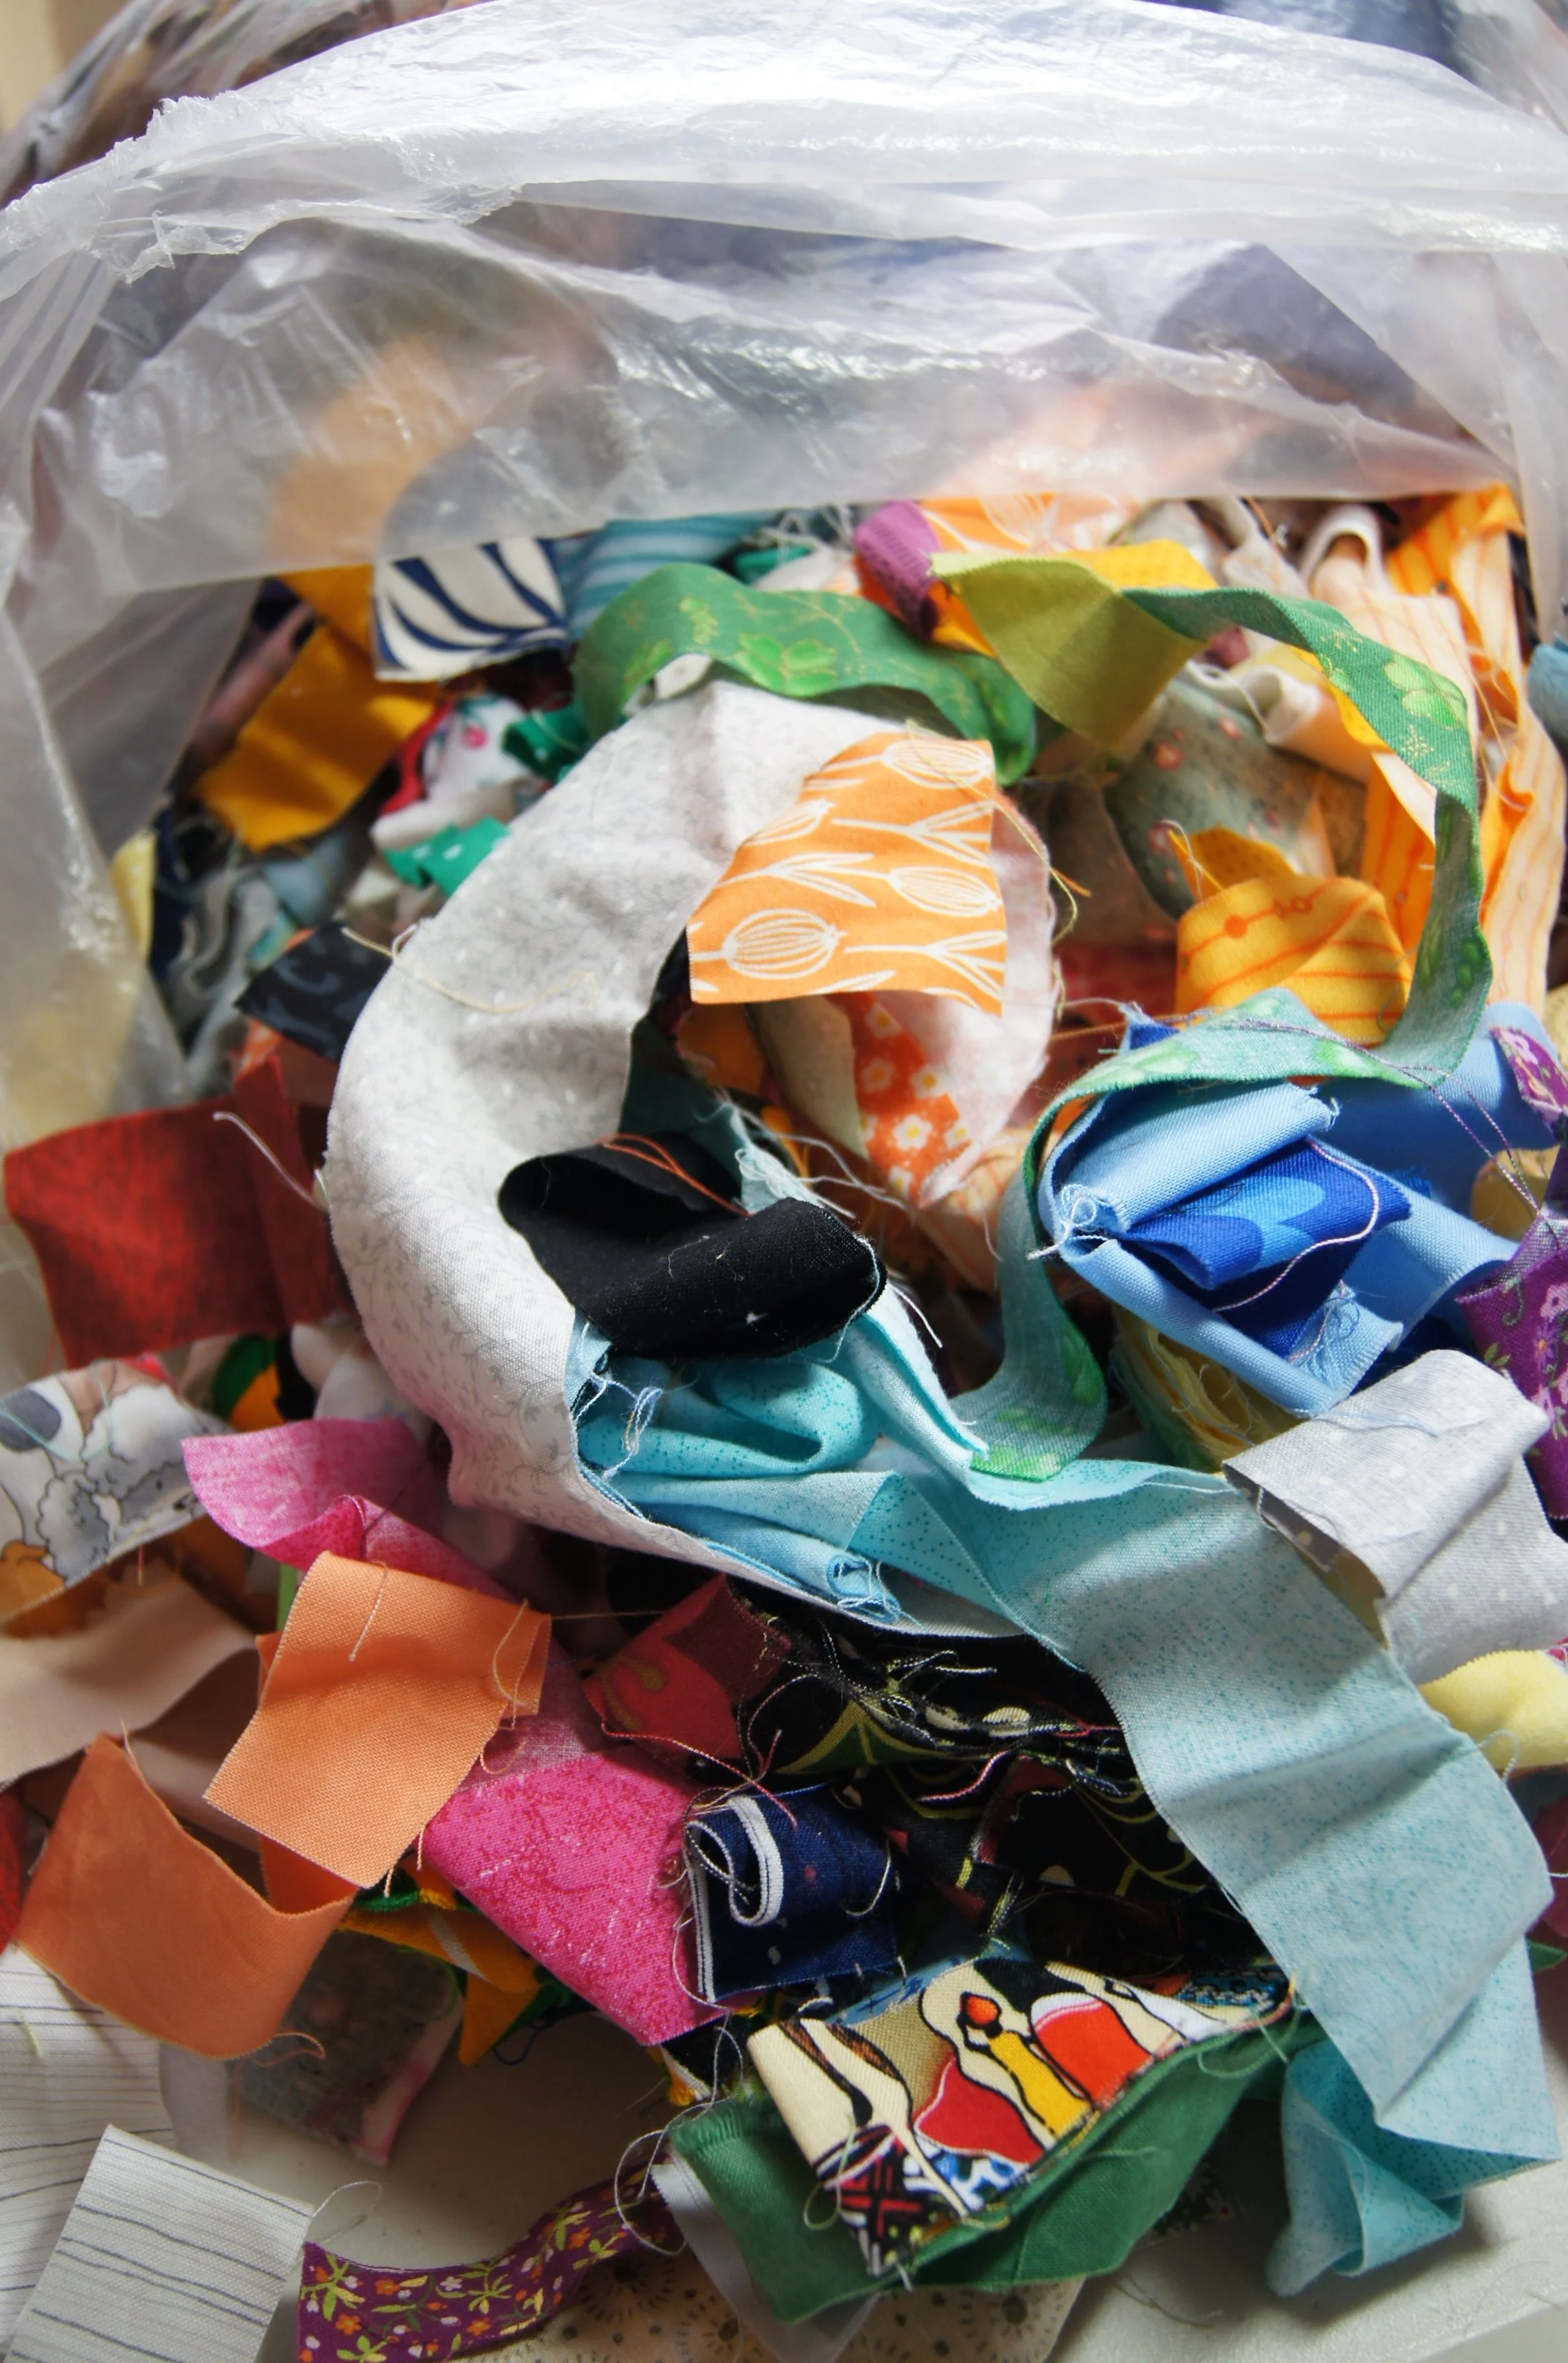
This past week, I had a sweet dog friend visiting for a few days. I'm going to call her my "Organizing Assistant Dog." Maggie isn't as young as she used to be and is a lot slower going up stairs. So I tried to arrange my activities to keep us on the first floor of the house as much as possible. My quilting room is on the second floor, so I looked around for projects to work on downstairs. Thanks to Maggie, I got some bins of scraps sorted, the dining room work area tidied up and I got this quilt top finished.
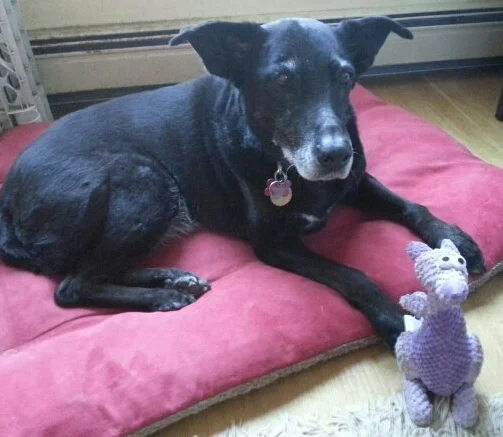
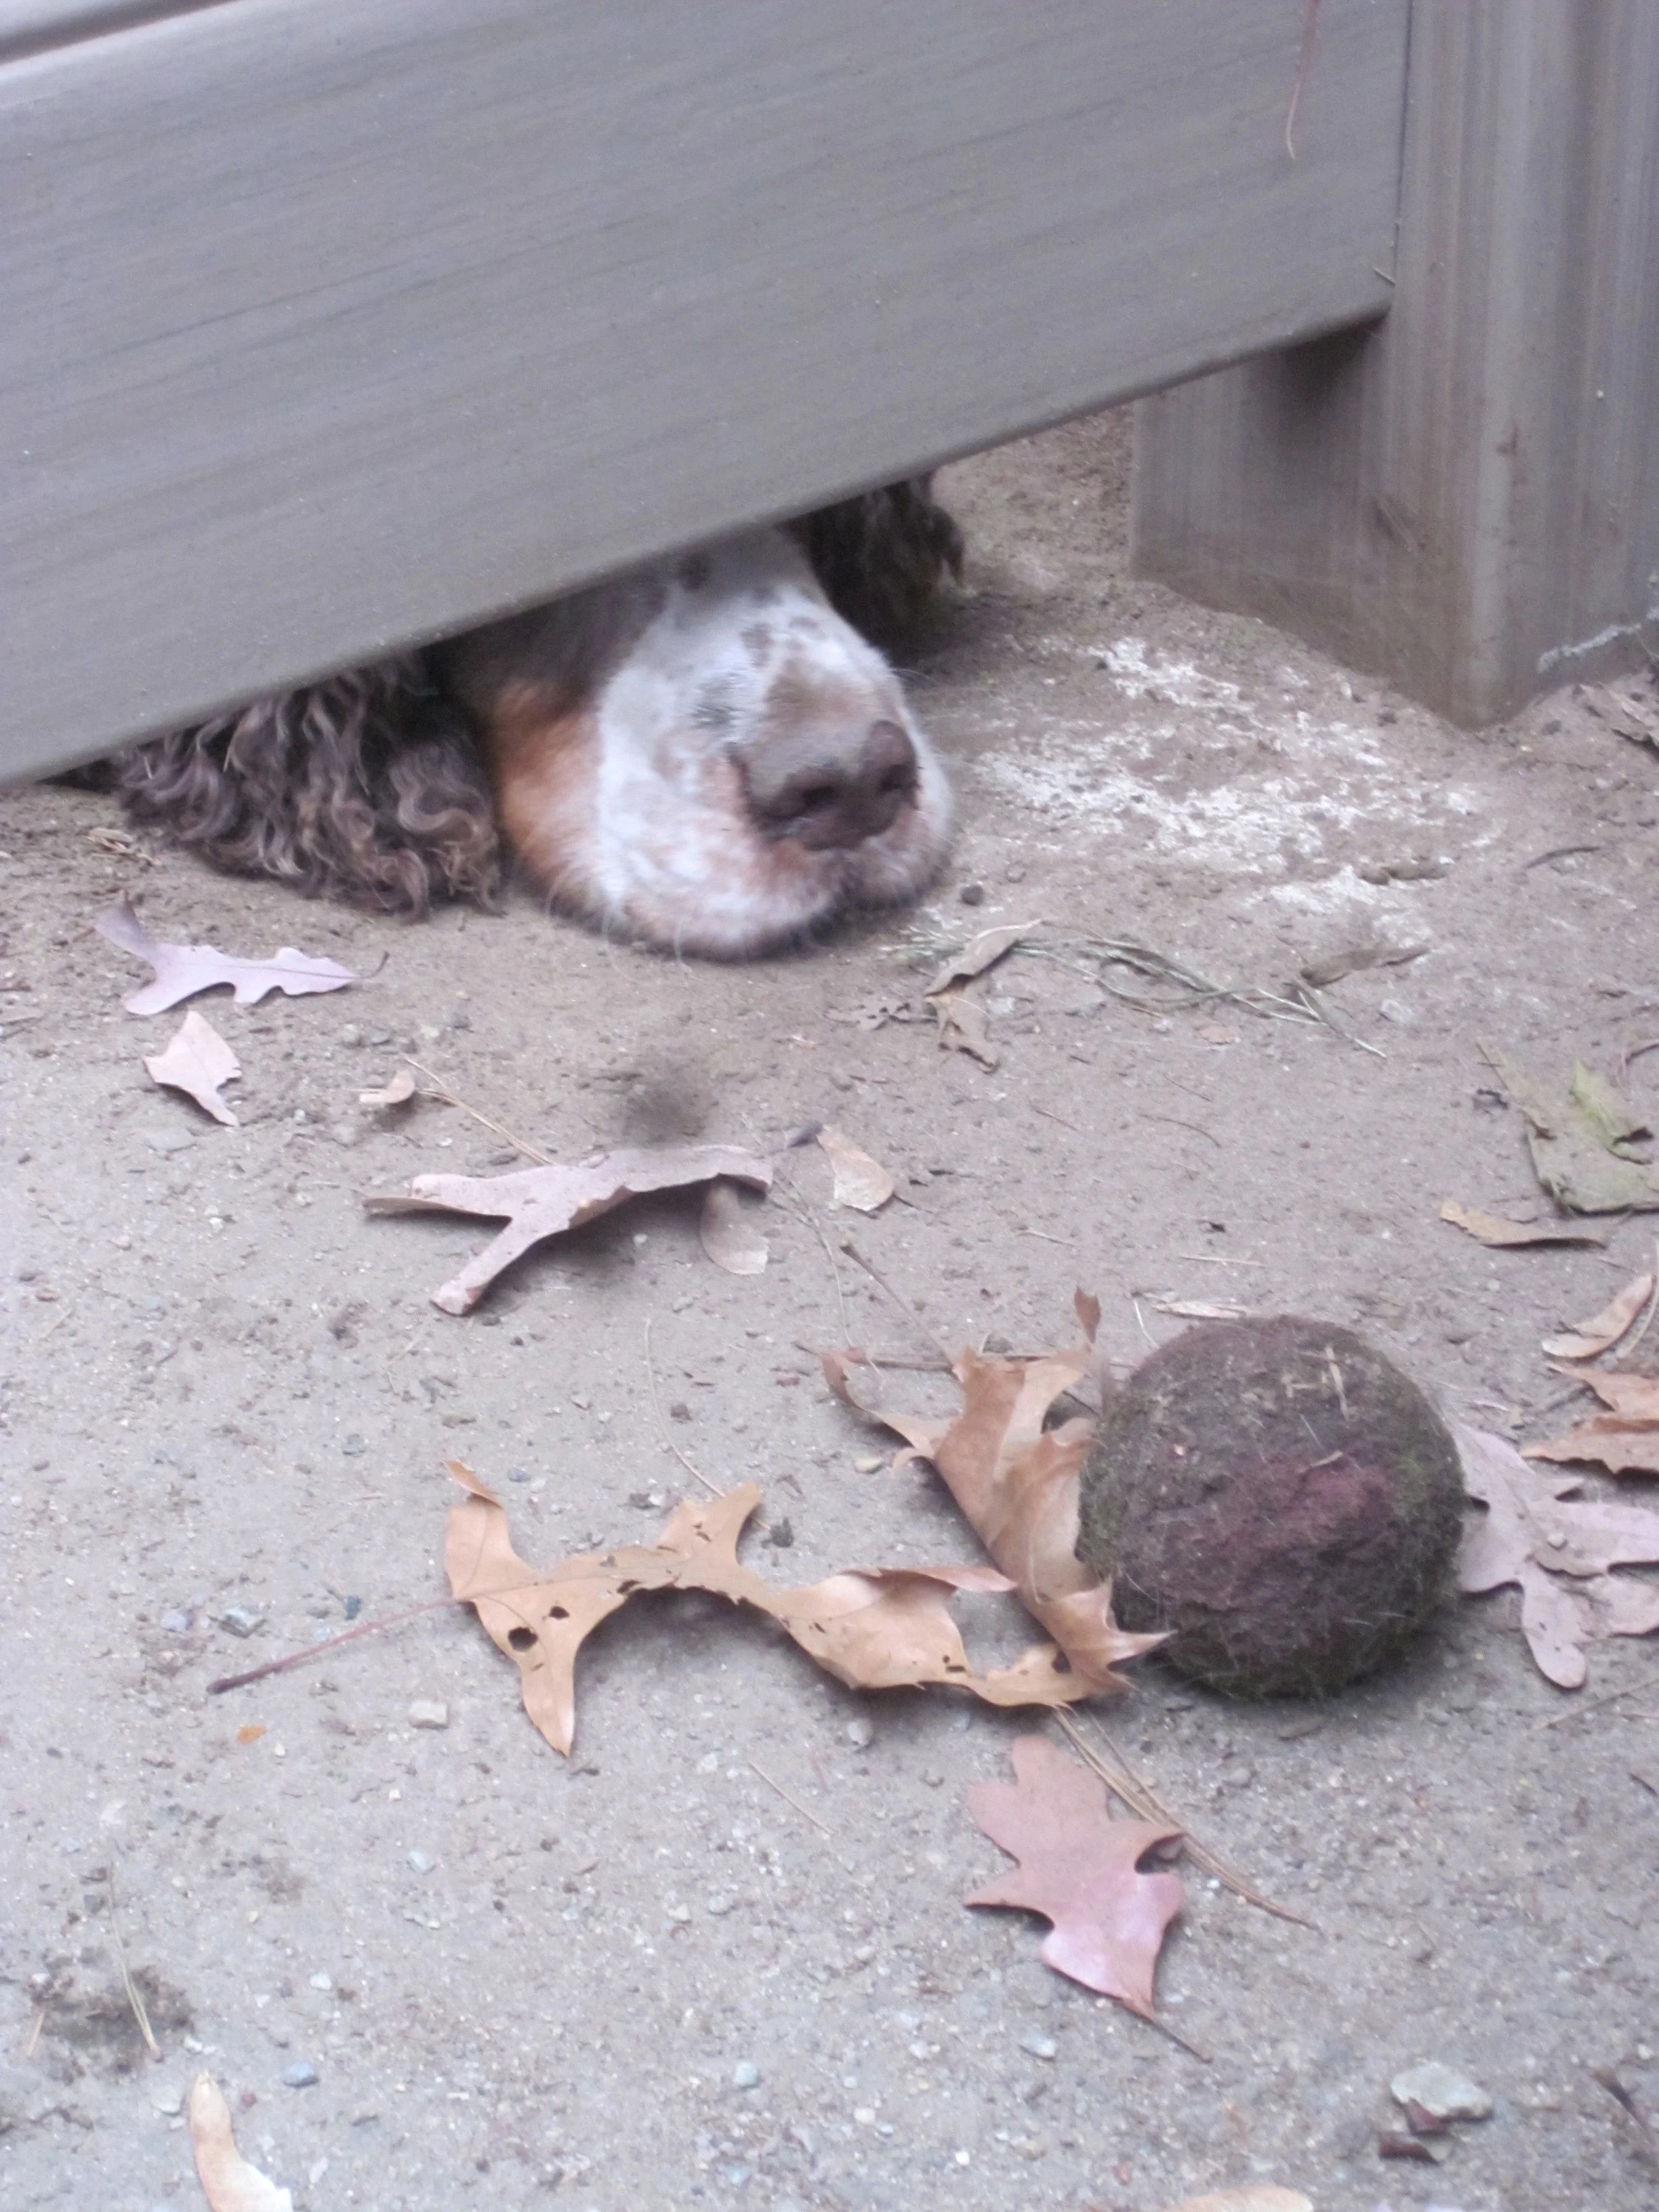
Maggie, my Organizing Assistant Dog. You can see by her intent look that she is keeping me on task!!
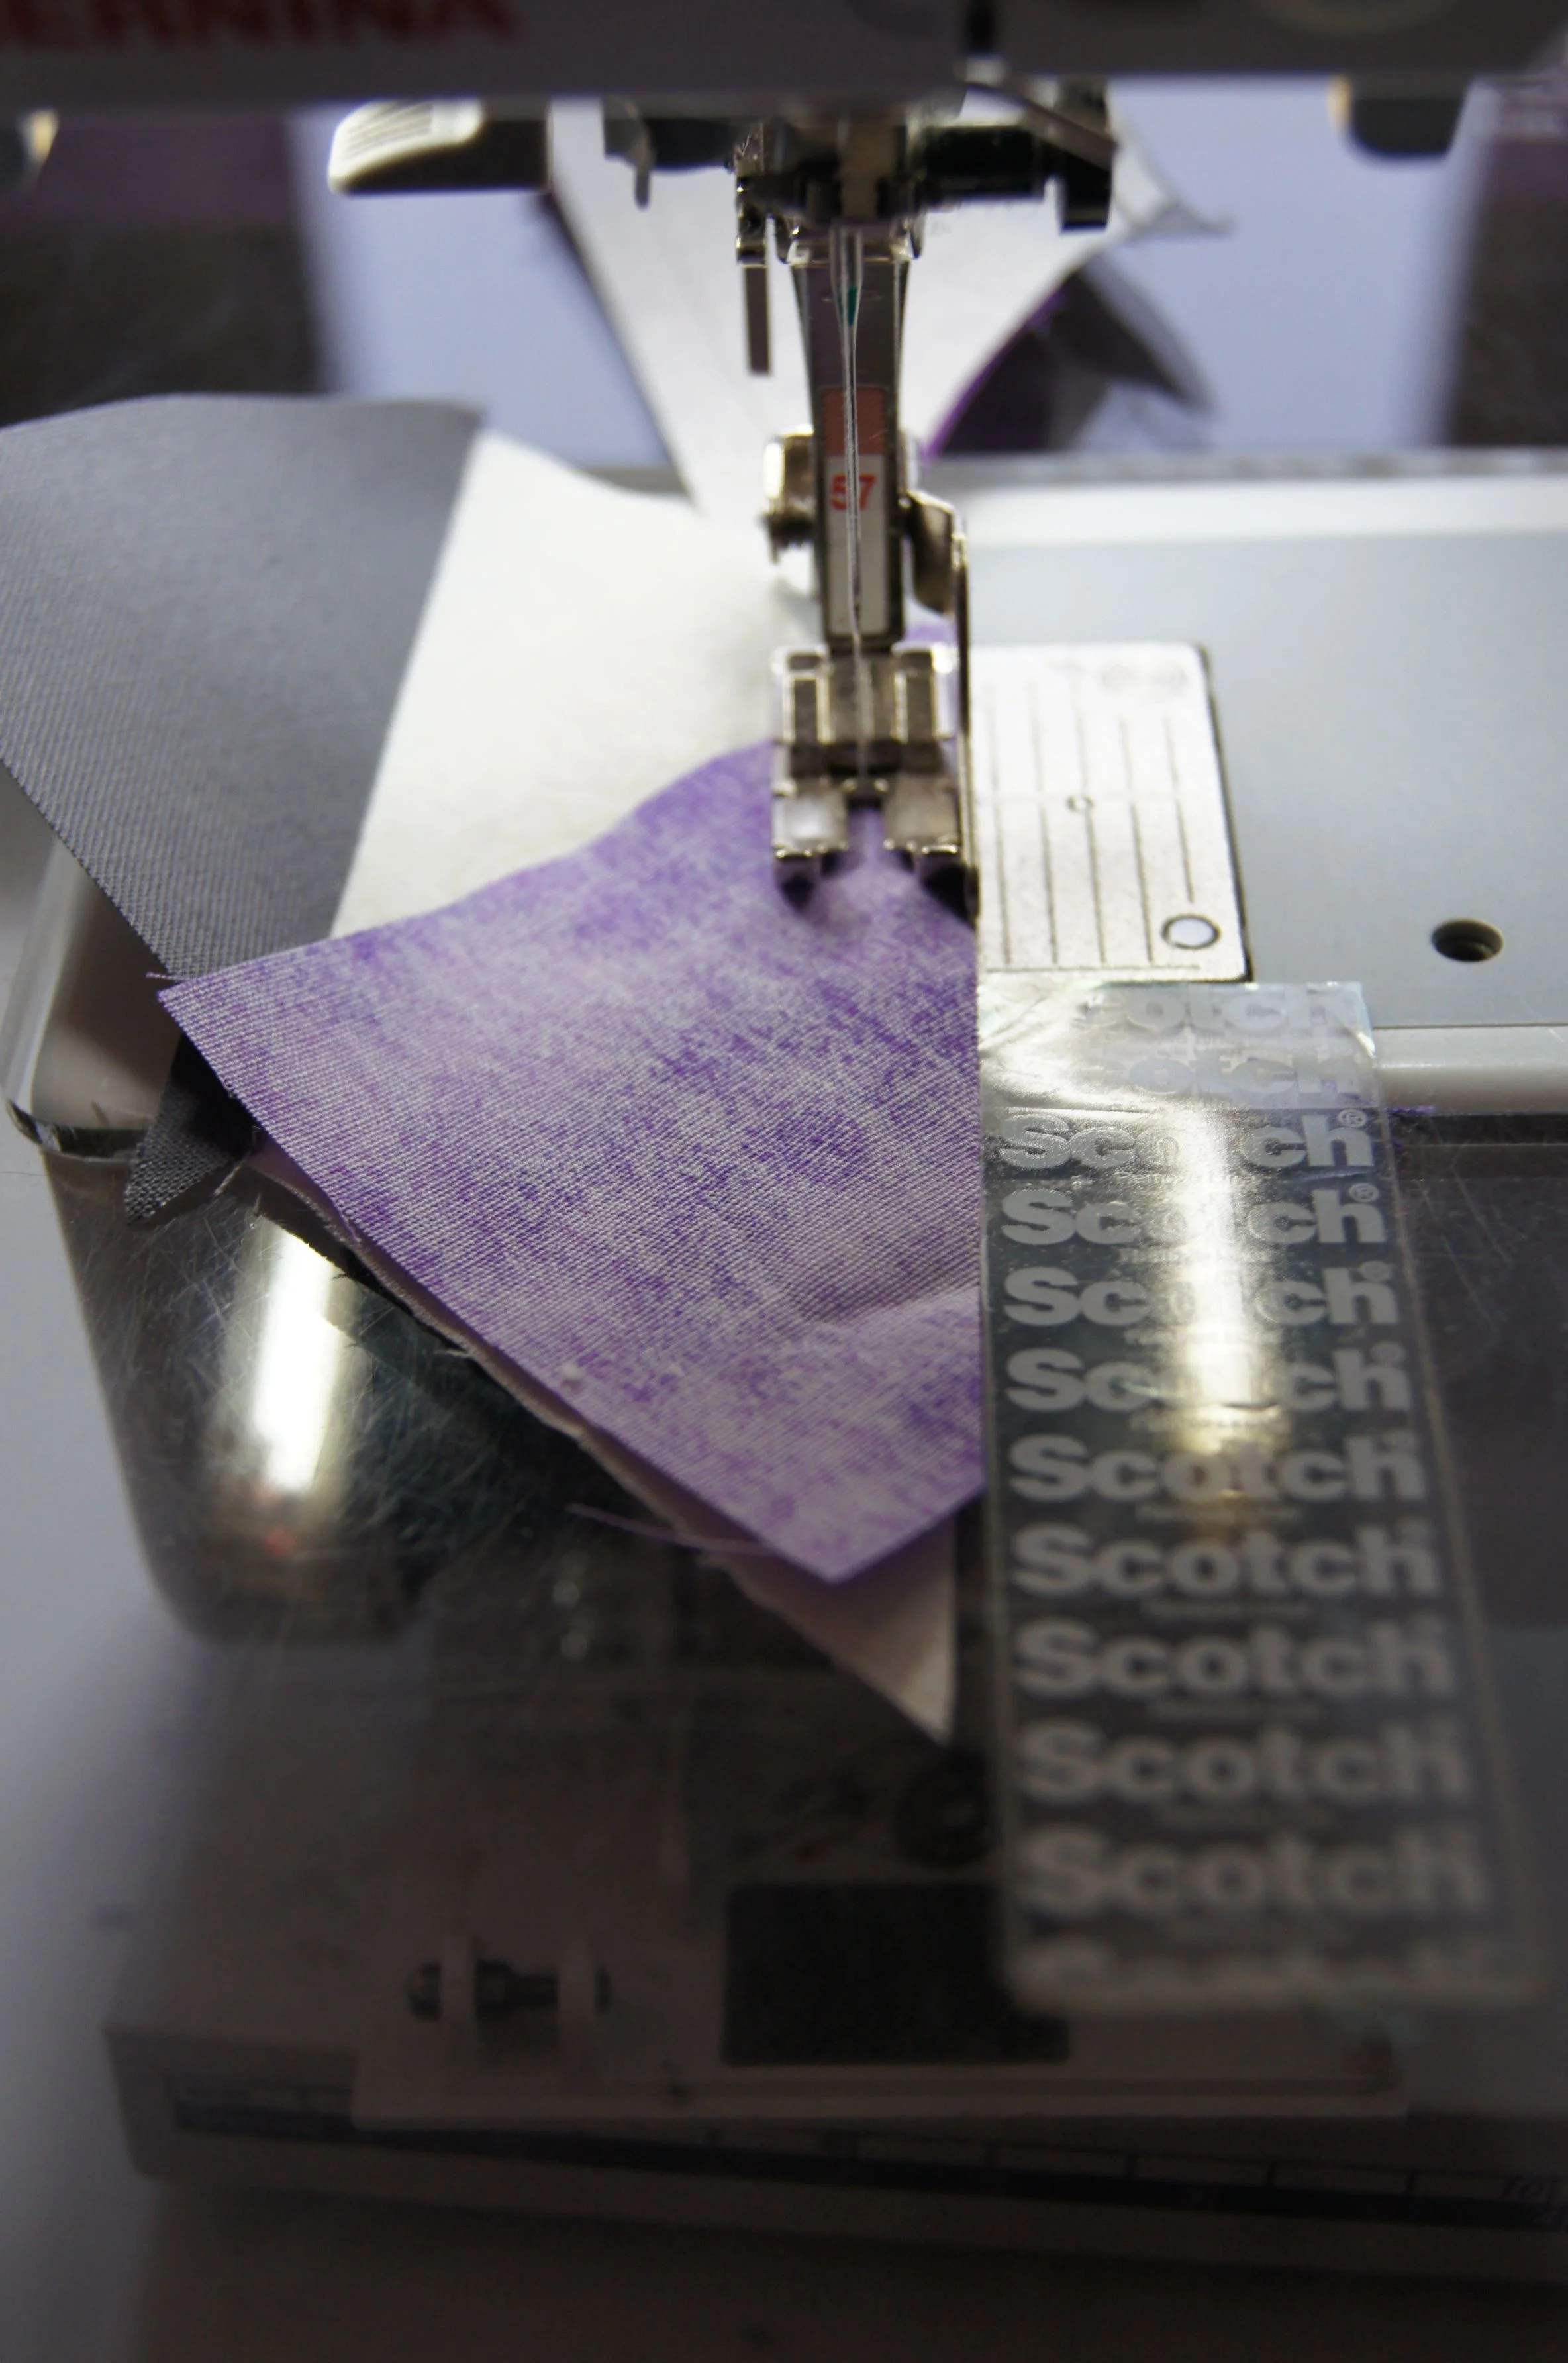
I already had the flying geese blocks done. Since all the precision sewing was completed, I was happy to use my light weight traveling sewing machine to sew the quilt together.
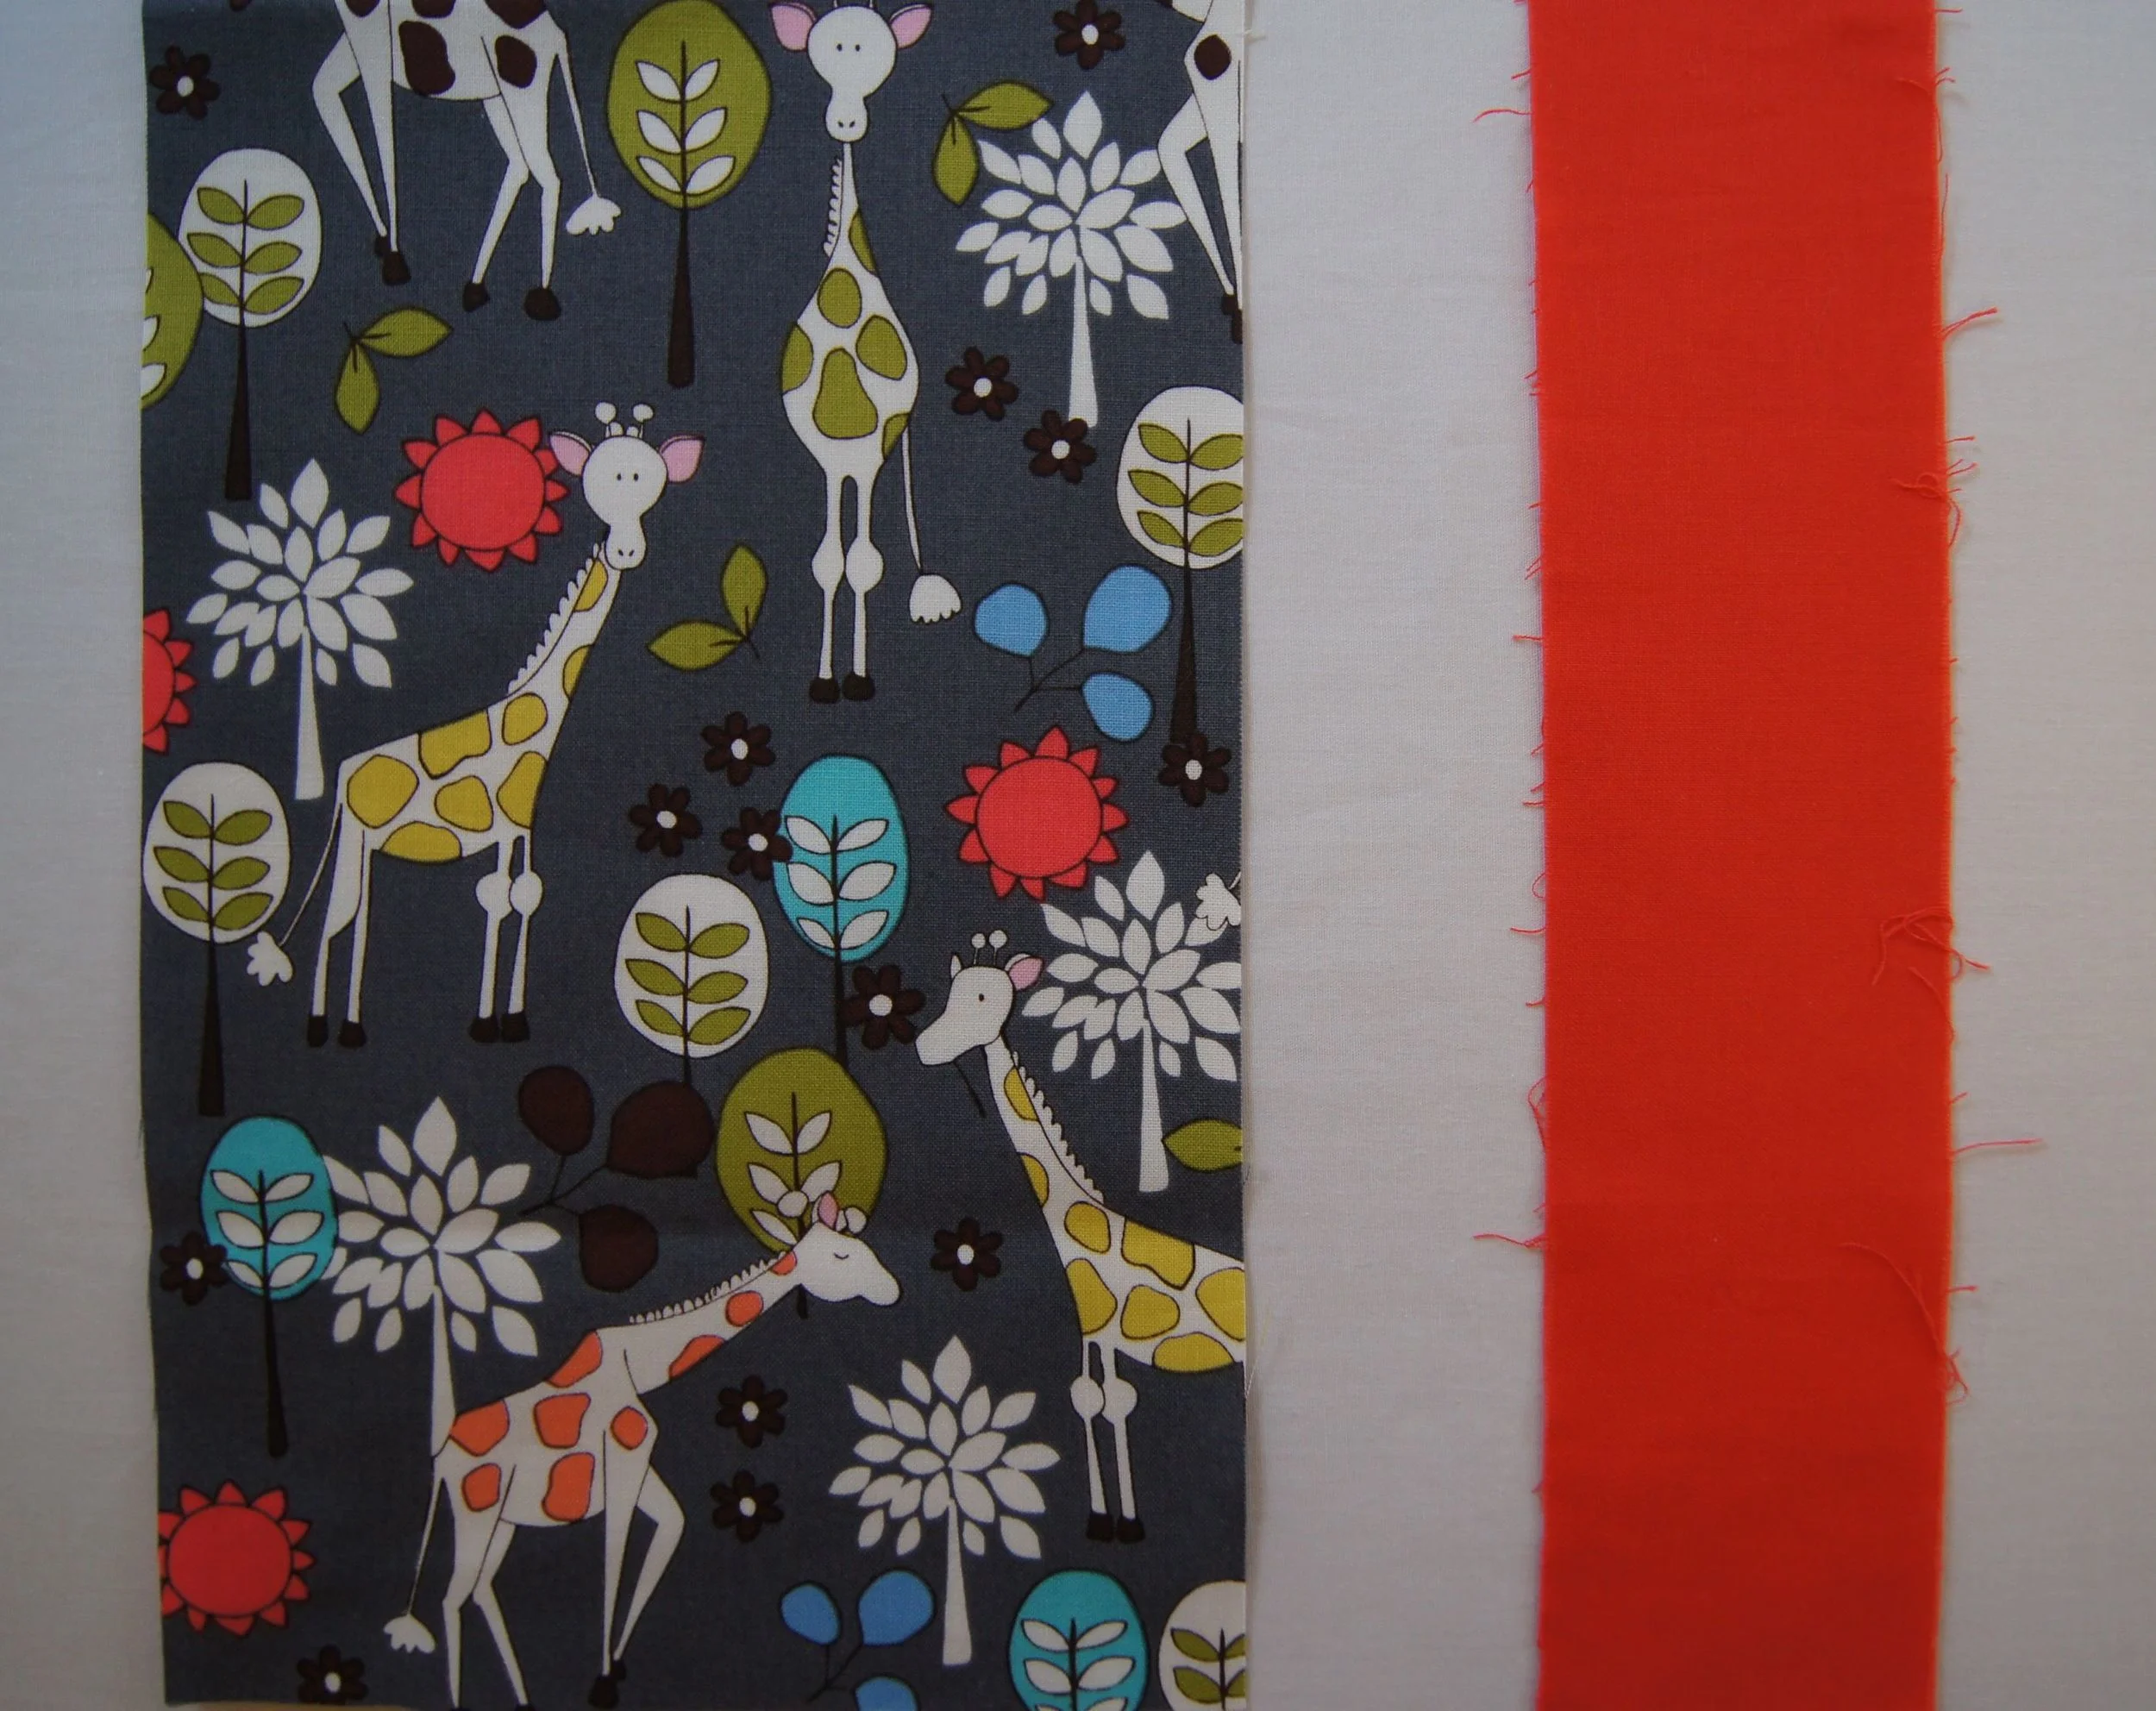
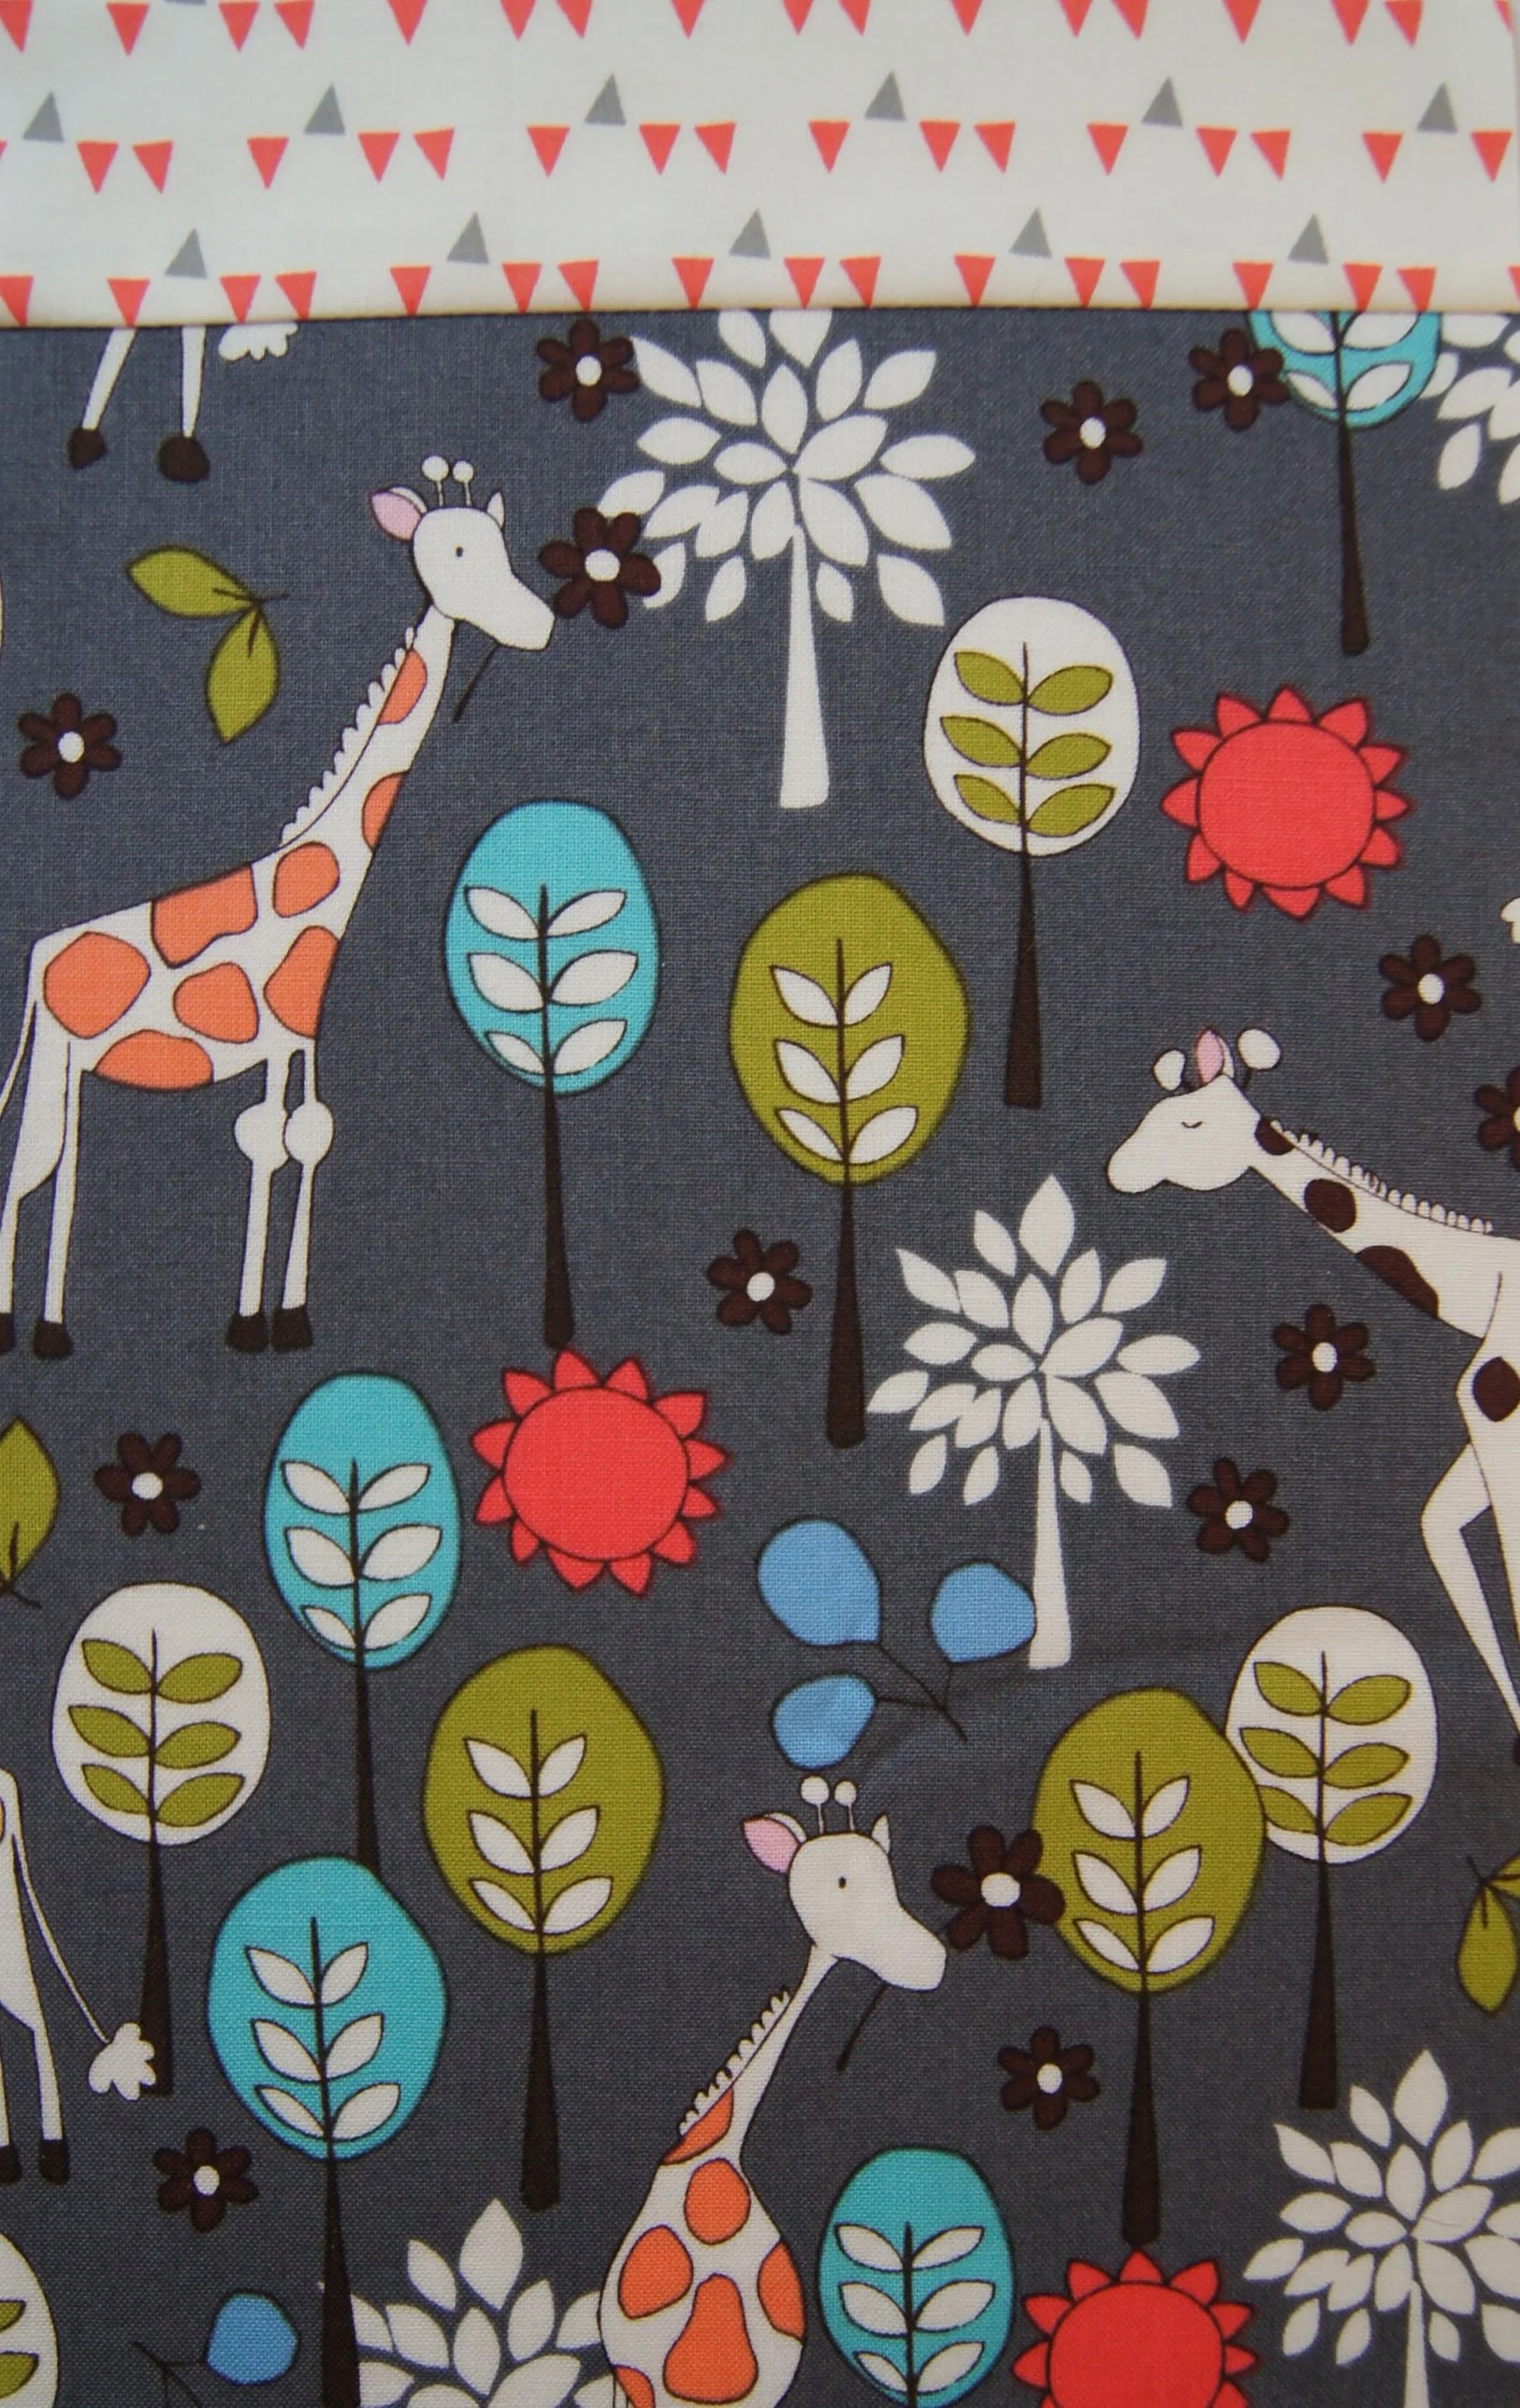
The quilt is all improv. I had some ideas about the background but not a planned design. The yellow, blue and orange are colors in the African Wax fabrics. The yellow and orange are on the opposite side of the color wheel from the royal blue, making them bold accents. There is nothing subtle about this quilt but I really like design and the way it came together.
Thanks, Maggie!