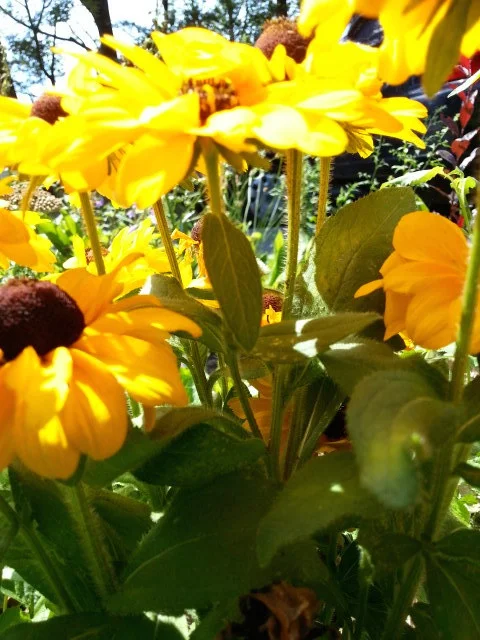
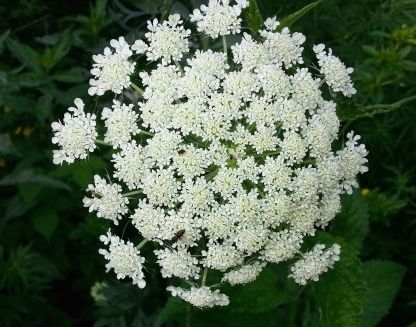
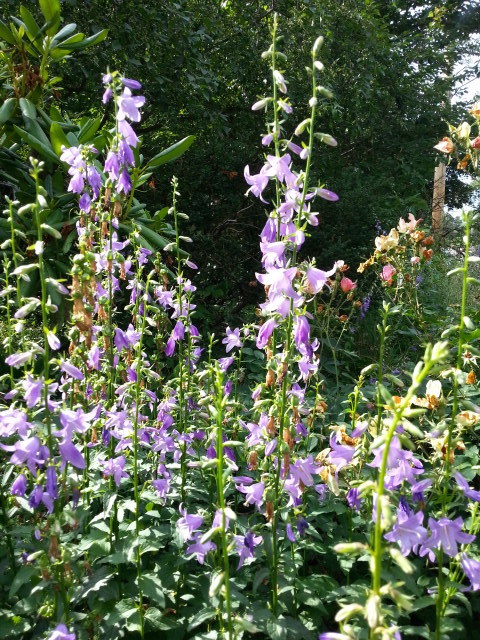

I really enjoyed the flowers in my perennial bed this year. I took photos of them from time to time, along with some photos of flowers I saw while walking my dogs in the neighborhood.
Looking for books with information about creating surface designs for fabric, I found Print, Make, Wear: Creative Projects for Digital Textile Design, by Melanie Bowles and The People's Print. This is a great book for a novice fabric designer. It takes you step by step through the process of designing specific projects. (While this book was published in 2015, it is already out of date with the current version of Adobe's Photoshop CC. However it wasn't too hard figuring out how to use the book's instructions with the updated version of Photoshop).
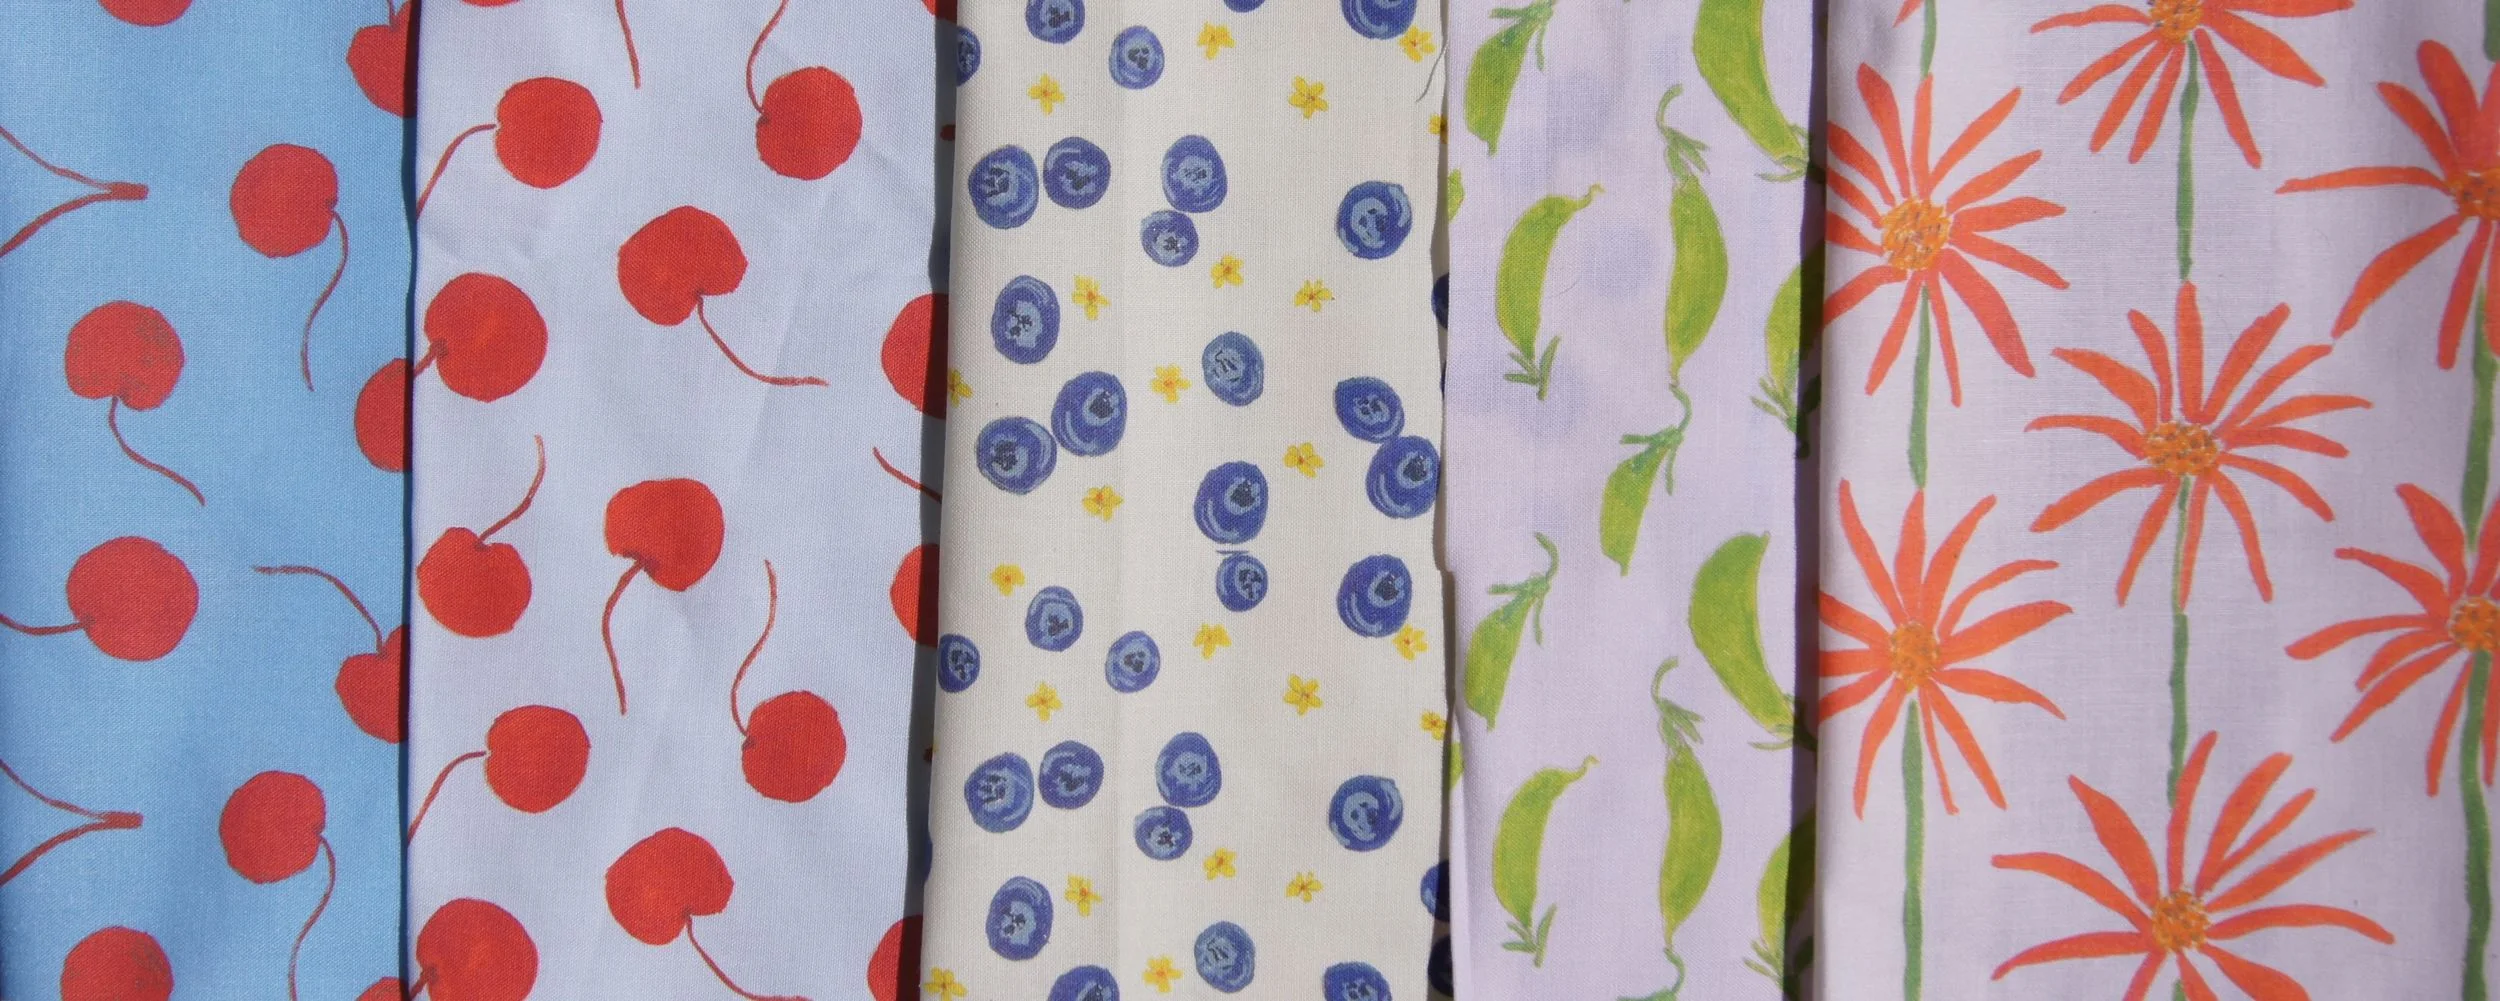
The first chapter, "Paintbrush Floral", is one of my favorites. I used the instructions in this chapter to create "My Flower Garden" in Photoshop CC. I used my flower photos to draw components of each of the flowers. With some digital magic, they became the basis for my floral fabric designs.
Here are the two pink versions, one with small flowers, and one with larger flowers. Can you match the flowers in my designs with the flower photos above?

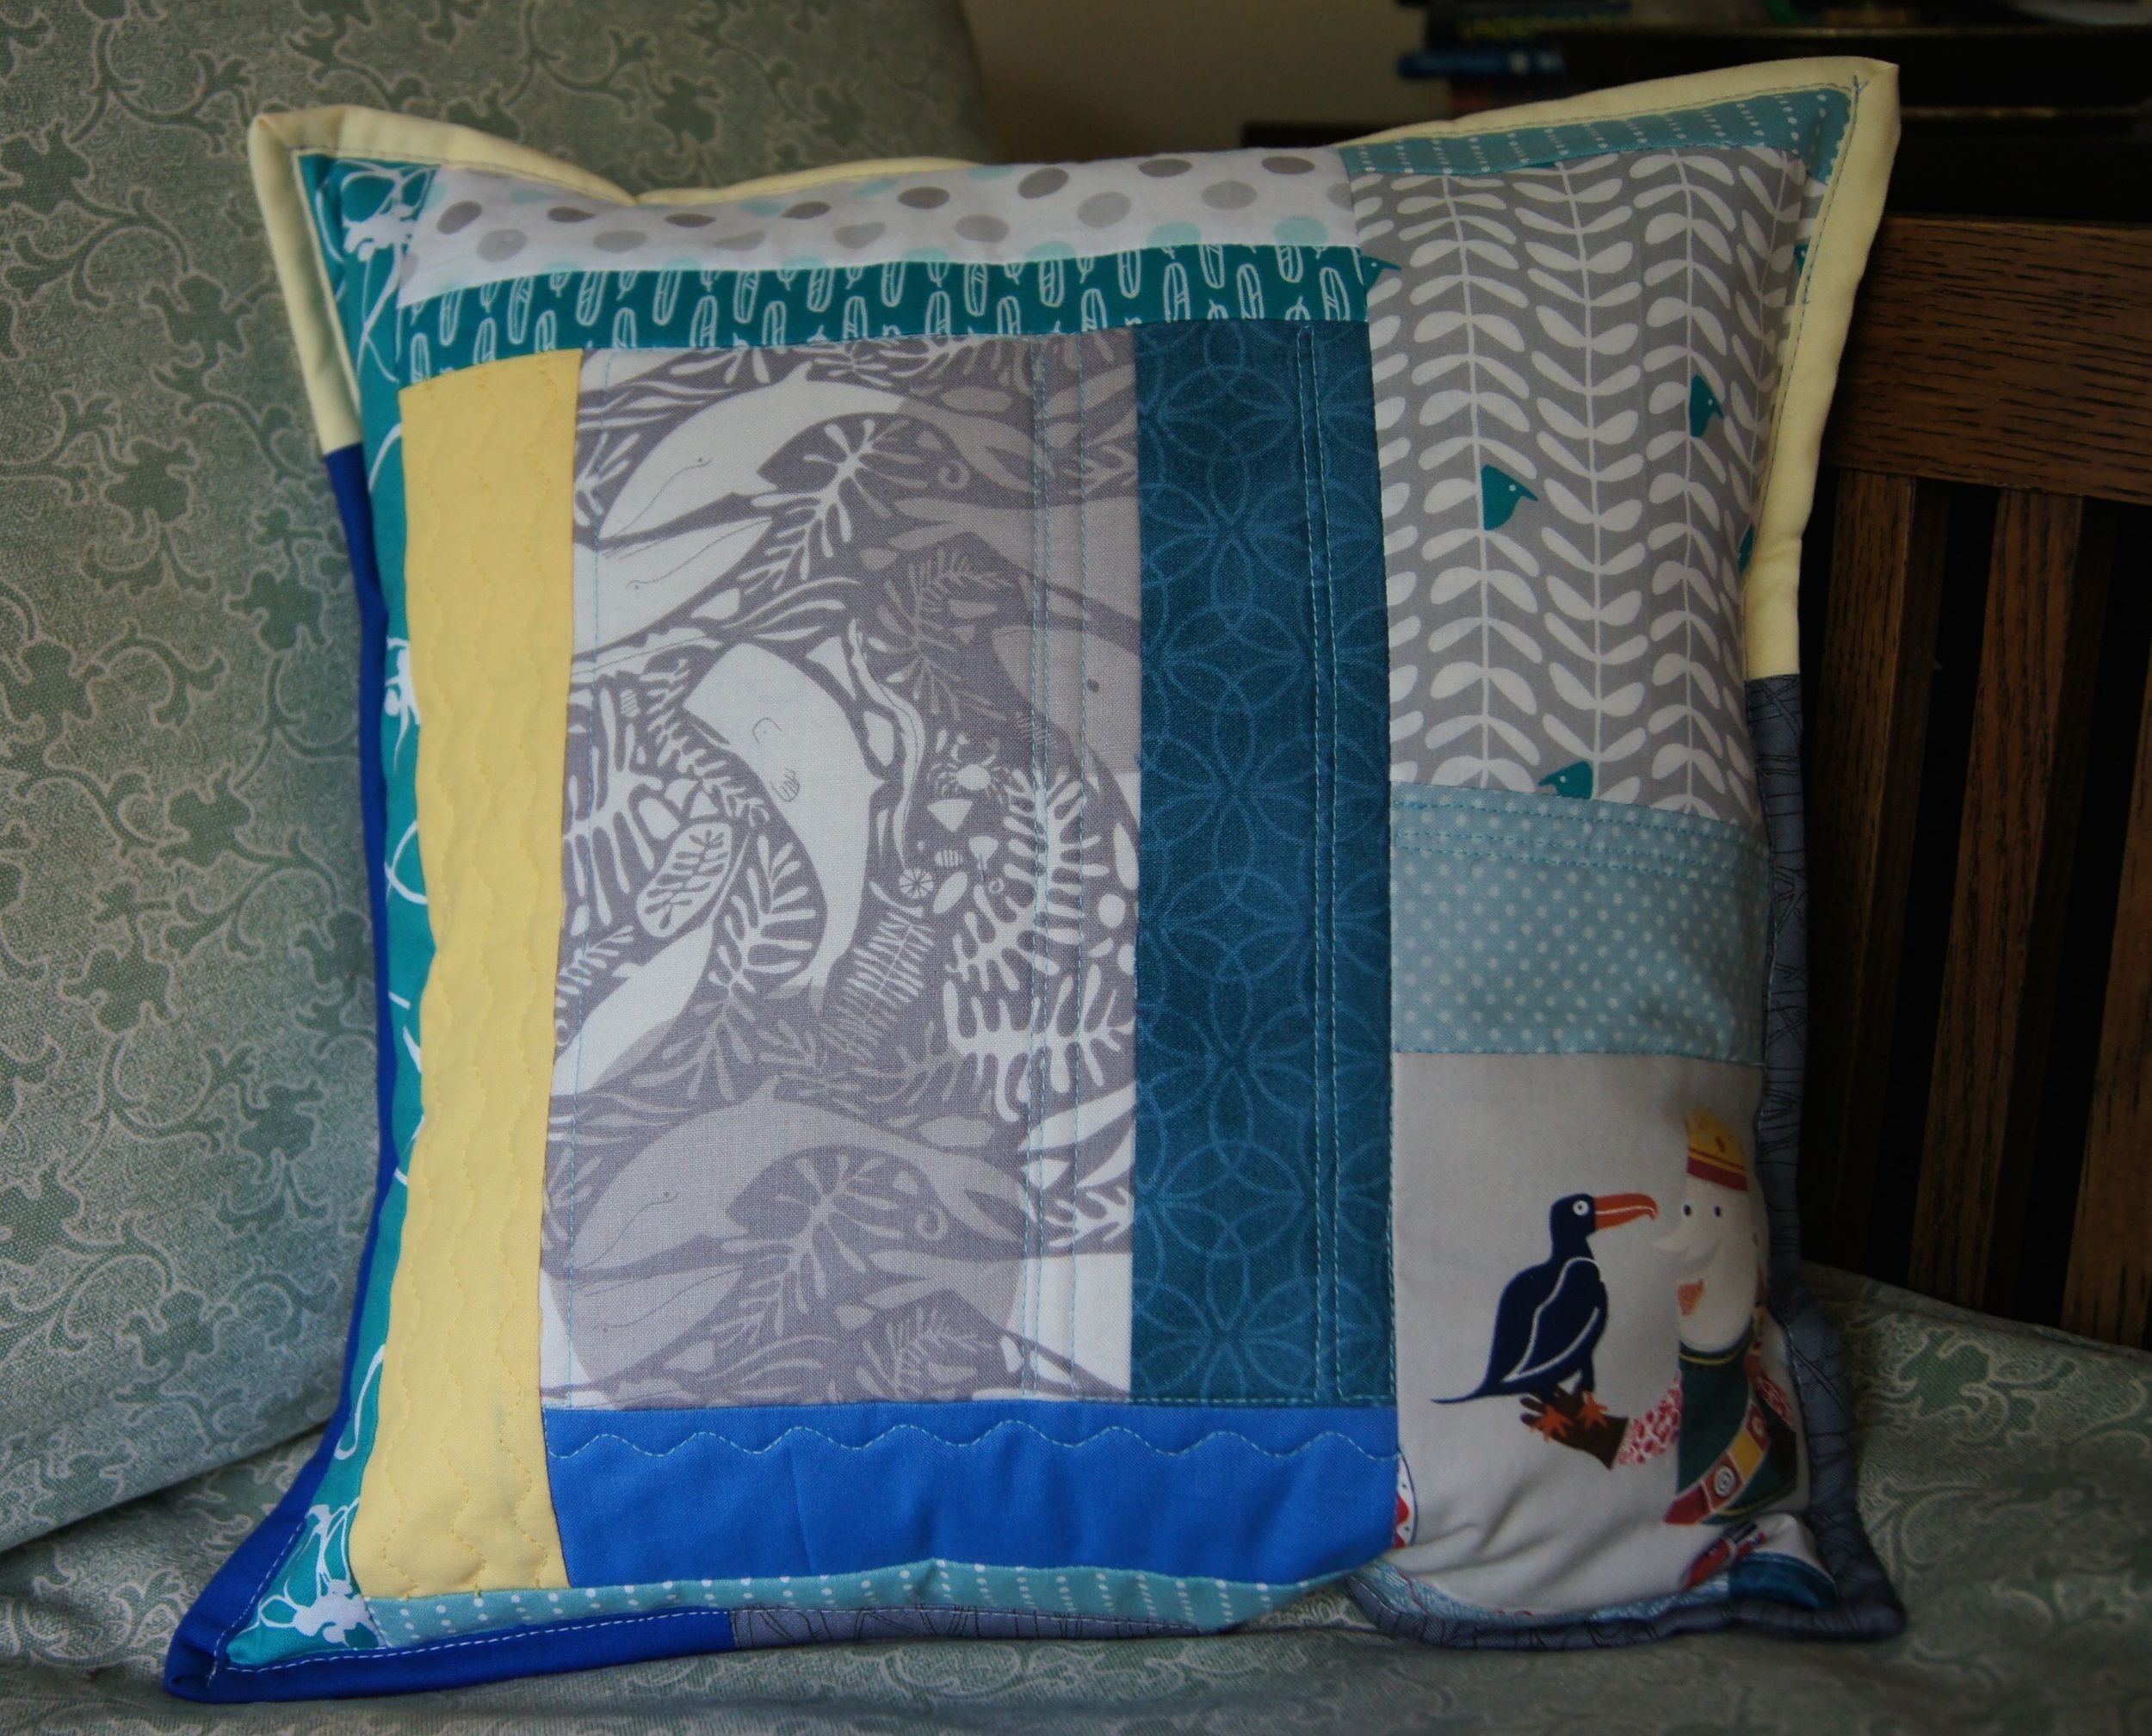
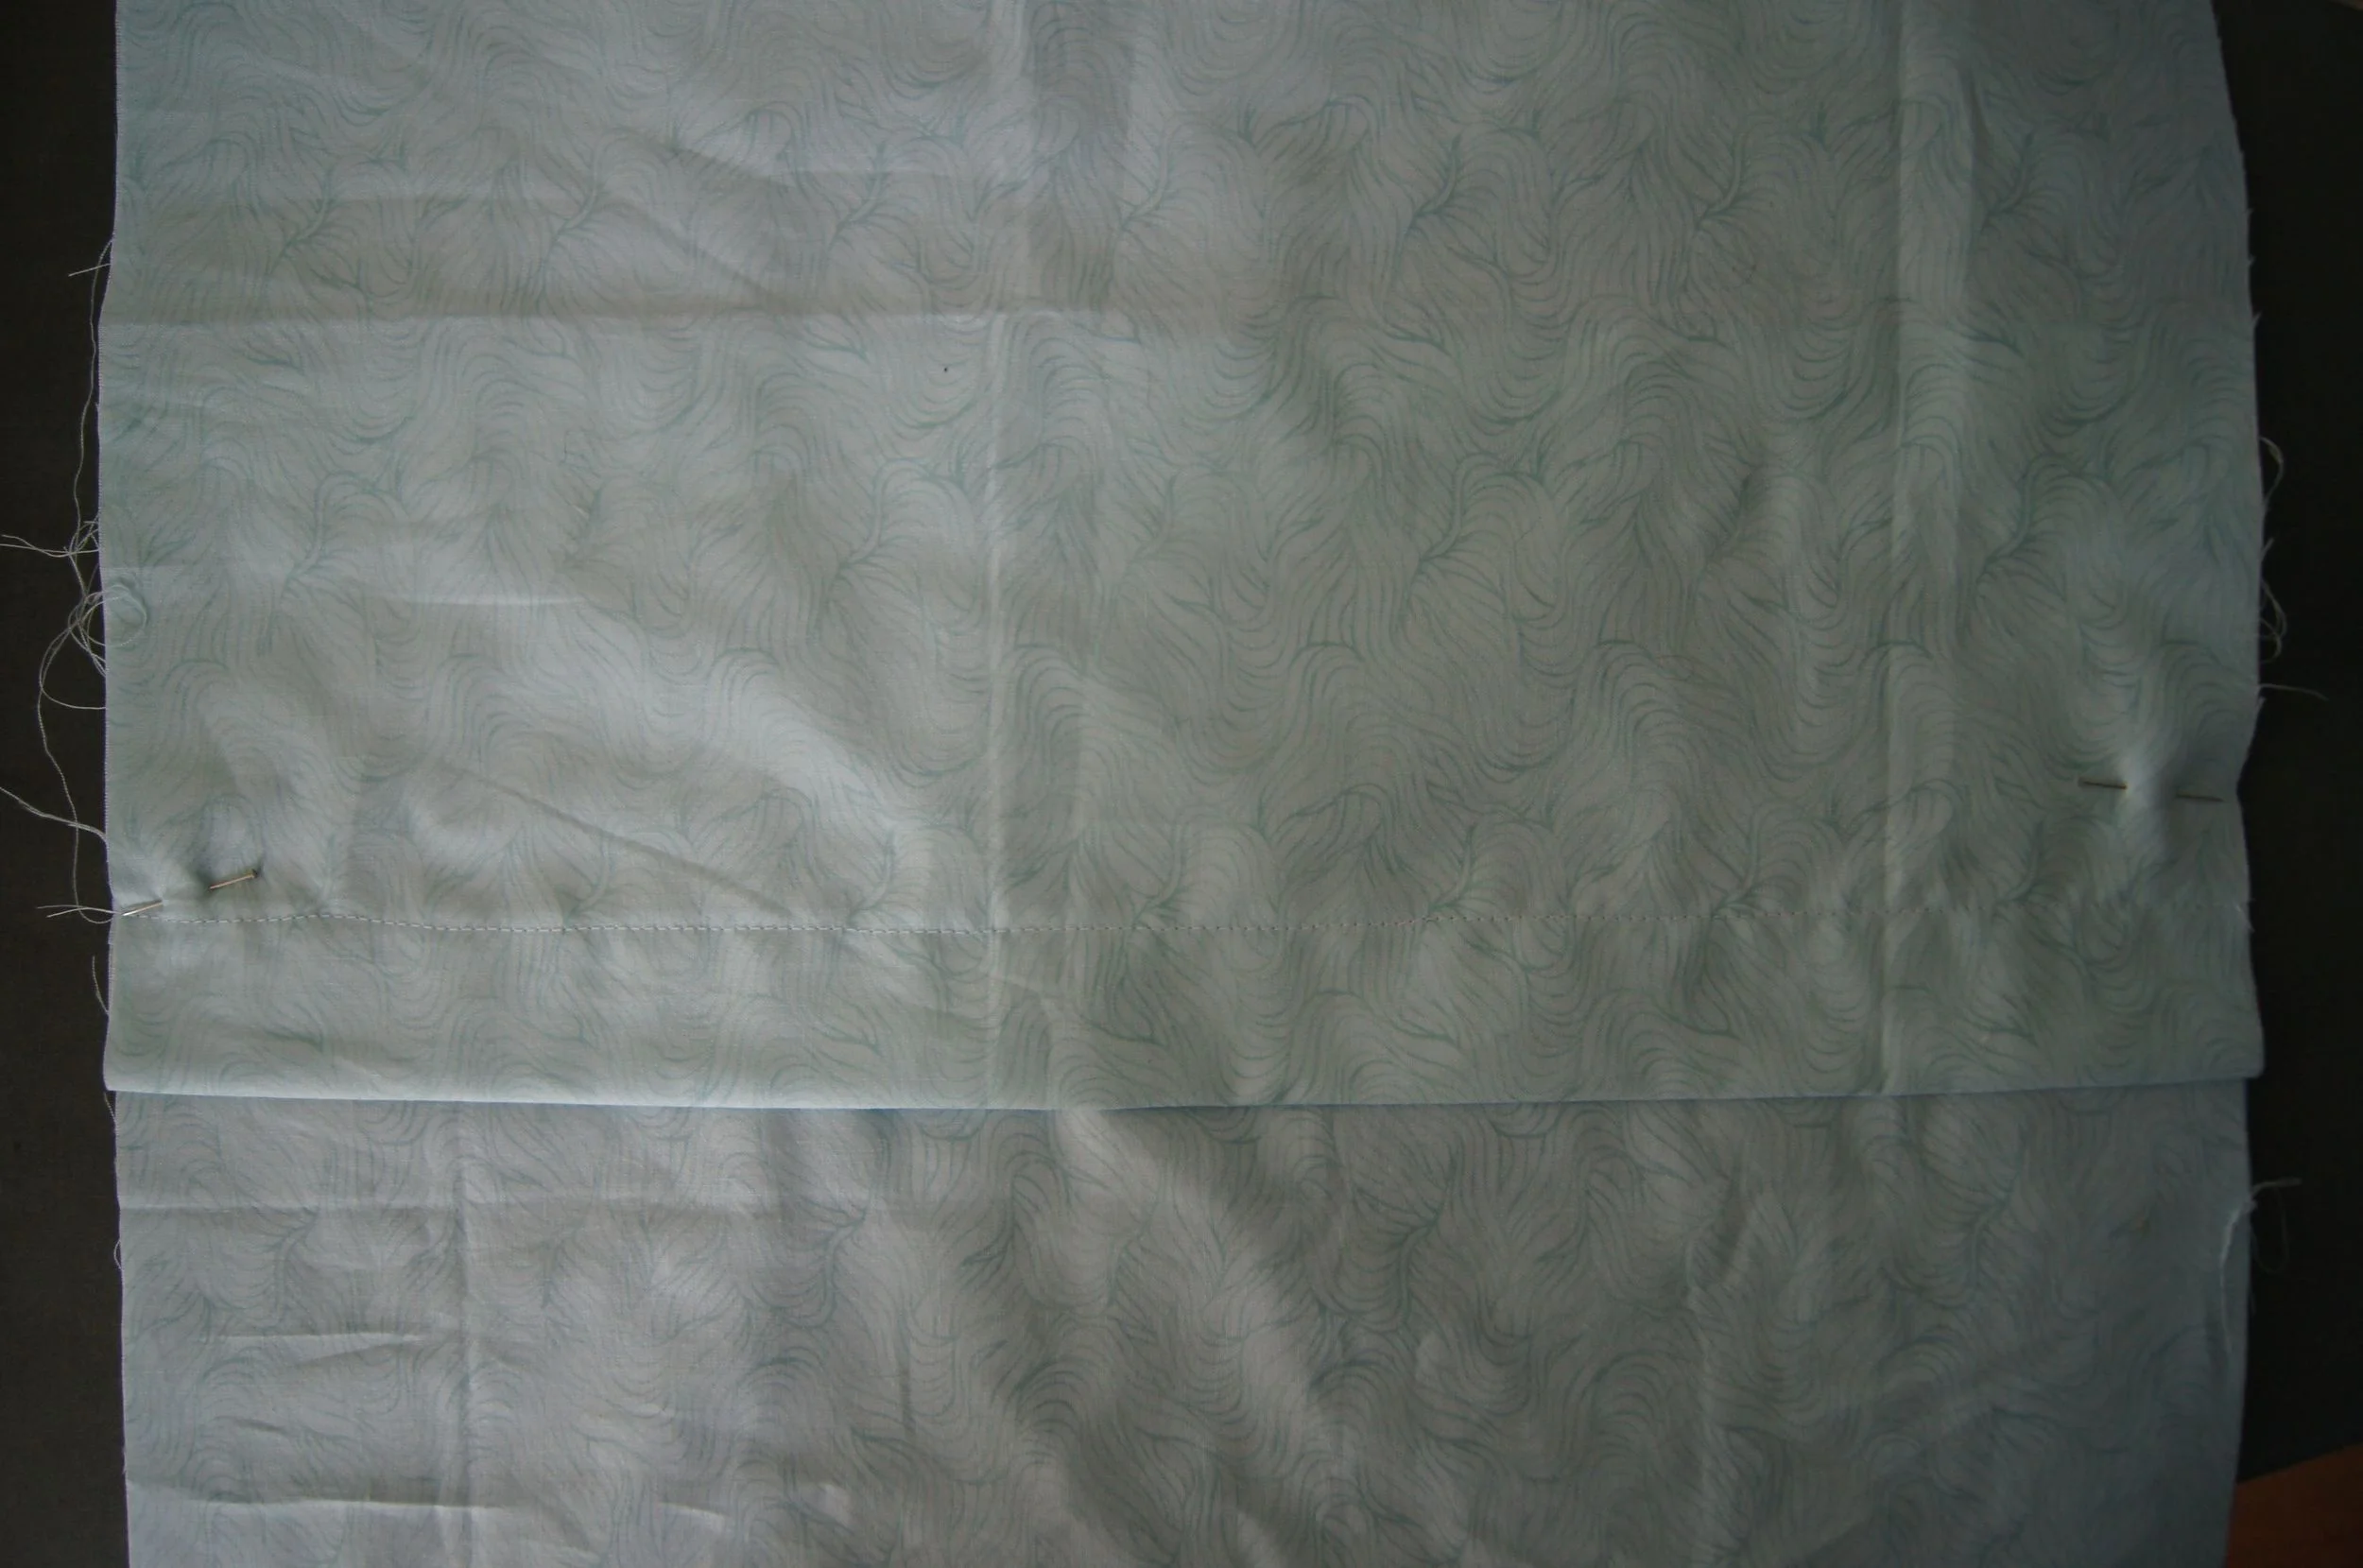
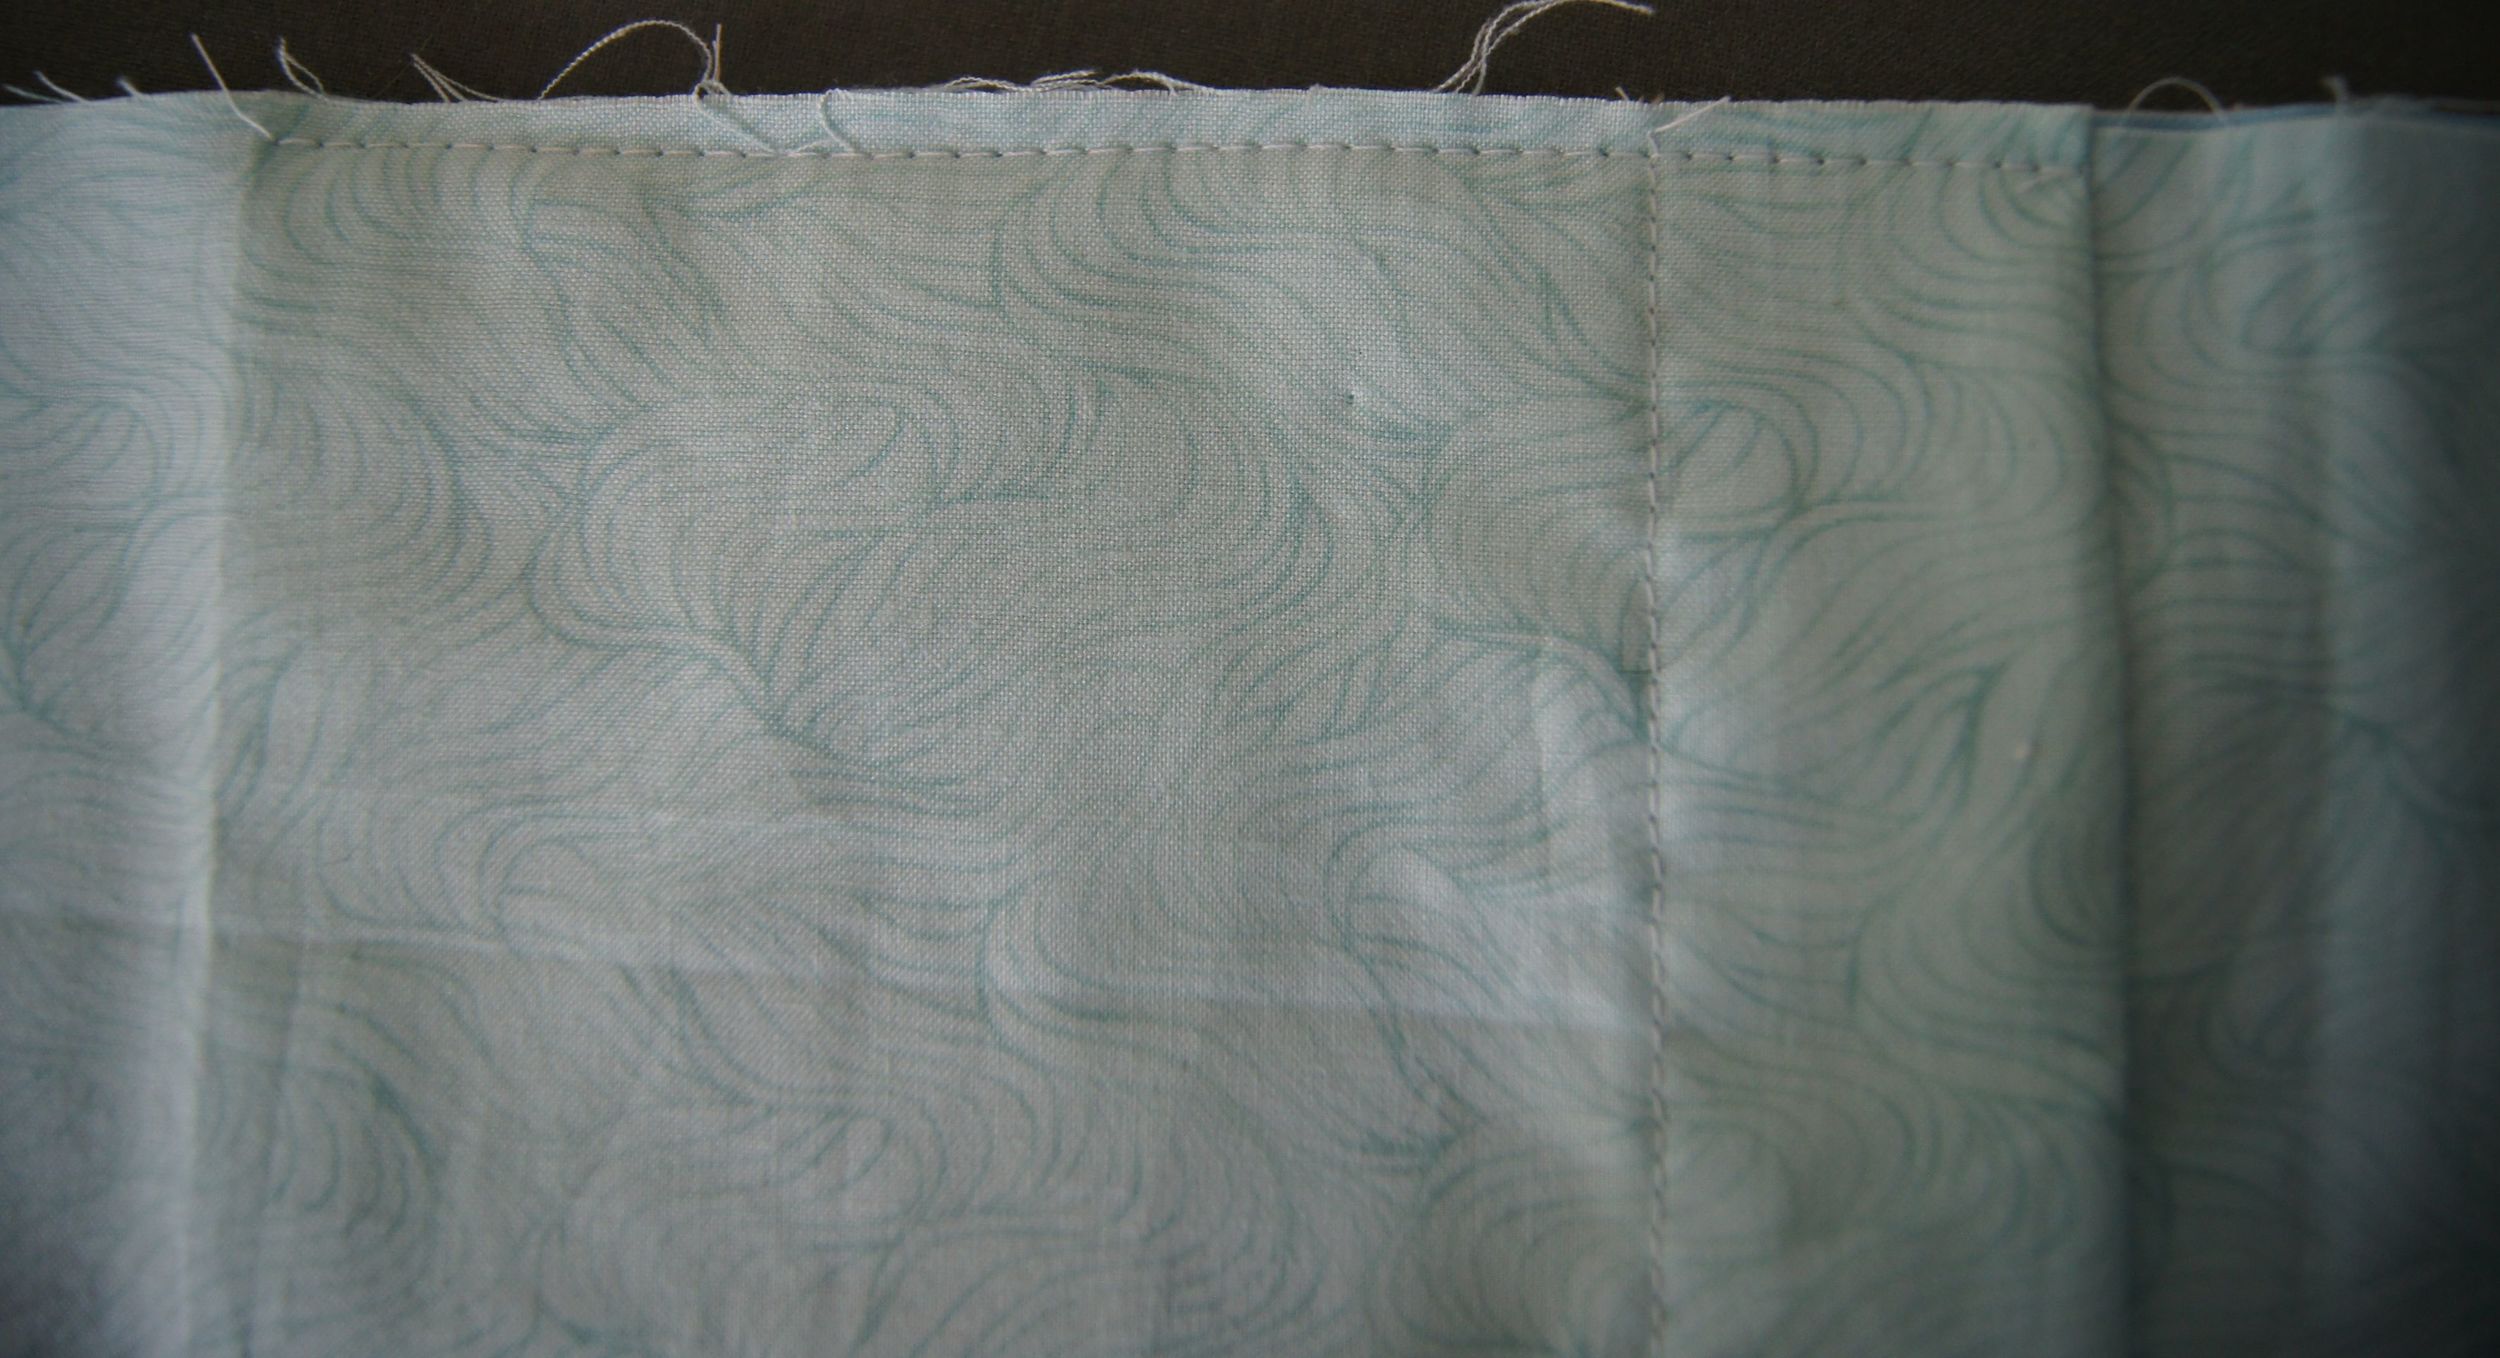
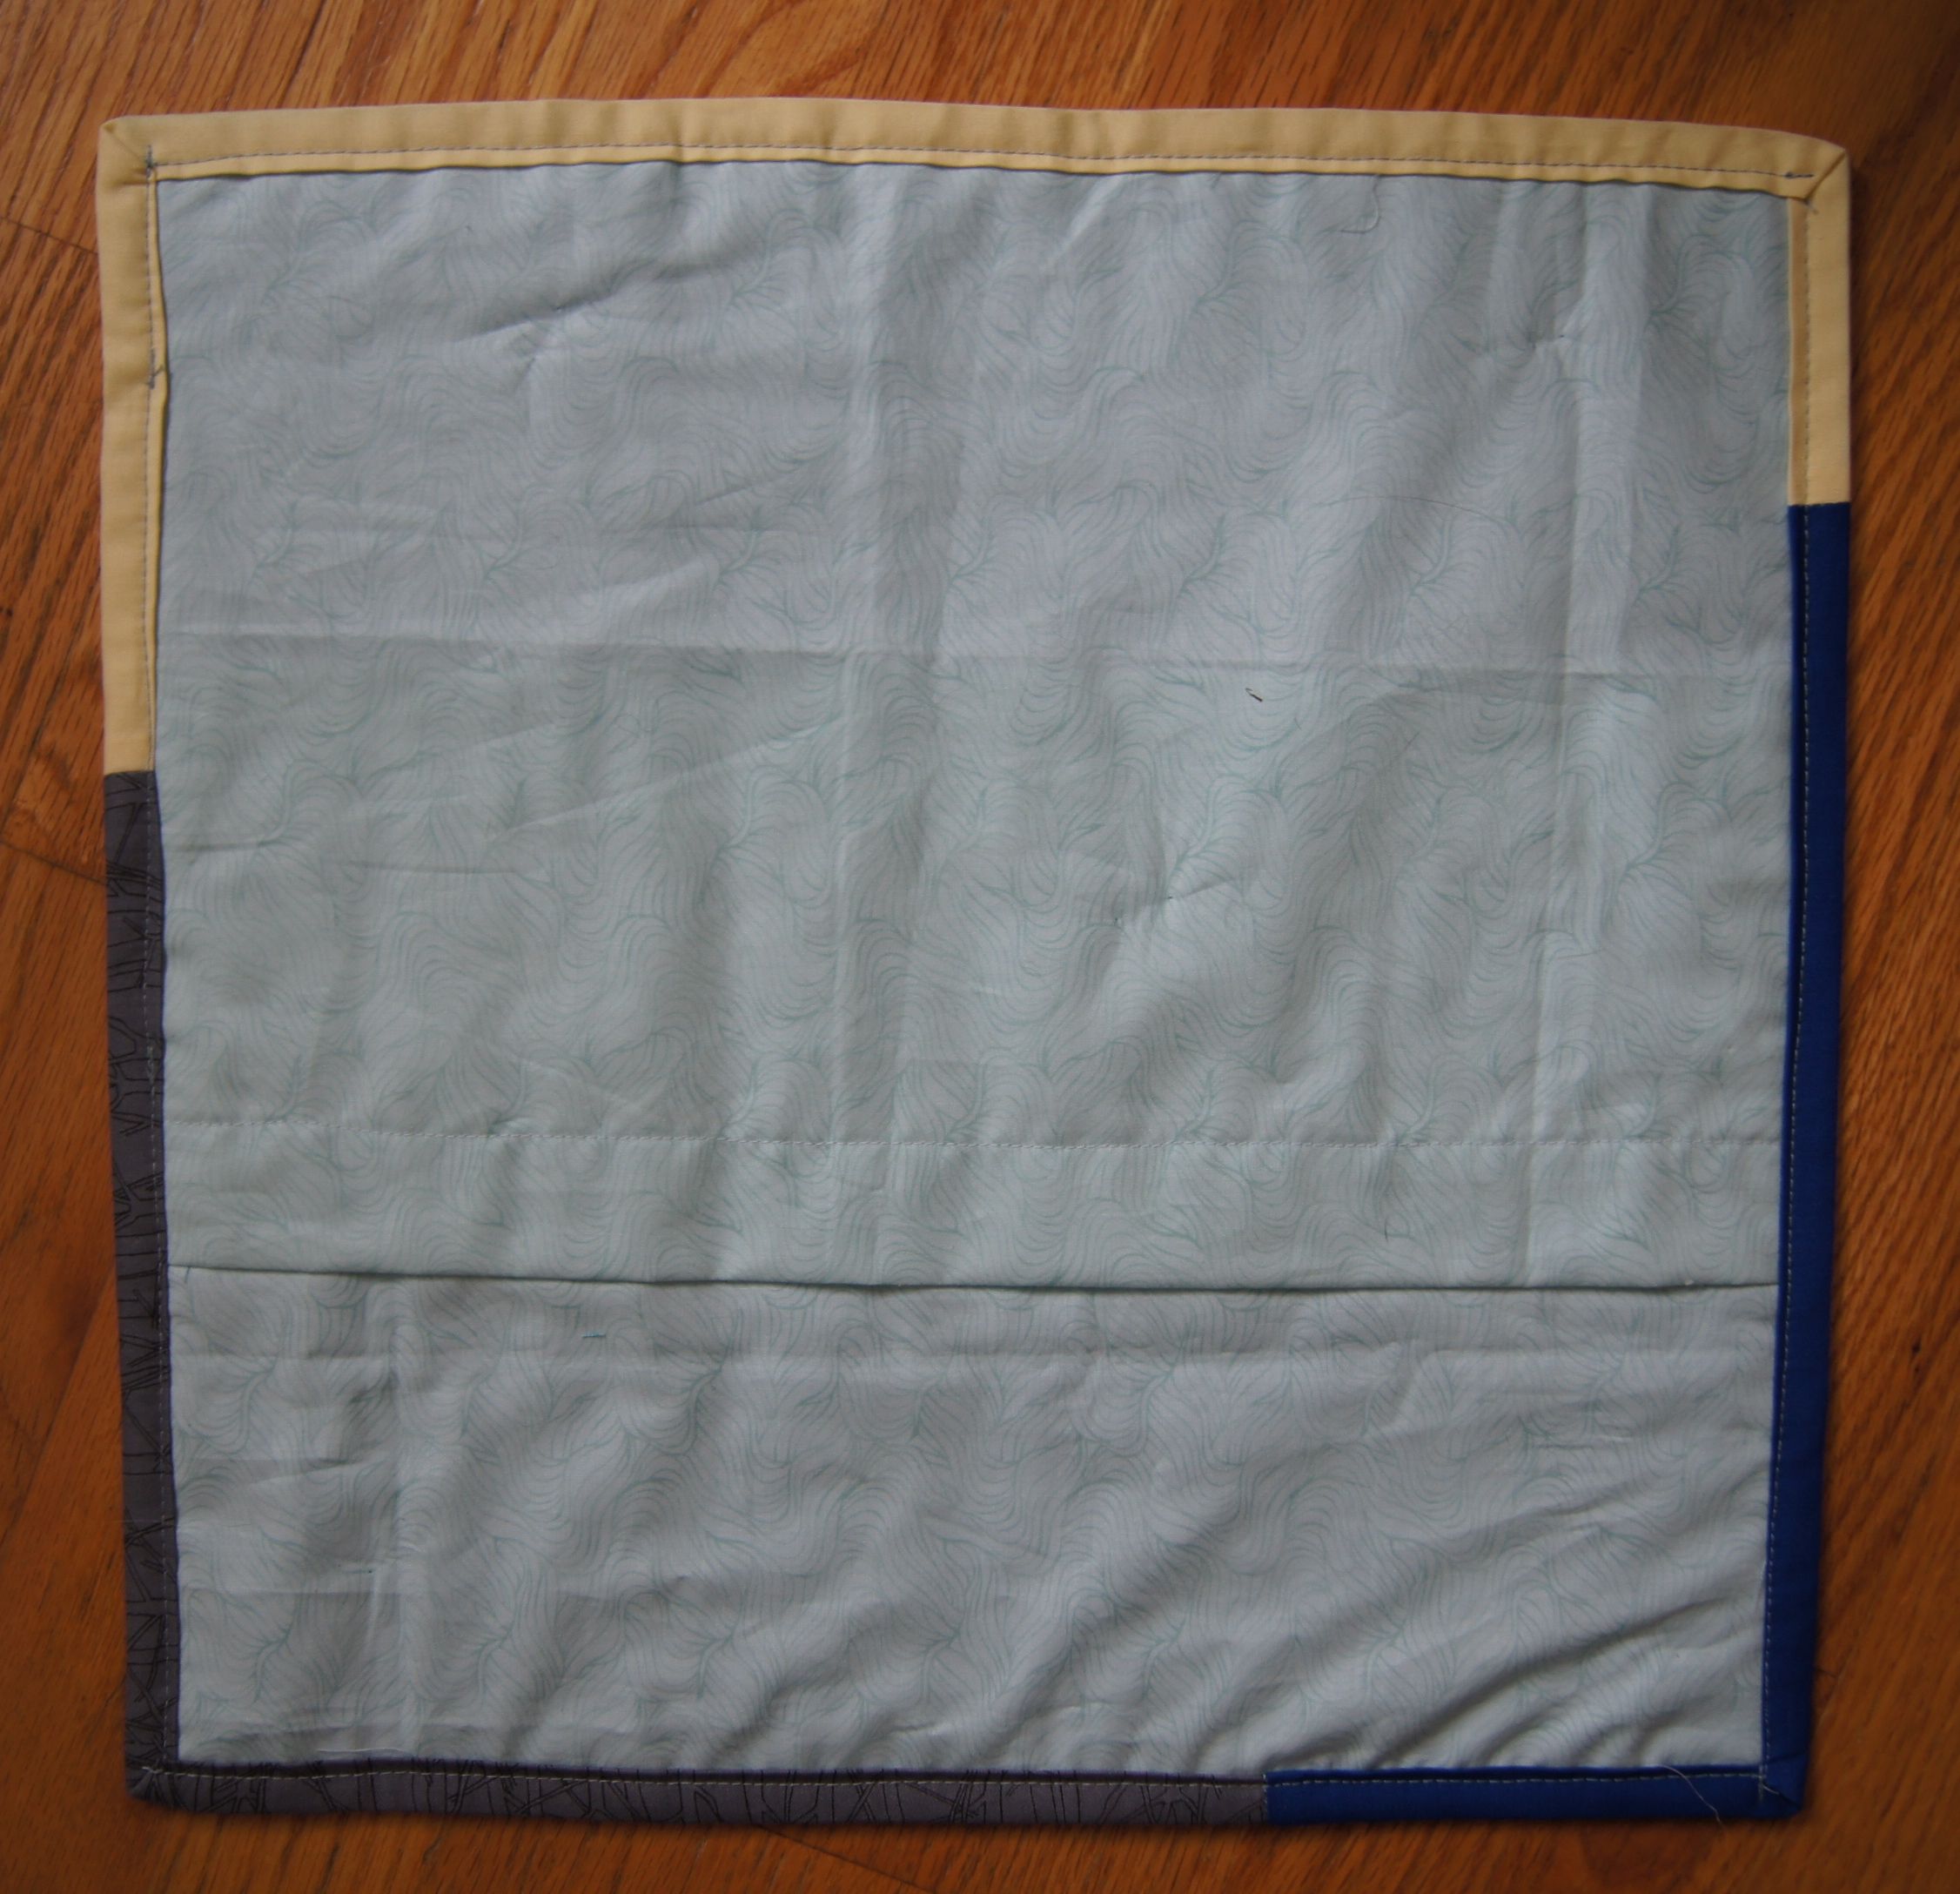
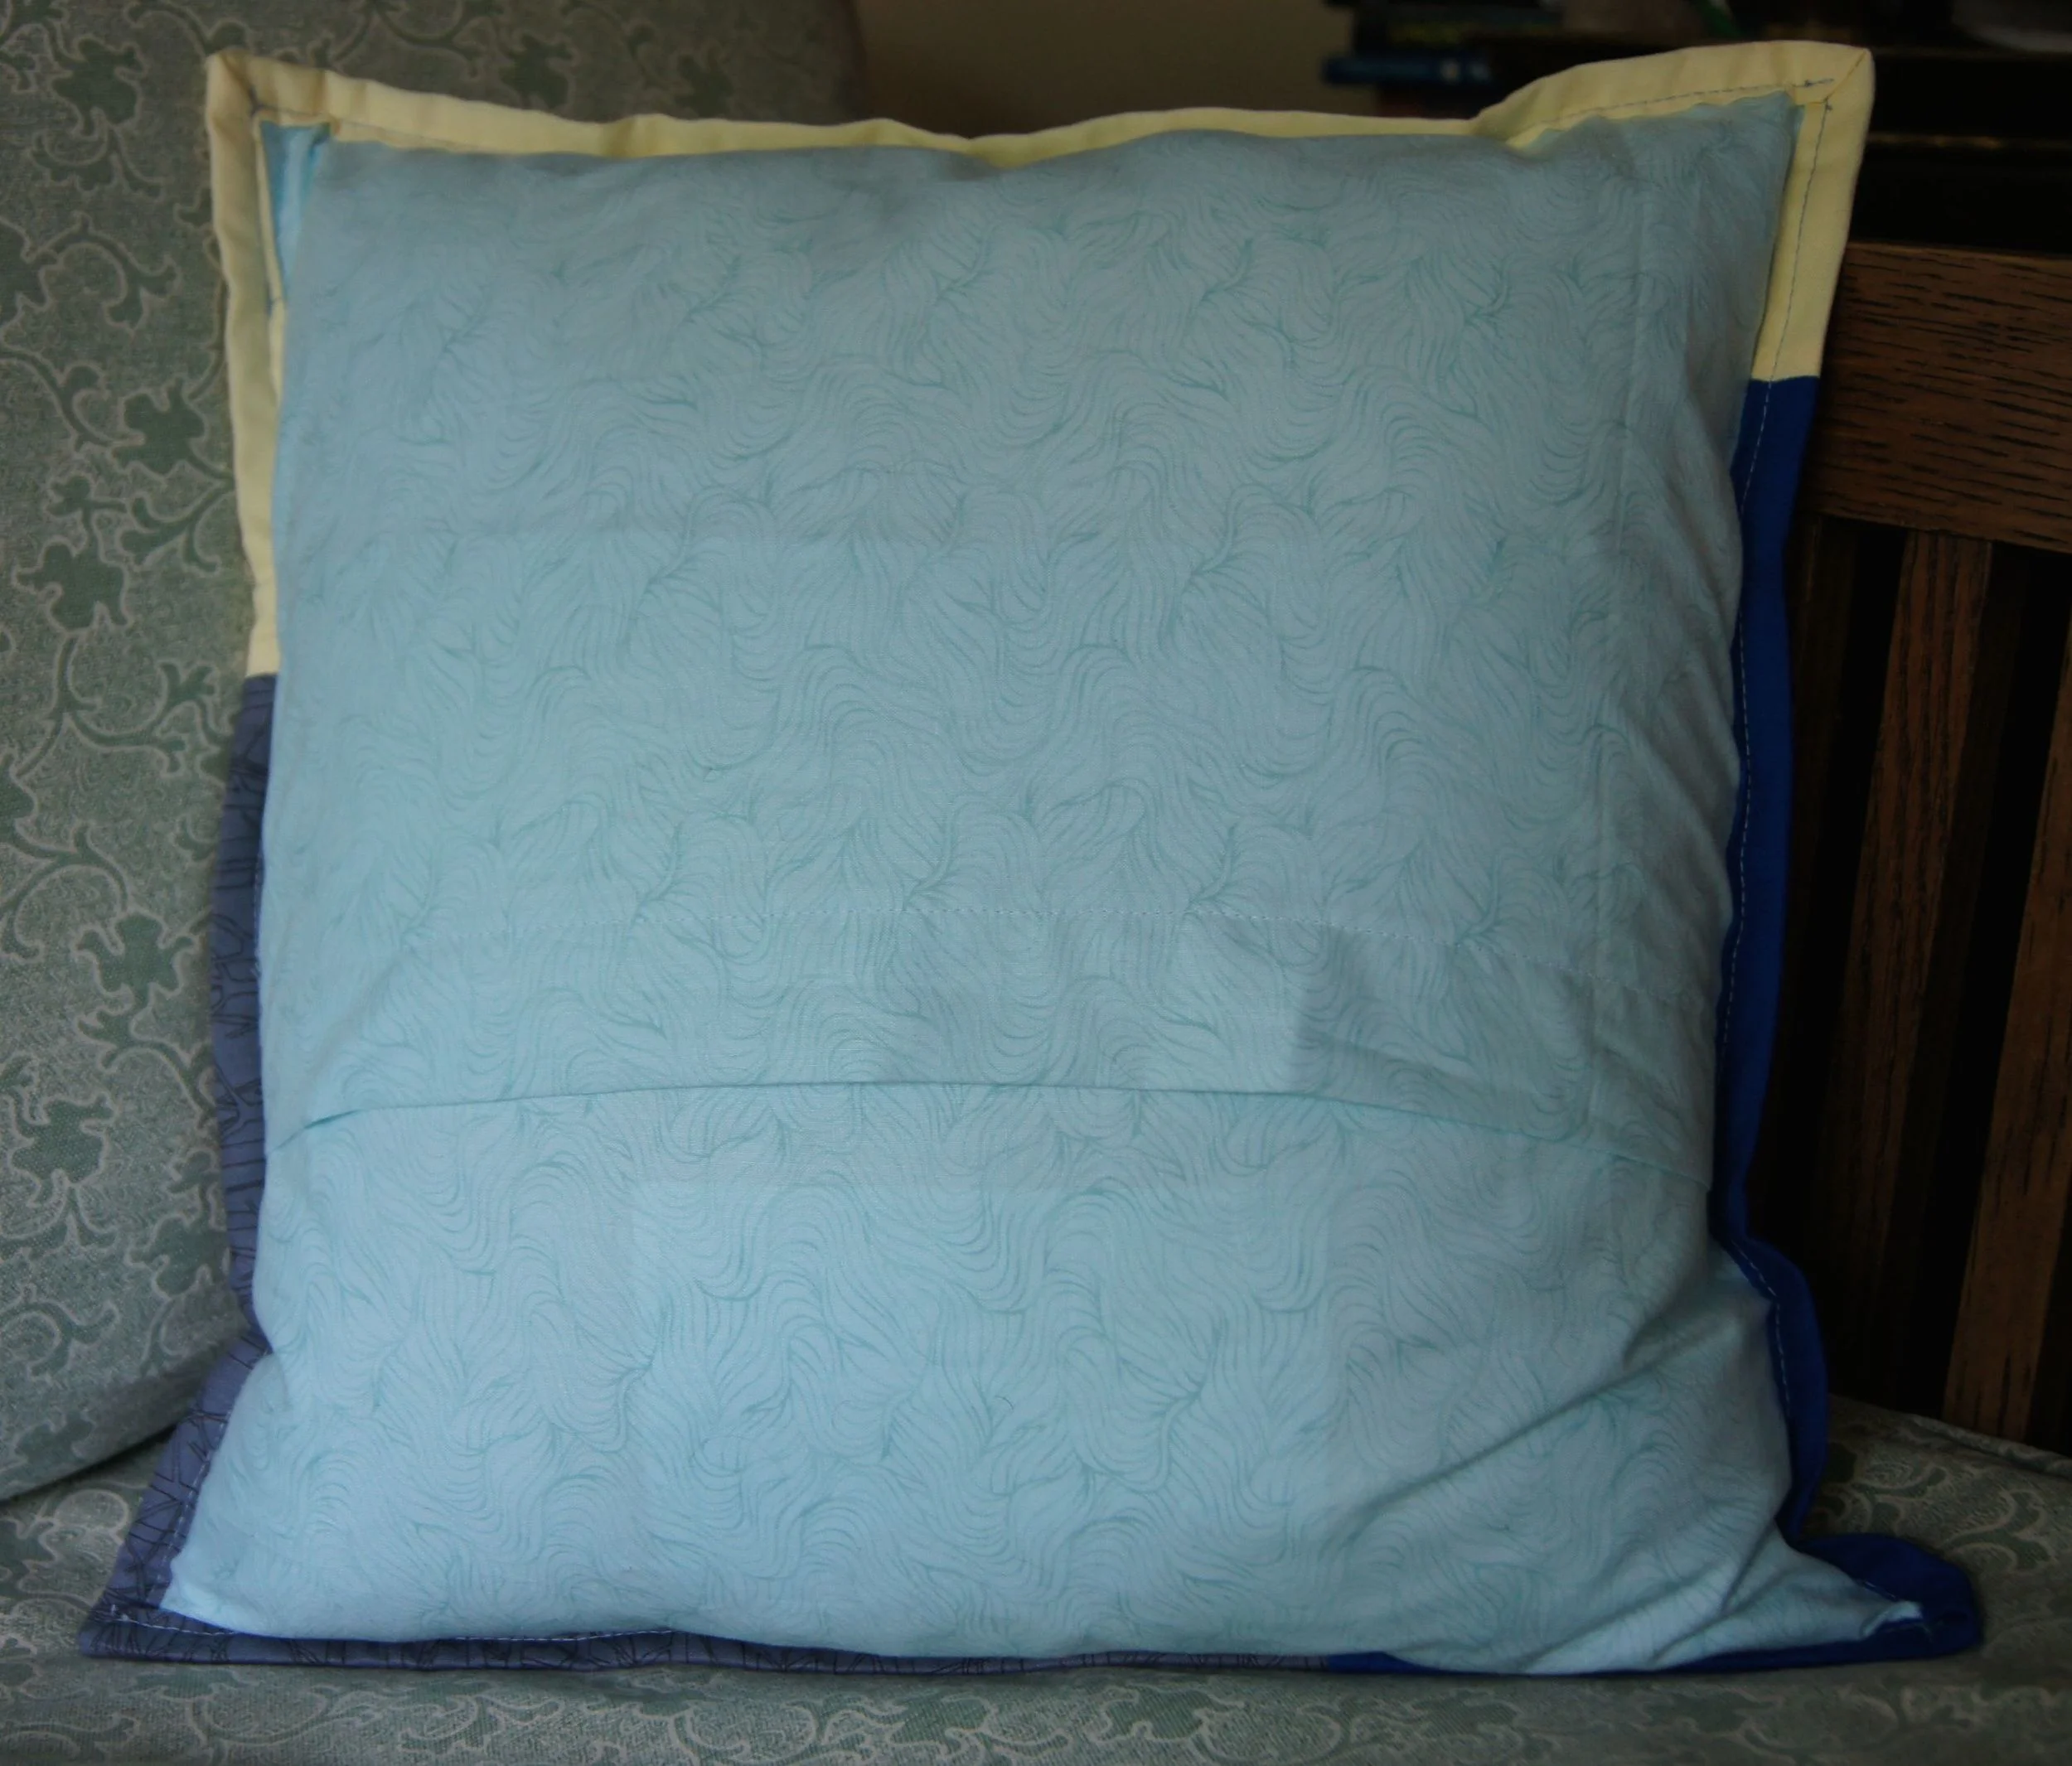
"My Flower Garden" fabric, printed by Spoonflower.com. Can you match the flowers in my designs with the flower photos above?
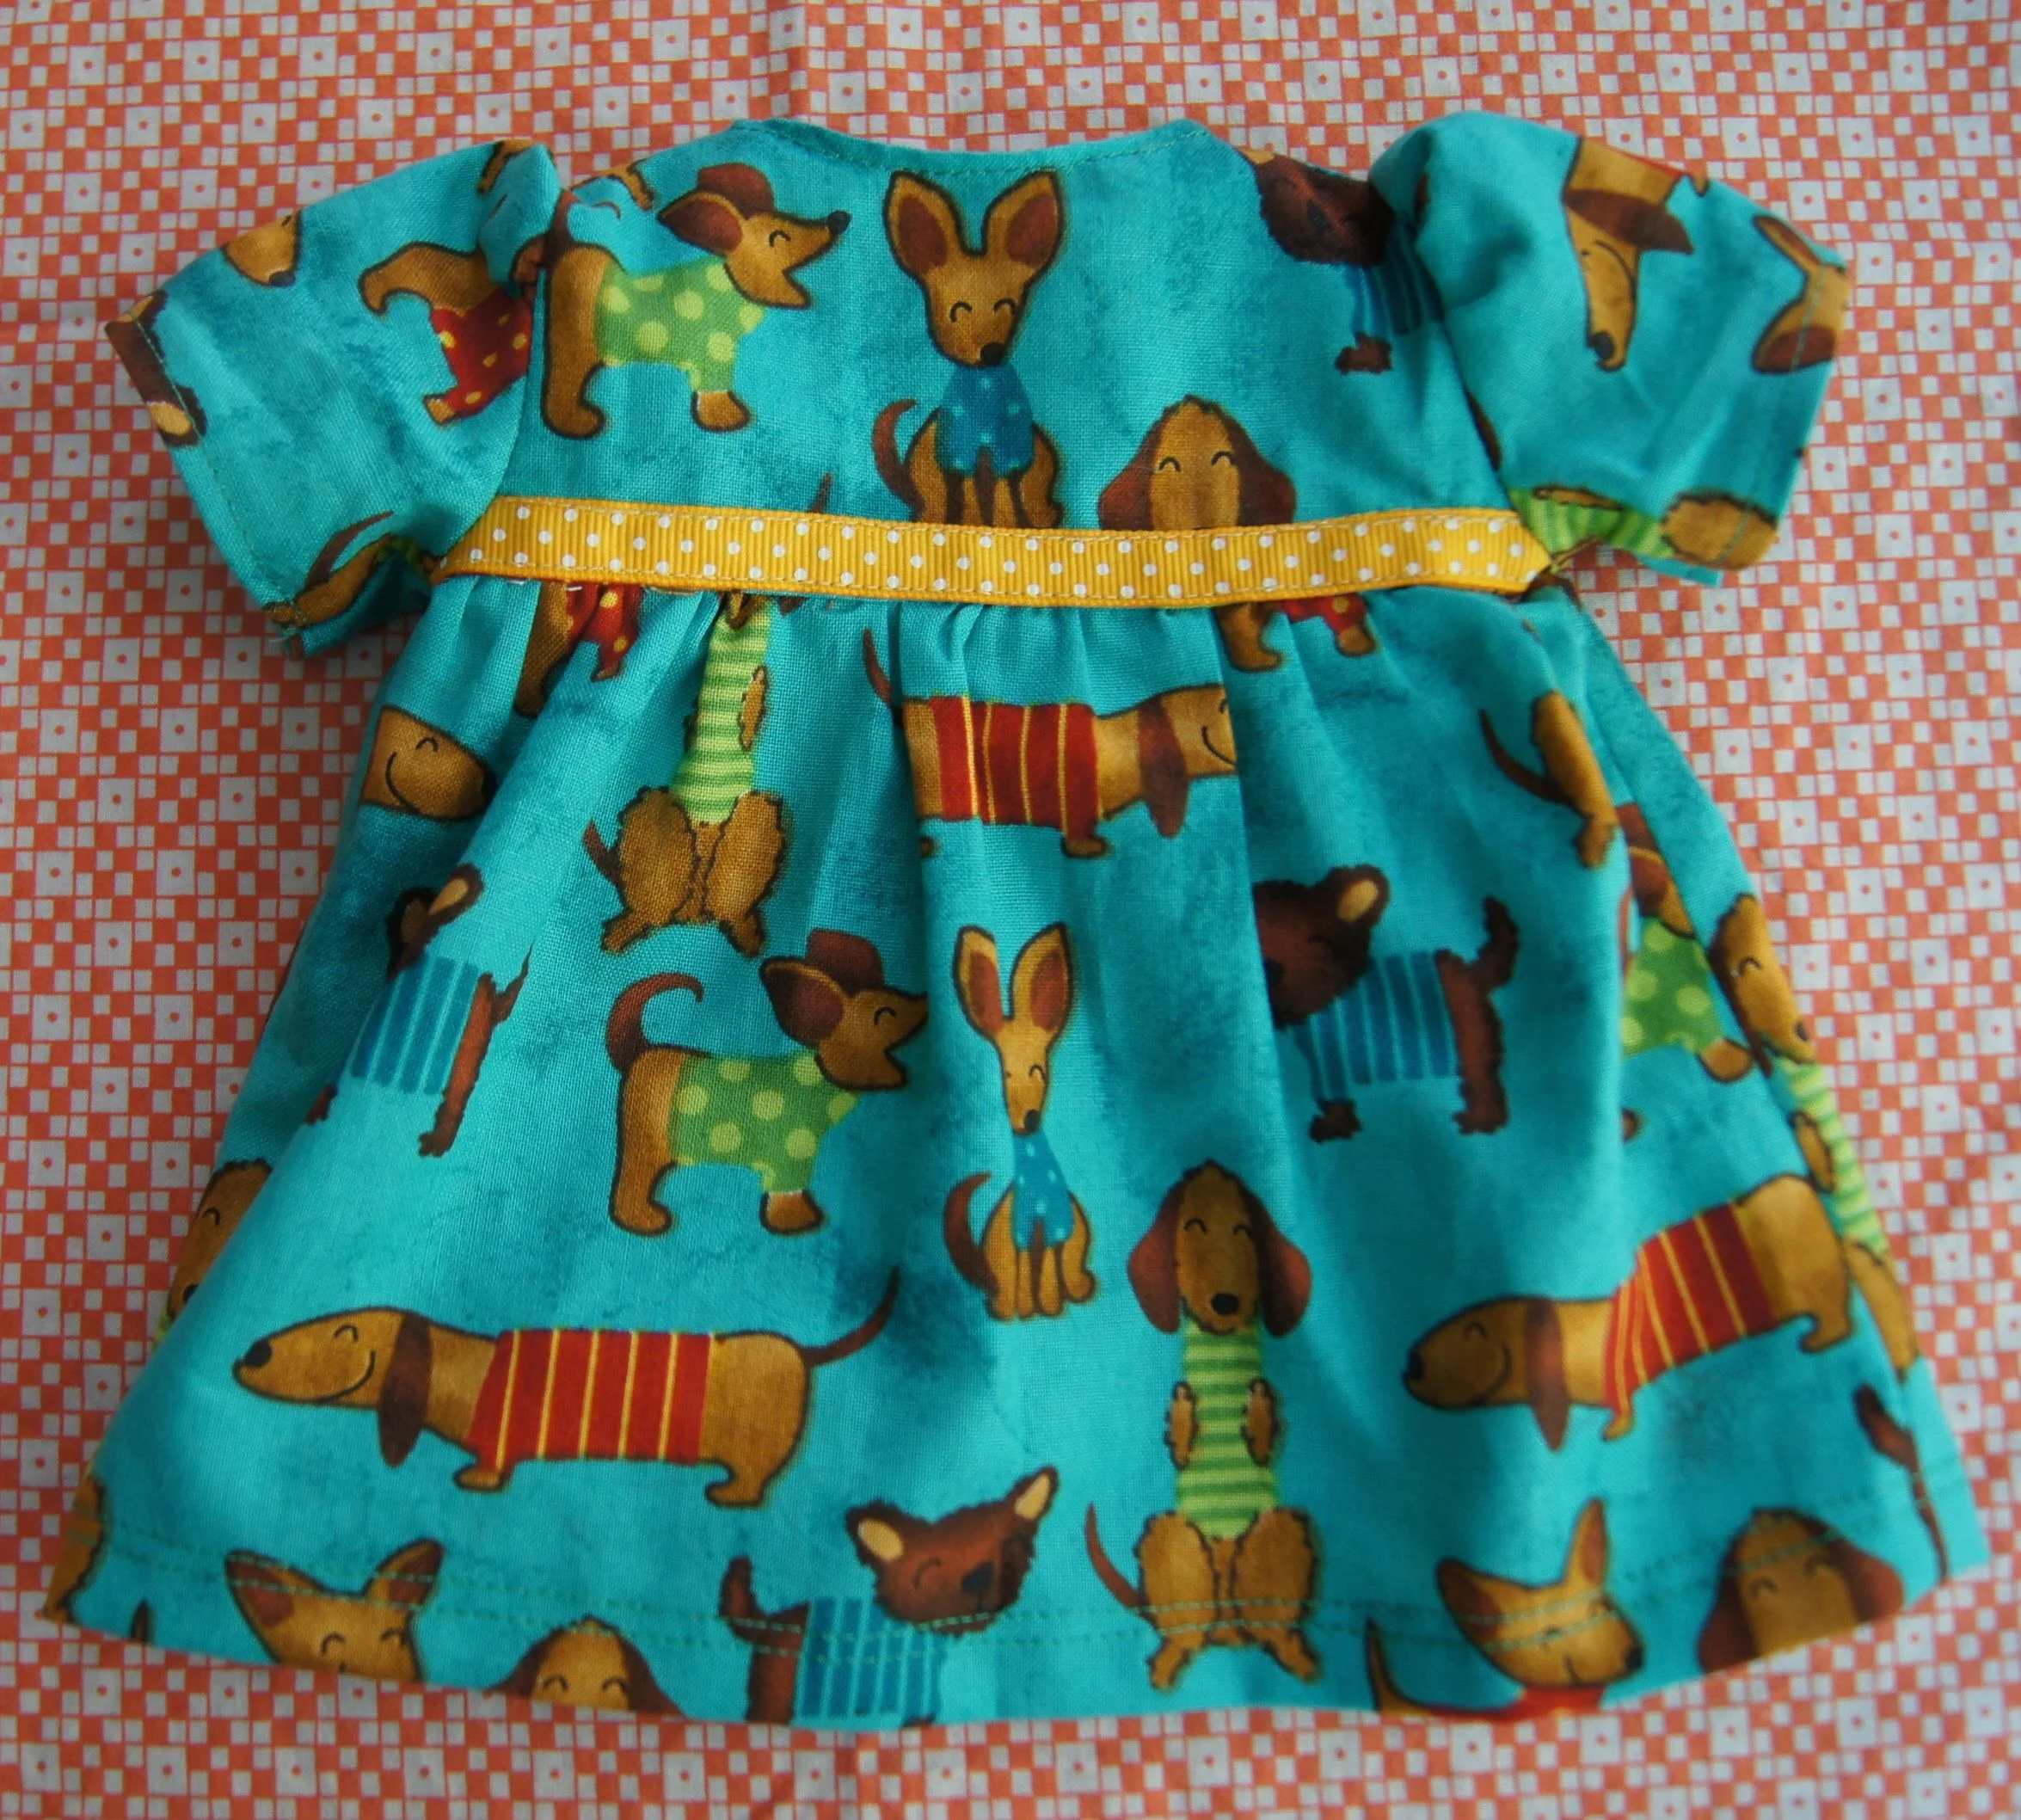
The smaller flowers would look great on a toddler's dress. The larger print is perfect for a quilt backing.
Since I got these samples, I've designed another floral design featuring Queen Anne's Lace flowers. I'll post that when I get the printed fabric from Spoonflower.com.