Book Review: "Patchwork Essentials: The Half-Square Triangle", Jeni Baker

by Judy Tucker


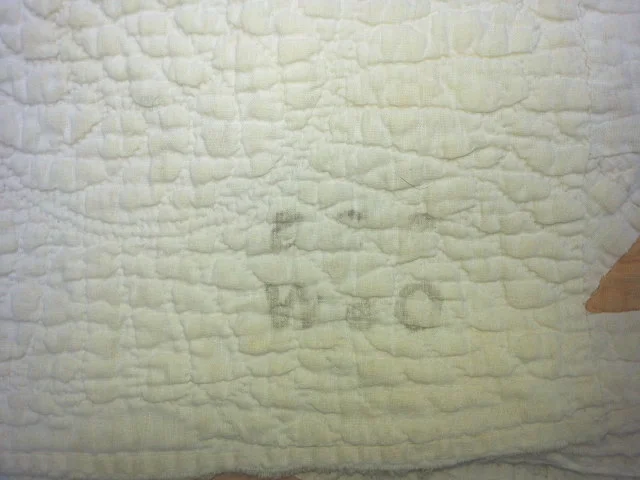
Lucky Spool Media, LLC have published another winner! This publisher is putting out some of the best new quilting books. 

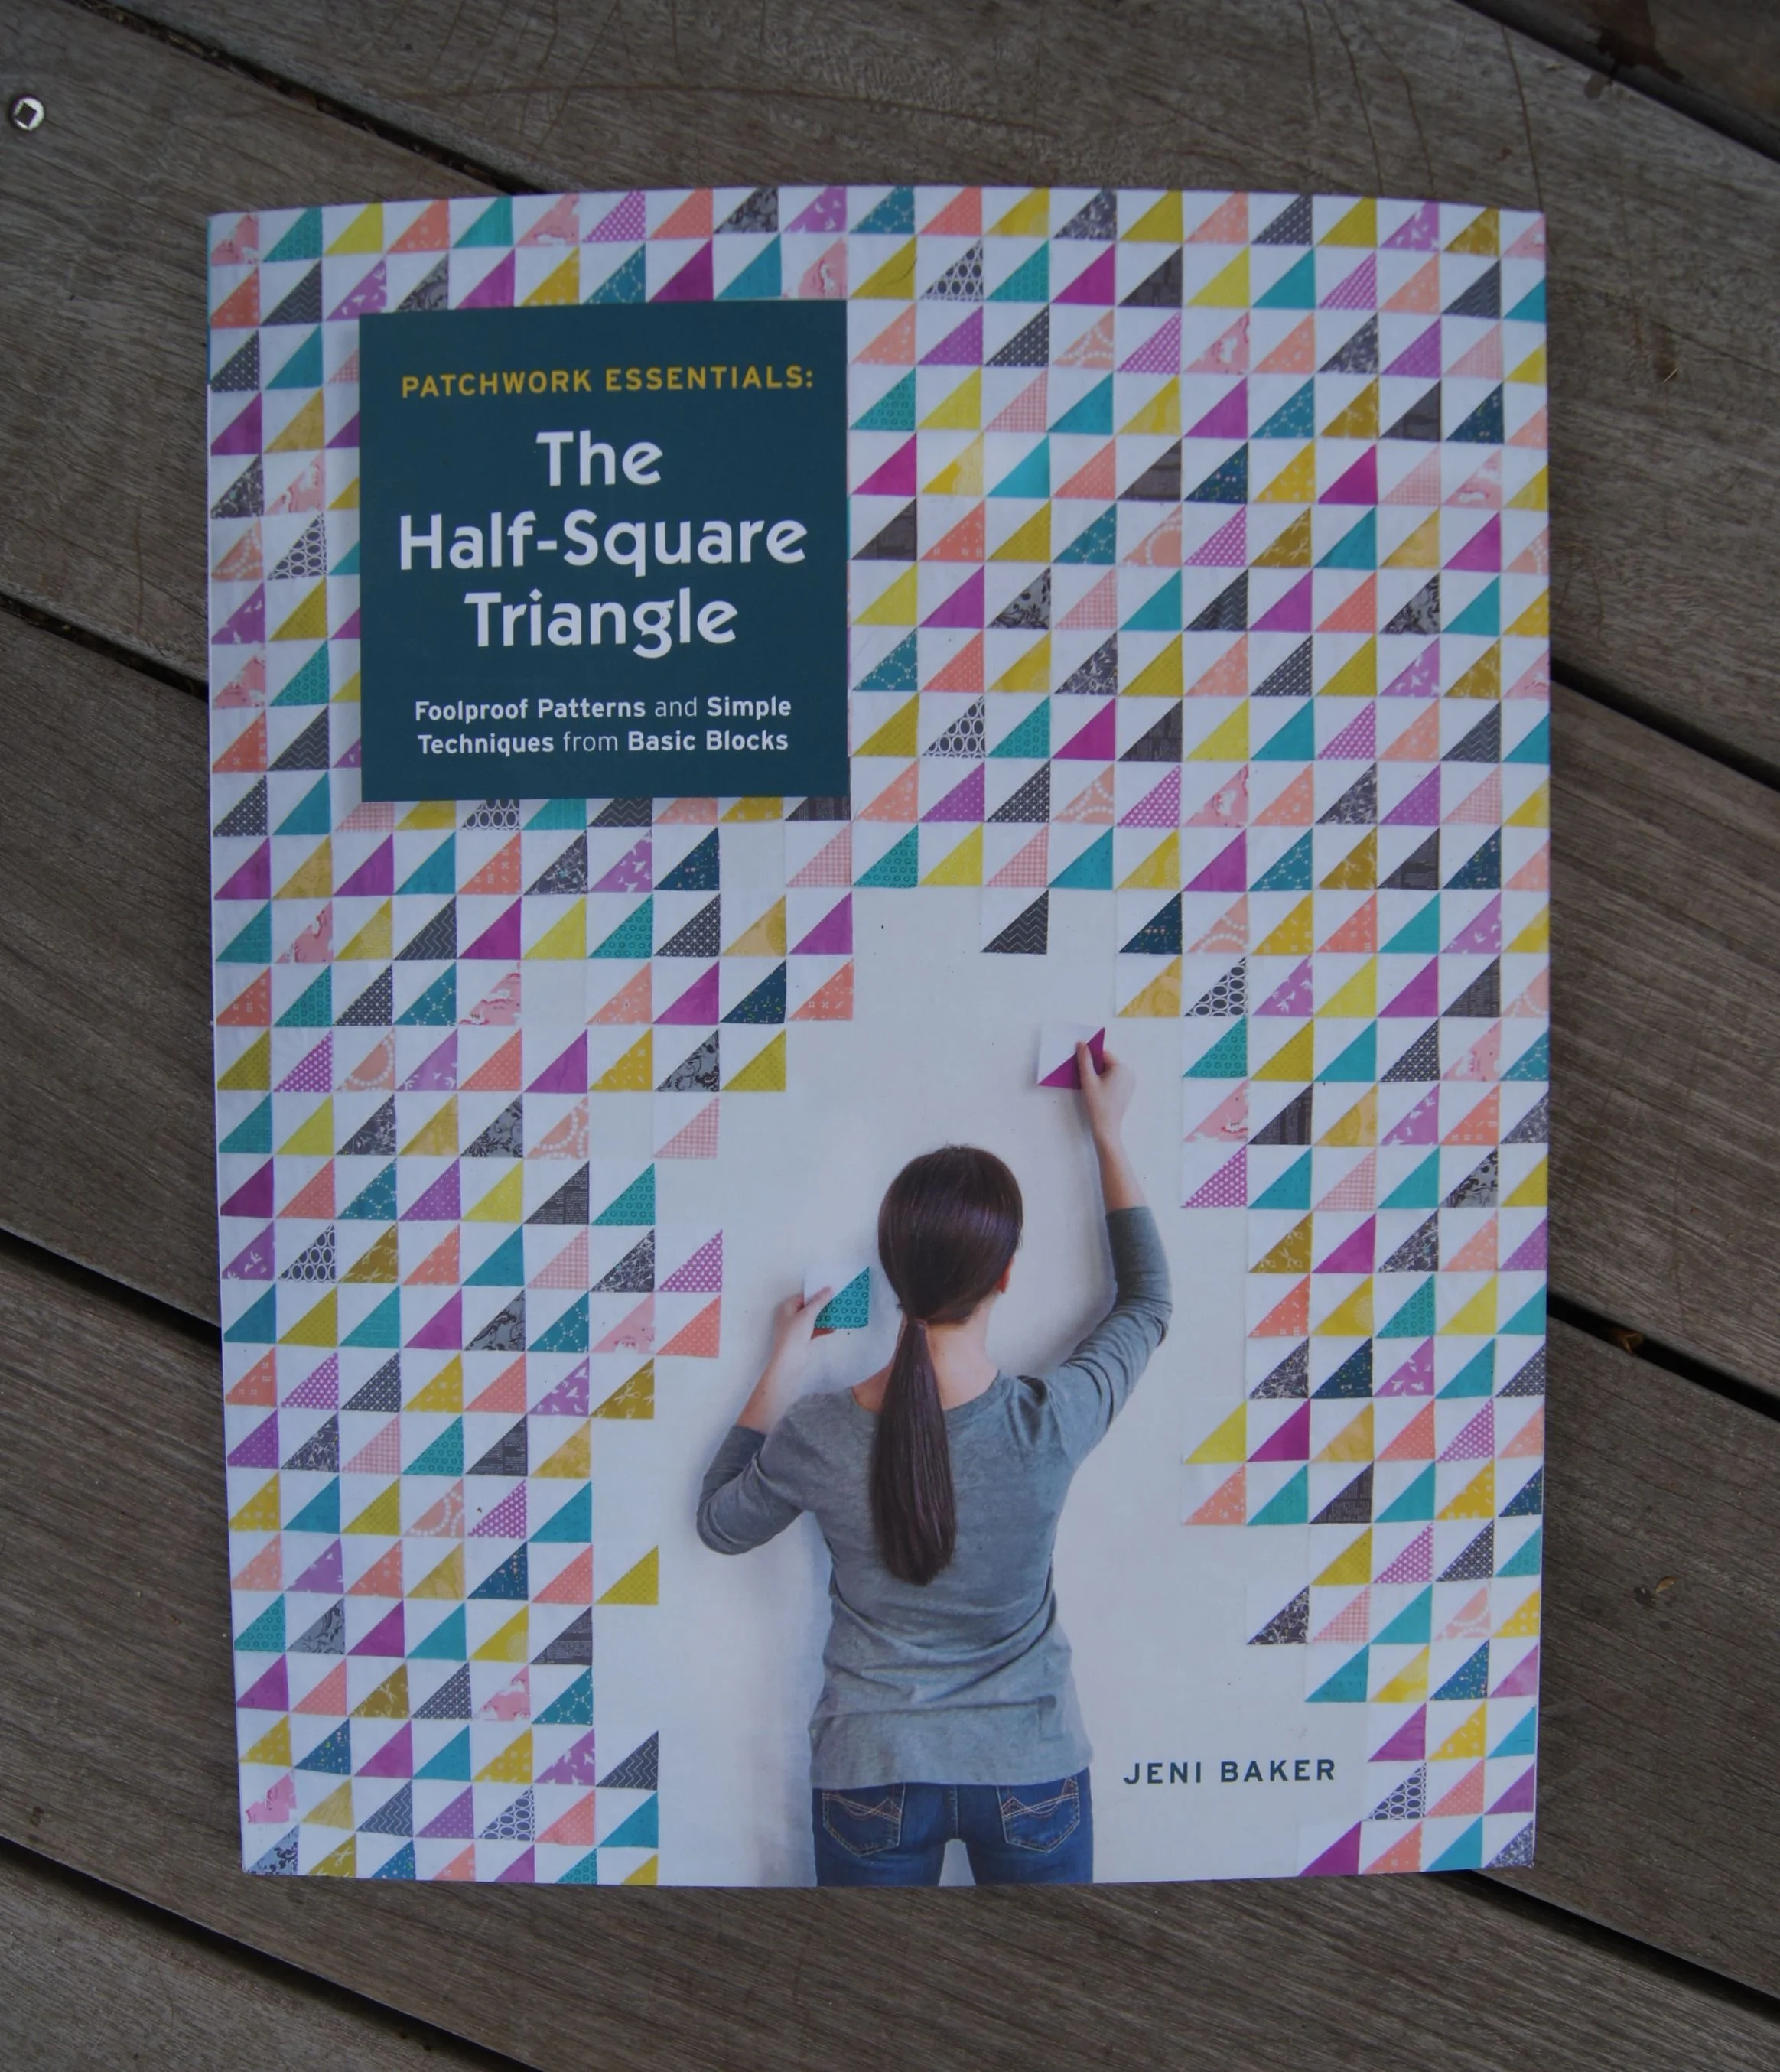
Patchwork Essentials: The Half-Square Triangle by Jeni Baker was released in October.  I just picked up a copy. 

This is a great book for novice quilters and a good resource for experienced quilters.  Jeni demonstrates 3 different methods for making Half Square Triangles (HSTs).  Her favorite method makes 8 HSTs at a time.  The quilts in the book vary from somewhat traditional to very modern.  She has included chapters on color theory and color emphasis which is important for designing a quilt with just HSTs. 

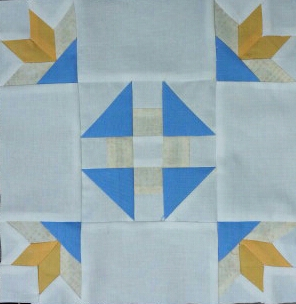
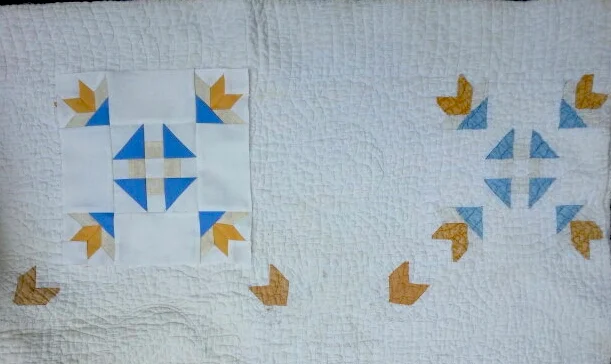
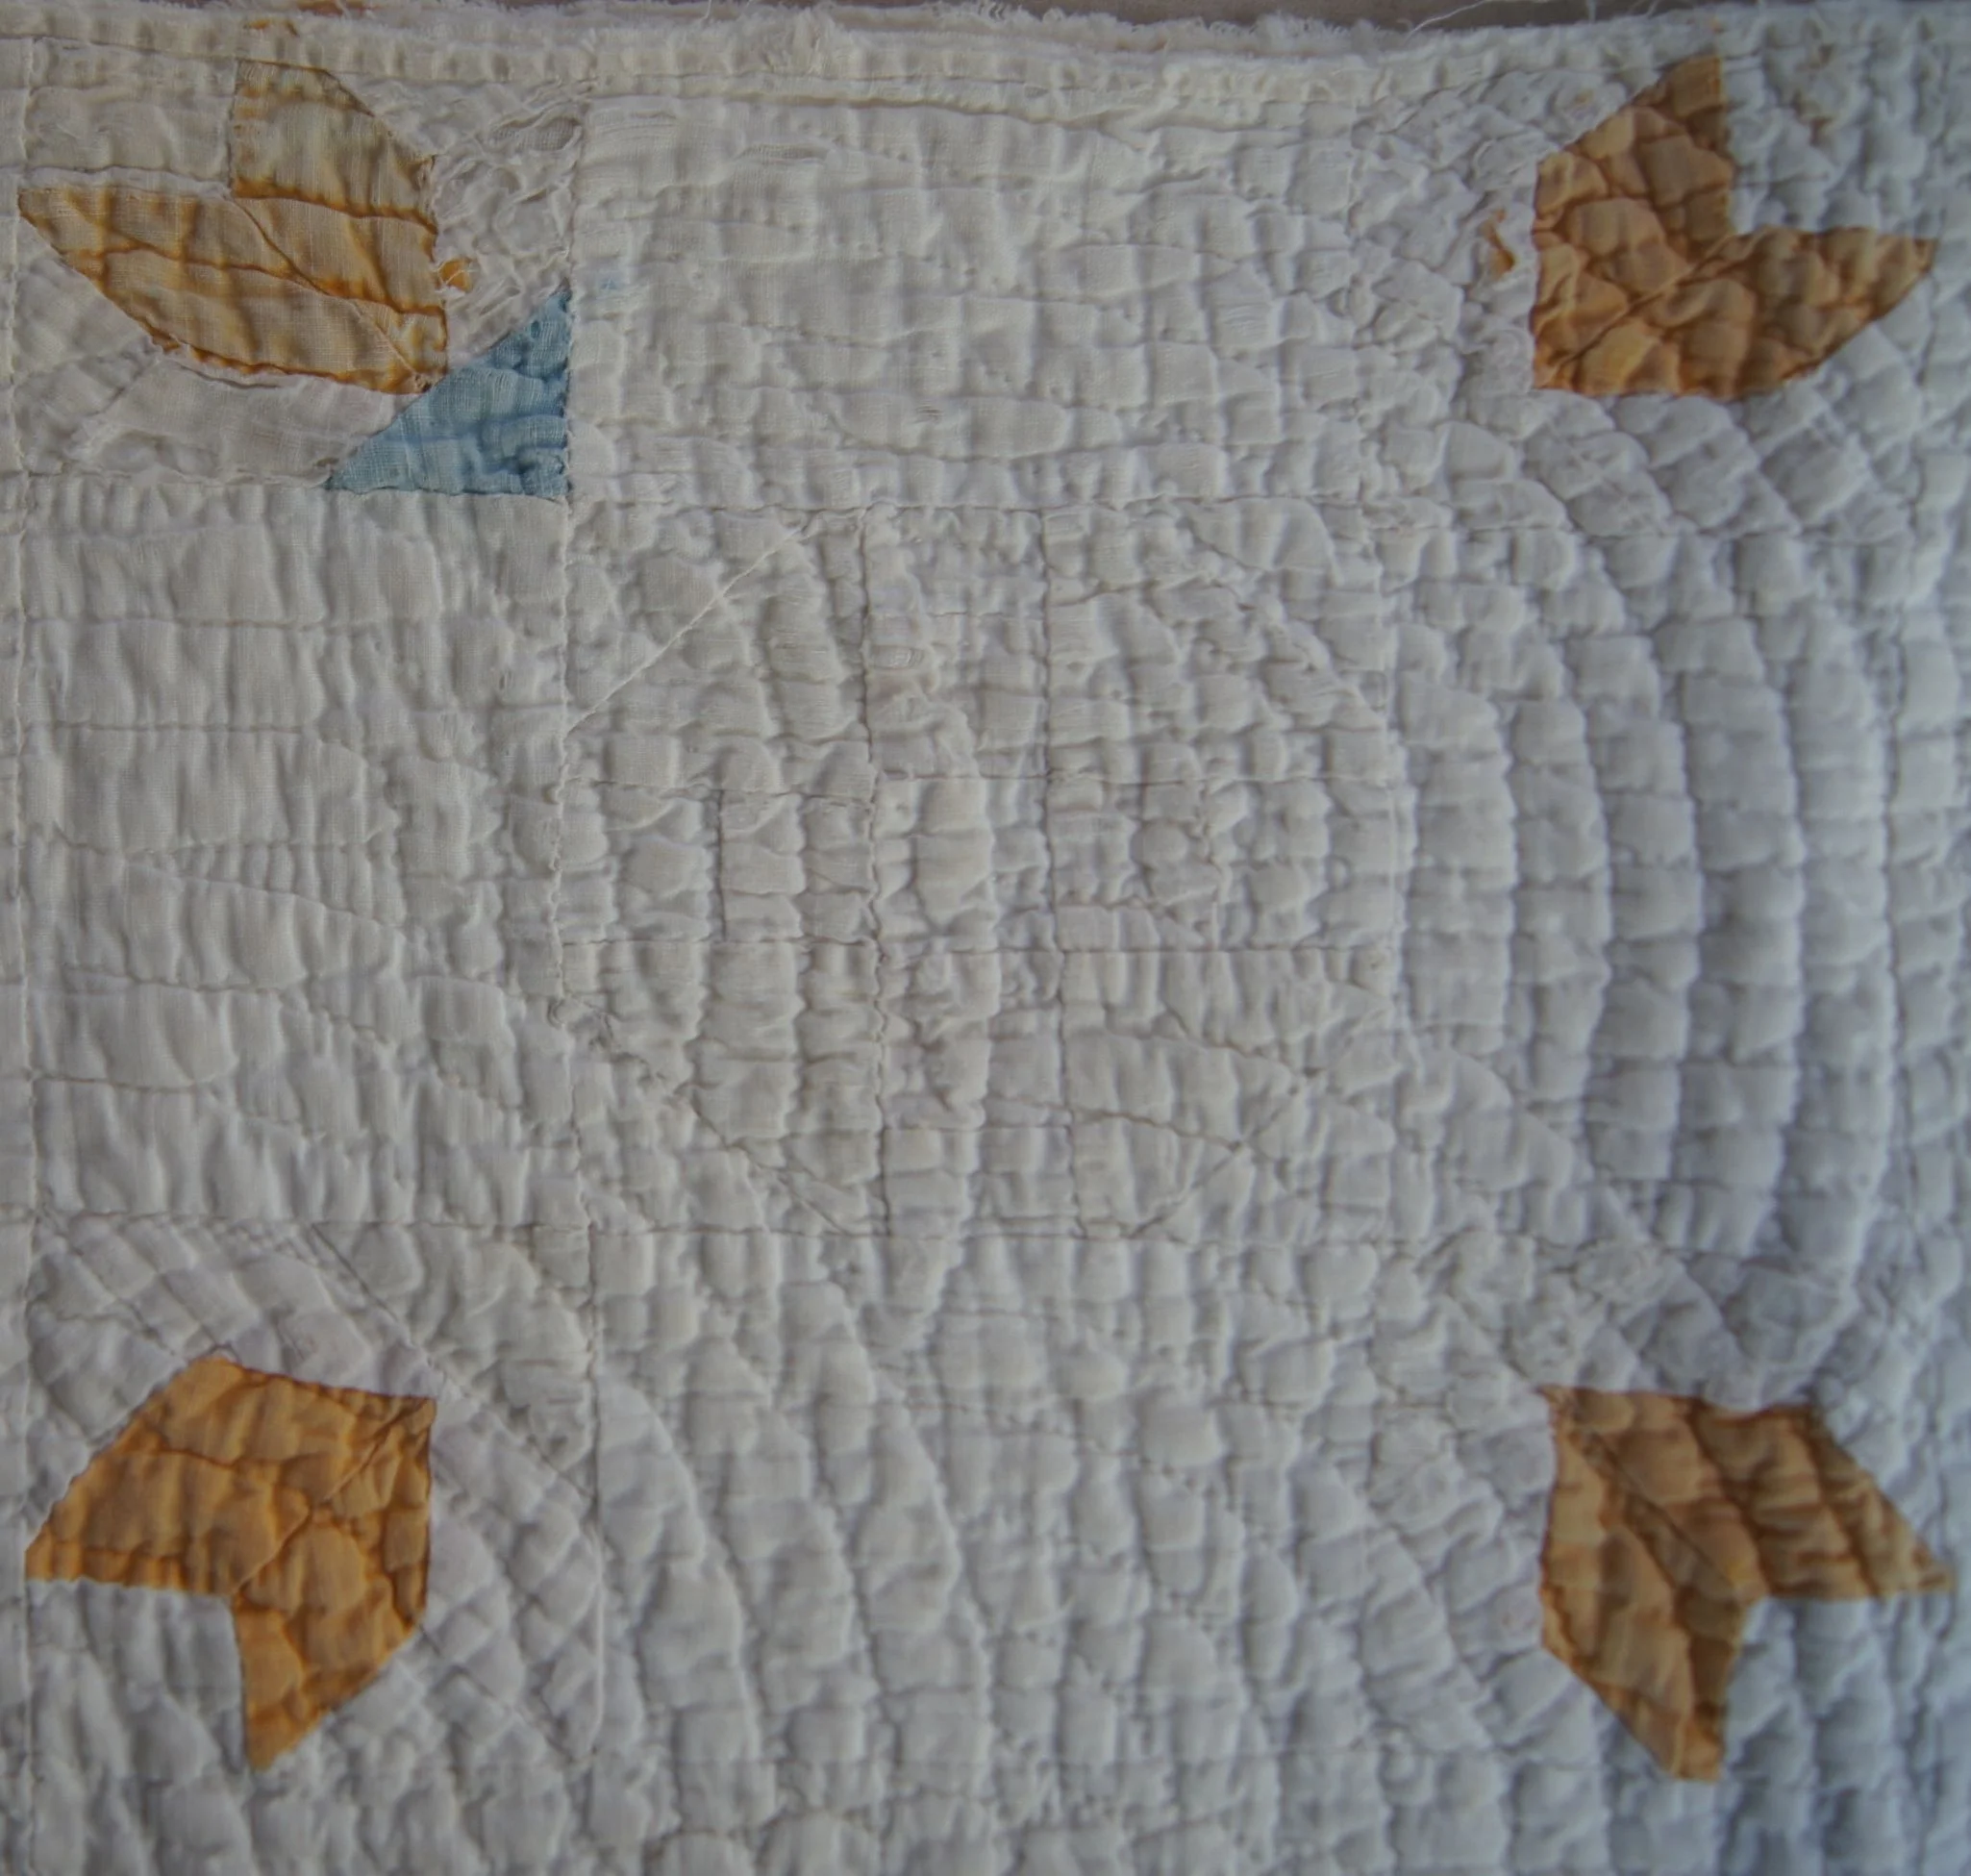
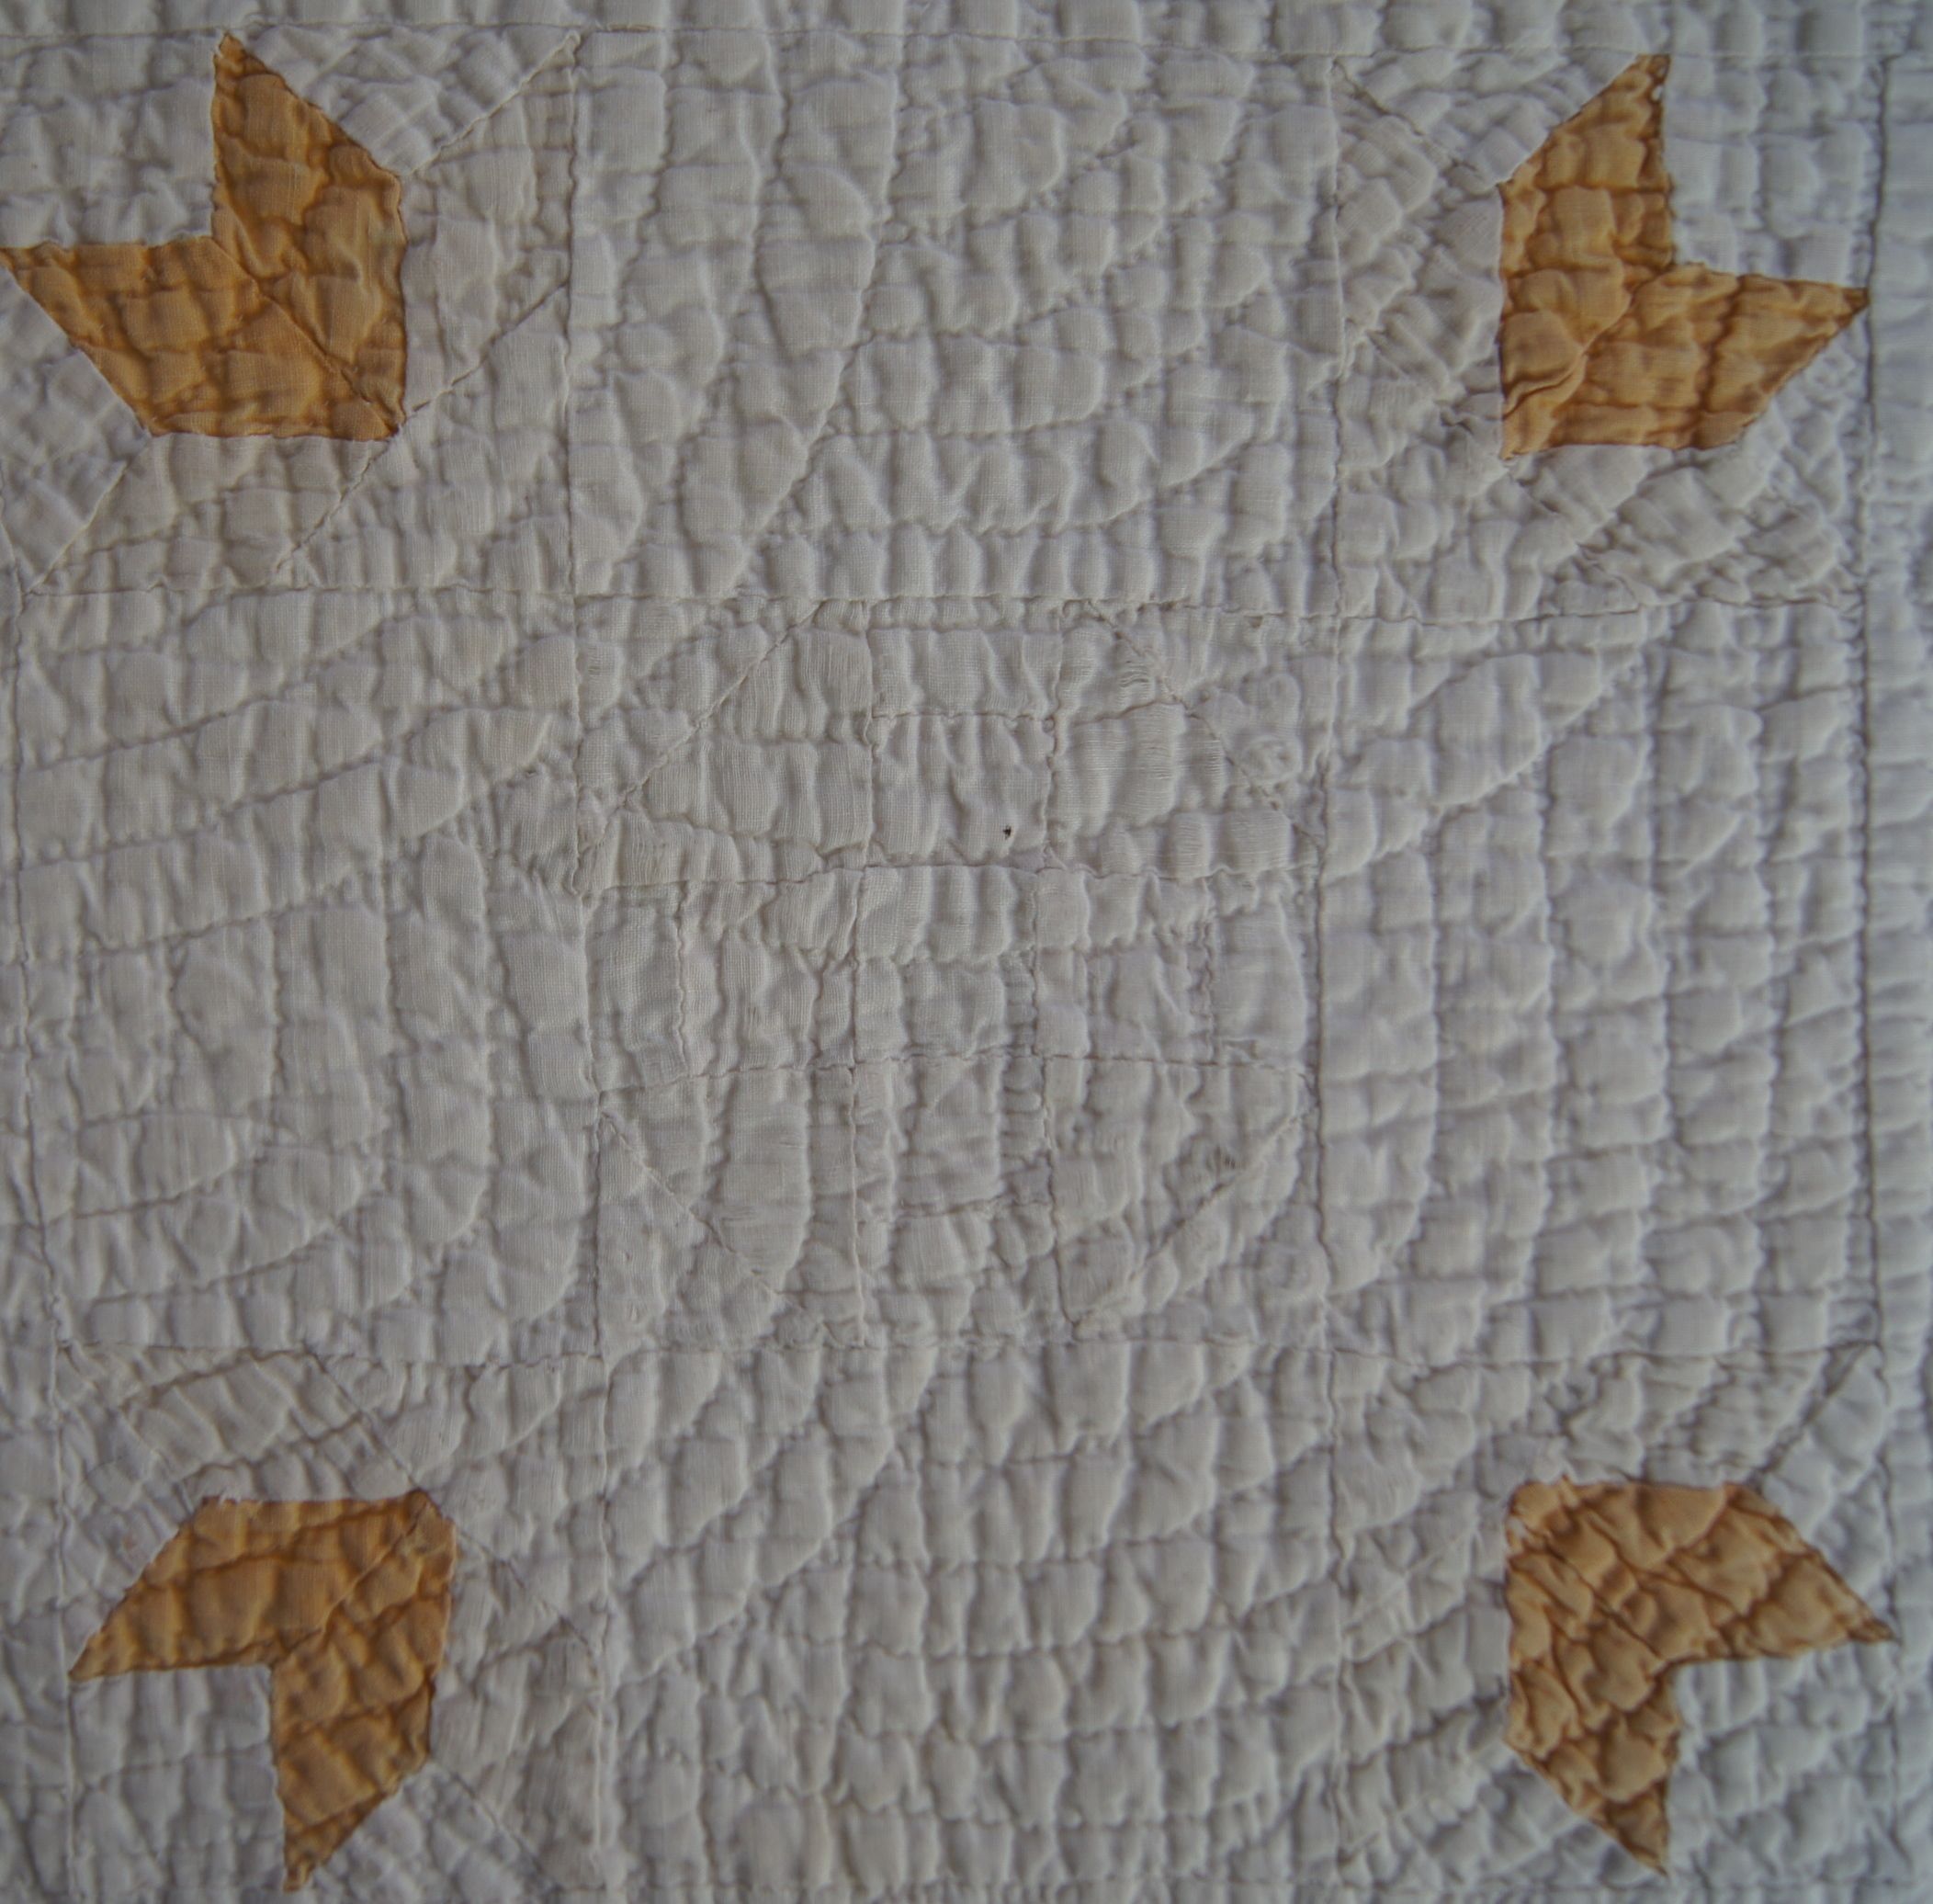
The chapter I particularly appreciate is a library of 60 blocks comprised of just HSTs. All of the blocks have been pieced, they aren't just diagrams!  I have friends who like nothing more than standing at a design wall moving pieces around to see what happens!  And I admit to having fun exploring options in Electric Quilt 7 on the computer.  But sometimes it's great to be able to quickly see the possibilities for a block layout. This HST block library does just that!

The book also includes black and white grids for all the quilts in the book.  Jeni calls these a Quilt Coloring Book. The grids can be printed off and you can color the blocks to see how the colors you are thinking of using for a quilt will look. Fun!

As with all books from Lucky Spool, this is beautifully printed. It's a lovely addition to any quilter's library! 

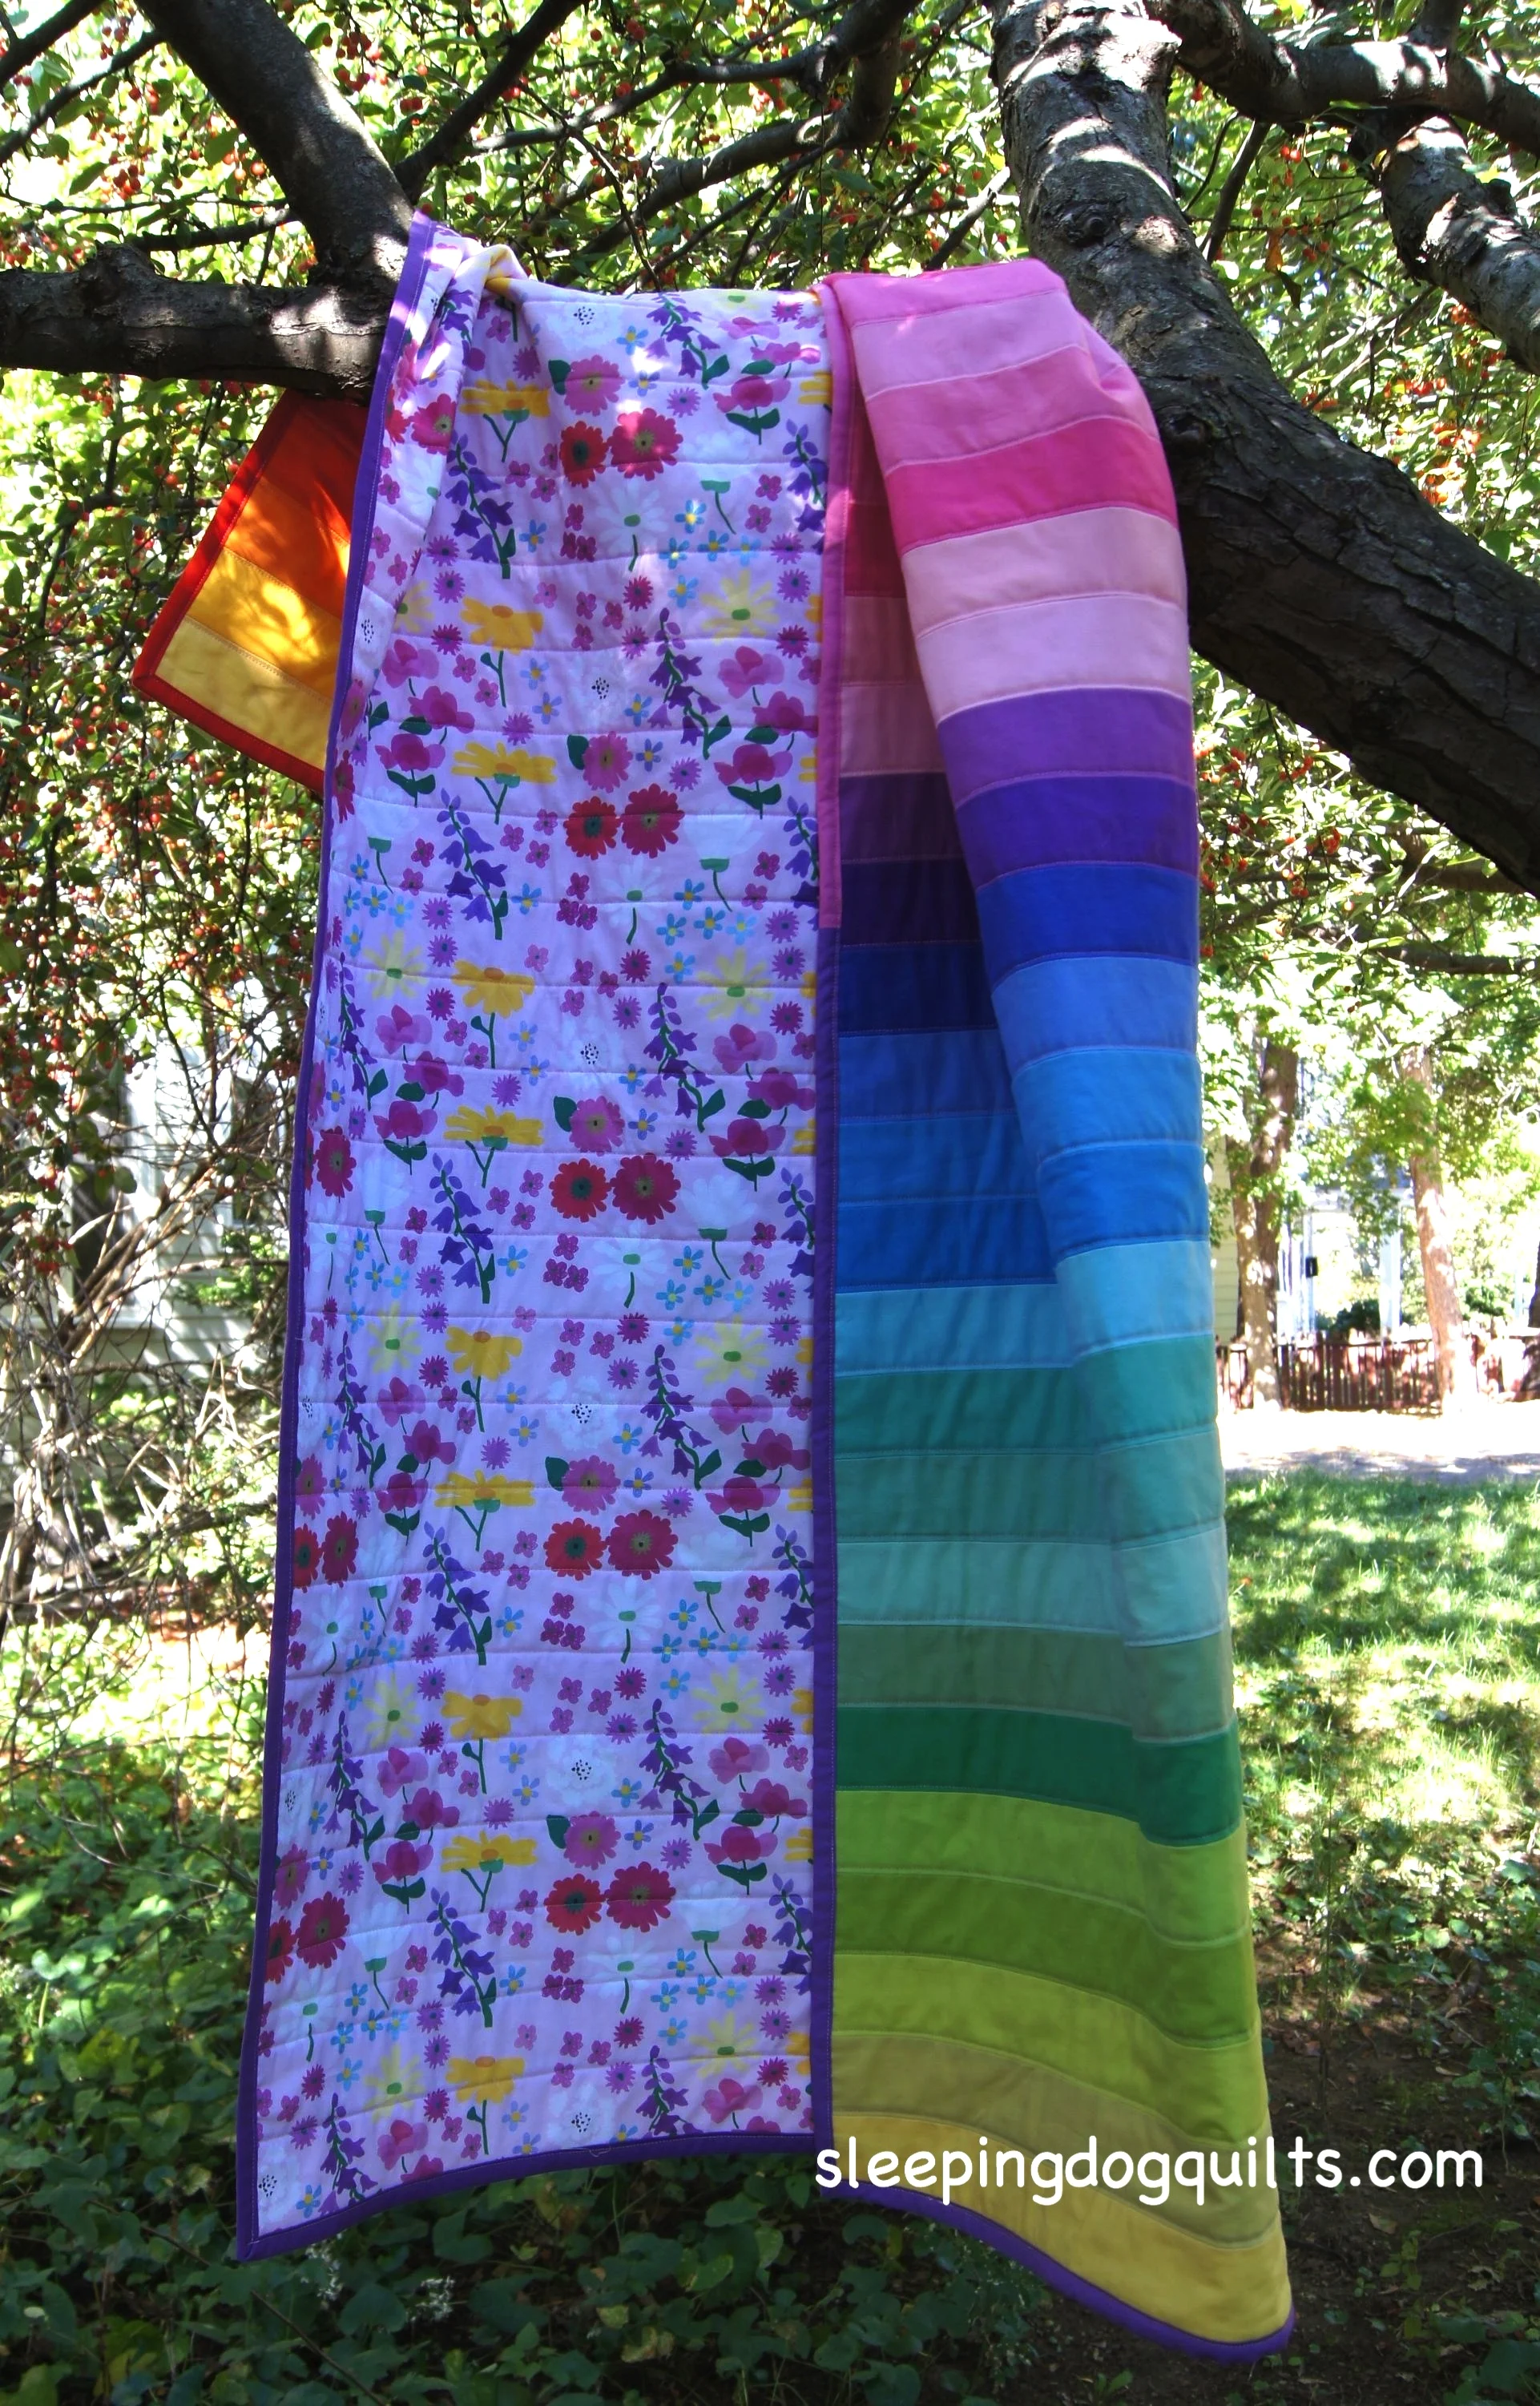
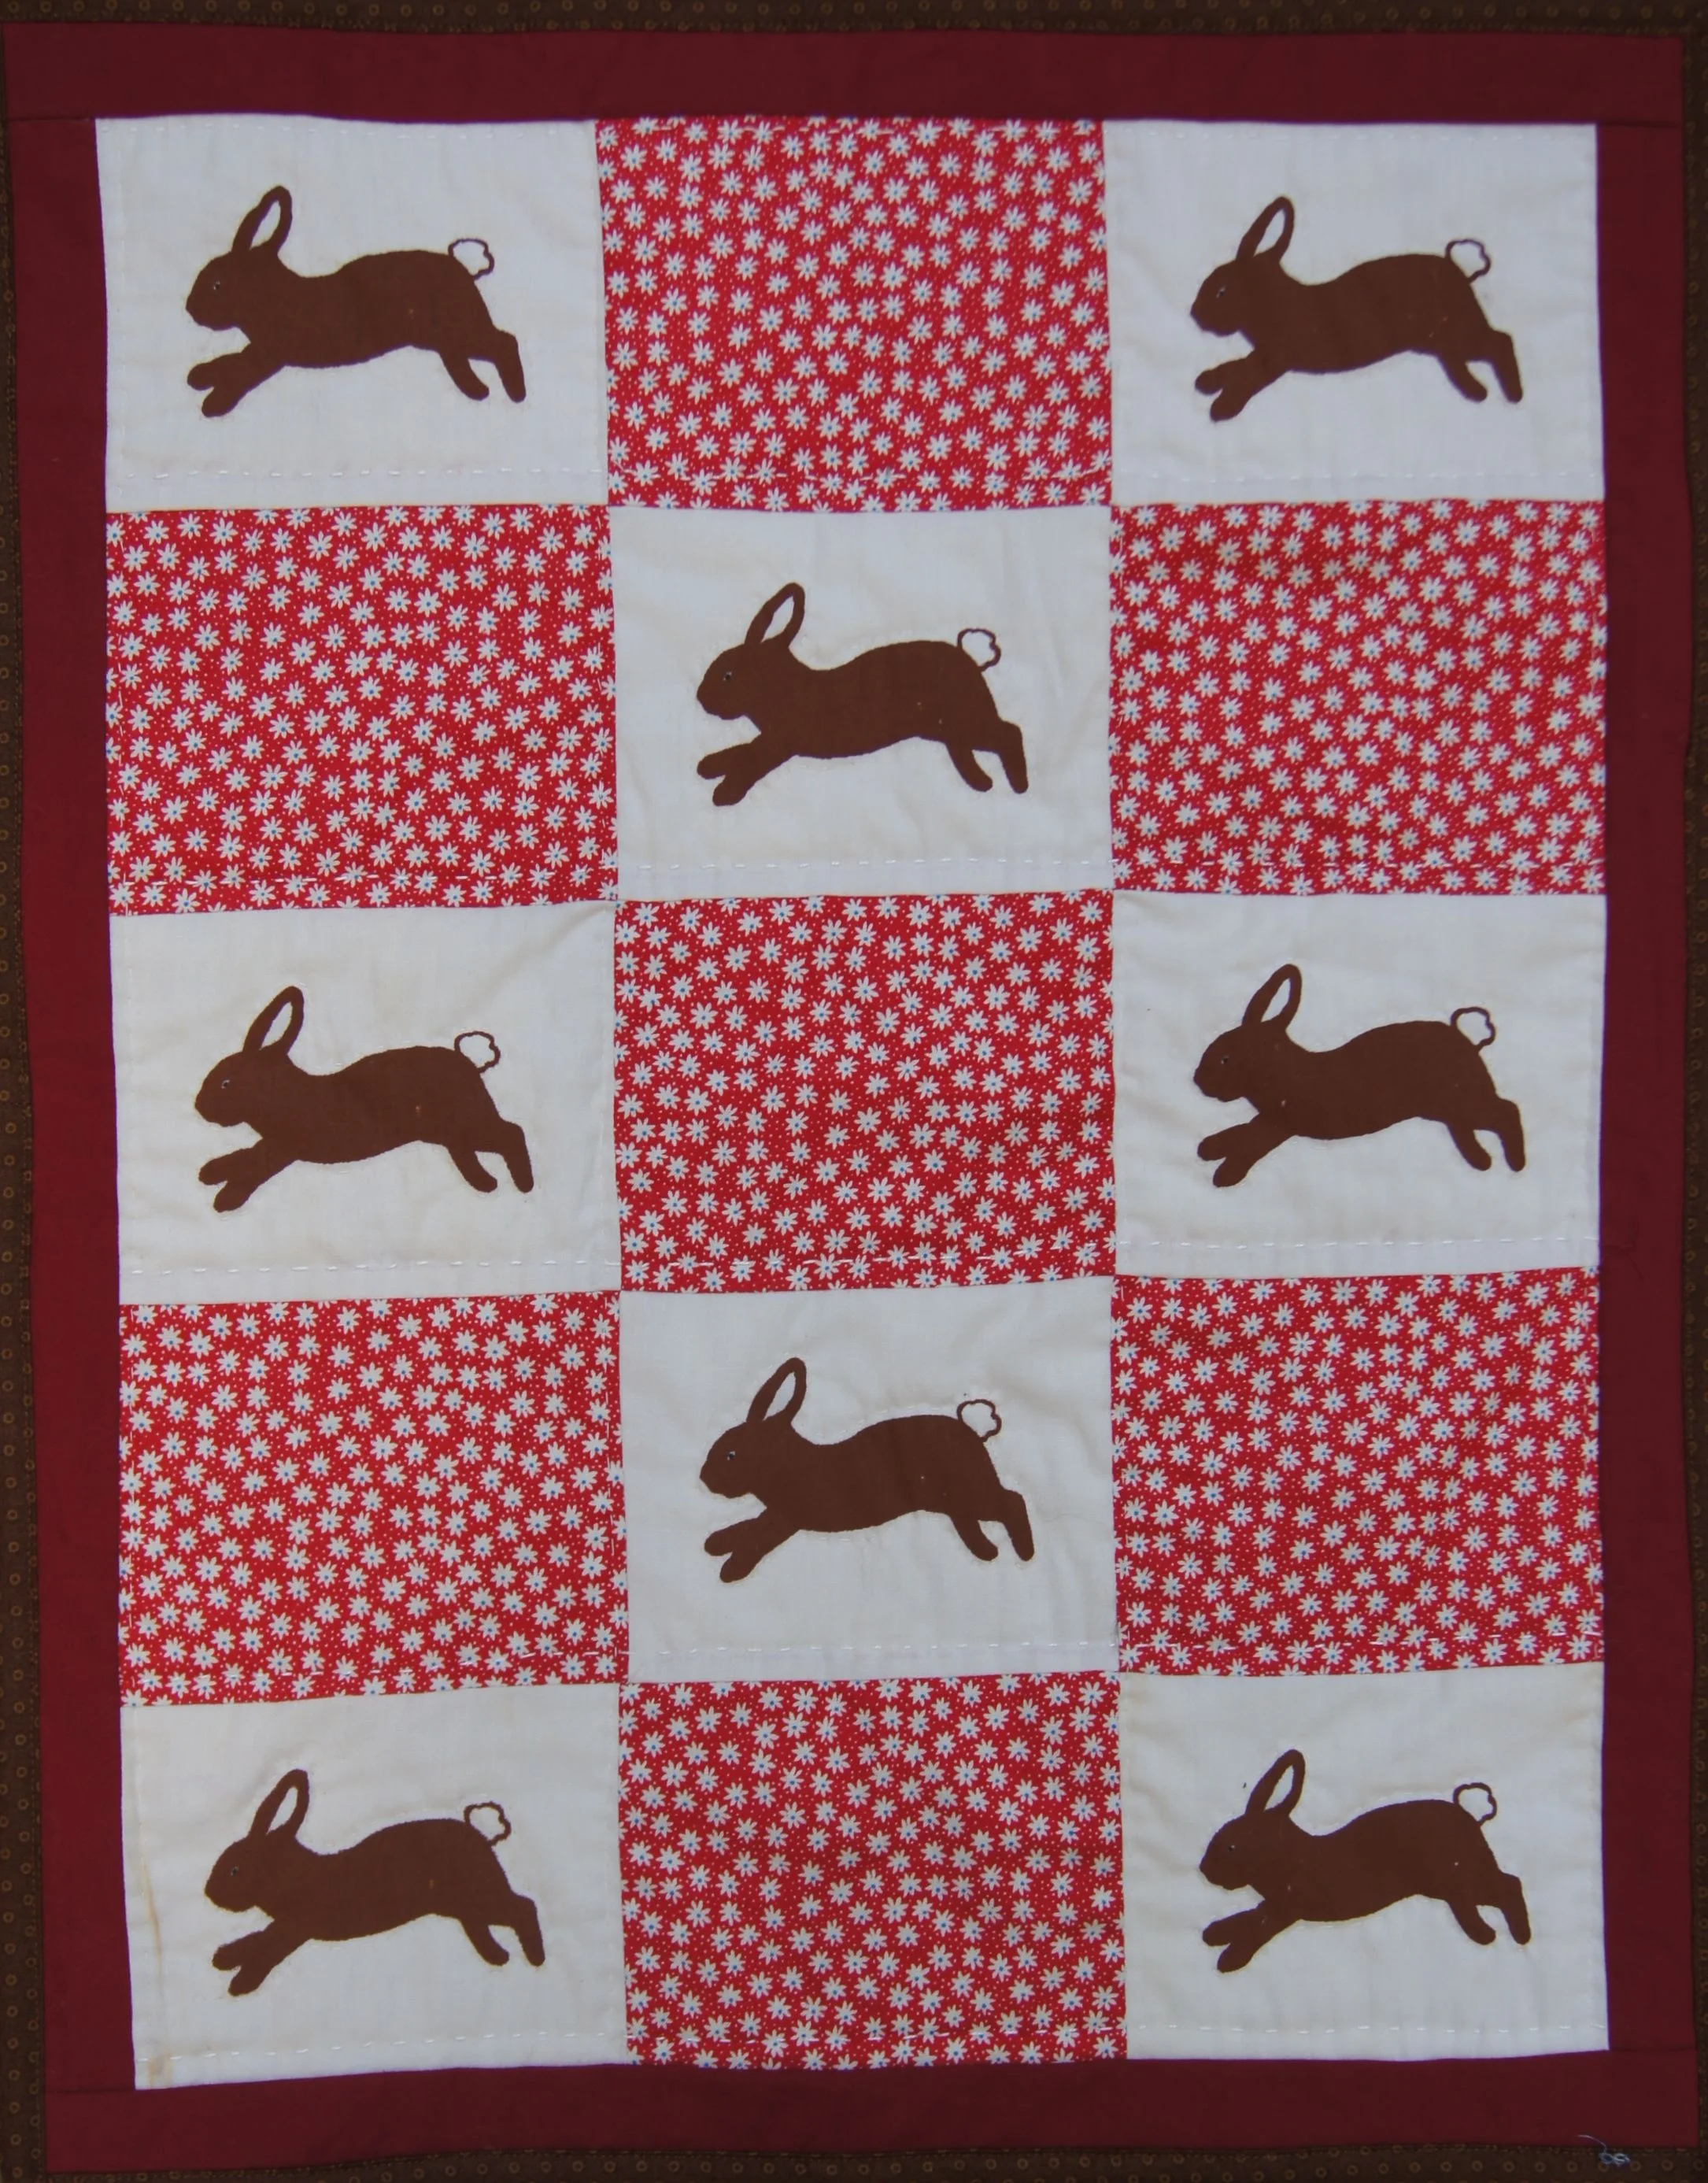
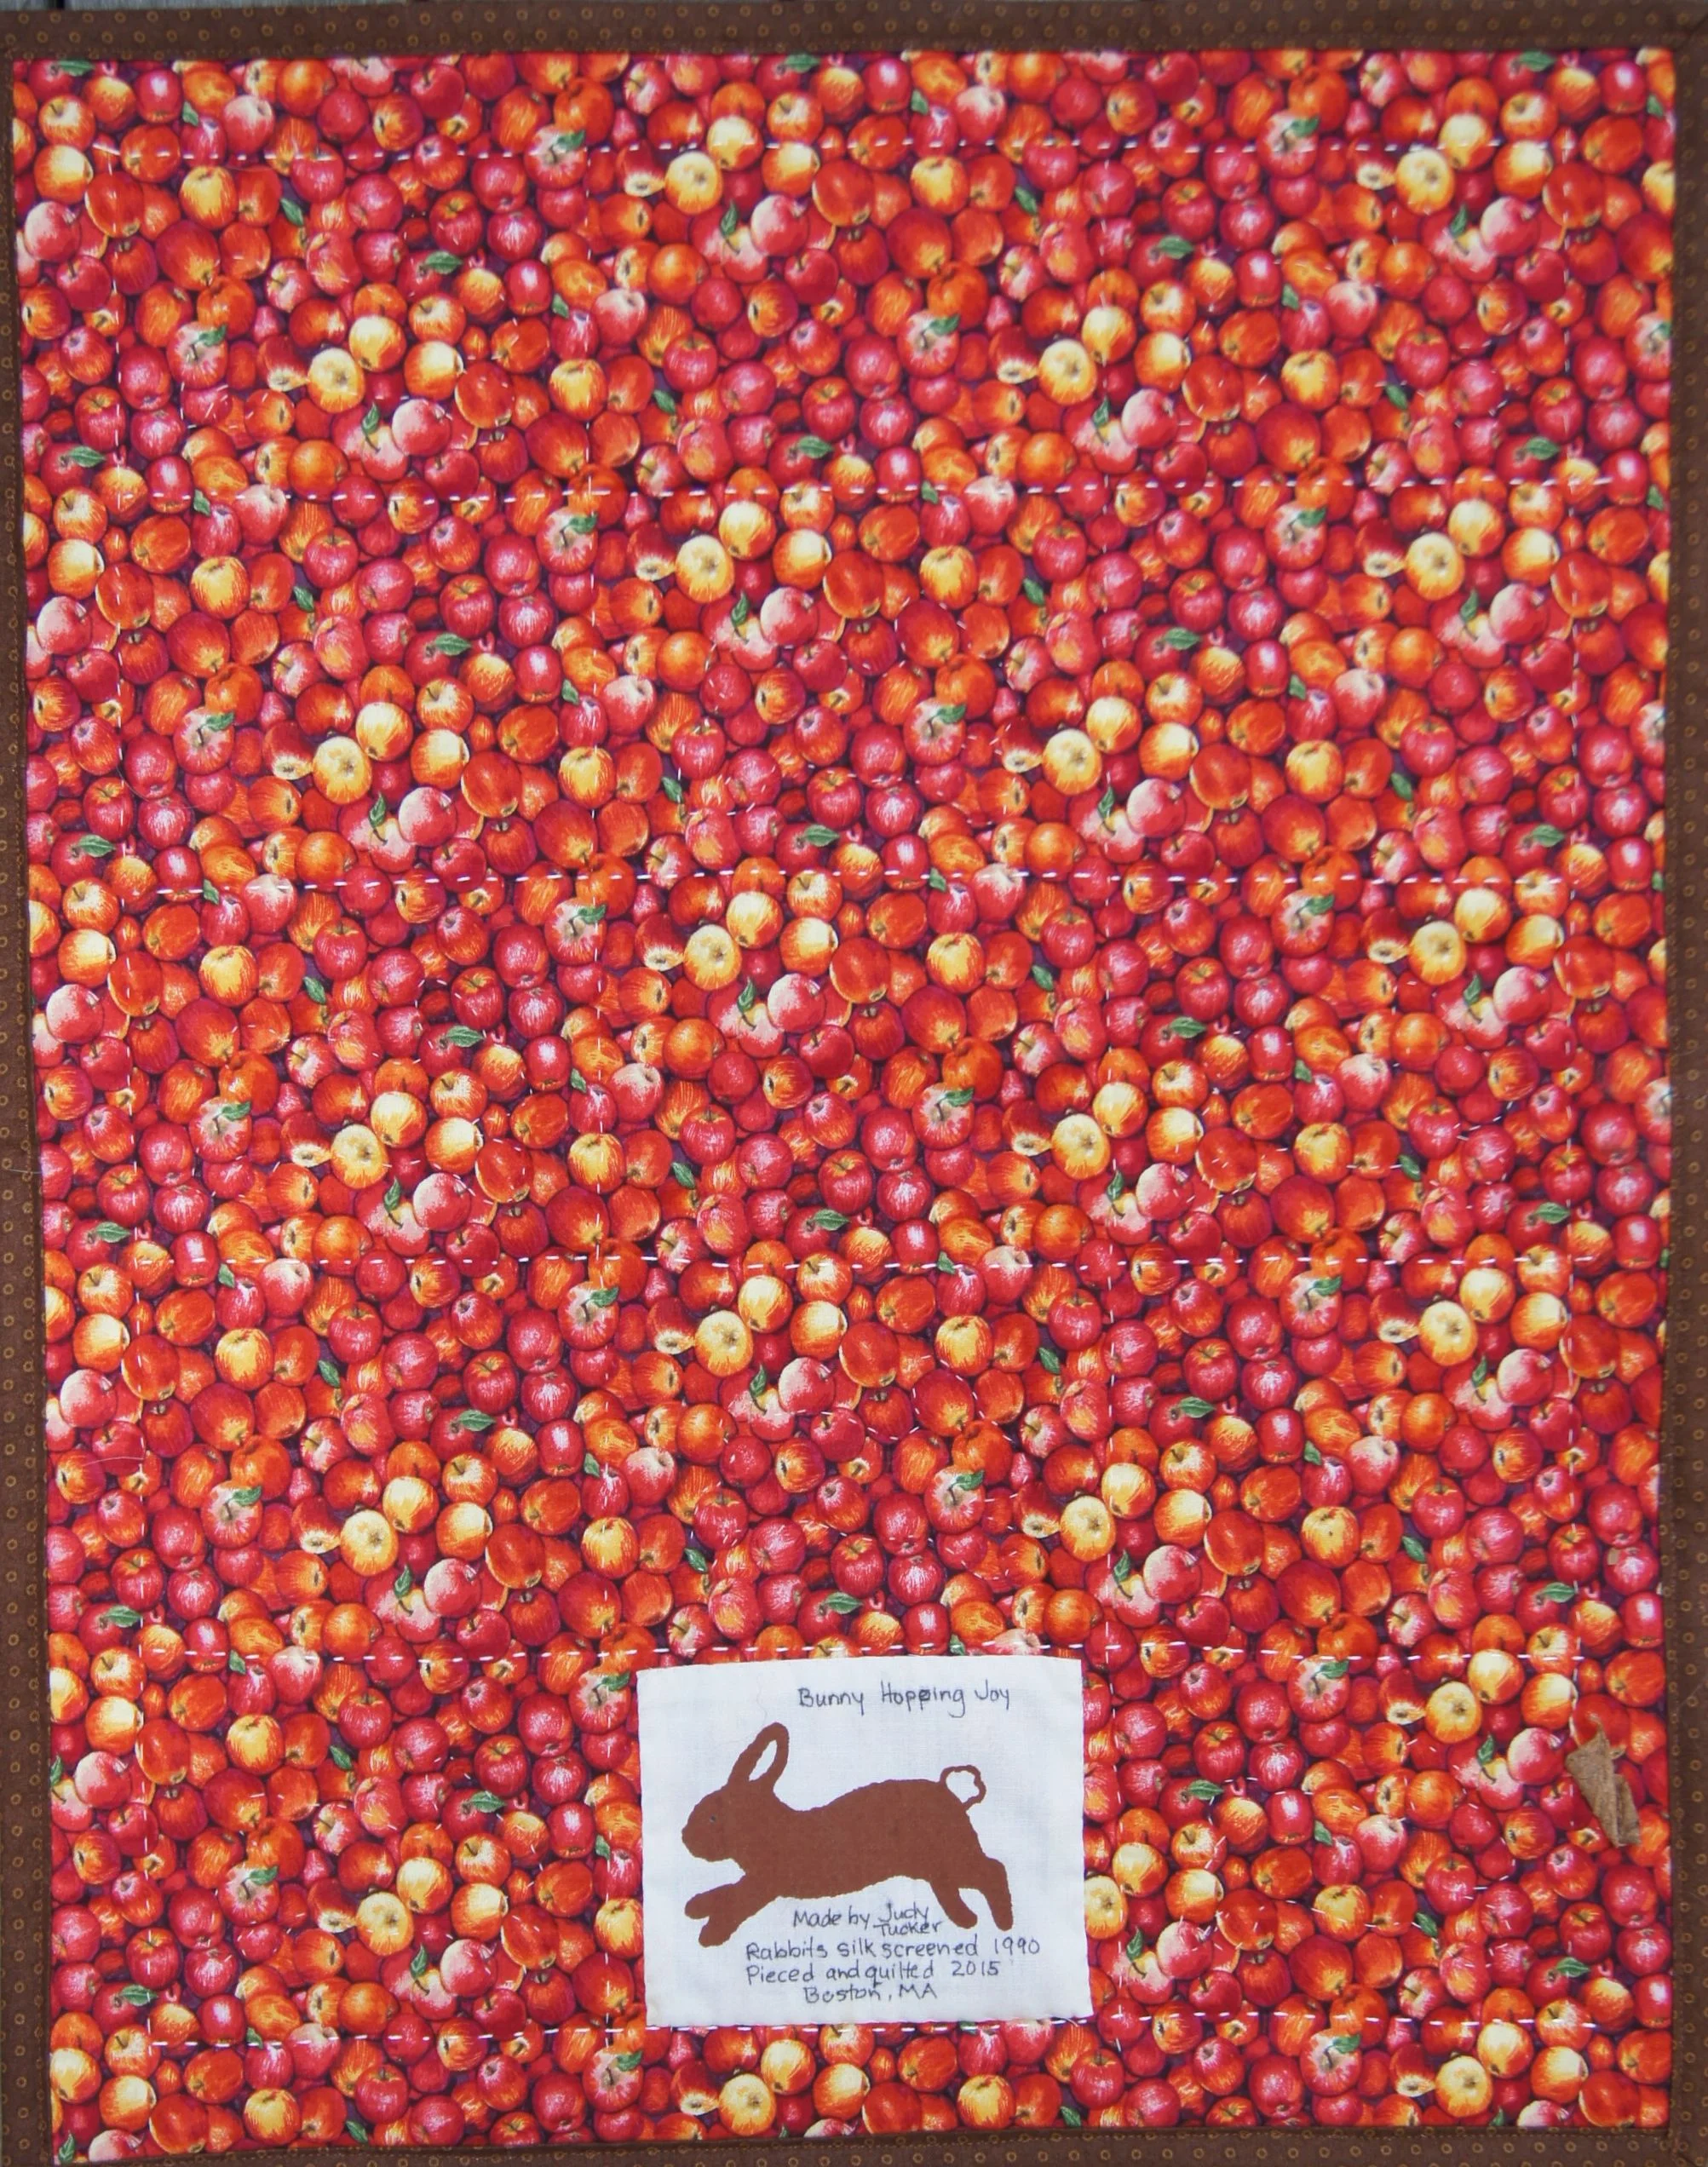
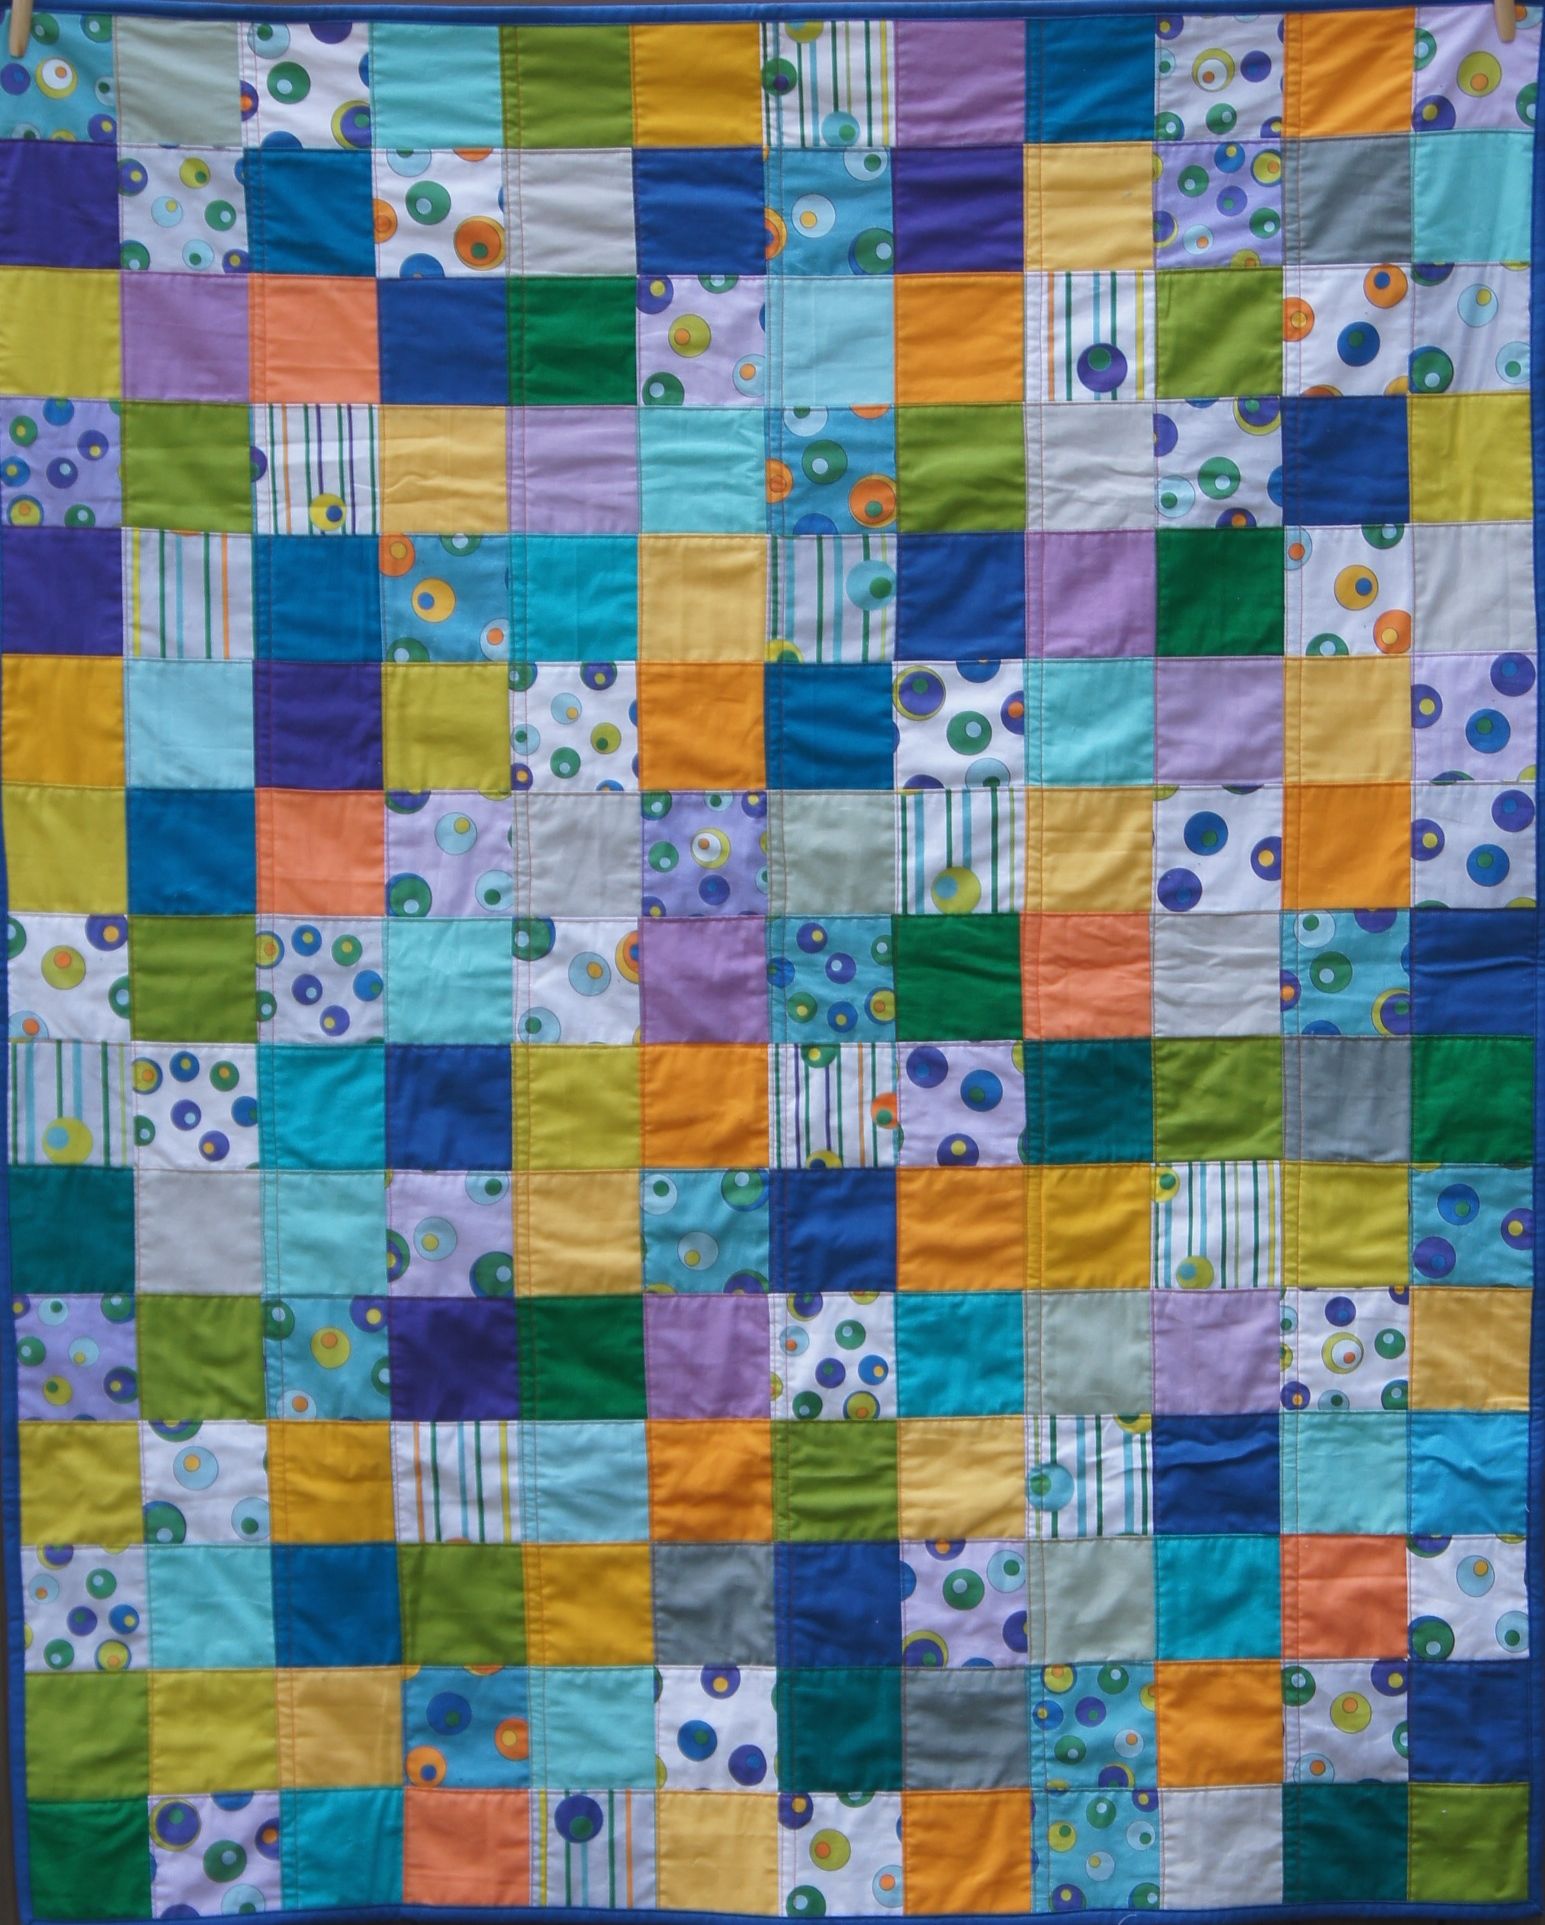
CALENDAR NOTE:  The Proper Bostonian Quilters Guild has a Quilt Show starting this Friday, November 6 and continuing Saturday and Sunday. It's in the Monsignor Donahue Hall, St Theresa School, 40 Saint Theresa Ave, West Roxbury MA 02132.  There will be lots of great quilts, vendors, a Boutique table and a Cafe and a fabulous Raffle Quilt (click the link above to see it!). 2 of my quilts are in the show. Hope to see you there! 


Designing Fabrics Using a Tutorial in the new book "Print, Make, Wear"

by Judy Tucker


I really enjoyed the flowers in my perennial bed this year.  I took photos of them from time to time, along with some photos of flowers I saw while walking my dogs in the neighborhood.

Looking for books with information about creating surface designs for fabric, I found Print, Make, Wear: Creative Projects for Digital Textile Designby Melanie Bowles and The People's Print. This is a great book for a novice fabric designer.  It takes you step by step through the process of designing specific projects.  (While this book was published in 2015, it is already out of date with the current version of Adobe's Photoshop CC. However it wasn't too hard figuring out how to use the book's instructions with the updated version of Photoshop).

The first chapter, "Paintbrush Floral", is one of my favorites.  I used the instructions in this chapter to create "My Flower Garden" in Photoshop CC. I used my flower photos to draw components of each of the flowers.  With some digital magic, they became the basis for my floral fabric designs.

Here are the two pink versions, one with small flowers, and one with larger flowers.  Can you match the flowers in my designs with the flower photos above?

"My Flower Garden" fabric, printed by Spoonflower.com.  Can you match the flowers in my designs with the flower photos above?

"My Flower Garden" fabric, printed by Spoonflower.com.  Can you match the flowers in my designs with the flower photos above?

The smaller flowers would look great on a toddler's dress.  The larger print is perfect for a quilt backing. 

Since I got these samples, I've designed another floral design featuring Queen Anne's Lace flowers.  I'll post that when I get the printed fabric from Spoonflower.com


Precision Piecing Tips

by Judy Tucker


I taught a Beyond Beginner Quilting class at JP Knit & Stitch last week. This class focussed on accurate piecing. 

I sew up demonstration blocks and/or quilts to use in my classes.  So last week I sat down to sew some demo components for this precision piecing class.  I cut out the yellow 2 1/2 inch squares from yardage.  I had some commercially cut left over jelly roll strips (2 1/2 inch x width of fabric strips) on the table next to my cutting board.  One of them was a perfect shade of blue for my project!  So I cut my 2 1/2 inch blue blocks from the the strip.  Don't you love it when you can find a short cut?

Except that's not how it turned out. 

When I started to sew my 4 patch blocks, I noticed that the blue squares didn't match up with the yellow ones very well, as you can see on the patch below on the left.  I put a blue block under my ruler. The width of the commercially cut strip was between 1/16 and 1/8 inch too narrow which you can see on the bottom edge of the blue square. 

Did that really matter?  Yes.  Note the 2 blocks at the top of the post.  The block on left was sewn from pieces from the inaccurately cut strip.  The block on the right was sewn from new pieces which I cut from yardage.  While you could probably stretch the fabric a bit to make the block on the left work better, it will never be as good as the bock with accurately cut pieces. 

I inadvertently created not only "How to" blocks for my students but also a set of problem patches!

Here are some of my tips for accurate piecing:

  • Press and starch your fabric prior to cutting. This is particularly important if you will have seams on the bias of the fabric.  I like Niagara Spray Starch.  Amazon sells it in environmentally friendly non-aerosol spray bottles which usually can't be found in local stores. 
  • Make sure to cut the fabric on the grain.  Fold the piece of yardage in half and holding the selvage edges together at the top.  The fabric should hang down smoothly.  If it doesn't scoot one edge of the selvage along the other edge until it does.  Then lay the fabric, folded in half across the width, on the cutting mat and cut a straight line across top edge. Now you are ready to cut!
  • Cut your fabric with a sharp rotary blade!  Replace it when it no longer runs smoothly.
  • Anchor the ruler with your hand flat on the ruler and always cut away from your body.
  • Sew a consistent quarter inch seam.  It's fine to use a 1/4 inch sewing machine foot but make sure it really does sew a true 1/4 inch seam.  If you have a big project, setting up a fence on your machine will help keep your seams consistent.  (Photo and more information about setting up a fence shown half way down my post in the link).
  • Set you seam by pressing with a hot iron. Then press you seams either to one side or press them open.  Either way is fine.
  • Stop and get up when you get tried or hungry.  Quilting is supposed to be fun!!

Here are the blocks made by the students in the class this past weekend. They were both still quite new to quilting.  They did great work!