Search
  • Information
    • About
    • Contact
    • Privacy Policy
  • Blog
  • Subscribe
  • Tutorials
    • Tutorials
    • Doll Clothes: Photos and some Patterns
  • Suggested Reading
  • Quilts: My Original Designs
  • Gallery: Color Studies
  • Gallery: Quilts I've Made
  • Doll Making Blog Posts
  • Recent blog posts
  • Quilts Based on The Improv Handbook for Modern Quilters
Close
Menu
Search
Close
  • Information
    • About
    • Contact
    • Privacy Policy
  • Blog
  • Subscribe
  • Tutorials
    • Tutorials
    • Doll Clothes: Photos and some Patterns
  • Suggested Reading
  • Quilts: My Original Designs
  • Gallery: Color Studies
  • Gallery: Quilts I've Made
  • Doll Making Blog Posts
  • Recent blog posts
  • Quilts Based on The Improv Handbook for Modern Quilters
Menu

Sleeping Dog Quilts

SLEEPING DOG QUILTS

March 3, 2016

Hawaiian Cheater Quilt Project

by Judy Tucker


Matisse's Seaweed Cheater Fabric printed by Spoonflower.com

Matisse's Seaweed Cheater Fabric printed by Spoonflower.com

Matisse's Seaweed Cheater Fabric printed by Spoonflower.com

Matisse's Seaweed Cheater Fabric printed by Spoonflower.com

My family has had connections with Hawaii thanks to the US Navy.  They like to go back to visit when it's winter Stateside!  

I found this fabric, Matisse's Seaweed,  designed by Jeni, who is jenimp, lellobird Design and Illustration on Spoonflower.com. Jeni states she designed this cheater fabric "to look like a traditional Hawaiian quilt as interpreted by Henri Matisse". This is a yard of fabric. It could be used to make a small "cheater" quilt without any piecing.  

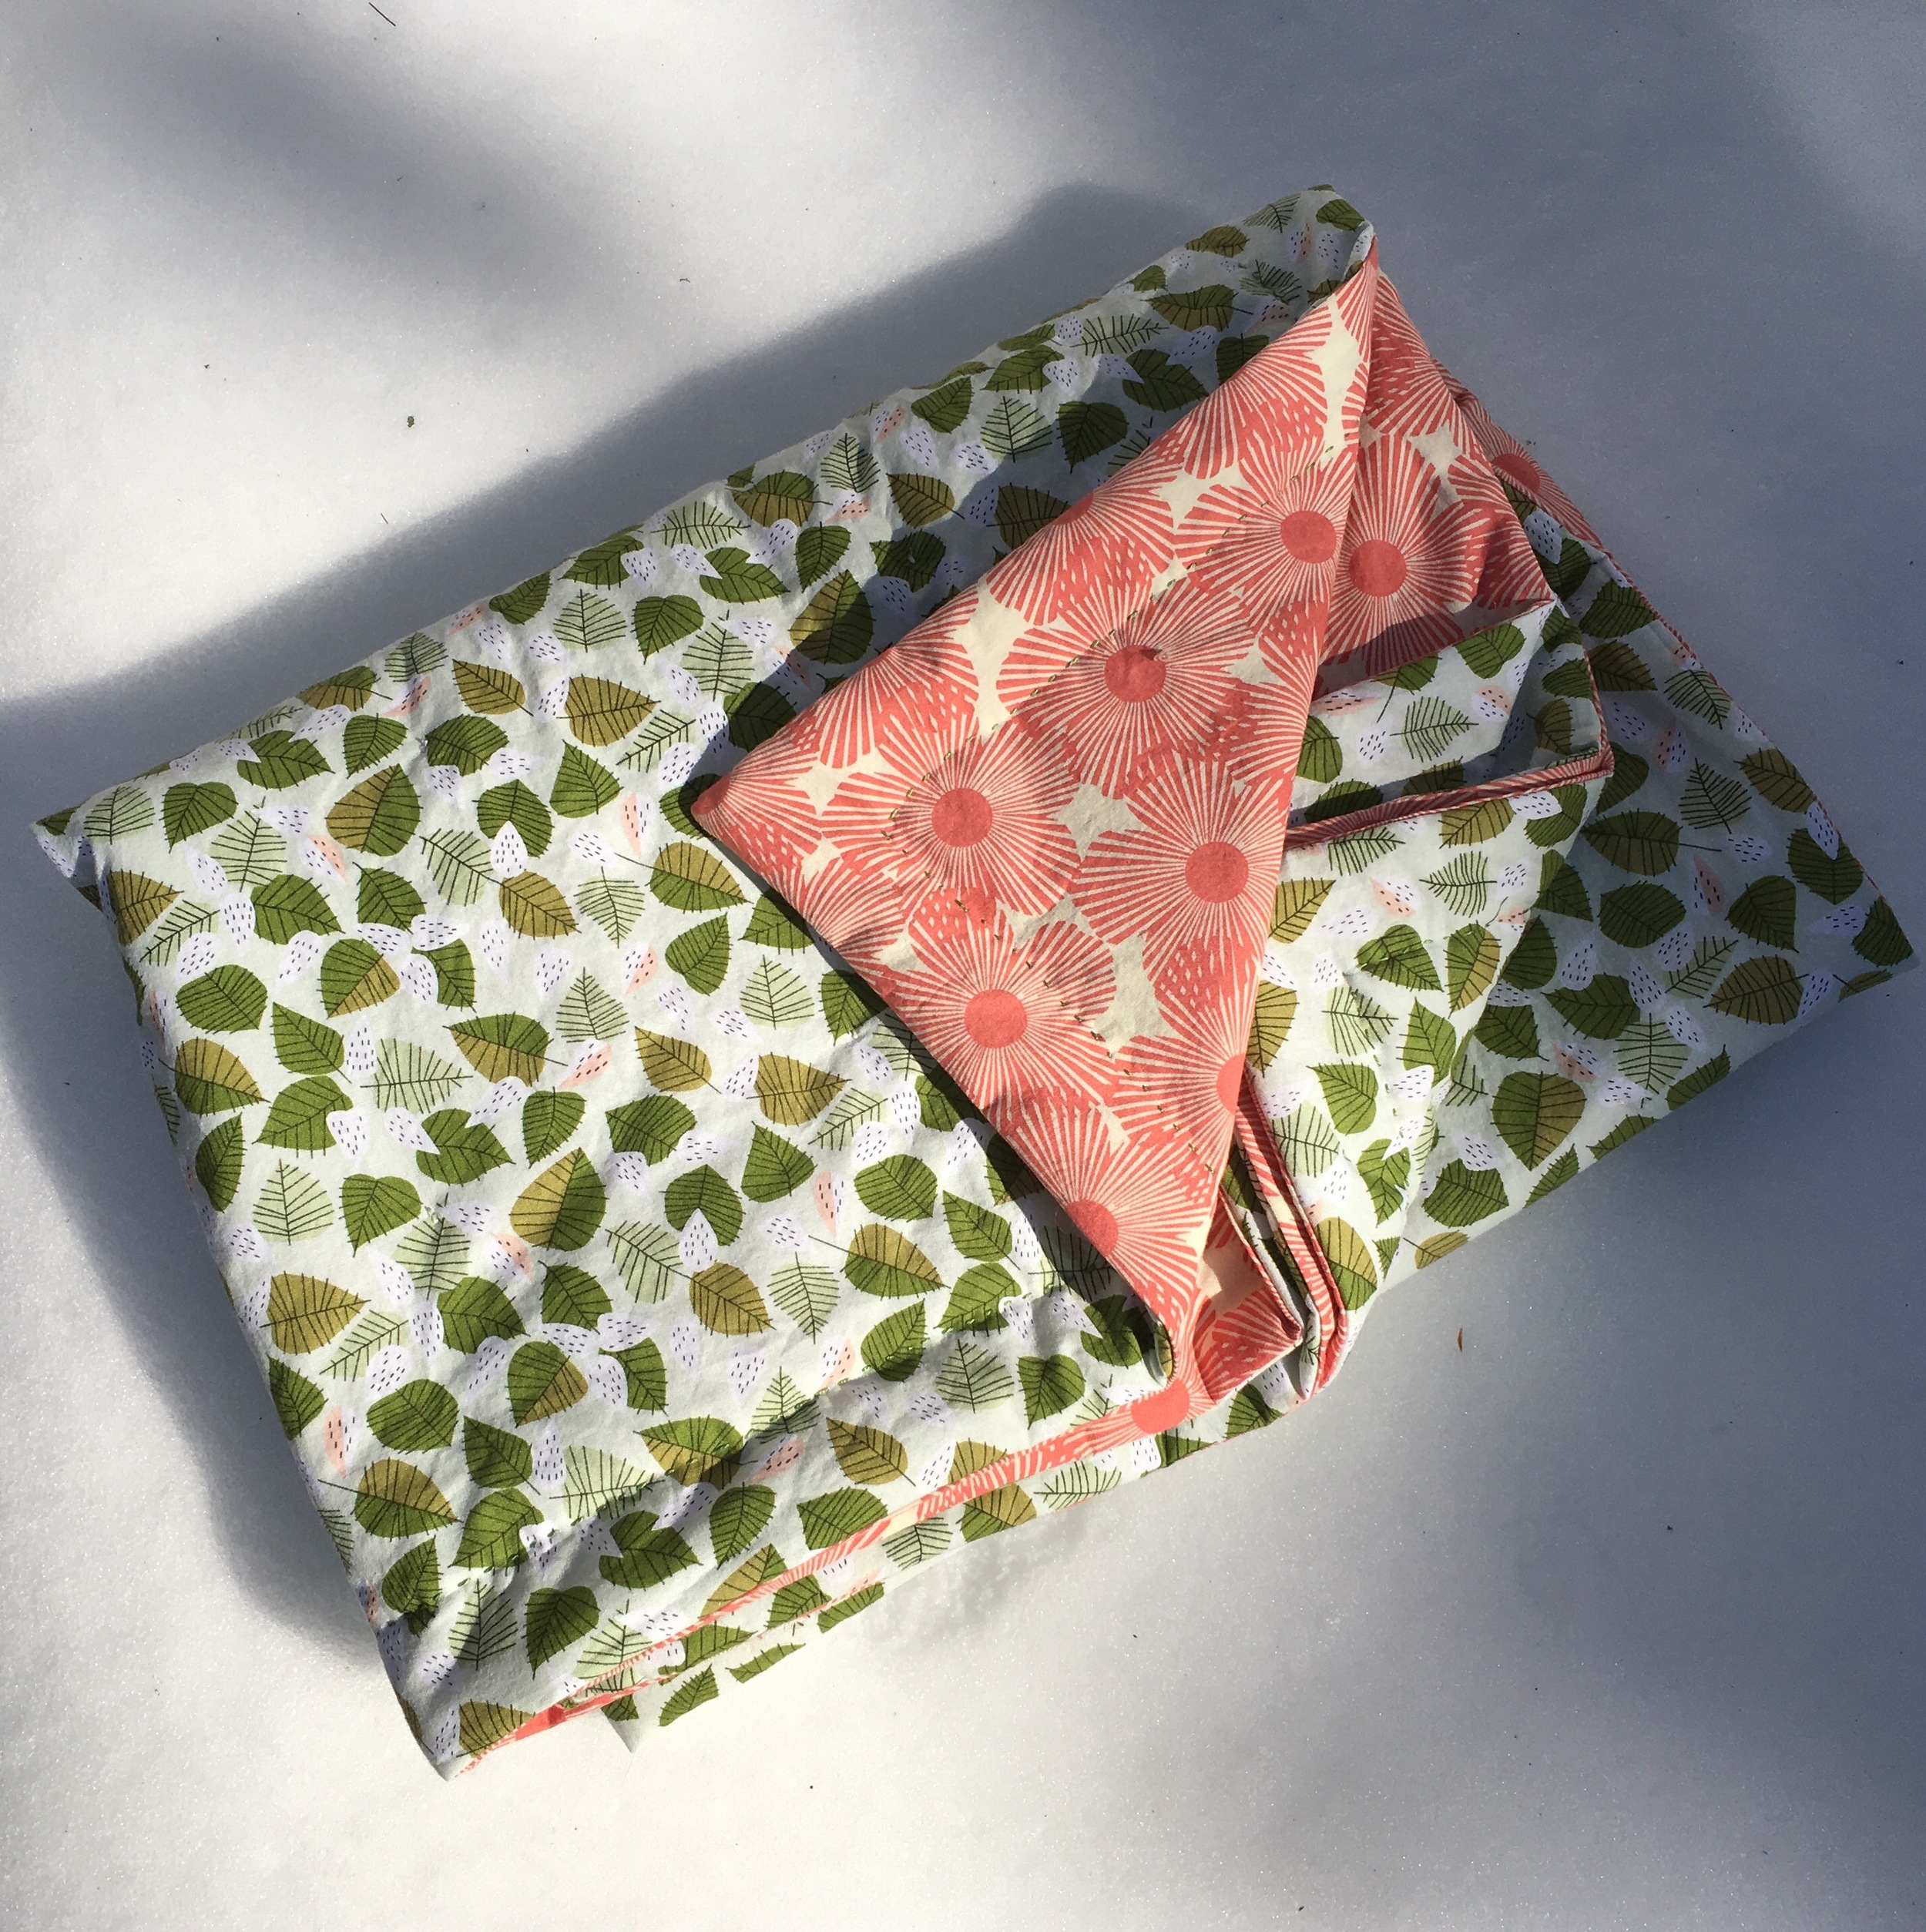
I'm going to cut out the printed blocks which measure about 9 1/2" square and make a slightly larger quilt by adding some fabrics printed in Hawaii that a friend brought me as thank you for cat sitting.

Quilt Hawaiian Cheater Hawaii fabrics.jpg

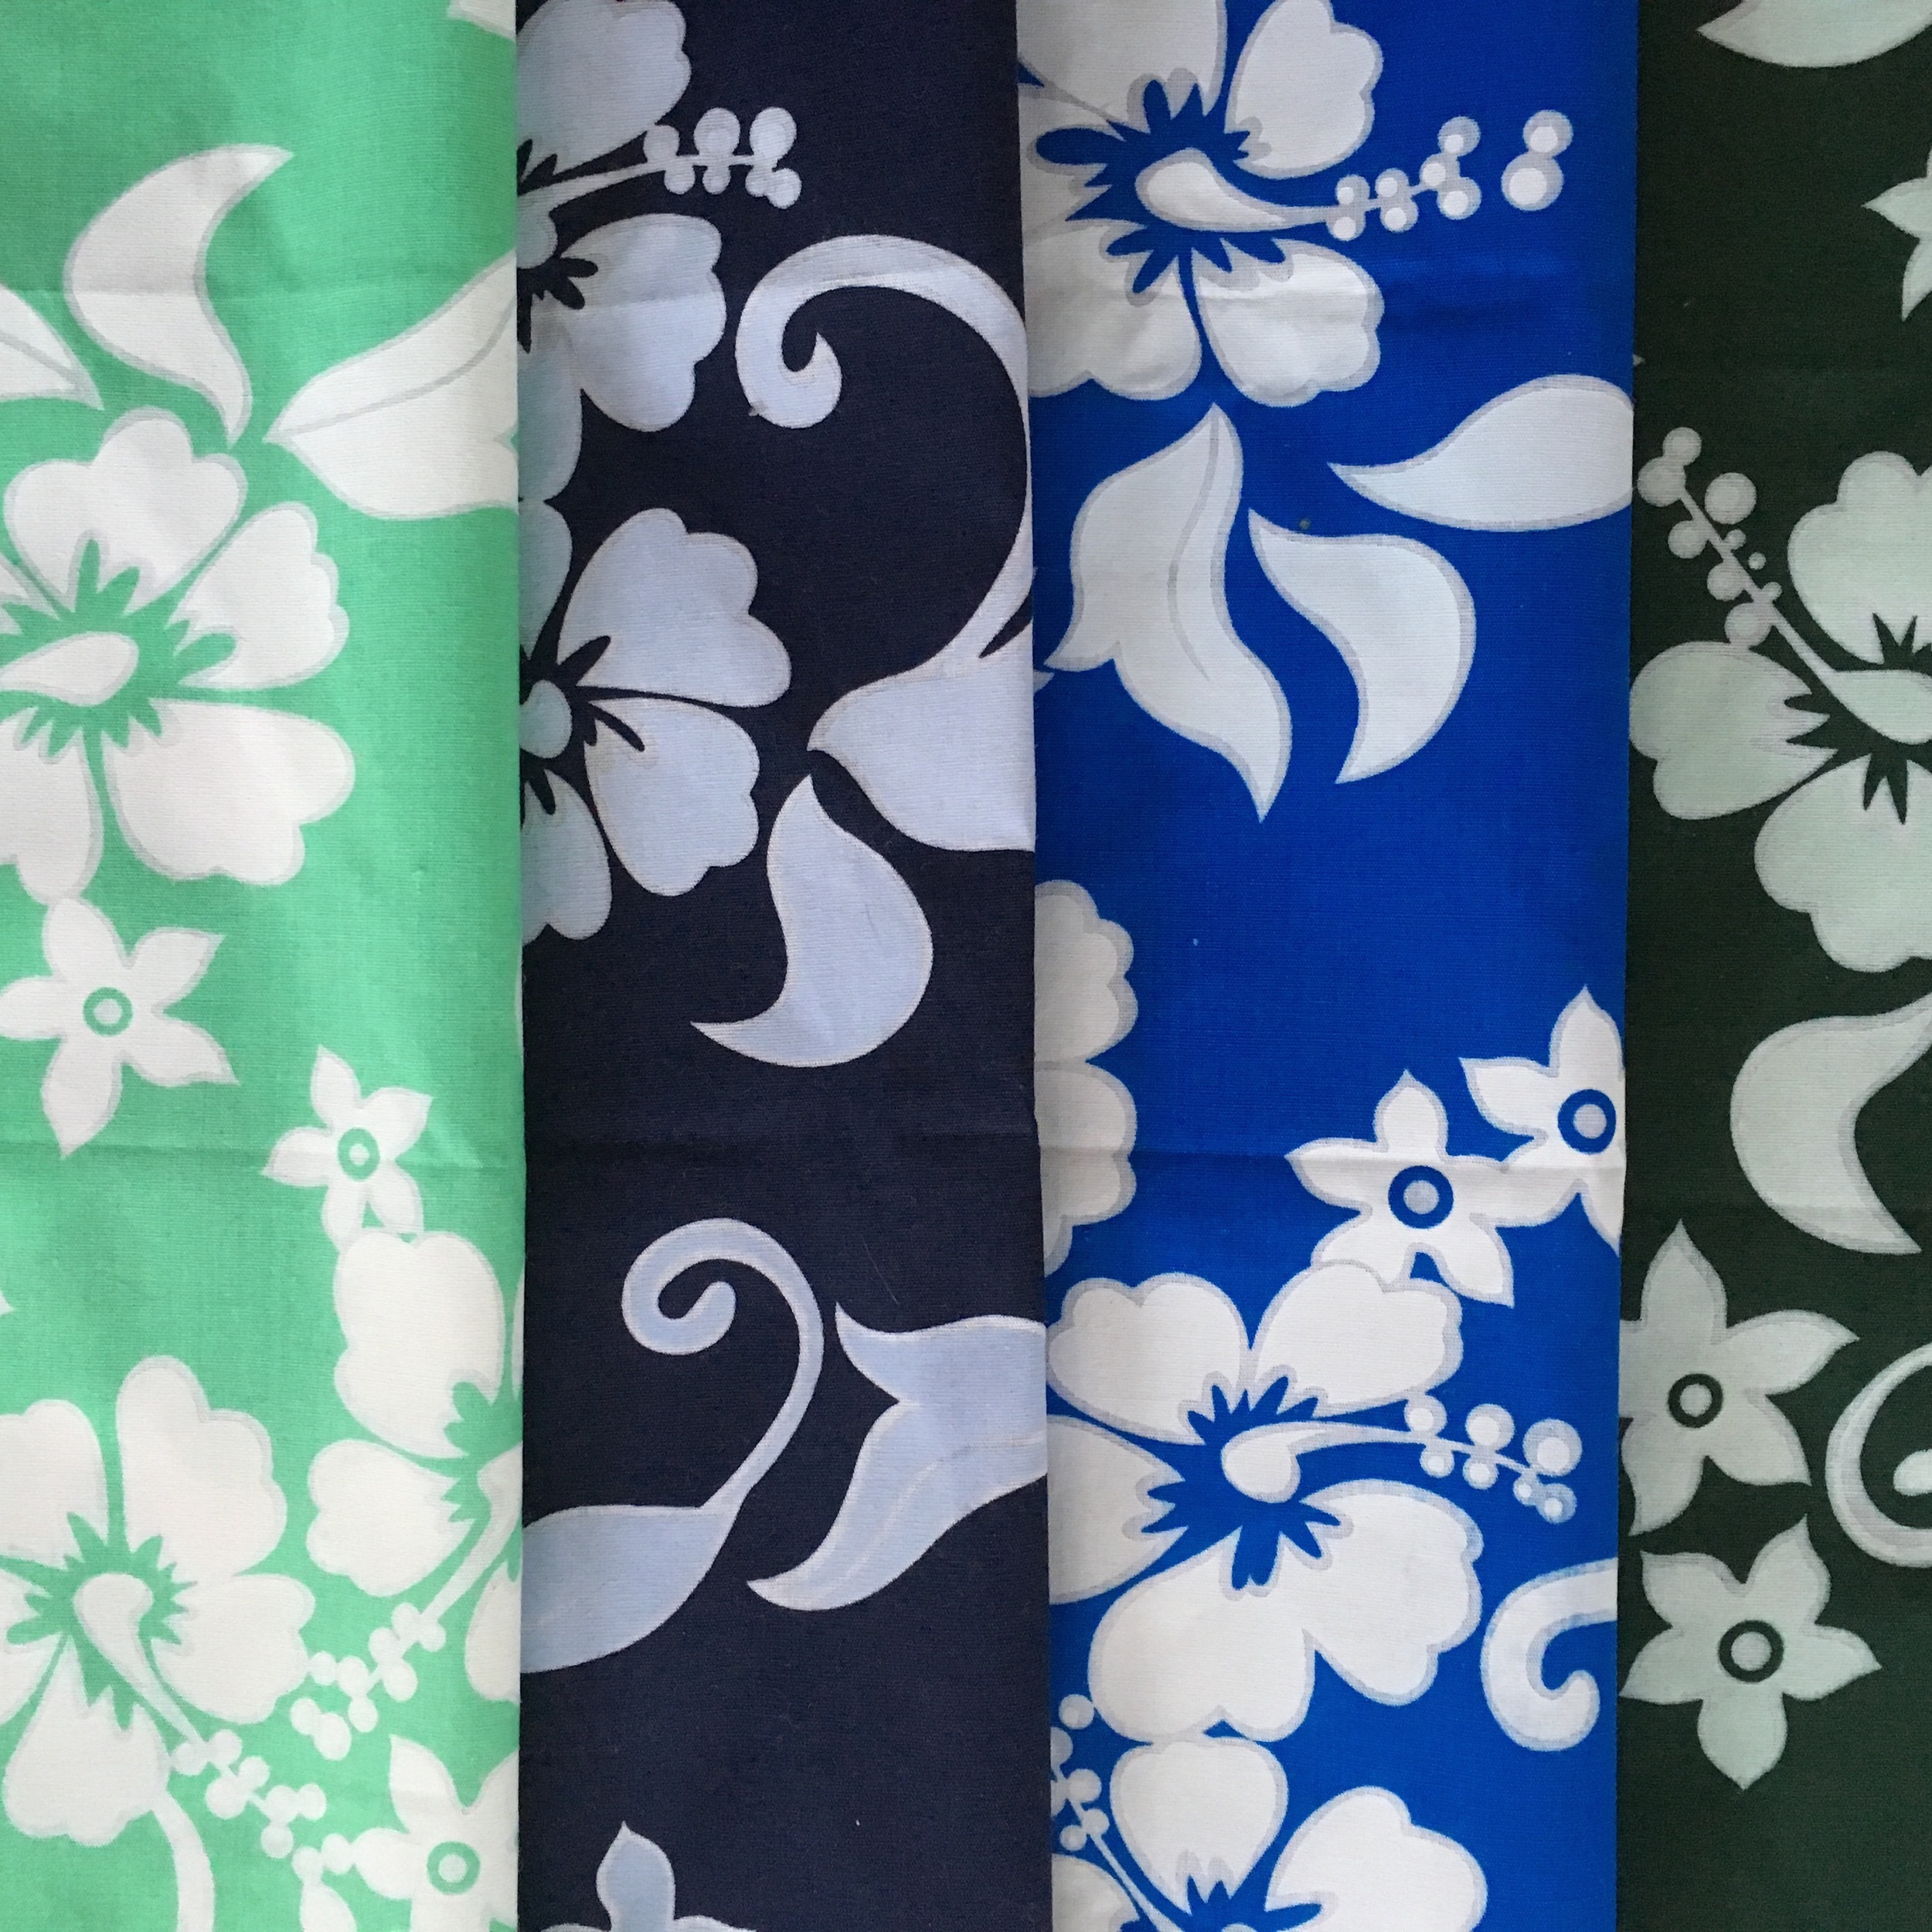
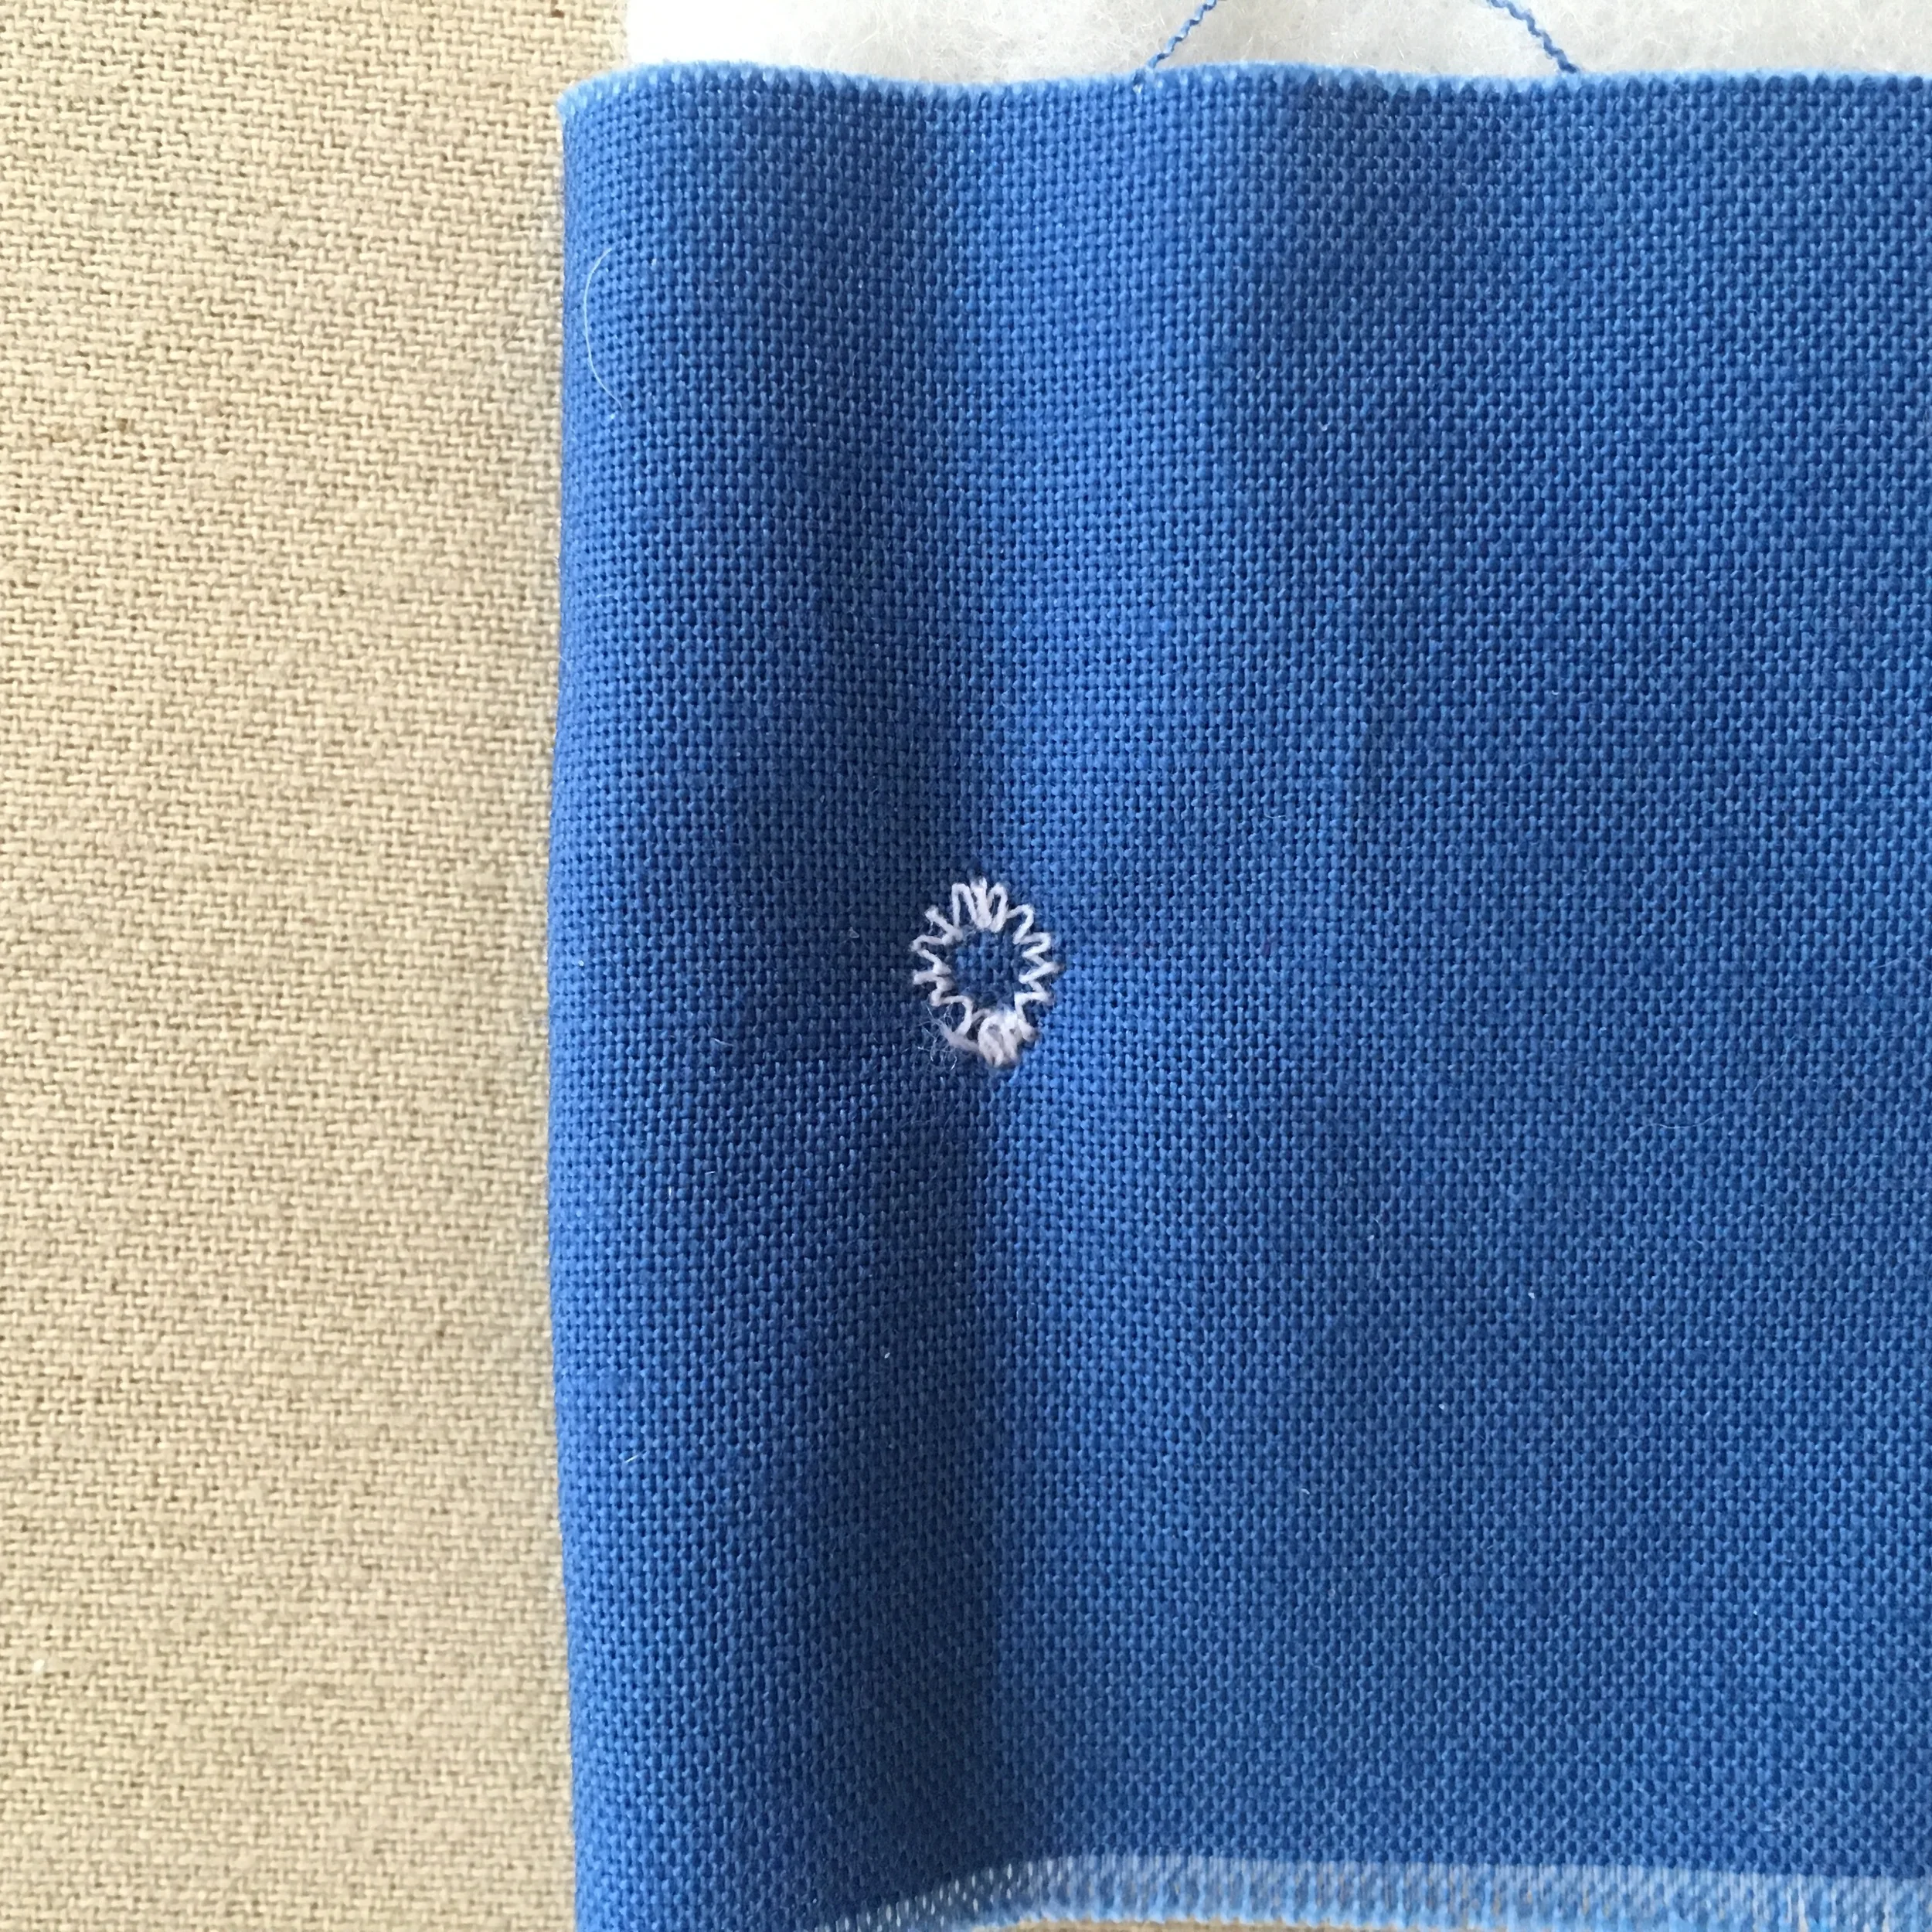
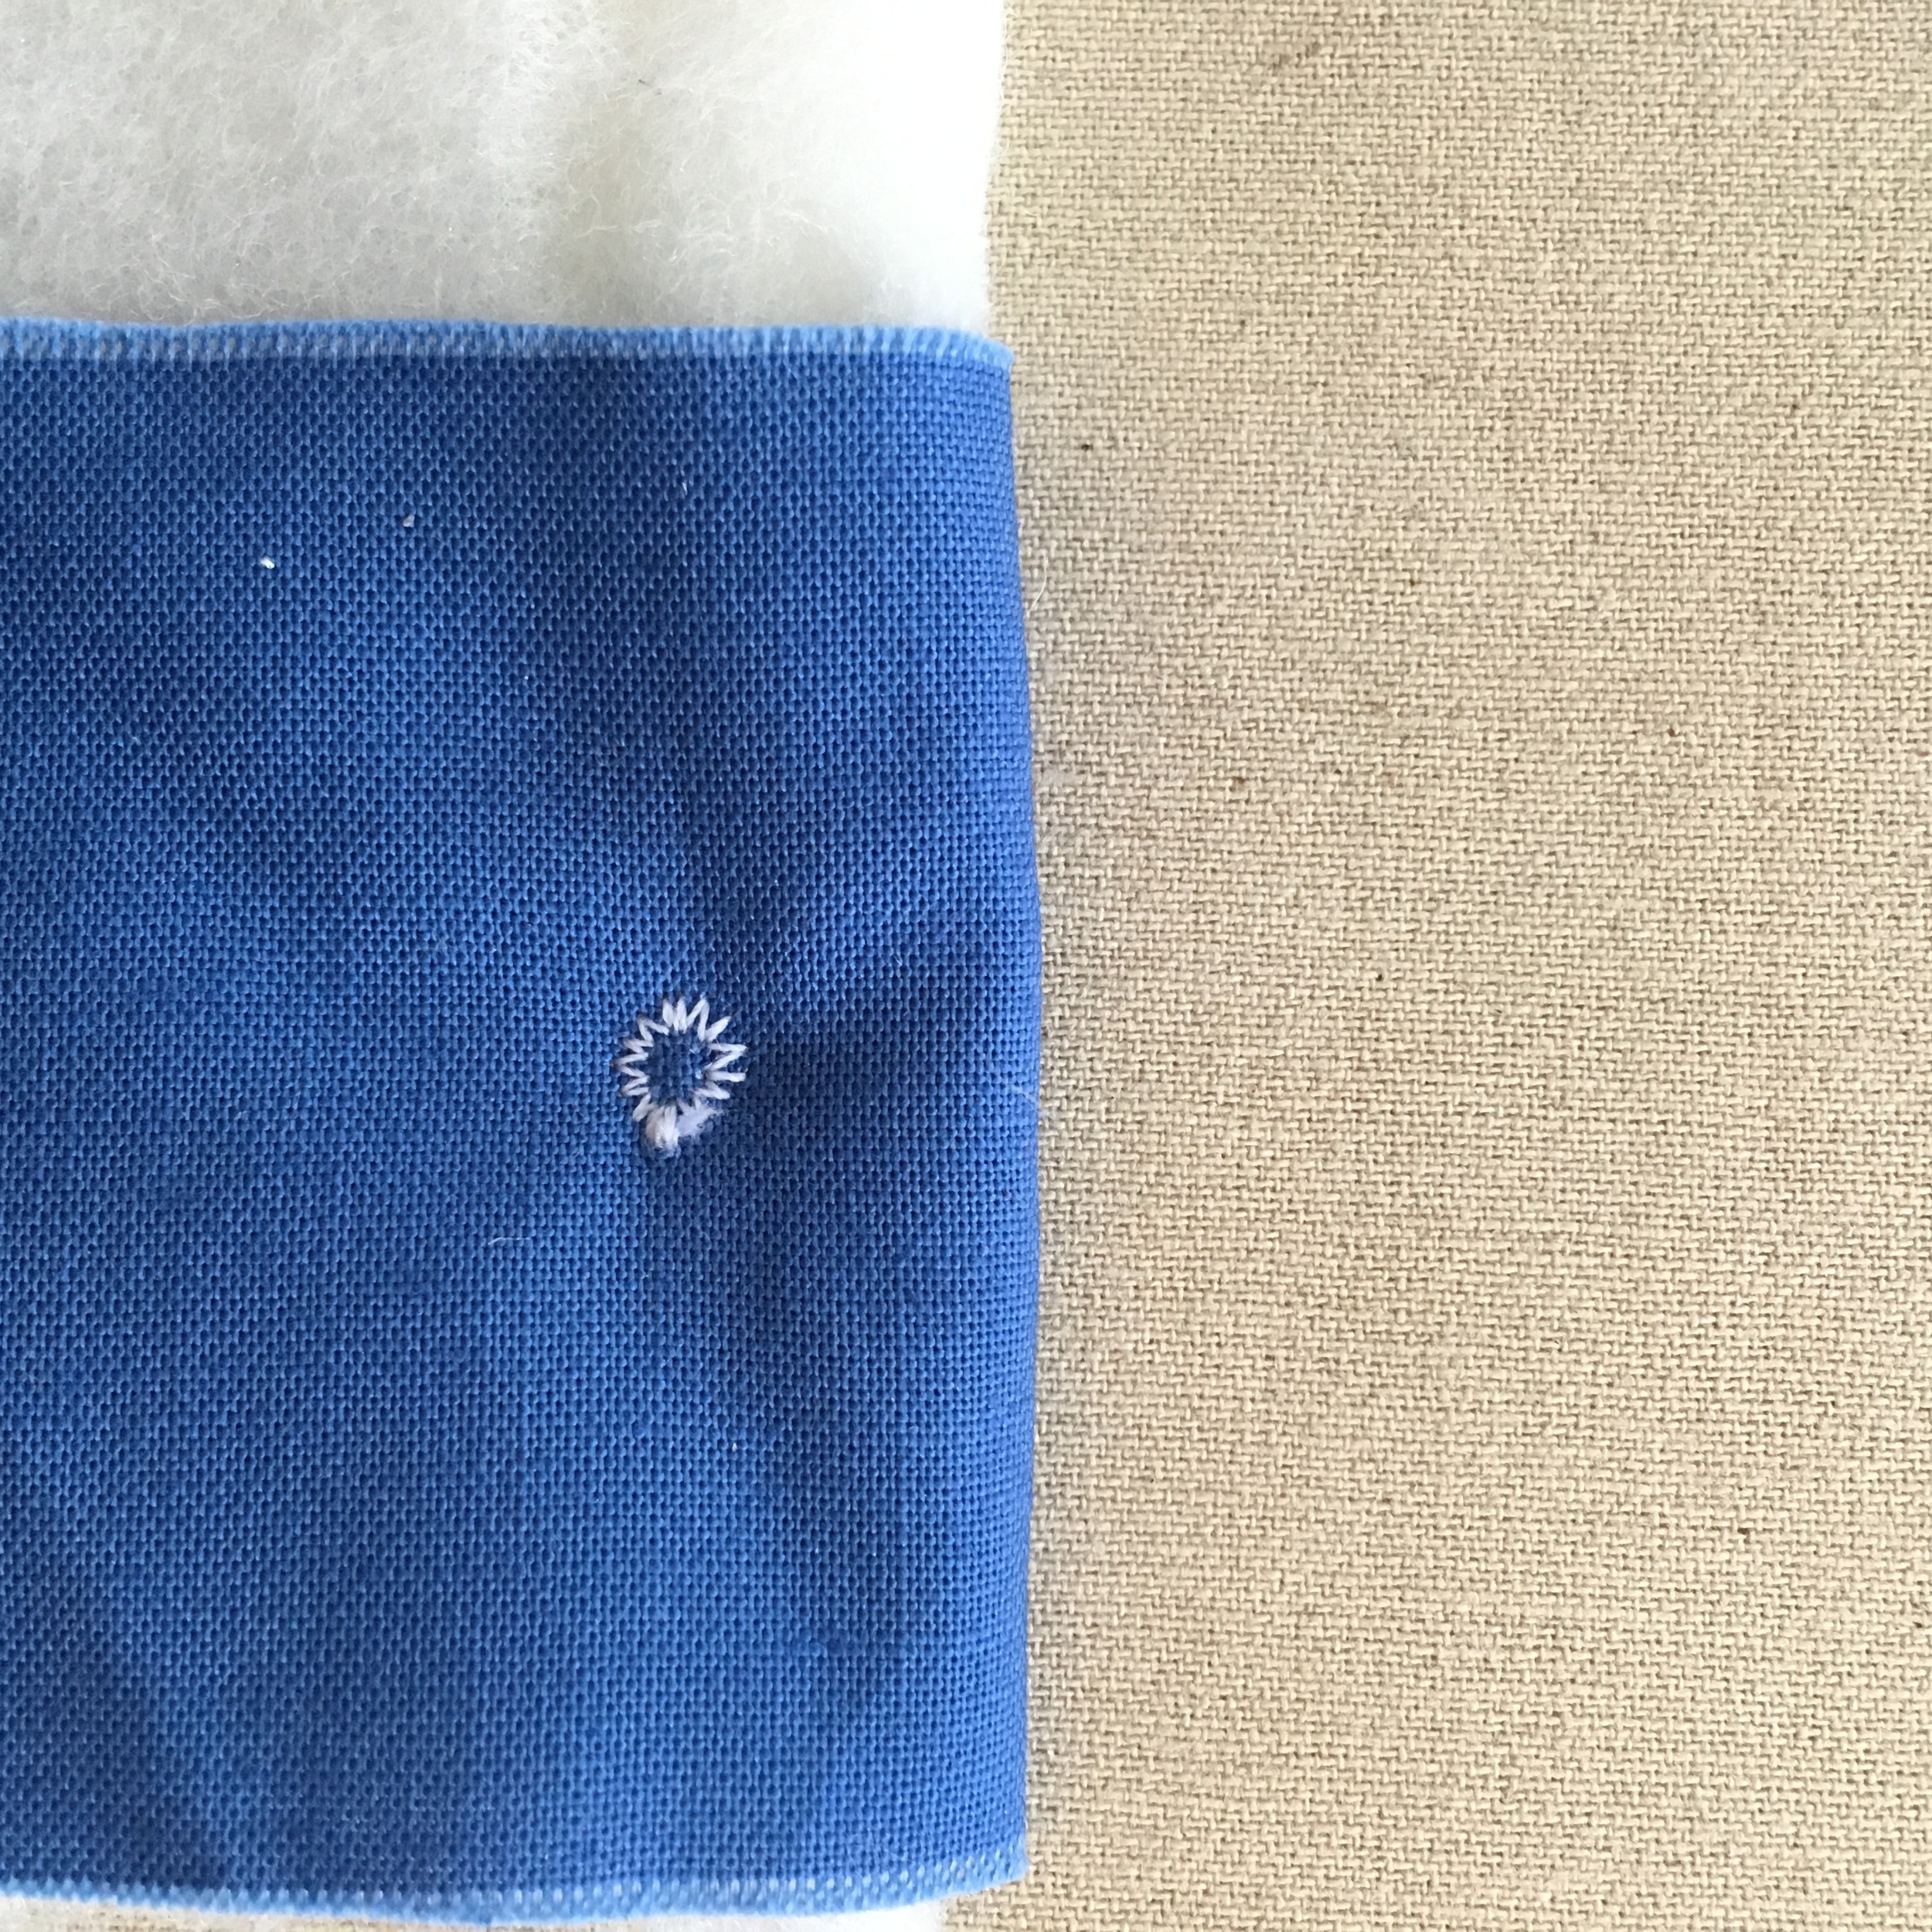
When I purchased the fabric from Spoonflower.com, I choose to print it on Kona® cotton. This print has a white background. It looks light blue in the photo at the top--an artifact due to taking the photo on a winter morning in New England!  I have some 10 inch layer cake Kona® white squares.  I plan to make seven 4 patch square blocks using them and the the fabrics from Hawaii.  That should be easy using the 10" layer cake squares which I scatter between the printed blocks. 

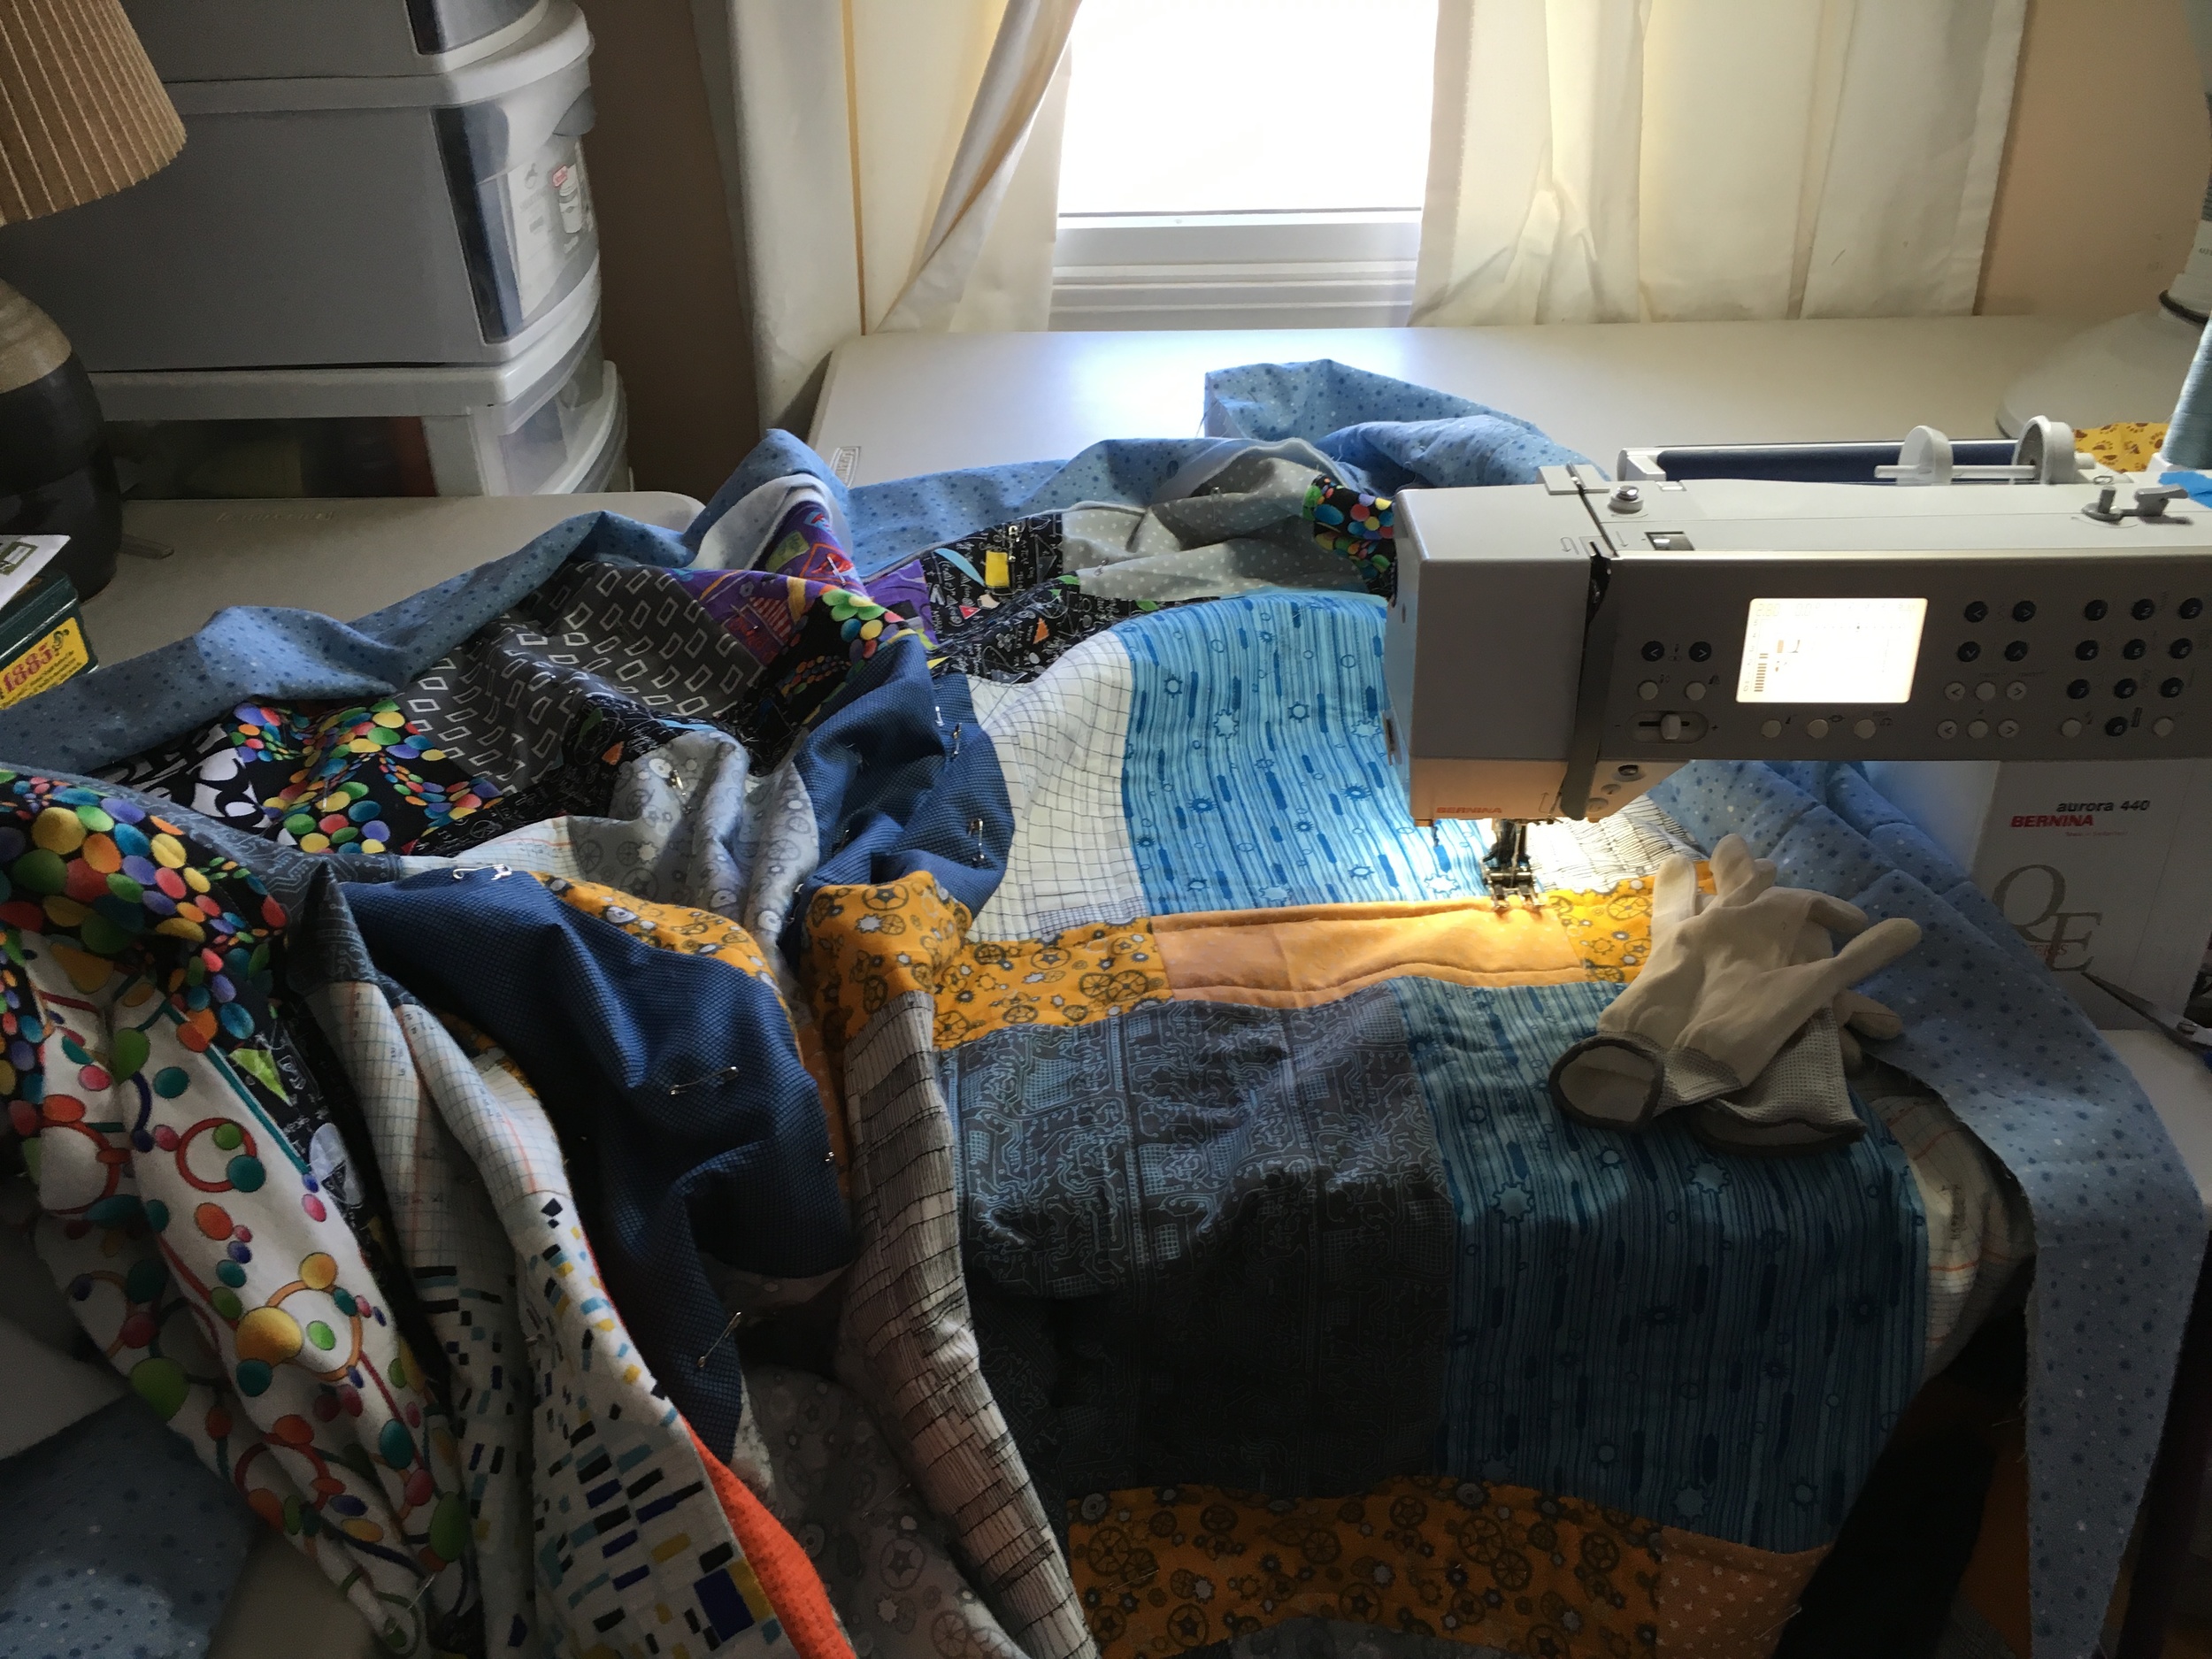
Sewing the beach!! What could be better? It already feels warmer in here on this March day in Boston!!  

1 Comment

TAGS: "Matisse's Seaweed", Spoonflower.com, Hawaiian fabrics, Hawaii Cheater Quilt, Cheater Quilt


February 29, 2016

Cheater Quilt Panel + Pieced Blocks: "Field Puzzle"

by Judy Tucker


"Field Puzzle" 45 x 45 inches

"Field Puzzle" 45 x 45 inches

"Field Puzzle" 45 x 45 inches

"Field Puzzle" 45 x 45 inches

When I designed my "Dogs at the Farmers Market" fabric last summer I discovered that it was difficult to fussy cut the fabric without wasting more of the adjacent design than I wanted to.  It was a good lesson to learn early in my fabric designing adventure.

In my last post I introduced my "Fox and the Four Seasons" fat quarter panel available at spoonflower.com.  I designed it so it can be cut into blocks.  It's a first step in thinking about how to design a "cheater" quilt panel. Before I do that, I decided to see what other indie designers on spoonflower.com have done with "cheater" panels.  This quilt was made with one of 3 "cheater" quilt panels I've purchased.

This is "Puzzle Wholecloth/charcoal ombre" by ivieclothco. I love the printed ombre which could be pieced, but would be a challenge to collect the perfect colors. I've added pieced blocks around the perimeter and appliqued 2 blocks onto the central panel to make it my own.  I used two other designs by ivieclothco, "Bunnies White on Charcoal Linen" in the blocks and "Double Chevron Gray Linen" as part of the binding. 

The fabulous sheep fabric, "Black Sheep Sanctuary" is also from a spoonflower designer, christinewitte.  I used the color way in her fabric to pull fabrics from Karen Lewis' "Blueberry Park" collection and used Kona® for the solid colors, both lines from Robert Kaufman Fabrics.

I kept the panel intact for this quilt.  It wasn't possible to cut the wholecloth panel into blocks. It was intended to be used as printed so there was no seam allowances in the design. 

It was a lot of fun working on this project.  Here's the back. The main fabric on the back was in my stash.

Field Puzzle back

Field Puzzle back

In my next 2 posts I'll show a quilt where the designer designed a quilt panel that could be used as-is or cut into blocks.

TAGS: Spoonflower.com, cheater quilt panel, BlackSheepSanctuarySpoonflowerFabric, PuzzleWholecloth/charcoalOmbre, BlueberryParkFabricLine


February 25, 2016

Surface Design: "Fox and the Four Seasons" Fat Quarter Panel

by Judy Tucker


"Fox and the Four Seasons" Fat quarter panel 18 x 22 inches

"Fox and the Four Seasons" Fat quarter panel 18 x 22 inches

"Fox and the Four Seasons" Fat quarter panel 18 x 22 inches

"Fox and the Four Seasons" Fat quarter panel 18 x 22 inches

I took a course offered by Spoonflower.com during December 2015 which focused on beginning fabric design. It started by having us collect images on an inspiration board on Pinterest. I had fun taking photos of the late fall colors in the woods in my neighborhood and looking at fox photos online.  Christmas projects diverted my attention so I didn't sit down to work on my designs until this month.  Here is the result!

This is "Fox and the Four Seasons". I drew the designs in pencil, inked the line drawings with a black Pigma Micron 05 pen and then using the copier to transfer it to watercolor paper. The apple design was colored with Koi Watercolor Brush Pens and the fox panels were painted with guache paints.  The design was finished in Adobe Photoshop and the uploaded to Spoonflower.com. 

This design is printed on an affordable fat quarter (FQ) panel available at Spoonflower.com (click the design name link at the beginning of the last paragraph).  The FQ can be cut into 4 quilt blocks finishing at 8" if you are careful or a bit smaller if that's easier to do. Each panel shows a fox looking up at the apple tree in my yard during Spring, Summer, Fall and Winter. A cardinal is in the apple tree in the Summer and Winter.

There is also a coordinating "Tossed Apples and Dots" fabric.

Fabric Tossed Apples and Dots printed.jpg

There was a some unused space on the FQ panel so I added a couple bonus strips of the "Tossed Apples and Dots" design.  The bonus "Tossed Apples and Dots" strips are 1 3/4 inches wide. Cutting the strips with an additional 1/4 inch of white on the outer edge will make it possible for the strip to finish at 1 1/2 inches wide.

This panel could be used to make wall hanging or as 4 blocks in a crib or lap quilt. I think the design blocks would look great paired with log cabin blocks.

The panel could also be used without being cut into blocks.  Bias strips could be used to create window panes. The seasons could also be separated by quilting. Lots of possibilities! 

Please do let me know if you make something with these fabrics!


TAGS: Fox fabric, Fox and the Four Seasons, Apple fabric design, Spoonflower.com, Pigma Micron pens, Koi Watercolor Brush Pens, Fat Quarter Quilt Panel, Four seasons Fabric Design


February 22, 2016

Purl Soho's Lap Duvet Follow-up

by Judy Tucker


2 Lap Duvets

2 Lap Duvets

2 Lap Duvets

2 Lap Duvets

Since I made the first Lap Duvet using the pattern from Purl Soho, I've made 2 more.  (Thoughts about my first lap duvet in my previous post,  February 18, 2016).

The lap duvet shown on the top of the pile has a soft, light voile as the top layer, a wool batting and flannel on the back. The voile fabric is 52" inches, wider than the flannel. The wool batting left from the twin size batting I cut up for the first duvet was exactly the same width as the voile.  I decided it was worth piecing the flannel to get the extra bit of width in the duvet.  I had a flannel scrap just about the correct width which played well with the color scheme, so that was perfect.

The bottom duvet is the size the pattern specifies--42 x 60.  It has a cotton top, a polyester batting and a flannel backing. It is just as light, airy, and warm as the wool lap duvets. Good for folks who are allergic to wool!

I decided I could tie a lap duvet almost as fast as I could pin it, and certainly faster than pinning and then tacking it on the sewing machine.  So that's what I did.  I used 2 strands of #8 Perle cotton thread and placed them through all the layers with the lap duvet while it was on the floor. (7" apart for the wool batting per the Purl Soho pattern, 5" inches part per the recommendation of the manufacturer of the polyester batting). Then I picked the lap duvet up and tied all the knots while I watched TV.  I enjoyed the process and I like the look of the ties on these fabrics.

I look at the stitches on my sewing machine and tried thinking outside the box about how else I might tack one of these lap duvets.  The eyelet buttonhole on my machine looked like a possibility. The booklet for my Janome 3160QDC states that the machine will make the circle of stitches, overlap the first several stitches to lock them and then automatically stop and cut the thread.  That looked like a cute, fast way to do the job. 

I tried the eyelet stitch with a sample cotton/wool batting/cotton sandwich.  It works really well and looks great on front (on the left in photos below) and back (on the right)!  I'd recommend using a contrasting thread color.  I'll definitely do this when I make another lap duvet!

Purl Soho Lap Duvet eyelet front.jpg
Purl Soho Lap Duvet eyelet back.jpg


TAGS: Purl Soho Lap Duvet, Lap Duvet


February 18, 2016

Purl Soho's Lap Duvet

by Judy Tucker


Lap Duvet 42 x 60 inches, on a blanket of pristine snow!

Lap Duvet 42 x 60 inches, on a blanket of pristine snow!

Lap Duvet 42 x 60 inches, on a blanket of pristine snow!

Lap Duvet 42 x 60 inches, on a blanket of pristine snow!

It was cold and rainy last week when a newsletter from Purl Soho dropped into my on-line mailbox last week.  The photo on the newsletter showed a stack of puffy Lap Duvets with fabulous linen grid fabric on one side, Lana Cotta Canberra wool fabric on the reverse.  There is layer of wool quilt batting in between the two layers.  In view of the cold wet weather outside, it was JUST what I wanted. That and a lazy afternoon with a good book or movie. 

This lap duvet is the perfect project for that fabulous large print yardage you just can't bear to cut up into quilt pieces!  My stash is a bit out of control (actually a lot out of control!!) at the moment so buying new material just didn't make sense. So upstairs I went to see what I could use.

What I found was a couple yards of the "Leaf in Green" fabric from Lizzie House's The Lovely Hunt.  I'd purchased simply because I thought it was beautiful, without any plans for its use.  I auditioned a number of fabrics for the reverse side and chose a peach abstract floral which picked up the salmon color highlight in Lizzie's fabric.

I had one twin and 2 queen wool quilt batts in my closet.  With a bit of math, I figured out that the twin size batting would make 2 lap duvets with only a bit left to trim off one end.

I followed the instructions in the tutorial and used a zig-zag to tack the layers together.  It just seemed plain when I finished it.  It's supposed to be spare and modern, but I just wanted something more.  So I added some Big Stitch Quilting 1 3/4 inches in from the the outside edges of the lap duvet. I used a matching green, size 5, DMC brand perle cotton thread. Its sheen adds a subtle highlight to the duvet while maintaining its modern look.

It's a light lofty item and will be a cheerful addition to the couch through the Spring.  For a true winter lap duvet, I think using a good quality quilter's flannel on one side and a soft quilter's cotton on the other would be perfect.

TAGS: Purl Soho, Lap Duvet, Lap size comforter, Wool batting, Lizzie House, The Lovely Hunt


February 15, 2016

Inkle/band Weaving: Review of Several Books I've Found Helpful

by Judy Tucker


Weaving books.jpg
Weaving books.jpg

With the help of books and the internet, I've been teaching myself how to weave bands on an inkle loom. Here are some books I've found very helpful.  I've only been weaving bands for a couple months so this is not an exhaustive list.  However, everything I have listed is in English and currently available (February 2016).

My go-to book for patterns and instructions is Anne Dixon's book The Weaver's Inkle Pattern Directory. She has a variety of patterns from plain weave, Baltic weave, South American Pebble weave, Monk's weave and lettering just to list part of the content.  She has excellent diagrams and explanations of how to warp the loom (putting the long threads on the loom which are the foundation for the weaving design).

Susan Foulkes has 3 self-published band weaving books for sale on Blurb.com.  If you own a tablet, purchasing the e-books is a great way to get the information at a lower cost.  Normally I prefer paper books, but I've been really happy with her books in this digital format.  Susan excels at explaining the weaving terms for a total novice.  I recommend the The Art of Simple Band Weaving if you are new to band weaving. As a next step, her Sami pick-up weaving books are excellent.  Susan also has a number of excellent YouTube videos. The inkle loom is only one way to weave a band.  A backstrap with a rigid heddle is probably the most commonly used method for band weaving (shown with the woman weaving on the book cover above).  Here's a link to Susan's video showing Five Ways of Weaving Narrow Bands.

Heather Torgenrud's Norwegian Pick-Up Bandweaving book is a beautiful book. She discusses the history of band weaving in Norway. Her book has beautiful photos of Norwegian bands, costumes and tools used for weaving.  She has created charts of patterns for the historic bands. For one of the collections, there is a photo of a band and a chart number for the patterns which are grouped together further on in the book.  Any reader will enjoy the history and photos in this book. She does give step by step instructions for setting up the warp and weaving the patterns. An confident beginner will do well with this book. 

The Braid Society based in the UK has lots of resources.  Here is list of the books the Braid Society sells.  (I'm still a novice and not sure where I'm going with this craft, so I'm not a member).

TAGS: Anne Dixon, Susan Foulkes, The Weaver's Inkle Pattern Directory, The Art of Simple Band Weaving, Norwegian Pick-up Bandweaving, The Braid Society


February 11, 2016

Inkle Loom: I'm Learning a New Skill

by Judy Tucker


Child's cotton Valentine Belt

Child's cotton Valentine Belt

Child's cotton Valentine Belt

Child's cotton Valentine Belt

Happy Valentine's Day!

Last summer one of my friends purchased a rigid heddle loom.  I went over to her house to admire it. While we were talking I mentioned I'd always thought it would be fun to have an inkle loom.  The word "Inkle" goes back at least to the 1500s but the origin of the word is unknown. An Inkle is a linen tape used for laces and for trimming on clothing.  An inkle loom is used today to weave narrow bands--shoelaces to guitar bands and to make bands to decorate shirts and sweaters. The idea of weaving something that could be done fairly quickly is really appealing to me.

Several of us went out for breakfast to celebrate my birthday a couple months ago. In comes one friend carrying a big, long box. My friends had gone in together and got me a Schacht inkle loom!  These are great friends!!

Inkle loom with a warp, ready to start weaving

Inkle loom with a warp, ready to start weaving

I'd done a little bit of simple tapestry weaving as a child so I had a very basic understanding about weaving.  I watched several YouTube videos and got several great books. Despite my childhood experience it was like learning a new language! 

But these are bands, not blankets, so I set up the loom and gave it a try. I learned a lot weaving that first band. It started out way too loose (a common problem for beginners), ended up too tight and has lumpy selvages. But I was beginning to have feel for weaving a narrow band.  Each subsequent band shows improvement.

Weaving first inkle.jpg
Weaving Christmas Inkle 2nd attempt.jpg
Weaving Blue-teal band and Blue Baltic.jpg

Left to right:  My first attempt, my second band (still having selvage problems), my third band (a bit better) and my first Baltic pick-up weave.

The Valentine design at the top is my most recent band. It is a Baltic weave pattern. I used the band to make a child's belt and a couple of bookmarks.  All the designs shown here are from the book, The Weaver's Inkle Pattern Directory by Anne Dixon.

Plain weave is fun and fast!  The decisions about design are all made when the loom is warped. But I'm particularly drawn to pick-up patterns where the design is created by picking up specific threads from the warp as each row is woven. Pick-up weaving is a lot slower and requires full attention but I love the results.  In the photo of the blue band at the far right above you can see that both sides of the band have a pattern.

In my next post I'll share some of the books that I've found very helpful learning to band weave.


TAGS: Inkle loom, Inkle bands, Baltic weaving, The Weaver's Inkle Pattern Directory, Band weaving, Pick-up band weaving


February 8, 2016

Teen Boy Quilt

by Judy Tucker


Teen boy quilt. fits top of twin 60 x 70"

Teen boy quilt. fits top of twin 60 x 70"

Teen boy quilt. fits top of twin 60 x 70"

Teen boy quilt. fits top of twin 60 x 70"

This a another quilt I made for the projects on-going through the Proper Bostonian Quilters Guild. It's for a teenage boy.  The quilt is the perfect size for a bunk bed.  It's just wide enough to hang over the mattress on each side and covers the bedding area on top of the bed.

I used a pattern called "Fractal" in the book, Quilt Lab, The Creative Side of Science, by Alexandra Winston.  I did change a couple of things in the pattern.  The quilt pattern is for a 60 x 60 inch quilt.  I added another row of 10 inch blocks at the bottom to make it a bed quilt.  And I used a solid piece of fabric (the squared stripes) at the center of the quilt in place of the 1 3/4 x 1 3/4 inch pieced patches in the pattern. That striped fabric at the center of the quilt is also the fabric used in the binding.

The quilt was quilted with free-motion stitching.  There are scattered stars, treble clefts and spirals in the stitching.

Here's a peek at the pieced back.  (The photos were taken at the city tennis courts in a local park. A fun way to hang a boy's bed size quilt)!


TAGS: Quilt Lab Book, Fractal quilt from Quilt Lab book, Alexandra Winston, Teen boy quilt, Free motion Quilting


February 4, 2016

STEM Theme Quilt

by Judy Tucker


STEM theme quilt, twin size

STEM theme quilt, twin size

STEM theme quilt, twin size

STEM theme quilt, twin size

The Proper Bostonian Quilters Guild has a number of charity projects.  One involves making quilts for specific kids, using a theme of their choice. I recently took a look at the list. One teenage boy had requested a quilt which was essentially a STEM theme. (STEM=Science, Technology, Engineering, Math).  It had been on the list for a quite a long time.  Who has STEM themed fabrics?

I do!  The guys in my family are all engineers. So when I see a great technology fabric, I add it to my stash. I have used a number of fabrics designed by Carolyn Friedlander in this quilt.  She was trained as an architect before she started her quilting business and many of her fabrics fit nicely into the theme. There is also an Art Gallery fabric, "Manhattan's Dawn" by Leah Duncan, which is a street layout. 

I used Cheryl Arkison's pattern, "Stripes" from her book, A Month of Sundays. Her quilt was a mix of blue stripe fabrics.  I borrowed the idea of quieter fabrics in the center of the quilt and darker fabrics on each lateral strip of blocks from Score #5, "Rhythmic Grid" in Sherri Lynn Wood's book The Improv Handbook for Modern Quilters. It was fun mixing and matching the designs!

Here's a detail of some of the fabrics and the quilting.

Detail of the blocks and quilting

Detail of the blocks and quilting

I used a mix of free motion quilting and straight line quilting with the walking foot for this quilt. I let each block in the quilt dictate which to use.  That definitely kept the project interesting!

QuiltingSTEMquilt.jpg

Most of my quilts are lap size. This is a twin bed size. It really helped to have the folding table to the left of the machine to hold the weight of the quilt. 

STEM is a great theme!  A challenge, but so much fun!


TAGS: STEM, Boy's quilt, Engineering Quilt, Math Quilt, Carolyn Freidlander, Art Gallery Fabrics, Cheryl Arkison, "Stripes" quilt pattern, modern quilts, Sherri Lynn Woods, The Improv Handbook for Modern Quilters, Leah Duncan


February 1, 2016

Orphan Block/Scrap Stash Toddler Quilt top

by Judy Tucker


PictureAlbumDogOrphanBlocksQuilttop.jpg

About every 2 years the Proper Bostoninan Quilt Guild supplies nap quilts for a local daycare. I've been sorting my stash this month.  I found a stack of orphan blocks from other projects and realized I had just enough of the picture album dog blocks to use as focus blocks for a toddler quilt. 

I also found two sixteen patch blocks I made as an exercise for Weeks Ringle's Craftsy class, Designing Modern Quilts.  You can see them paired with the two large dog blocks in "picture frames" in the quilt top above.  They fit in beautifully and I was so happy to use them!

All the blocks came out of my stash of charm squares and 2 1/2 inch strips. I needed to trim some fabrics but was able to make this whole quilt top without cutting any fabrics!

I  found a dog print in my stash for the back.  I needed to make it a bit wider for the quilt but found a scrap strip just the right length to do that!  

It was a fun challenge making this scrappy quilt. All the experience I got making Improv Quilts last year really helped me as I put this quilt top together. 


2 Comments

TAGS: Craftsy Classes, Designing Modern Quilts with Weeks Ringle, Orphan blocks, Toddler Quilt, scrap quilts


January 28, 2016

Bricks in the Barnyard, piecing top completed

by Judy Tucker


Bricks in the Barnyard, all the pieced blocks in quilt

Bricks in the Barnyard, all the pieced blocks in quilt

Bricks in the Barnyard, all the pieced blocks in quilt

Bricks in the Barnyard, all the pieced blocks in quilt

Here's the top of the Bricks in the Barnyard pattern by Bonnie Hunter. 
I tried to chain piece the blocks but found I really needed to constantly to double check the blocks to make certain they were facing the correct direction.  It really helped to follow her suggestion to start piecing the blocks from the center of the quilt. 

Checking the layout with adjacent row that is already pieced

Checking the layout with adjacent row that is already pieced

I still had to do a bit of un-sewing!  If you make this pattern, assemble it when you are feeling fresh and alert.  It's really easy to accidentally flip a block and it is possible to get 2 rows that look right together but don't fit in the quilt!

There is actually a mistake in the diagram showing how to construction this quilt in Bonnie's book, Scraps & Shirttails II.  One block, 2nd from the right in the row just below the horizontal midline, has been flipped. The points of the red triangles are facing the center of the quilt and they should be facing away from the center. The actual quilt in the book is fine, only the diagram has the error. 

Bonnie pieced a braid for the border on her quilt.  I decided I want I smaller quilt, so I'm going to use a border of solid red. 

I'll show you my Bricks in the Barnyard quilt again when it's finished.  I've been working on a couple other projects, so it will probably be a few weeks before I complete this quilt. 


1 Comment

TAGS: Bonnie Hunter, Scraps & Shirttails II Bricks in the Barnyard Errata, Scraps & Shirttails II


January 25, 2016

Bricks in the Barnyard--the blocks are done!

by Judy Tucker


Quilt Bricks in the Barnyard Blocks.jpg

All 80 of the 6 inch blocks for my Bonnie Hunter "Bricks in the Barnyard" quilt are done!  I really like the red triangle accent patches!  

I checked the pattern to see how the blocks are assembled. I had a "Huh! That's really interesting" moment.  Bonnie Hunter really makes amazing quilt patterns!  I'm looking forward seeing this quilt top sewn together!

TAGS: Bonnie Hunter, Bricks in the Barnyard


January 21, 2016

Bricks in the Barnyard, a Bonnie Hunter Quilt Pattern

by Judy Tucker


2 1/2 inch strip set 

2 1/2 inch strip set 

2 1/2 inch strip set 

2 1/2 inch strip set 

This fall I decided not to make Bonnie Hunter's winter mystery quilt.   Instead, I'm making a Bonnie Hunter quilt "by the book!" I saw a "Bricks in the Barnyard" quilt posted on Facebook and fell in love with it!

This pattern is Bonnie Hunter's book, Scraps & Shirttails II--Continuing the Art of Quilting Green. Here is a link to a trunk show of the quilts in this book which Bonnie posted on her blog. The "Bricks in the Barnyard" quilt is at the top of this post, on the left side. 

I'm using a jelly roll, Moda's "Grand Finale", designed by Sandy Gervais, which has been in my stash for several years.  I wanted to use a yellow fabric as the accent in the half square triangles but it wasn't bold enough as an accent.  Red, the same color used in the quilt in the book, was the best choice for the fall fabrics in the jelly roll. 

Here are my fabrics, cut and ready for sewing.

Quilt Brick in the Barnyard-bricks cut.jpg
Quilt Bricks in Barnyard HST pairs.jpg

I'll keep you posted on my progress!

TAGS: Bricks in the Barnyard Quilt, Bonnie Hunter, Scraps & Shirttails II, Jelly roll


January 18, 2016

Eiffel Tower Color Block Pillow Cover

by Judy Tucker


Eiffel Tower Pillow Cover 17 x 17 inches

Eiffel Tower Pillow Cover 17 x 17 inches

Eiffel Tower Pillow Cover 17 x 17 inches

Eiffel Tower Pillow Cover 17 x 17 inches

We lived in Paris for about a year when I was 6.  My brother loved being there.  So when I saw Michael Miller's "Eiffel Tower" fabric line last year I purchased 1/2 yard in red and black.  (This fabric line is still available for purchase). The other fabrics are from my stash. 

Cutting Instructions for finished 17 x 17 inch cover for a 16 x 16 inch pillow form:

  • Left column:  5 1/4 x 6 3/4" Black Eiffel Tower fabric, 2 1/2 x 5 1/4" black floral, 5 1/4 x 8" Red Eiffel Tower fabric
  • Red accent strip 2 1/2 x 17 1/2"
  • Middle column: 2 1/2 x 6" Black floral, 6 x 10 3/4" Black Eiffel Tower fabric, 6 x 4 1/2" Random dot 
    • Right column: 5 1/4 x 10" Red Eiffel Tower fabric, 5 1/4 x 2 1/2" Black Floral, 5 1/4 x 5" Black Eiffel Tower Fabric
  • Bottom Strip: 1 3/4 x 17 1/2" Black polka dots.  
  • Back--cut 2 sections 11 1/2 x 17 1/2 inches

Stitch together the columns, then sew them together. Add the bottom strip.

Pillow Eiffel Tower strips.jpg
Pillow Eiffel Tower last strip.jpg

Make the back cover.  Fold the top edge of the bottom section under 1/4 inch twice, press and stitch along the bottom edge of the fold.  Fold the bottom edge of the top section under 1/4 inch twice, press and sew along the edge.  

Put the Top section of the back down first, the put the BOTTOM section on top of it to create an envelop opening. 

Pillow Eiffel Tower back section.jpg
Pillow Eiffel Tower back cover.jpg

Sew the back to the front of the pillow, right sides together.  Turn right side out and press.  Finish by top stitching 1/4 inch around all 4 sides of the pillow cover to give a decorative edge.  I didn't pre-wash the fabrics I used so I left the cover large to allow for shrinkage when washed and dried.  If you did pre-wash your fabrics, top stitch in 1/2 inch. 

Enjoy a bit of Paris at home!! 


TAGS: Eiffel Tower by Michael Miller, Eiffel Tower pillow cover, Pillow Cover


January 14, 2016

Tutorial: DYI Double Layer Flannel Scarf using Mammoth Flannel

by Judy Tucker in Tutorial


Have you seen Robert Kaufman's Mammoth Flannel?  It's amazing!  Like fine wool plaids without the itch!   

This flannel makes soft, warm scarfs.  Here's a tutorial for a very quick, double layer flannel scarf. 

Supplies:

  • 2 yards of Robert Kaufman's Mammoth Flannel  (makes 2 scarves)
  • Thread to match the dominant color in the plaid
  • Sewing machine
  • Pins
  • Rotary blade and ruler or scissors

Instructions:

  • Trim the ends of your yardage. Open it up and cut along one of the lines in the plain from selvage to selvage.
  • Cut off each selvage.  A rotary blade and ruler makes this job easy but scissors are just fine too.
Trim the selvage

Trim the selvage

  • Cut the yardage in half along the length of yardage. This will make 2 scarves approximately 72 inches long and 20 inches wide.
  • Create a fringe along both SHORT sides of the scarf. This is done by removing threads running across the fabric.  It helps to use a pin to pull out a thread so you can grasp it with your fingers and pull it out.  It is possible to pull 2 threads at a time but the threads tend to break if more than 2 threads are pulled out at a time. I made a fringe about 1/2 inch long.
Using a pin to pull out a thread which will be removed, creating a fringe

Using a pin to pull out a thread which will be removed, creating a fringe


  • Using one of the lengths of cut flannel, fold in half with RIGHT sides together on the LONG side.  Pin along the long side, making sure the plaid matches at the raw edges of the fabric. 
The scarf is folded in half the long way and pinned on the raw edge, matching the plaid carefully

The scarf is folded in half the long way and pinned on the raw edge, matching the plaid carefully

  • Sew a 1/2 inch seam along the LONG side of the scarf, backstitching at the beginning and end of the seam to reinforce the stitching.  Press the seam to set the stitches.
  • Turn the scarf right side out.  Press the seam flat.
  • Sew the 2 layers together at each end of the scarf, stitching about 1/4 inch in from the fringe.
Stitching 1/4 inch in from the fringe (the thread used is a navy blue)

Stitching 1/4 inch in from the fringe (the thread used is a navy blue)

  • Trim any straggling threads along the edge of your fringe.
Straggling threads have been trimmed from the fringe.

Straggling threads have been trimmed from the fringe.

That's it!  Your scarf is ready to wear!  Now make the other one for a friend!!

TAGS: Mammoth Flannel, DYI Scarf Tutorial, Flannel Scarf, Tutorial, Robert Kaufman flannel


January 11, 2016

Waldorf Doll--Soft Body Girl for a Toddler

by Judy Tucker


Soft Body Waldorf Doll for a Toddler

Soft Body Waldorf Doll for a Toddler

Soft Body Waldorf Doll for a Toddler

Soft Body Waldorf Doll for a Toddler

In early December, a friend asked if I had time to make her 12 month old granddaughter a doll.  I had a head for a Waldorf type doll that I had made earlier this year, so this was an easy "Yes!"

I often draw my own doll patterns but this time I used a pattern from Maricristin Sealey brilliant book, Making Waldorf Dolls, Creative Doll-Making with Children.  The pattern had button hands and button feet.  I knew this little girl loves taking shoes off dolls, so I did draw a pattern so the doll would have real feet. 

With this type of soft doll, the clothes are the body.  As will all Waldorf type dolls, her head and body are sheep's wool, her trunk and arms are an interlock knit and her legs are a plush polyester fabric which isn't traditional.  (Typically cotton velour is the fabric of choice as that is a natural fiber).  The book had a pattern for the sweet felt vest and I made a pattern for her elfin boots.

The doll is so soft and cuddly.  Working on her made me want to go right off and take a nap!!

Doll Soft Waldorf doll standing.jpg
Doll Soft Waldorf doll back view.jpg
Doll Soft Waldorf doll w shoes standing.jpg


January 6, 2016

Christmas Forest Frolicking Fun Quilt

by Judy Tucker


On the Twelfth Day of Christmas I want to show my Quilt.  

It has 1 cherry block, 2 red squares, 3 shades of green, 4 red rectangles, 5 quilting stitches, 7 foxes sledding, 8 bunny trios, 10 rabbits guarding, 11 foxes leaping and 12 Christmas presents... but that's not quite the song!!  

This is my 2015 Christmas quilt.  It's an original pattern. I sat down one day in December and sketched out the design on graph paper.  It's interesting how different the finished quilt seems than the quilt in the sketch, though clearly it is the same pattern. It may be the difference between the 2 dimensional drawing and the quilt which has texture, or maybe it's the color intensity of the fabrics.  

I used my fabric, Christmas Forest Frolicking Fun, printed by Spoonflower.com with Kona® solids for the greens and reds.  The two whites are a sateen and a white on white large snowflake print. The quilt, with so much white negative space, has a very festive, snowy feel.  

The back is a large intense floral with dark reds, greens, pinks and purples. The contrast is unexpected but really works!

TAGS: modern quilt, Four Square Patches, Spoonflower.com, Christmas Quilt, Christmas forest scene


January 4, 2016

Waldorf Style Soft Infant Doll: Small Petal Doll

by Judy Tucker


I had some small scraps of the knit that I use as doll skin so I decided to make a smaller Petal doll.  This soft Waldorf style soft doll is suitable for an infant. 

Her head is 2 inches high and 7 inches in diameter.  From the top of her head (not the tip of her hat) to the hem of her dress she is 10 inches.

The first Petal doll I made had a hard core under her head.  This time I wanted her to have a steady neck but a soft core.  I also gave this doll real hands. Here's what I did.

Doll Small Petal Head-3.jpg
Doll Small Petal  Finished inset-3.jpg
Doll Small Petal dress body-3.jpg
Doll Small Petal finished on mat-3.jpg

I took the small Petal doll over to a neighbor who has a 10 month old little girl.  I handed the doll to her mom but the little girl intercepted the handoff!  She clearly knew the doll was something she wanted!  Now that's what I call a success!

2 Comments

December 31, 2015

Drafting Doll Clothes

by Judy Tucker


Do you have days when it feels like all your creative endeavors intersect?  This is one of those times!  

I made a knit dress for my toddler niece out of lovely knit fabric I had printed with "My Flower Garden" design at Spoonflower.com.  I gave her a Bamboletta baby doll for Christmas.  The good folks at Bamboletta.com dress their baby dolls in super cute sleeper suits.  But sometimes a girl just needs a dress!!  There aren't commercial patterns to fit these handmade baby dolls. So, I needed to make my own pattern.

During the summer I took Cal Patch's Master Pattern Drafting Work-Along on Creativebug.com.  I learned to draft a dress/tunic pattern and a skirt pattern. If it works for me, it should work for a doll too!

I took out Cal's measurement sheet and measured the doll.  Then I drafted a pattern for a T-shirt dress to match the one I made for my niece. 

Other than the Curve Ruler not working on such a small pattern, the drafting and the pattern worked beautifully!!  The dress went together perfectly!!

I got such a kick out of doing this project!!  The design on the fabric was mine, the pattern was mine and the doll's dress was my creation too!  Super fun!

TAGS: Bamboletta, CreativeBug.com, Cal Patch, drafting patterns for clothes


December 28, 2015

Made by Maker Friends, Post 3

by Judy Tucker


This is my third post of Christmas gifts I've received over the years from my friends who are also Makers. 

Above are three 7 1/2 inch hand knit Christmas stocking for my dogs...Tipper, Hazel and Taffy!  The were made by my friend Edith, constant knitter, calligrapher and fine printer.  What lucky dogs to have their own handmade stockings!

But wait!  She made another trio of Christmas stockings for my first 3 dogs.  These measure 5 inches.


Edith makes stuffed knitted creations too!   2 lovely sheep and an elf!!  (No, that's definitely not a shepherd)!!

Christmas knitted sheep.jpg
Christmas Knitted elf.jpg


  • Newer
  • Older

Powered by Squarespace 7