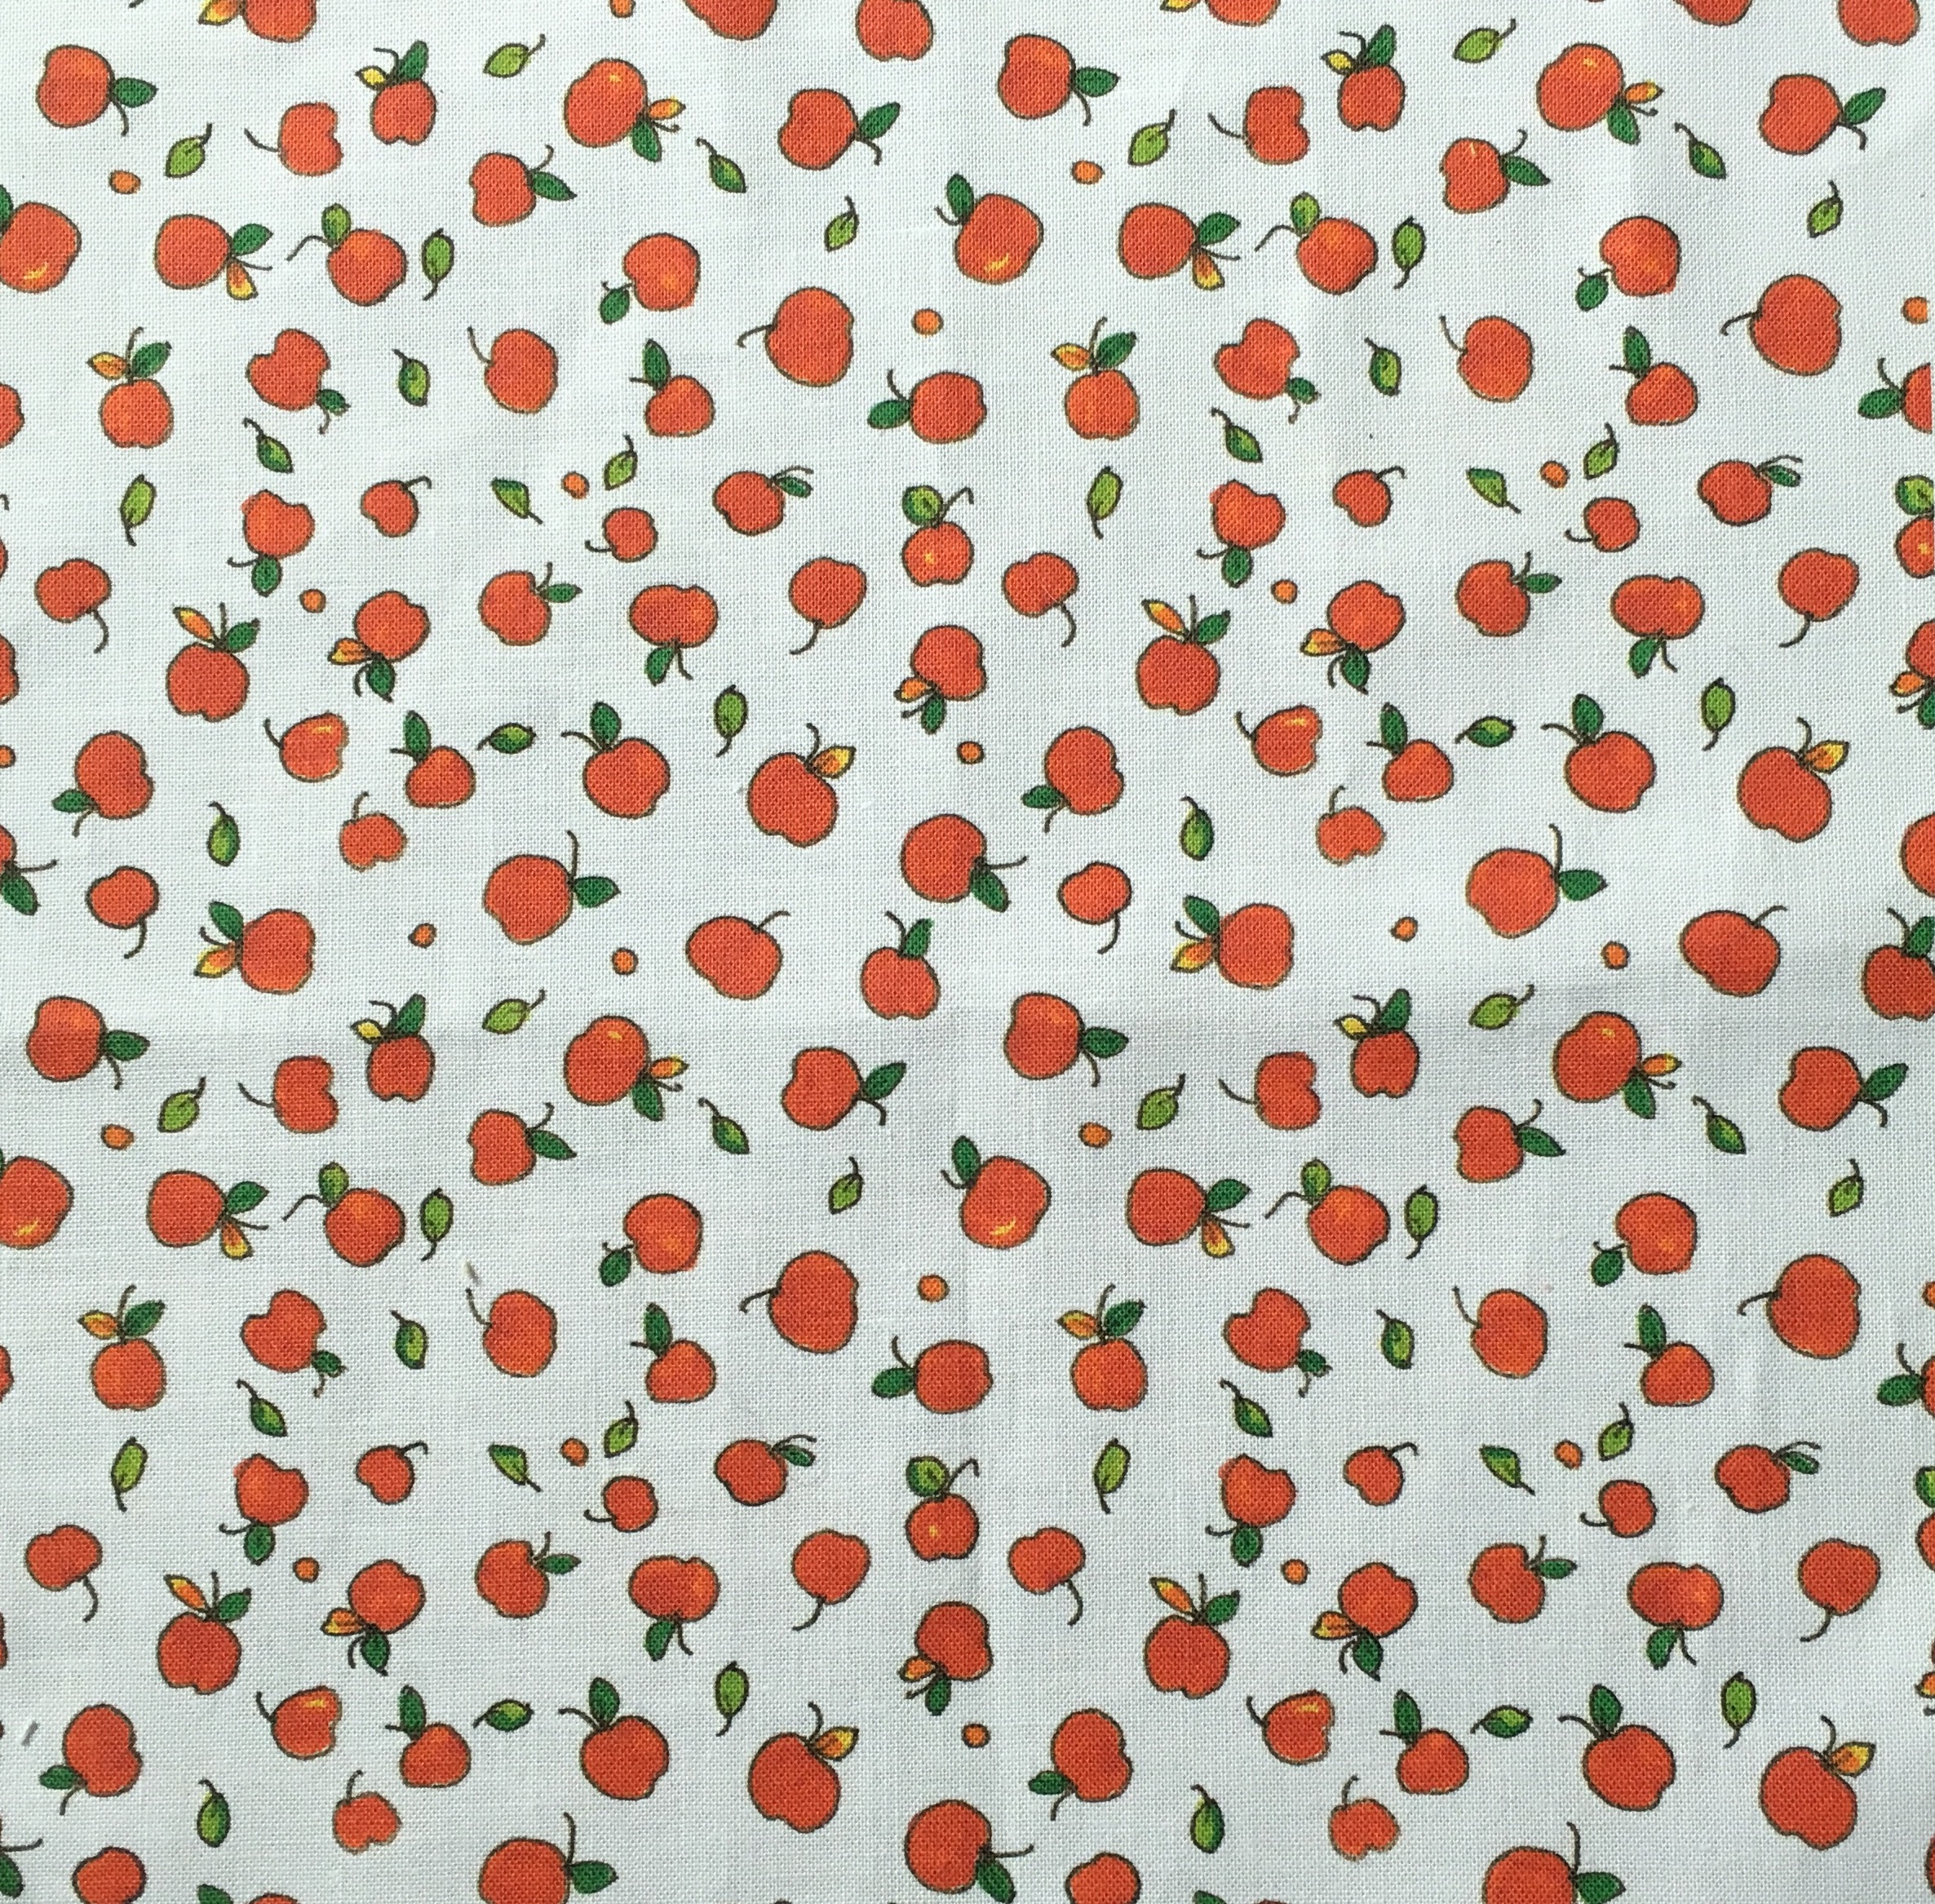
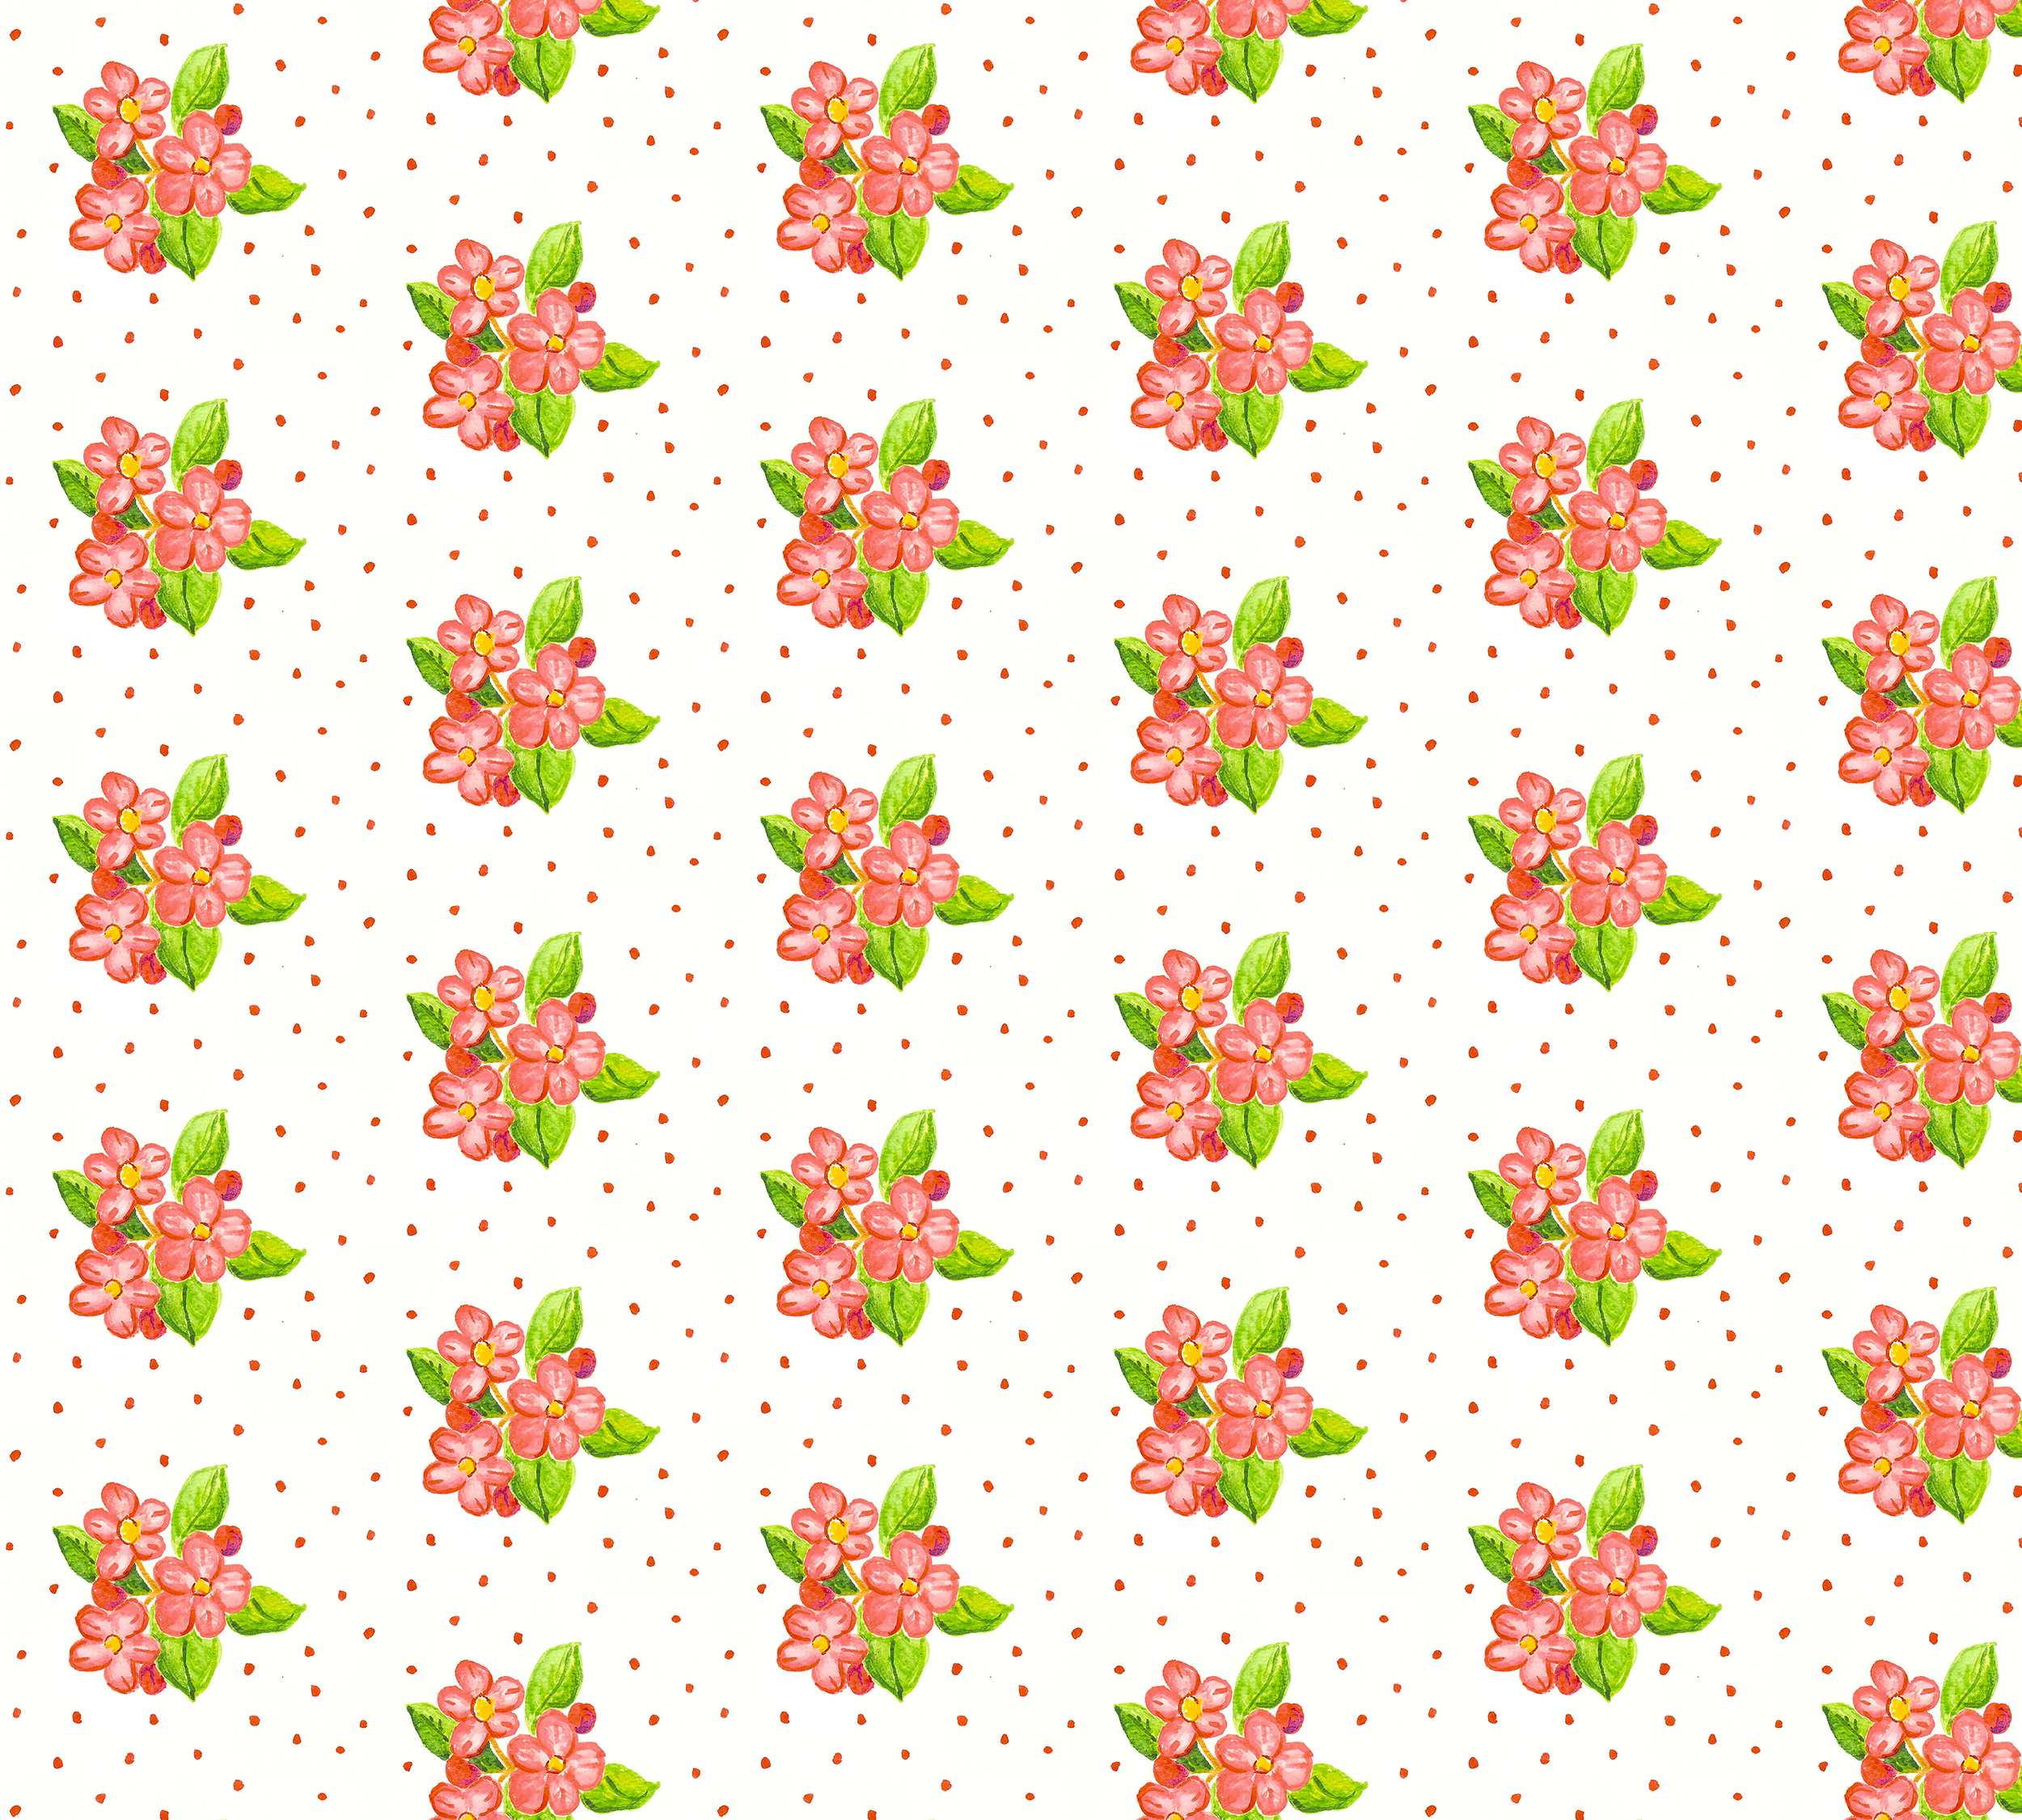
Watercolor Apple Blossoms
The Spoonflower Design-a-Day Challenge finished up the middle of last week. It was quite an adventure! Designing a new fabric pattern every day for 15 days is enough to make your head spin--and some days mine was!! But it was so much fun and I learned so much using all the techniques and design elements.
I posted some of my fabric designs created for the challenge on May 7, 2016. Here are the the rest of the designs I created during this 15 day challenge.
Left to right:
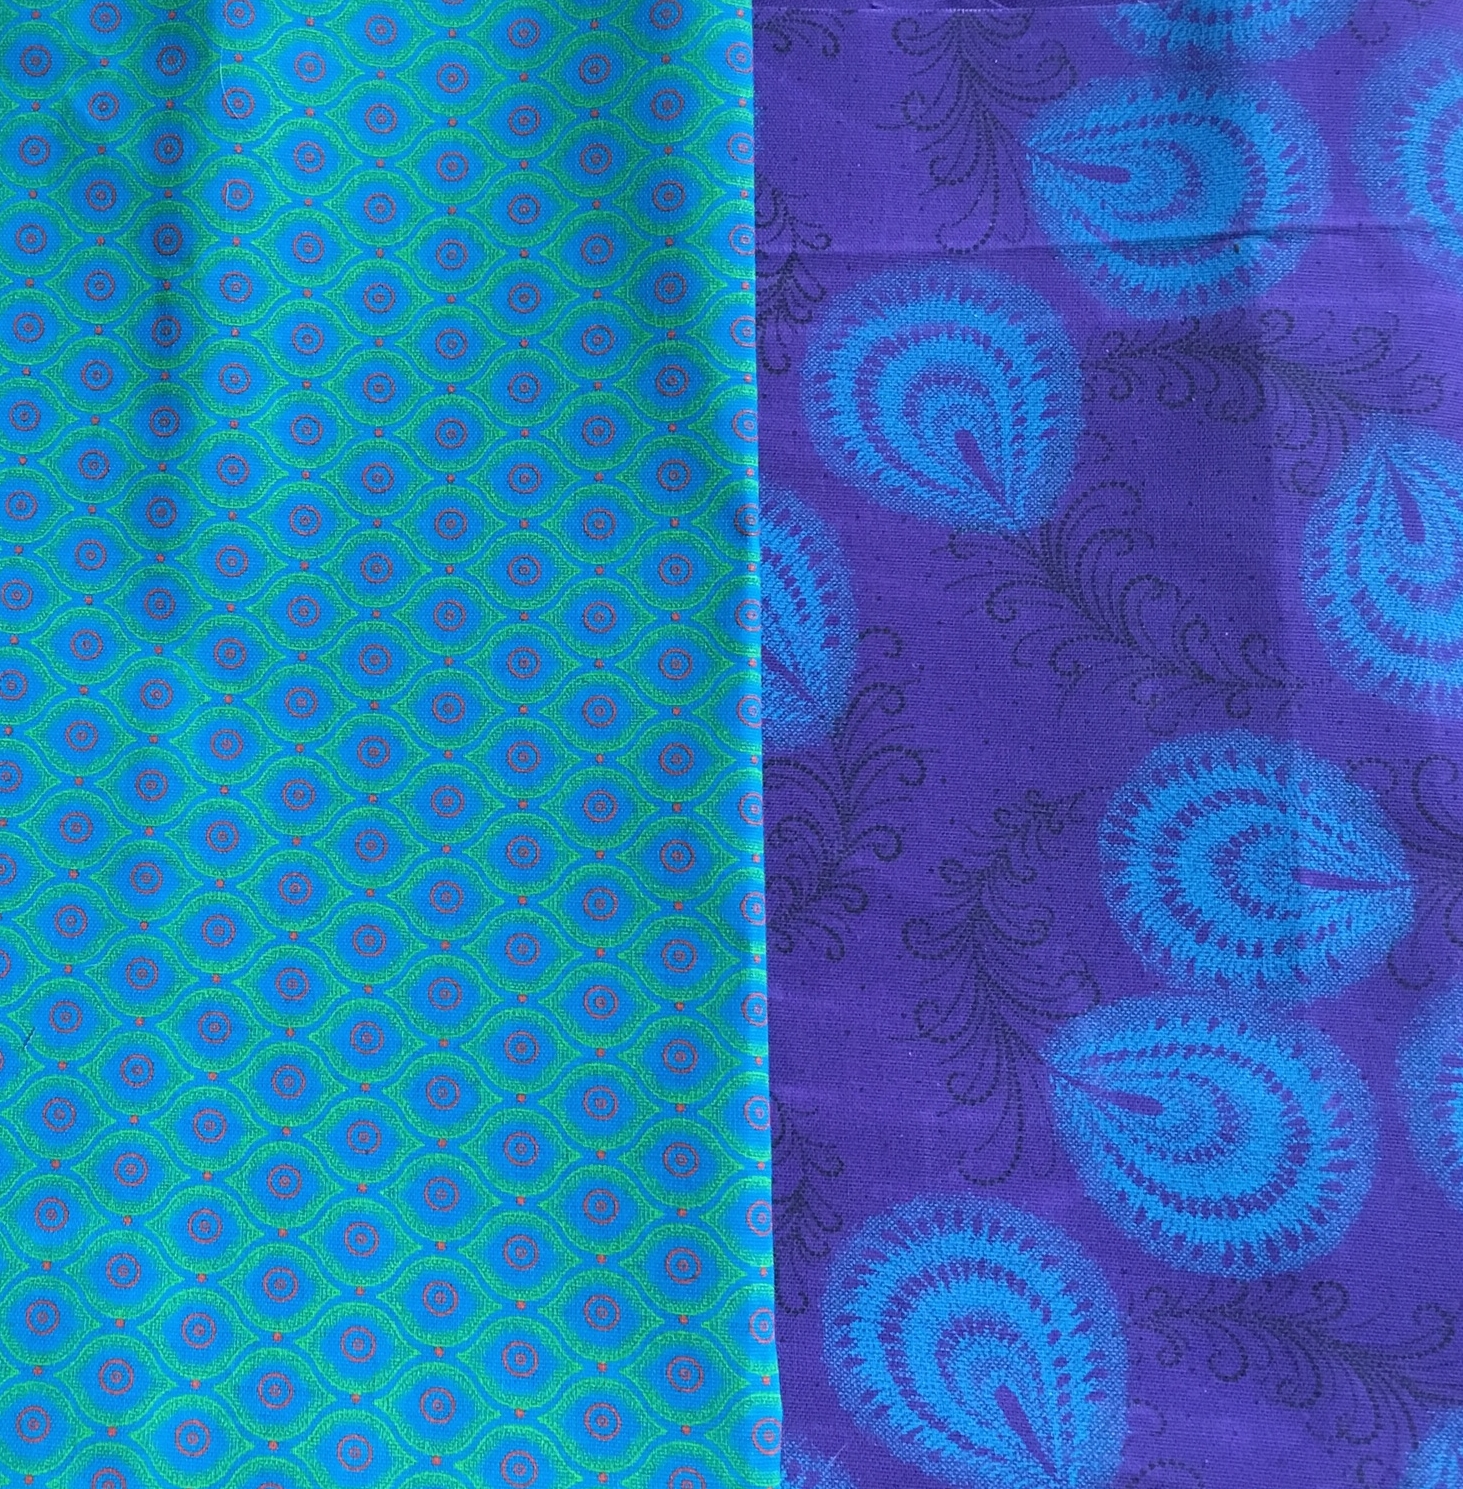
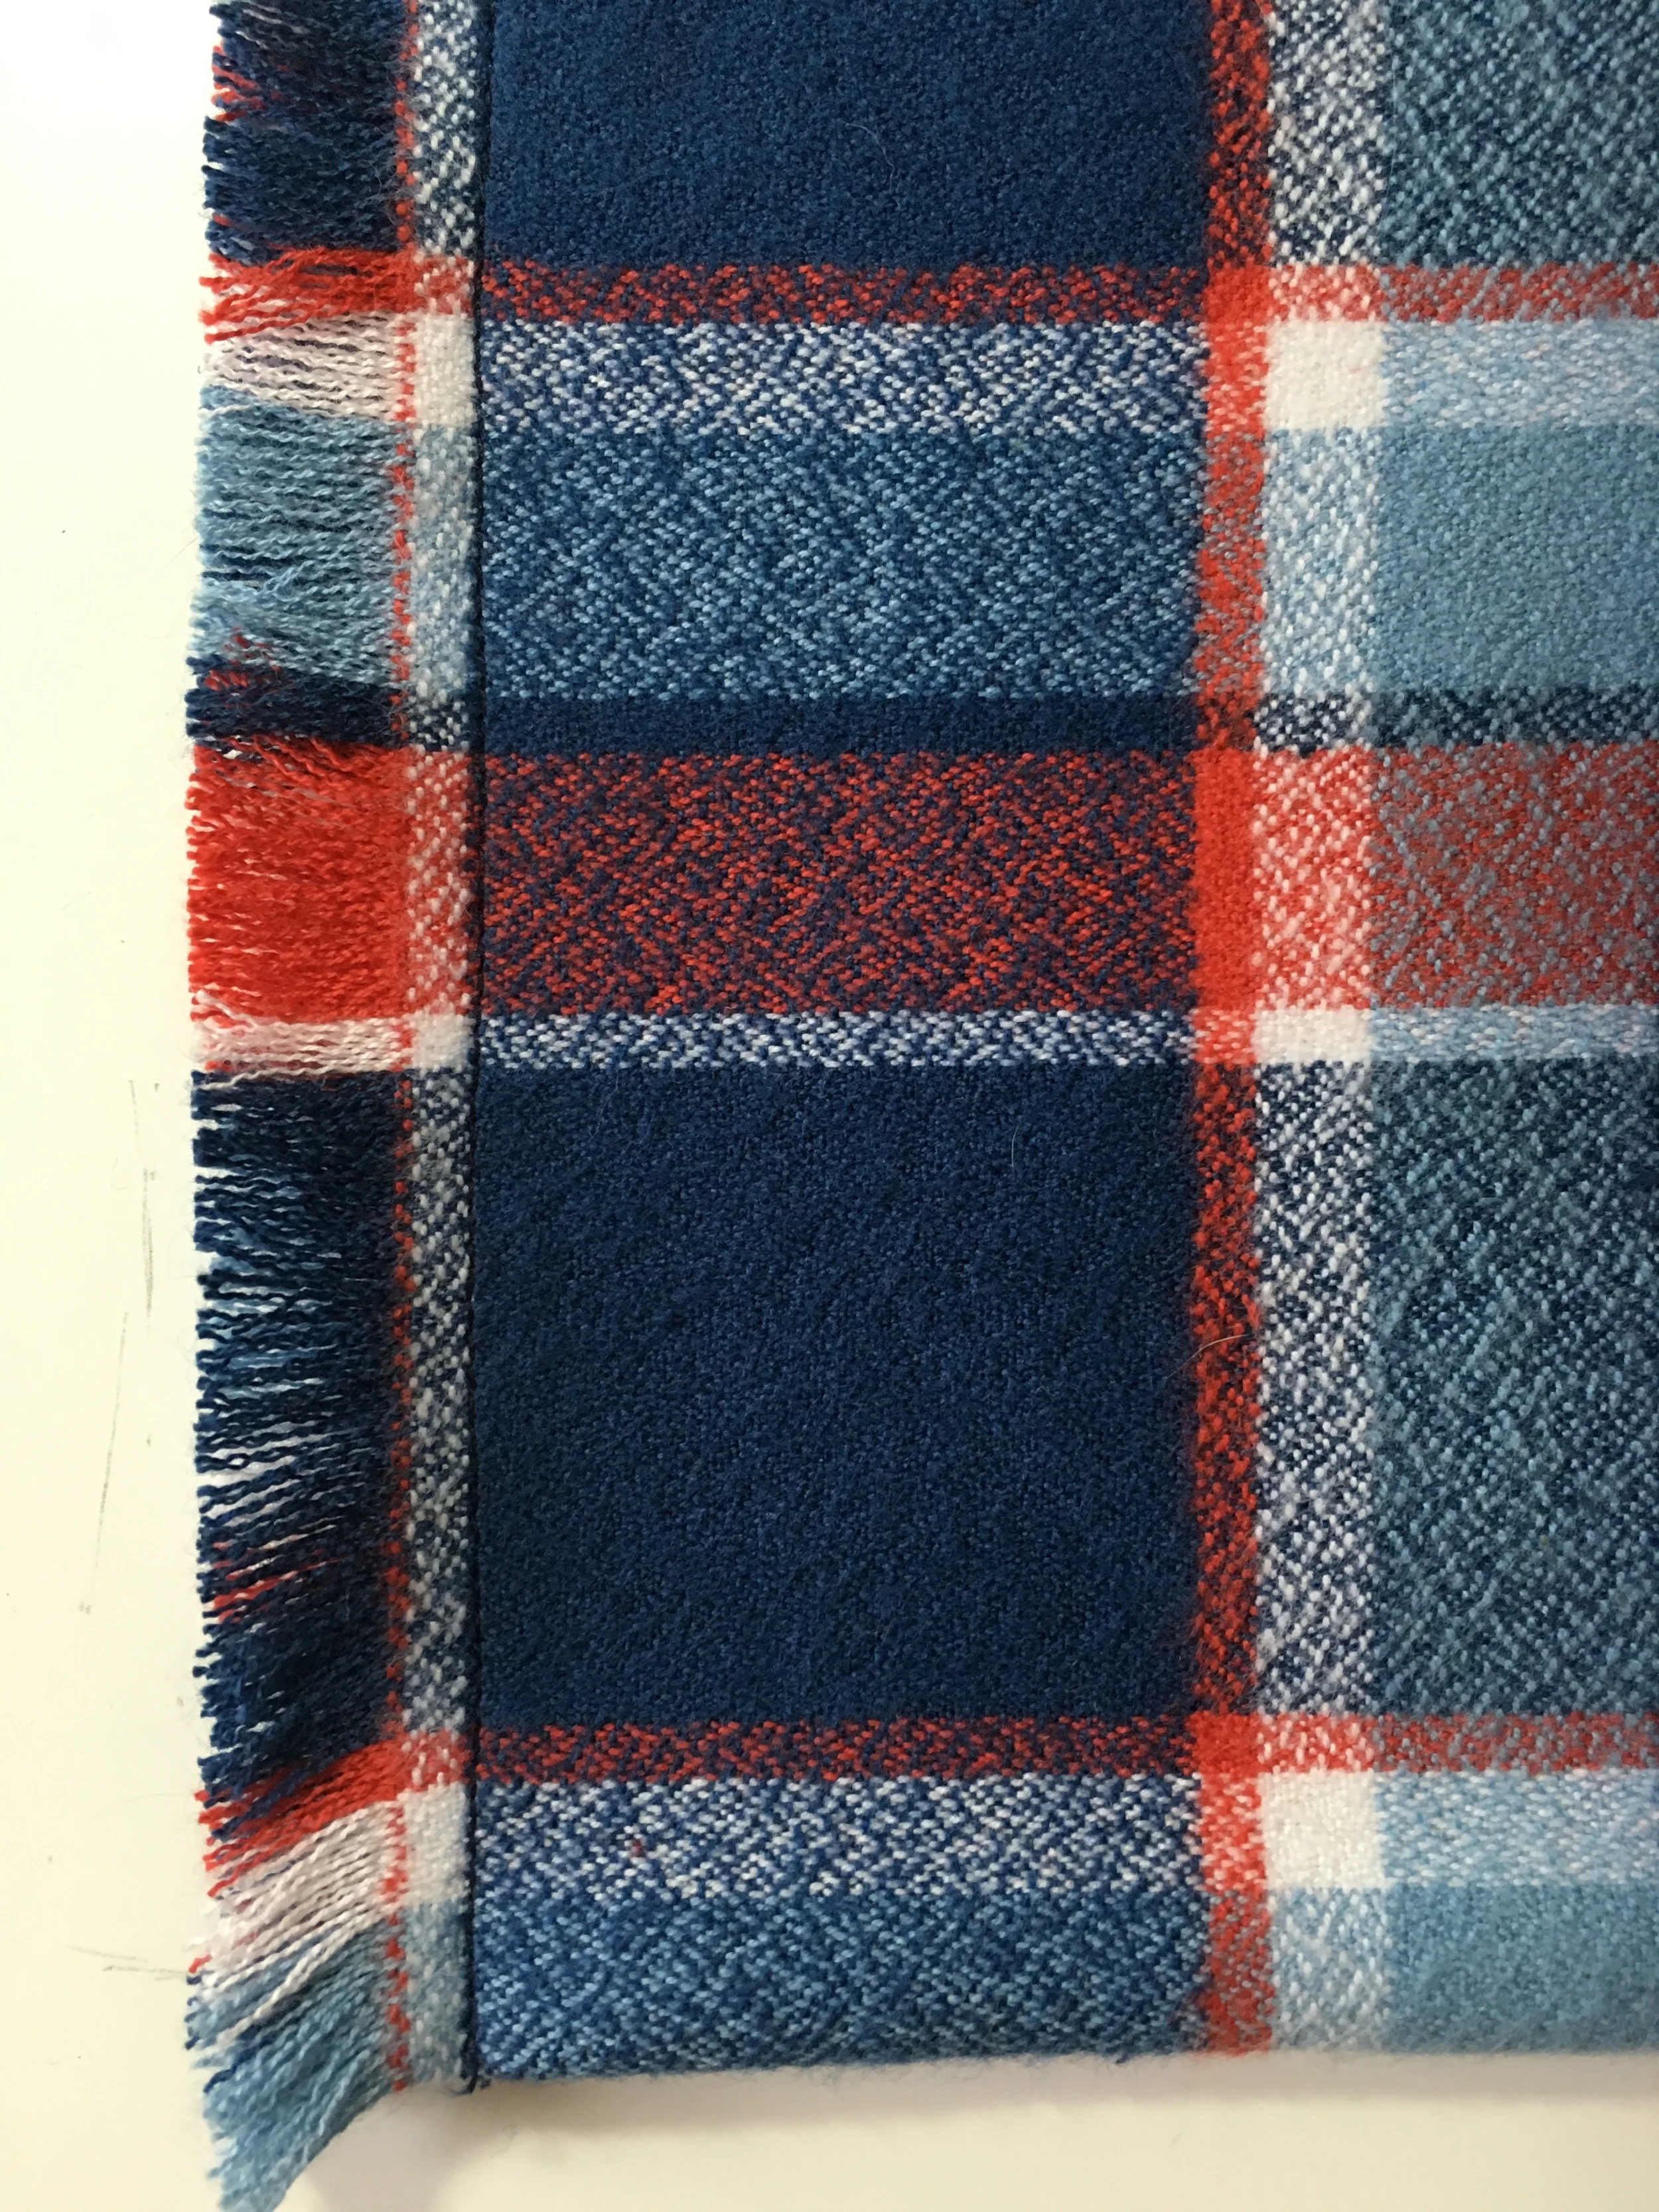
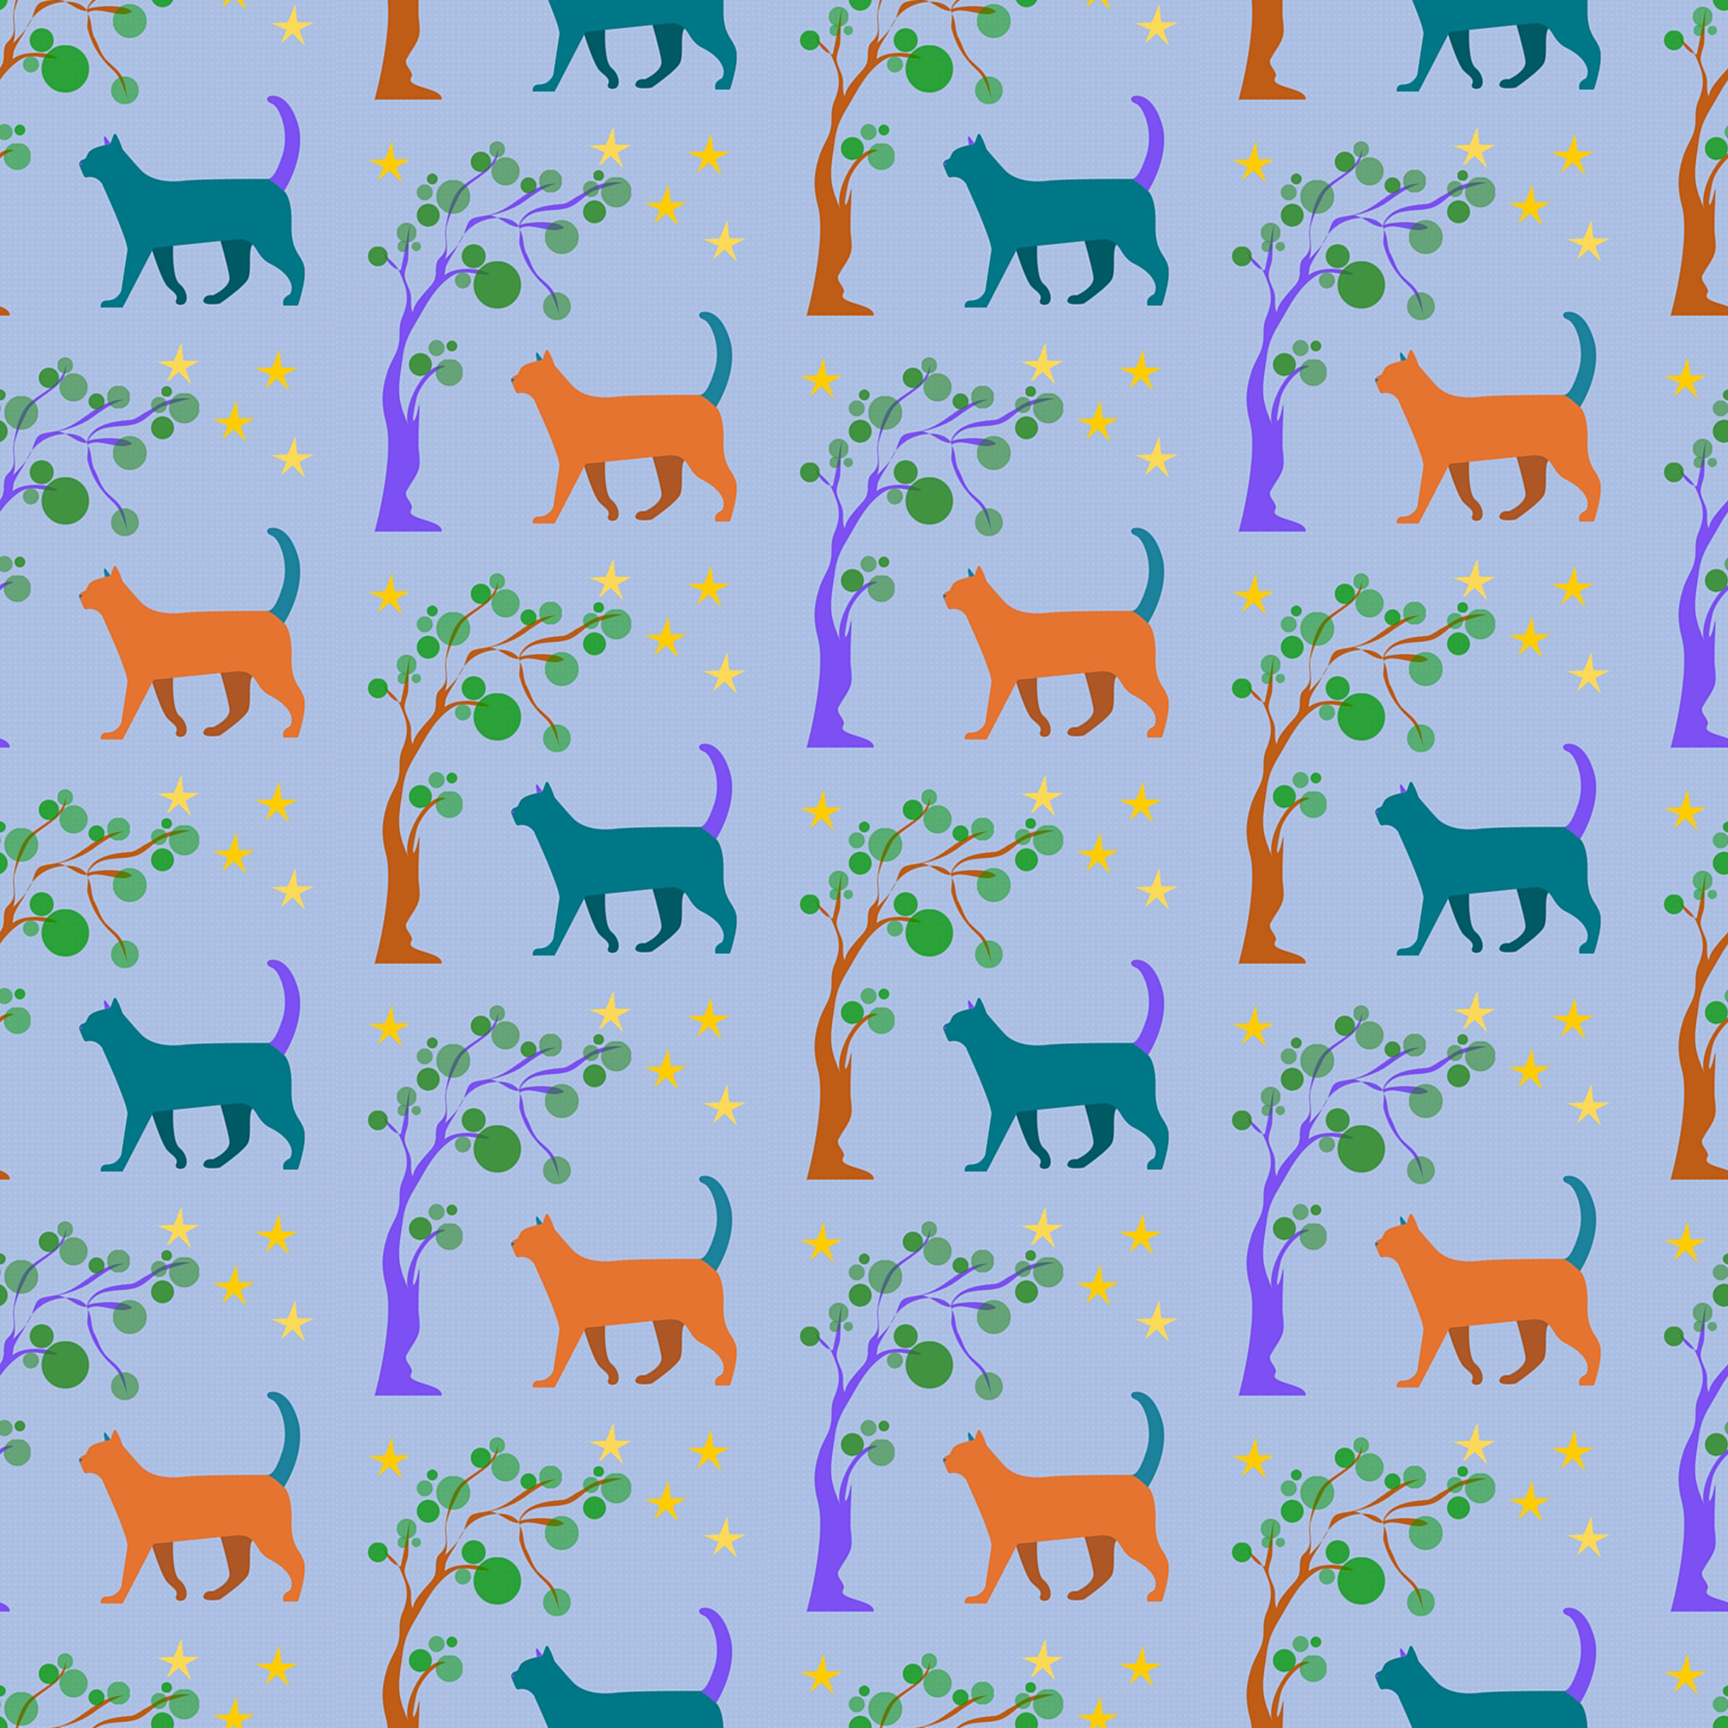
Row 1: Springers: Vectors, Low Volume Fallen Log: Photographic, Cats: Open Source Designs
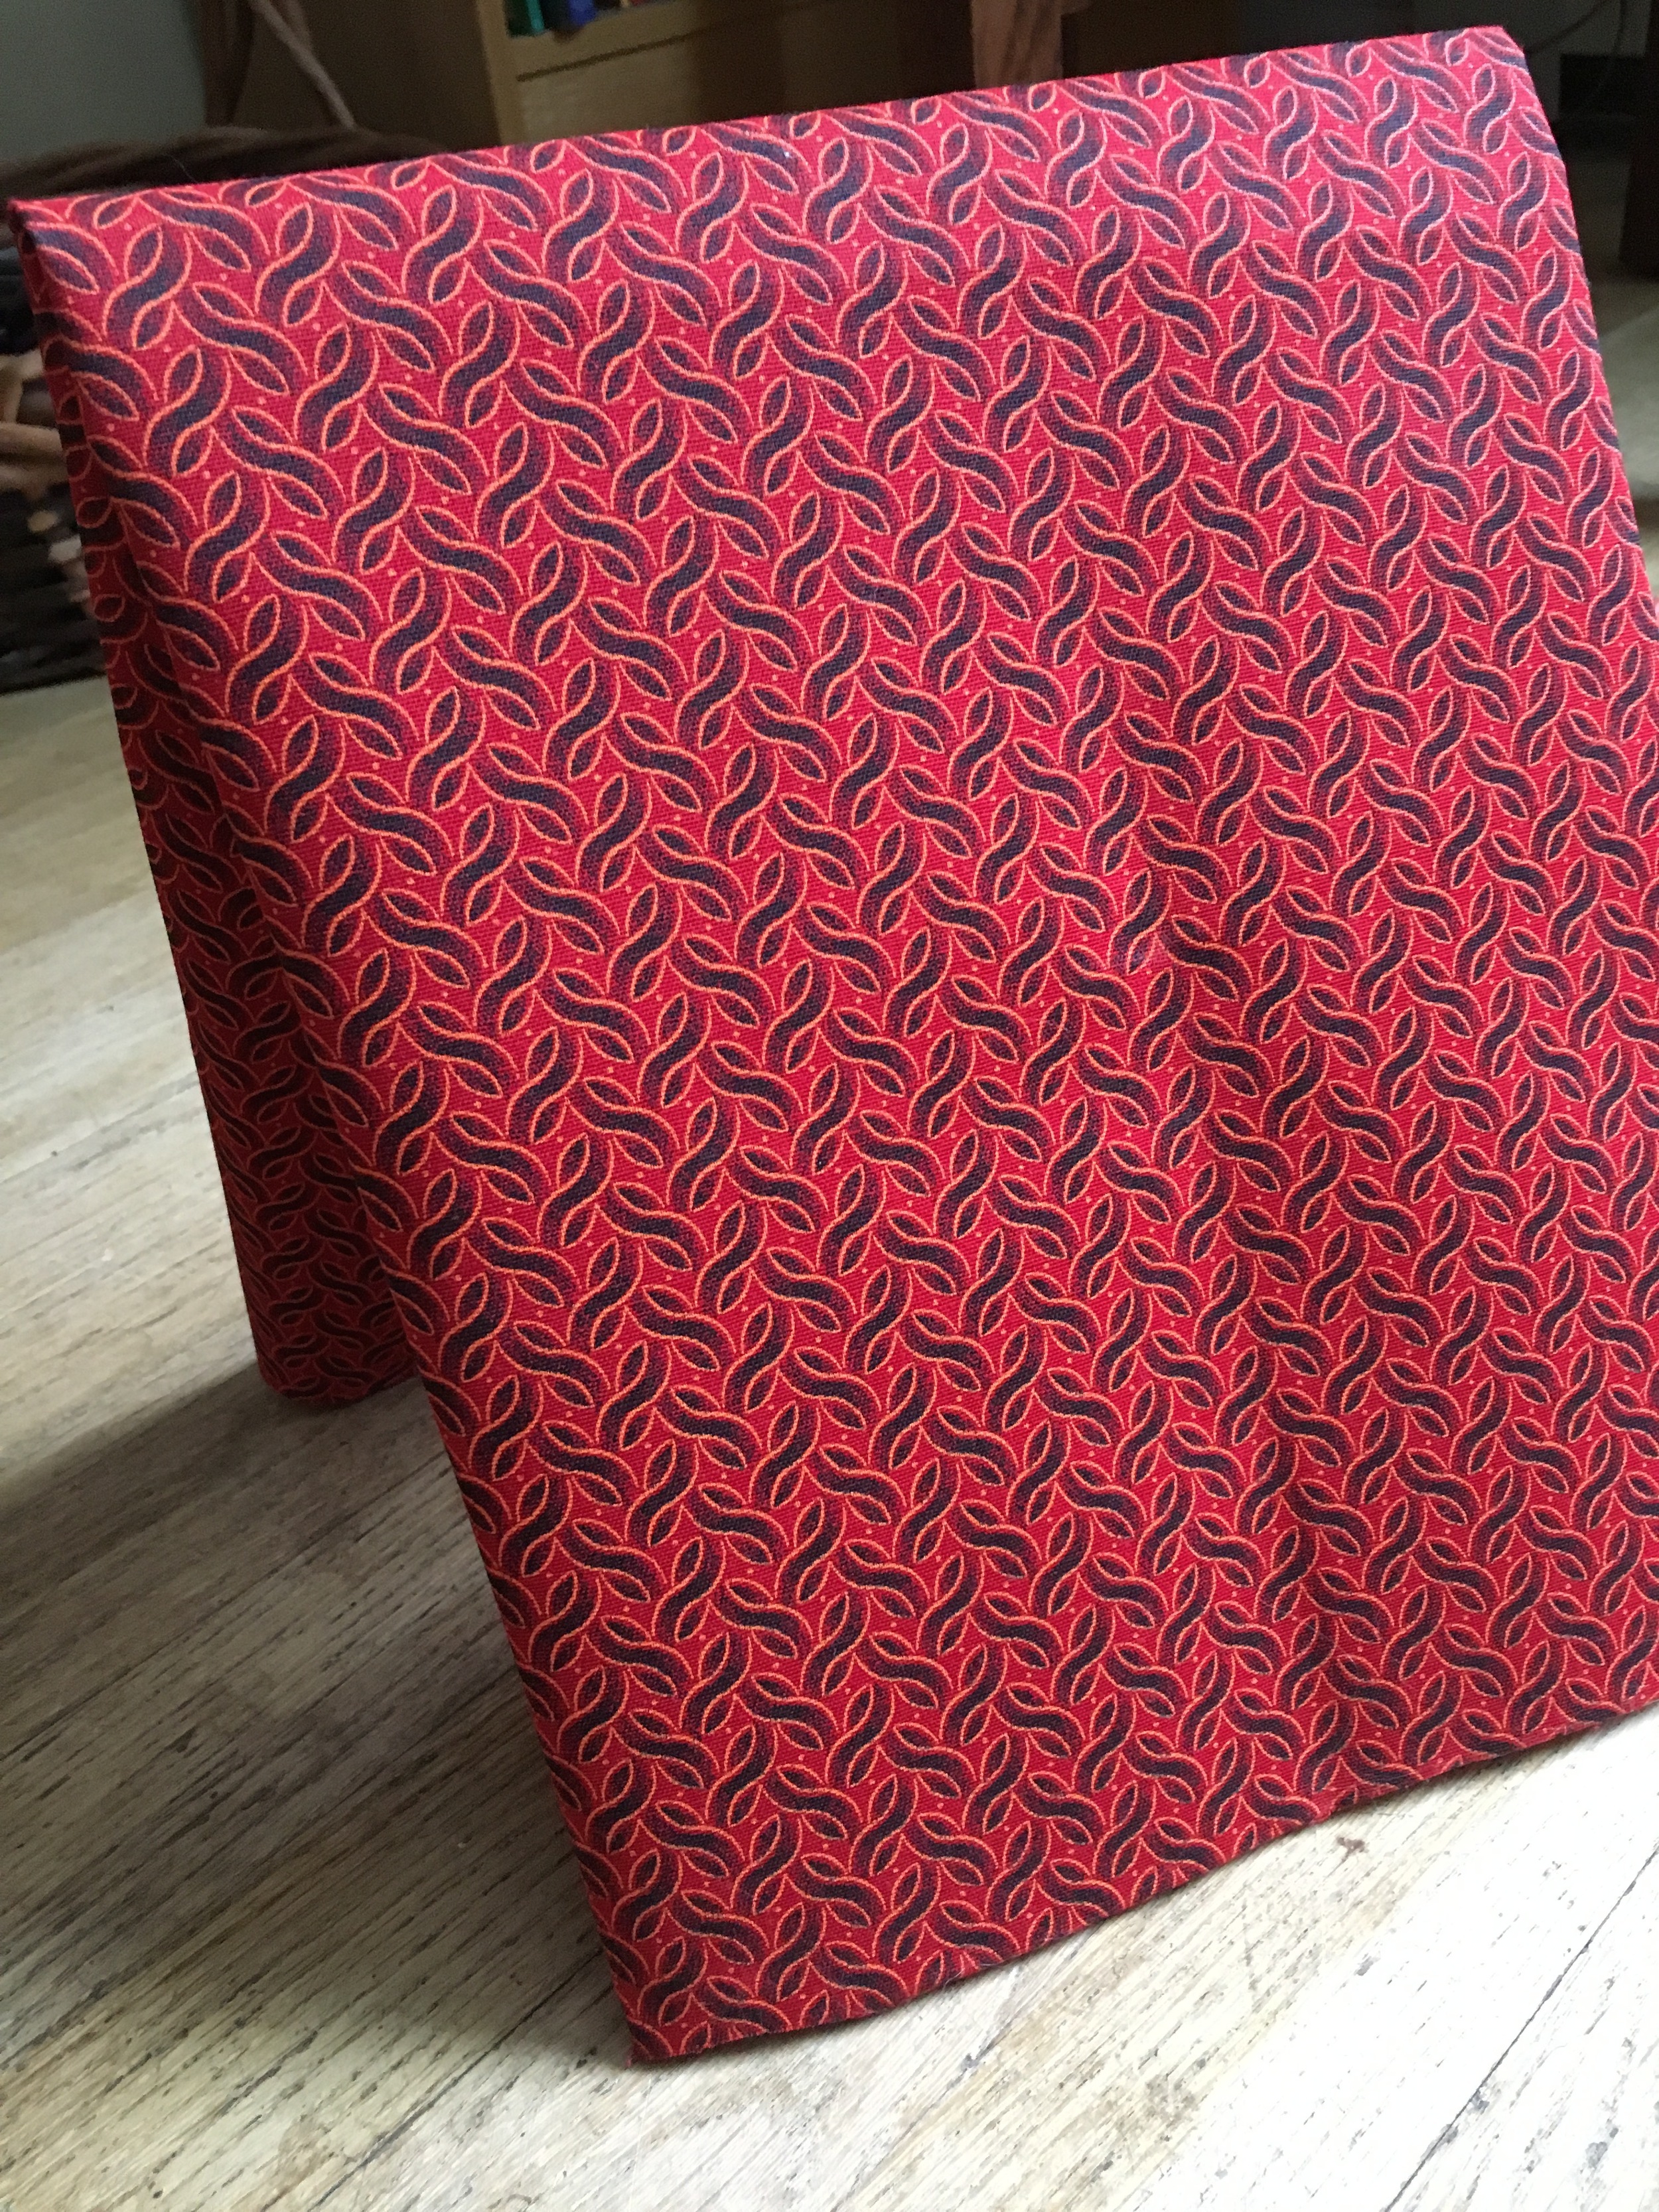
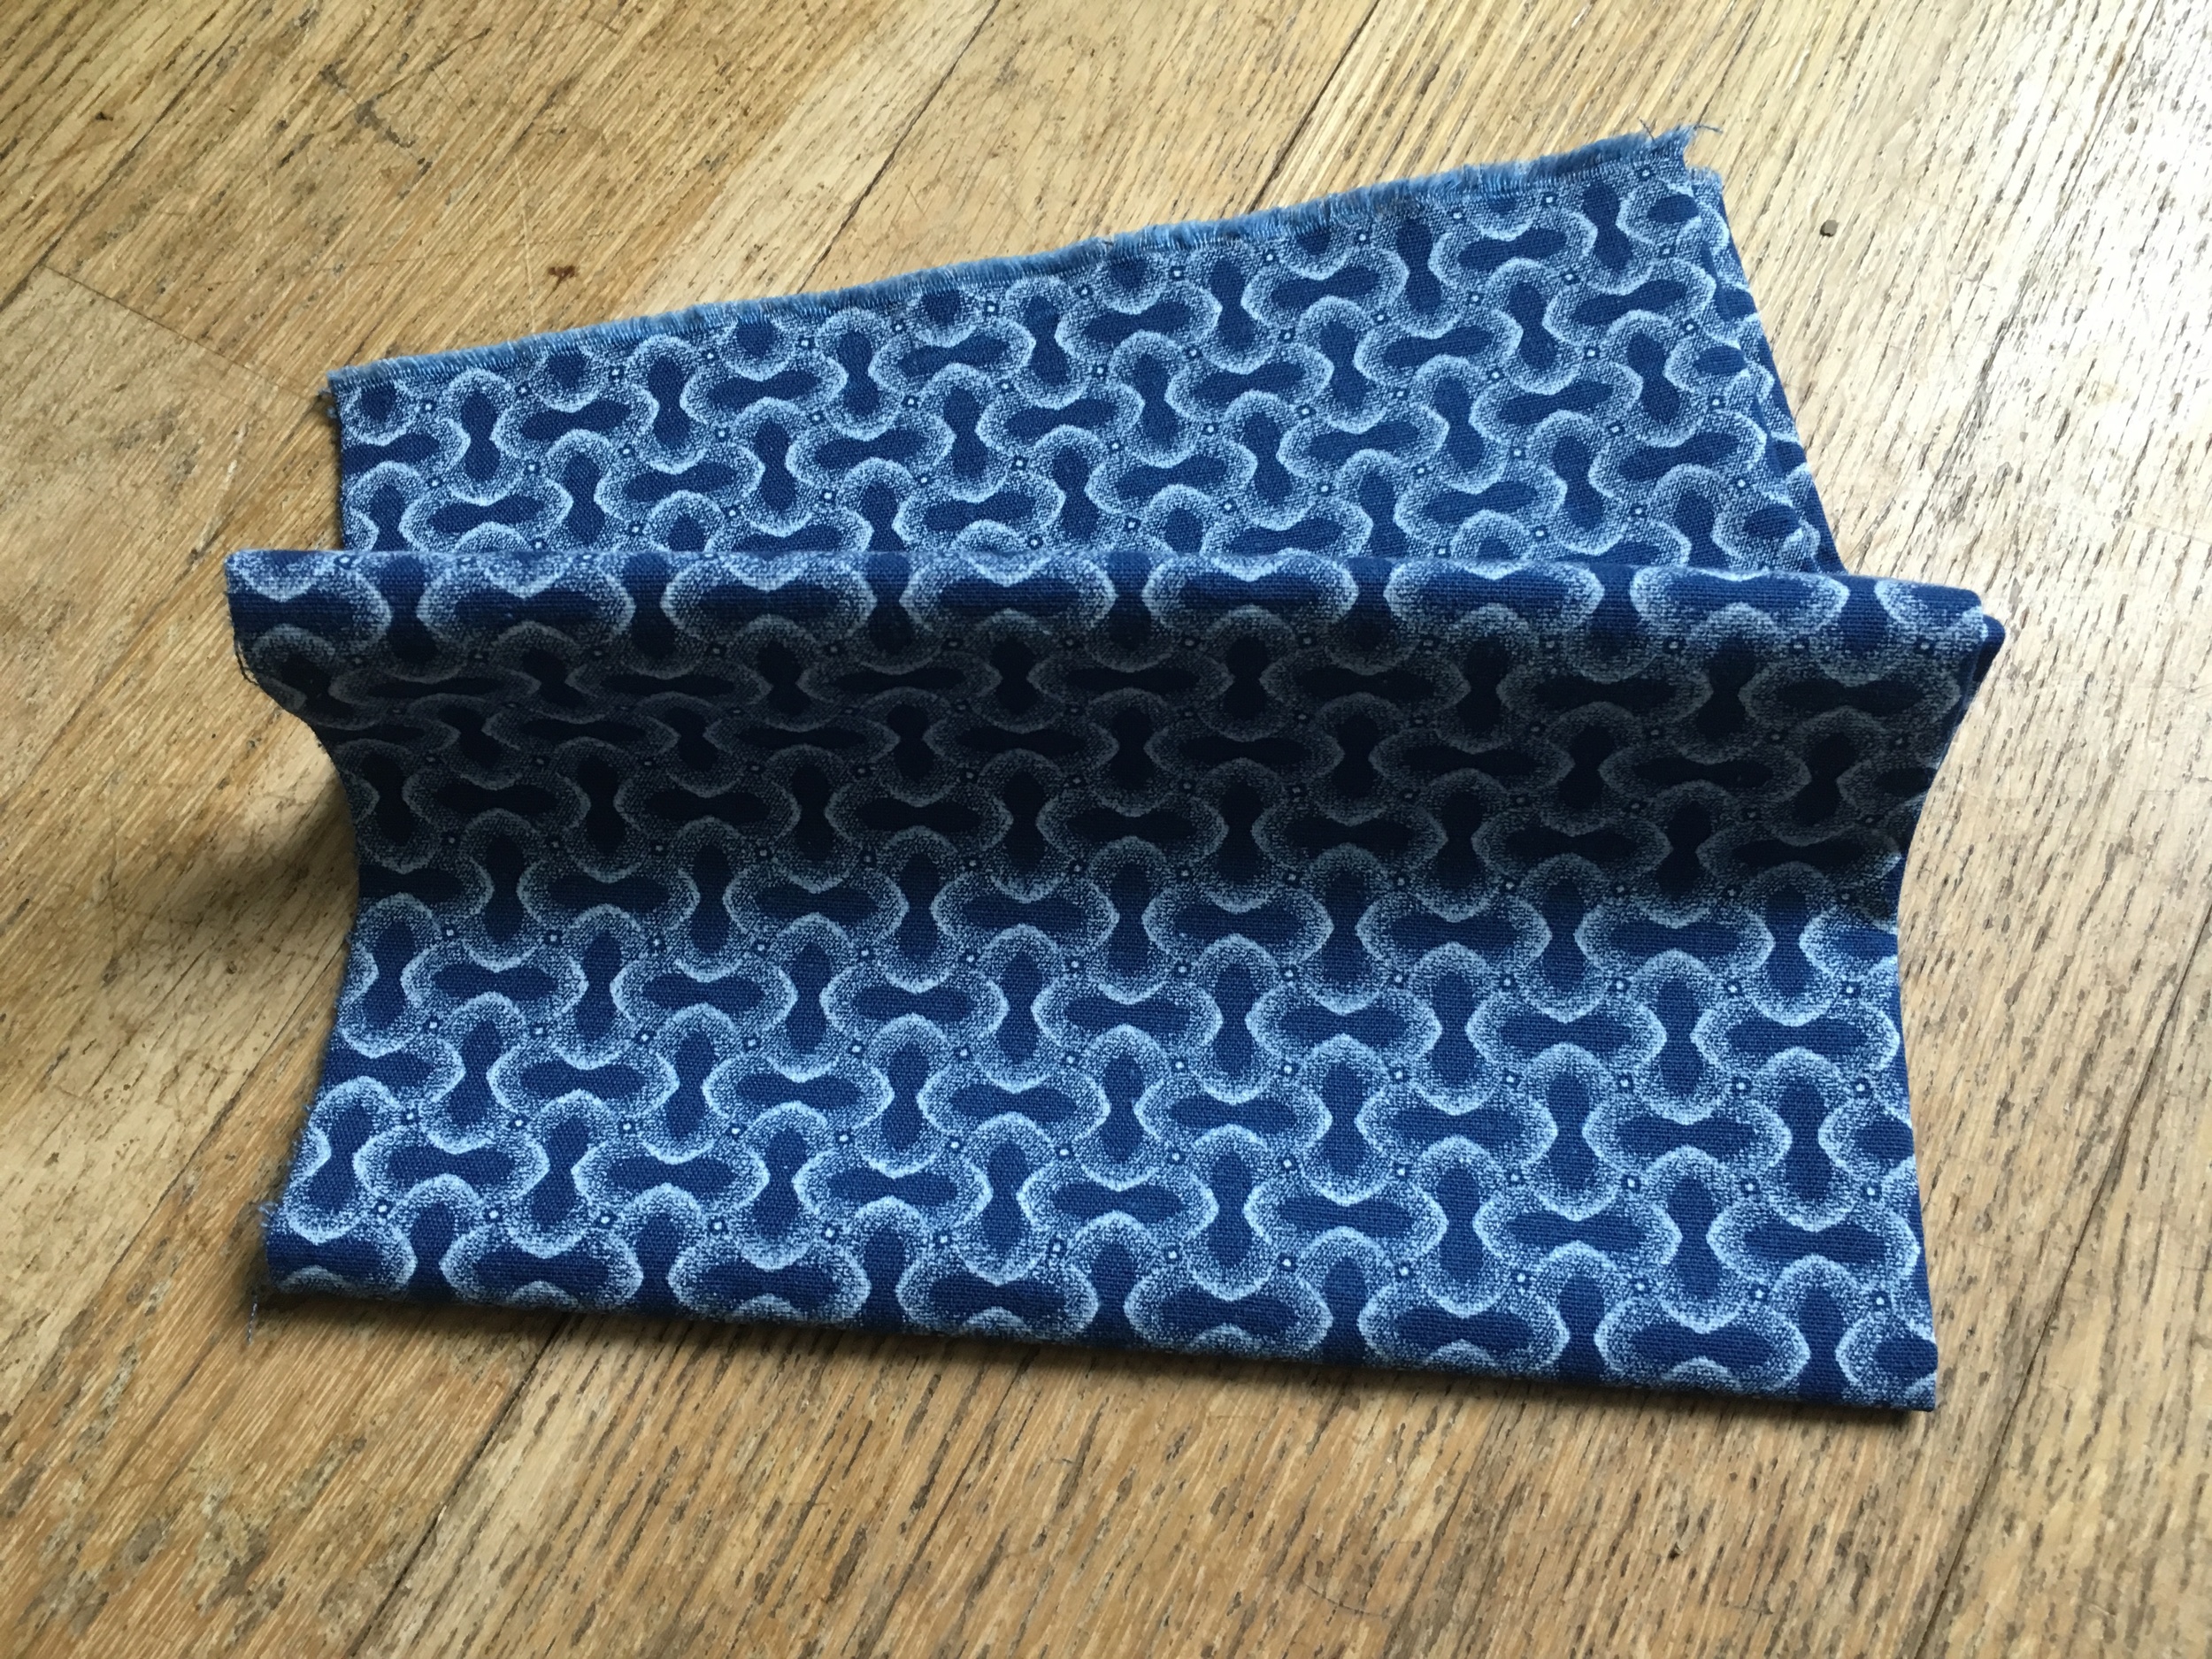
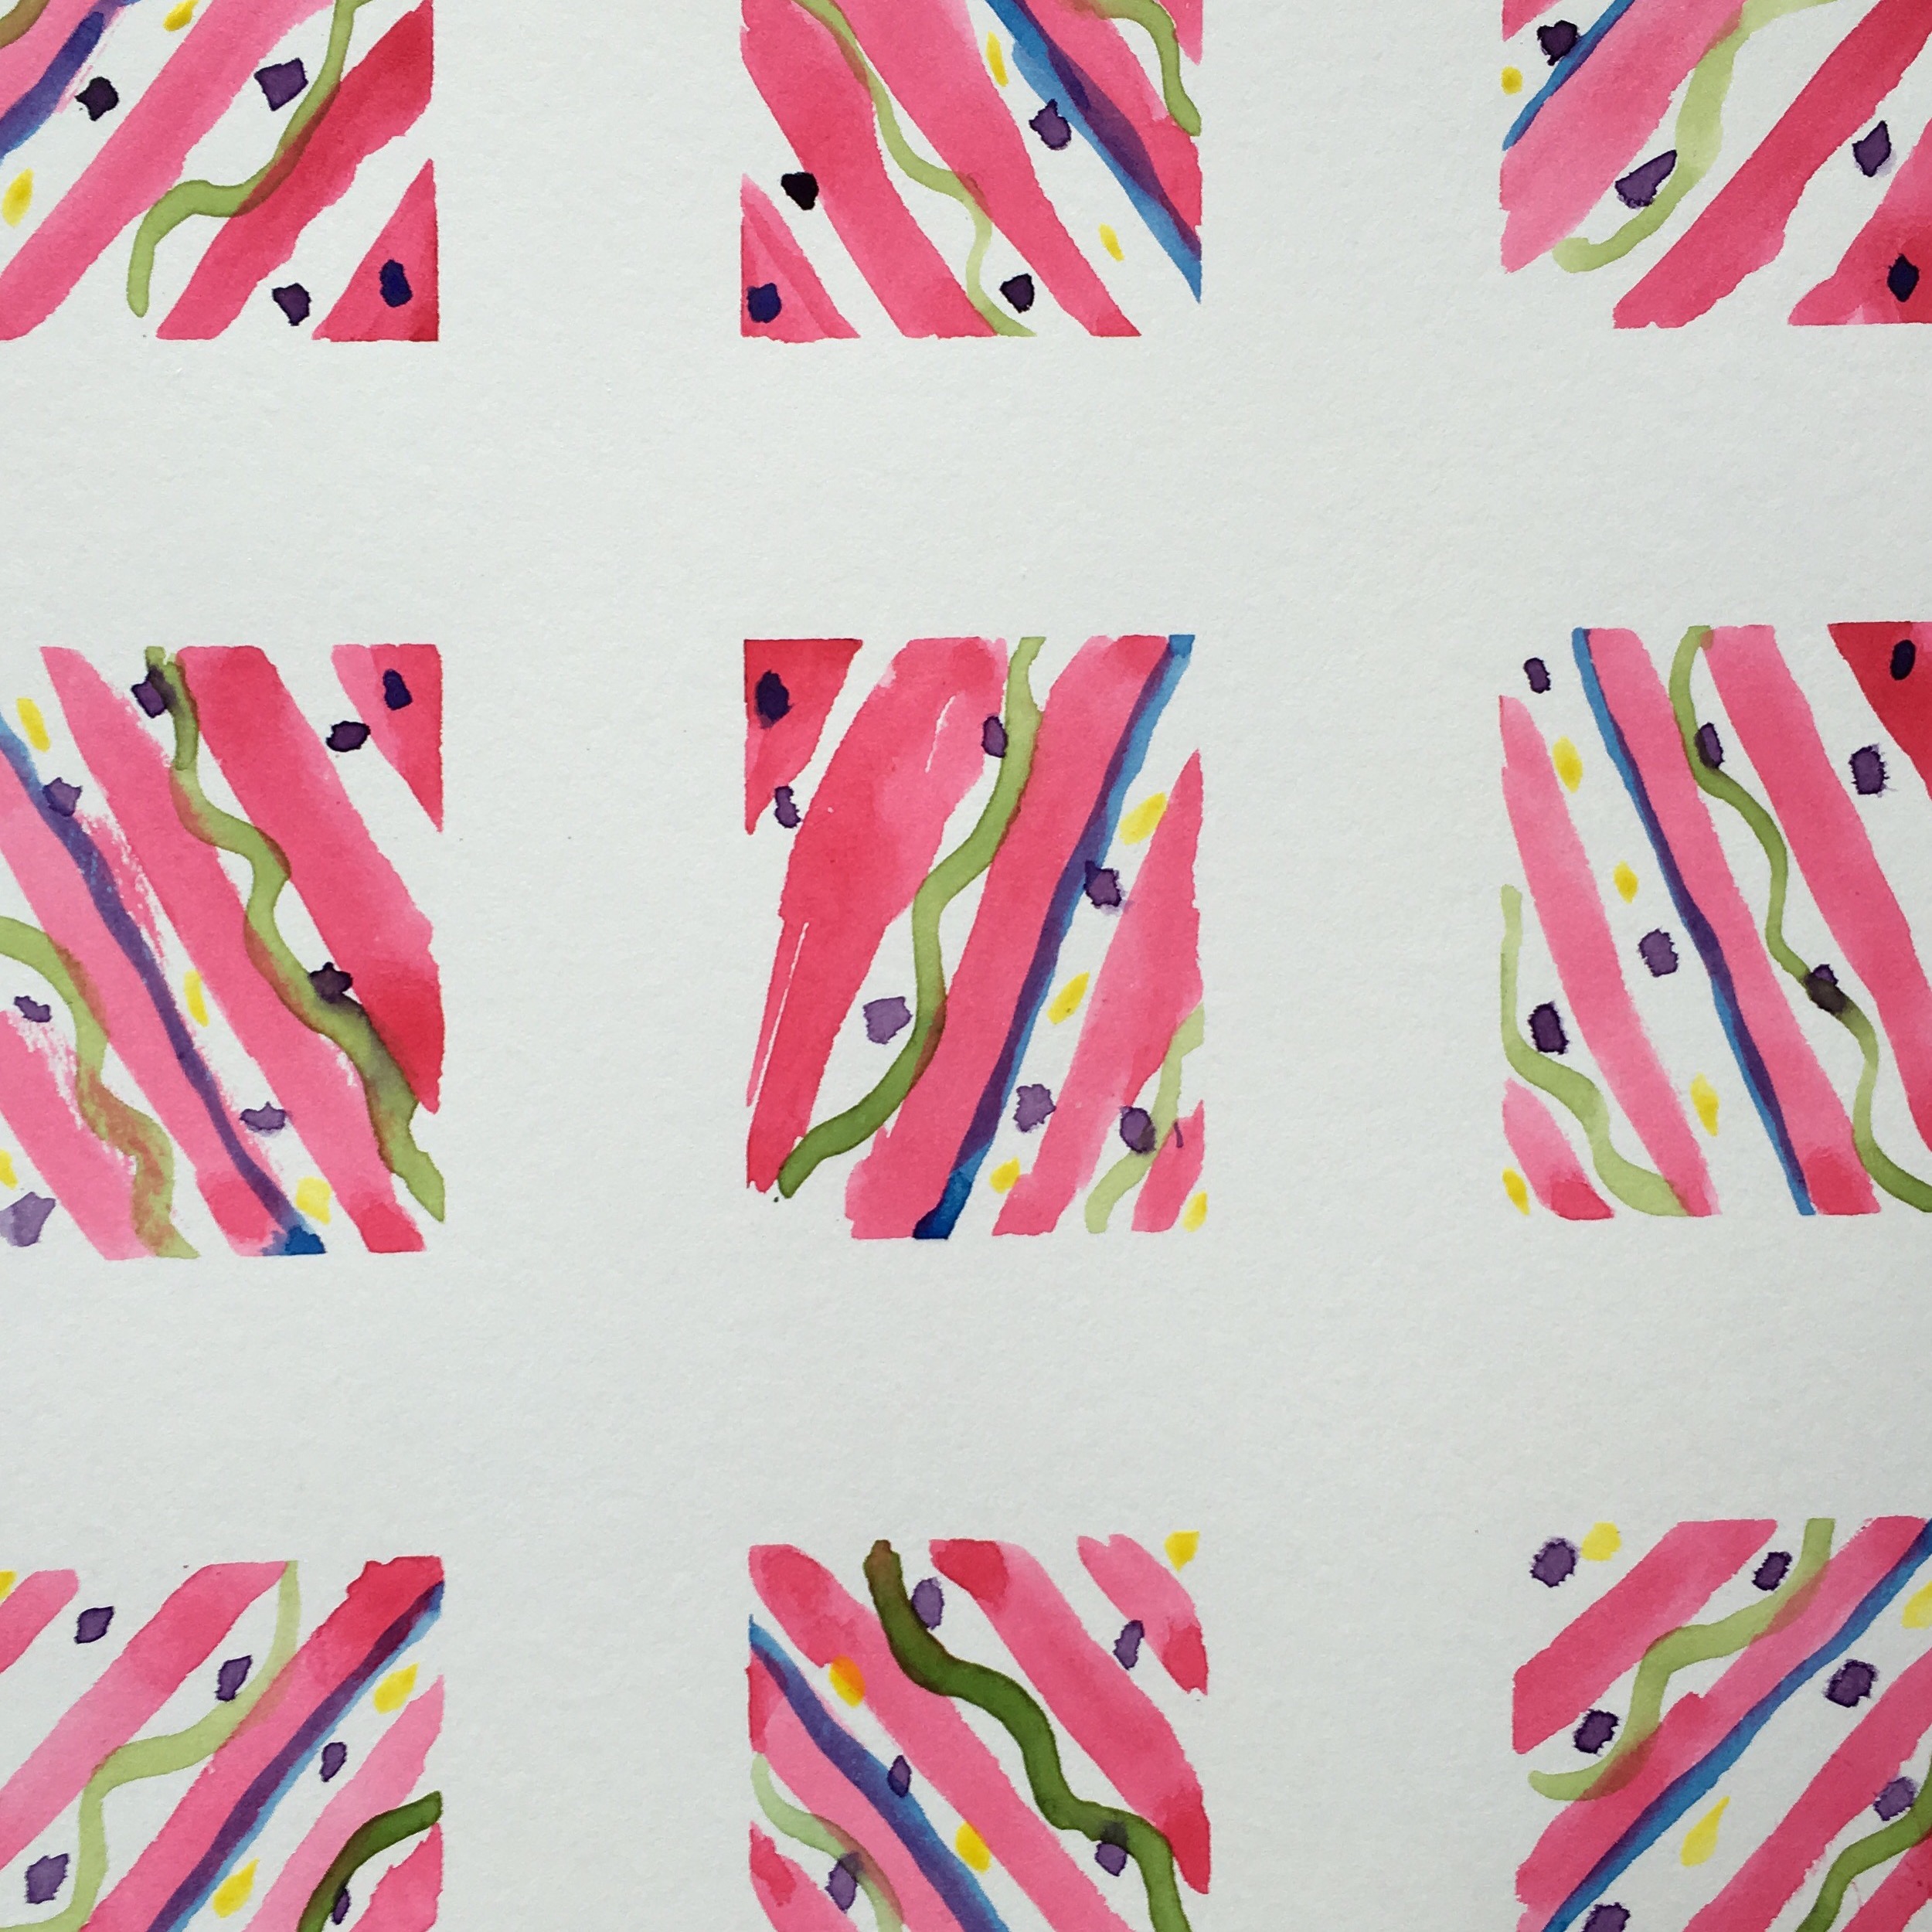
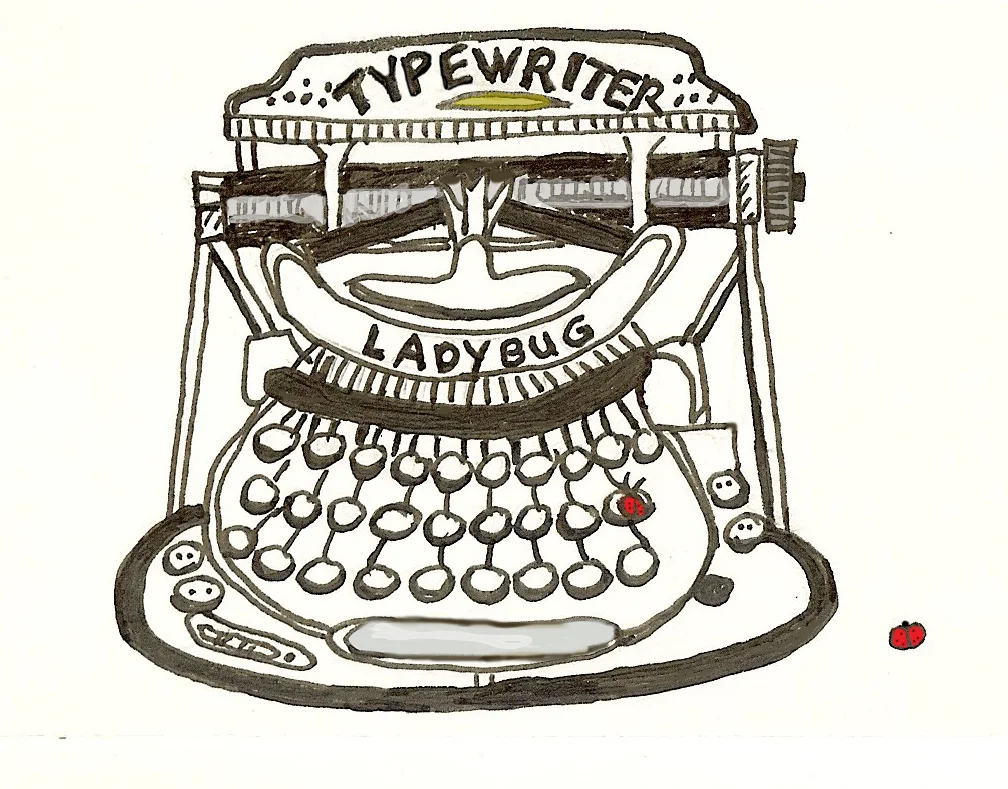
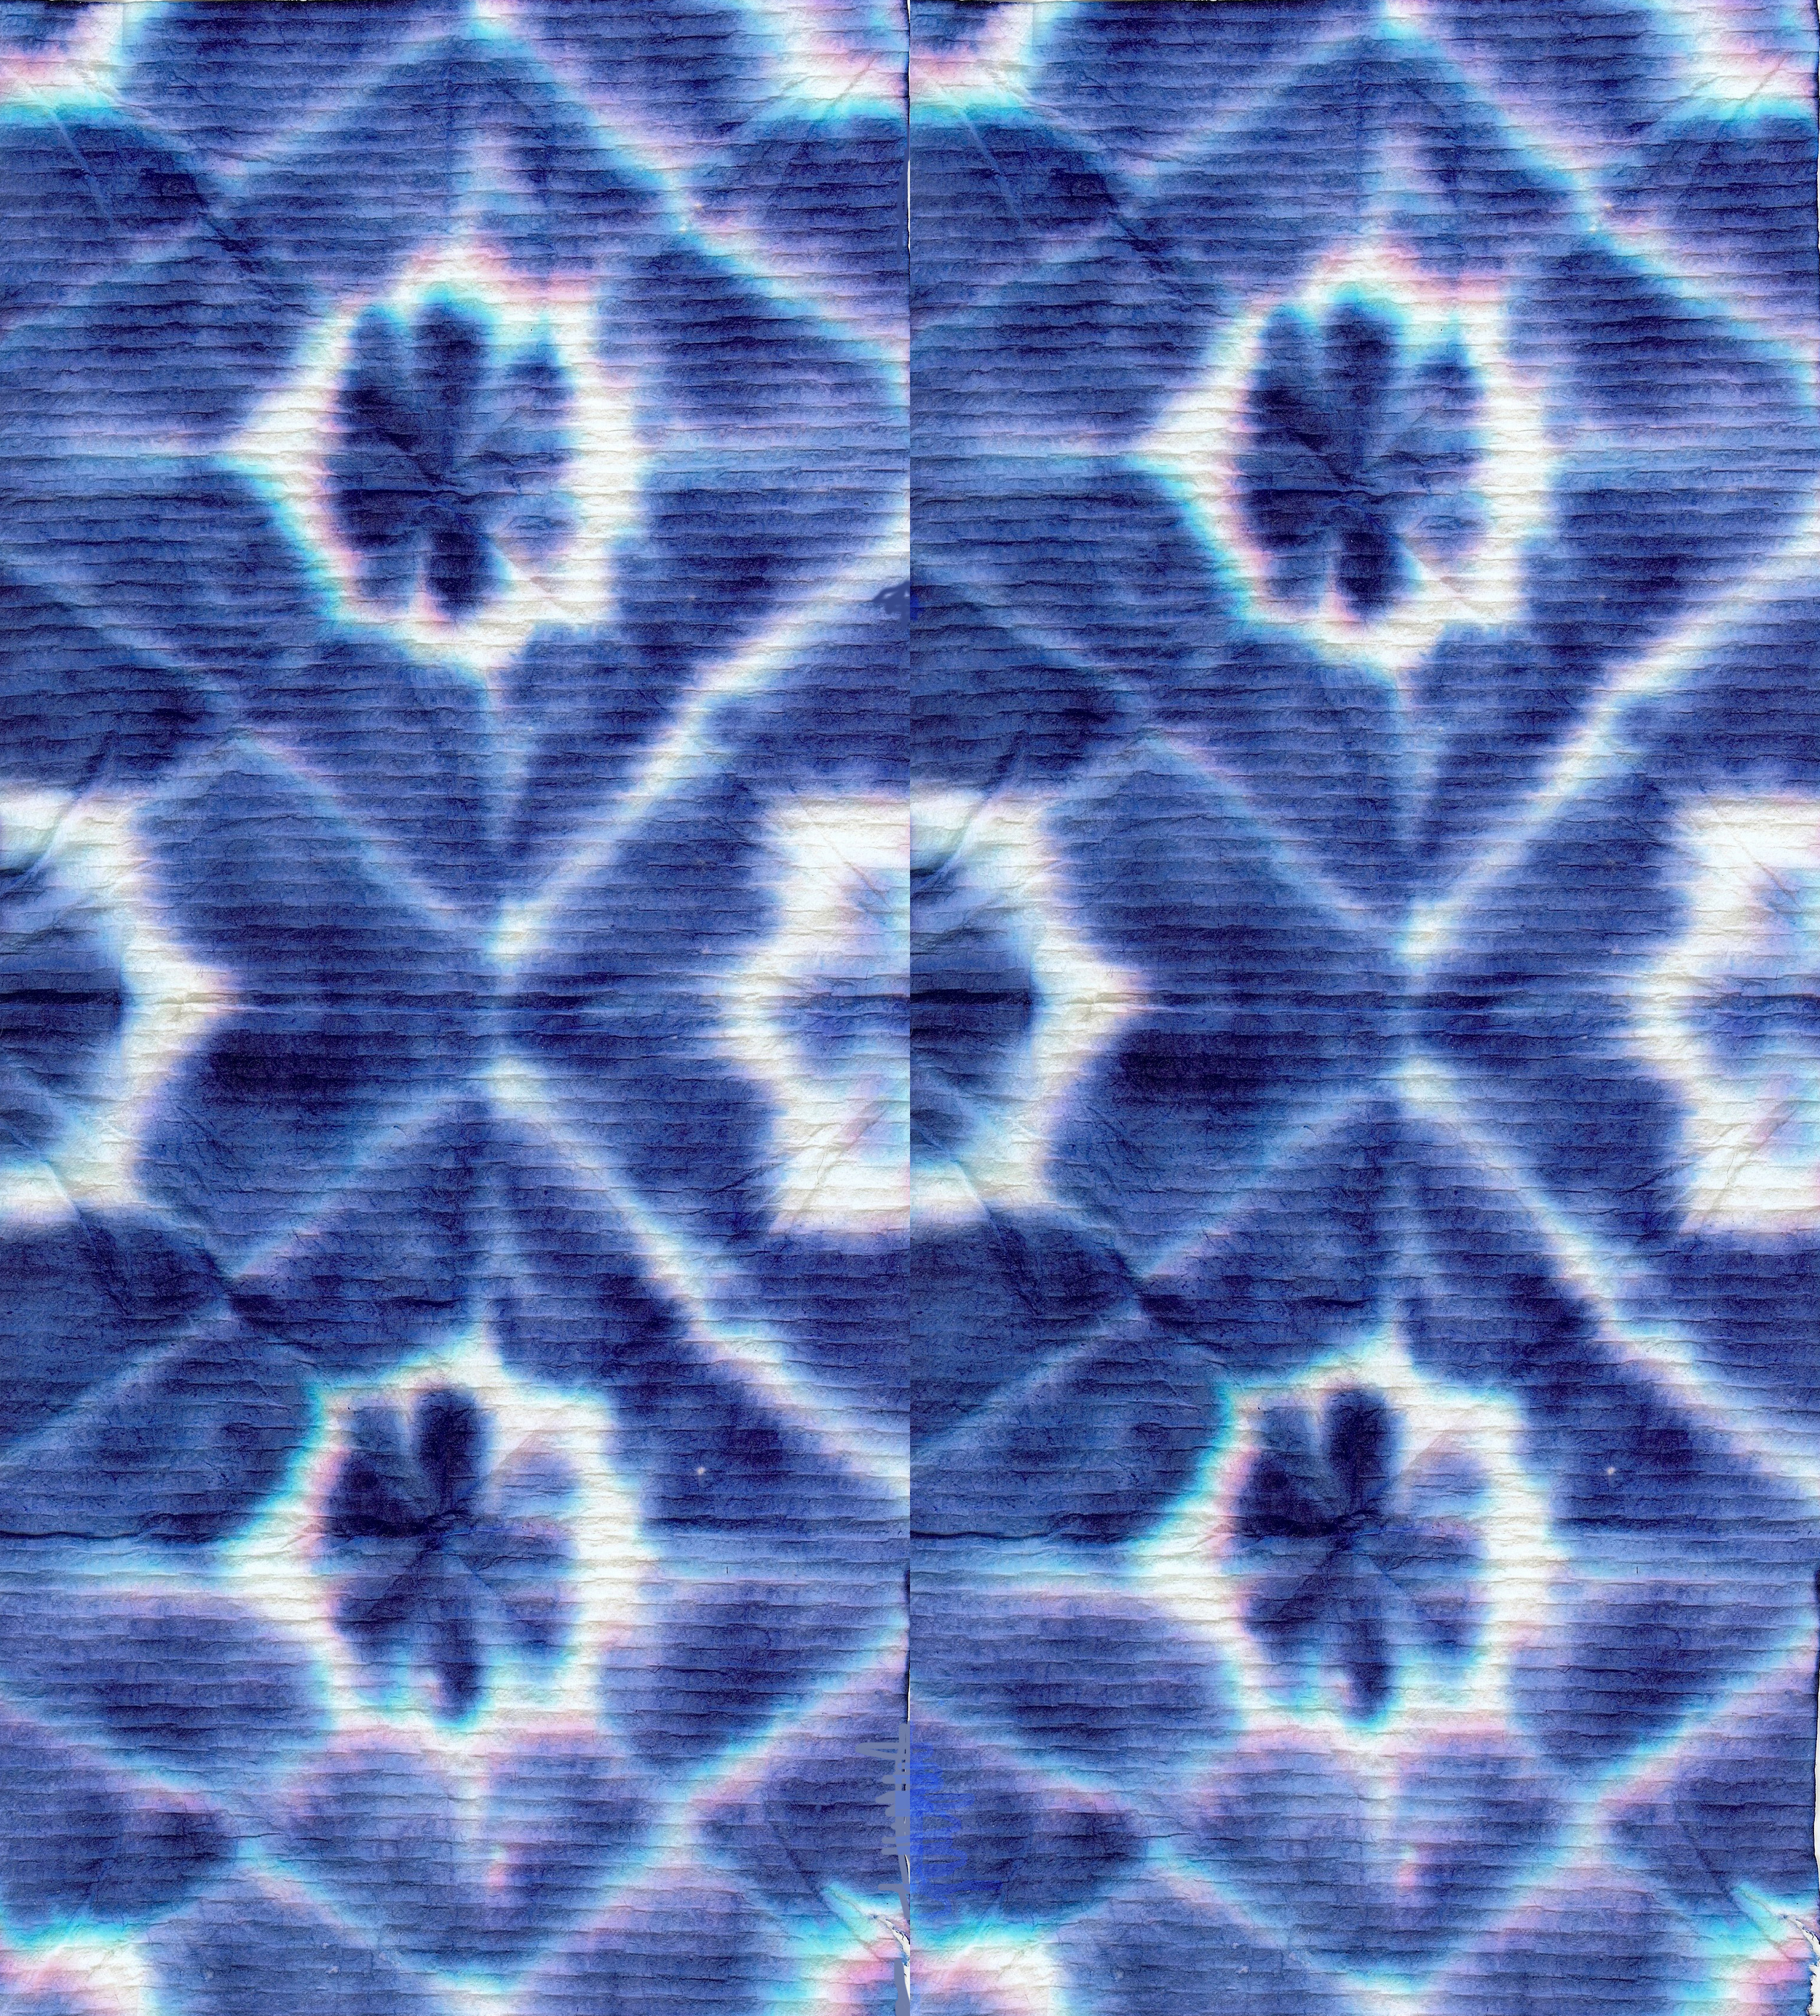
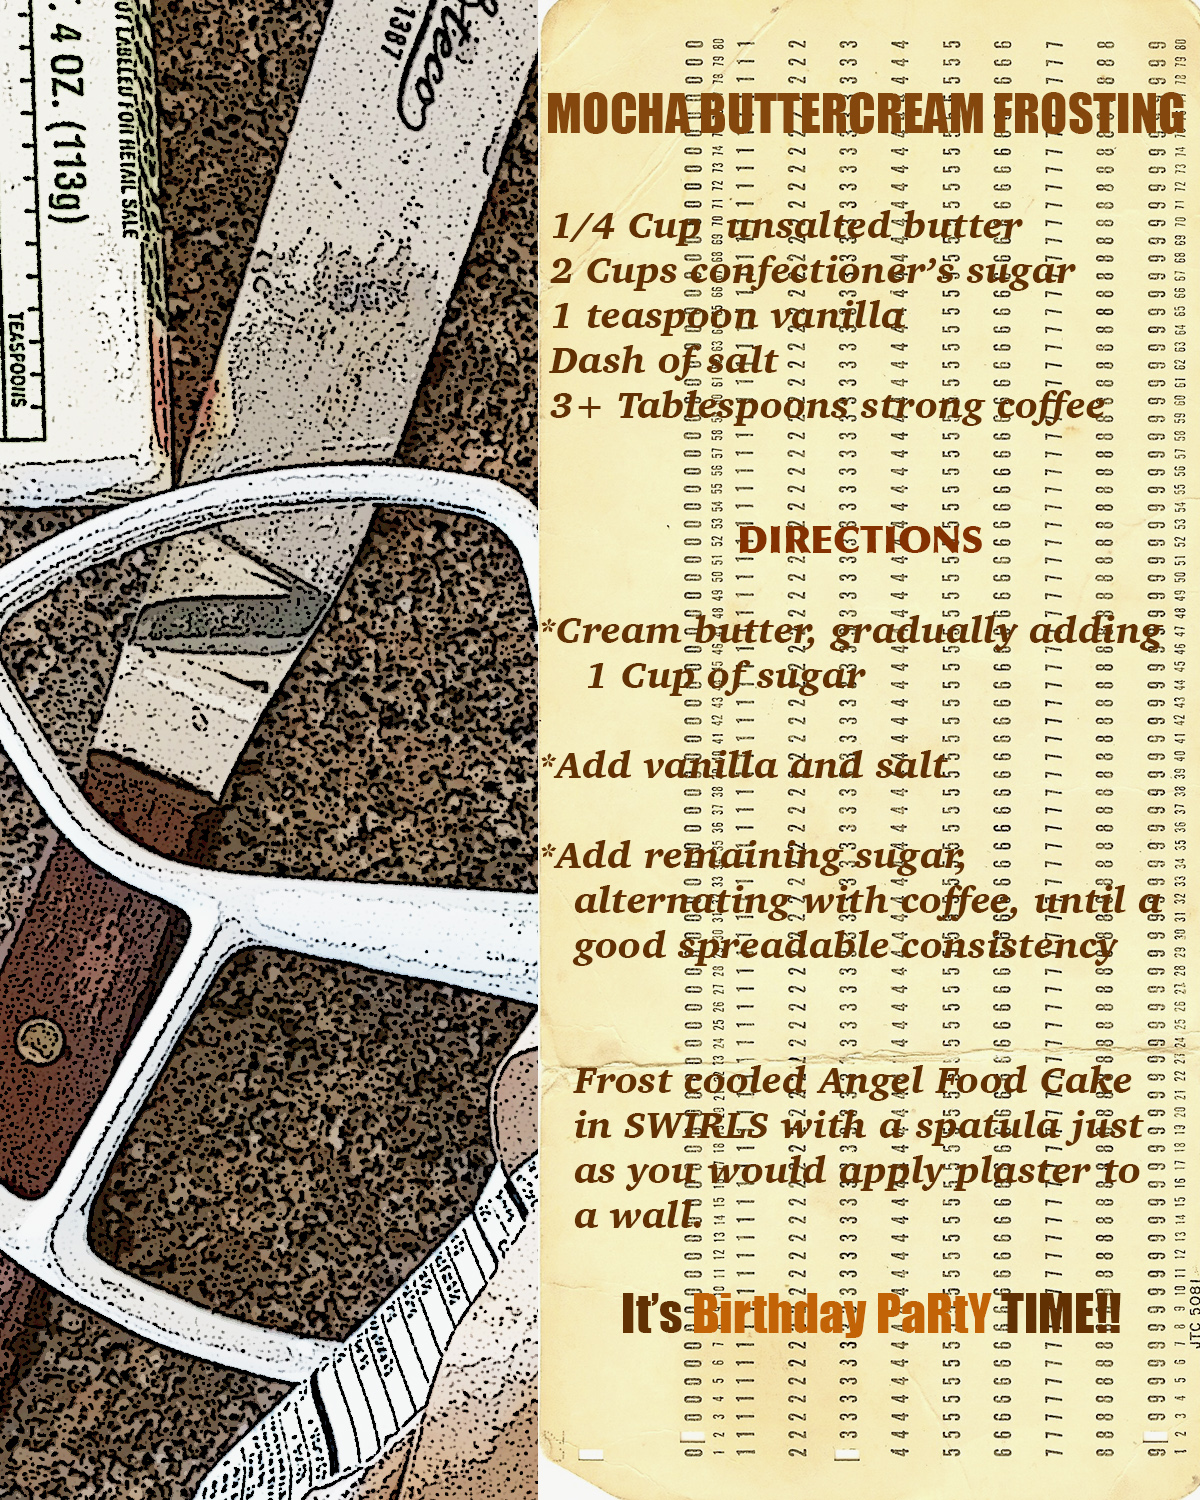
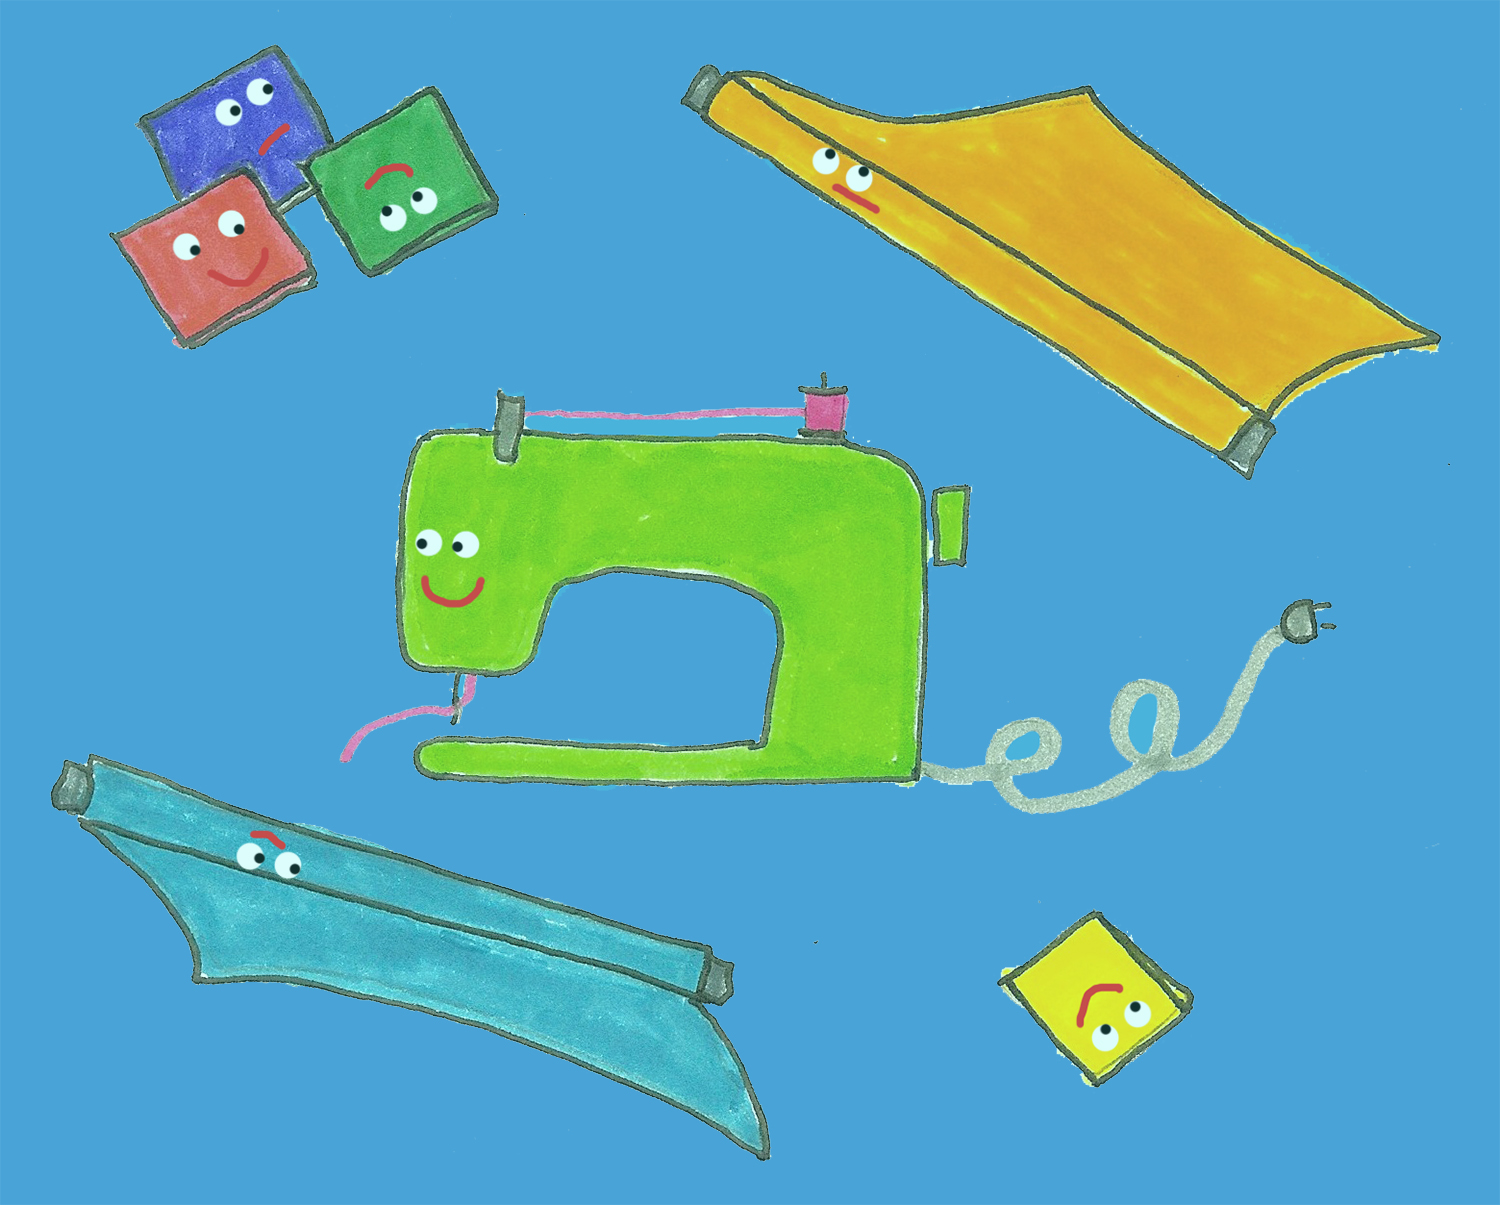
Row 2: Typewriter: Steam Punk, Blue Geometric Design: Indigo dye, Recipe: Typographic
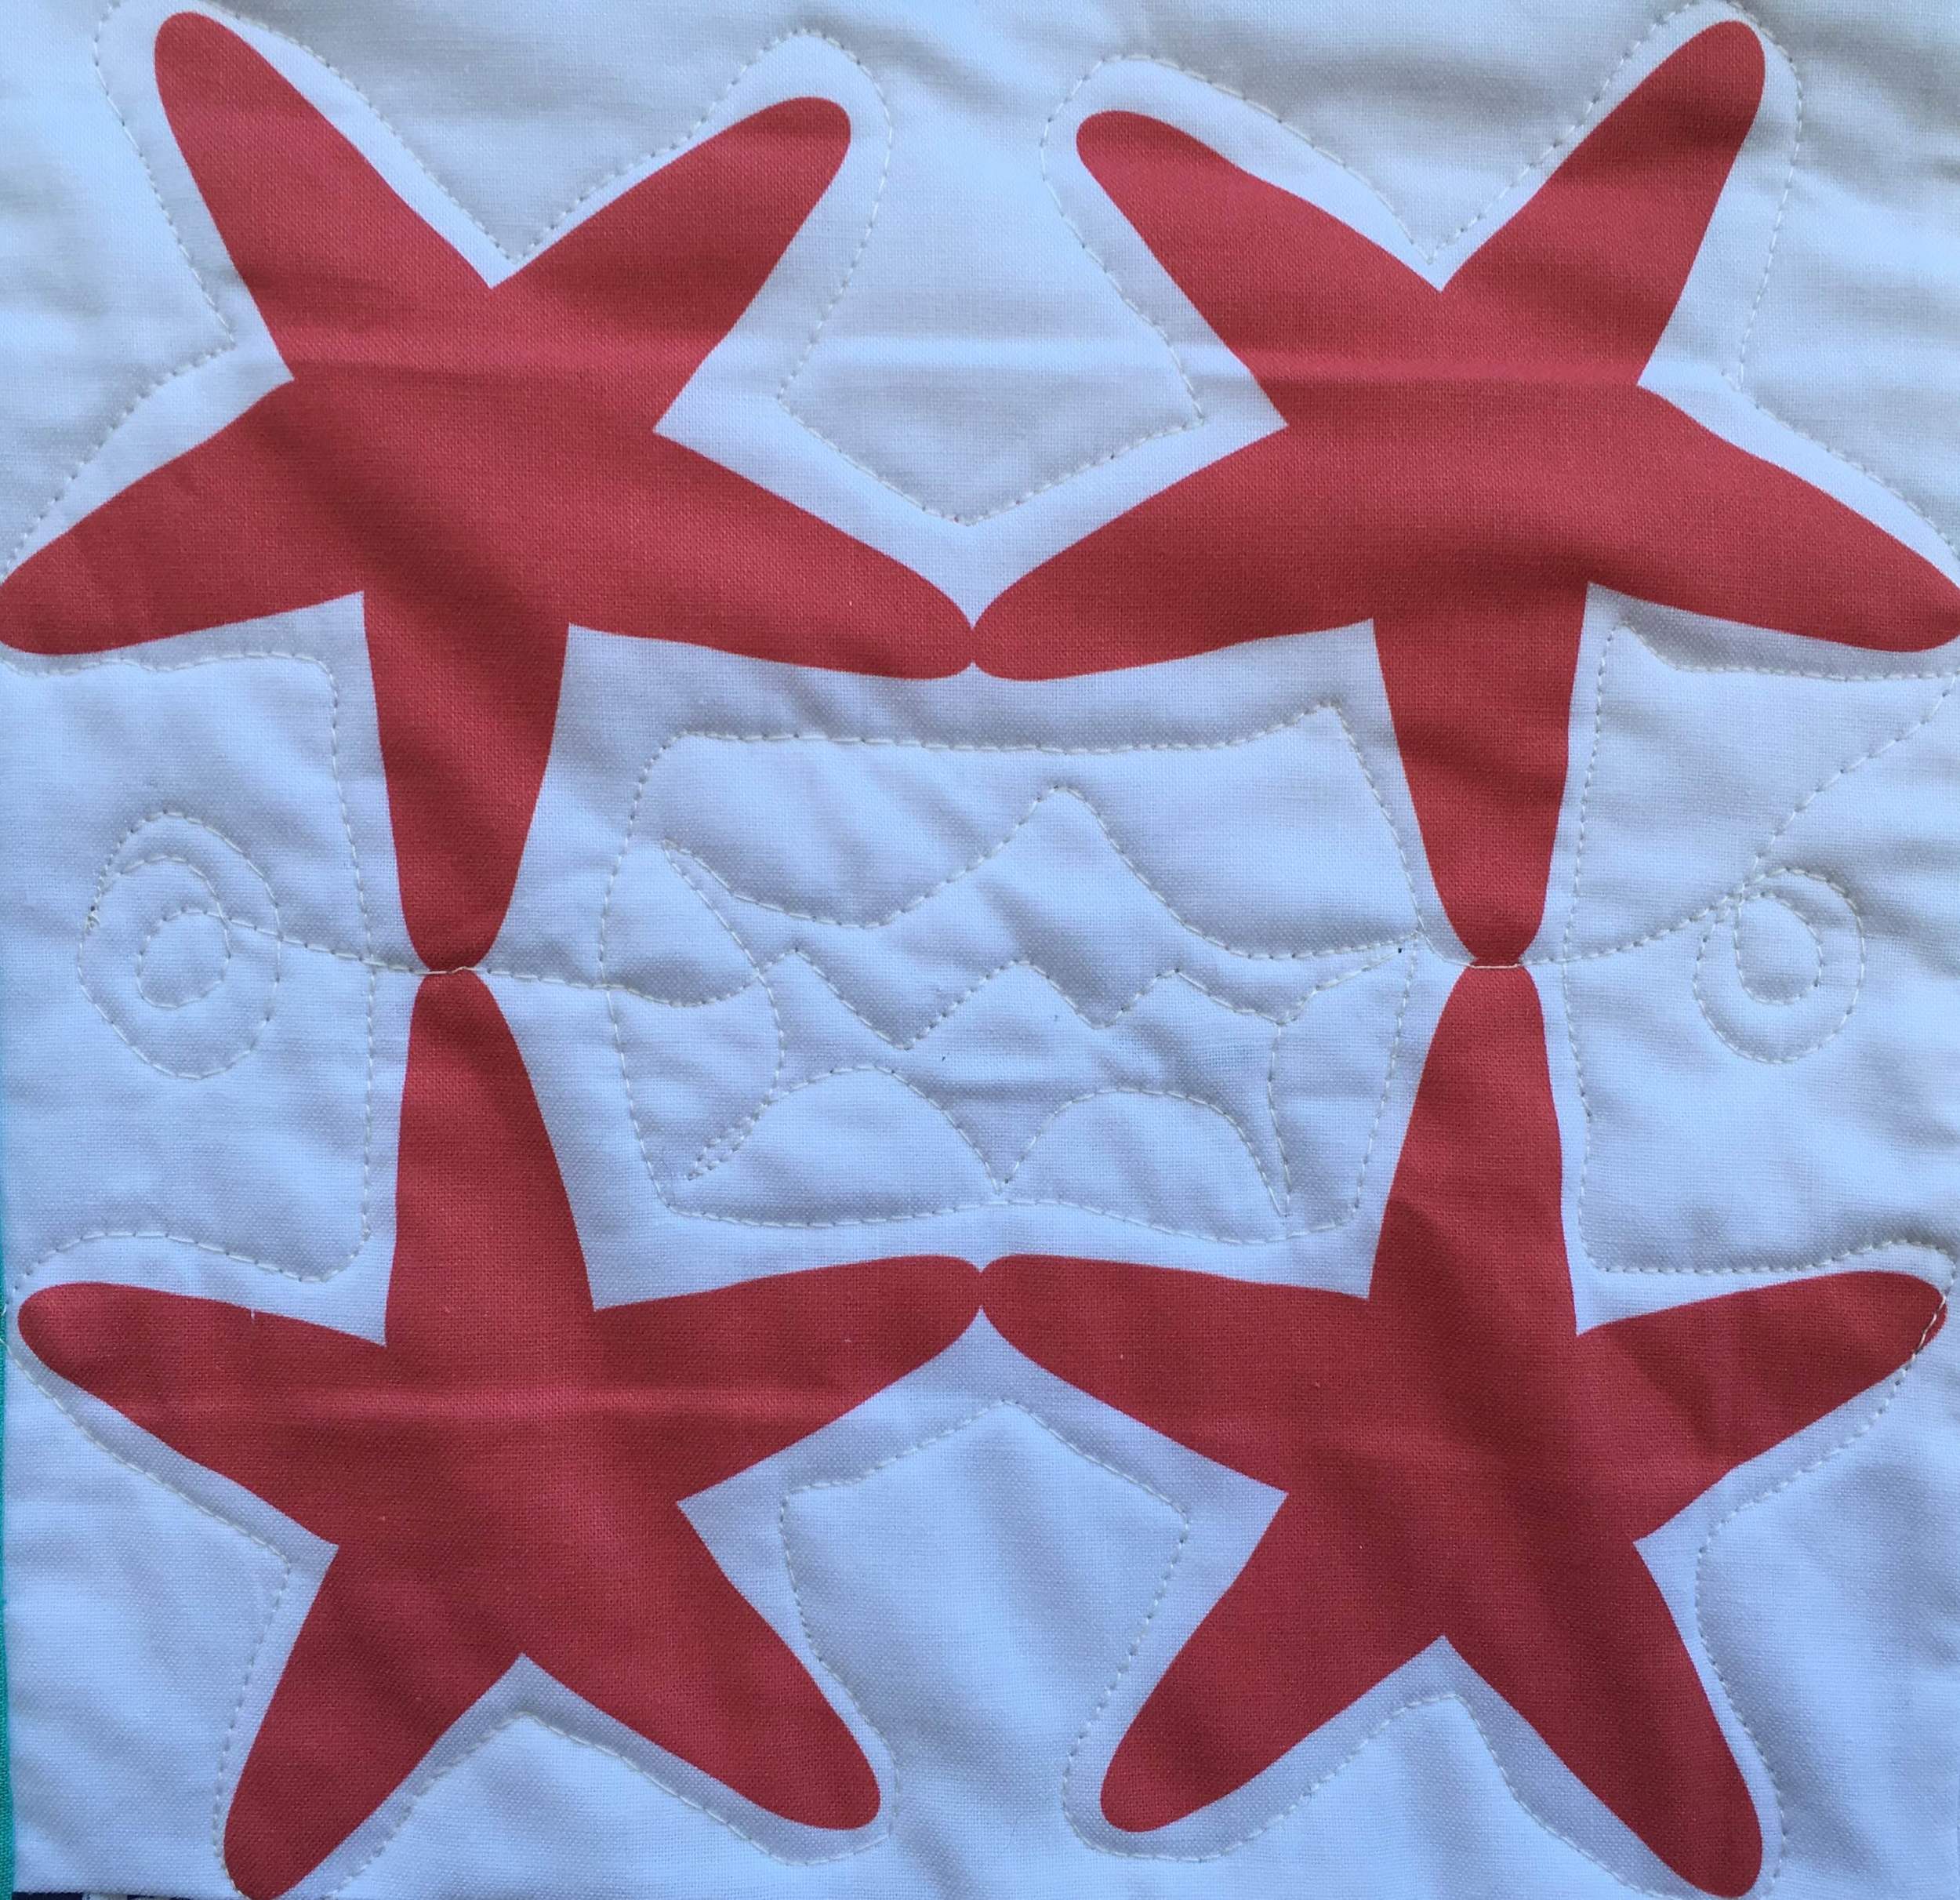
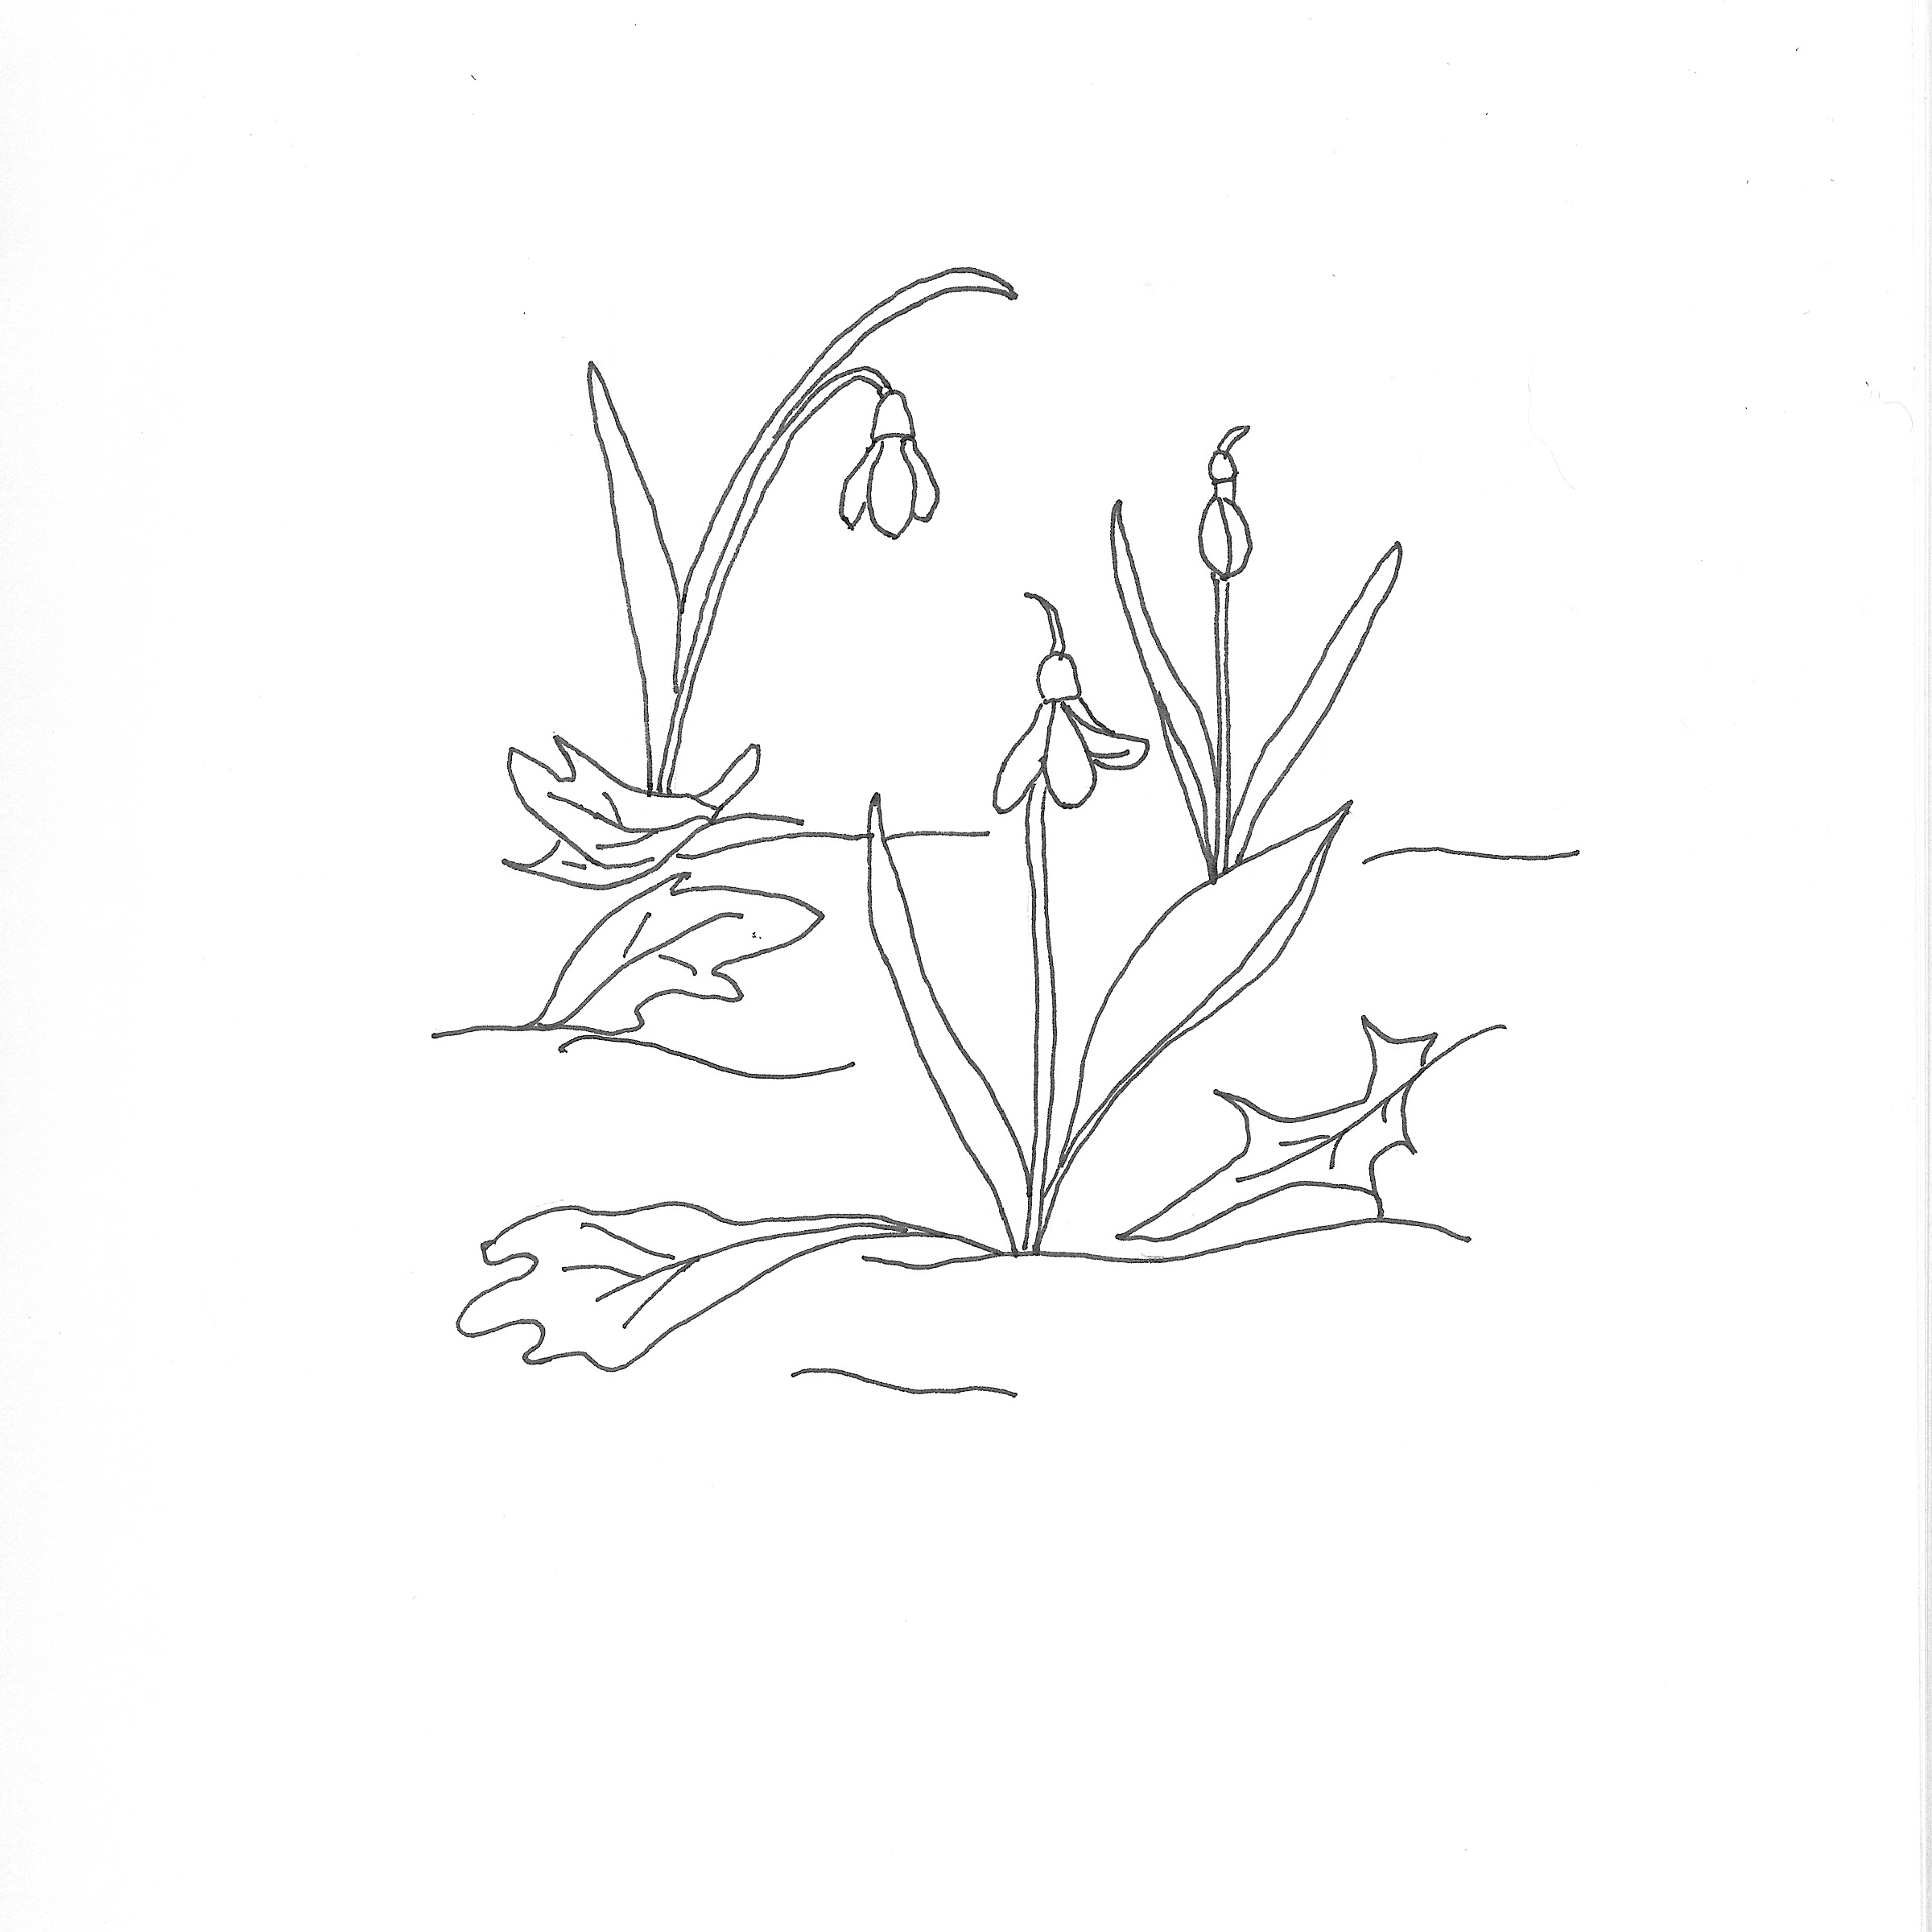
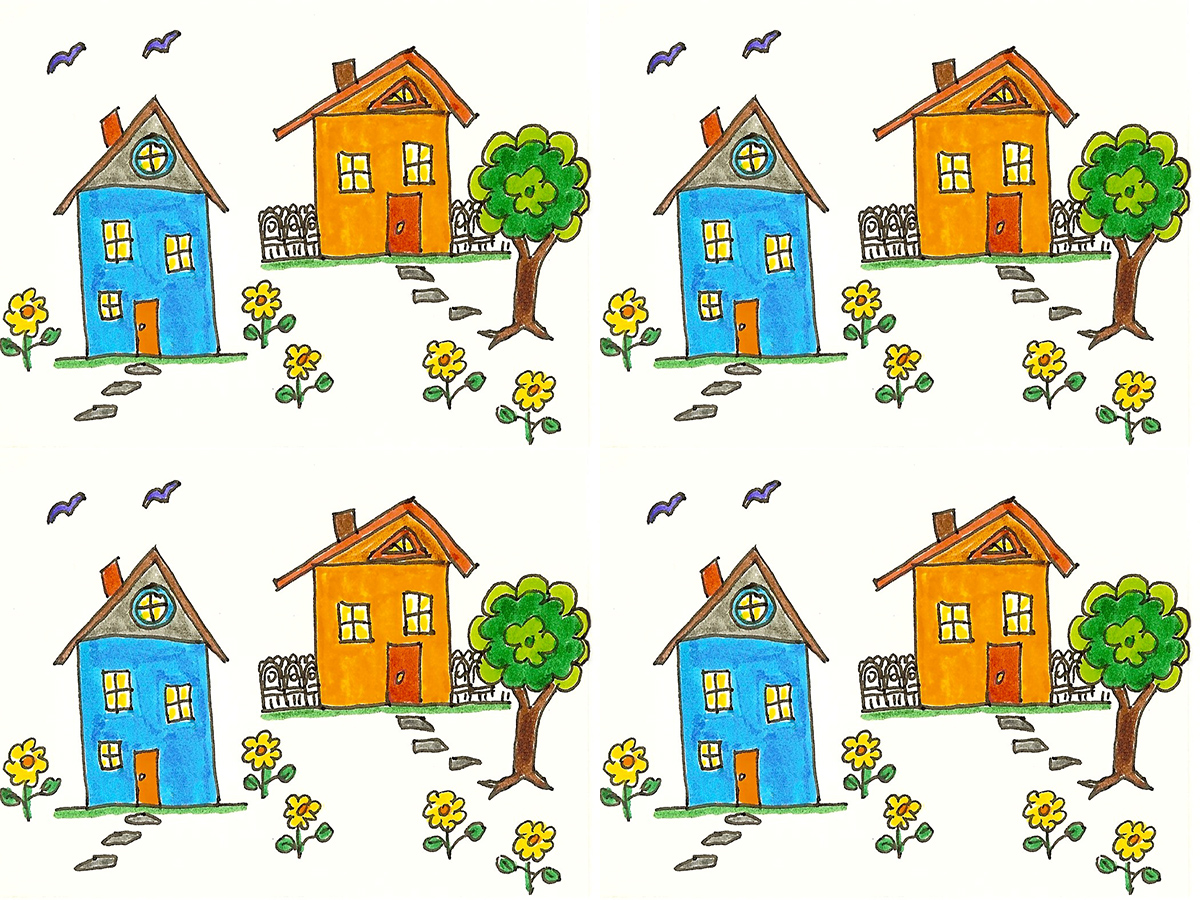
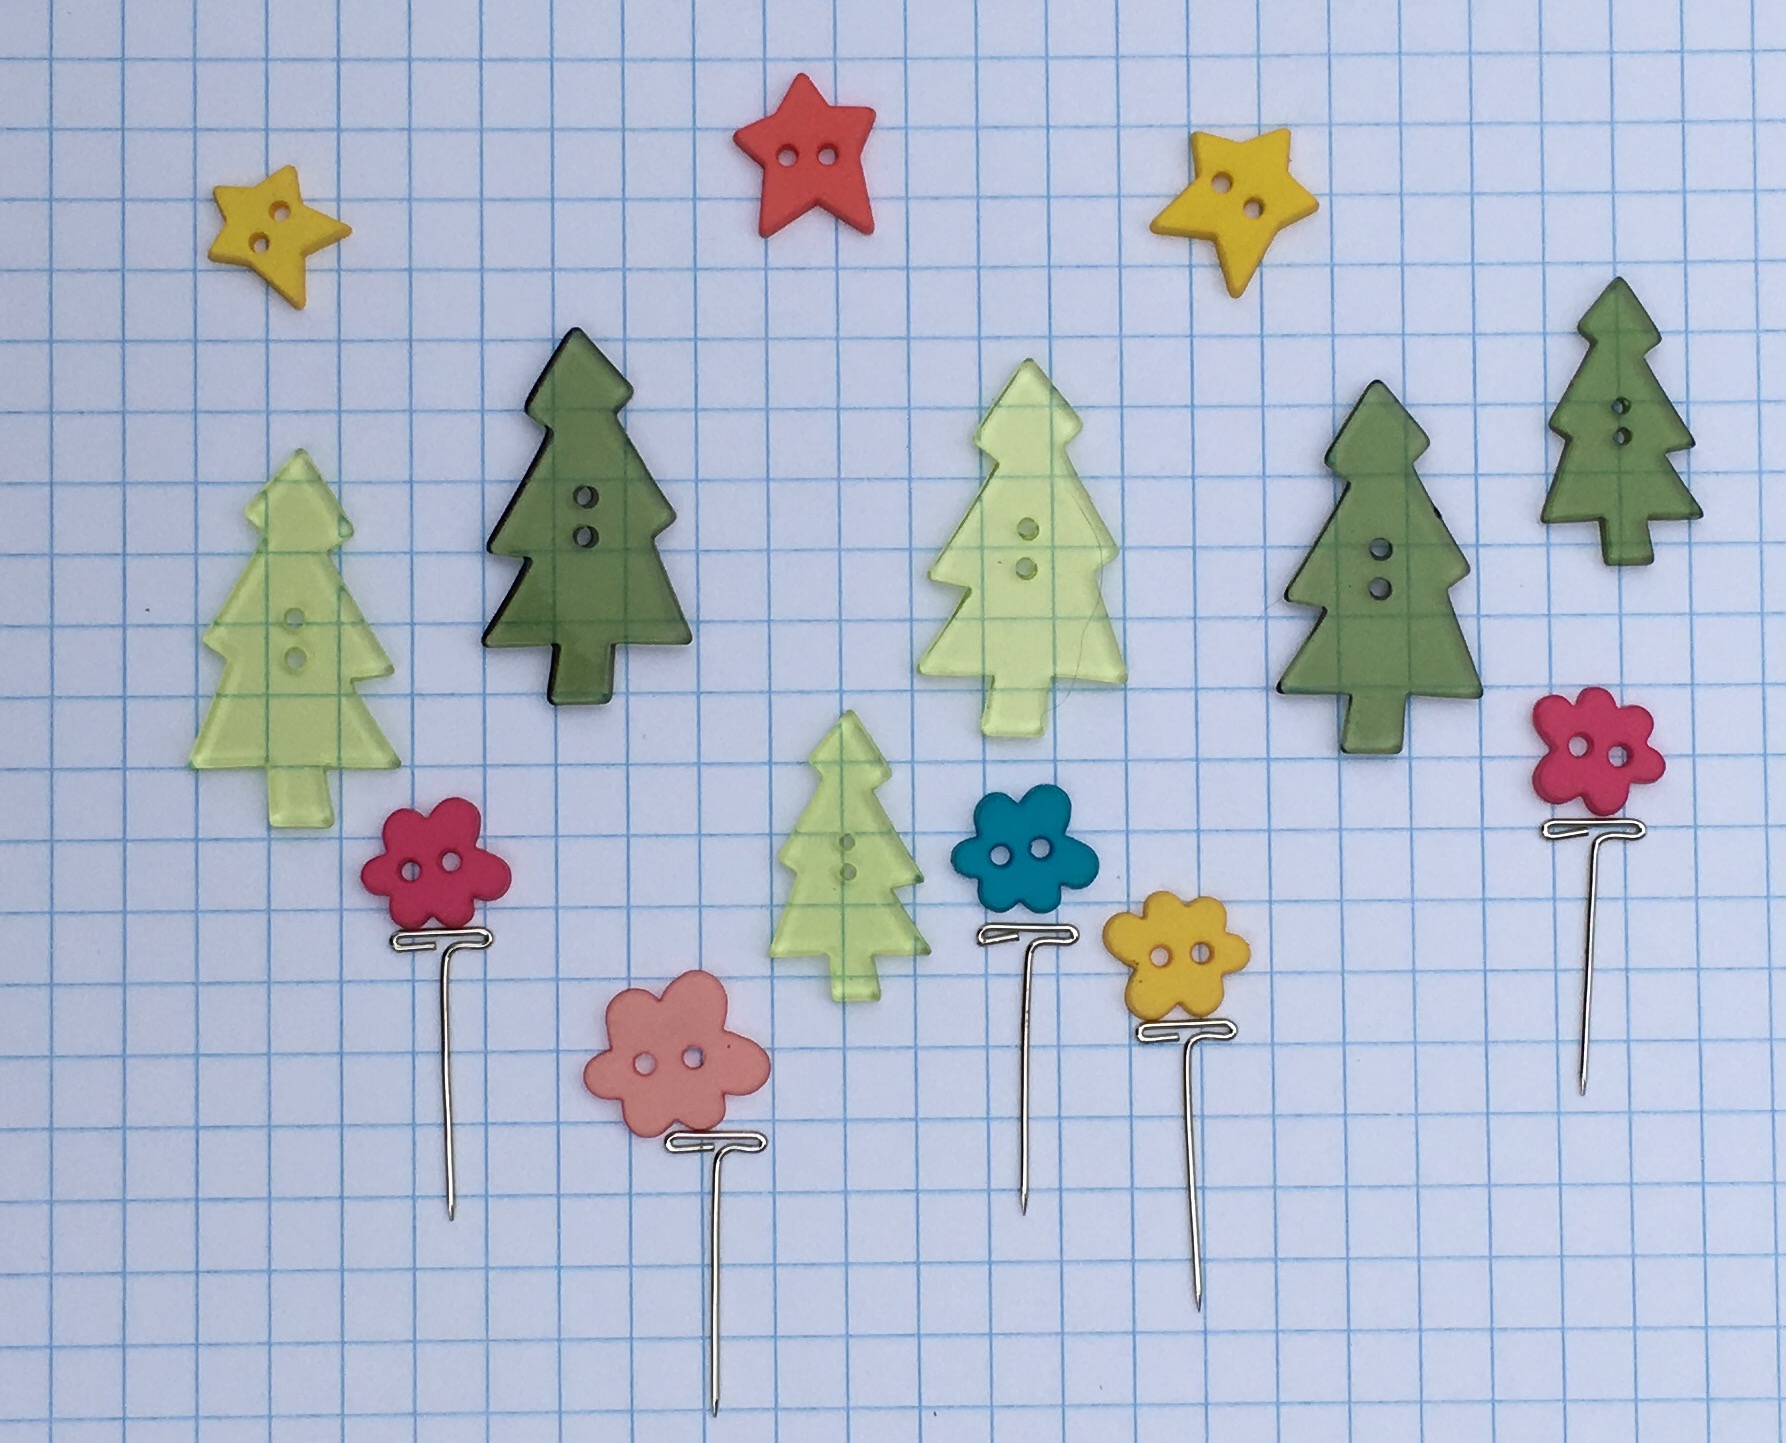
Row3: Quilters Stash: Kawaii, Button forest: Found objects, Apple Blossoms: Designers choice


Spoonflower.com chose "Watercolors" as the focus for the Contest. For the next 2 days you can click this link to see all the watercolor fabric designs submitted to the contest. And you can vote for your favorites if you want to. There is no limit on the number of designs you pick. The winners will be announced March 24, 2016. You can see them by linking to the Spoonflower homepage and clicking the Spoonflower Challenge banner.
After March 31, 2016you'll be able to see the top 10 Watercolor designs under Past Contest Winners.
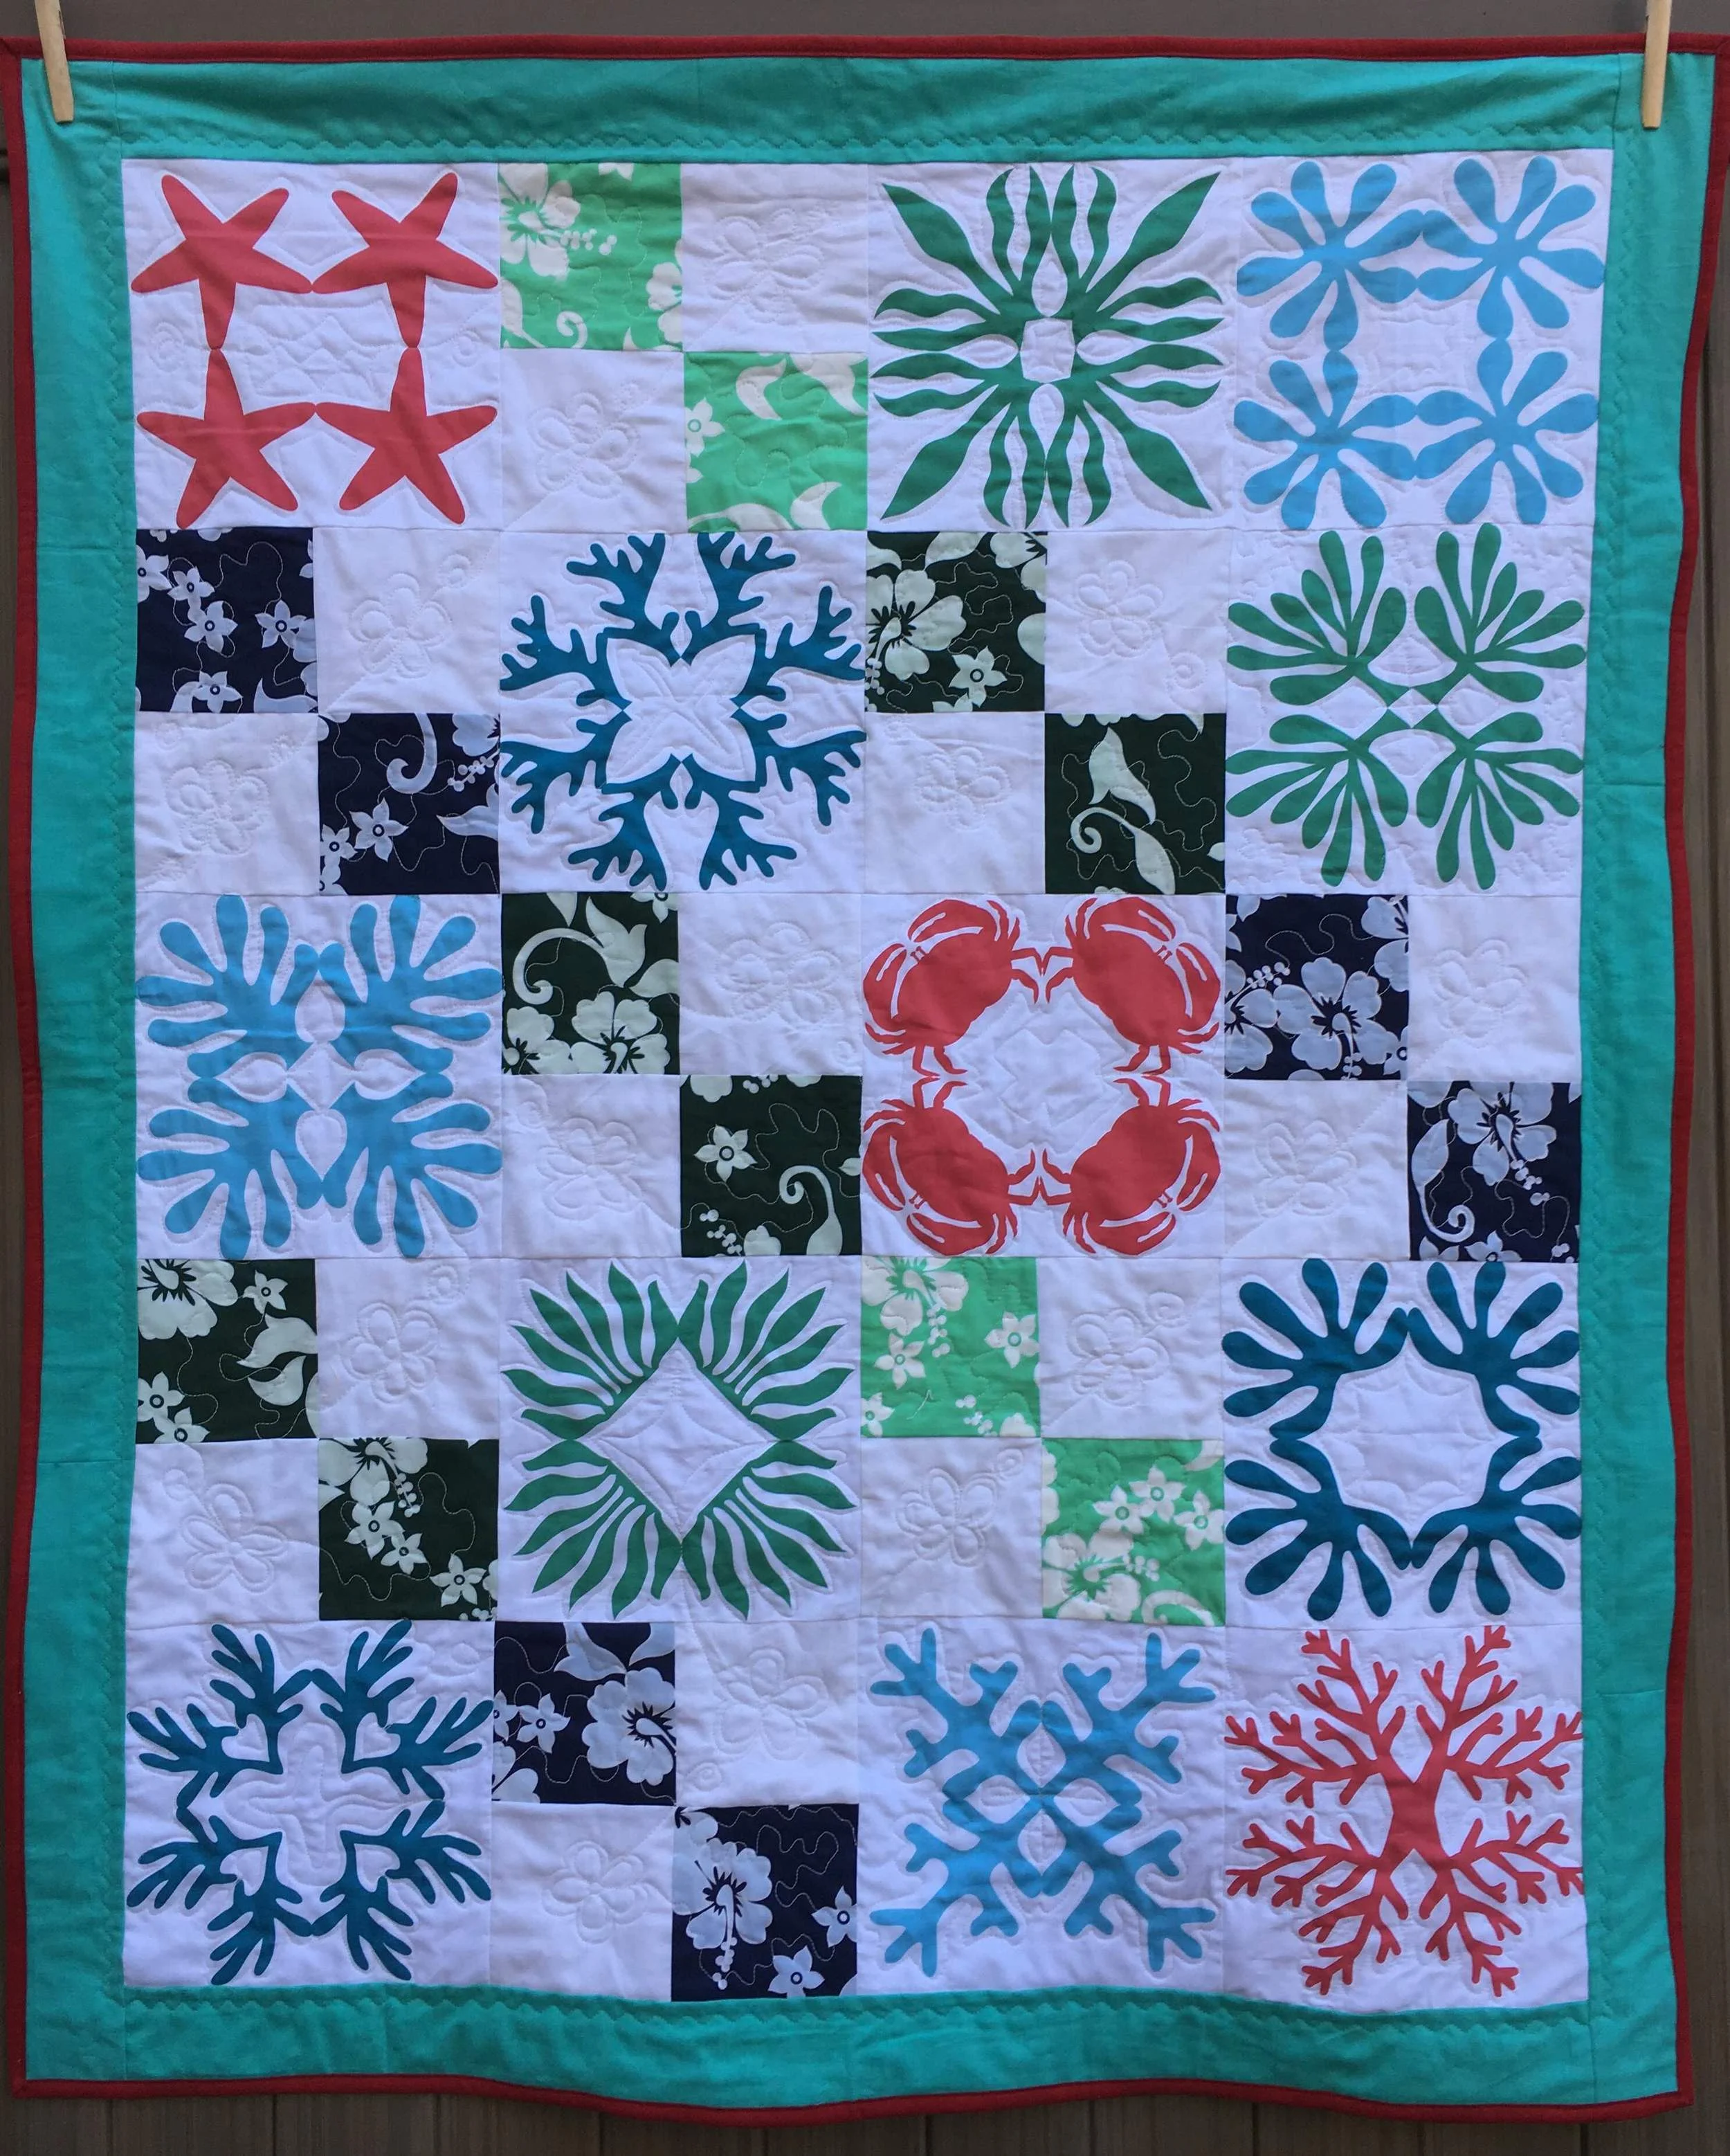
My submission is the Apple Blossoms Watercolor at the top of this post. I think it will make a sweet backing for a quilt or wall hanging made with my Fox and the Four Seasons fab