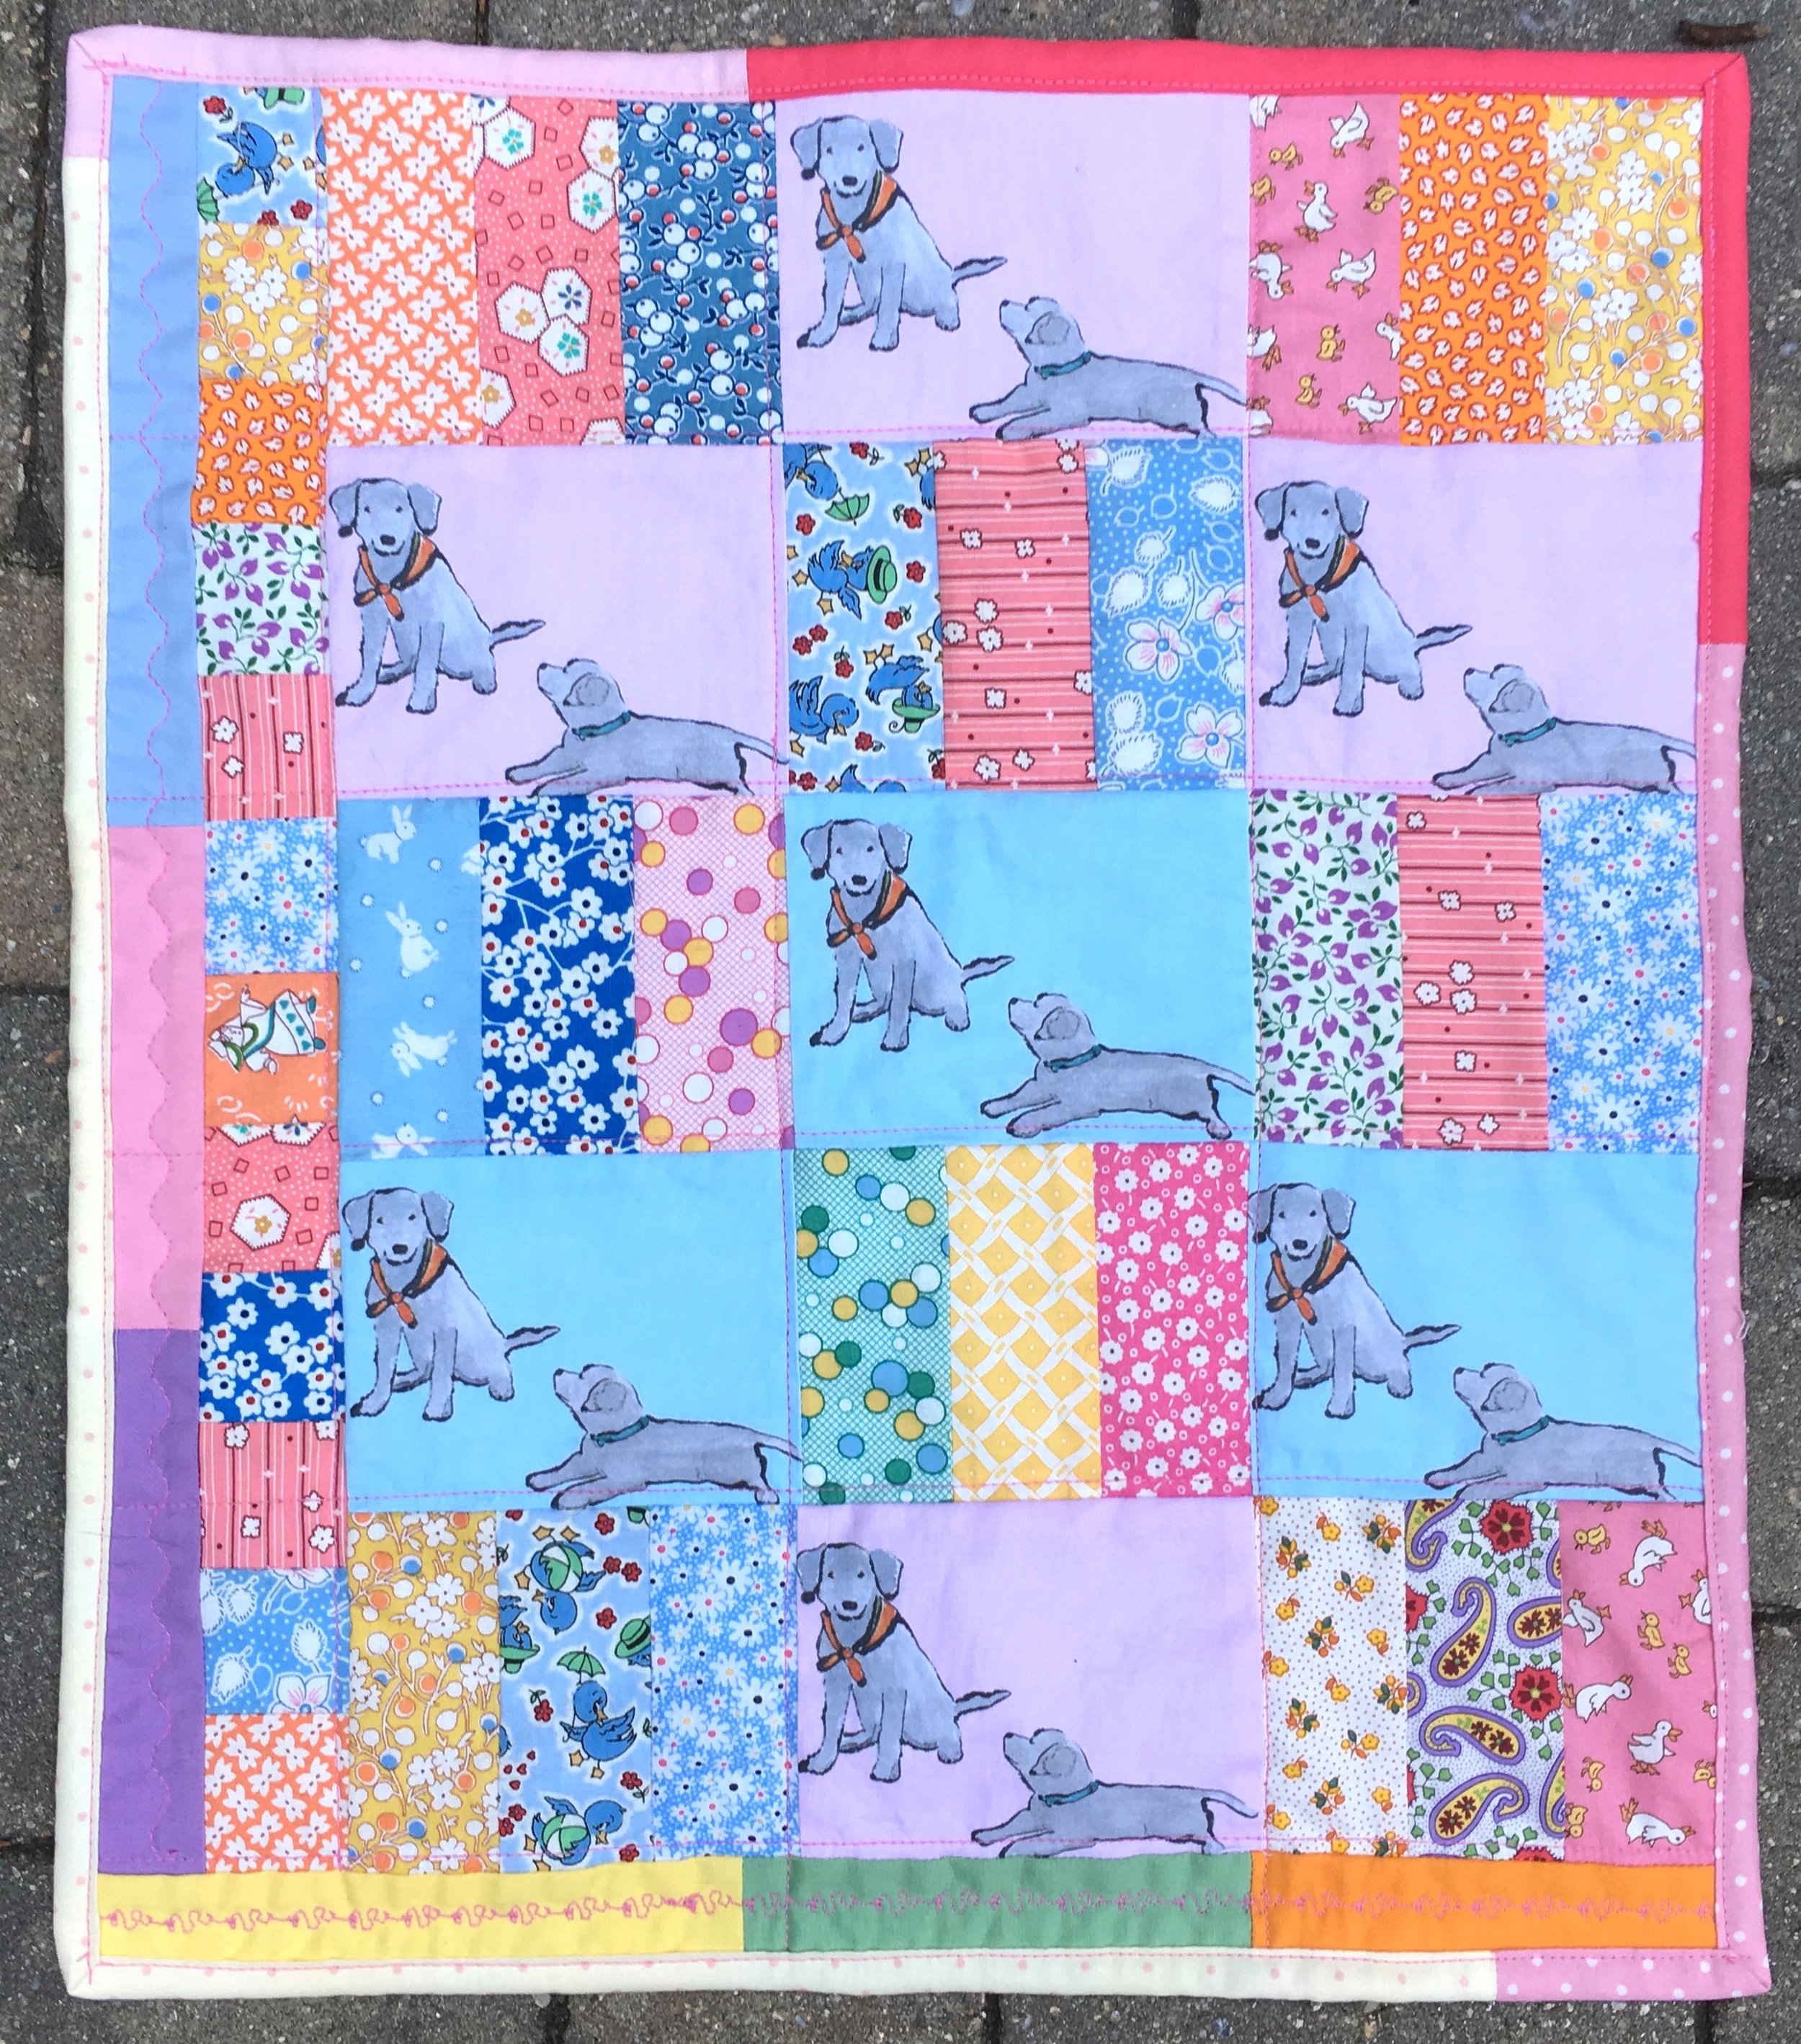
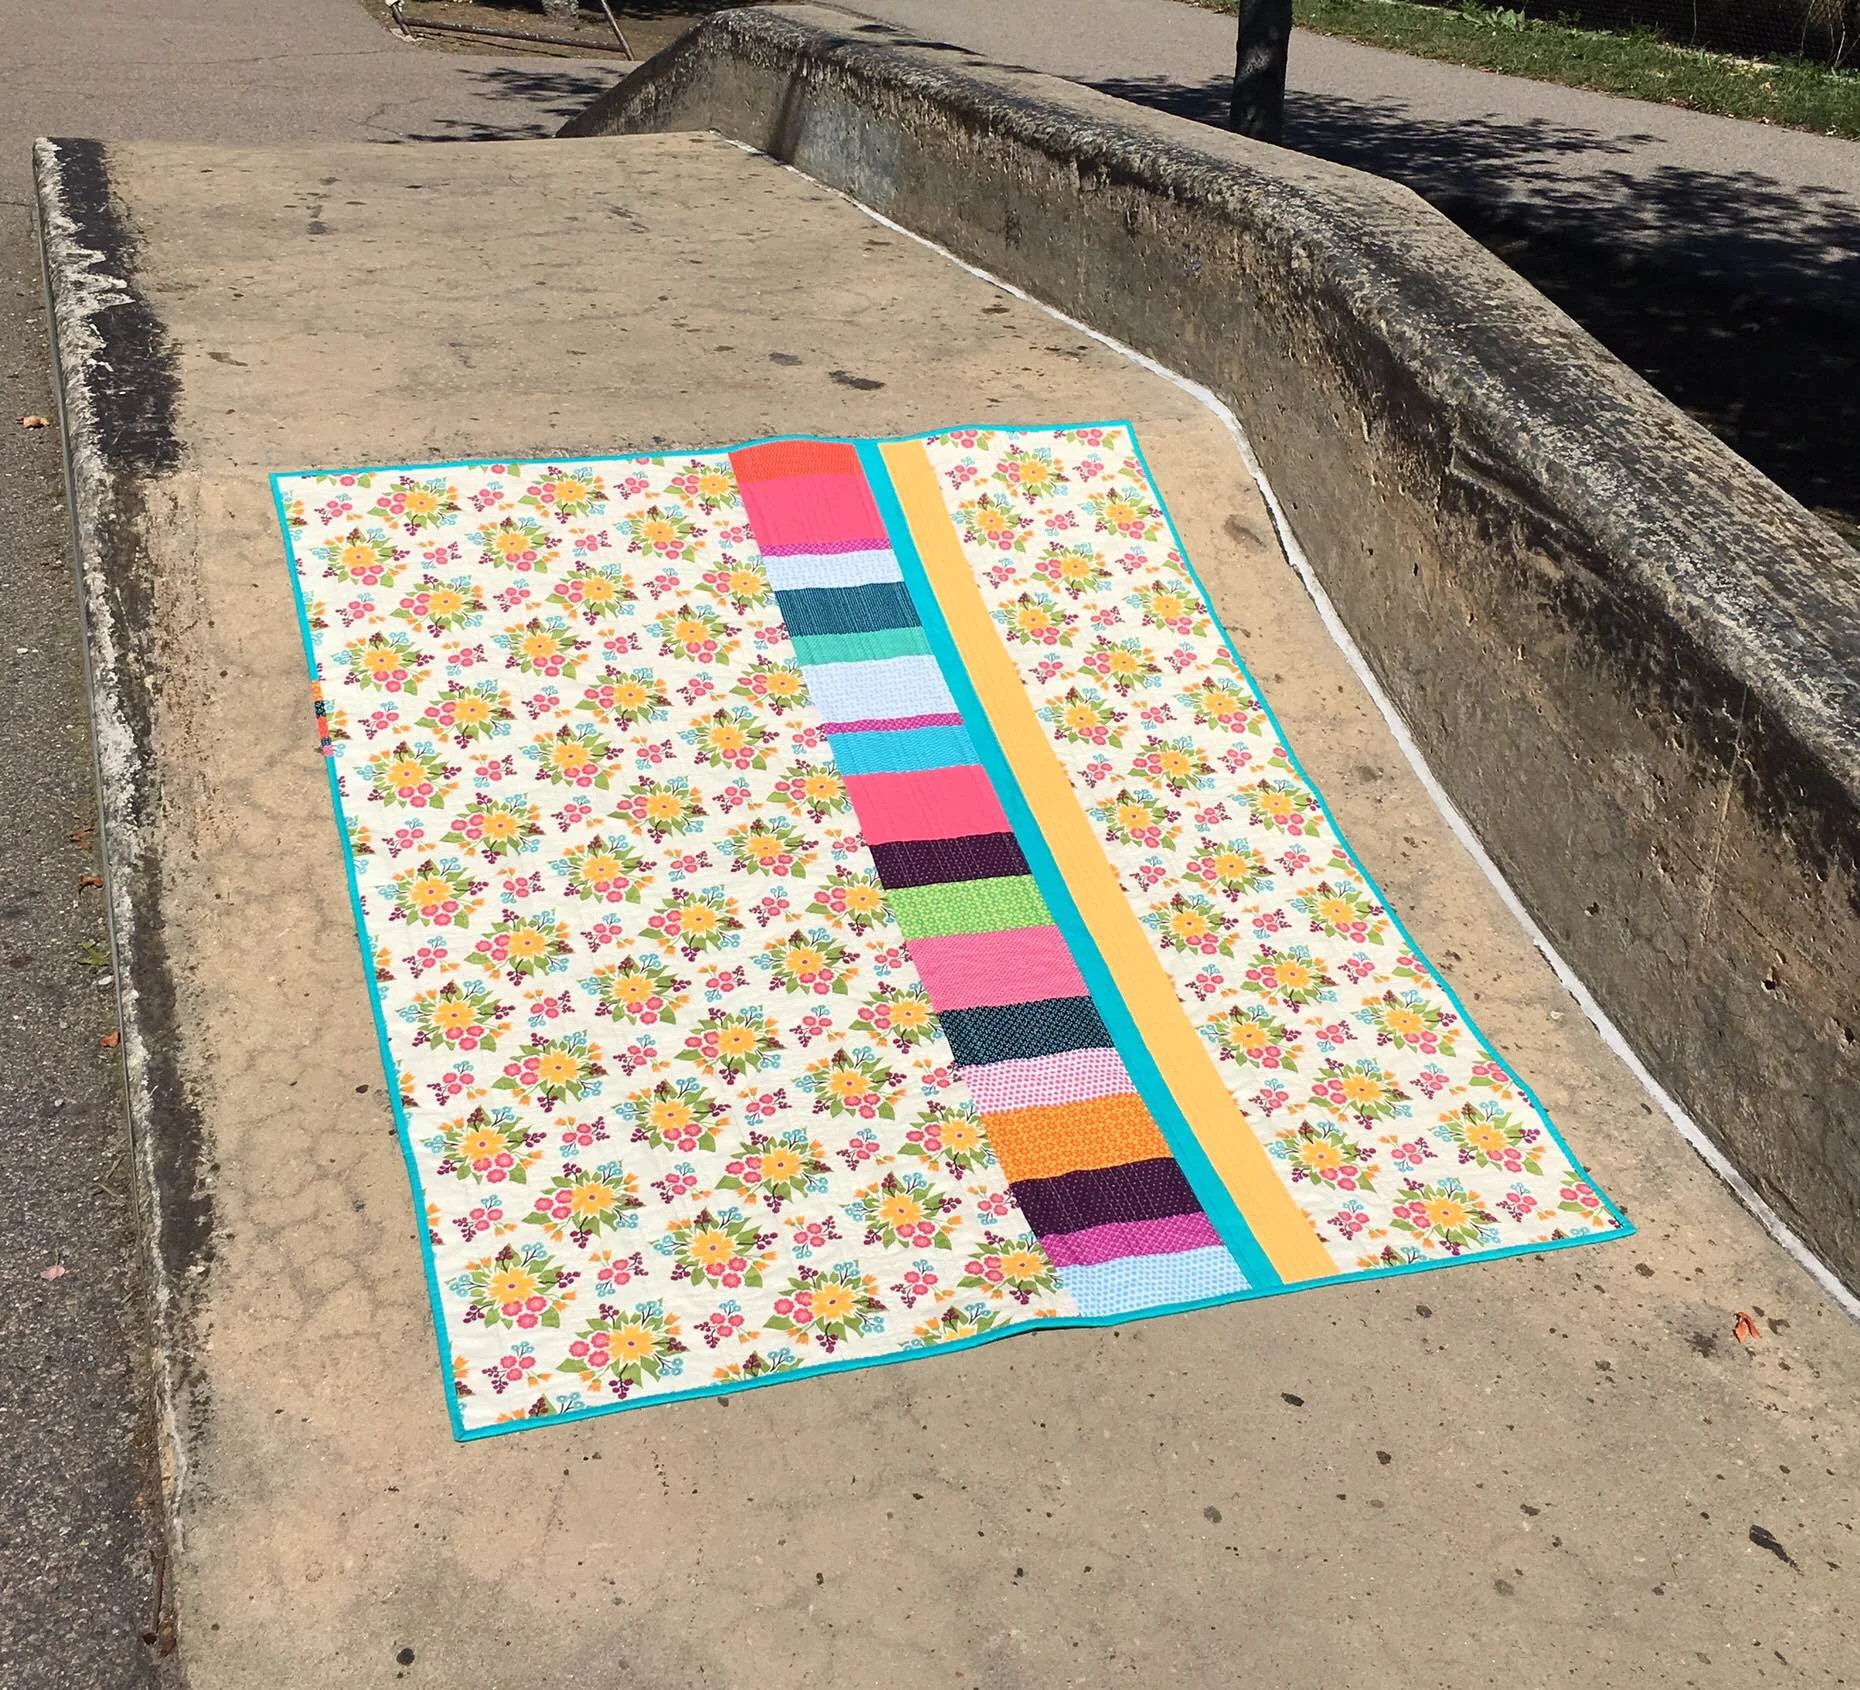
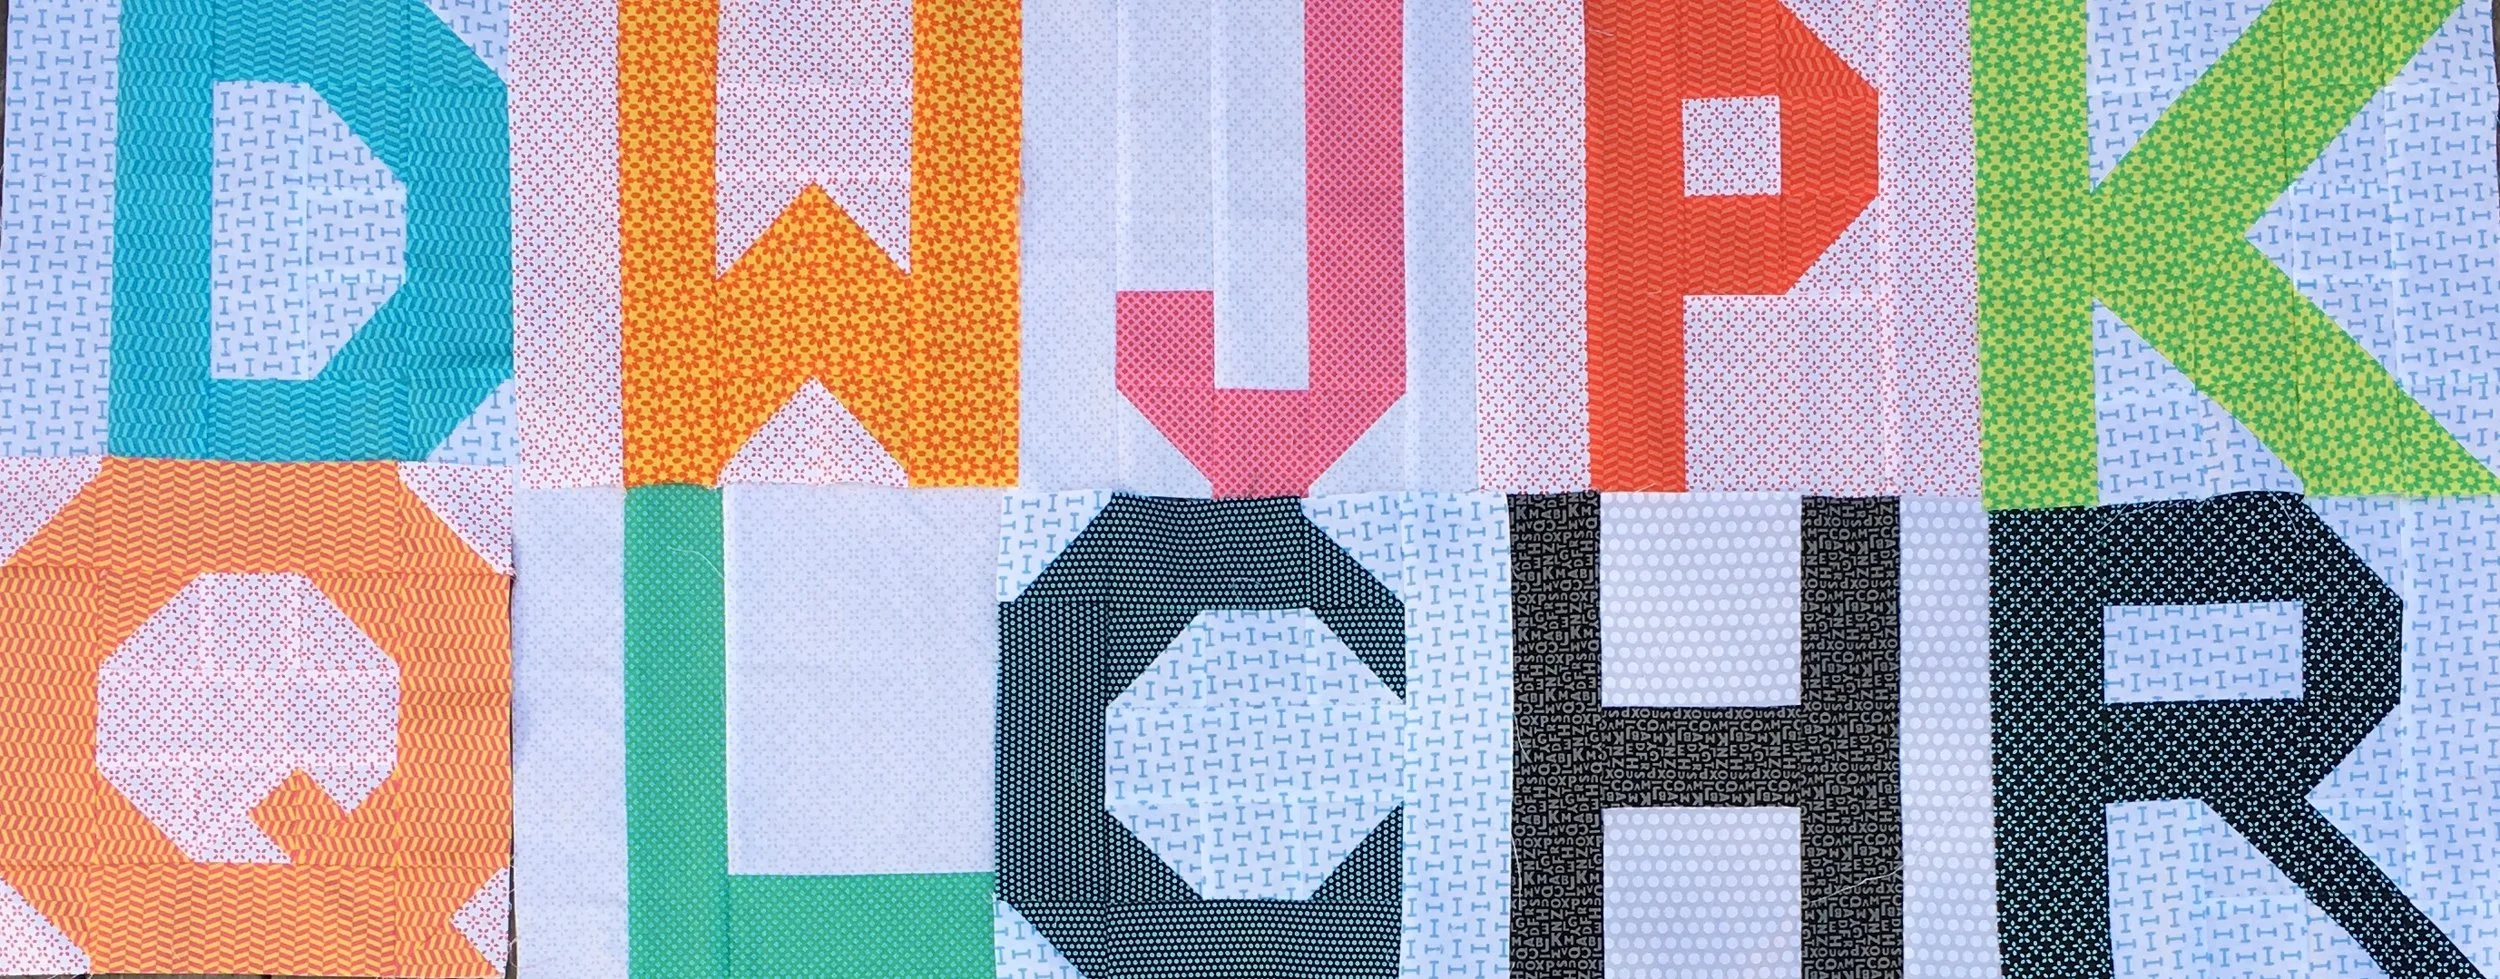
"Floral Latte" Quilt top
Here is my "Floral Latte", low volume plus sign quilt design, finished top.
"Disruption" in pattern to create more interest has been my theme this fall. In this quilt the disruption is in the 3rd vertical column of block from the left. All the blocks in the horizontal rows are the same block. But in the 3 vertical row, it's the opposite block.
I also added the narrow orchid strip and a plain border just on the left side of the quilt.
I tried out lots of various layouts on my design wall--but this is the layout that I found the most interesting and the most pleasing!
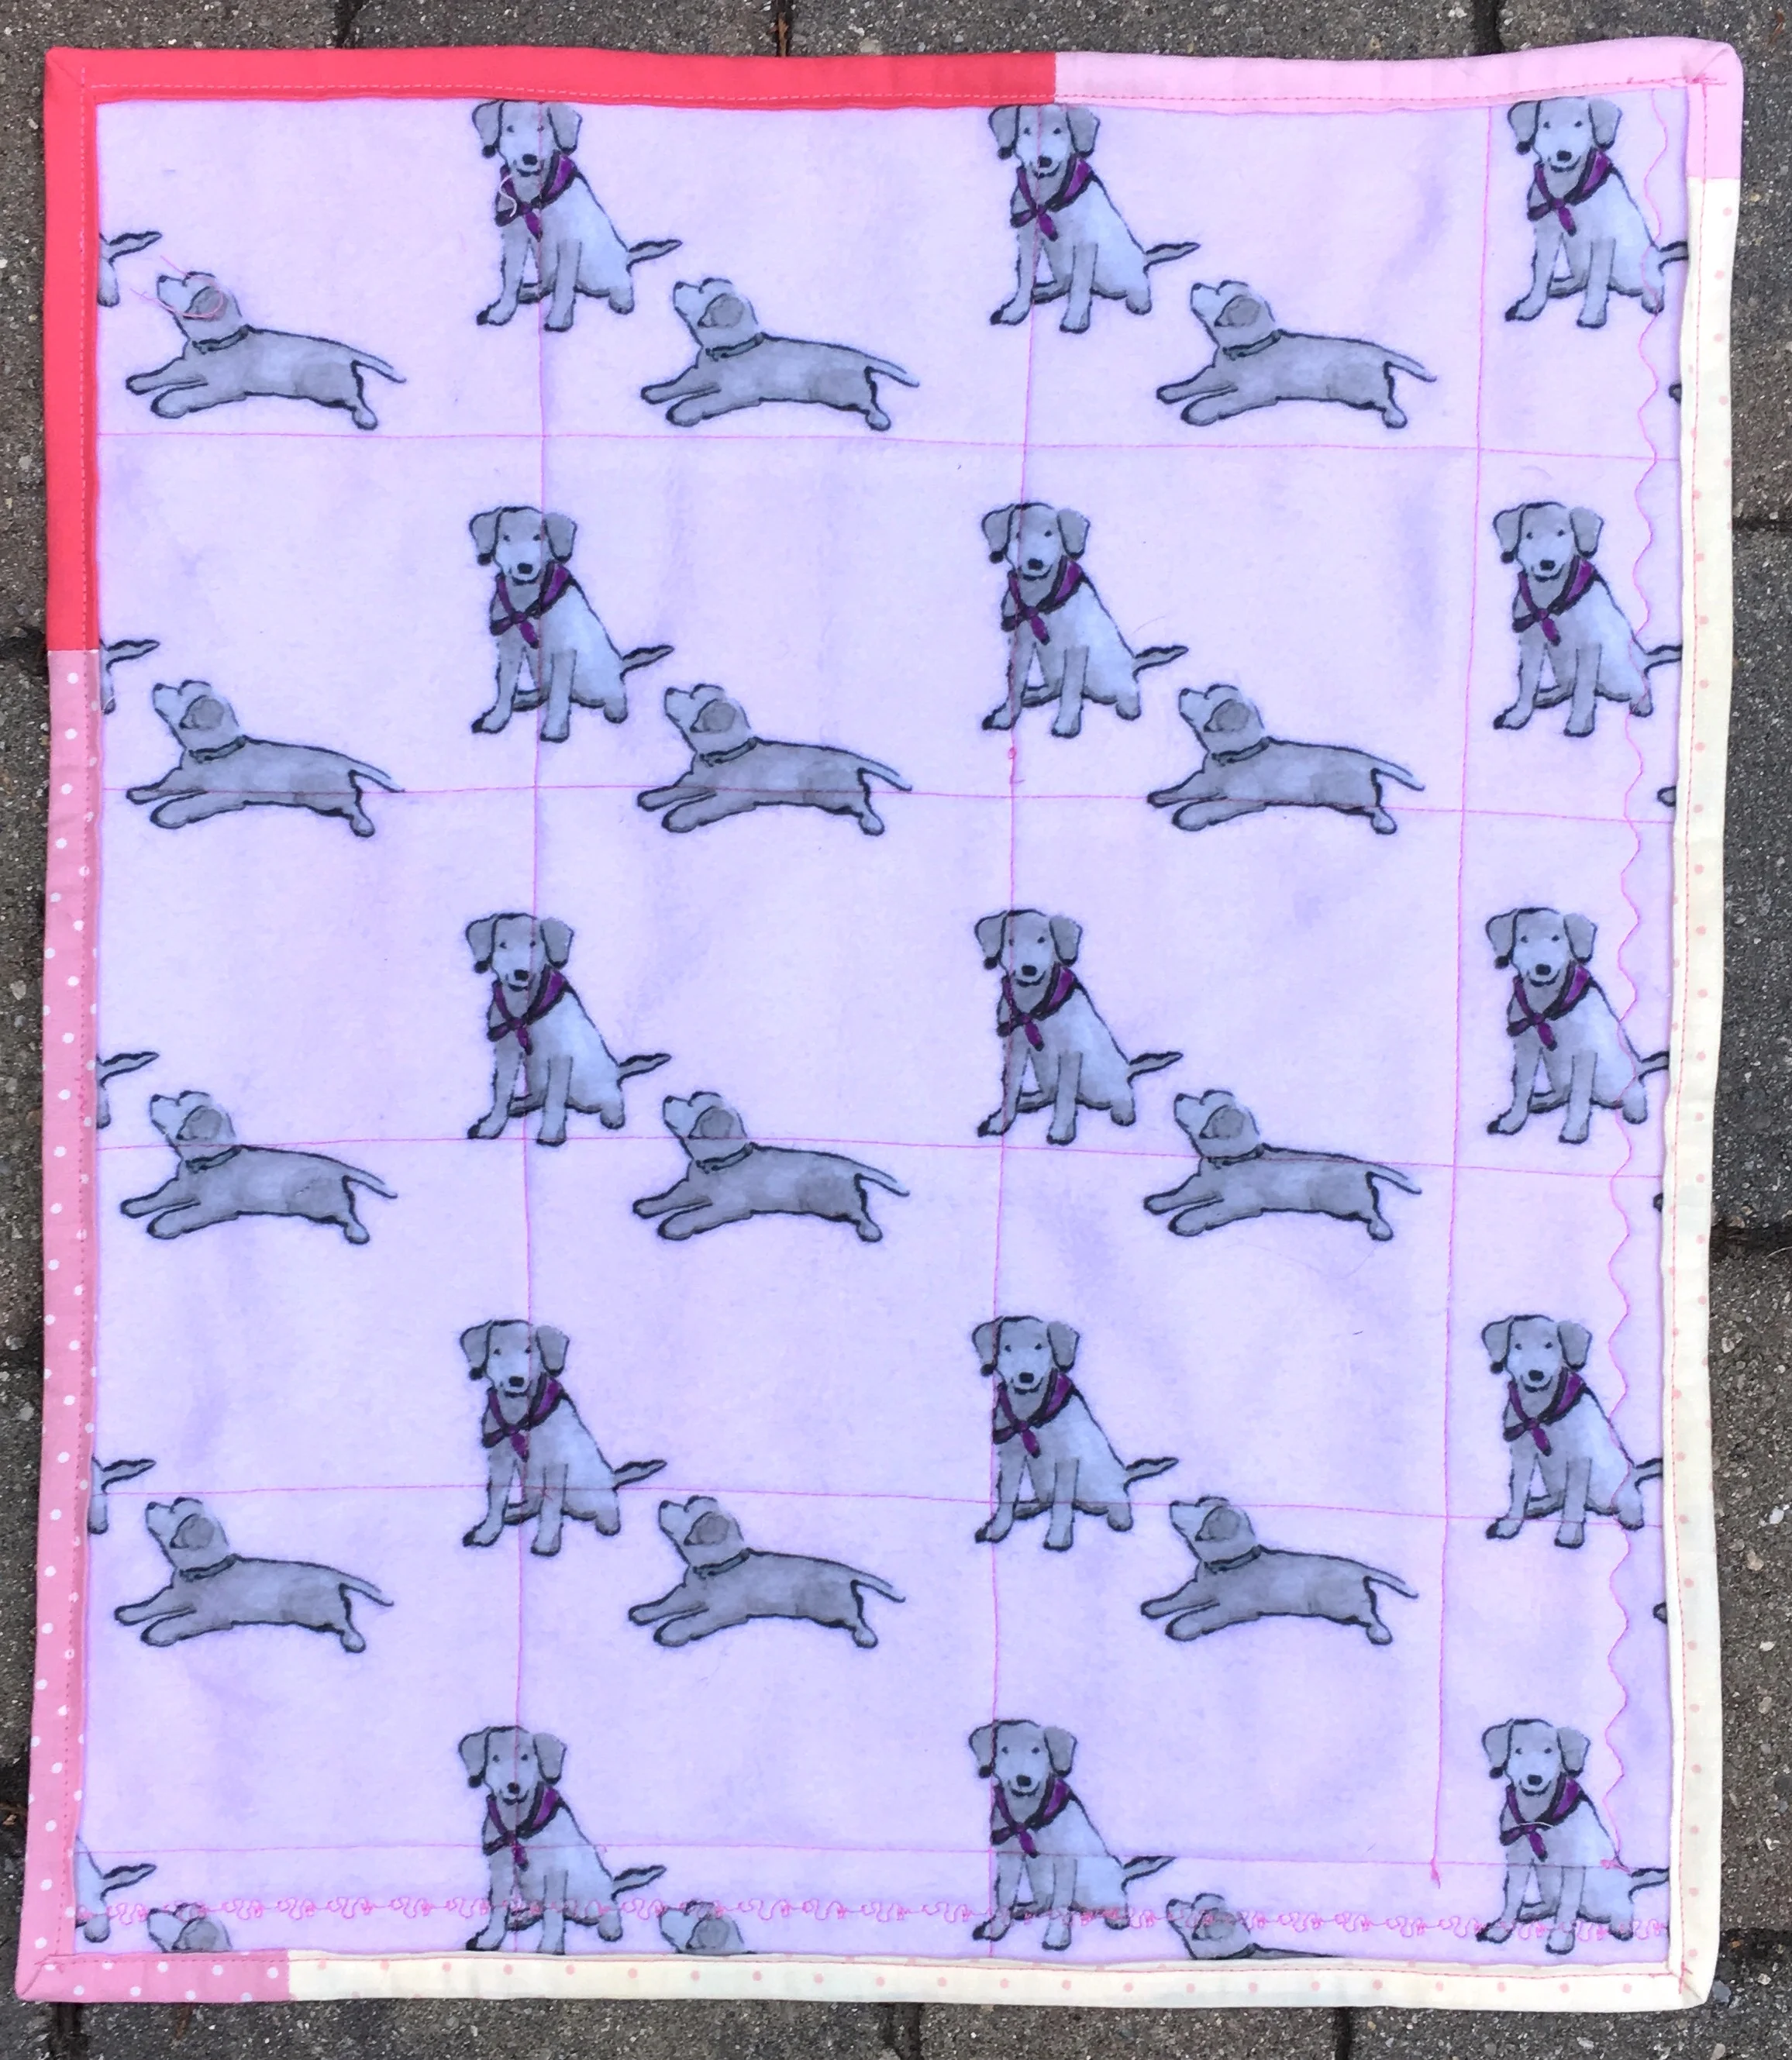
I left the background in the photo this time--I like how the autumn color in the trees and the leaves on the ground compliment this quilt!
And speaking of compliments...a shout out to my friend Suzanne for giving me the inspiration for this quilt's name! Thanks!