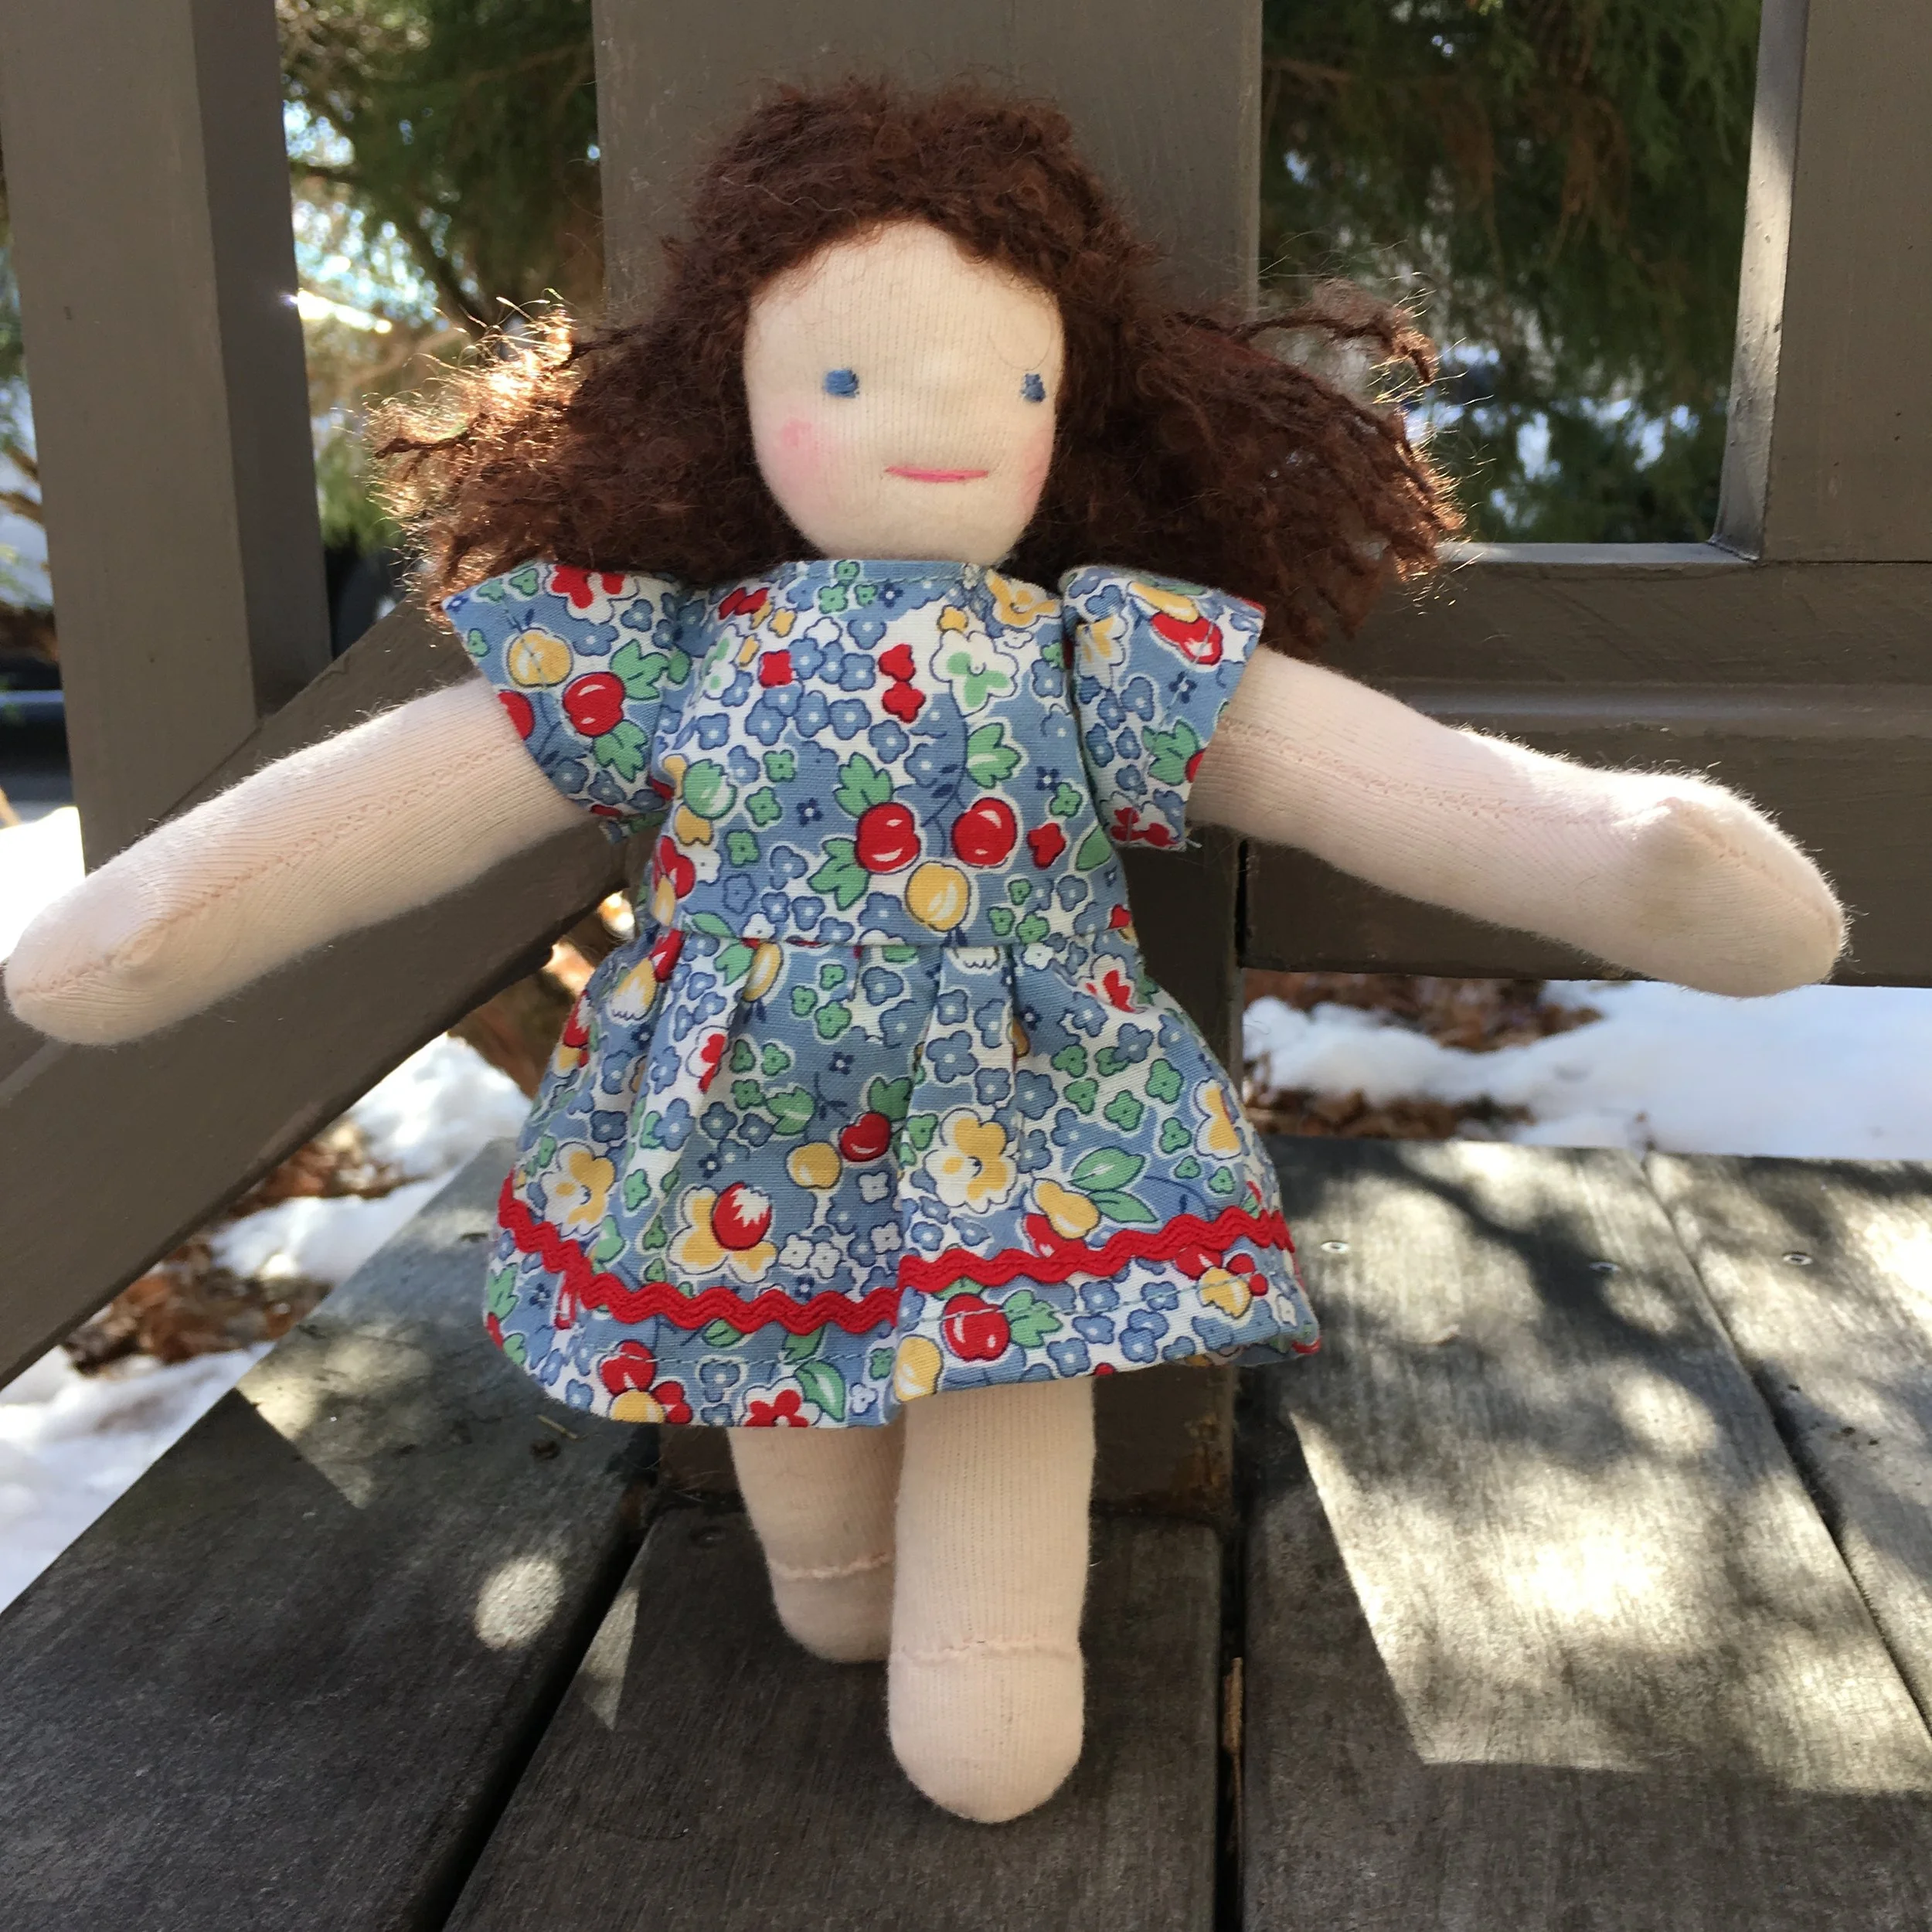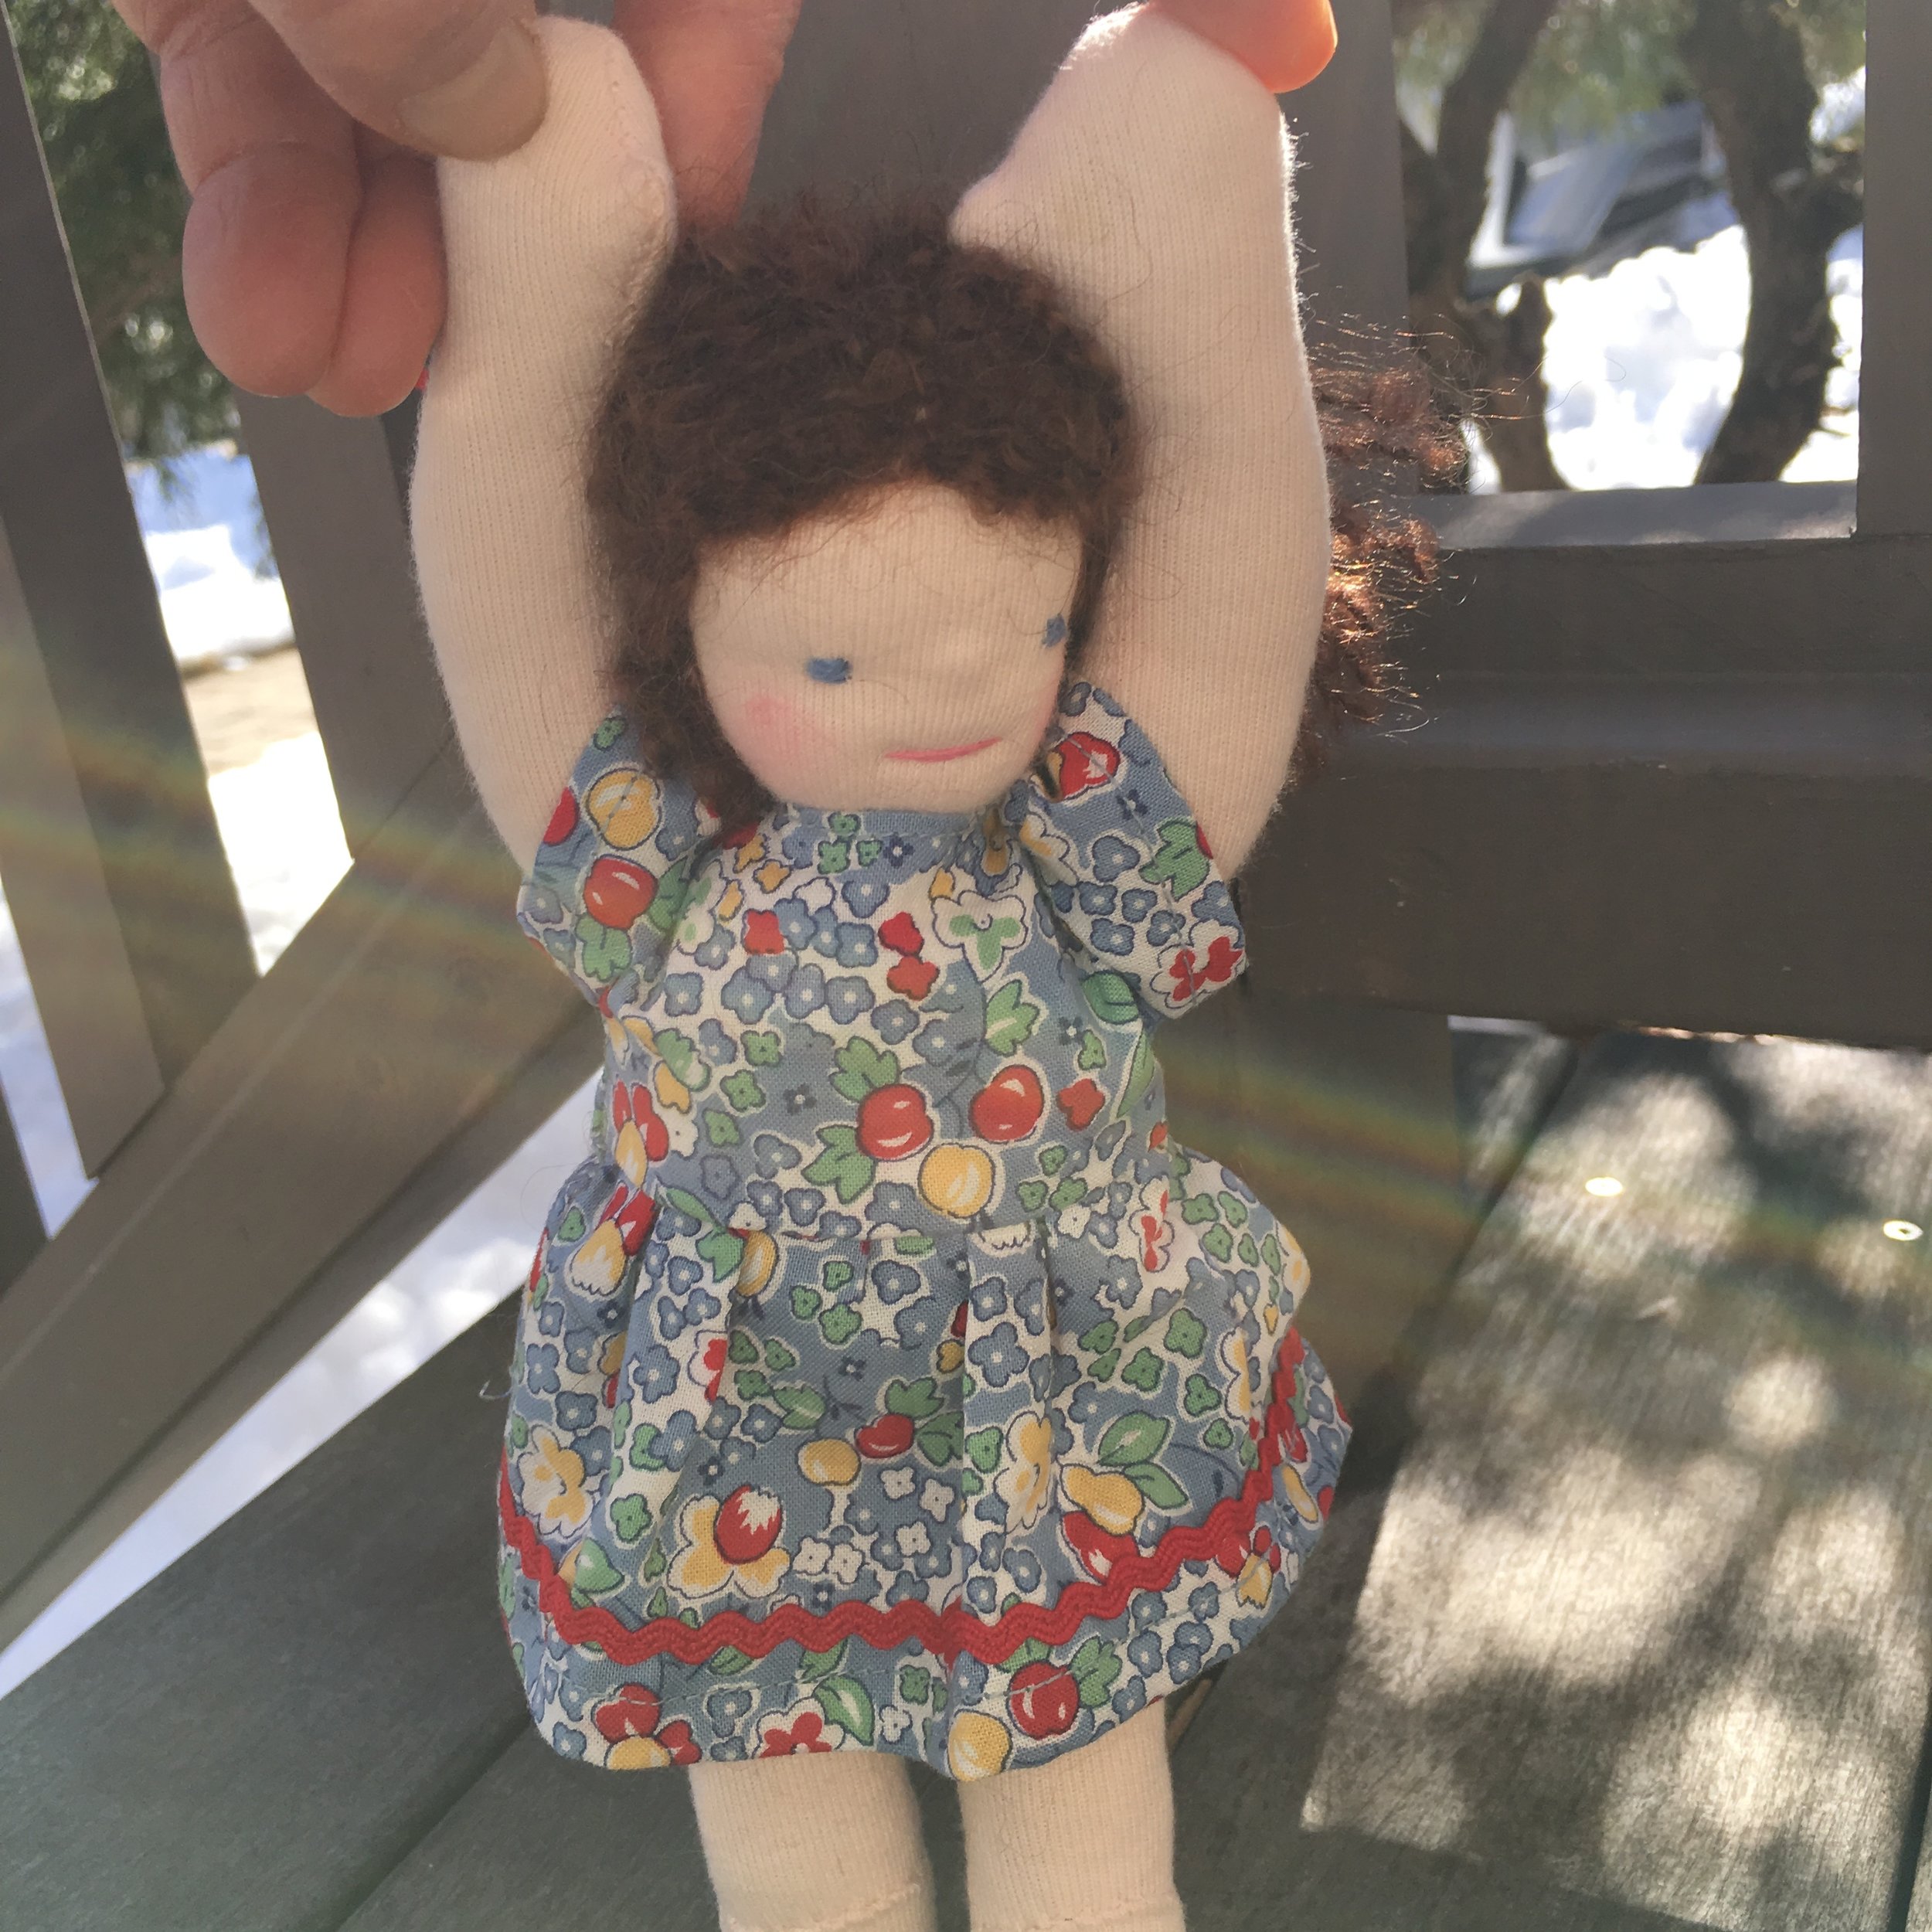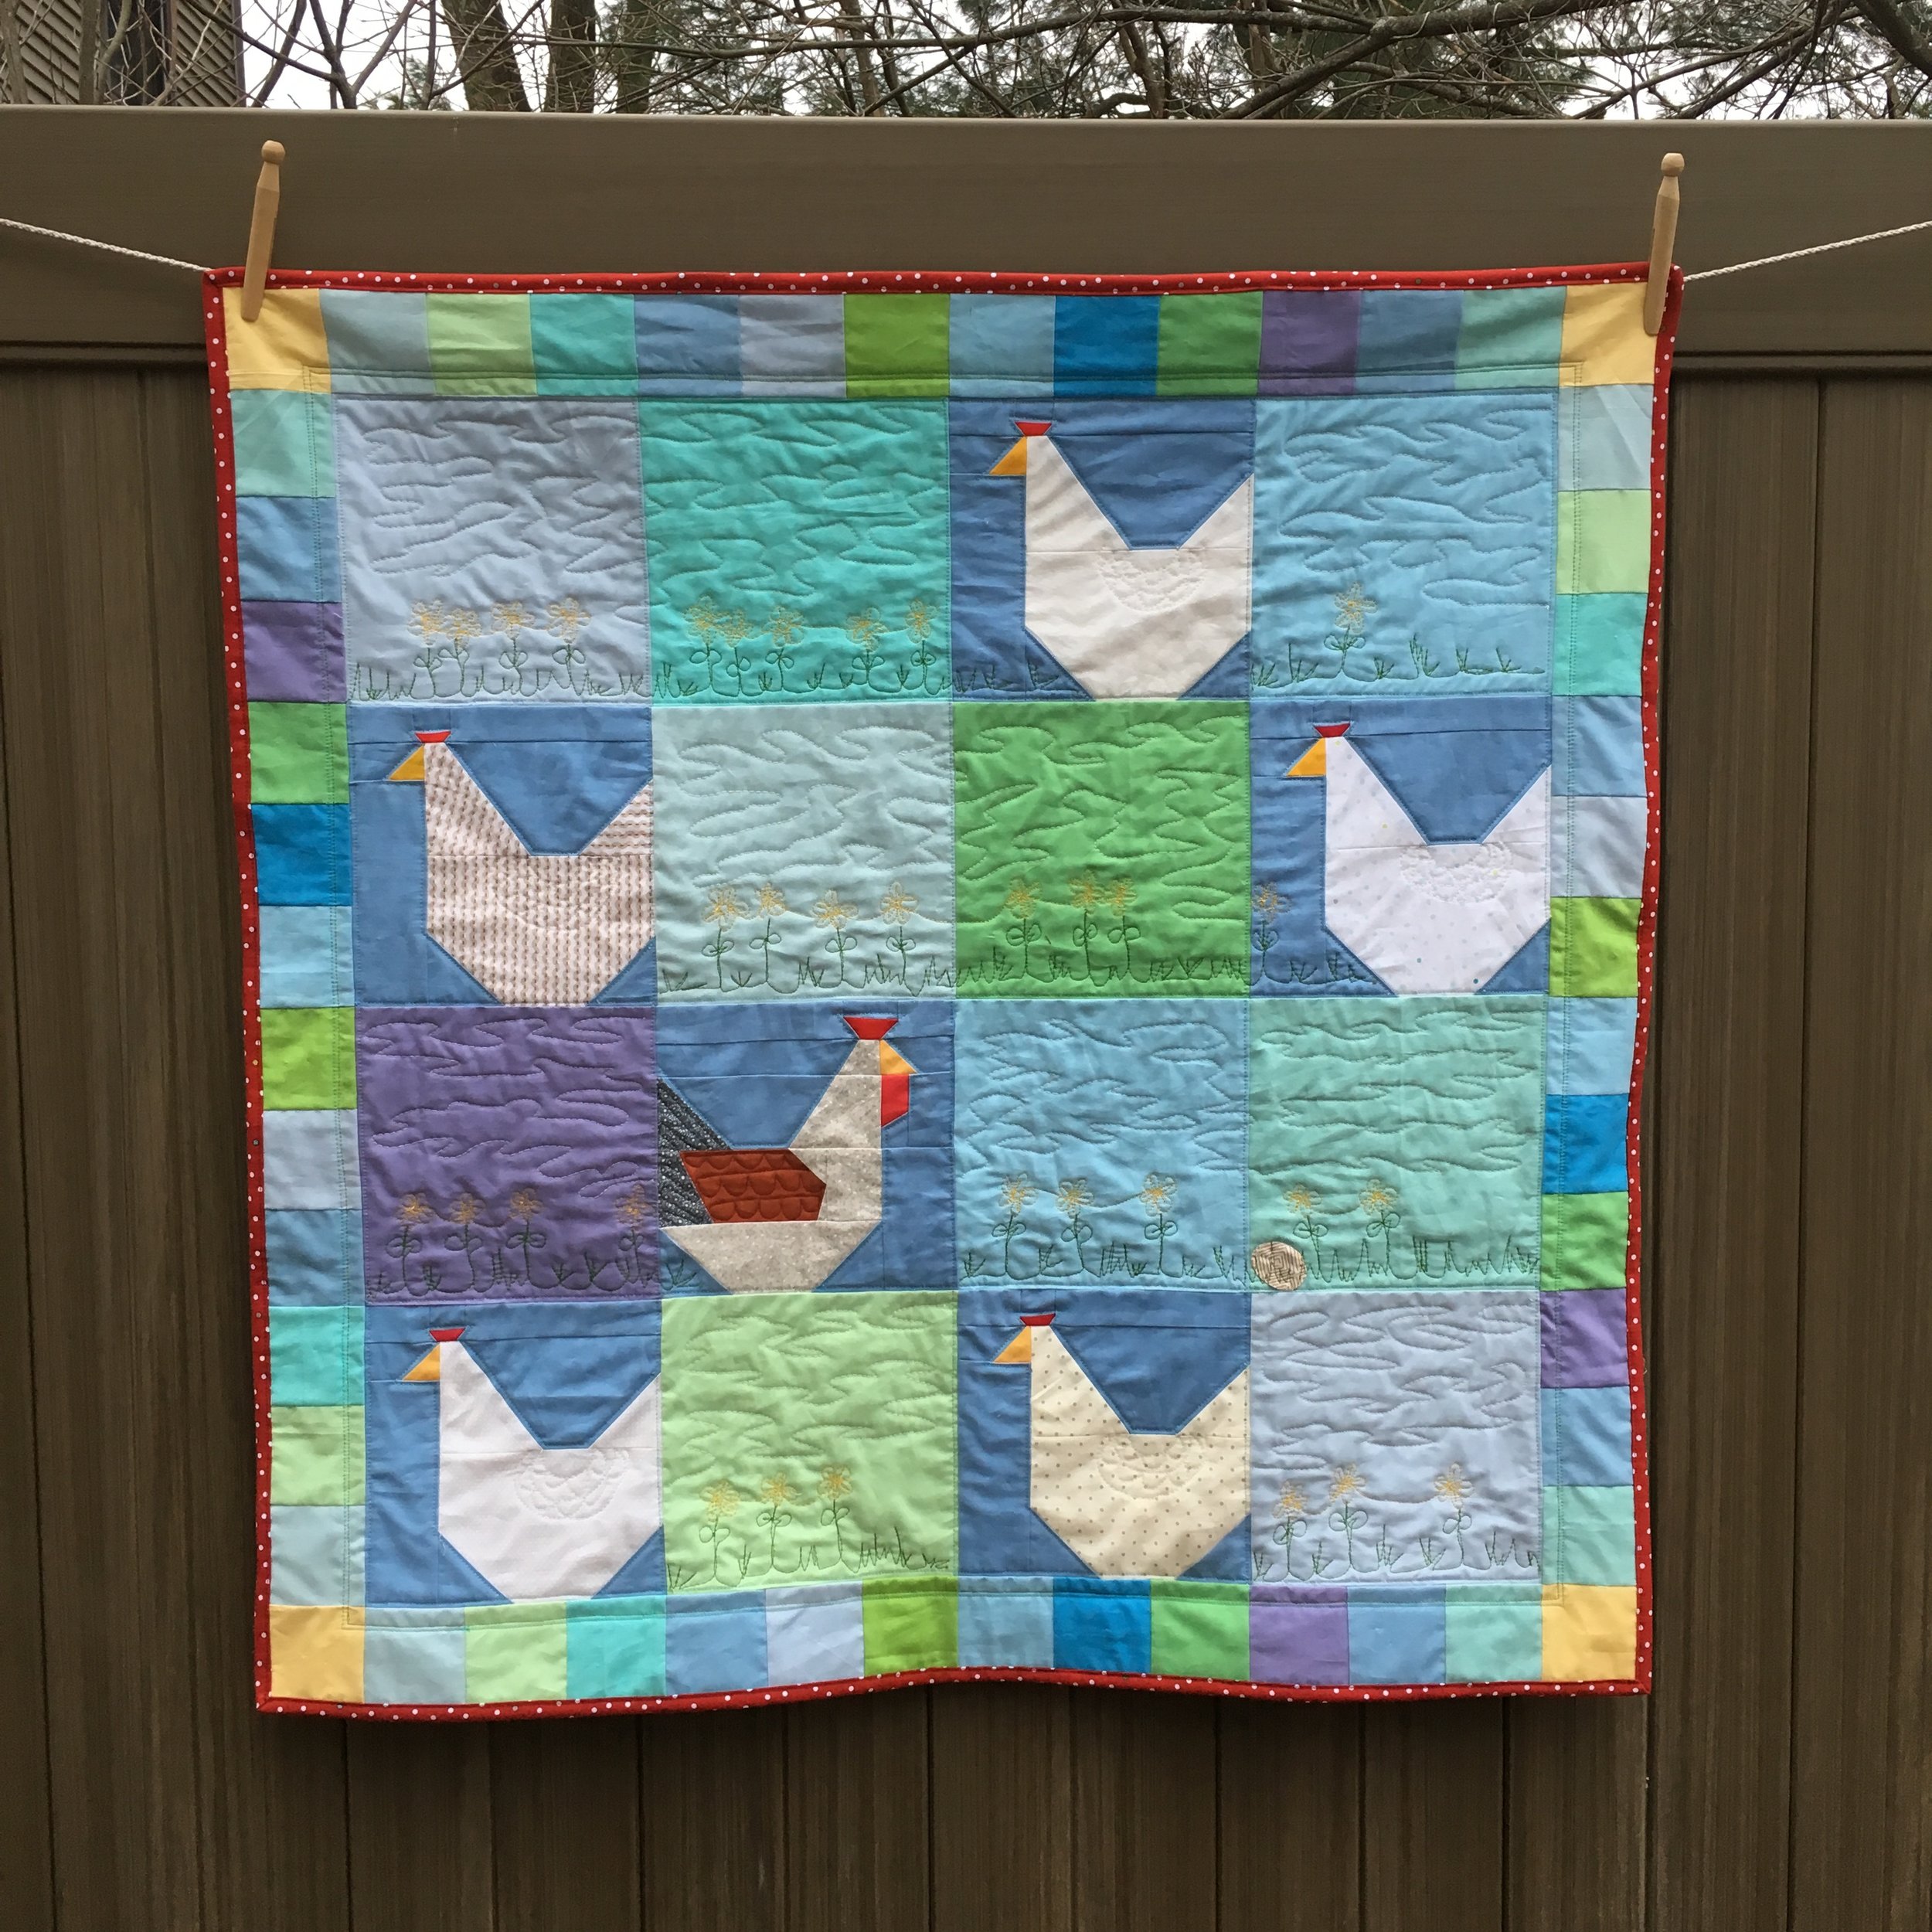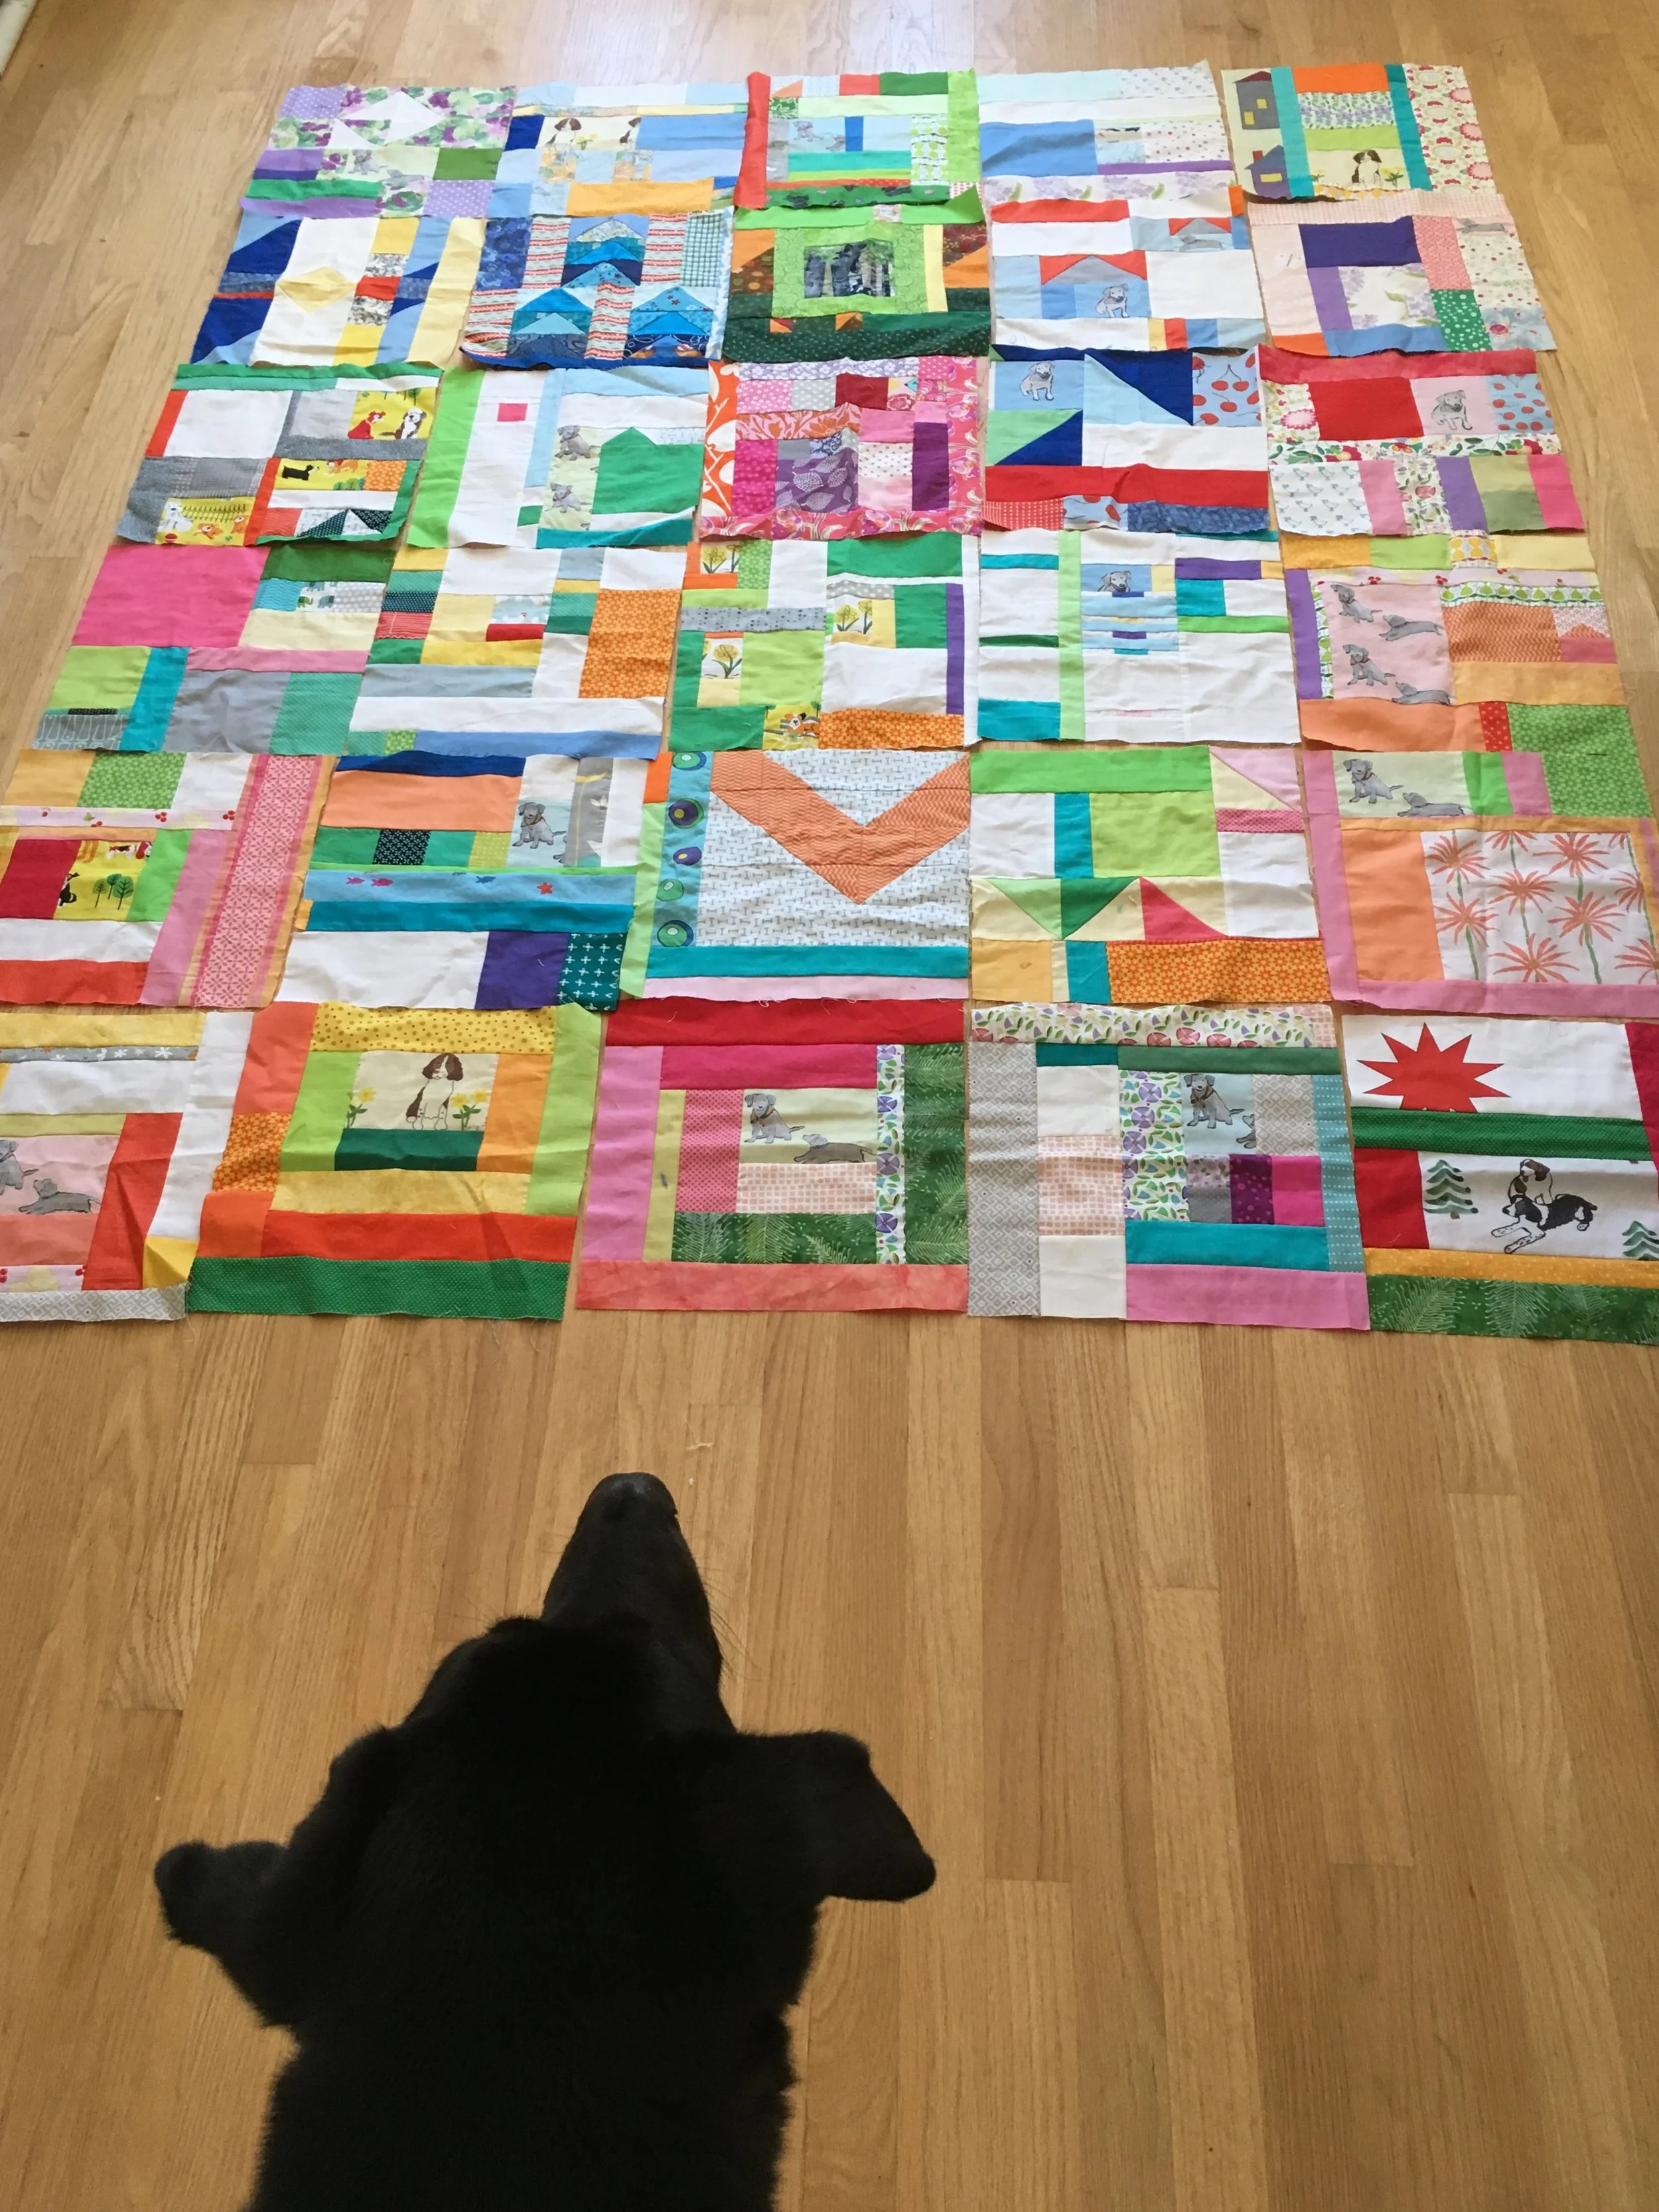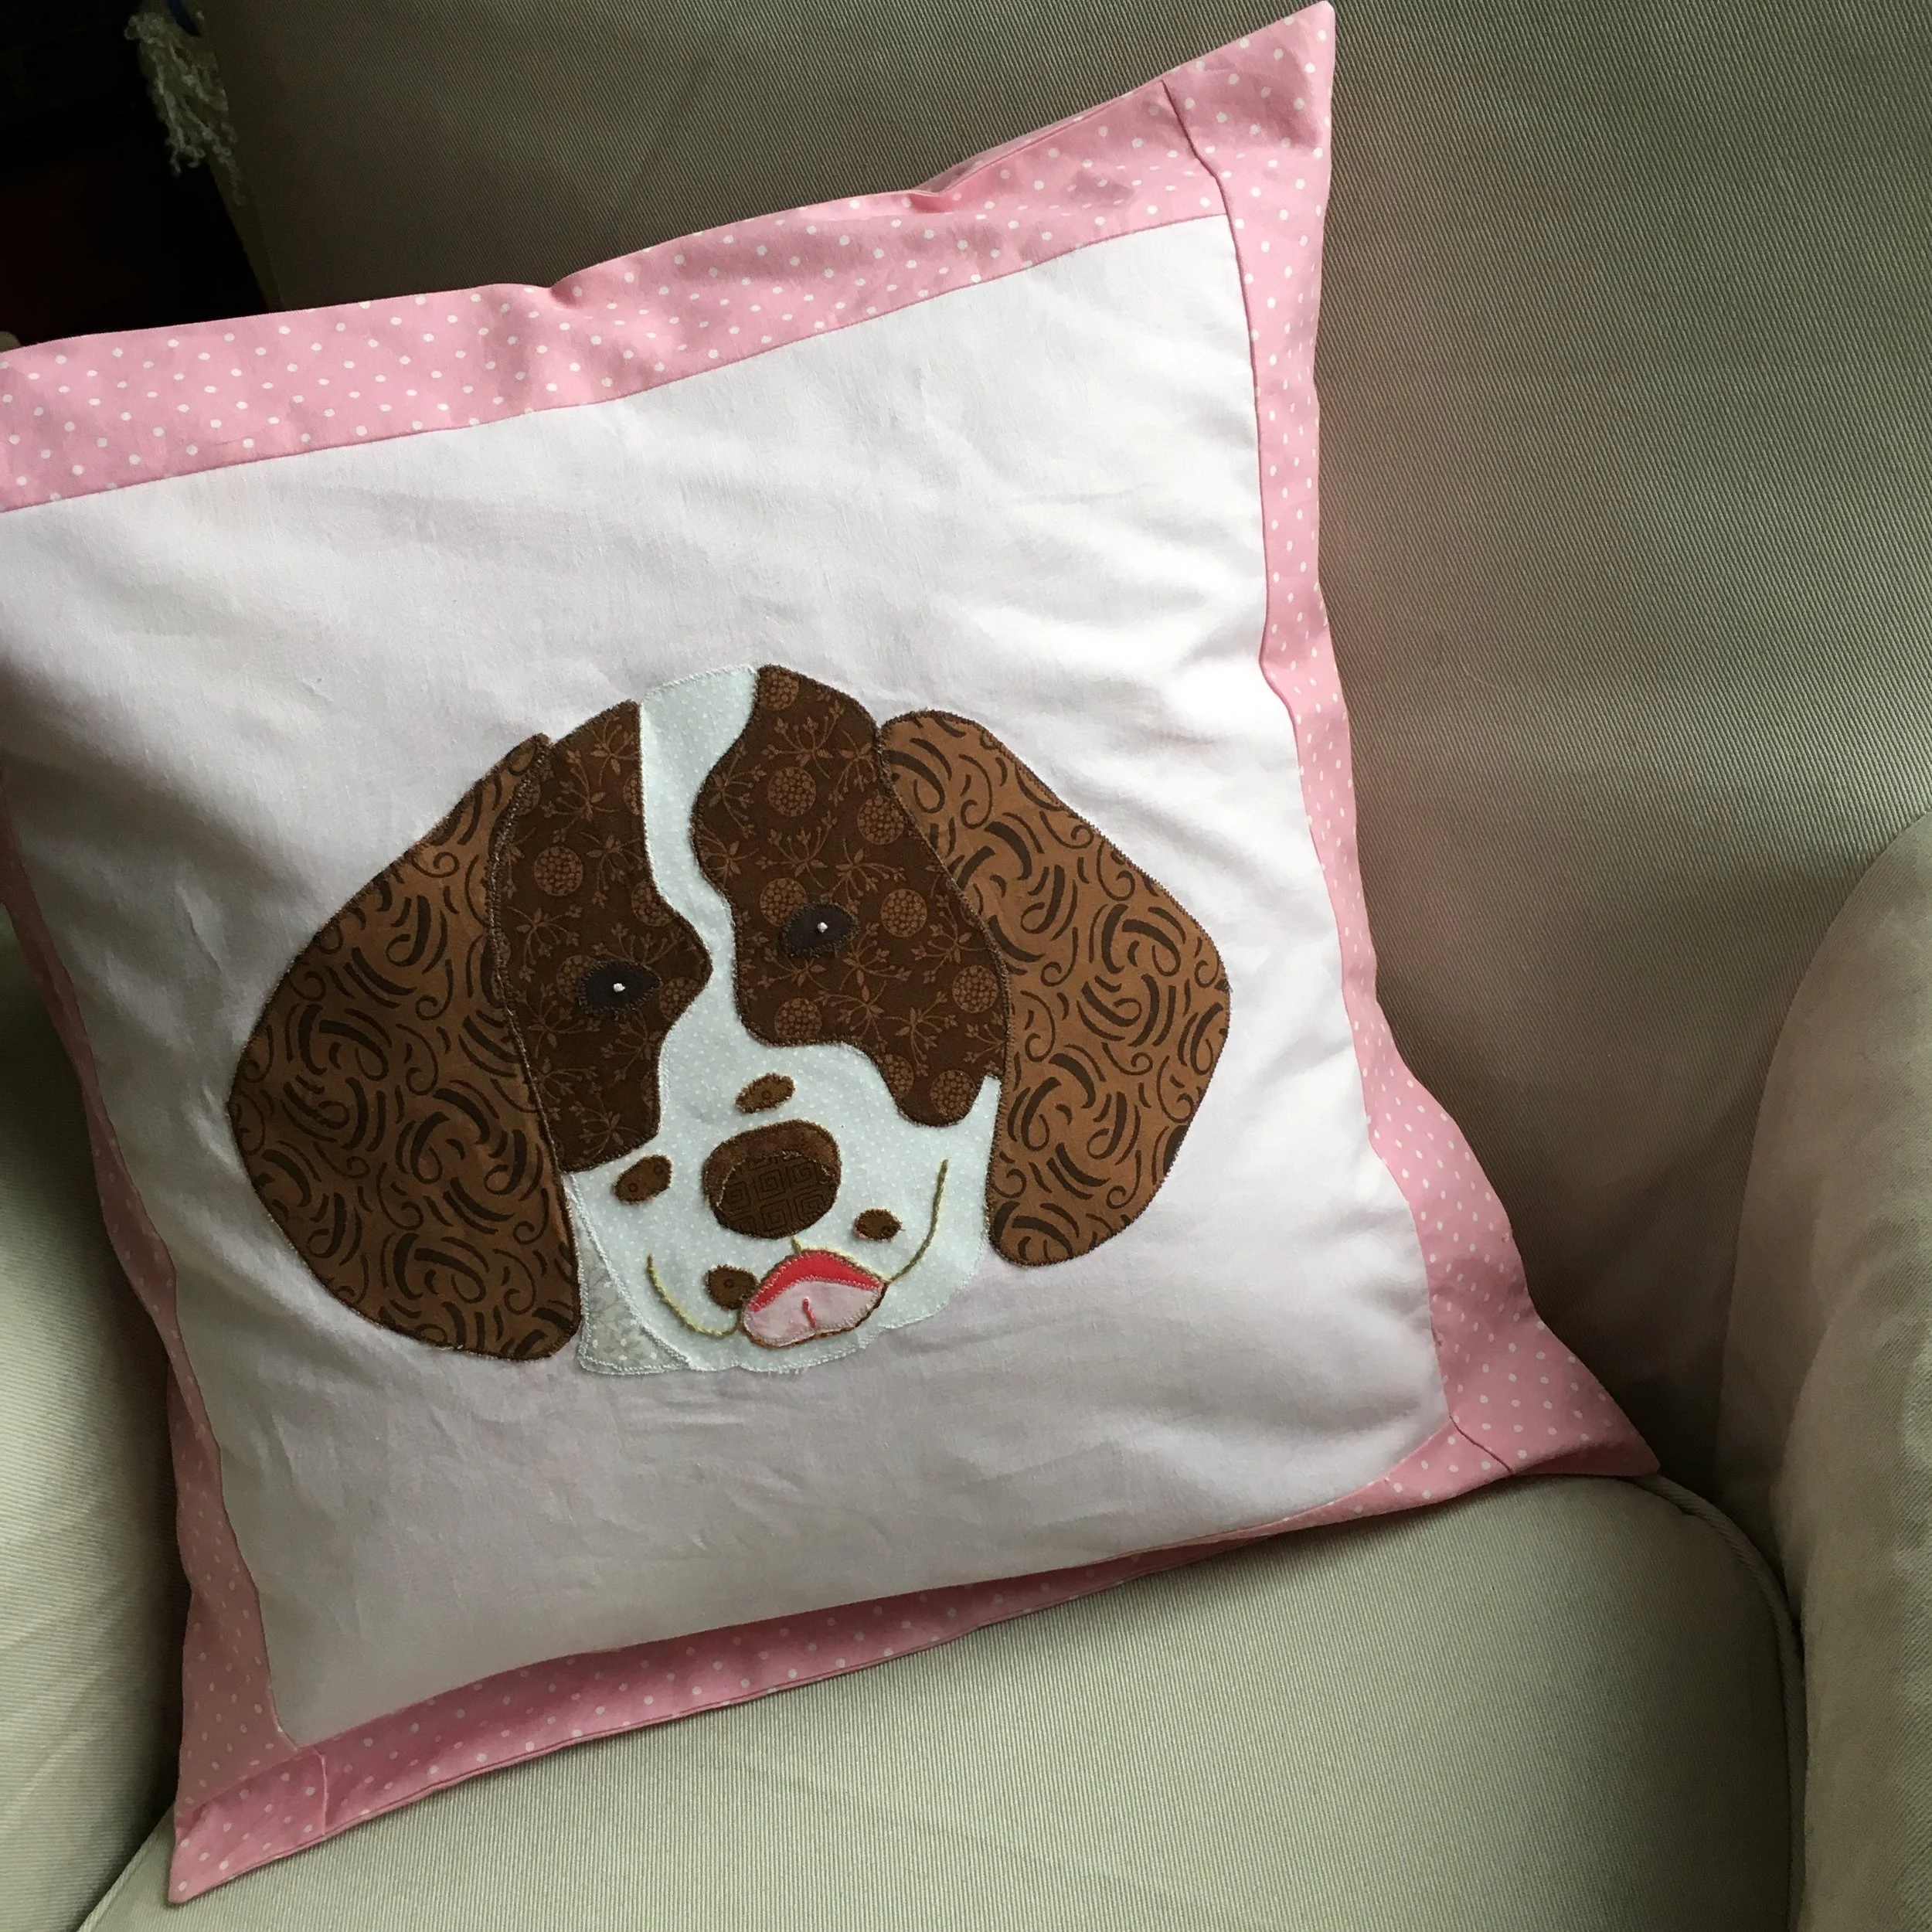
Appliqued English Springer Spaniel Envelope Pillow 16 inches square
One of my friends has an adorable English Springer Spaniel. I've been squirreling away patterned brown fabrics for a long time with the plan to make some sort of Springer project some day. That day arrived recently!
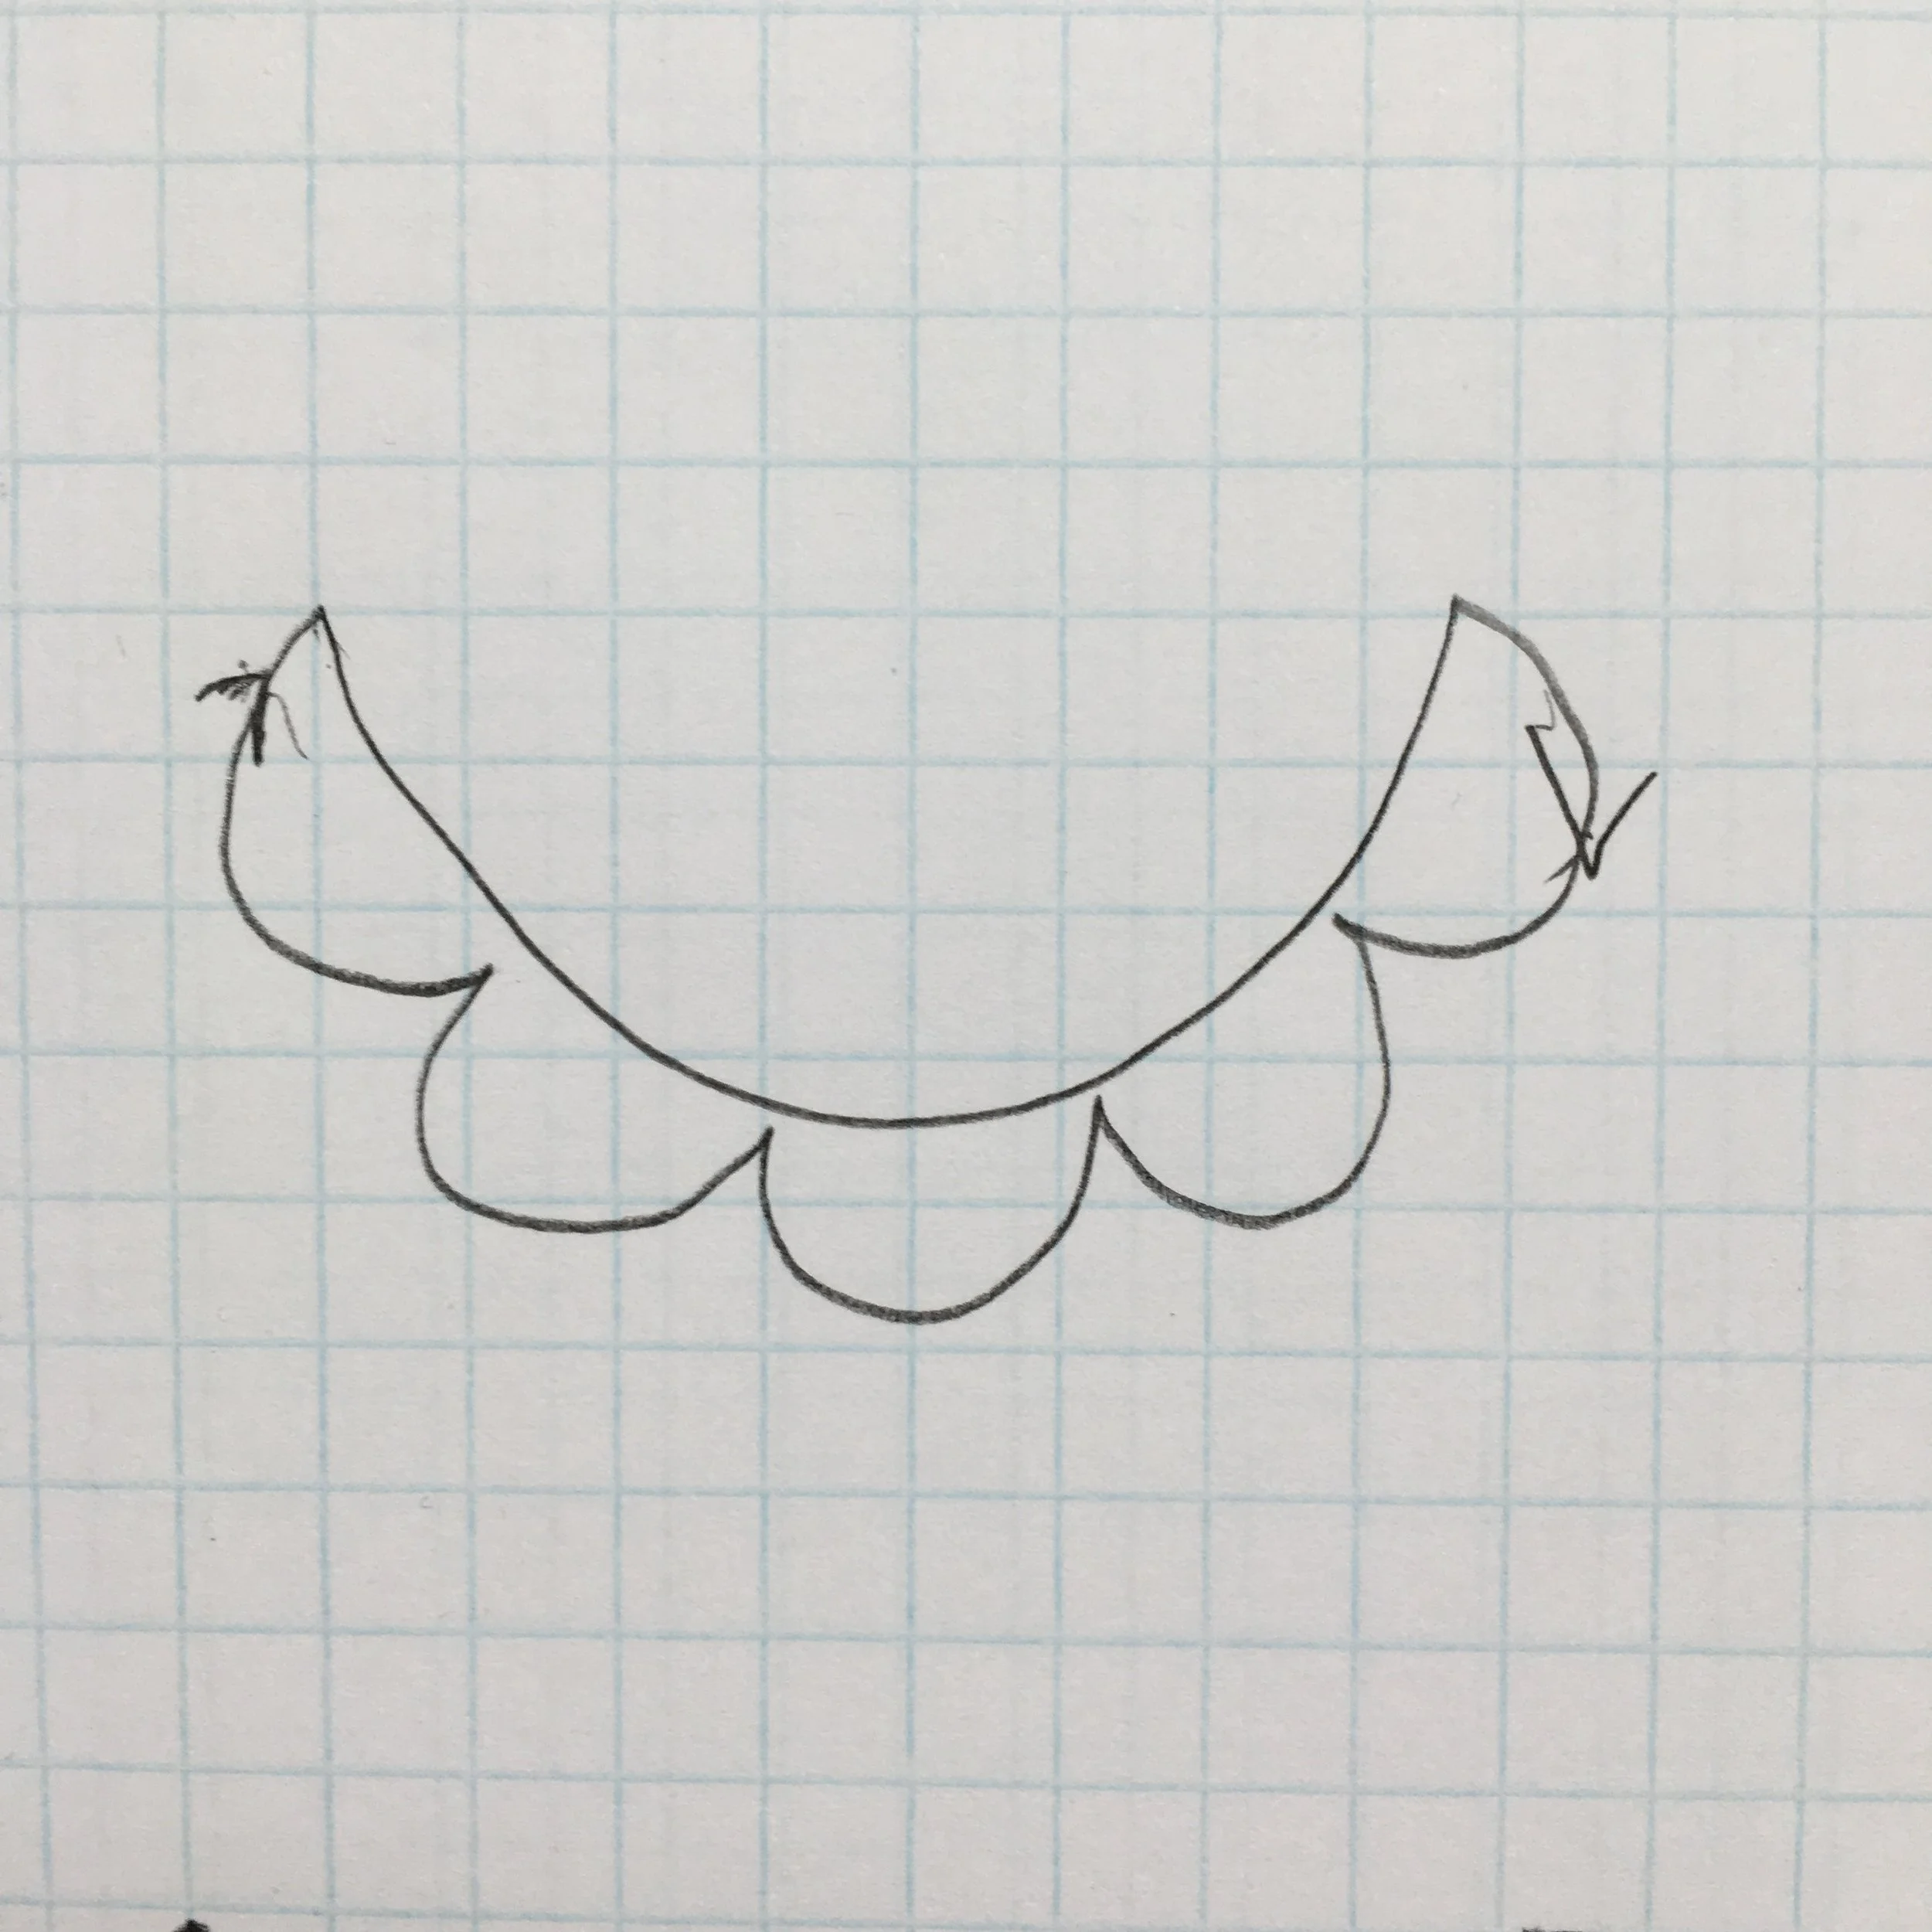
Here's the drawing I made from a photo of my friend's dog.
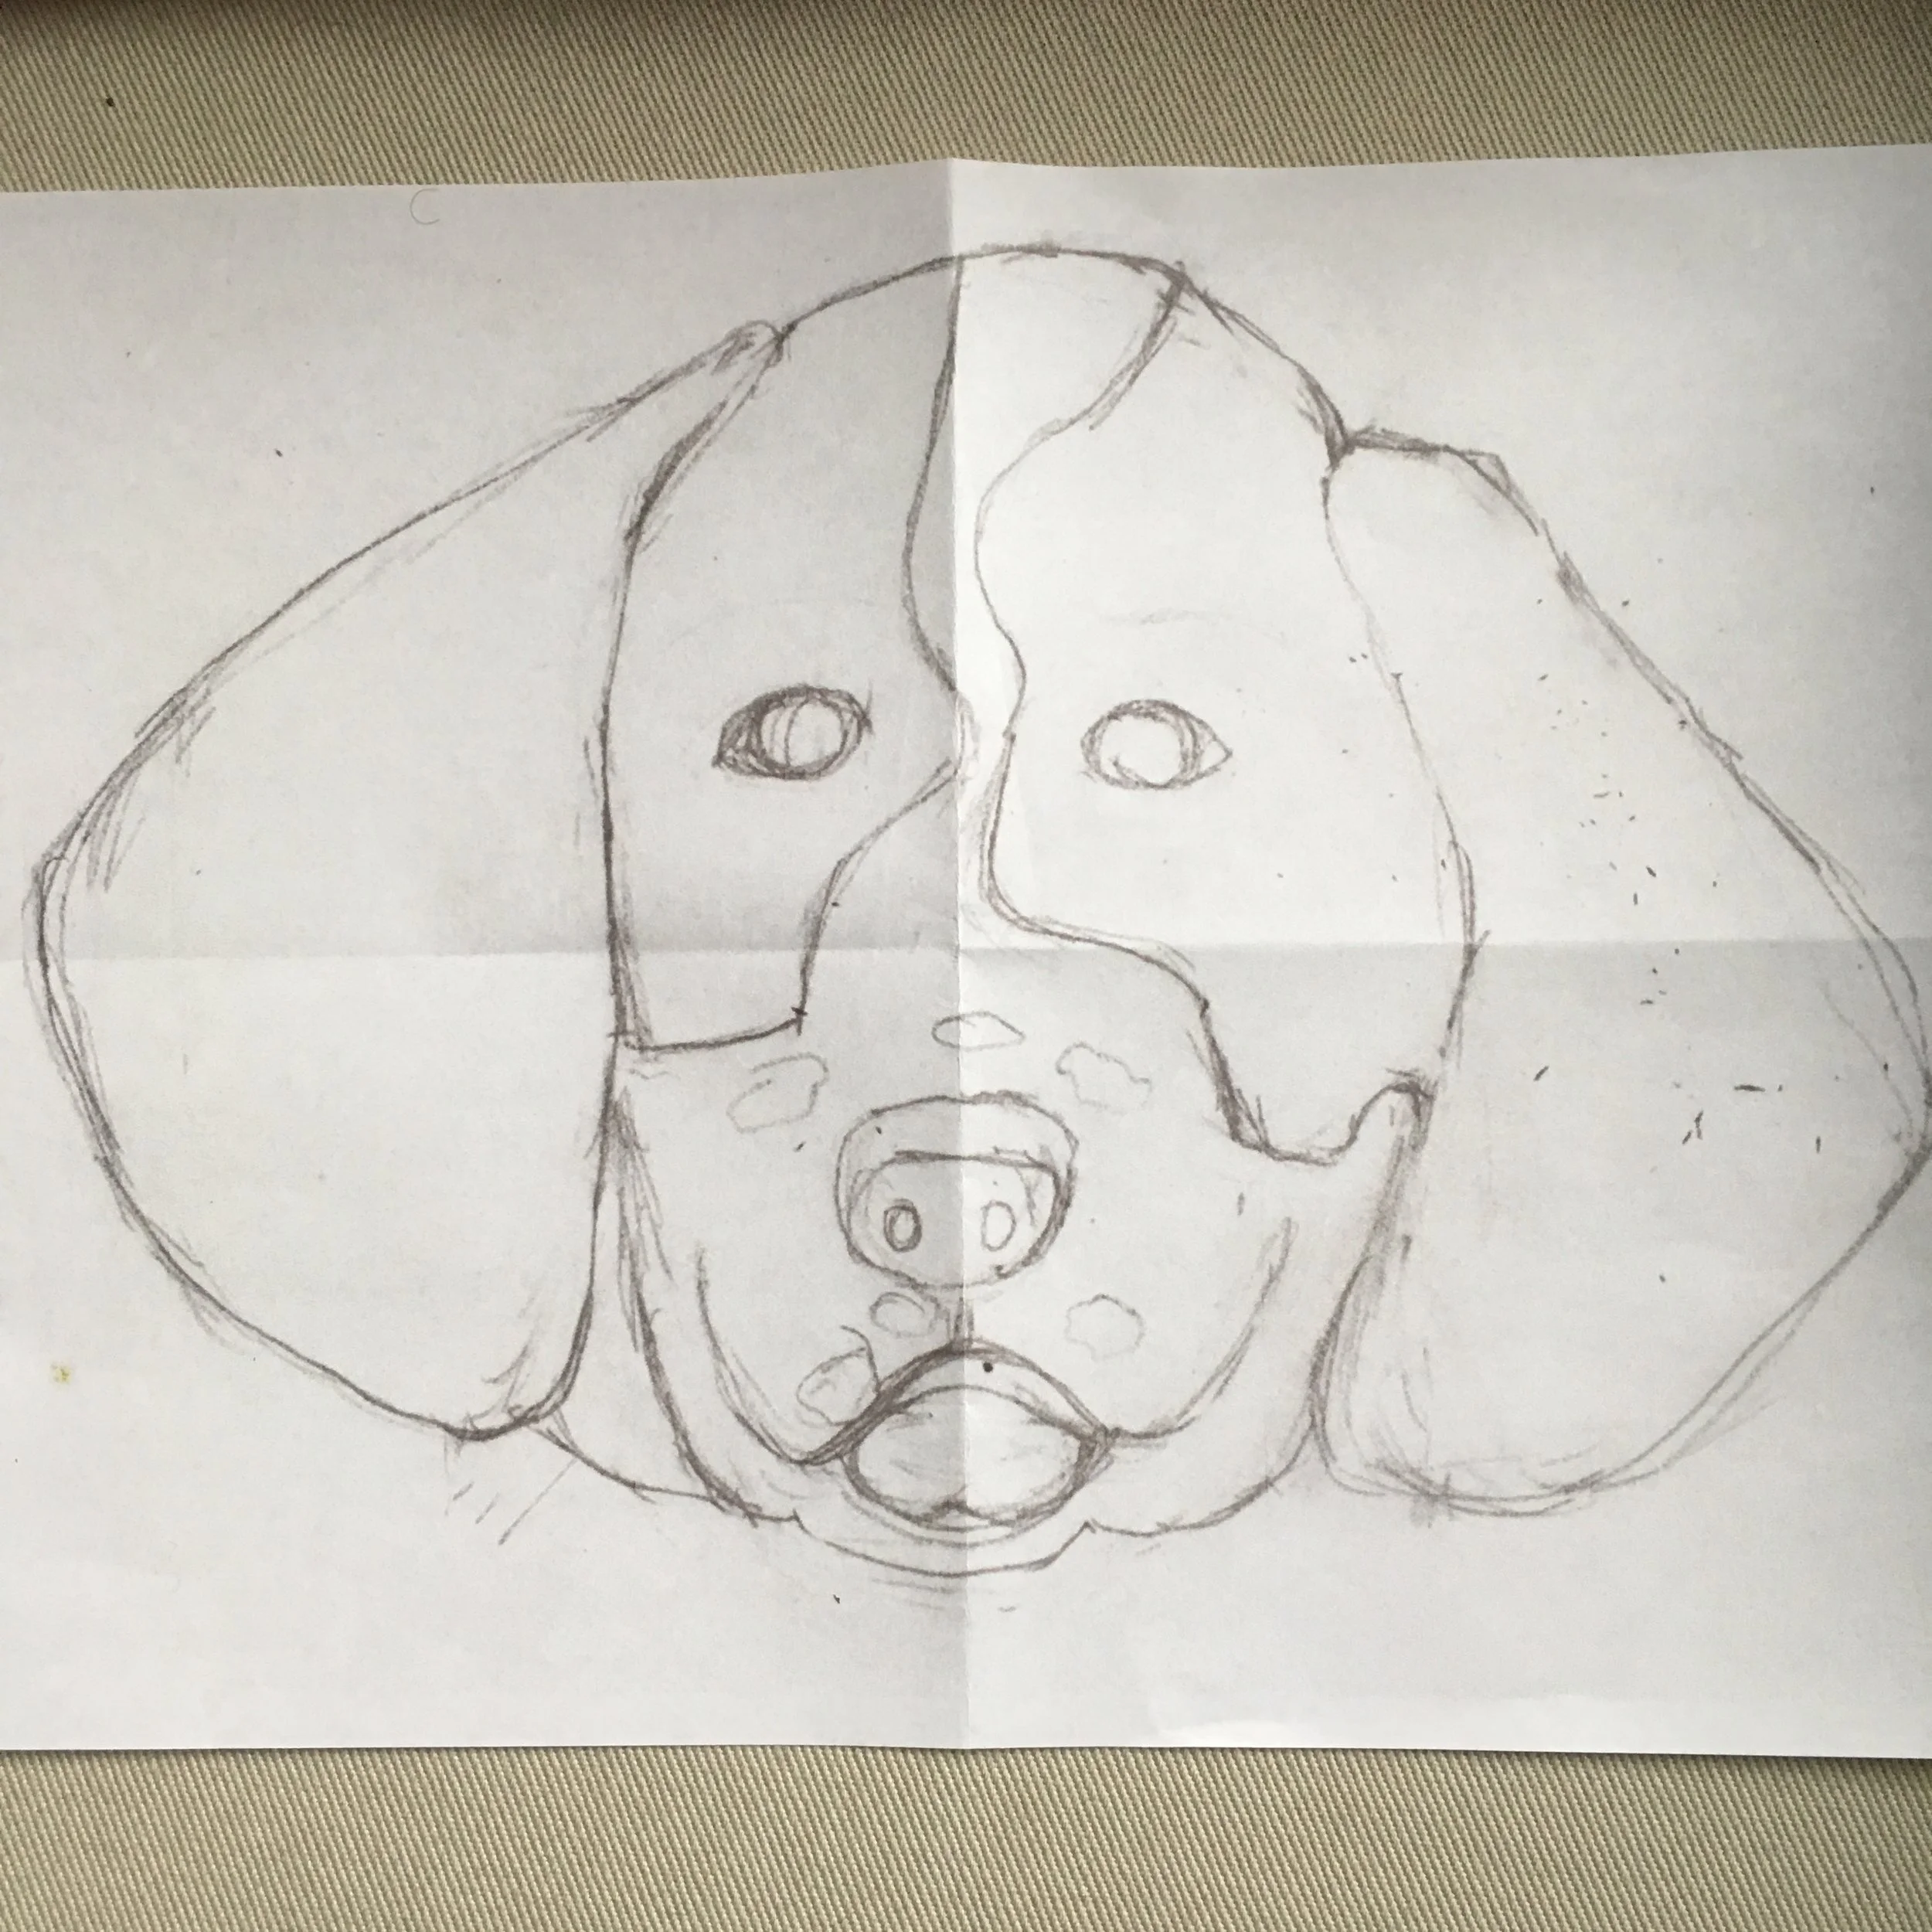
Springer drawing, folded in 4 quadrants to aid placement of the components on the pillow cover
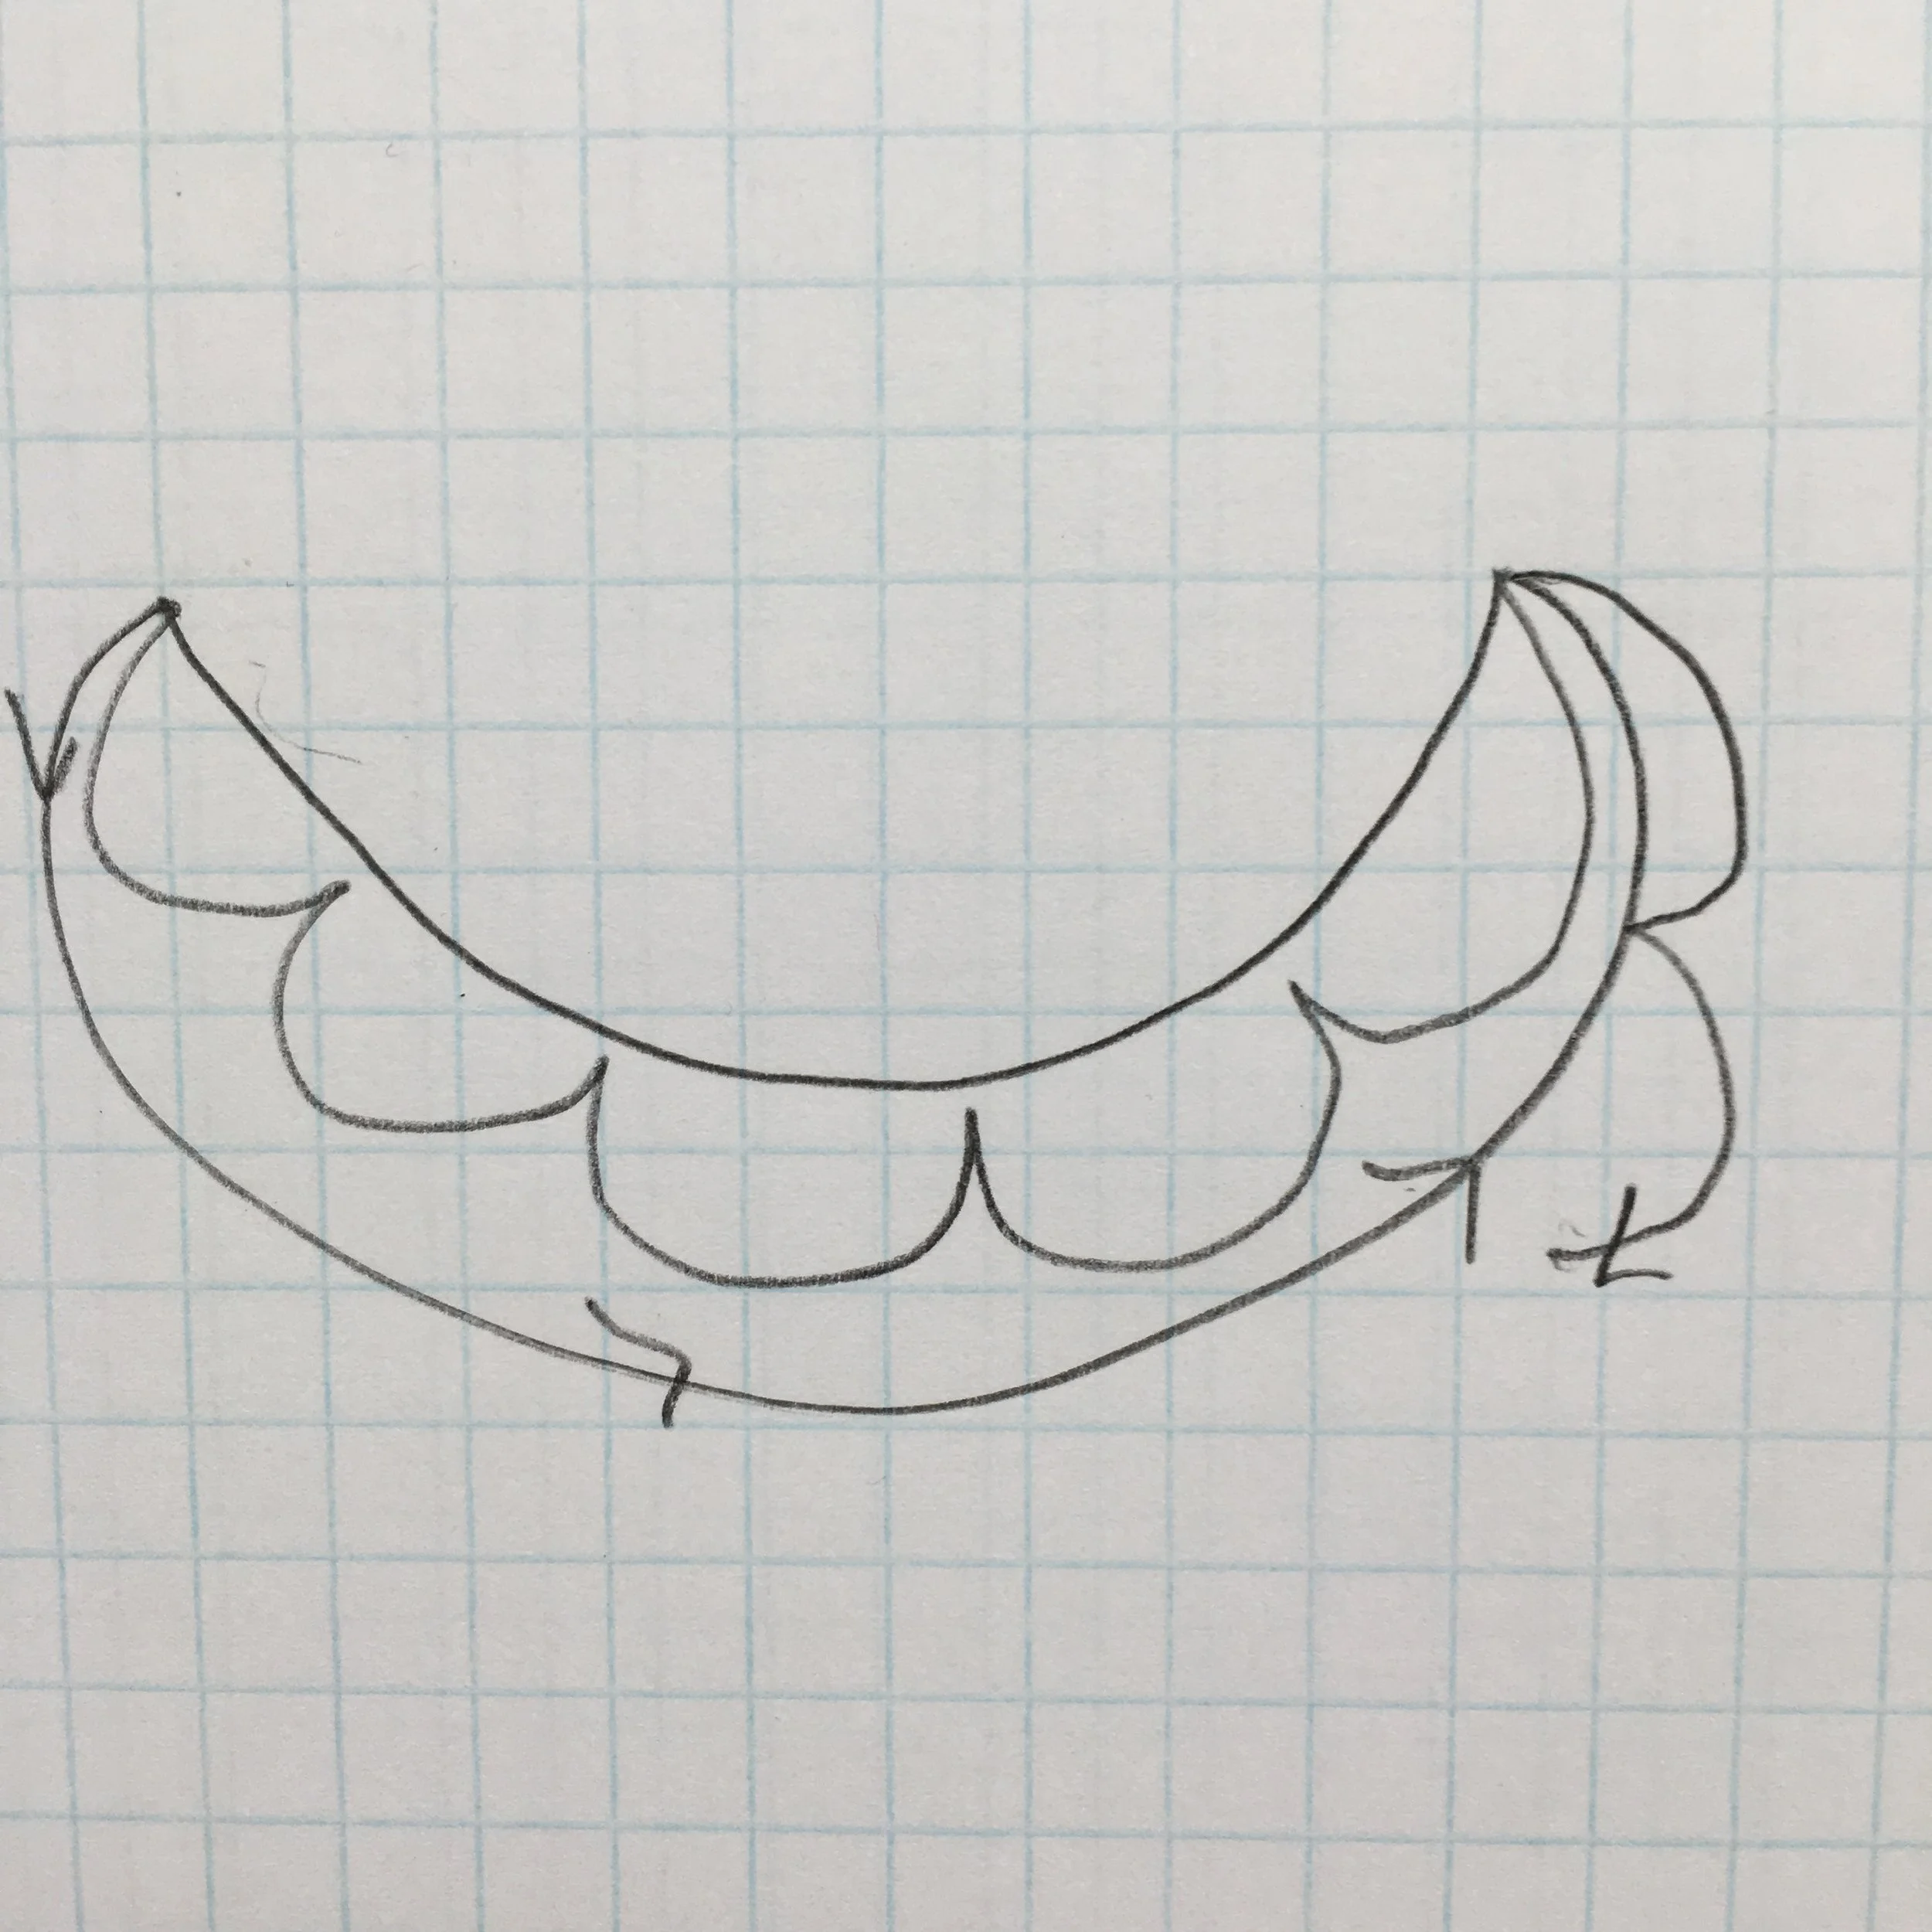
I scanned this to my computer and then flipped the drawing horizontally. For fused applique, pattern pieces need to be a mirror image of the original drawing. I made 3 copies of the inverted drawing so I could cut up the pictures to make patterns to cut pieces to make a raw-edge applique. It's important to have multiple copies as it's not possible to cut out all the parts from one copy.
Here's a list of the patterns pieces I cut from the drawing: separate ears, muzzle with the white forehead blaze, tongue, nose, eyes, freckles, both halves of the face and a triangular neck piece. With raw-edge applique, the pattern pieces don't need any seam allowance.
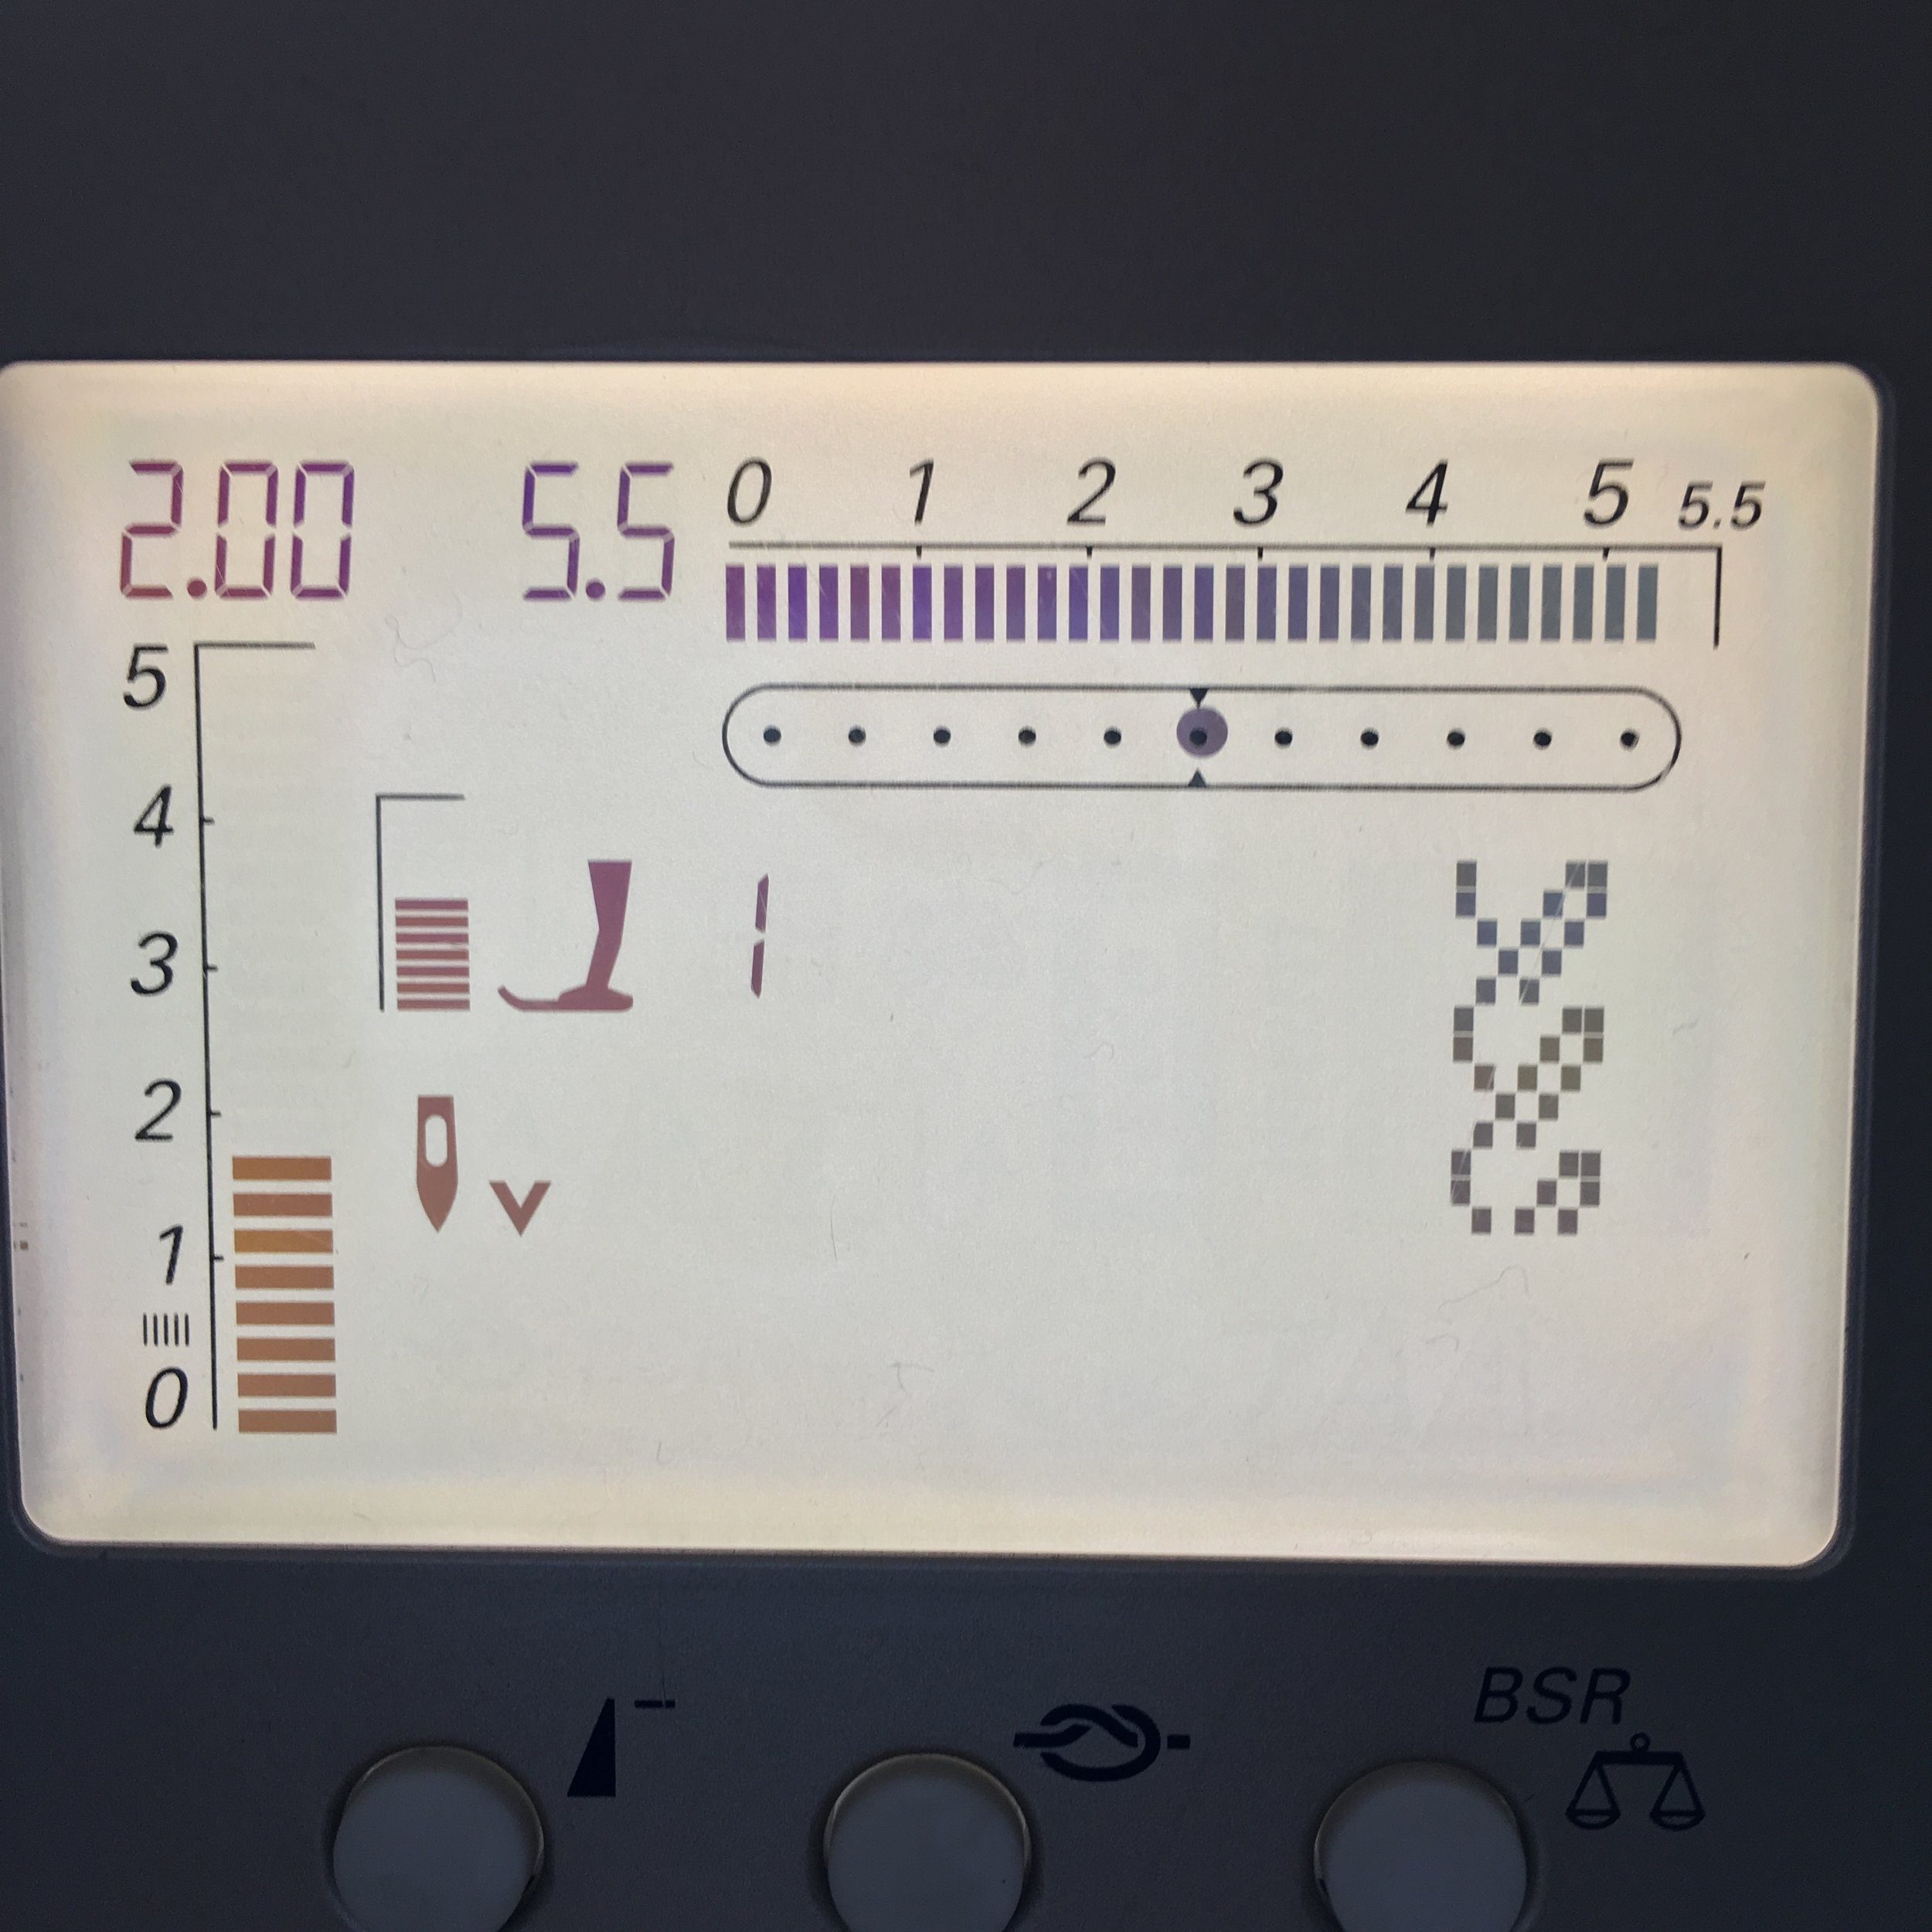
I used Thermoweb Heat'n Bond Medium Weight to fuse the components. I had the medium weight on hand, but Lightweight would have also been fine for this project.
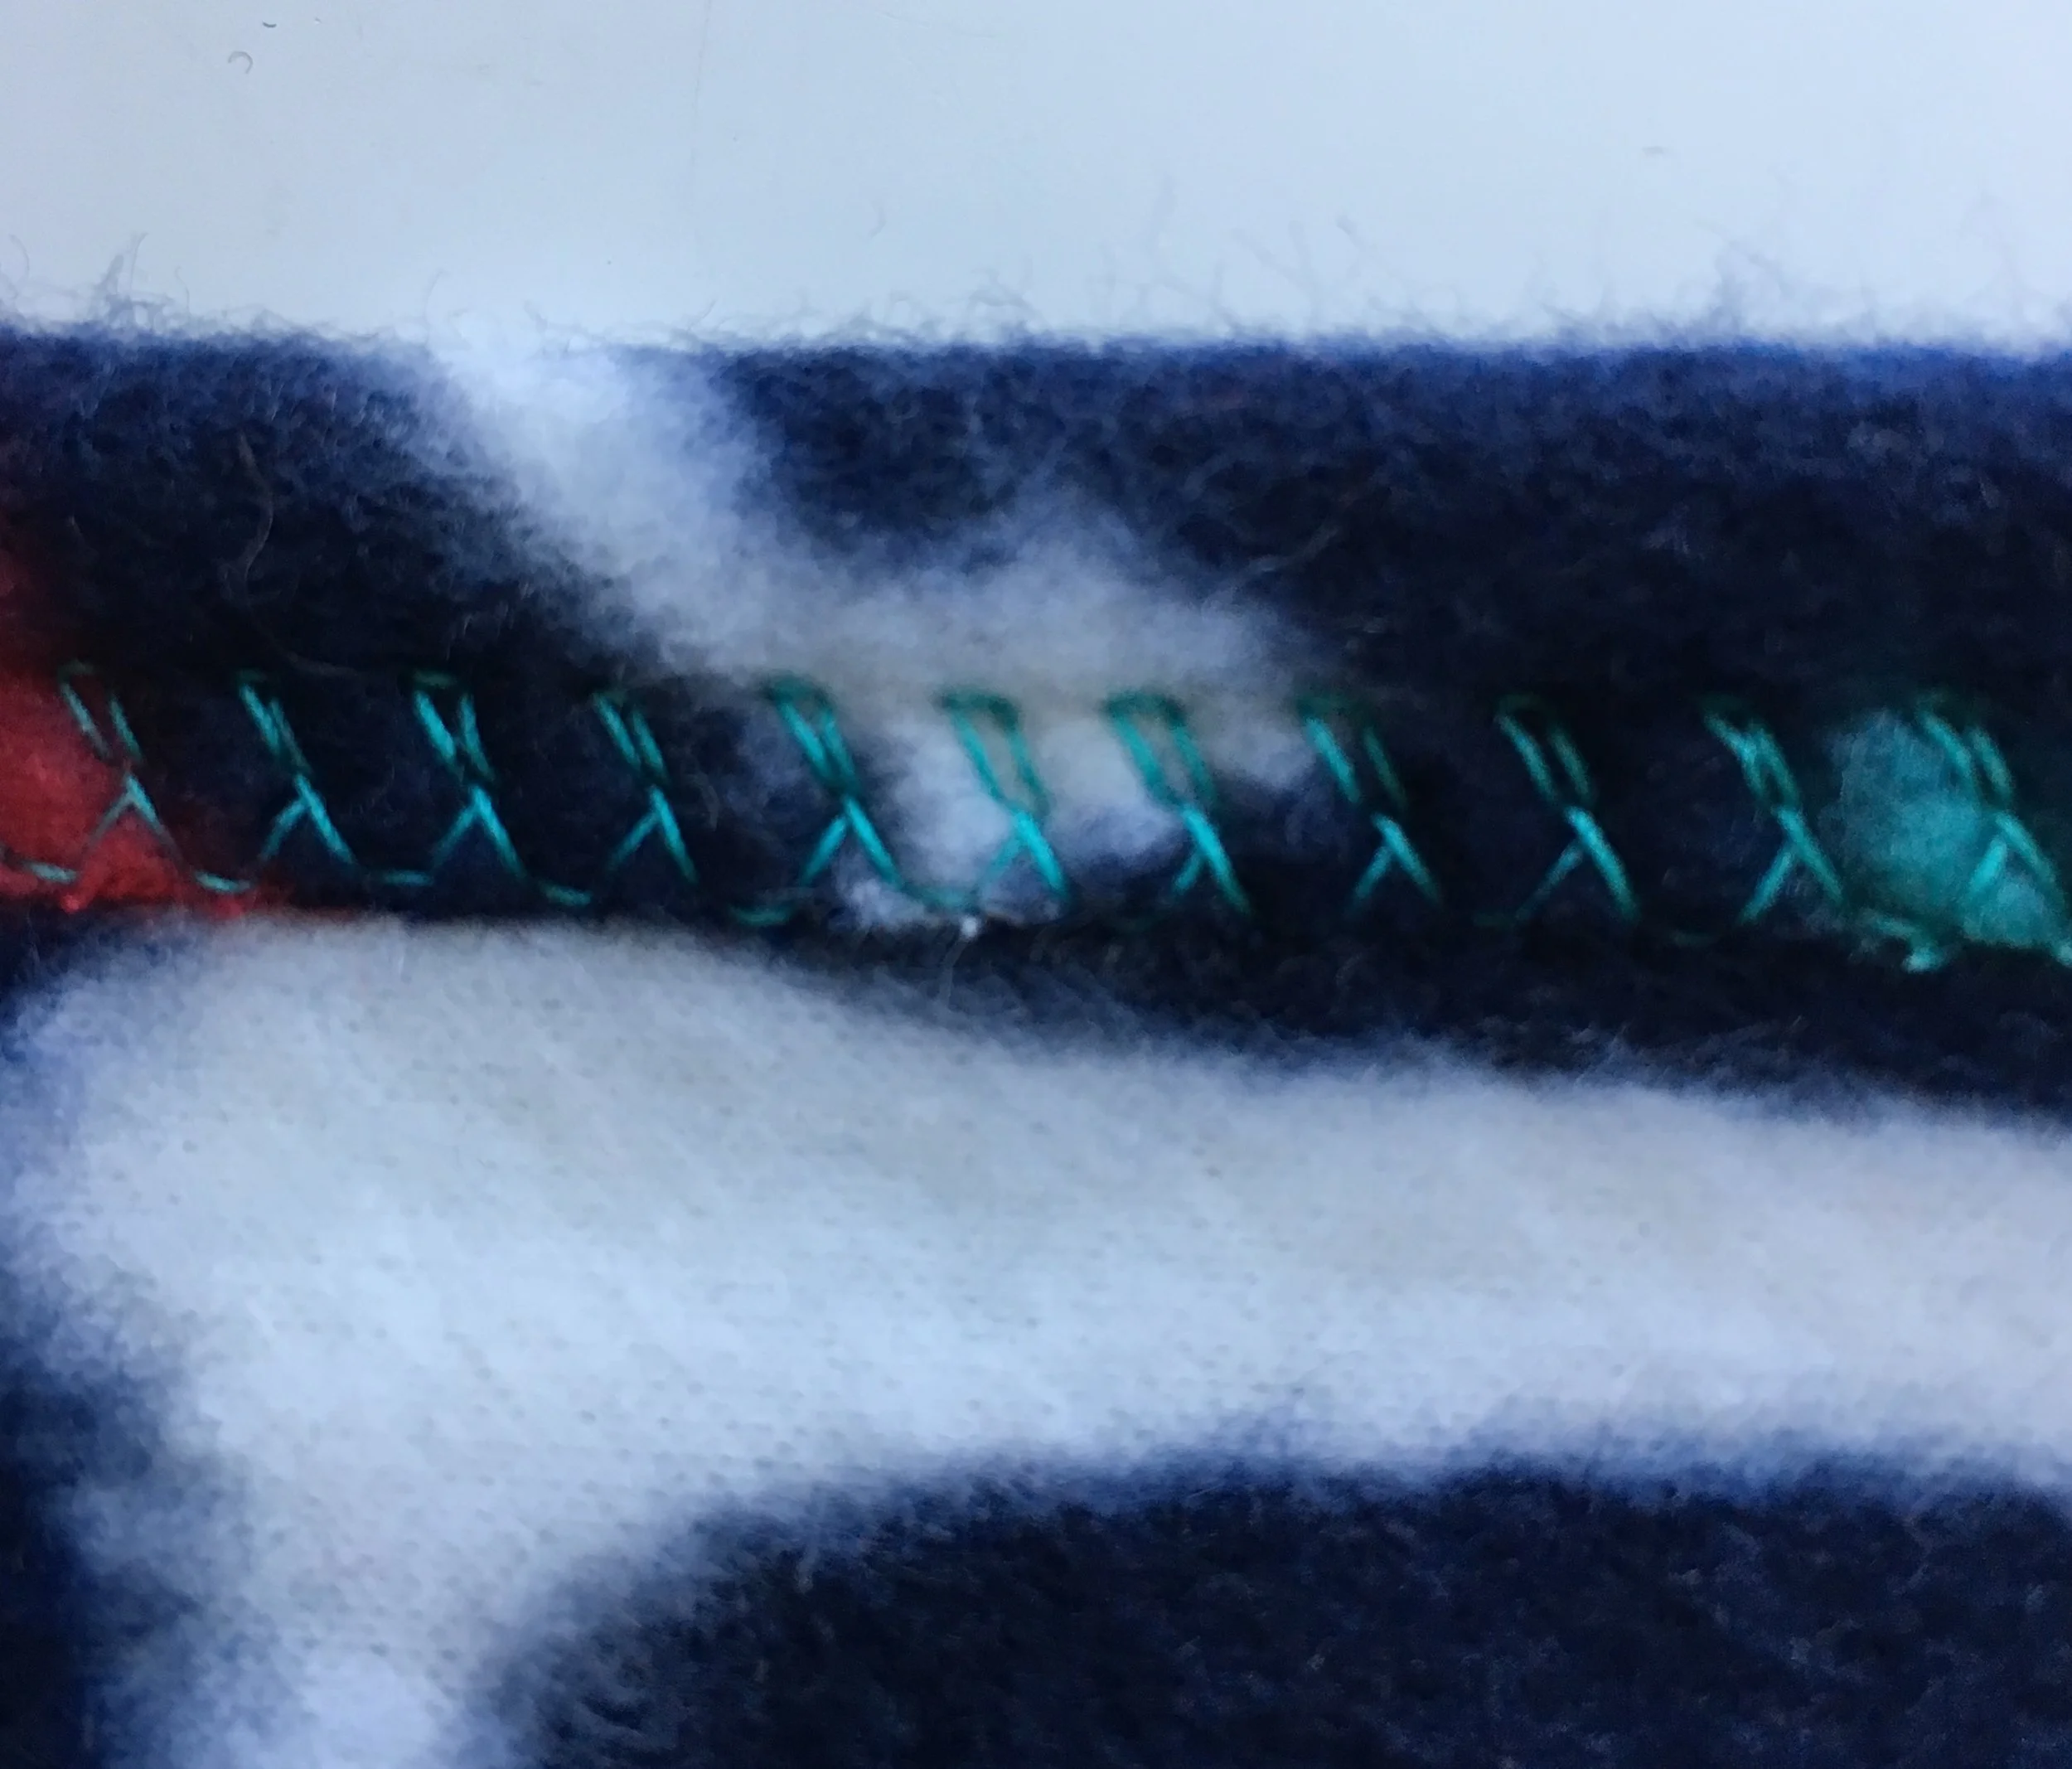
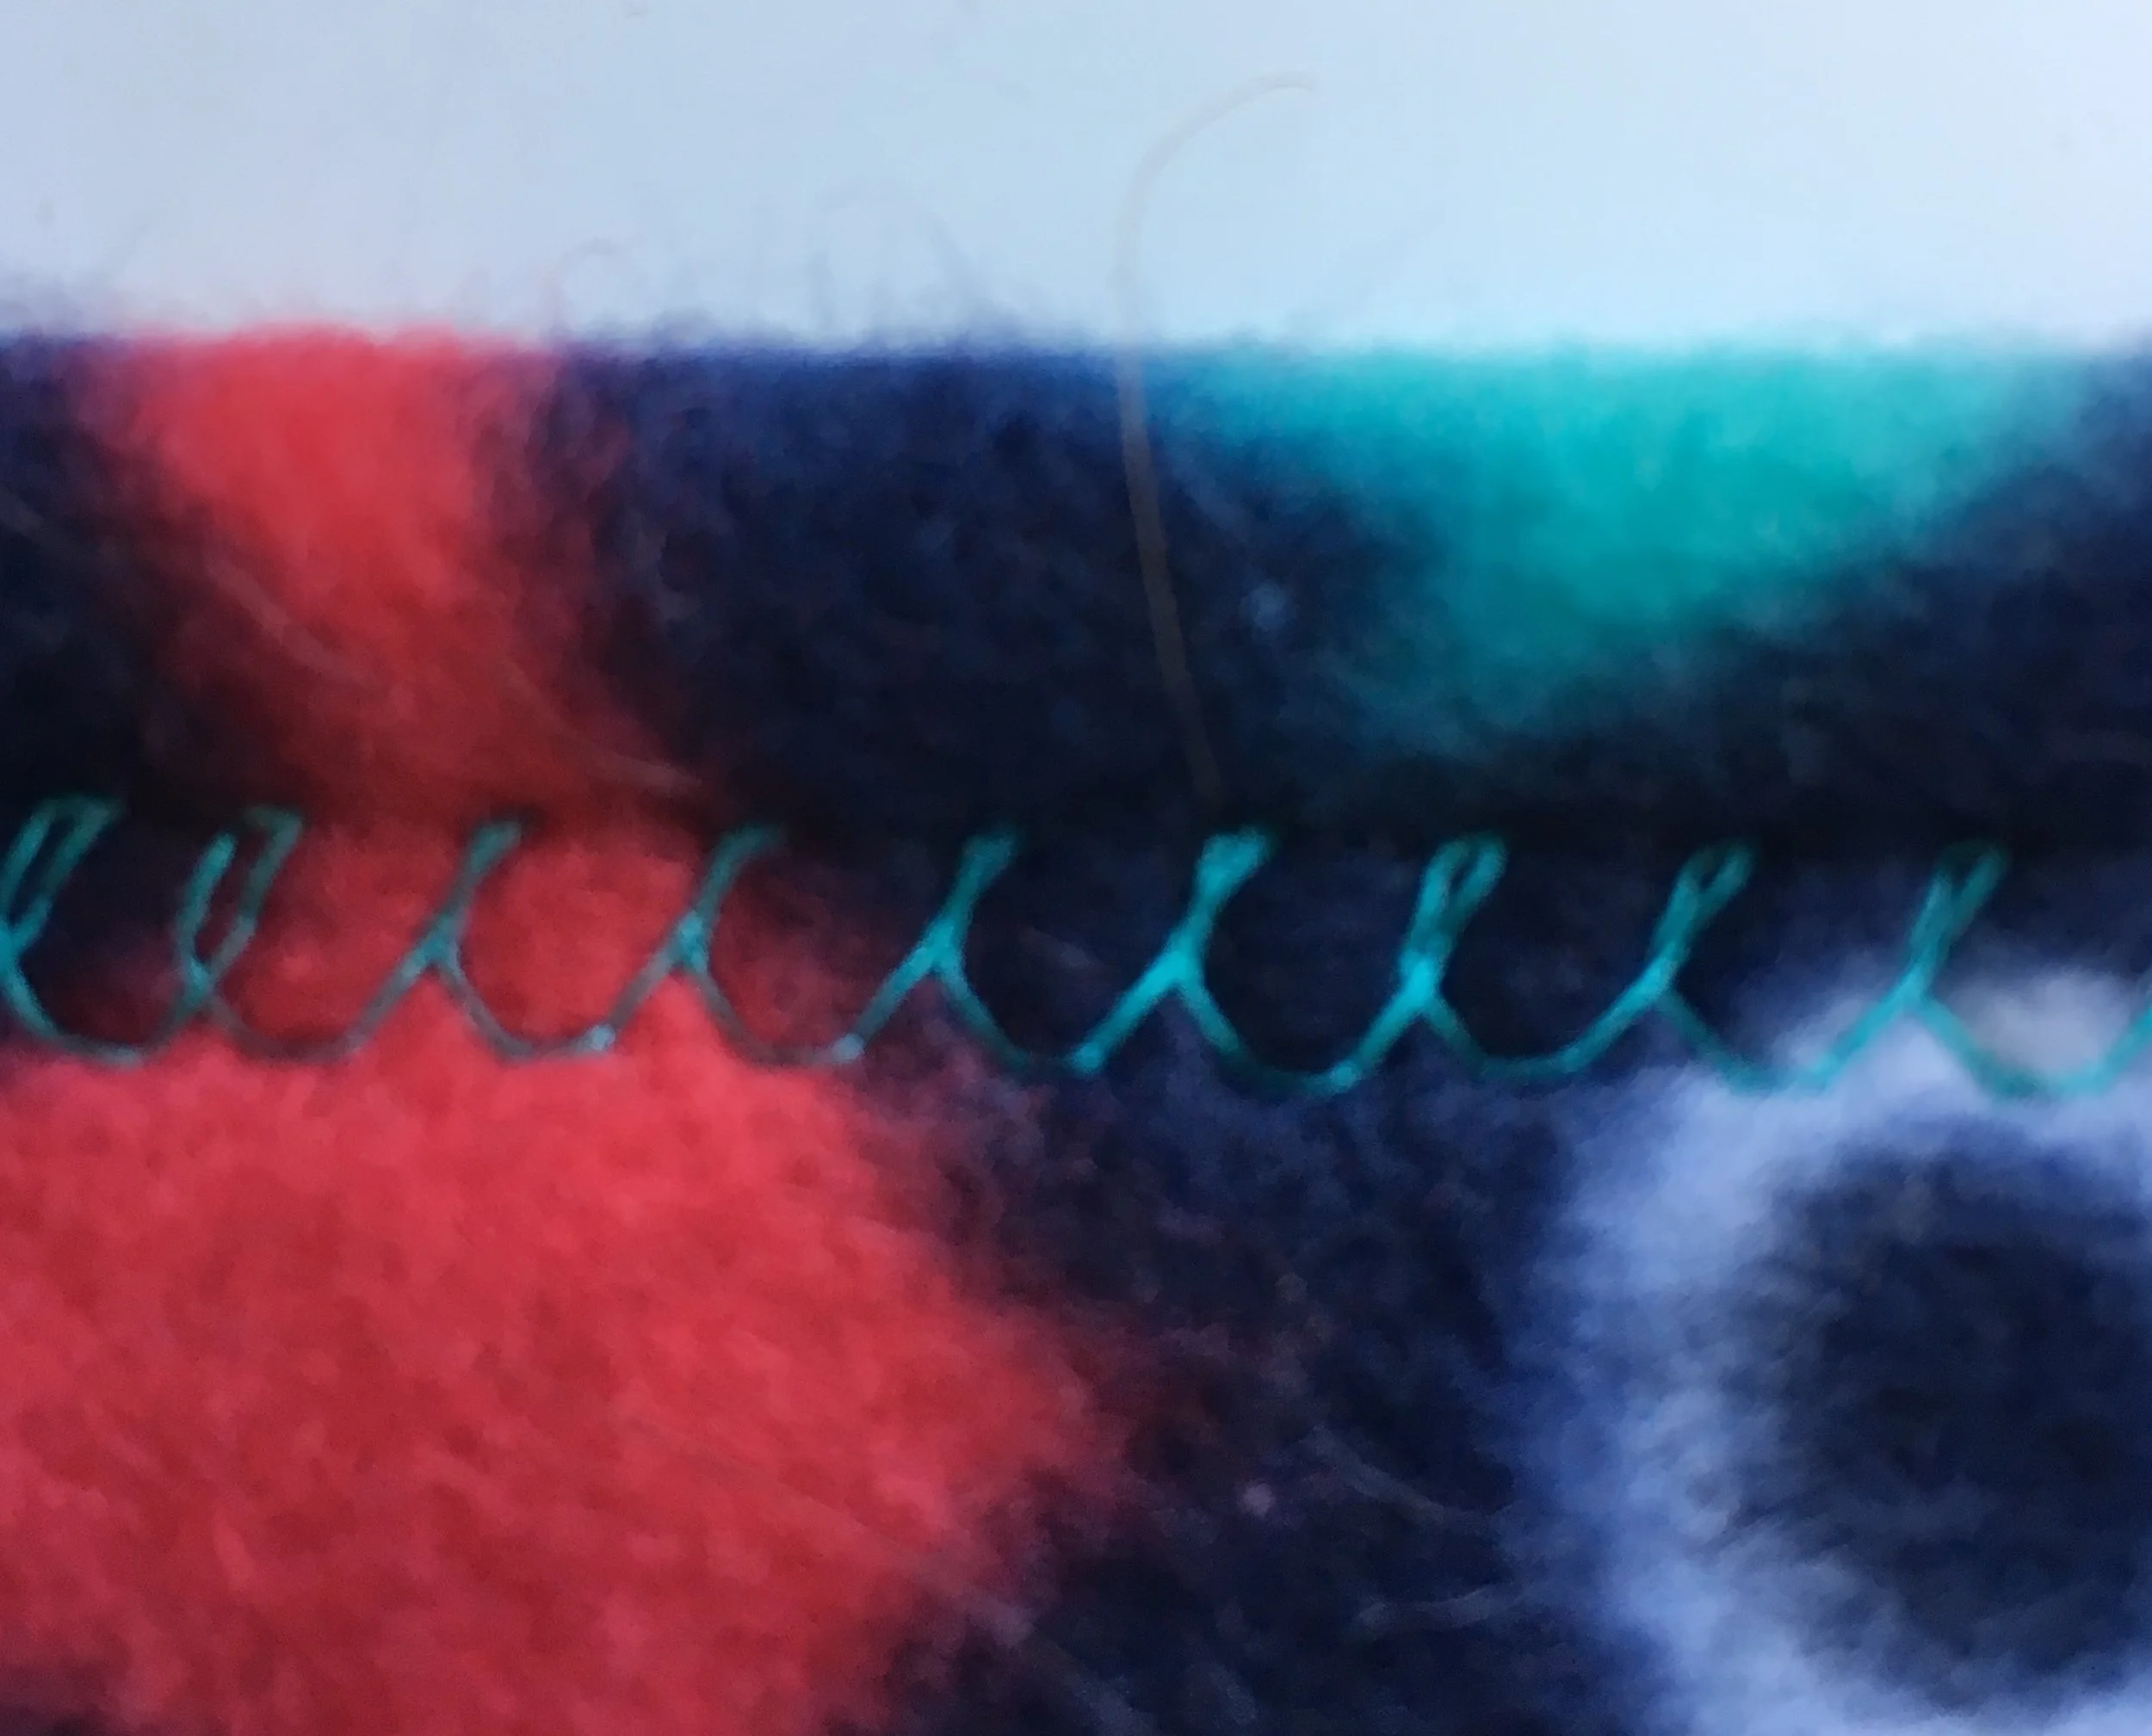
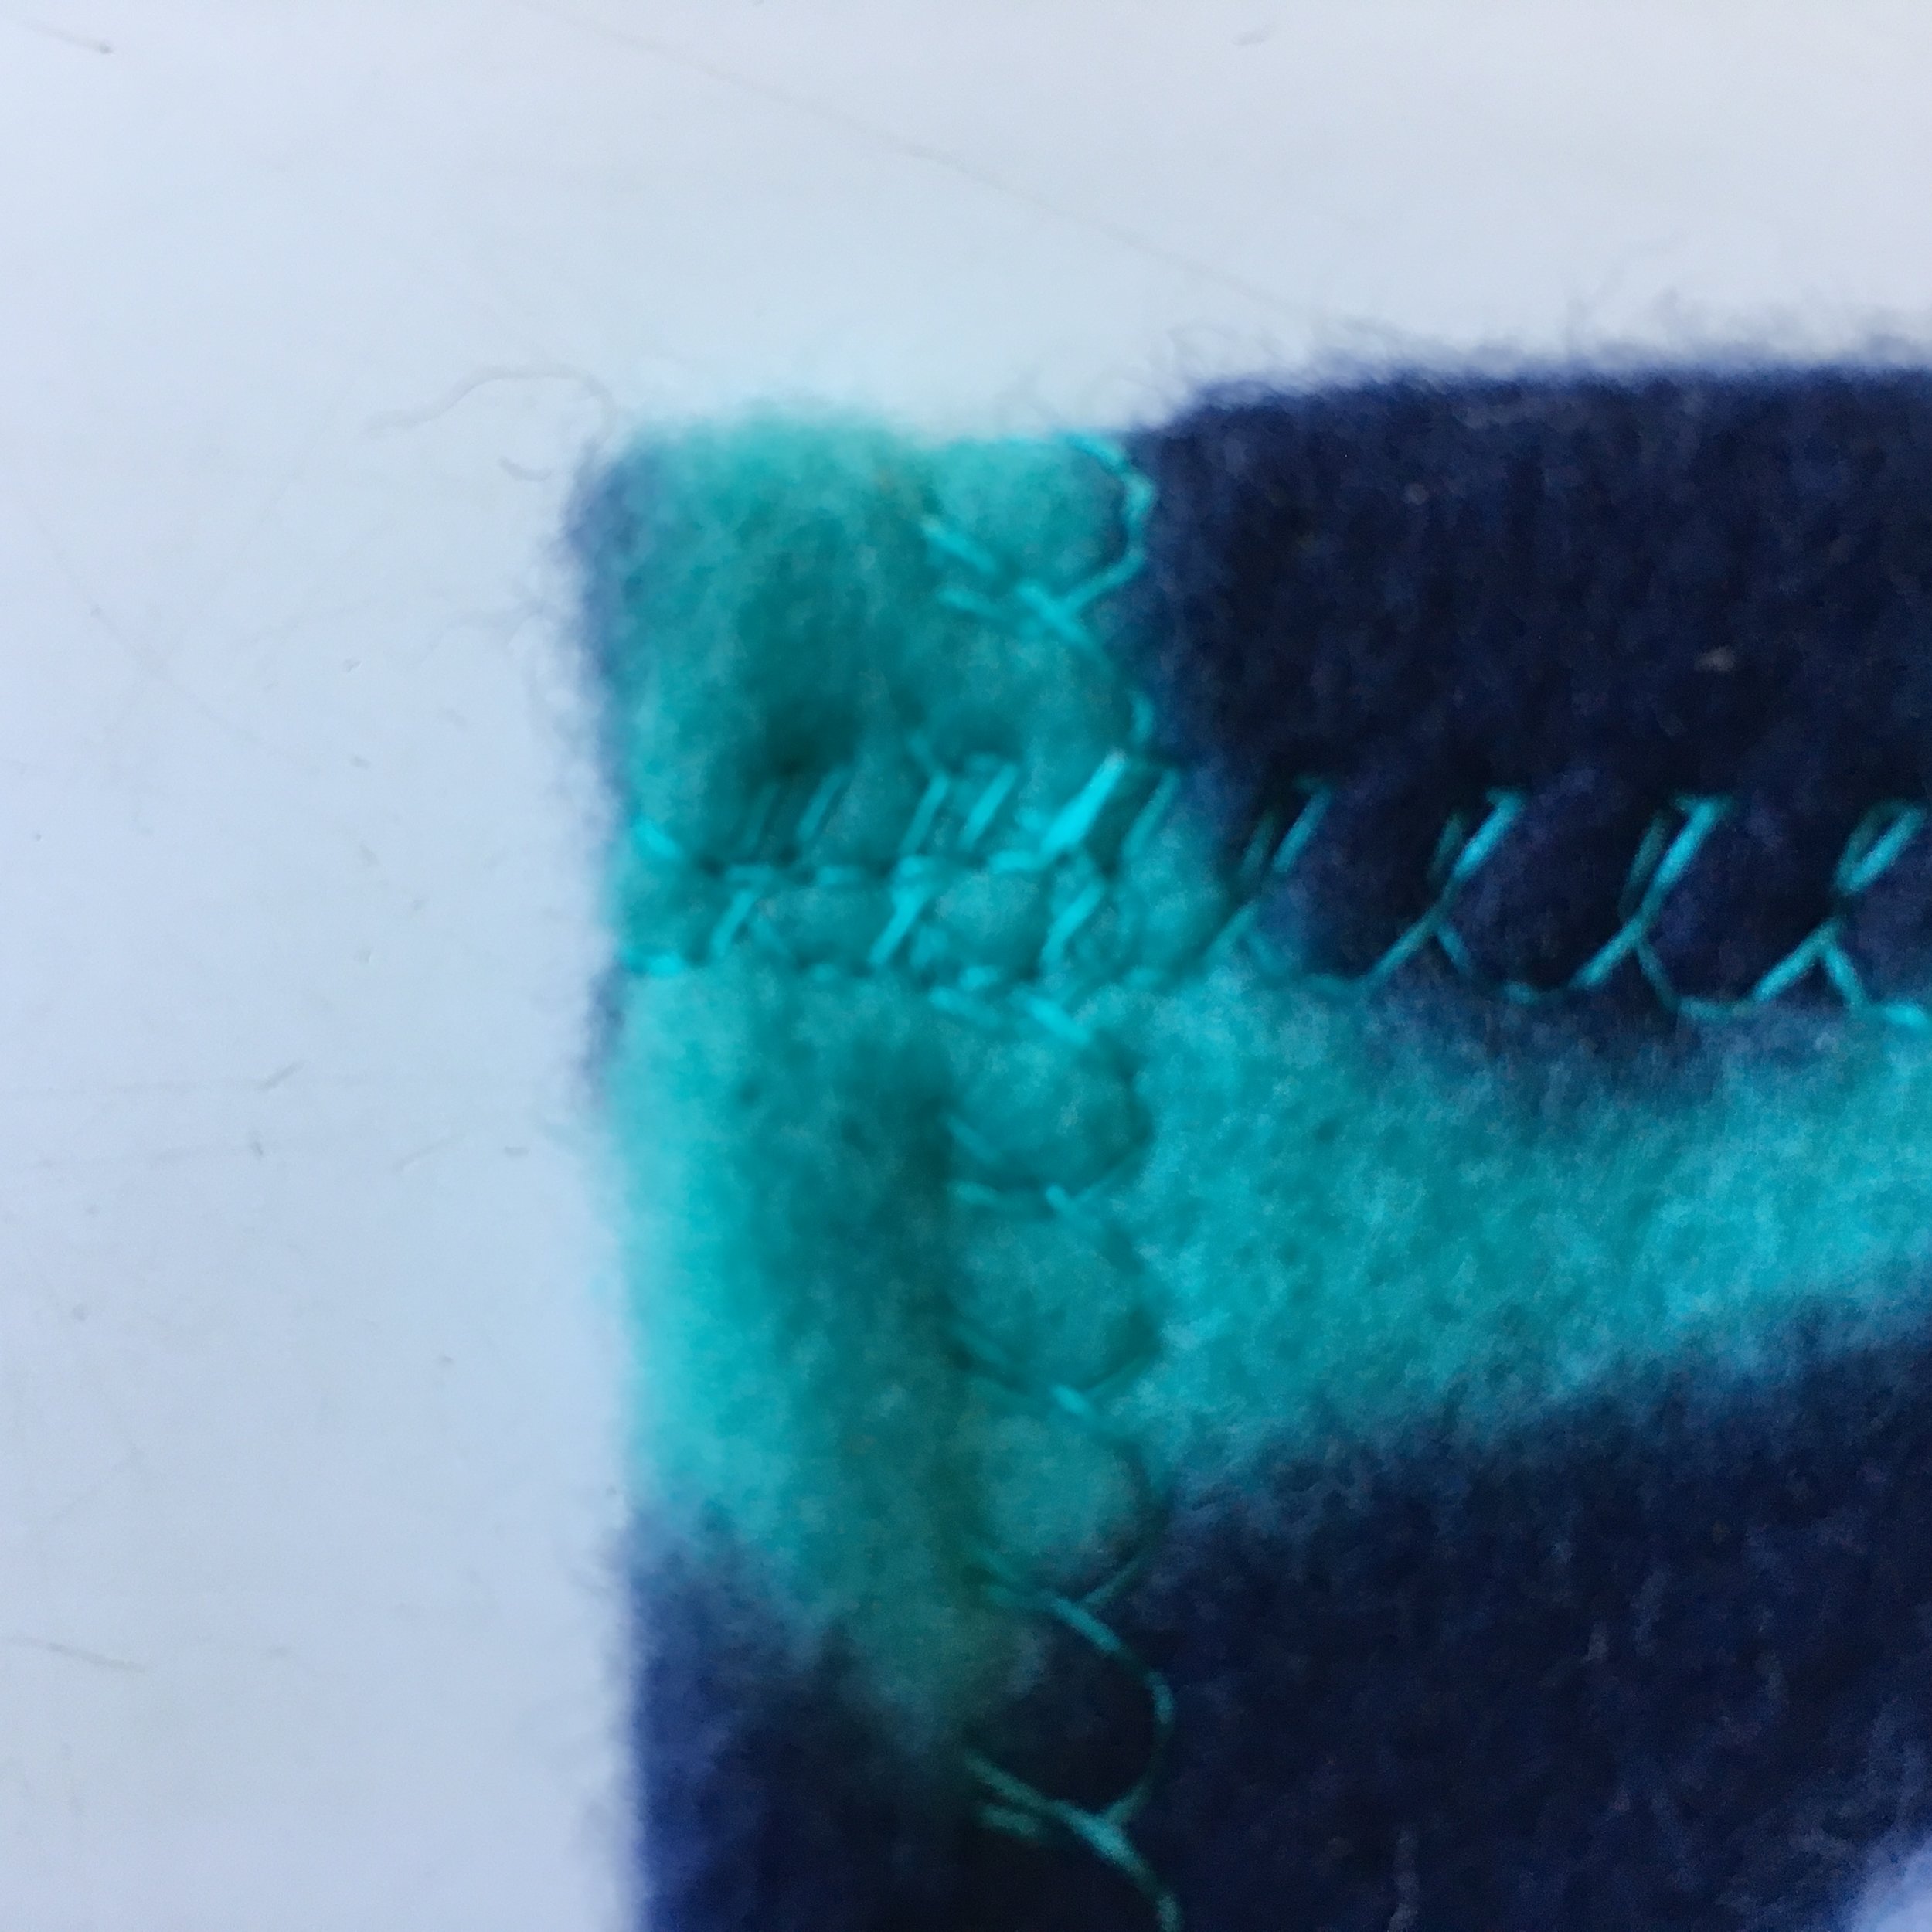
First fuse the Heat-n-Bond to the BACK side of each fabric. (This product includes excellent directions for its use). Then using a pencil, trace around each pattern piece on the paper side of the fused Heat'n Bond. Cut out each component of the applique. Remove the paper and fuse to the pillow cover. Stitch around each piece using either a narrow width zig-zag stitch with a very short stitch length or use a blanket stitch if your machine has one. Before you start sewing: Practice the stitching on some scraps of the fused fabric to see what works best on your sewing machine and which type of stitching you prefer. I used a zig-zag on this piece.
The sparkle in each eye is an embroidered French knot, and the lips were also embroidered using a back stitch.
I added a border to my appliqued square. The back of the pillow is the same fabric as the border. I chose to use an envelope closure, but lots of other pillow finishes would work too.
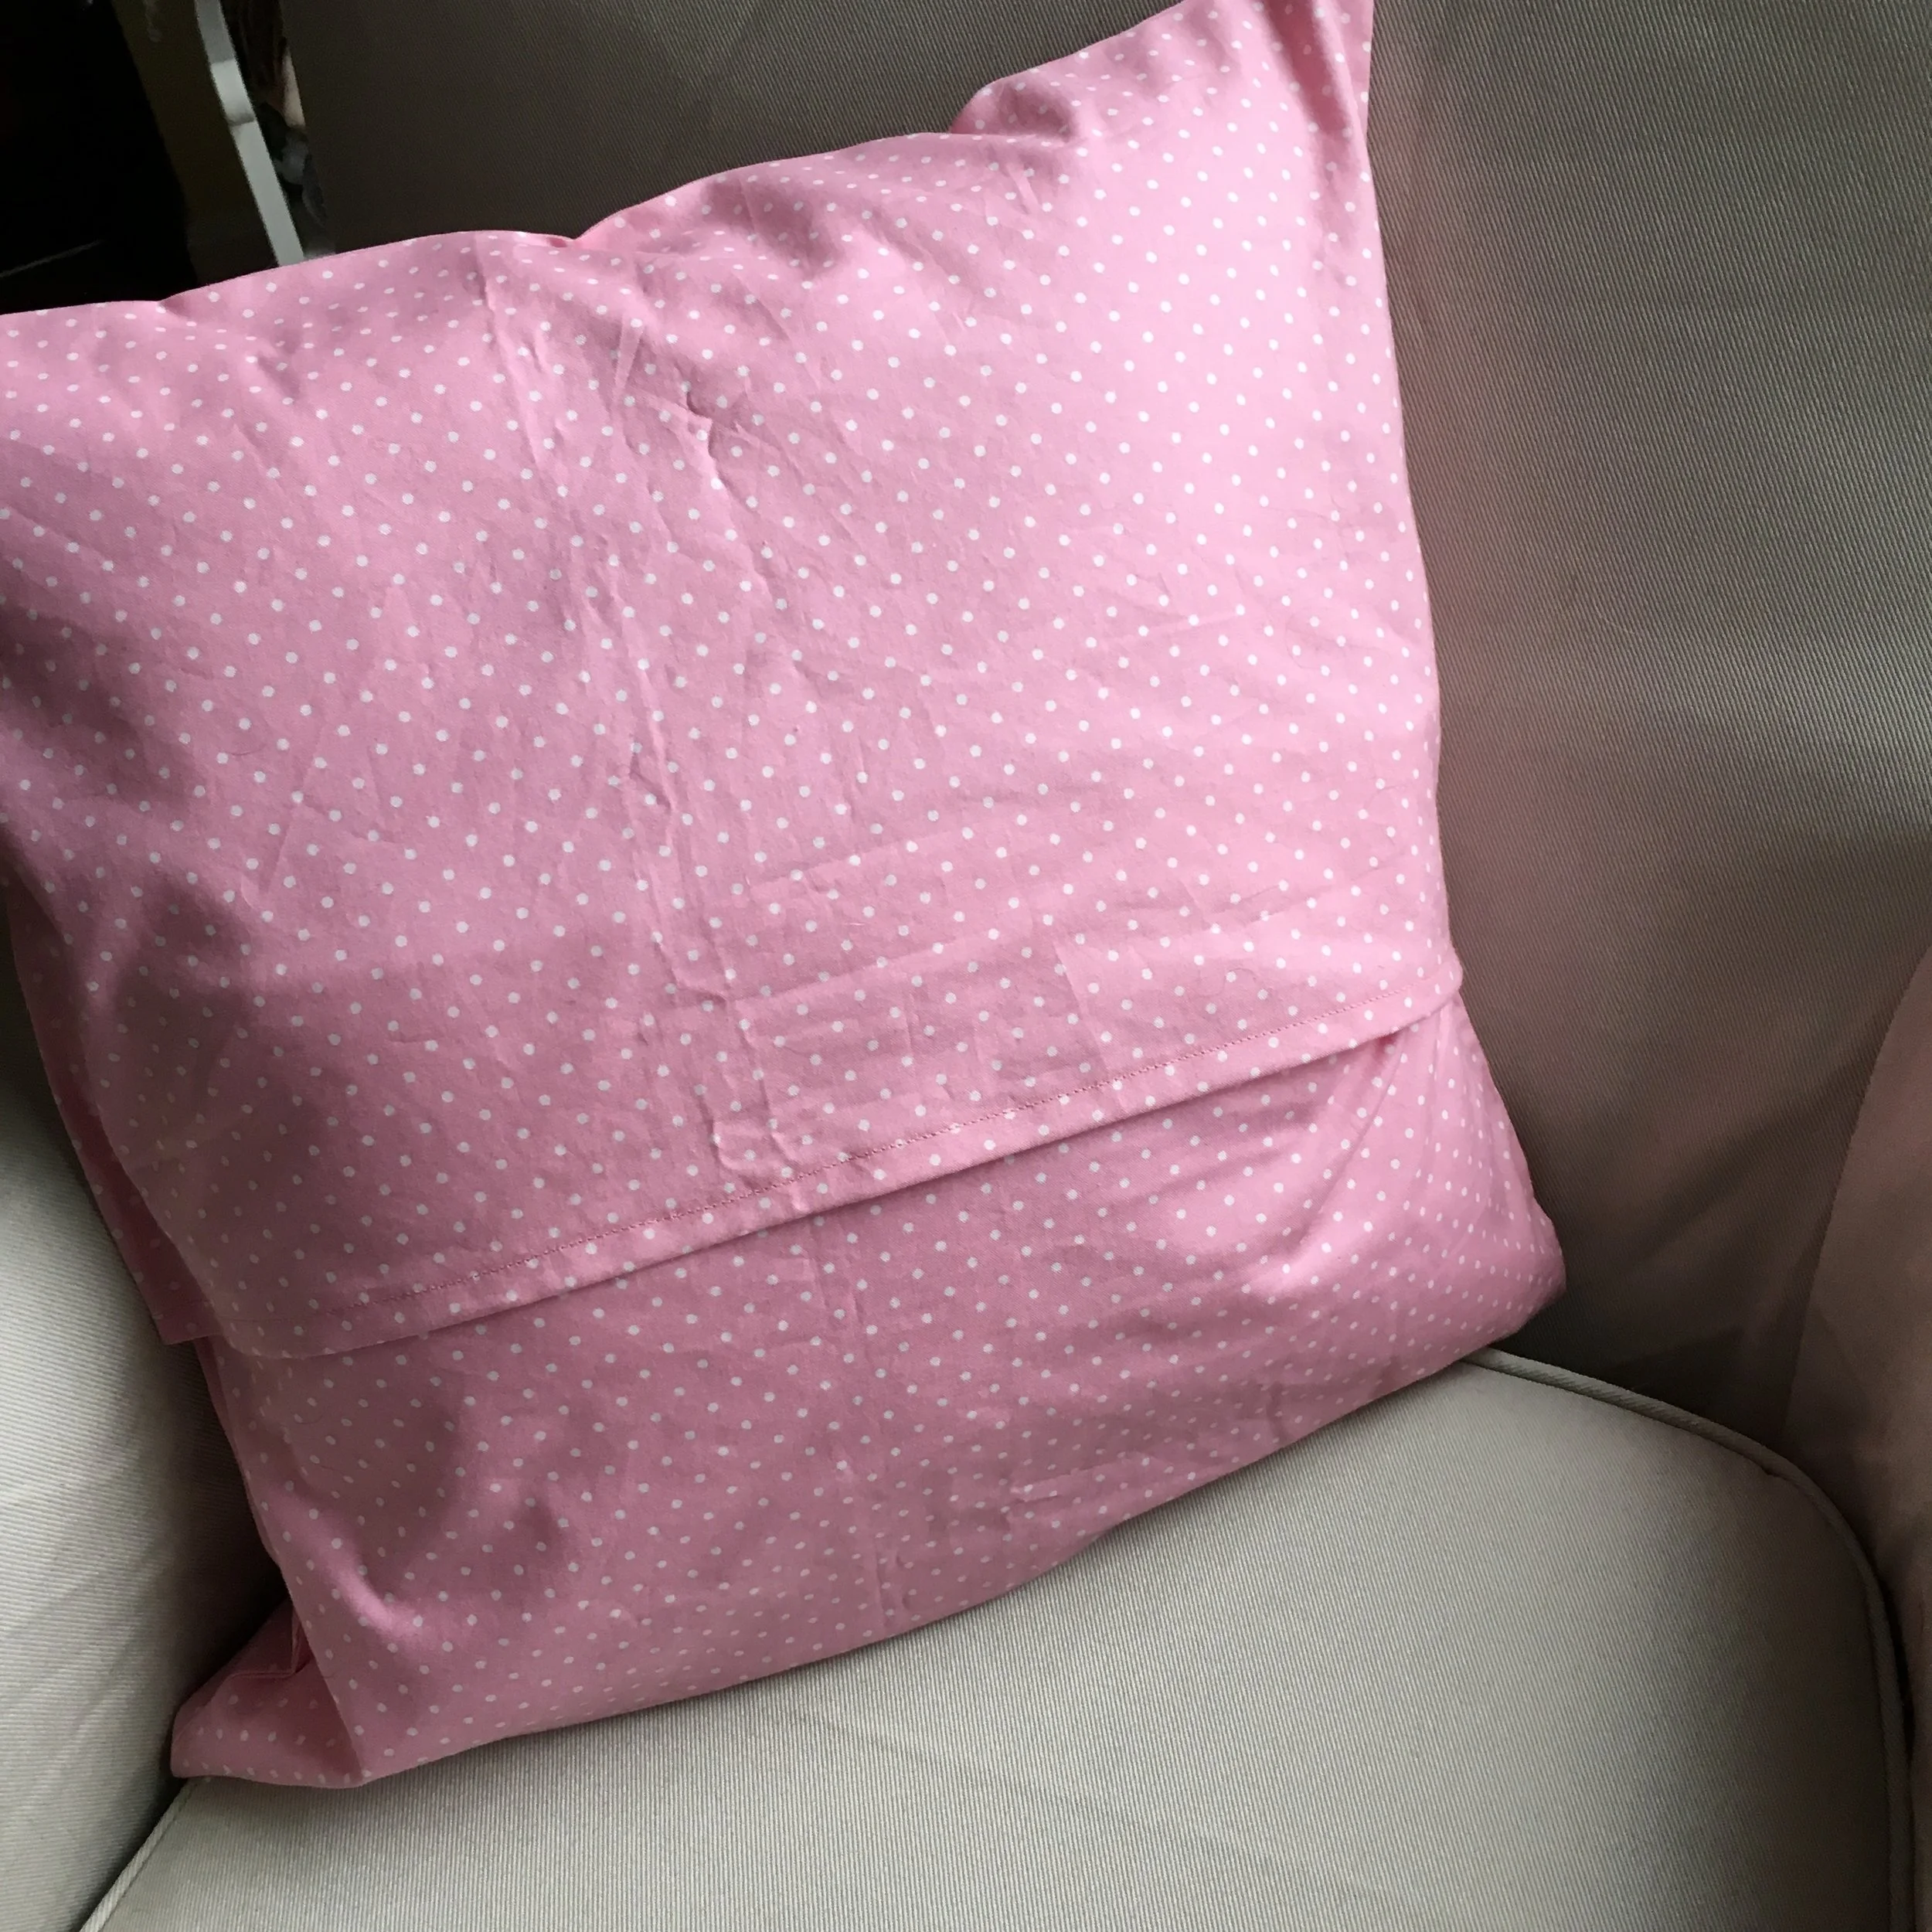
Back of the pillow with an envelope closure