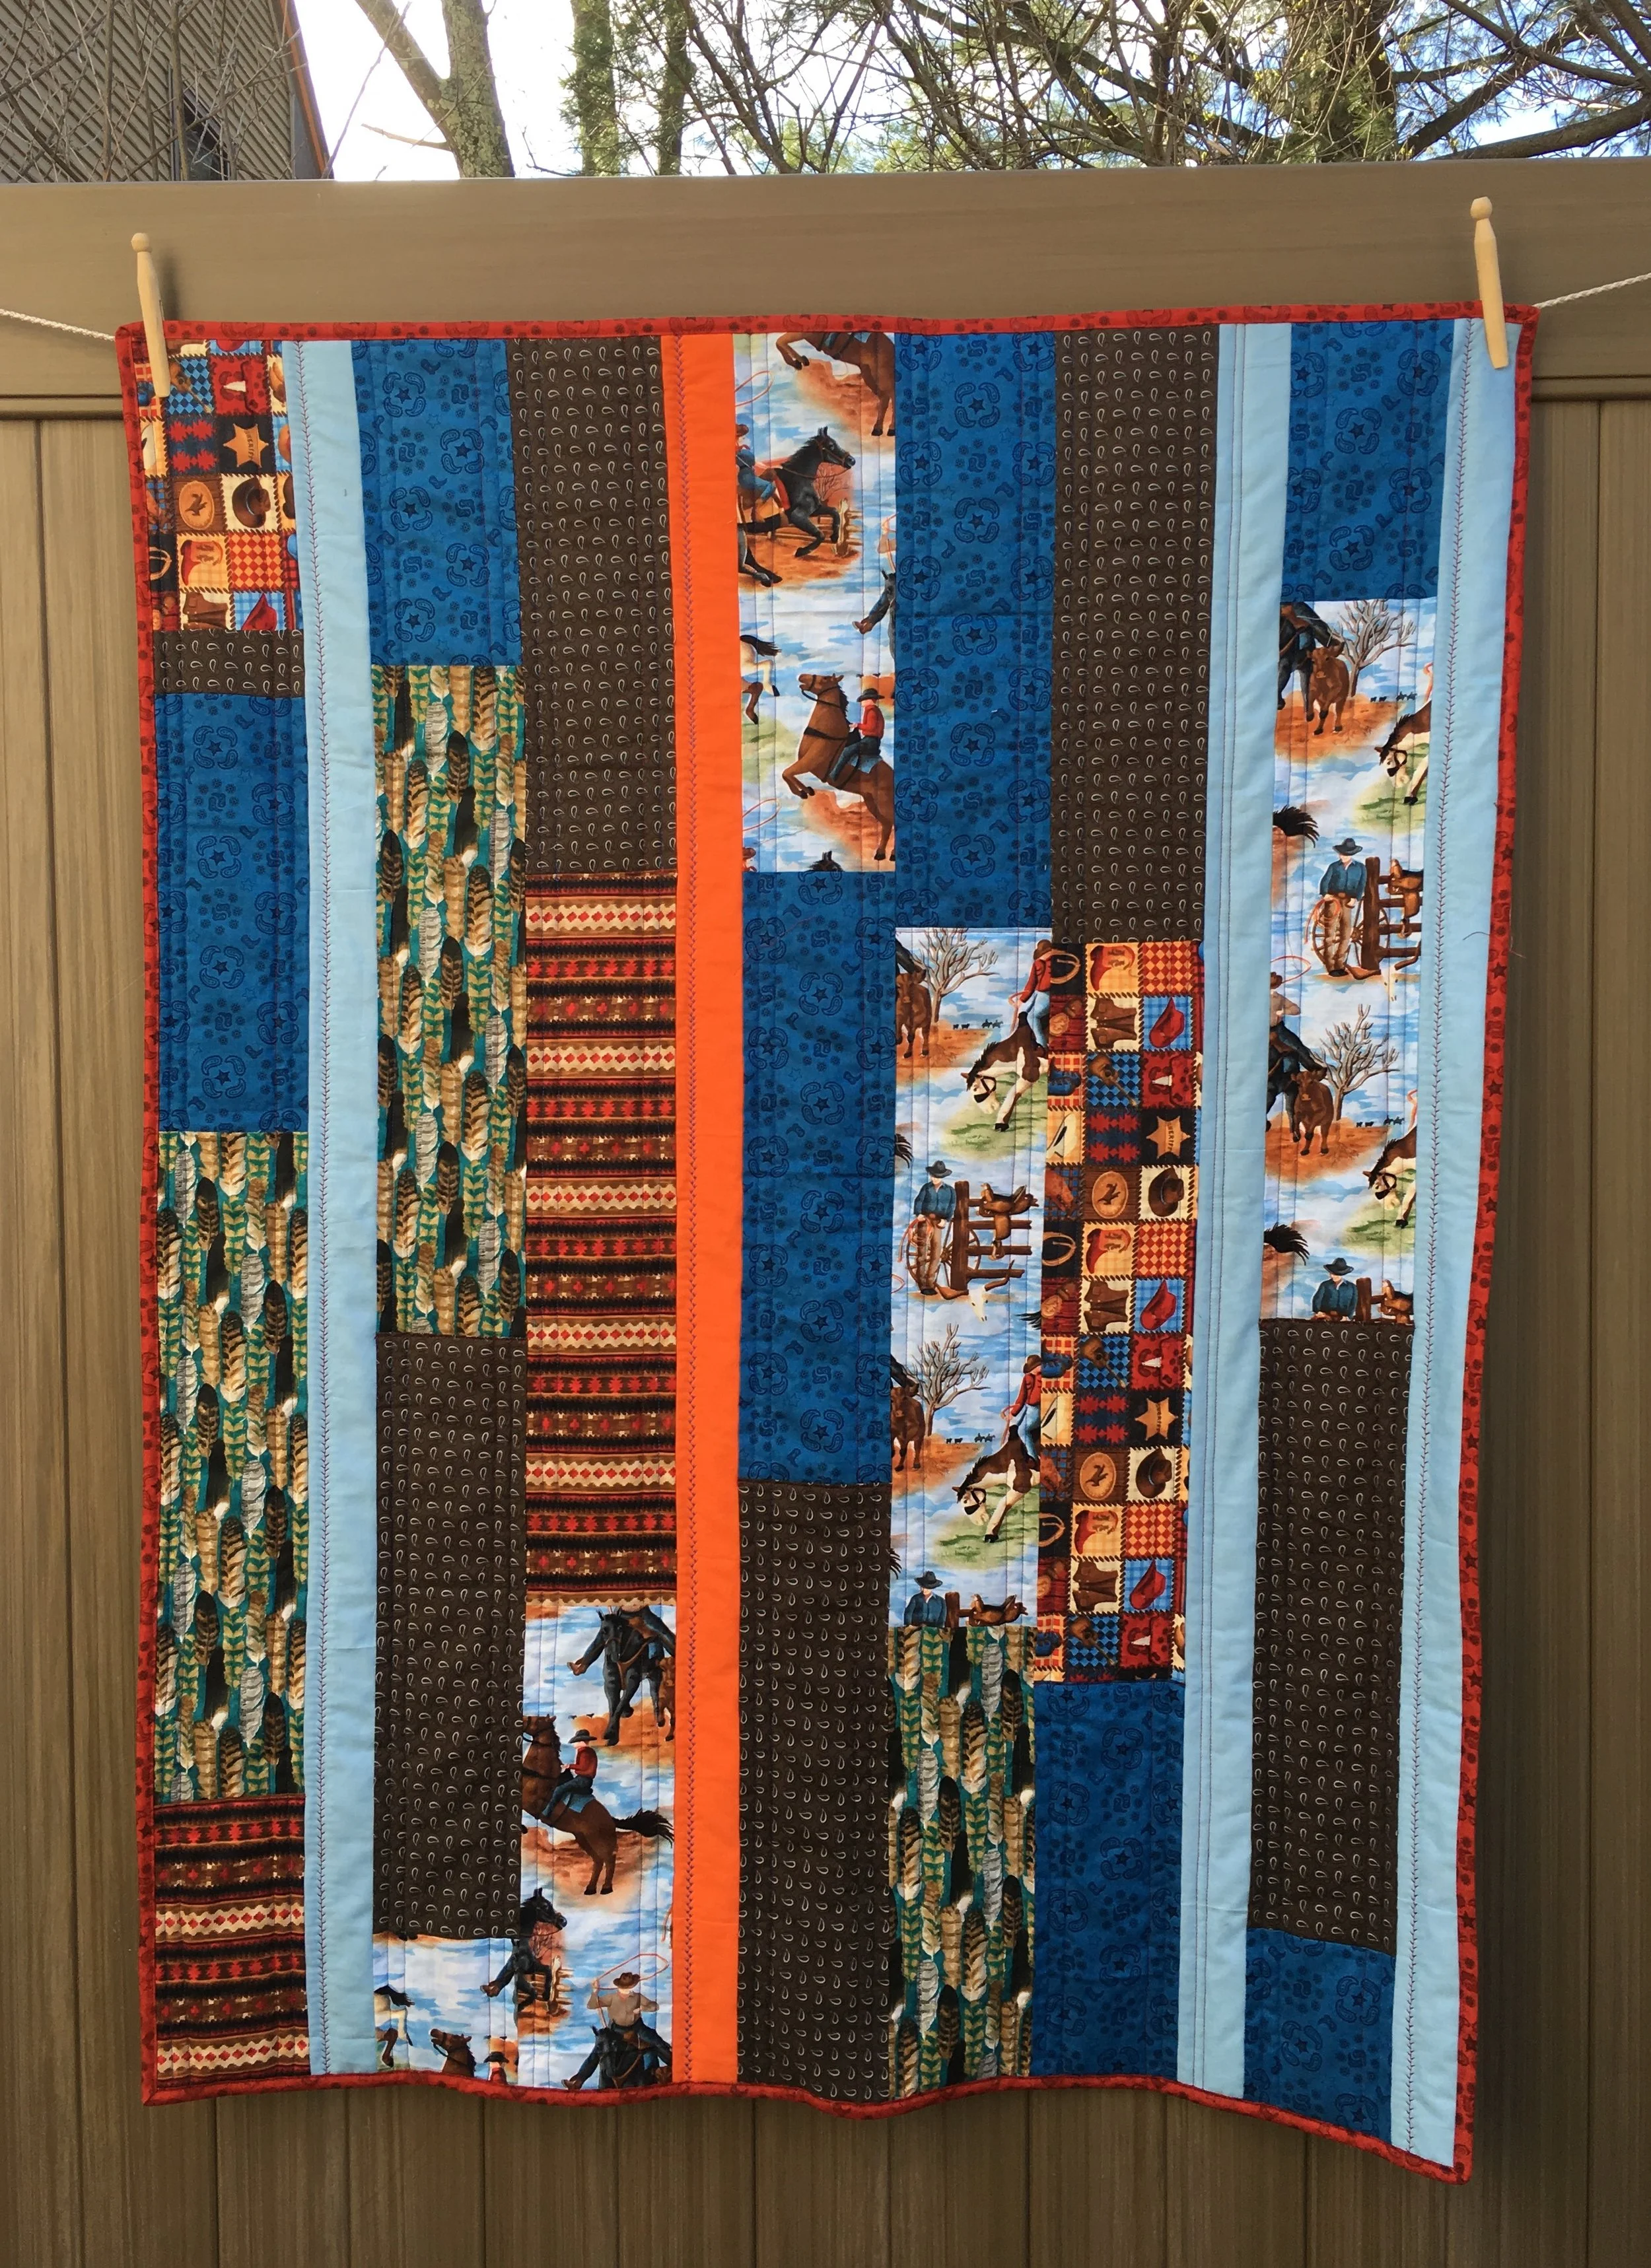
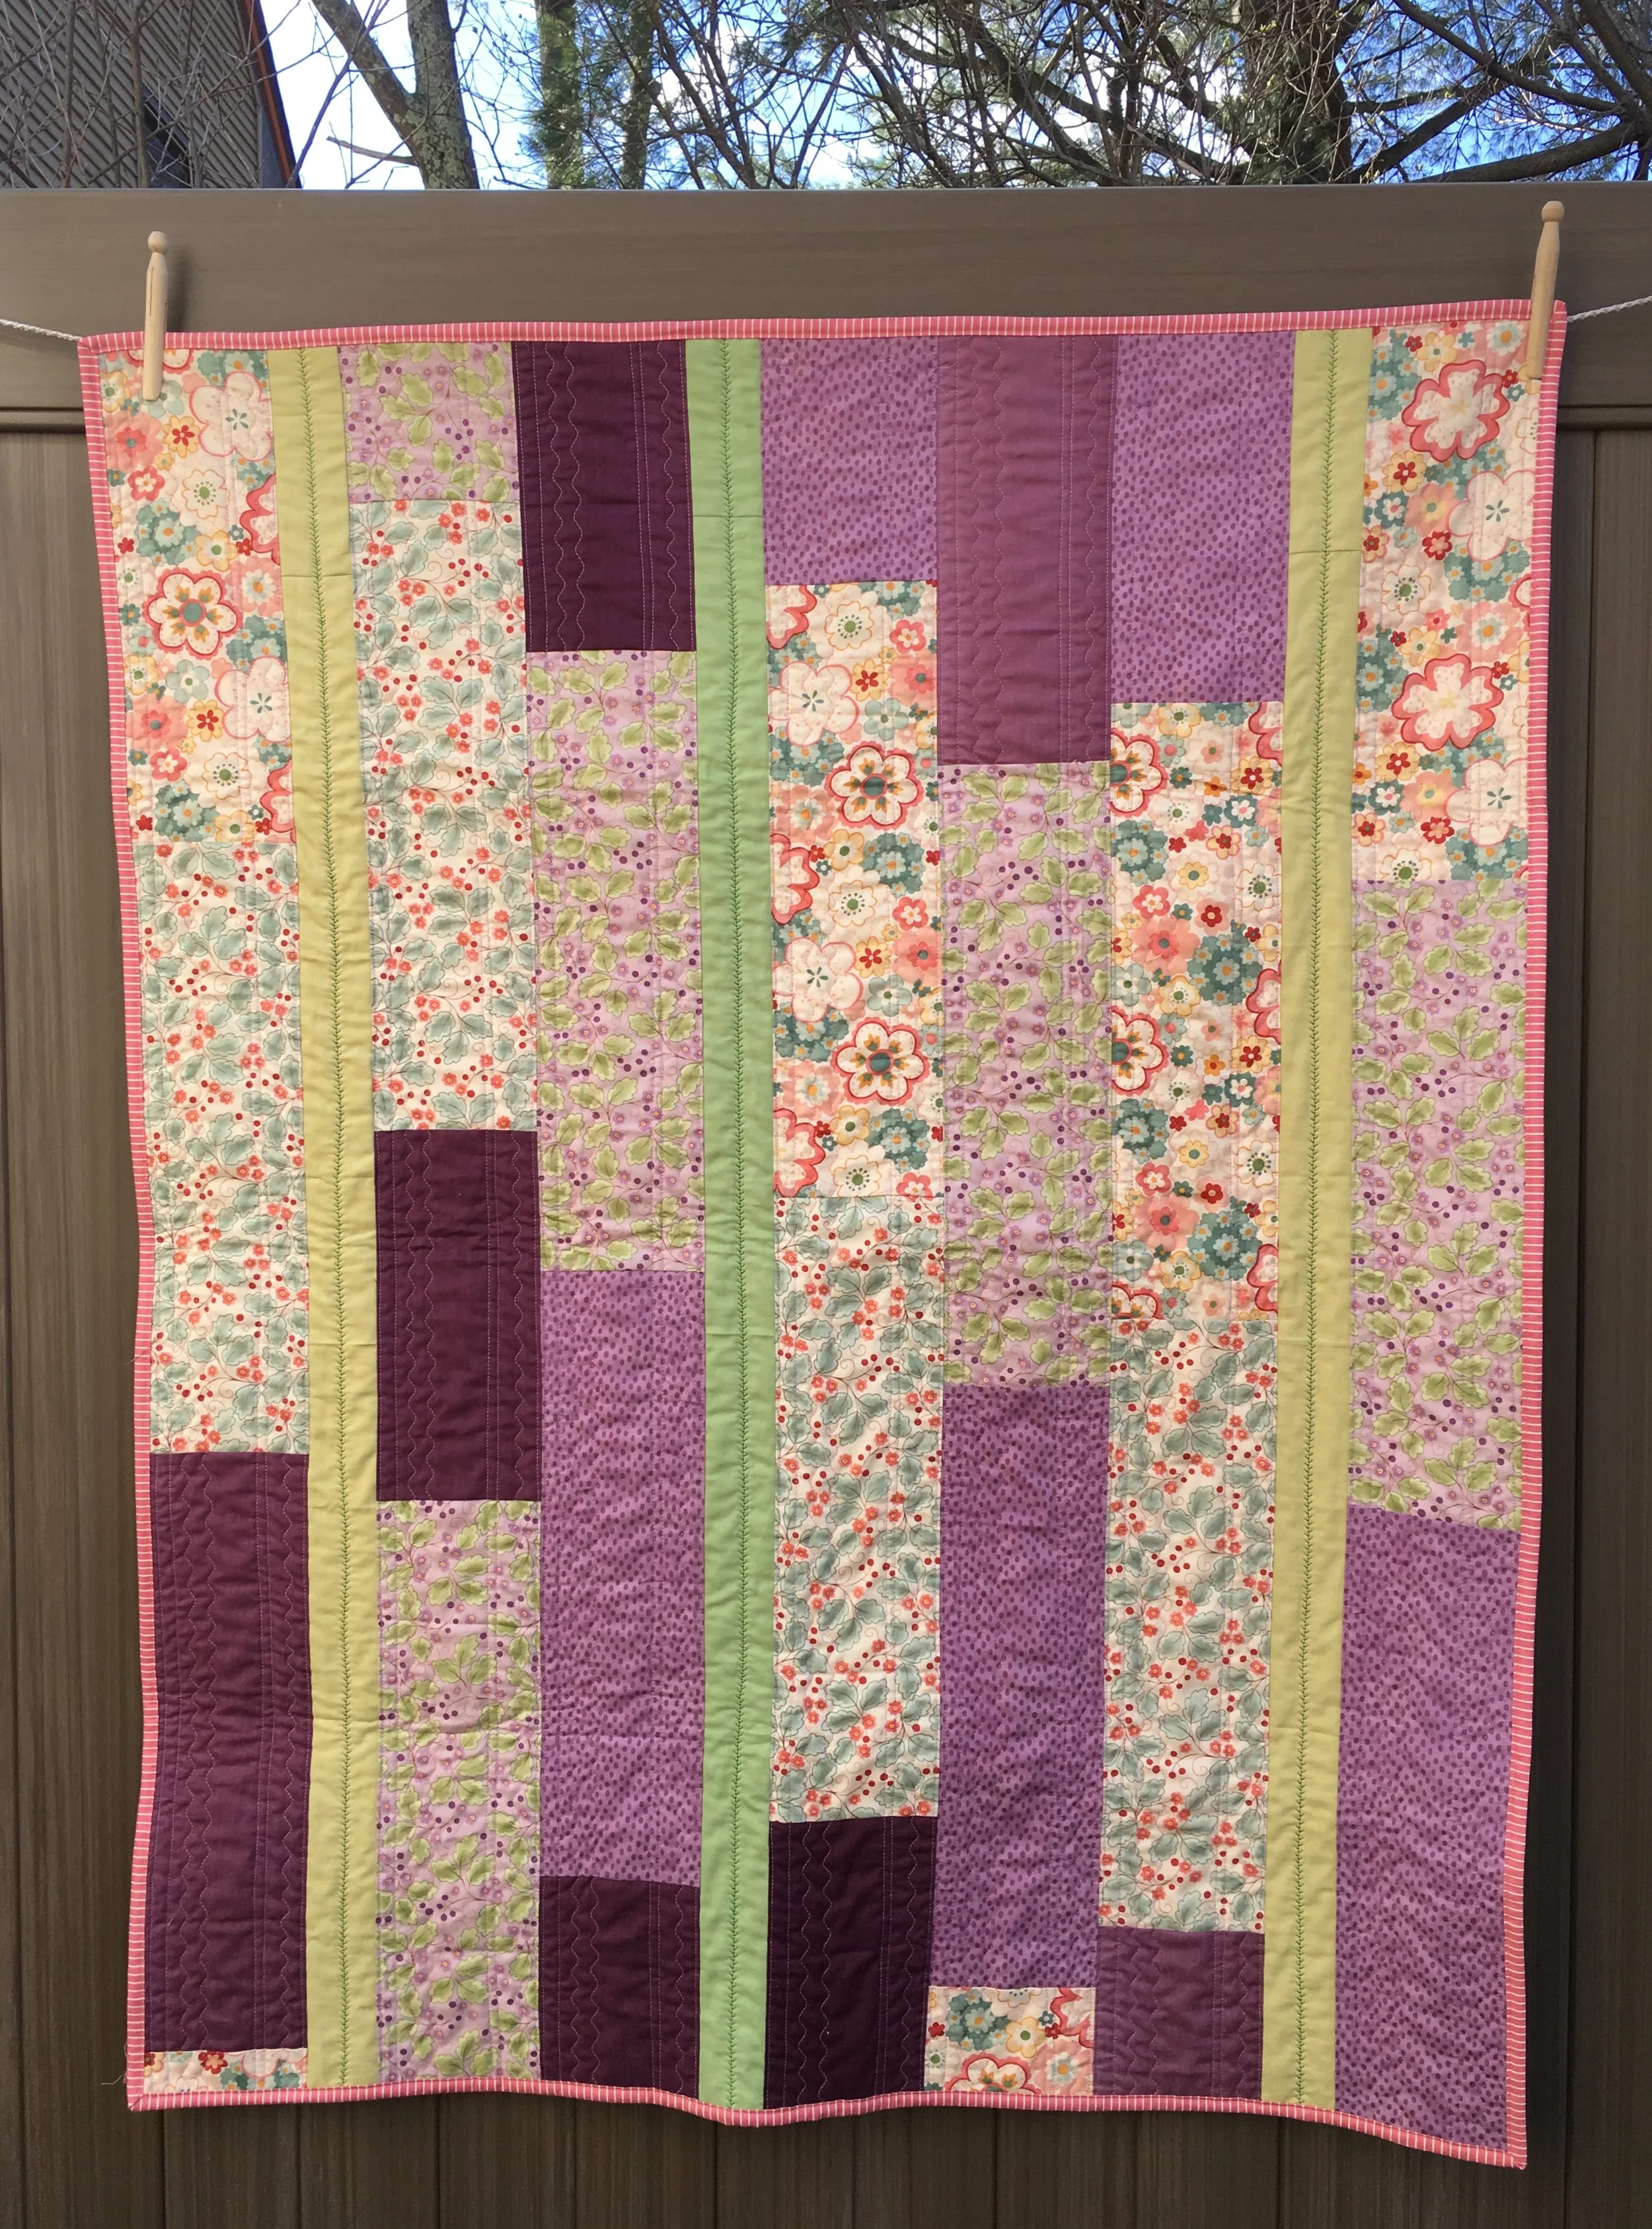
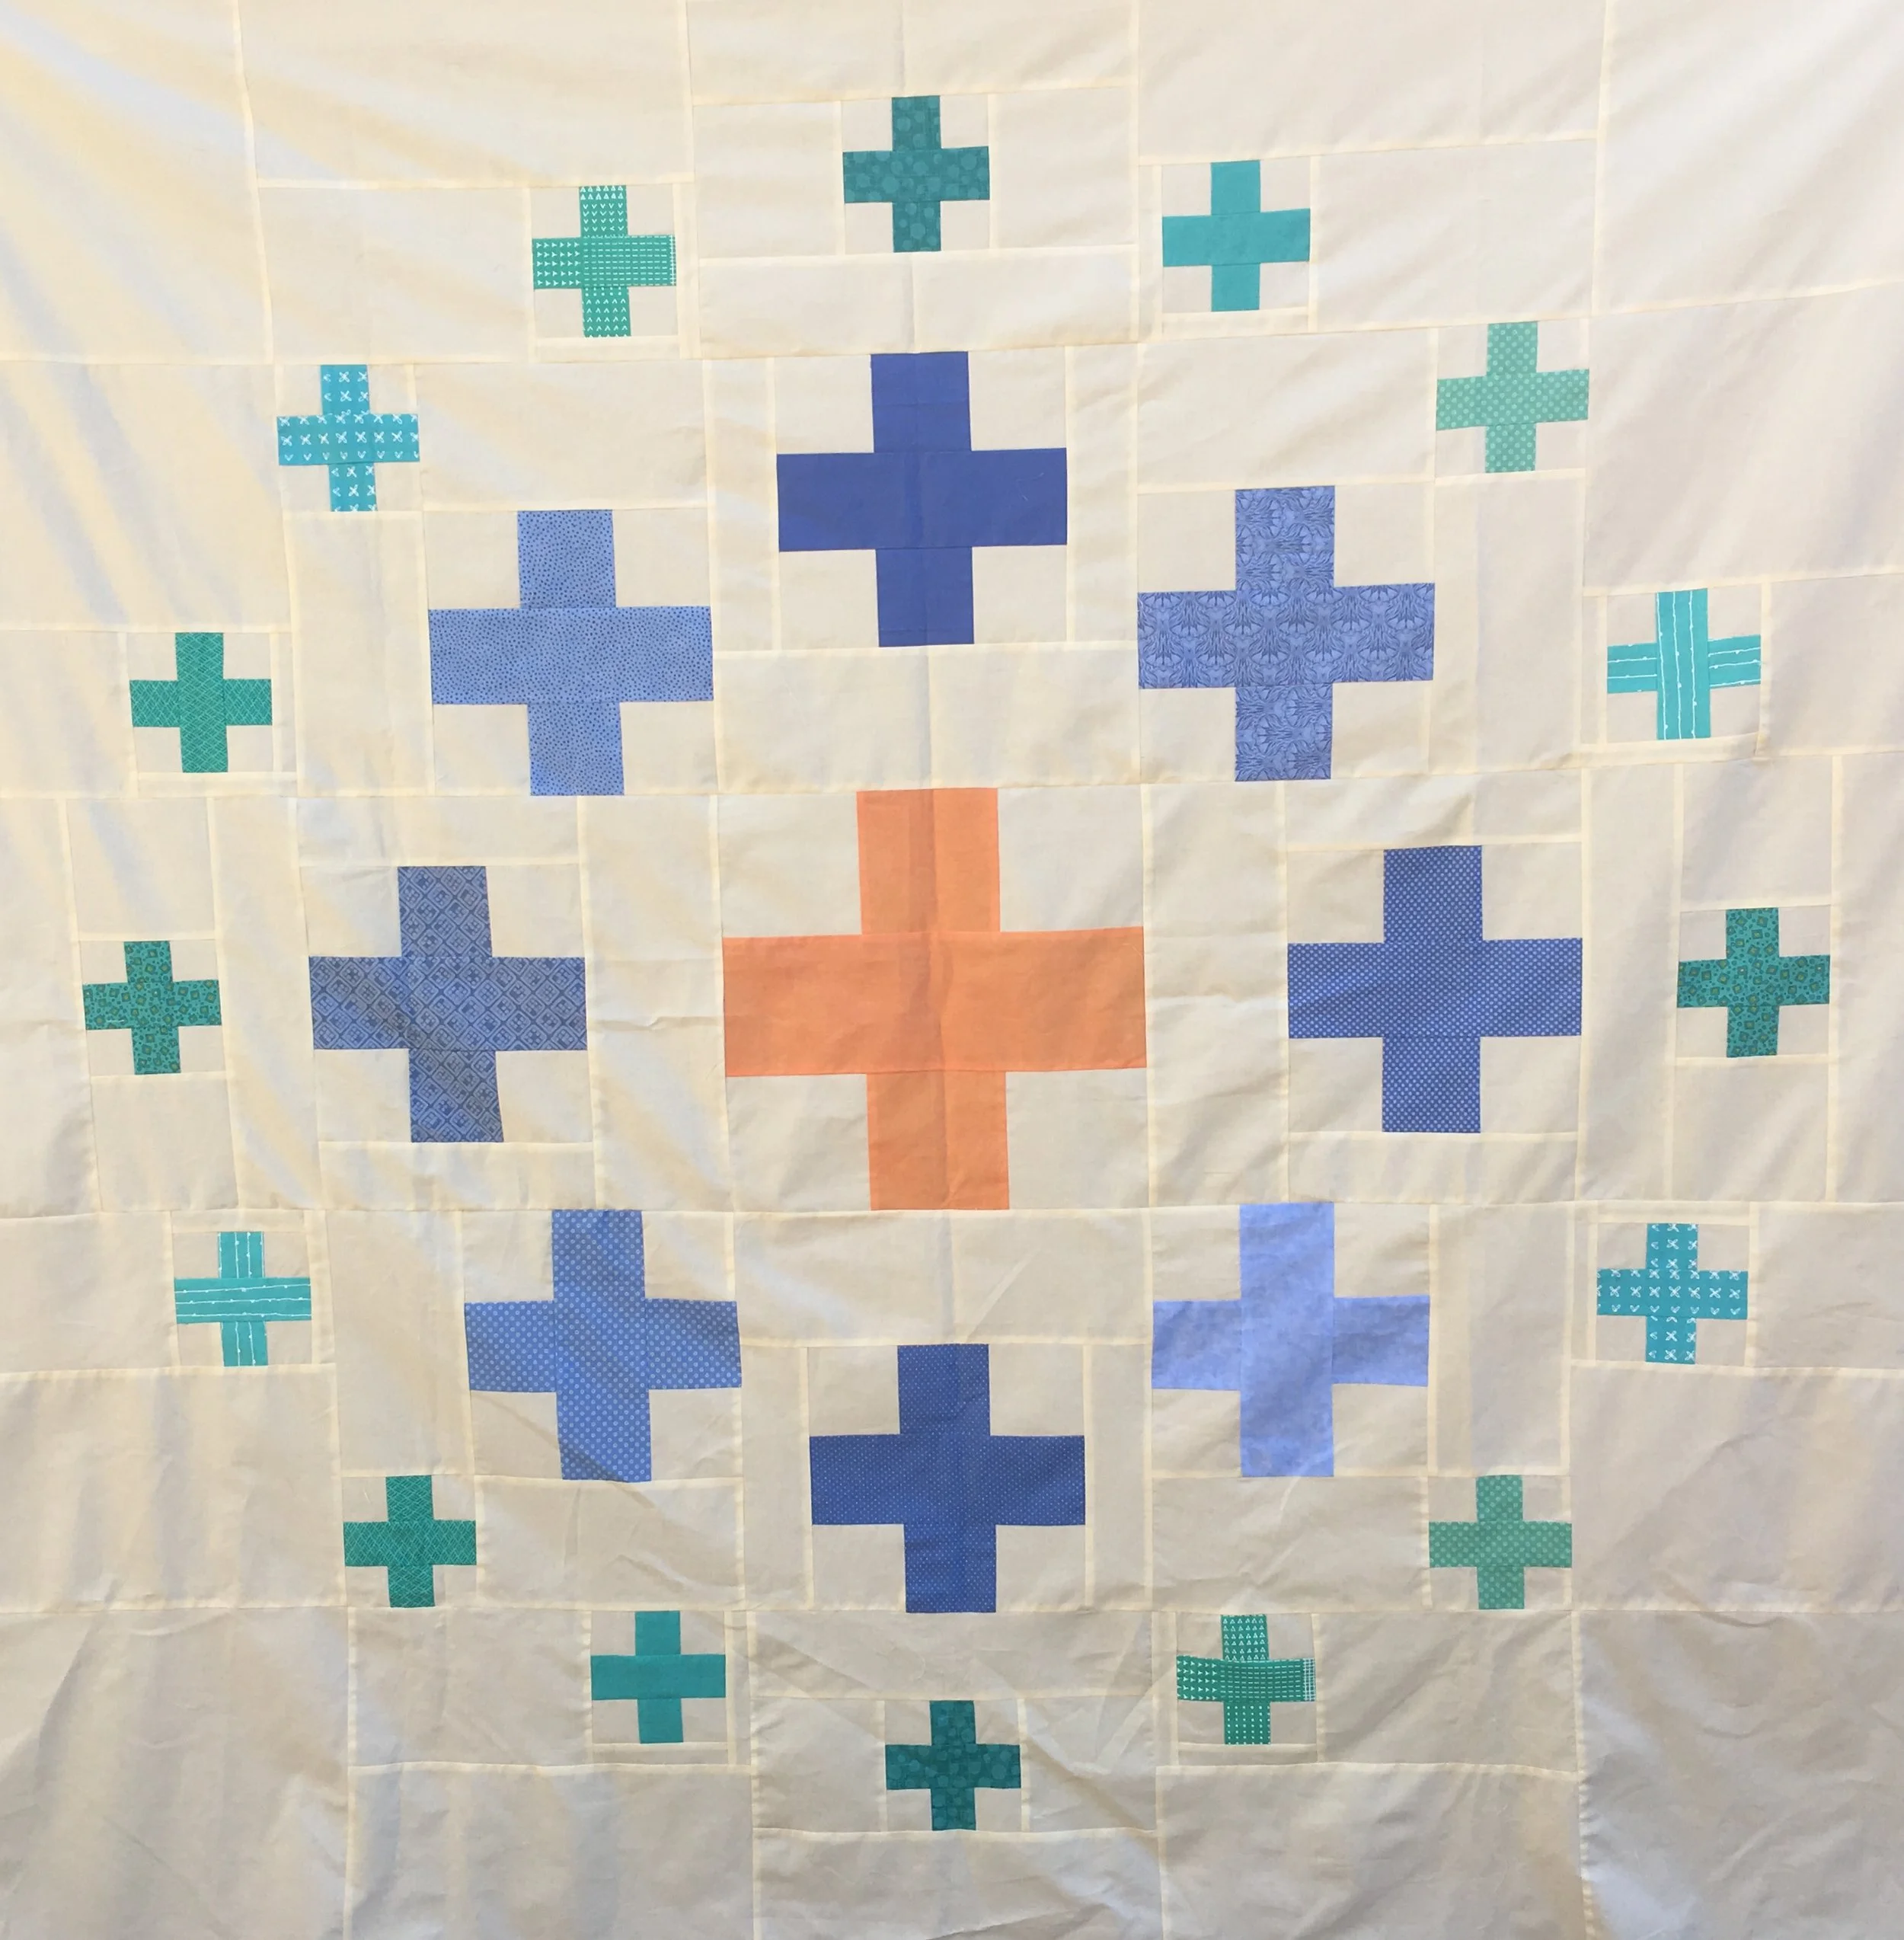
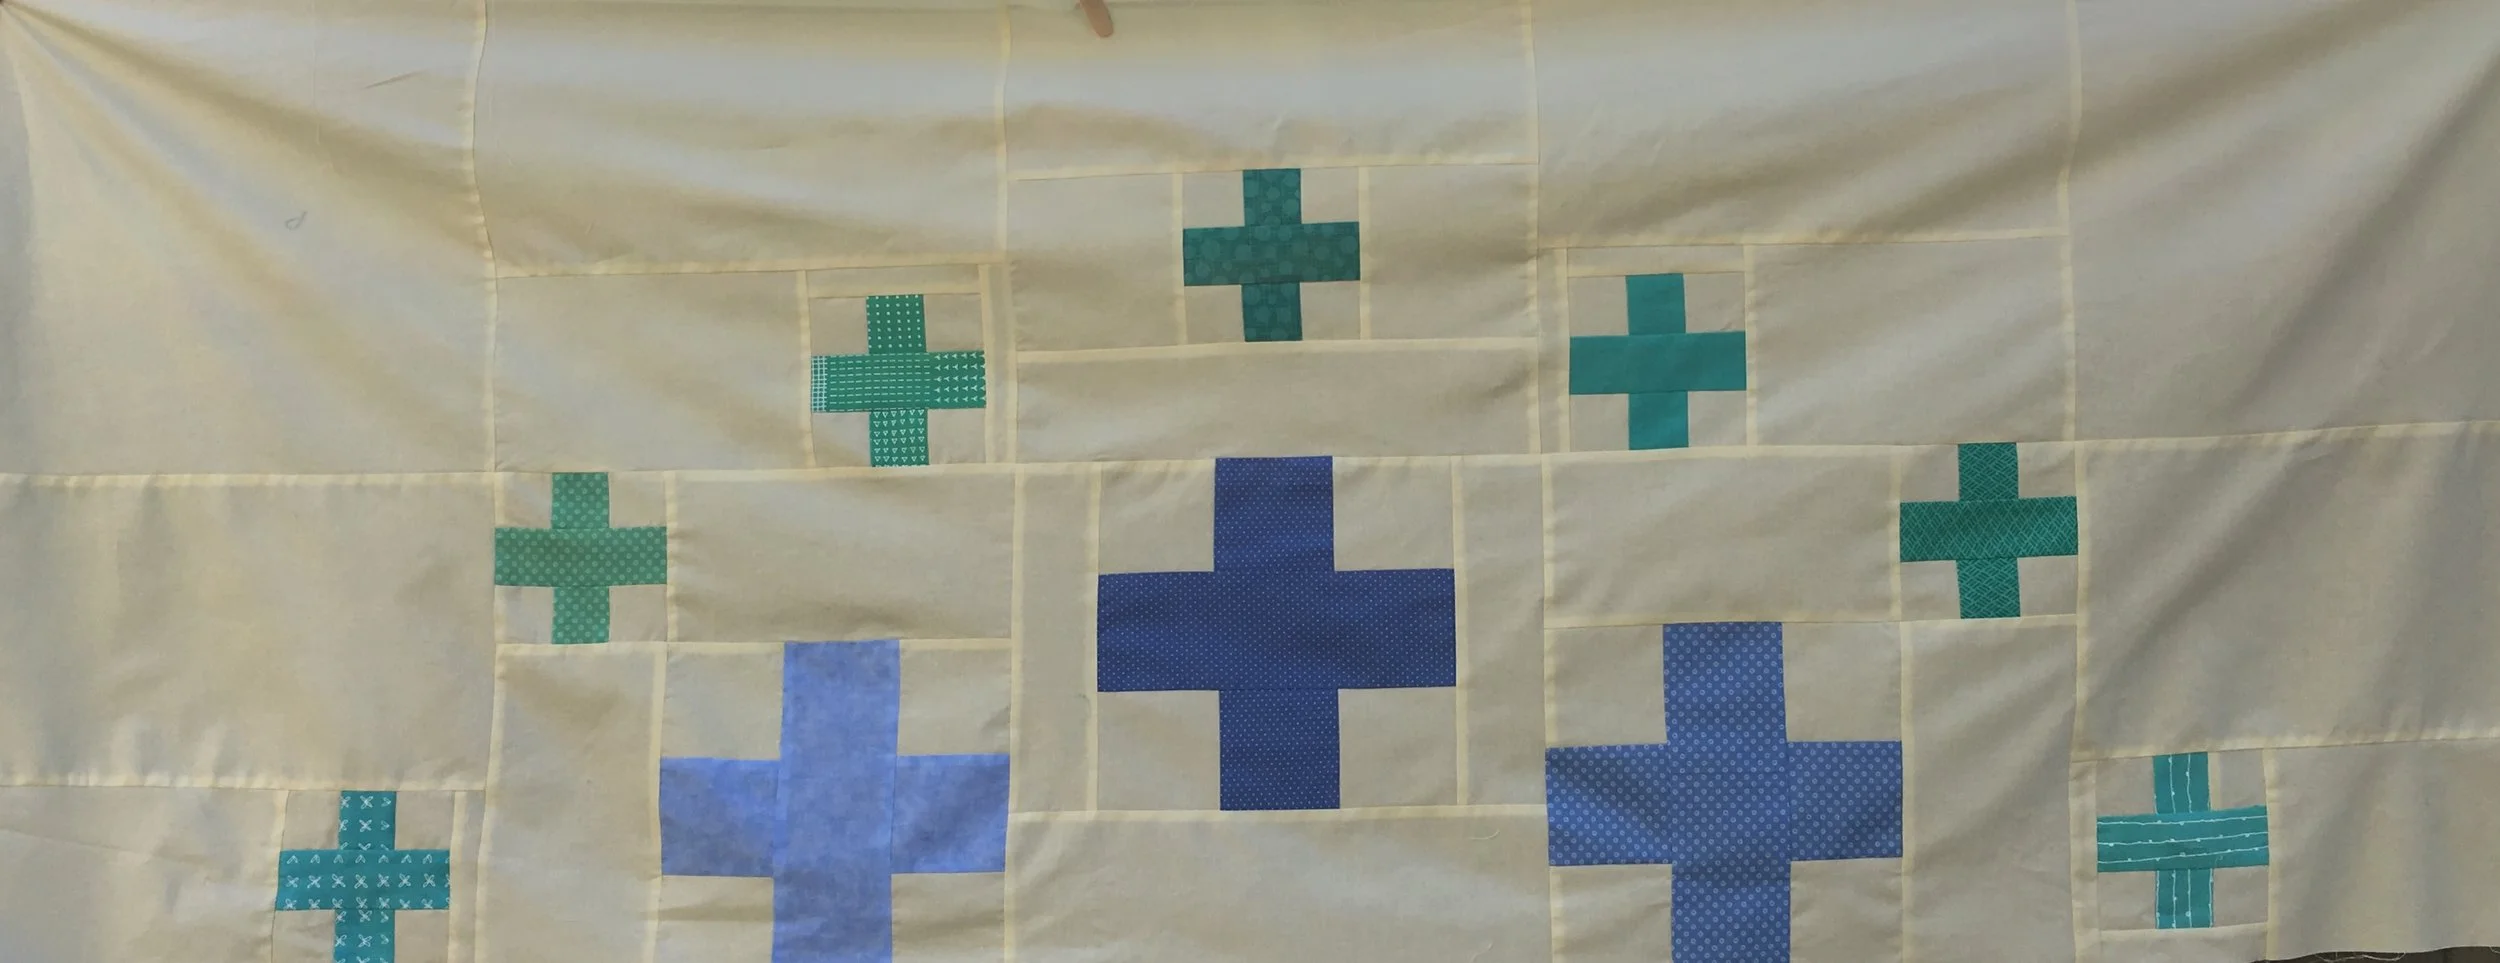
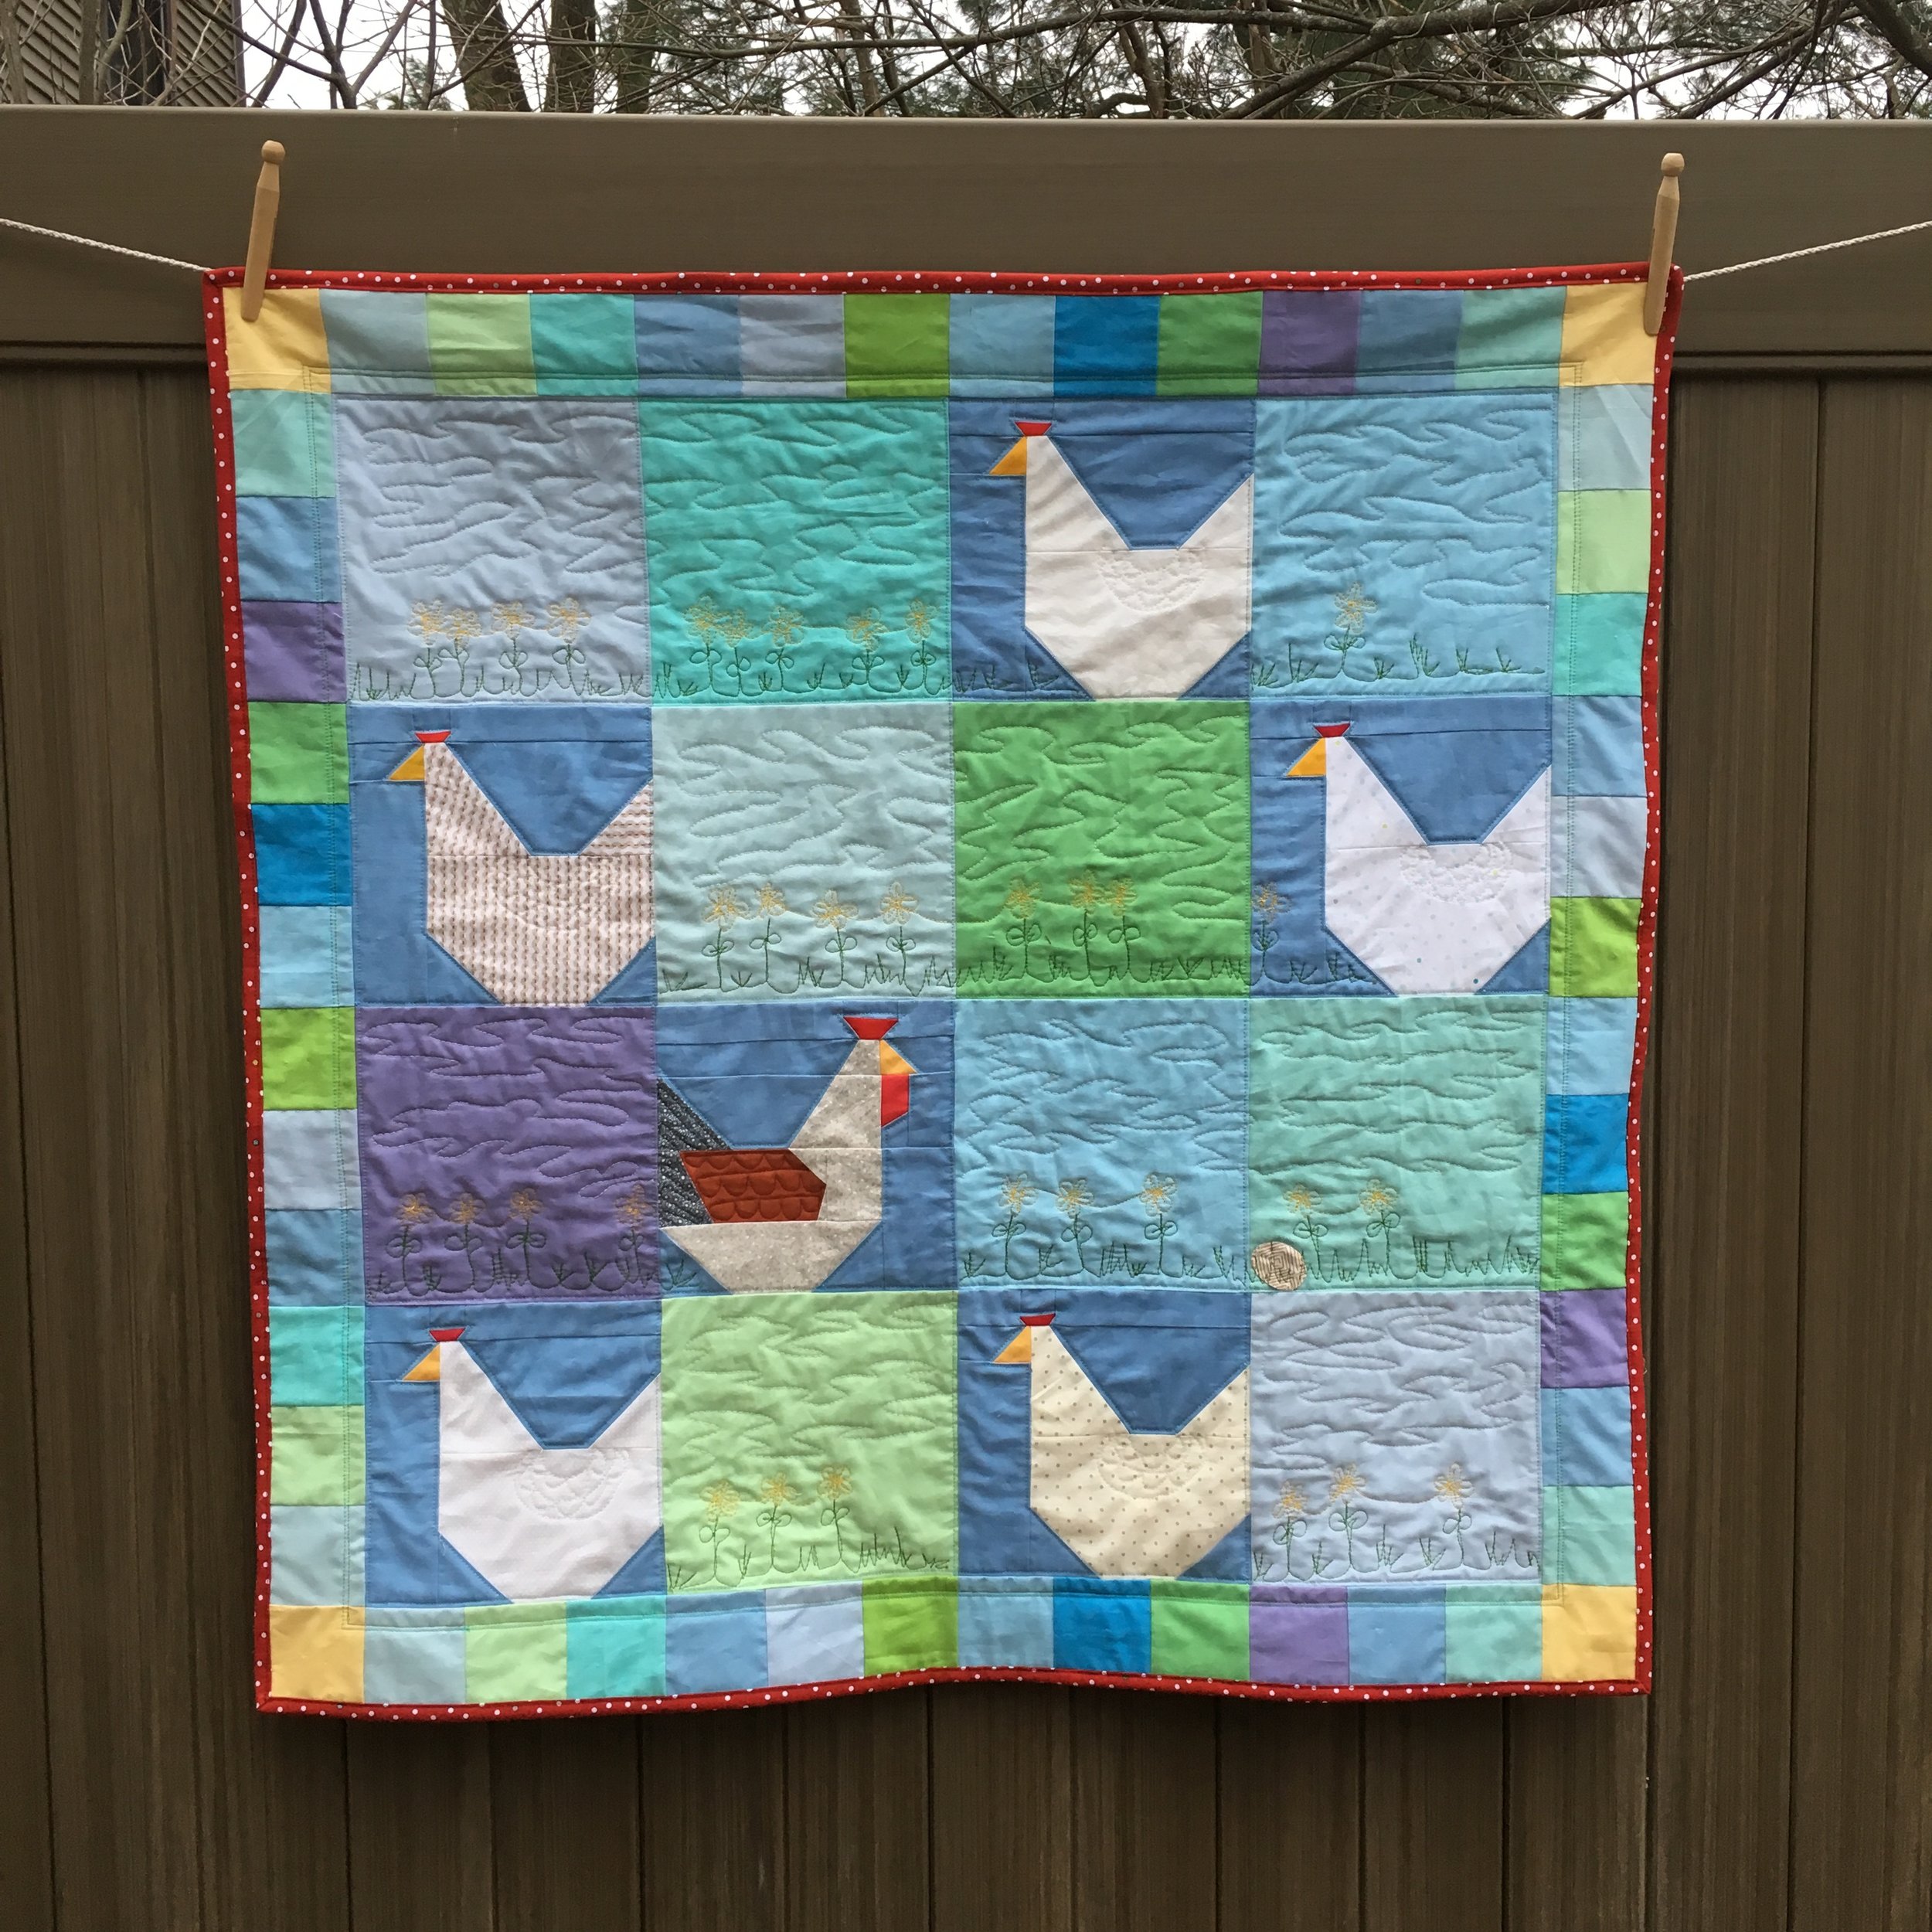
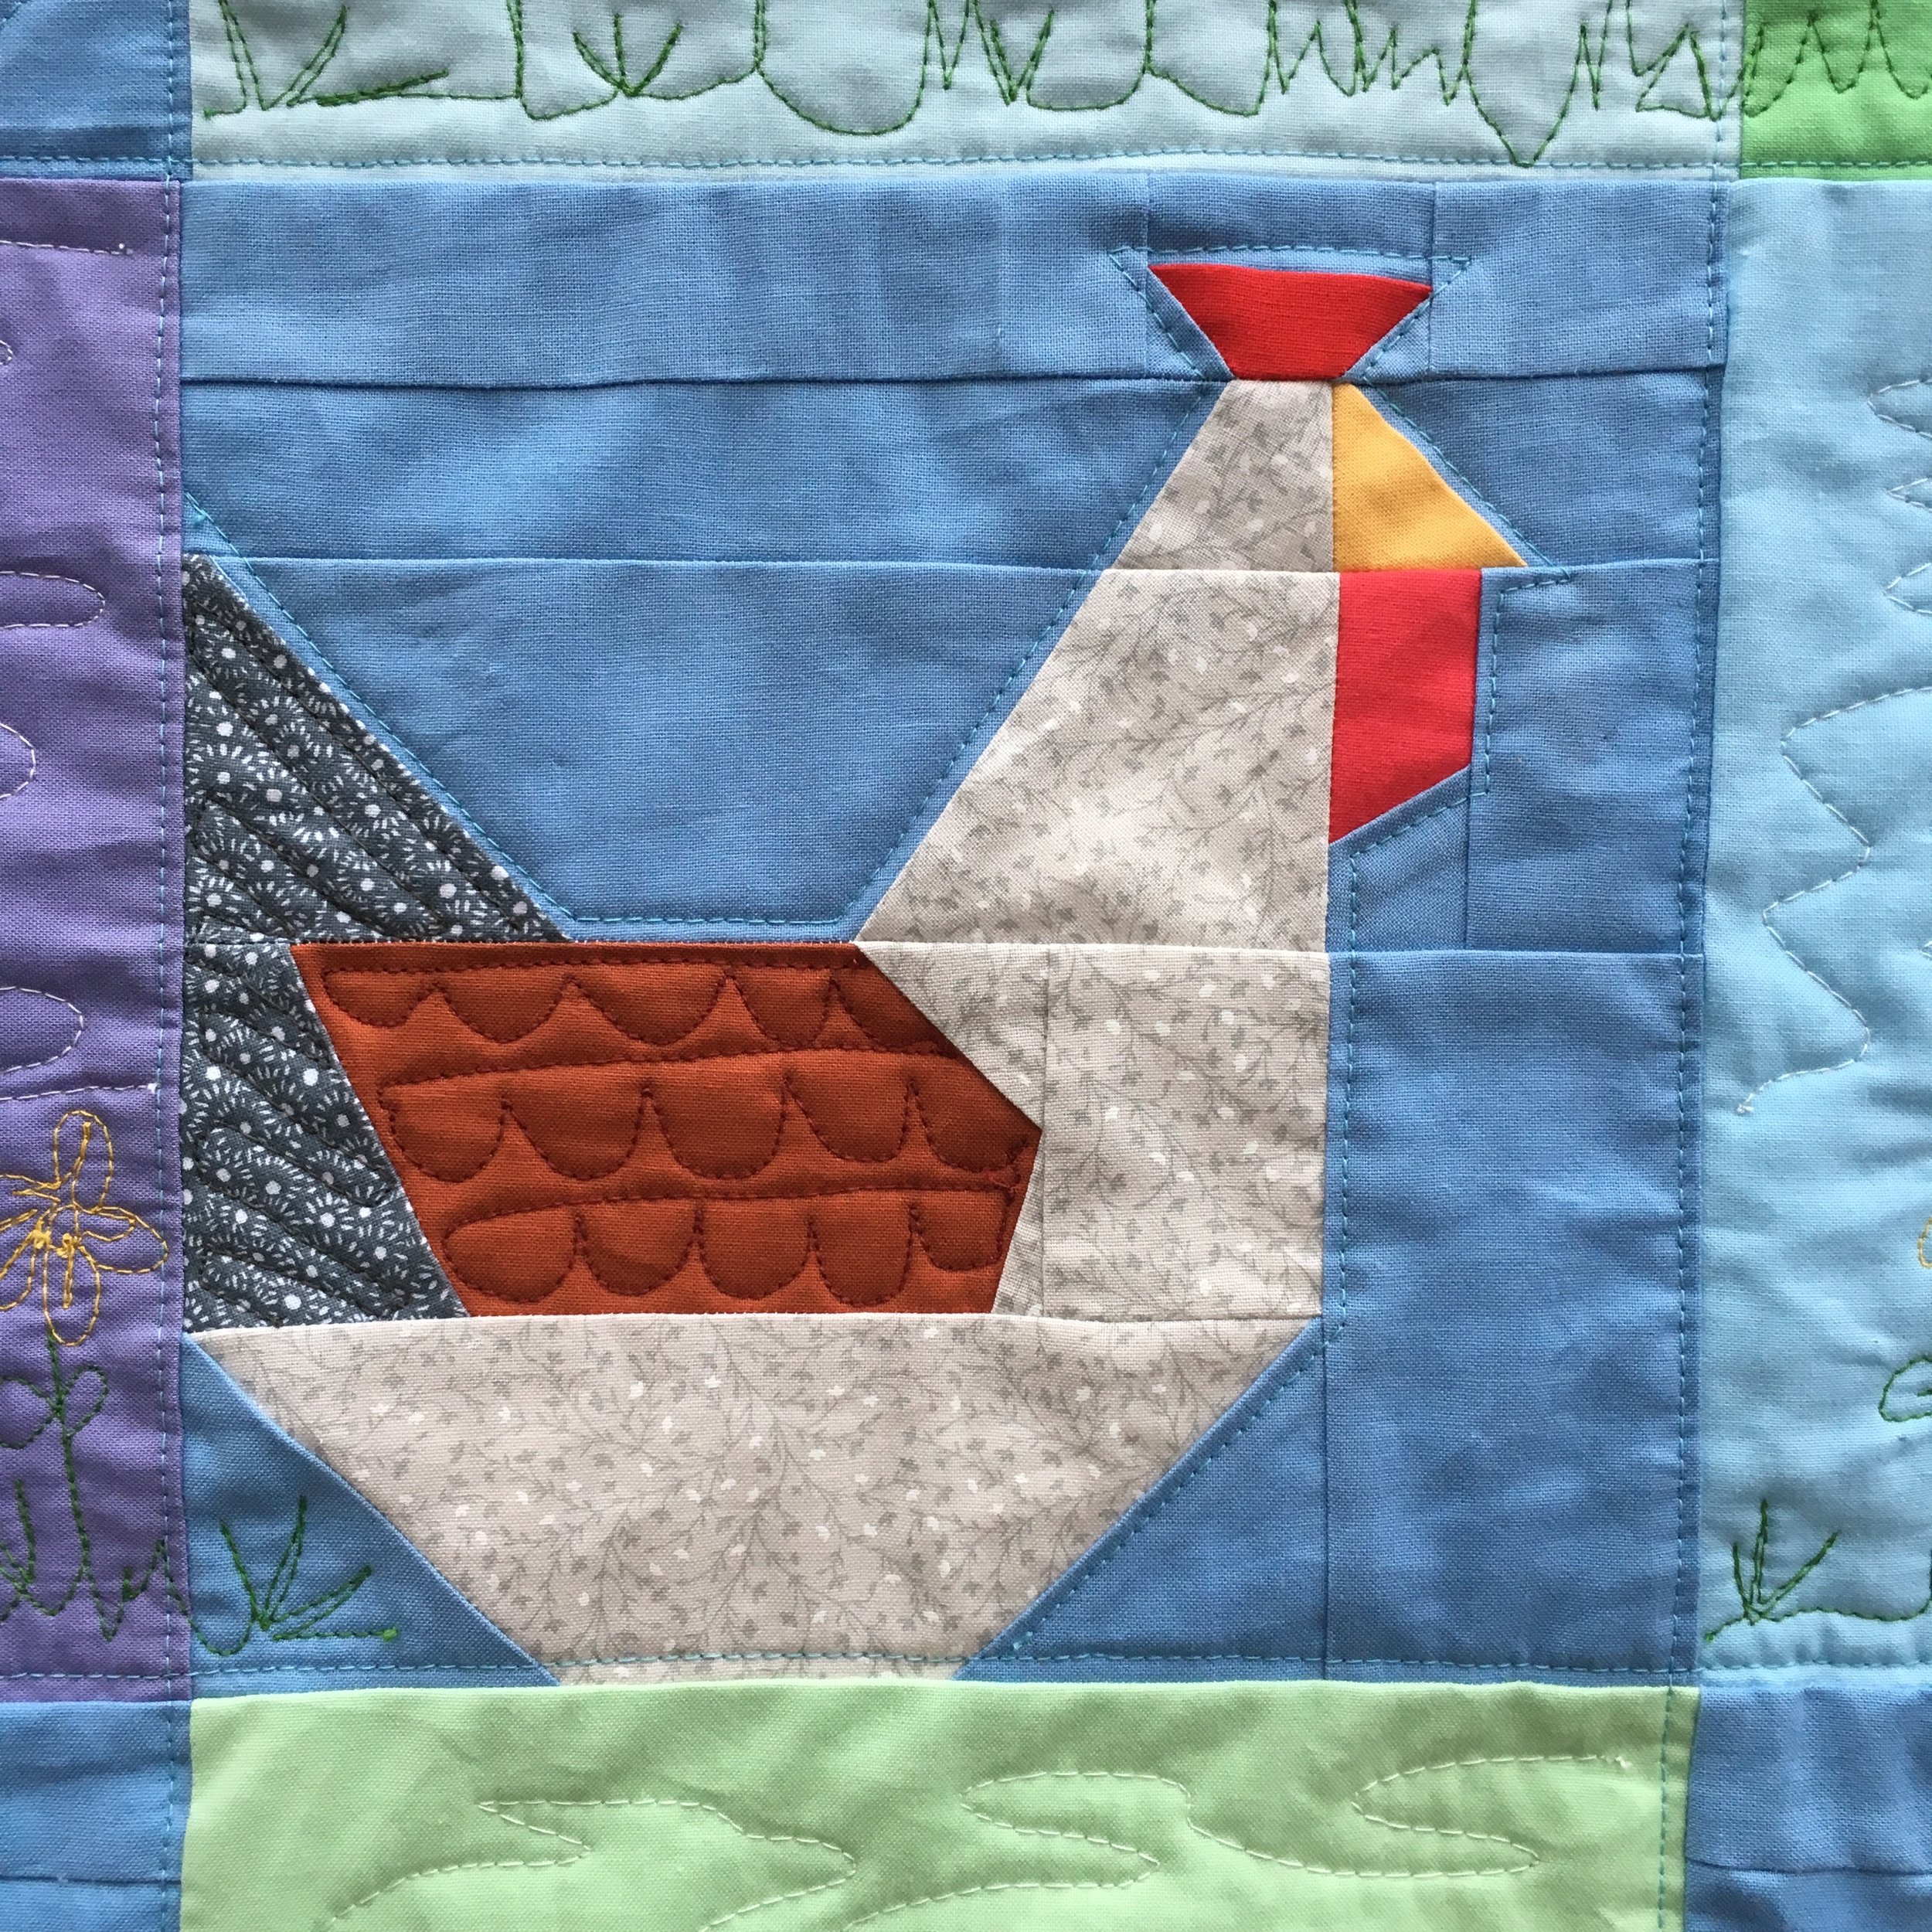
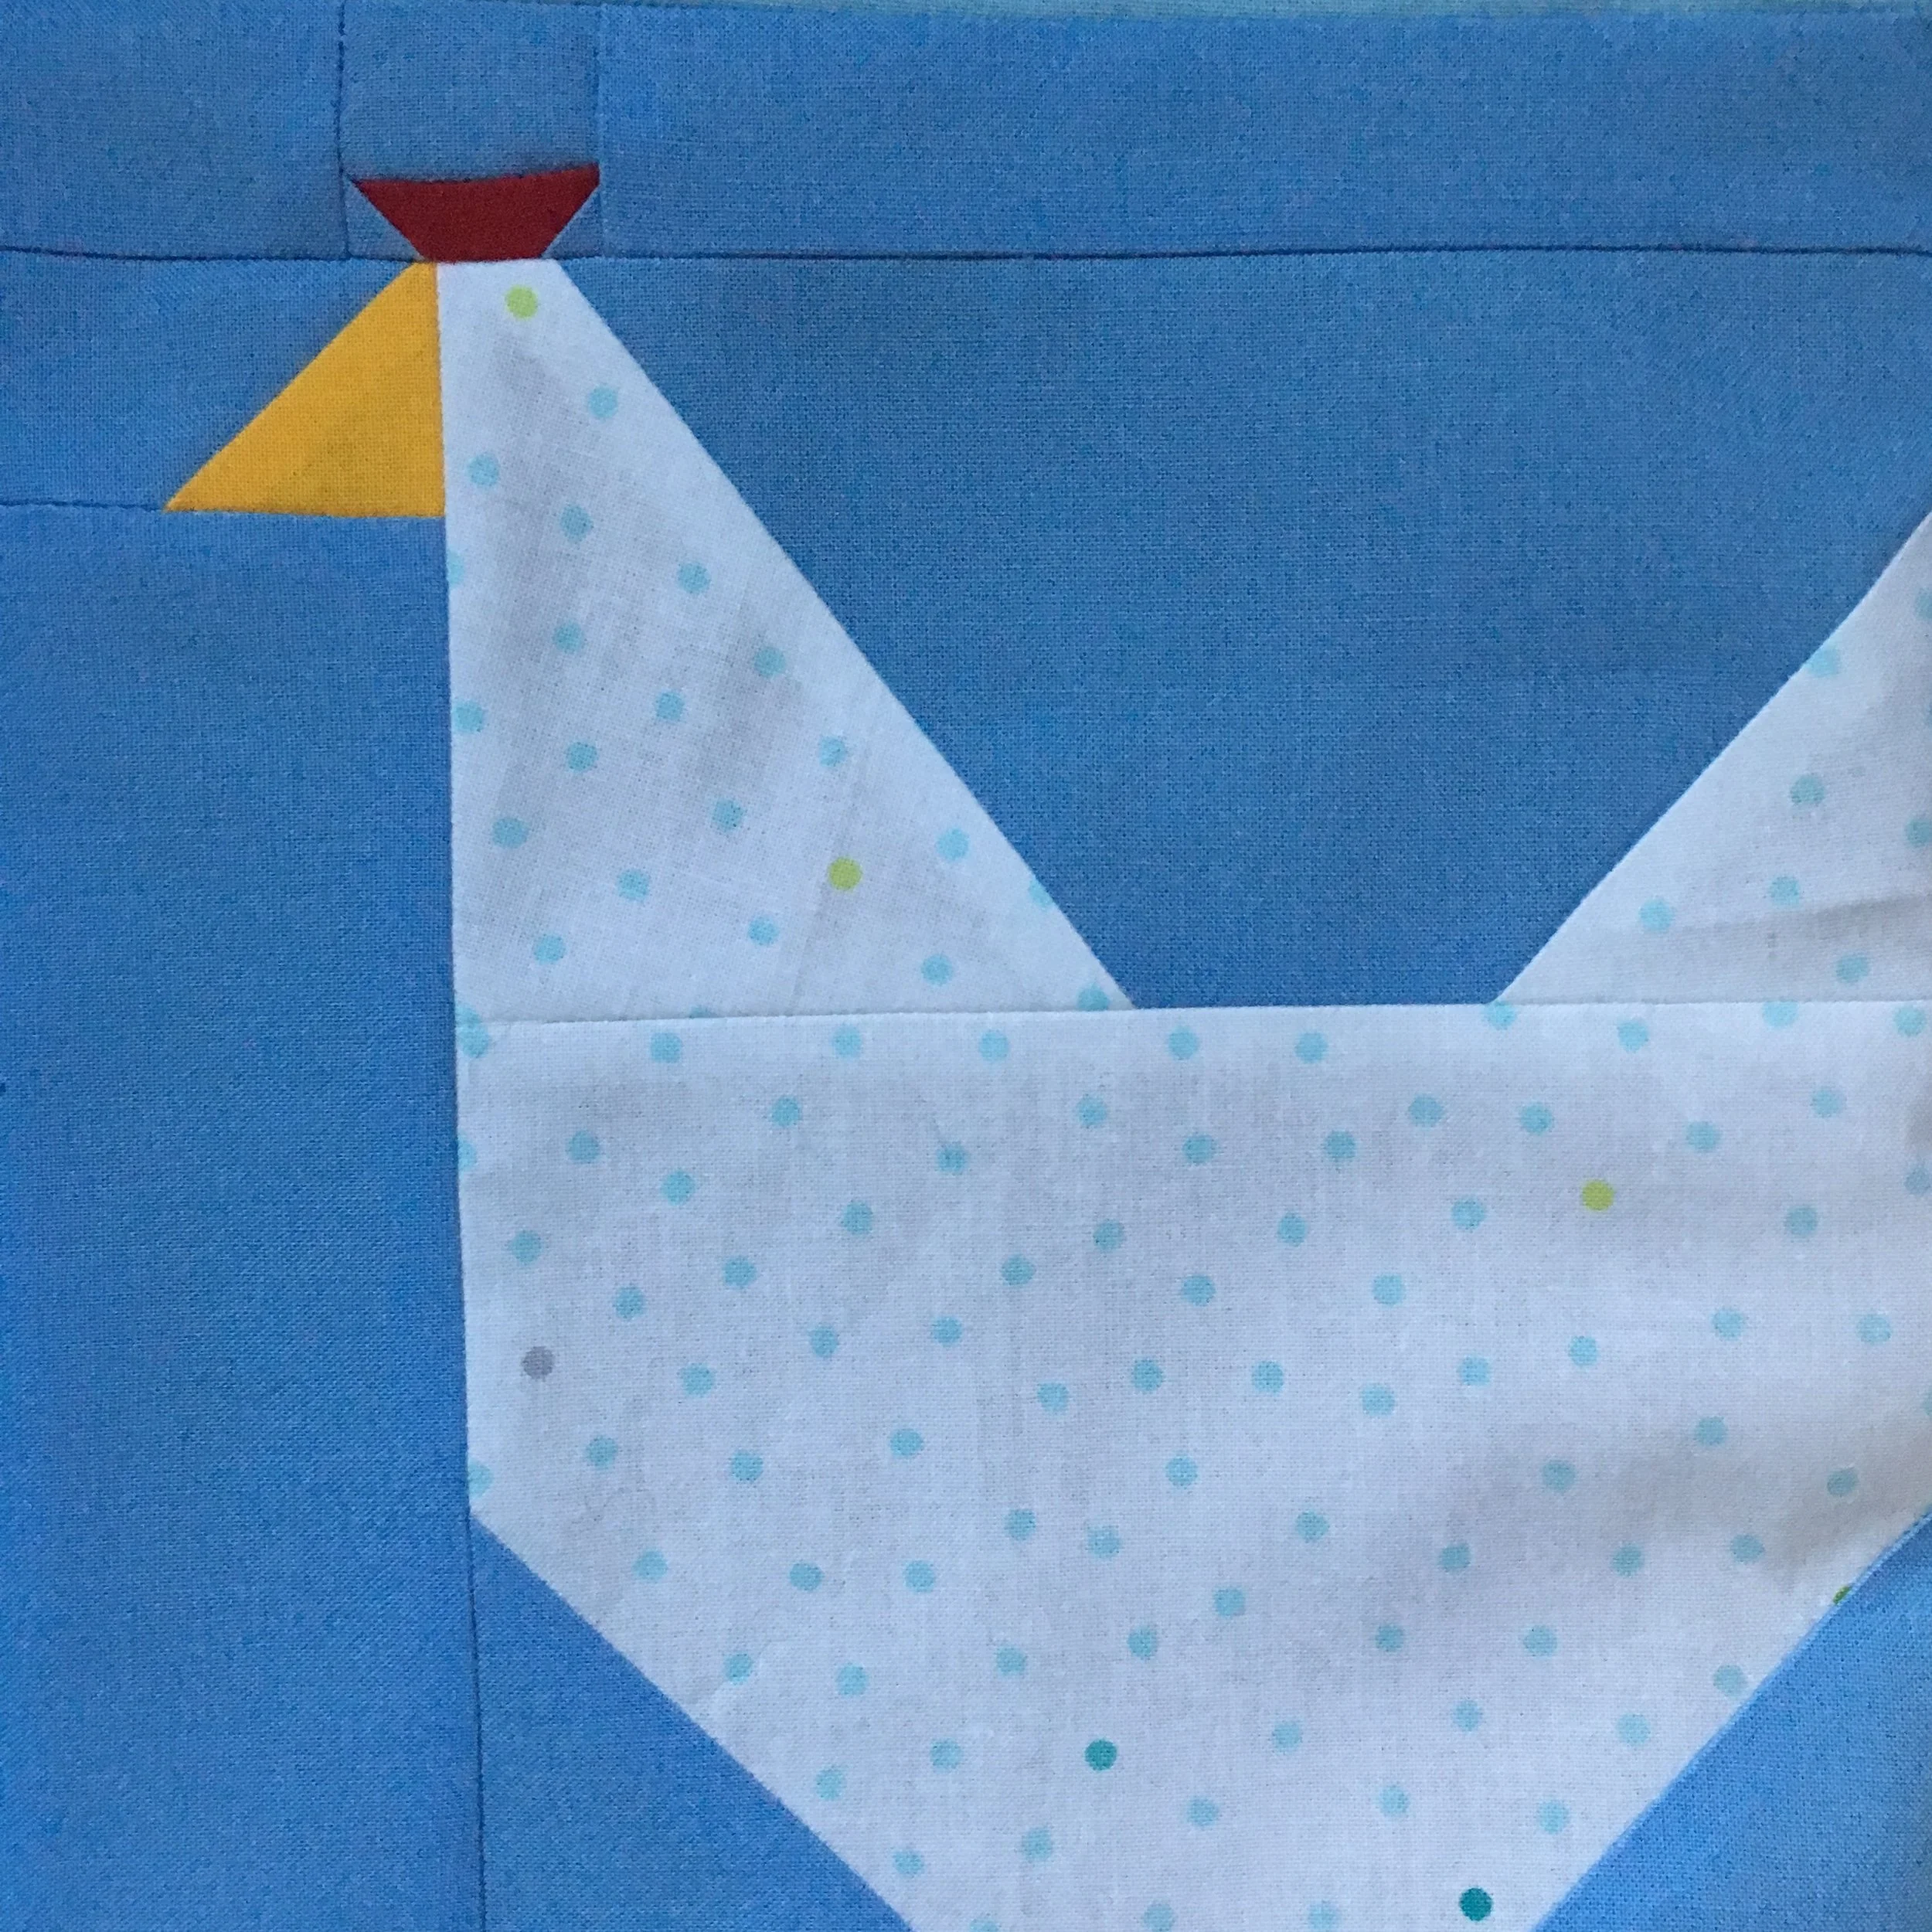
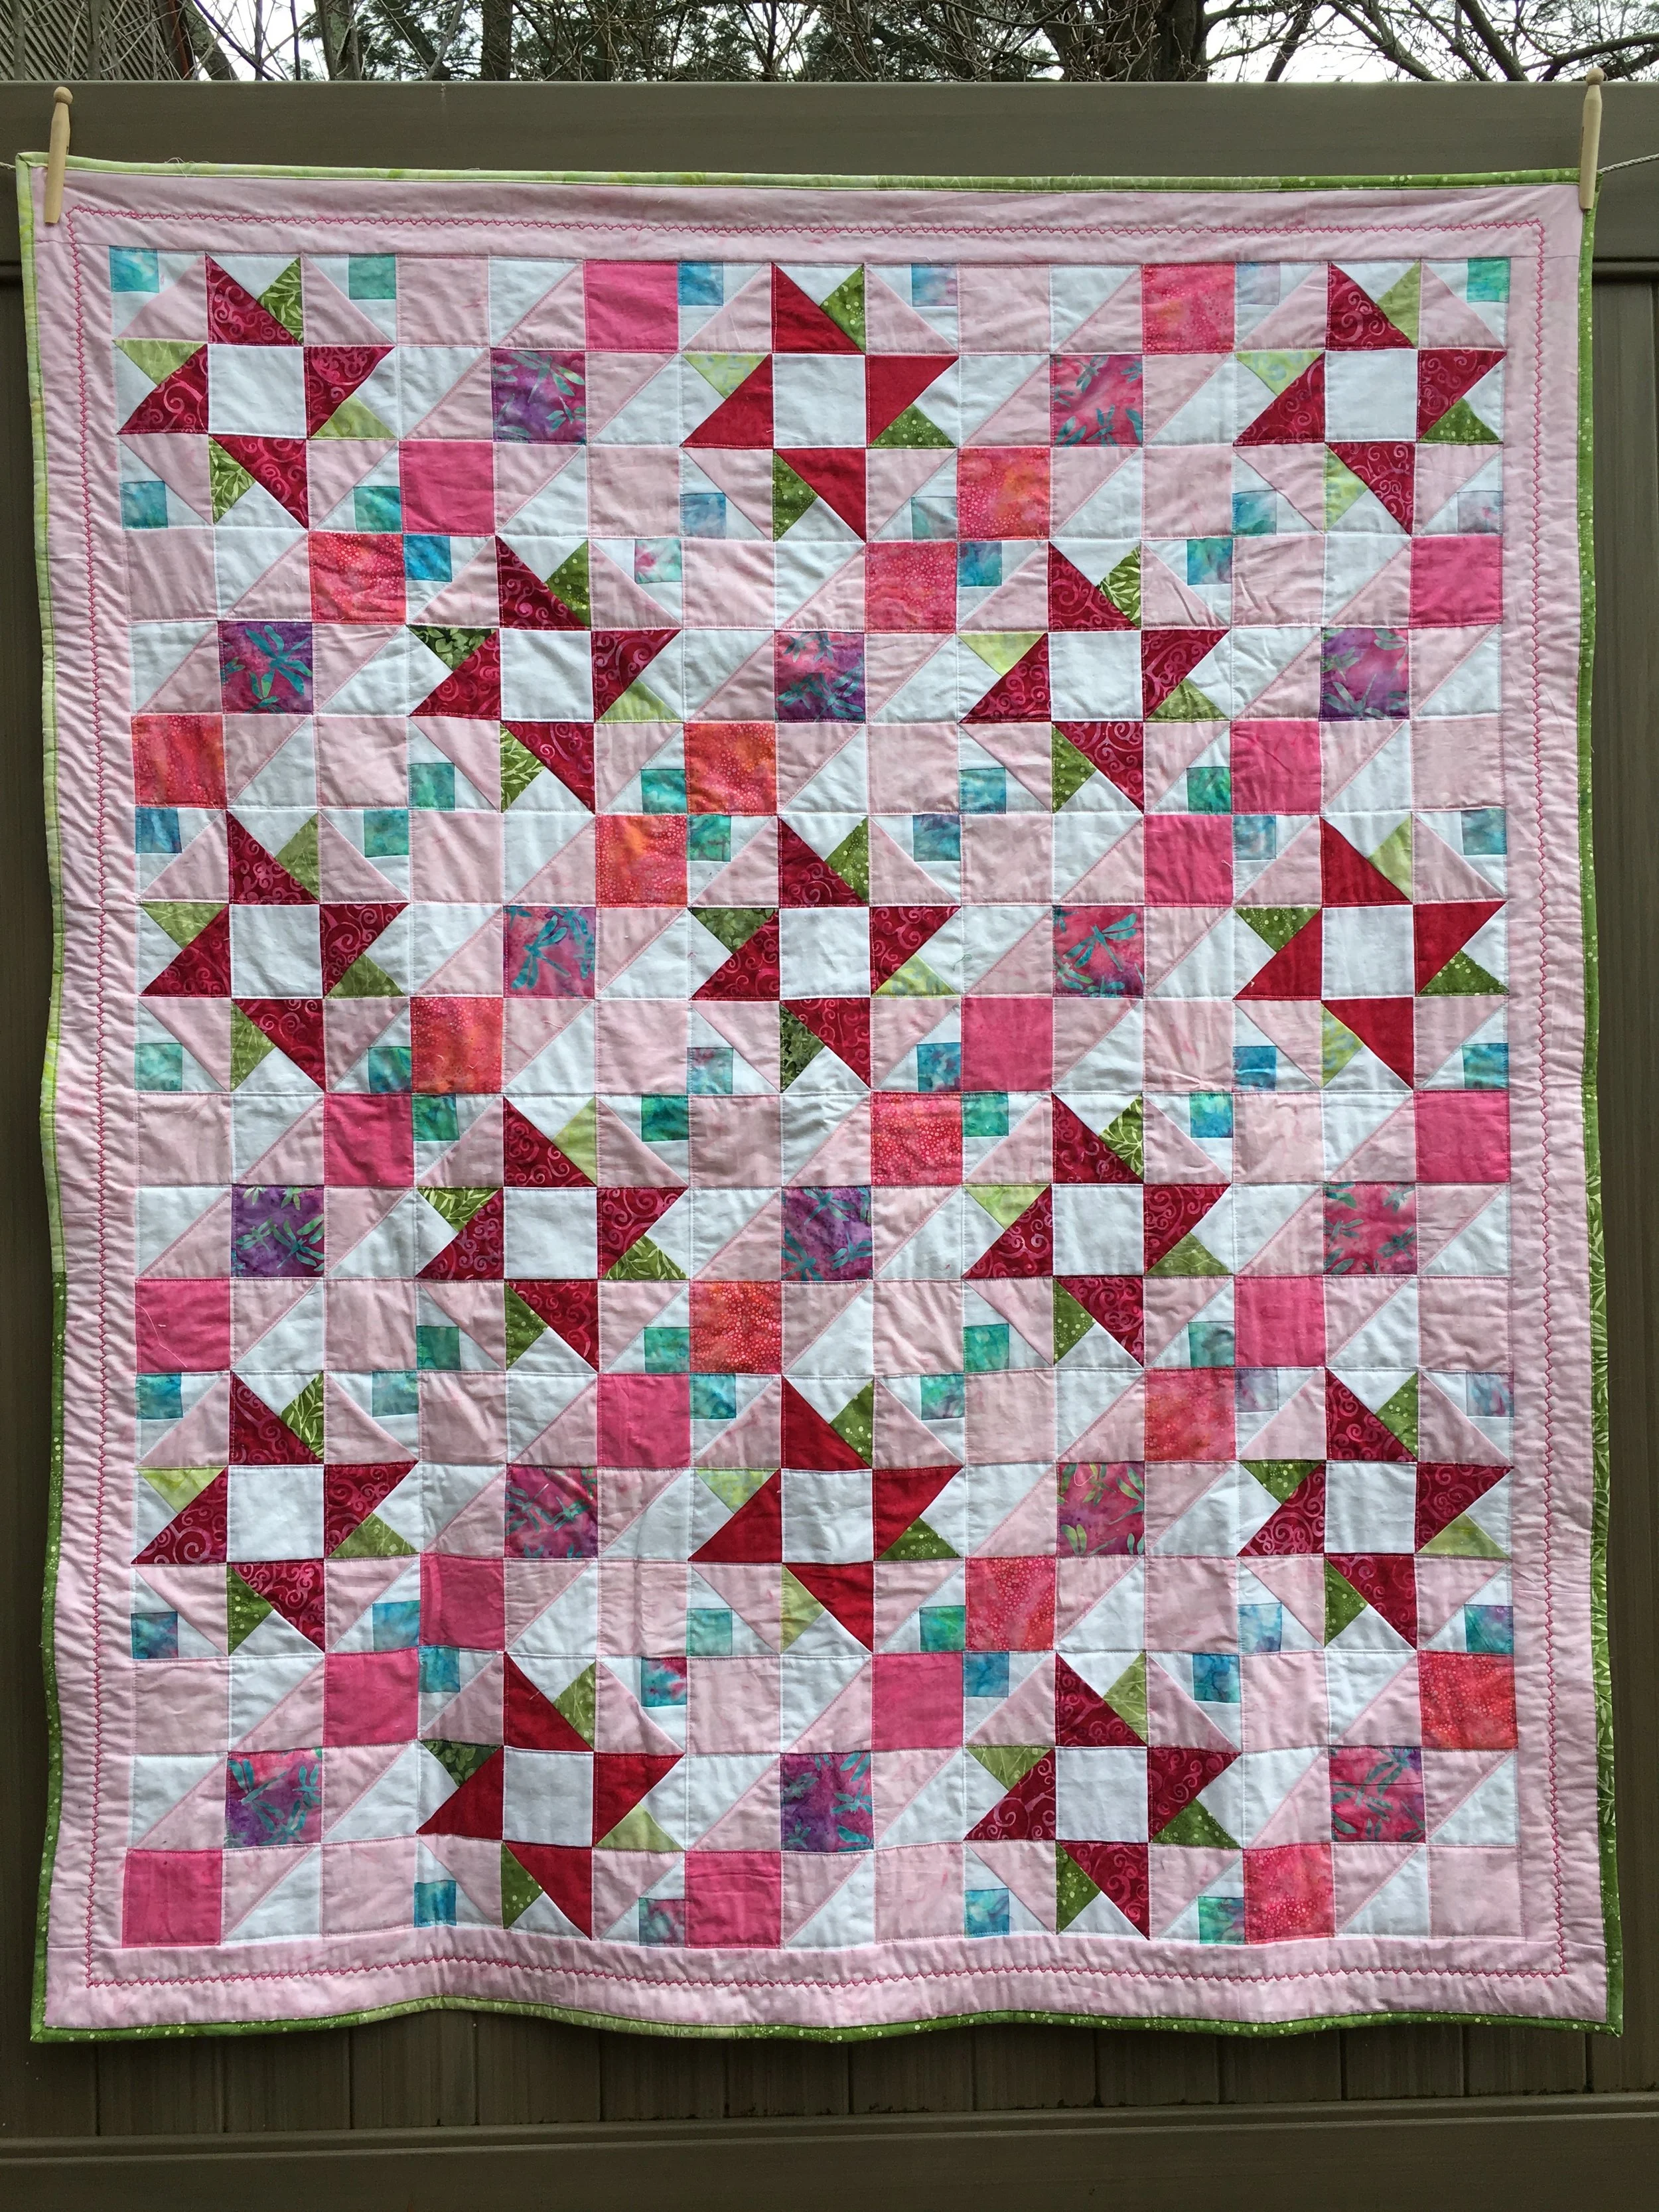
My Practice Quilt from Electric Quilt Blog tutorial "Custom Set Quilt!"
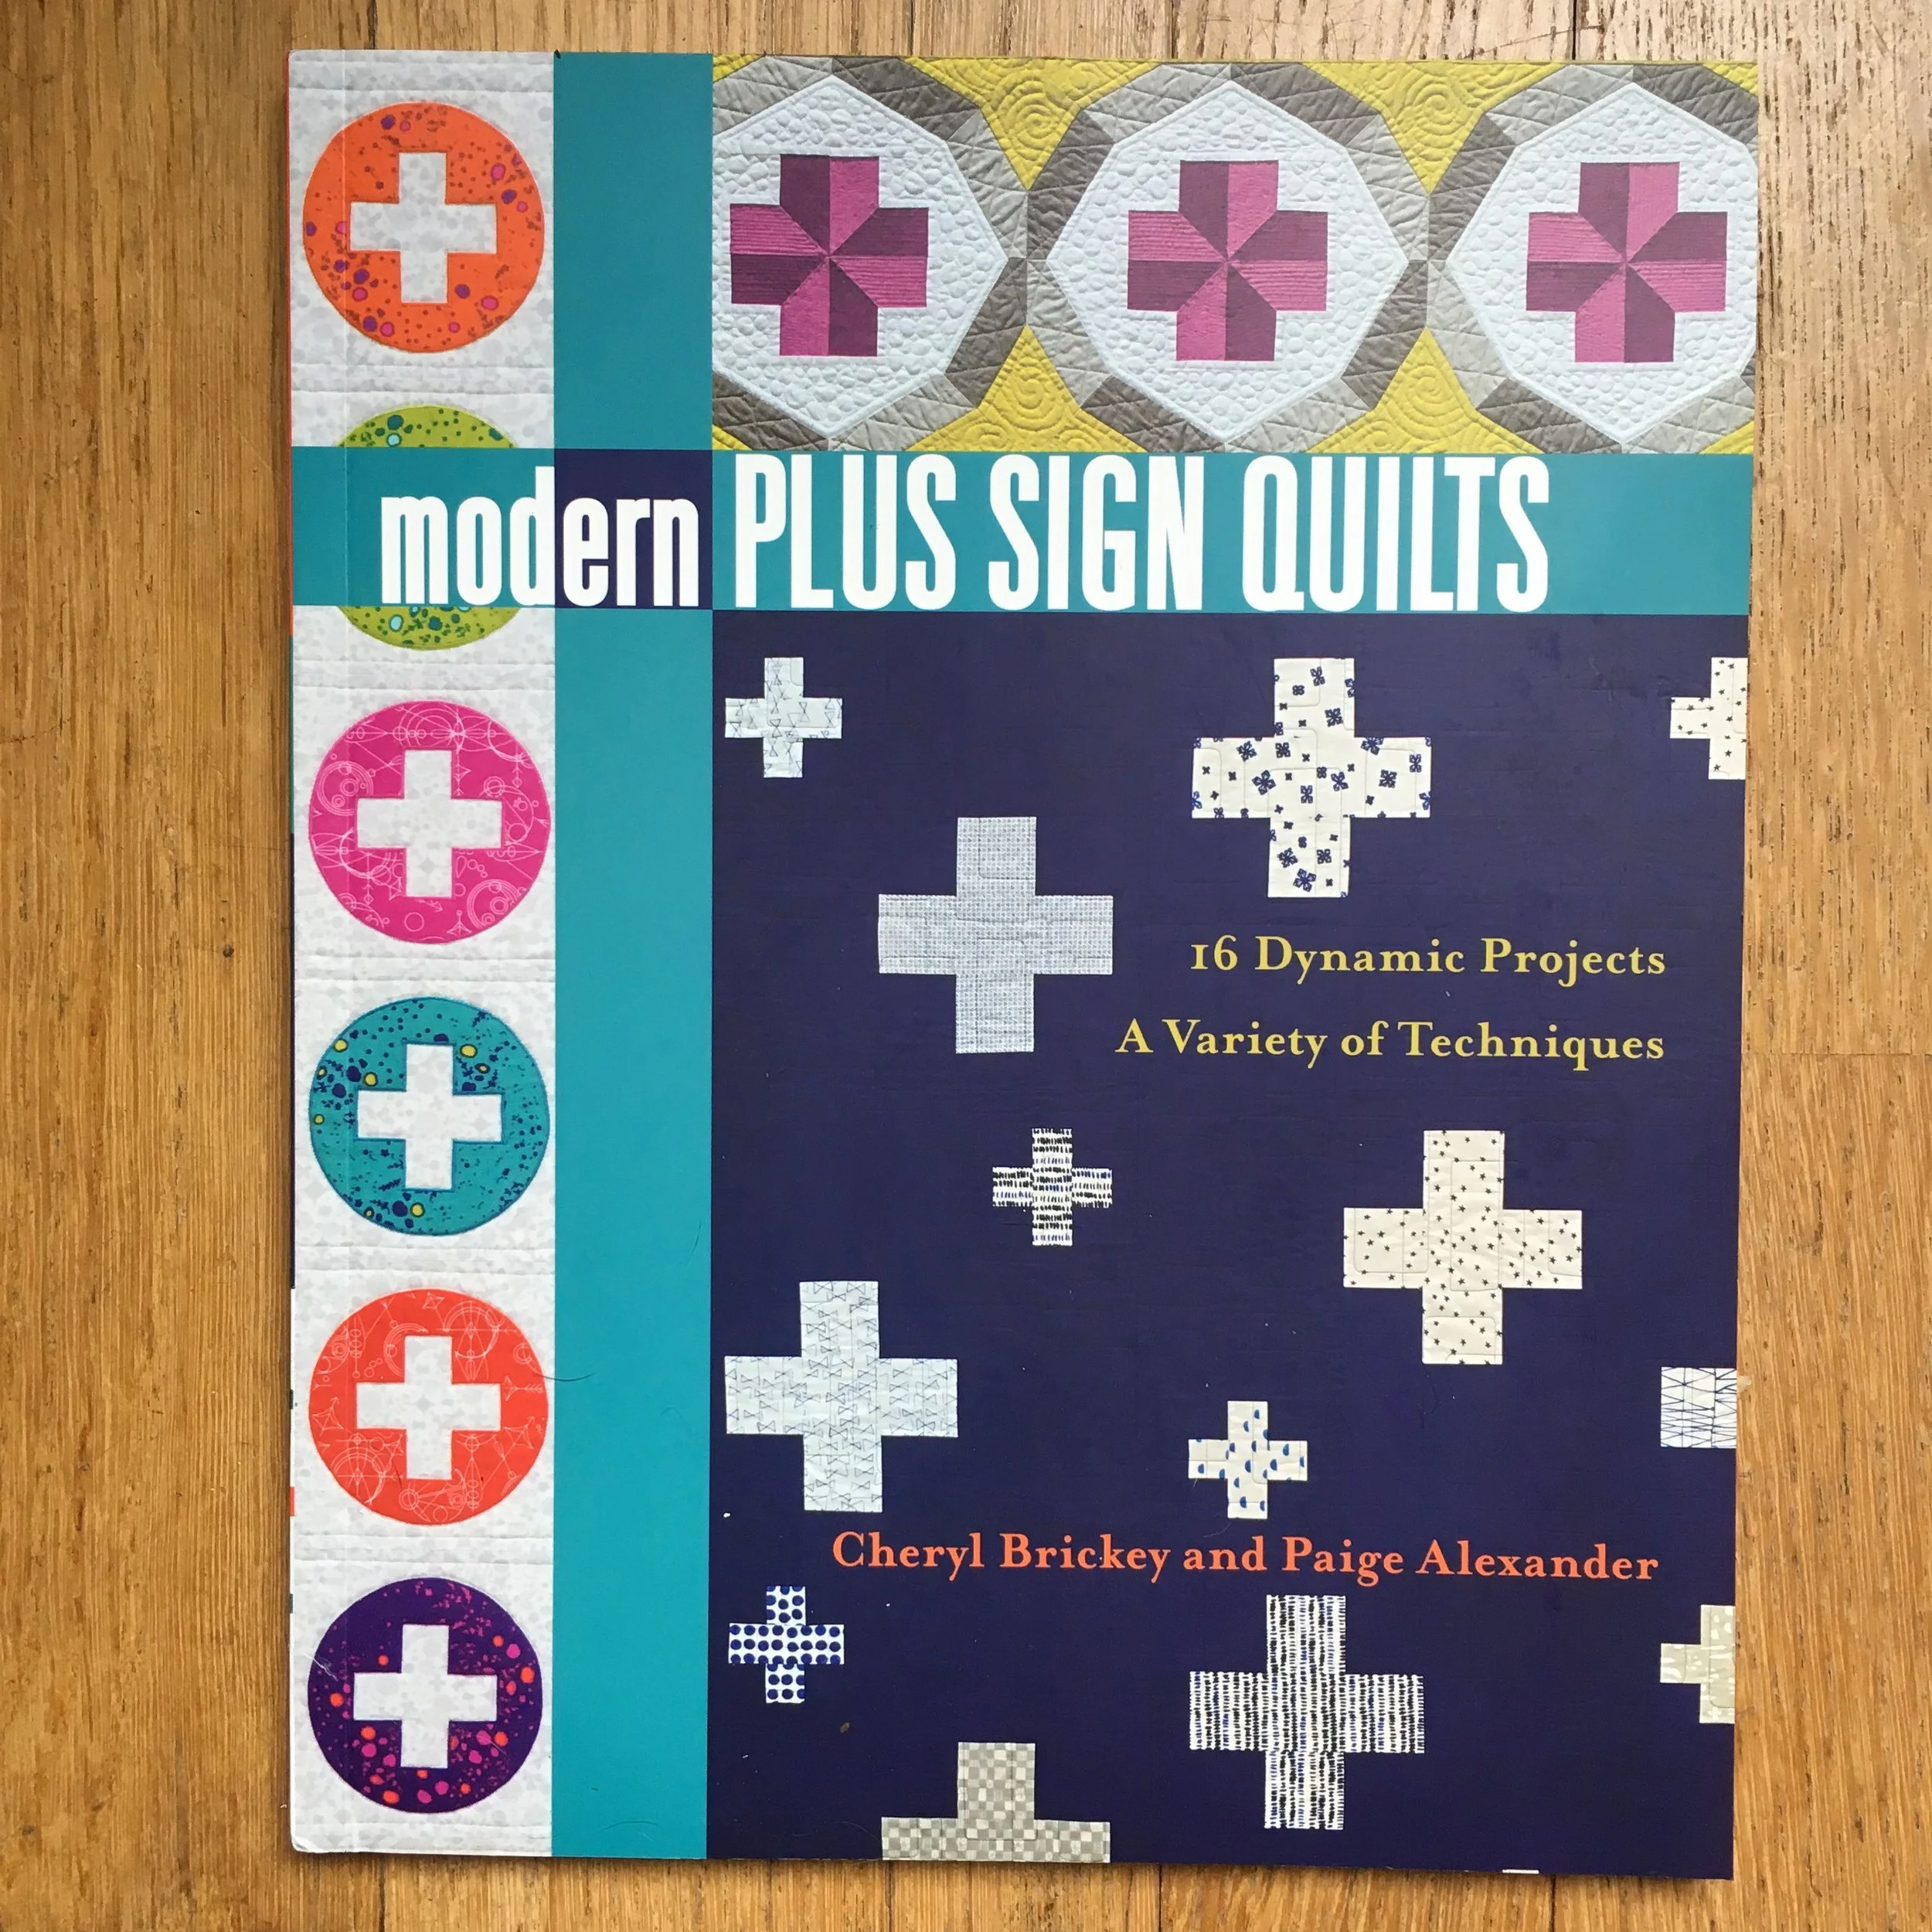
Electric Quilt has a blog that intermittently has hands-on lessons for using their revised program Electric Quilt 8 (EQ8). The lesson posted on May 1, 2018 was exactly the tutorial I needed to design a quilt using the fabrics from last December's Yankee Swap...Custom Set Quilt!
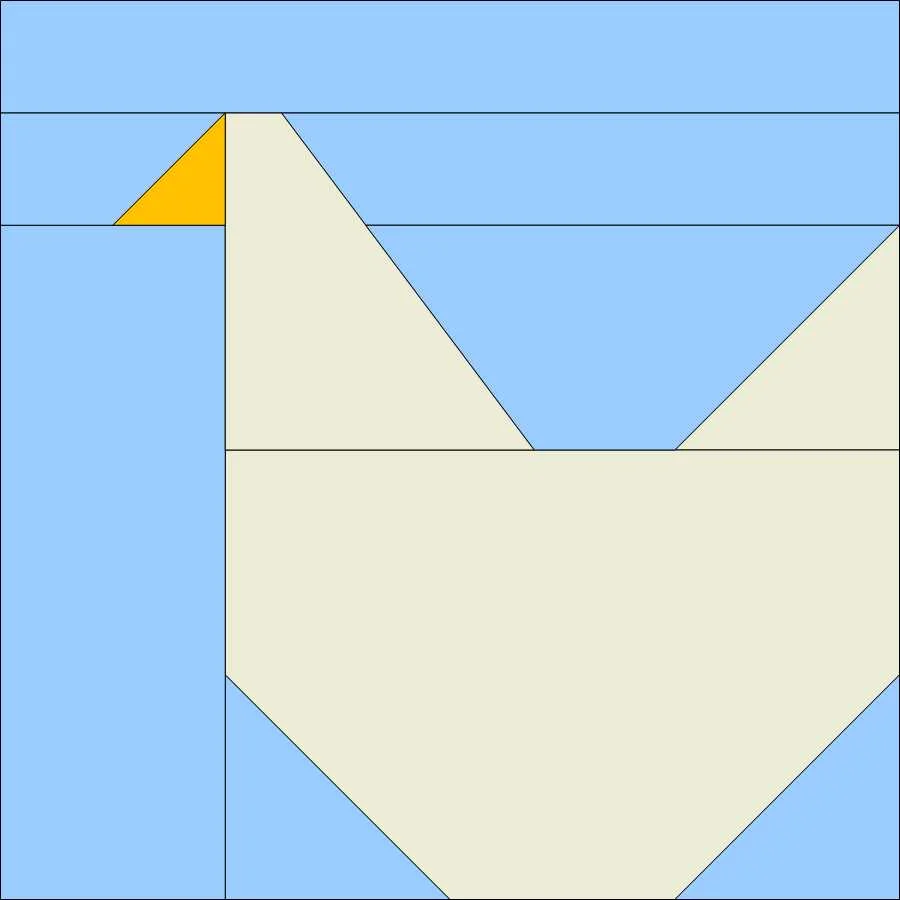
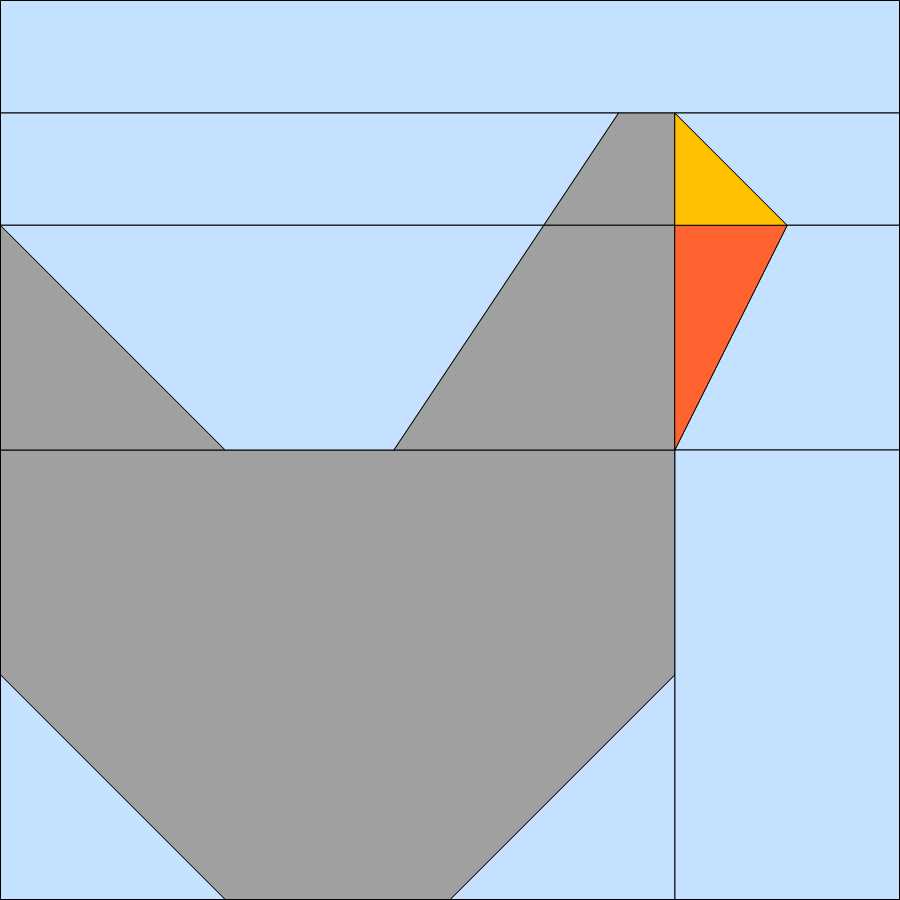
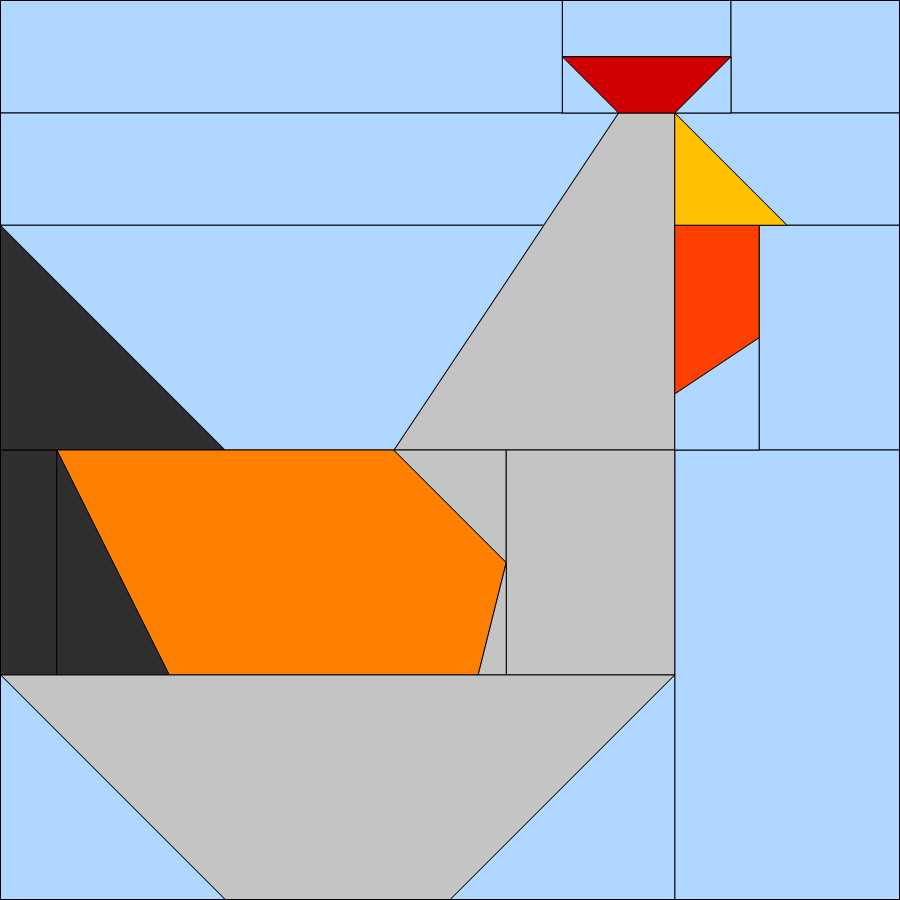
This lesson teaches how to created a quilt with blocks of different sizes. This allows you to create a template all your own. I've been puzzled how to do this in the past and have had only modest success trying to accomplish this. Mostly I've given up because I just couldn't get the blocks to set together happily.
The key turns out to be a "Plain Block" that is written into the program. It existence of the Plain Block not readily apparent. You really have to know it's available. I use EQ8 on my iMac. The drop down list with the Plain Block can be found by clicking on three light grey dots "..." in the bar over the blocks from the Block library. (I gather that this drop down list appears in Windows when you click on an empty space between blocks the block tool bar).
One of the choices in the drop down list is "add plain block". This adds a plain square to the blocks you can choose from. Once dropped on the quilt it can be moved around and changed to any size using the "adjust" button. When you have a block you like, you can copy and paste it as many times as you wish. Just brilliant...once you know how. My design problems now have a very easy solution!
If you have EQ8 and are interested in designing quilts with custom set blocks, I highly recommend clicking on the link above and working through the tutorial. It's lots of fun and well worth the time.
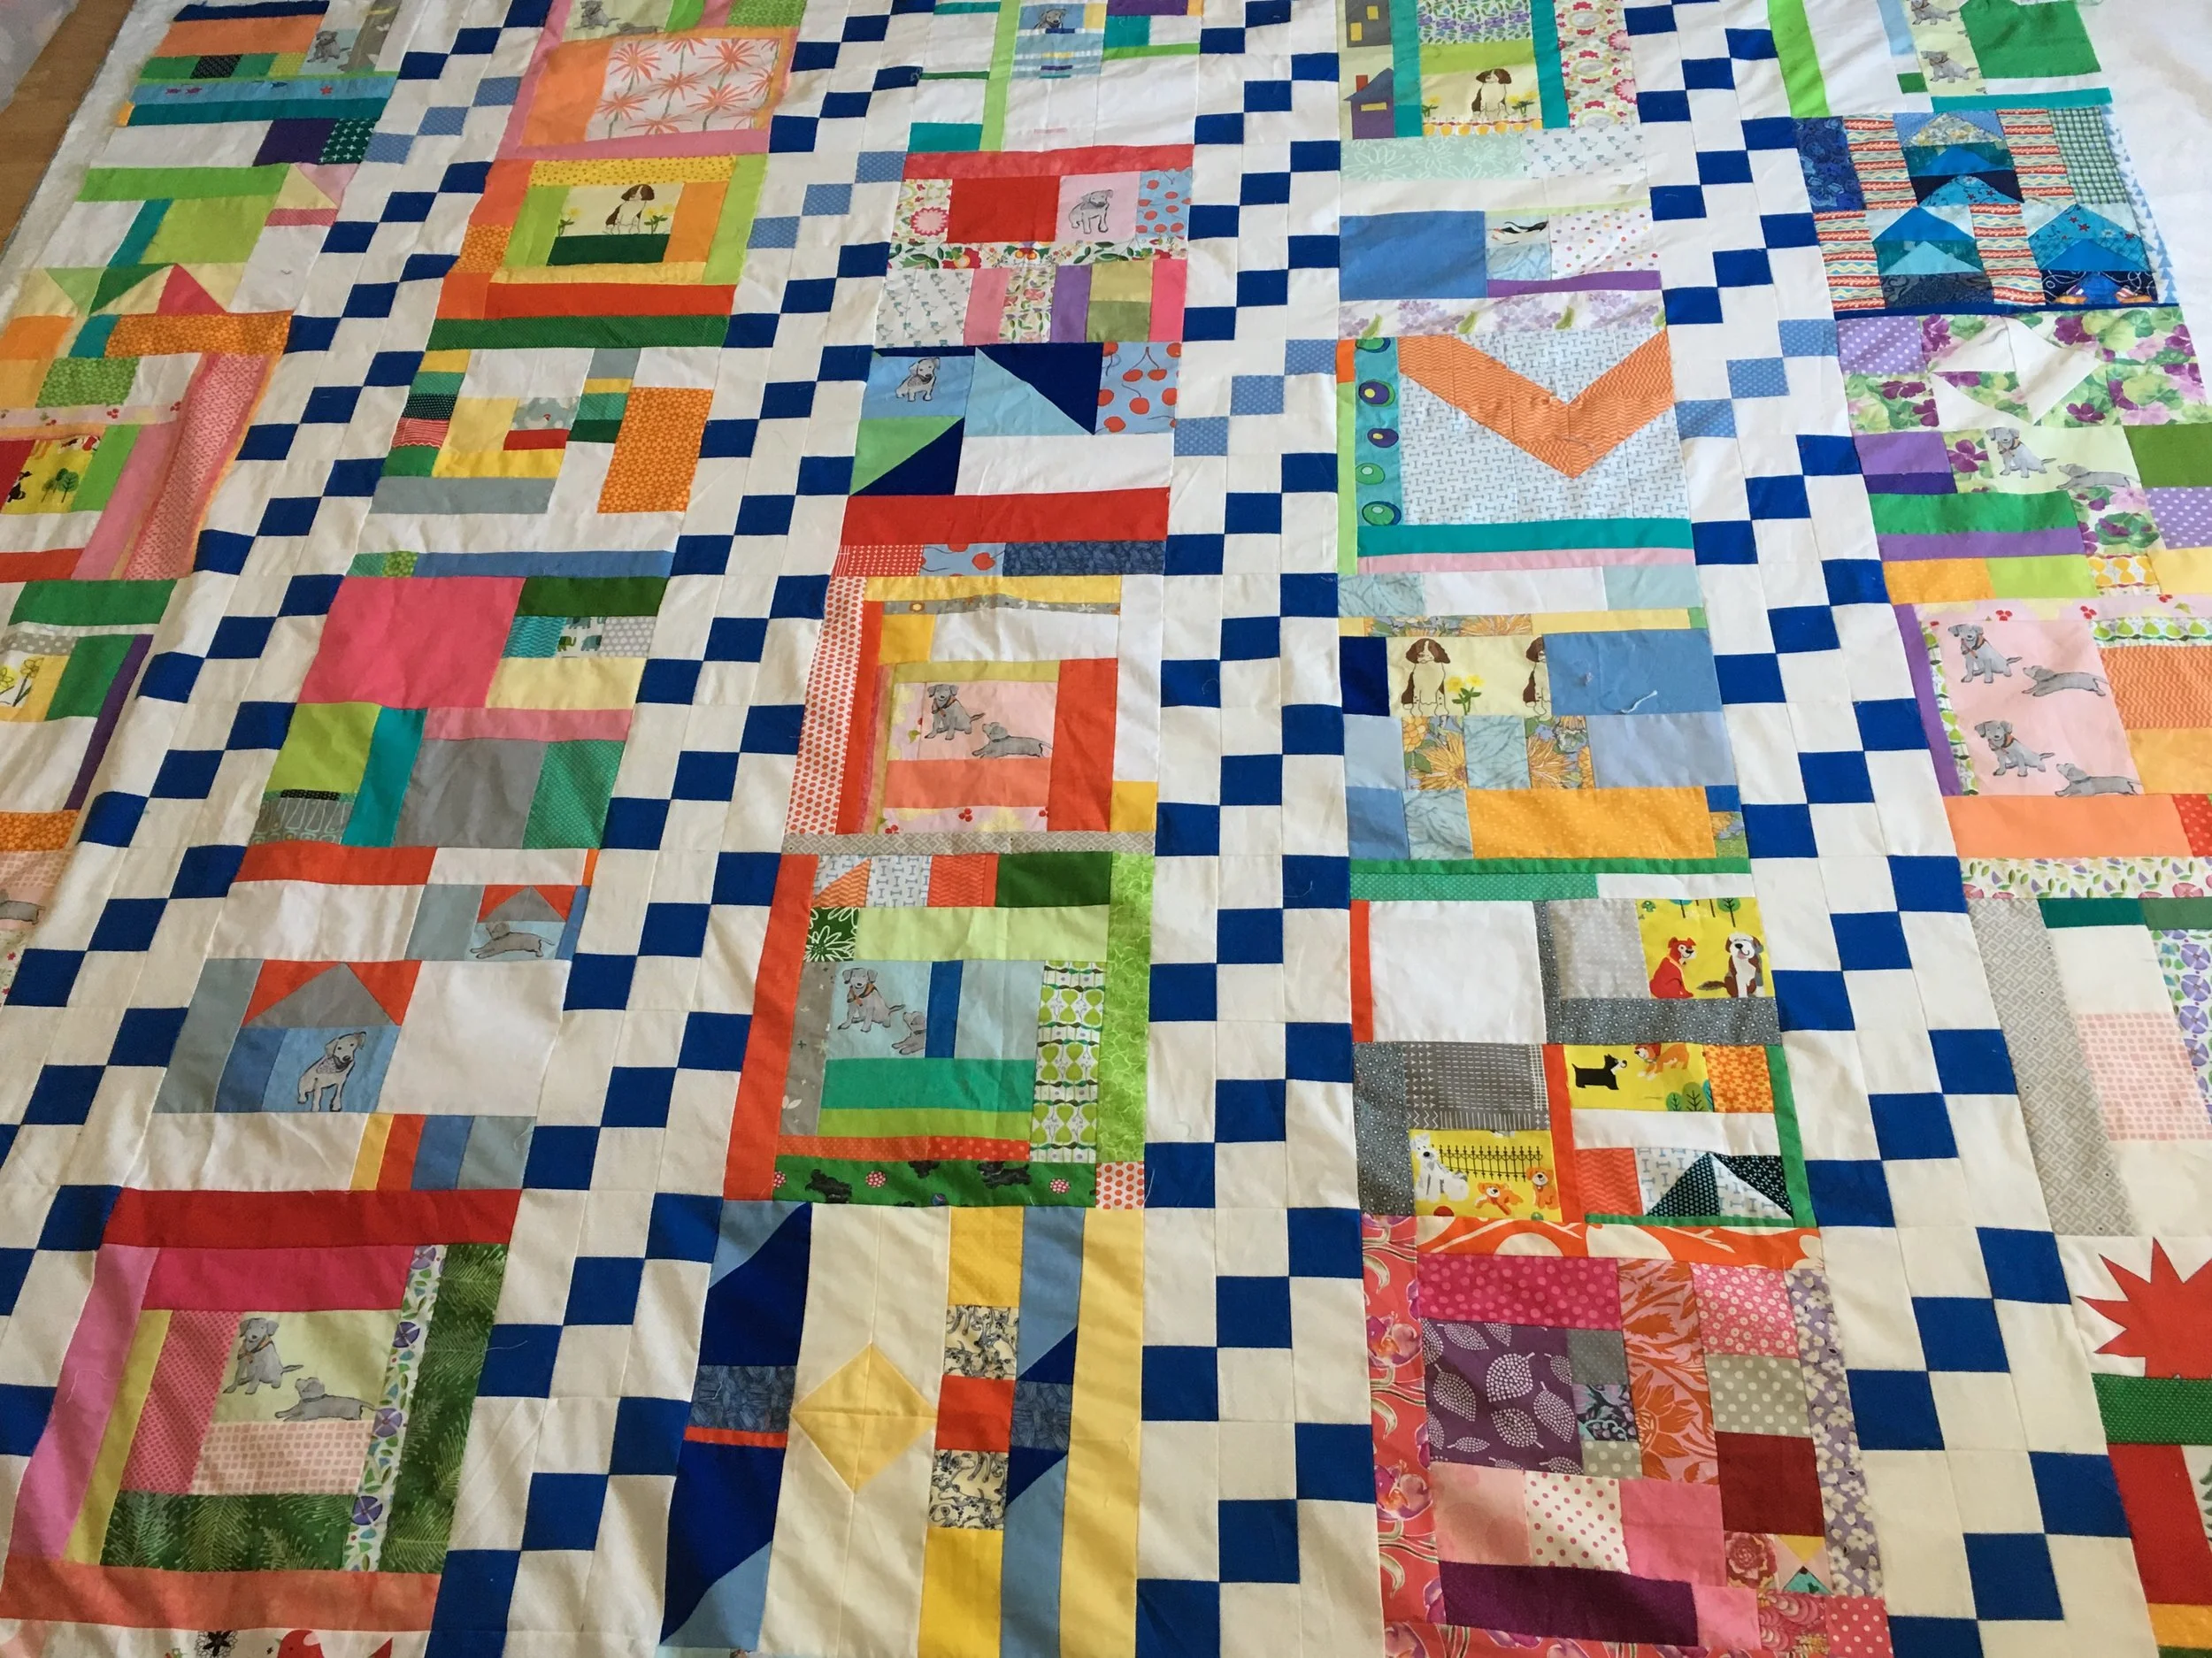
I designed the quilt above working through the Custom Set Quilt tutorial.
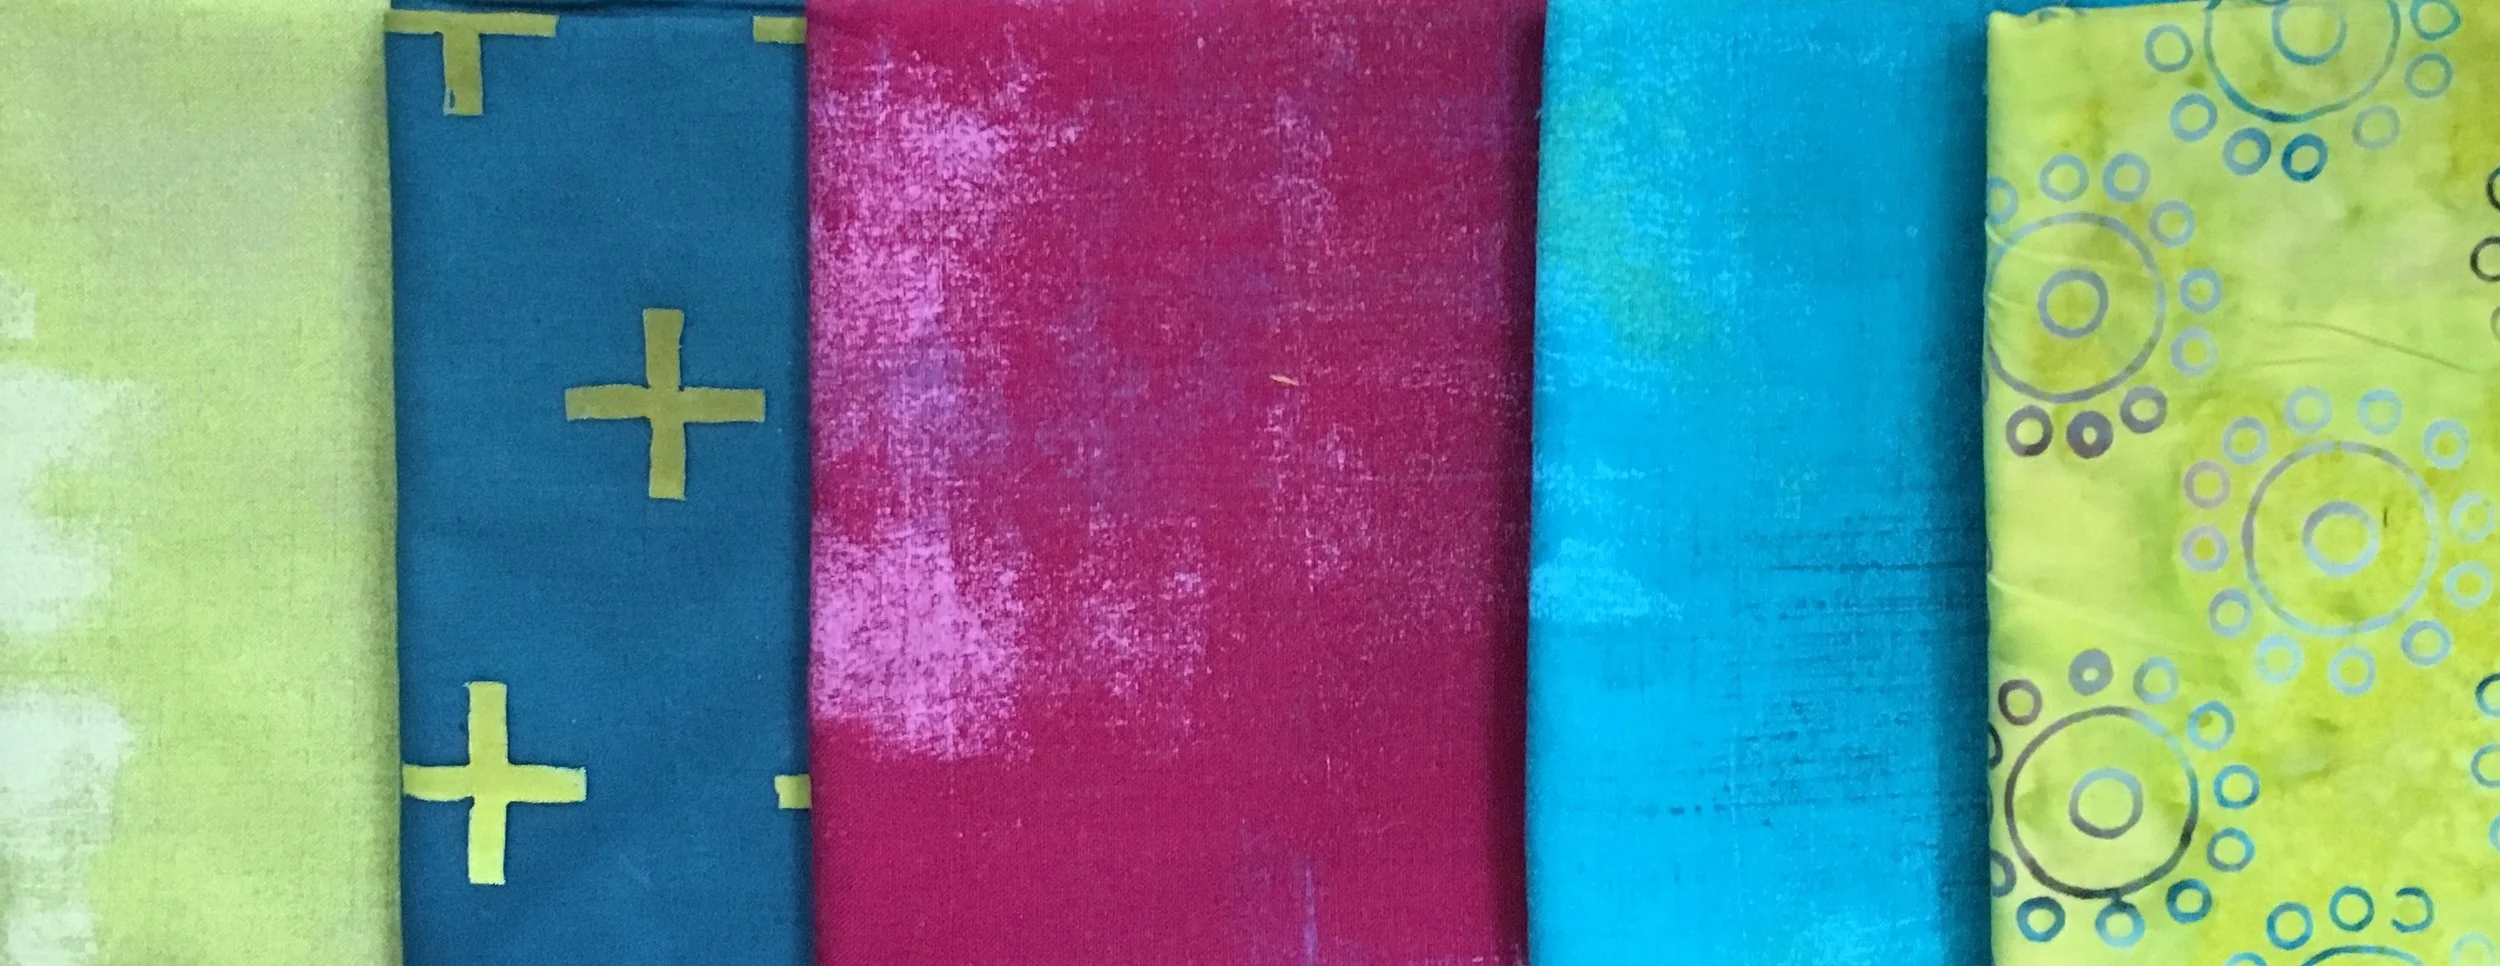
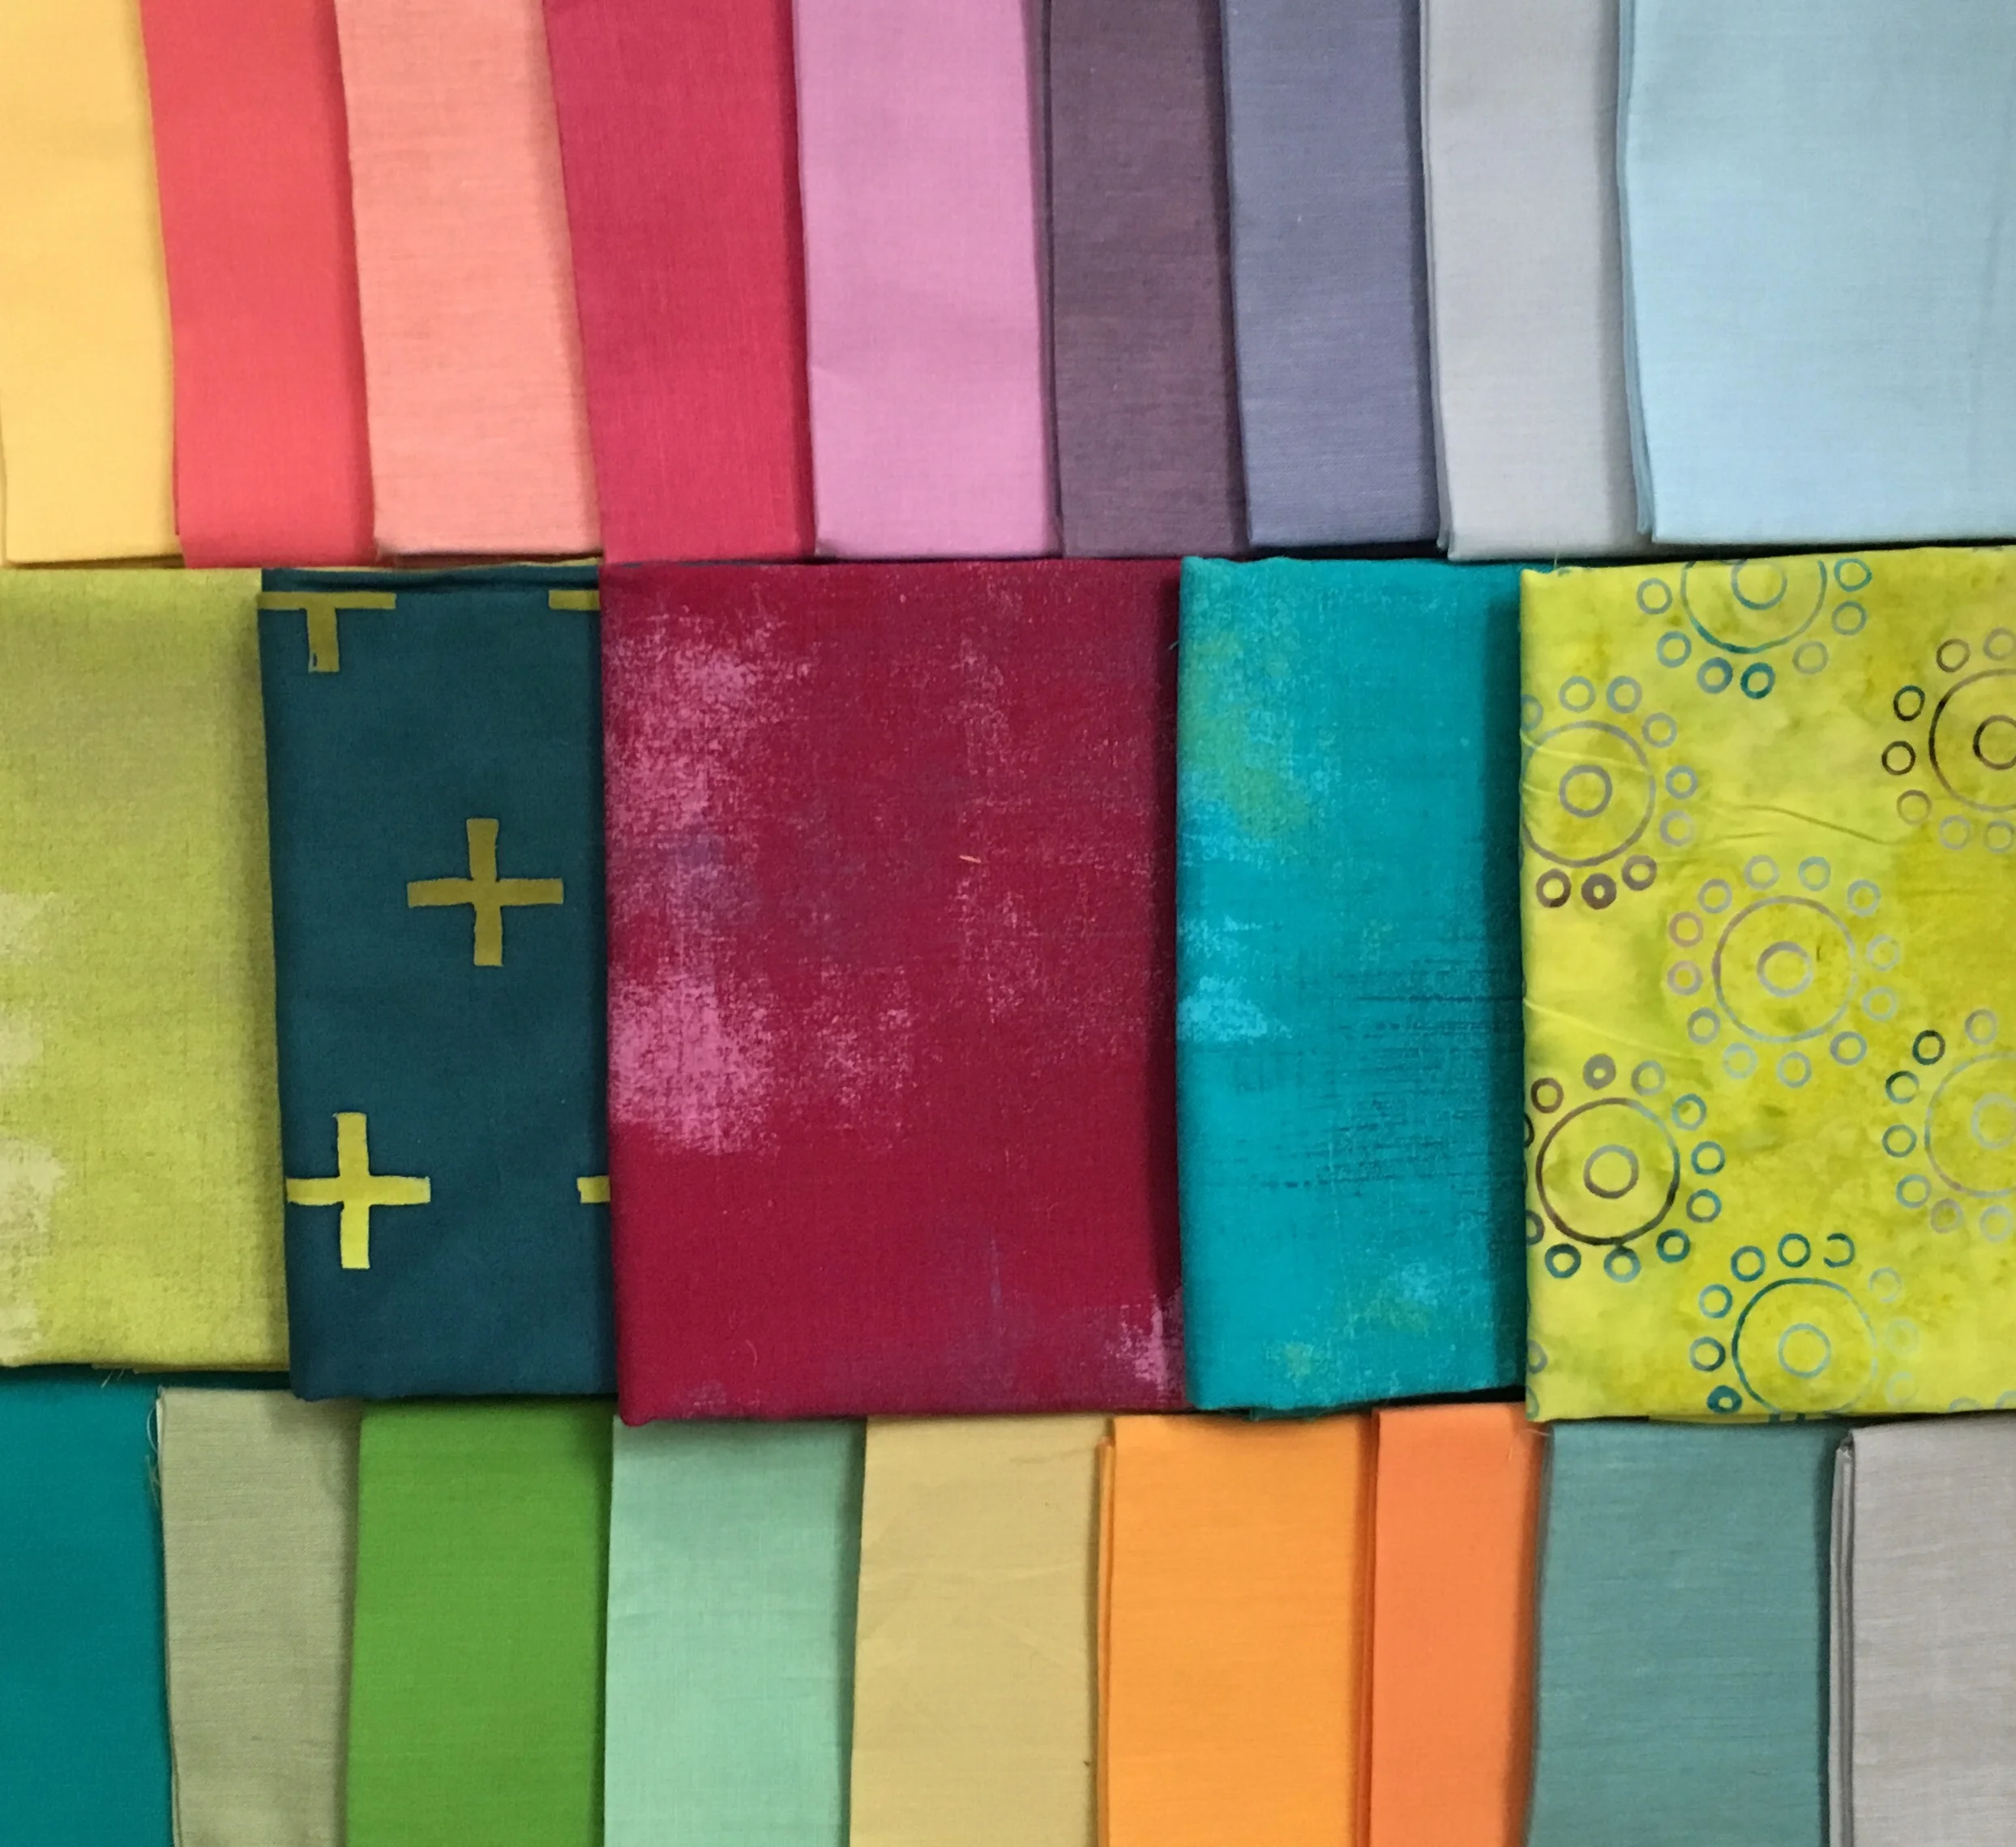
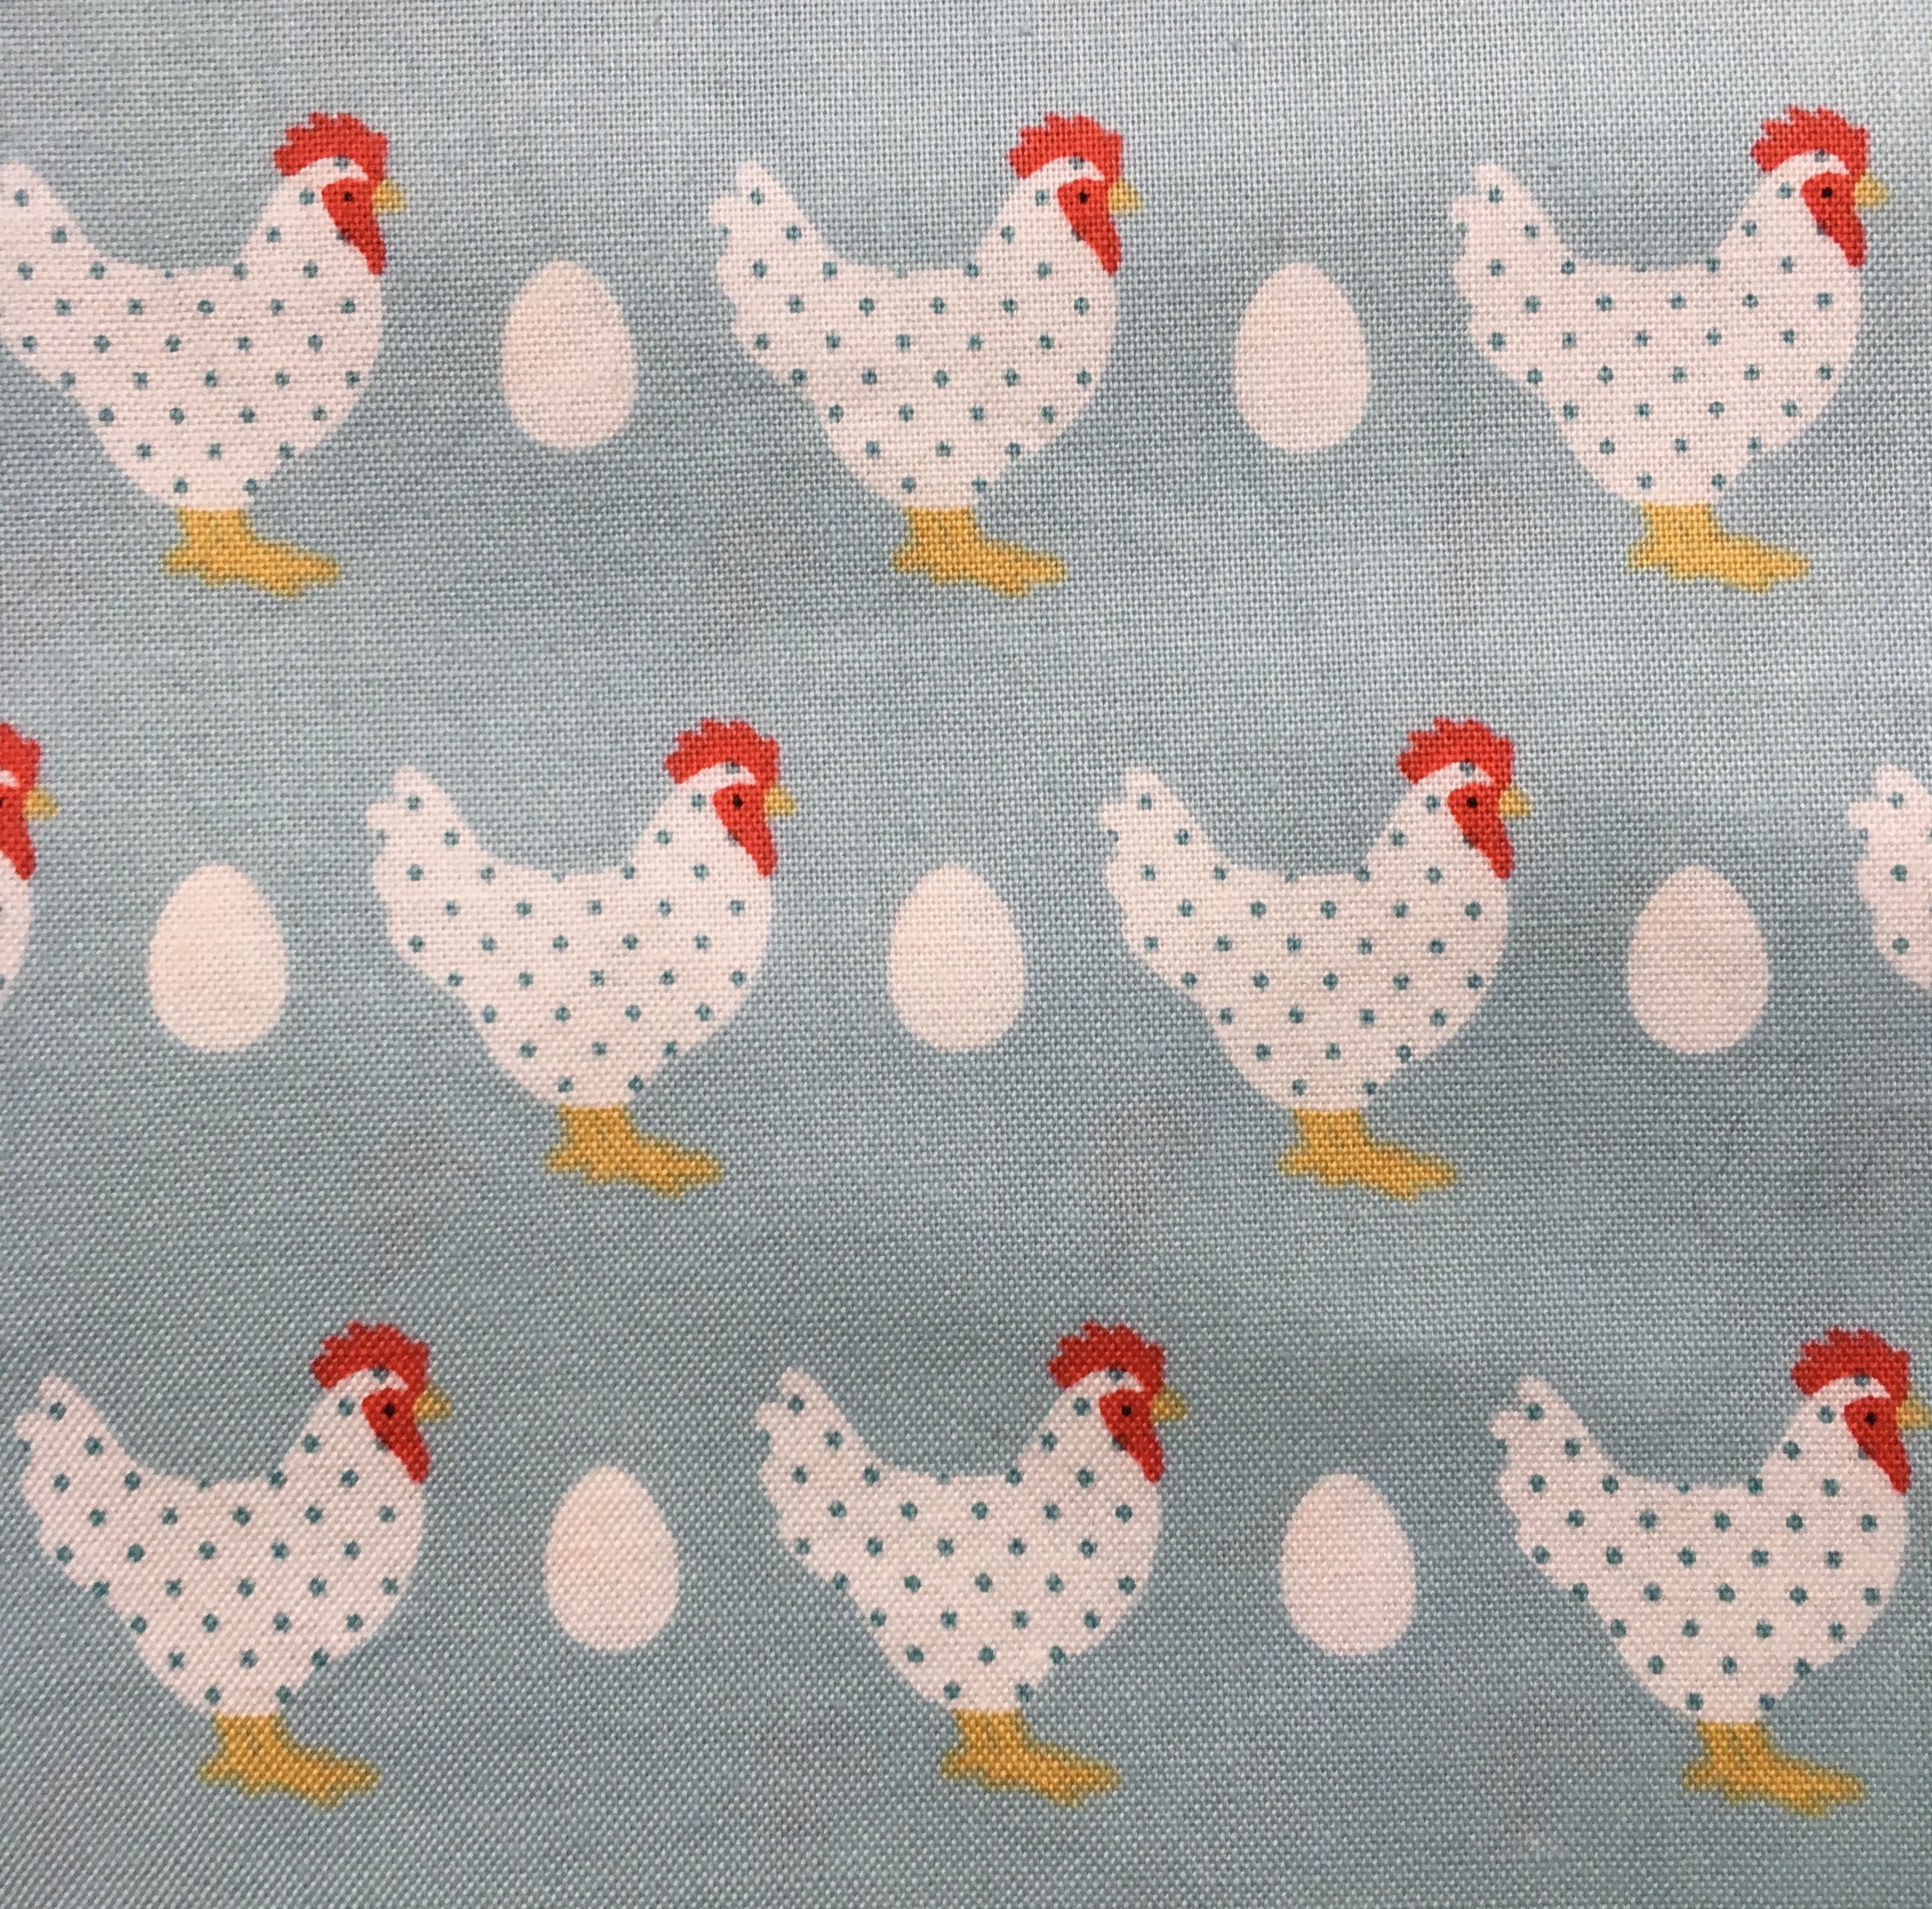
Having worked through the tutorial, I now have the necessary skills to design a quilt that will use the Yankee Swap fabrics I showed in my last post on May 31, 2018. I'll show that quilt design in my post next week
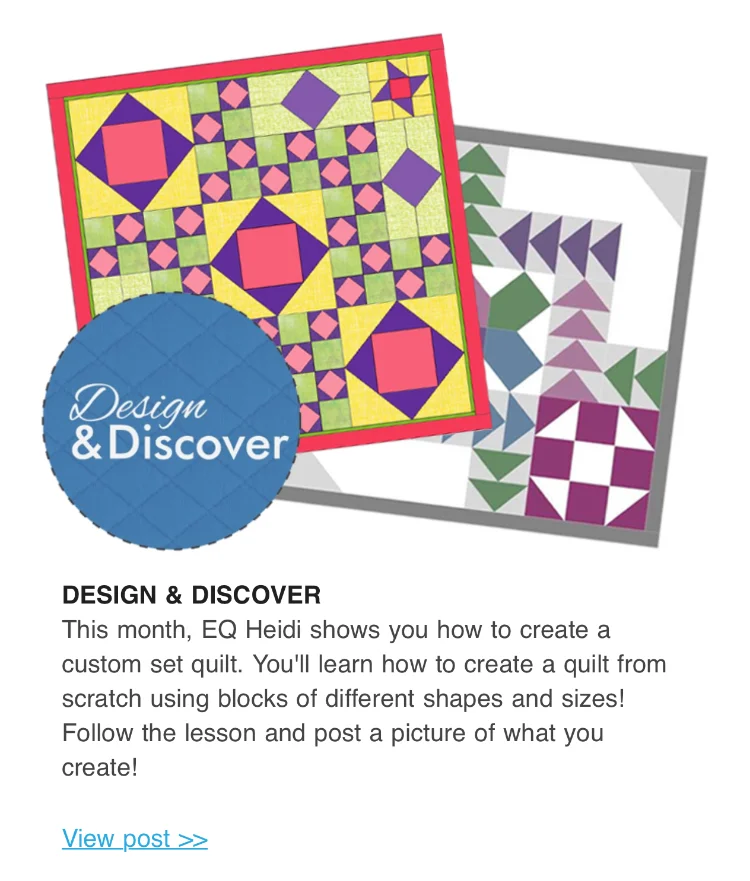
PS: I did this tutorial in May. Look what popped up on the May 13, 2018 Electric Quilt Newsletter! It was fun to find my project quilt highlighted. I had shared this photo at the end of the lesson on their website. I don't have any business/financial ties to Electric Quilt--clearly they liked what I designed so they shared in their newsletter. (The link in the photo below isn't active. But it is the same as the link in the first paragraph above).