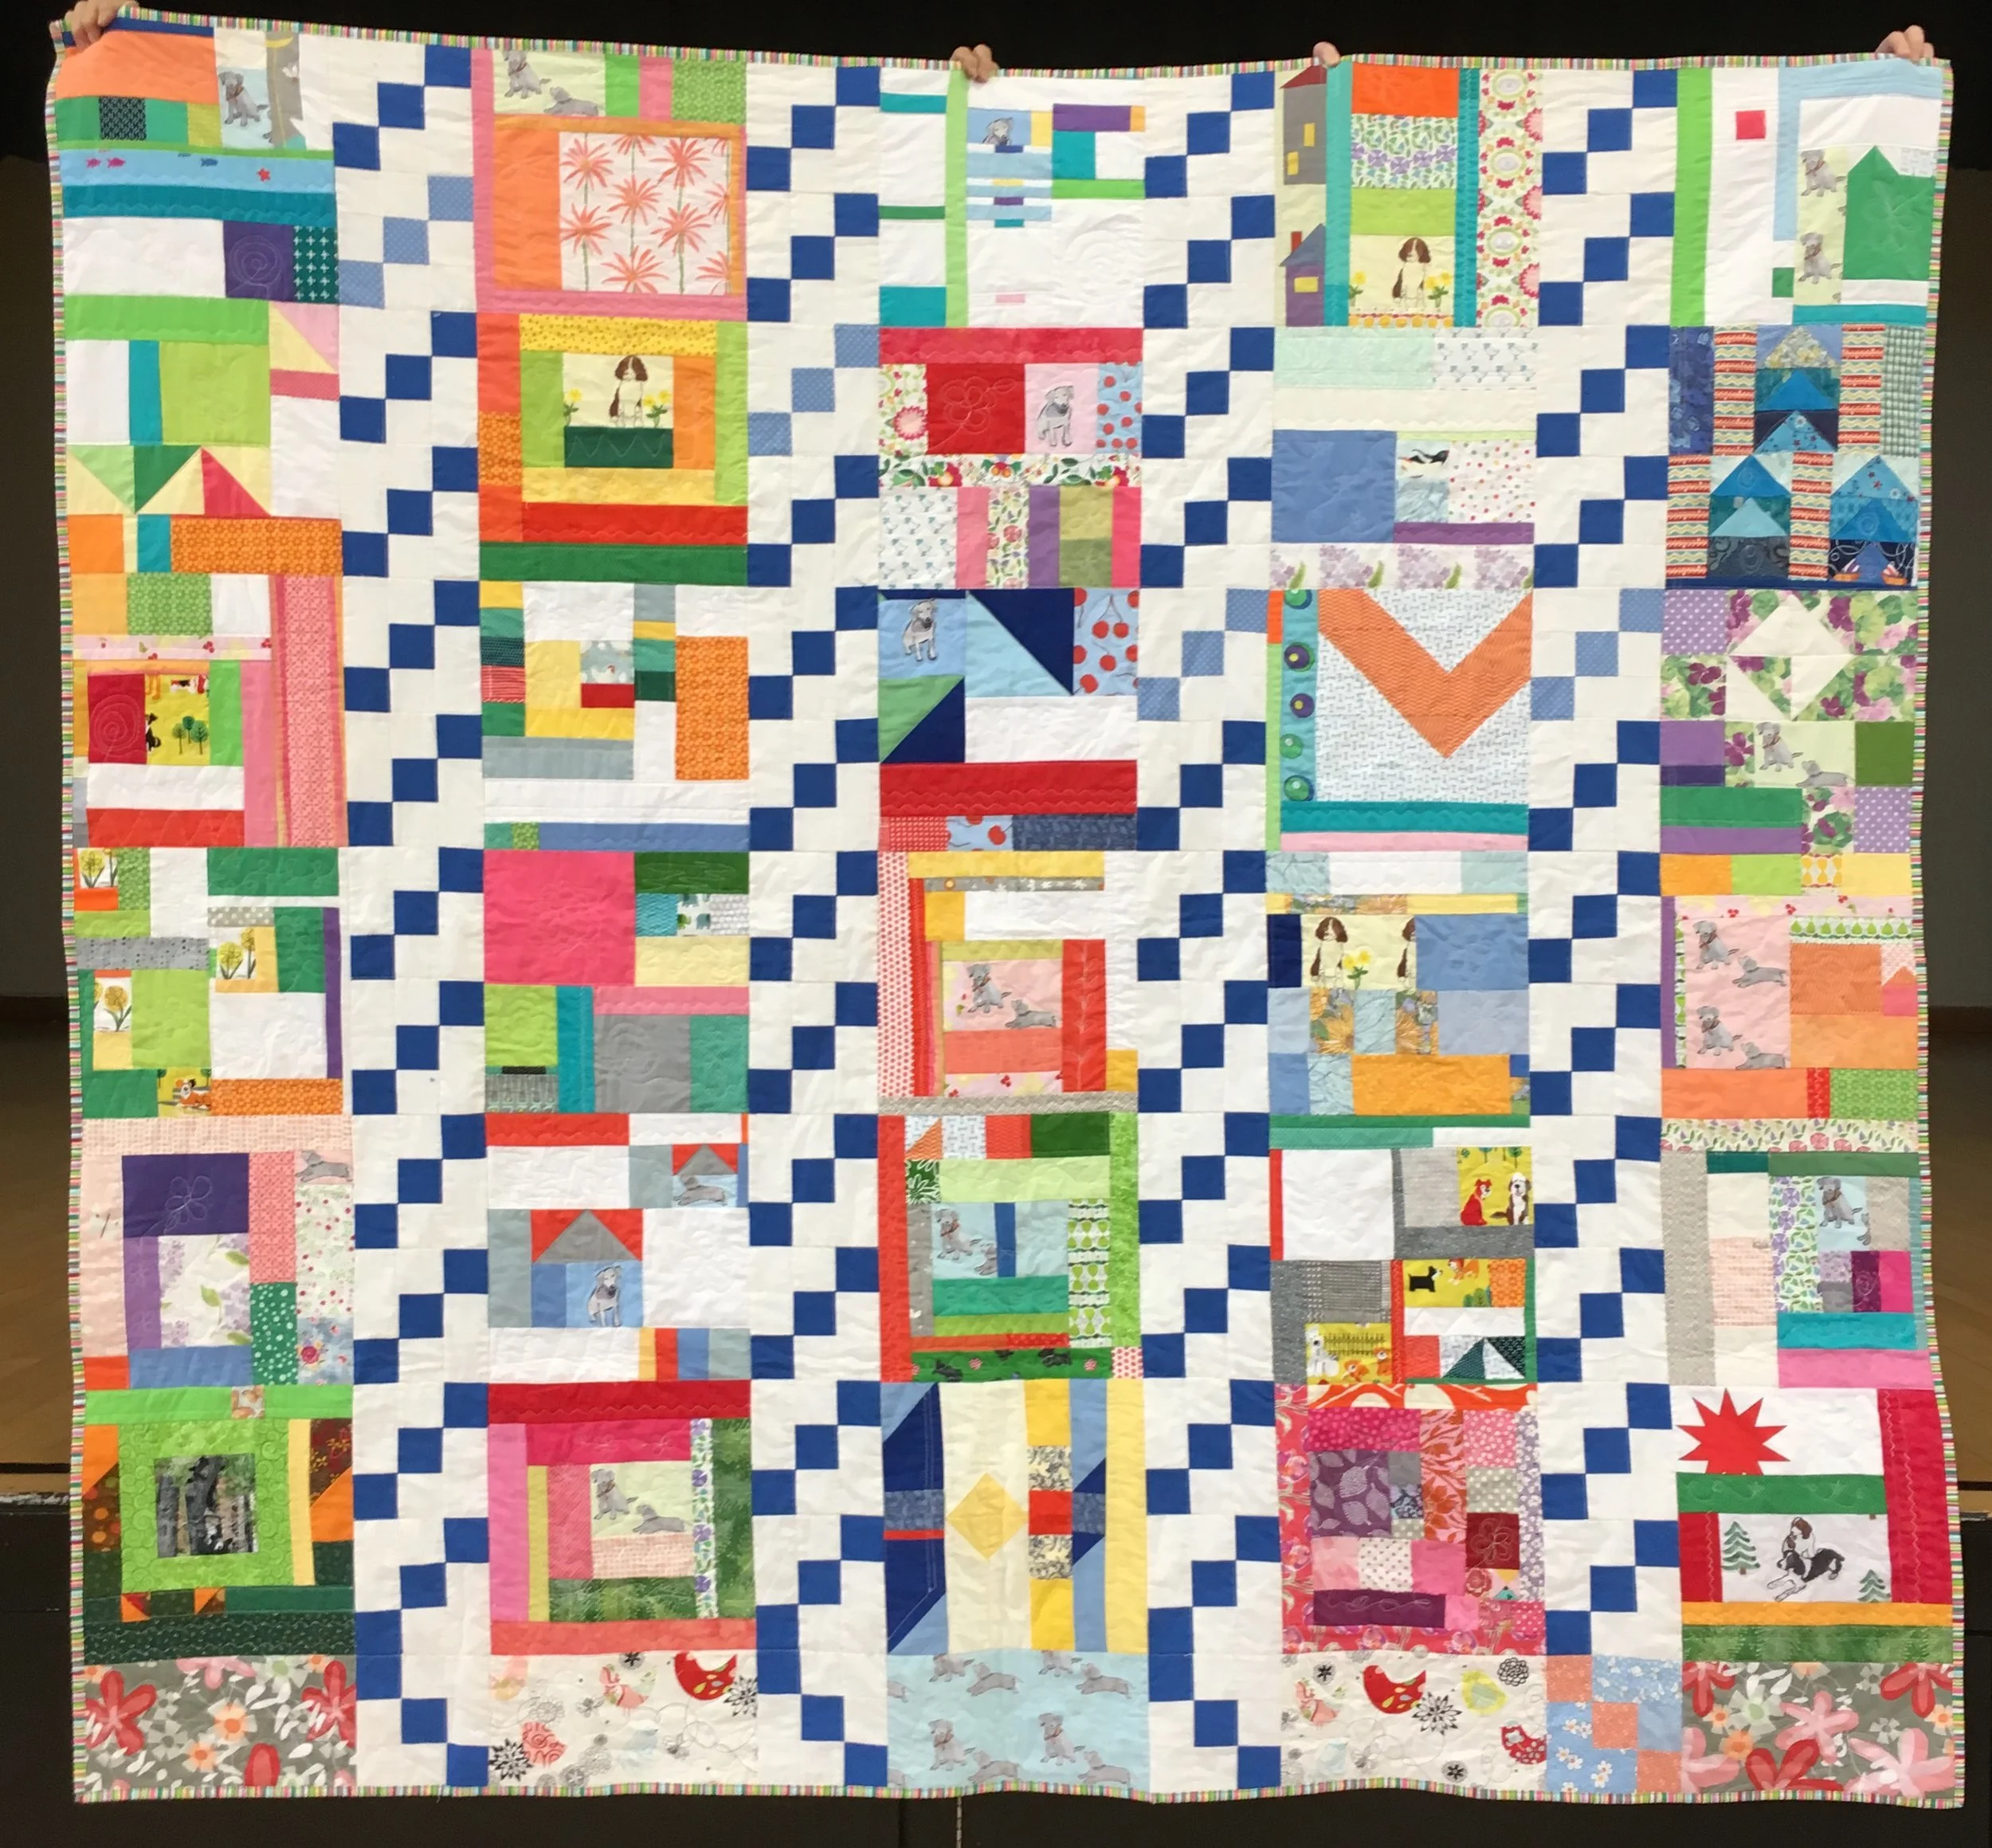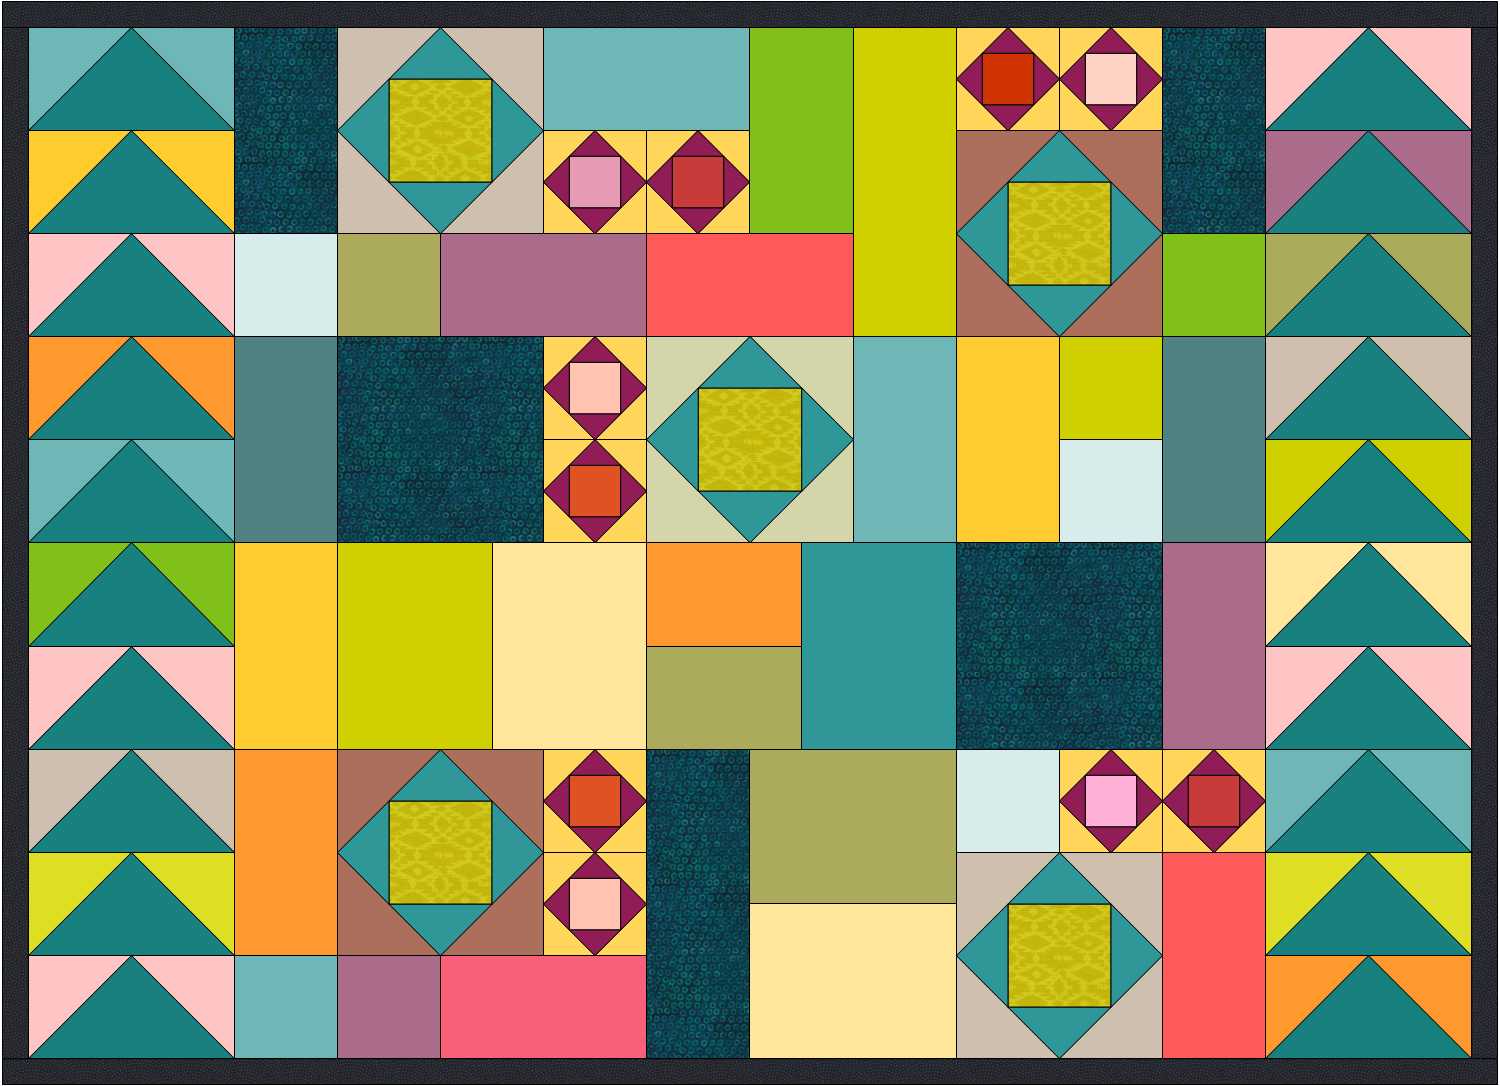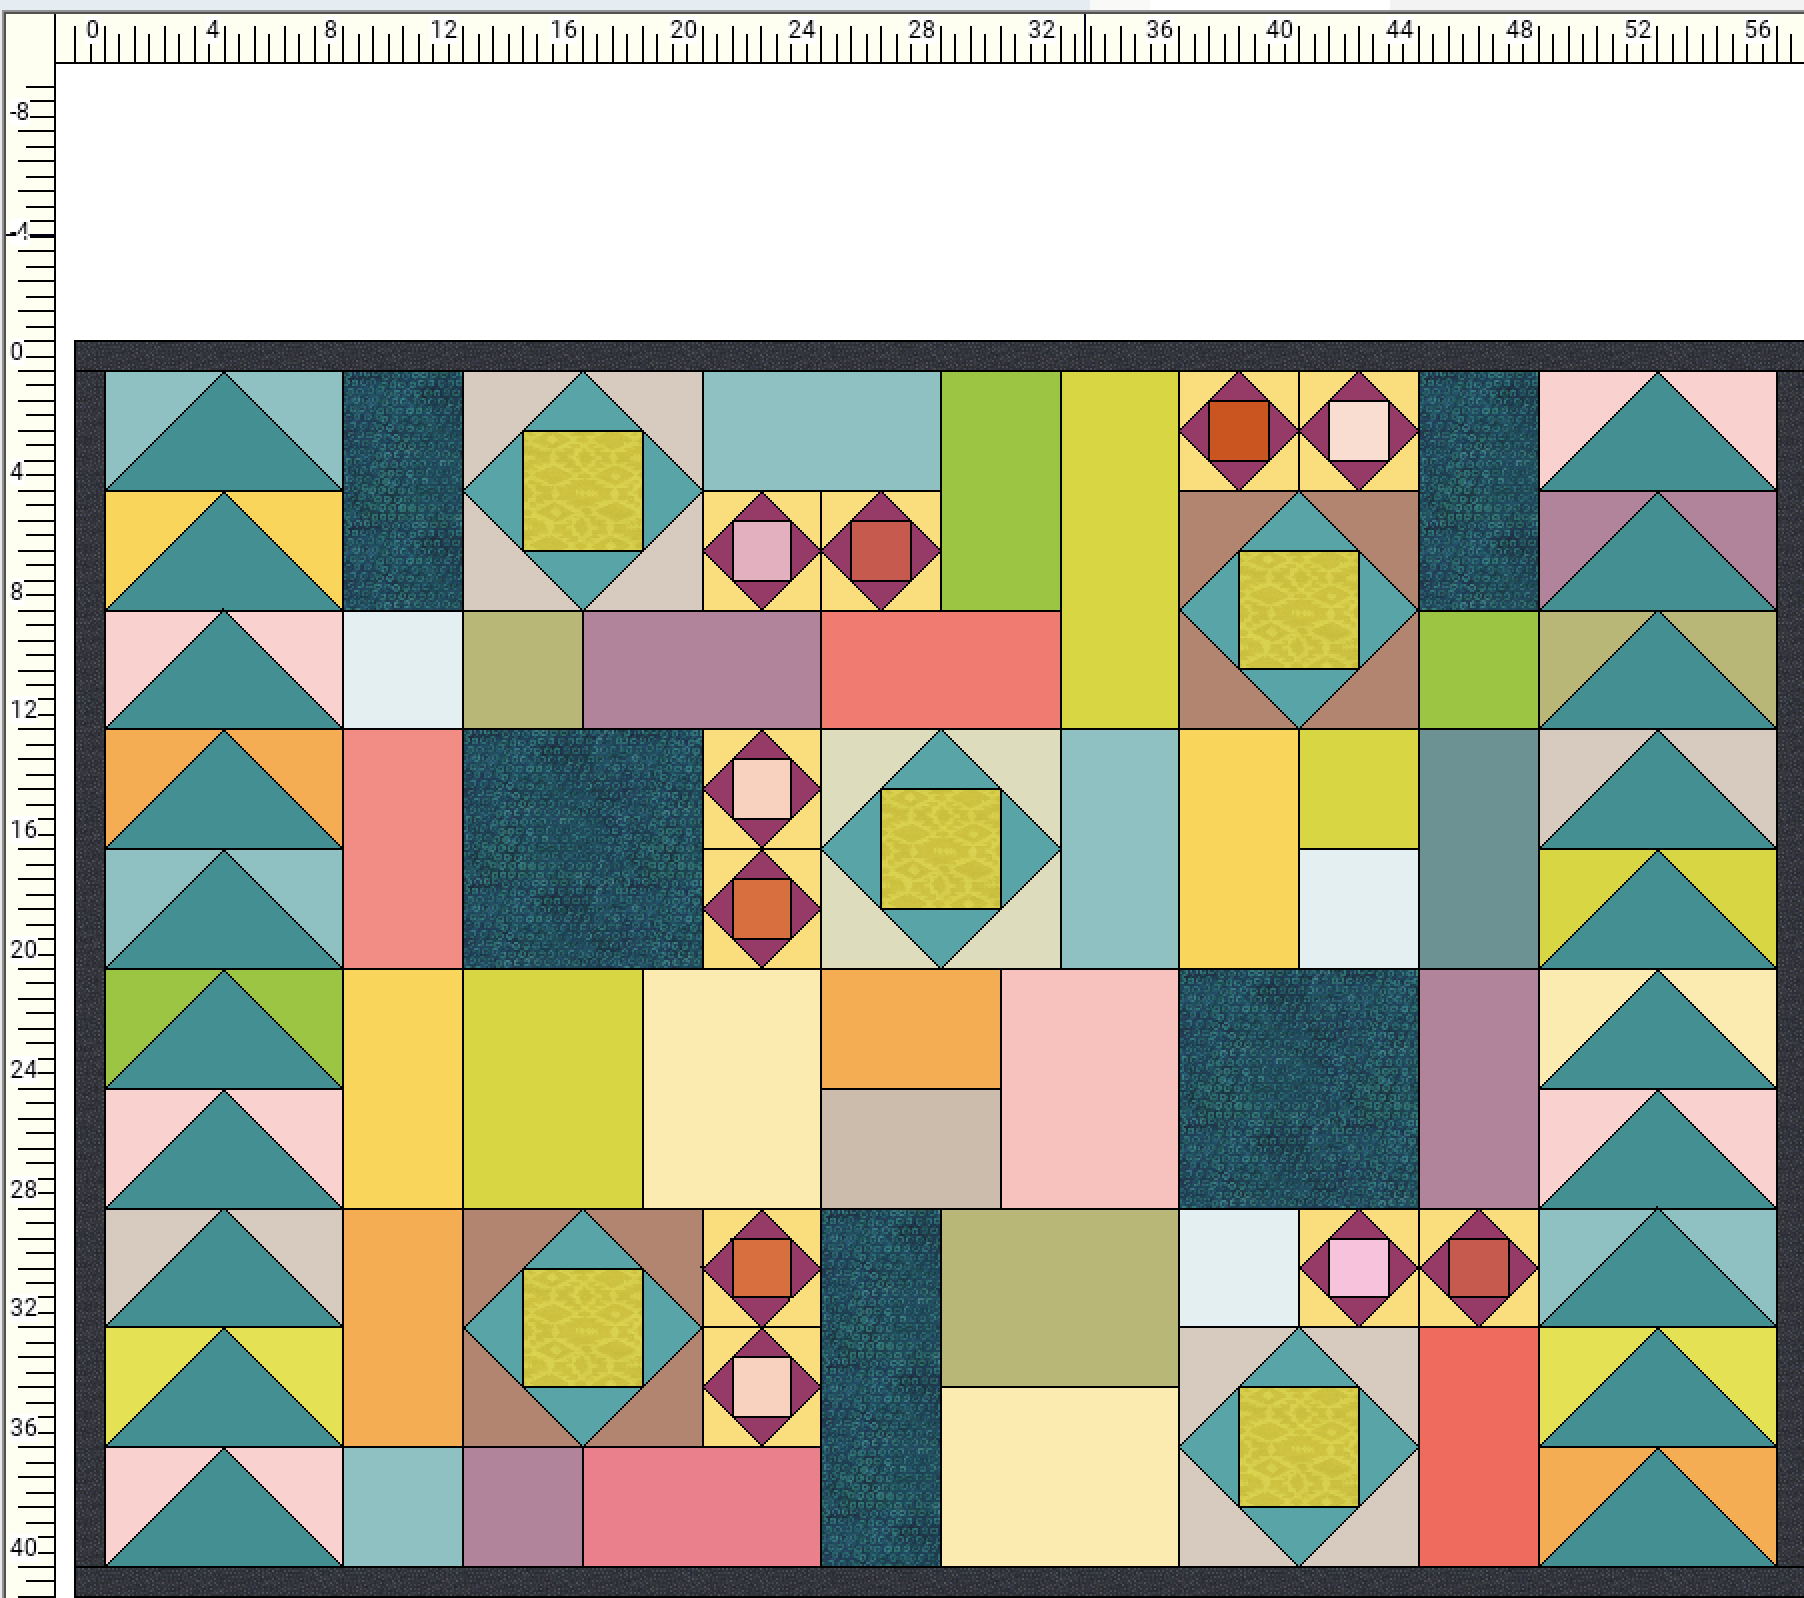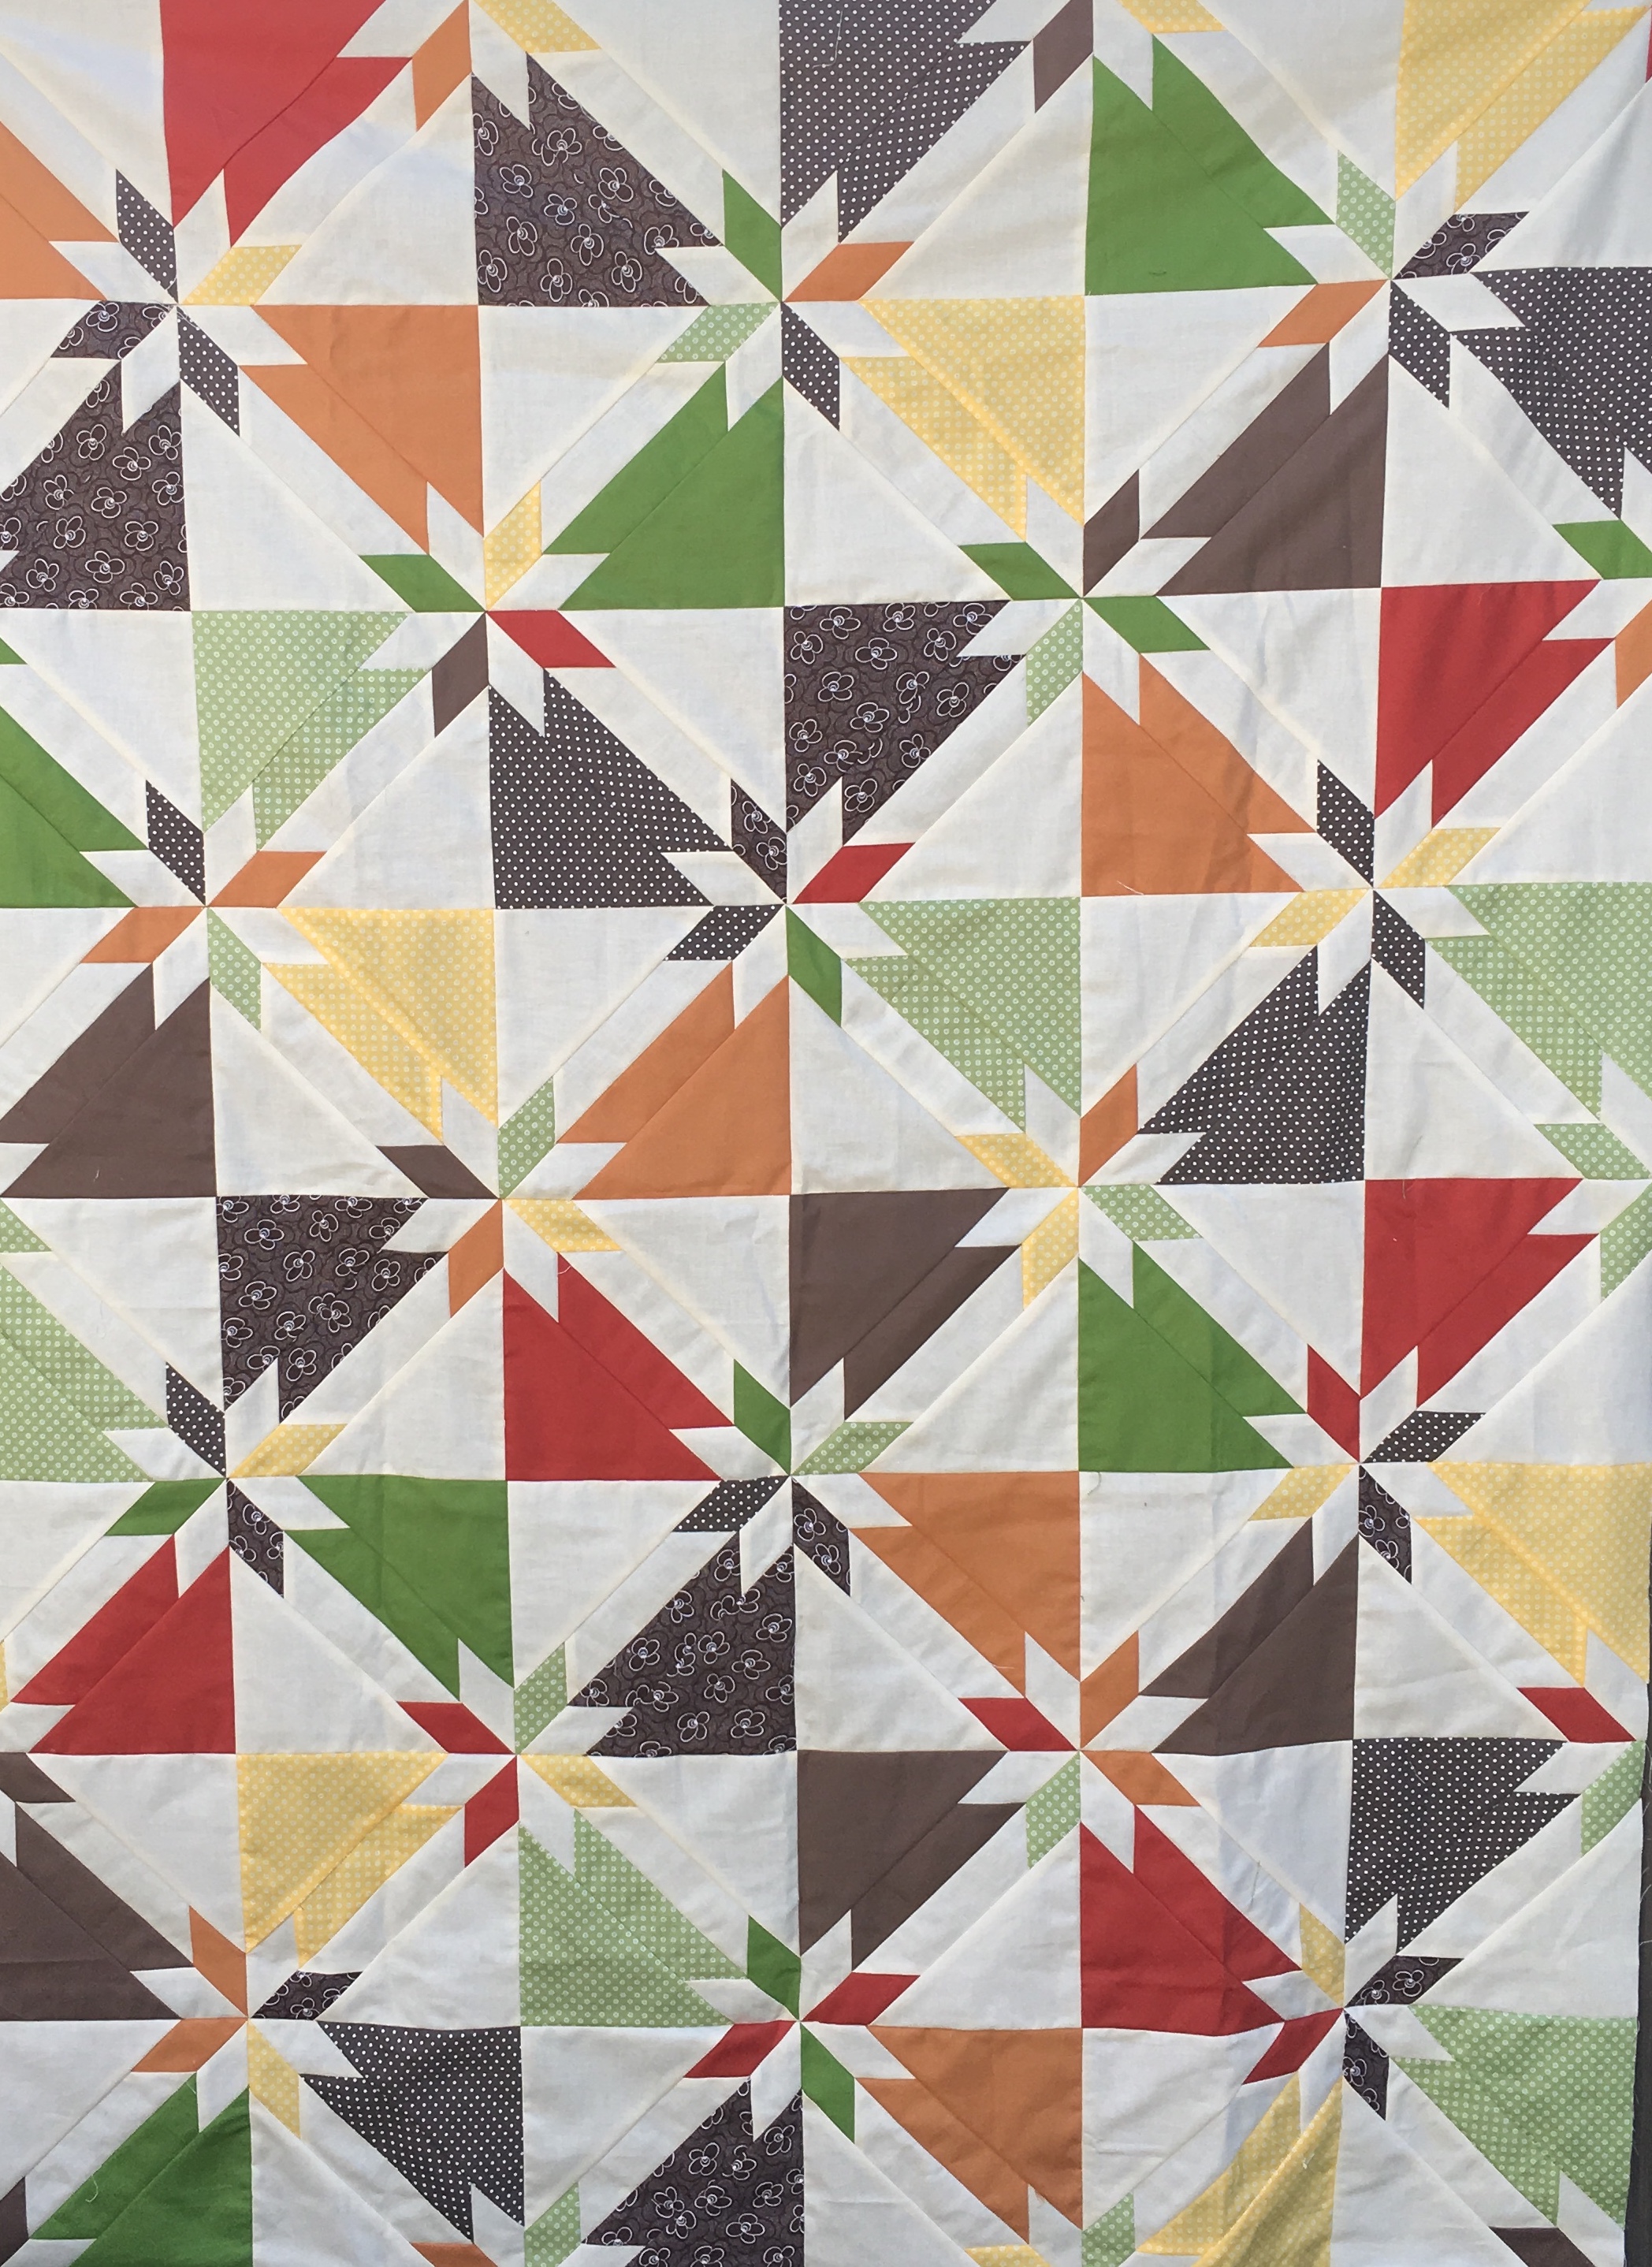
Hunter's Star quilt top in an assortment of fall colors
It's unusual for me to go to quilt classes. I generally like to work things out by myself. But I am so glad I decided to take a class offered by my Guild and taught by Kathie Beltz! It was a Hunter's Star class (that's the quilt pattern above) using the Rapid Fire Hunter's Star Tool created by Deb Tucker (no relation).
I ordered the tool ahead of time. Looking at the instructions, I knew going to a class was the right decision! The instructions look a lot more complicated than they actually are. Kathie Beltz did a great job teaching our class how to use the tool. If you get I chance to attend one of her classes, I highly recommend her!
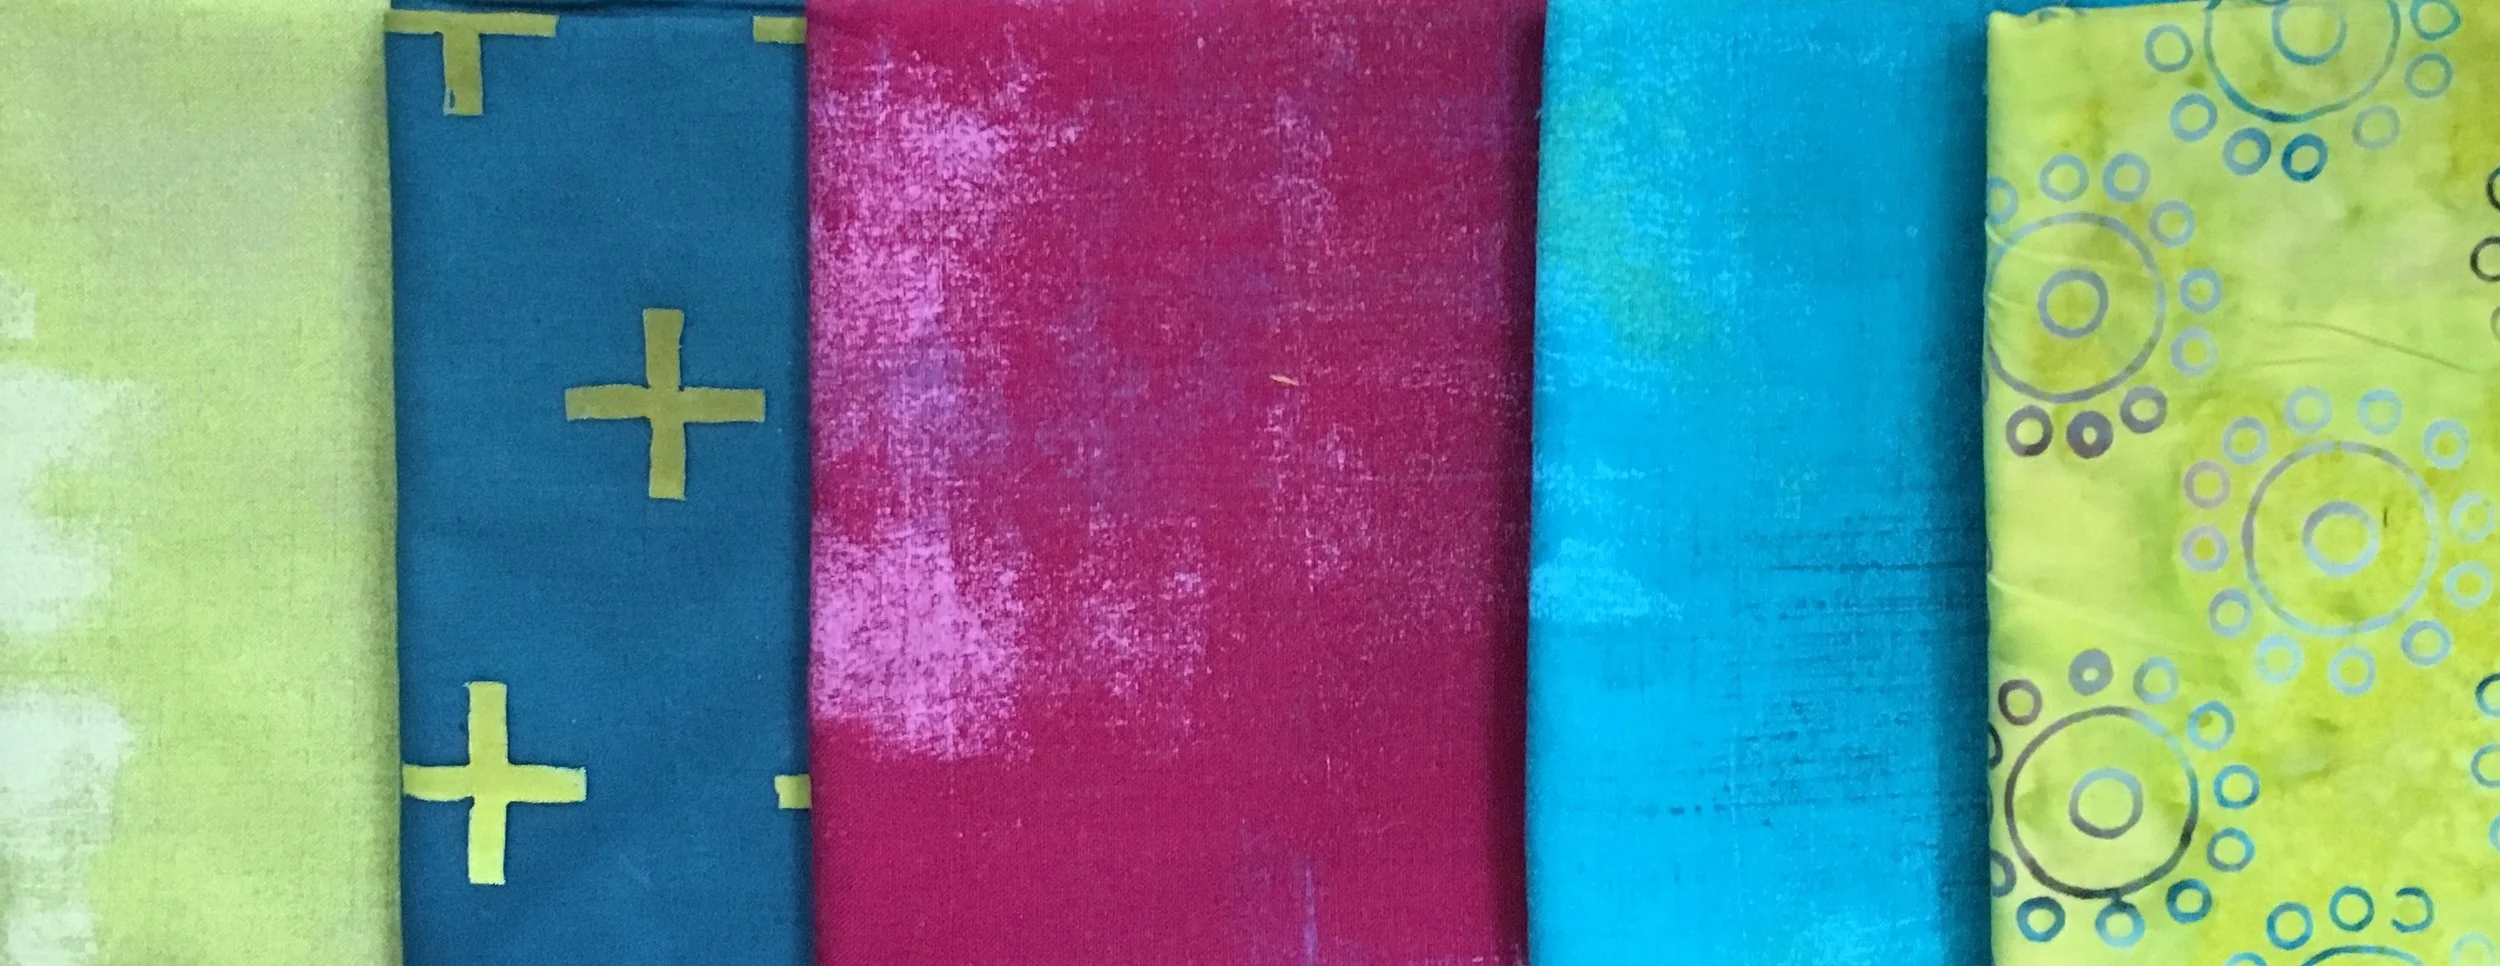
The smart thing to do with a Hunters Star design is to pick 2 colors. It makes assembling the quilt much easier. Unlike most star designs, the star in the Hunter's Star pattern isn't in its own block. It's created when 4 blocks meet at the center.
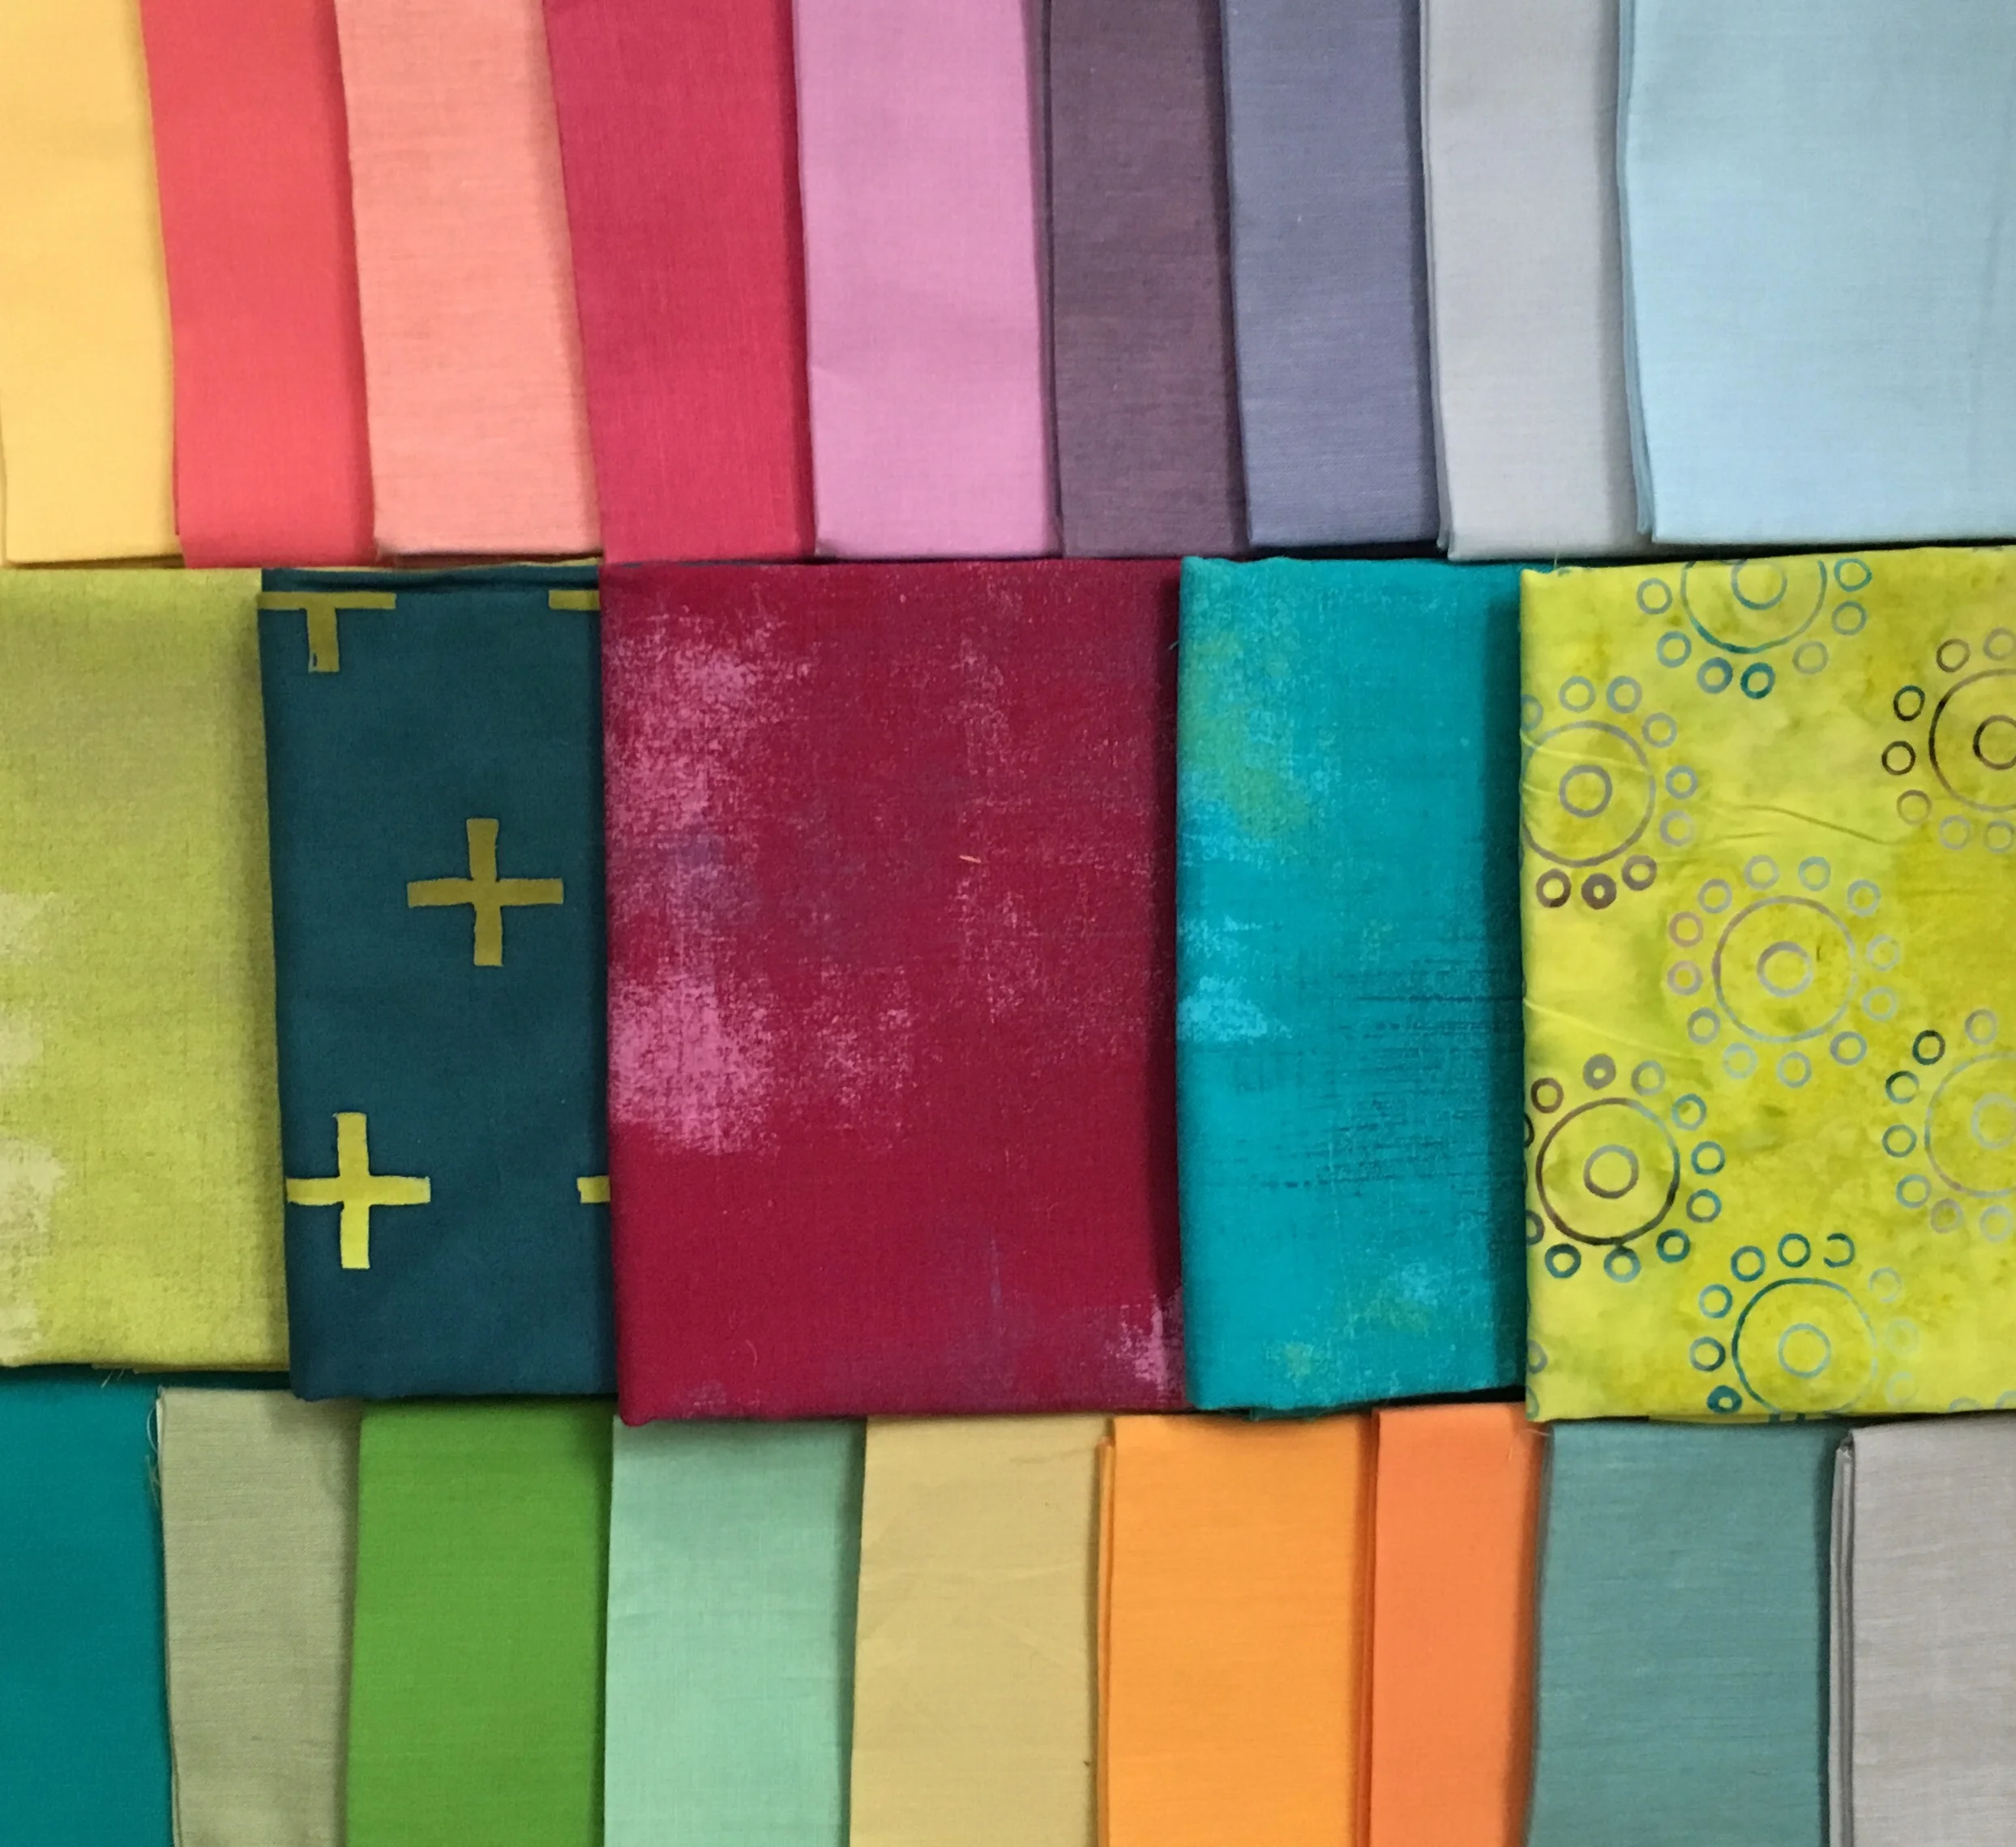
I didn't grasp that when I picked out the fabrics. The handout said we could pick up to 8 light and 8 dark fat quarters. Thinking each star could be a different color, I picked out 8 dark colors. Fortunately, I picked cream solid yardage for my light color.
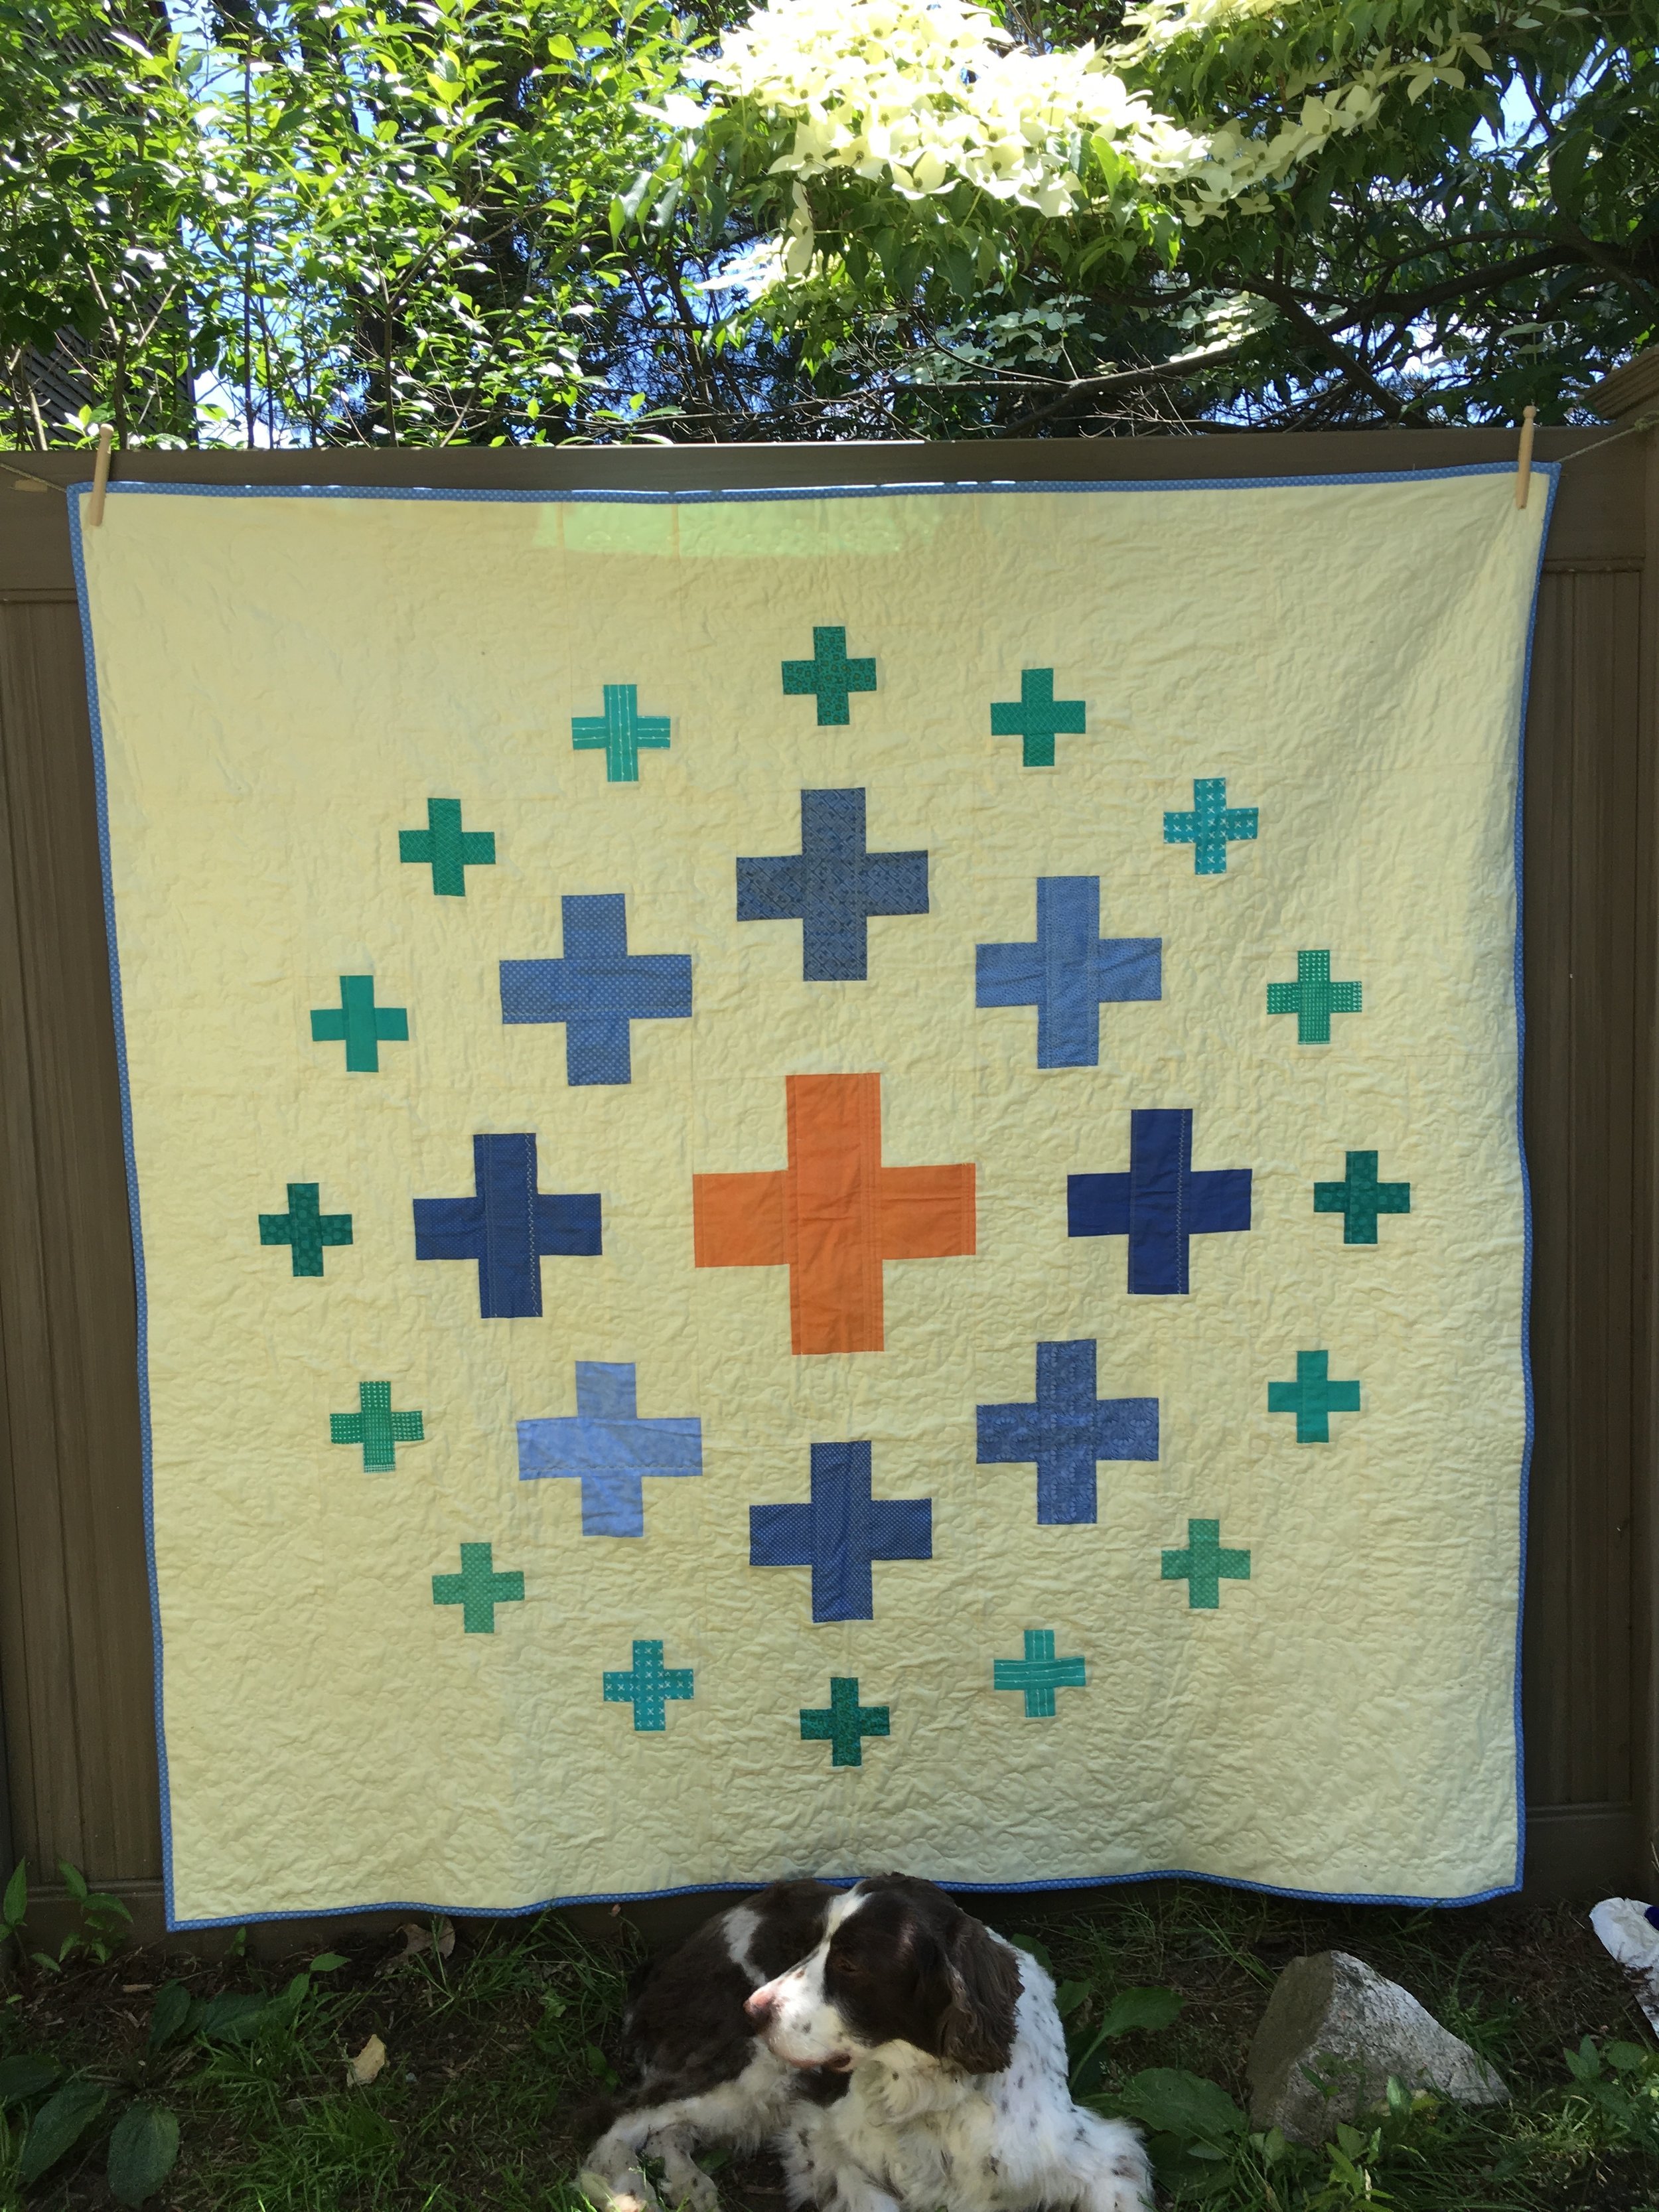
I had already pre-cut all my fabrics by the time I realized multiple colors might NOT have been such a great idea. Well, chalk it up to a learning experience. It could always be a dog quilt!
Fortunately, Kathie wasn't the least bit fazed by my fabric choices and had great suggestions about how to build each of the blocks in my quilt.
As the day progressed, it gradually became clear that my quilt was going from probable flop to totally fabulous! How often does that happen??
I'm thrilled with my scrappy fall colors Hunter's Star Quilt top! I was going to add a narrow border and then piano key border. I have the perfect backing fabric, but there are only 2 yards. So, it's going to be borderless!
Now, I need a stretch of cool days to get this quilt sandwiched and quilted!