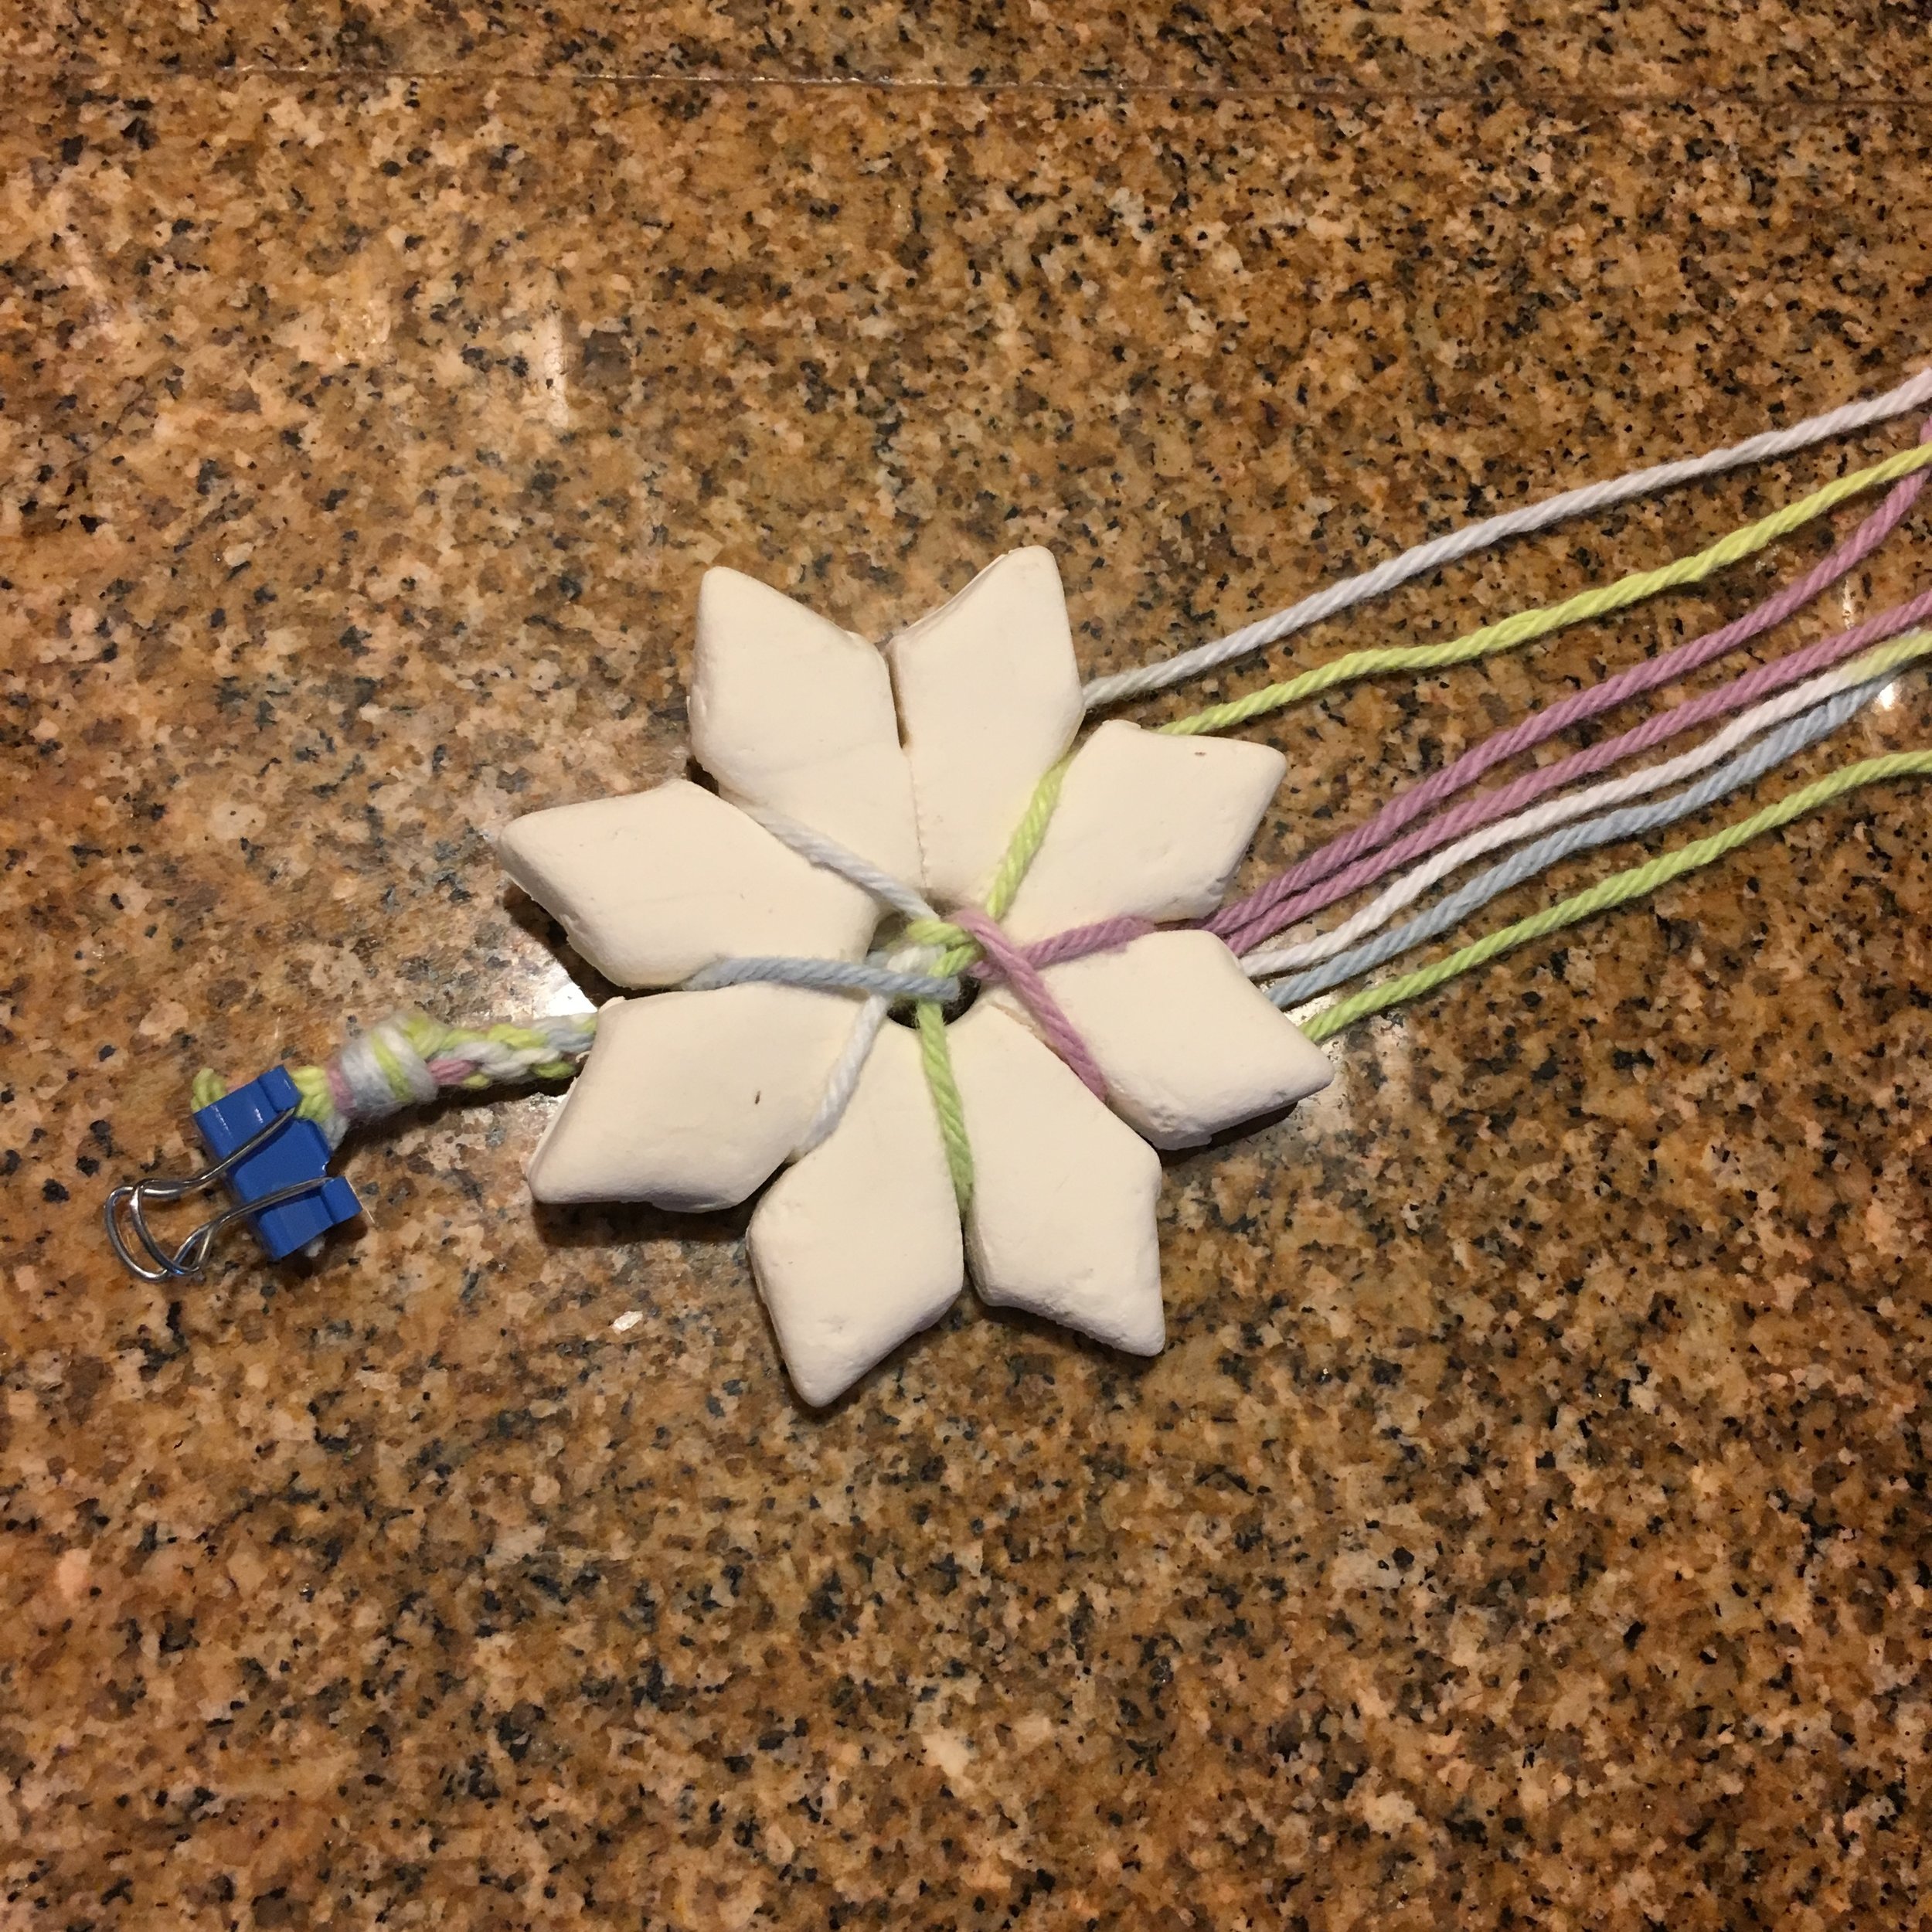
Braiding Star made from Crayola Model Magic Modeling Material
I recently discovered braiding stars. They are used to braid cords with 7 strands. The braiding stars are very easy to use and make beautiful cords. Children use them to make friendship bracelets, shoe laces or other cords.
I purchased a wooden braiding flower (same tool, variant name) from the Etsy shop, Cranberry Creek Forest. I’ve been using mine to make cording from Sugar ‘n Cream® cotton yarn. It’s a project than can go anywhere and doesn’t require a lot of concentration.

Braiding Flower made by Etsy shop Cranberry Creek Forest (*See note below)
How does the Braiding Star work?
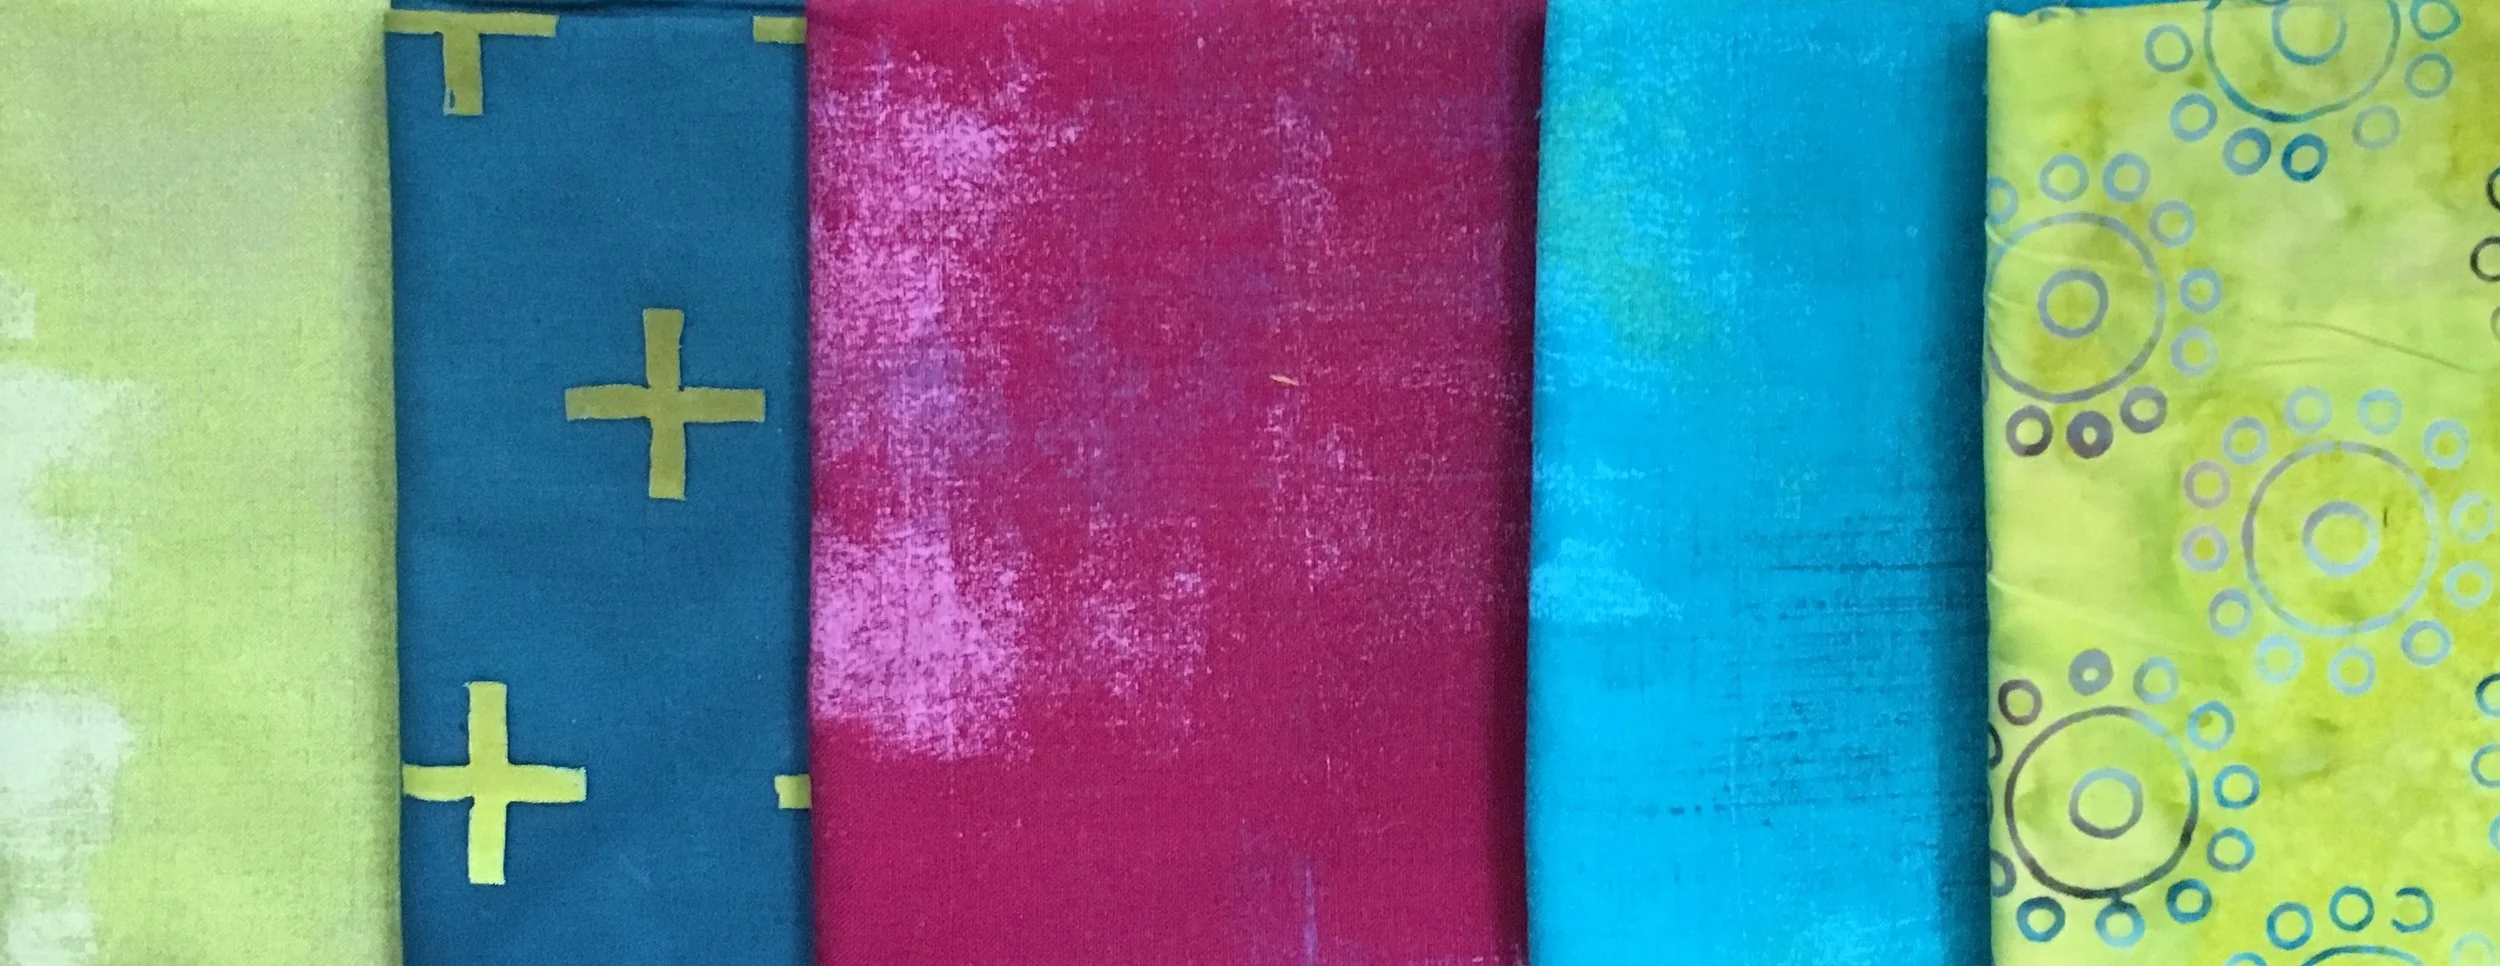
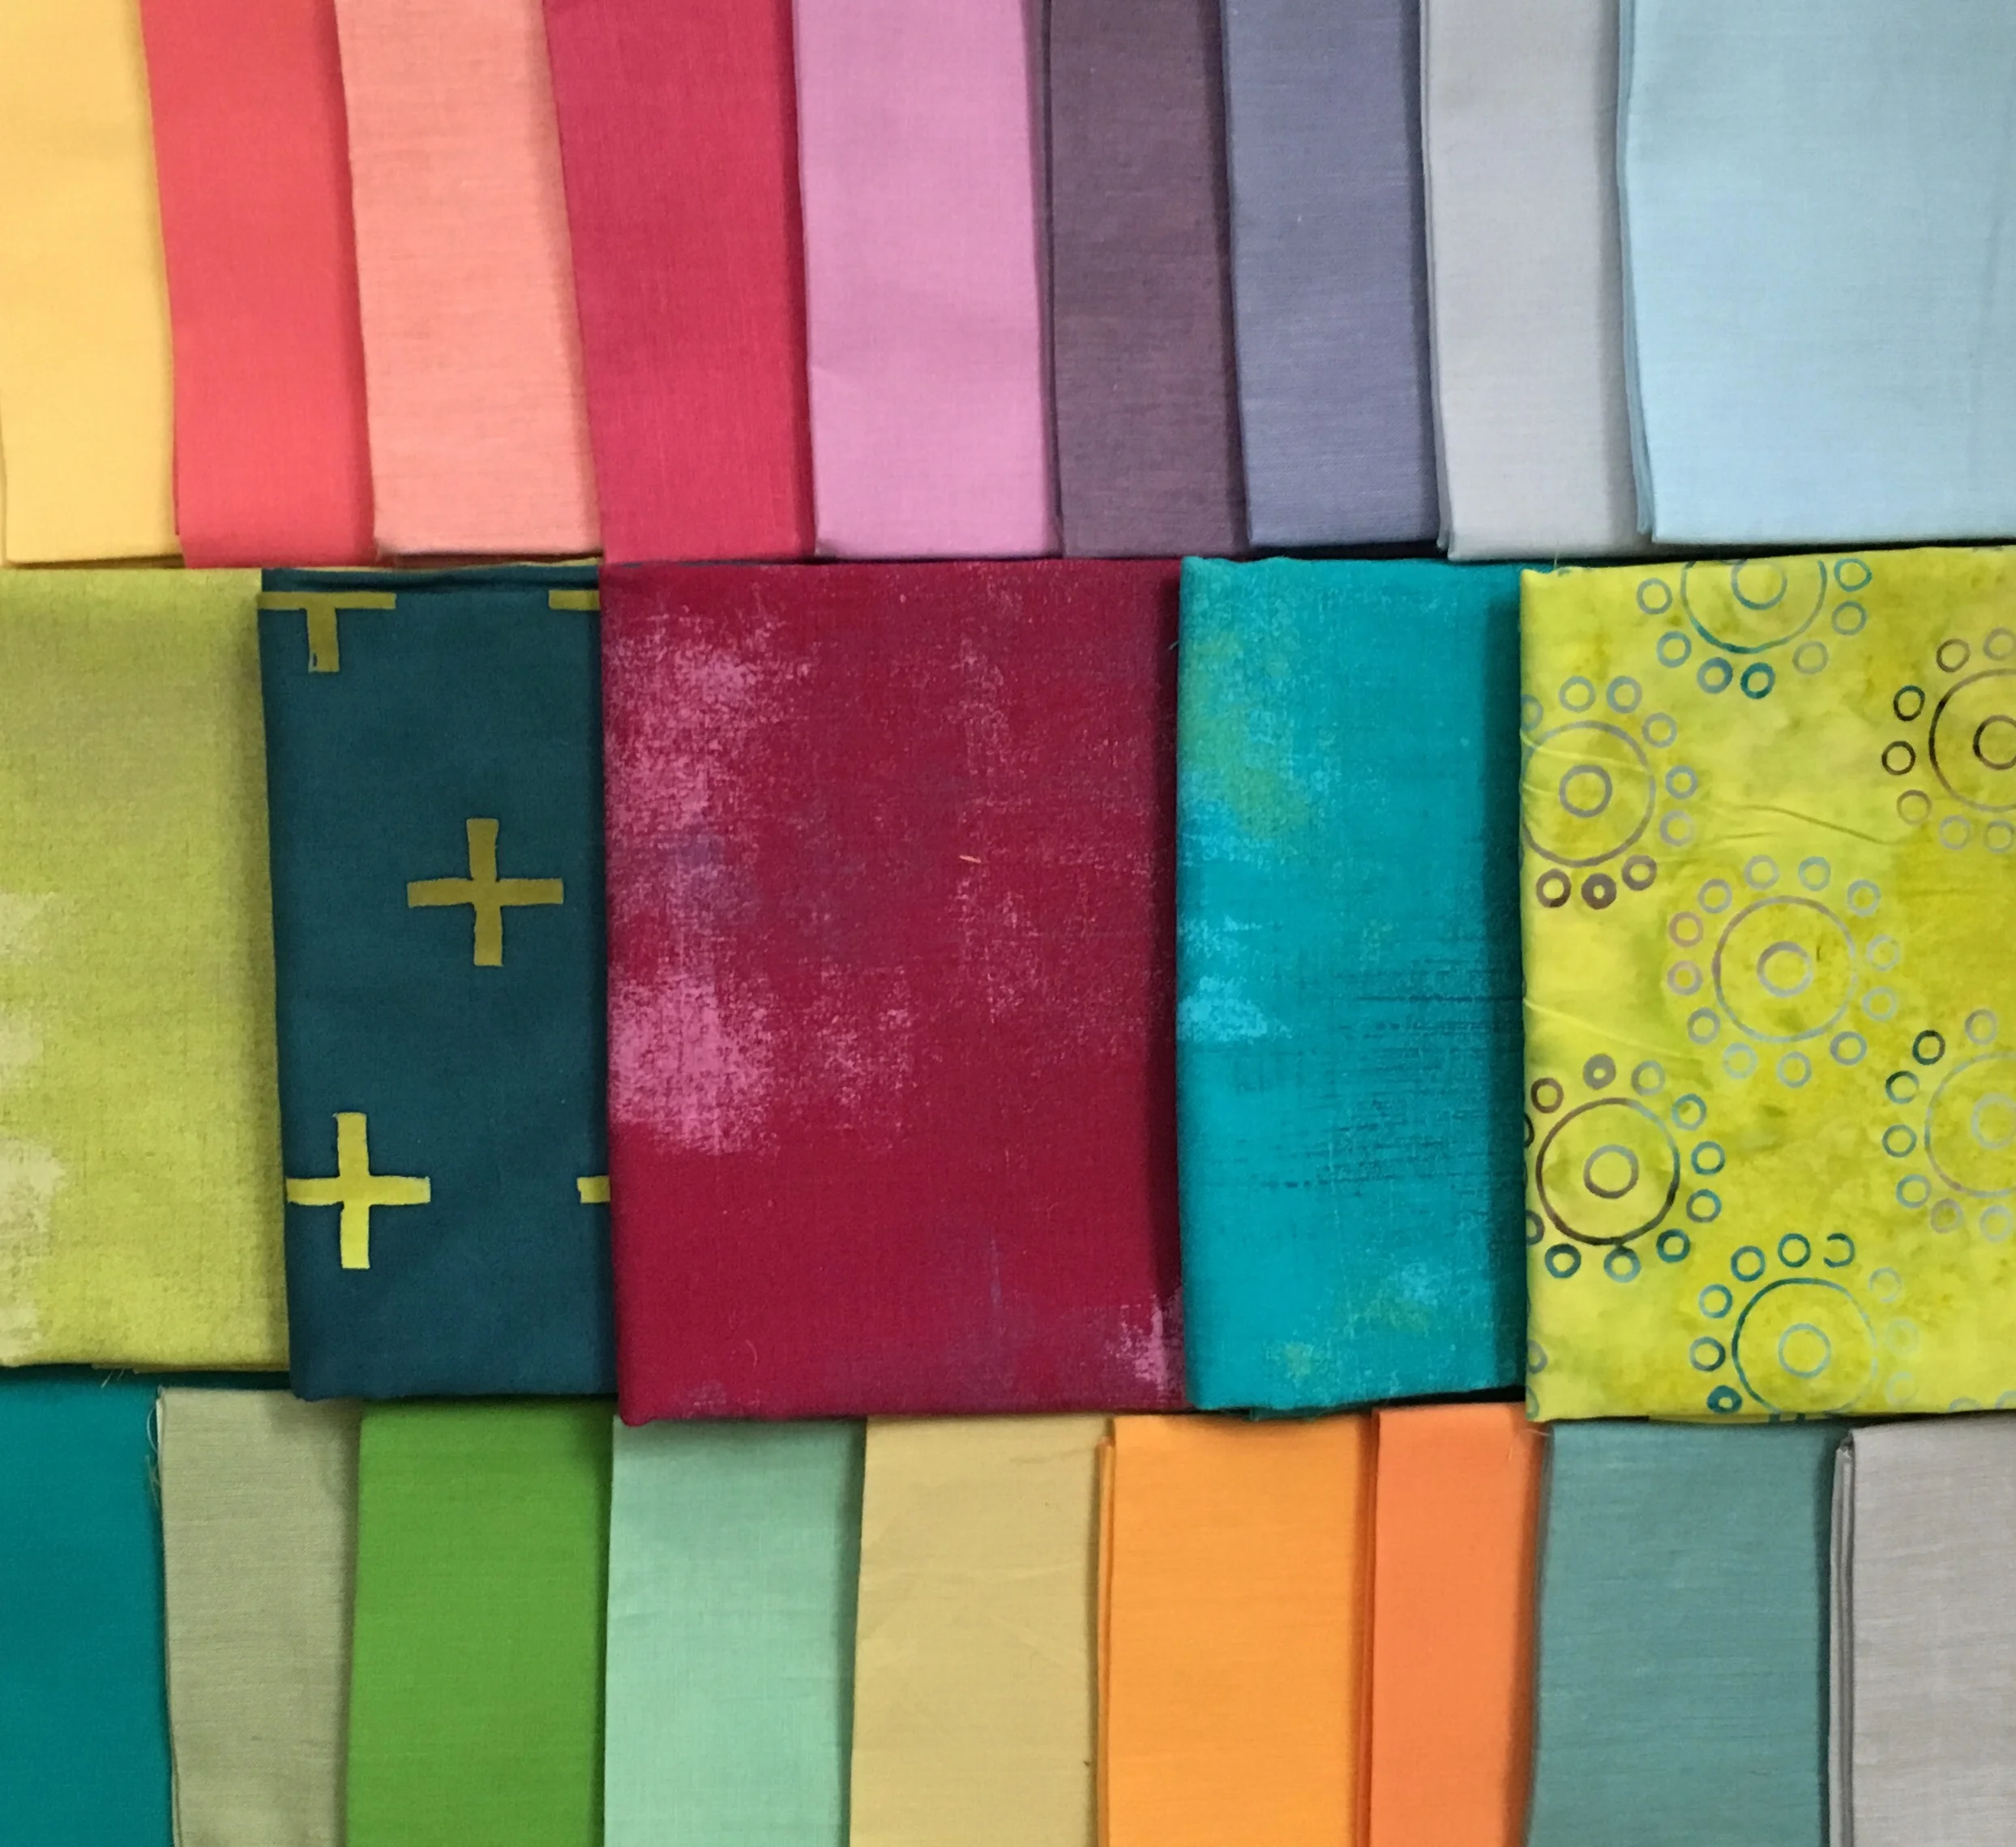
Cut 7 pieces of yarn (cotton or wool) or perle cotton at least 1/3 longer than the desired length of the finished cord. (These yarns are available at craft stores. The Perle cotton will be with the embroidery thread).
Line up the pieces of yarn and tie an knot in one end.
Put the knot through the hole in the braiding star. If you have one, attach a little binder clip to the knot so it doesn’t pull through the hole as you start to braid.
Put one strand of the yarn in 7 of the 8 slots in the star. Now you are ready to braid!
Line up the empty slot so it faces you.
Count two slots to the right of the empty slot. Pick up the yarn from the next slot (the third one) and put it in the empty slot in front of you.
Turn the star clockwise, so the new empty slot faces you.
Count 2 slots and pick up the yarn in the 3rd slot and put in the slot in front of you. That’s it! Continue until you have the braid you want.
Occasionally pull on the braid that is forming on the underside of the star. That helps to tighten the braid.
When there is about 1 to 1 1/2 inch of yarn left, take the braid out of the star. Tie the loose ends in a knot to the cord doesn’t ravel out. Trim the ends with scissors so the fringe is straight.
I love my wooden braiding flower but I wanted to make braiding stars myself. I don’t have any woodworking skills, so I’ve been experimenting with other substrates. I’ll share my adventures in the next post!
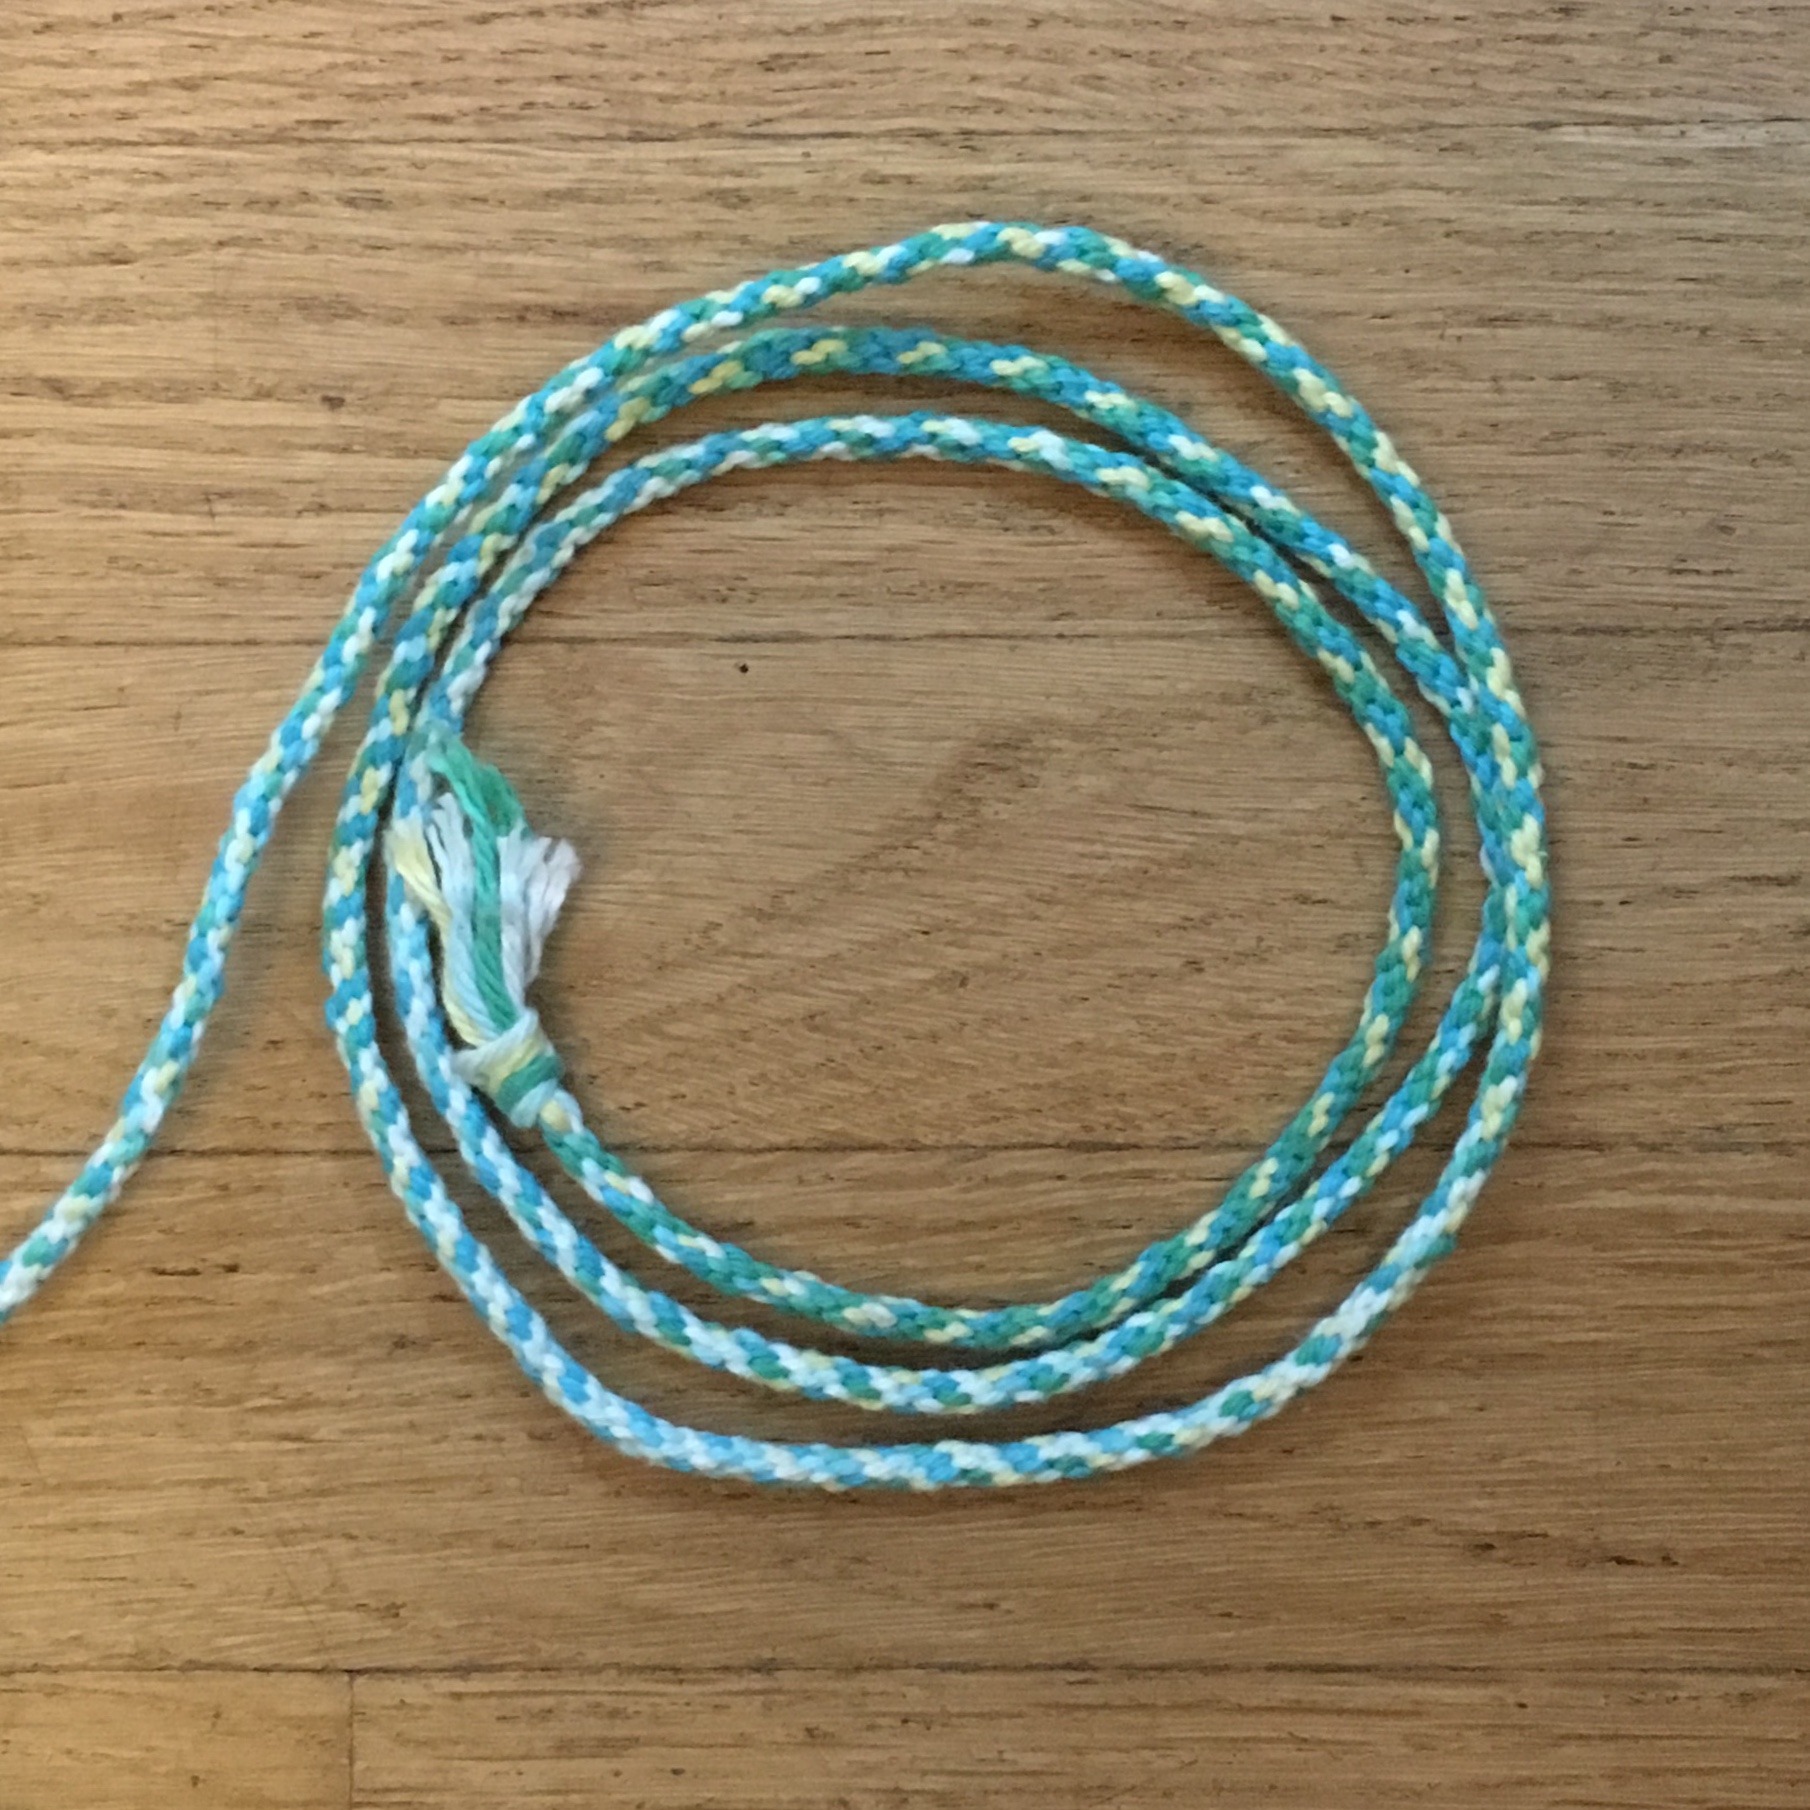
*The cording I’m making is about 6 feet long. I’ve wound my yarn around clothes pins to keep it from tangling.
Notice: This blog is not monetized: I do not use affiliate links. When there are links in a post, they are to give credit to another creative person, because I like or have used a product, or to help the reader easily find supplies for a project.