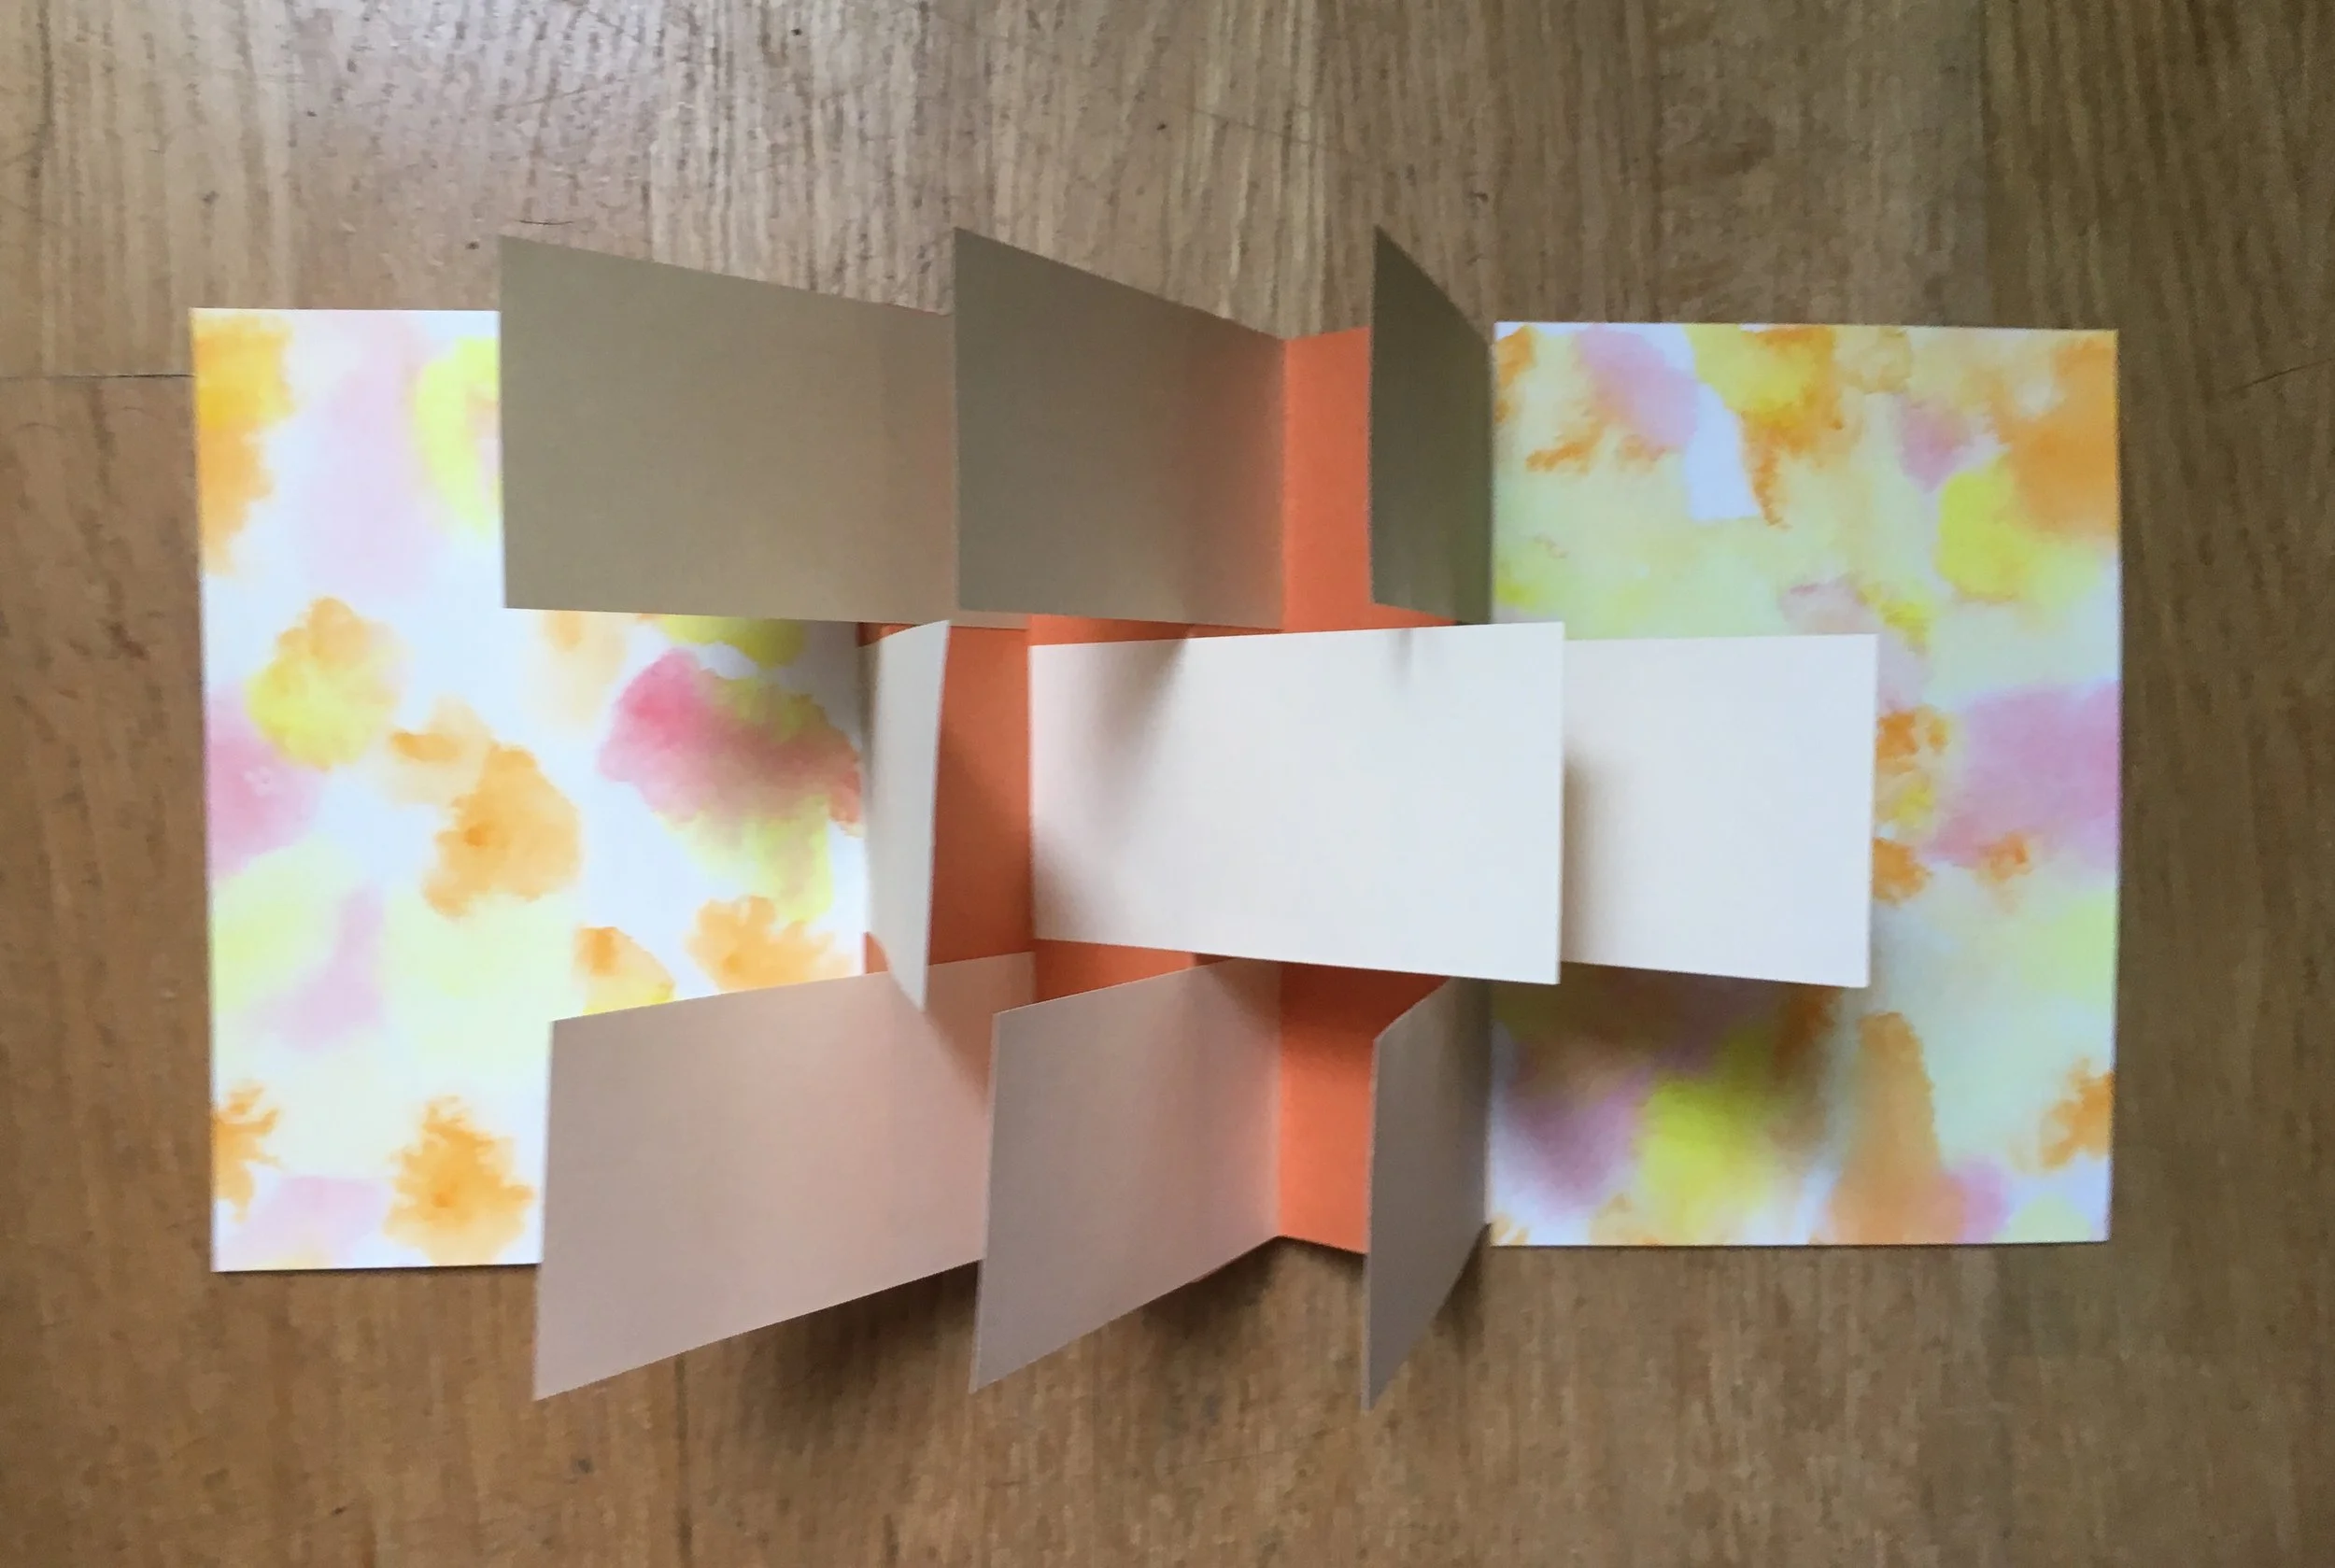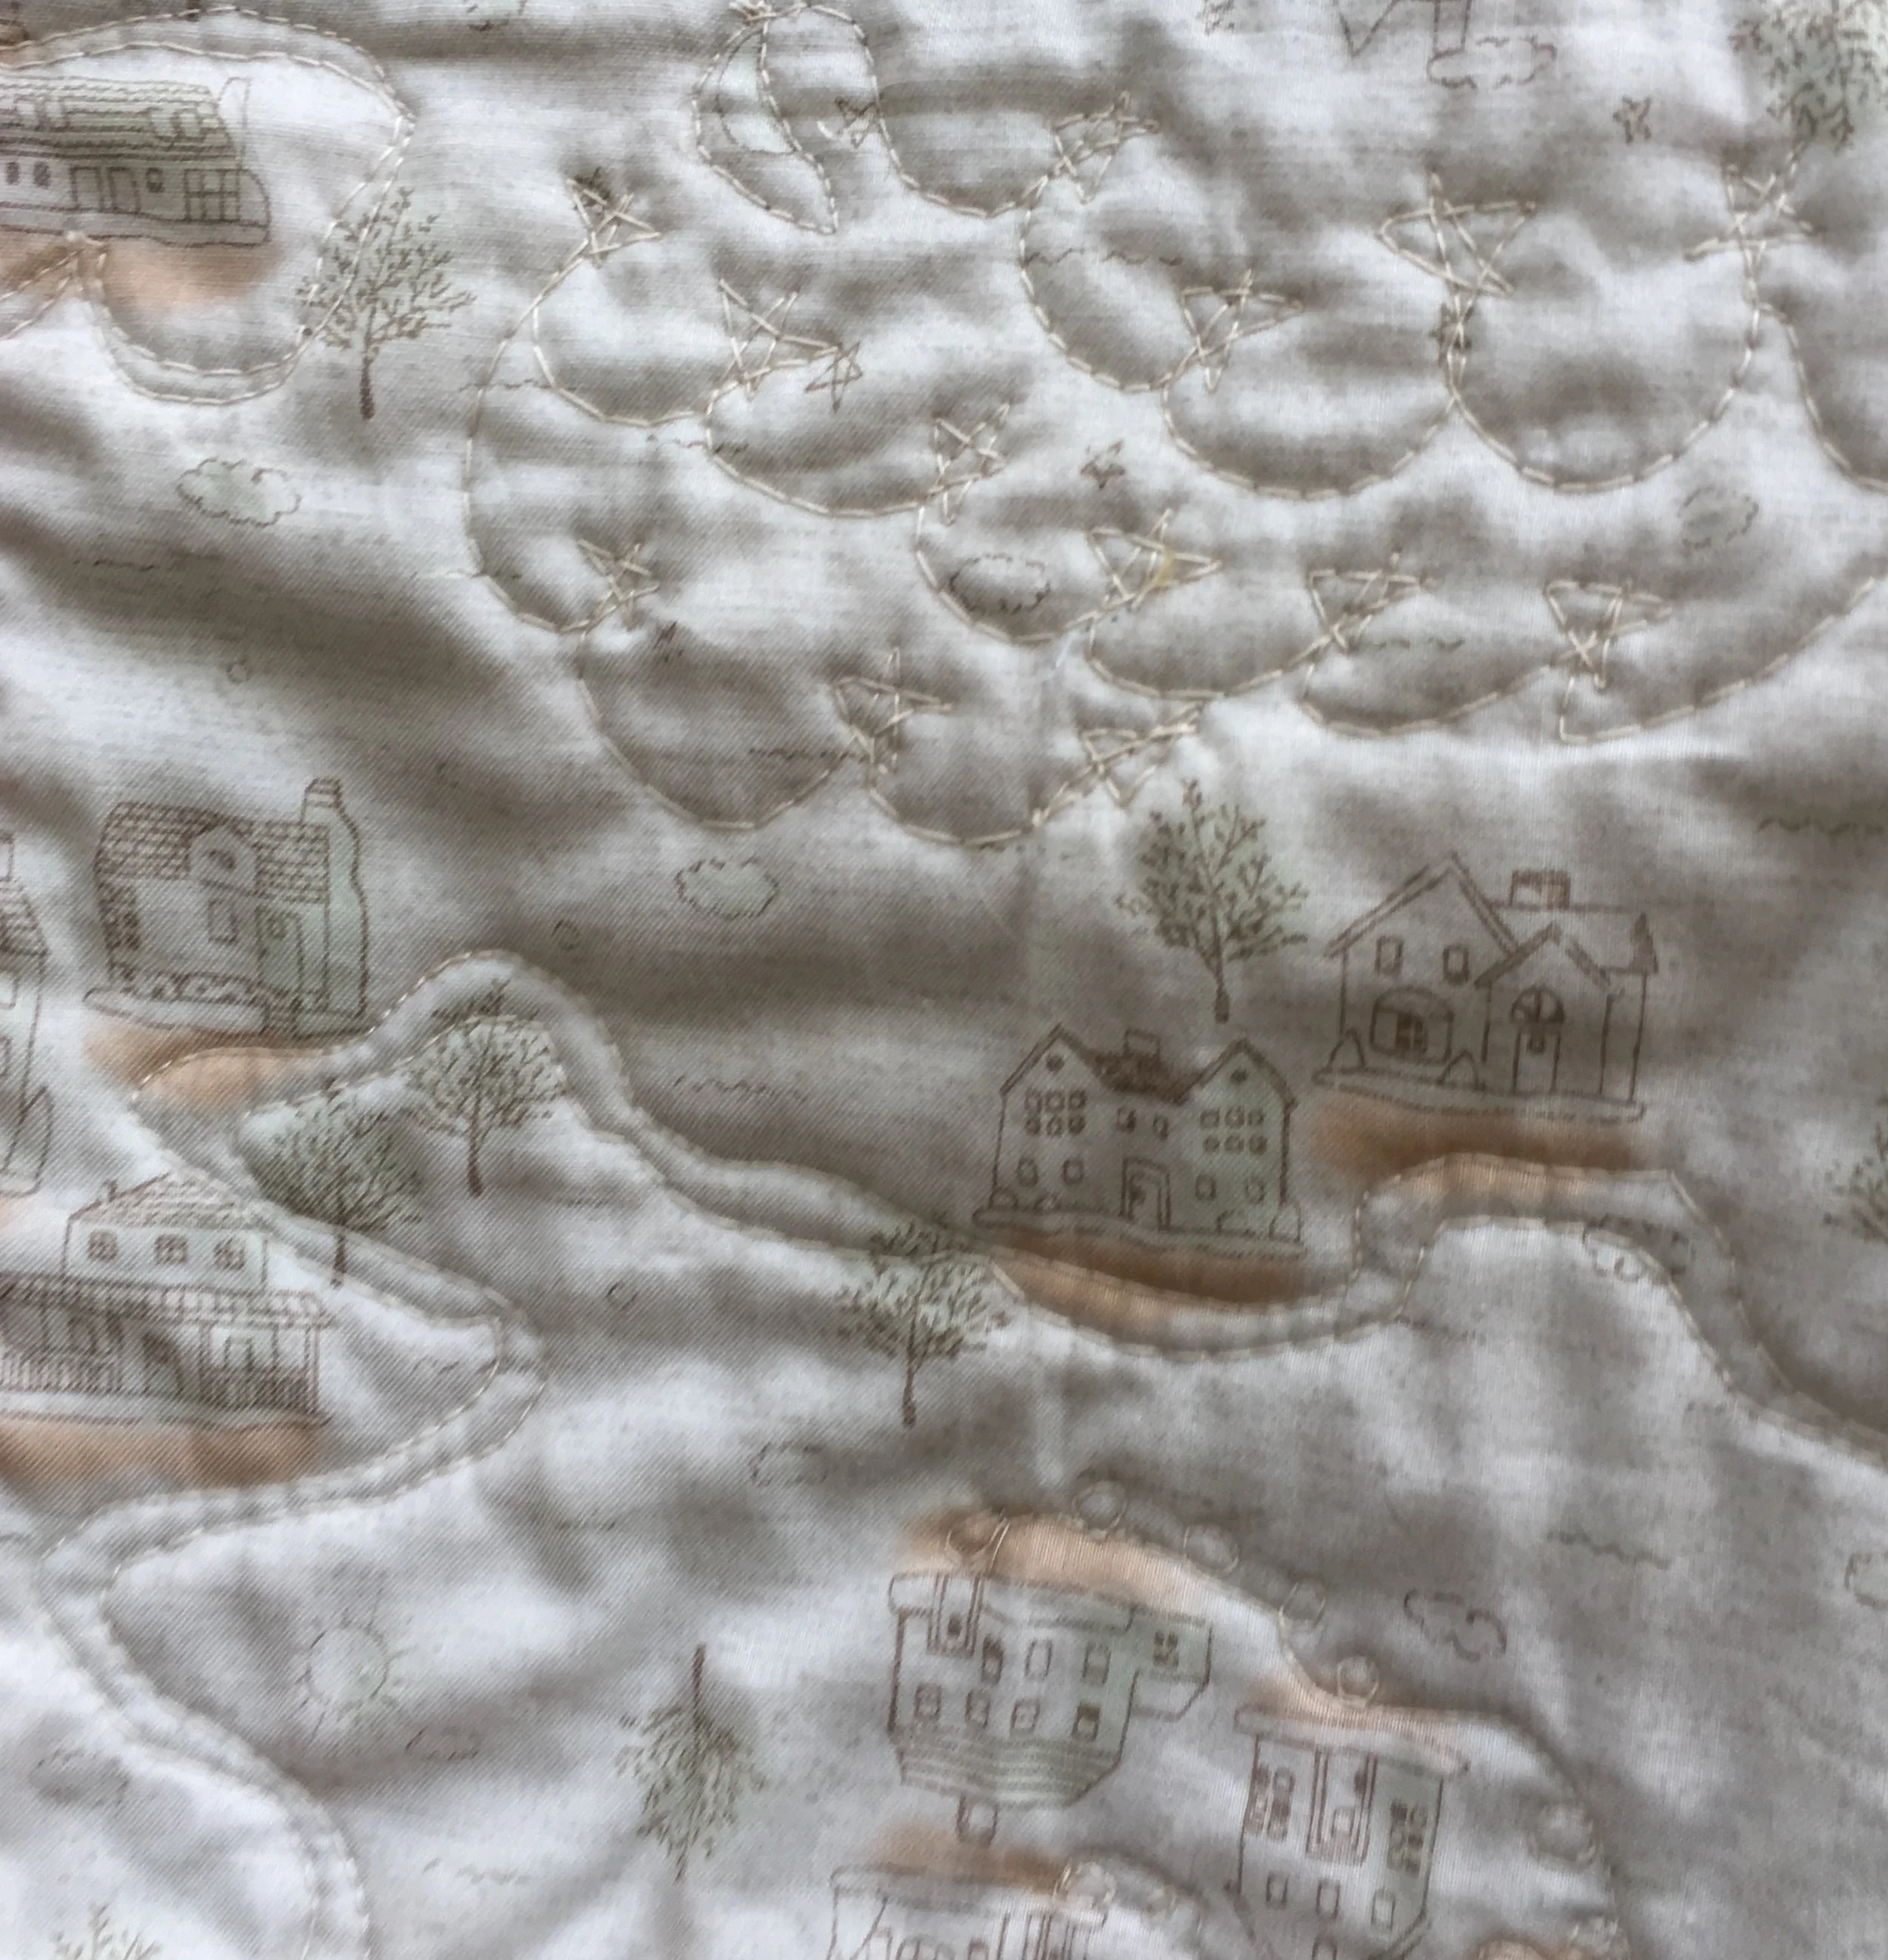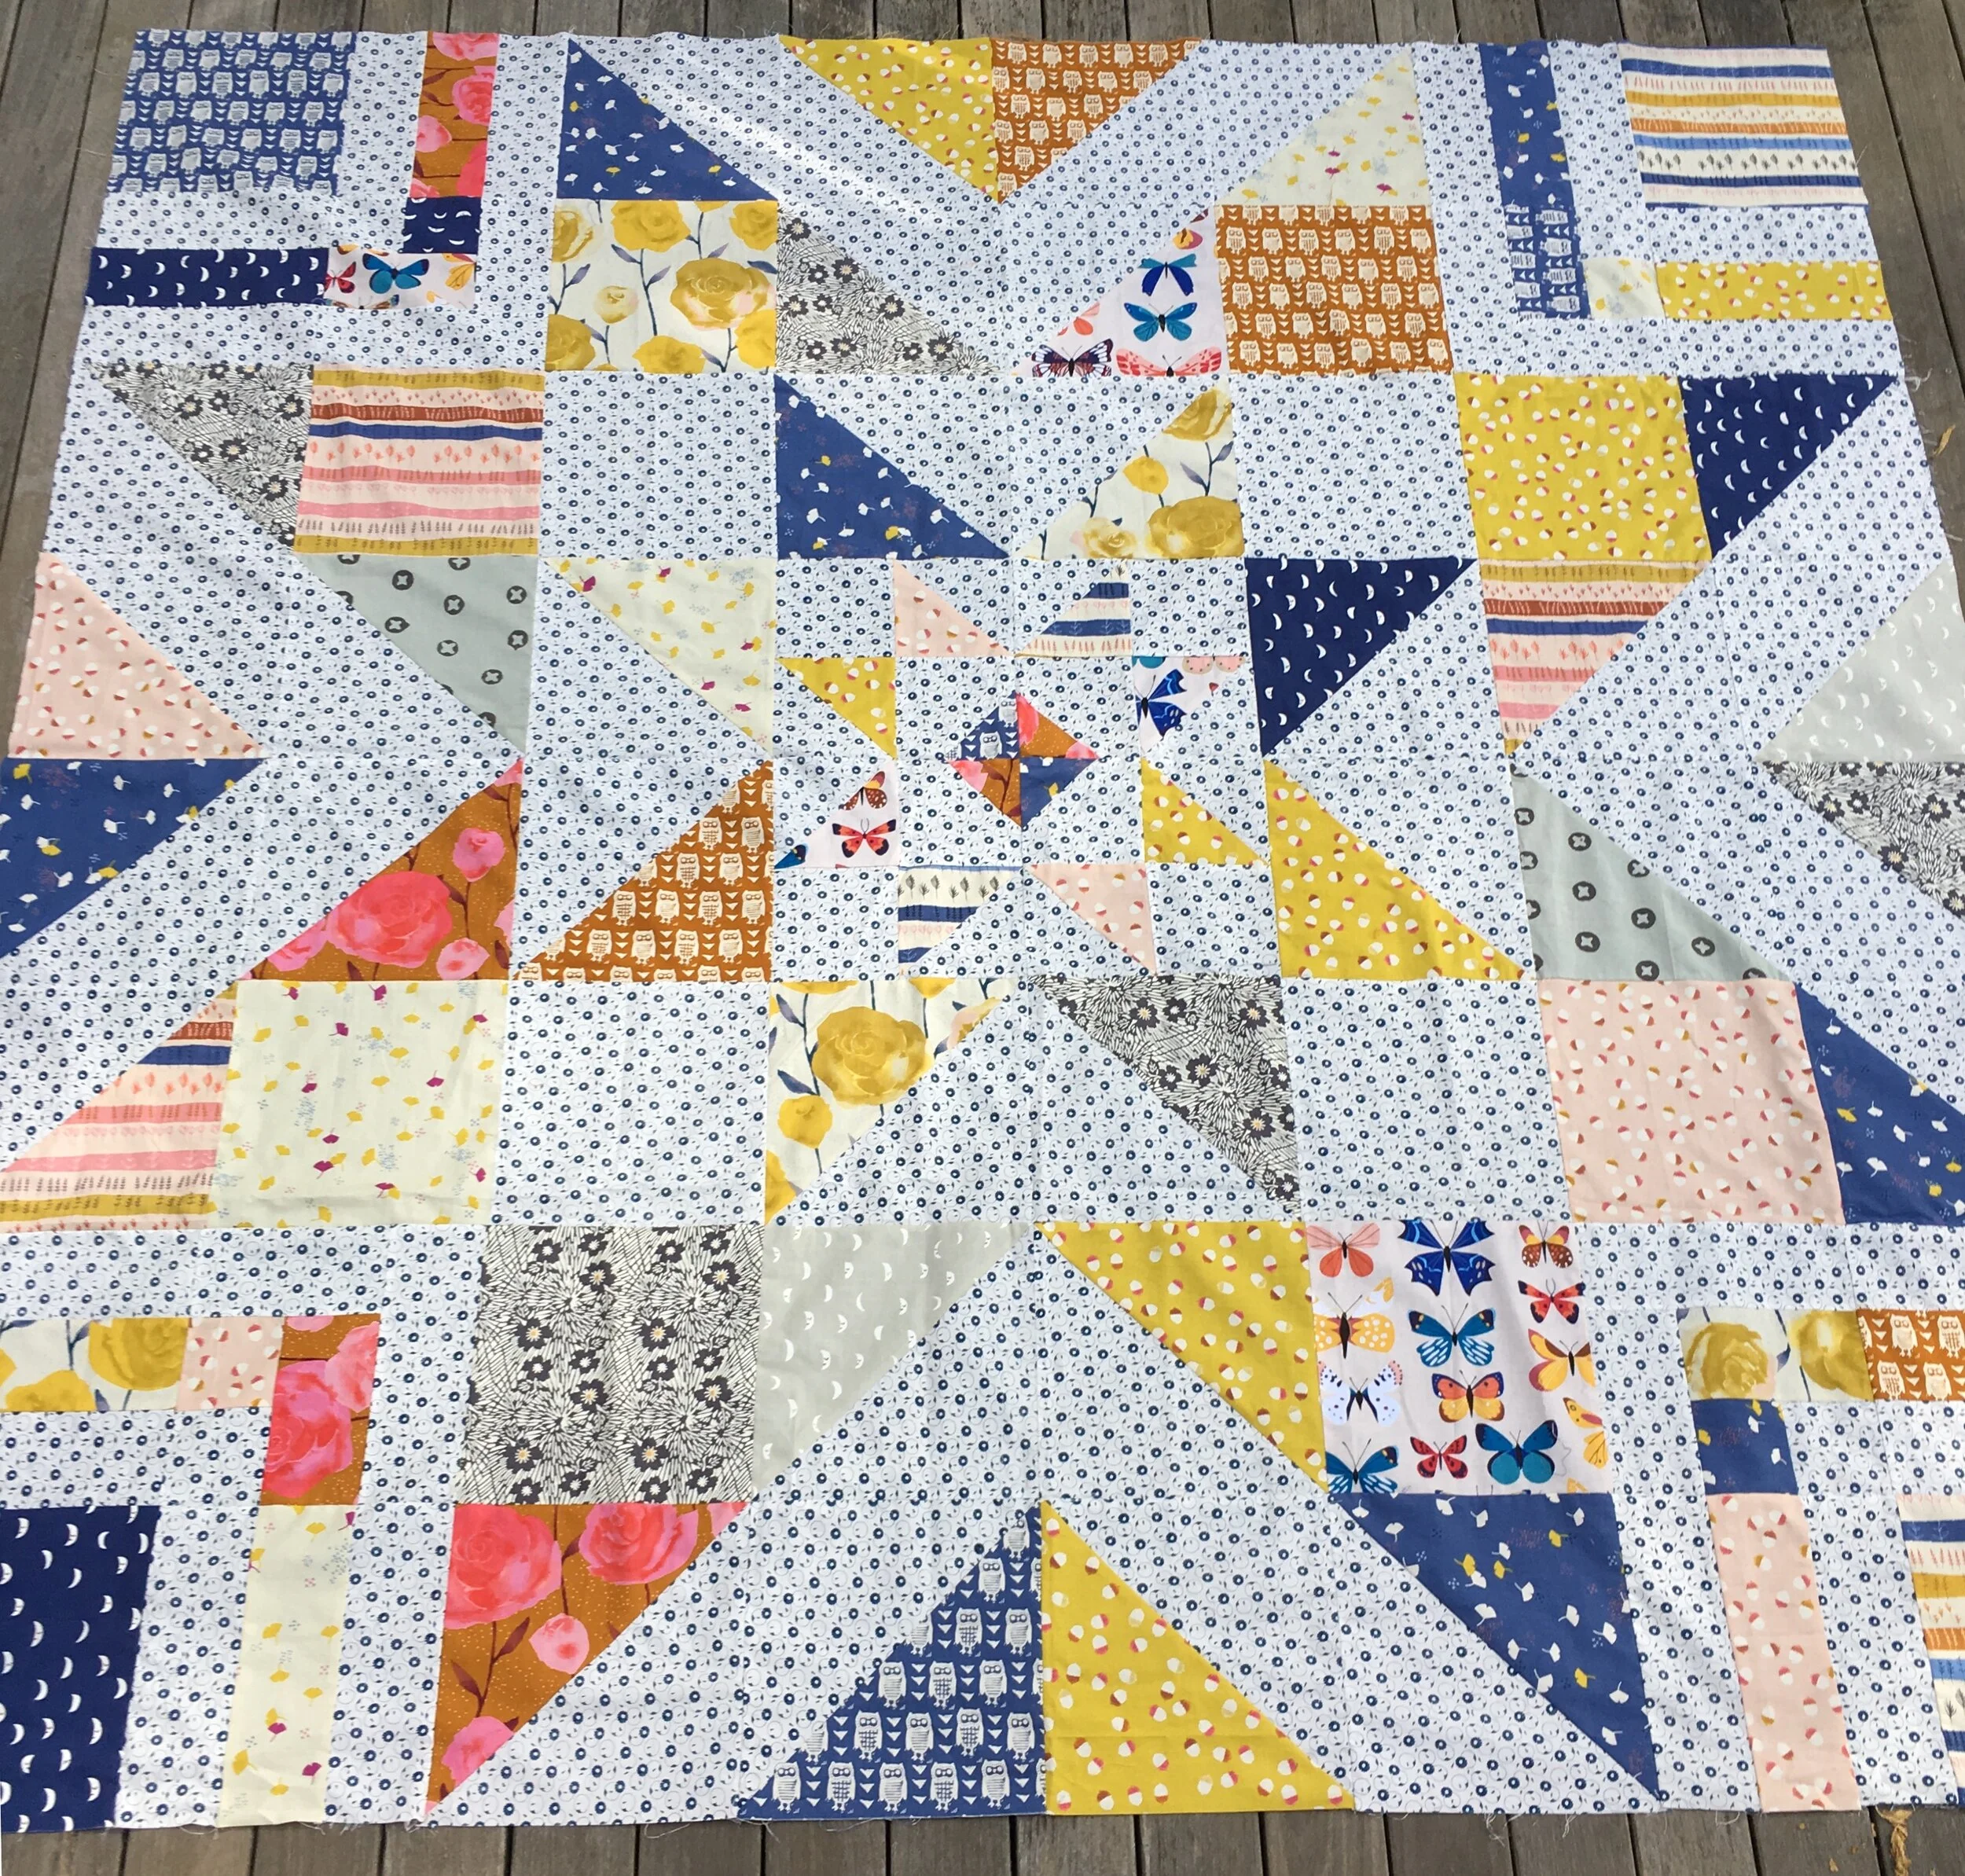
“Triple Barnstar” Queen size quilt top, work in progress
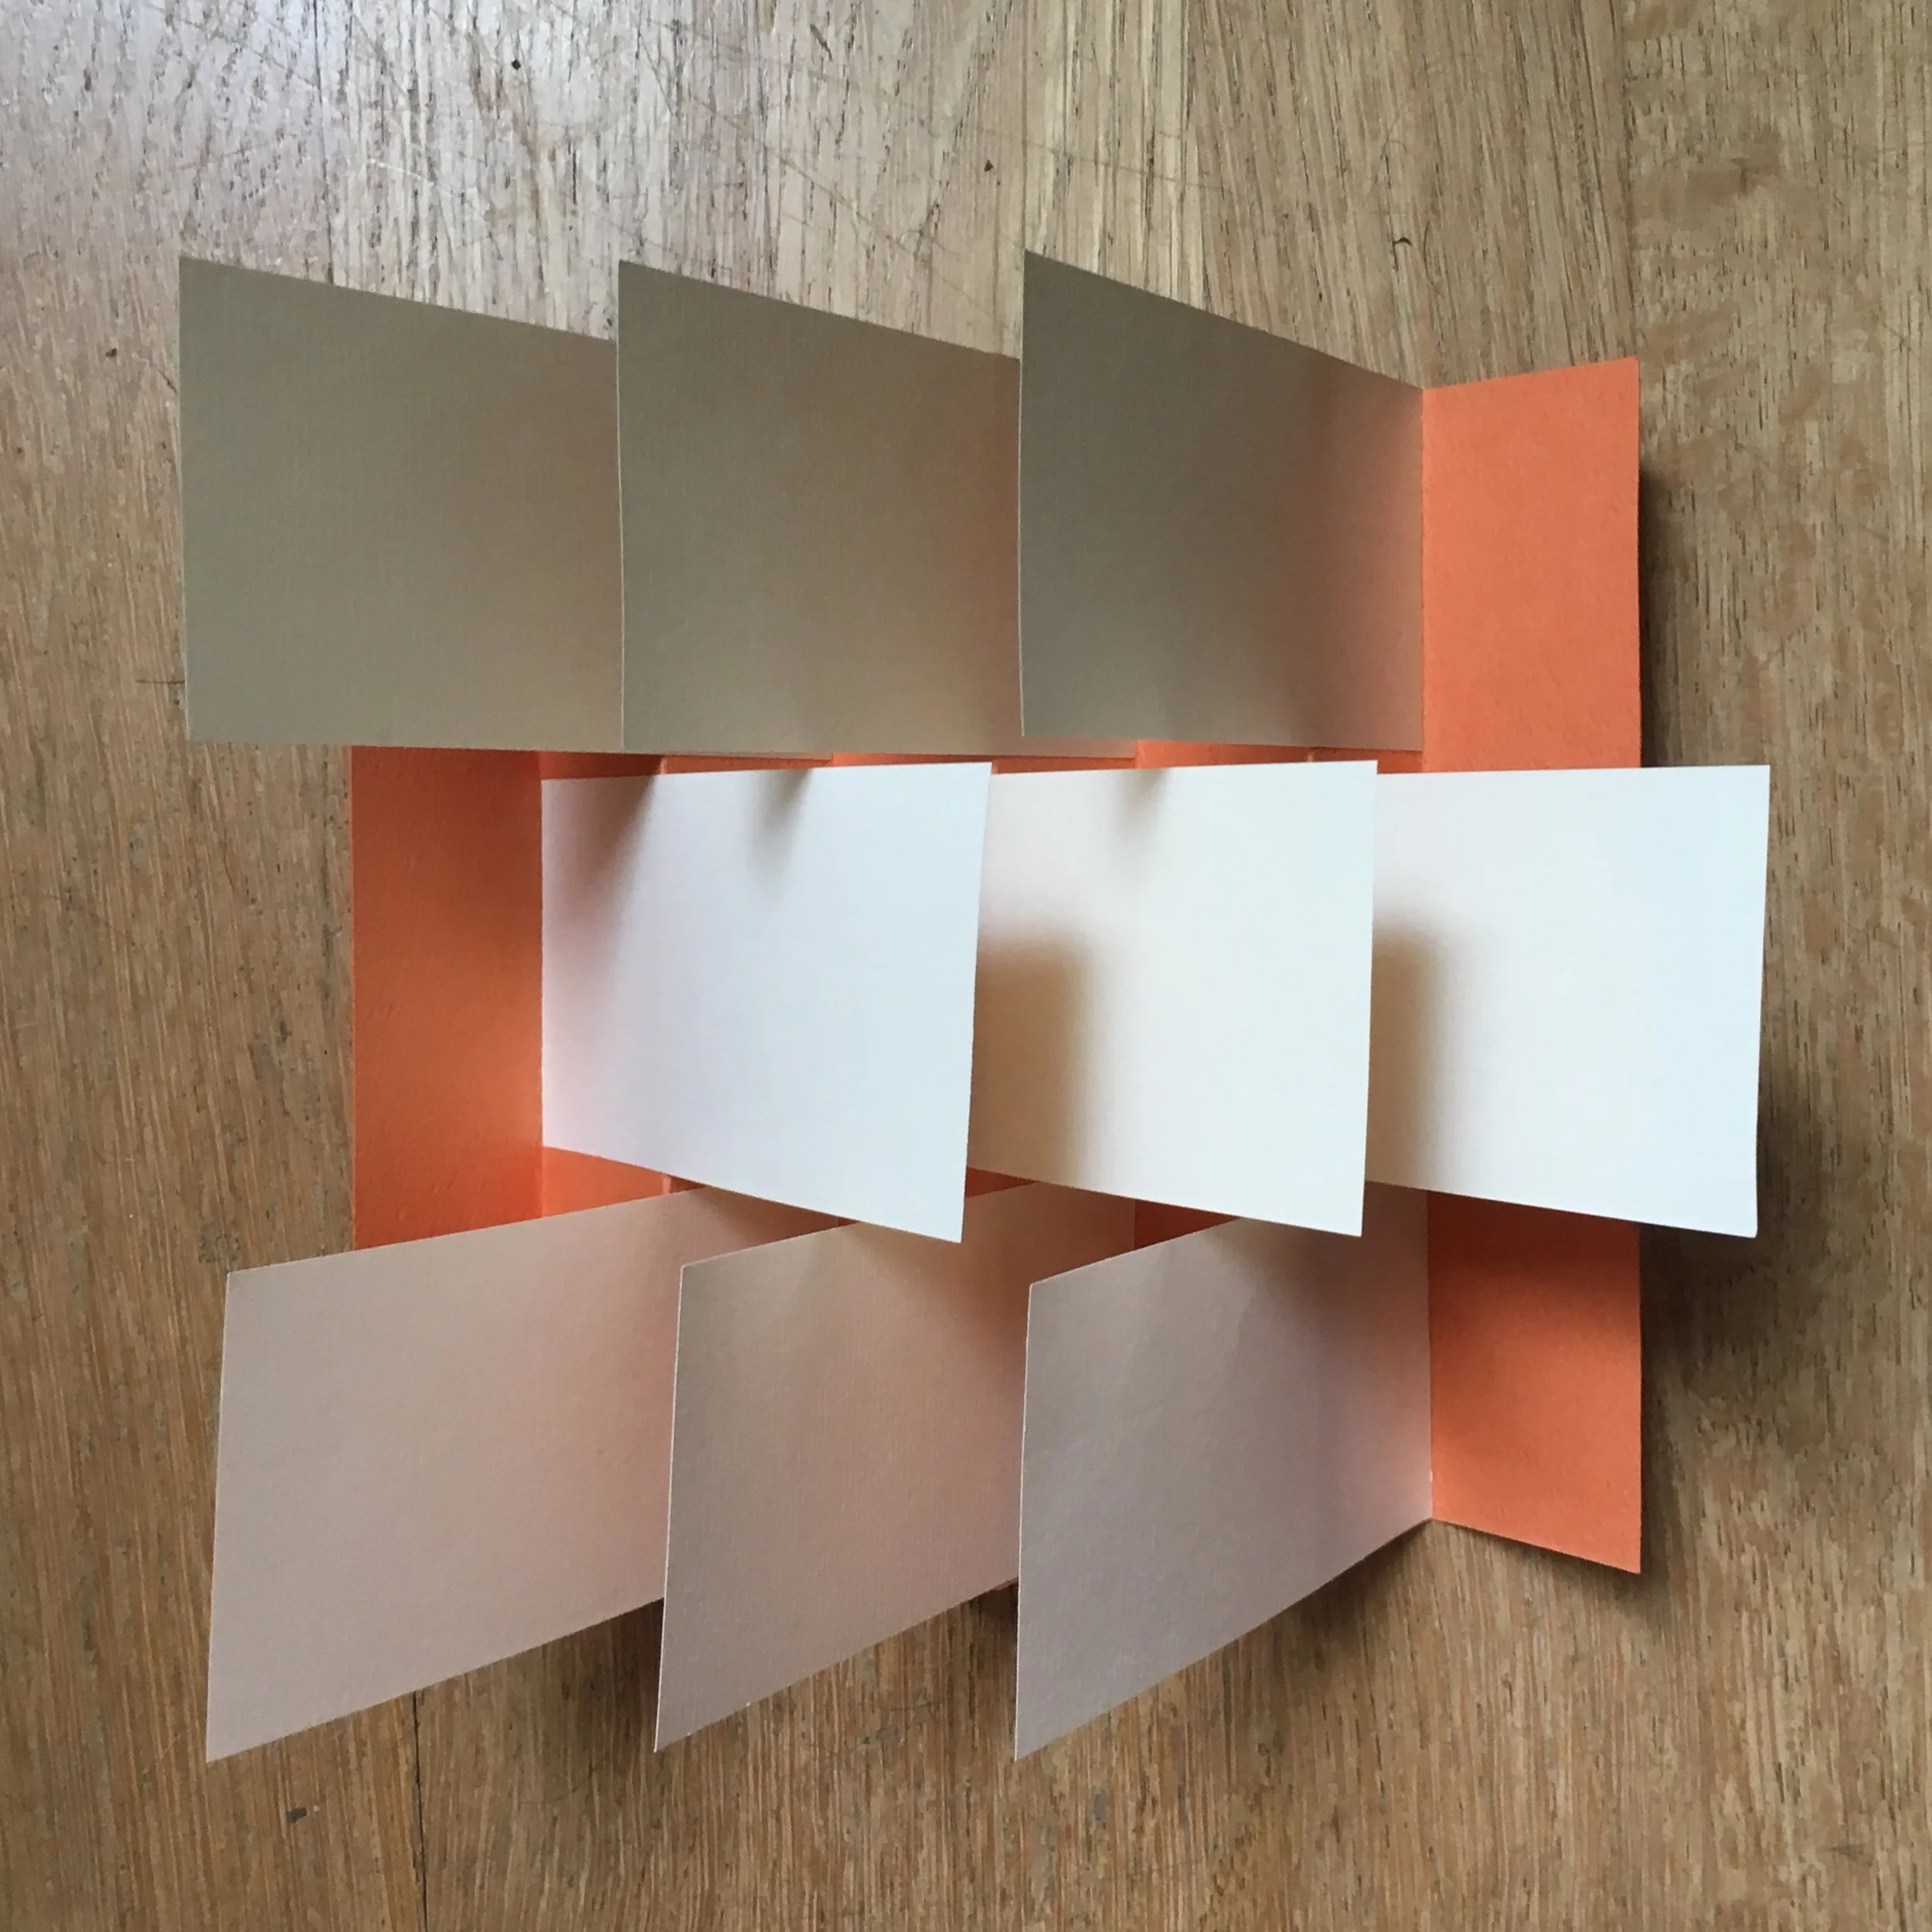
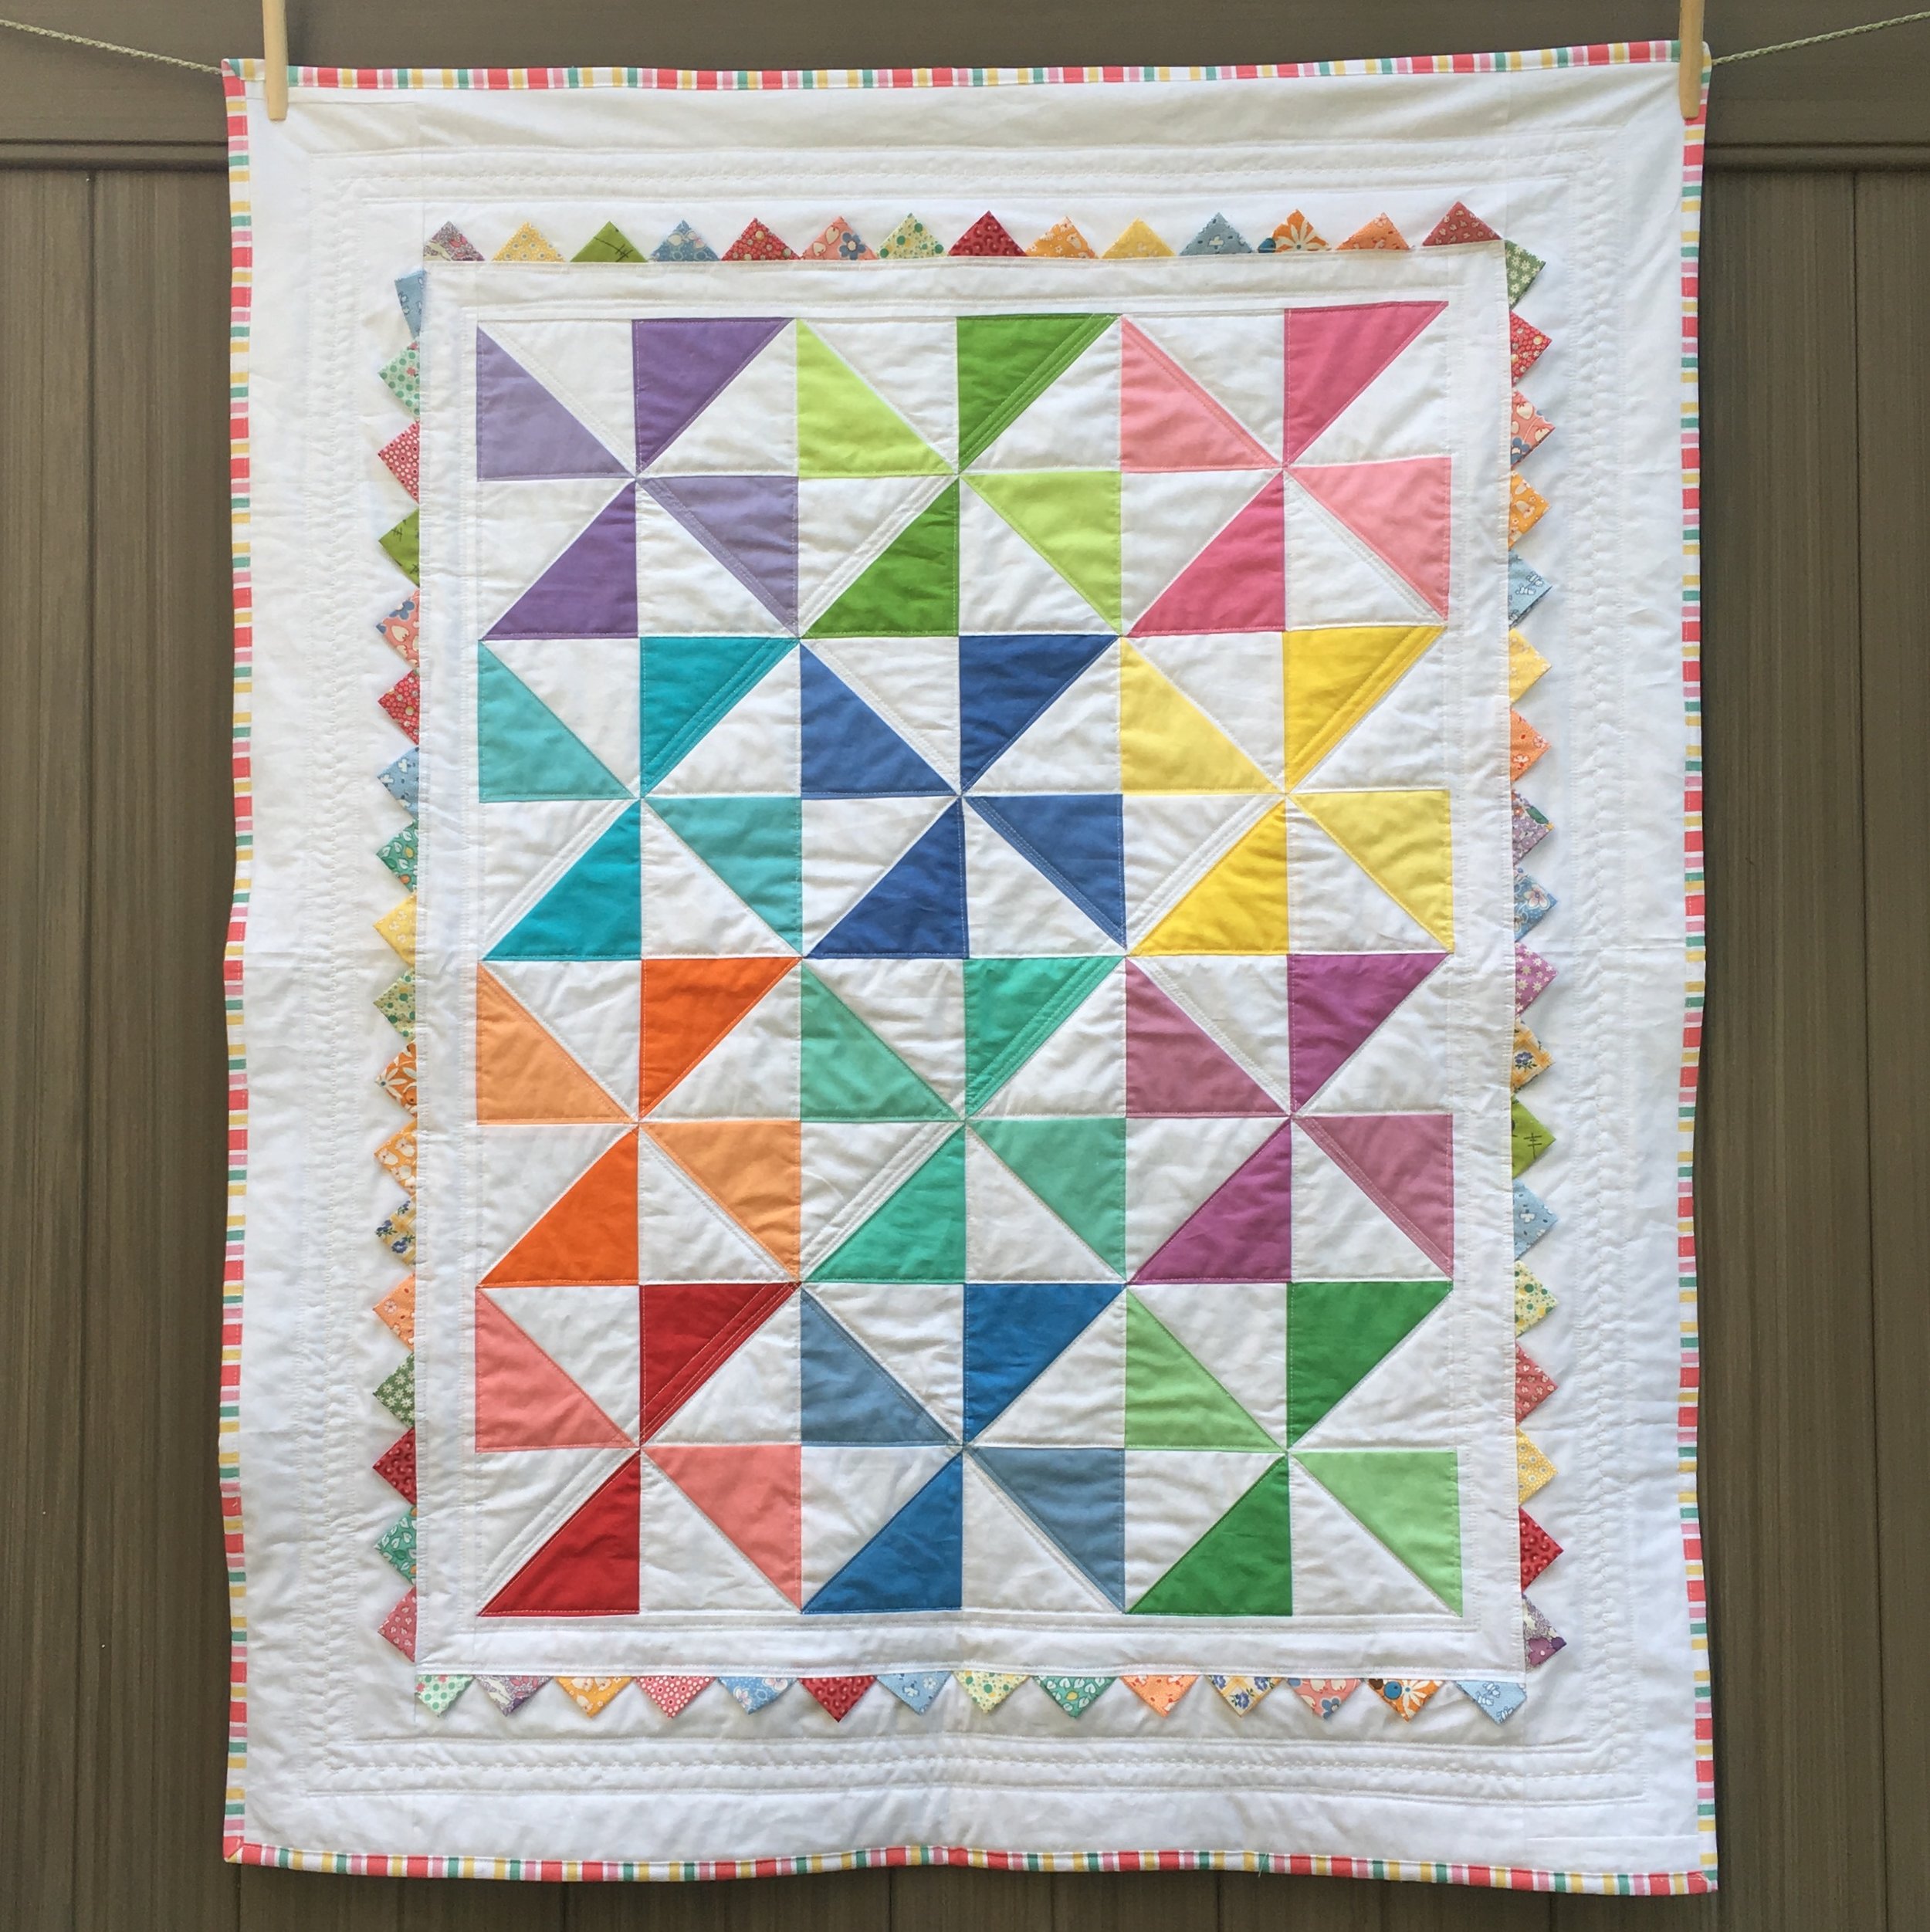
Here’s the quilt top I’m working on. It is a pattern by Amy Gibson of Stitchery Dickory Dock and called “Triple Barnstar”. (Look carefully and you’ll see that there is a star, in a star in a star). I think this is going to become the quilt I use during the Fall.
The pattern is for a throw or a queen size quilt. I started to make the throw but discovered it really covered the top of my bed, so I’m going to add on a scrappy border of the feature fabrics I have left over and call it a queen.
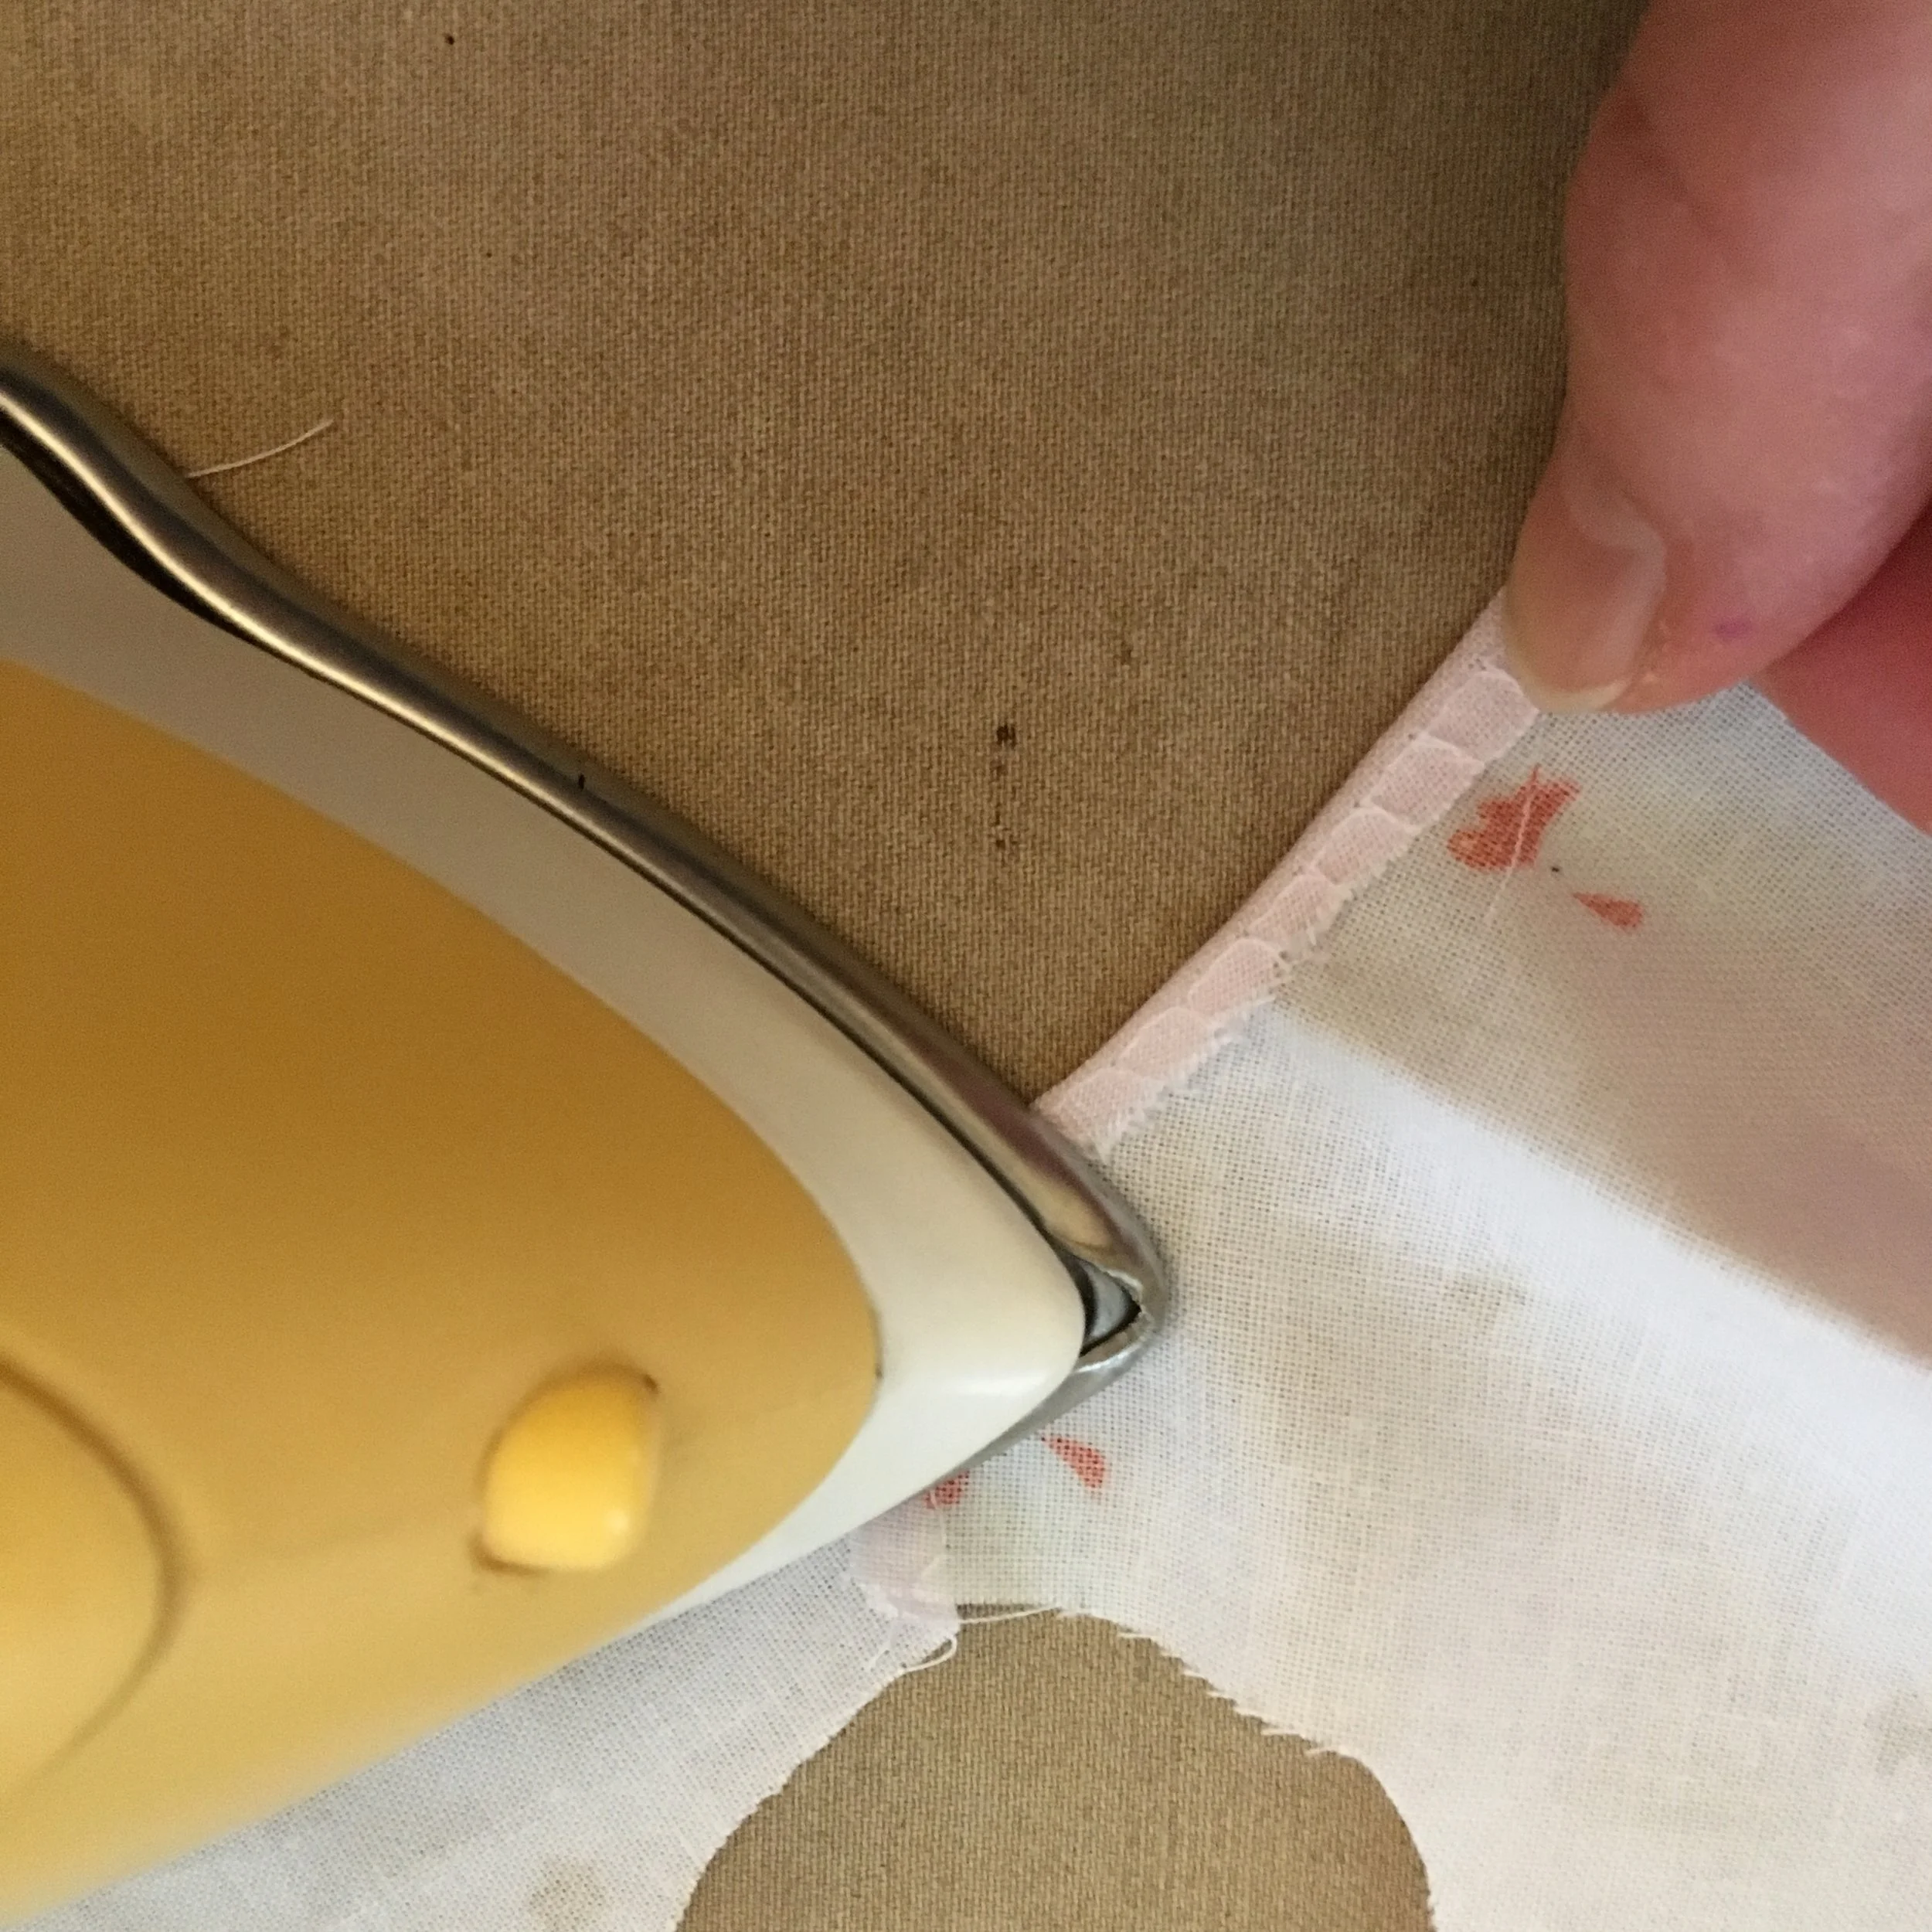
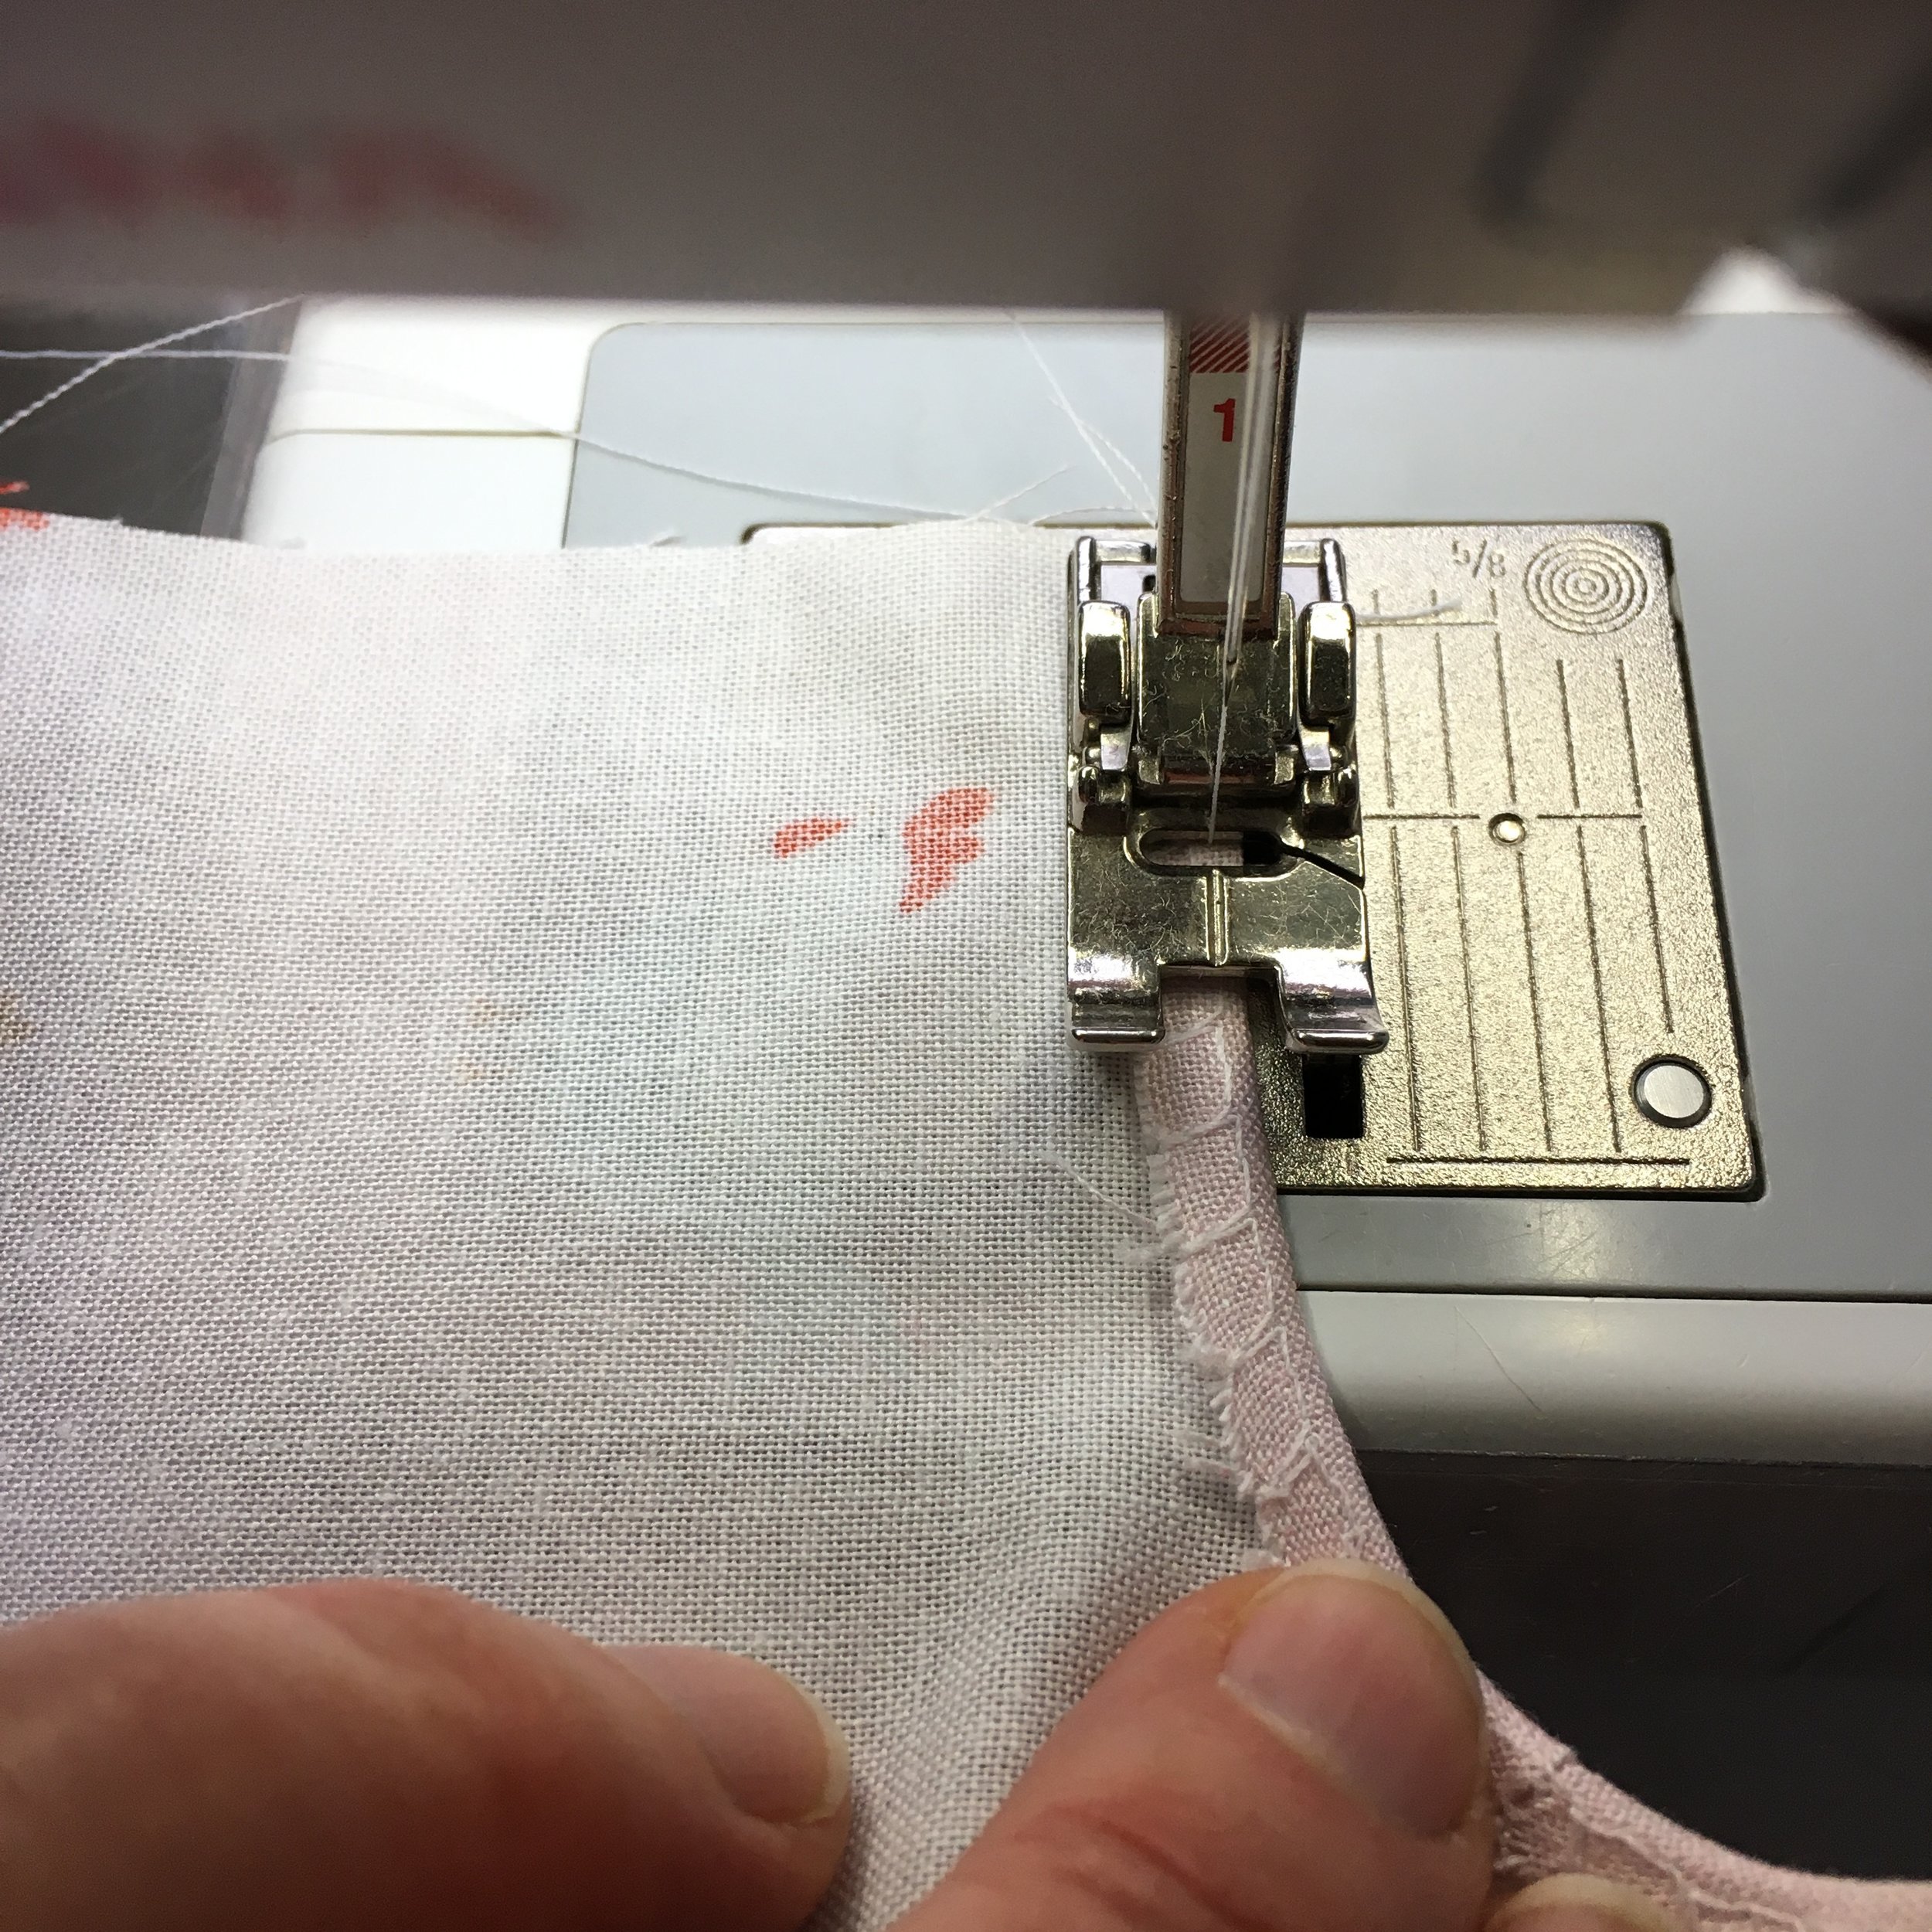
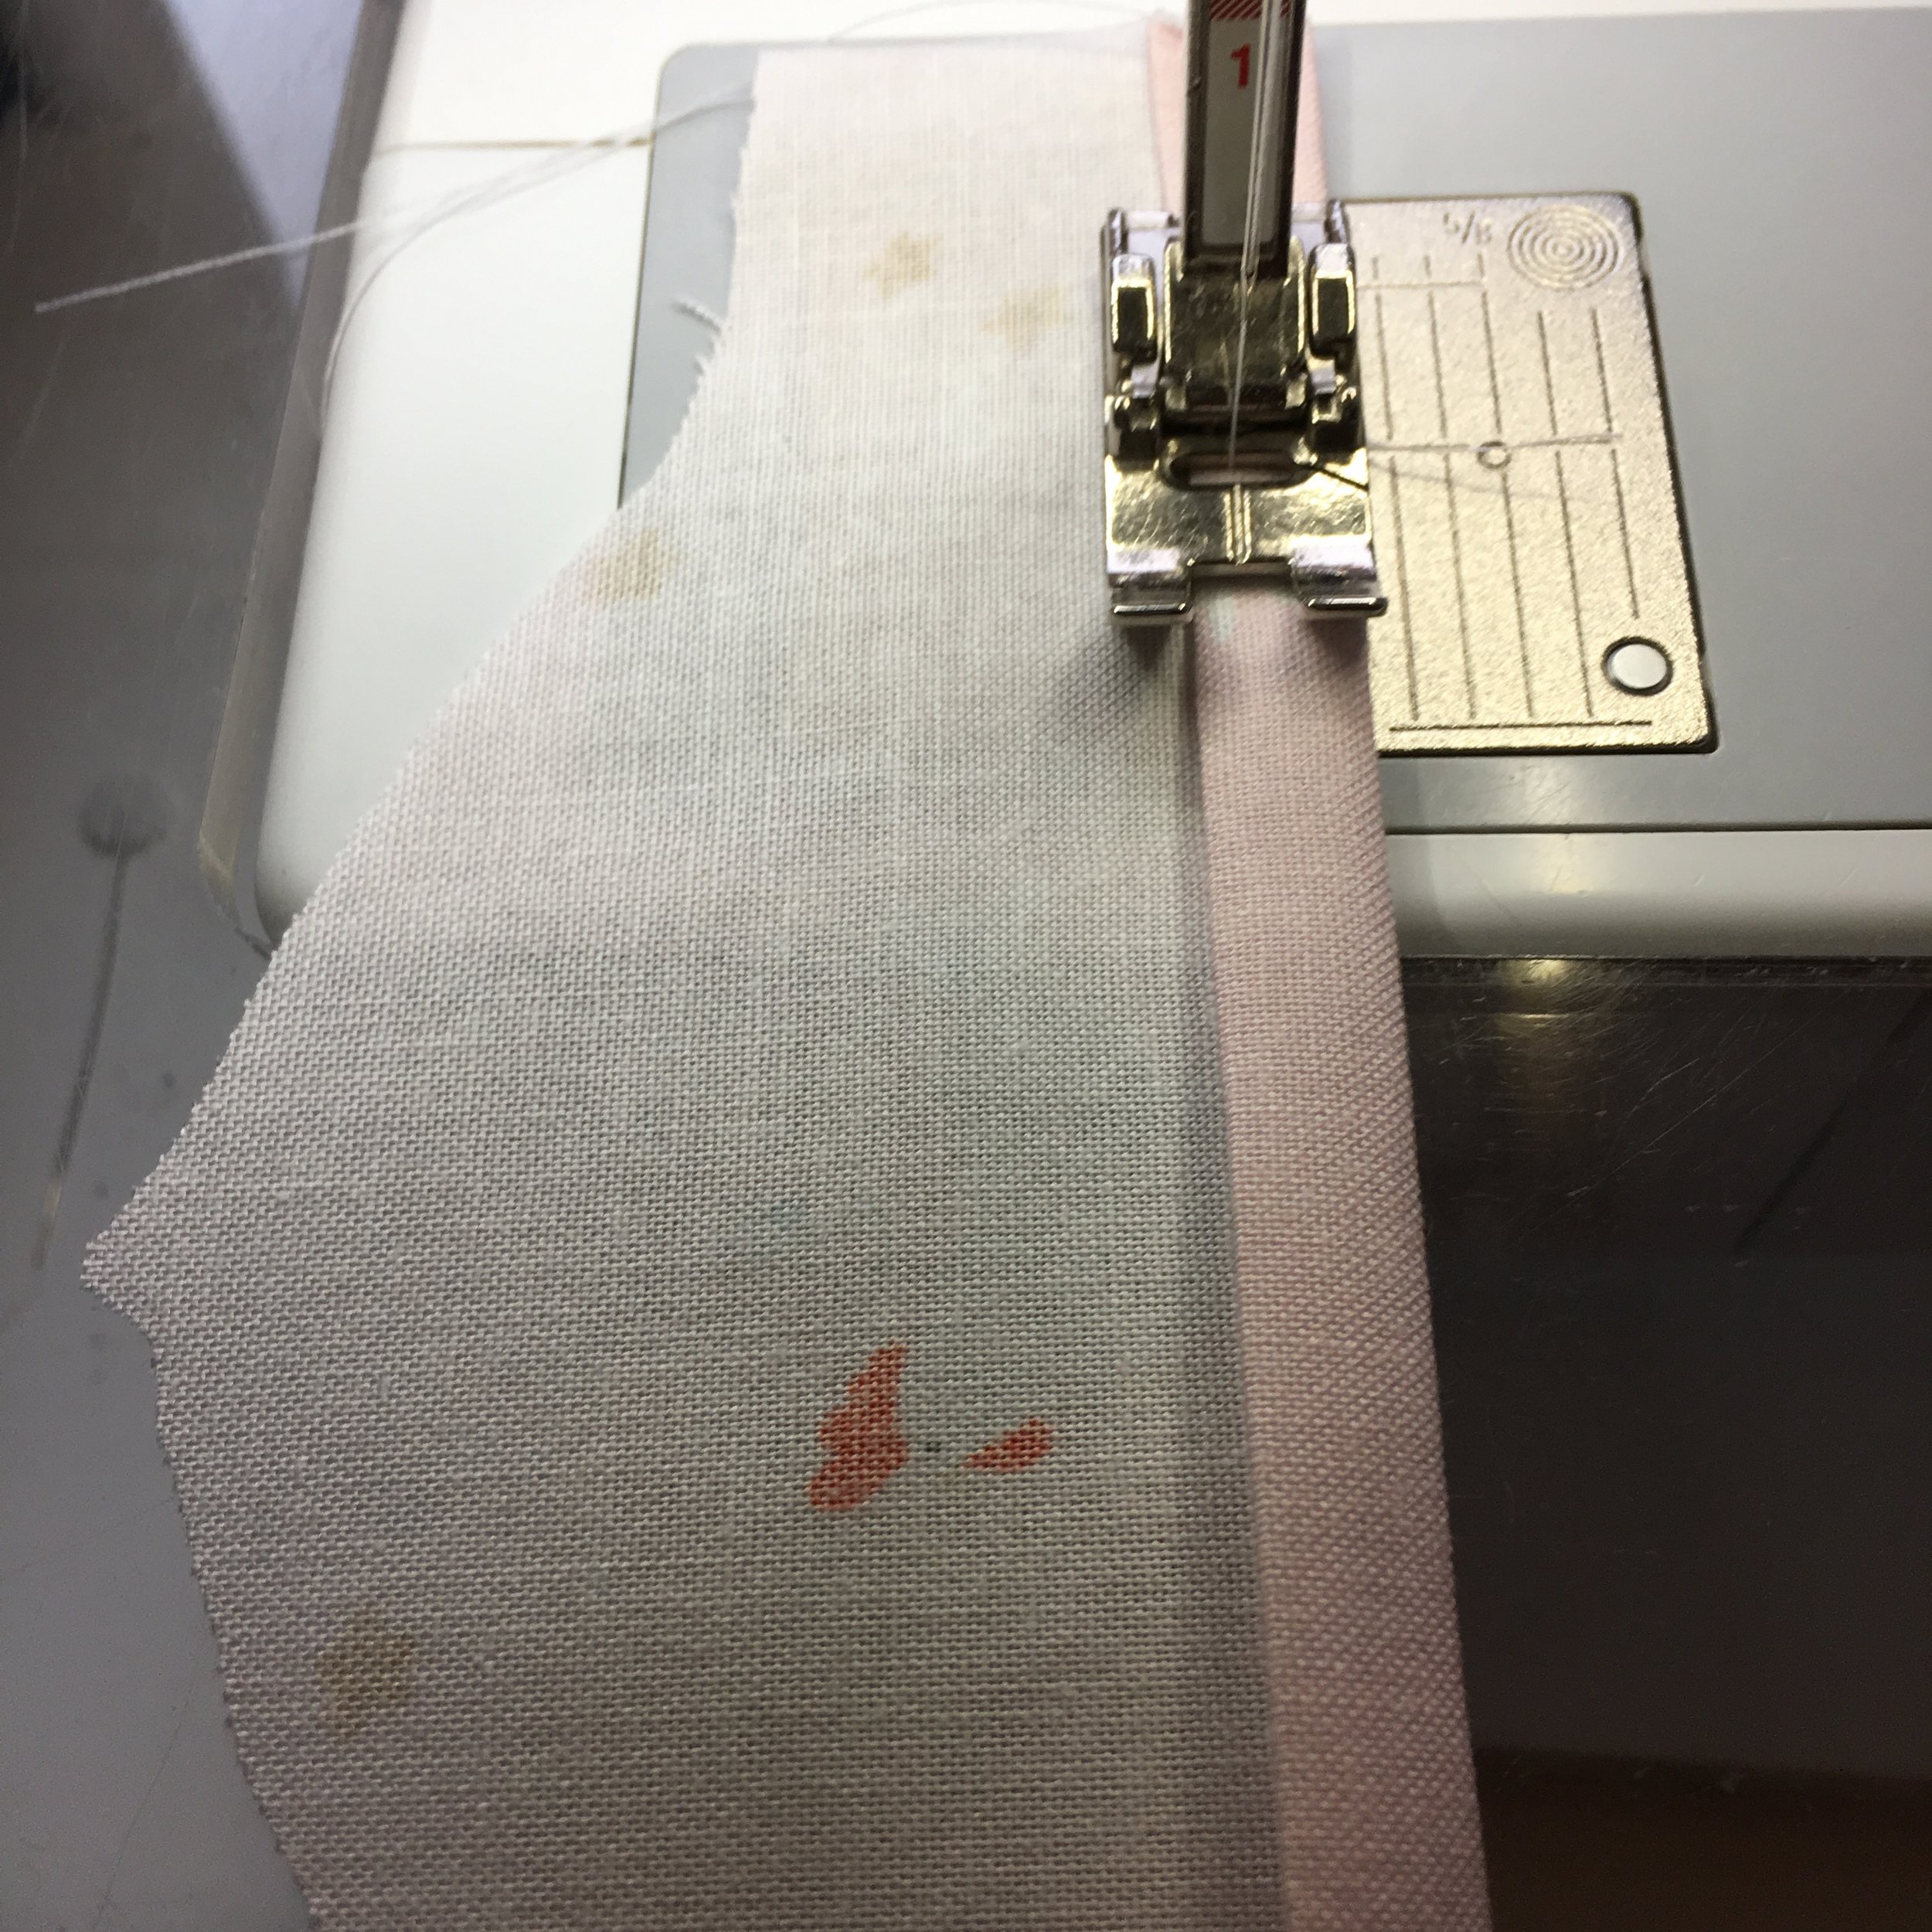
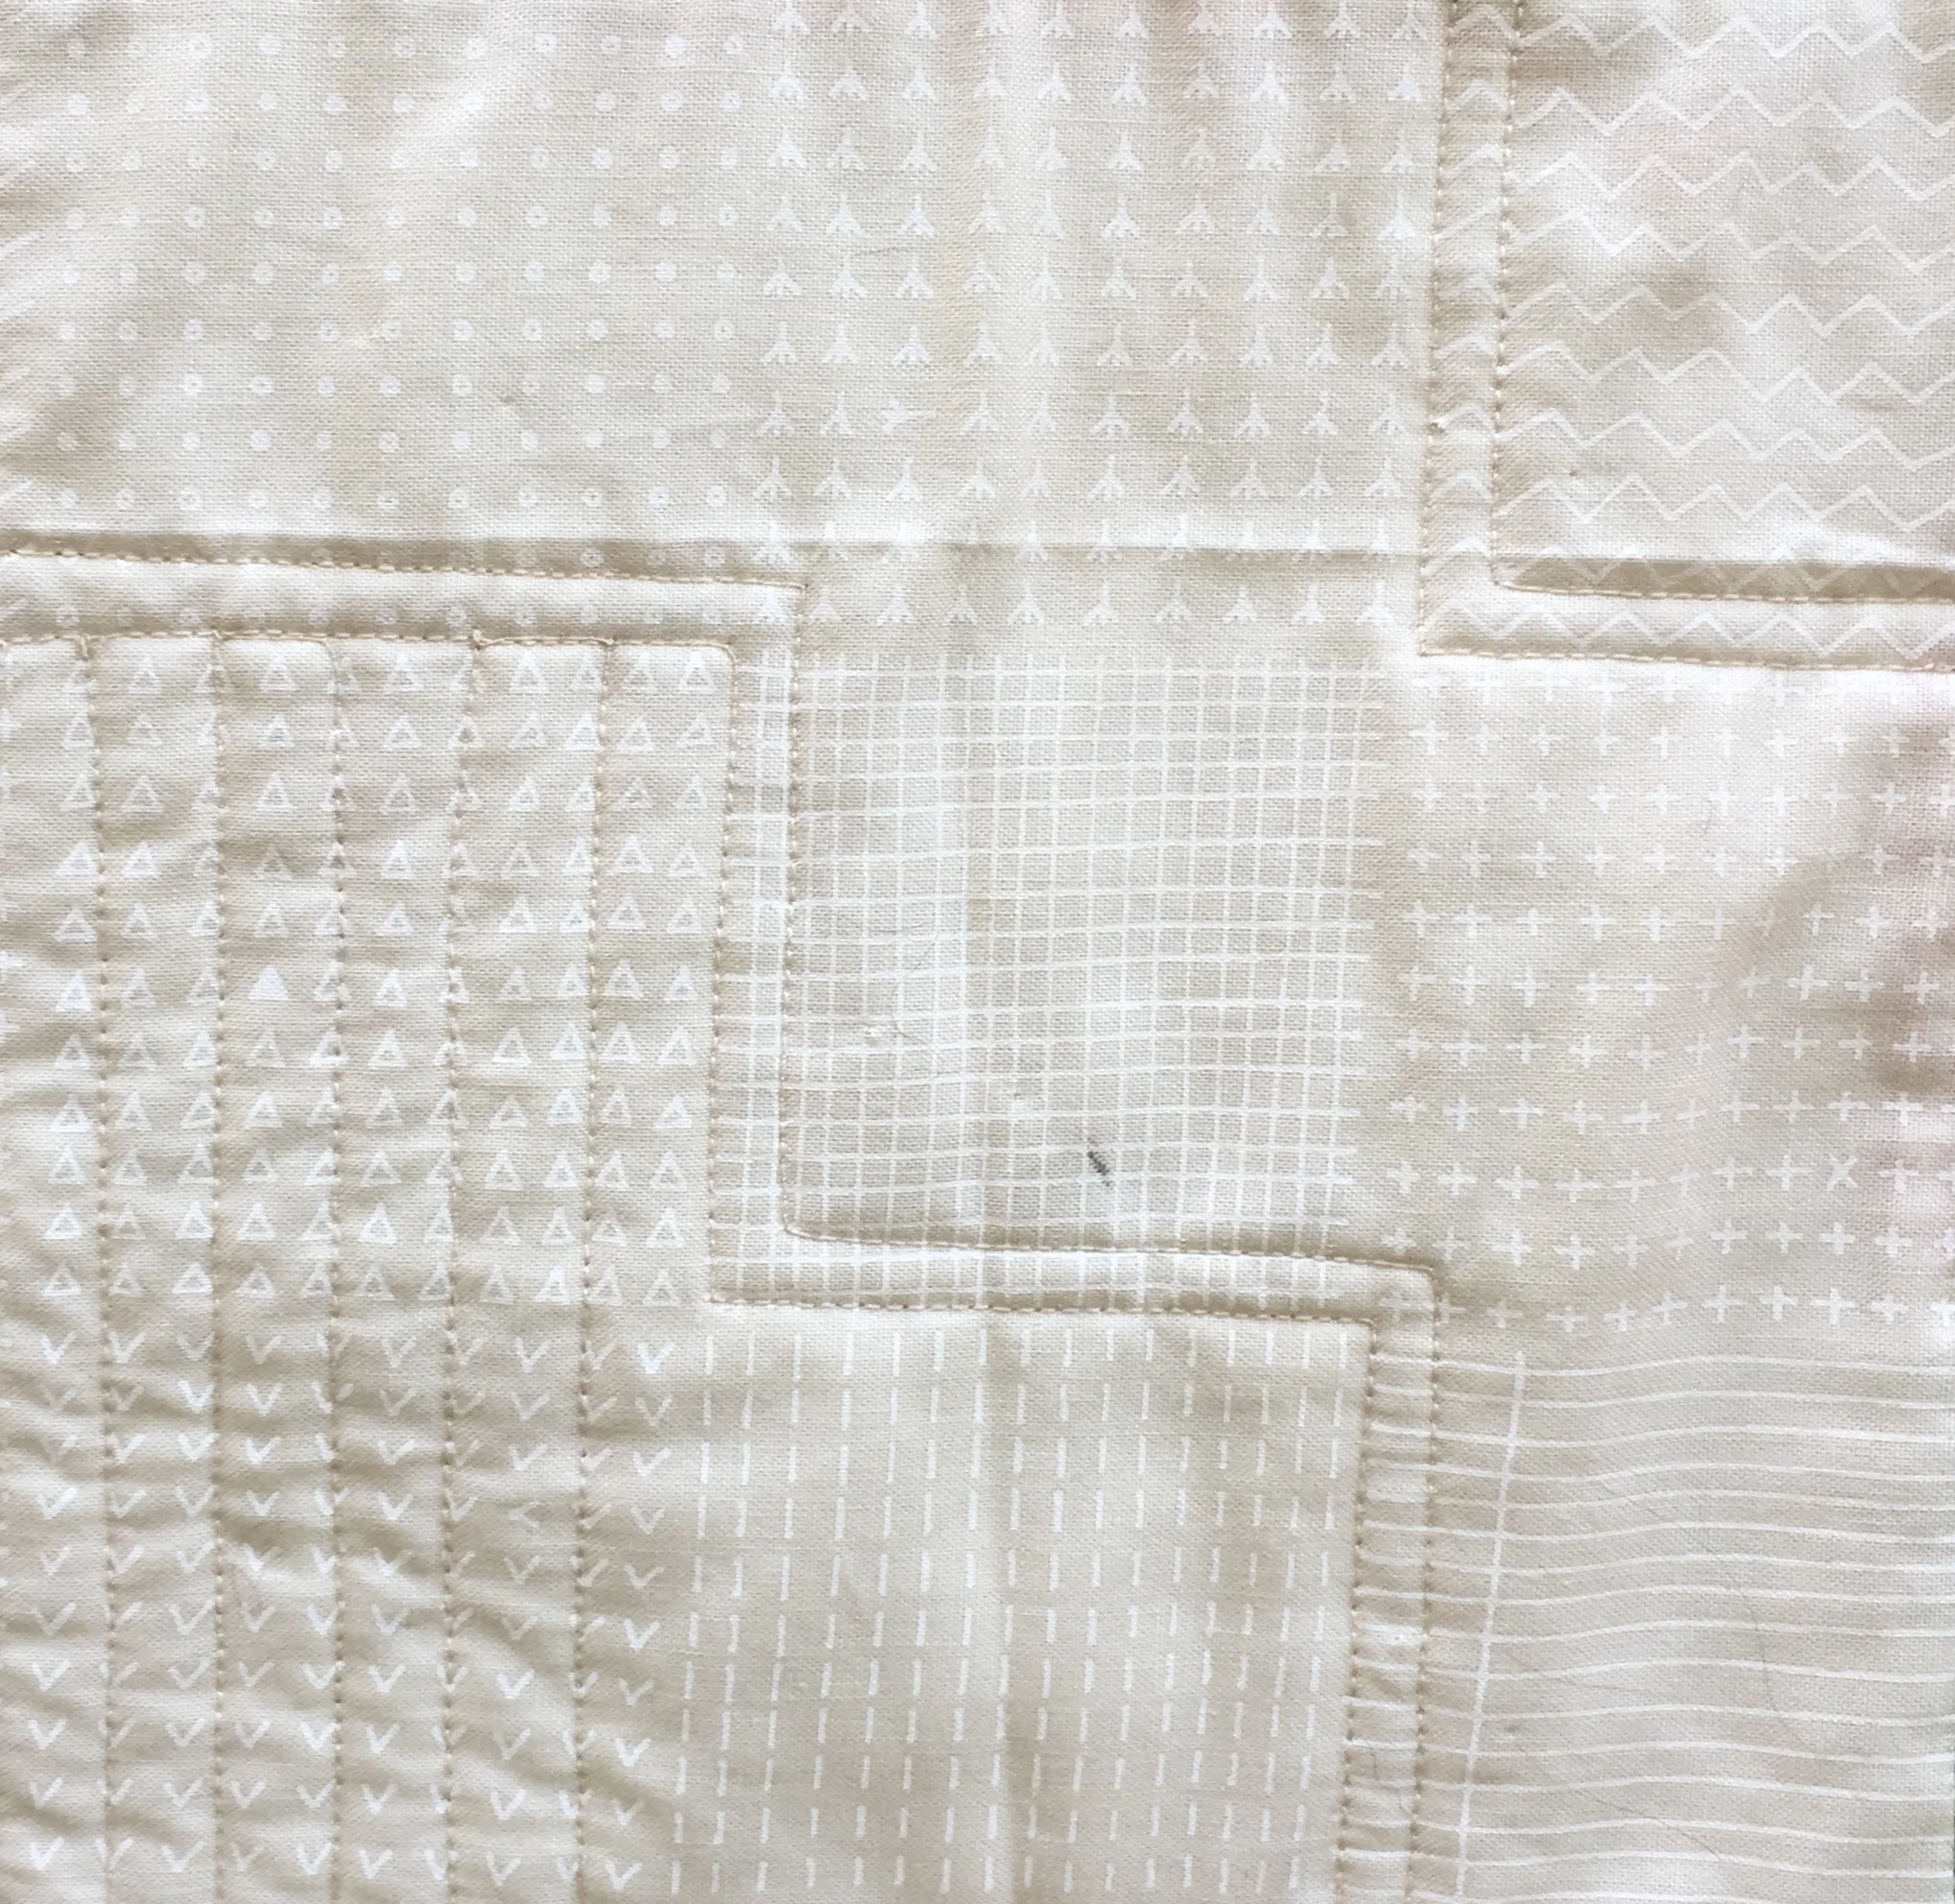
Despite the fact that I’ve been working on this quilt on and off all summer, it really does come together quickly. I like this quilt but it really doesn’t show off the star design very well.
If I make it again, I think it would be fun to use bold solid colored fabrics. One color for each star, and another for the designs between the star points of the largest star and the center square. While white or off-white would be the obvious choice for the background of that quilt, I think using that a low volume print as I did uin this quilt, would be fun.
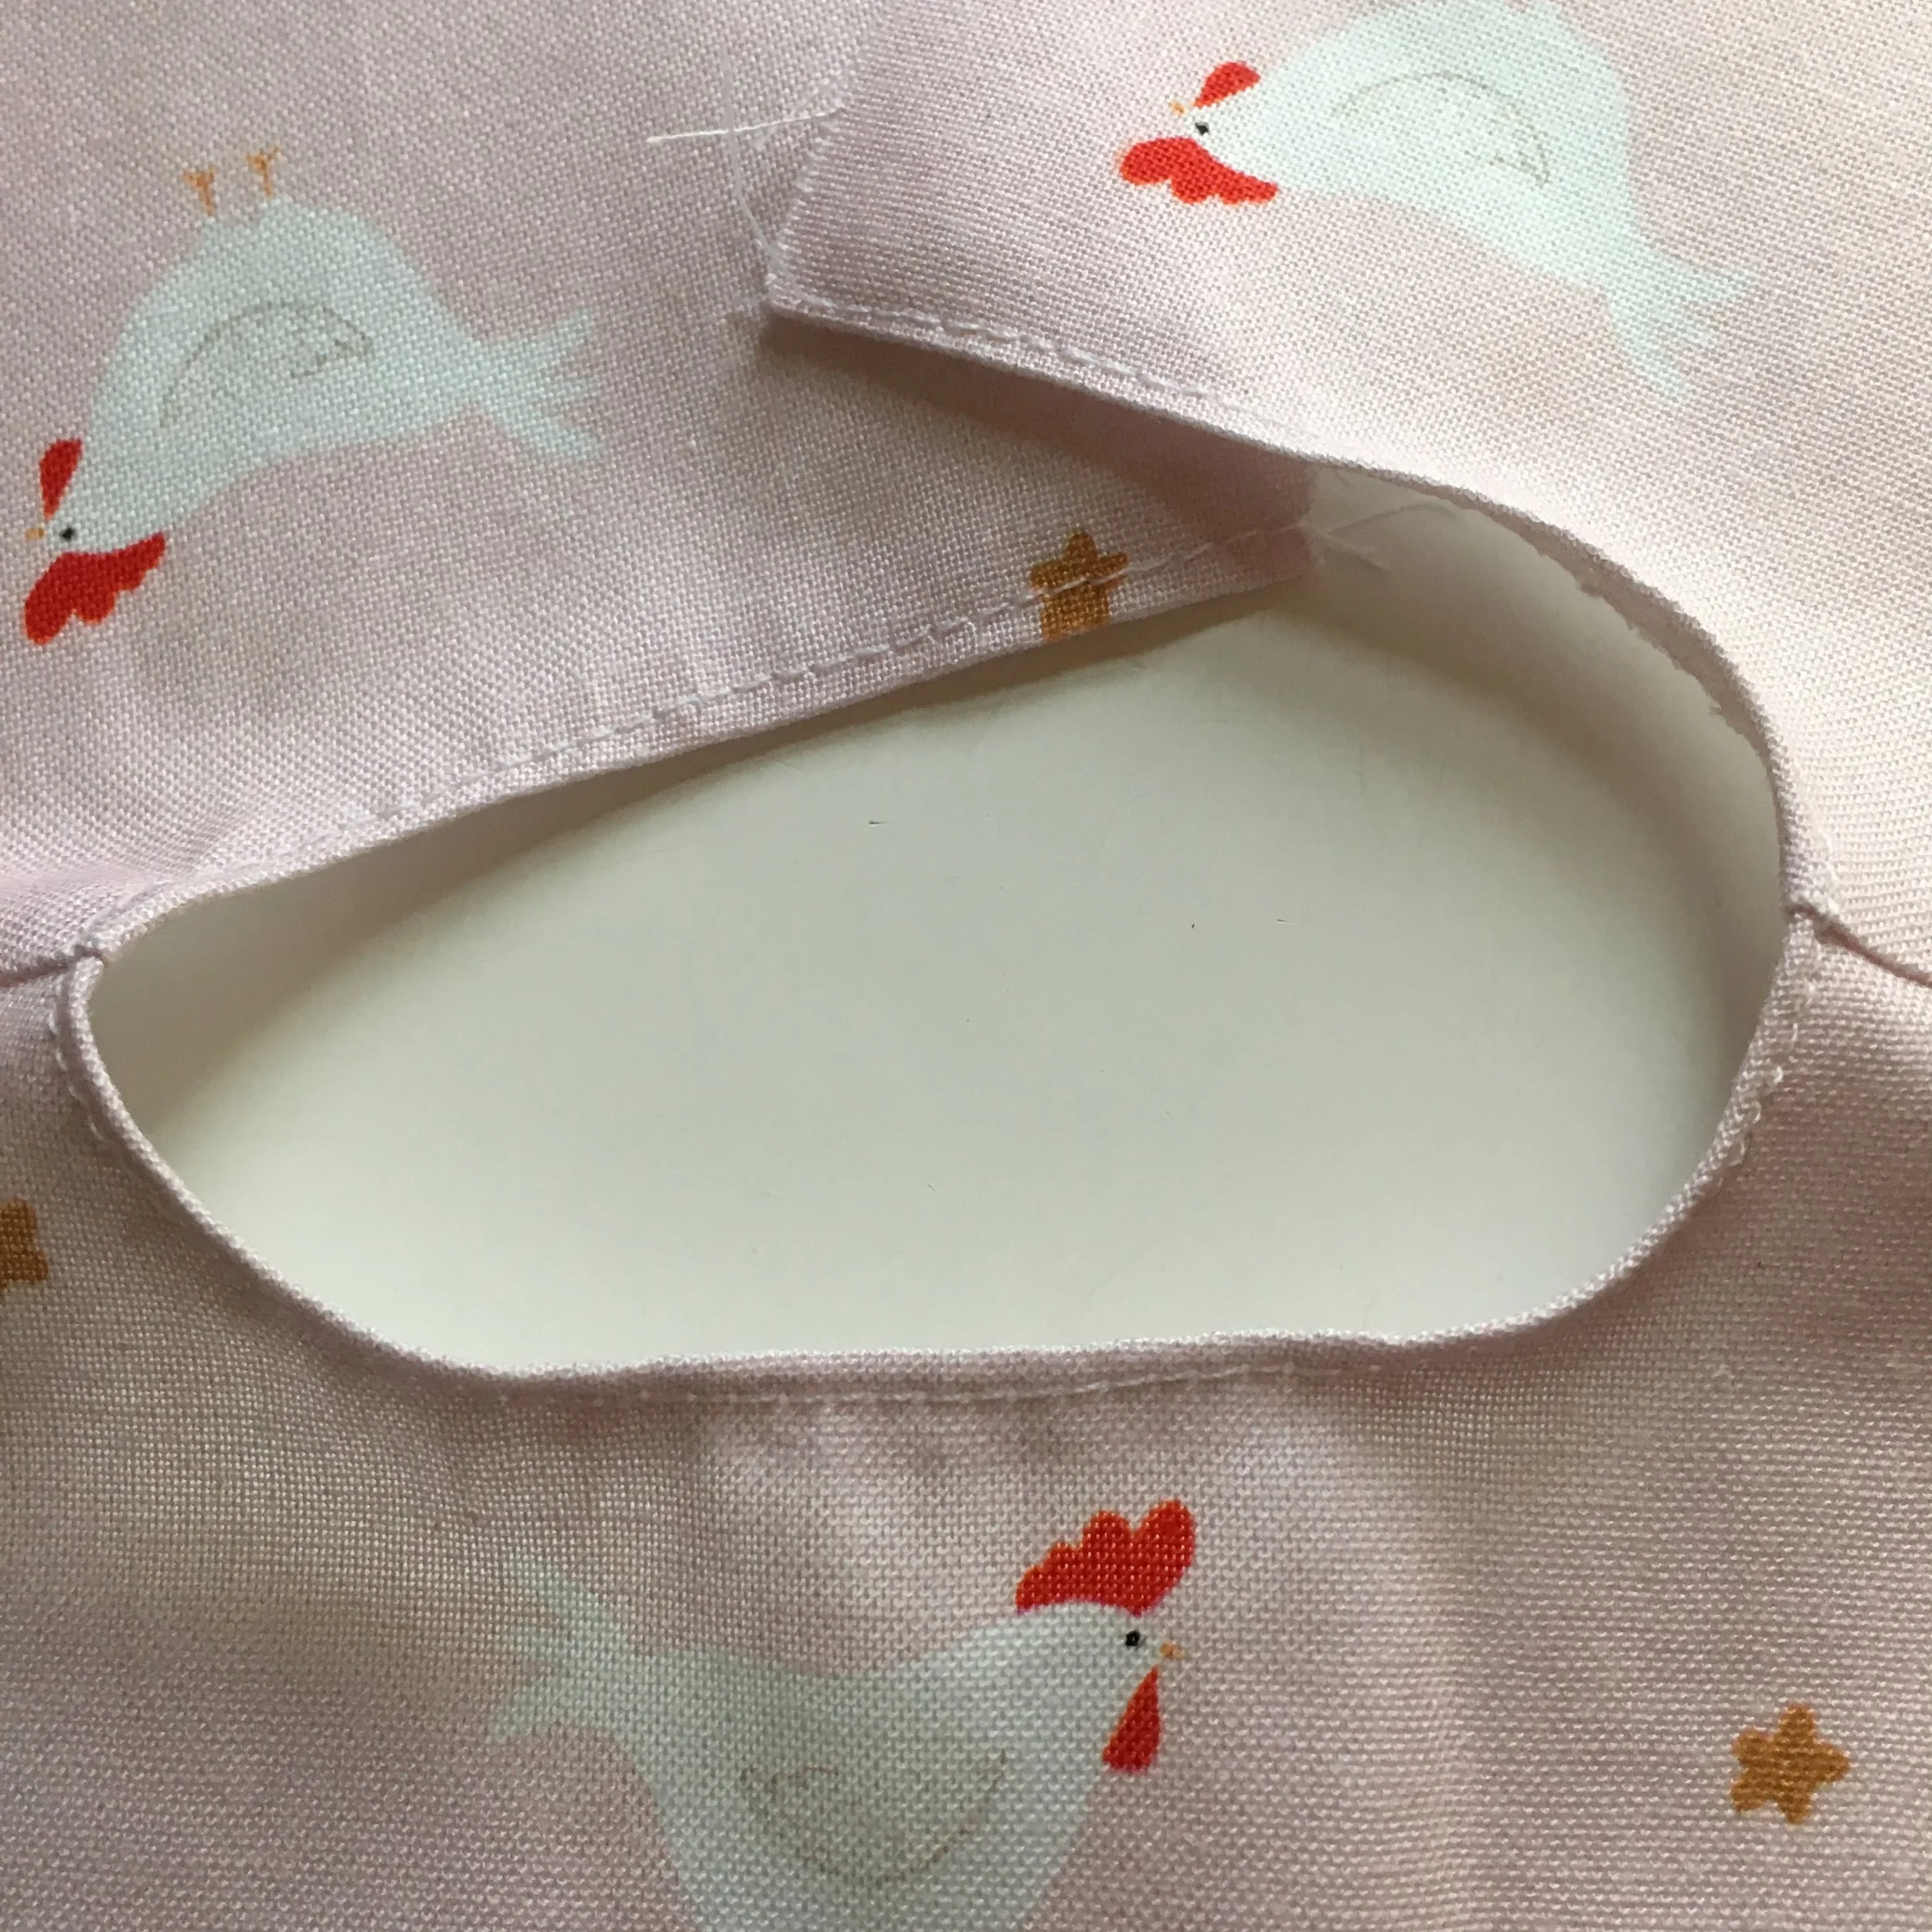
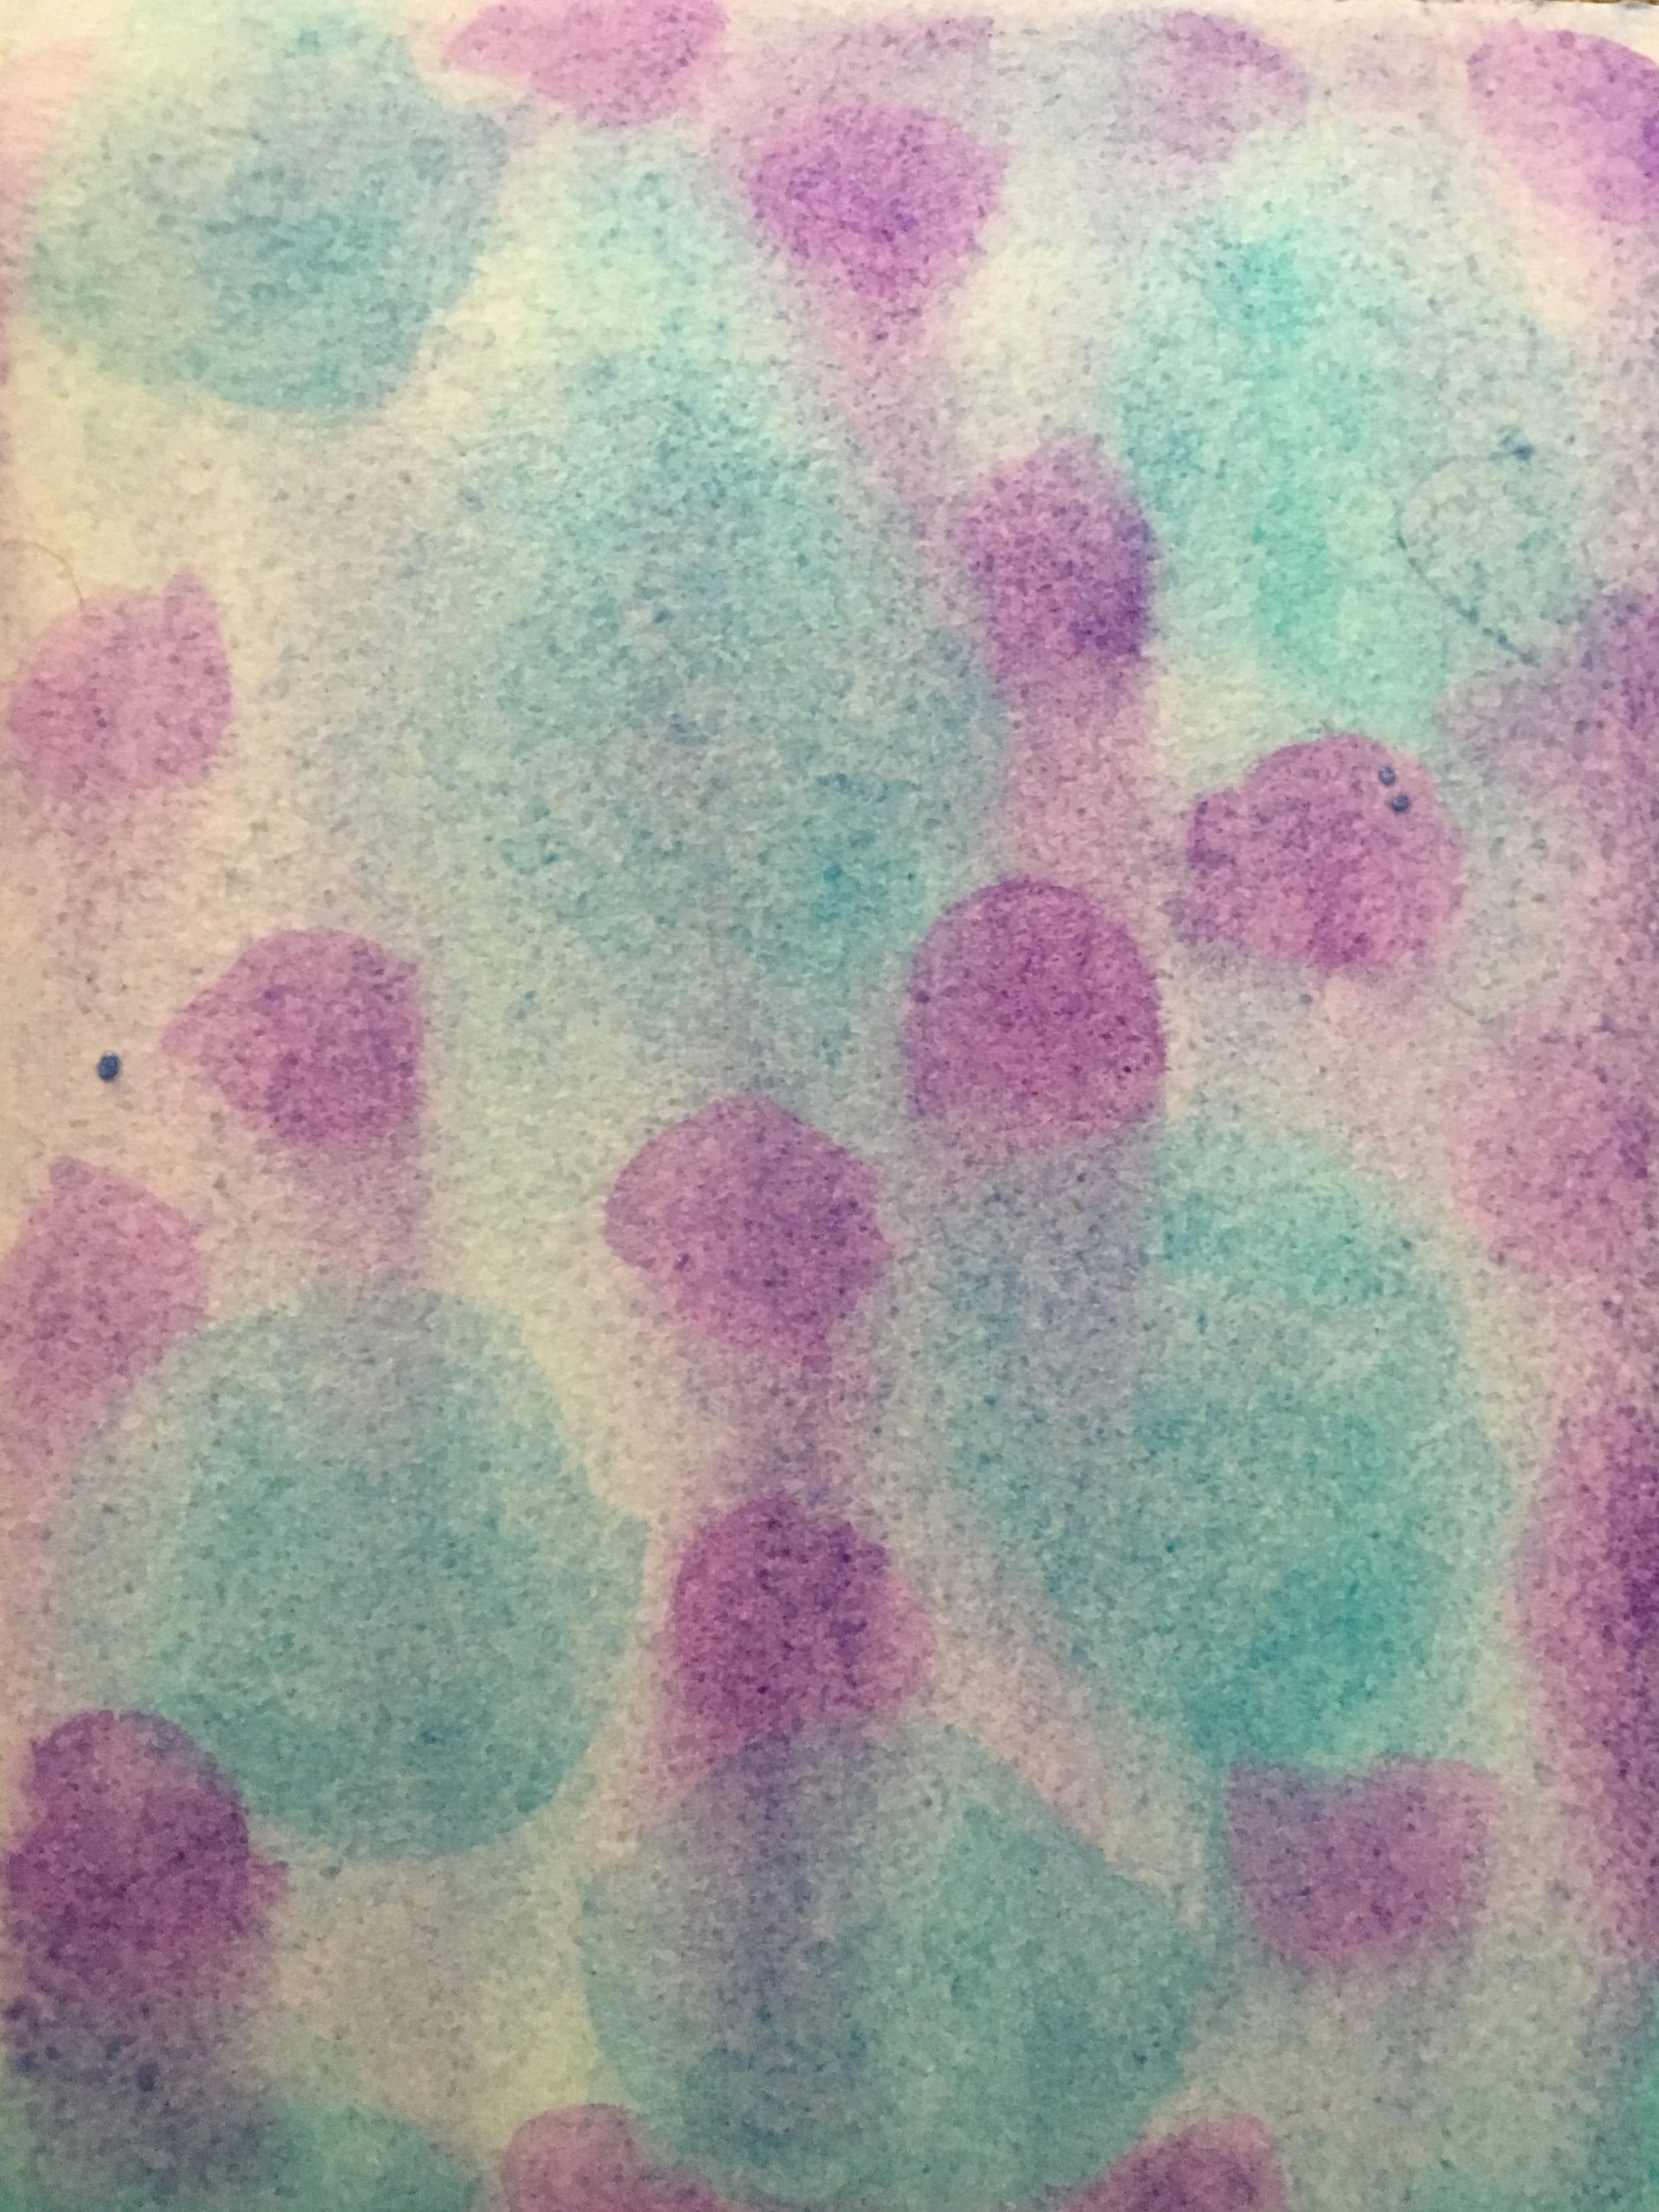
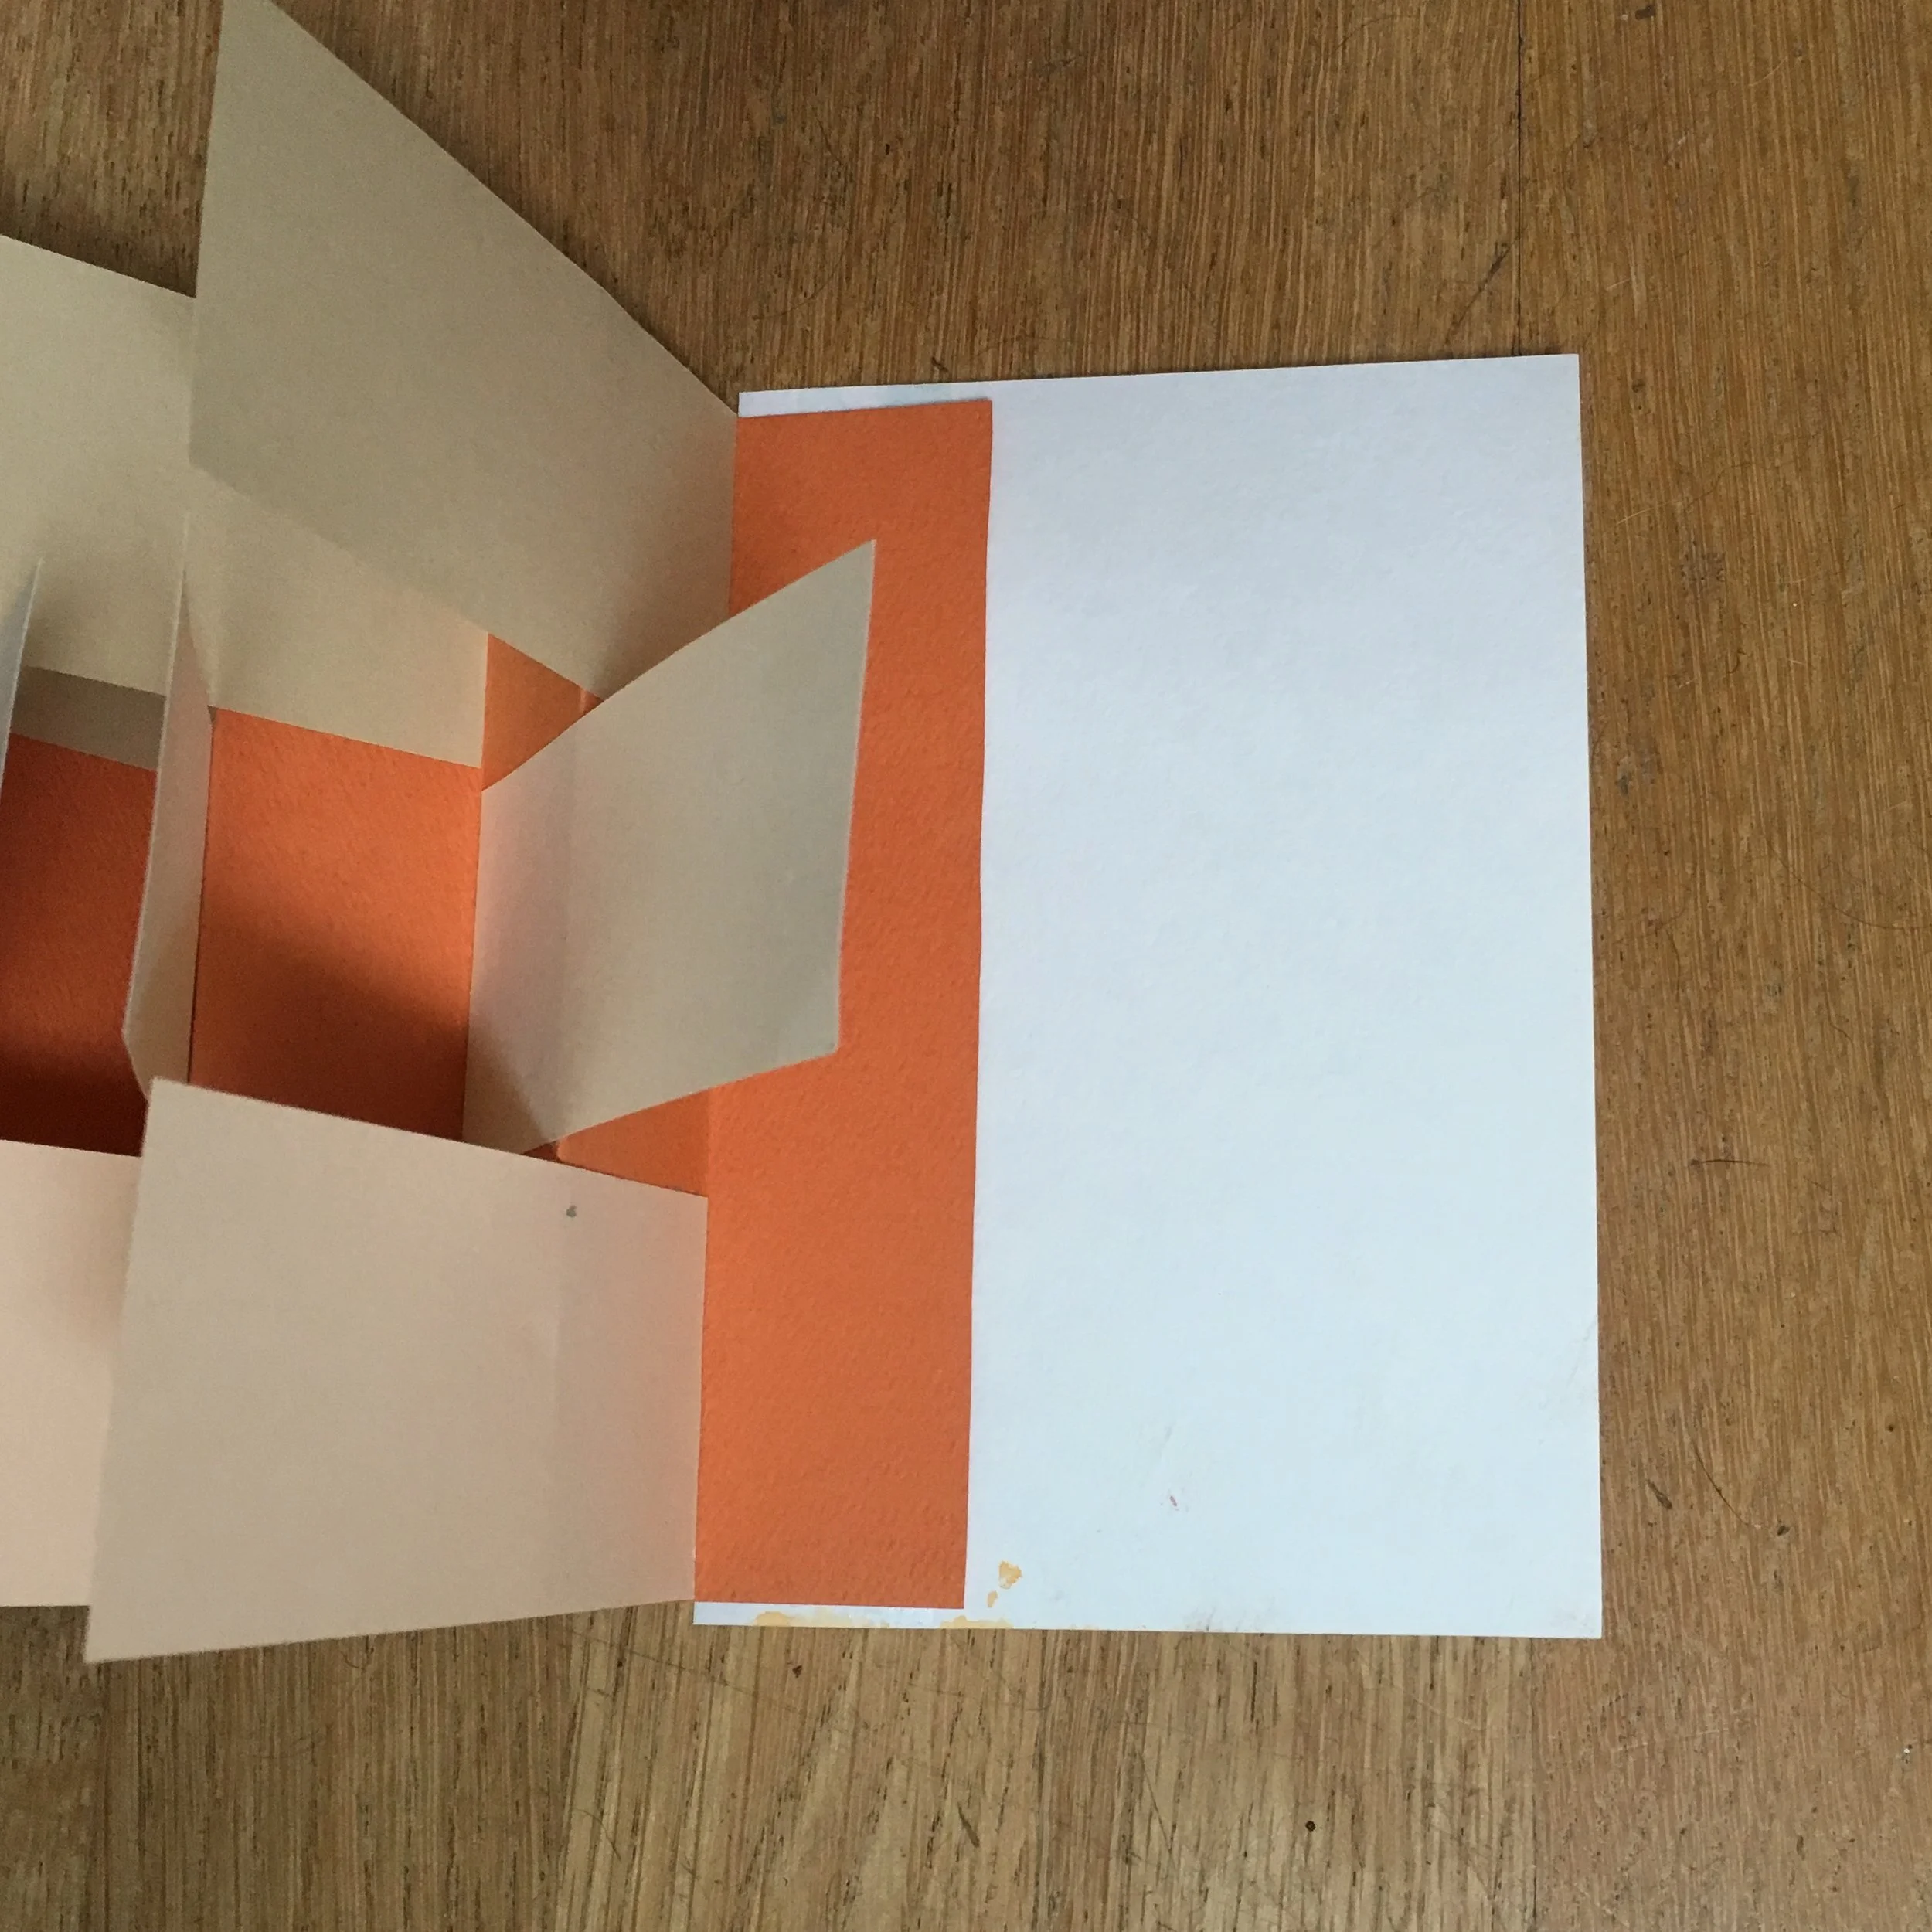
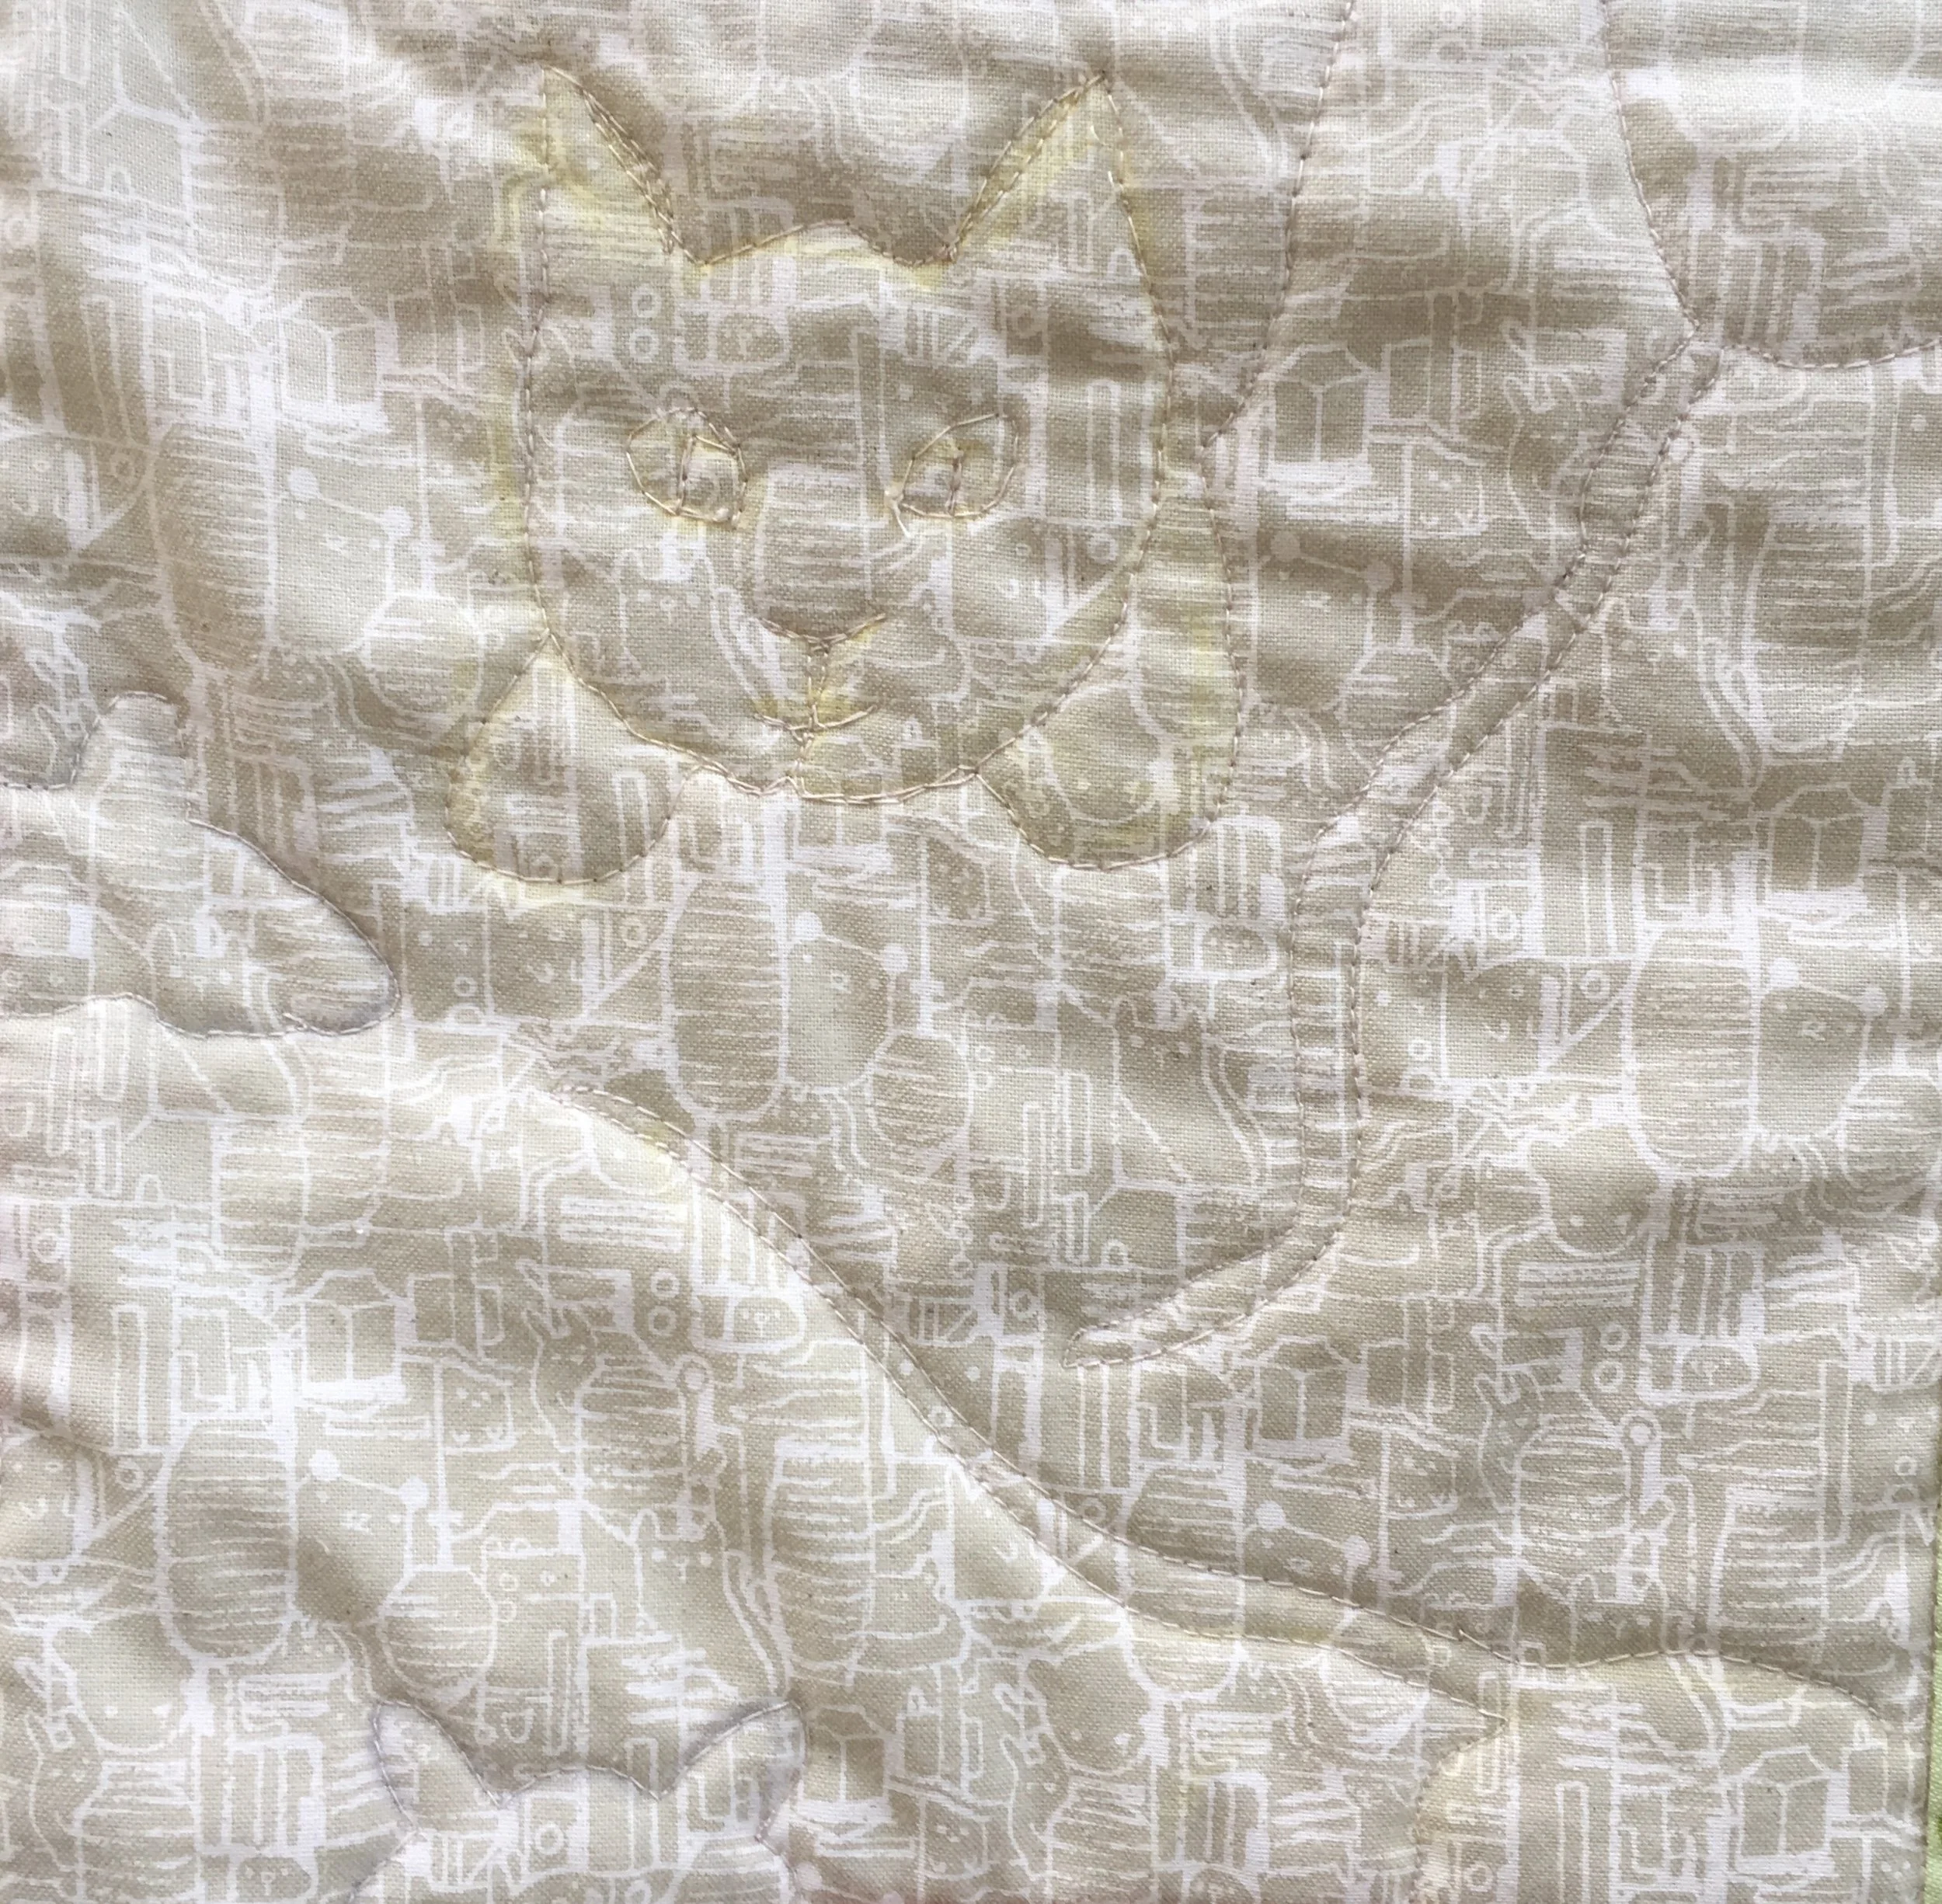
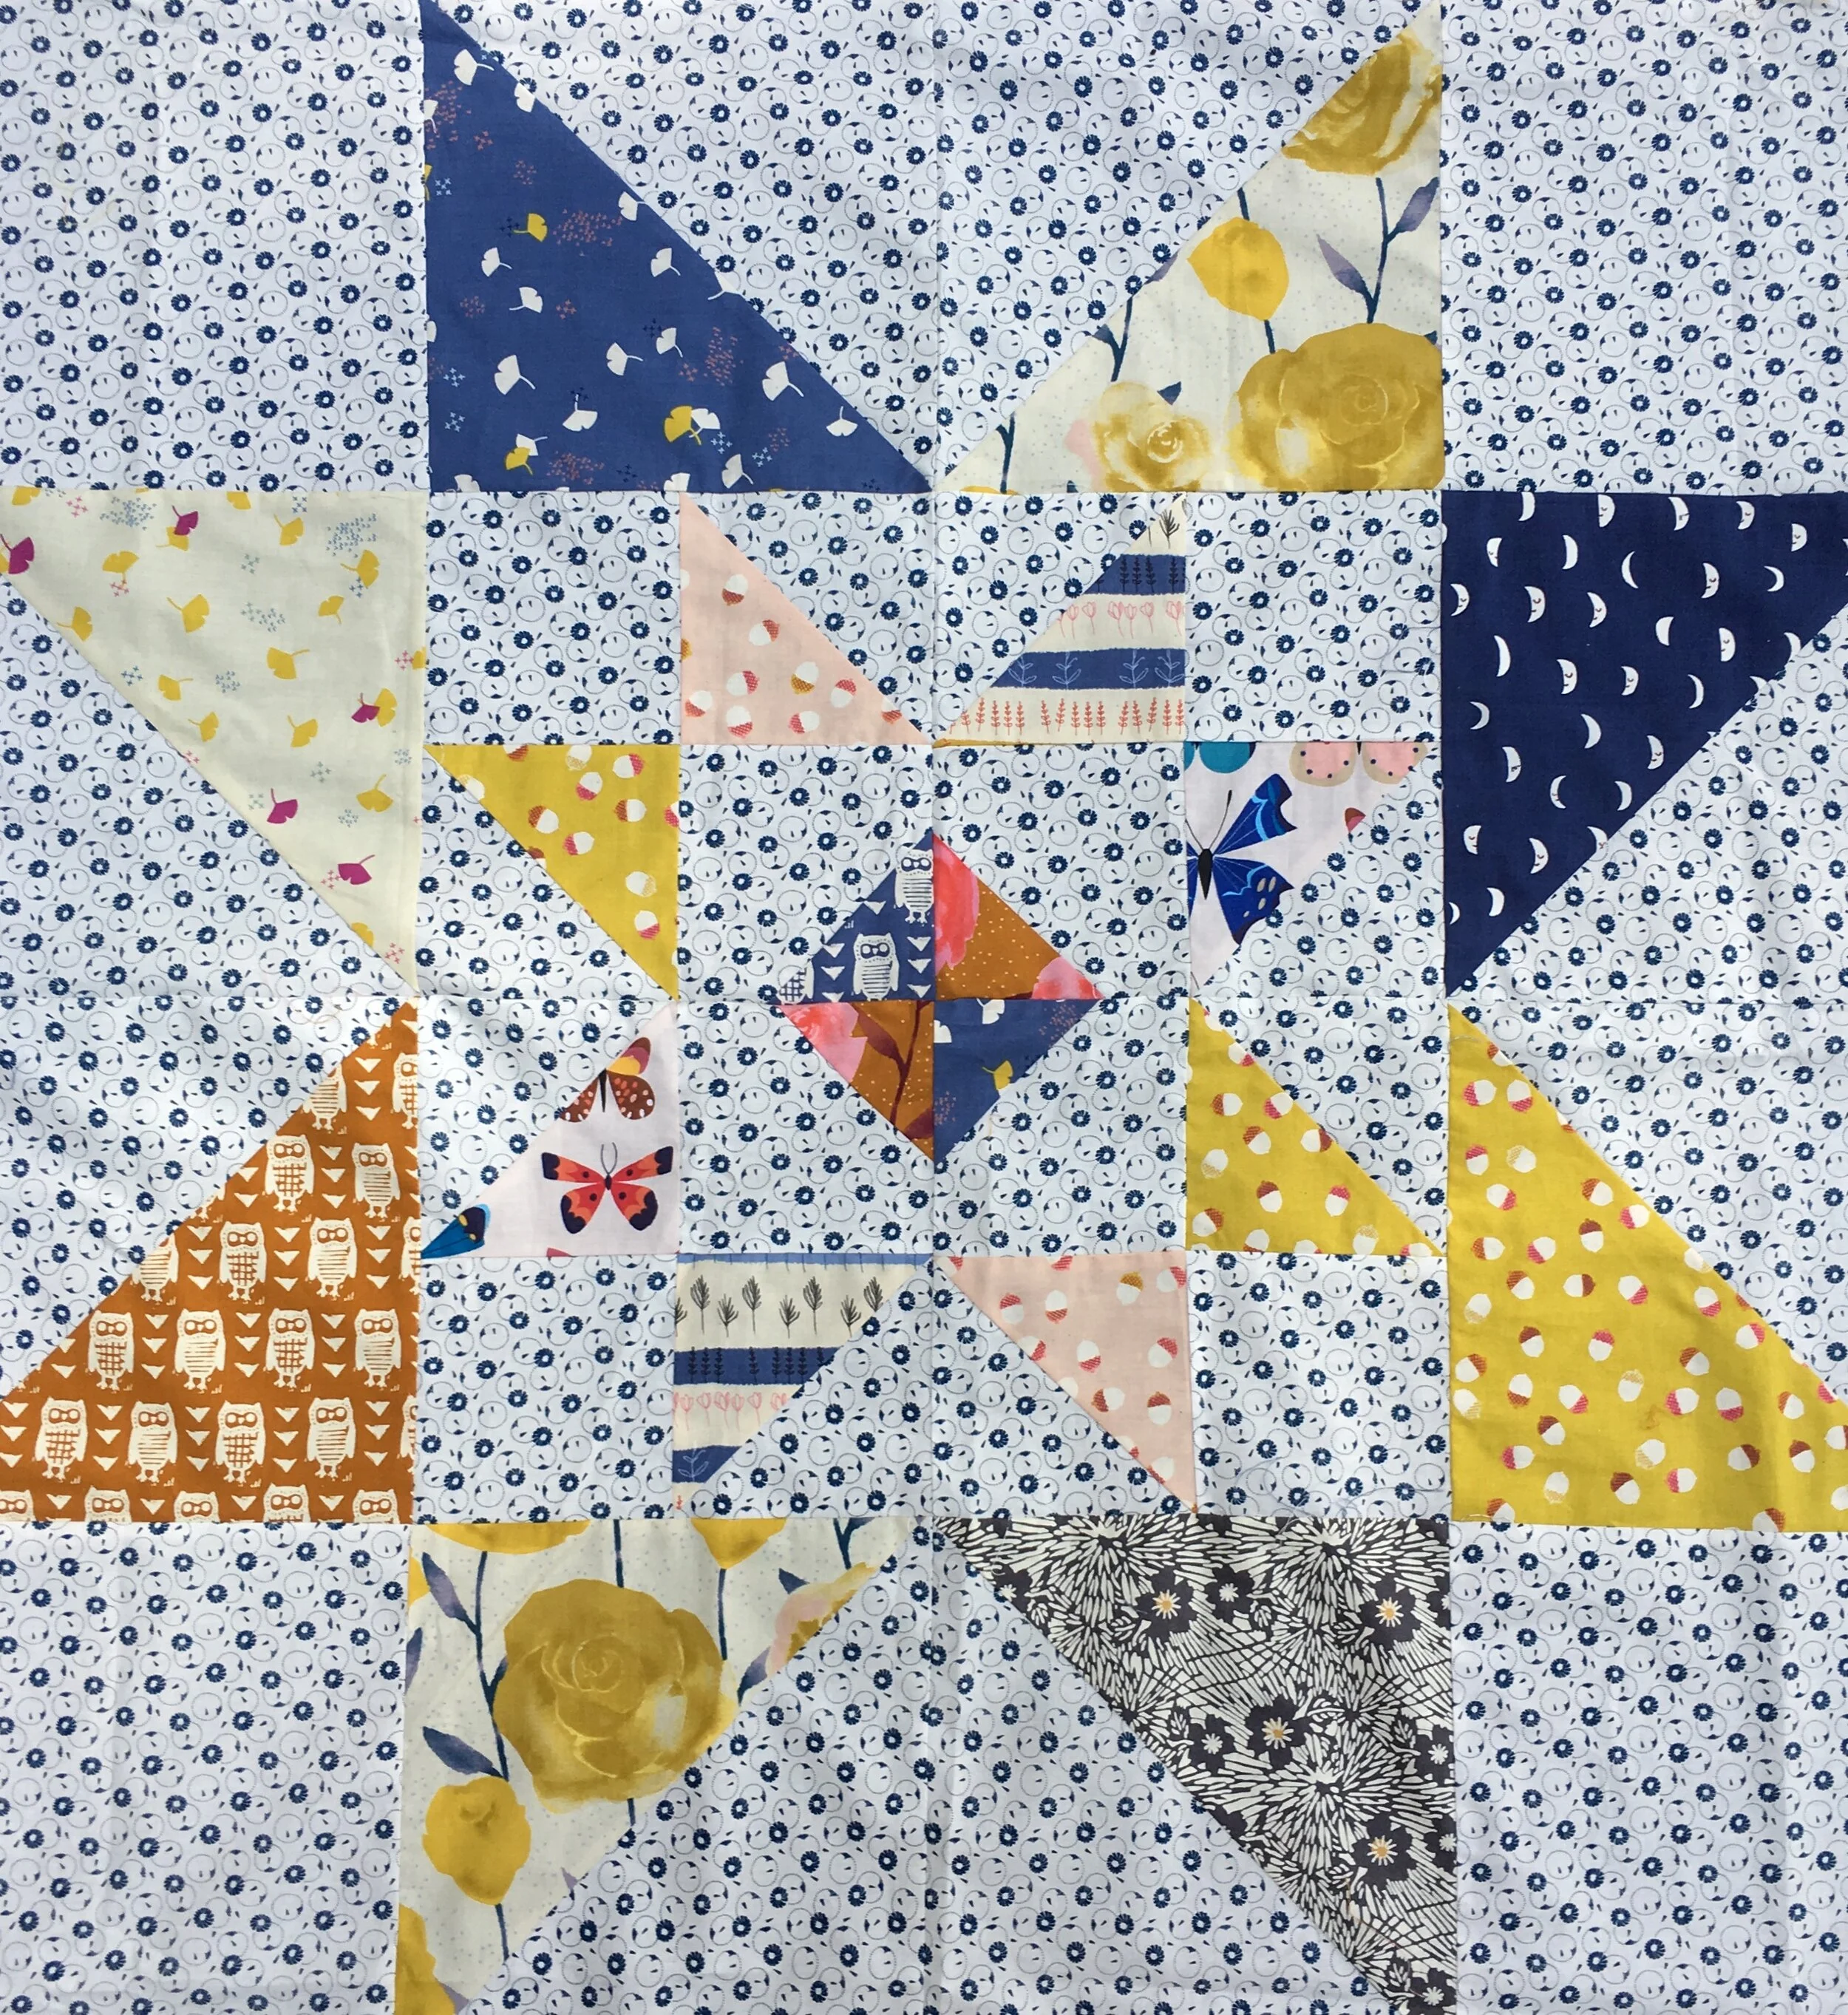
Here is a photo of the two inner stars and center square so you can see more of the detail in the fabrics.
I’m off to go sew on the outer borders! This is a big quilt, so it will be a while before it’s done!