Pin Basting a Quilt
I just layered and pin basted a queen sized quilt. That gave me lots of time to think about all the different ways I’ve basted quilts over the years.
When I started quilting in the 1970s, all my basting was done with needle and thread, using long basting stitches. It was a slow method, but certainly did the job well. My layers stayed together until my hand quilting was done, and I pulled out all the basting threads.
When I started machine quilting, the clerk in the sewing machine store, suggested using a spray on temporary adhesive. I would spray on the adhesive and then pin the layers together. I was never brave enough to rely just on the adhesive without the pins. I found it worked well, but the fabric layers weren’t always a flat as they might have been, especially near the edges of the quilt.
Using an aerosolized flammable adhesive no longer appeals to me for environmental and health reasons. Why spray chemicals on a quilt someone is going to sleep under? Even if it is supposed to be temporary.
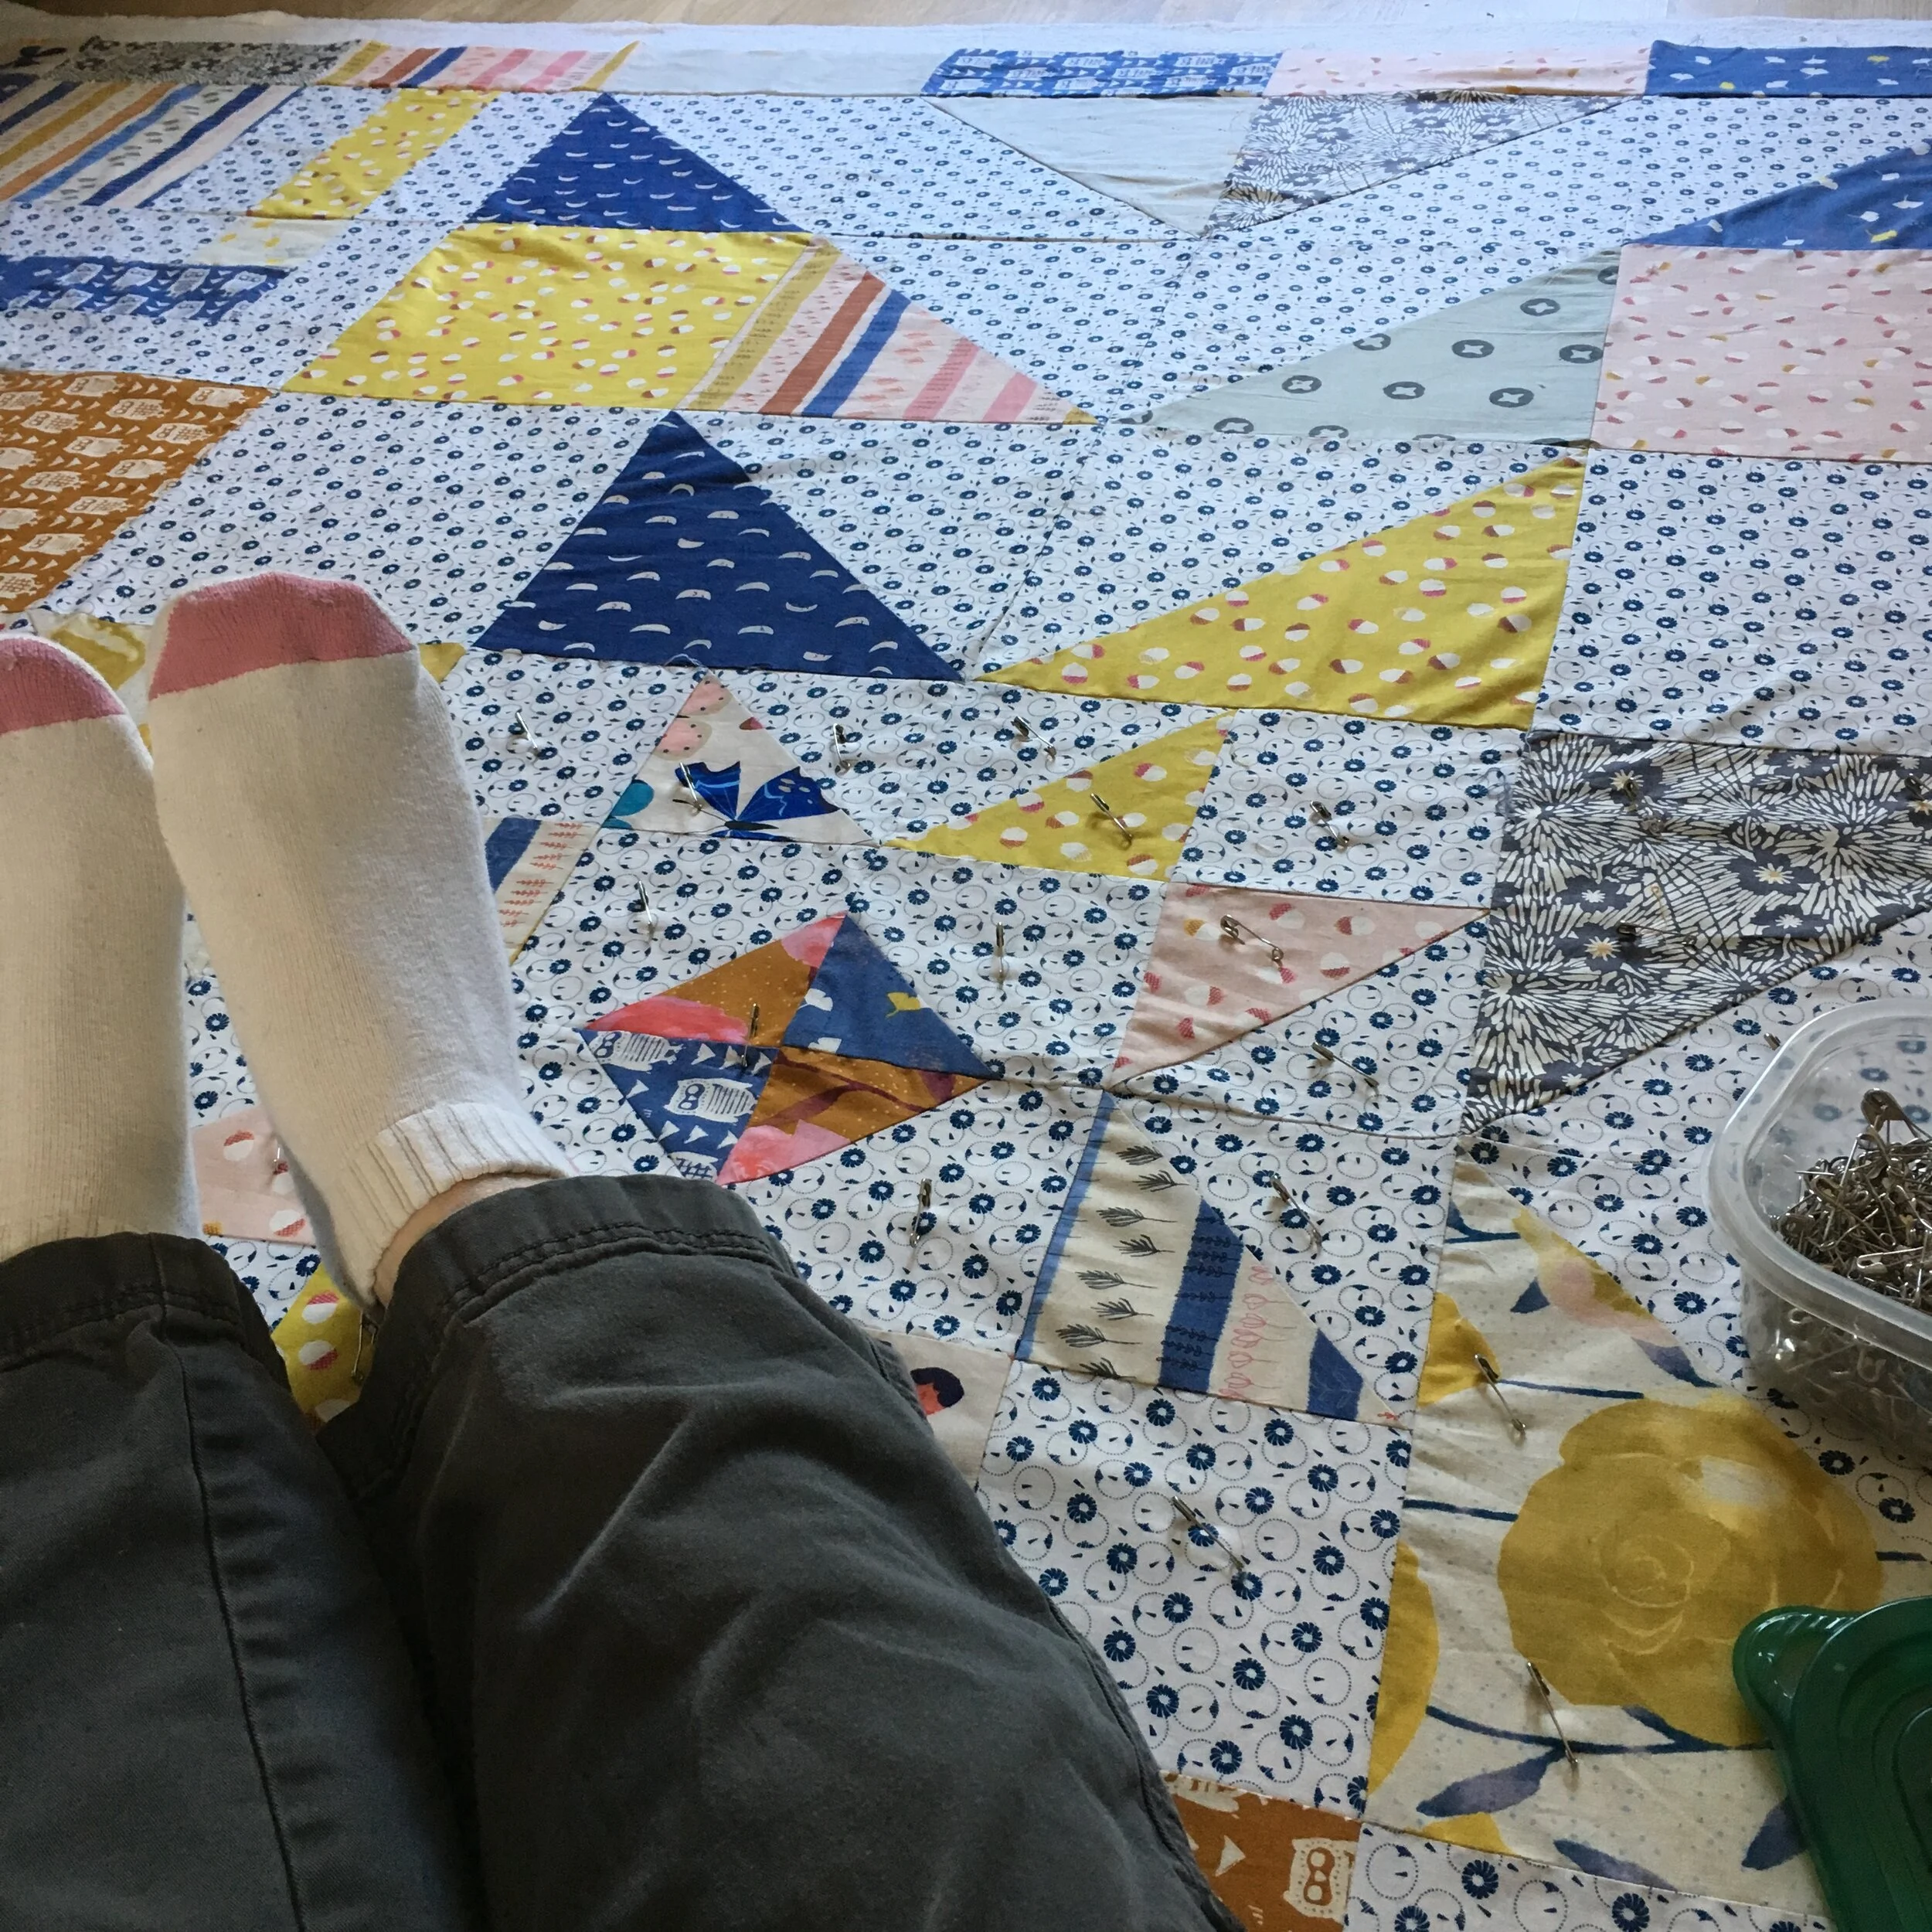
These days I put my backing down on the floor, wrong side up, and tape in about 6 to 8 places with painters tape. That gets the bottom layer smooth and flat and keeps it from shifting (at least most of the time). Then I put my batting on top of the backing, smoothing it out until it too lies nice and flat. Then I put on the the pieced top. and smooth that down.
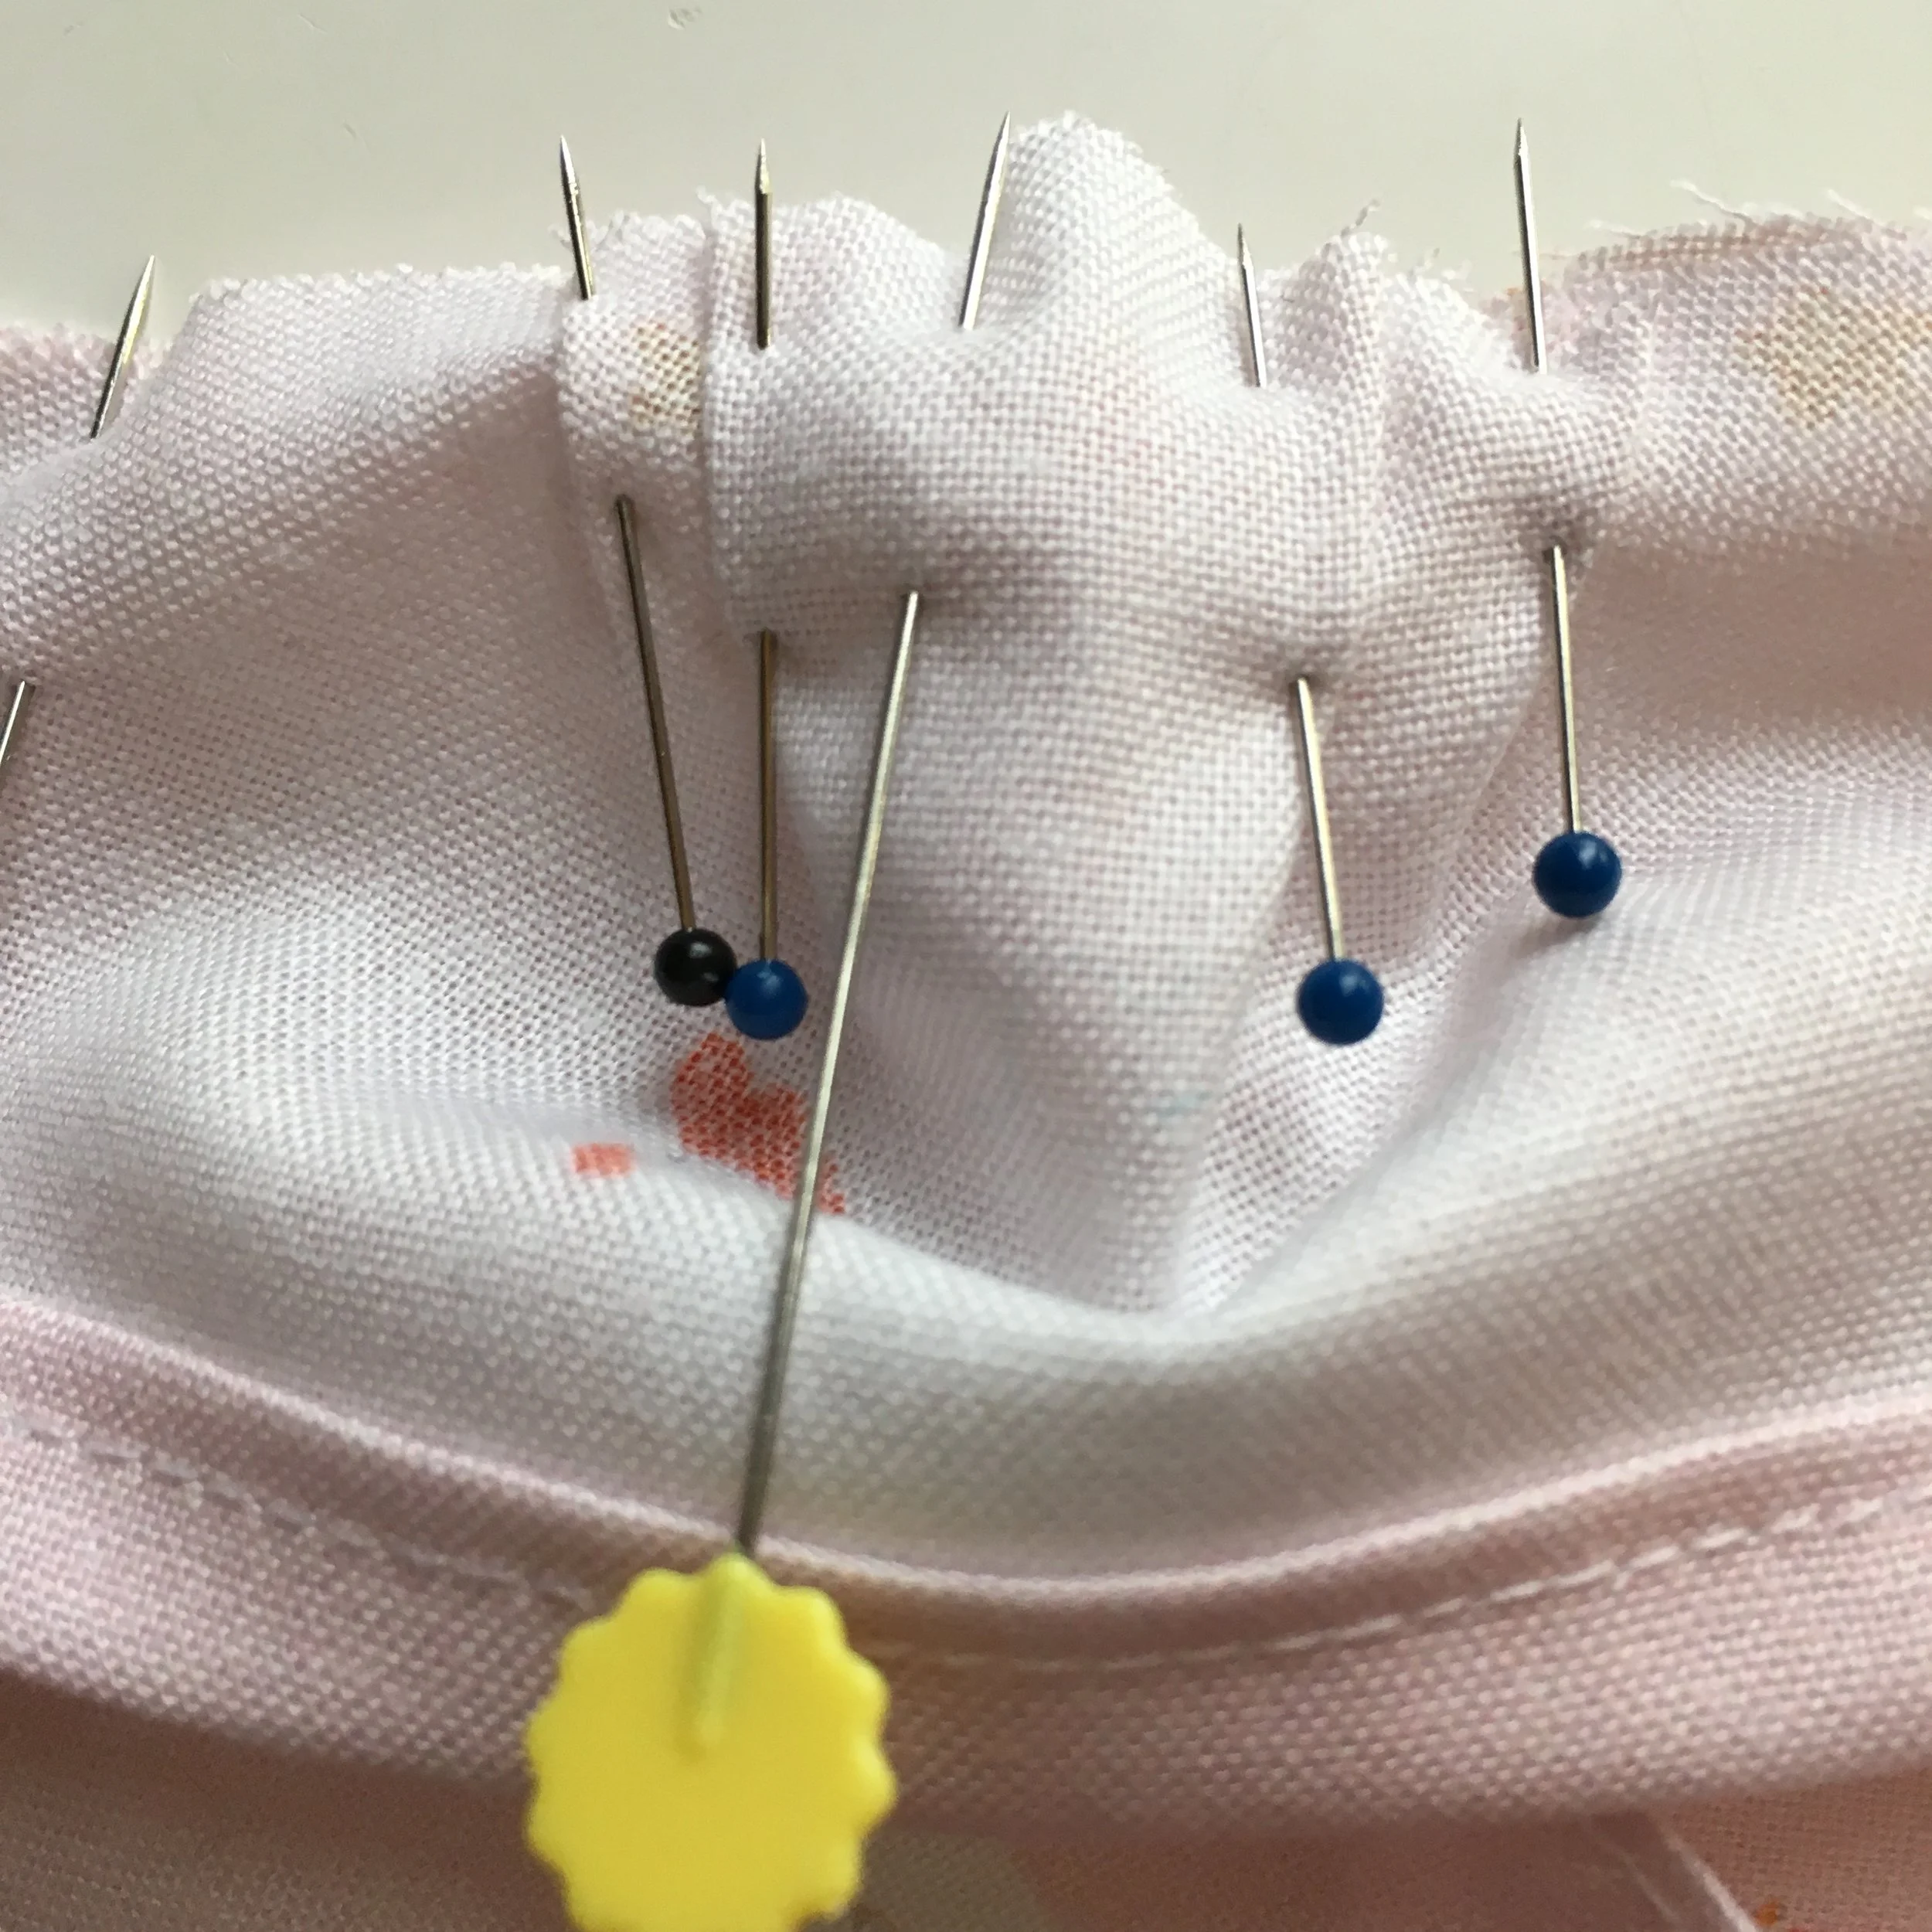
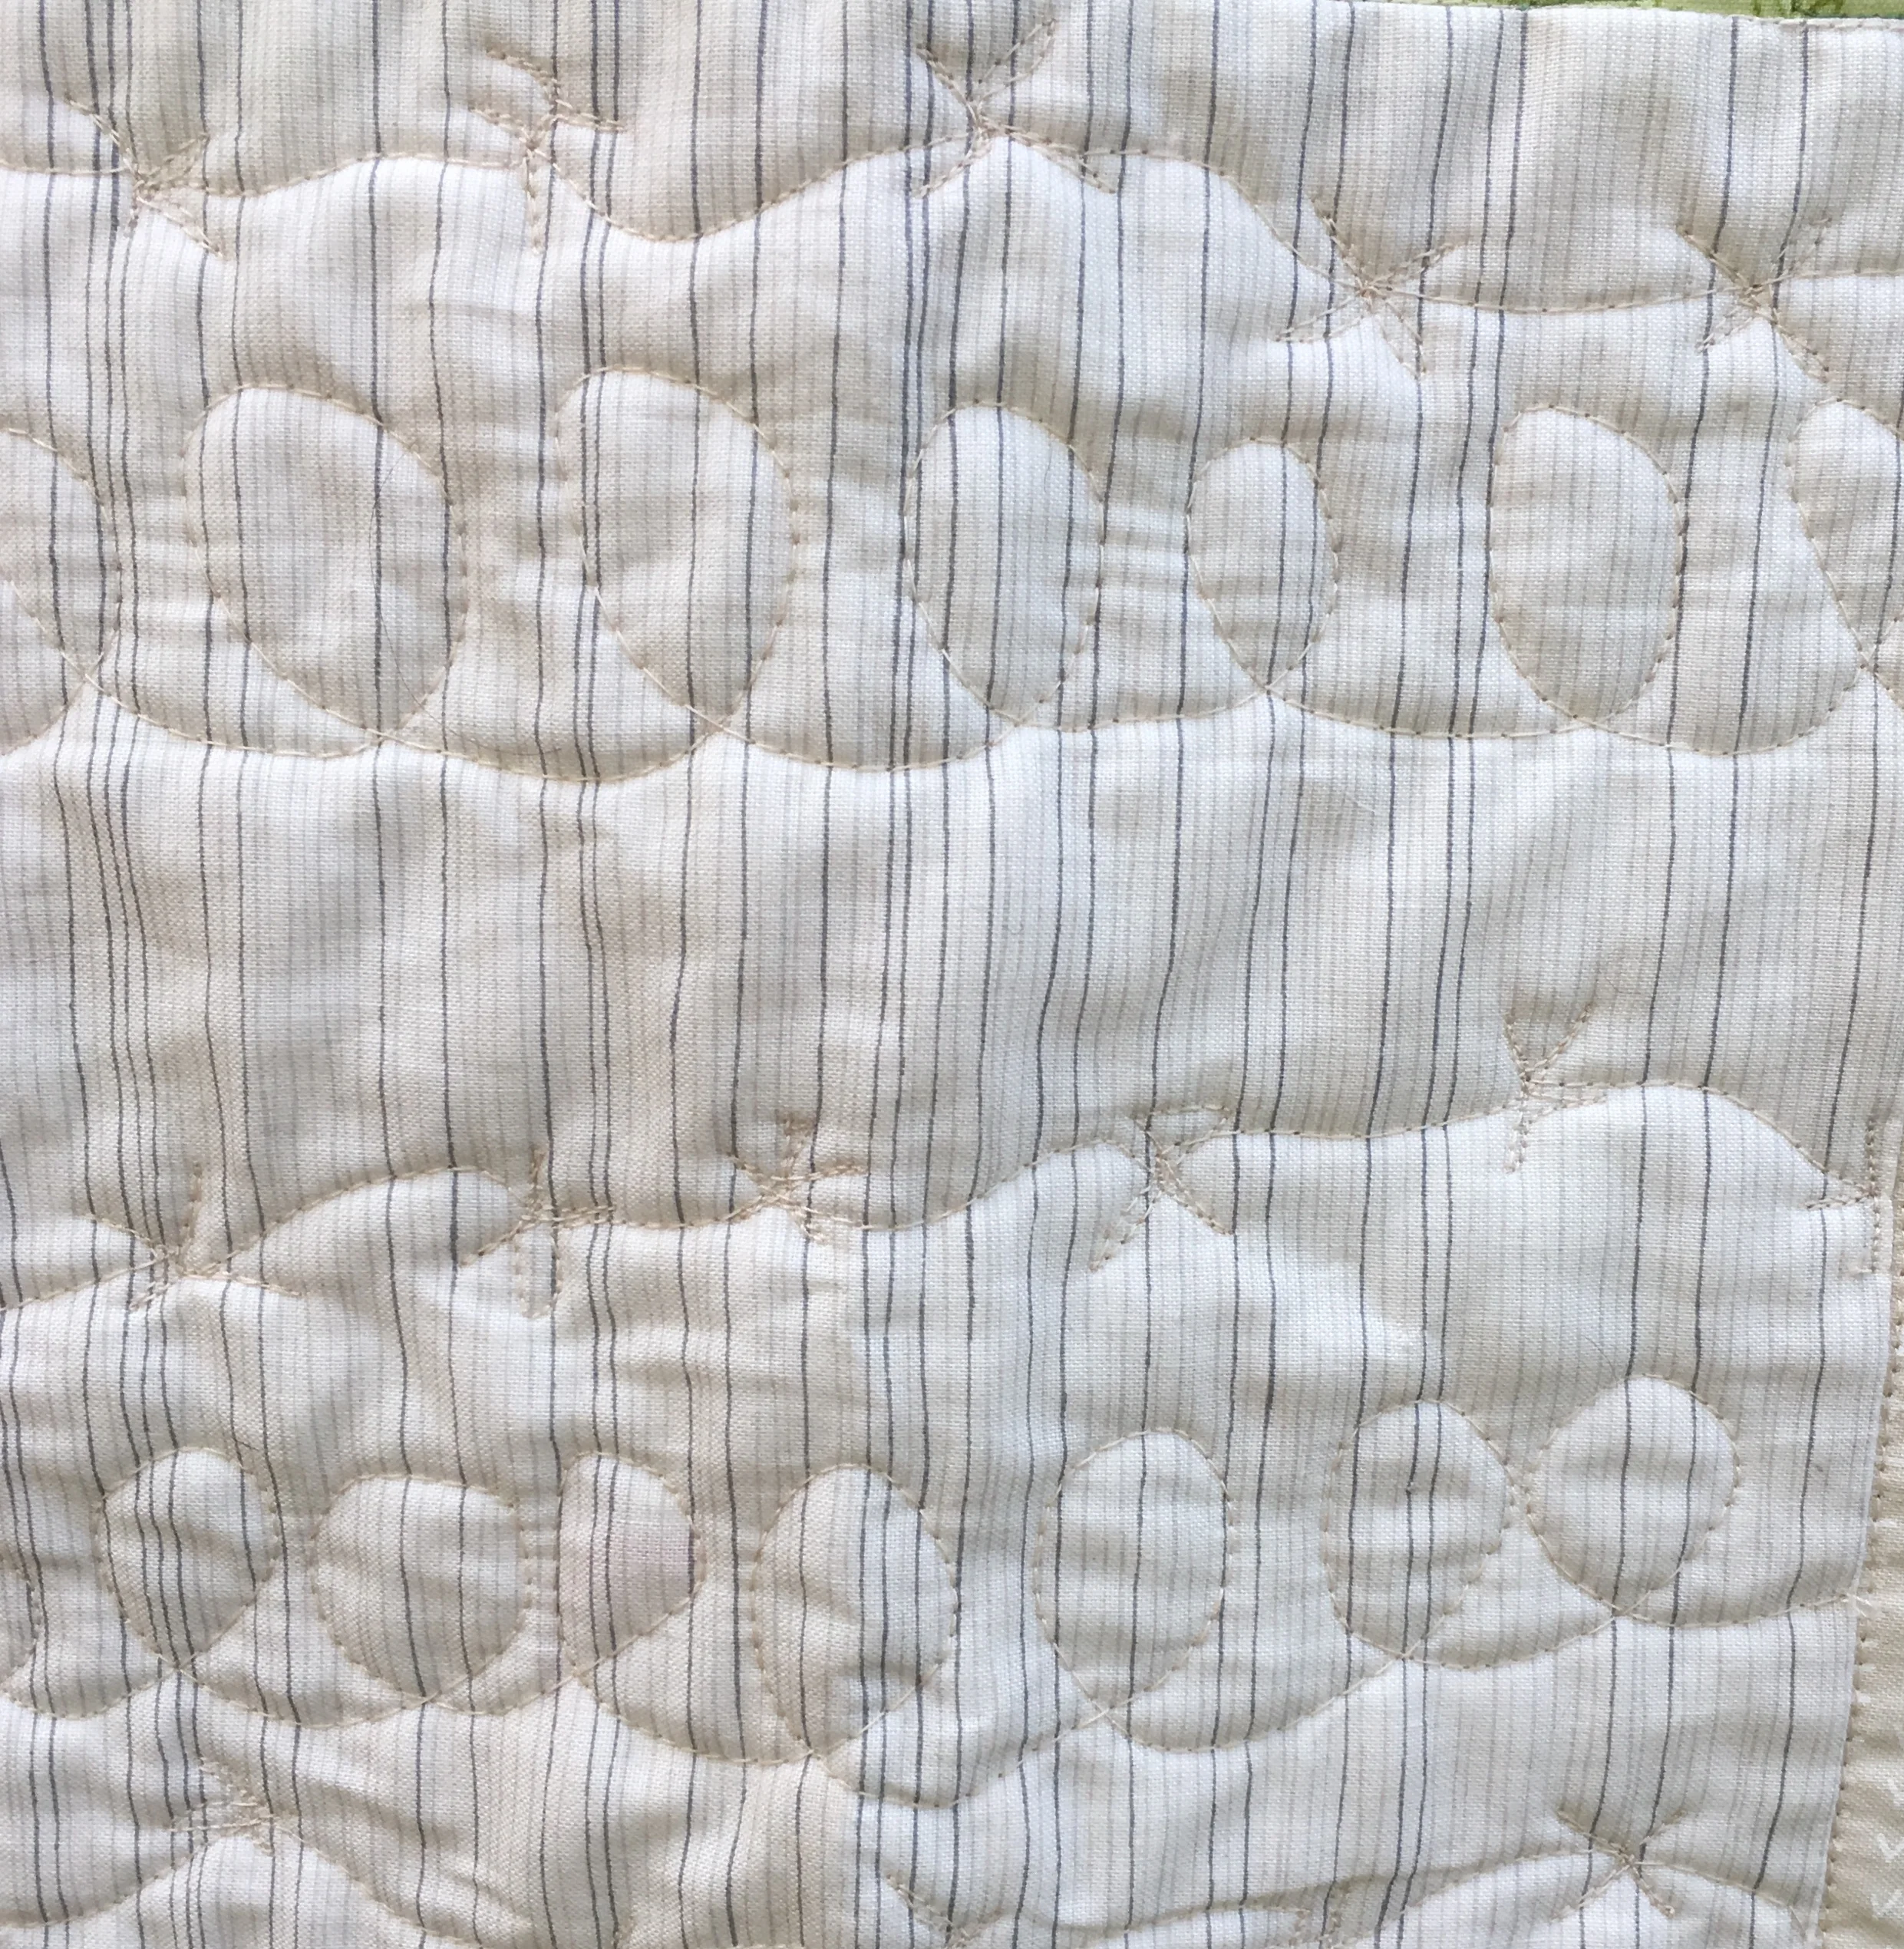
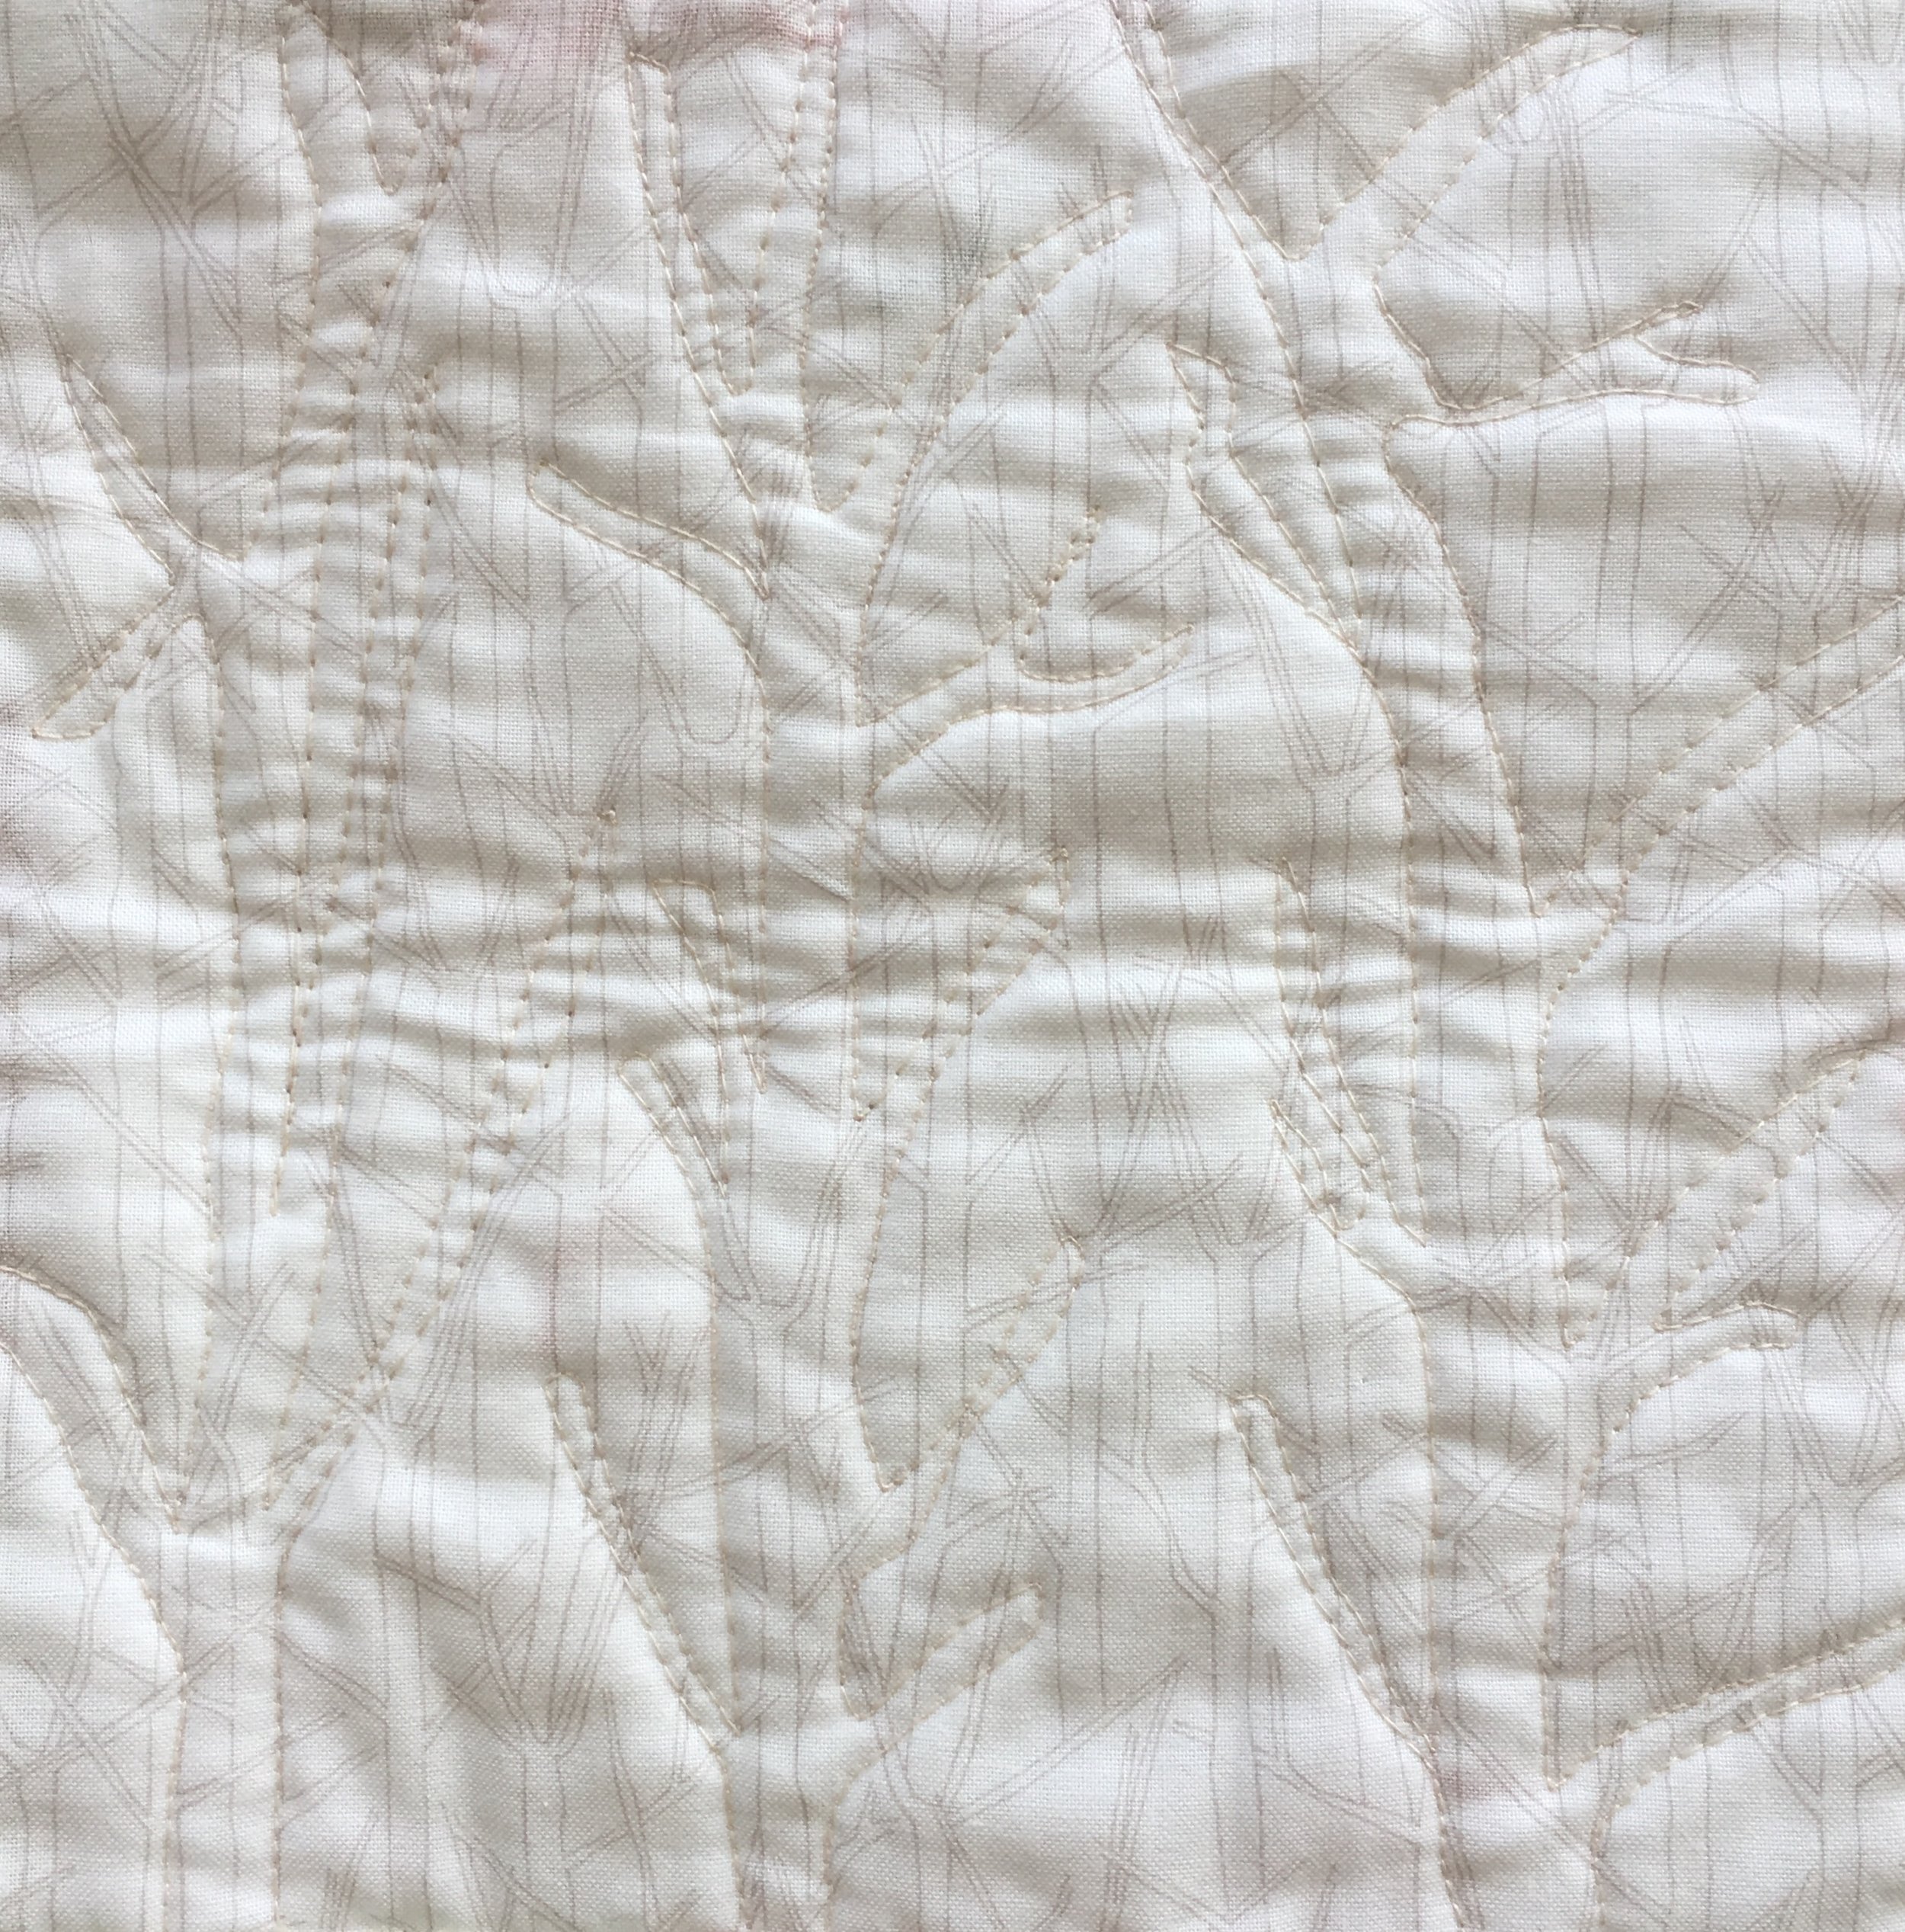
I use 1 inch curved quilting safety pins to baste the quilt. I put in a pin about every 3 inches. The blocks in the quilt I am working on now has 9 inch blocks. Each block has about 5 safety pins in it. I’ve seen other quilters pin their quilts in much smaller intervals, but I’ve never found I needed to put in more than every 3 inches or so.
Once I have the entire quilt pinned, I flip it over to see what the back side looks like. This is my opportunity to smooth out any bumps or ripples. I sometimes find them along the edges of the quilt. This time it all looked great.
As I quilt, I undo the pins and toss them, still open, into the plastic container I used to store them. That way they are all ready for my next project.
If you access to a church hall or a function room with folding banquet tables, two tables pushed together make a great elevated surface for pin basting a quilt. My back doesn’t appreciate it when I lean in to pin the center of the quilt when it’s on a table. So, for now, pin basting on the floor is still my preference.
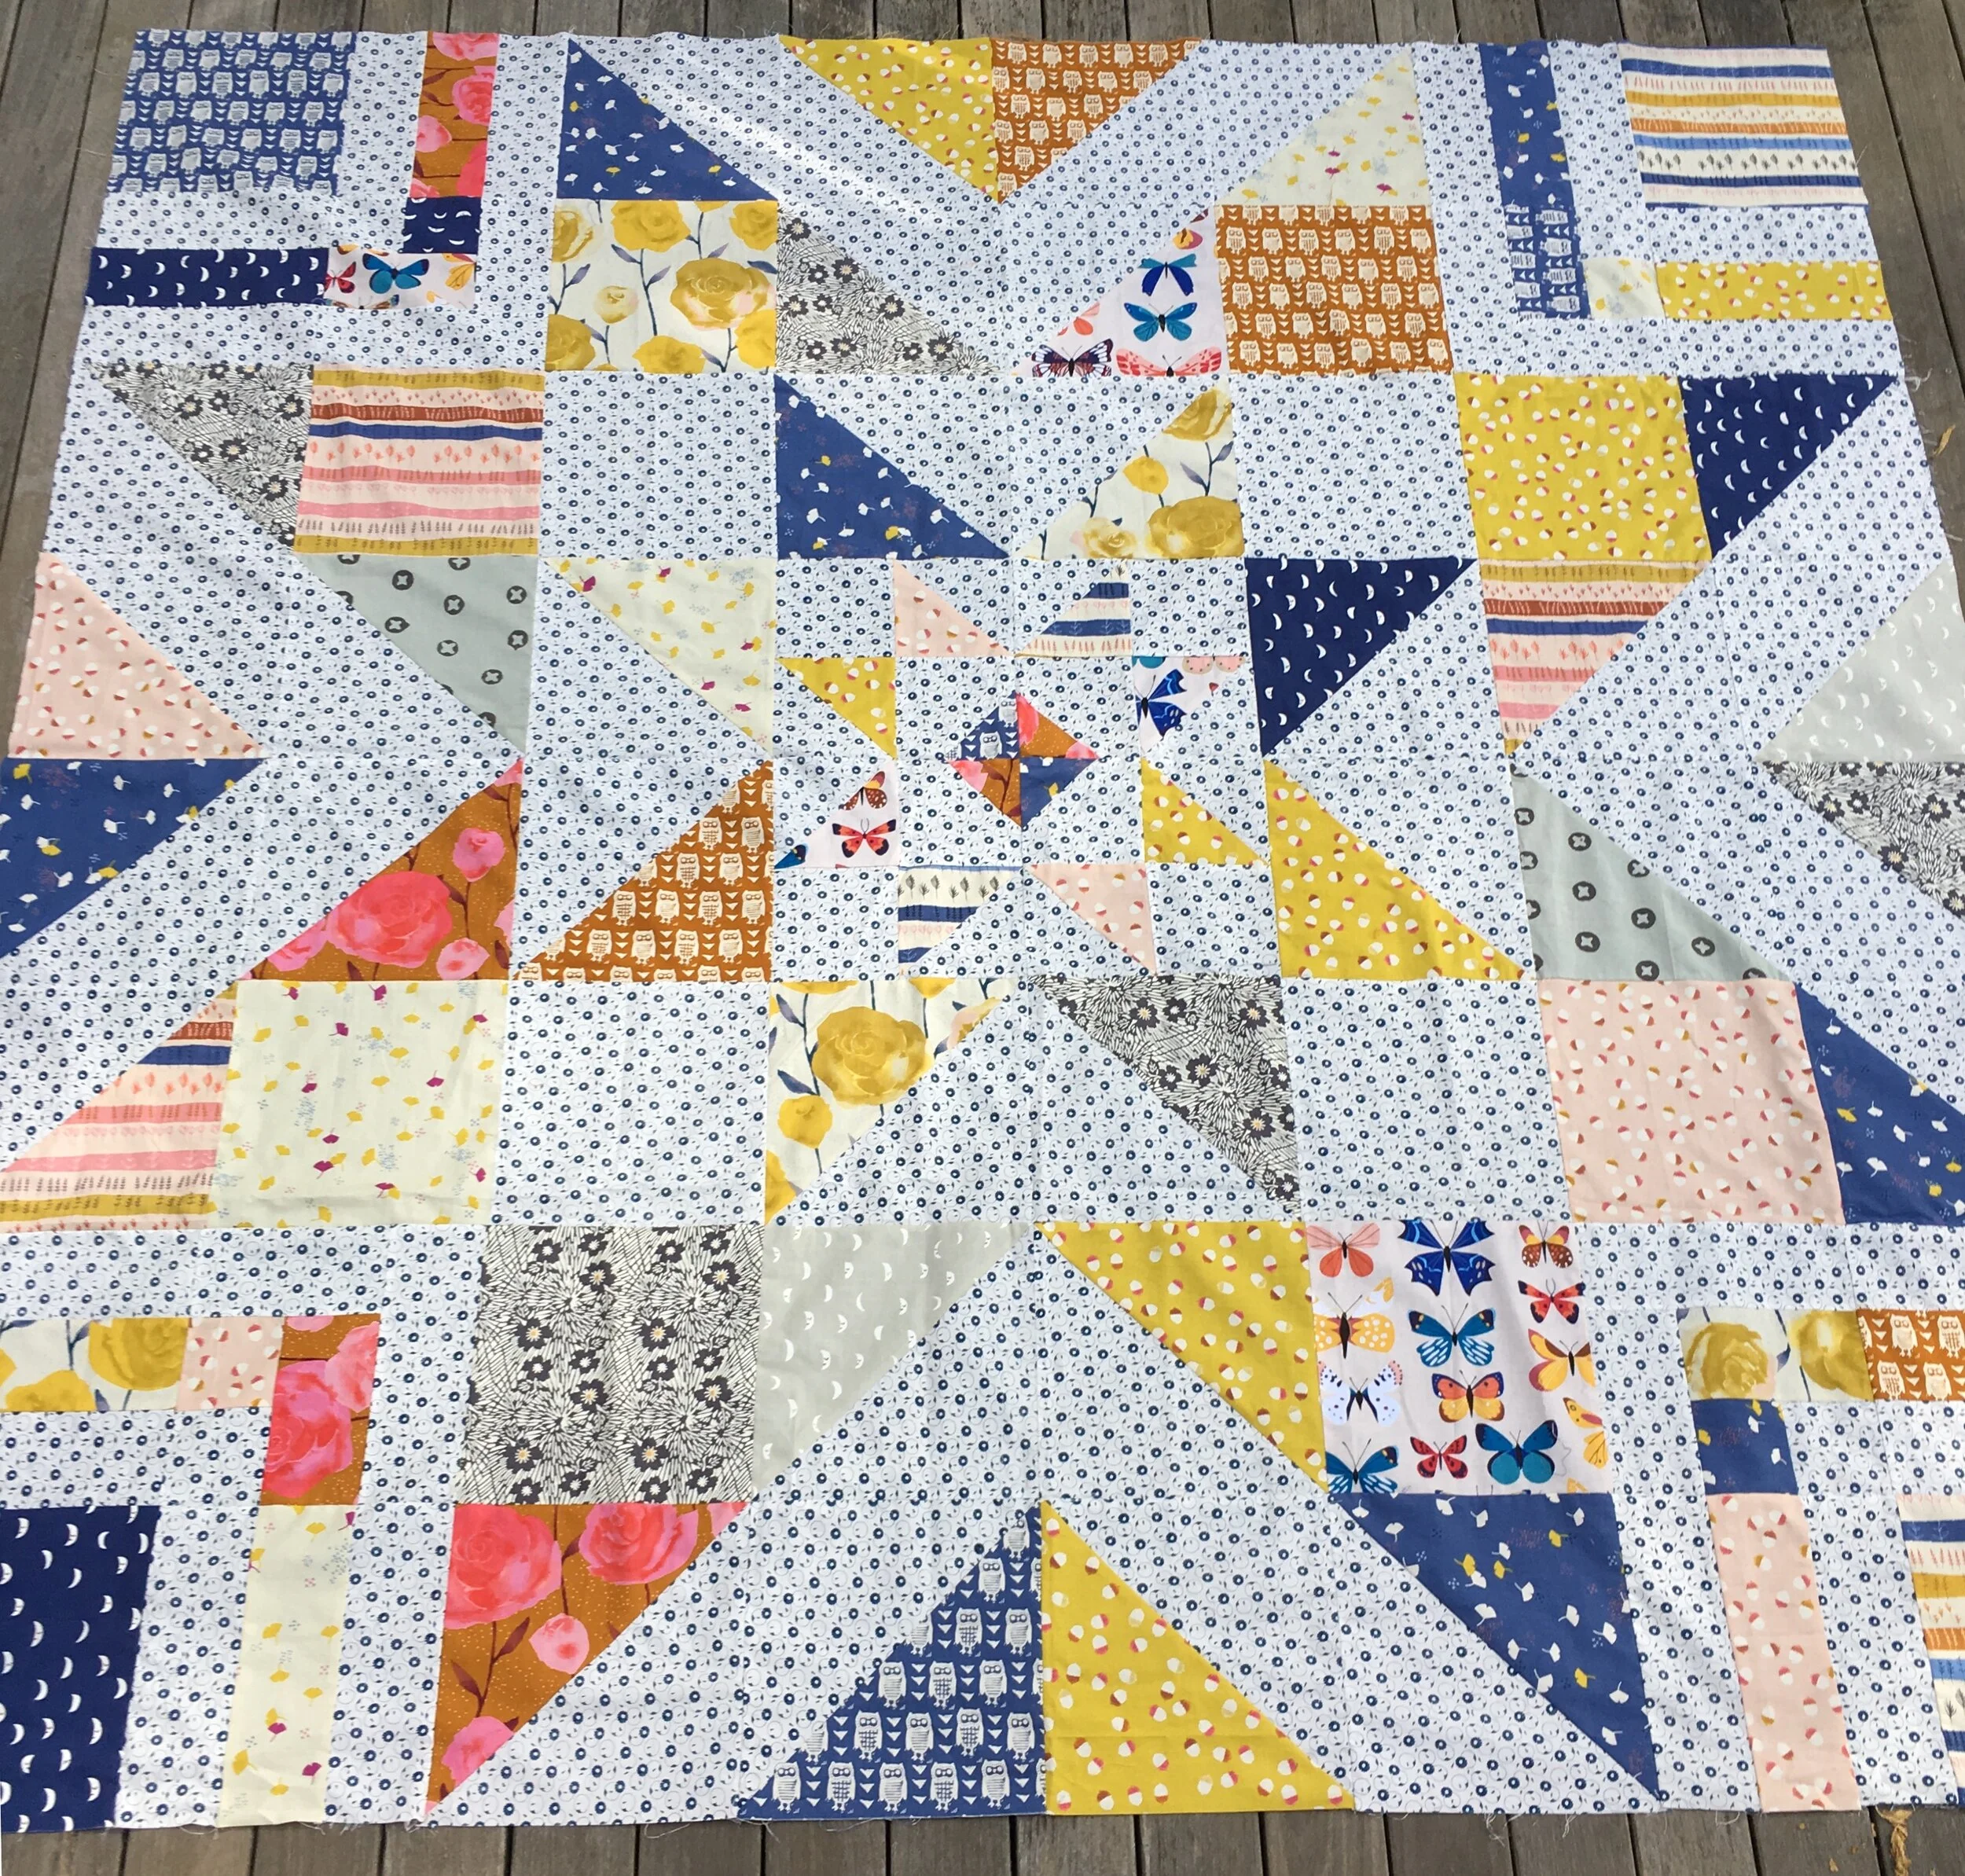
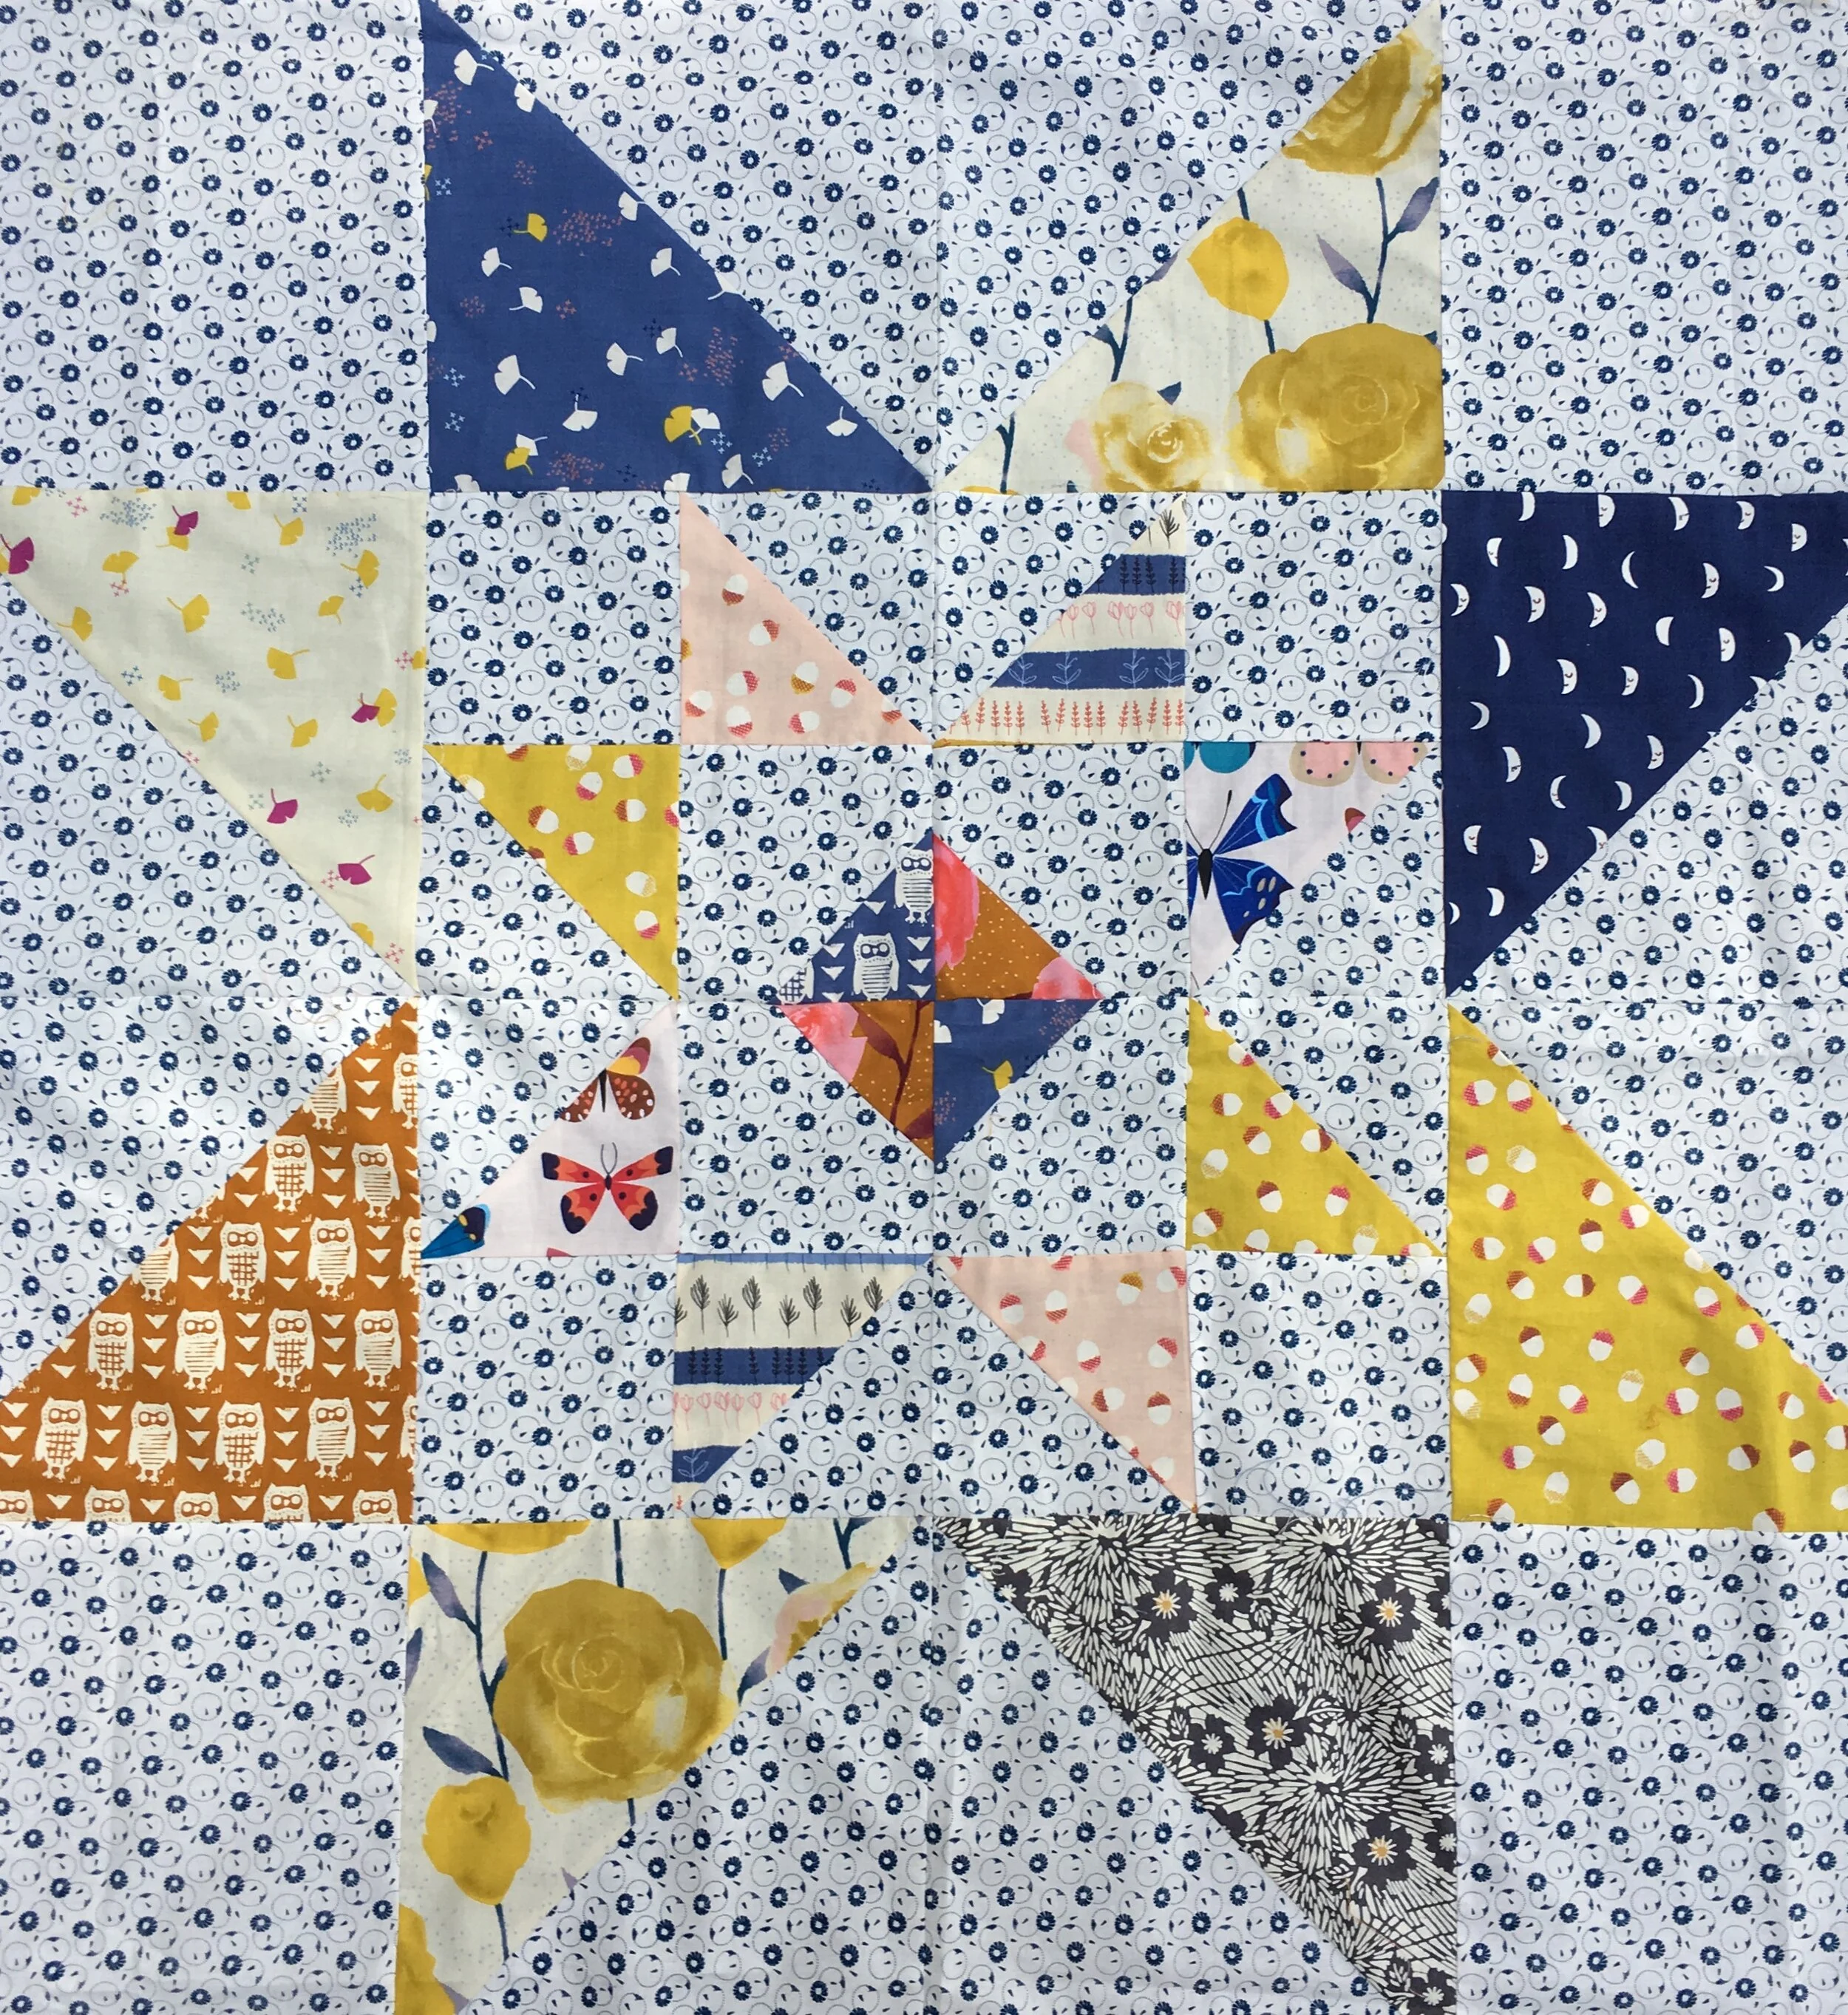
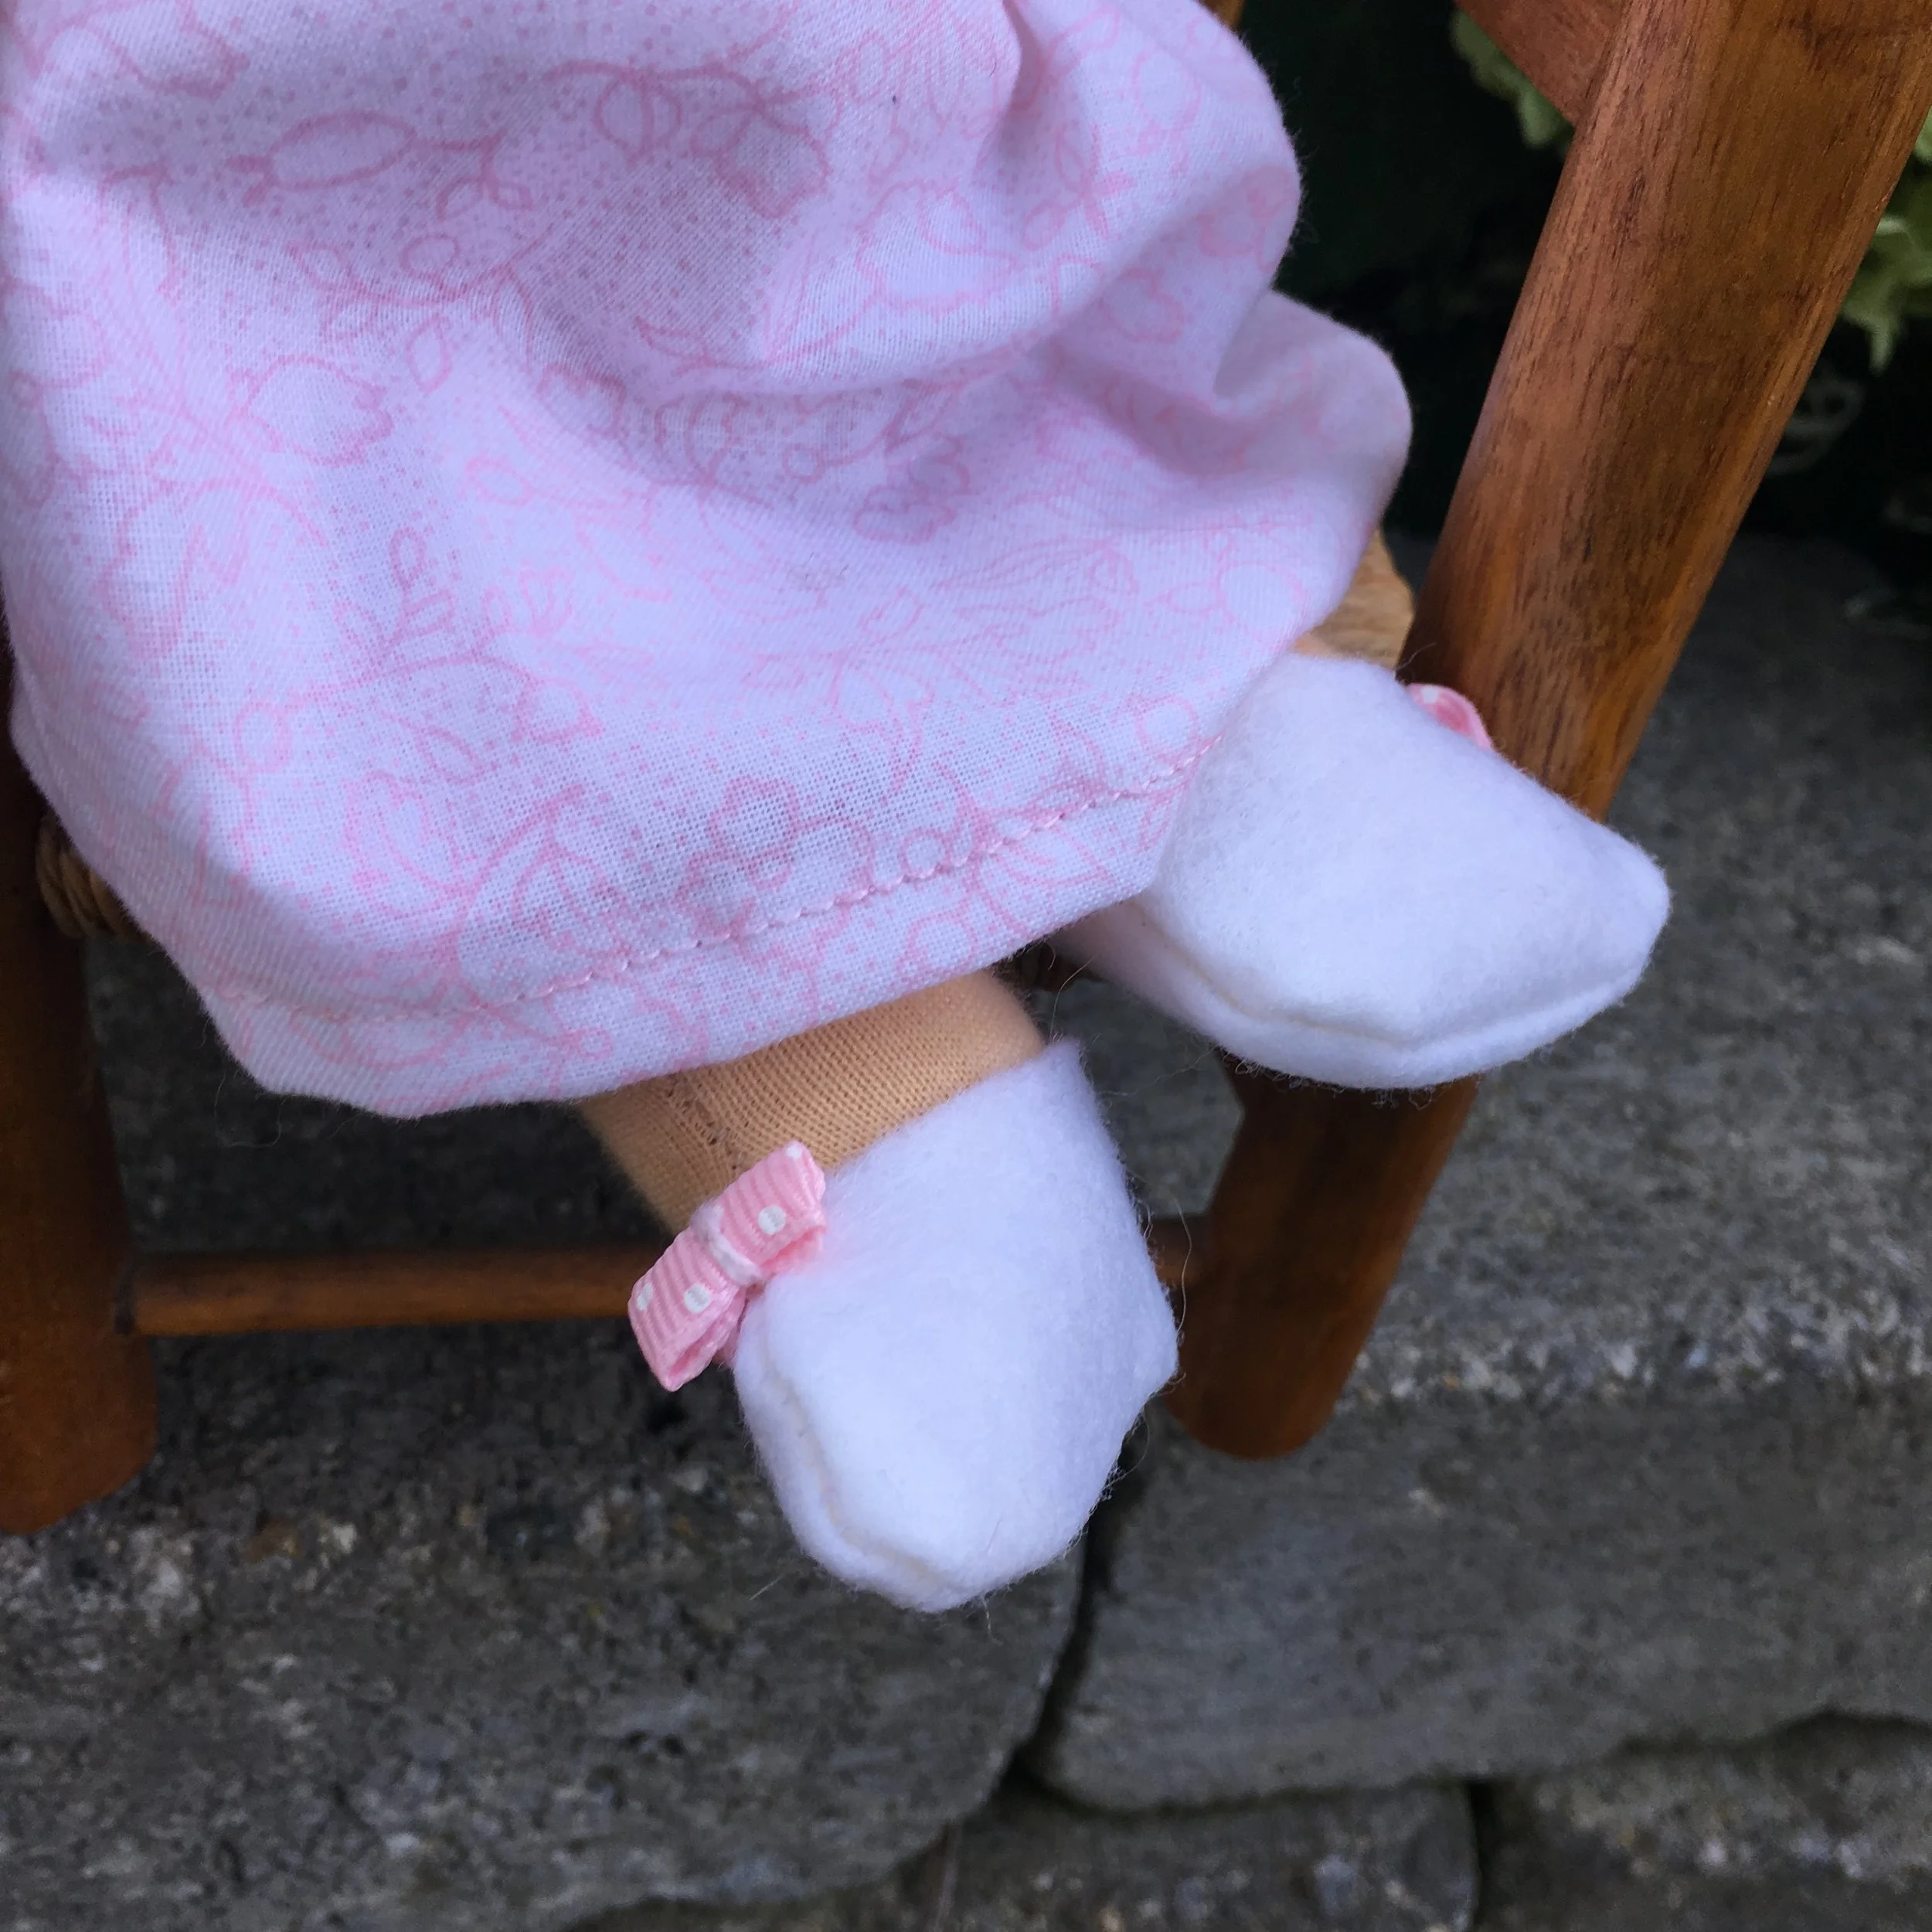
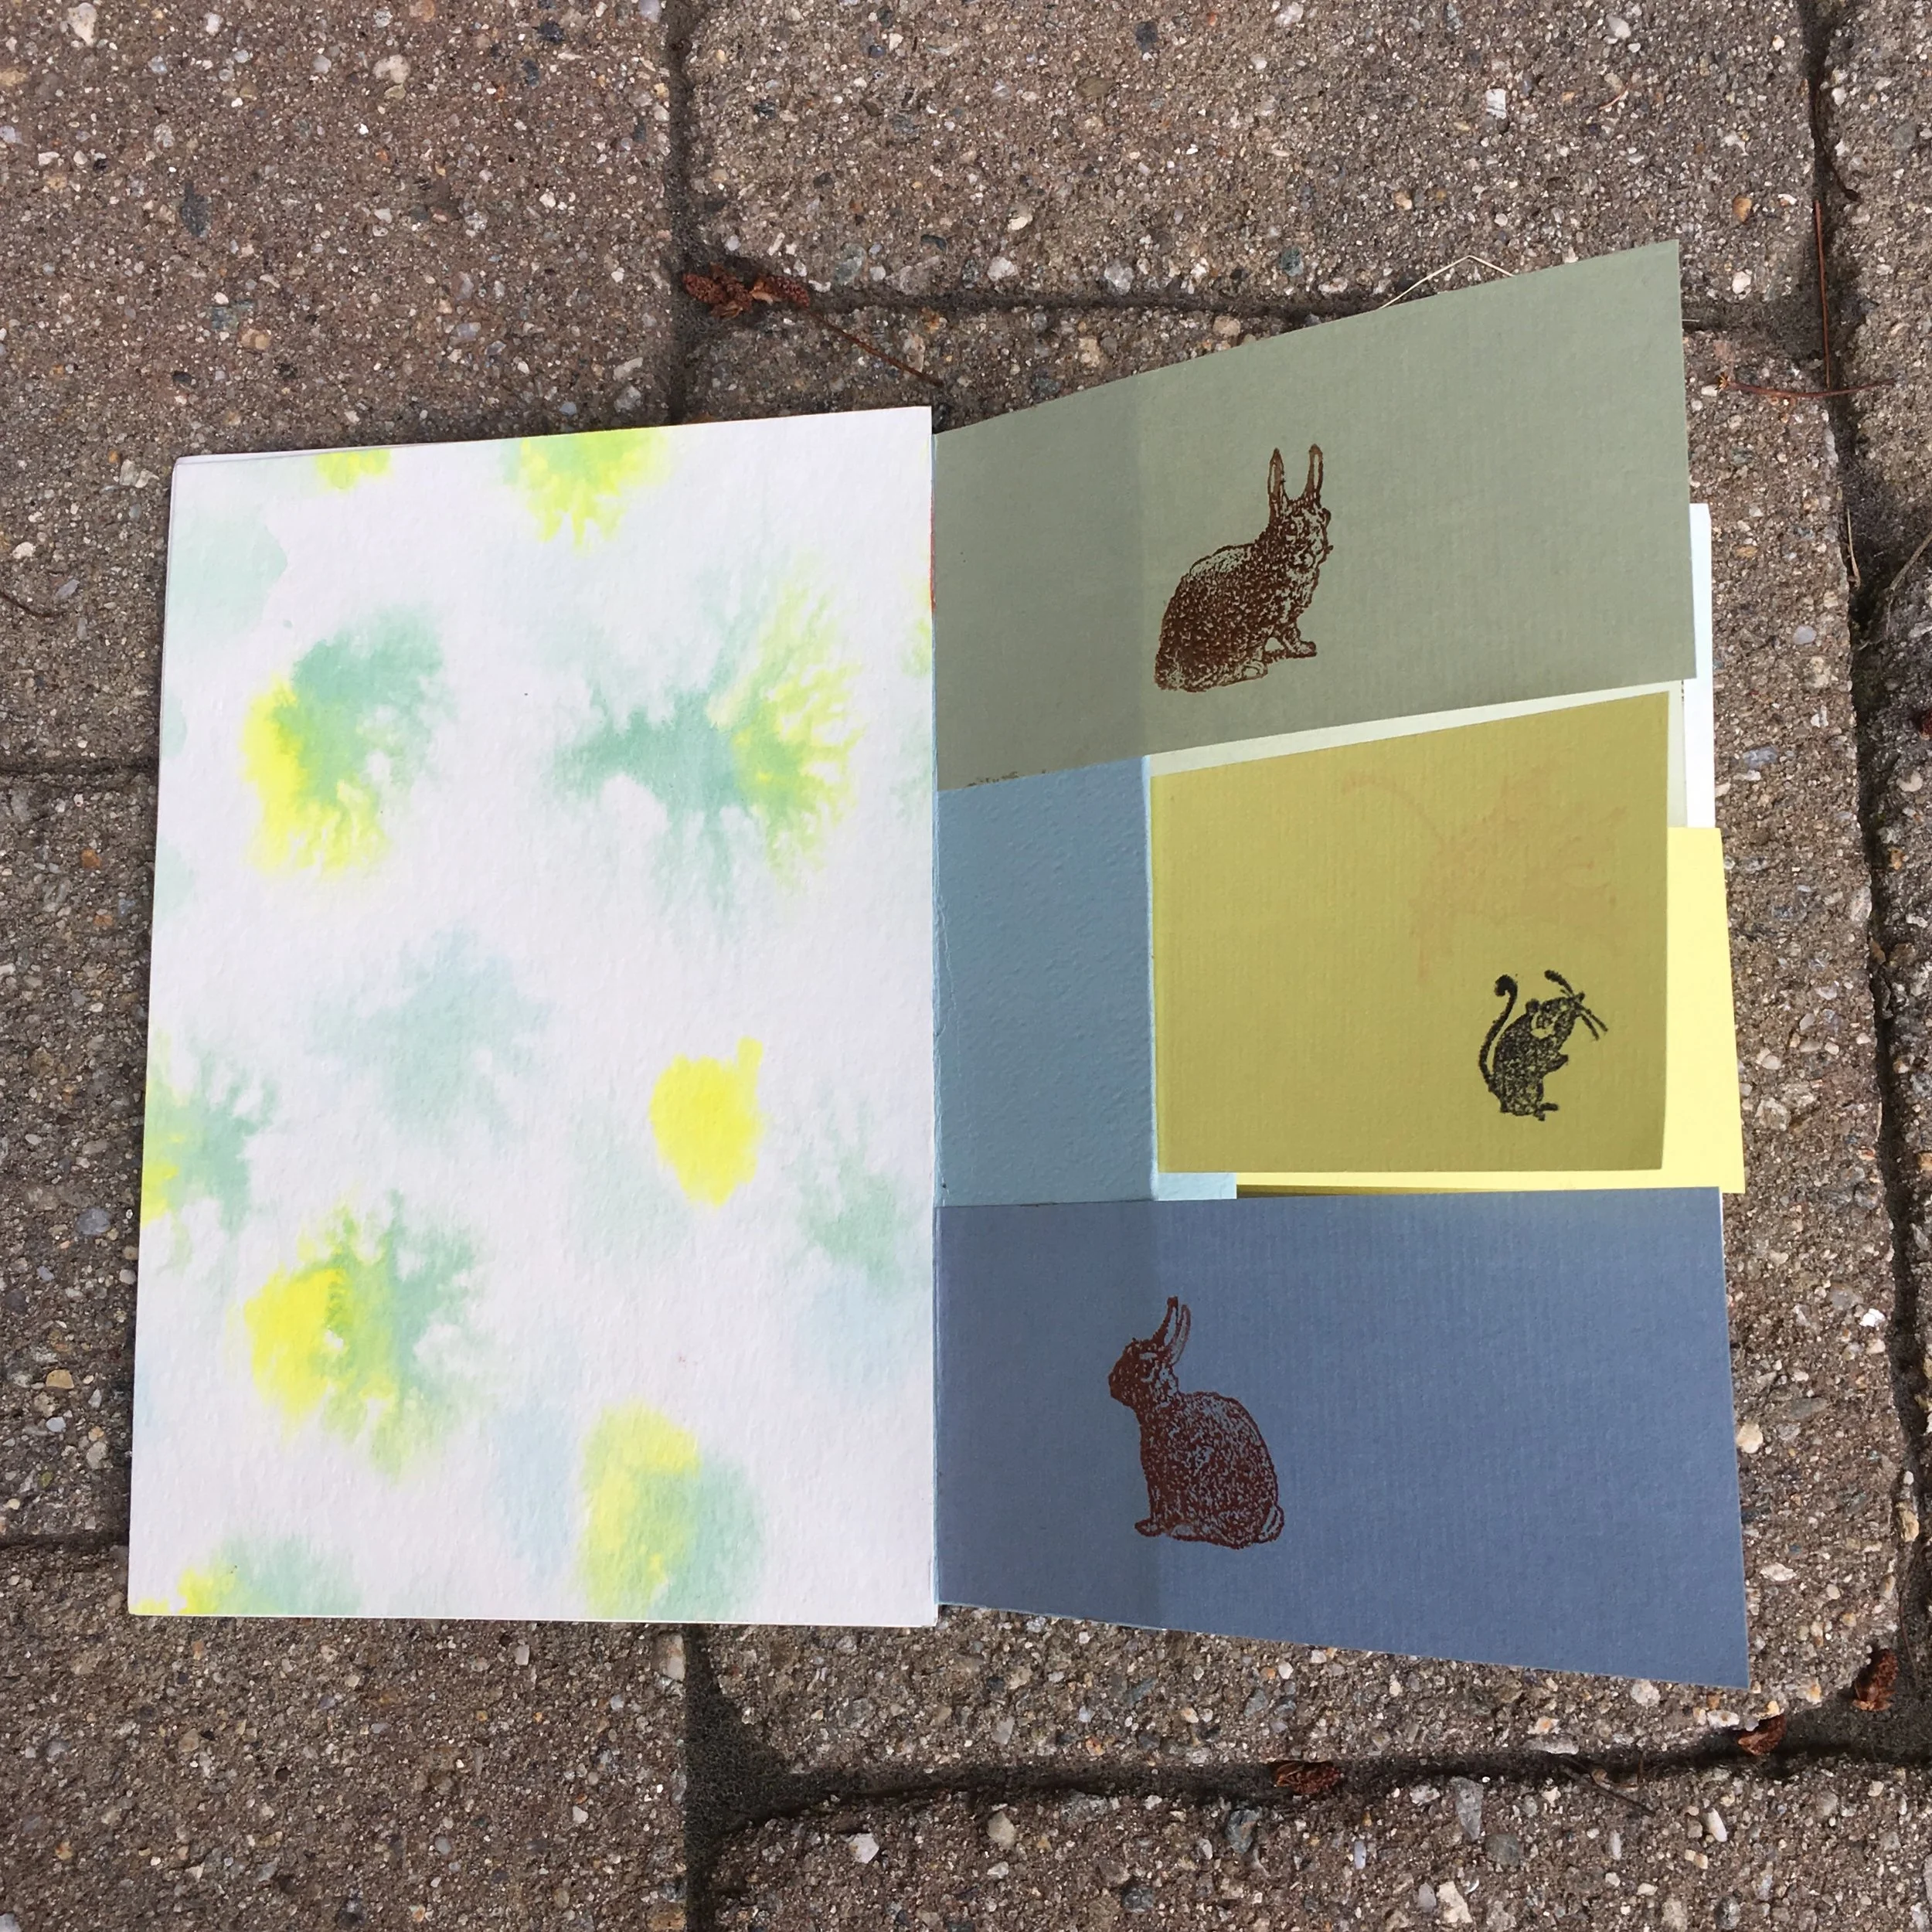
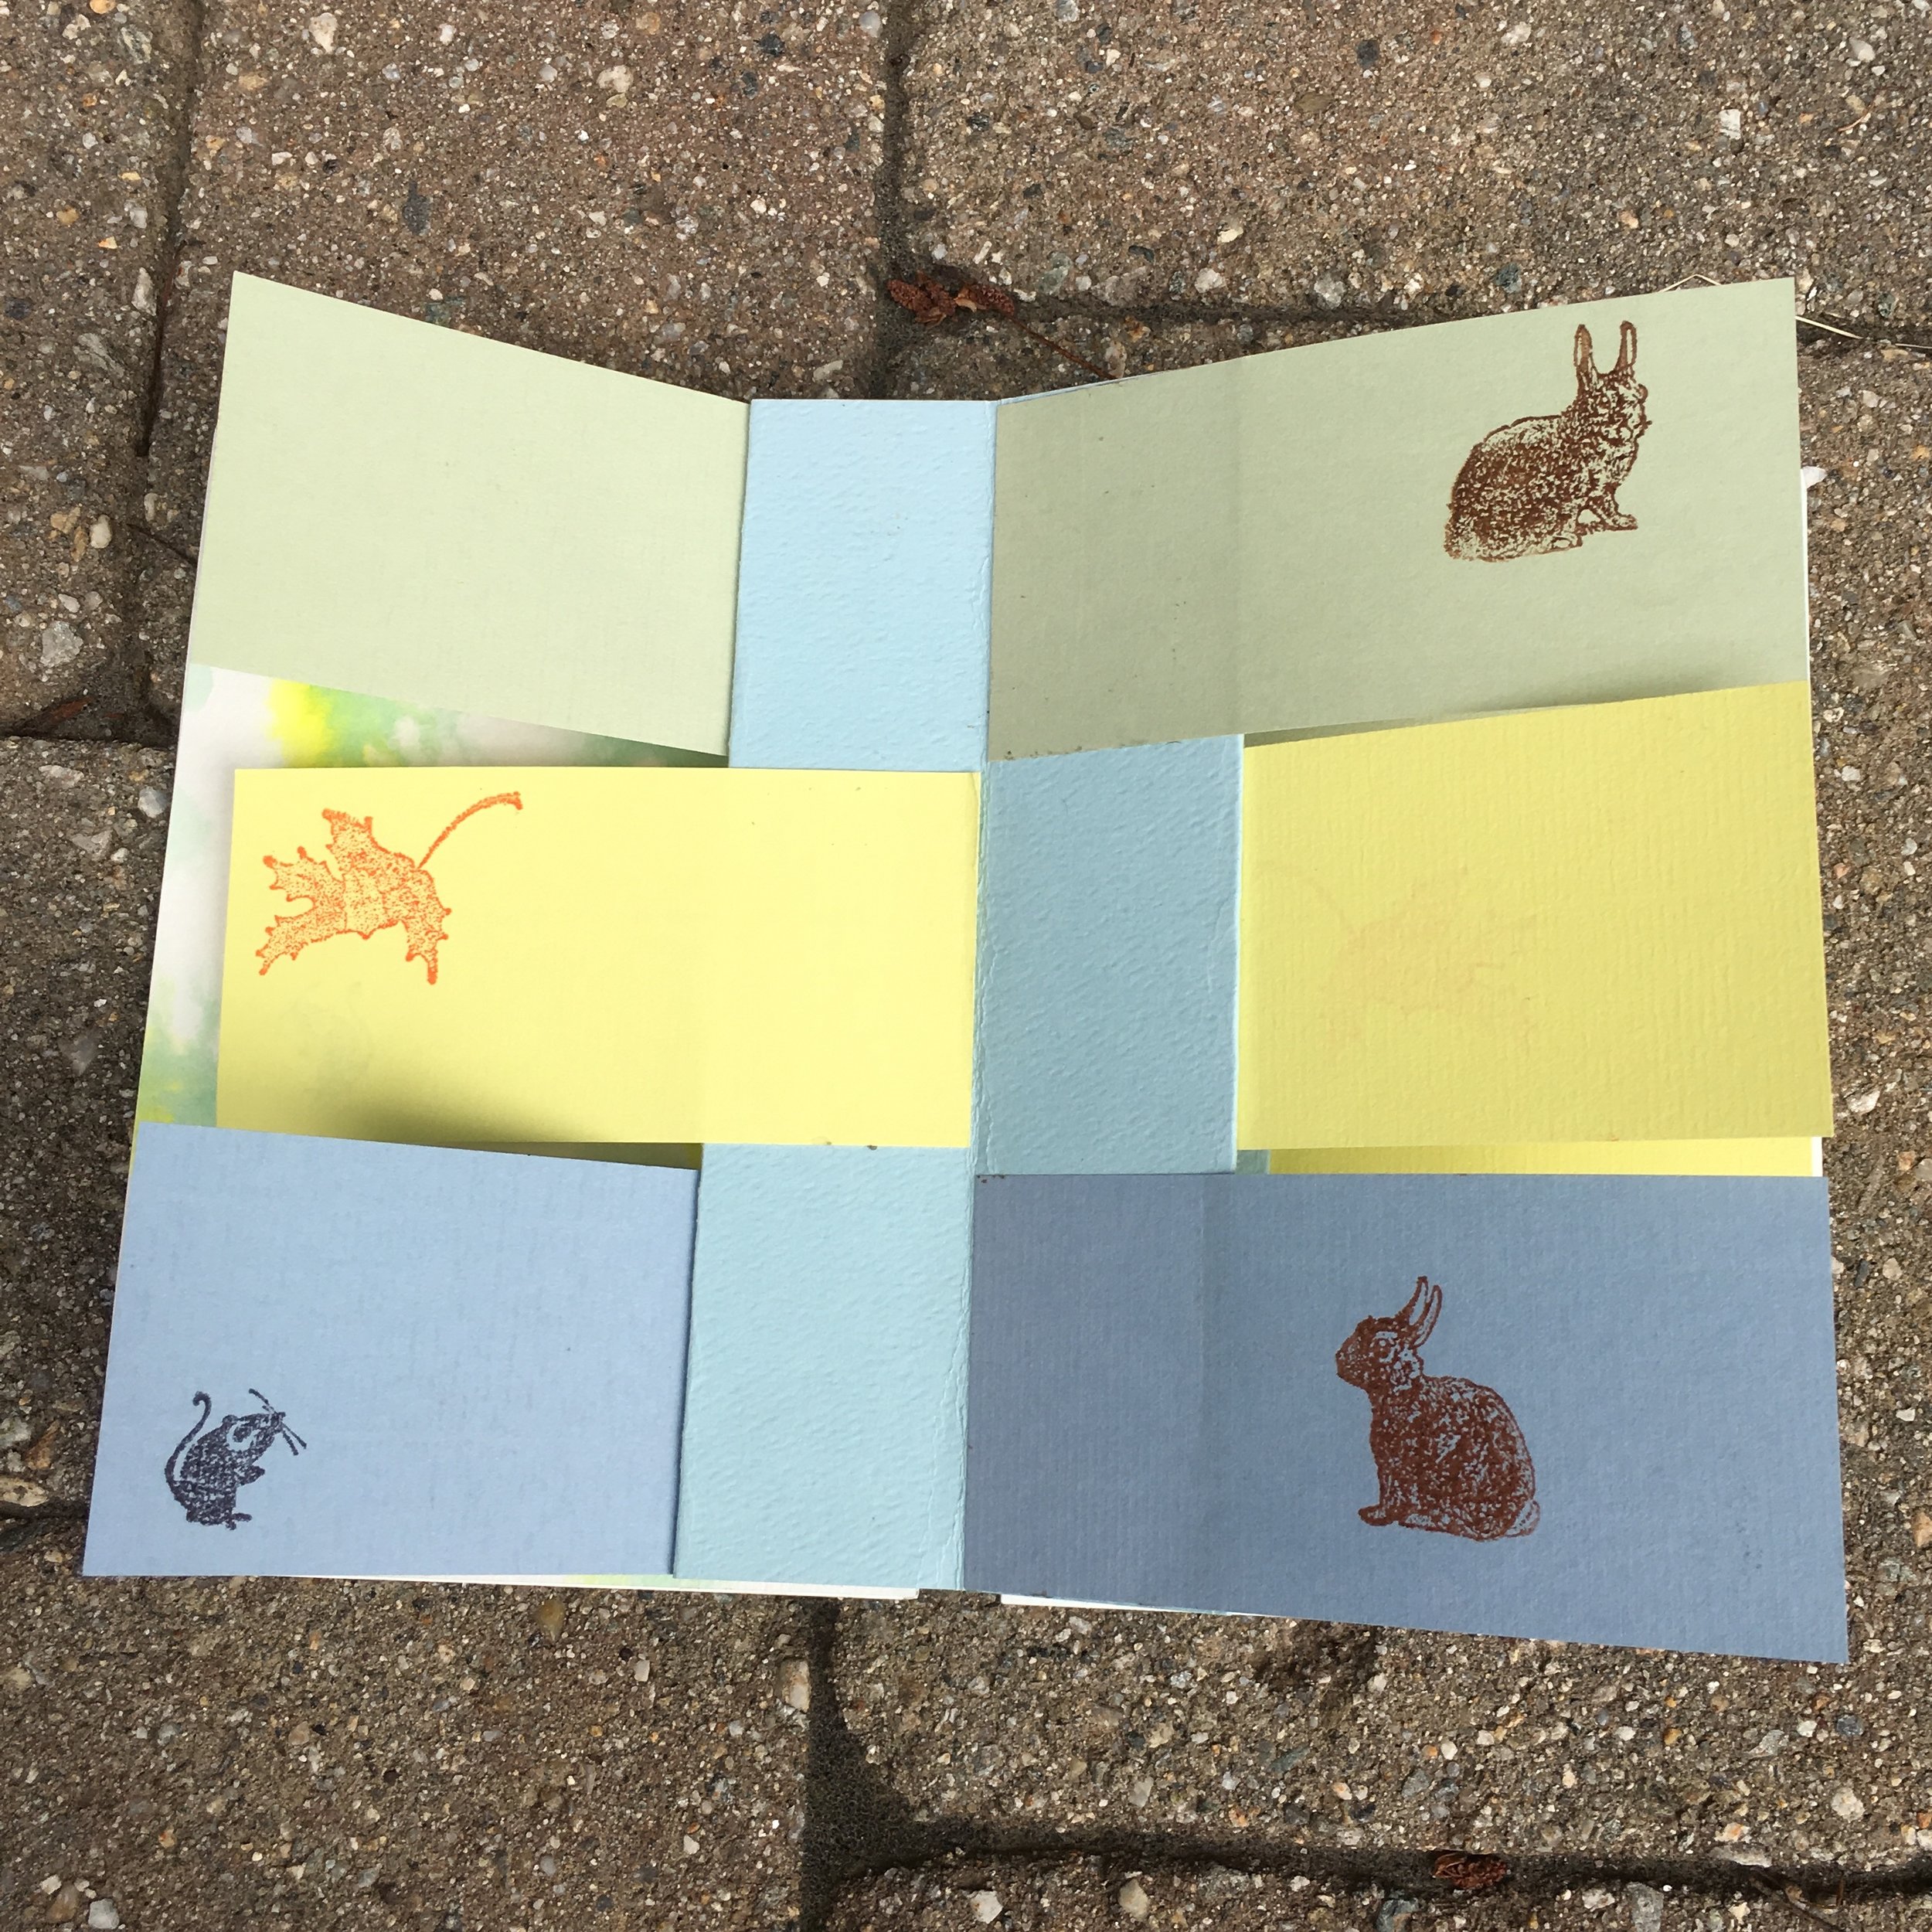
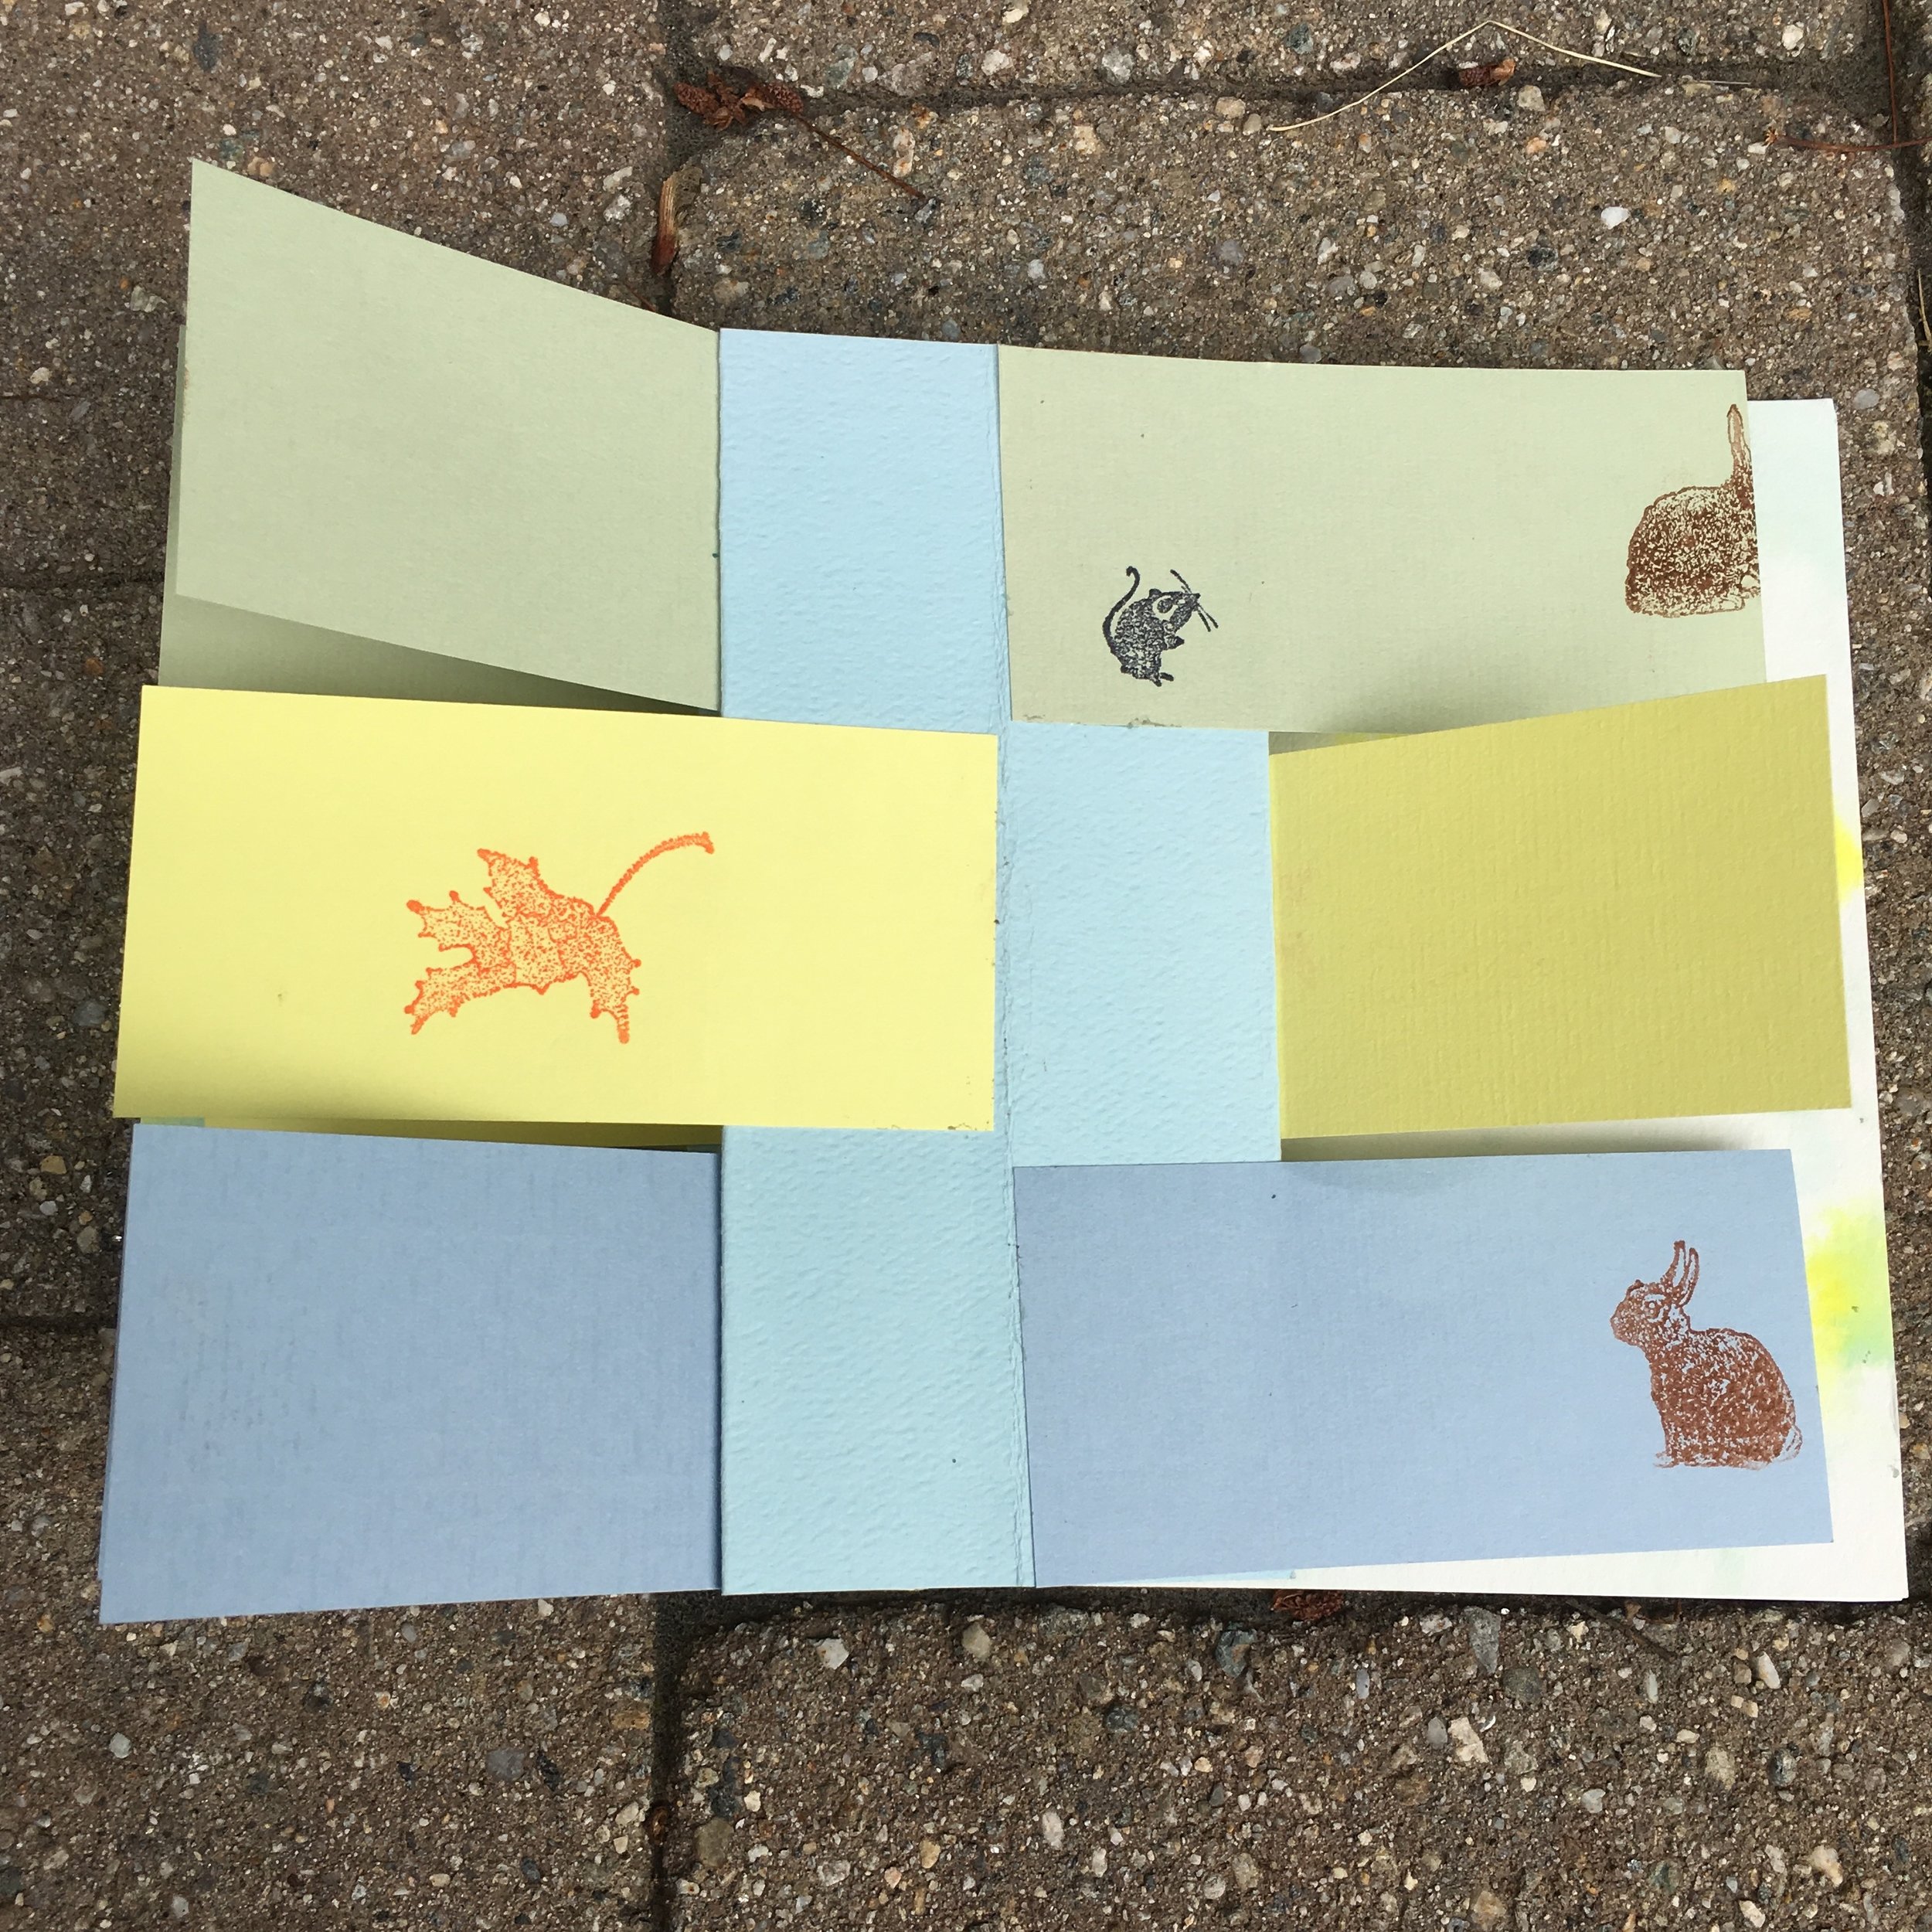
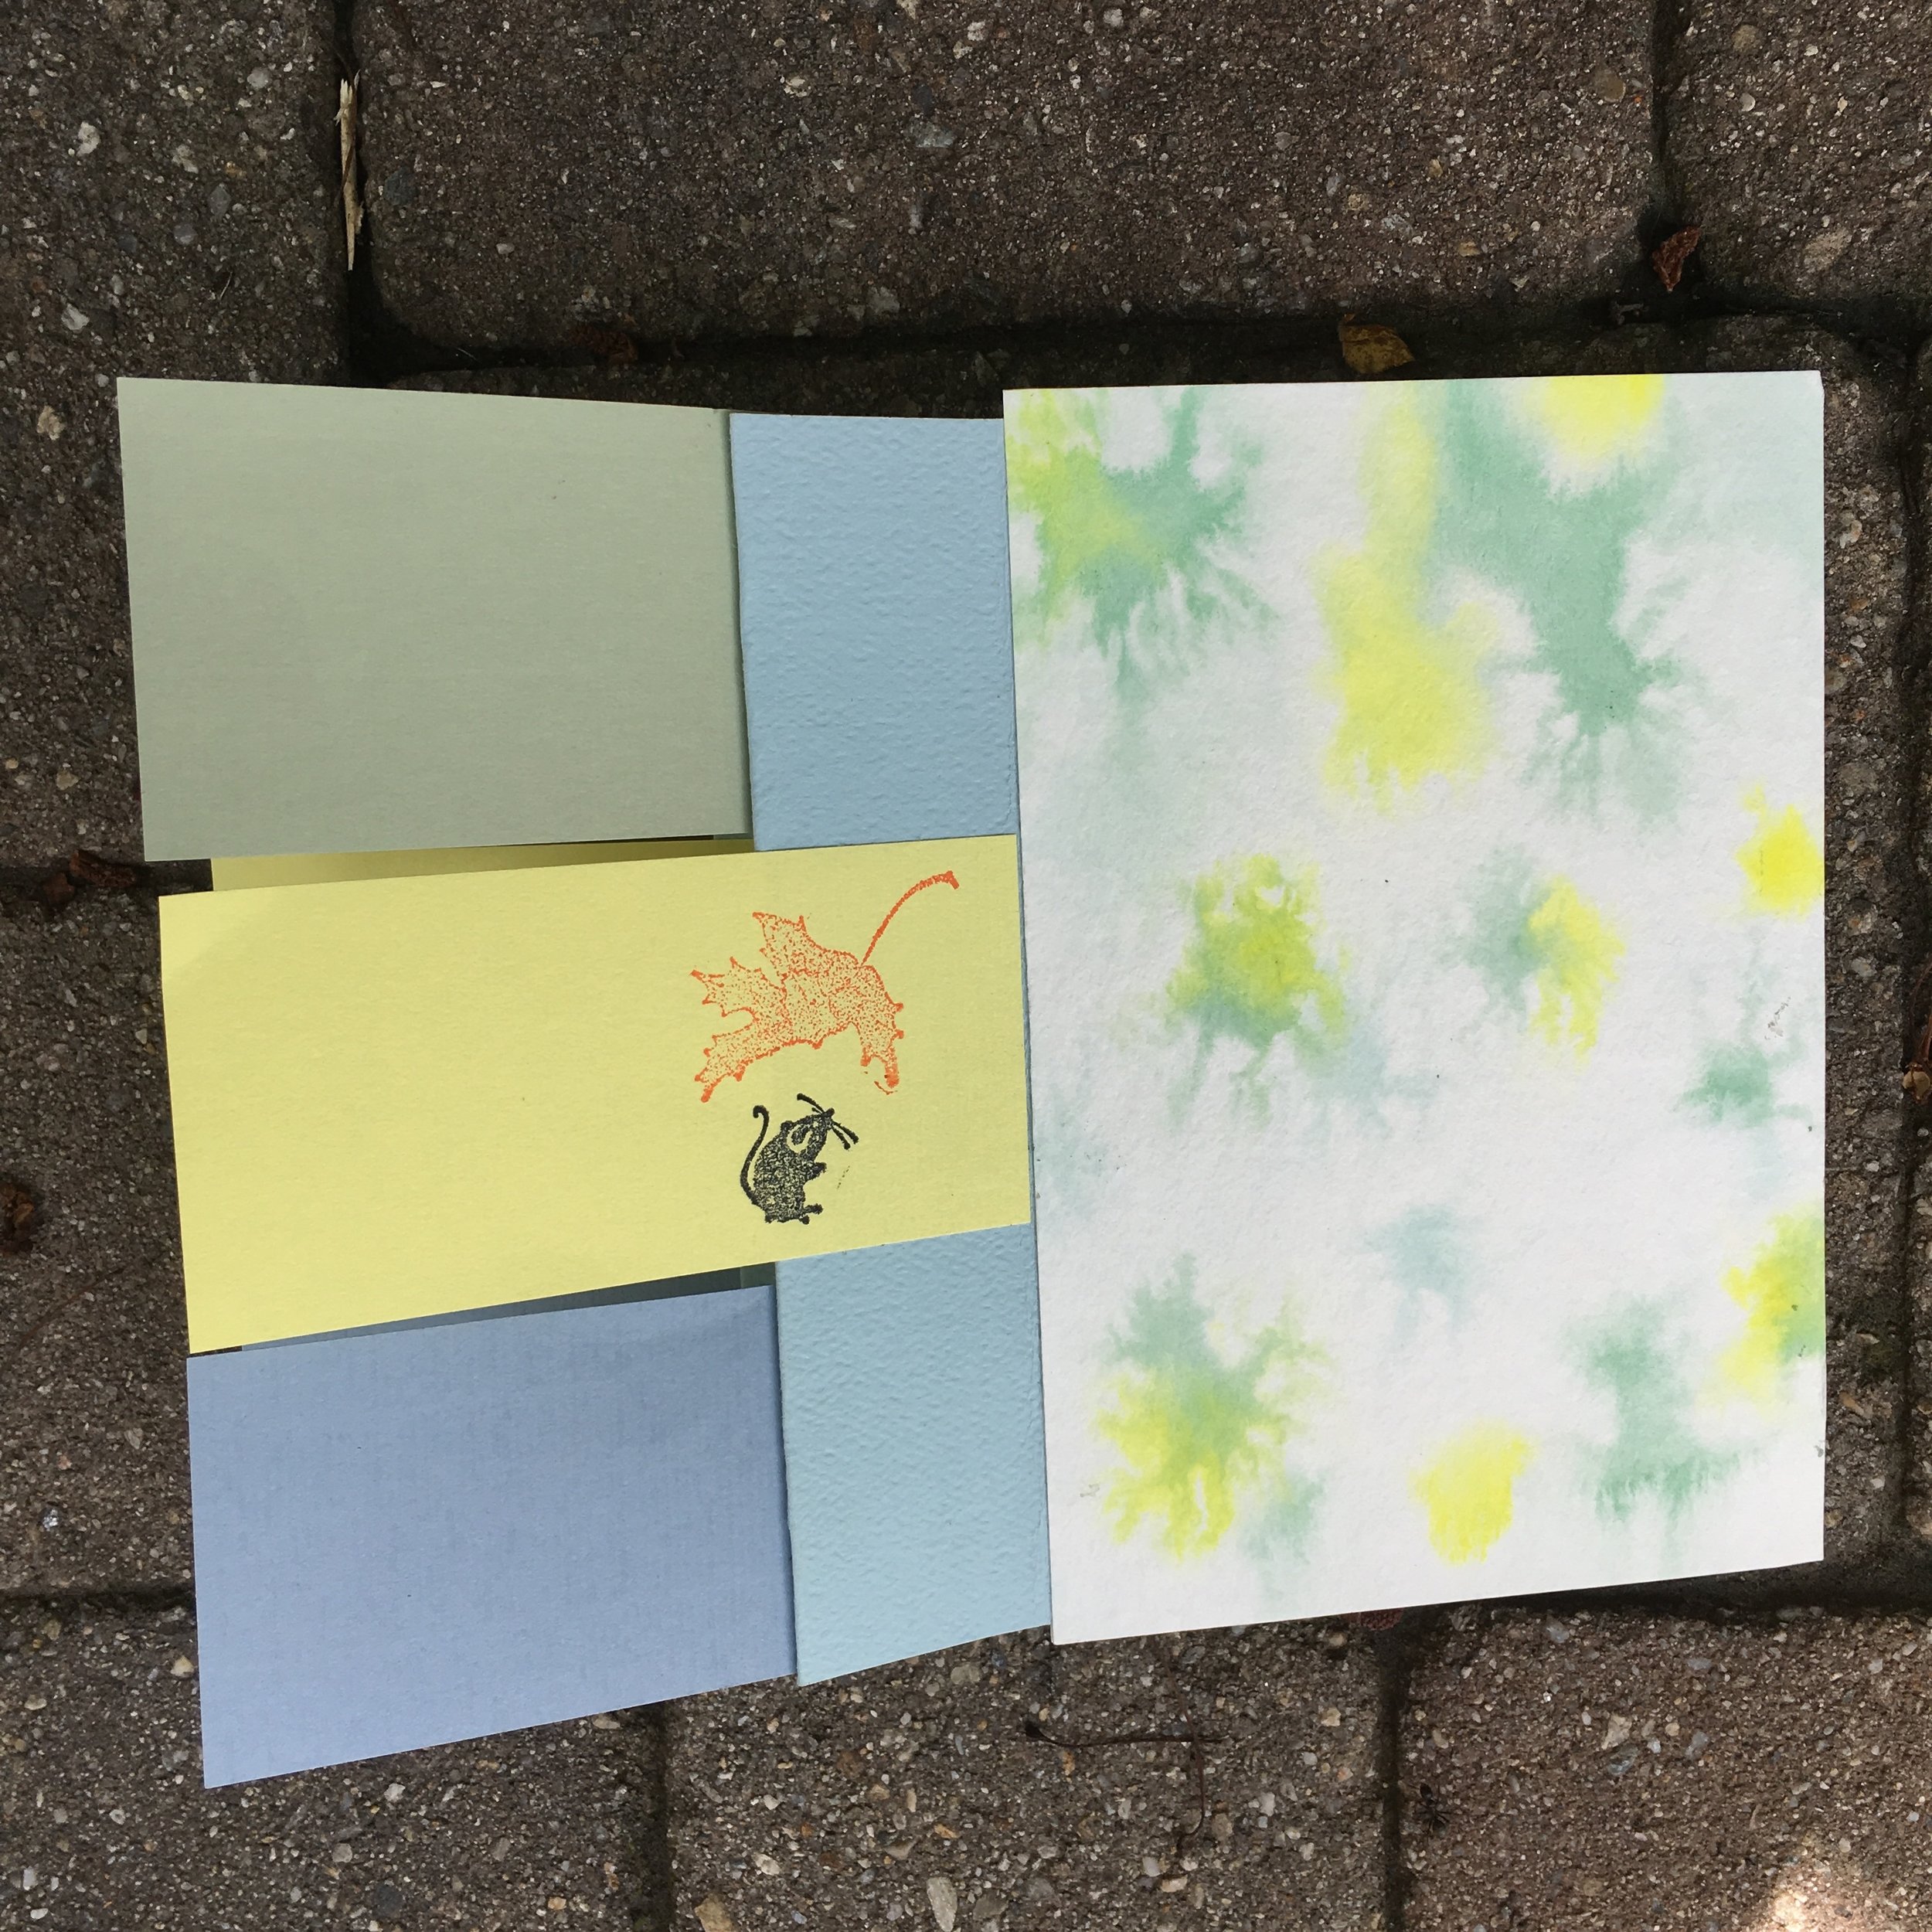
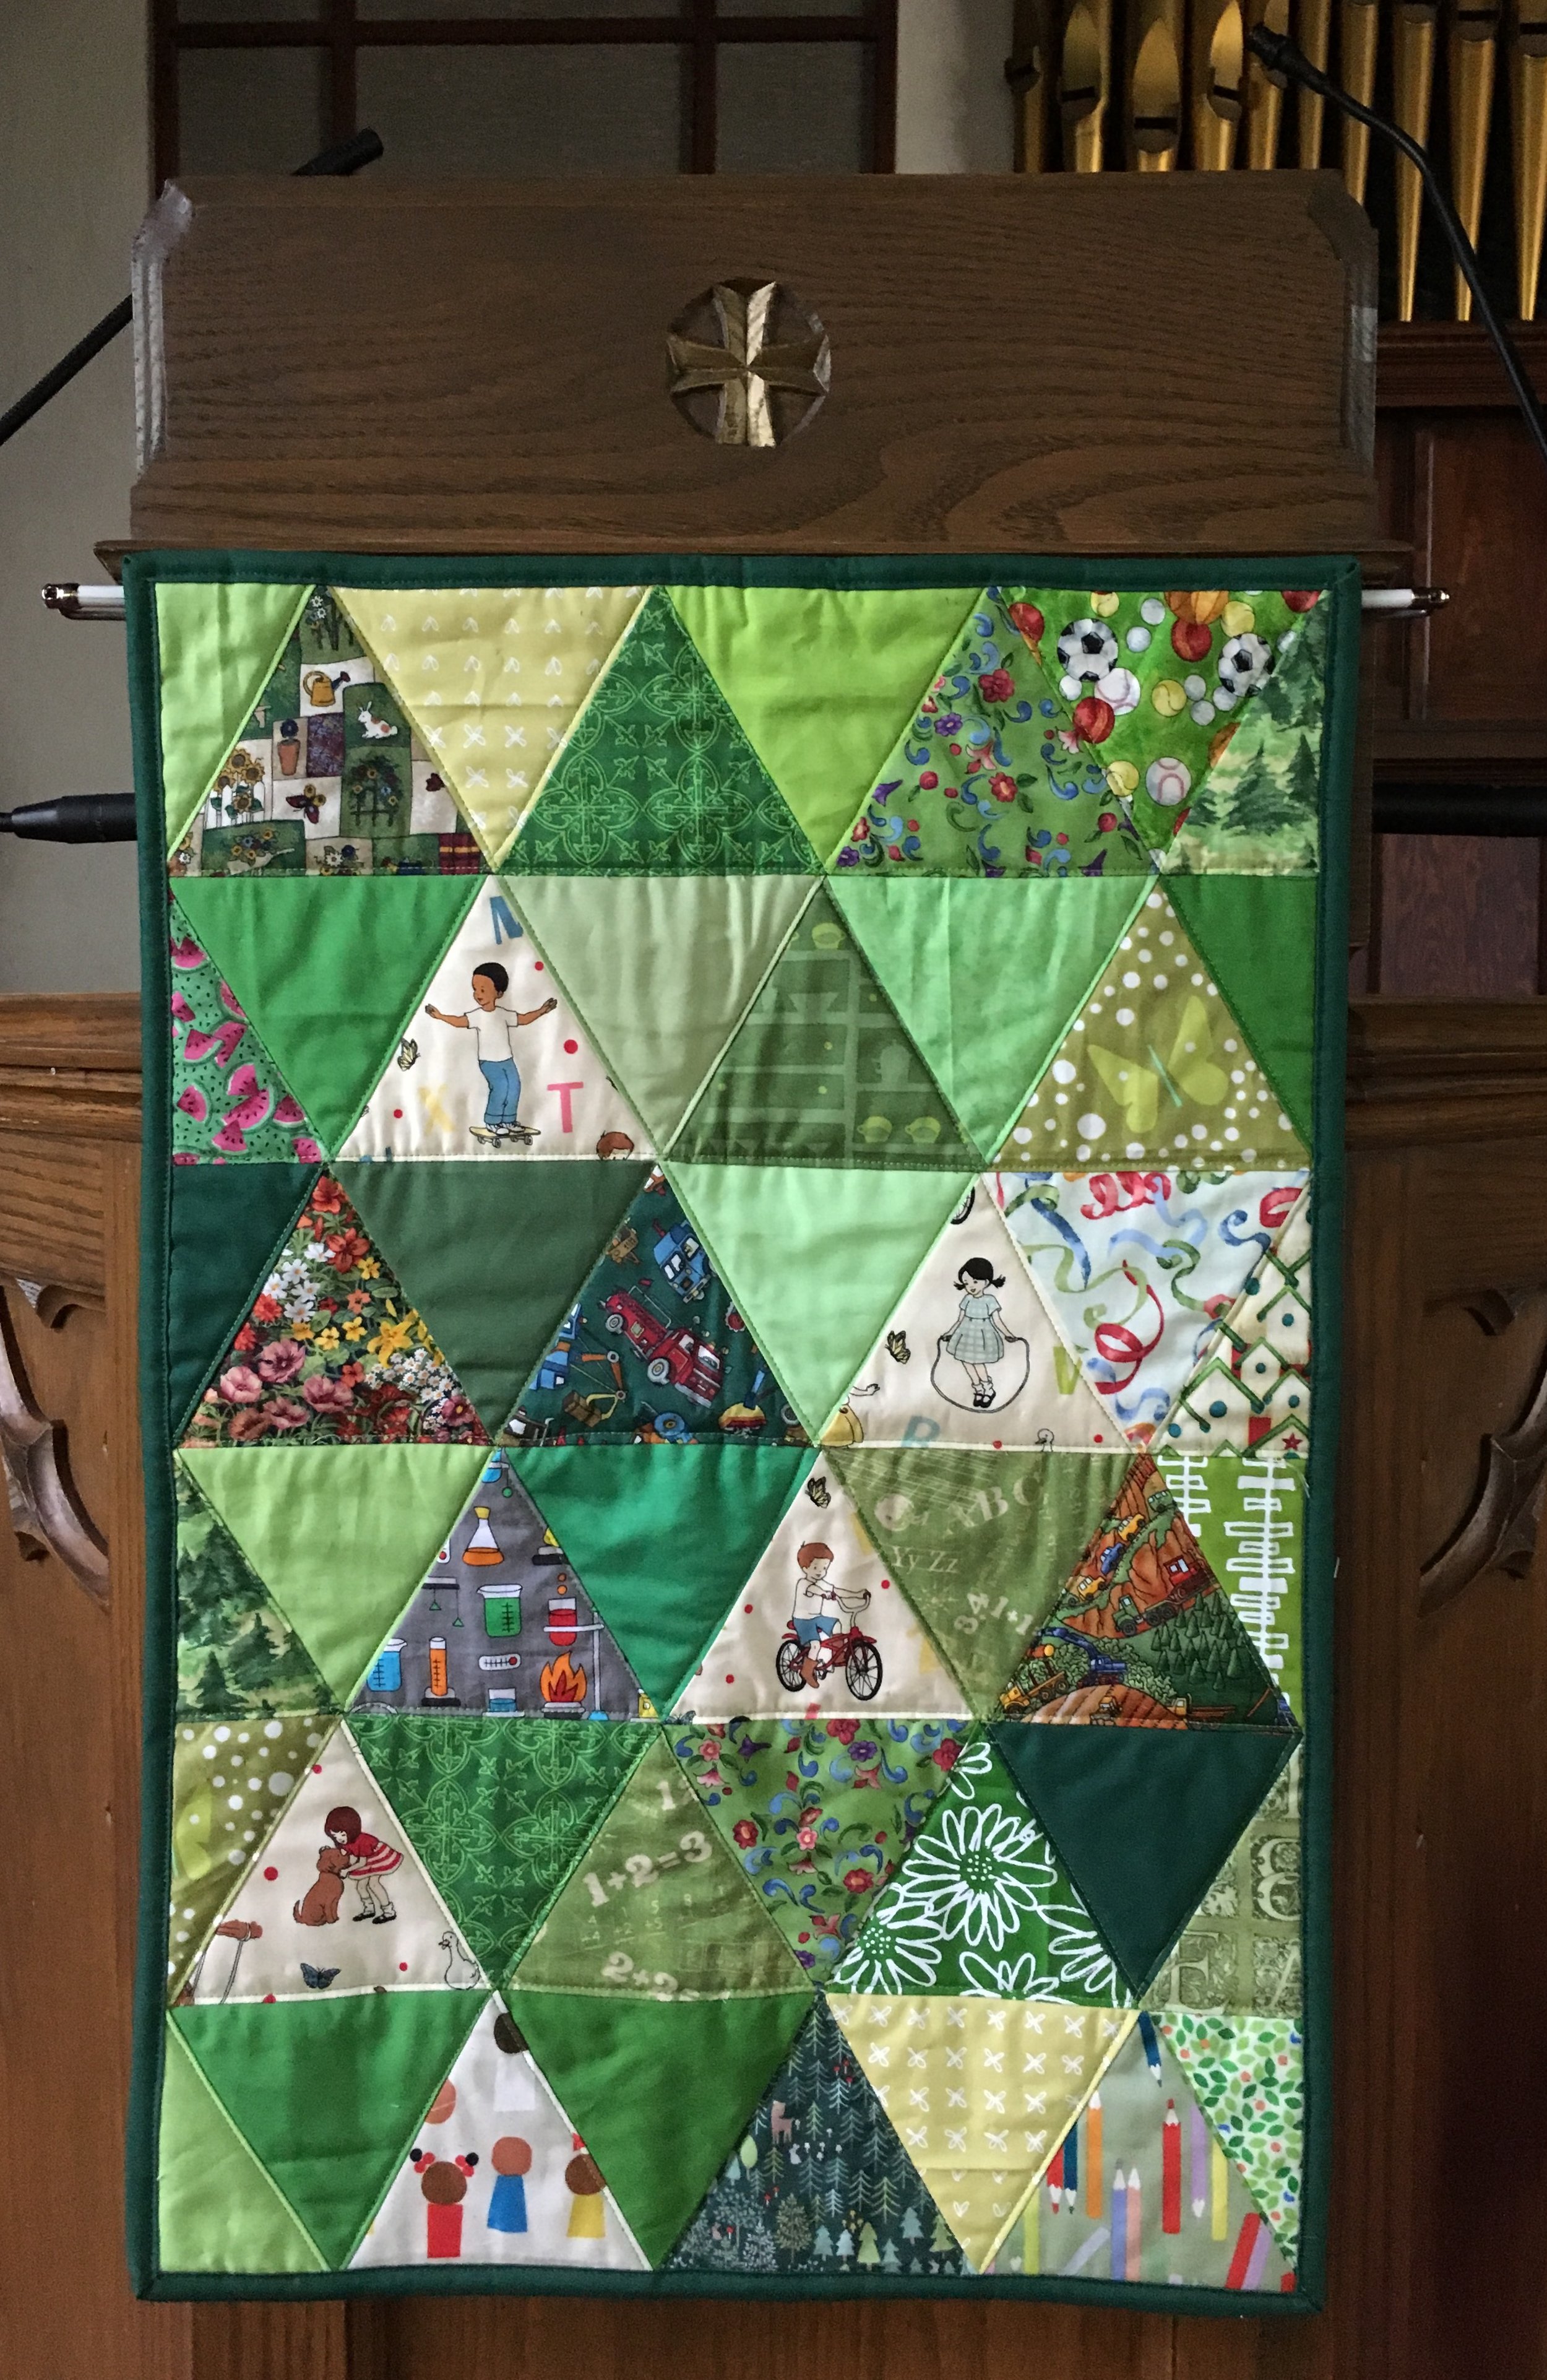
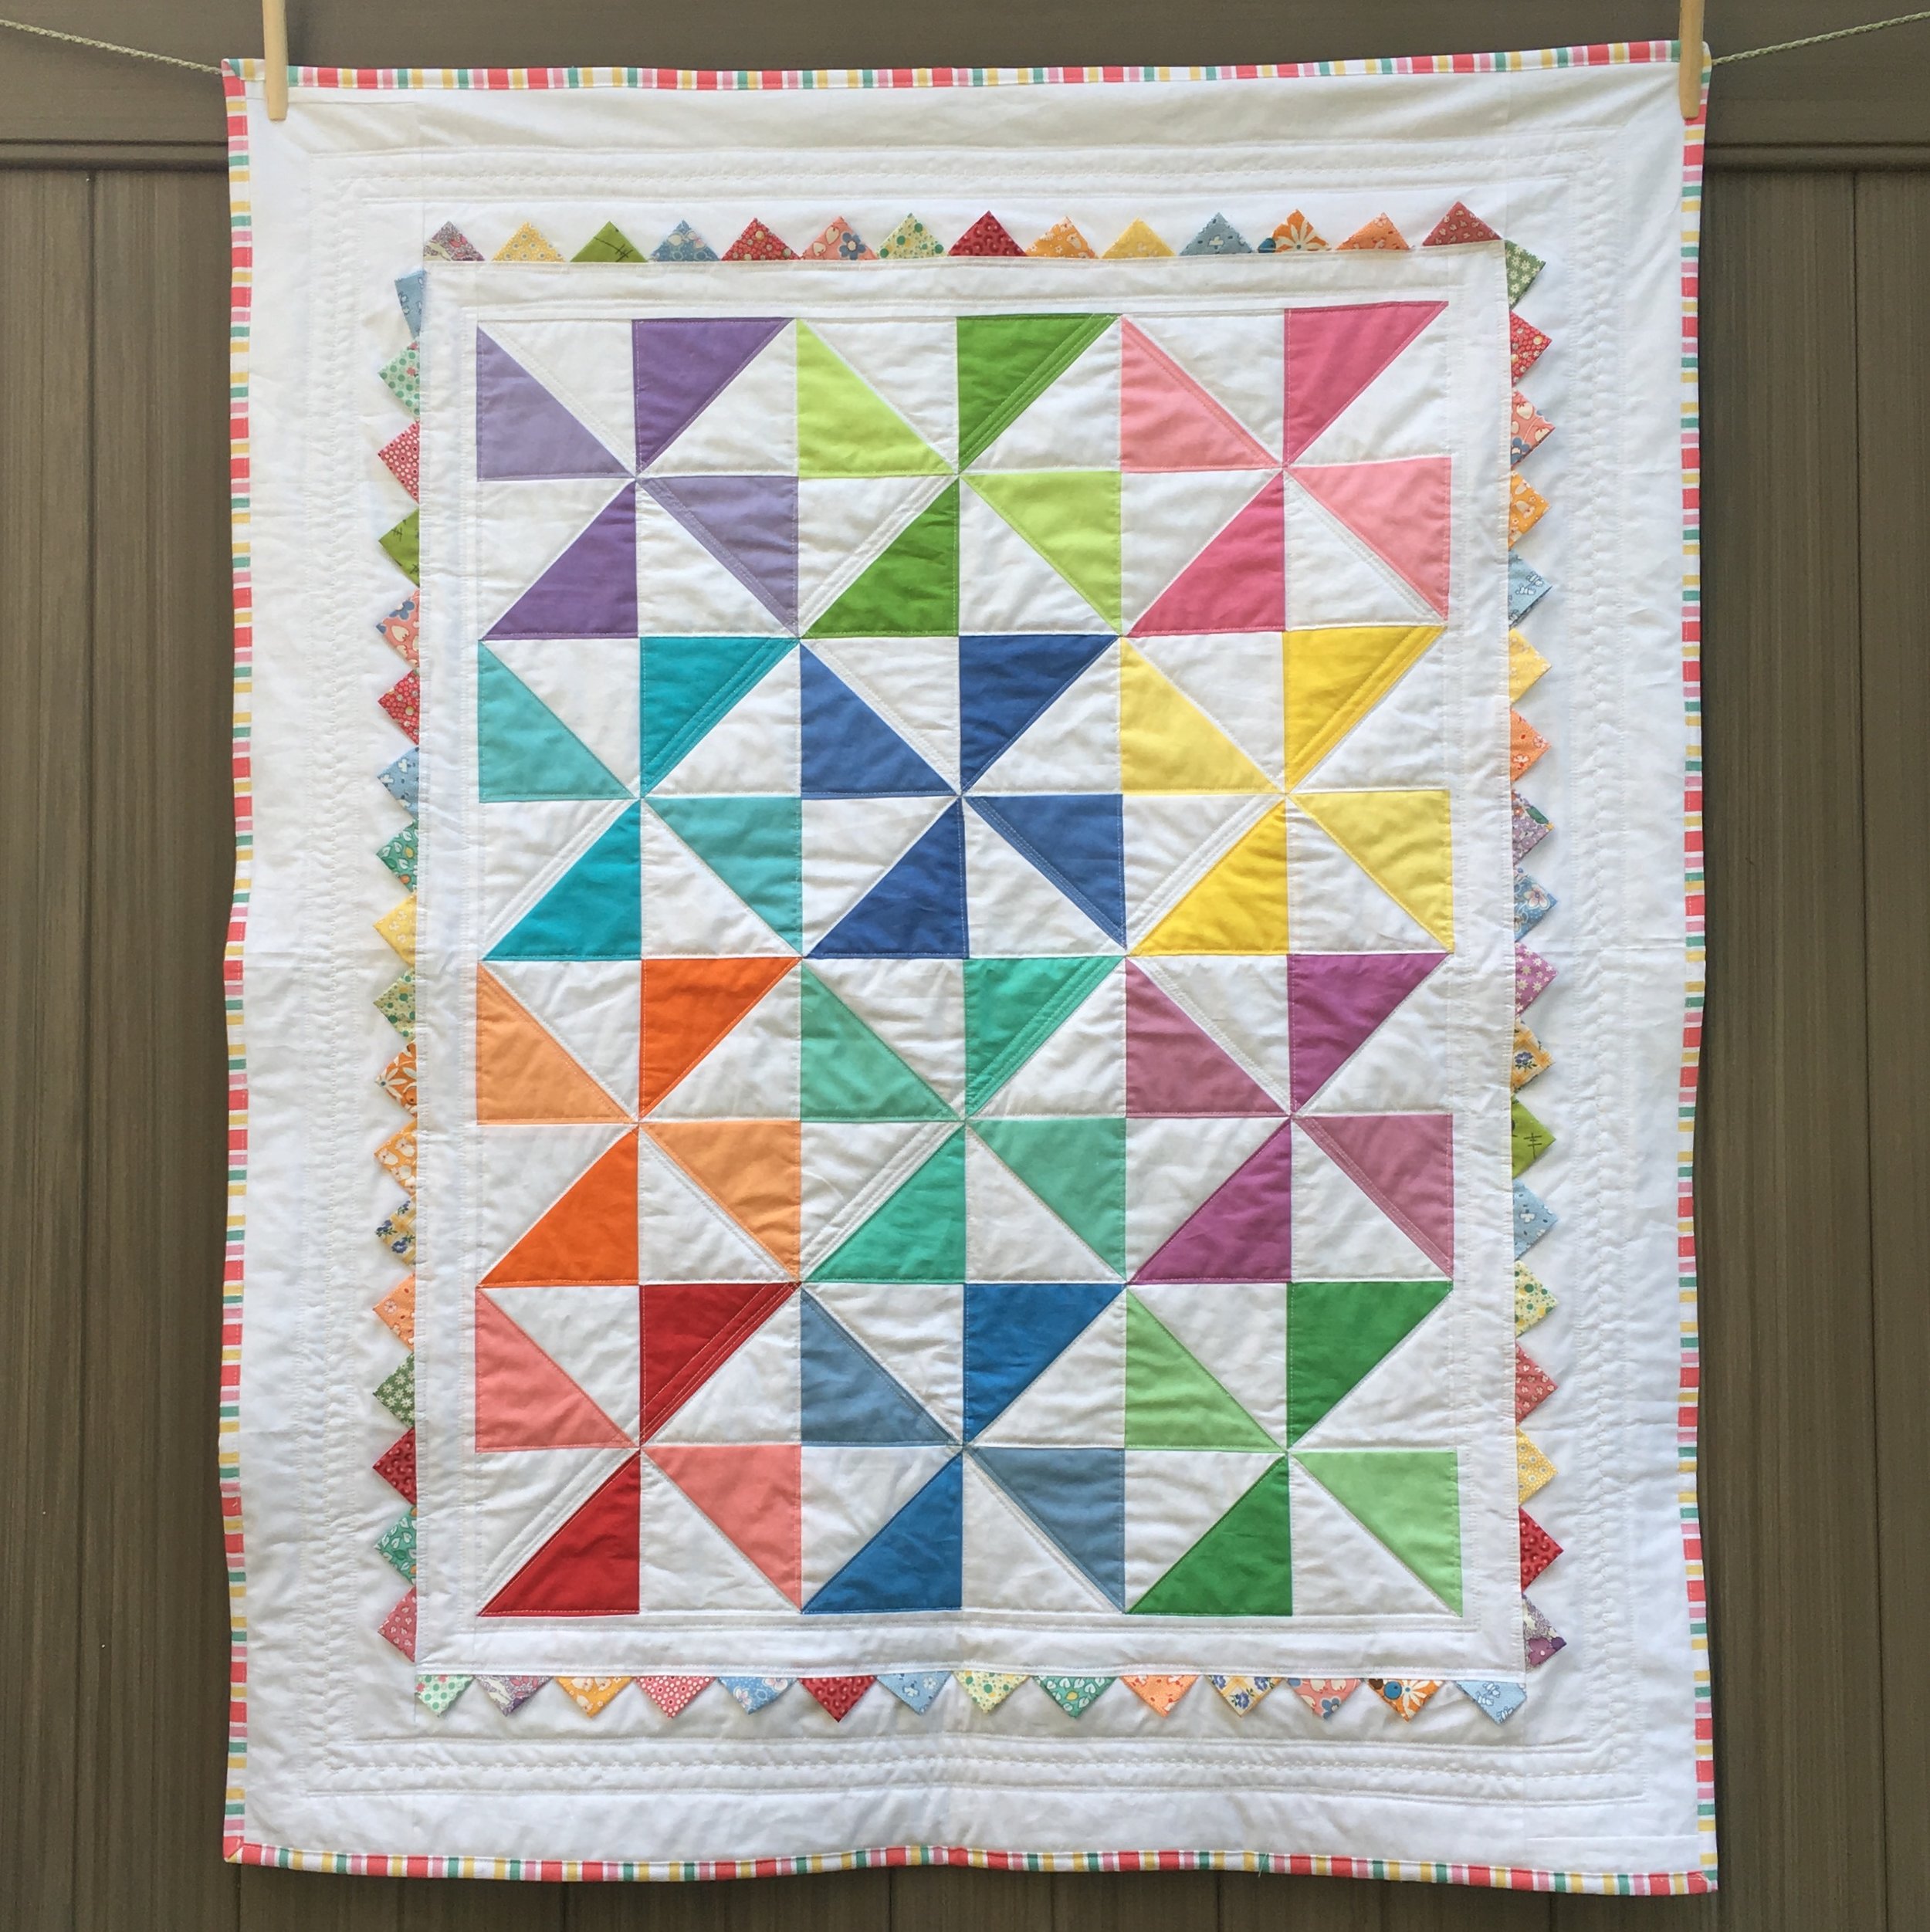
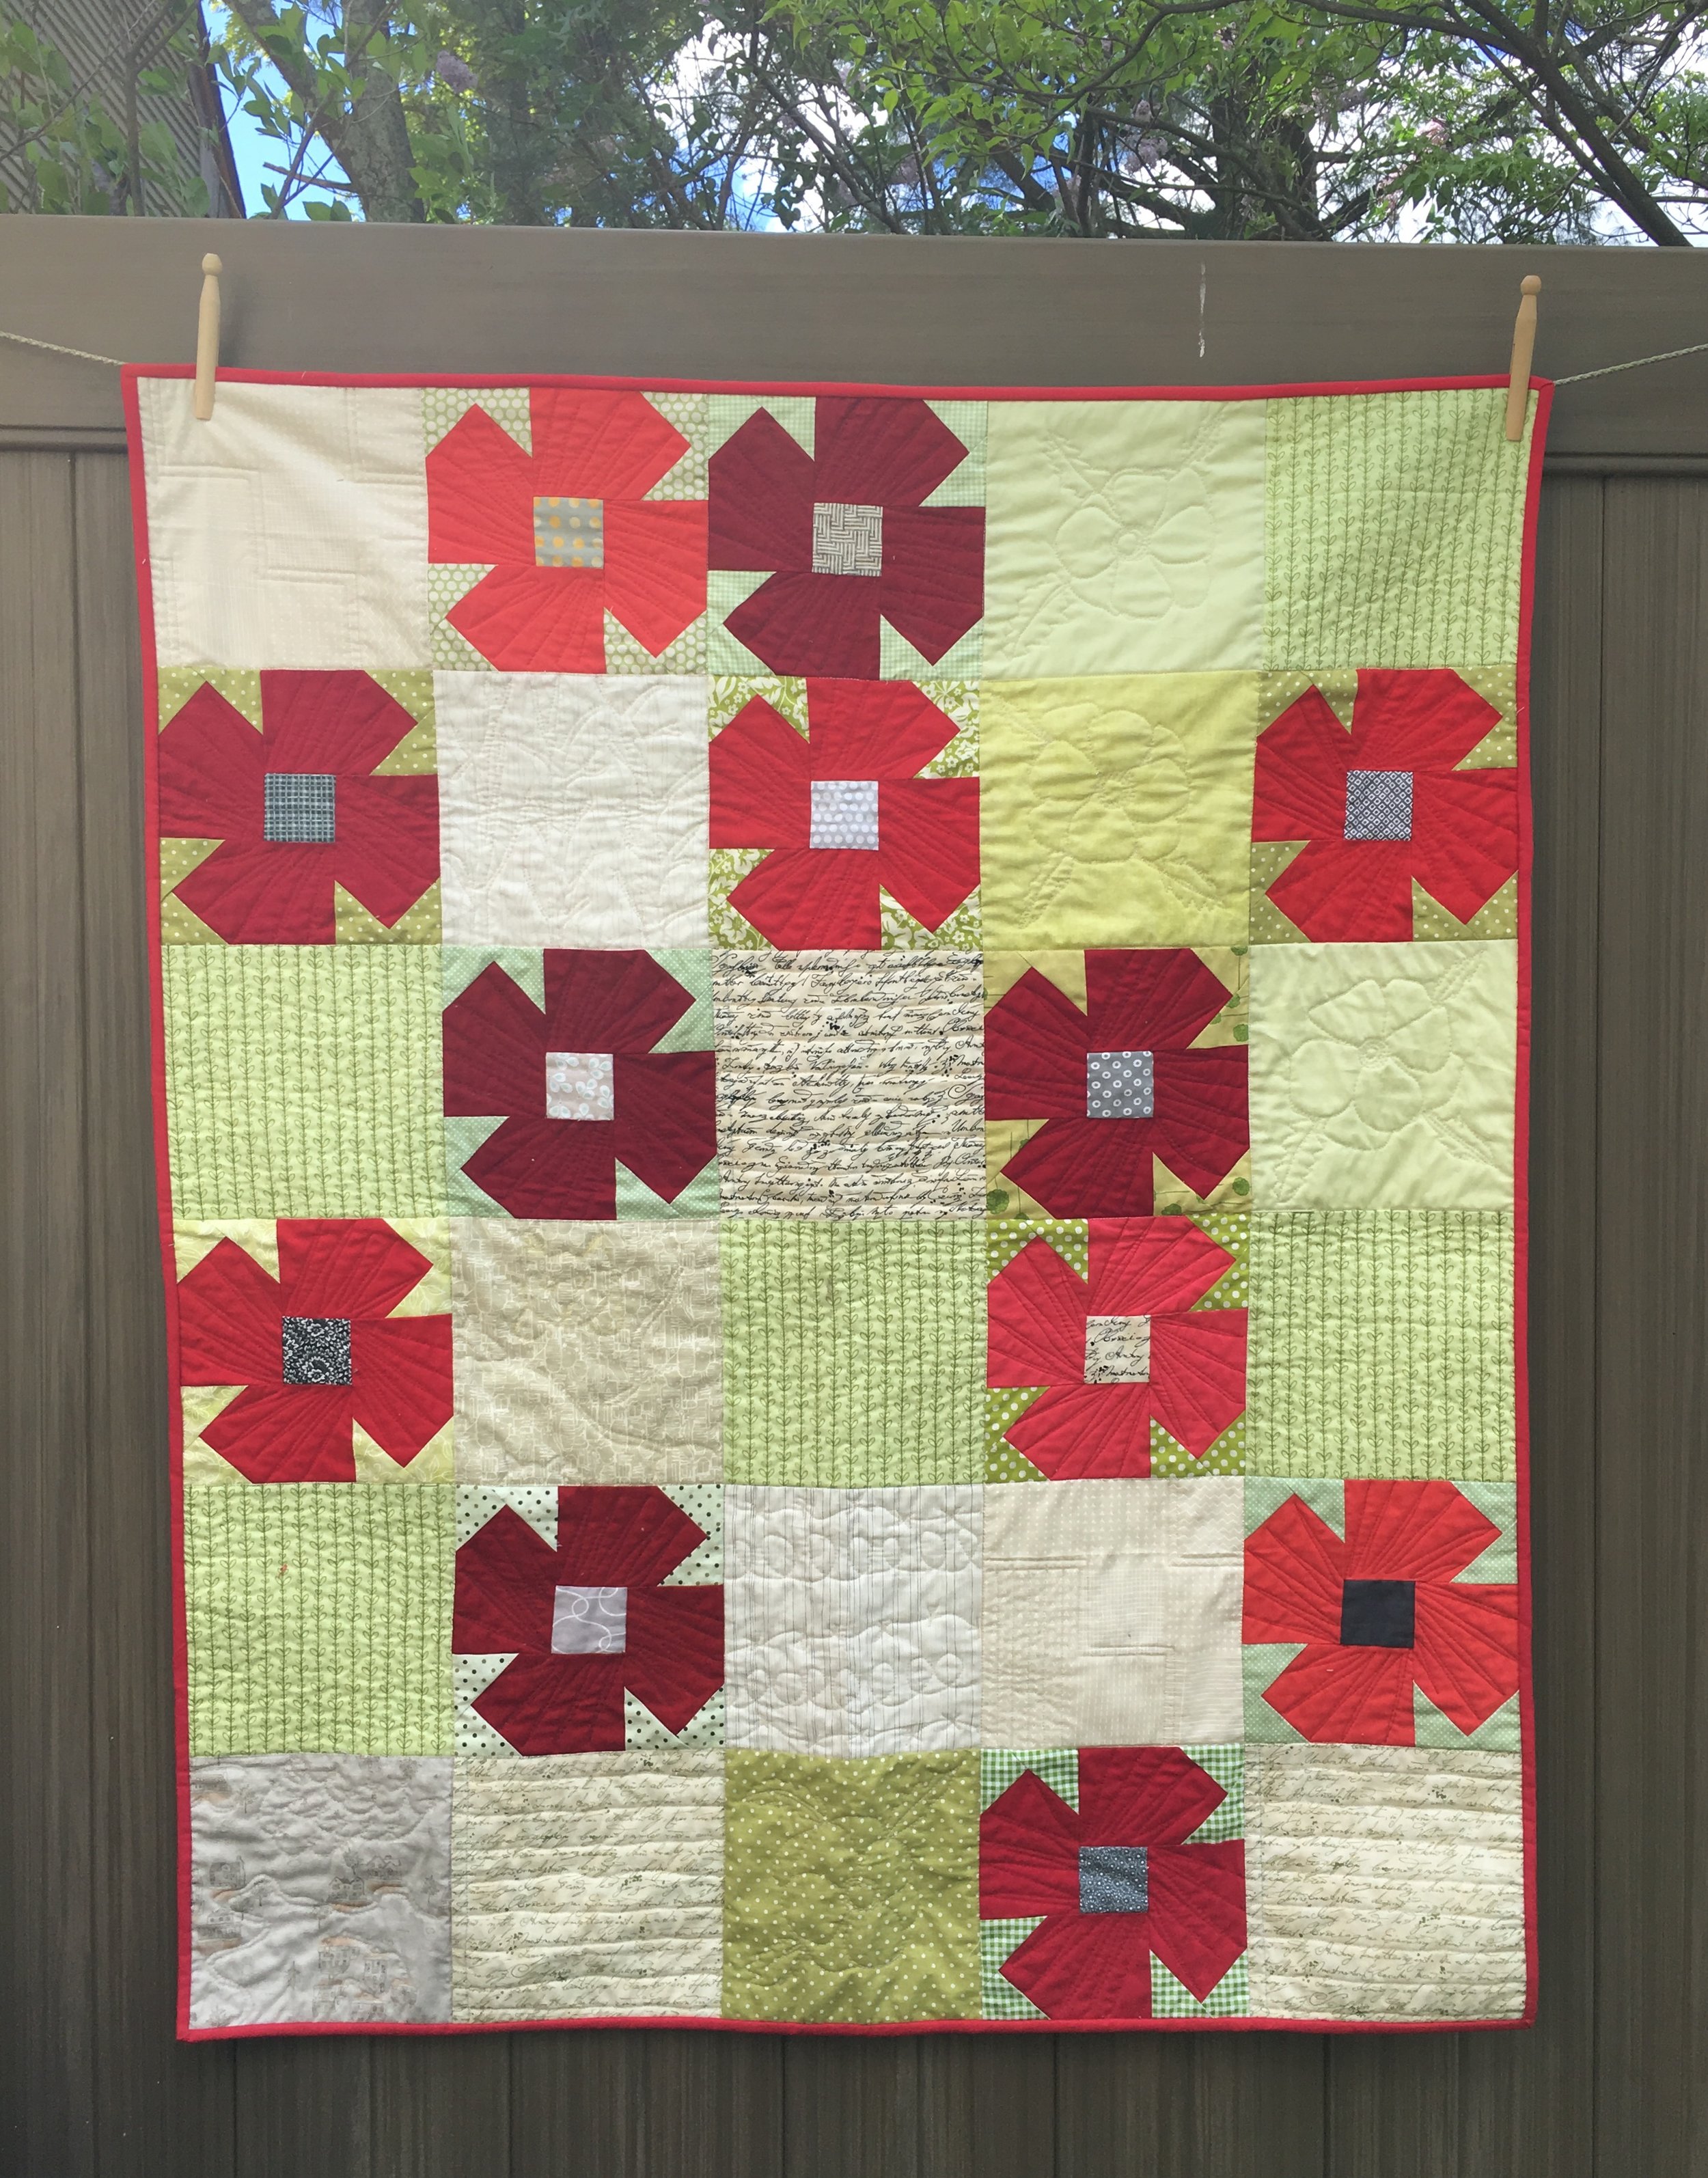
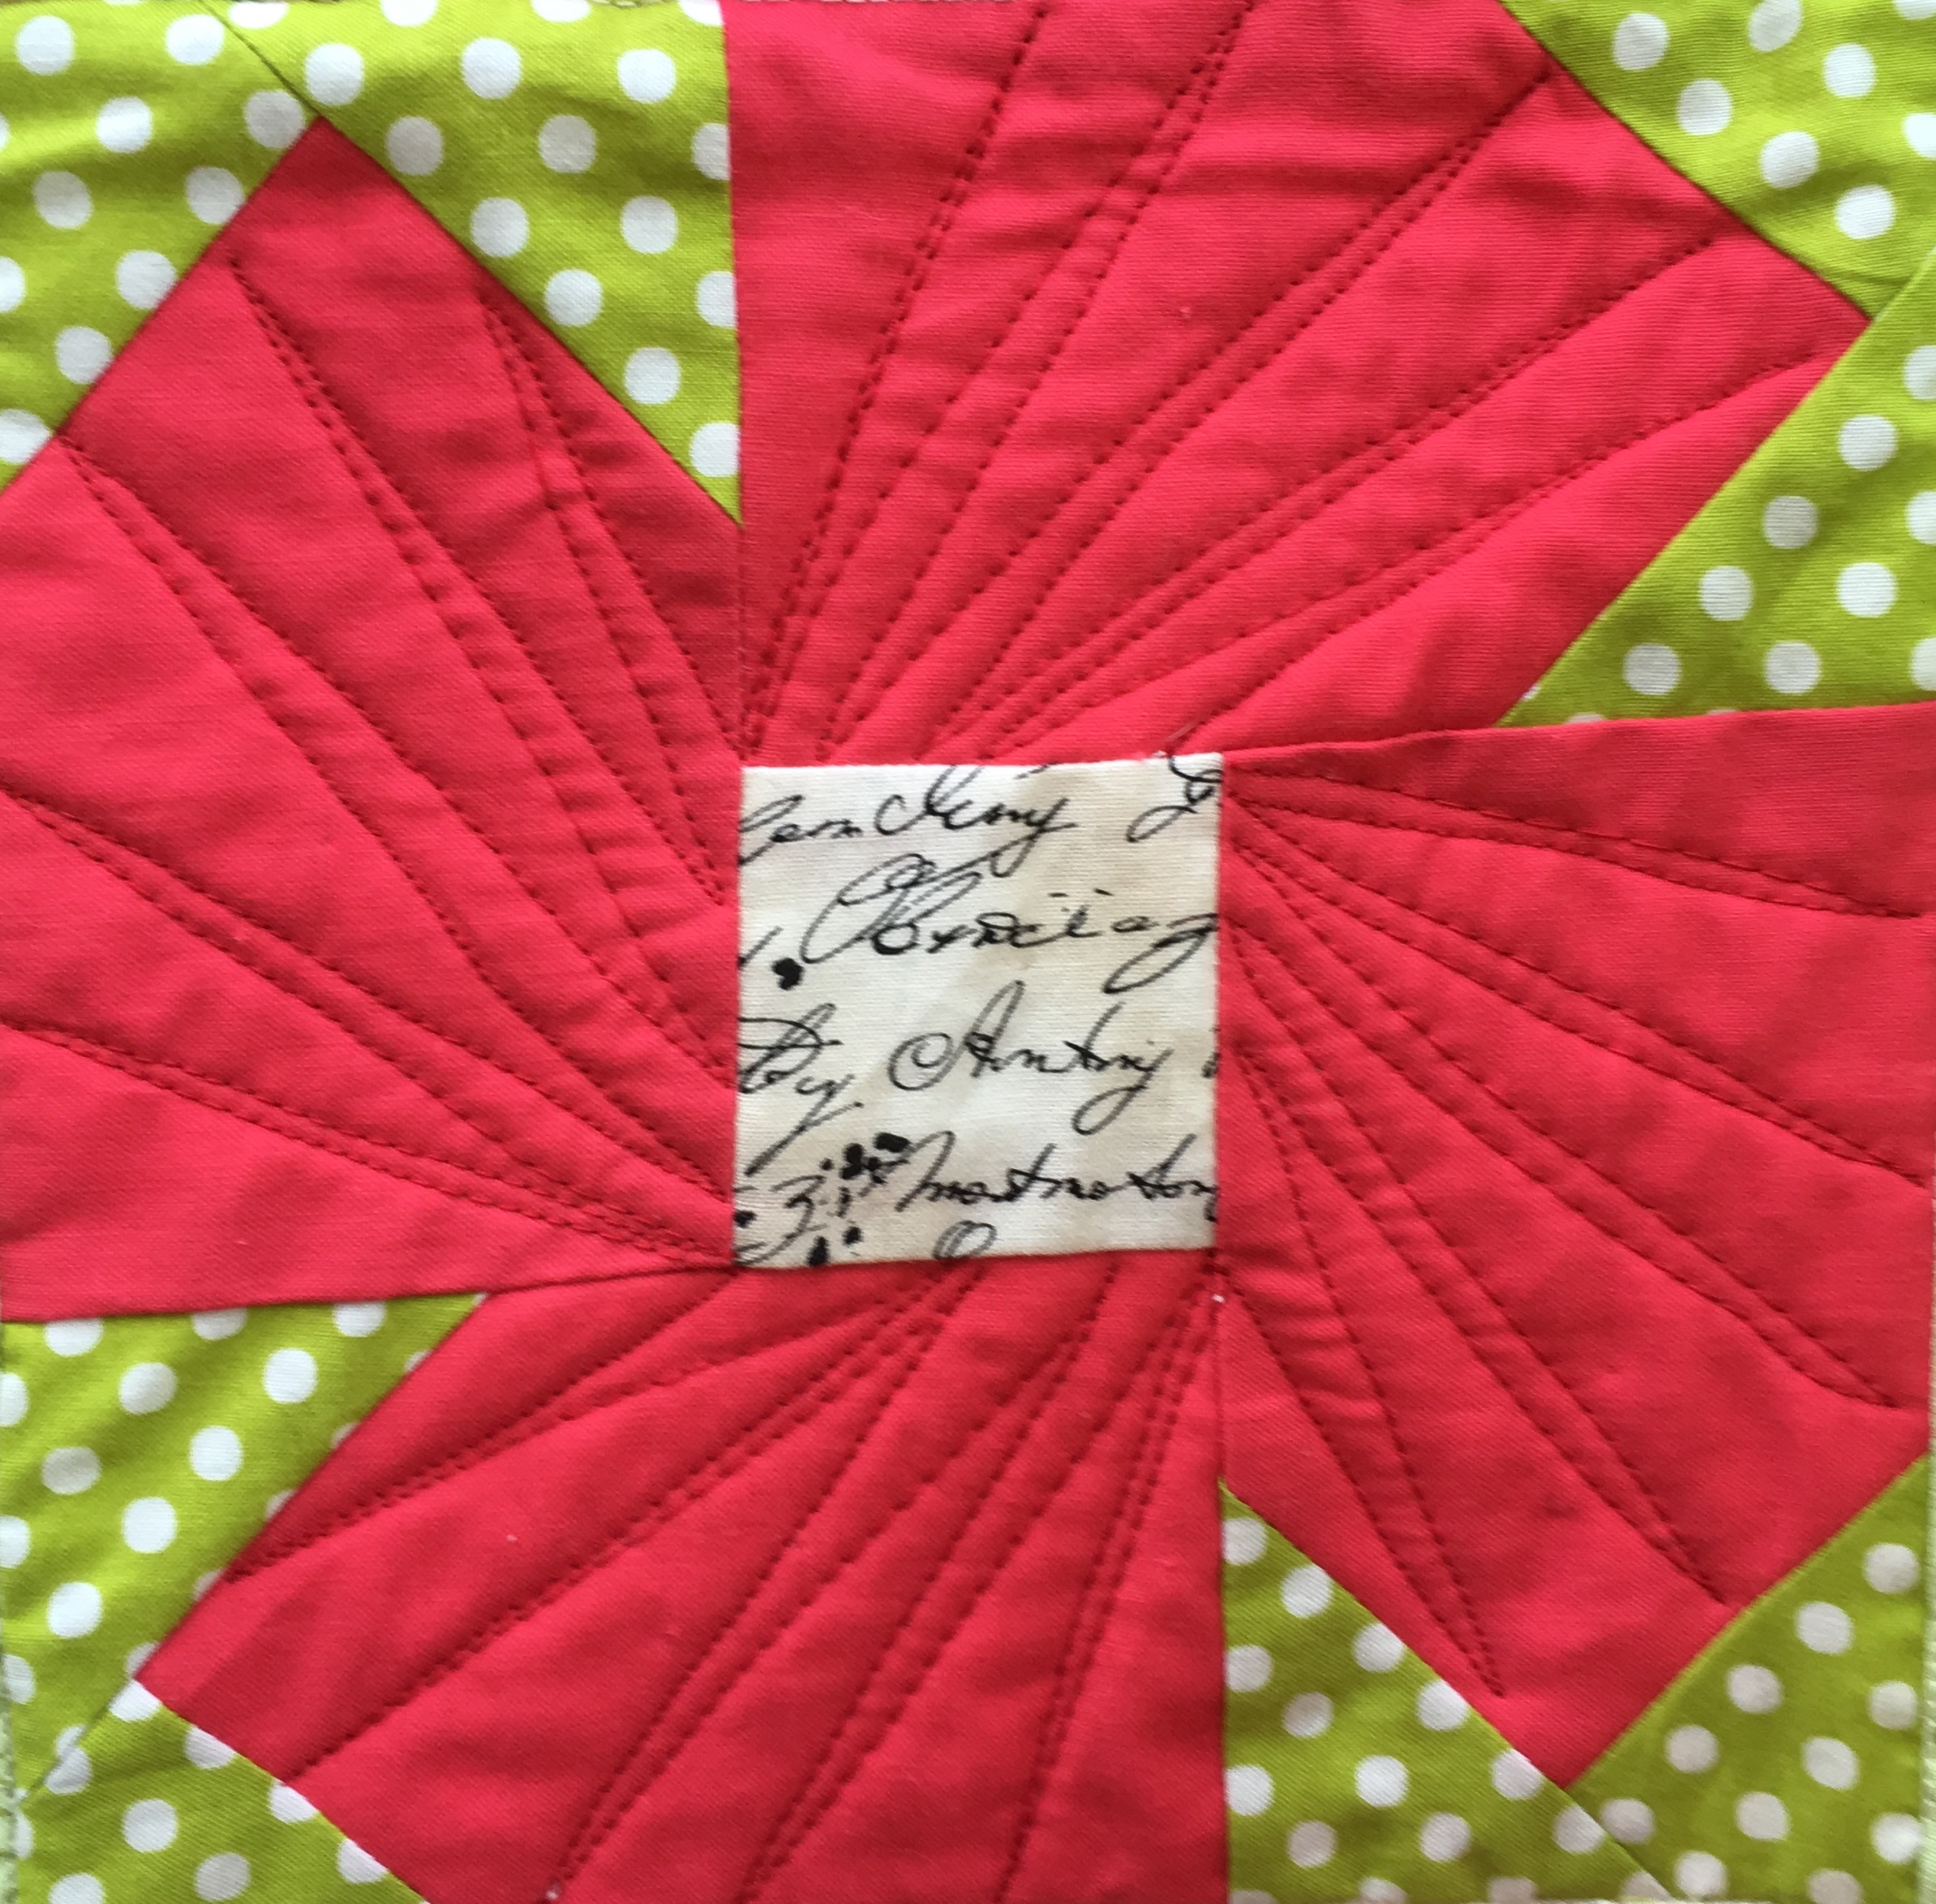
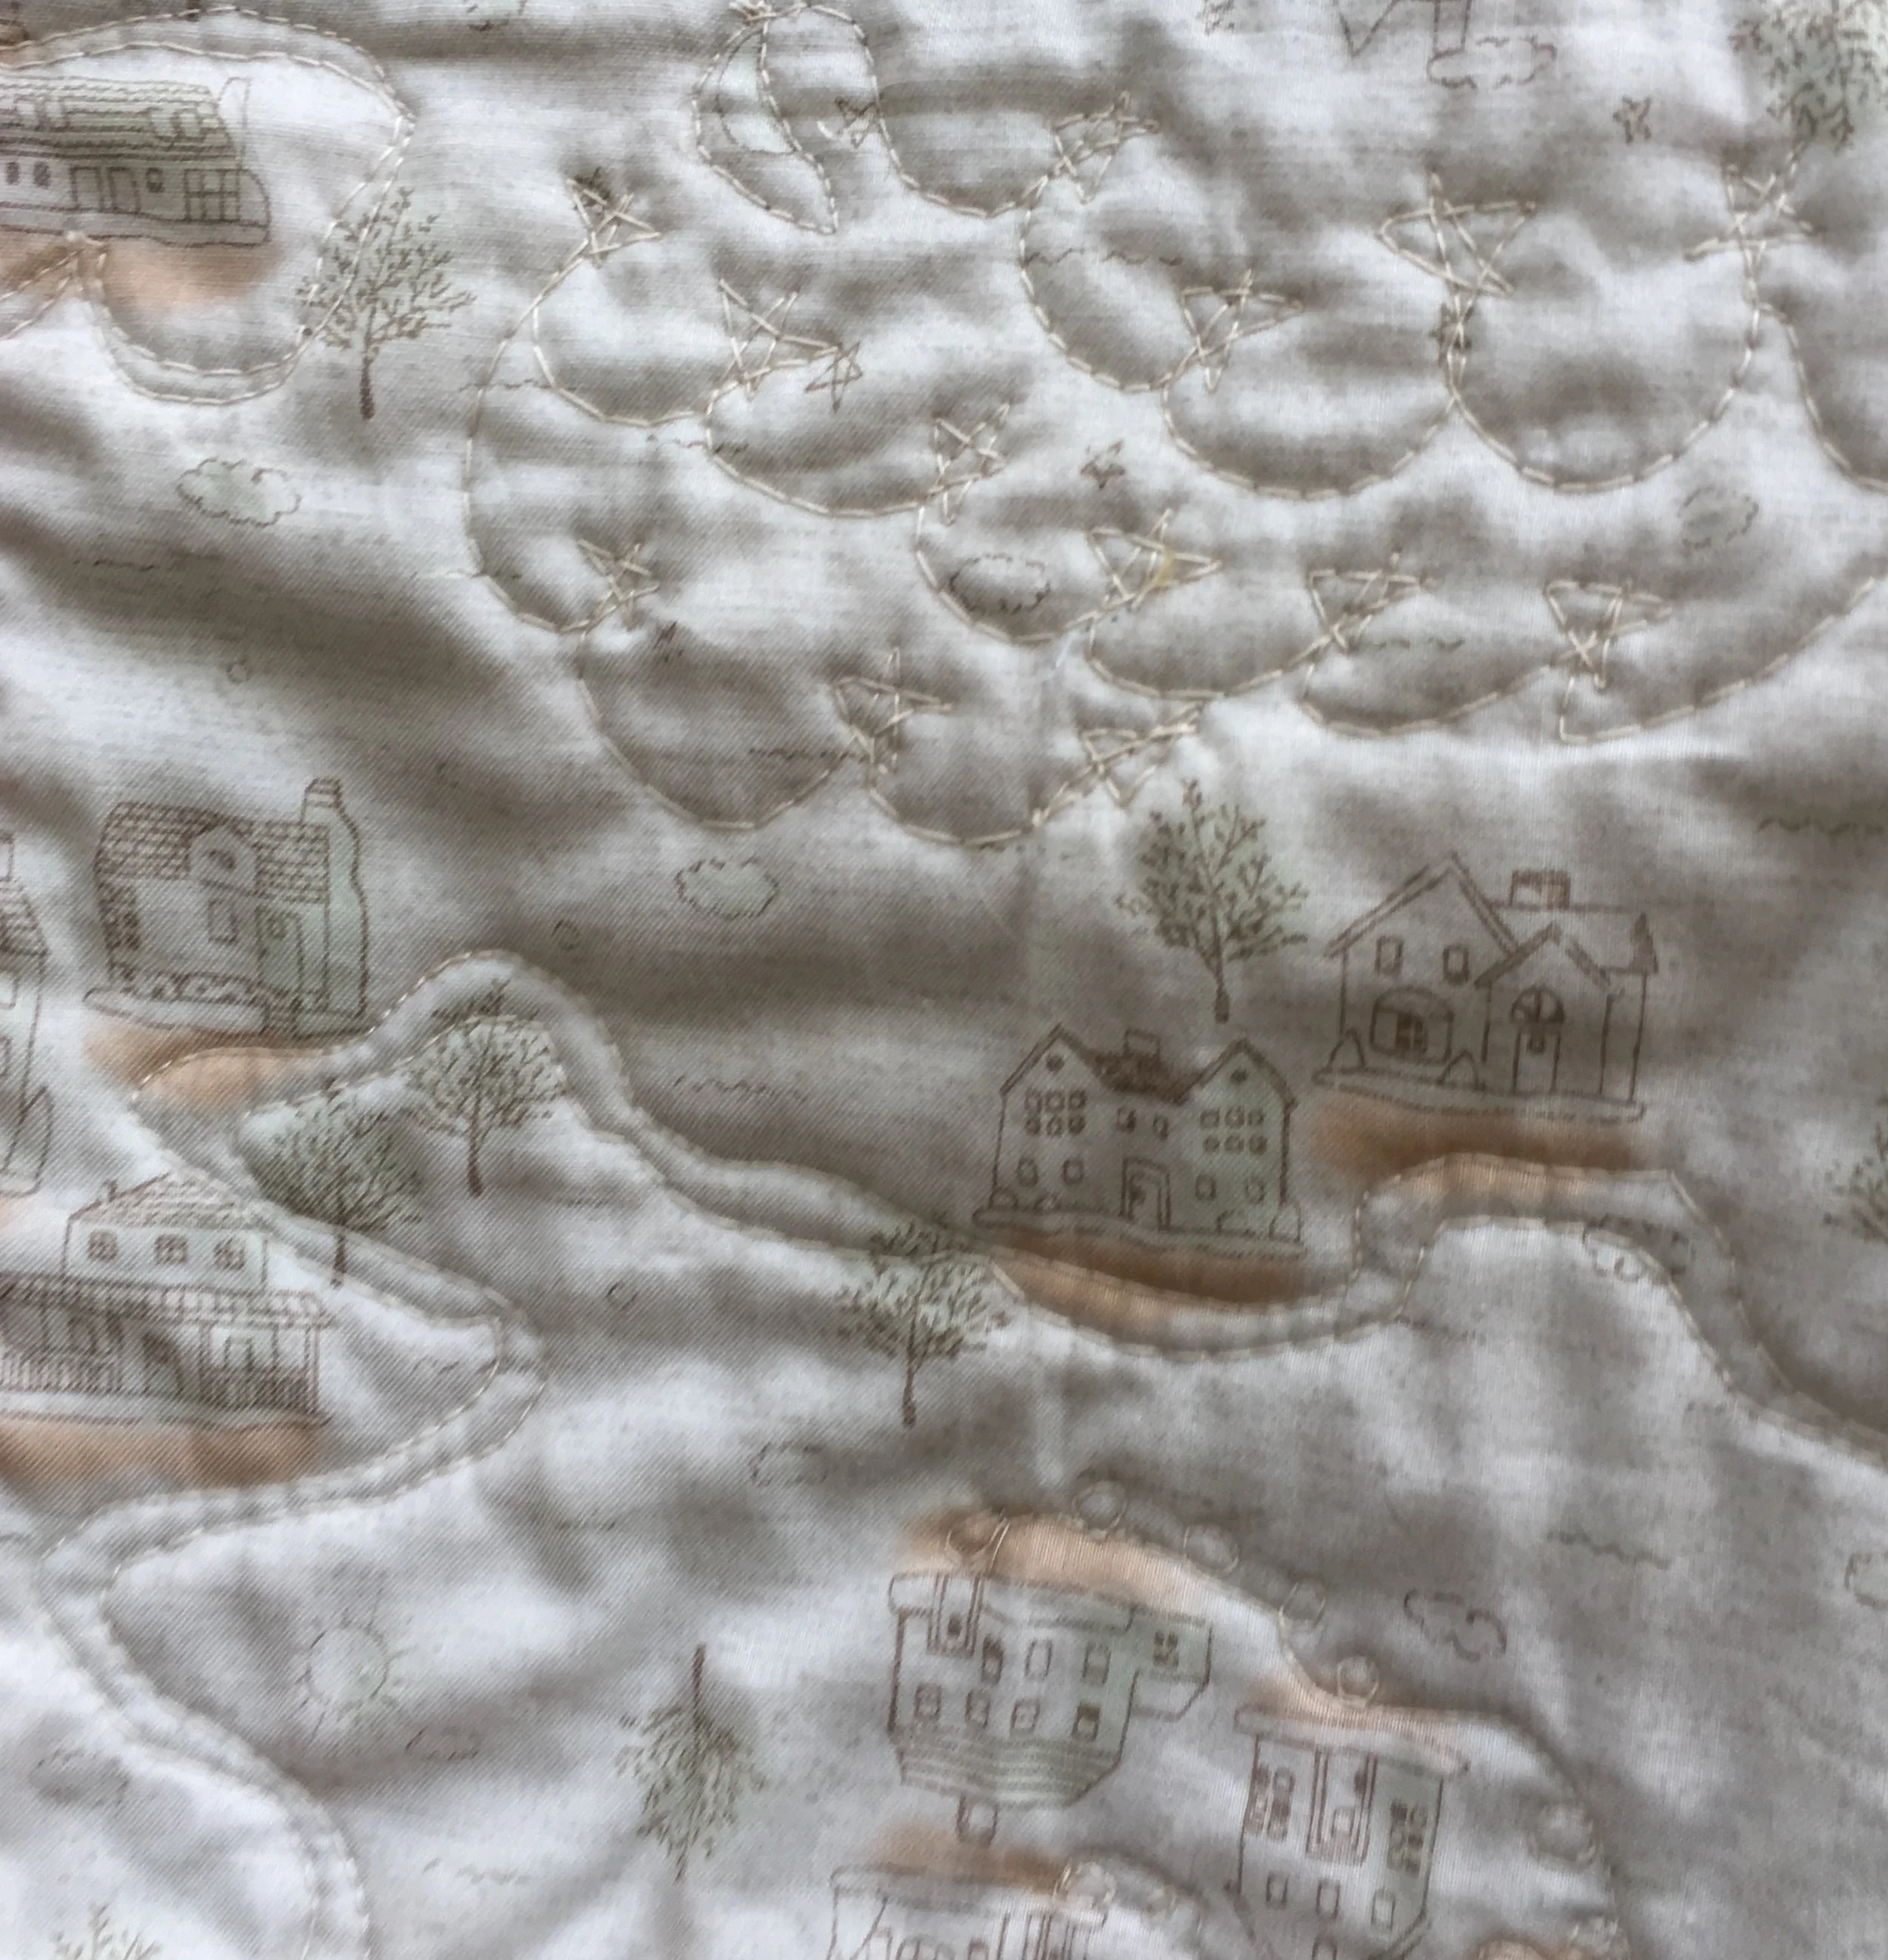
Here’s my quilt with the borders added to it.
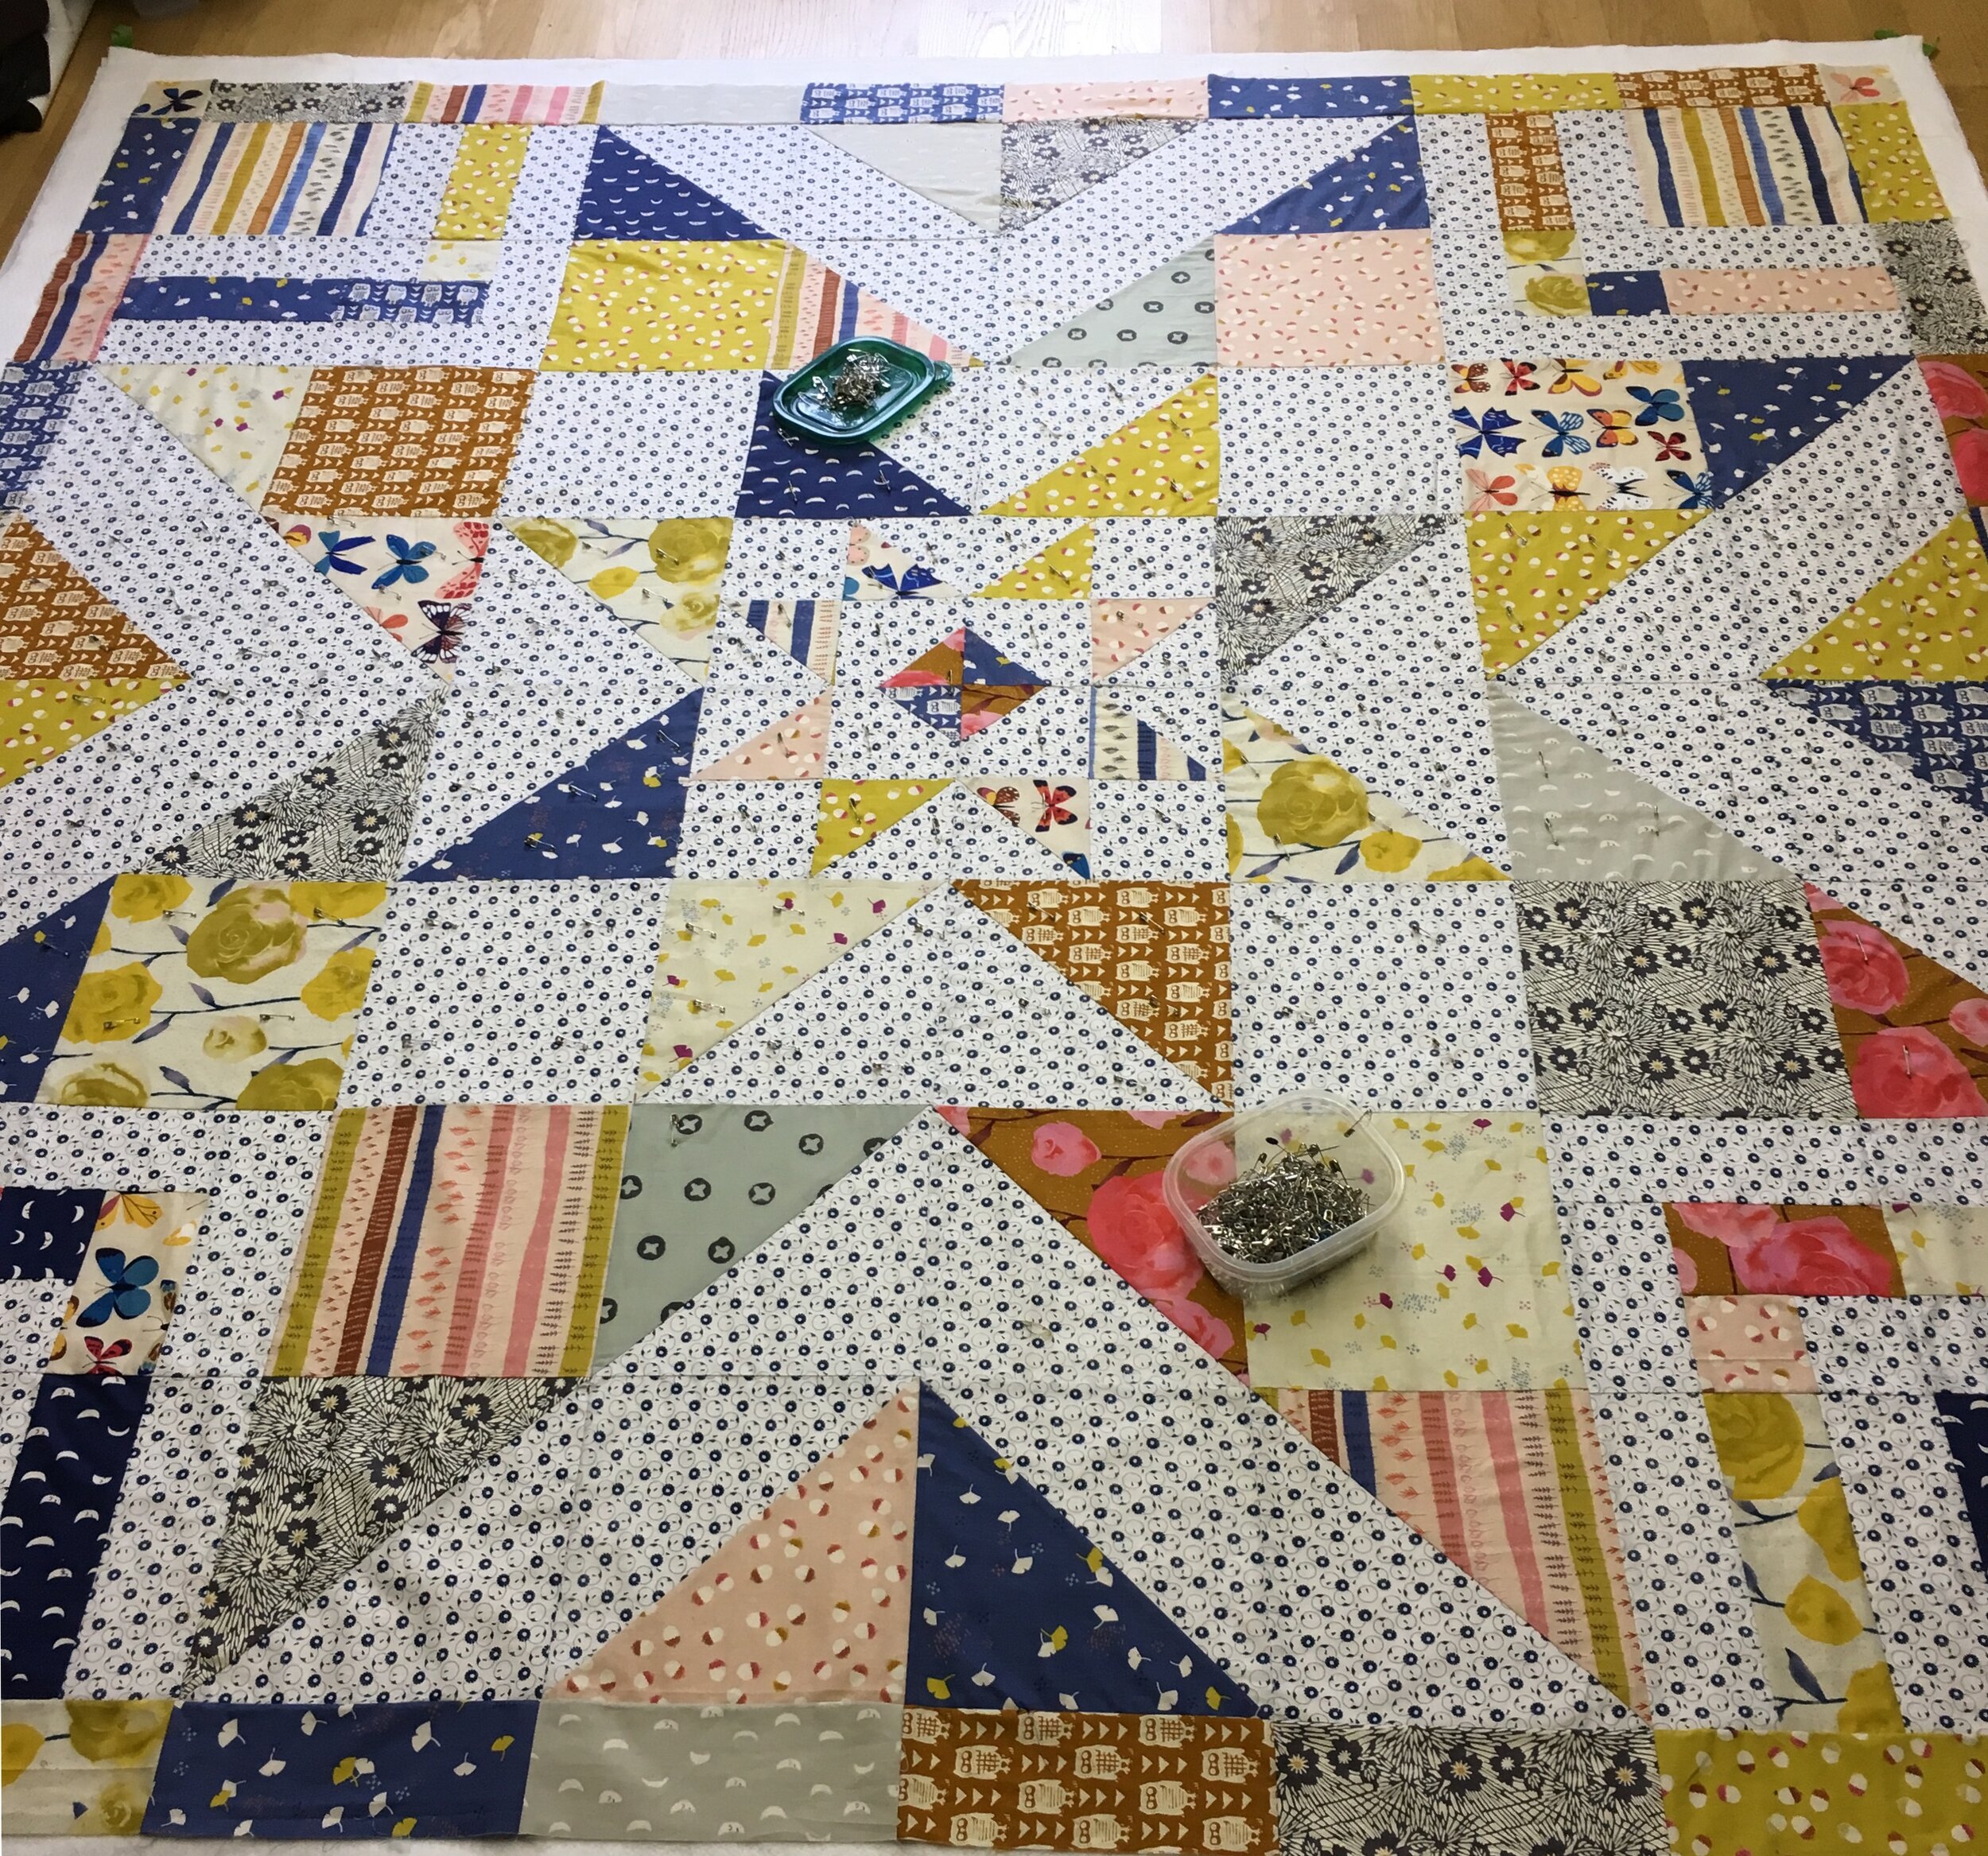
Pin Basting the “Triple Barnstar” Quilt