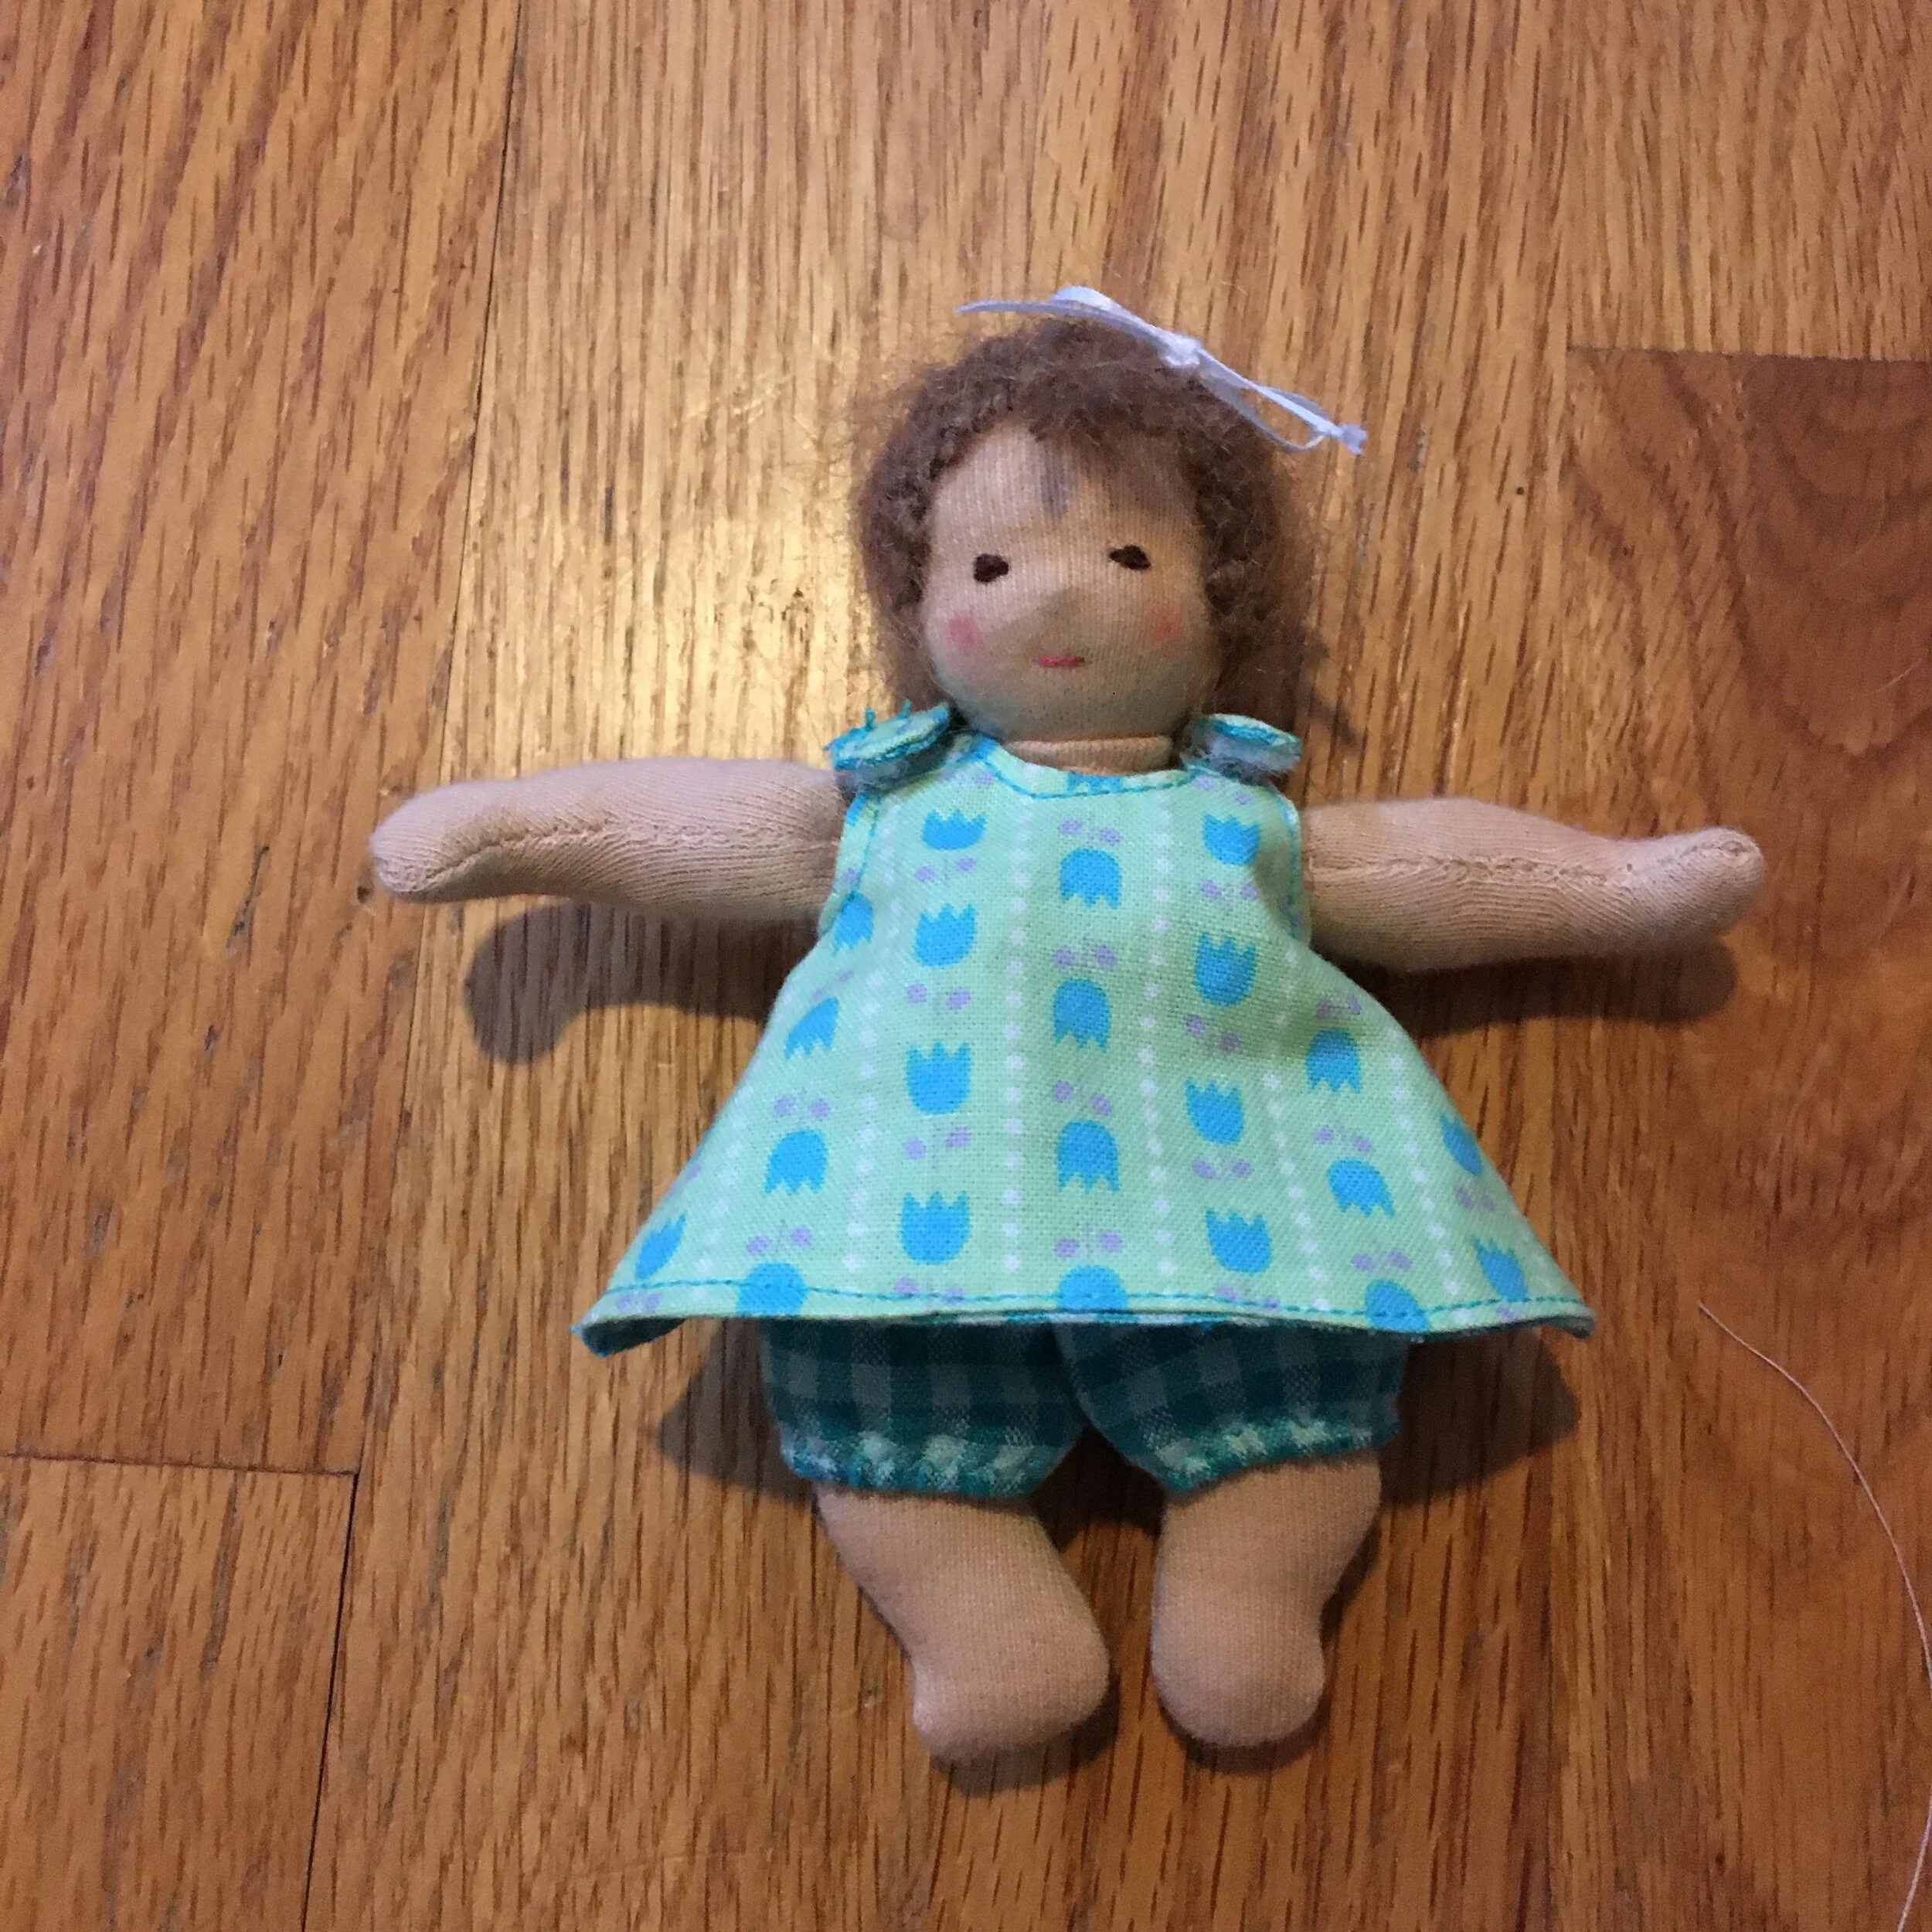
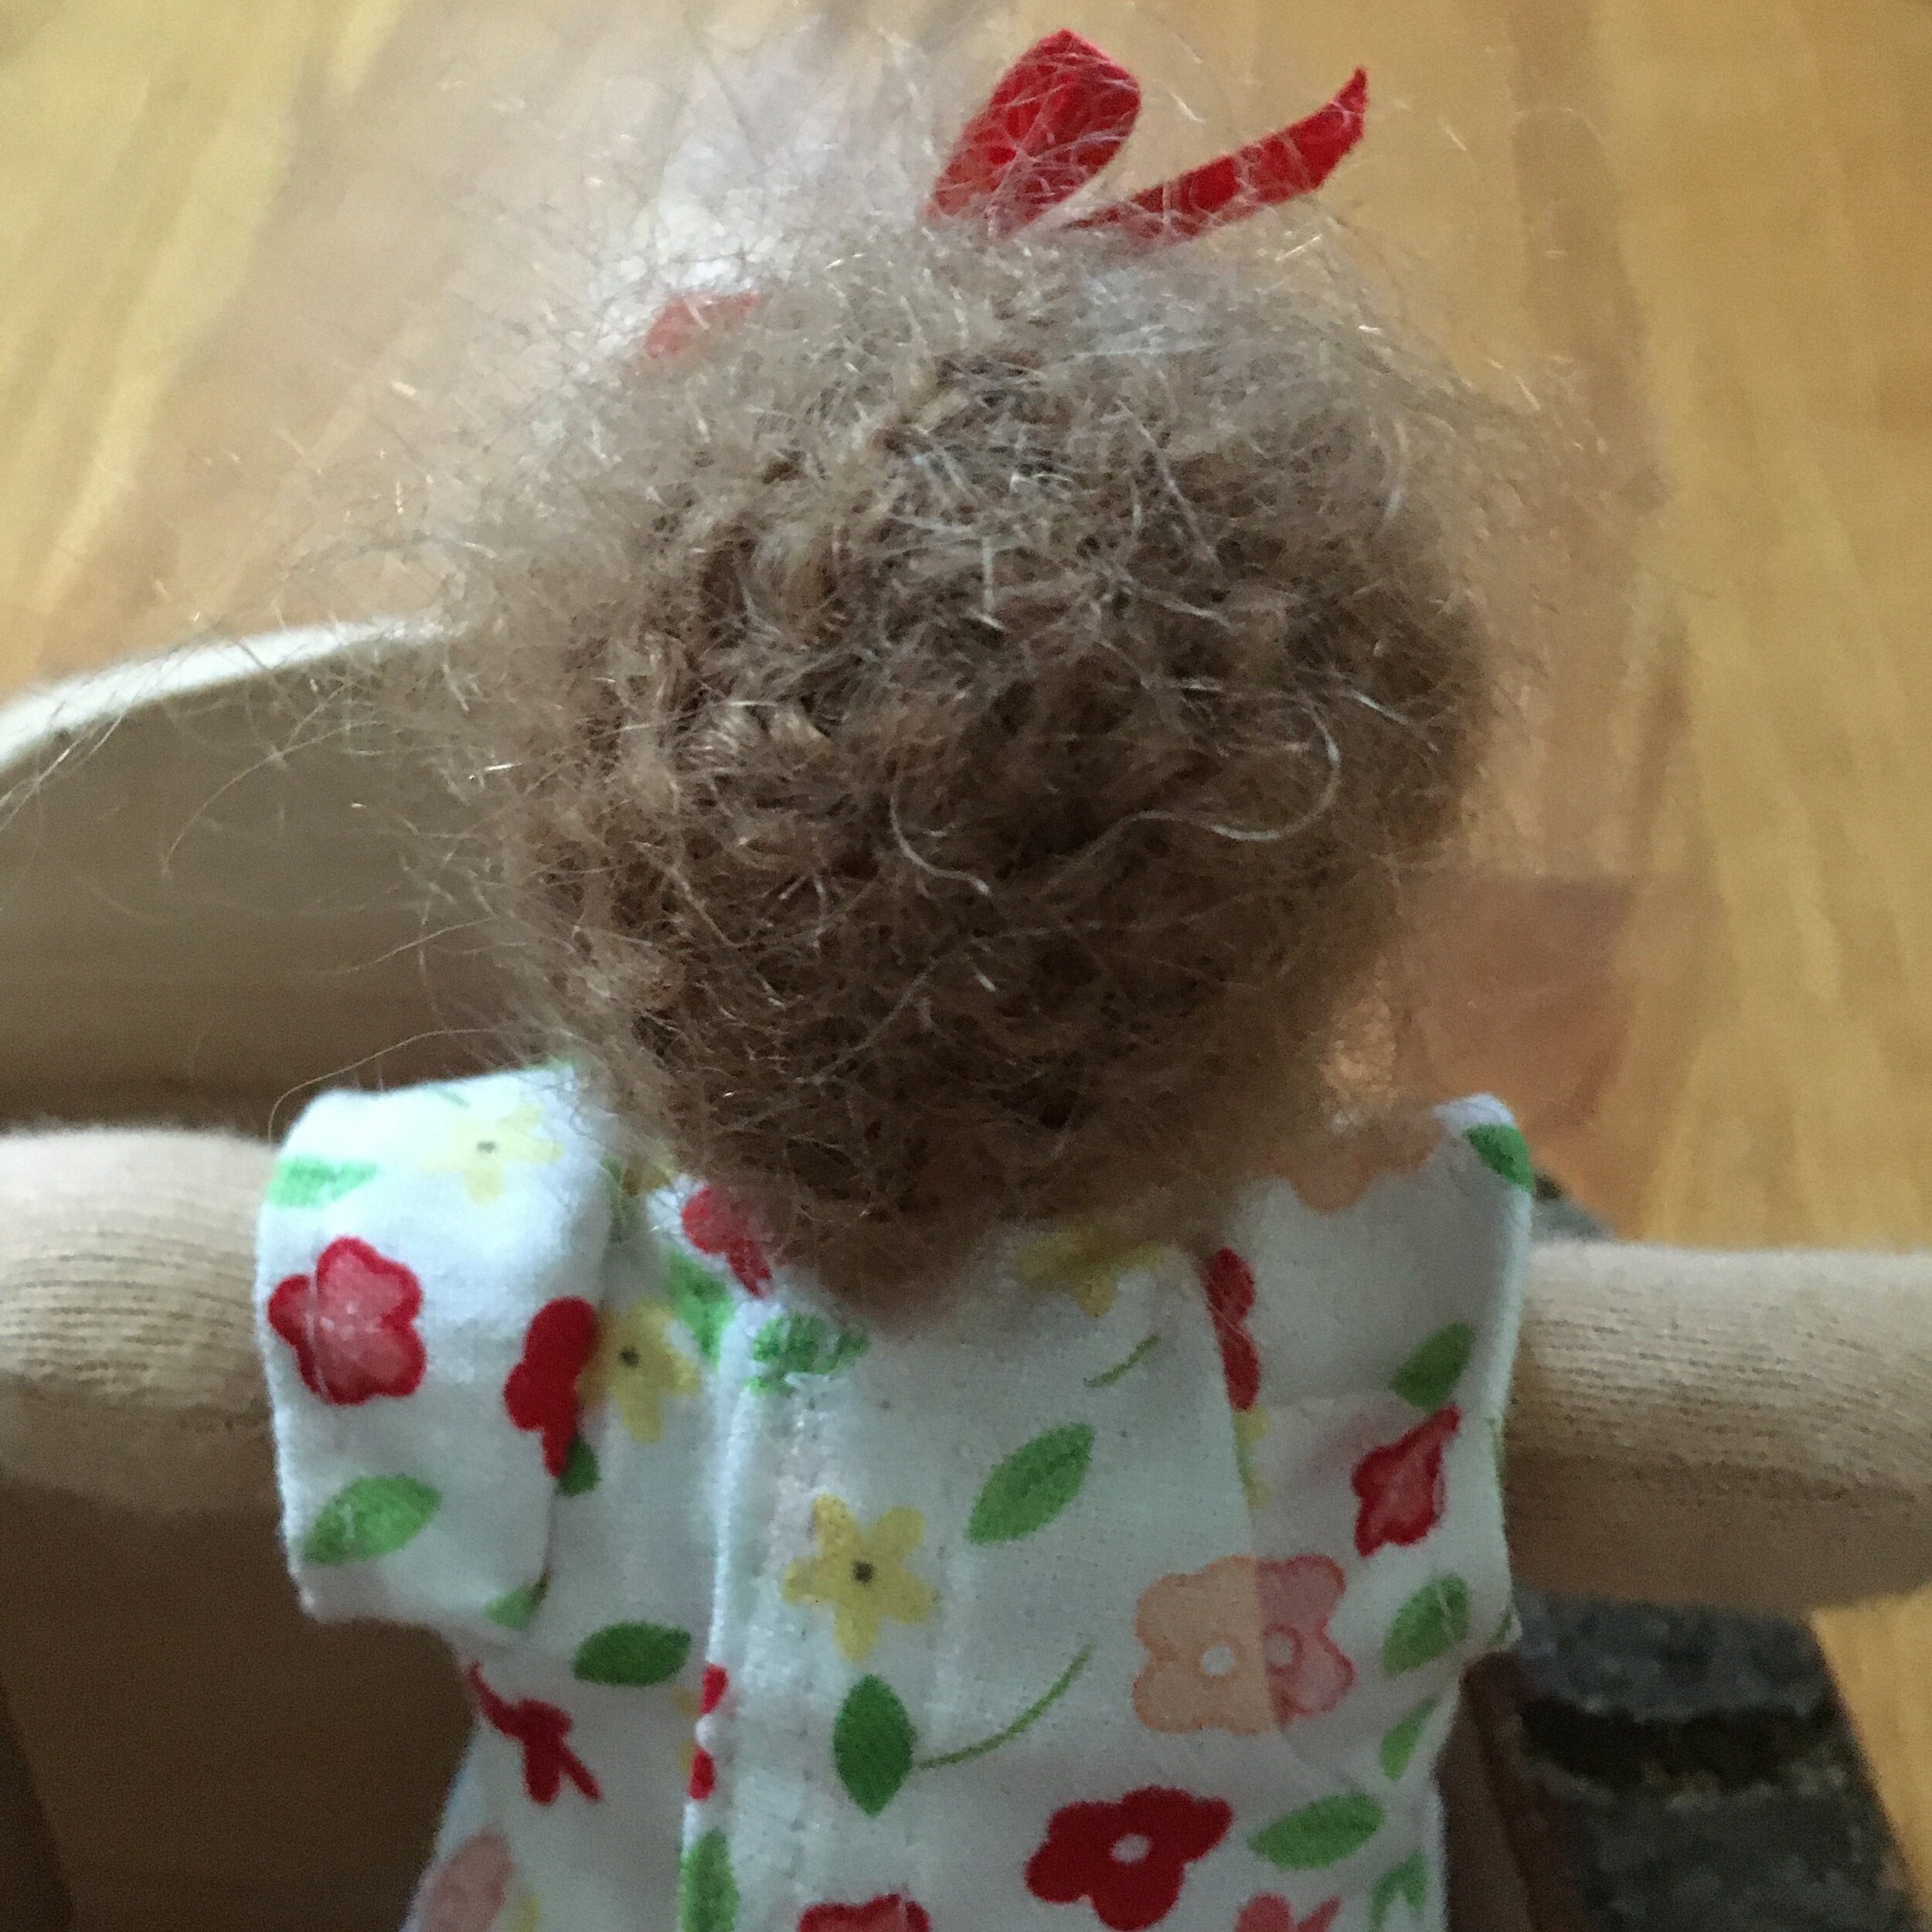
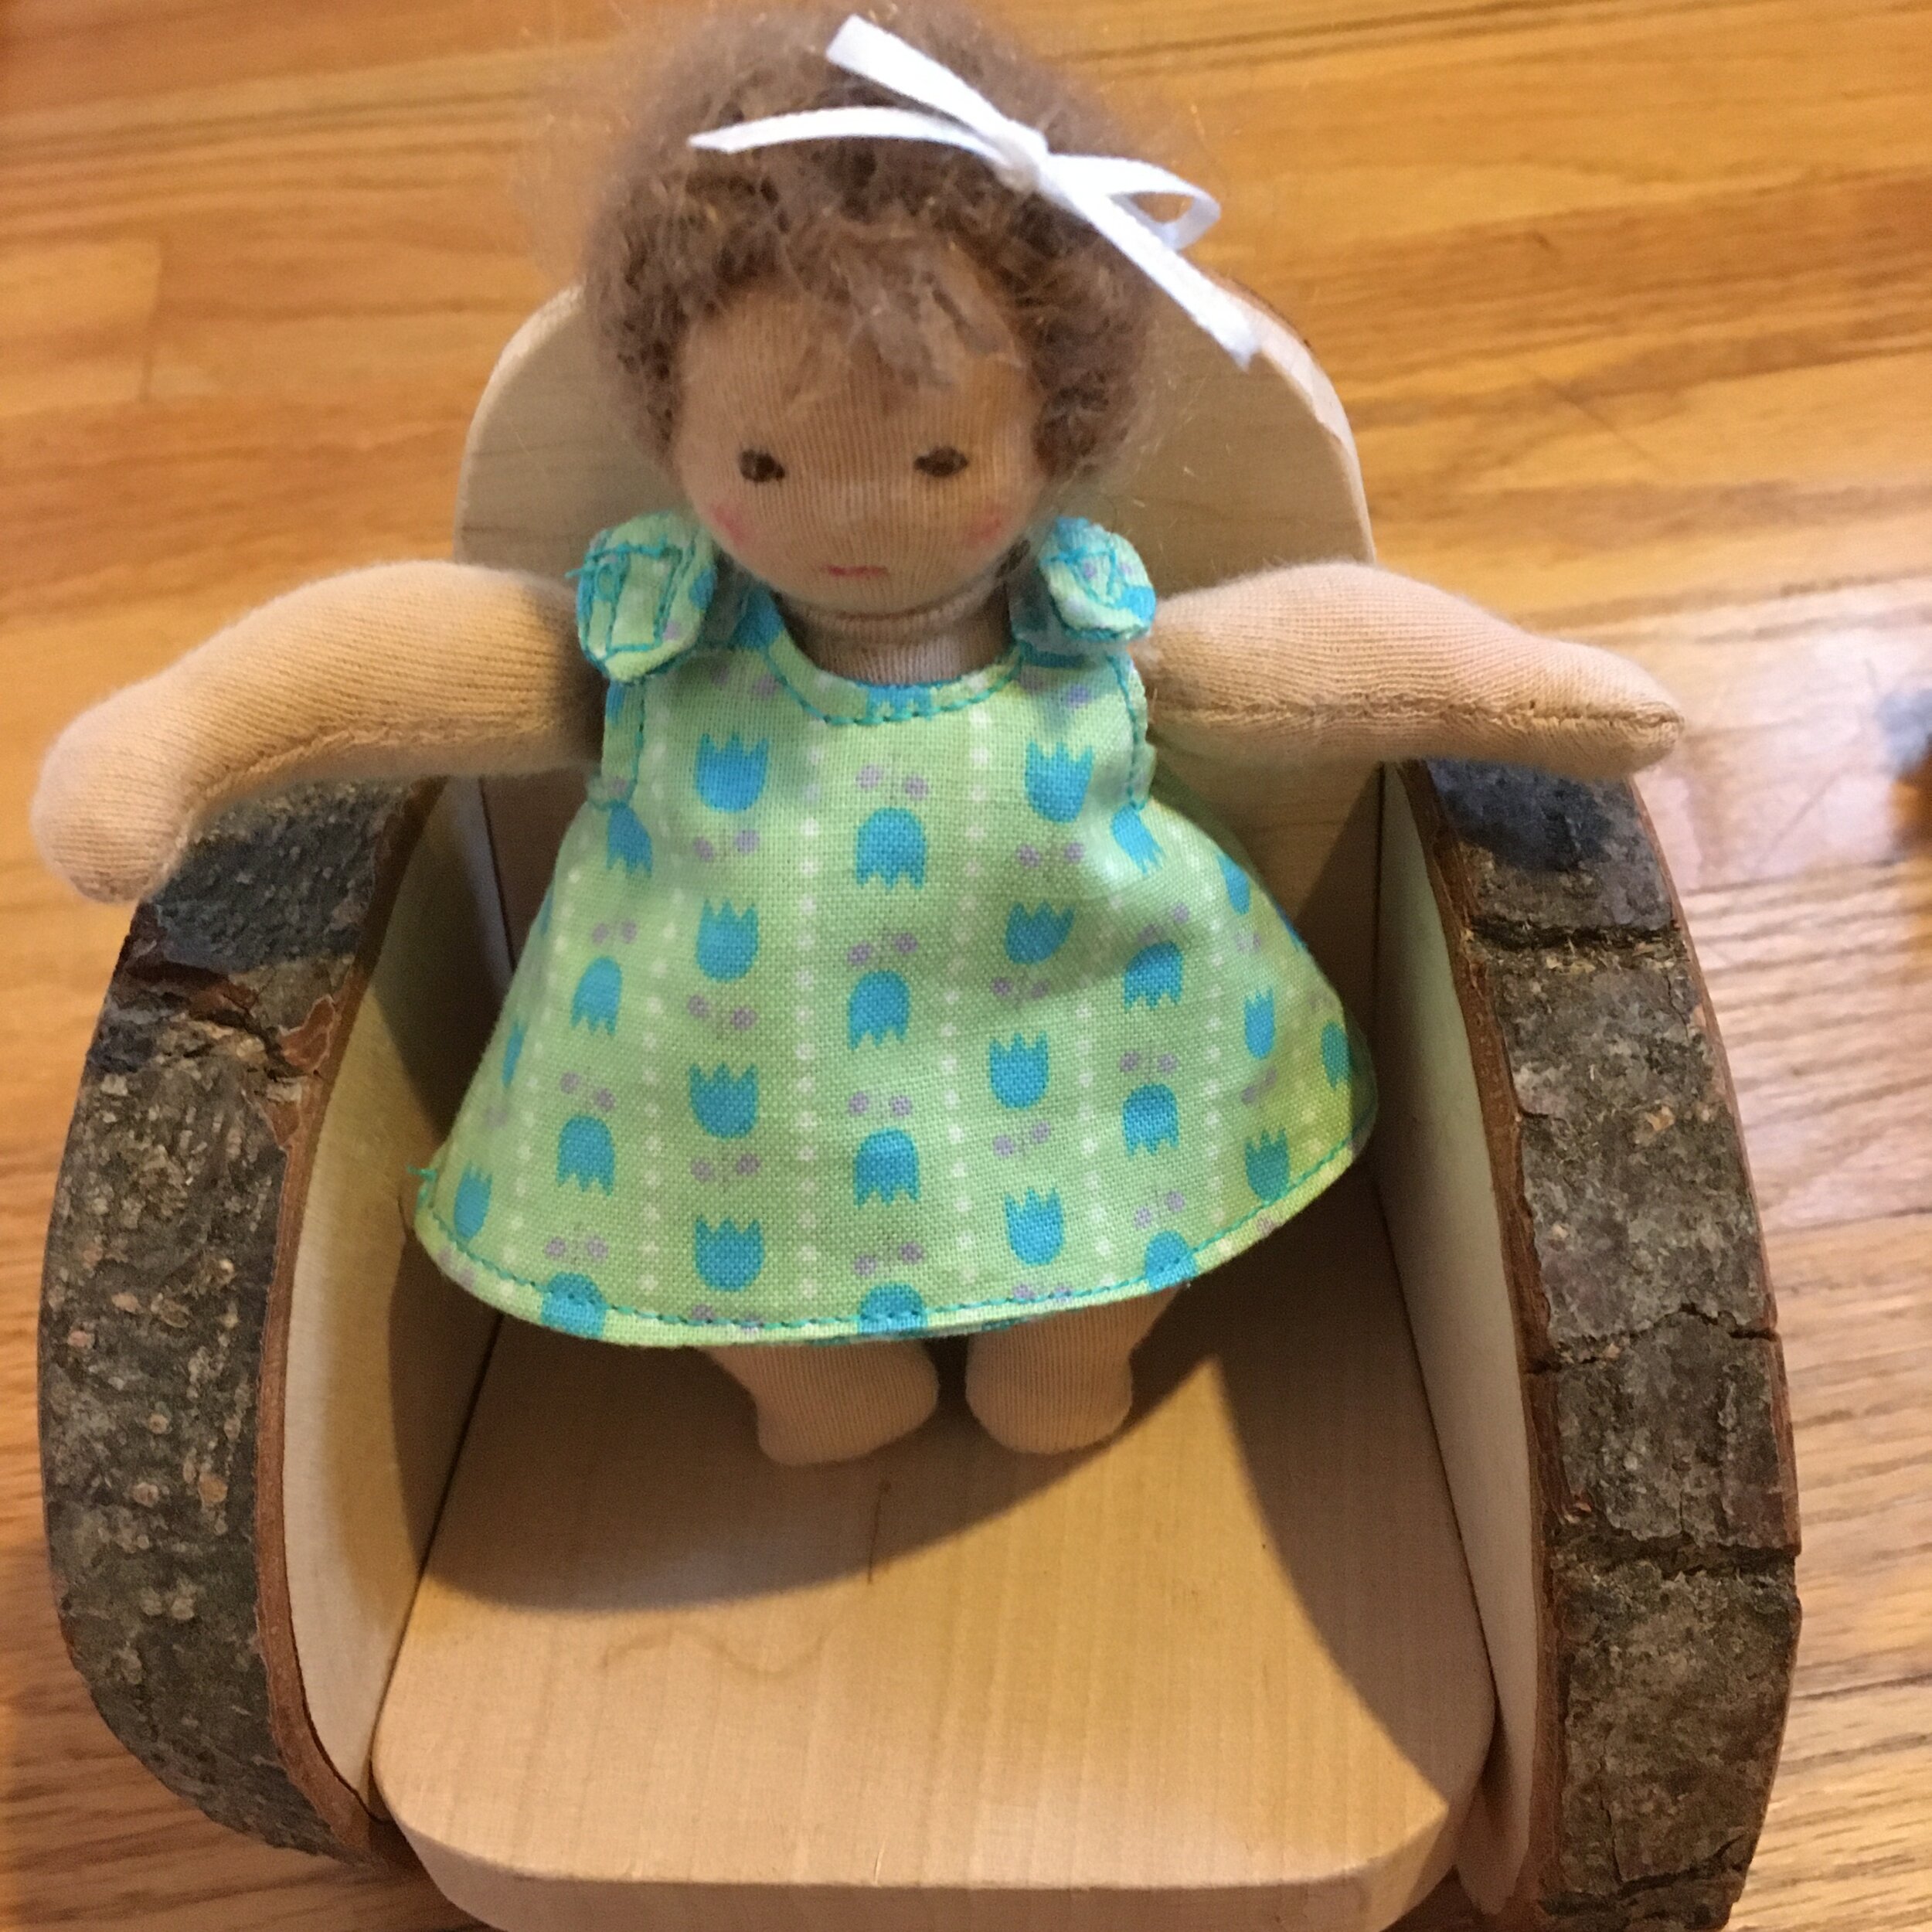
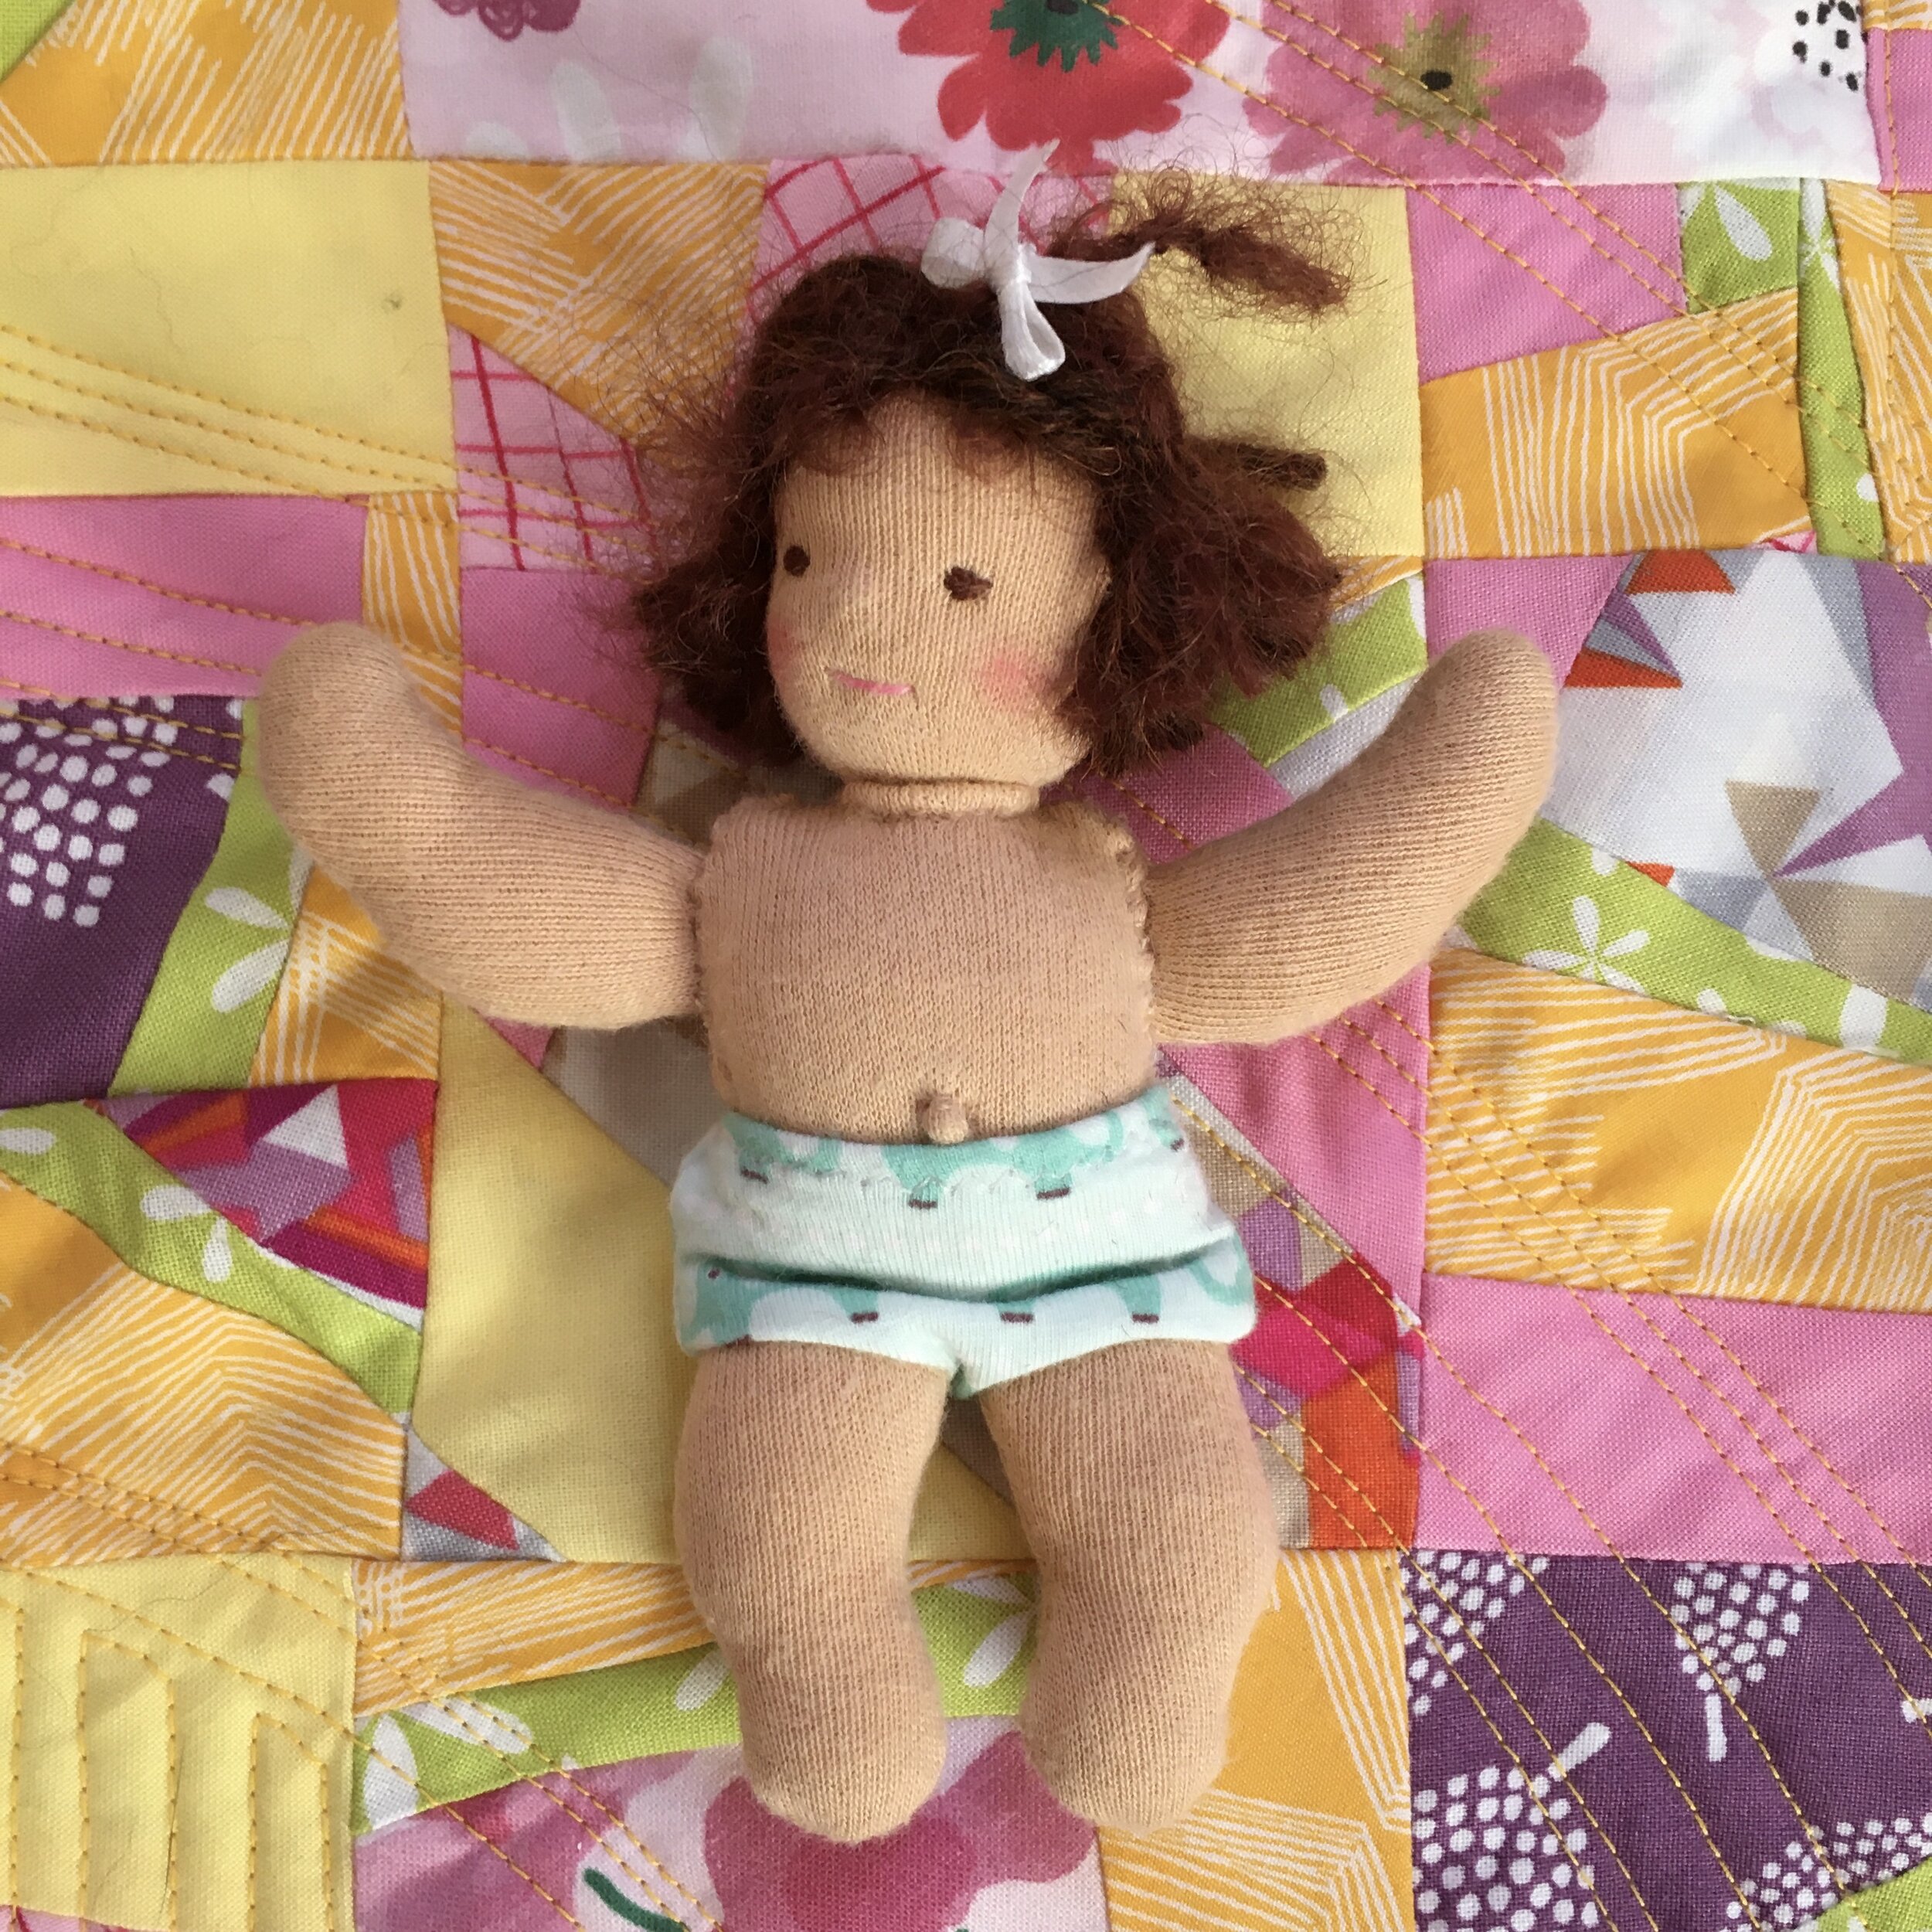
Bamboletta Baby and Cuddle Doll modeling Little Jenny Wren Pinafore
I really like this sweet knit pinafore designed by Jennifer Marshall. The pattern “Little Jenny Wren Pinafore” is available on Ravelry. She designed this pinafore for the Waldorf type Little Jenny Wren Dolls which she makes.
The turquoise pinafore has a simple stockinette bodice and border. The yellow pinafore has a seed stitch bodice and border. While the seed stitch may look complicated, it is simply created by knitting one stitch and purling the next across each row (K1 P1). You just need to pay attention to keep the the pattern consistent.
This pinafore is a great “next project” for someone who has already learned to knit and purl and wants to make something besides a scarf. The pinafore is small and knits up quickly so it’s perfect for a child. And it’s fun to make a new outfit for a doll It’s a perfect activity for these days when children are out of school due to the COVID-19 pandemic.
I don’t have a Little Jenny Wren Doll, so the dolls modeling the pinafores are from Bamboletta.com. I used the pattern for a 12 inch doll for both these pinafores. The pattern fit the chubby baby but was a bit too big for the leaner Cuddle down. So I went down a needle size for the Cuddle doll. I think I was also probably using a slightly heavier weight yarn than the pattern specified. As always, it’s good to make a test swatch to check your stitch count. (Something I confess I really don’t enjoy doing).