Measuring a strip of Blocks. The last block has been folded over, ready to be trimmed off. (Notice that tape measure has moved a bit. That’s why it is a good idea to use tape makers which will stay put).
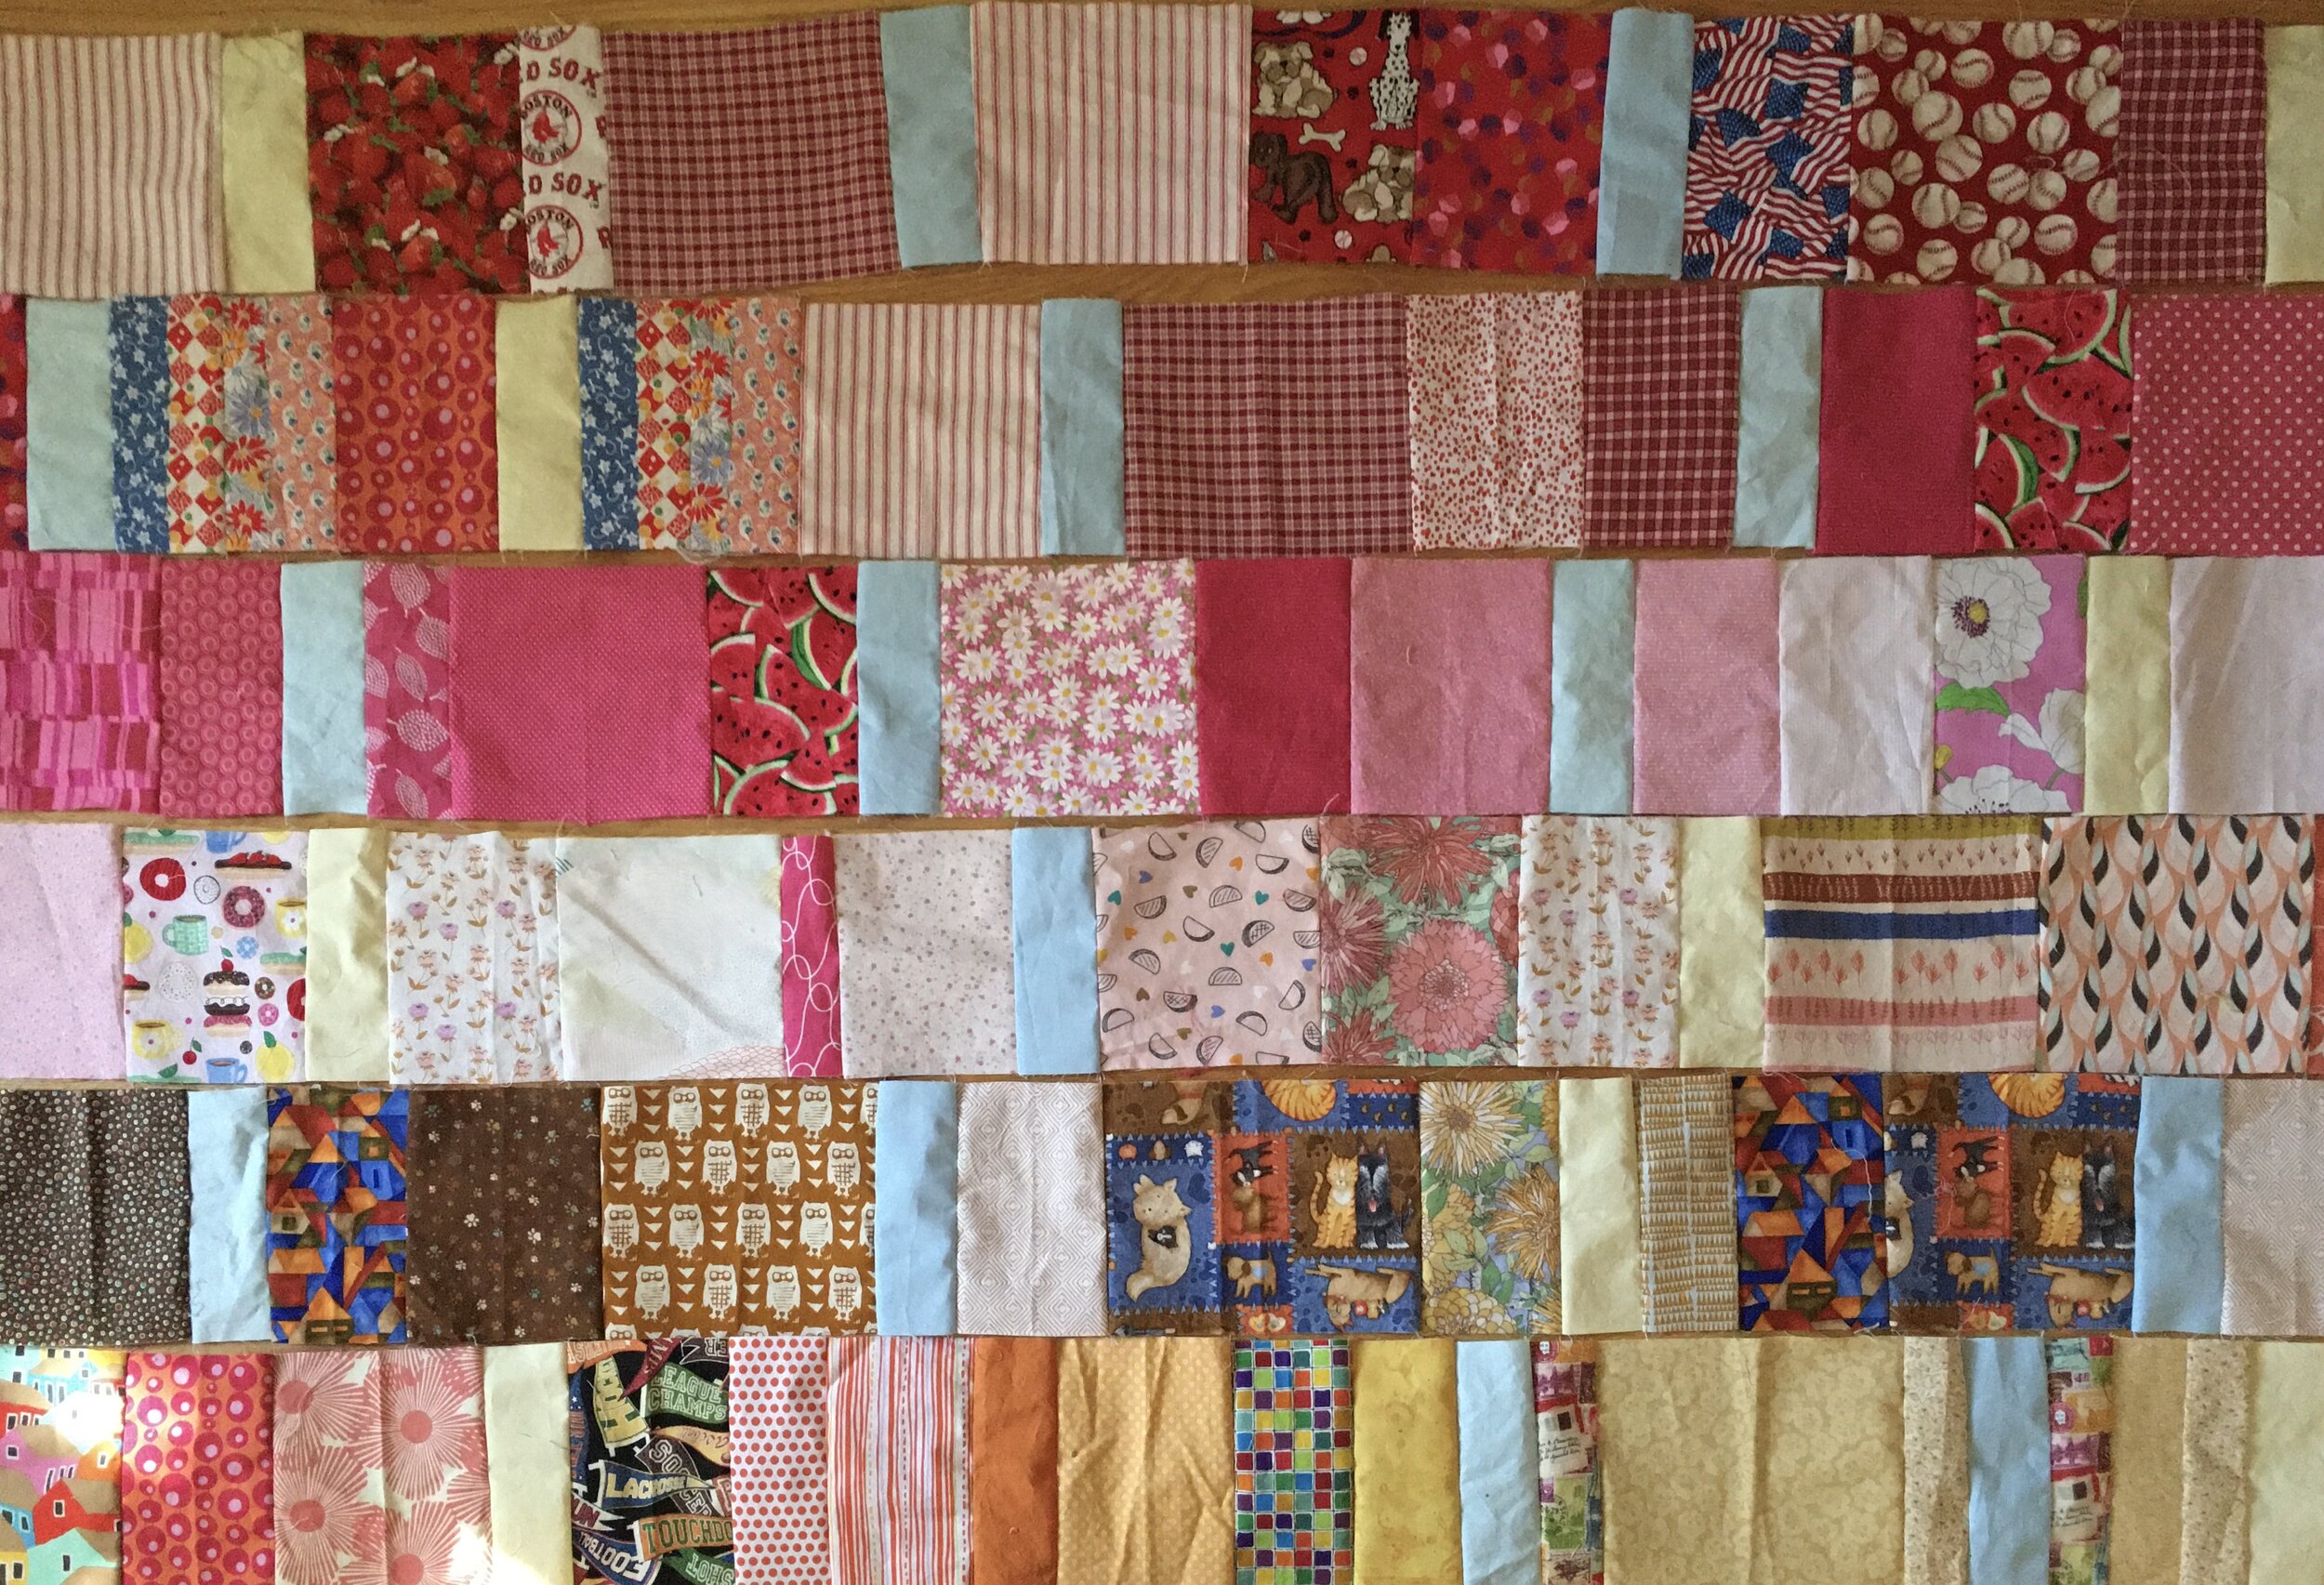
The “Post-Cuts” quilt blocks have all been sewn together. There were actually enough scraps left from the face masks I’ve sewn to make a queen size quilt!
This quilt is assembled in strips of blocks. The strips measure 88 inches long. All the blocks are 6 inches wide.
There was a time when I would have just sewn all these long strips of blocks together and tried to trim the finished quilt top. Let’s just say that is a disaster. I did that to myself more than once! It’s almost impossible to square up a quilt top sewn from strips of random lengths.
However, take the time to measure each long strip and cut to the desired length and the result will be a perfect quilt. It takes a few minutes but it is so worth the effort.
I marked my floor with two pieces of Washi tape, 88 inches apart. Painters tape works well too. Then I laid down each of the quilt strips and trimmed them to be exactly 88 inches.
Once the strips are trimmed, it is important to pin the strips together before sewing. Put two strips right sides together. Pin the pair of strips at each of the ends first. Then ease the two long strips together, pinning every 5-6 inches. I don’t usually pin anything when I make quilts, but it is very important to pin long strips to prevent one of the layers from traveling during sewing and coming out uneven at the end of the row.
Sew pairs of long strips together. Then sew pairs of paired strips. Continue until the quilt top is done. the quilt comes together quickly in the end.
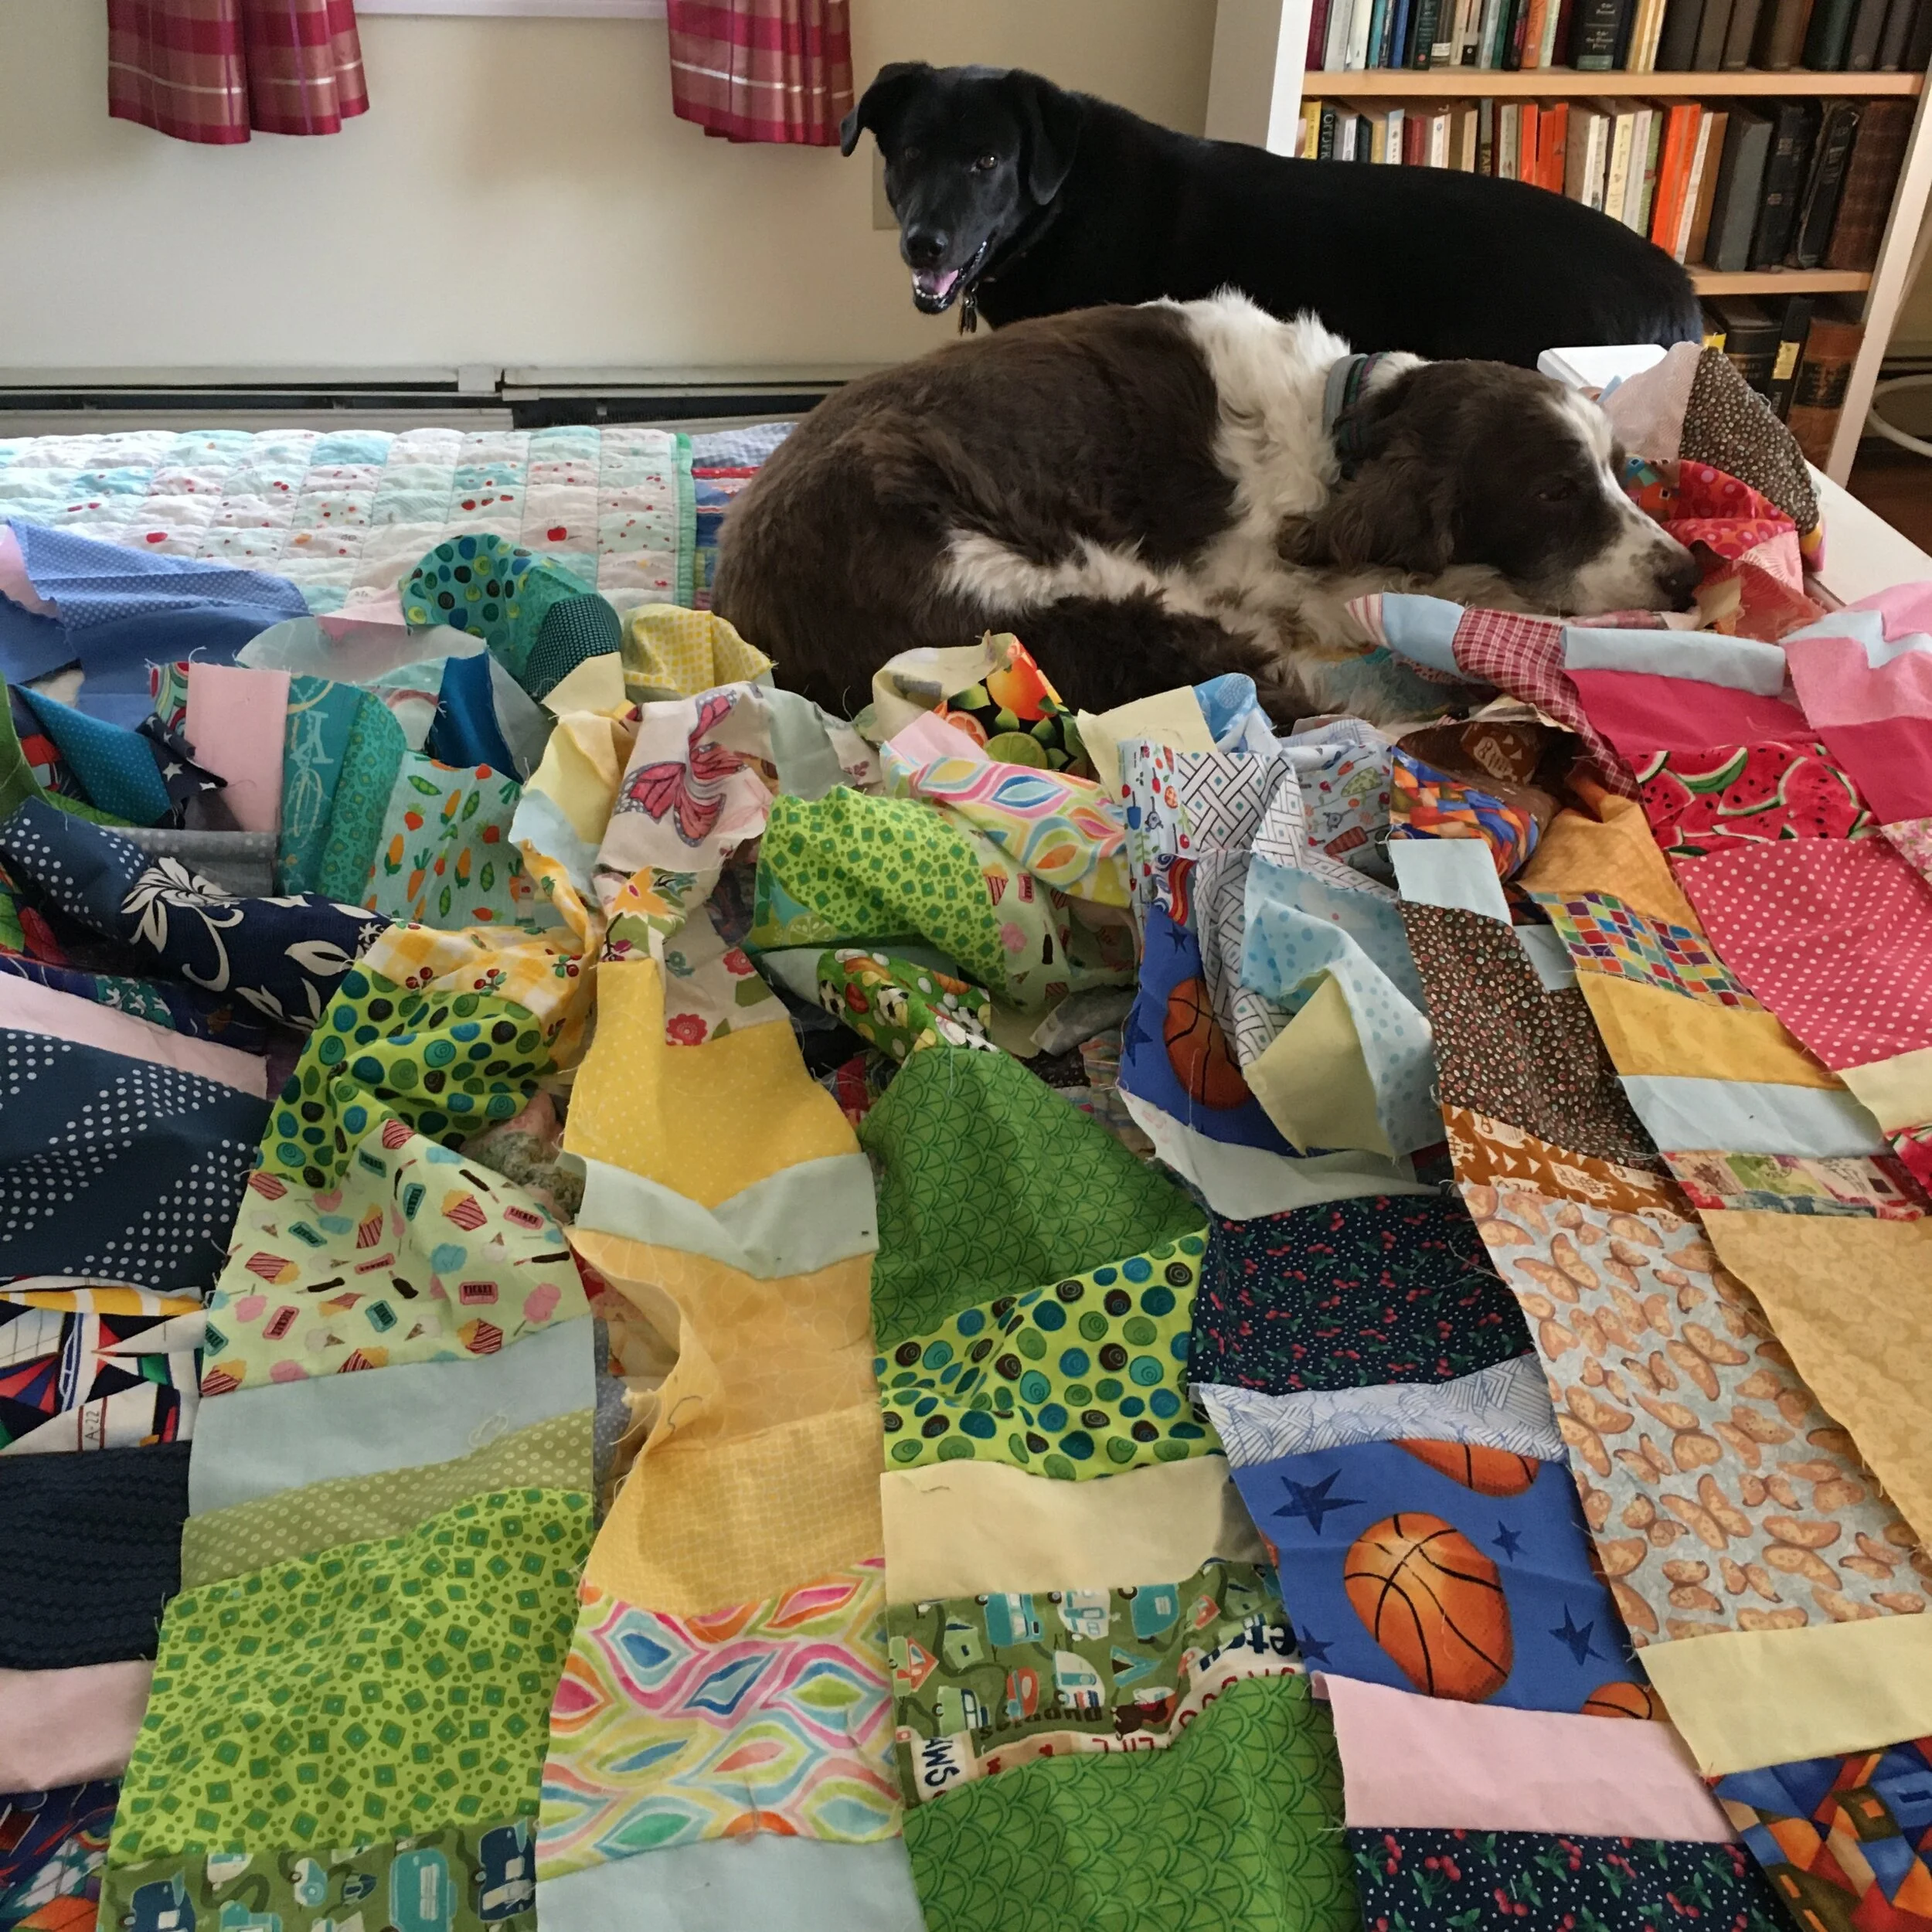
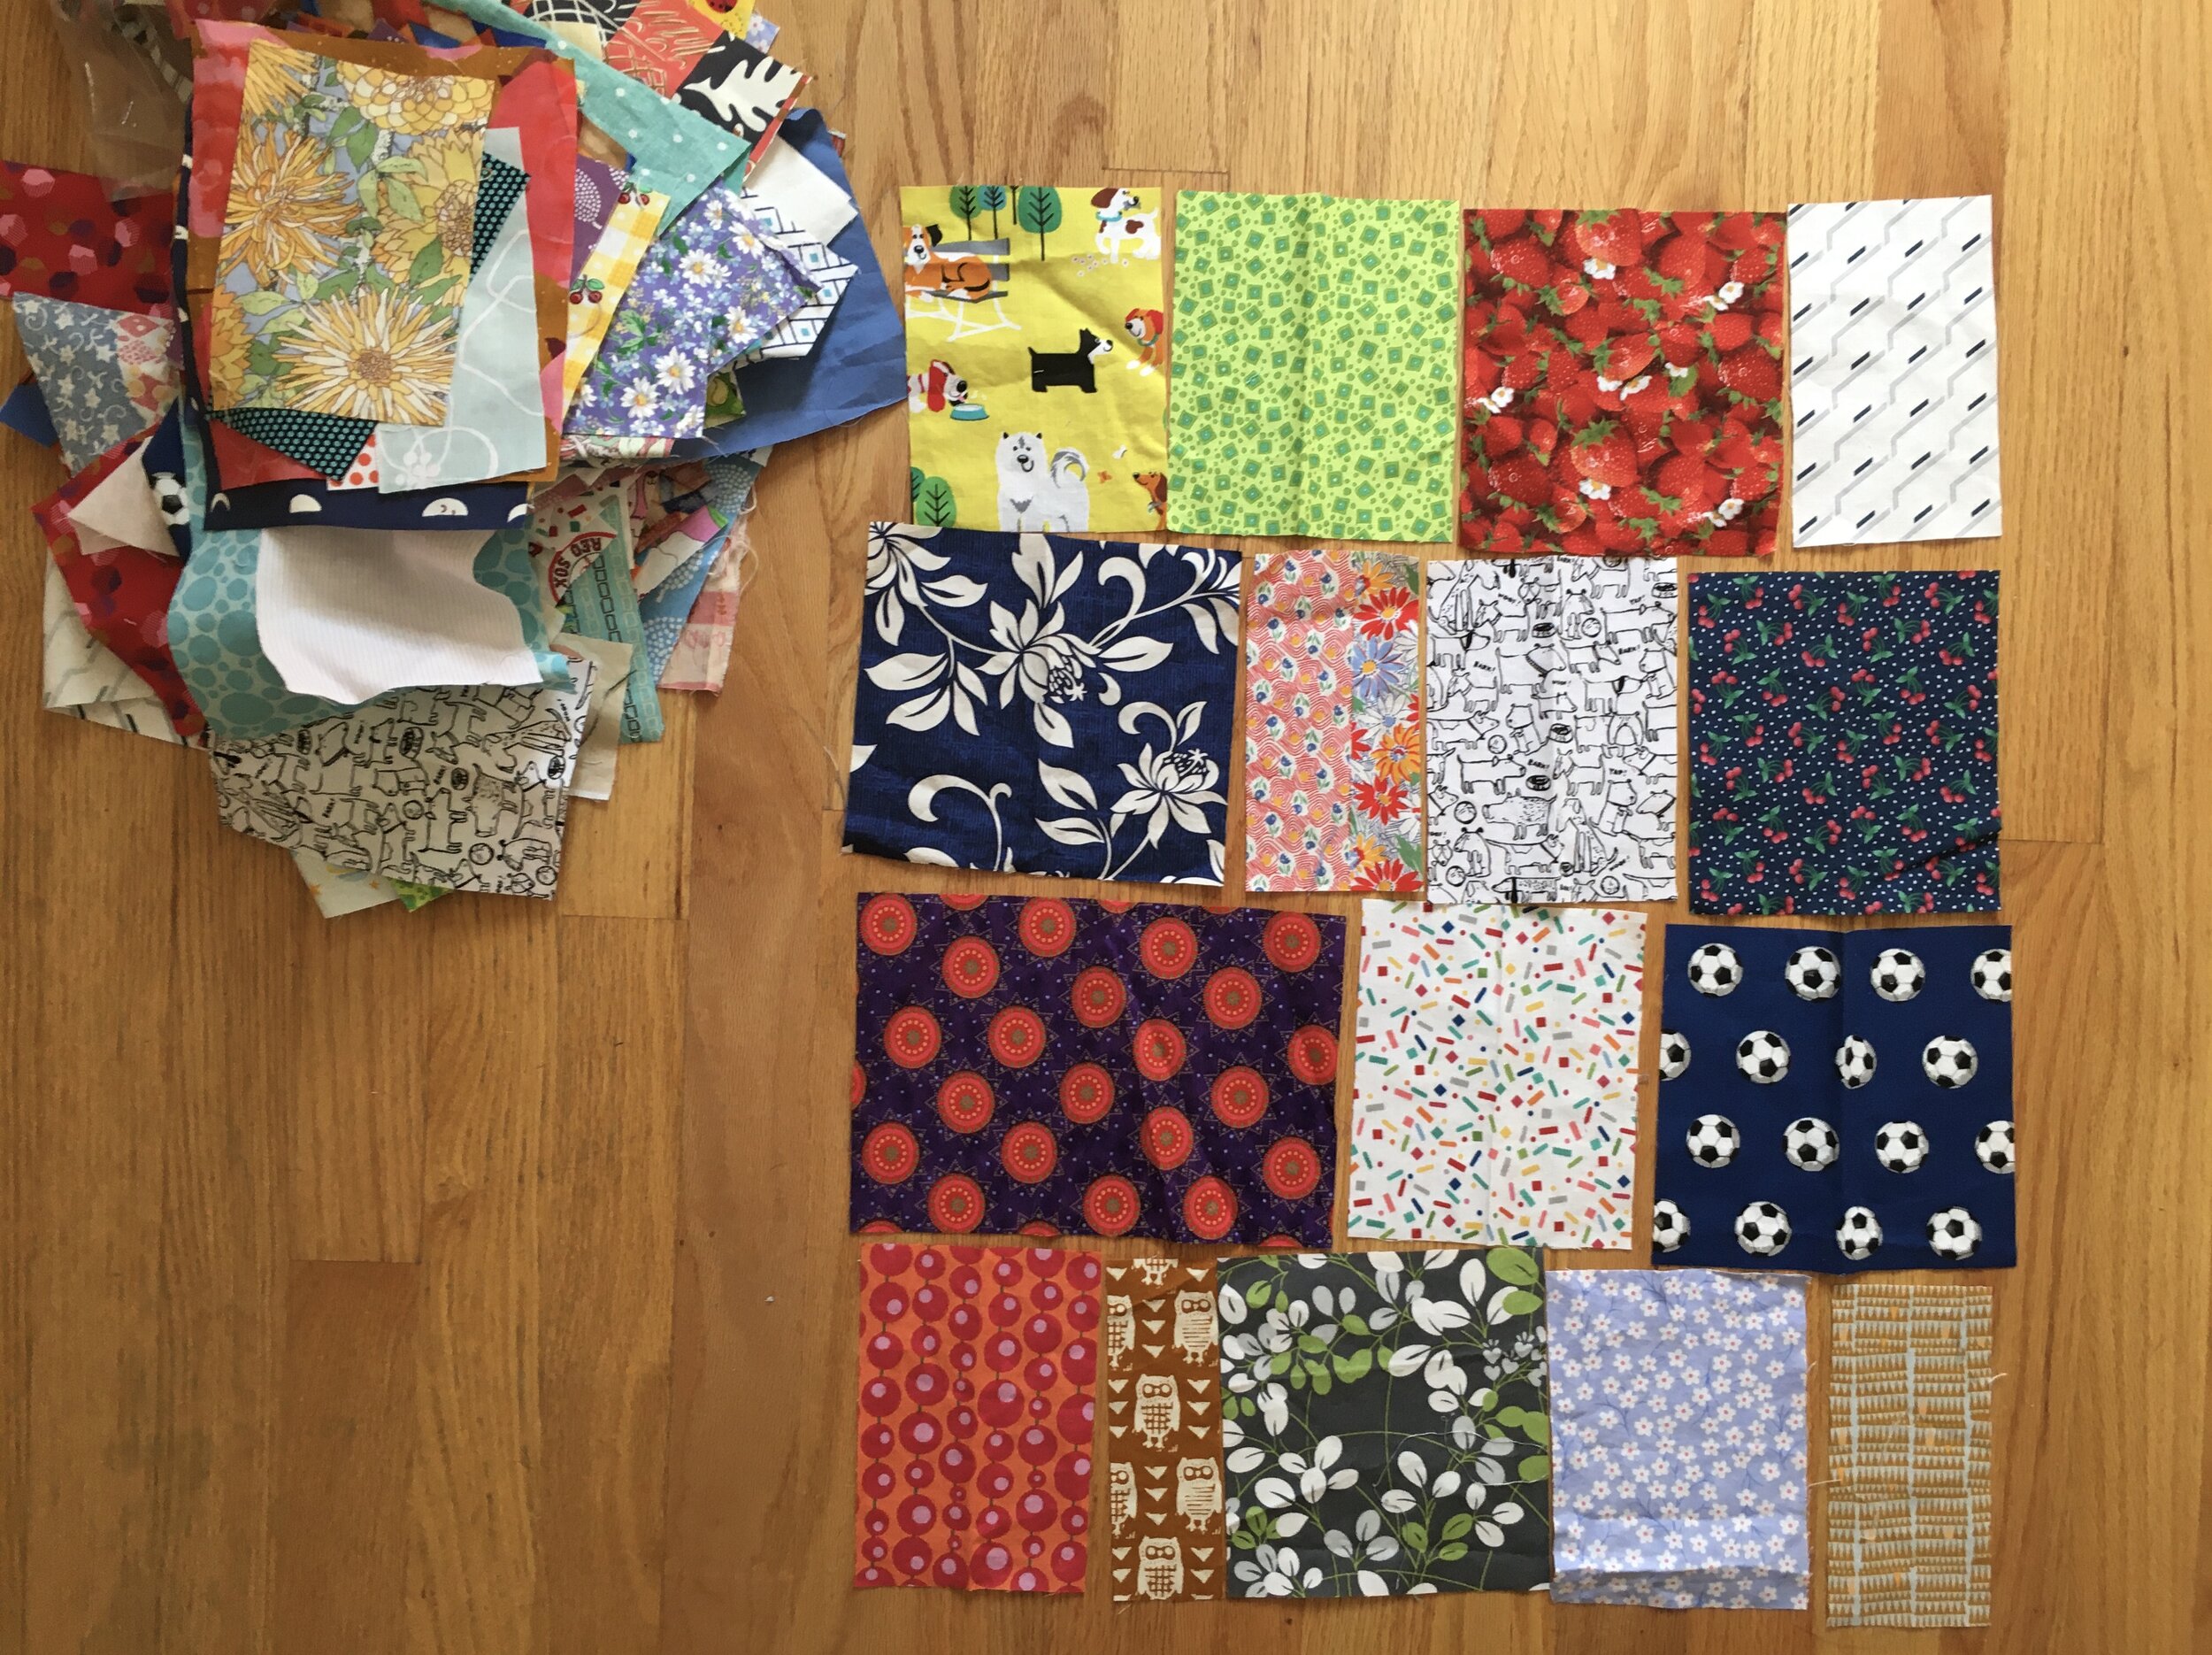
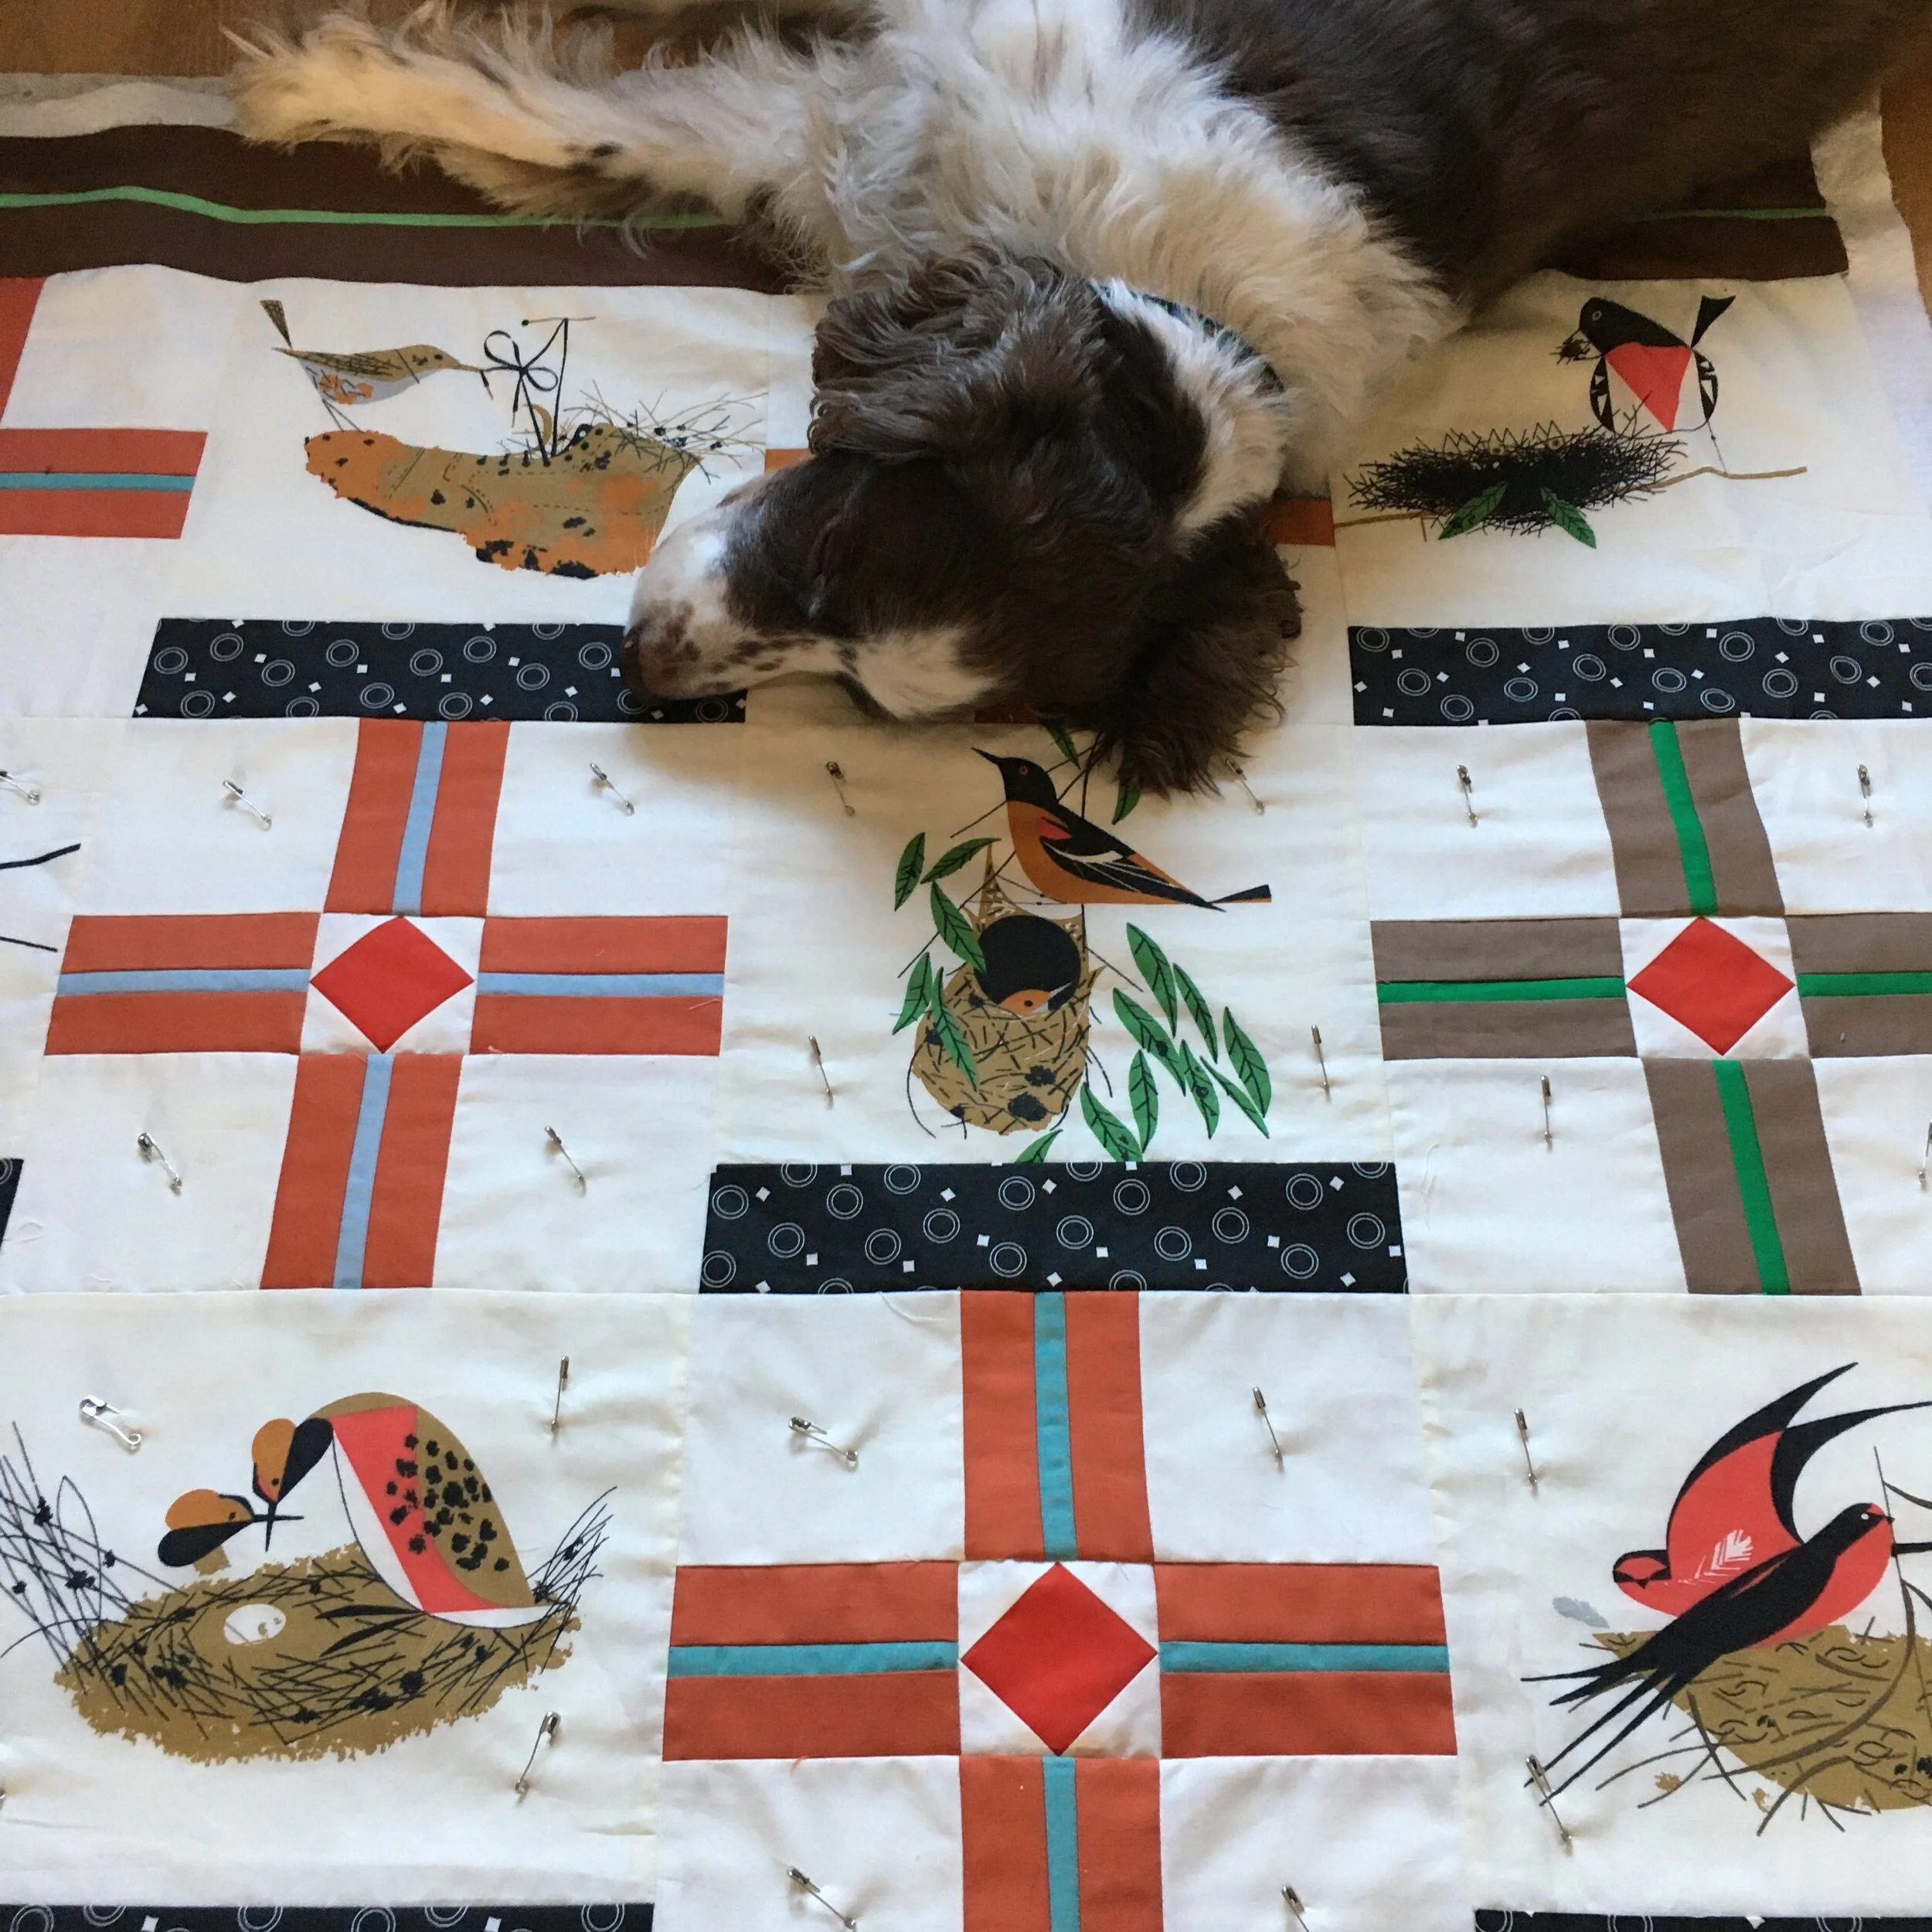
Checking to see if there were enough strips to for the length needed for a bed quilt. Not even assembled yet, and the dogs already approve!