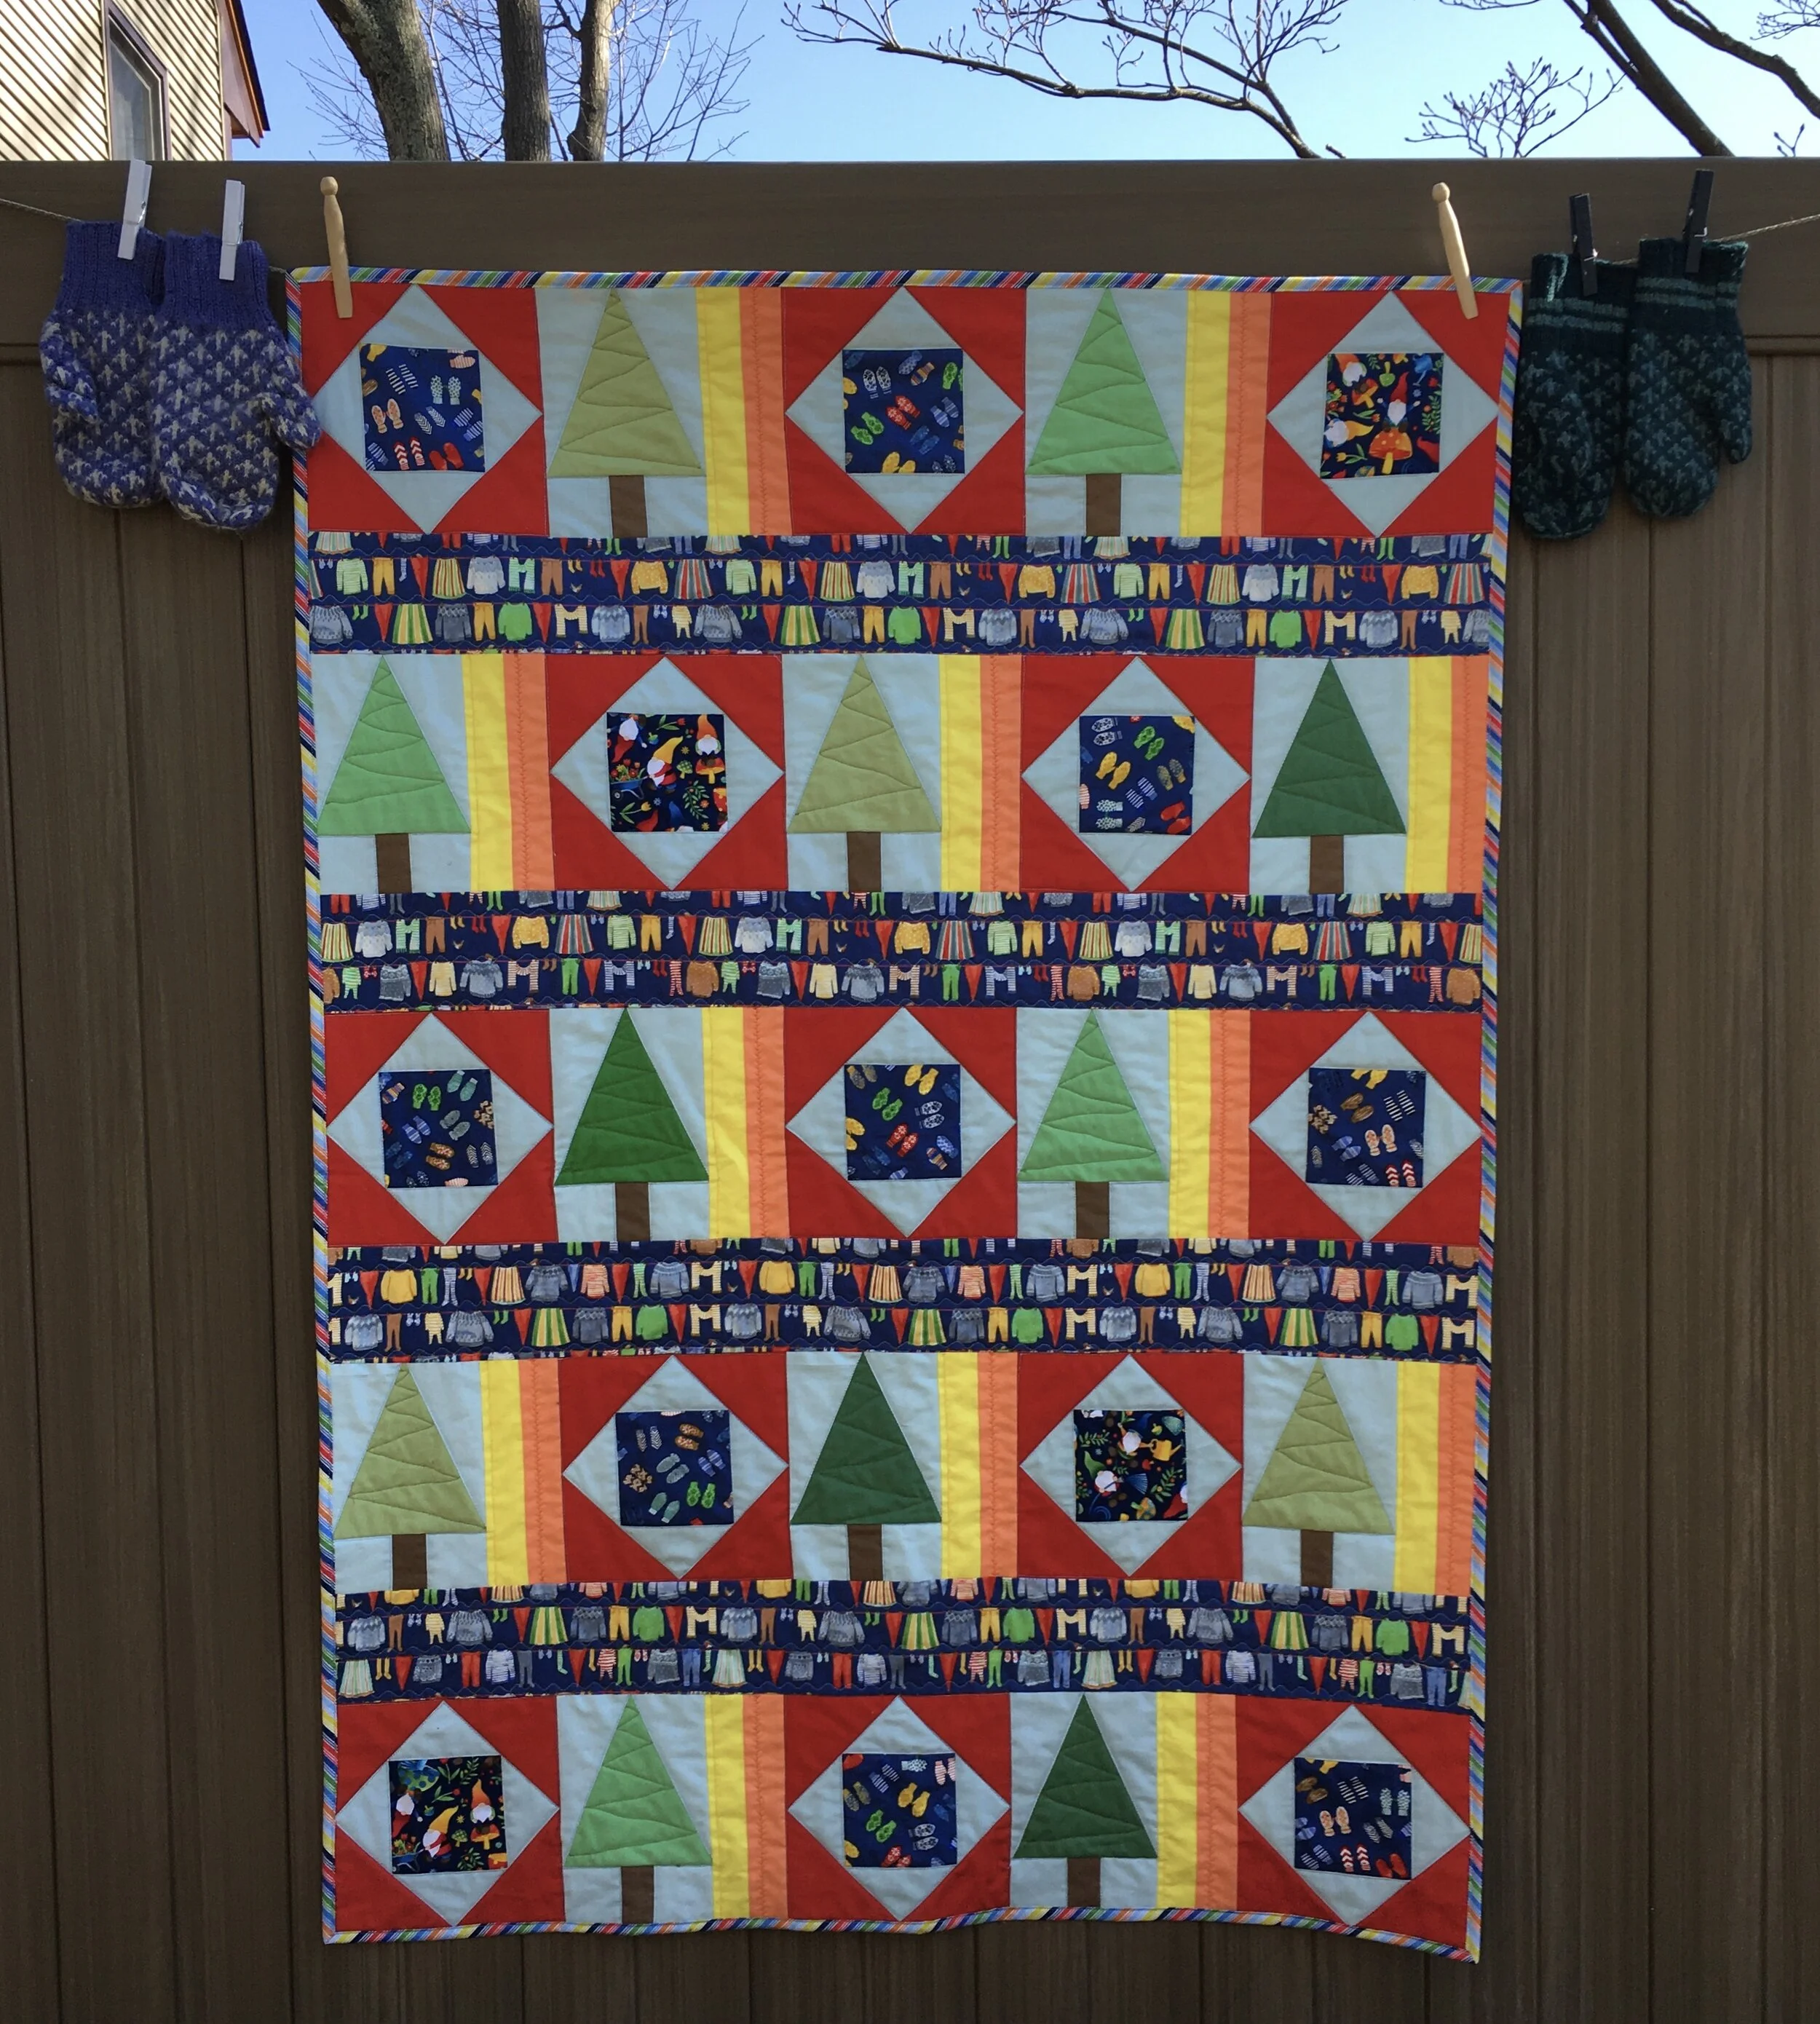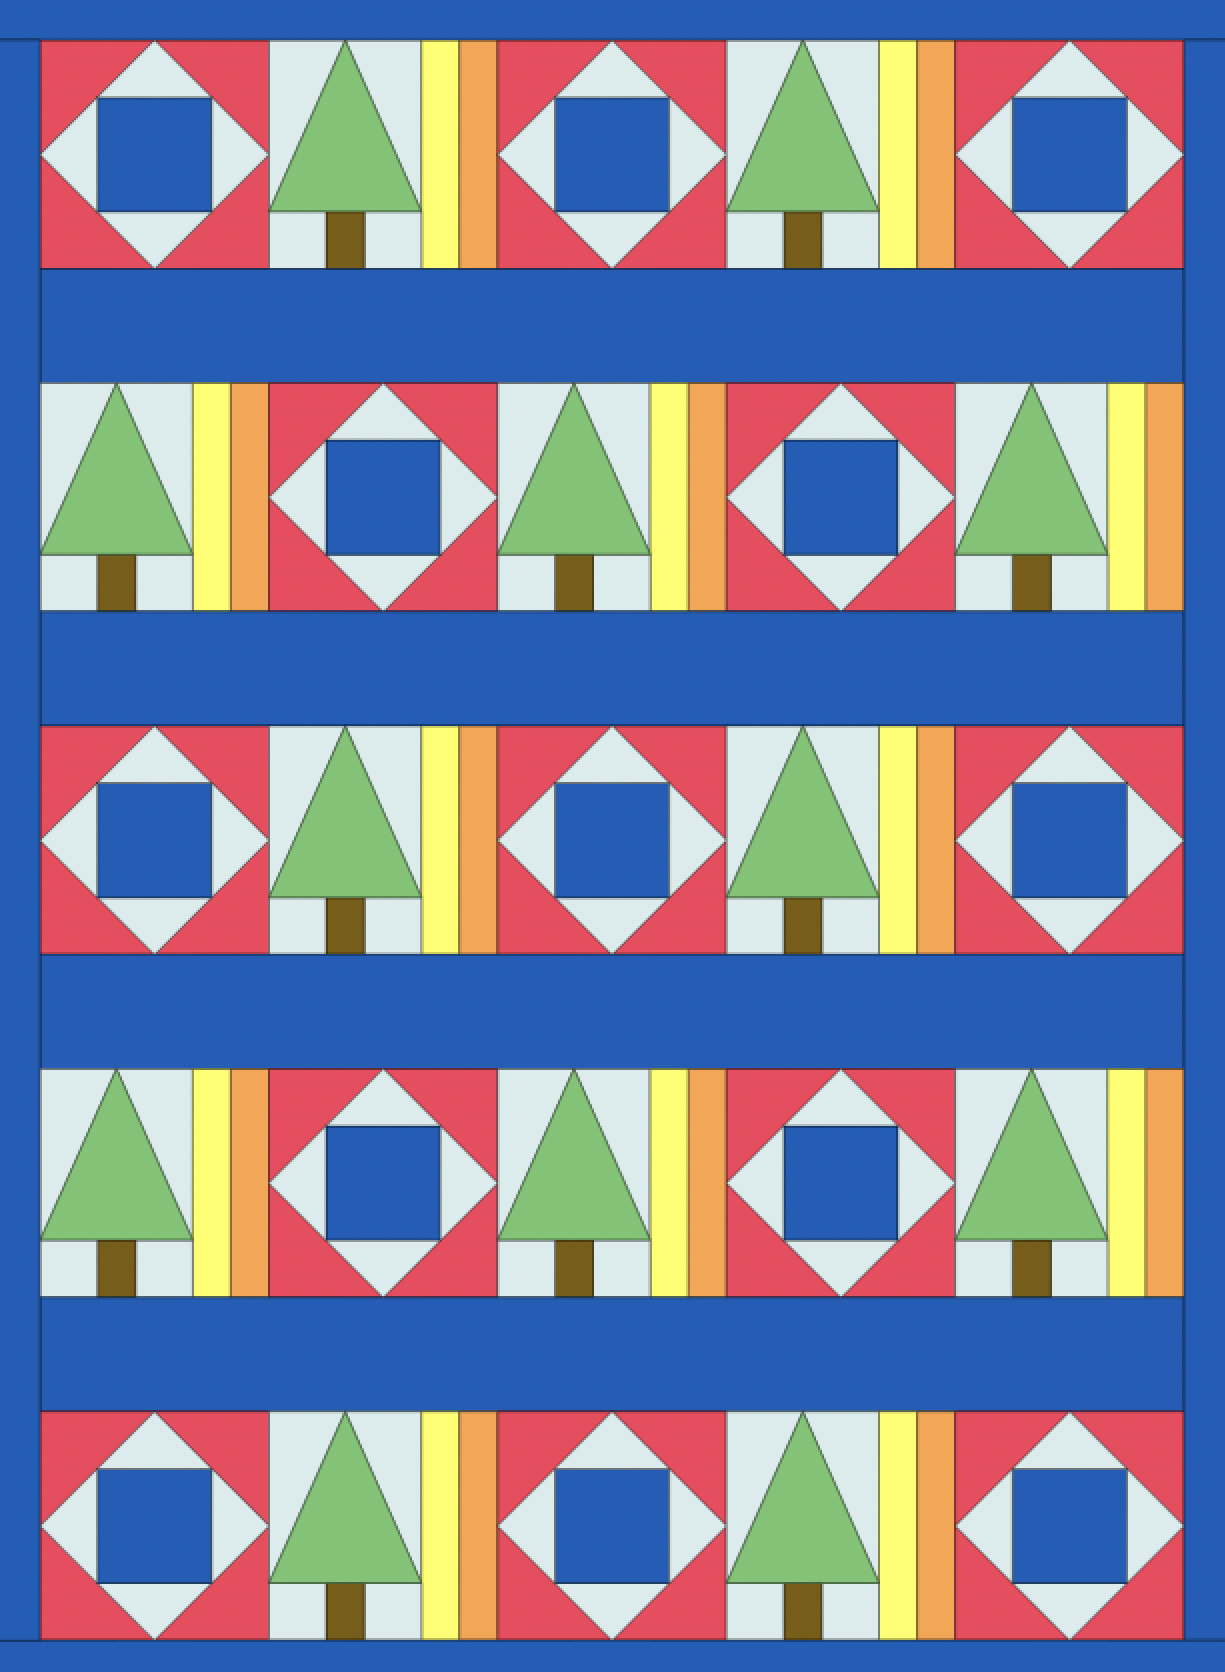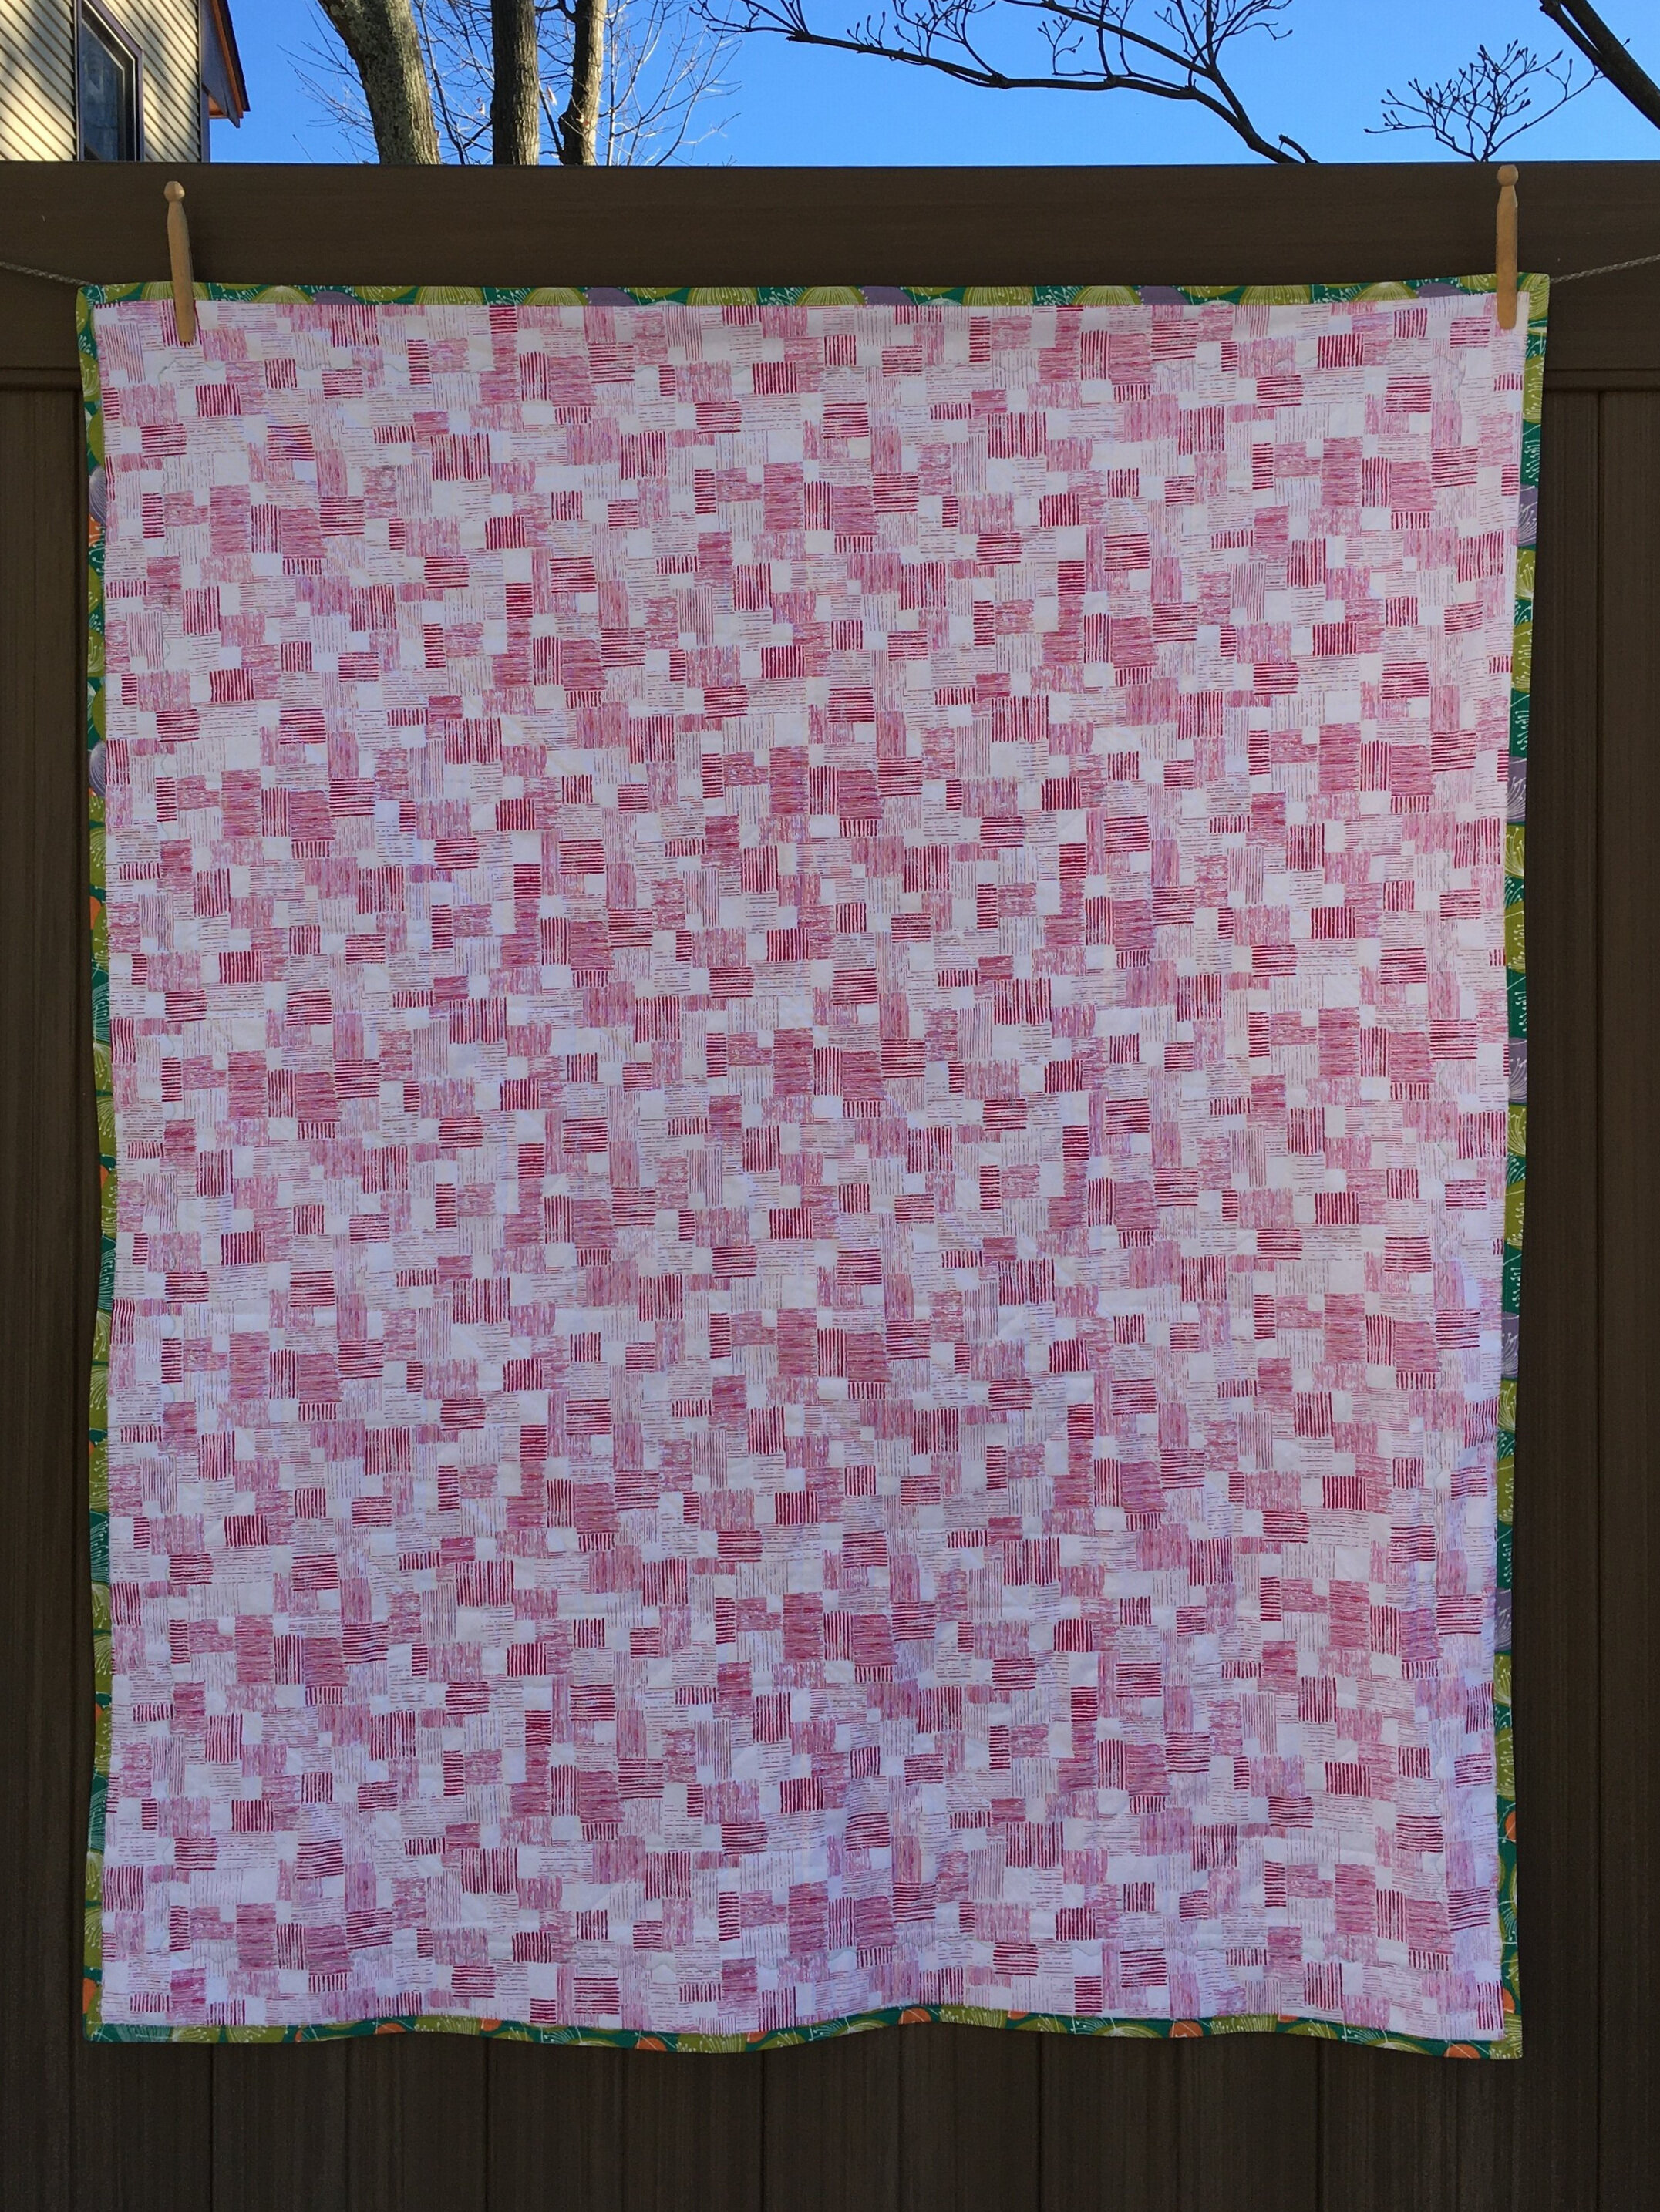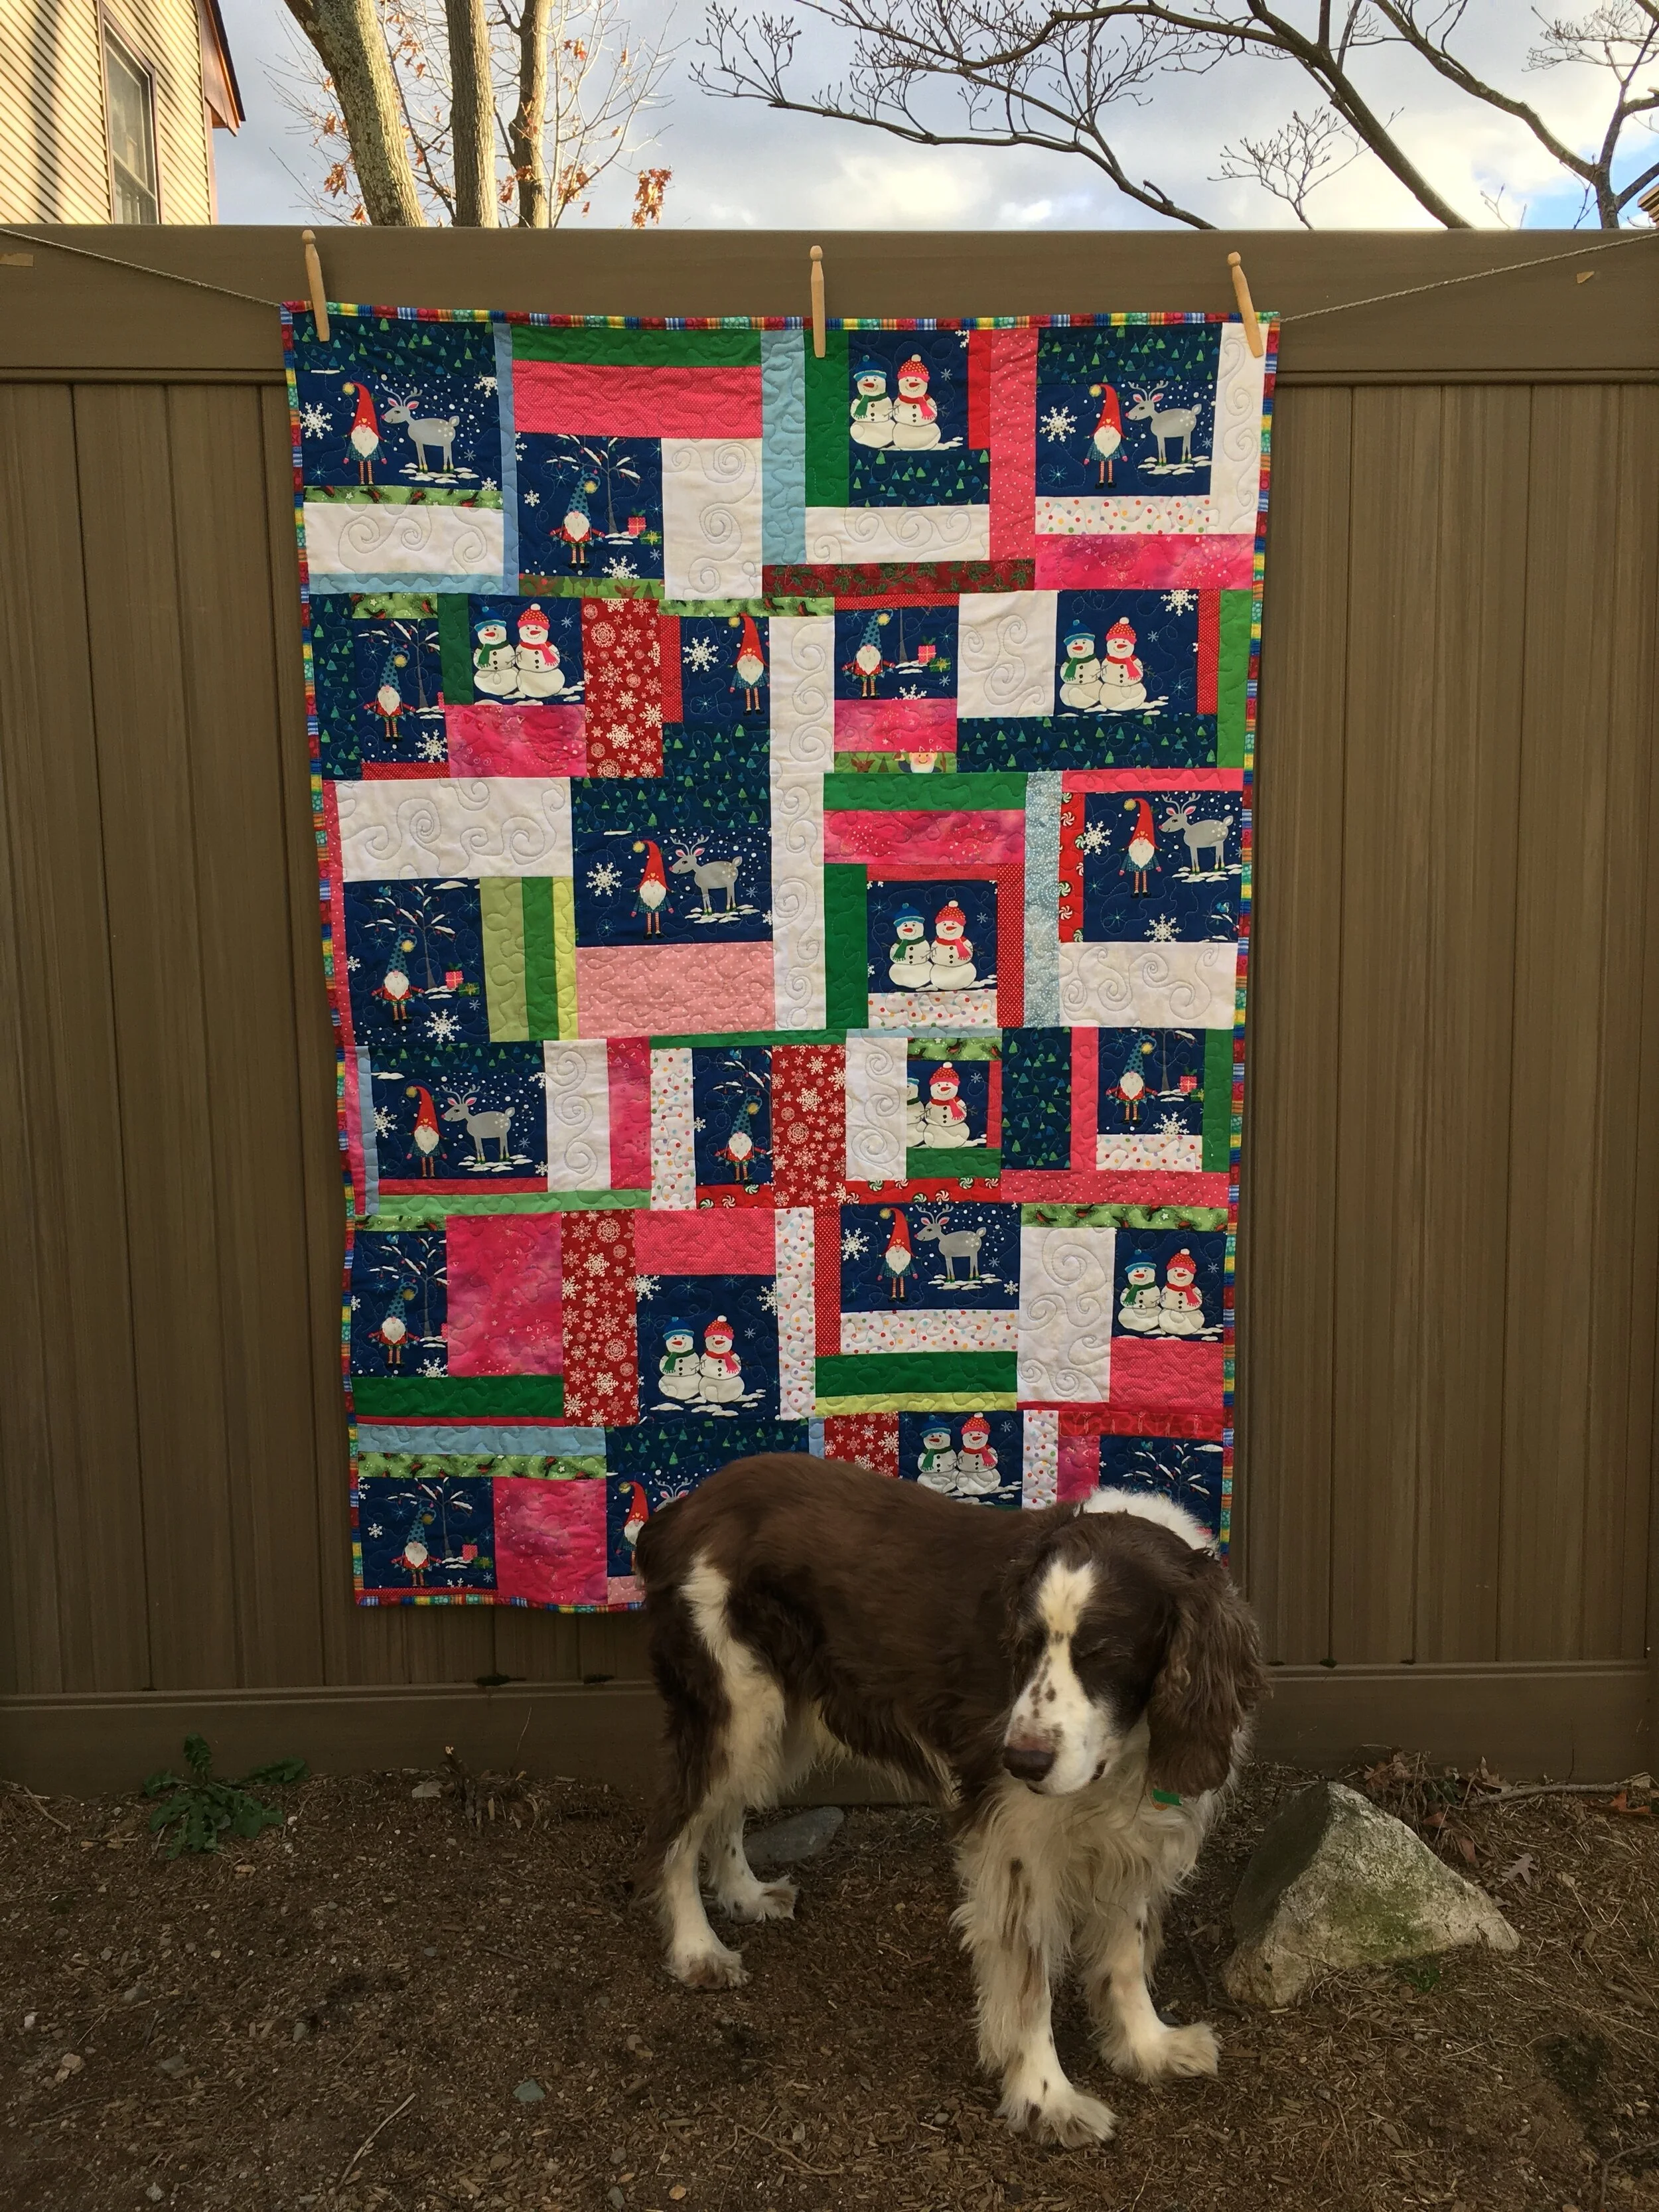
Bits ‘n Pieces Quilt Shoppe, “Nicole’s Challenge” 20 Fabrics Quilt 37 1/2 x 45 inches
Every couple weeks, Bits ‘n Pieces Quilt Shoppe in Pelham, New Hampshire, does a live Comment Sold sales event on Facebook. 6 weeks ago they were selling stacks of twenty 7 inch wide fabric strips. I think they had originally be cut and sold to be used to make face masks. Anyway, it was time to move them along, so they were on sale.
Off the cuff, someone suggested that the bundles could be used to create a quilt challenge. Nicole, one of the shop’s staff members, took up the challenge and on the spot, ans off the cuff, came up with “Nicole’s Challenge” 20 Fabric Quilt.
Here are the rules.
Each of the 20 fabrics in the bundle you purchased had to be used in the quilt. You didn’t need to use up every bit of the fabrics they sent, but at least a patch of each fabric had to be in the completed quilt top. (The bundles weren’t all the same, but they chose the bundle for you).
Supplemental fabrics could be added. (I added 10 extra fabrics).
It quilt could be any size and any pattern.
The top, with a brief description, had to be completed and submitted via e-mail by April 11. That gave the entrants 6 weeks to sew. The quilt did NOT have be finished.
Voting for the winners is open to anyone visiting the Bits ‘ Pieces their Facebook page from the time the entries are uploaded until the winning quilts are announced on April 25th, 2021. Nicole promises there will be prizes!
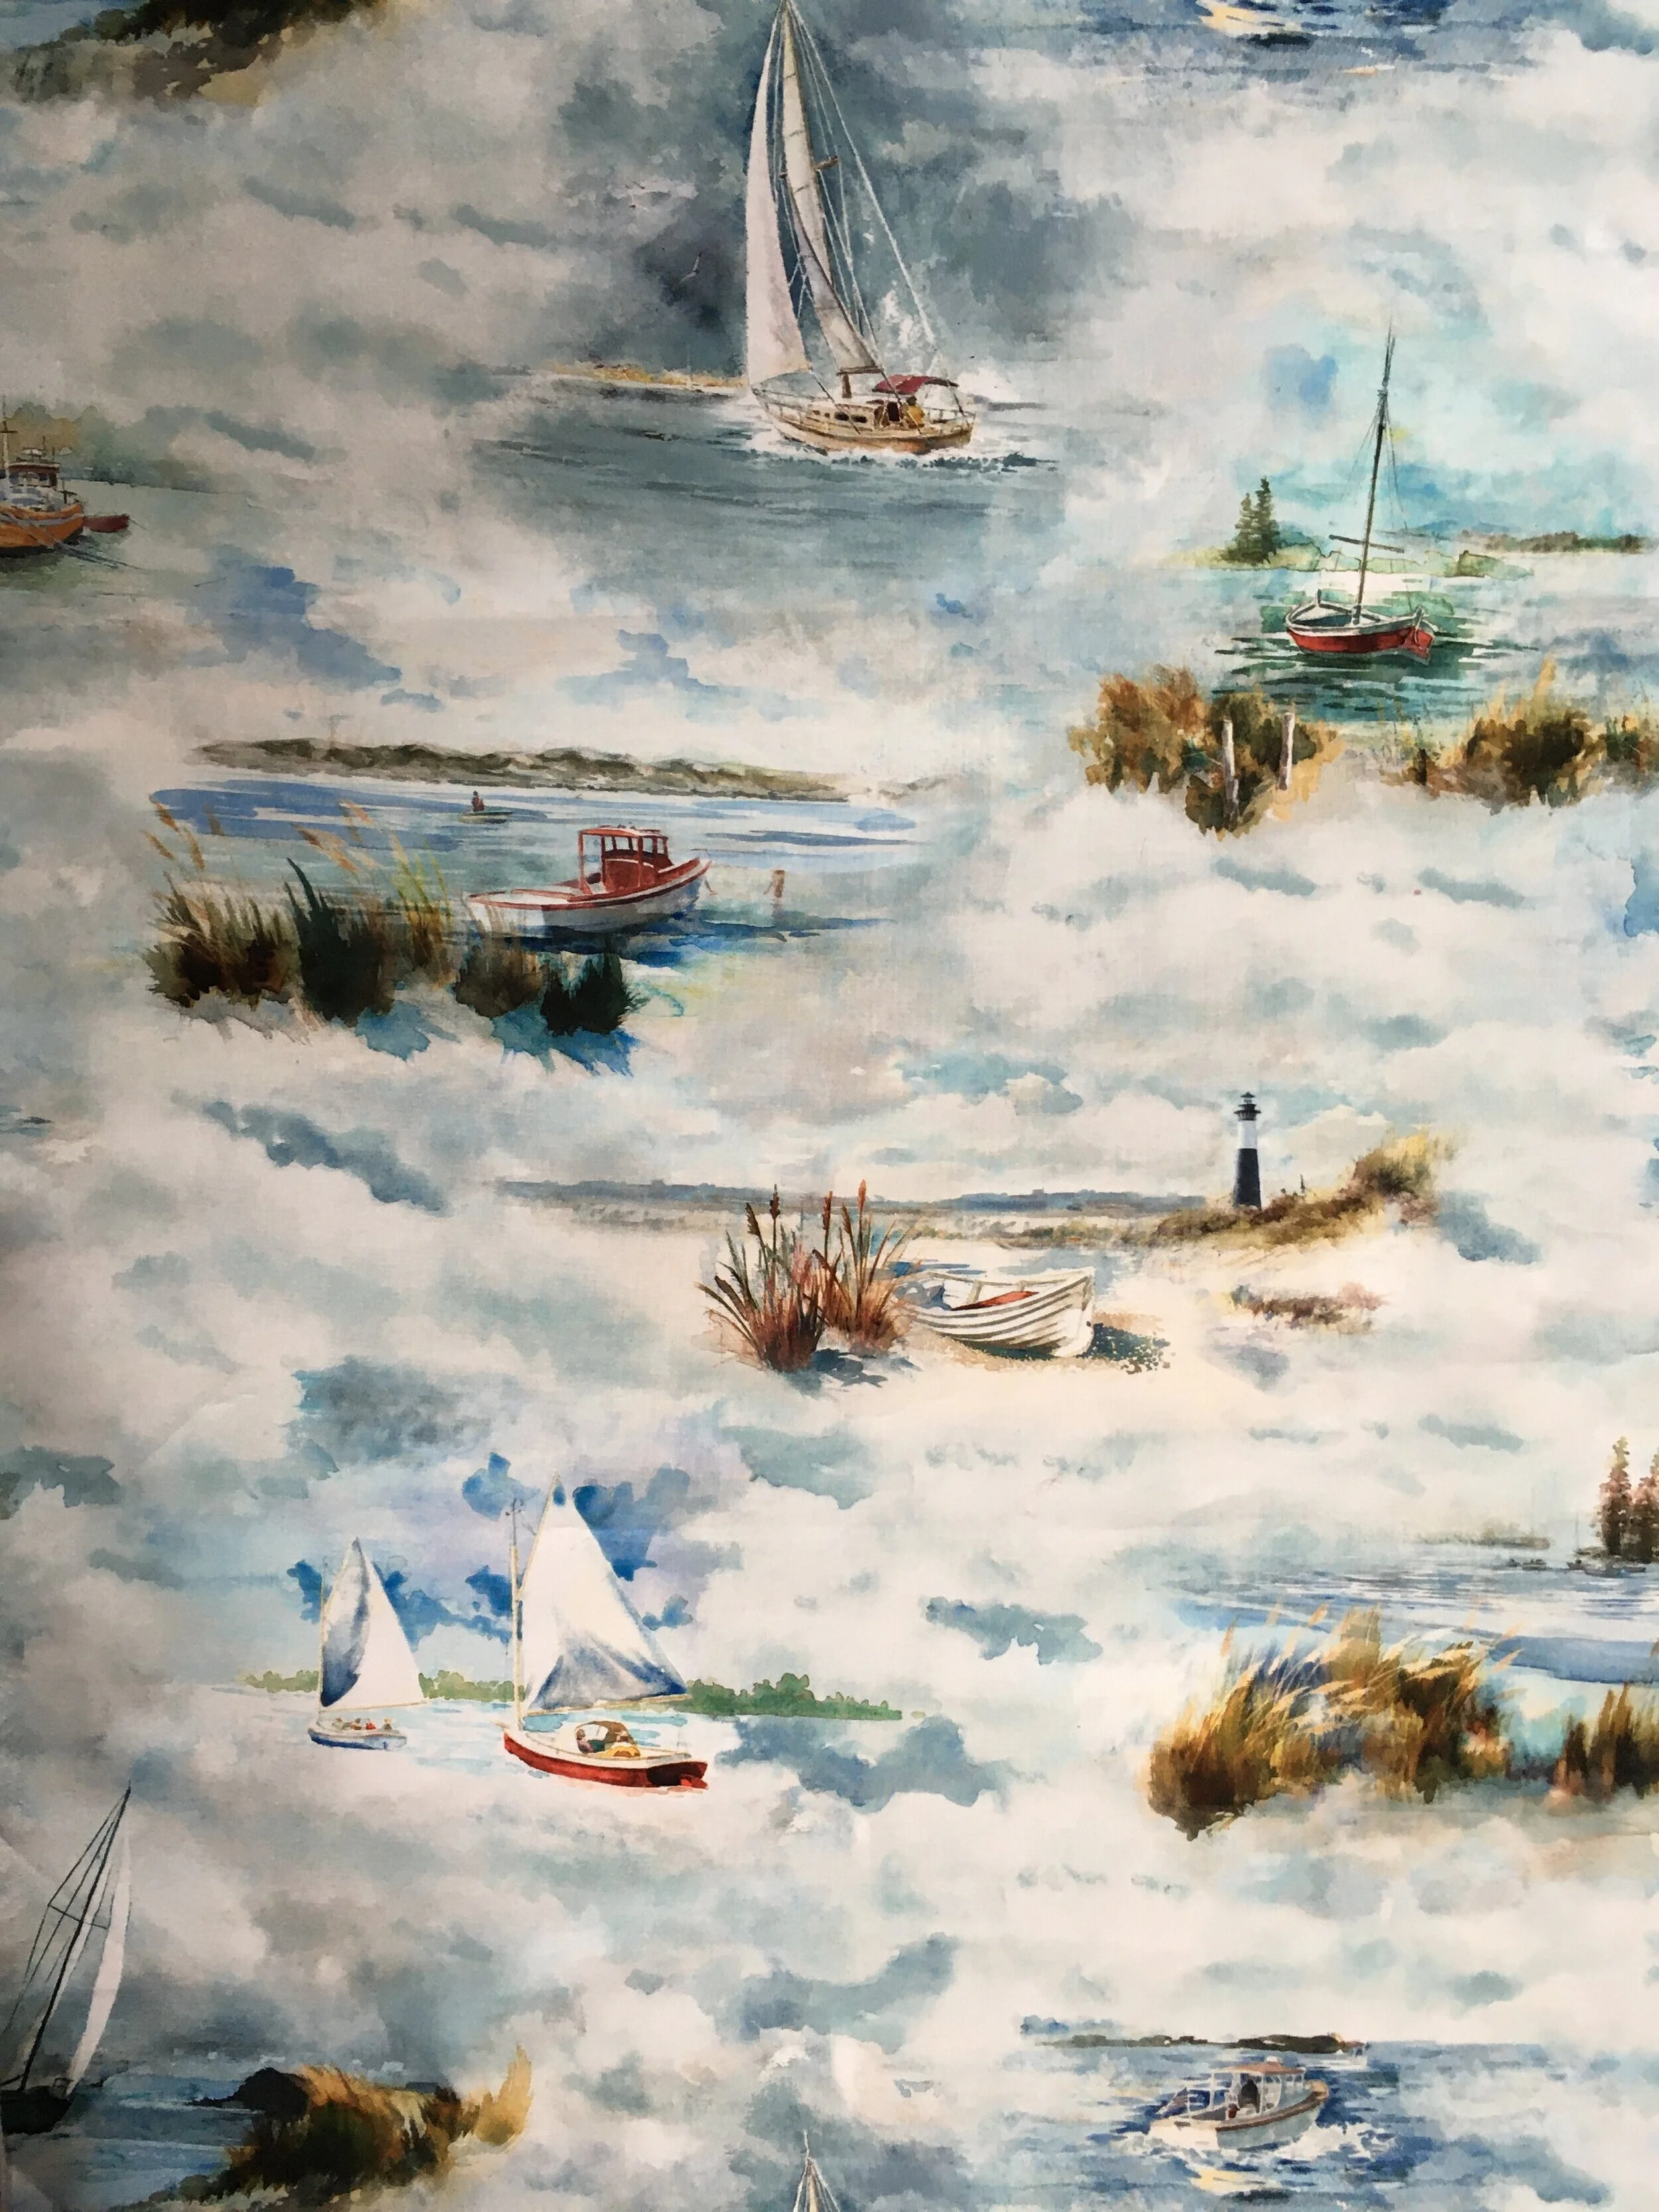
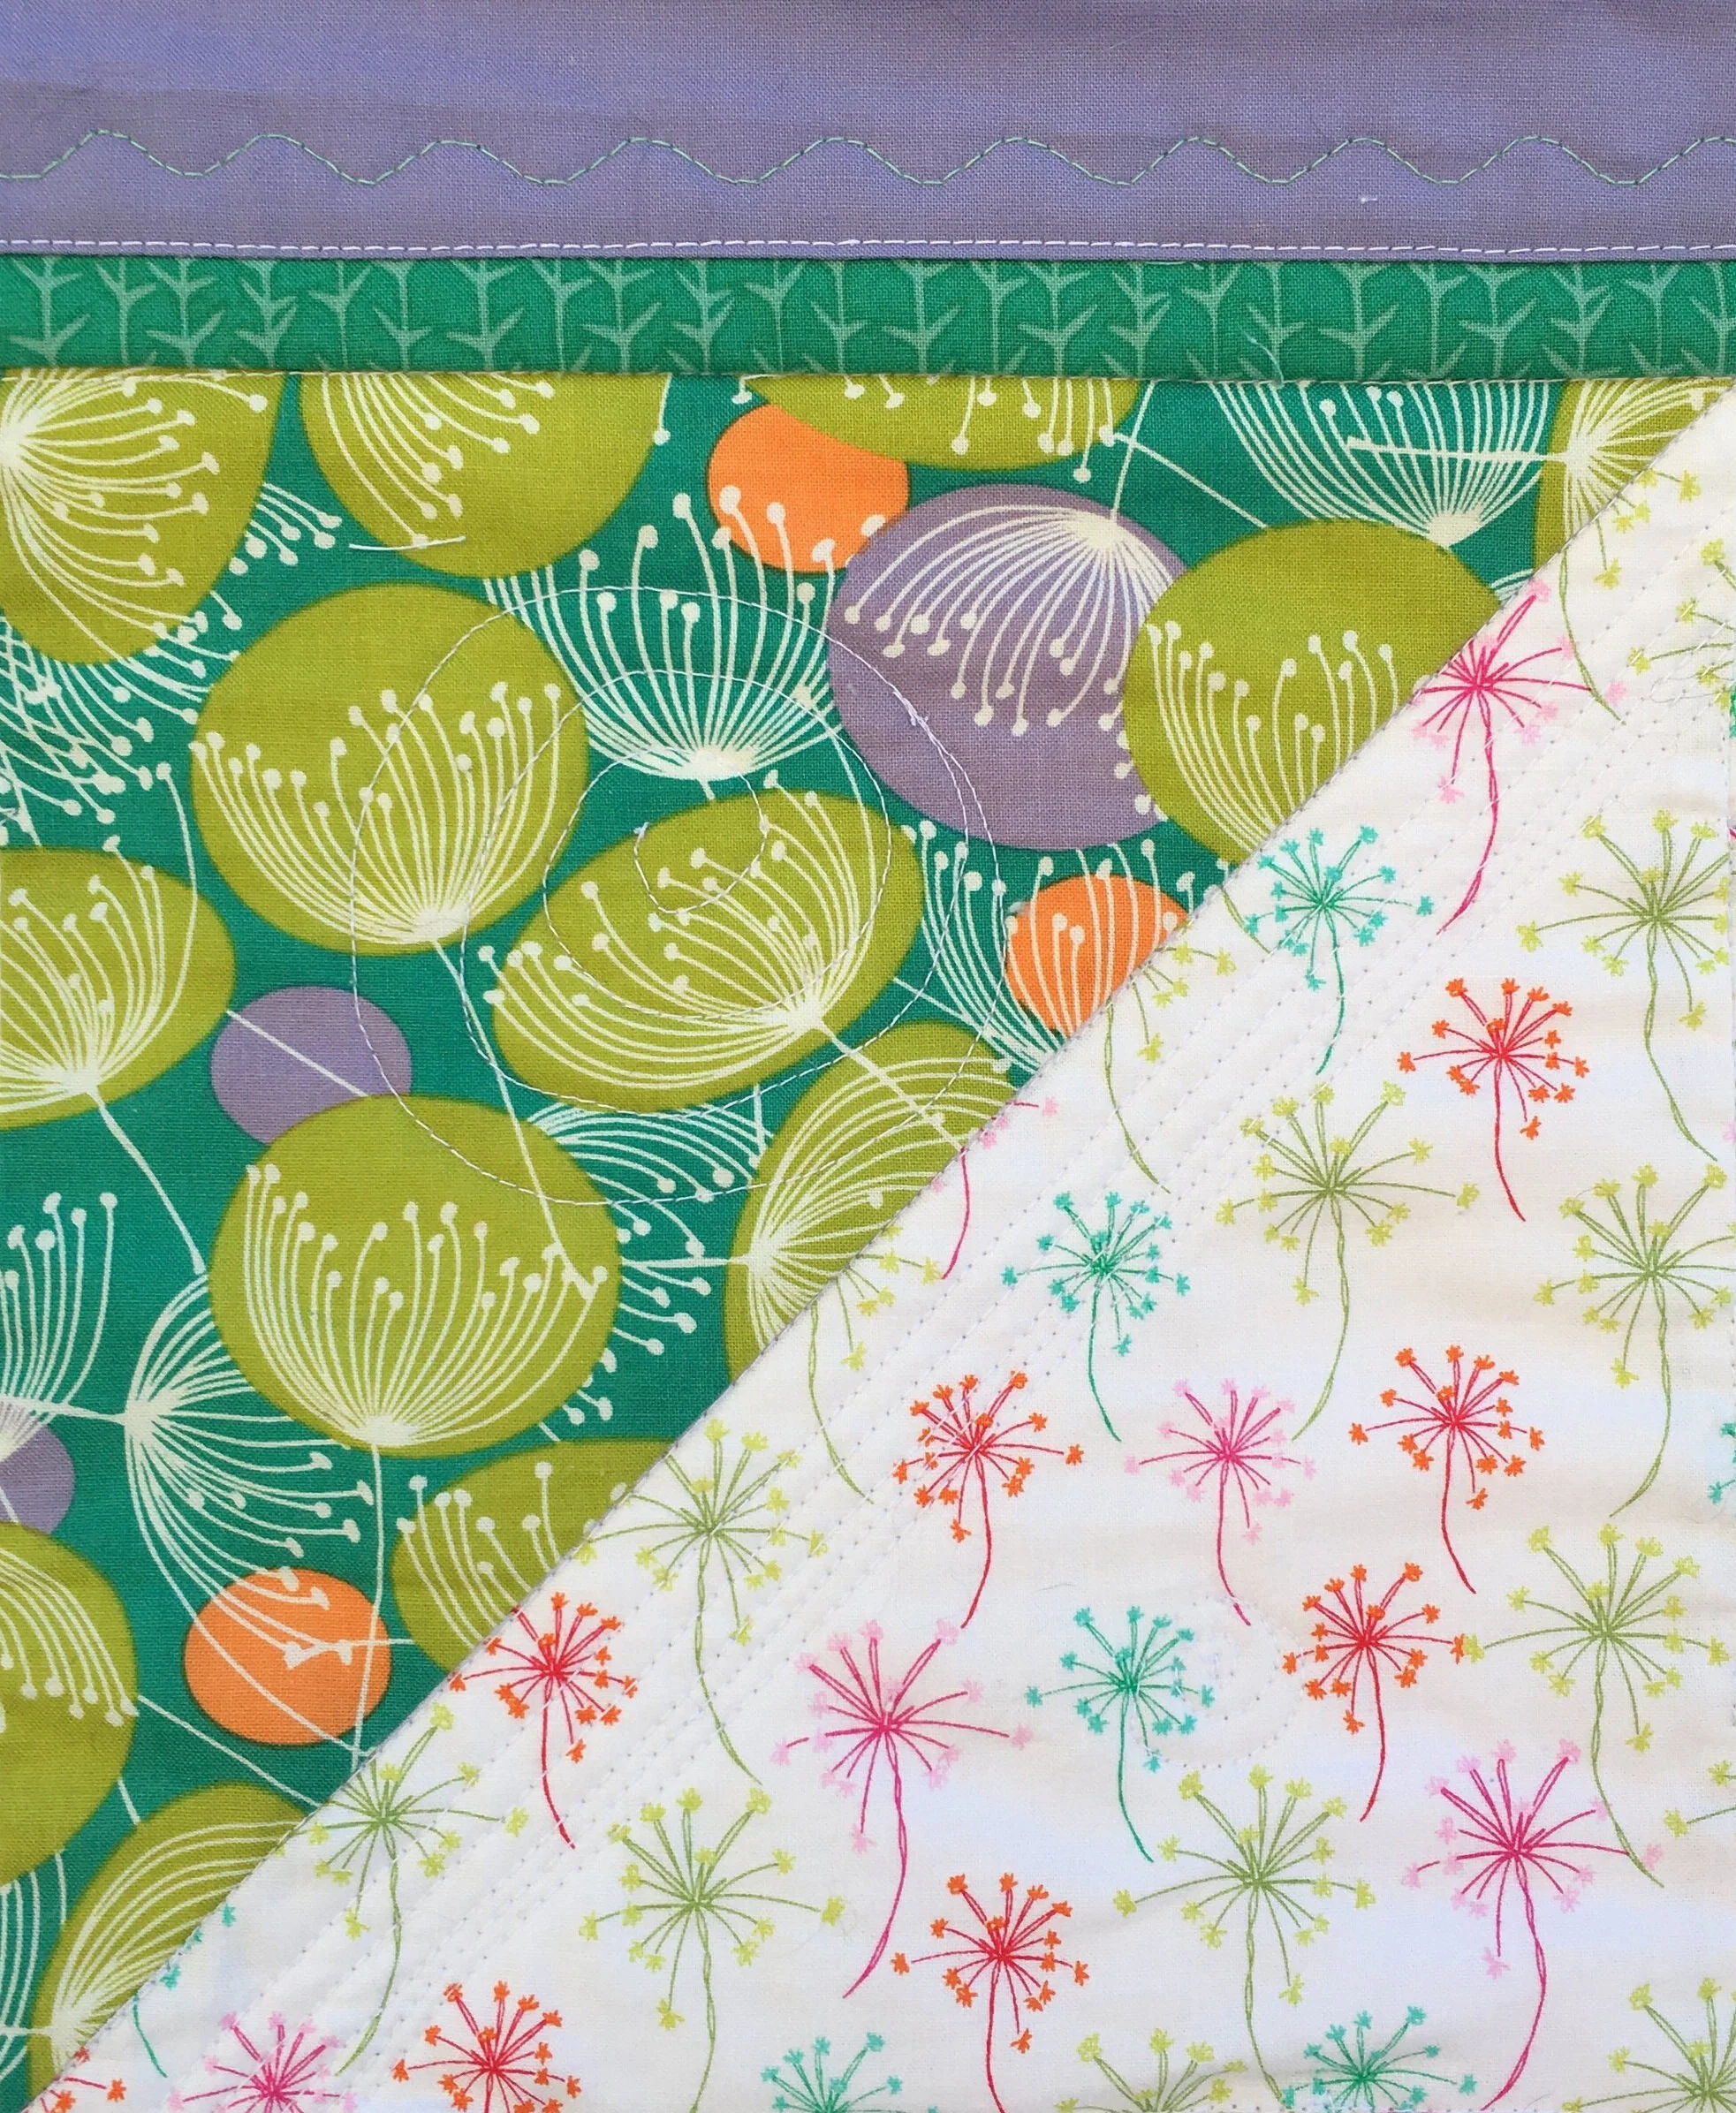
For the most part, I really liked the 20 fabrics in my bundle. But I did find the fluorescent pixel fabric and it’s coordinating palm tree fabric to be rather challenging—especially the pixel fabric! I did use the pixel fabric twice, but there isn’t much of it! Still, that met the brief.
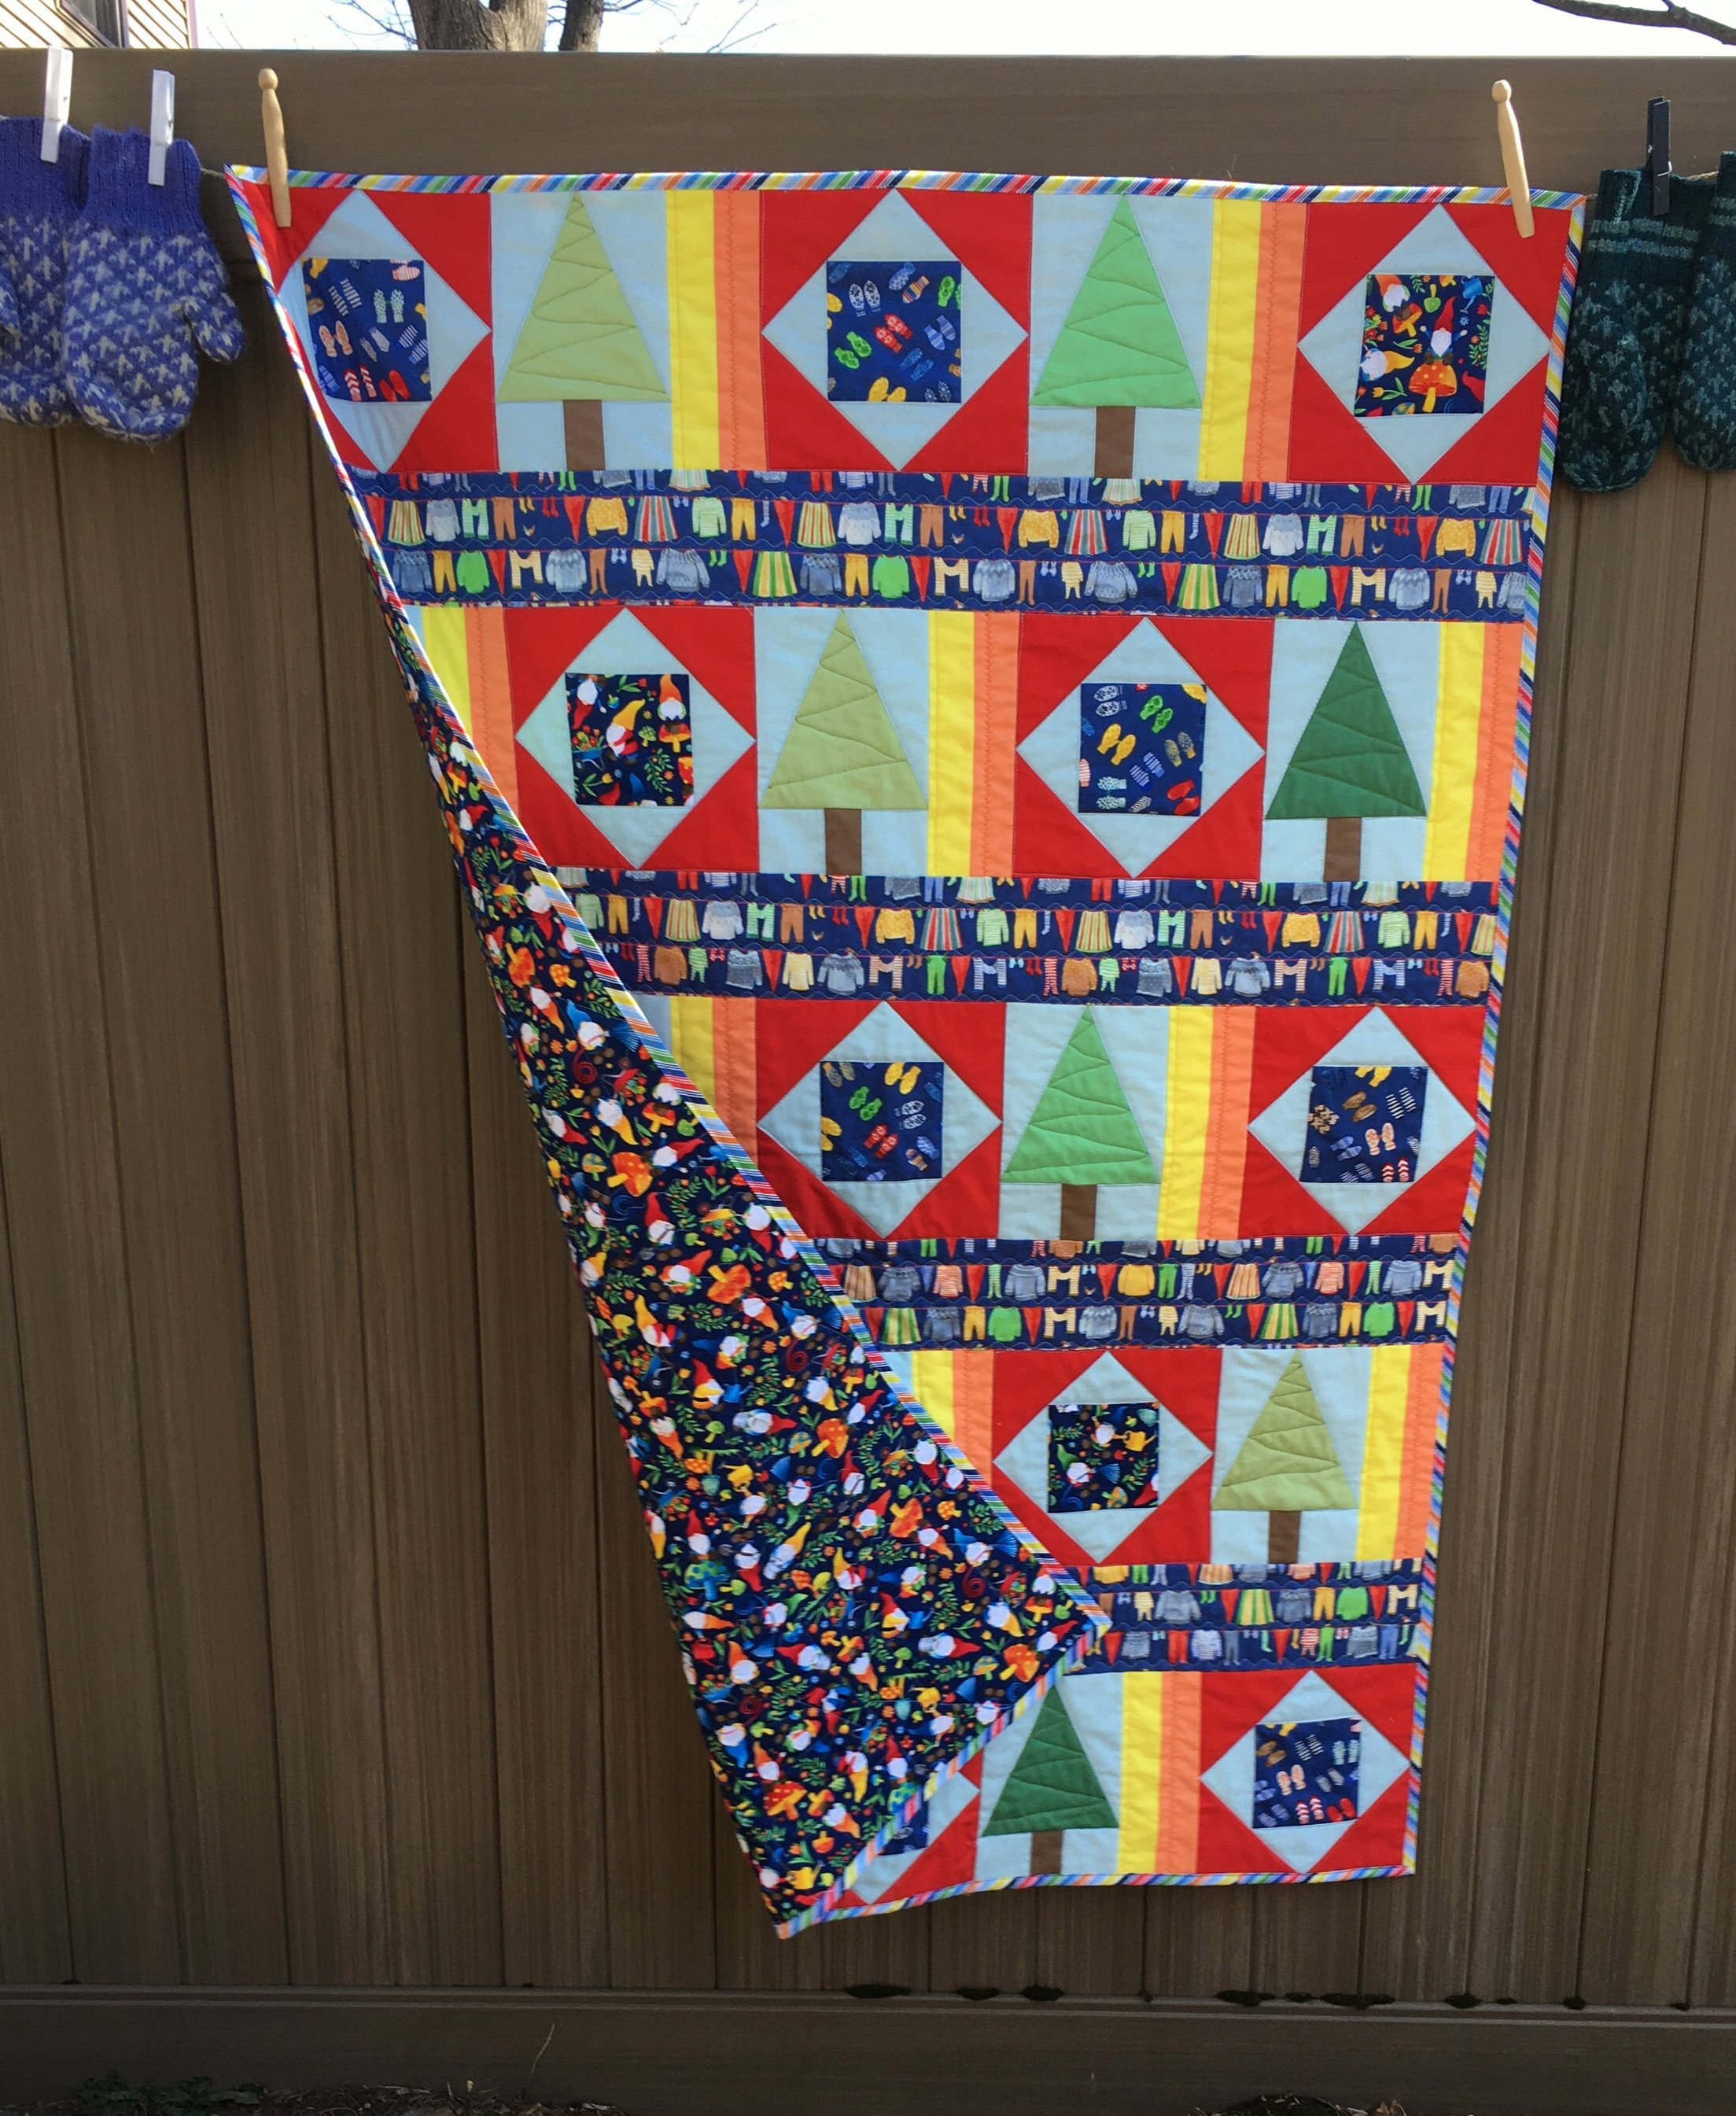
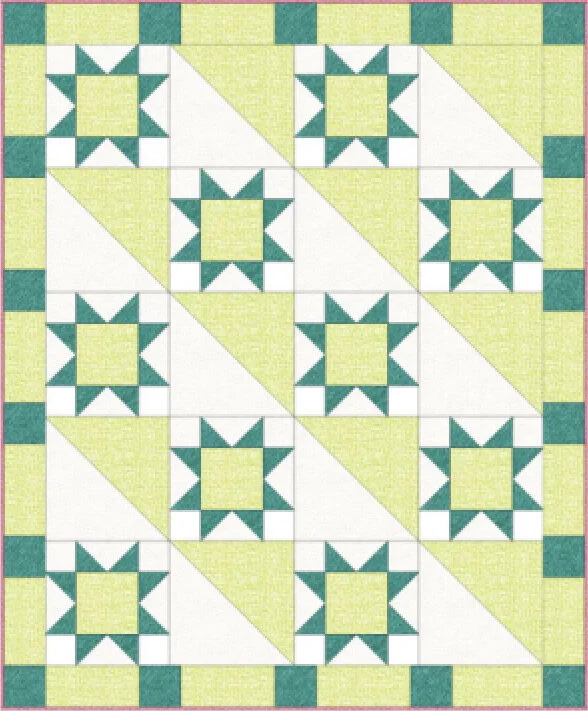
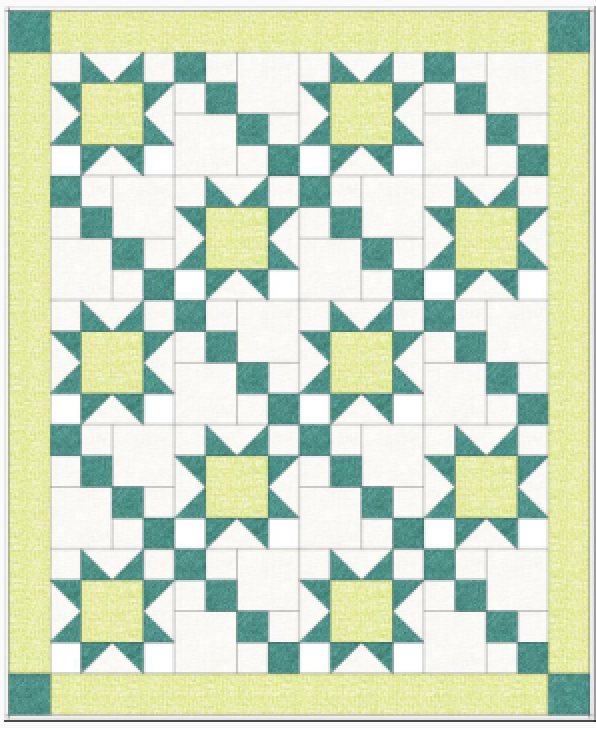
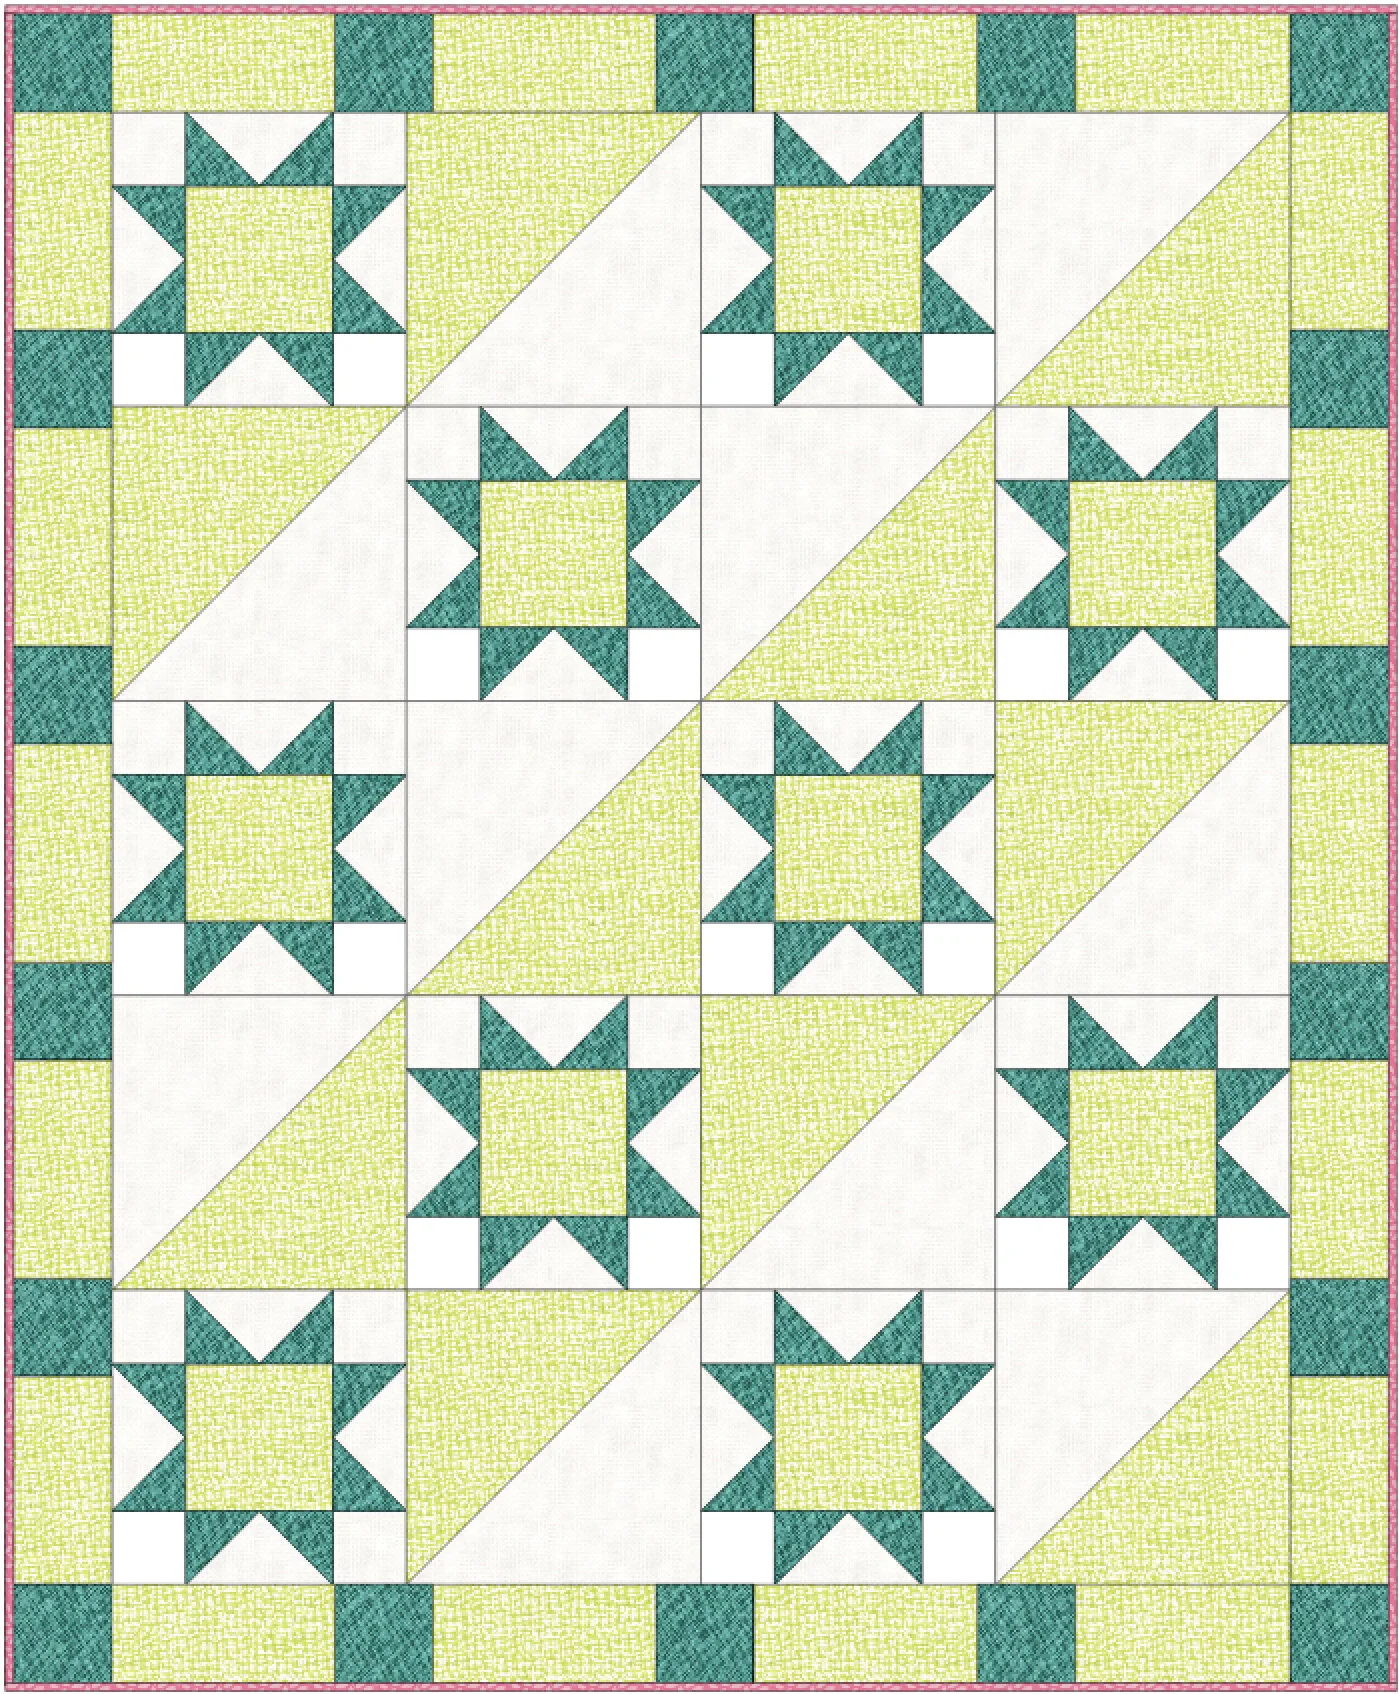
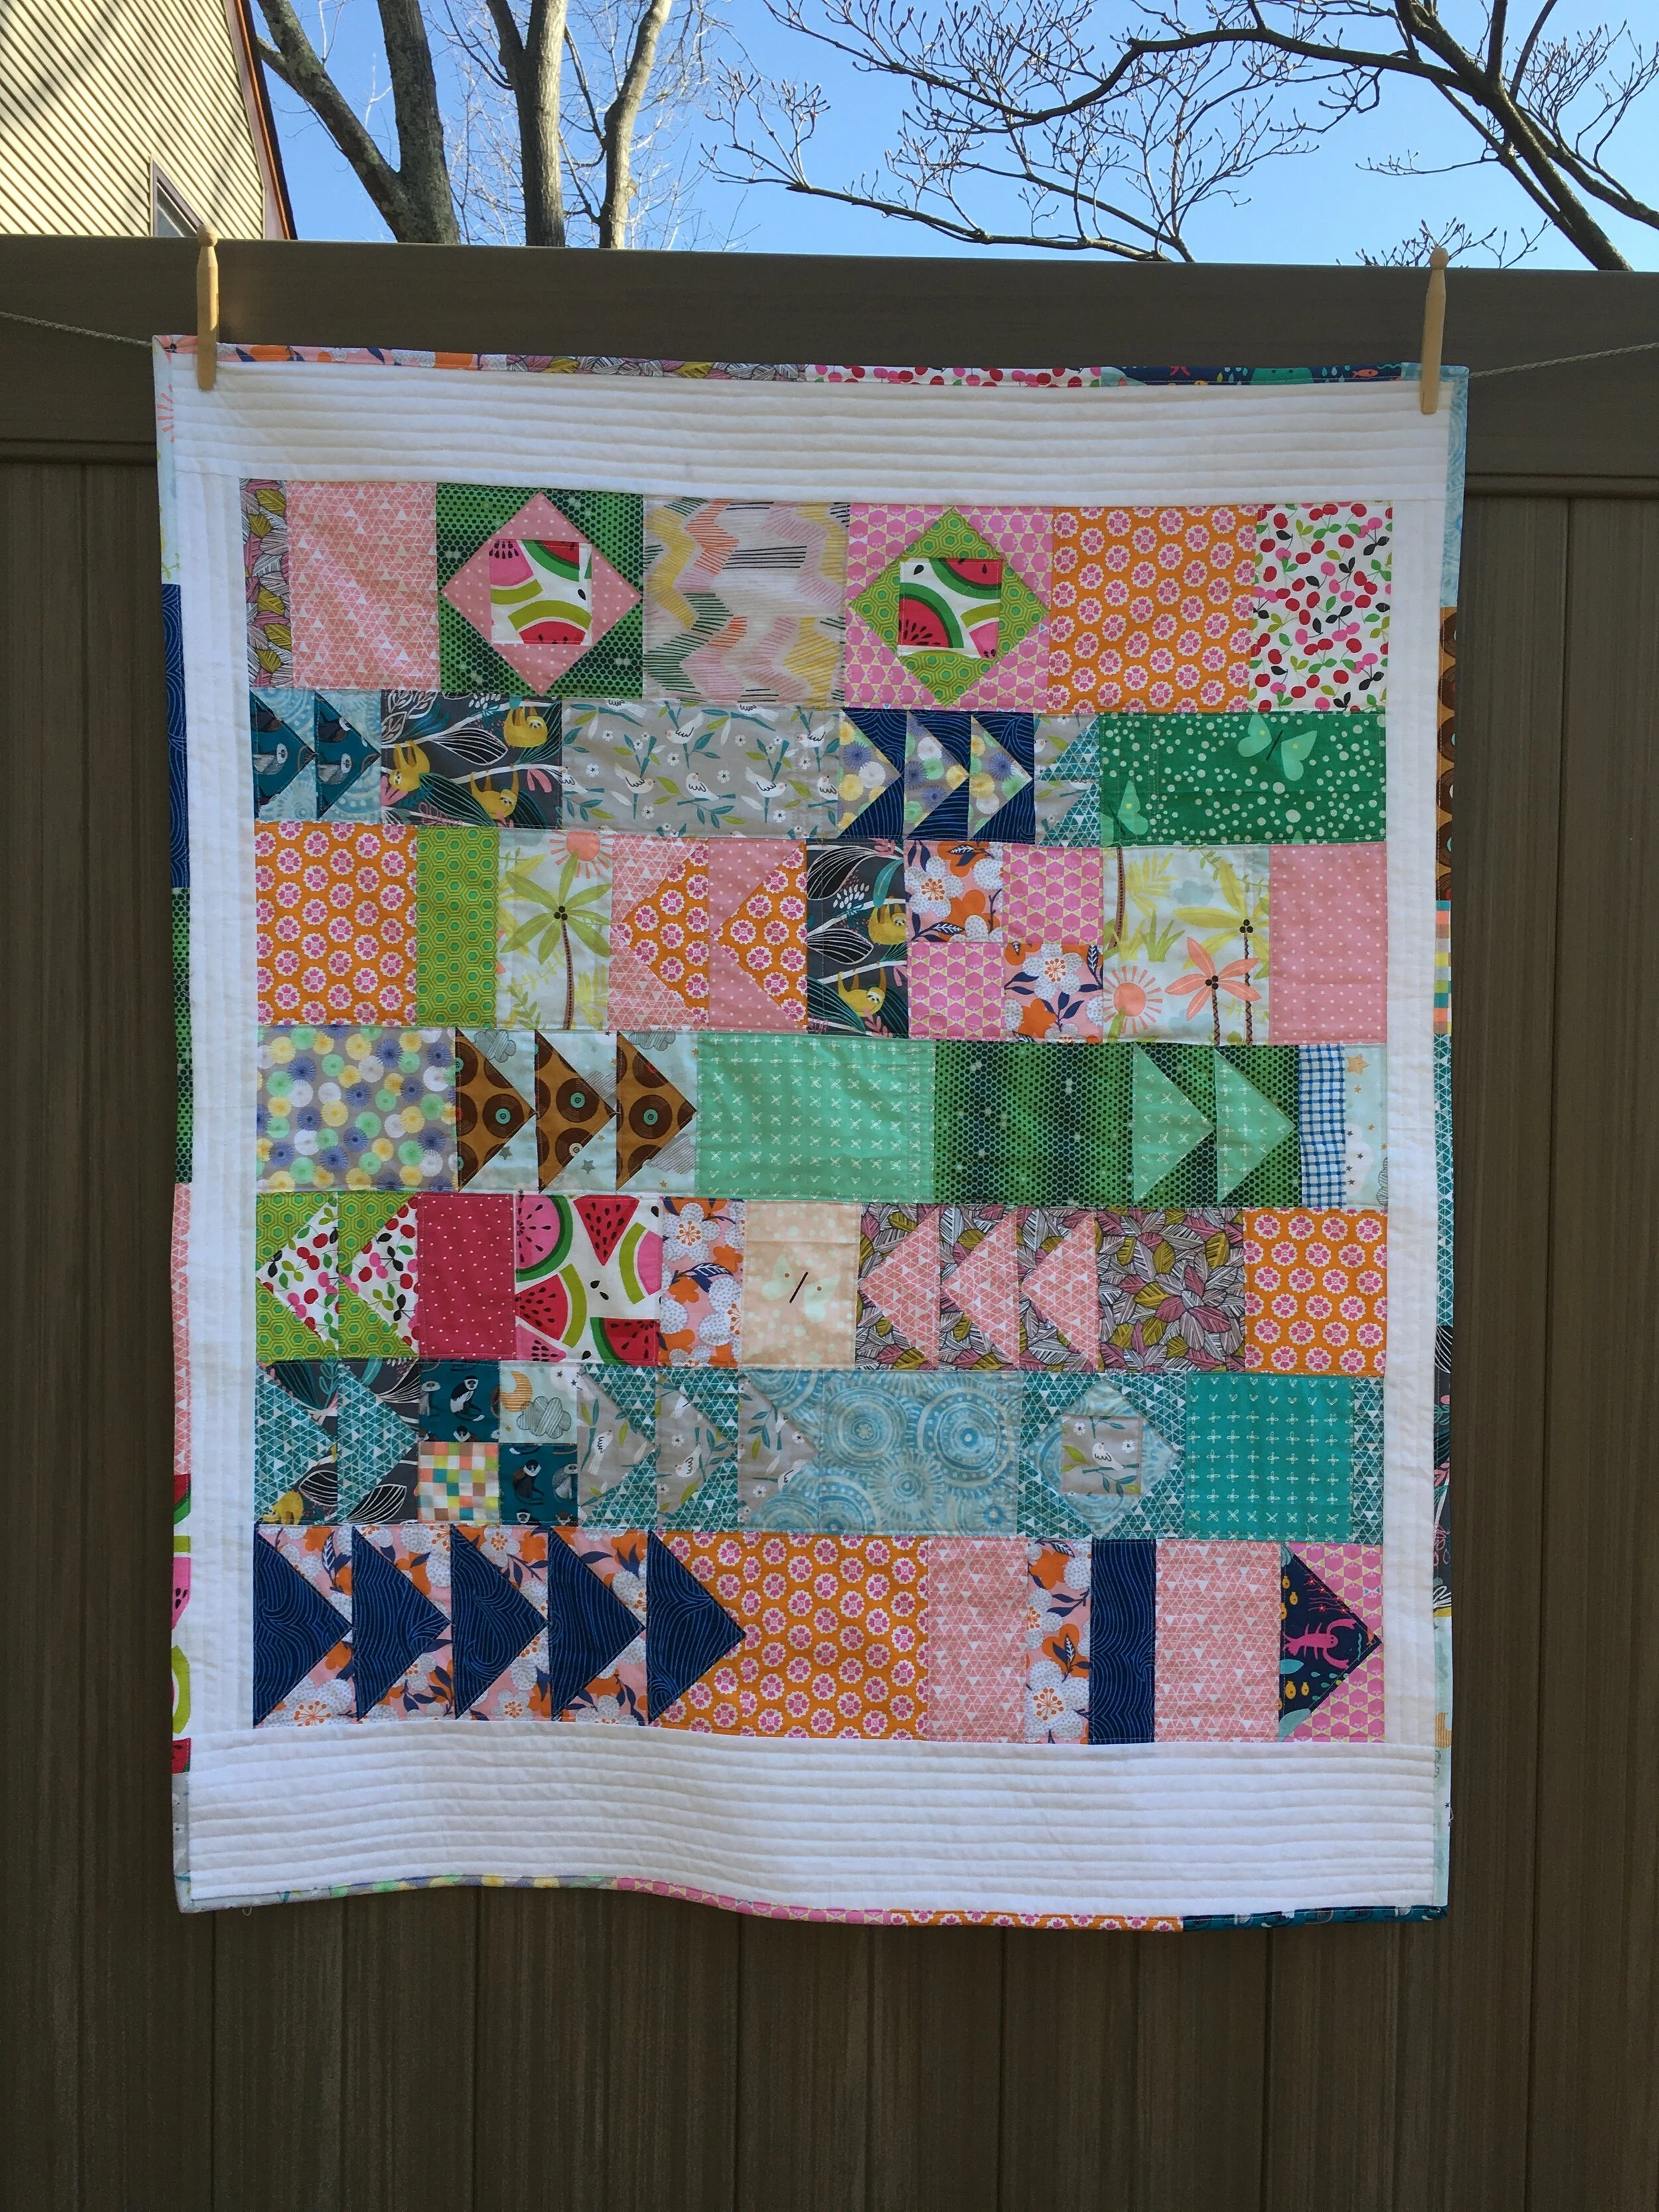
I used the pattern “Autumn Flight” by Beth Vassalo from the Lucky Spool book Scraps, Inc., Vol. 1 as my inspiration. (This 2014 book is available as a digital download from Lucky Spool or still can be found as a paperback from Amazon.
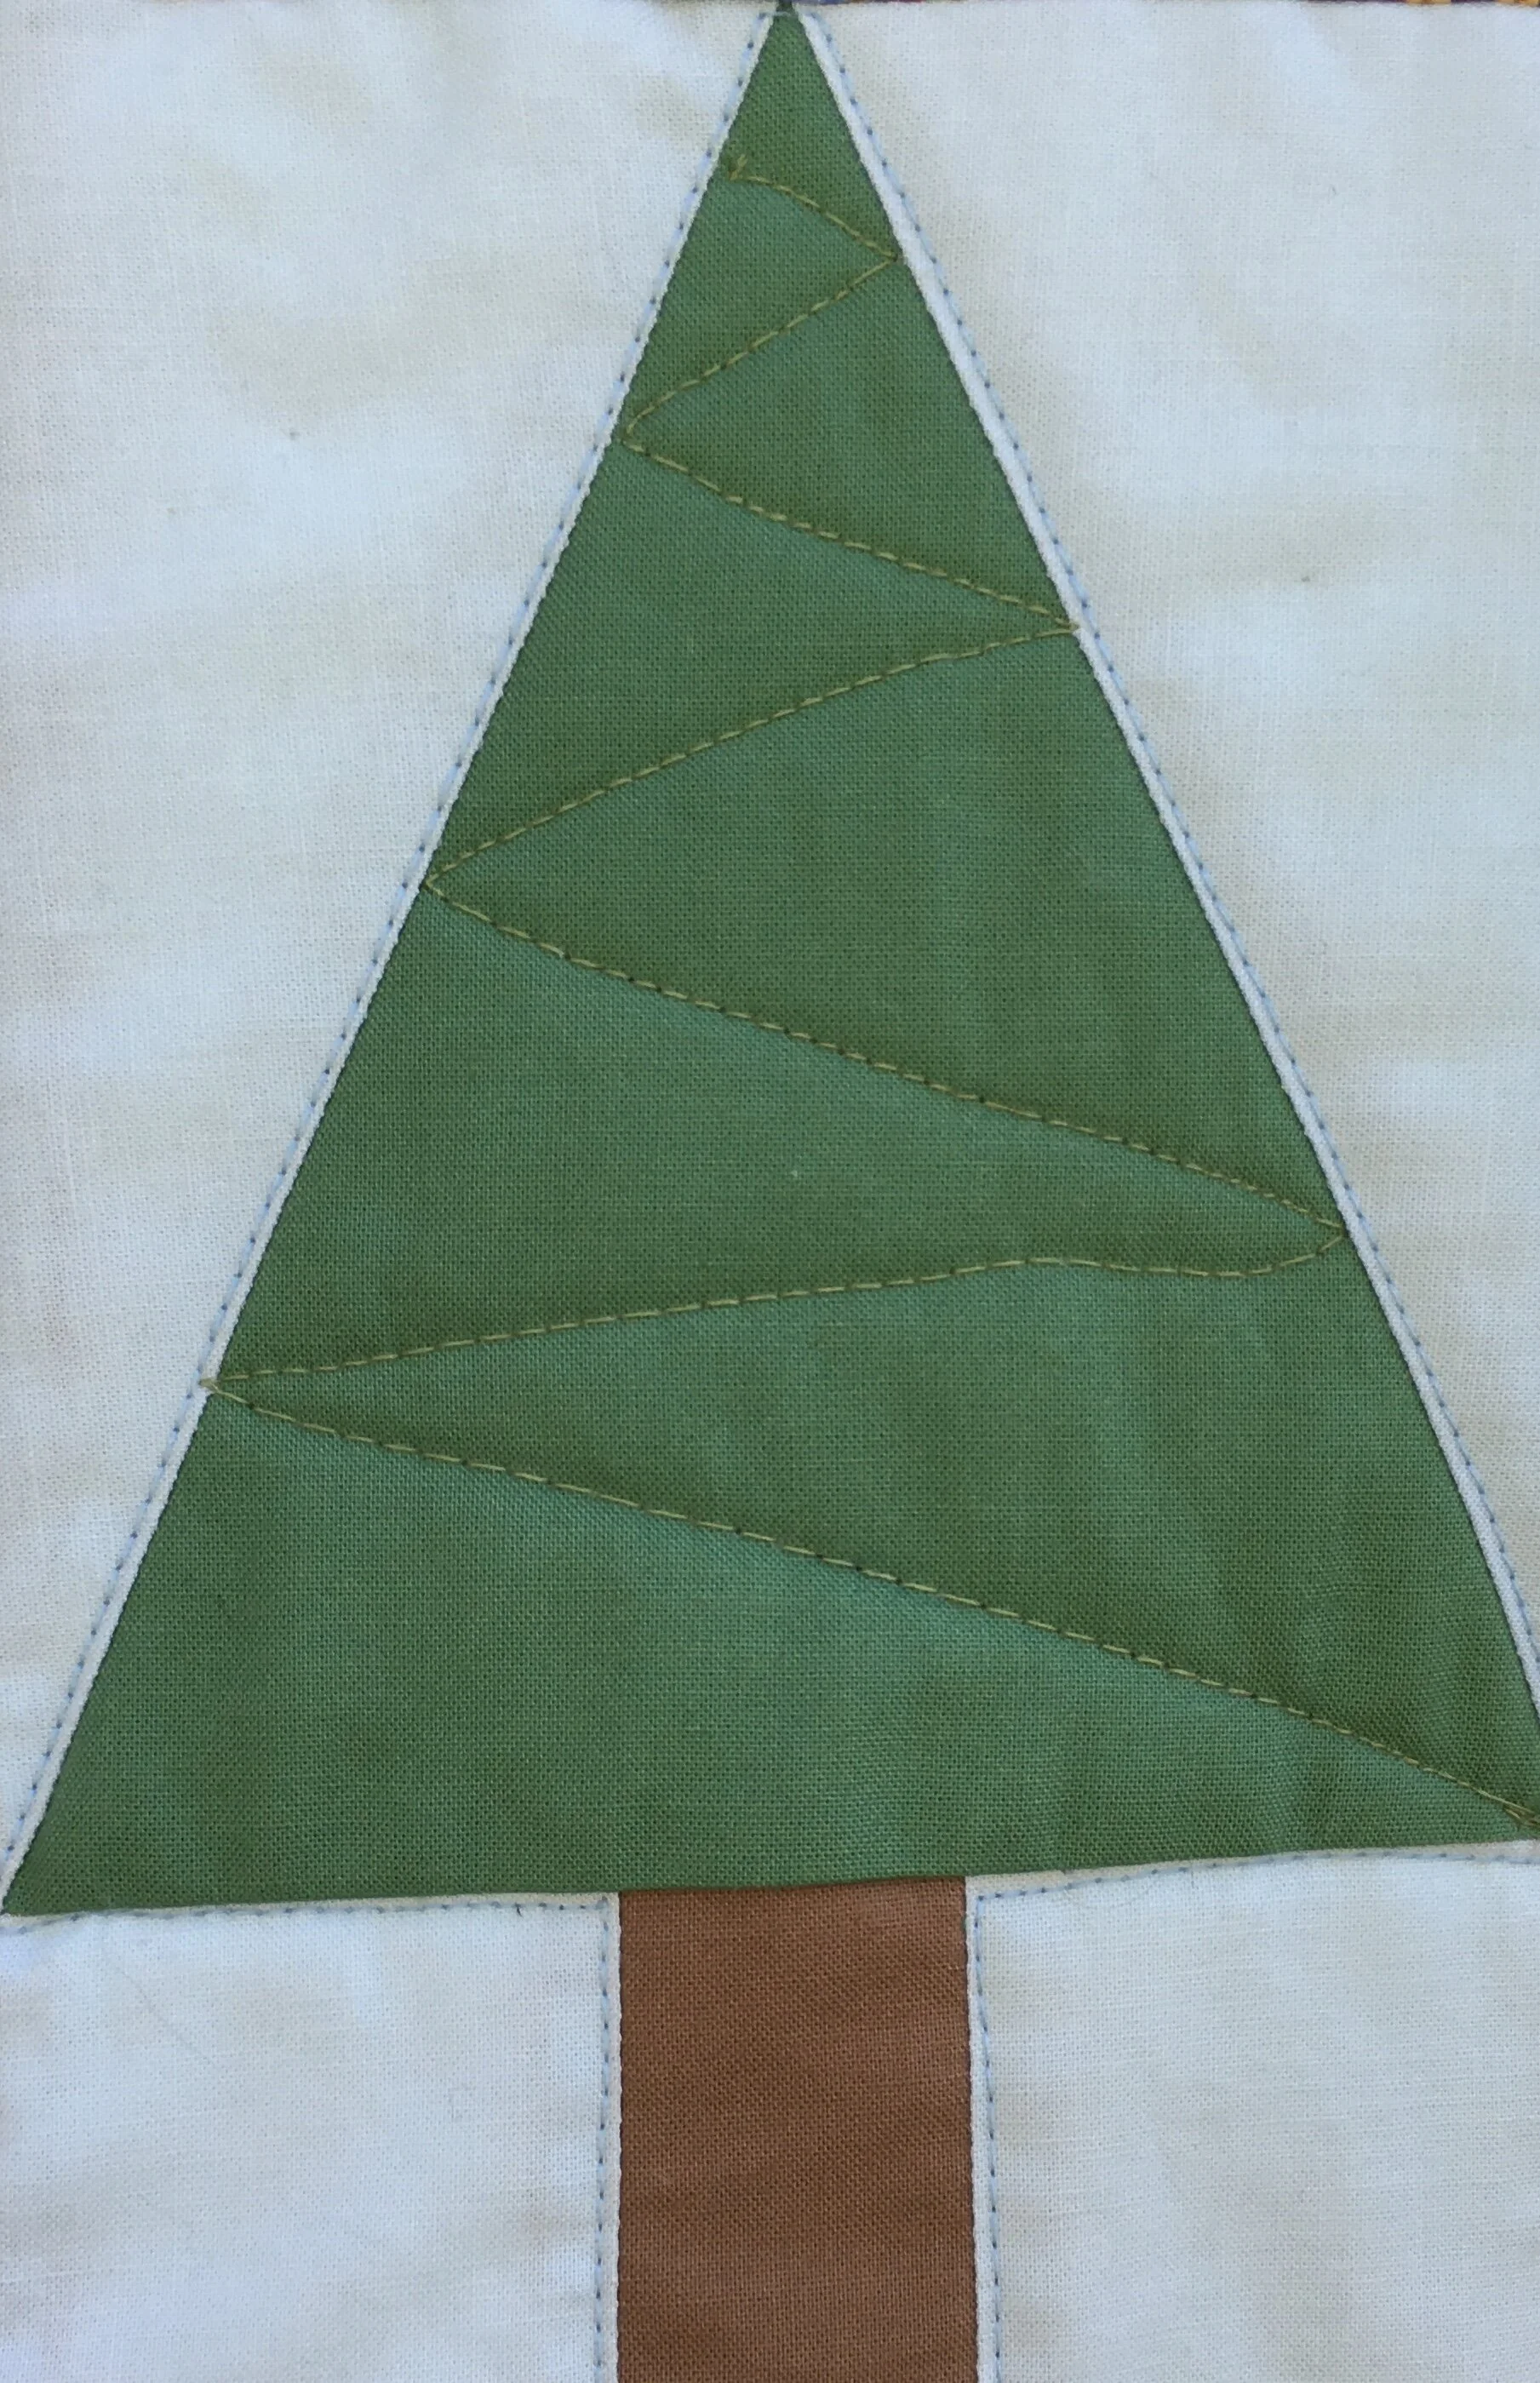
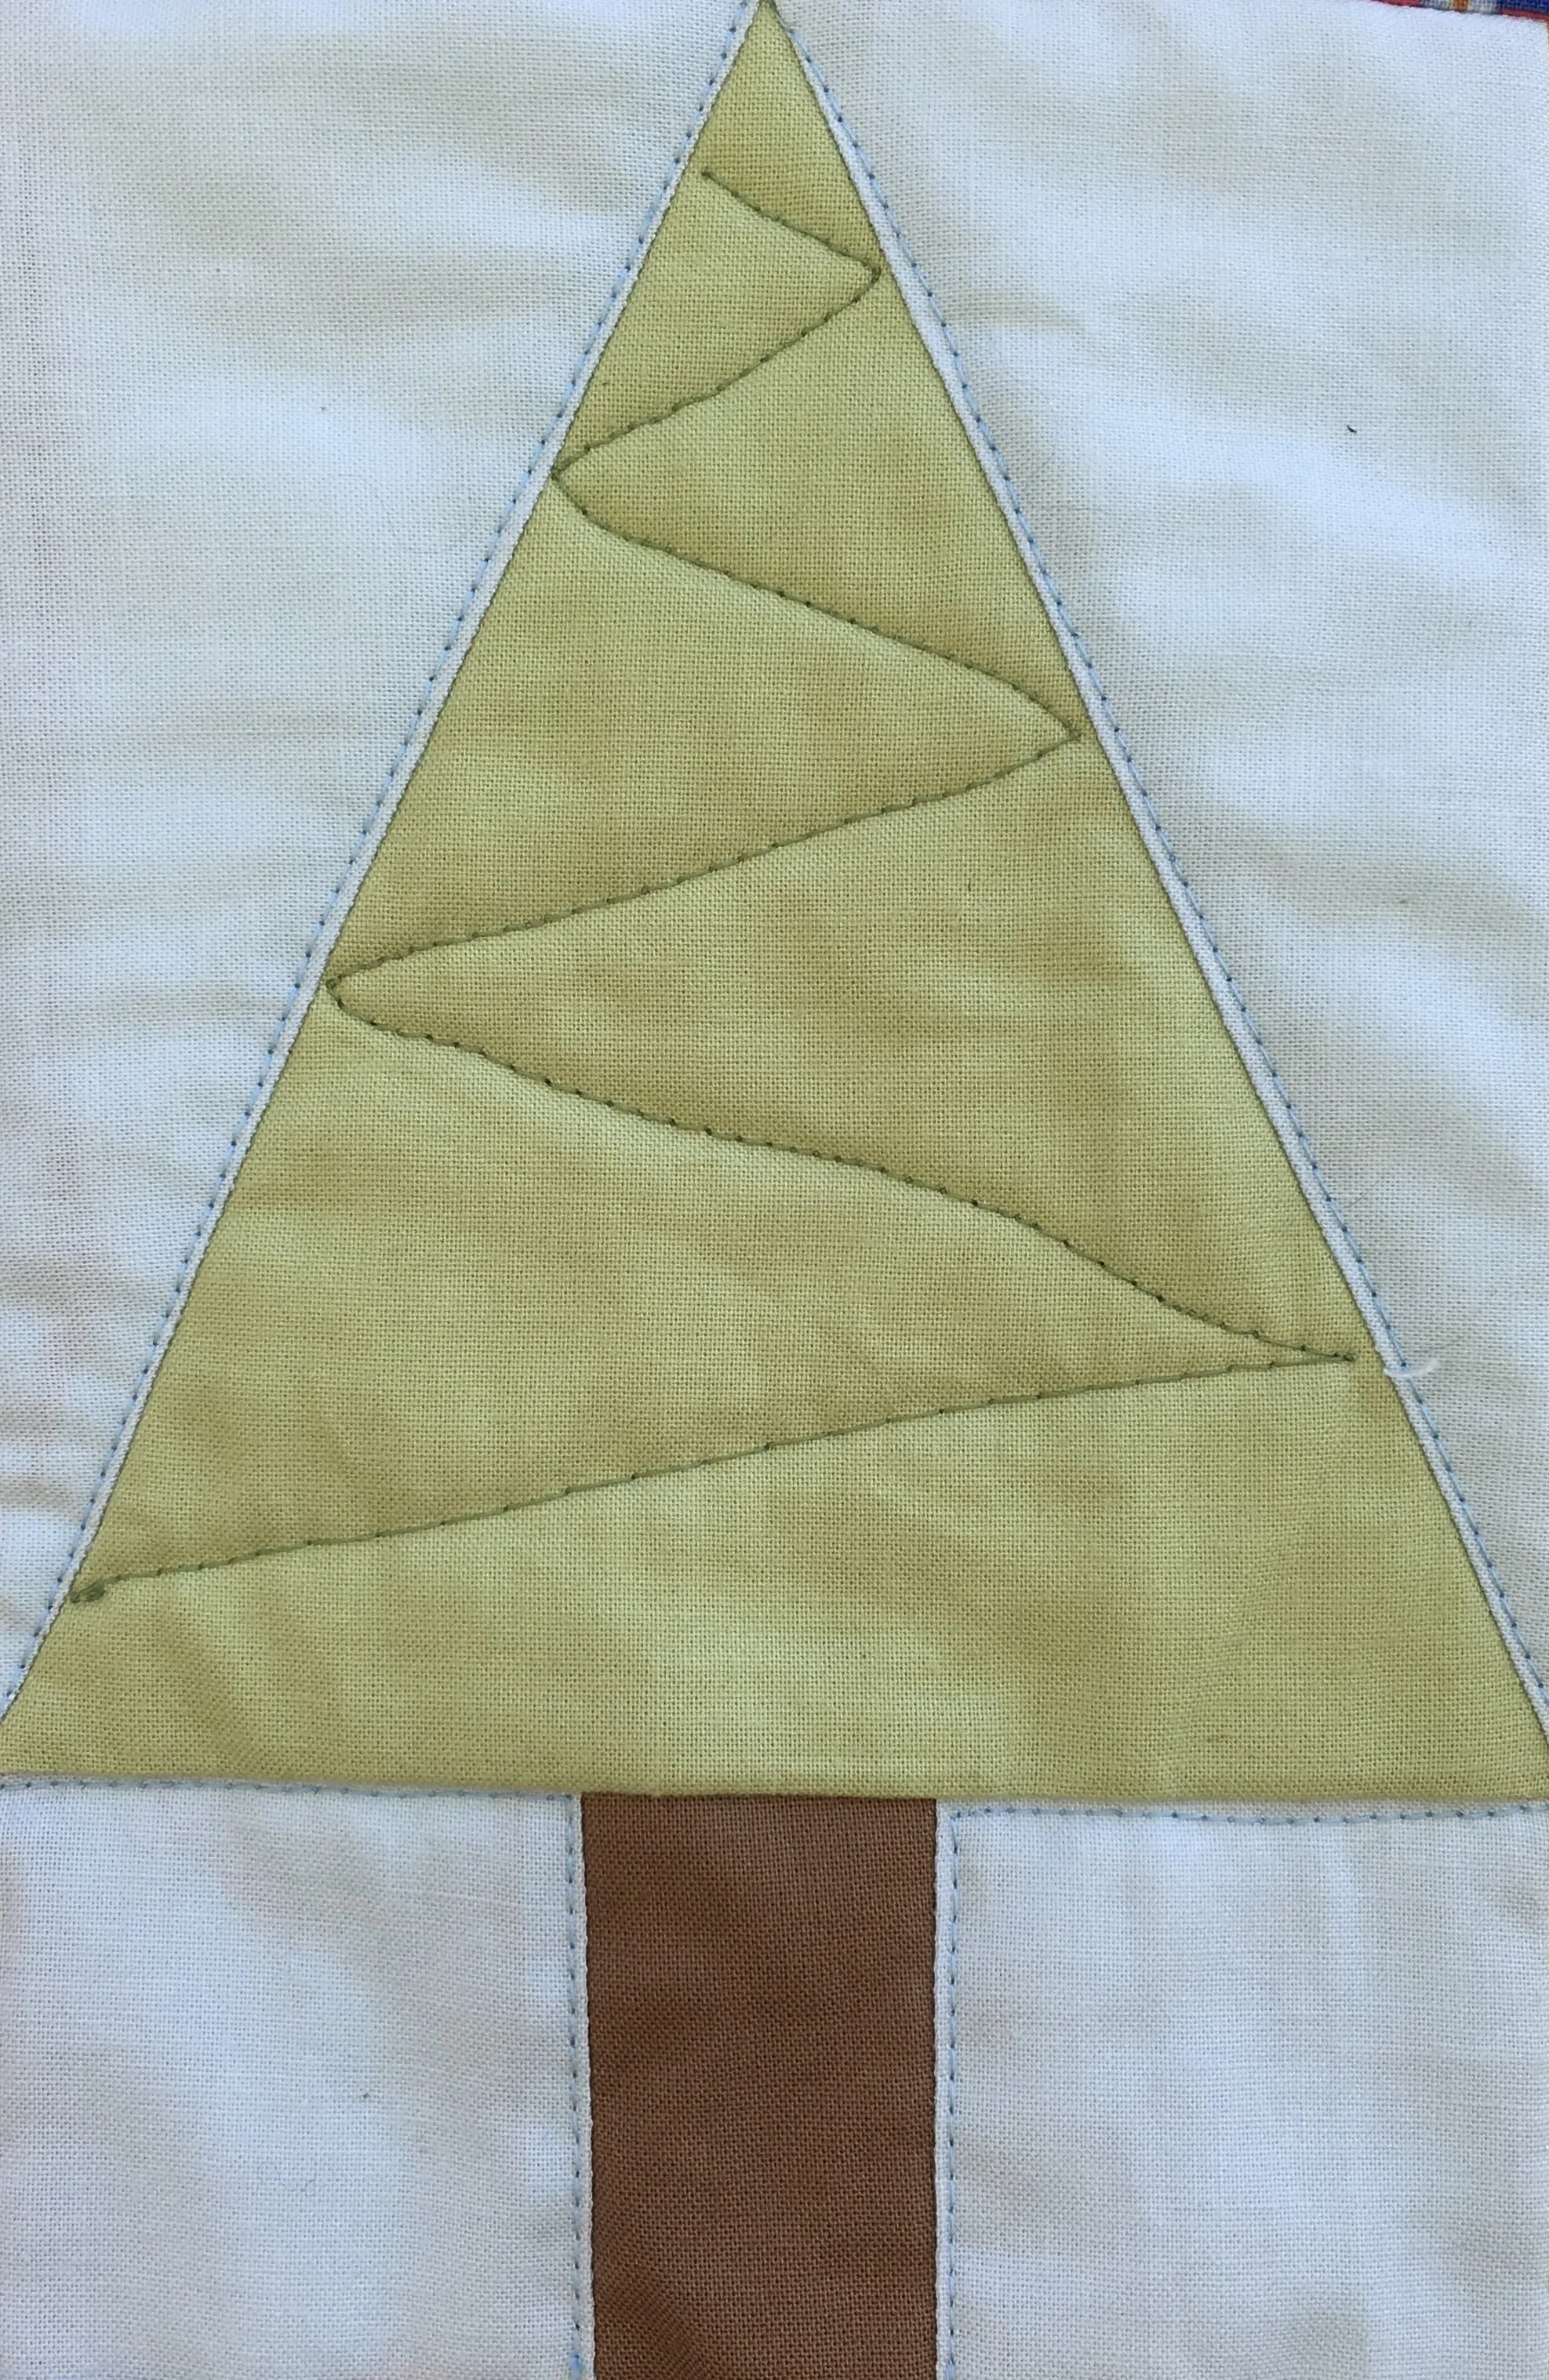
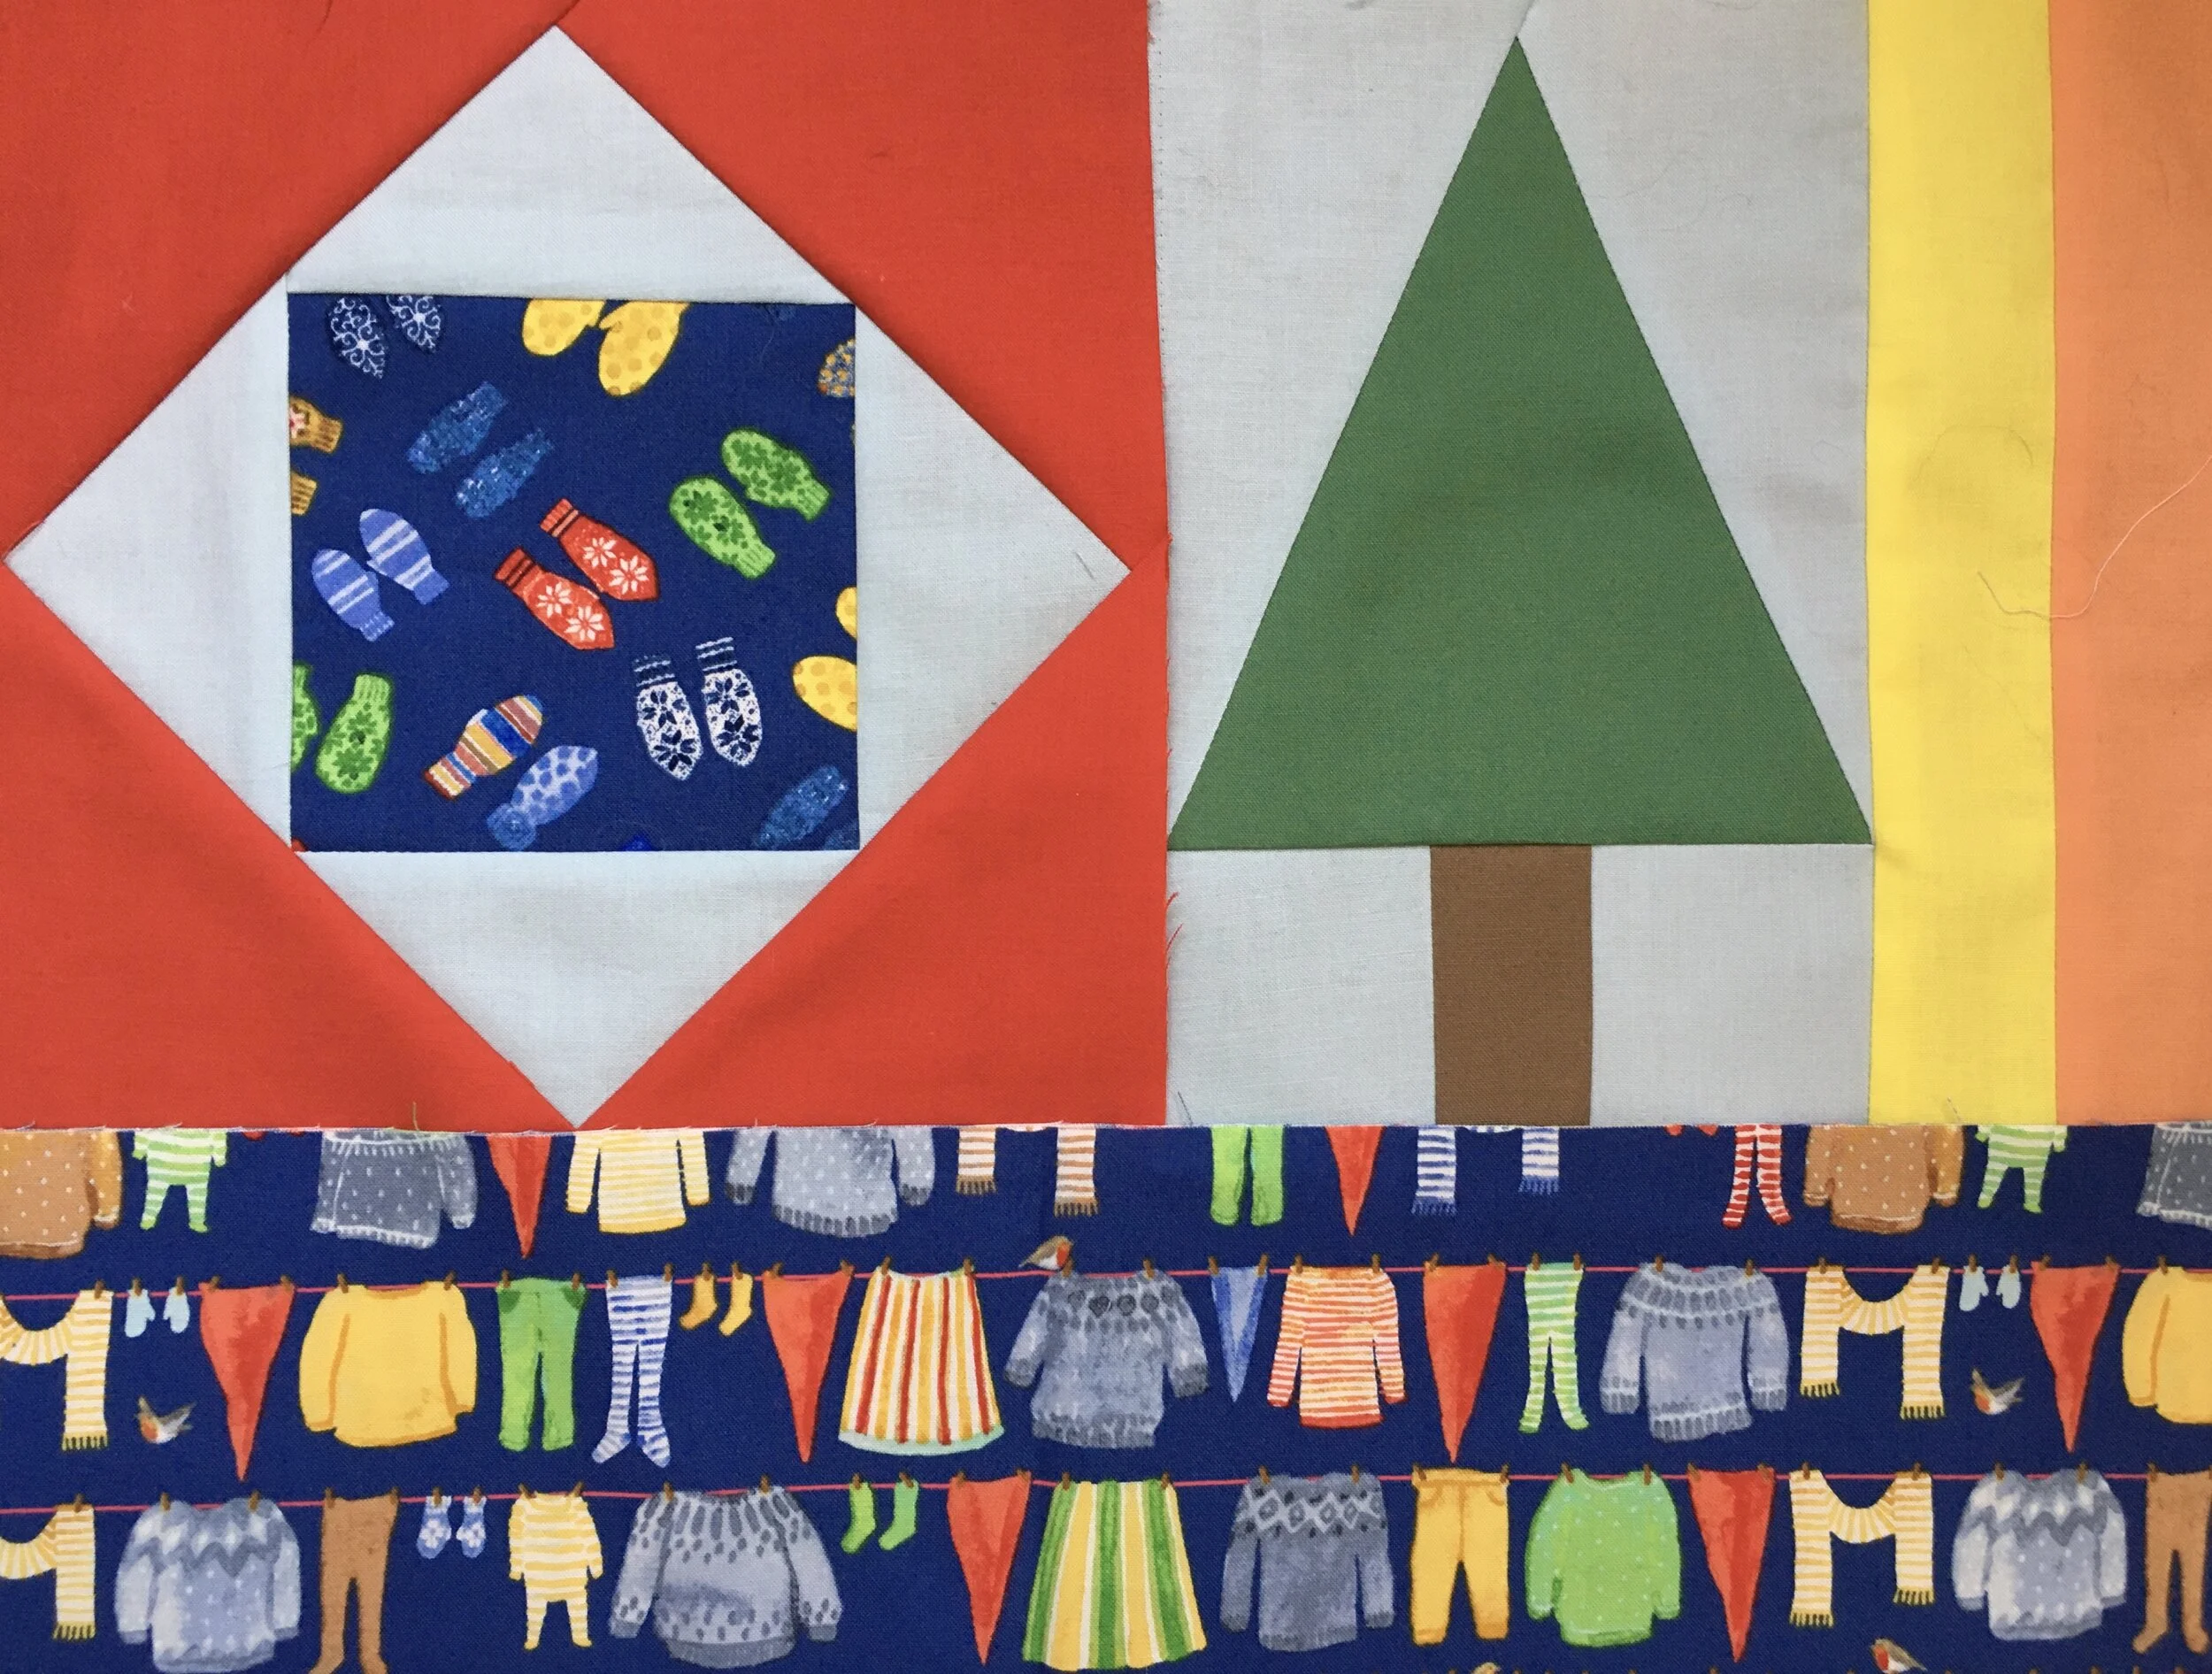
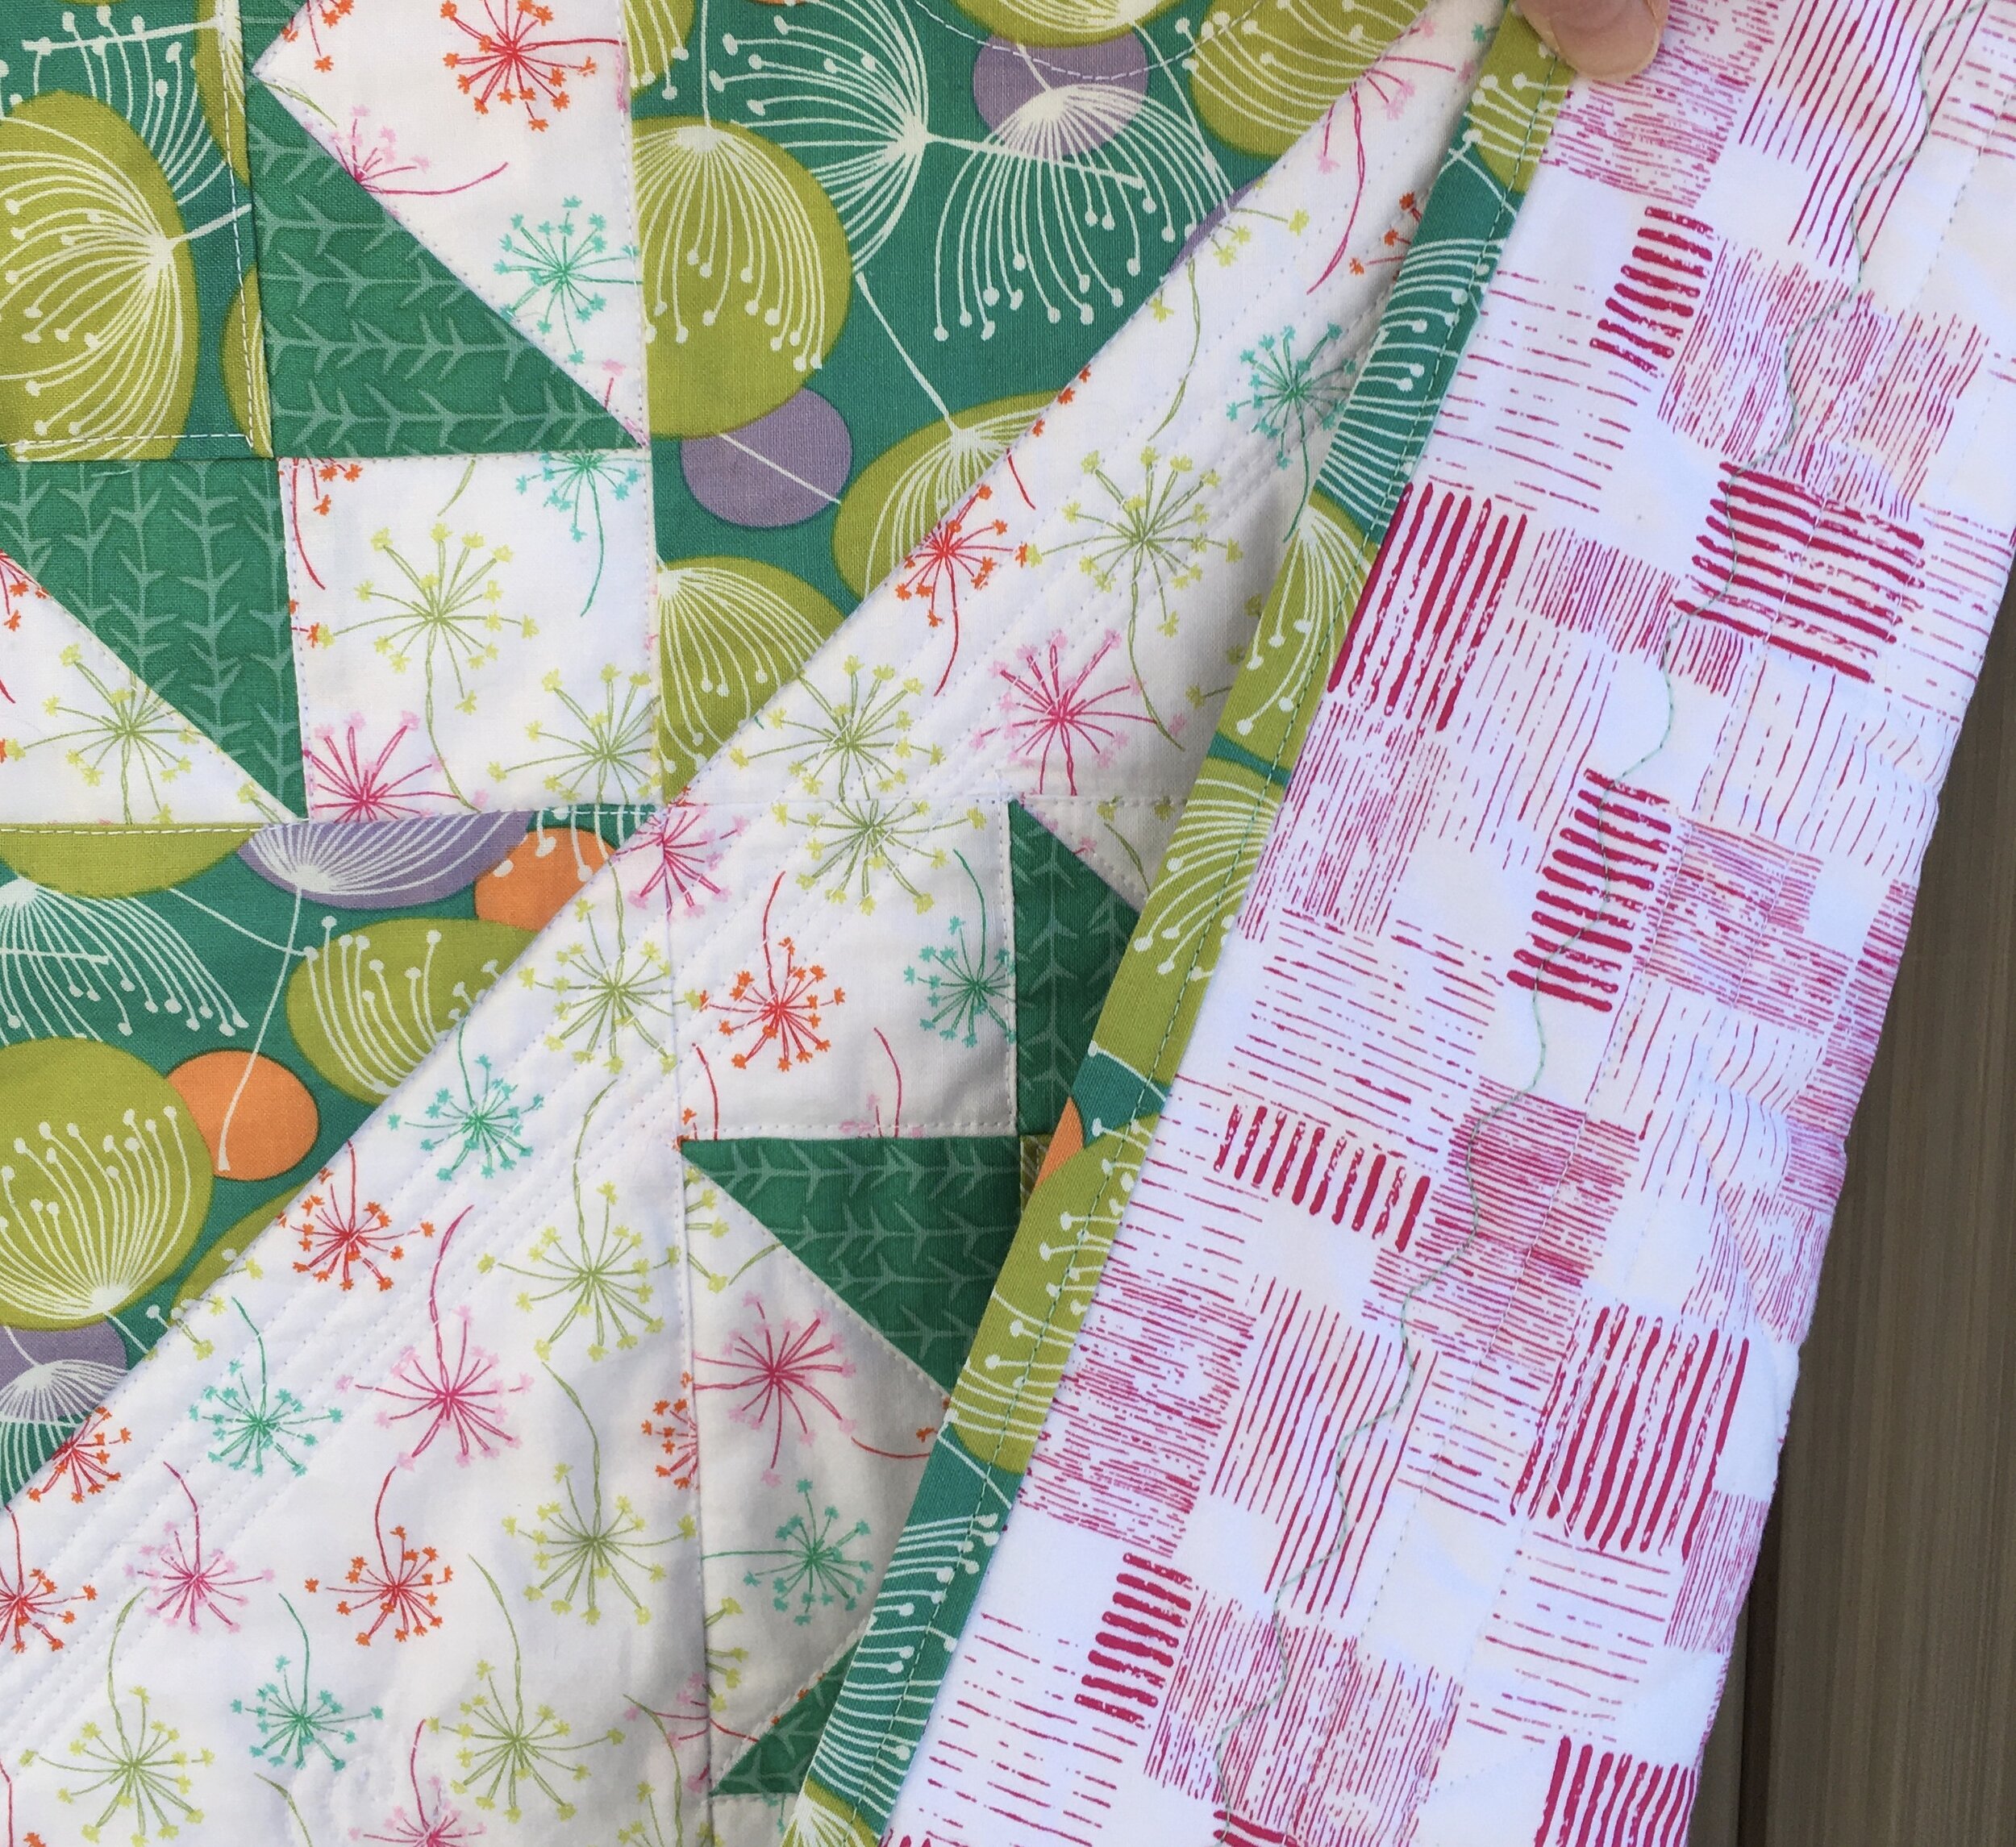
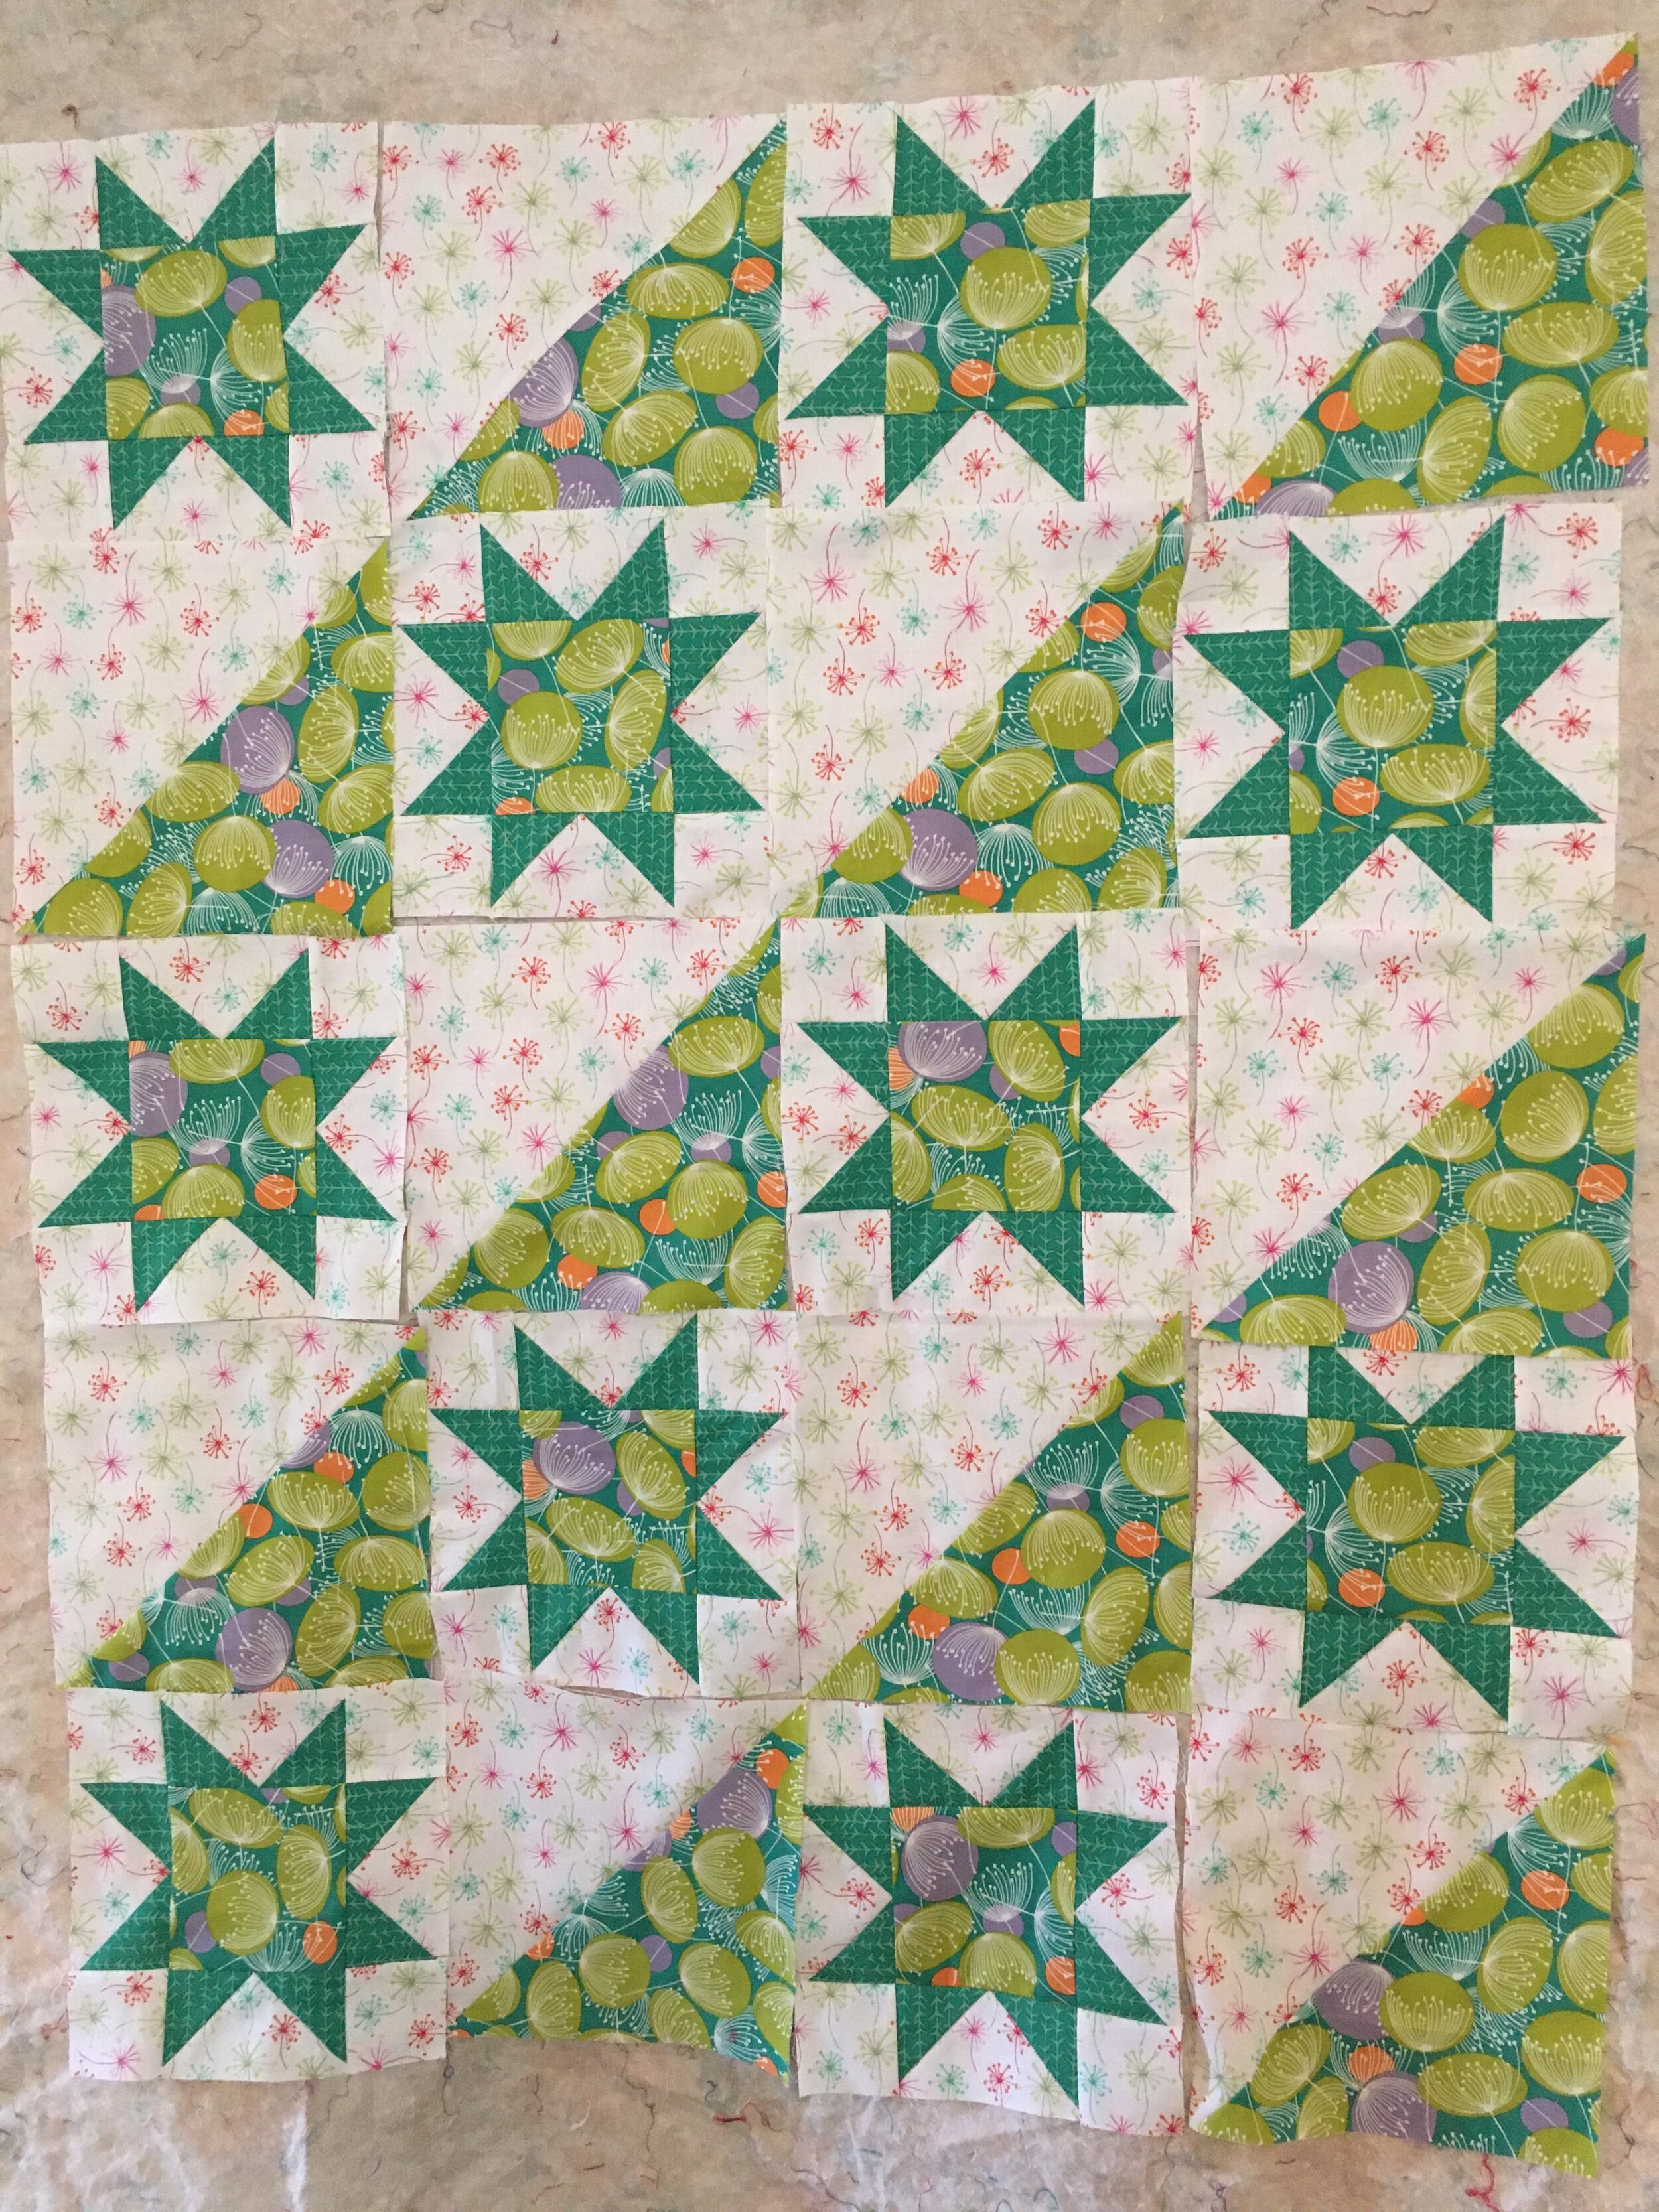
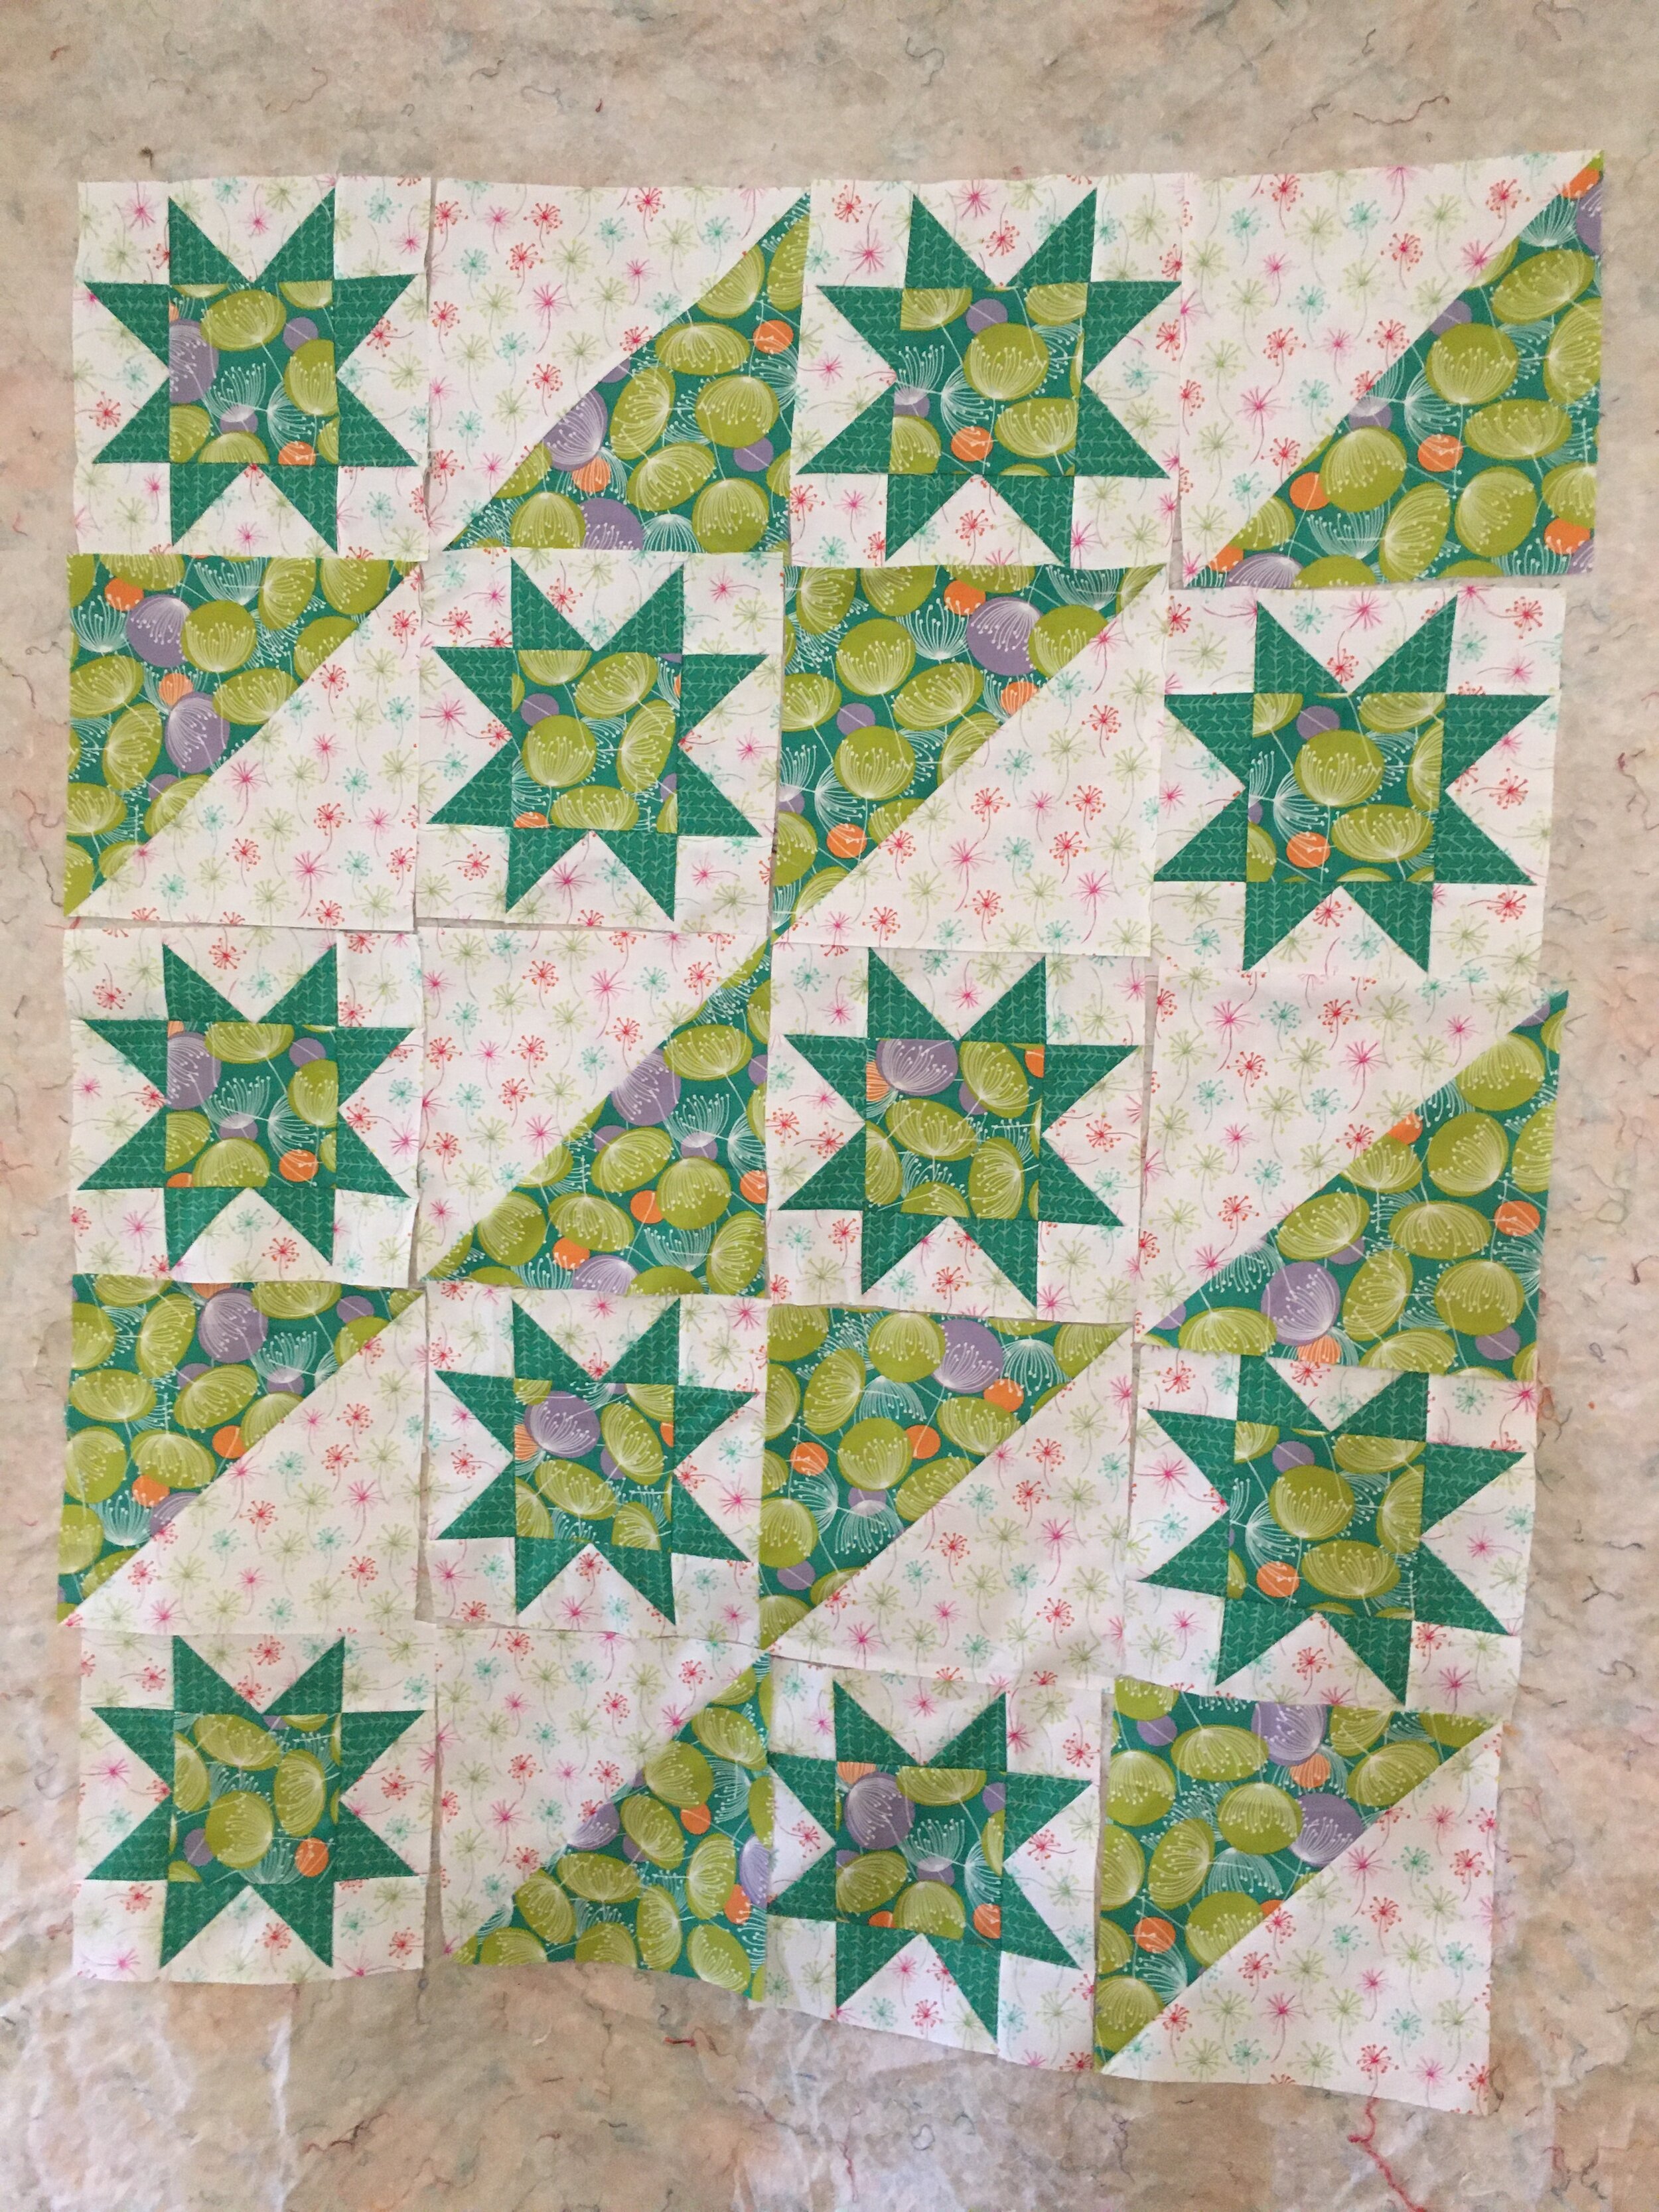
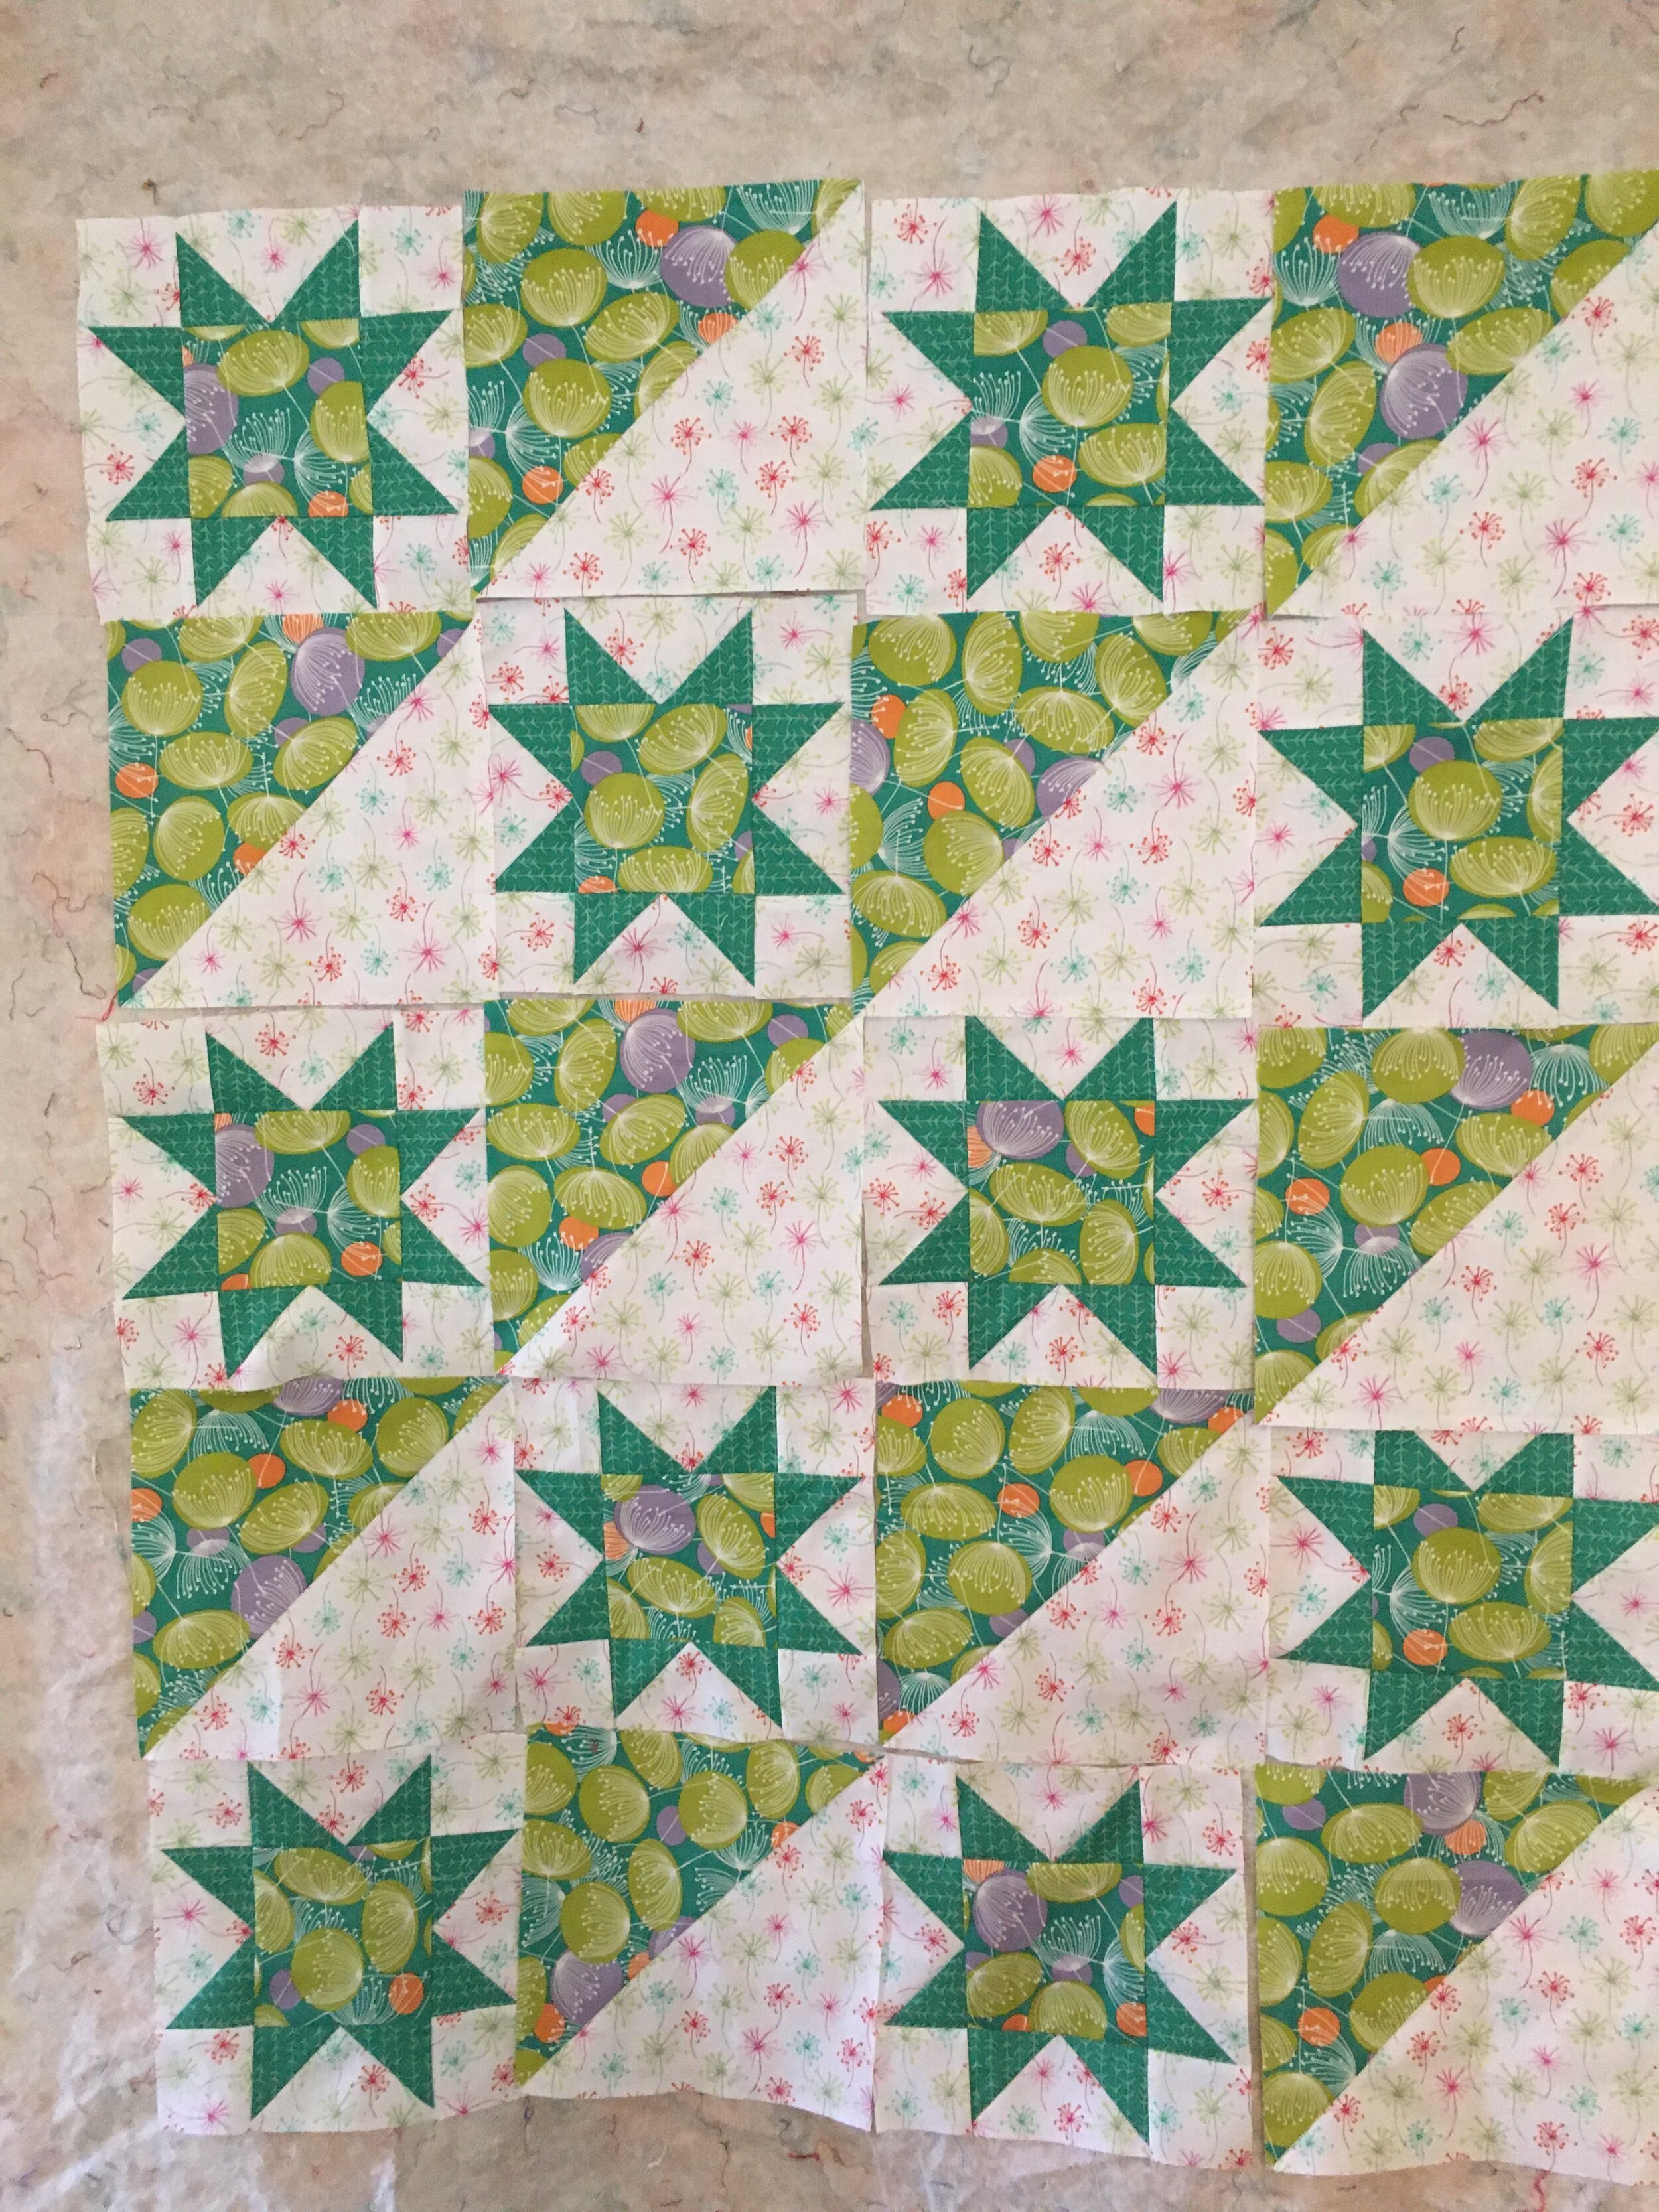
I used Beth Vassalo’s idea of flying geese and plain blocks in strips. Beth used an alternative method to make her flying geese blocks and staggered them so they aren’t flying exactly in a straight line, while I used a couple quilting flying geese rulers to make traditional flying geese blocks. I also added 3 square-in-a-square economy blocks in 2 of the block strips in the quilt. So, this quilt is my own variation, but it is definitely styled on the quilt design in the book.
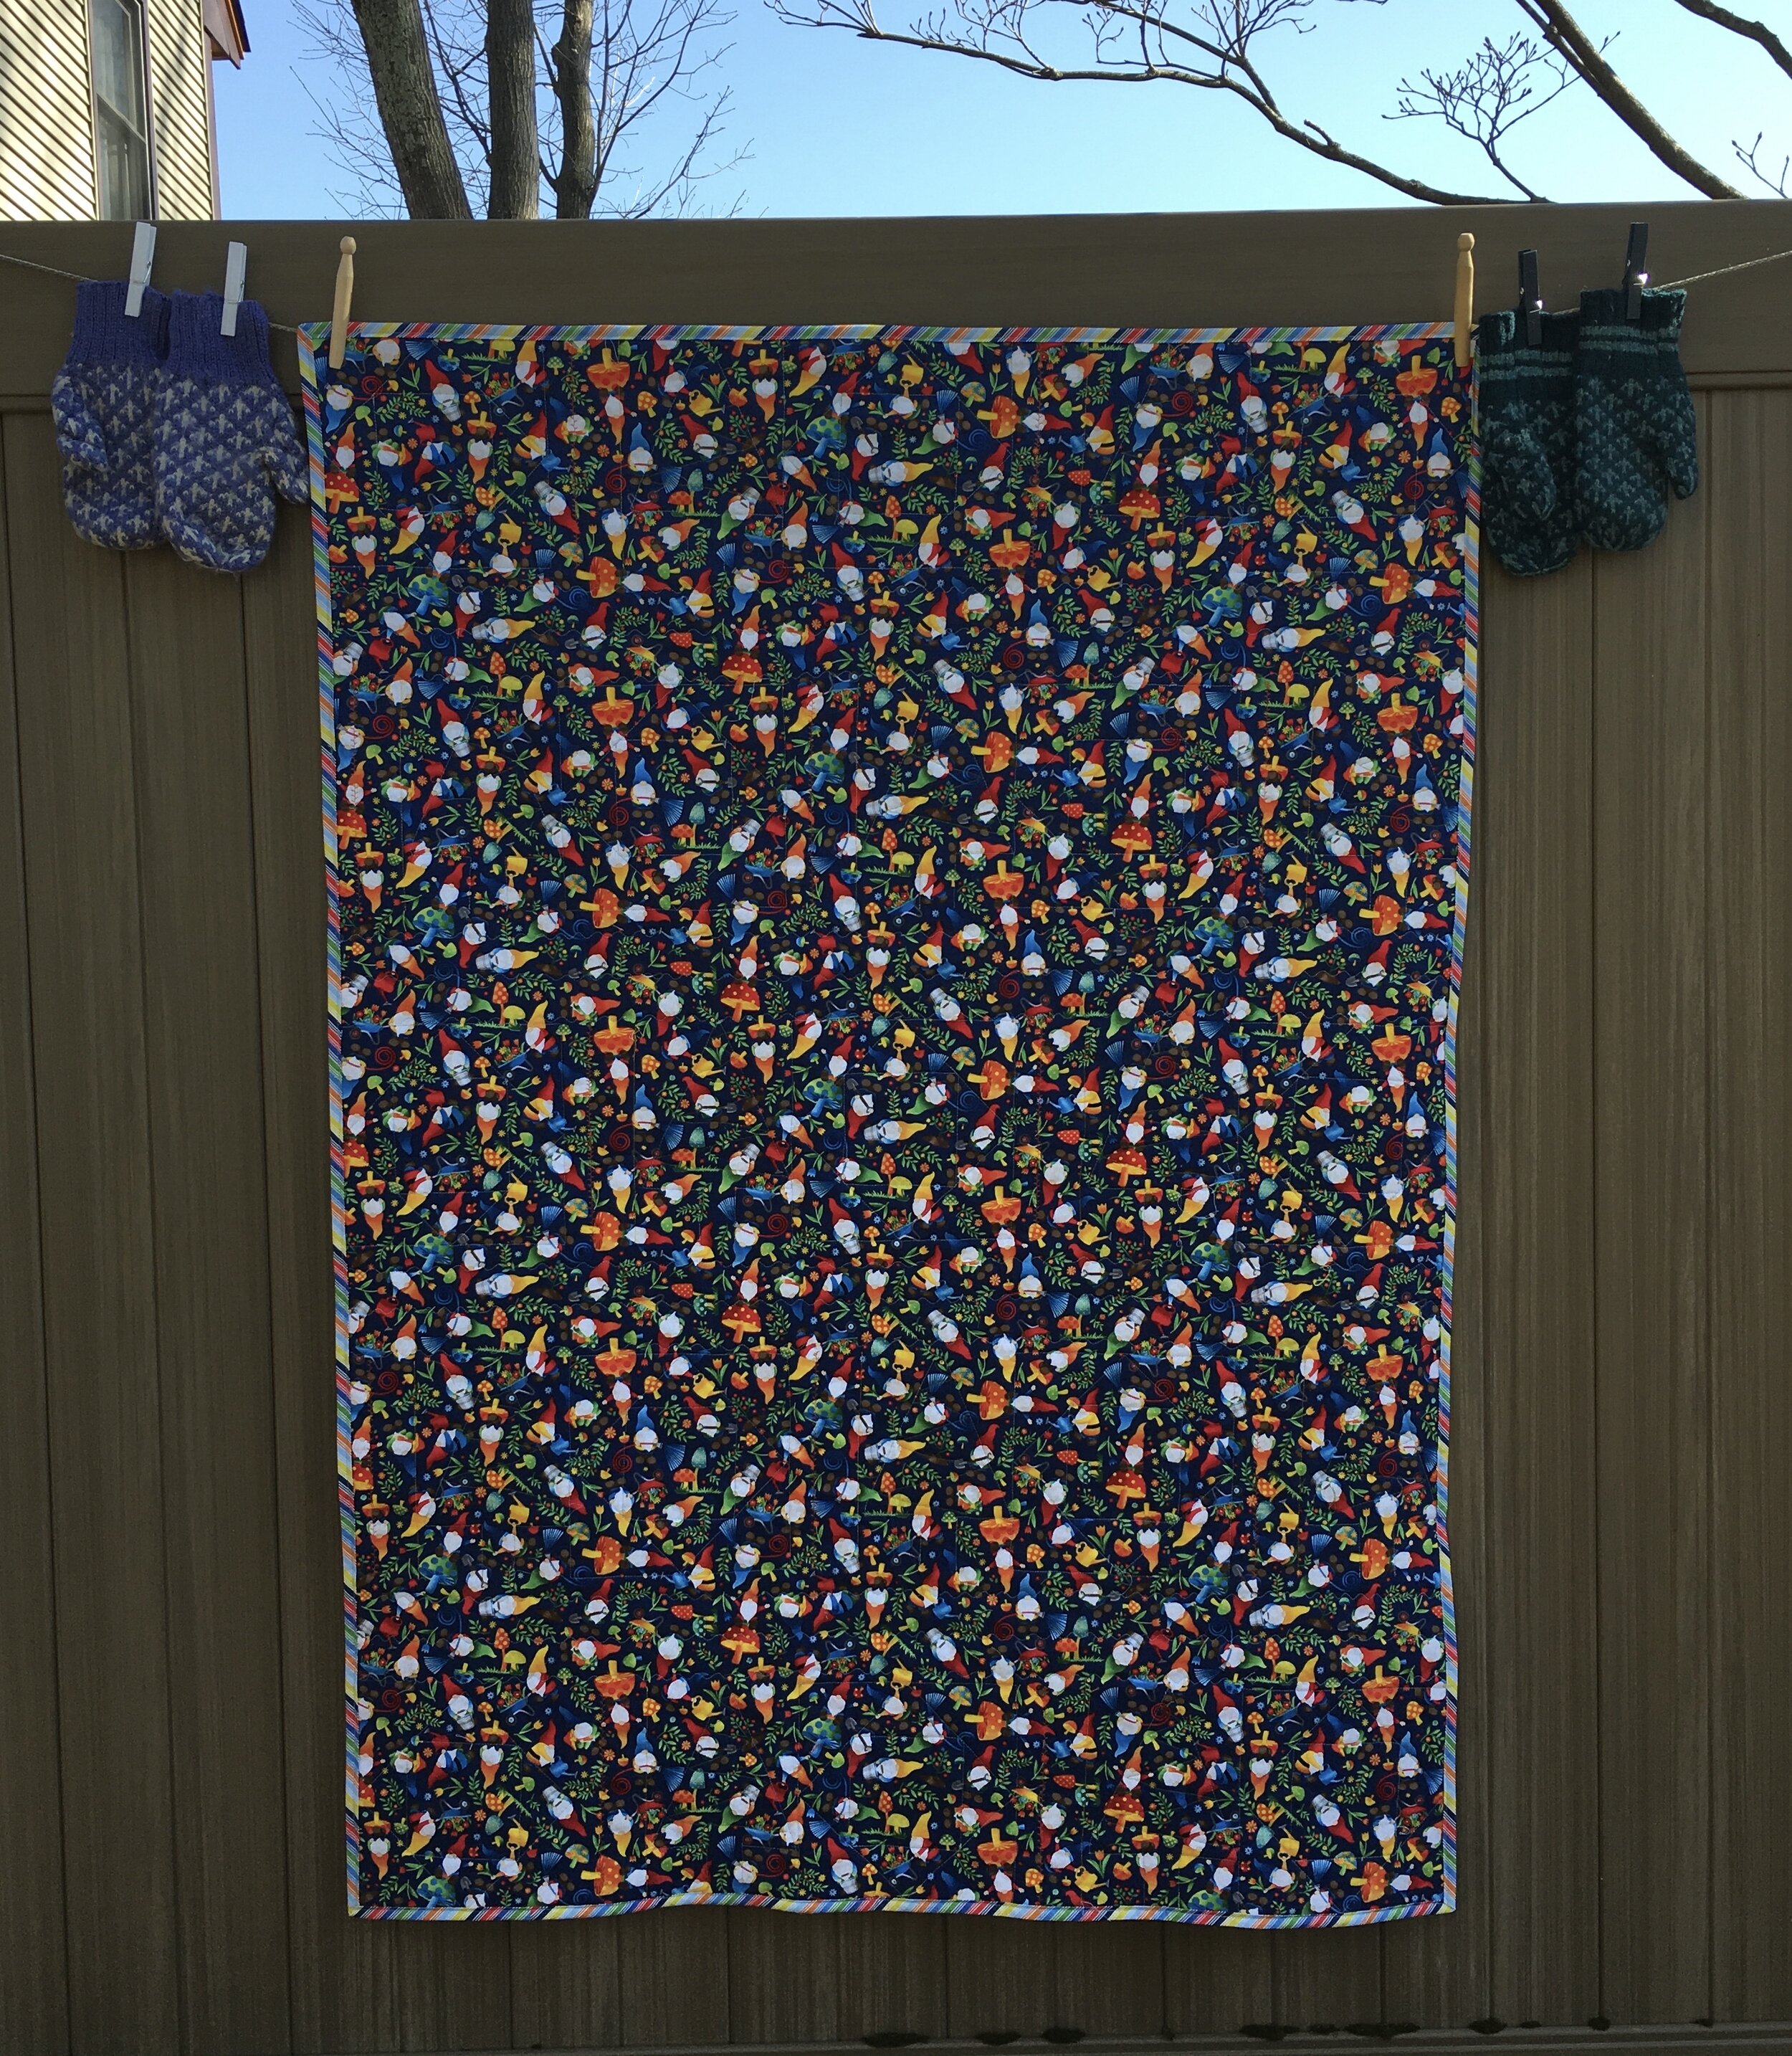
All 20 fabrics, plus a number of added coordinating fabrics, were incorporated into the quilt top. And just for good measure, I made the binding with all 20 fabrics too! (The eagle eye will note that that pesky pixel fabric got short shrift in the binding as well as in the quilt!! I used the pixel fabric as the last fabric in my binding. I didn’t need the full 9 inch length of that section when I came to the end of the binding and I’ll admit, I was happy to cut it short!)
I did all the quilting with my walking foot. There is echo quilting around the flying geese and the economy blocks, and lines of quilting spaced in a variety of distances, from 1/2 to 1/8 inch, across the vertical width of the longer plain blocks.
I loved the open-ended nature of this challenge. With the only constraints being needing to use a bit of all the fabrics and completing in time, that allowed lot of freedom for the quilt’s design and execution.
If you are reading this post before April 25th, 2021, Head over to the Bits ‘n Pieces Facebook page to see all the other entries for “Nicole’s Challenge'‘ and vote for your favorite!
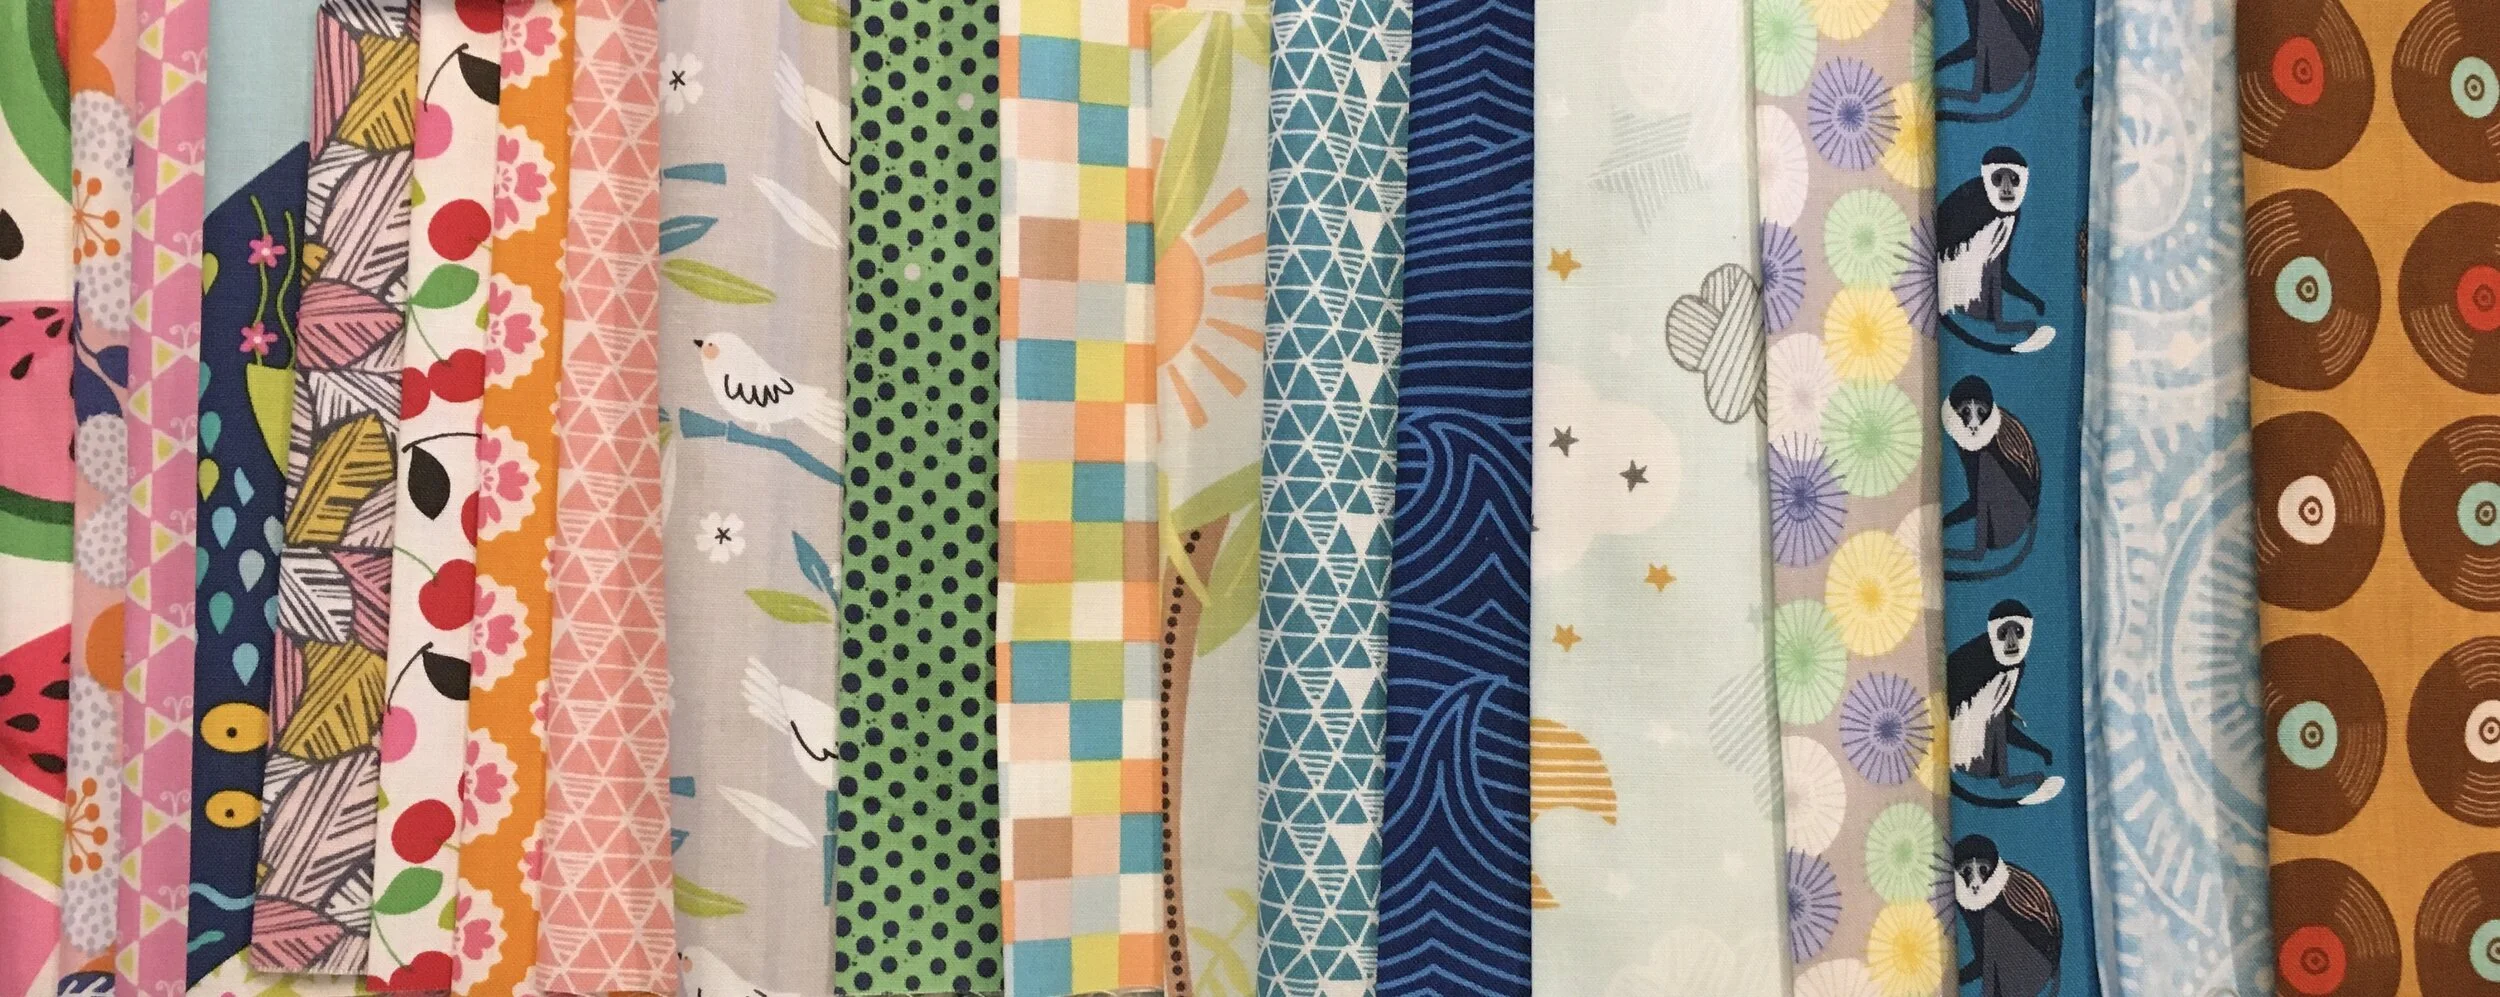
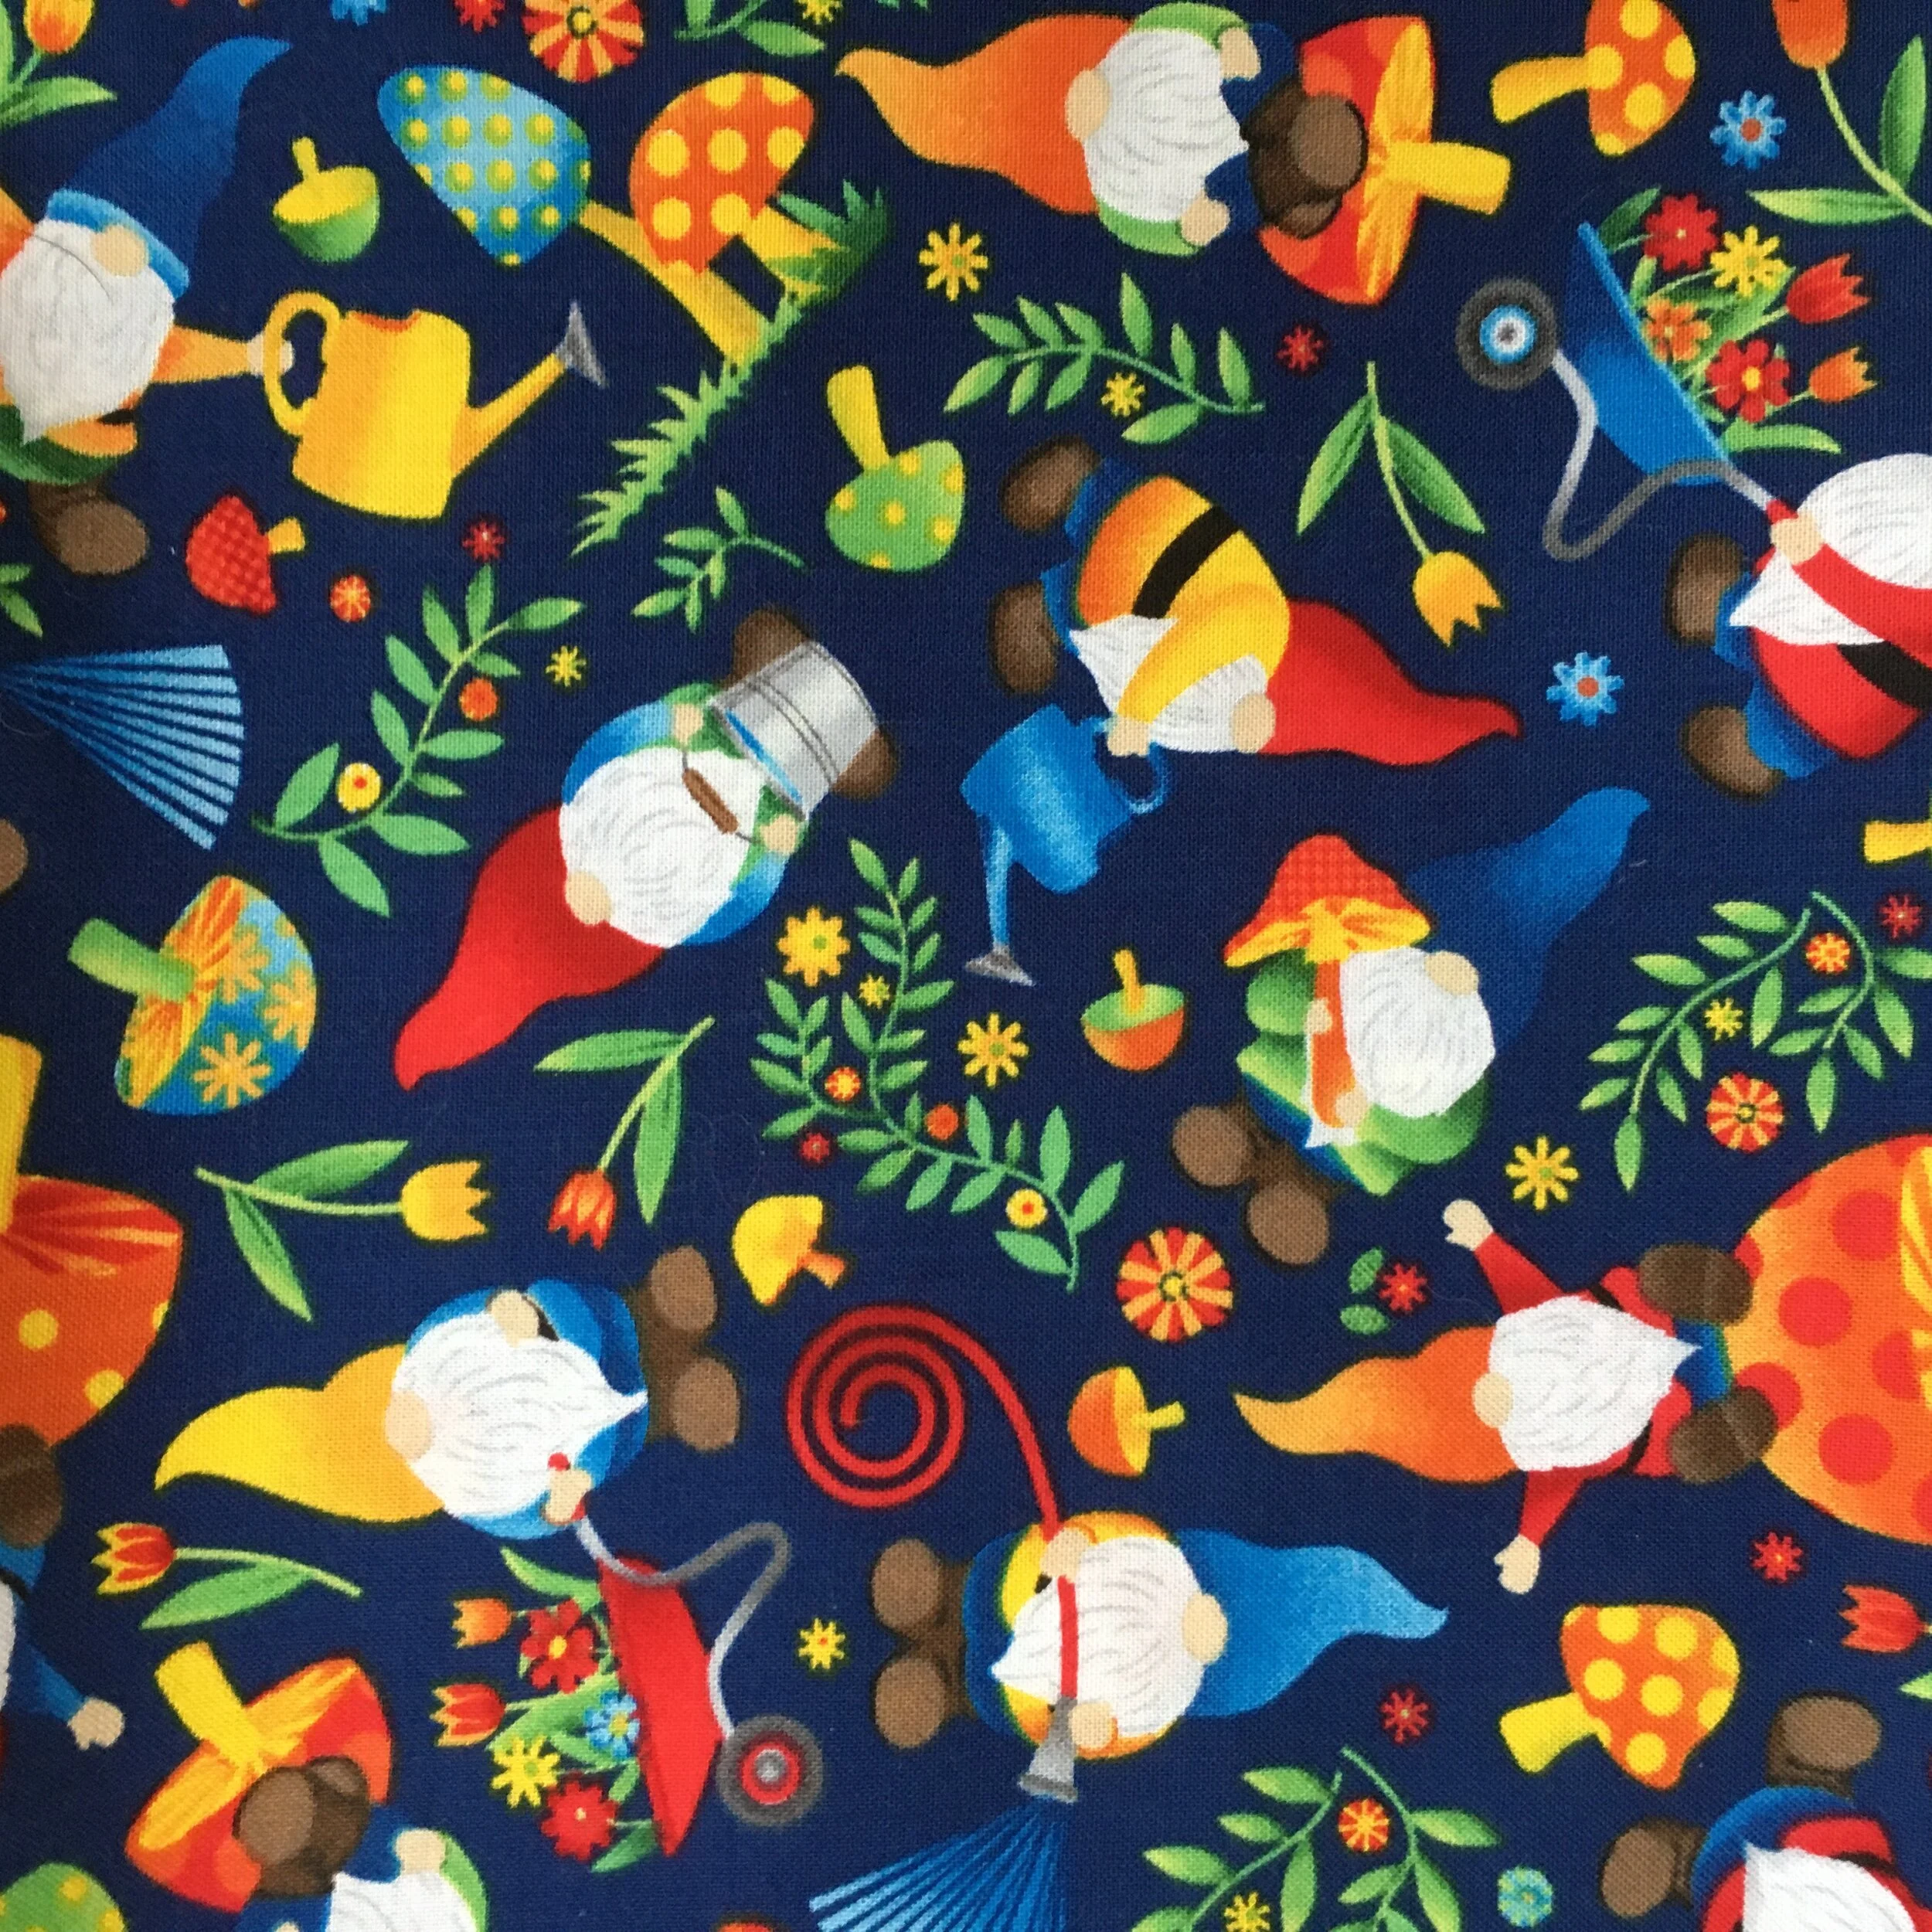
Below are 19 of the 20 fabrics in my bundle. The one that is missing from the photo is the fabric with the yellow sloths in row 2 of the quilt photo above.