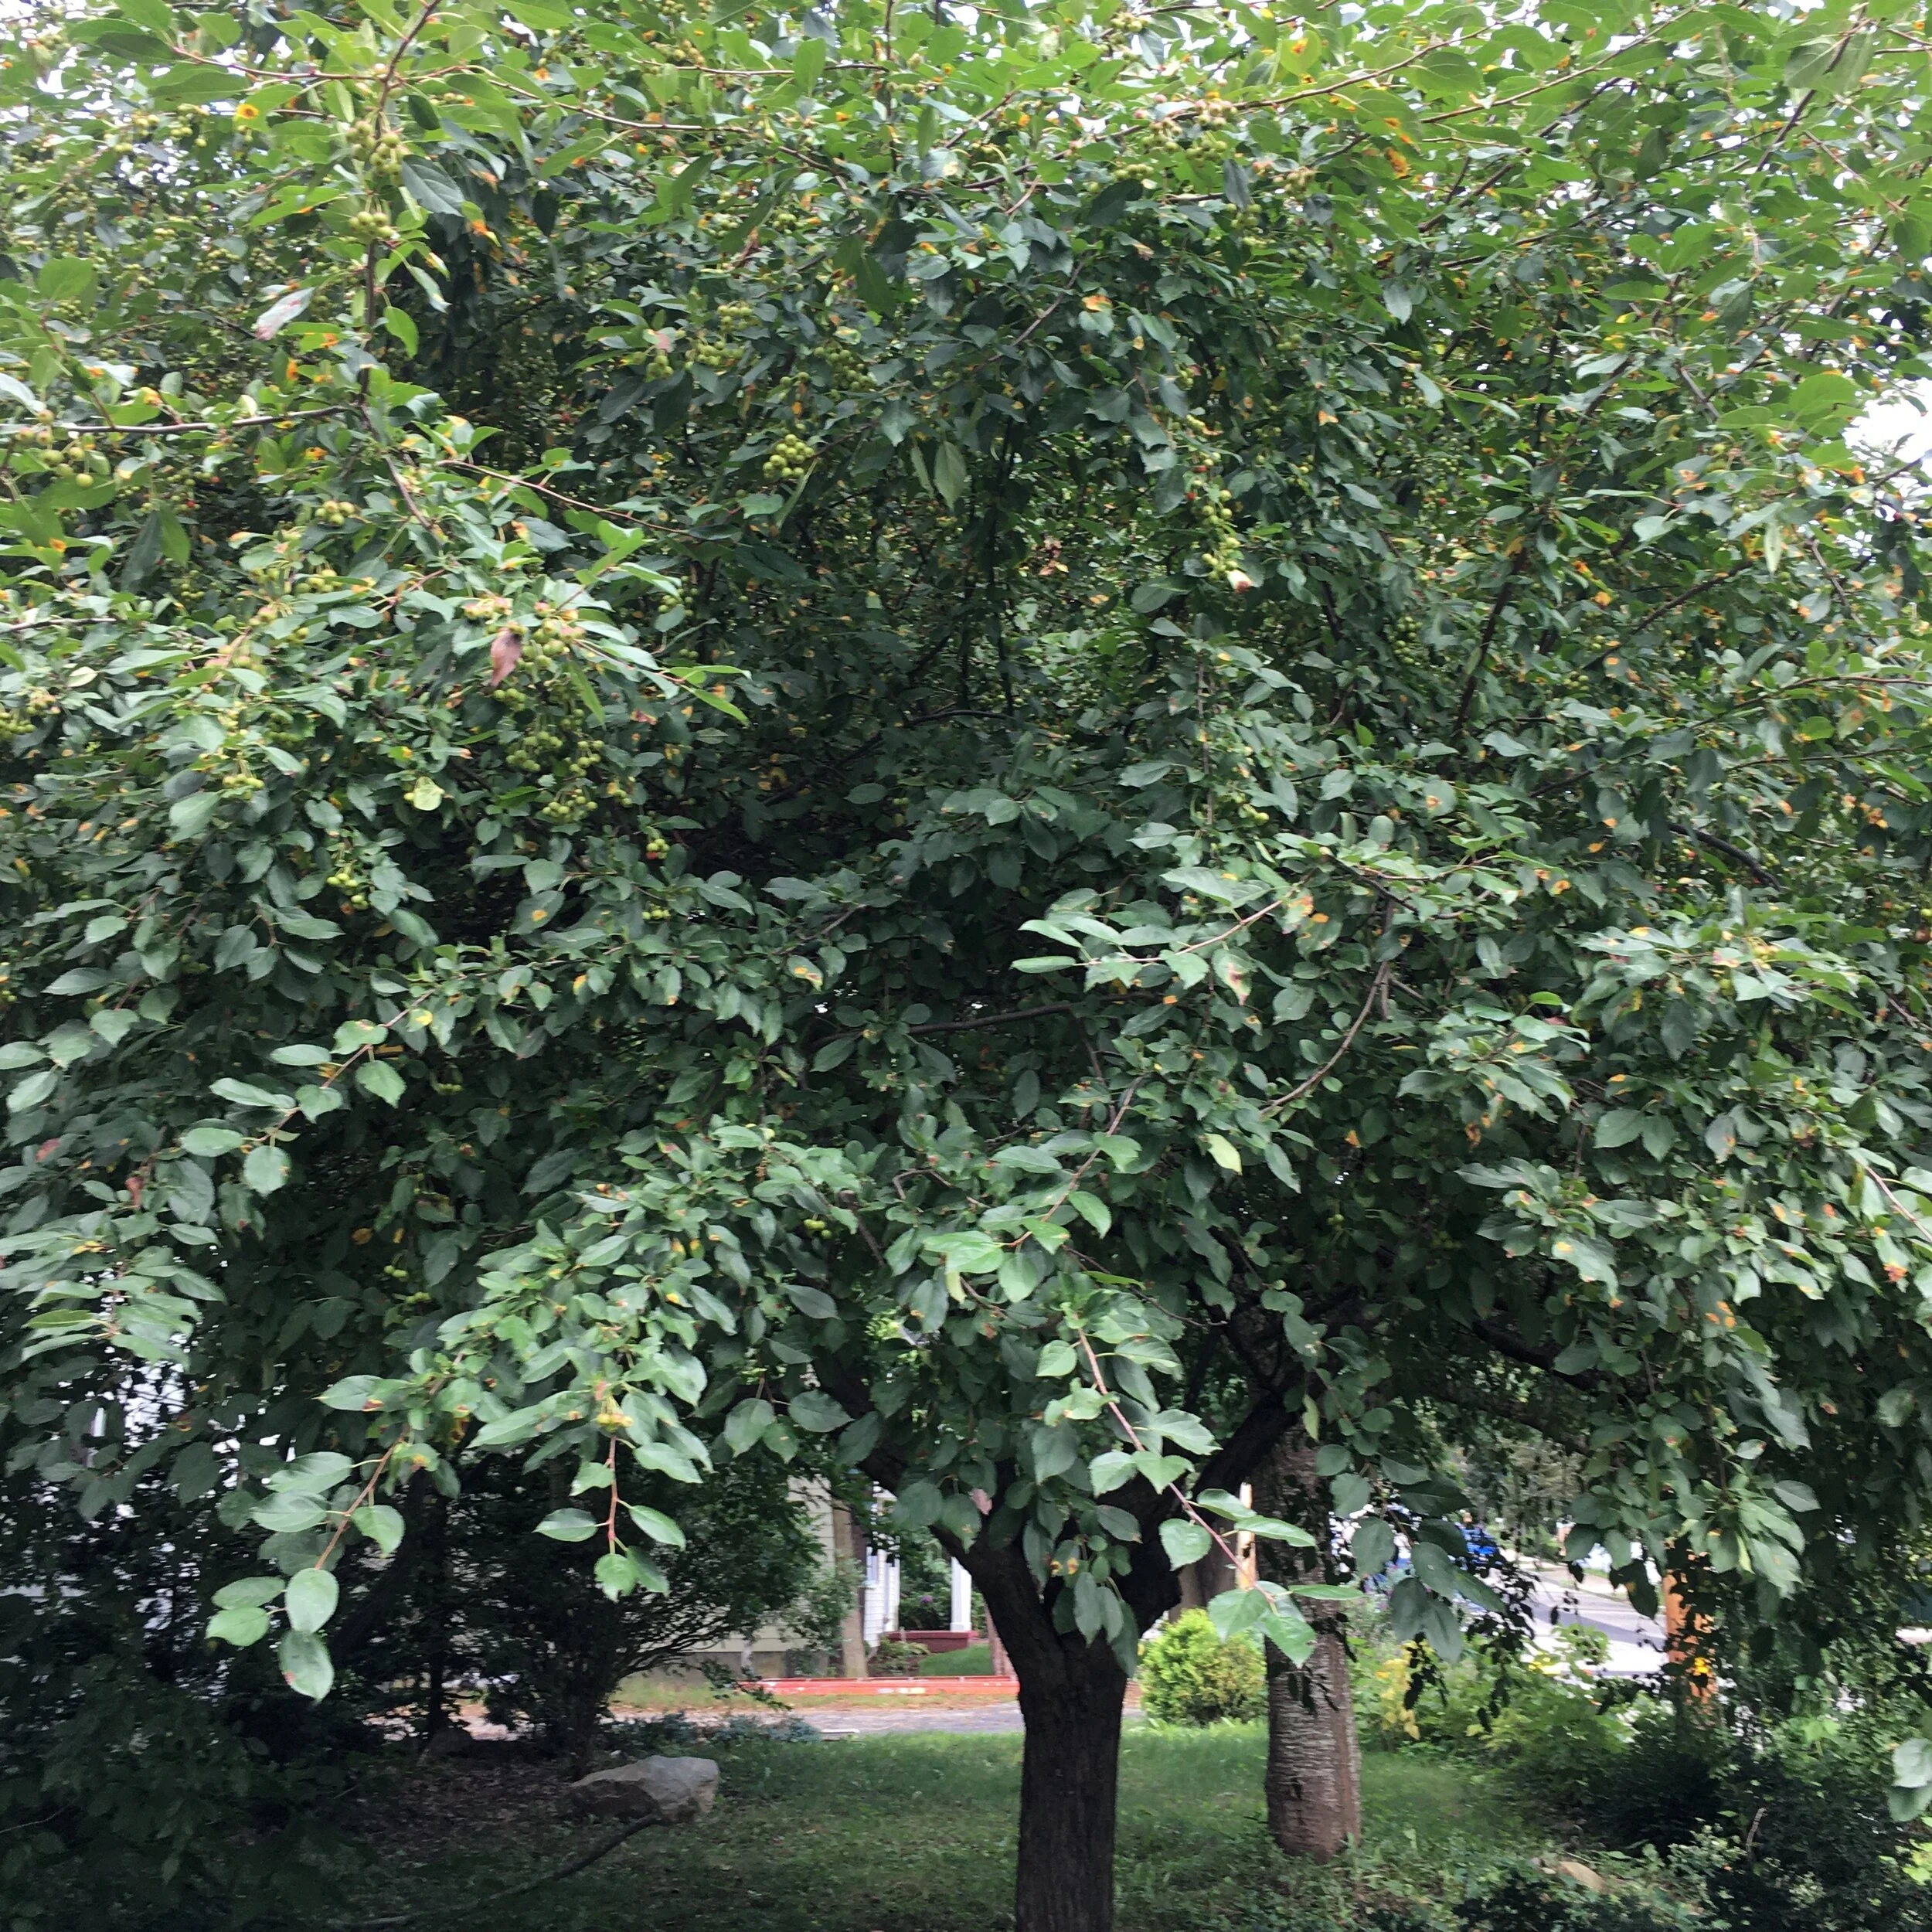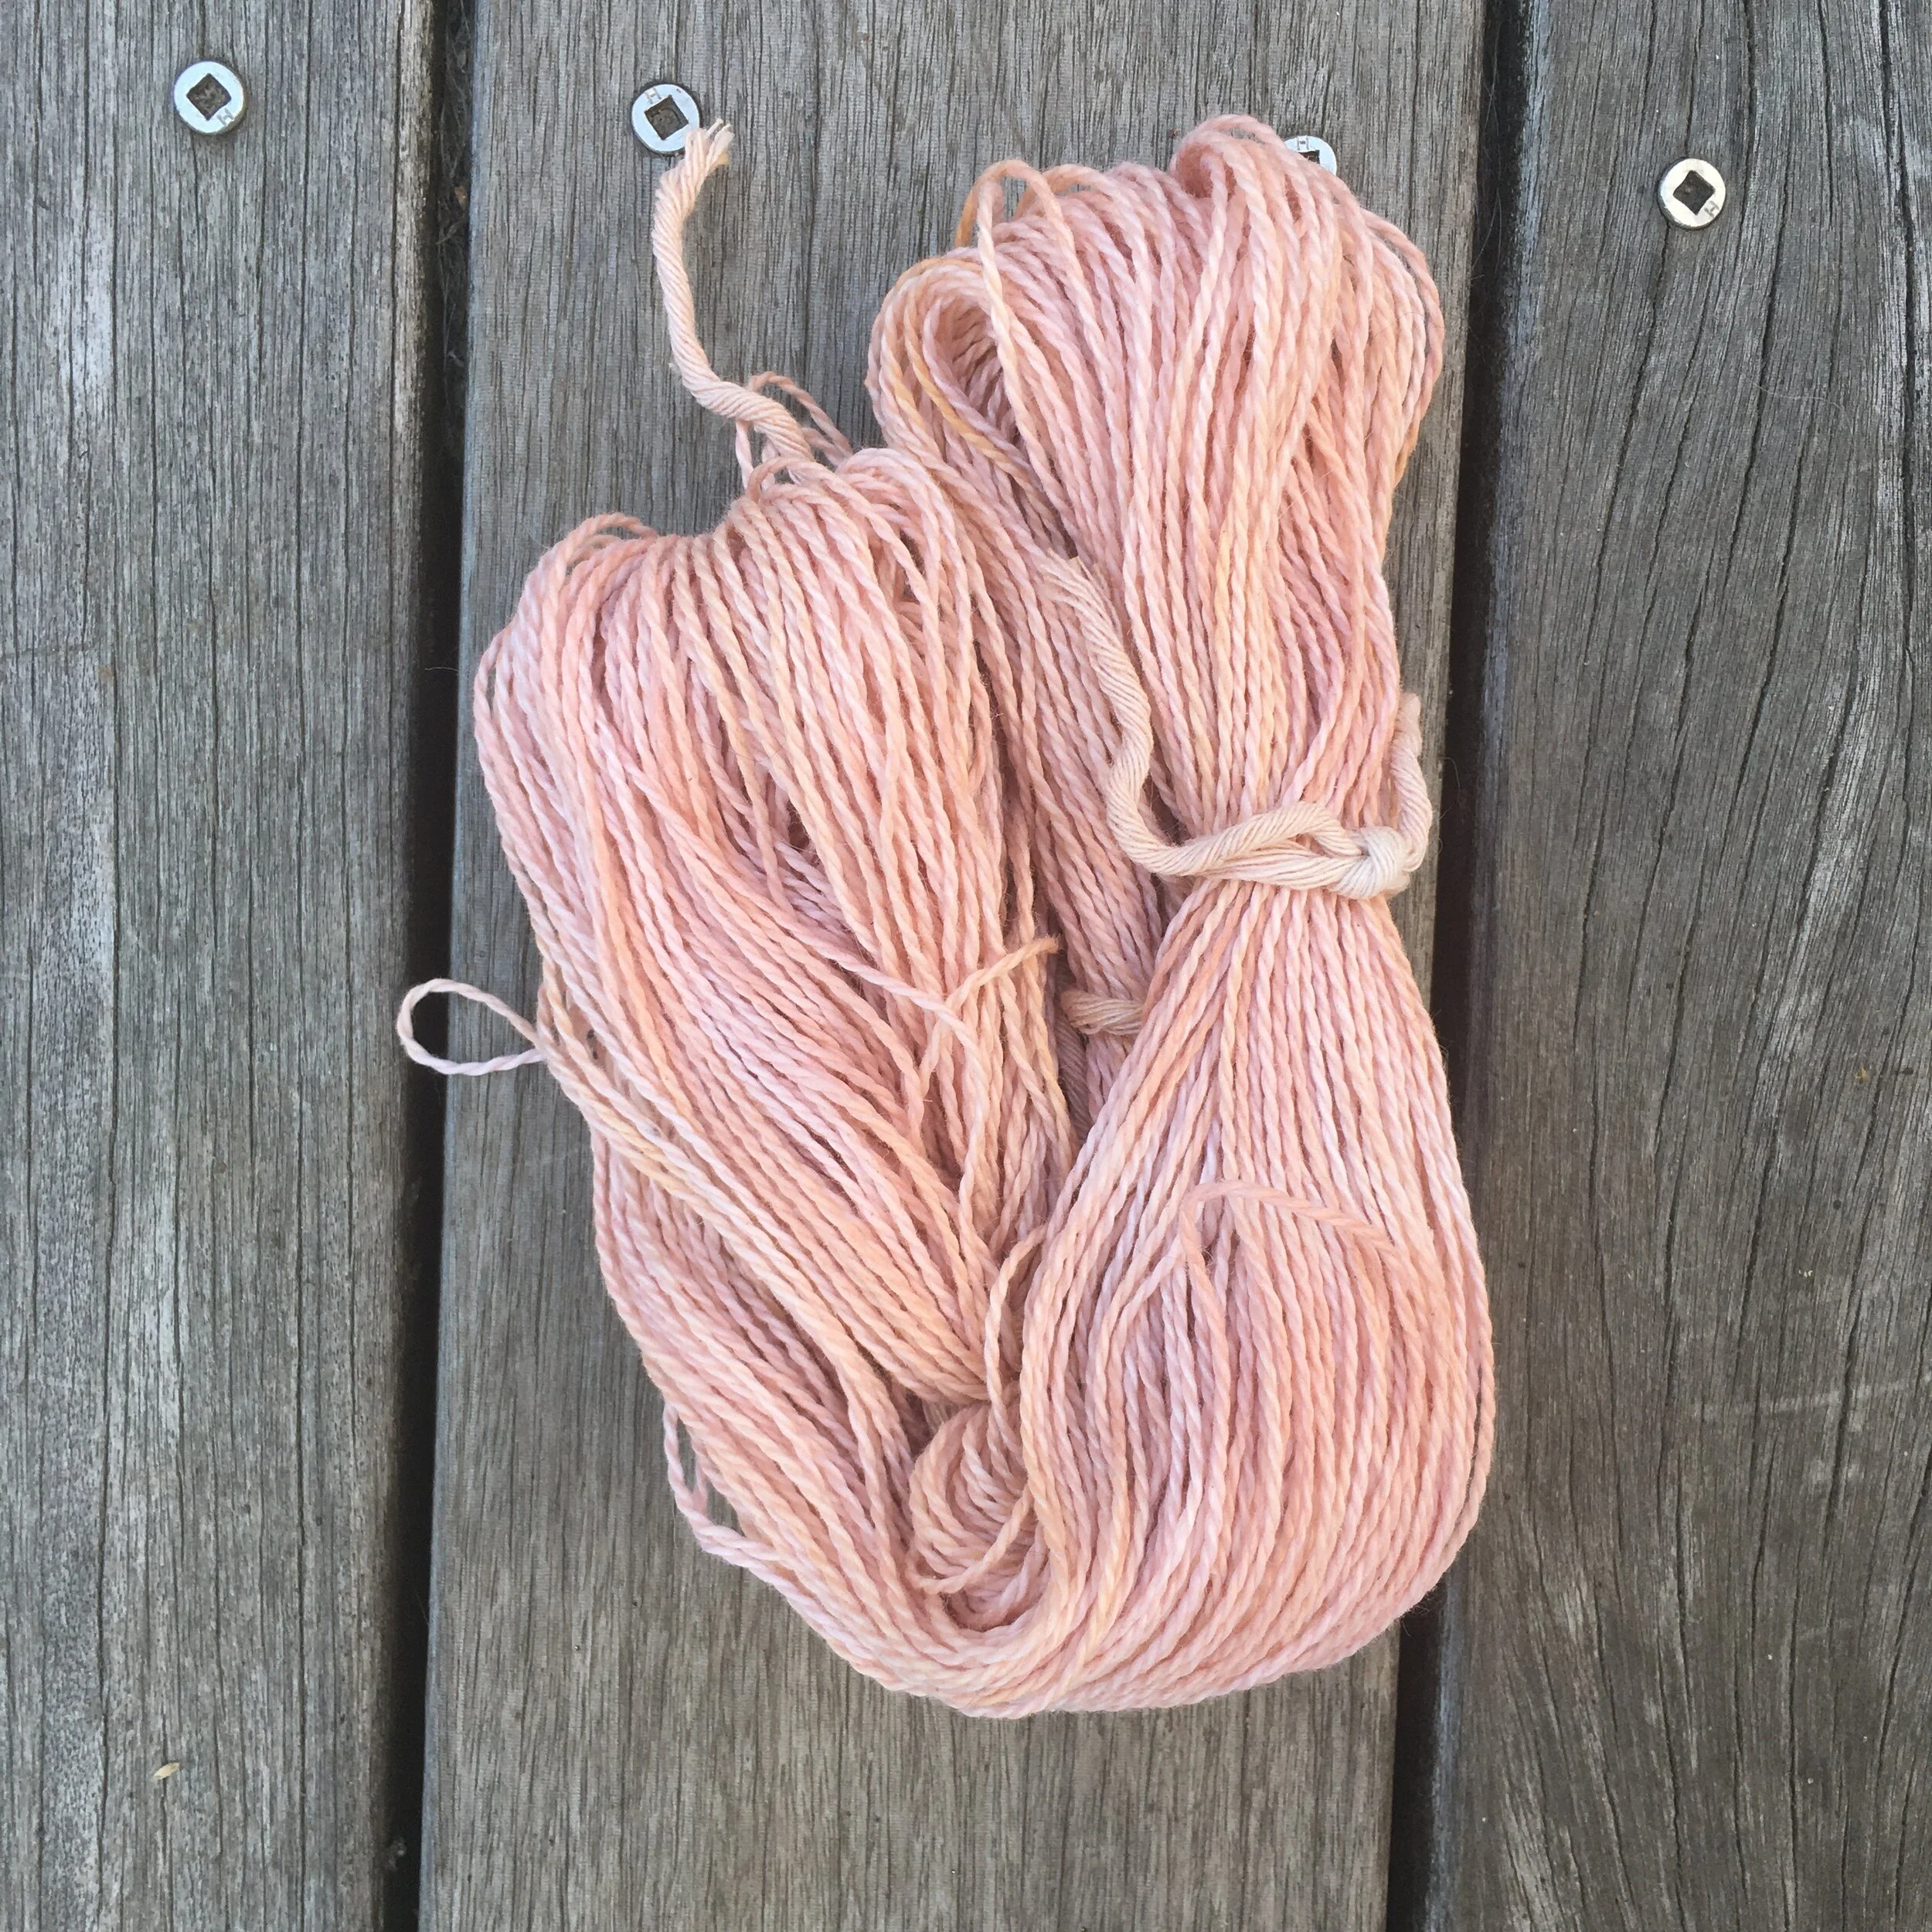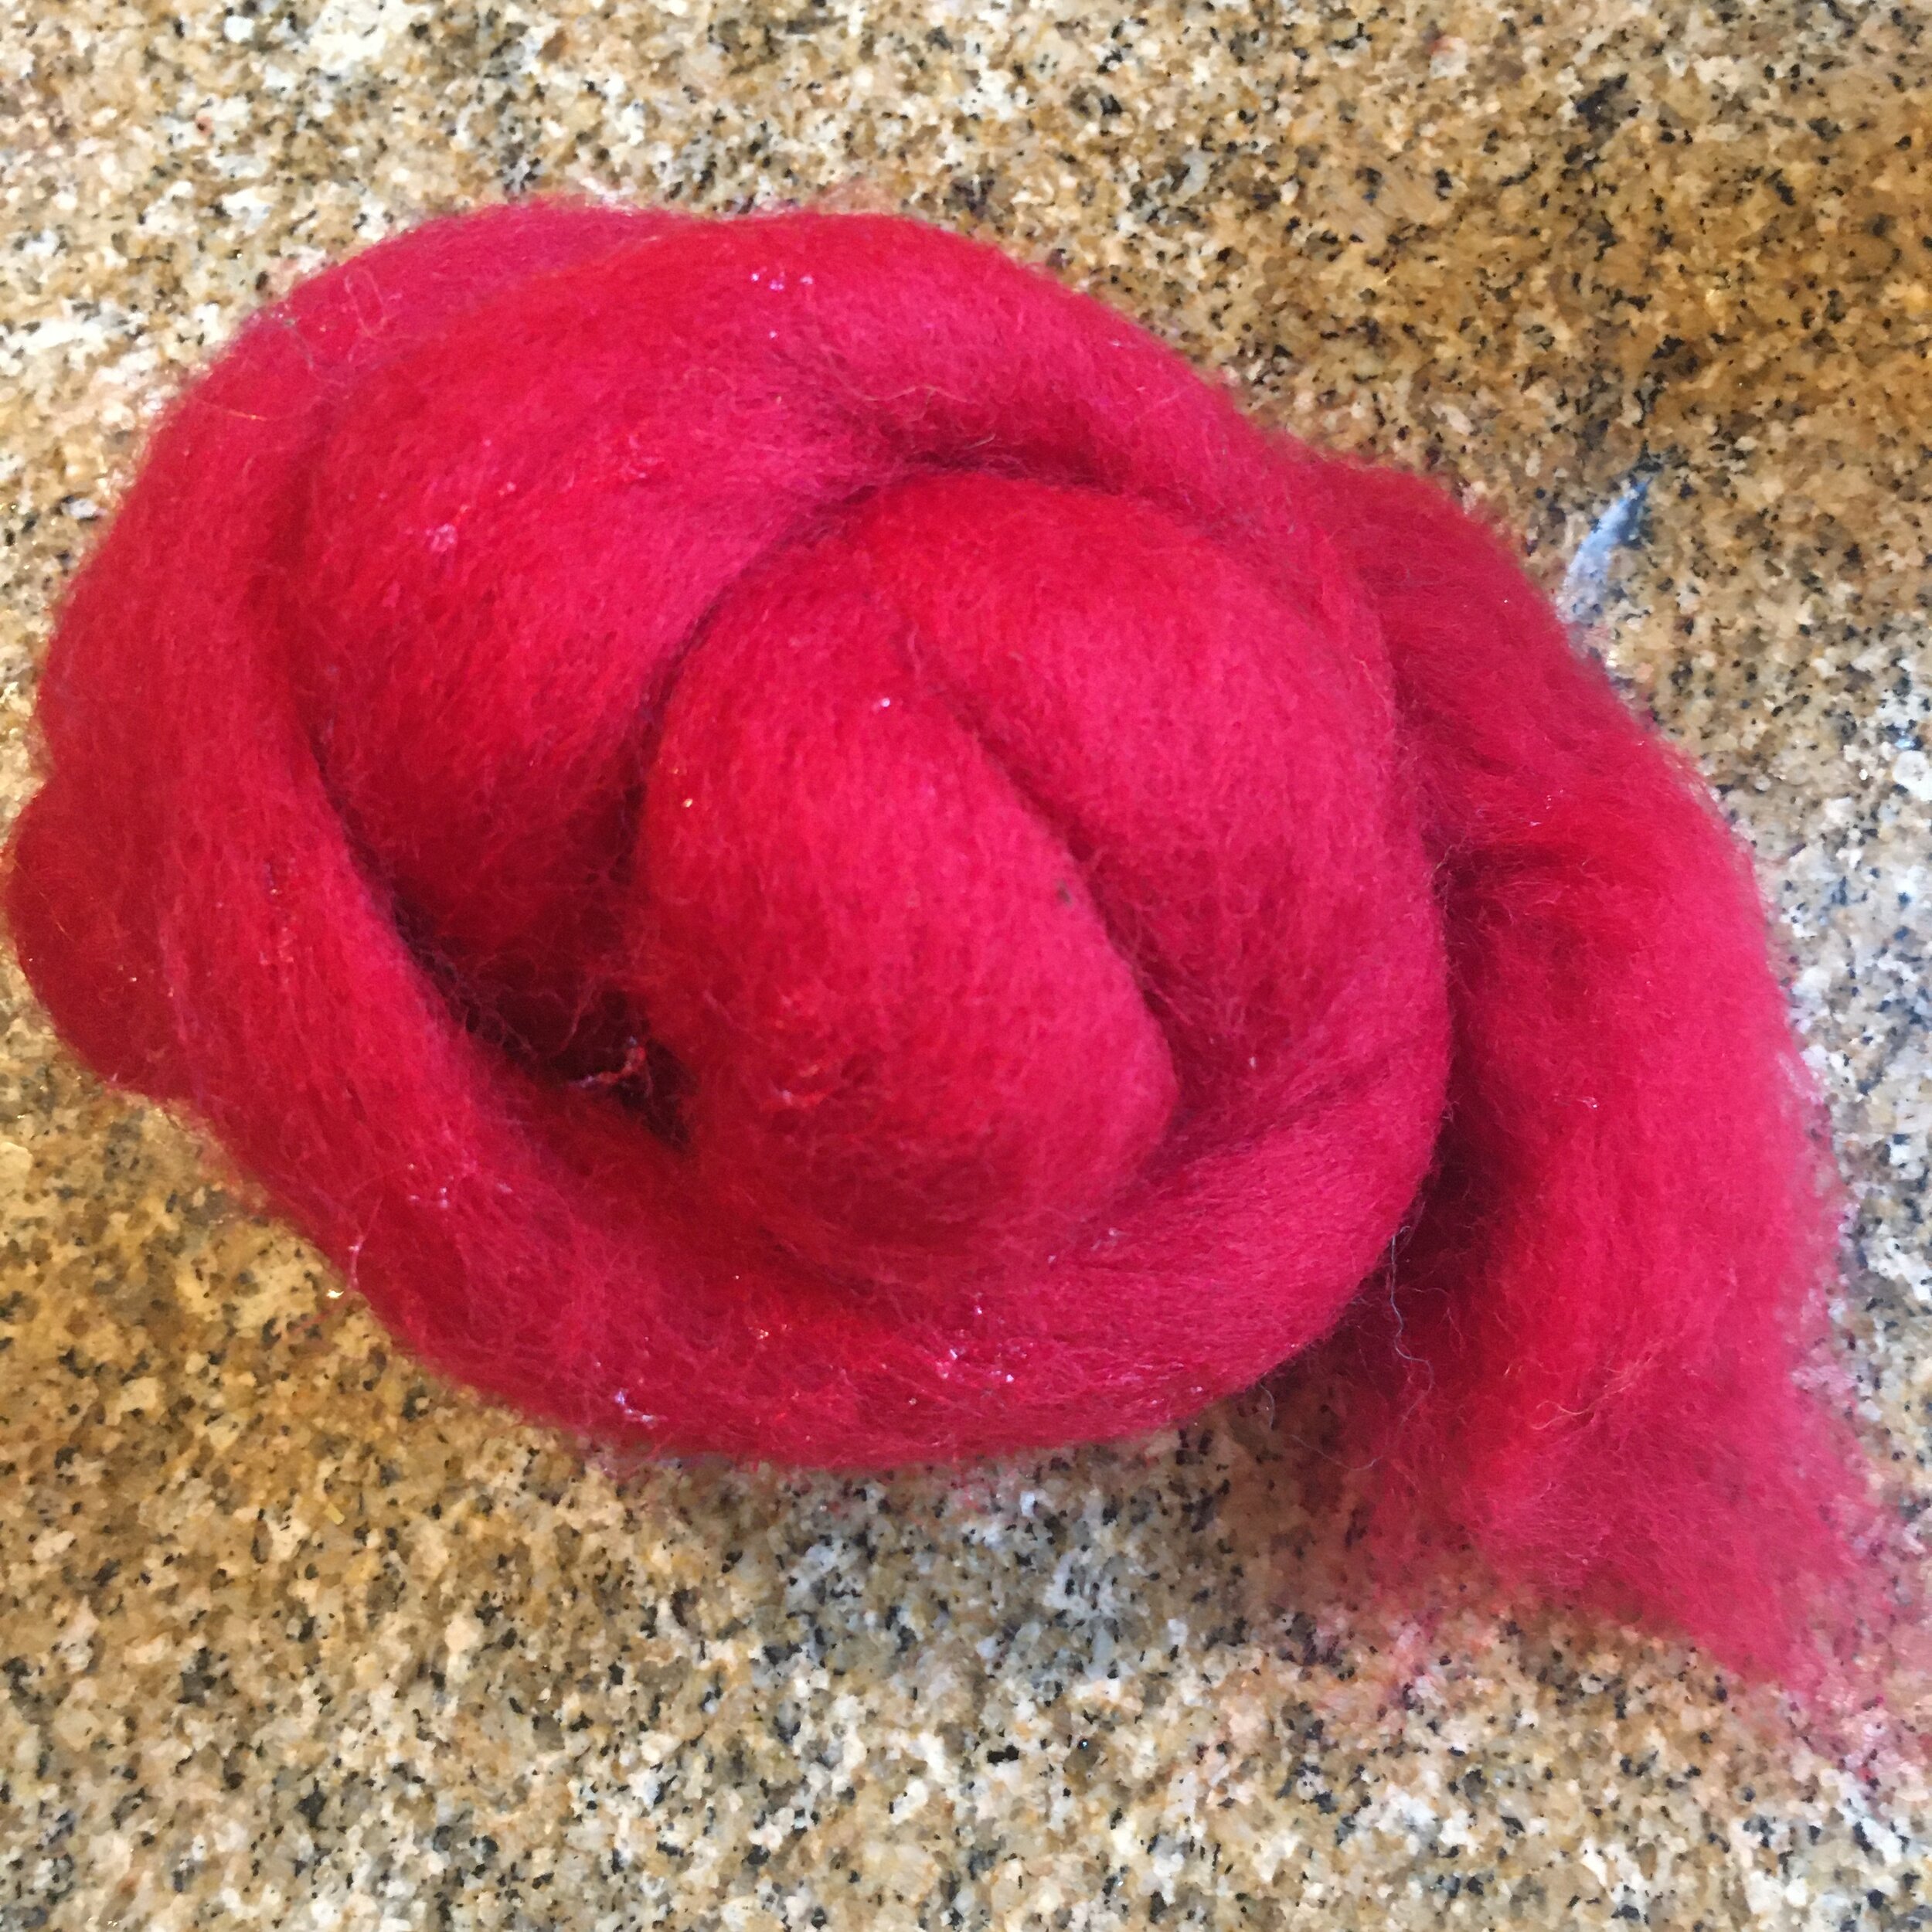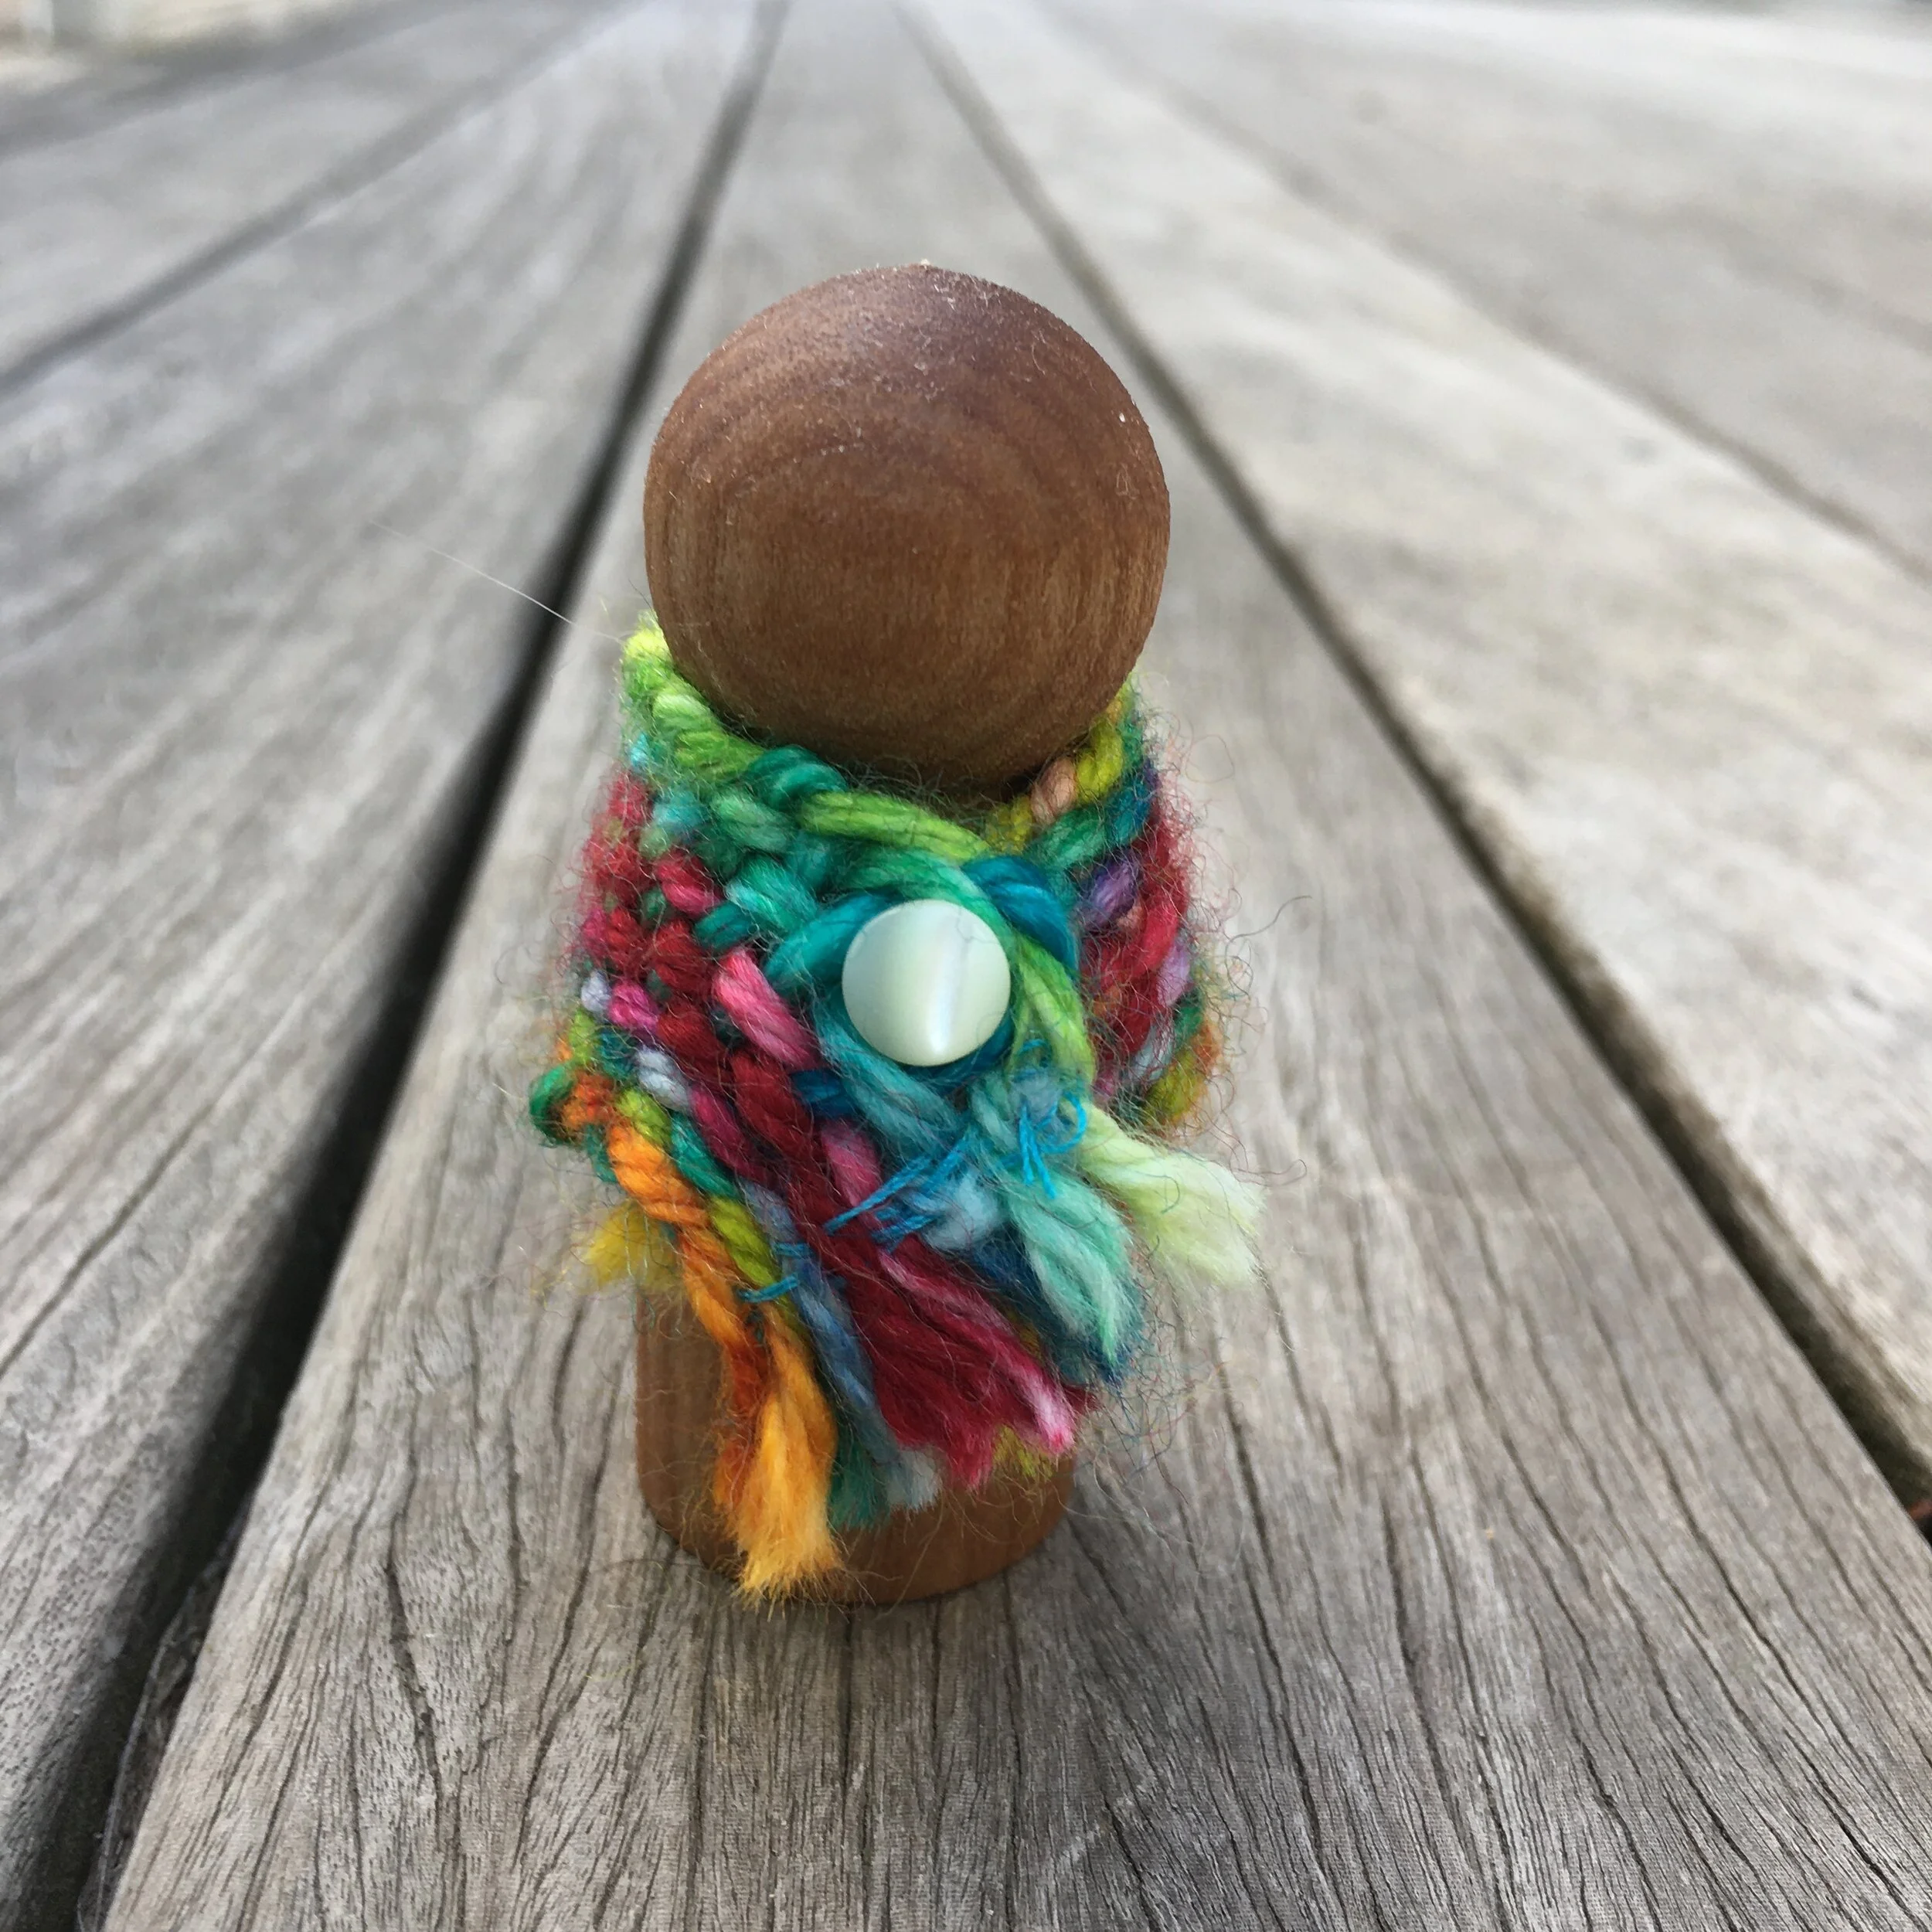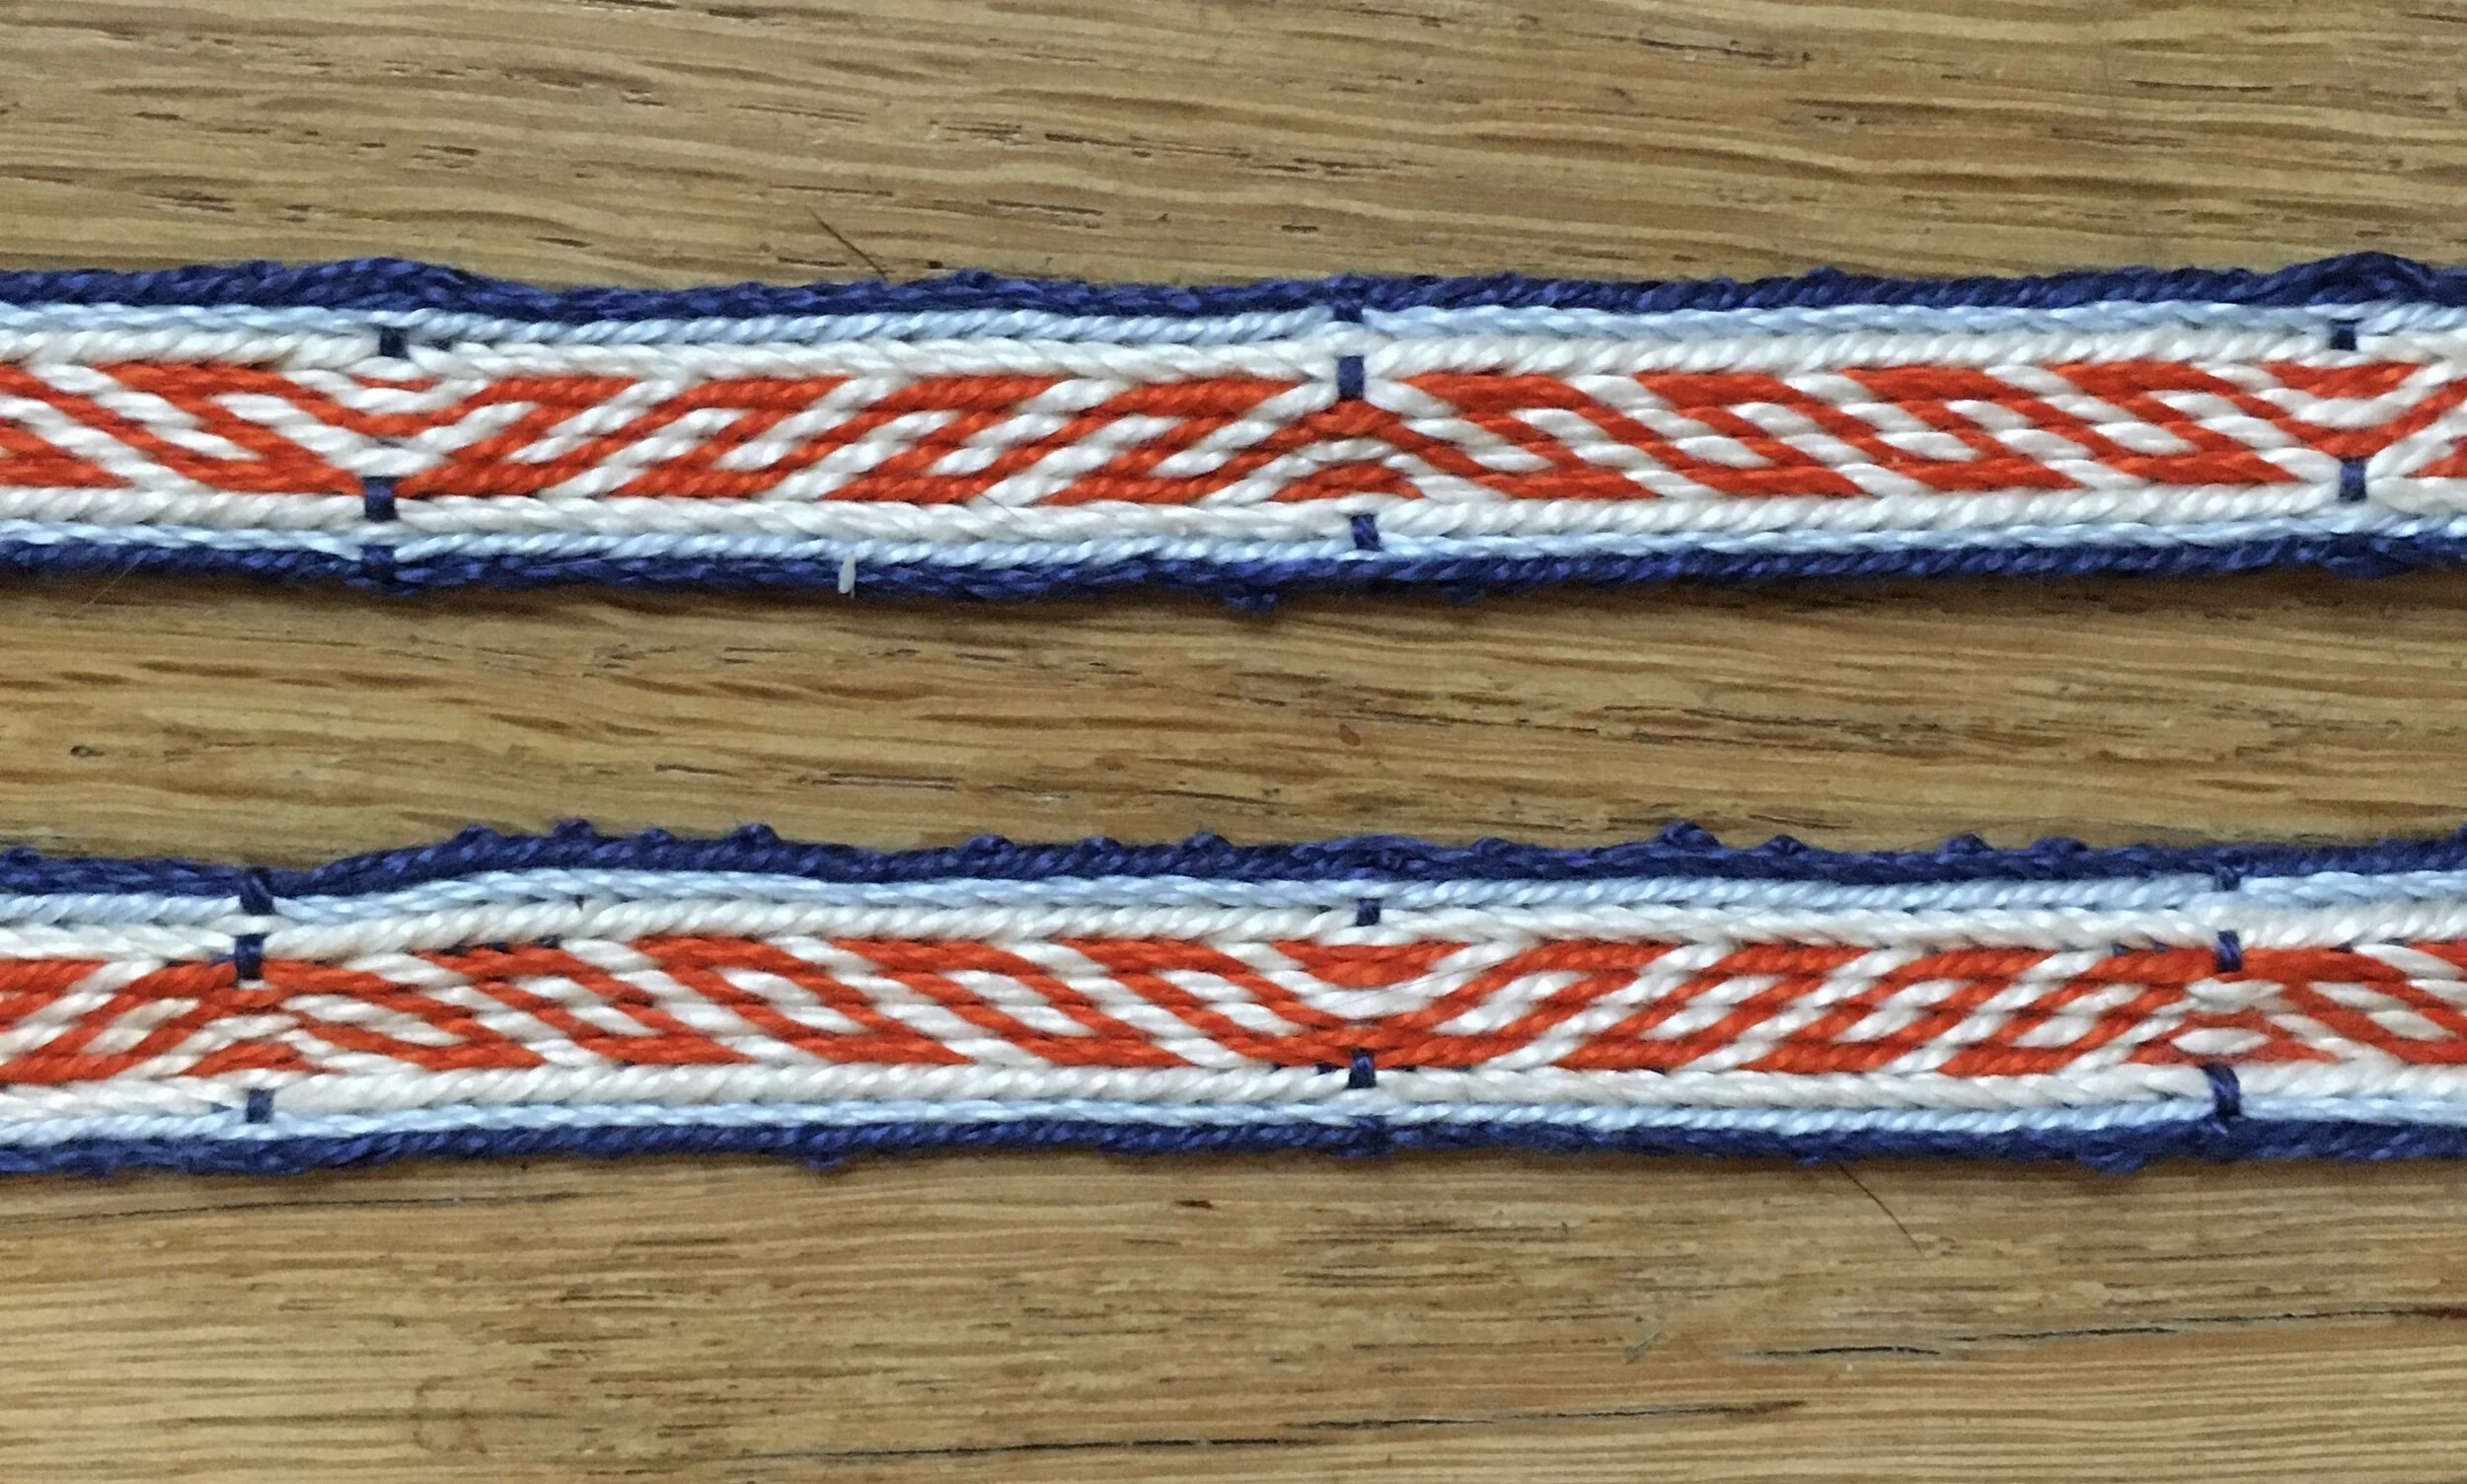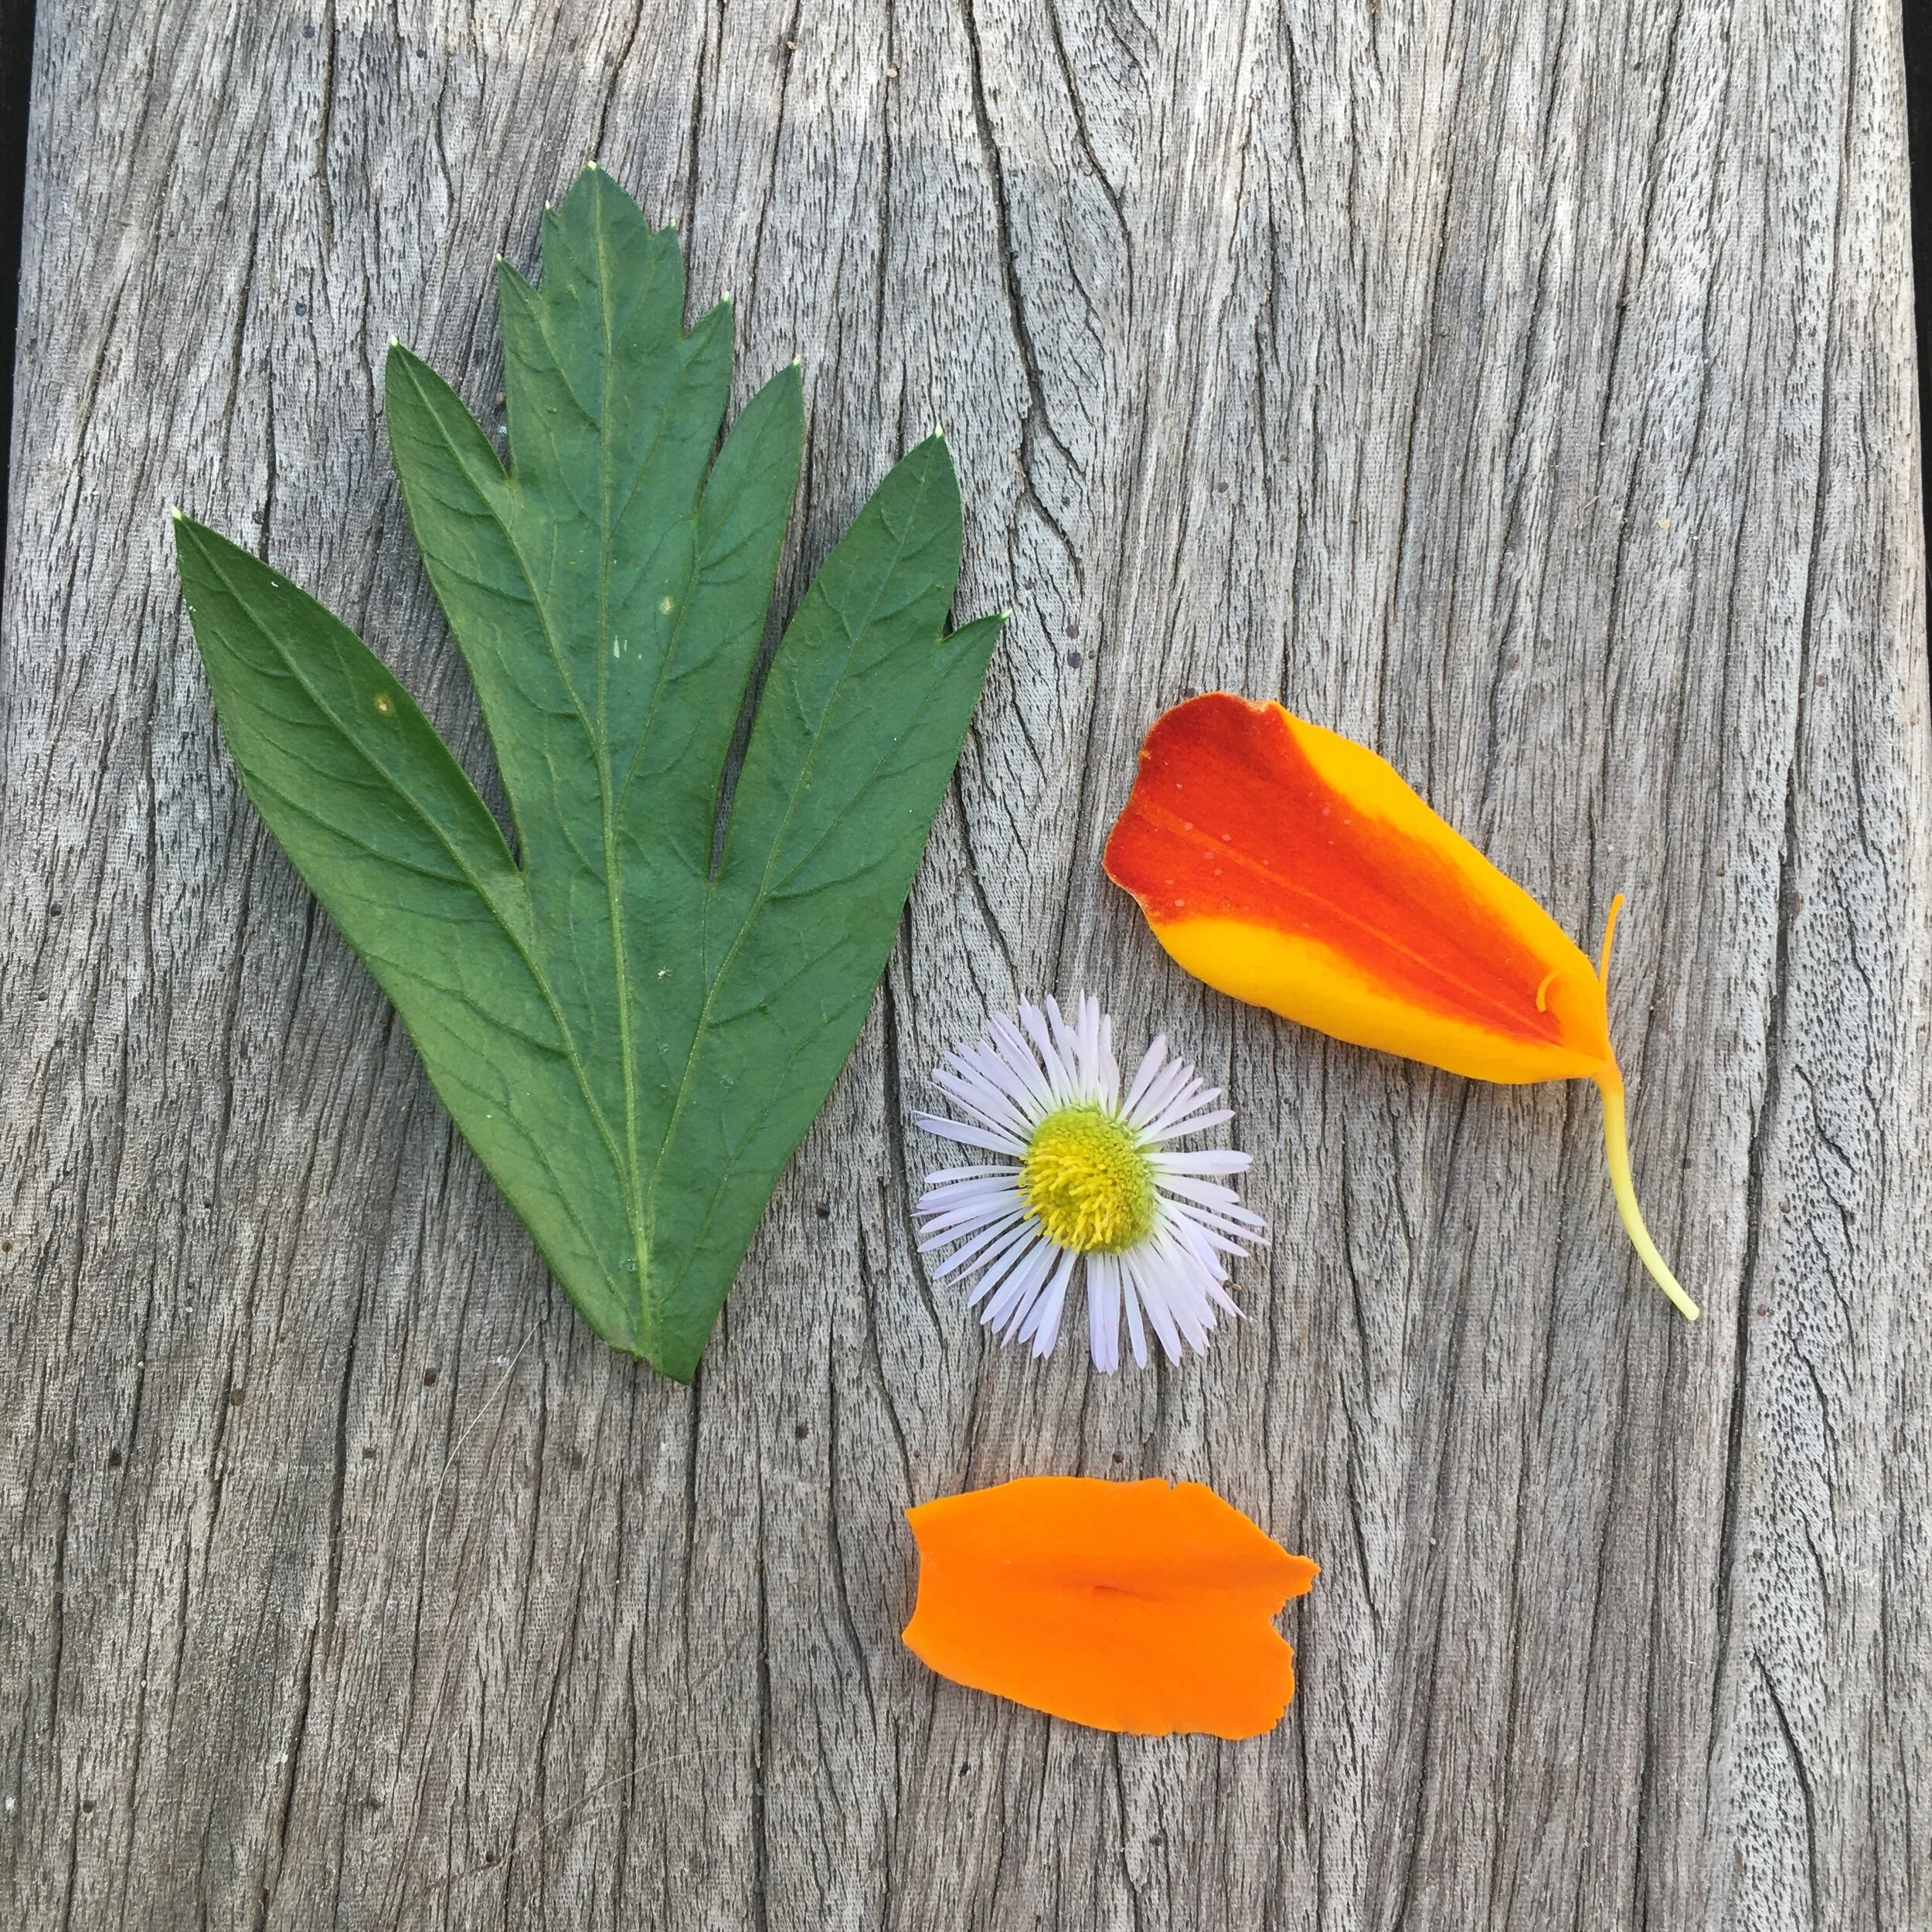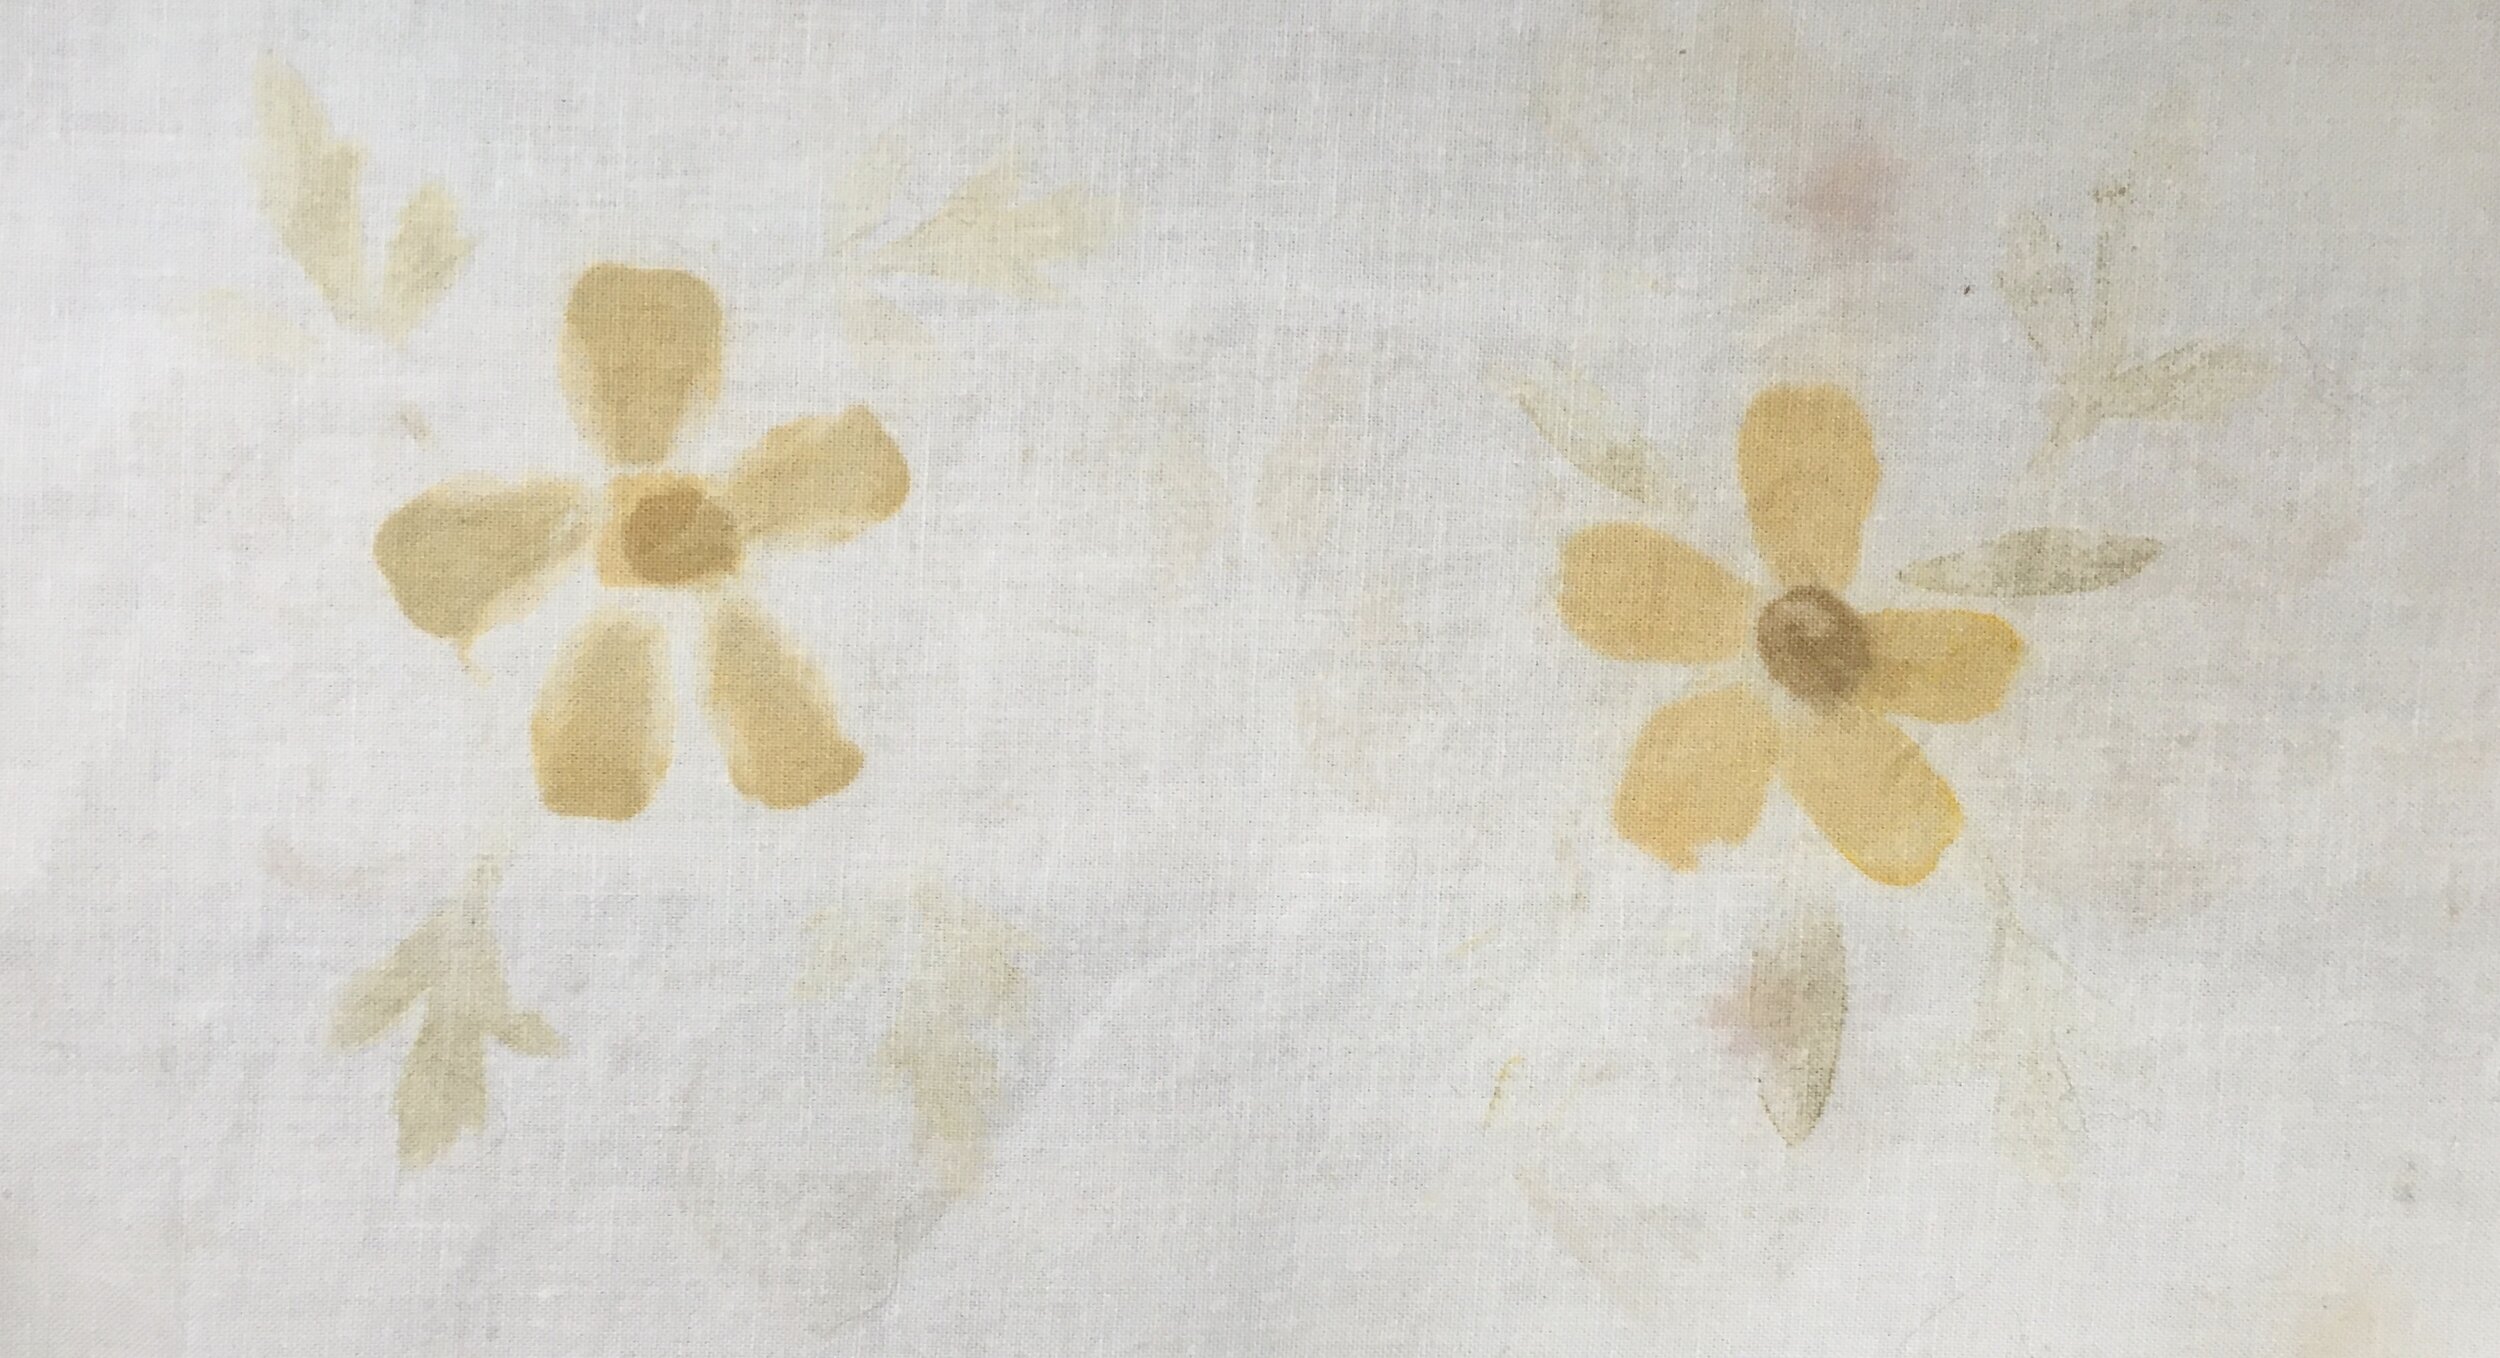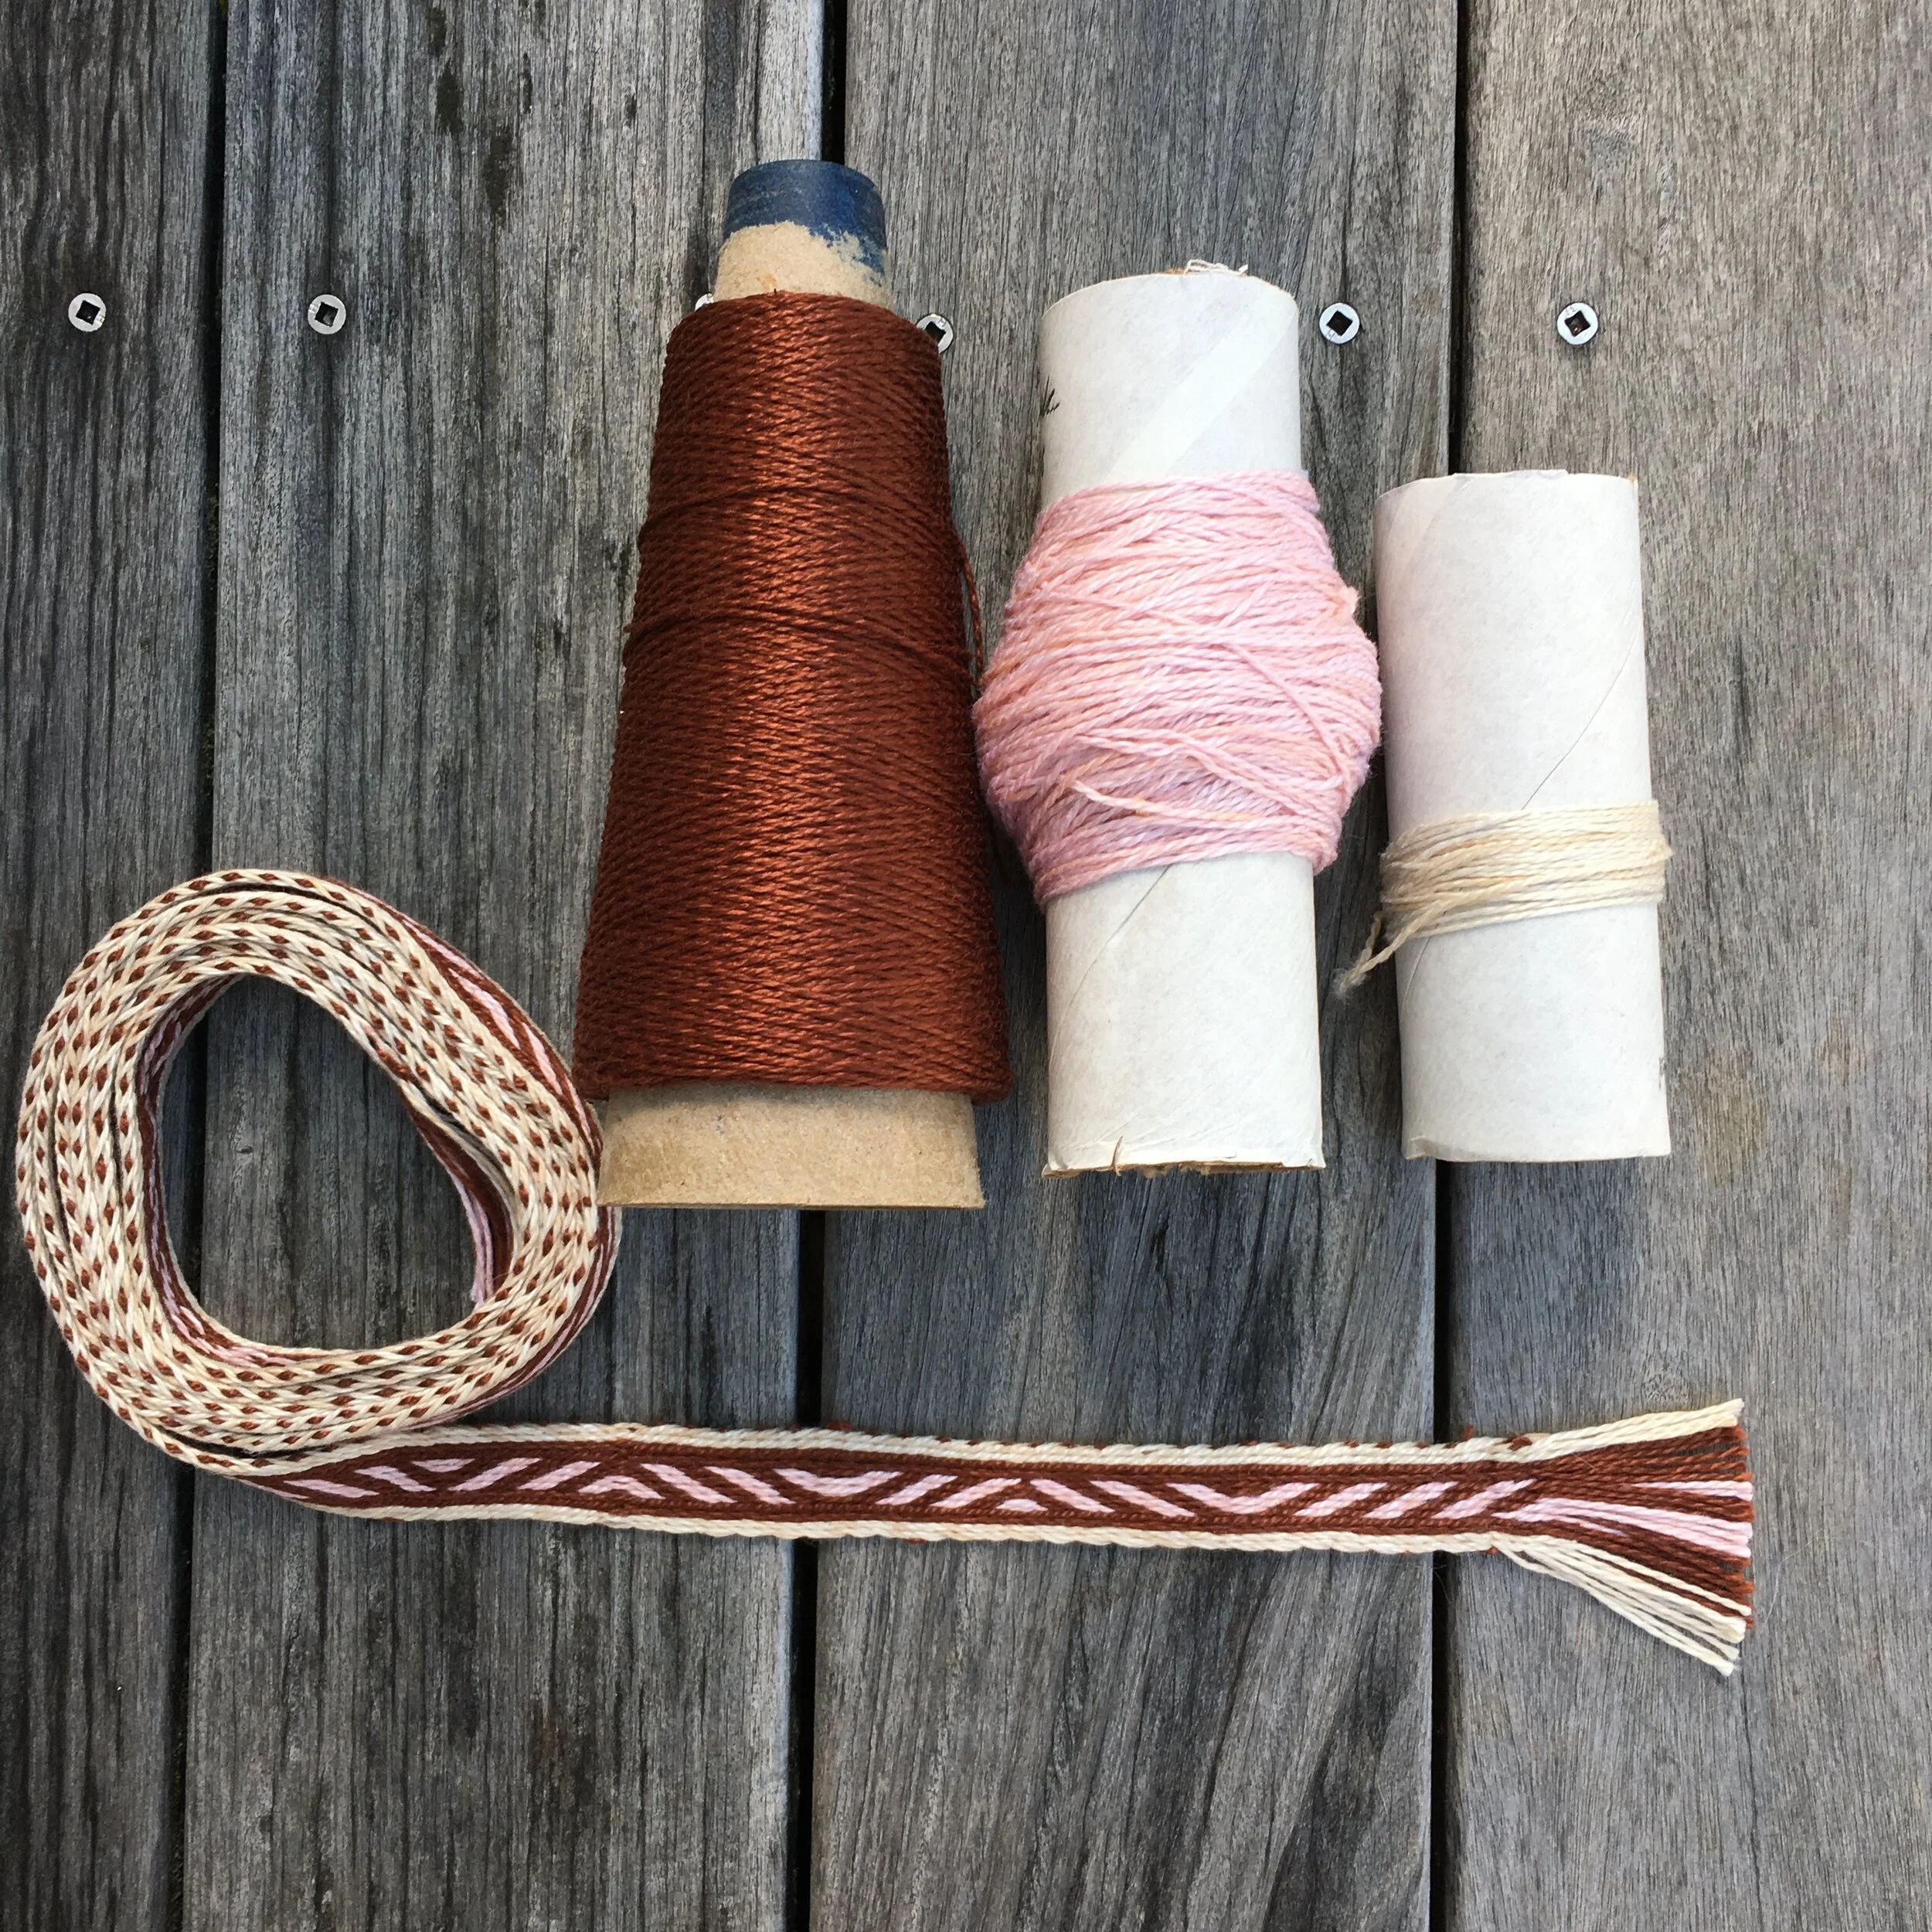
Lagoda Band using my crab apple leaves dyed yarn (pink) and peppermint/marigold (cream) cotton yarn. The brown is a commercially dyed cotton yarn
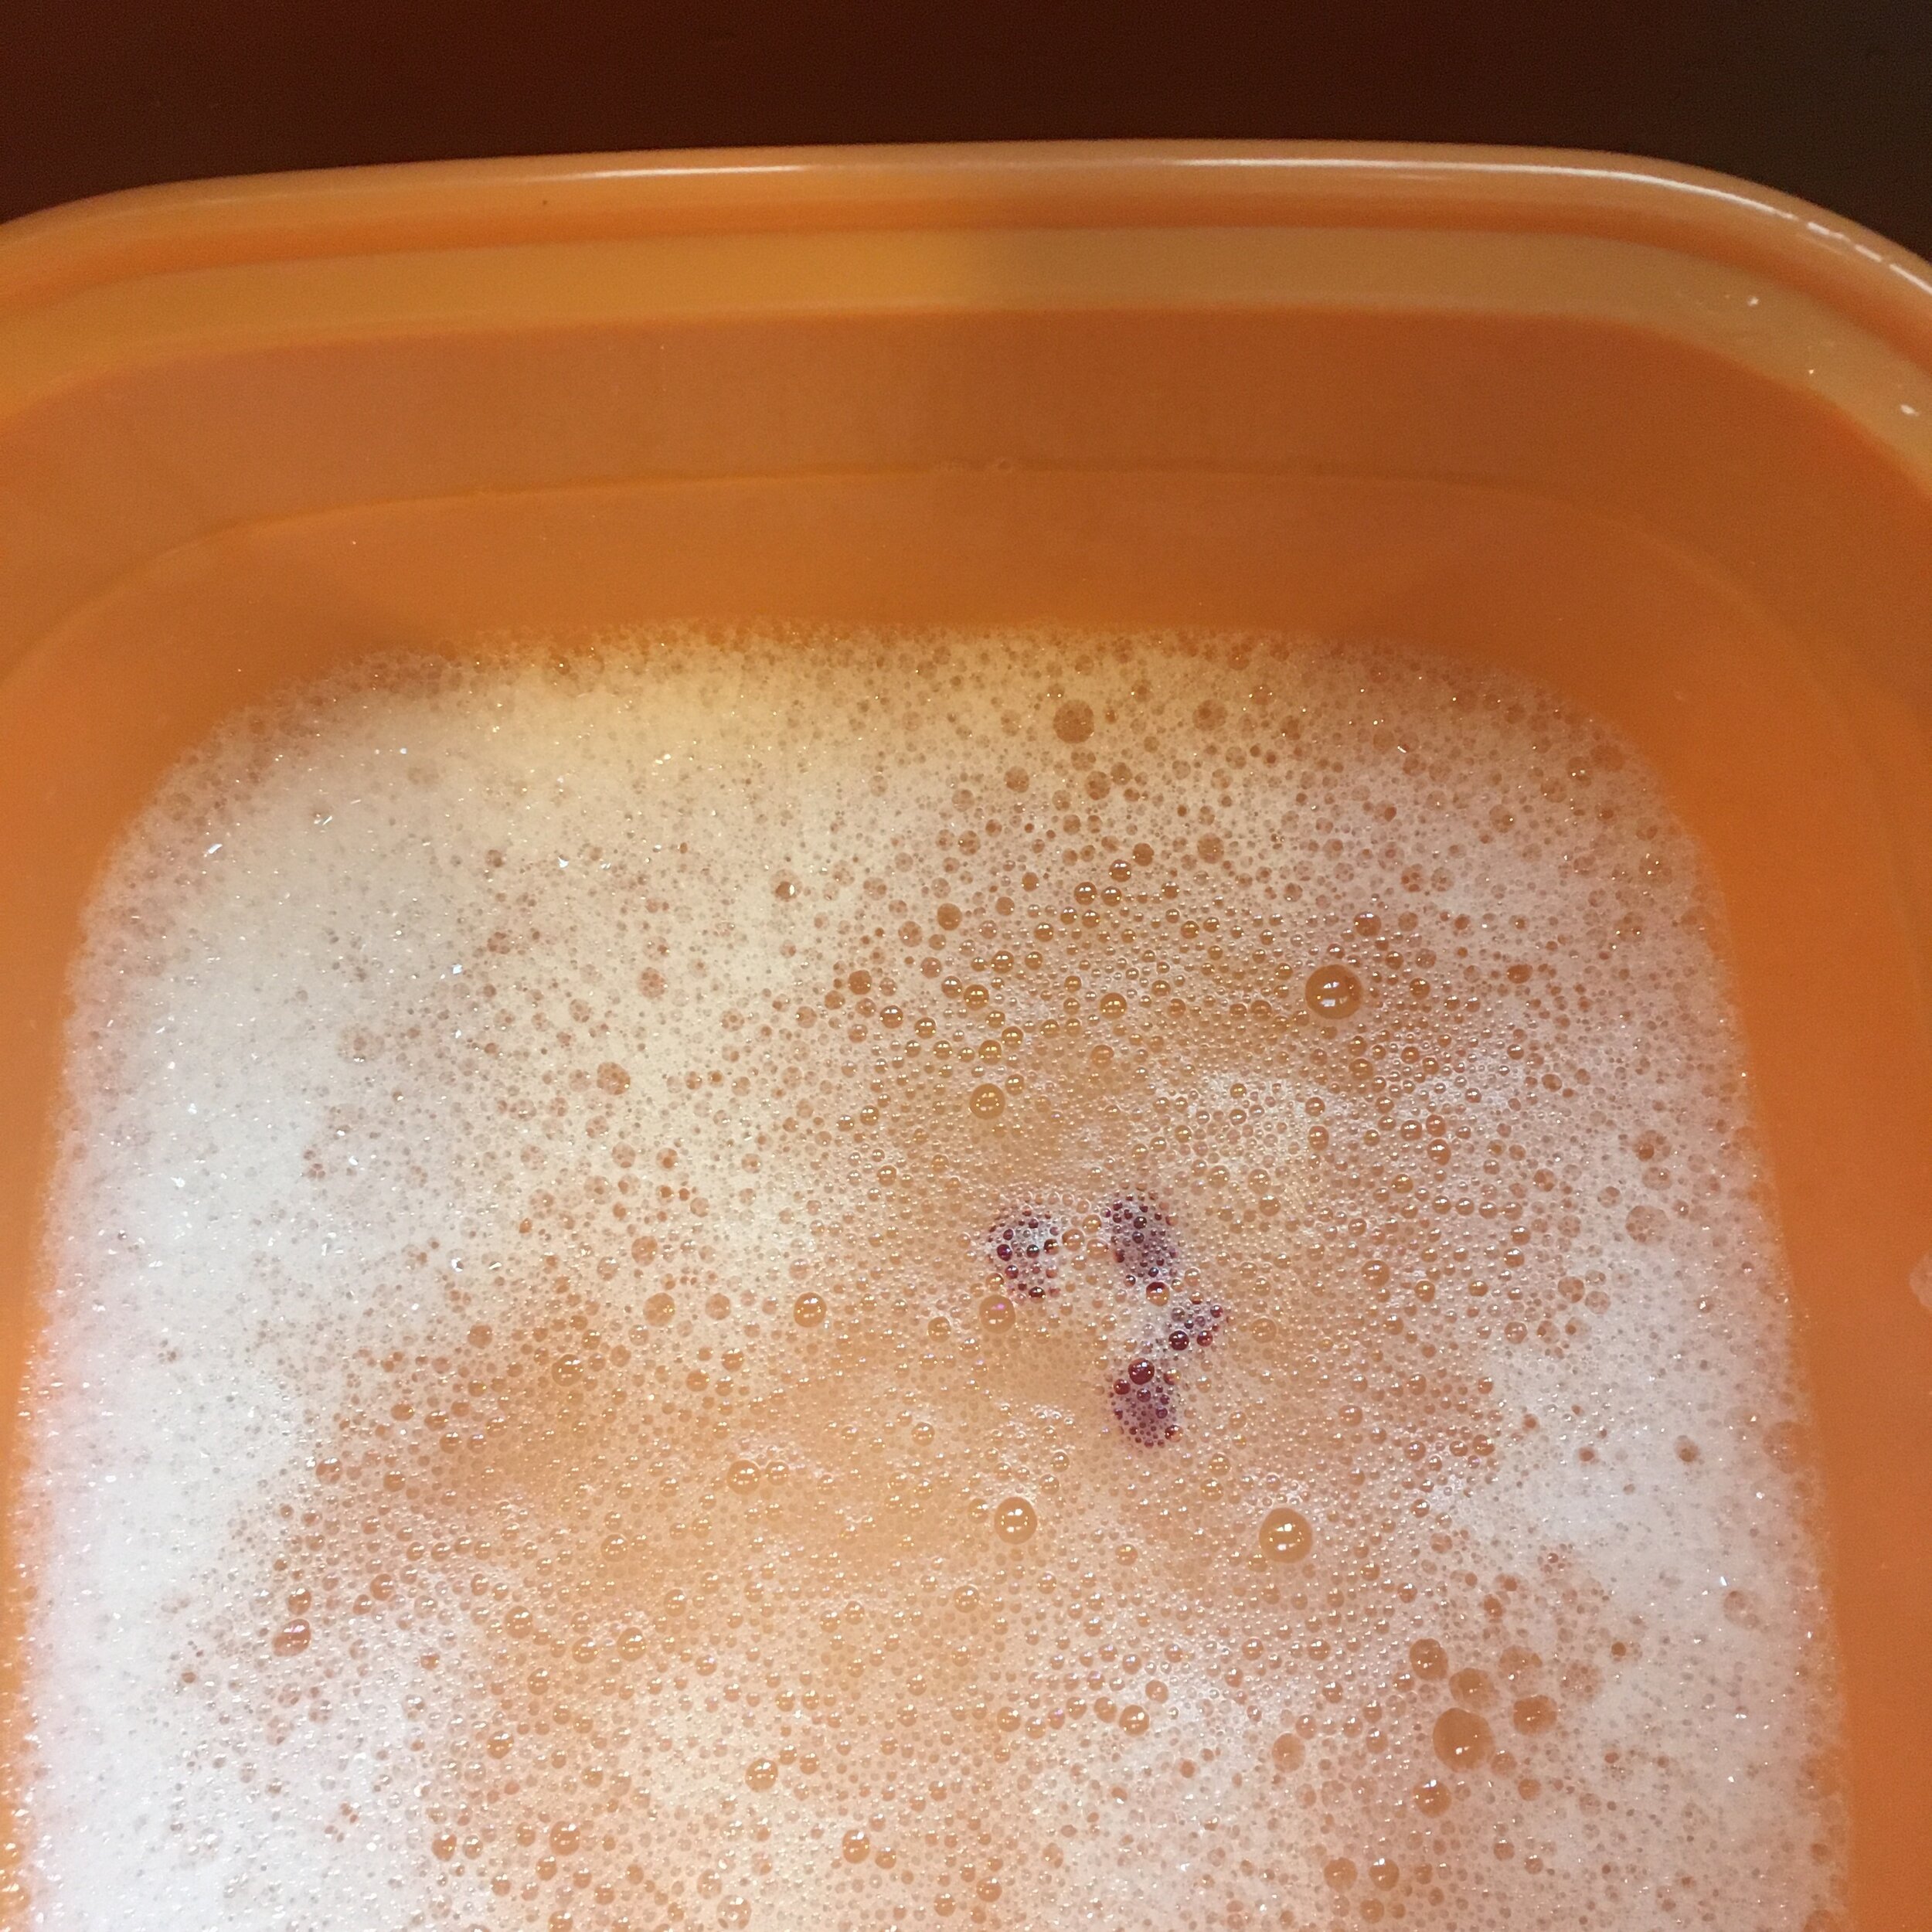
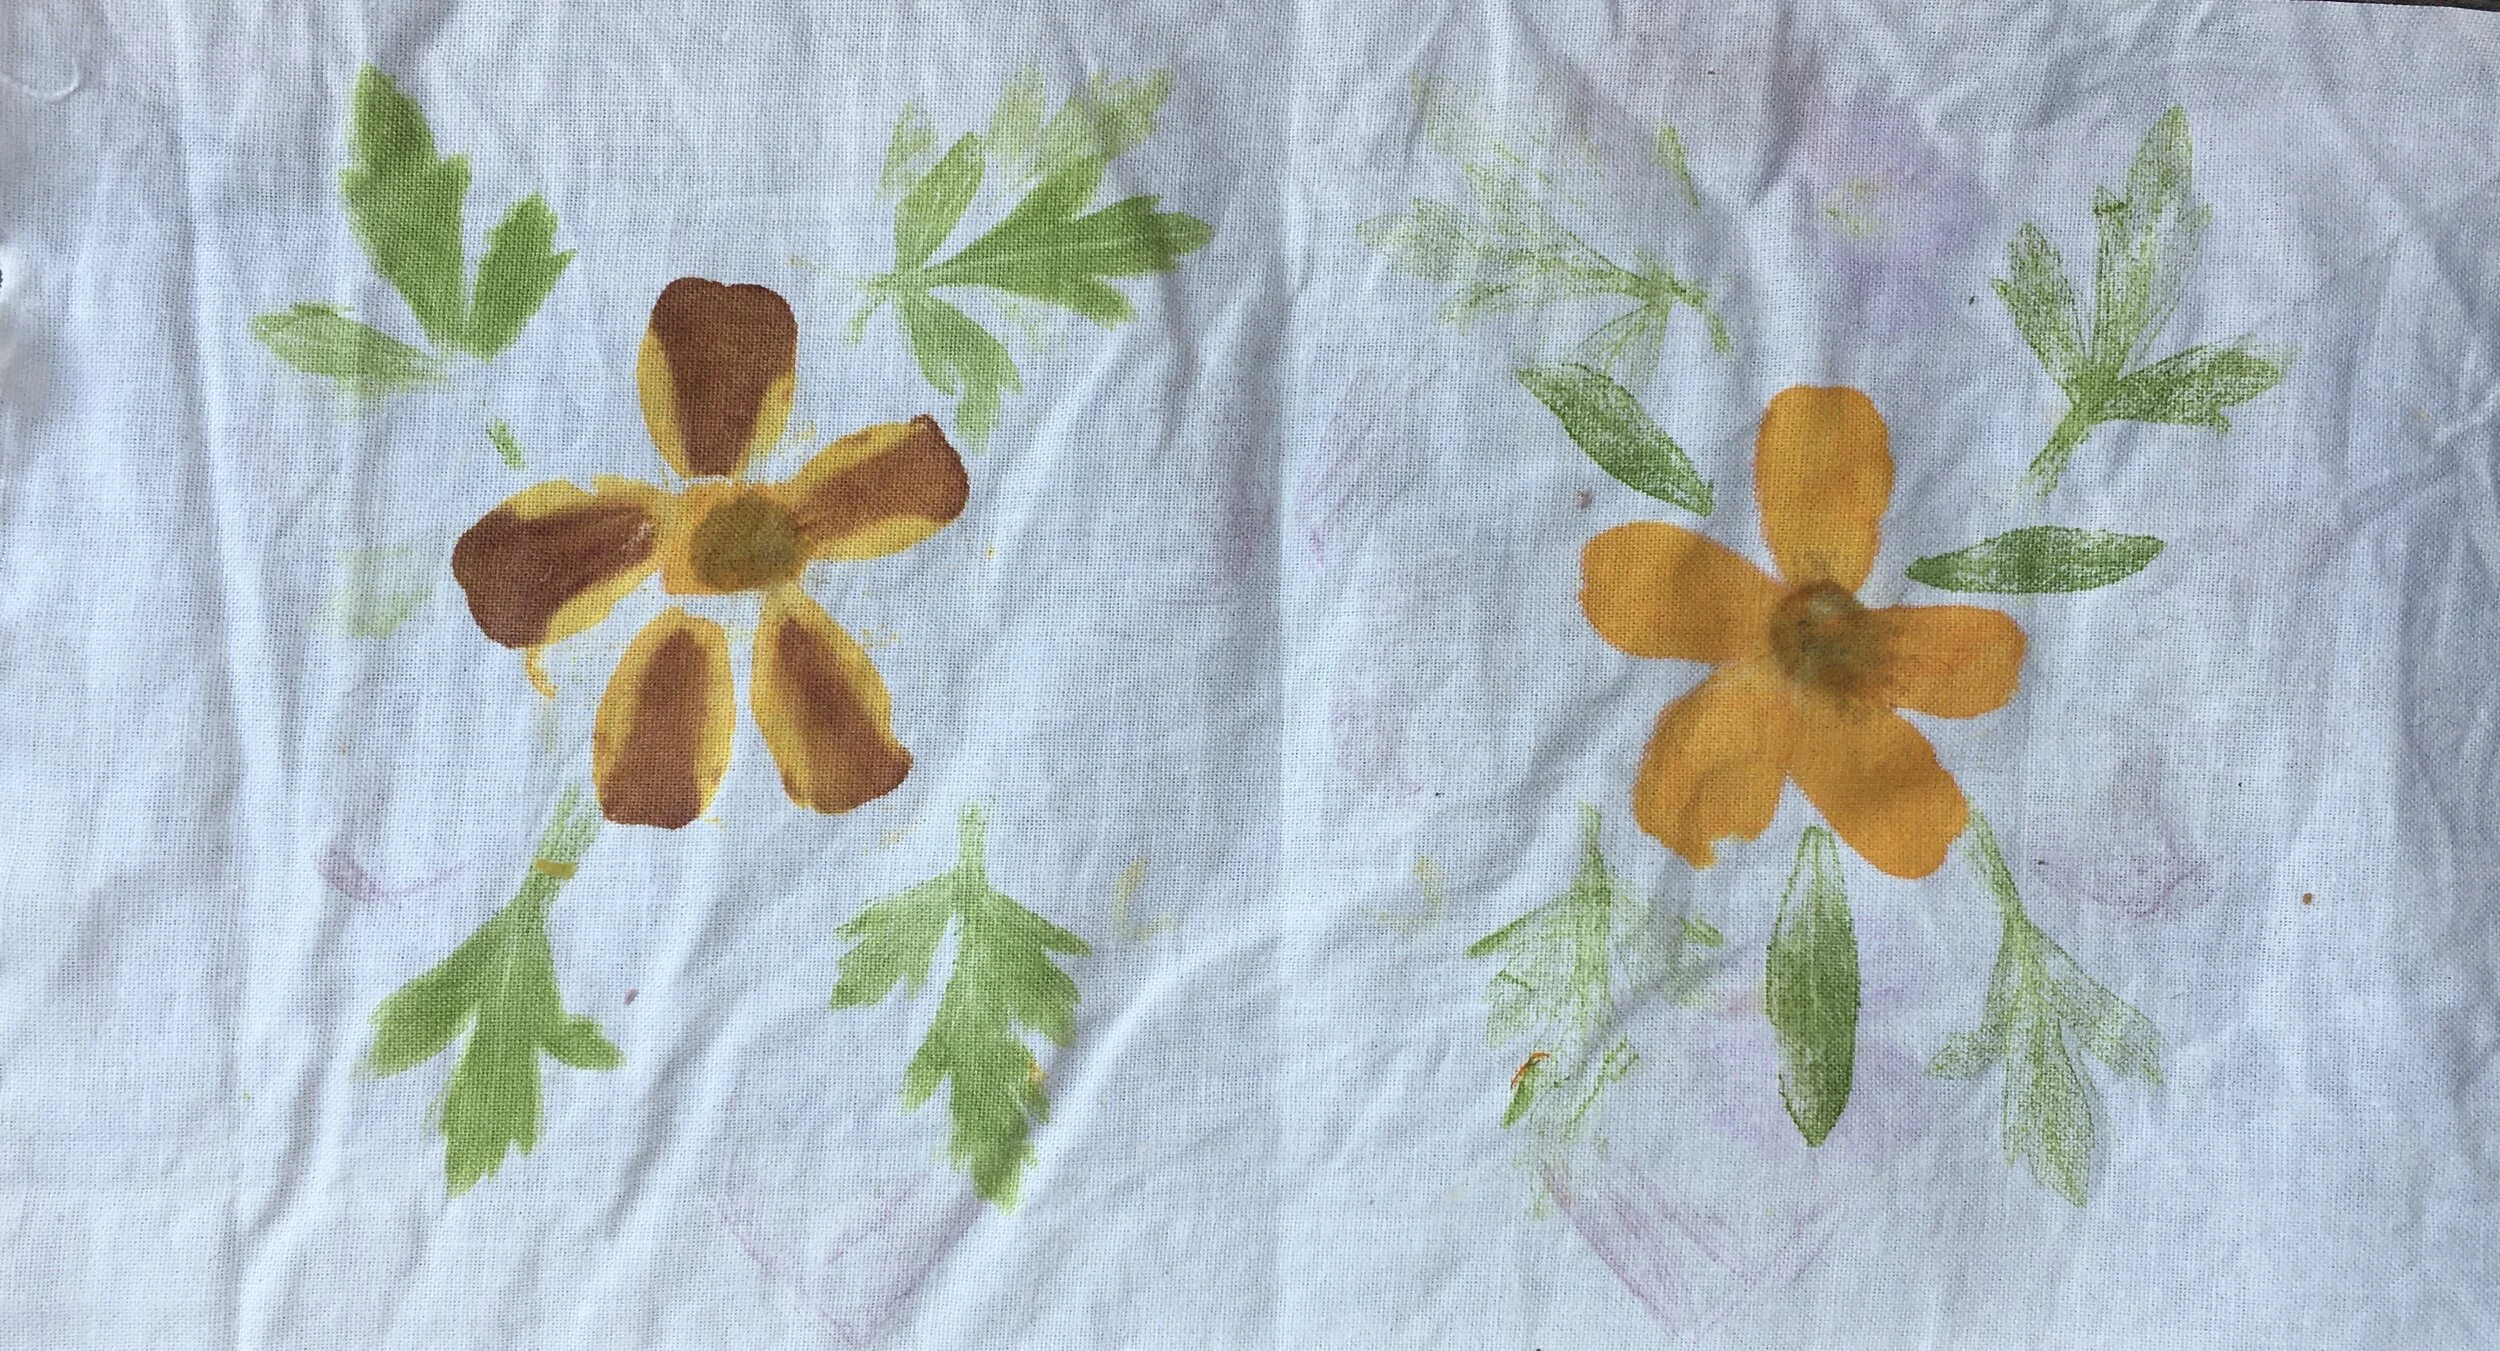
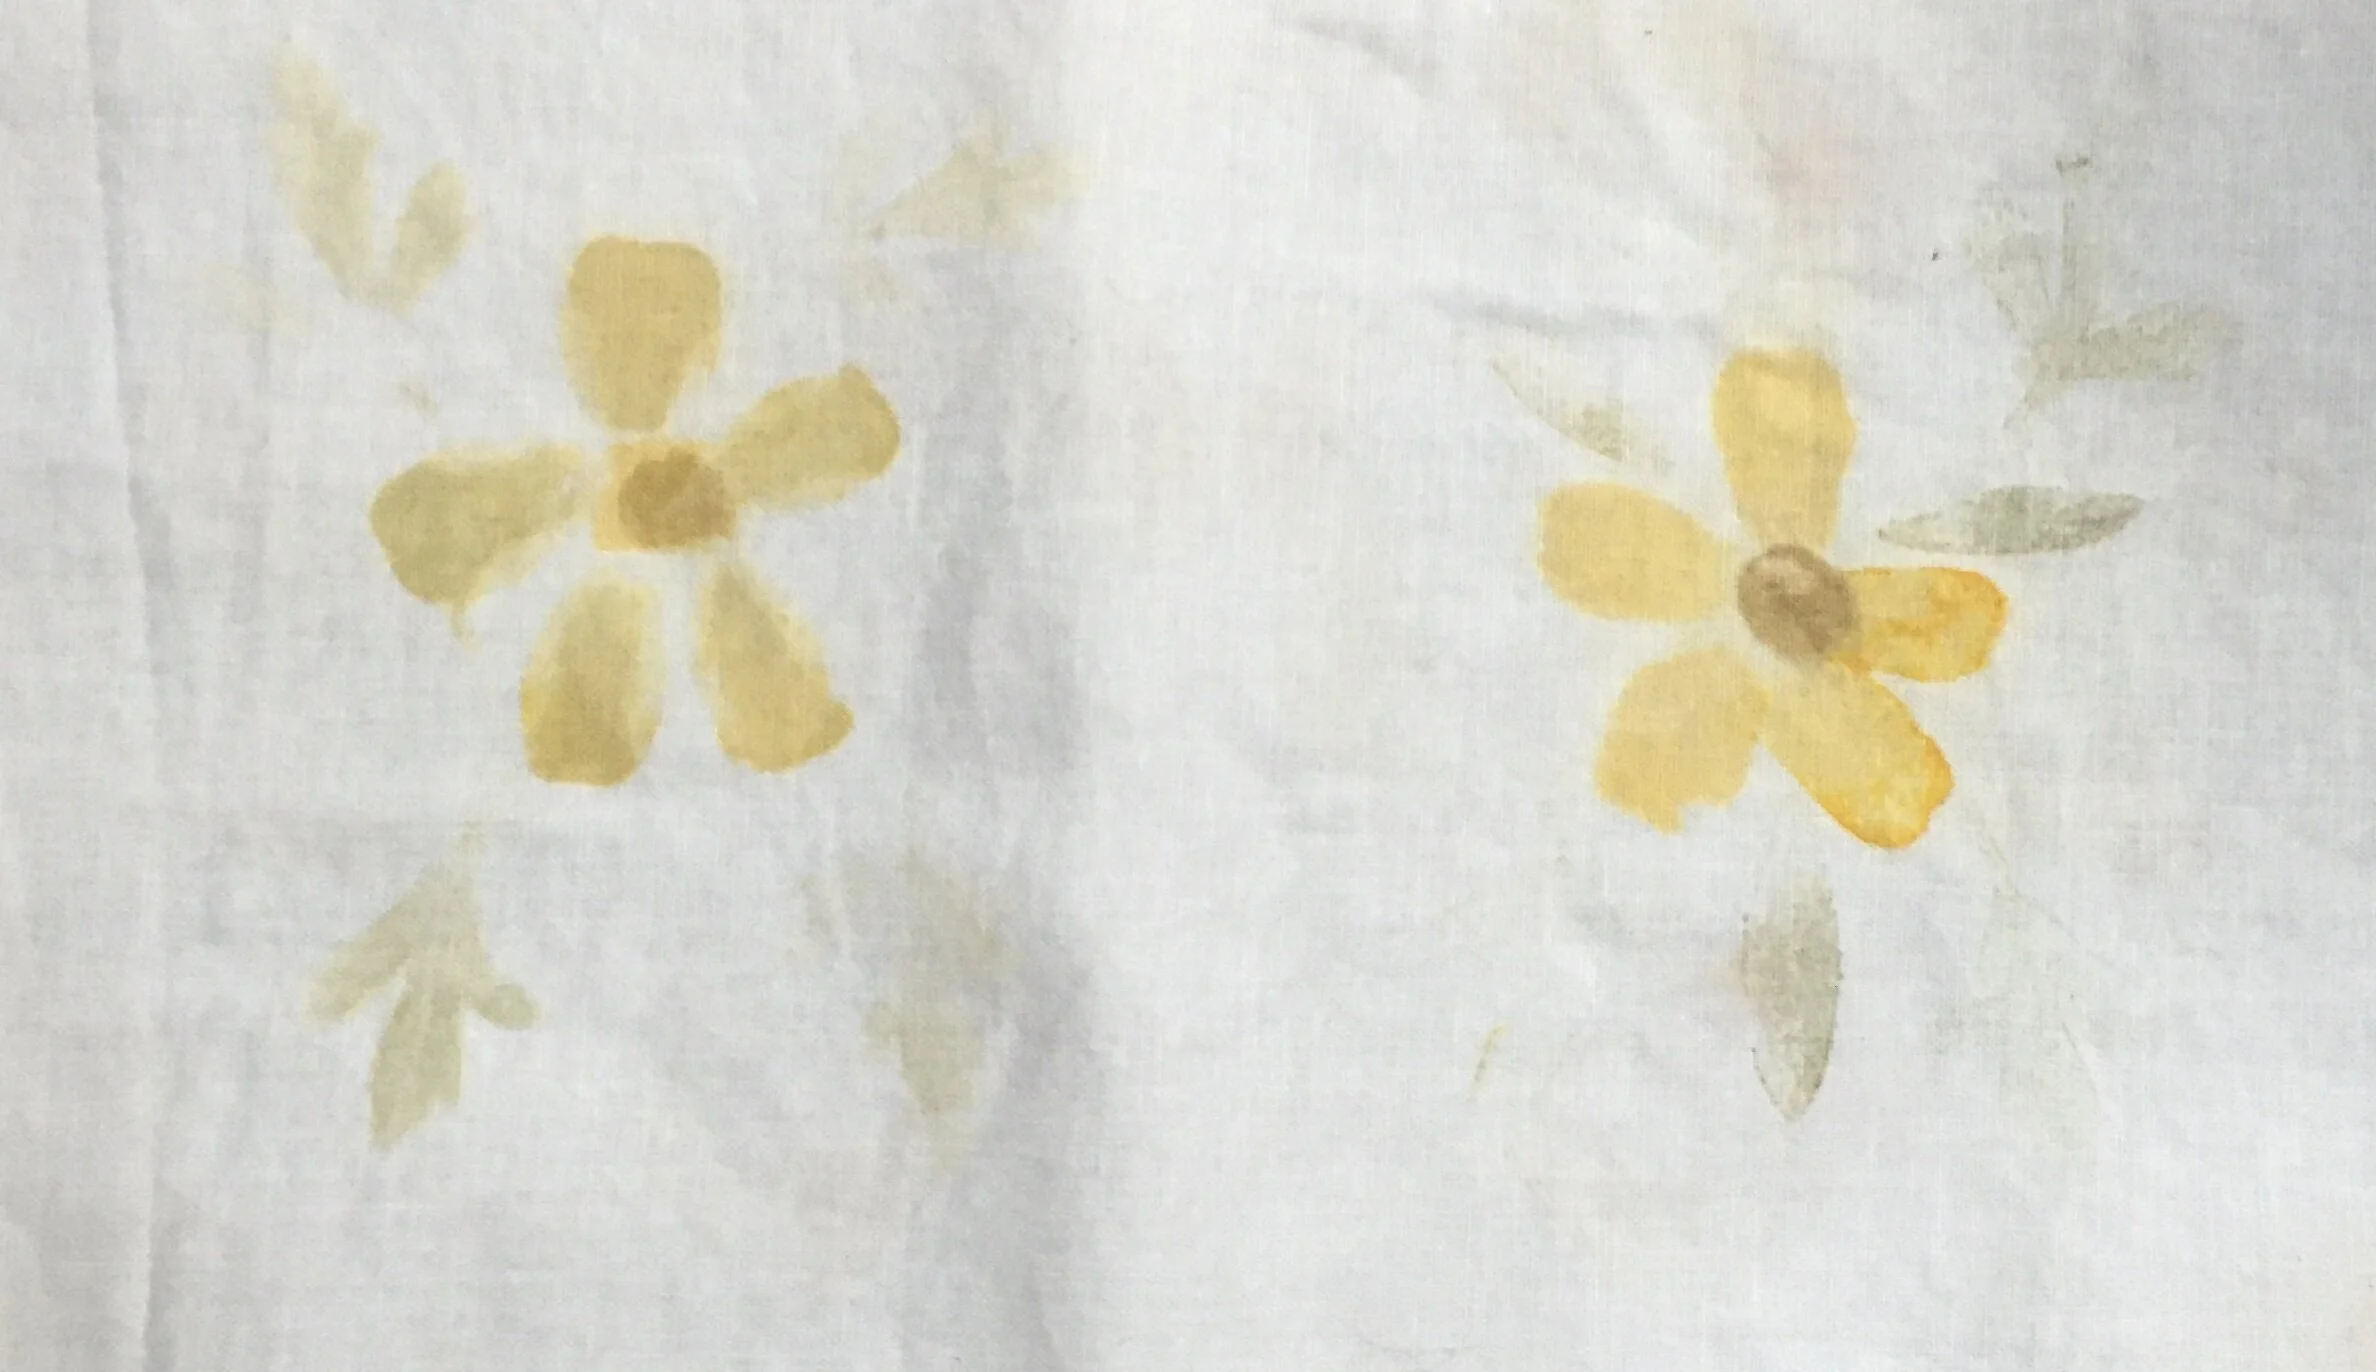
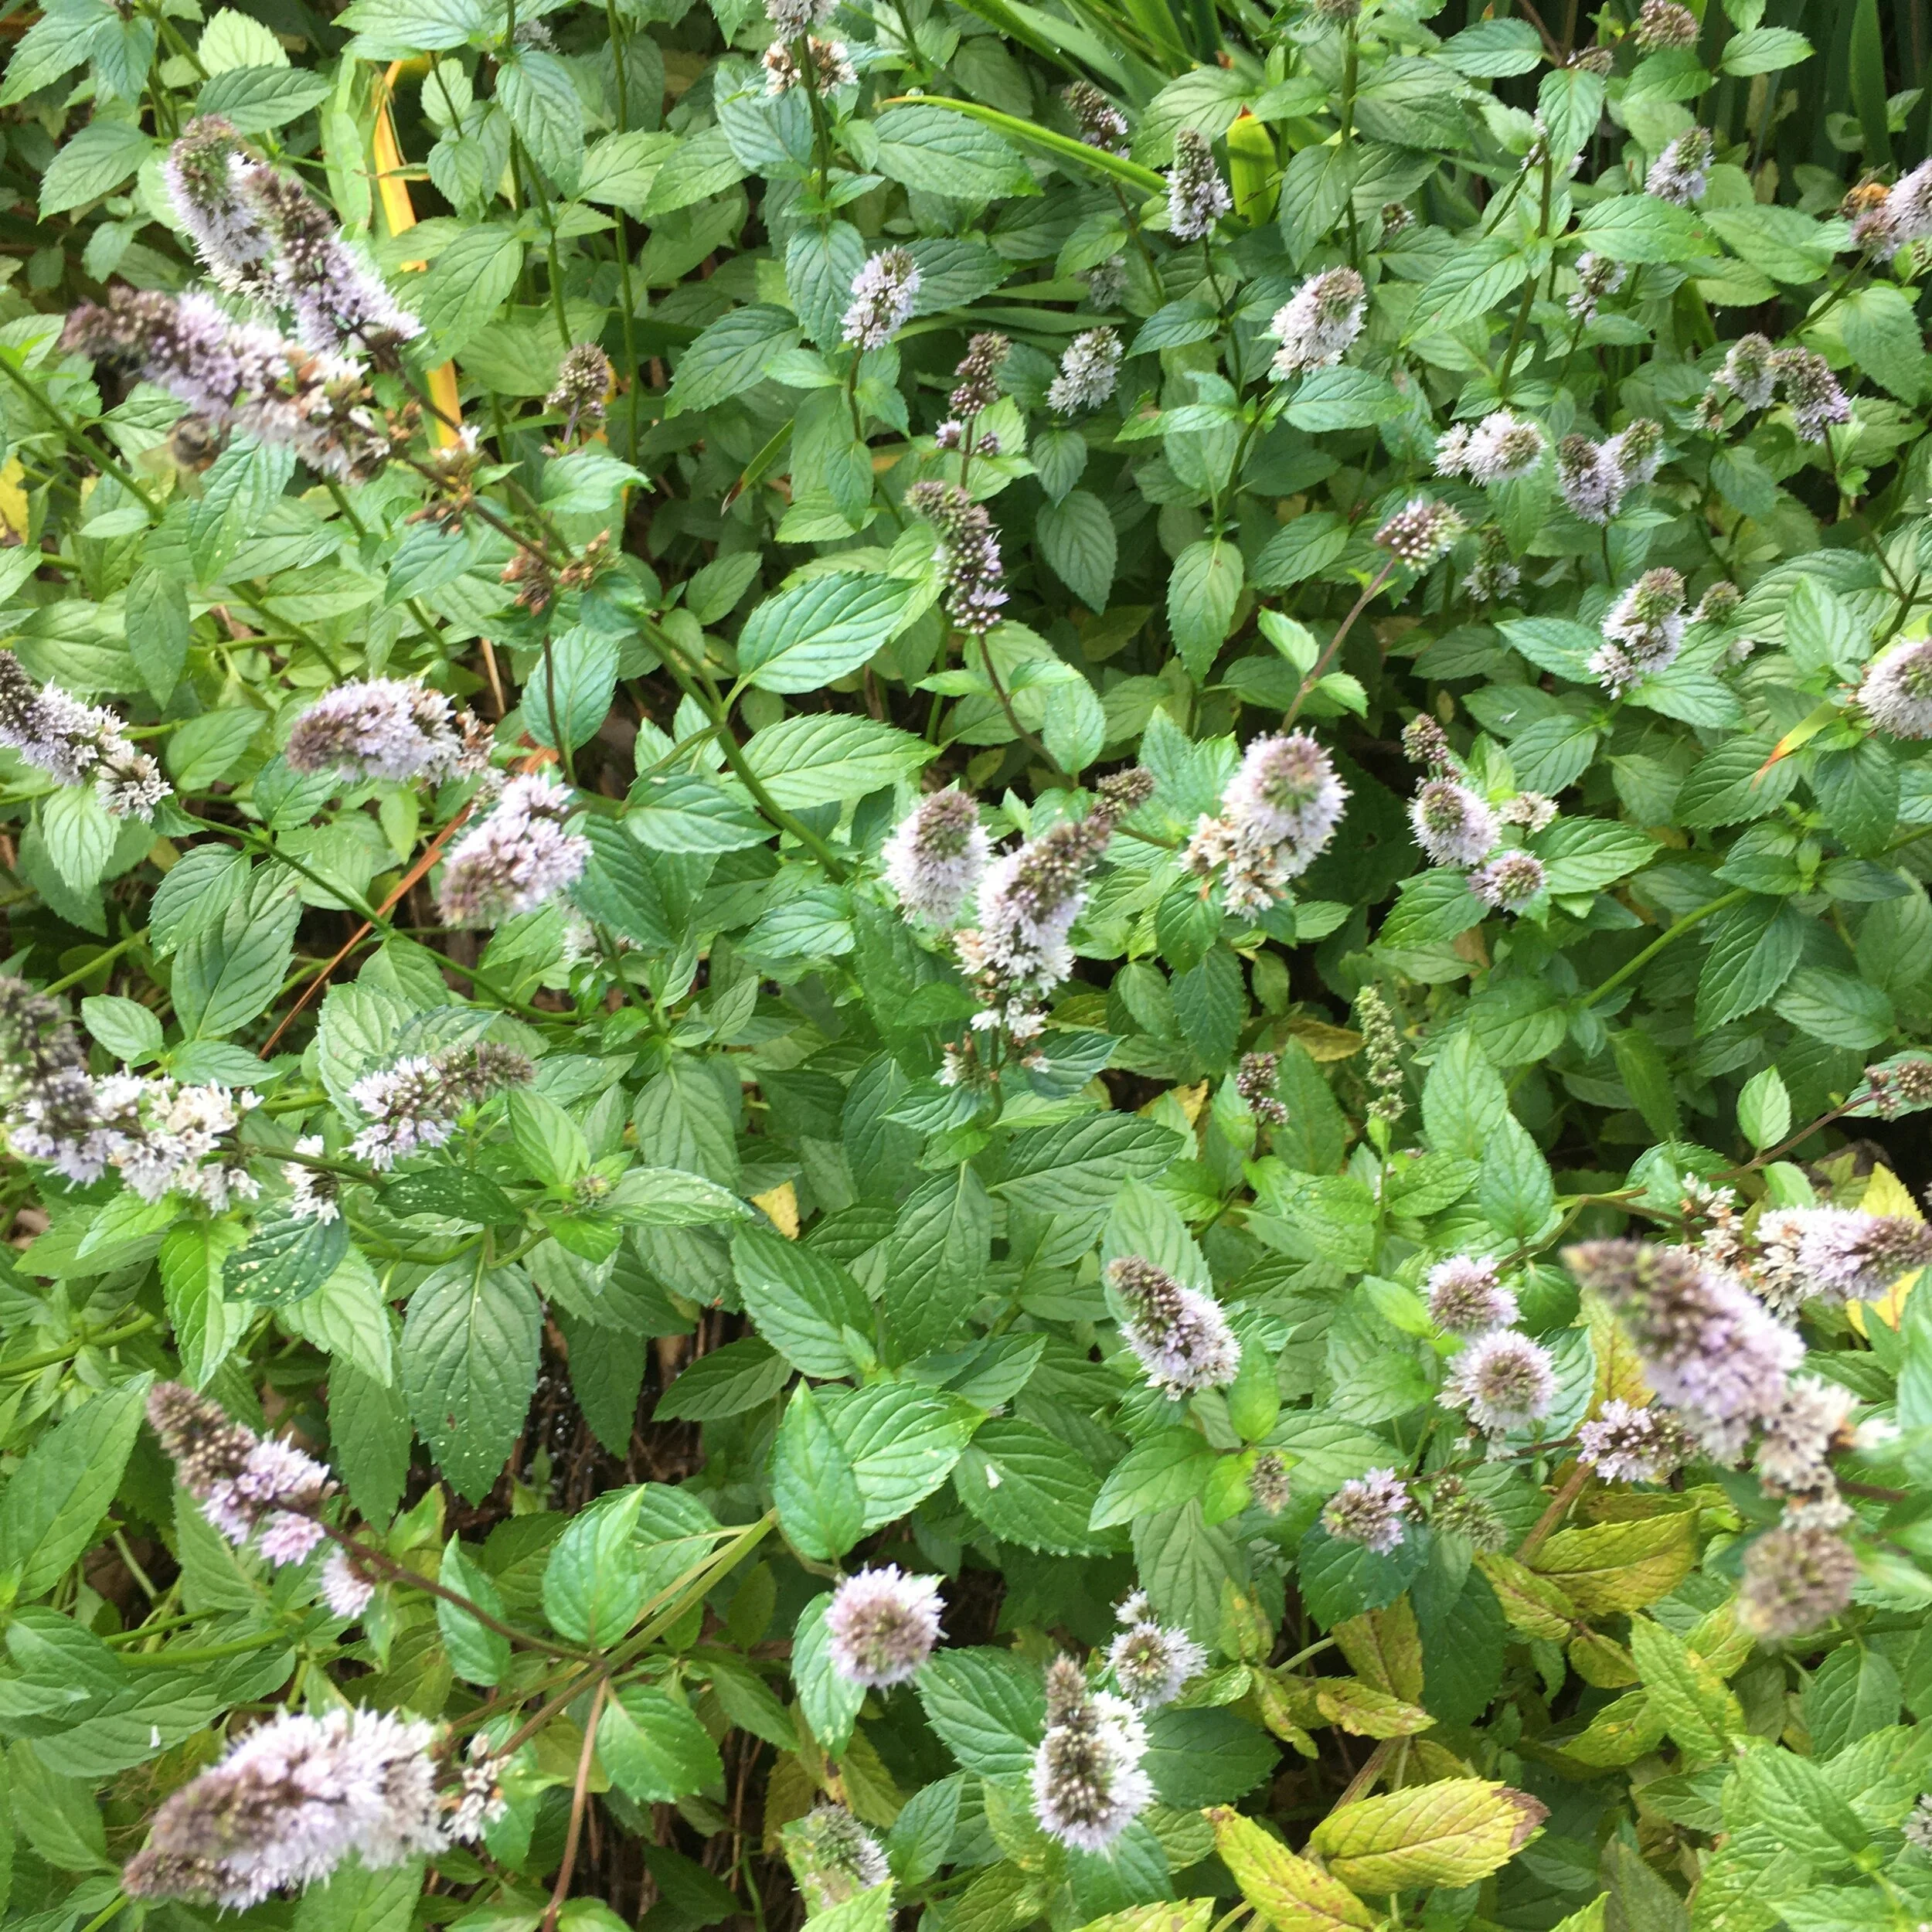
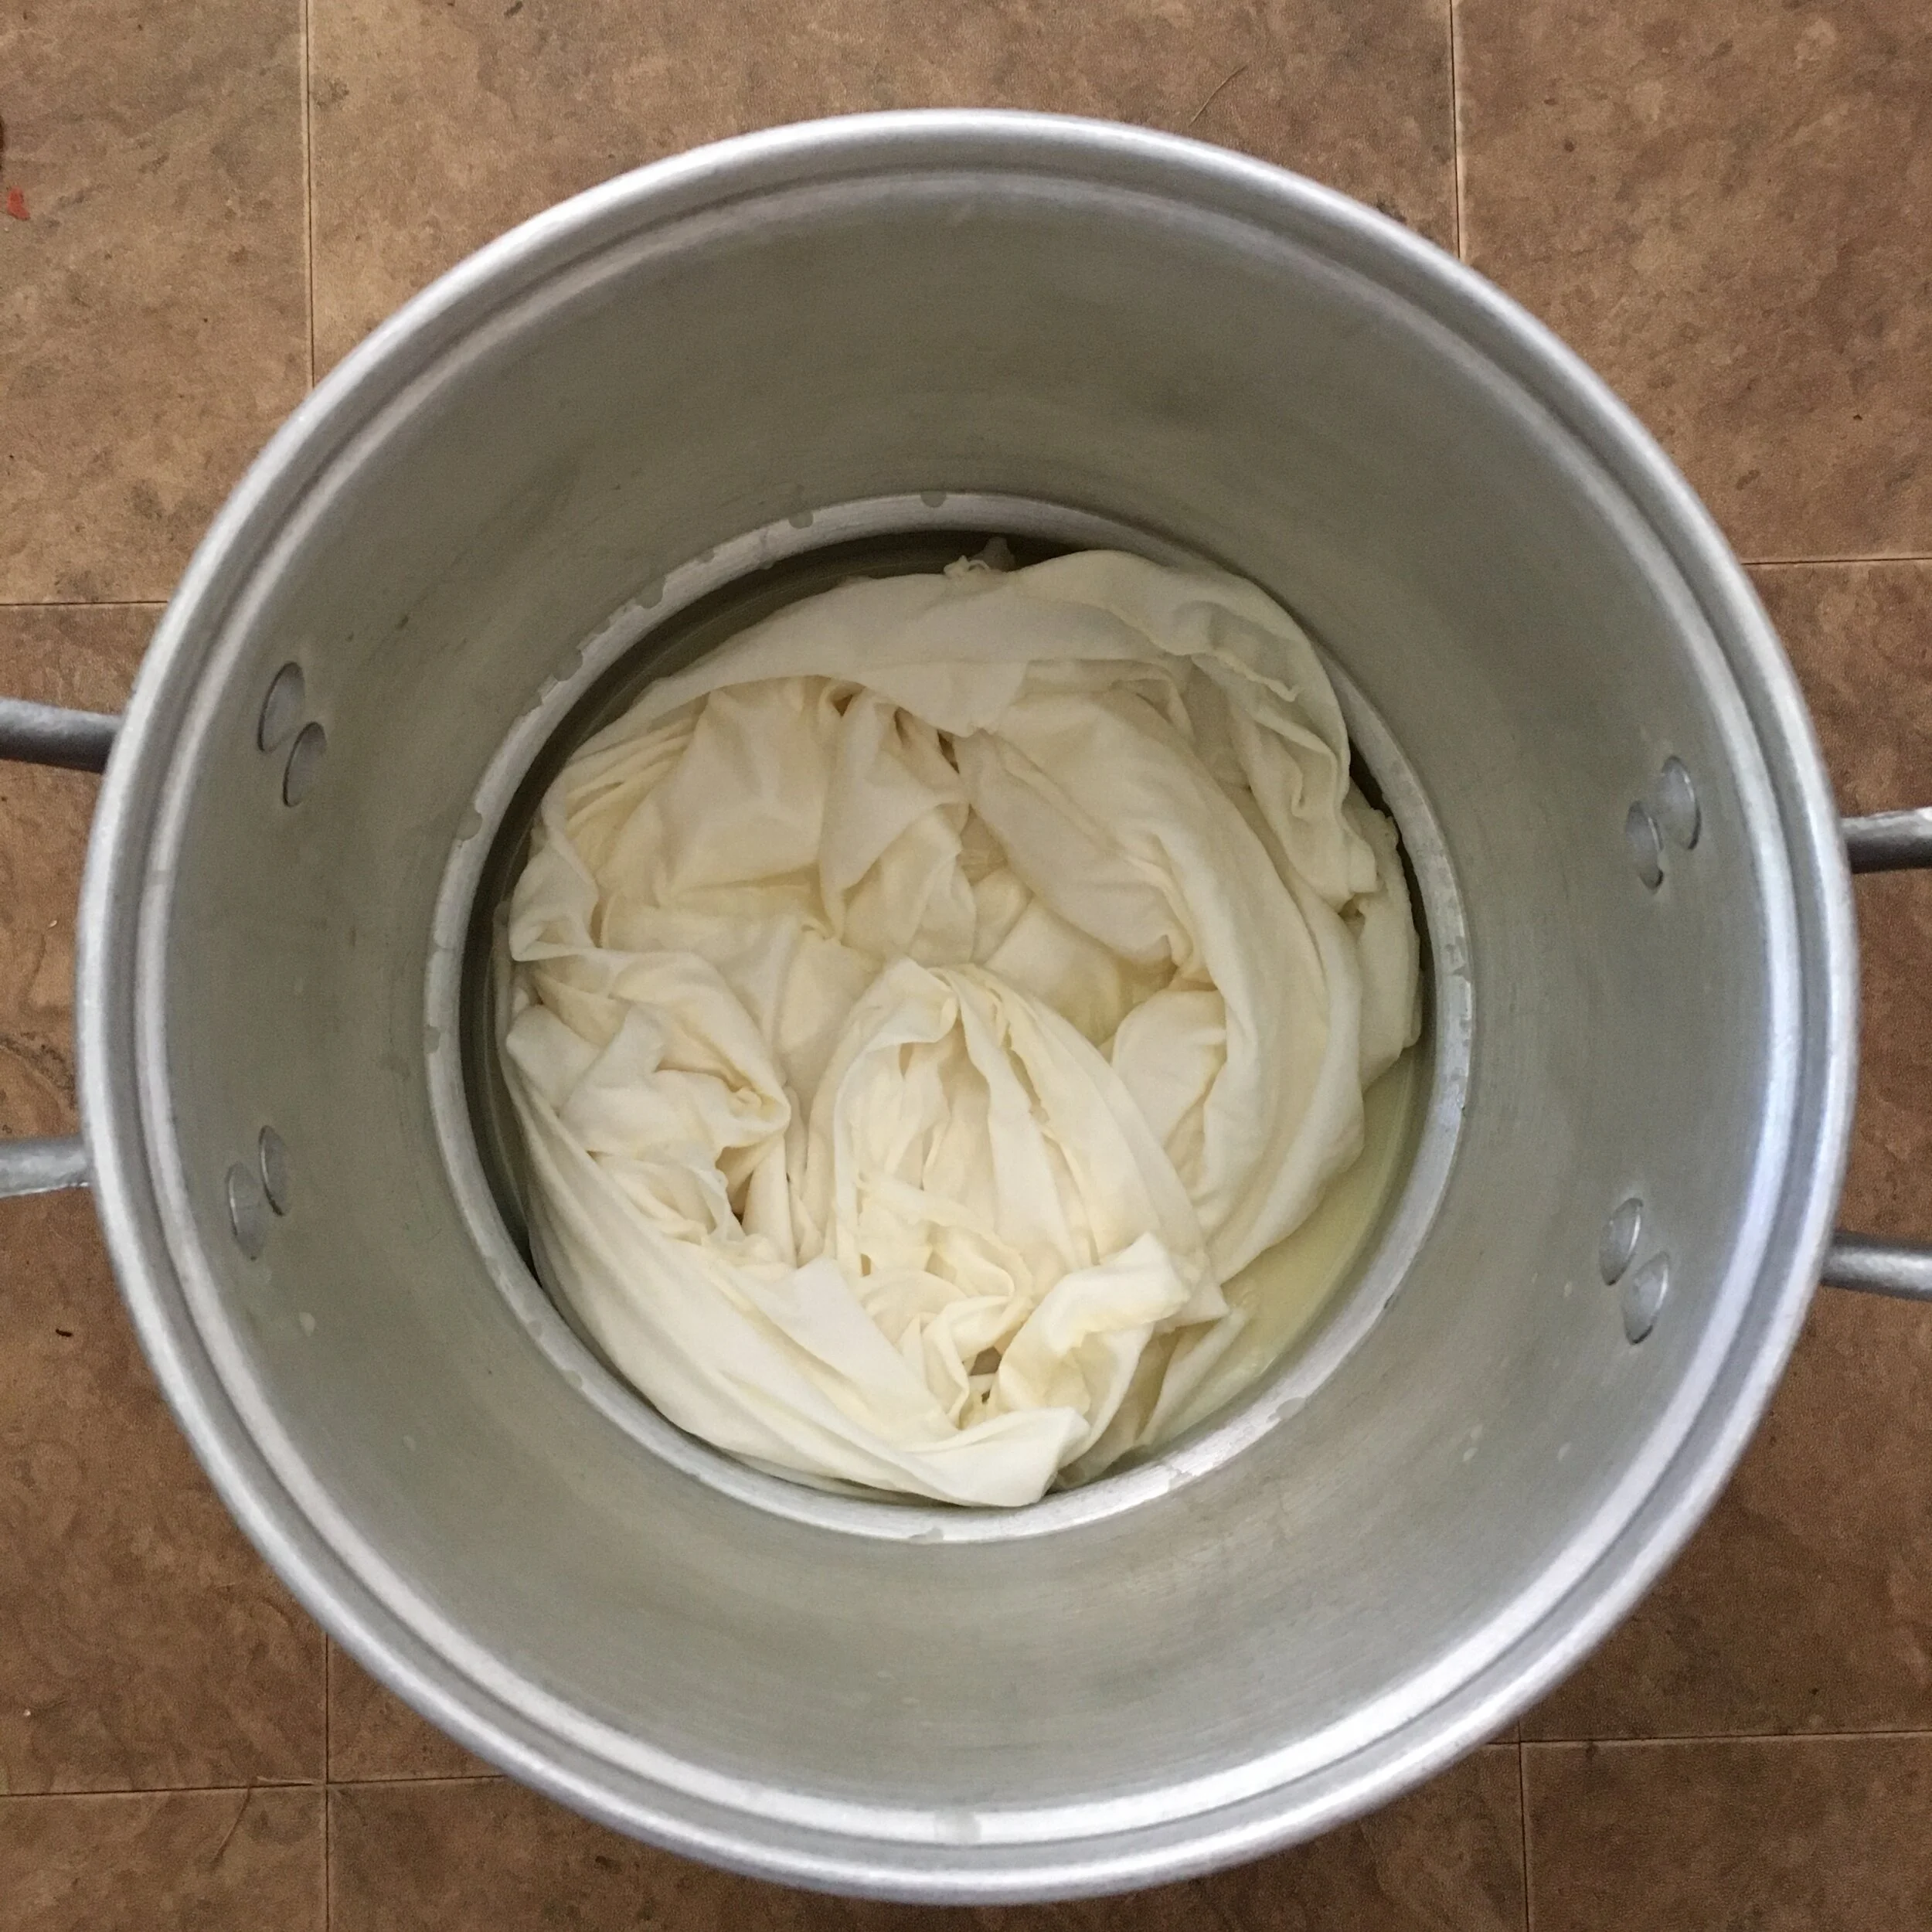
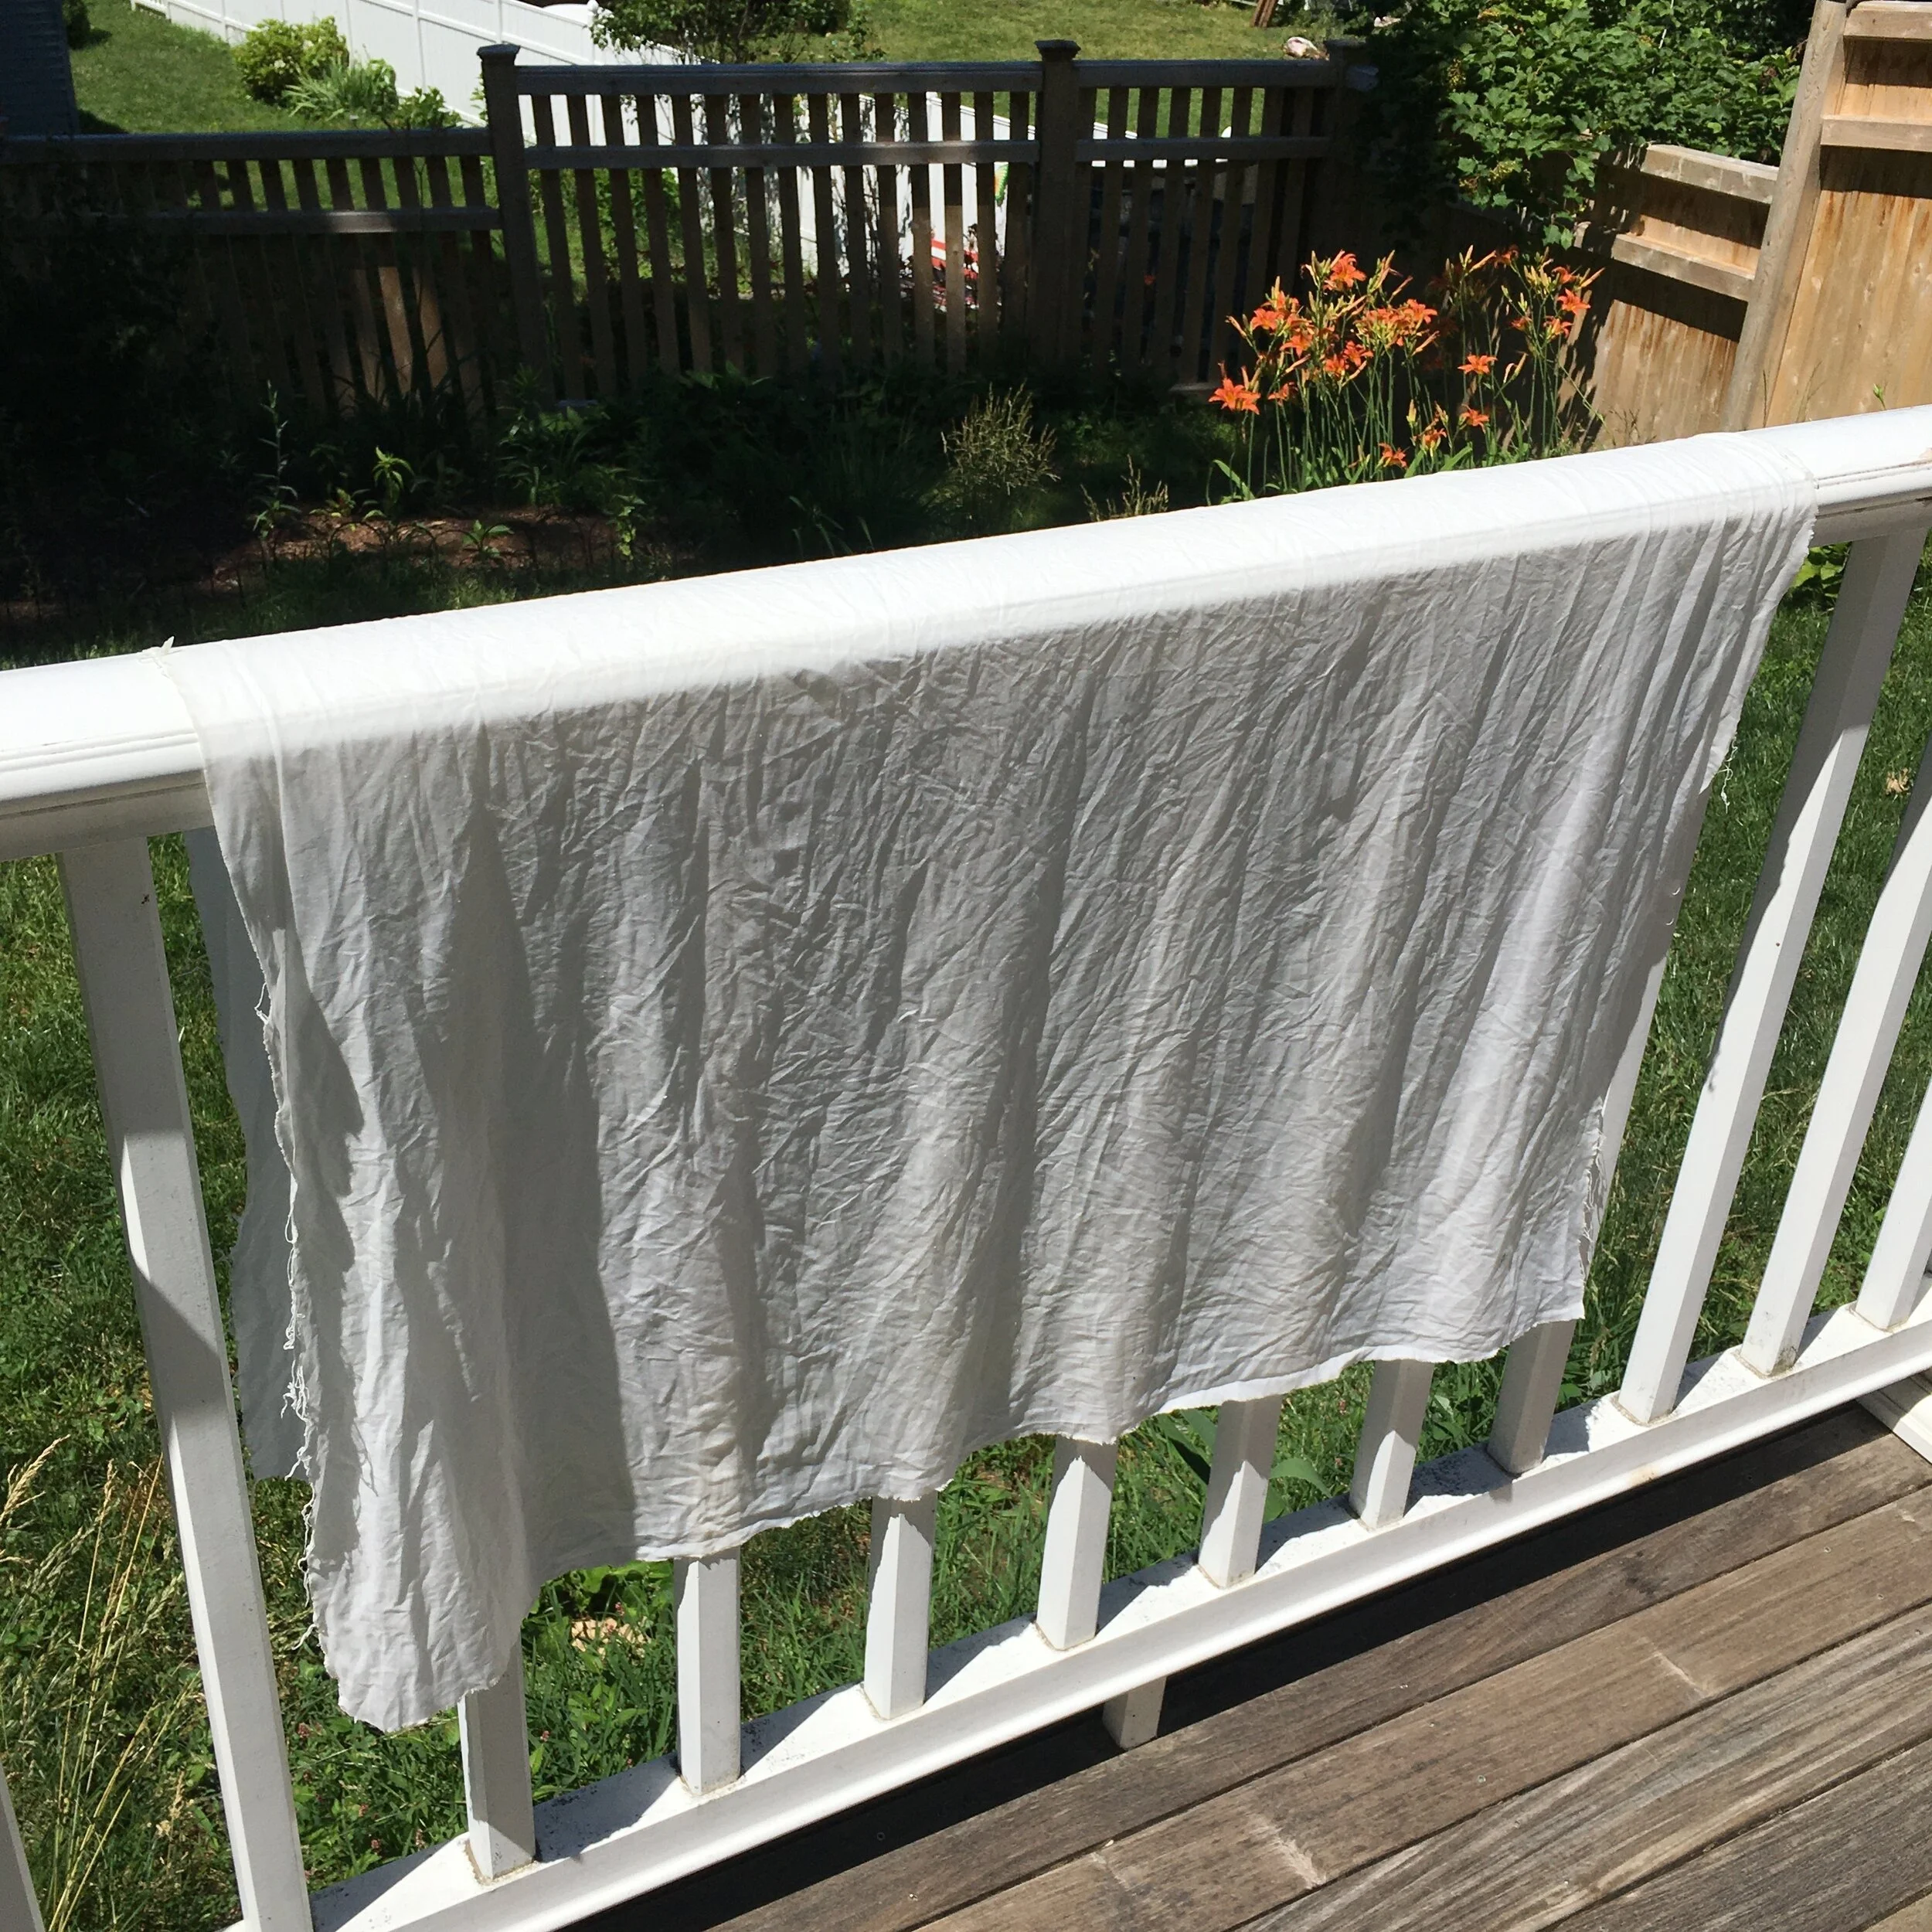
I was so excited to weave this Lagoda band with the yarns I had dyed with items from my own yard! The beautiful pink is from the leaves of a crab apple tree and the soft cream was dyed using peppermint leaves and marigold flowers. The mordant for all my dyeing is a soymilk/water mixture.
This tablet weaving pattern is the second tablet woven band in the Weave Along with Elewys series. The first link is to her blog post about this band and this one is to the YouTube Video showing how to warp and weave the Lagoda band.
This is a Norse influenced pattern from between the 10th to 12th century and was found in a burial mound near Lake Lagoda, which Elewys says is 170 miles east of St. Petersburg, Russia.
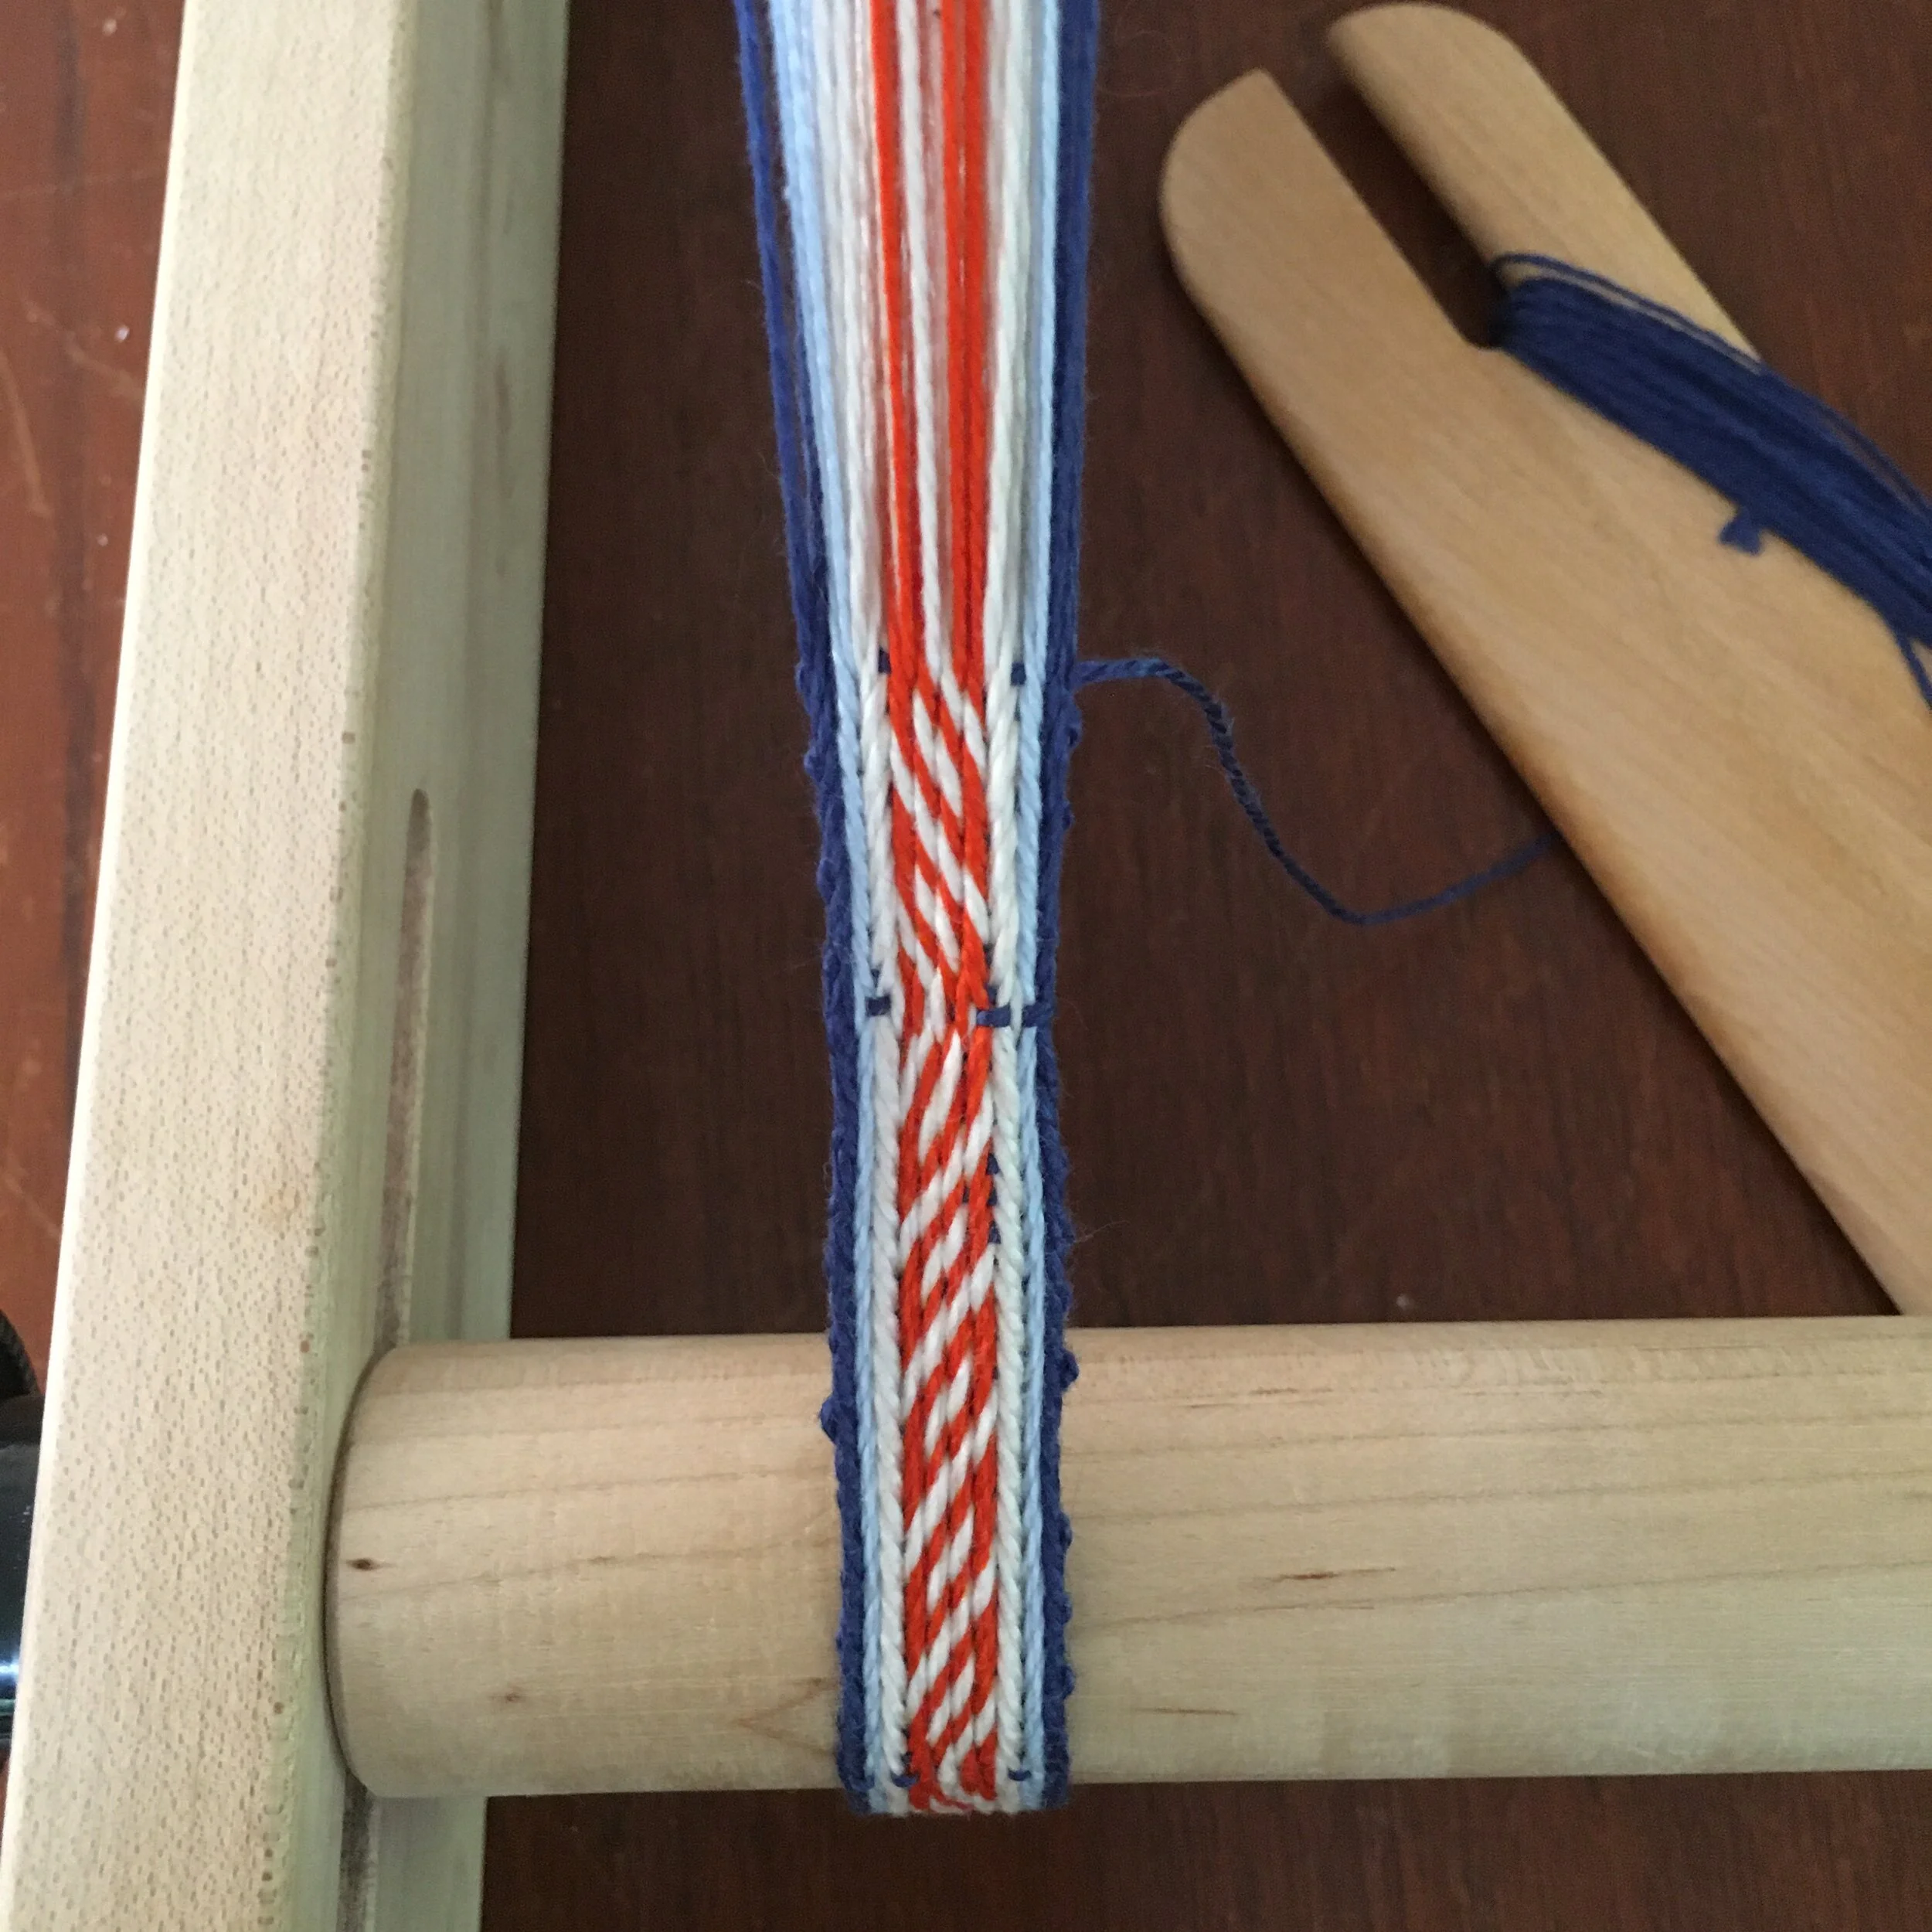
The central pattern reverses, which undoes the twist which builds up as you weave. However, the borders are all woven forward. I eventually got a twist in those border threads which were a problem, so I started weaving them in reverse. This works, but causes a bump in the border. It doesn’t bother me a lot, but after I finished it, discovered another video by Elewys that explains that you can simply flip the border cards from S to Z or Z to S, depending on which they way they were intially threaded, that that solves the problem without any bumps! Here’s the link to her Tablet Weaving Tutorial: Untwisting Warp Threads.
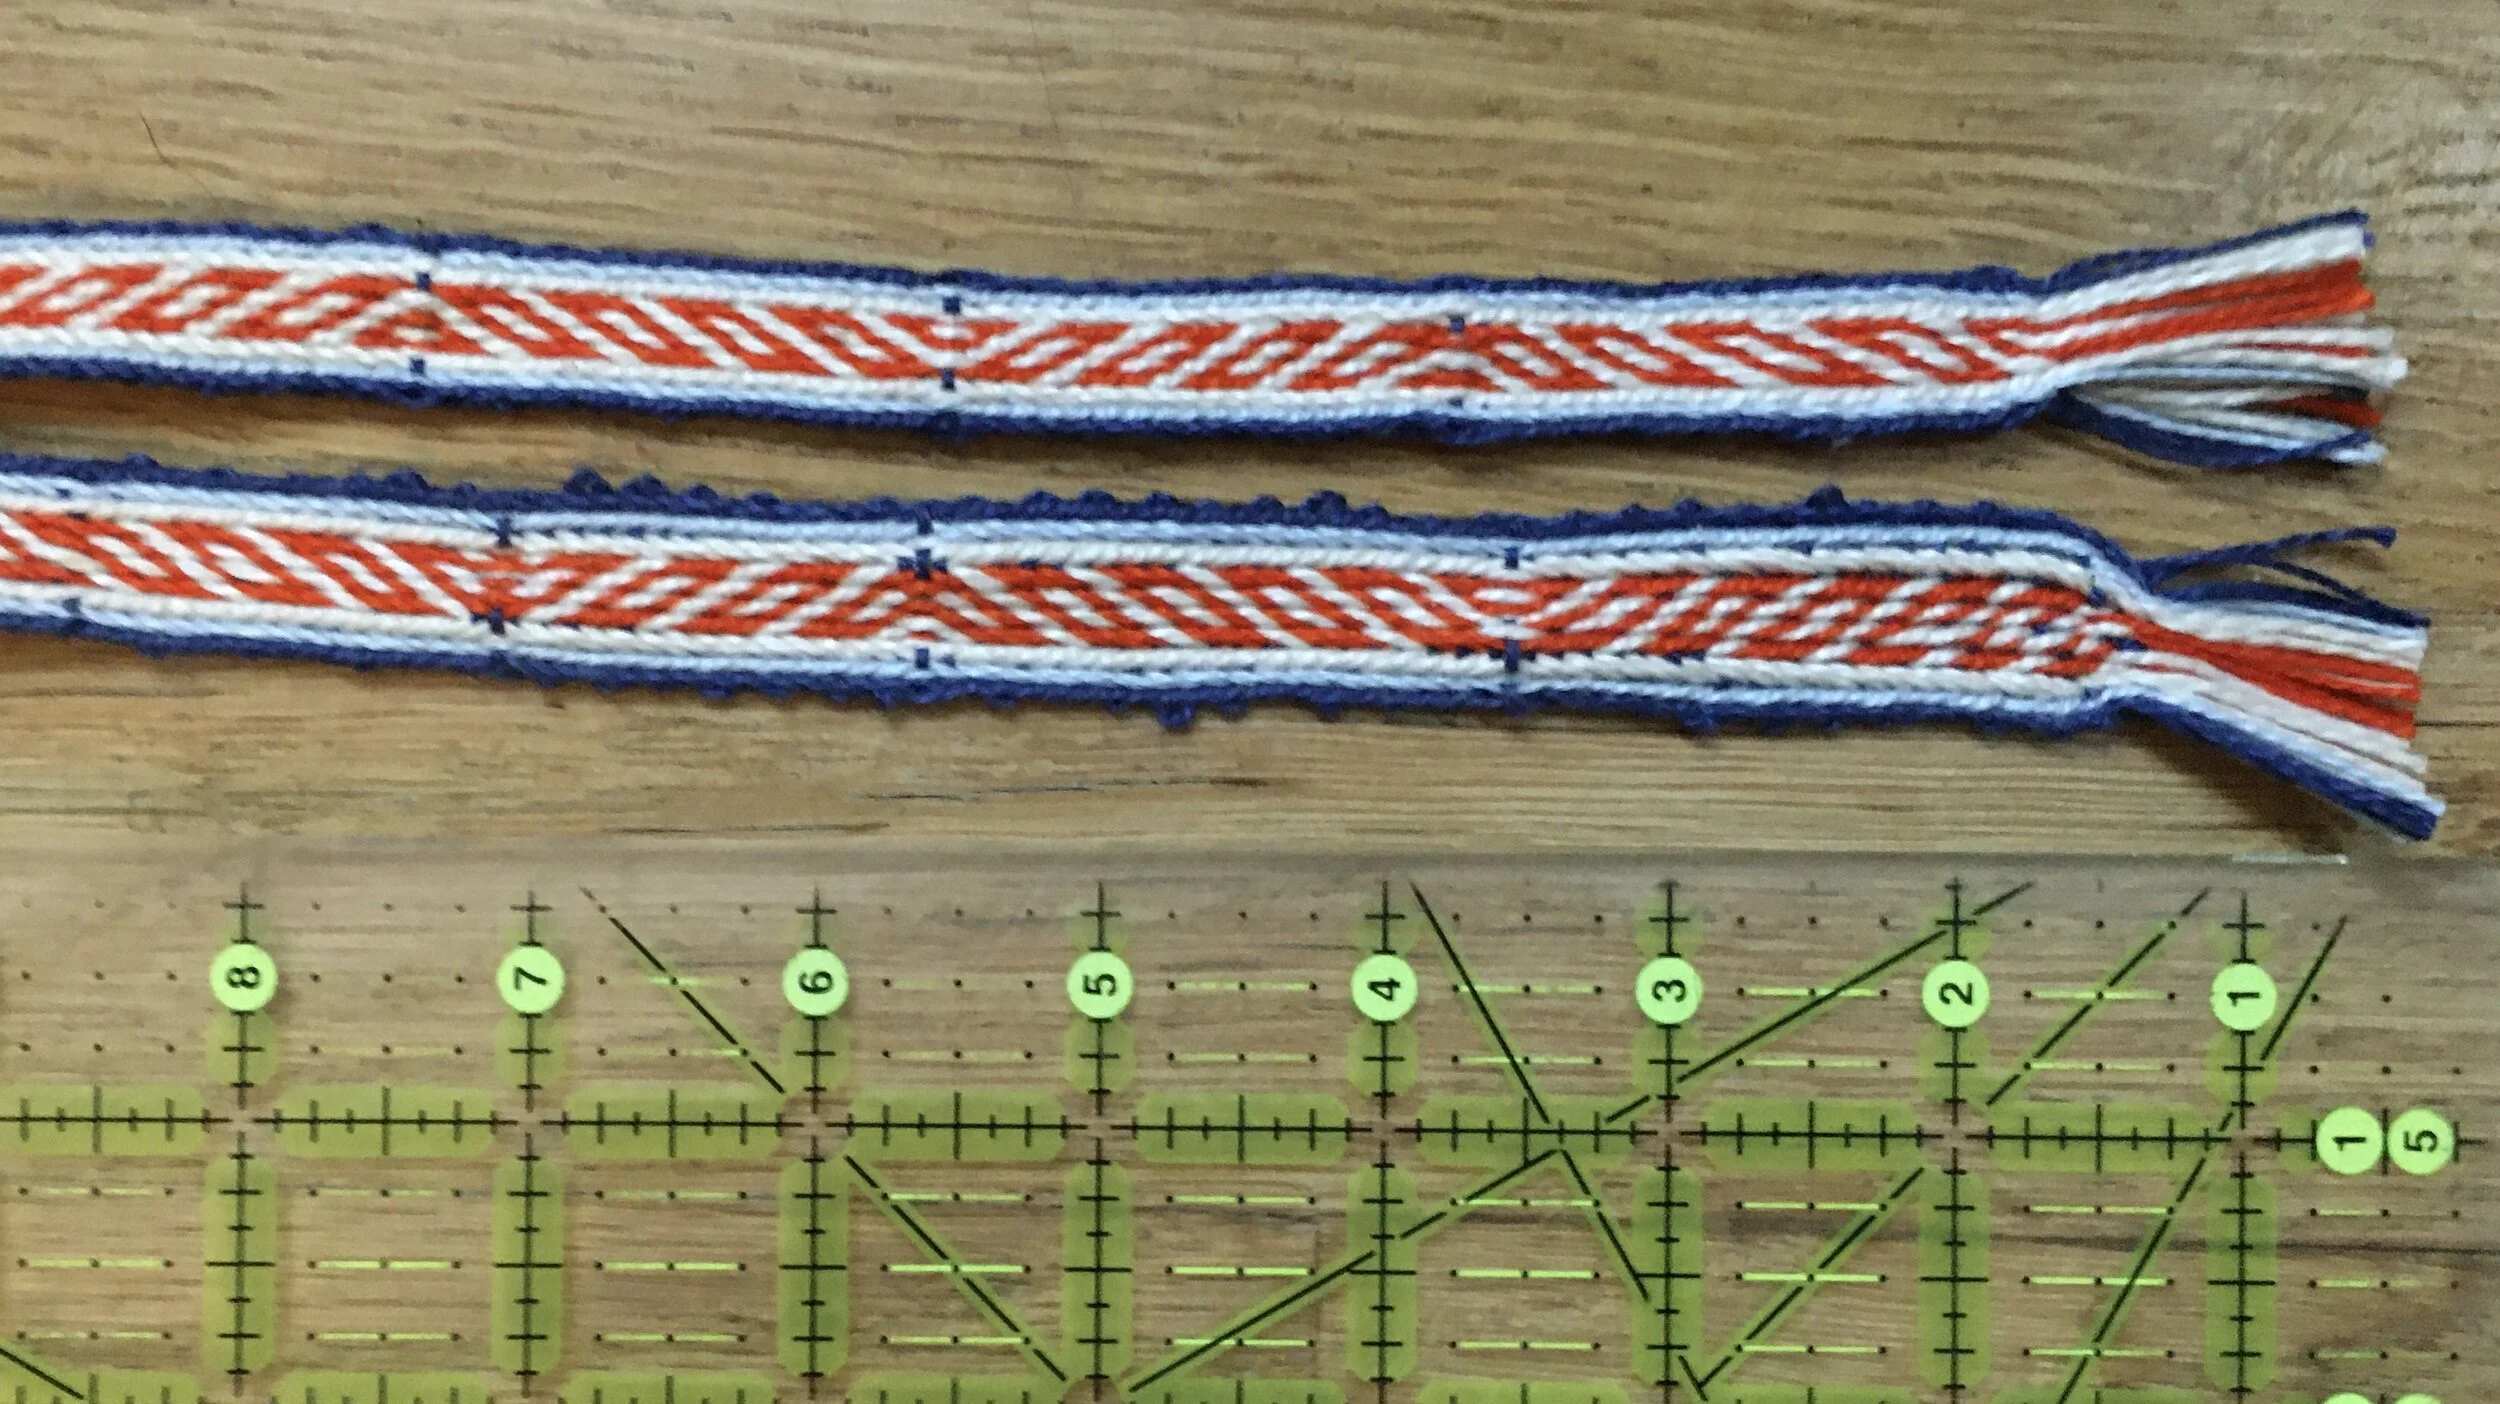
I used a dark weft thread. I rather like the pattern on the borders of the band. It reminds me of Springer Spaniels. There is a way to hide a dark weft thread in a border, minimalizing the dots on the edges but I haven’t tried it yet.
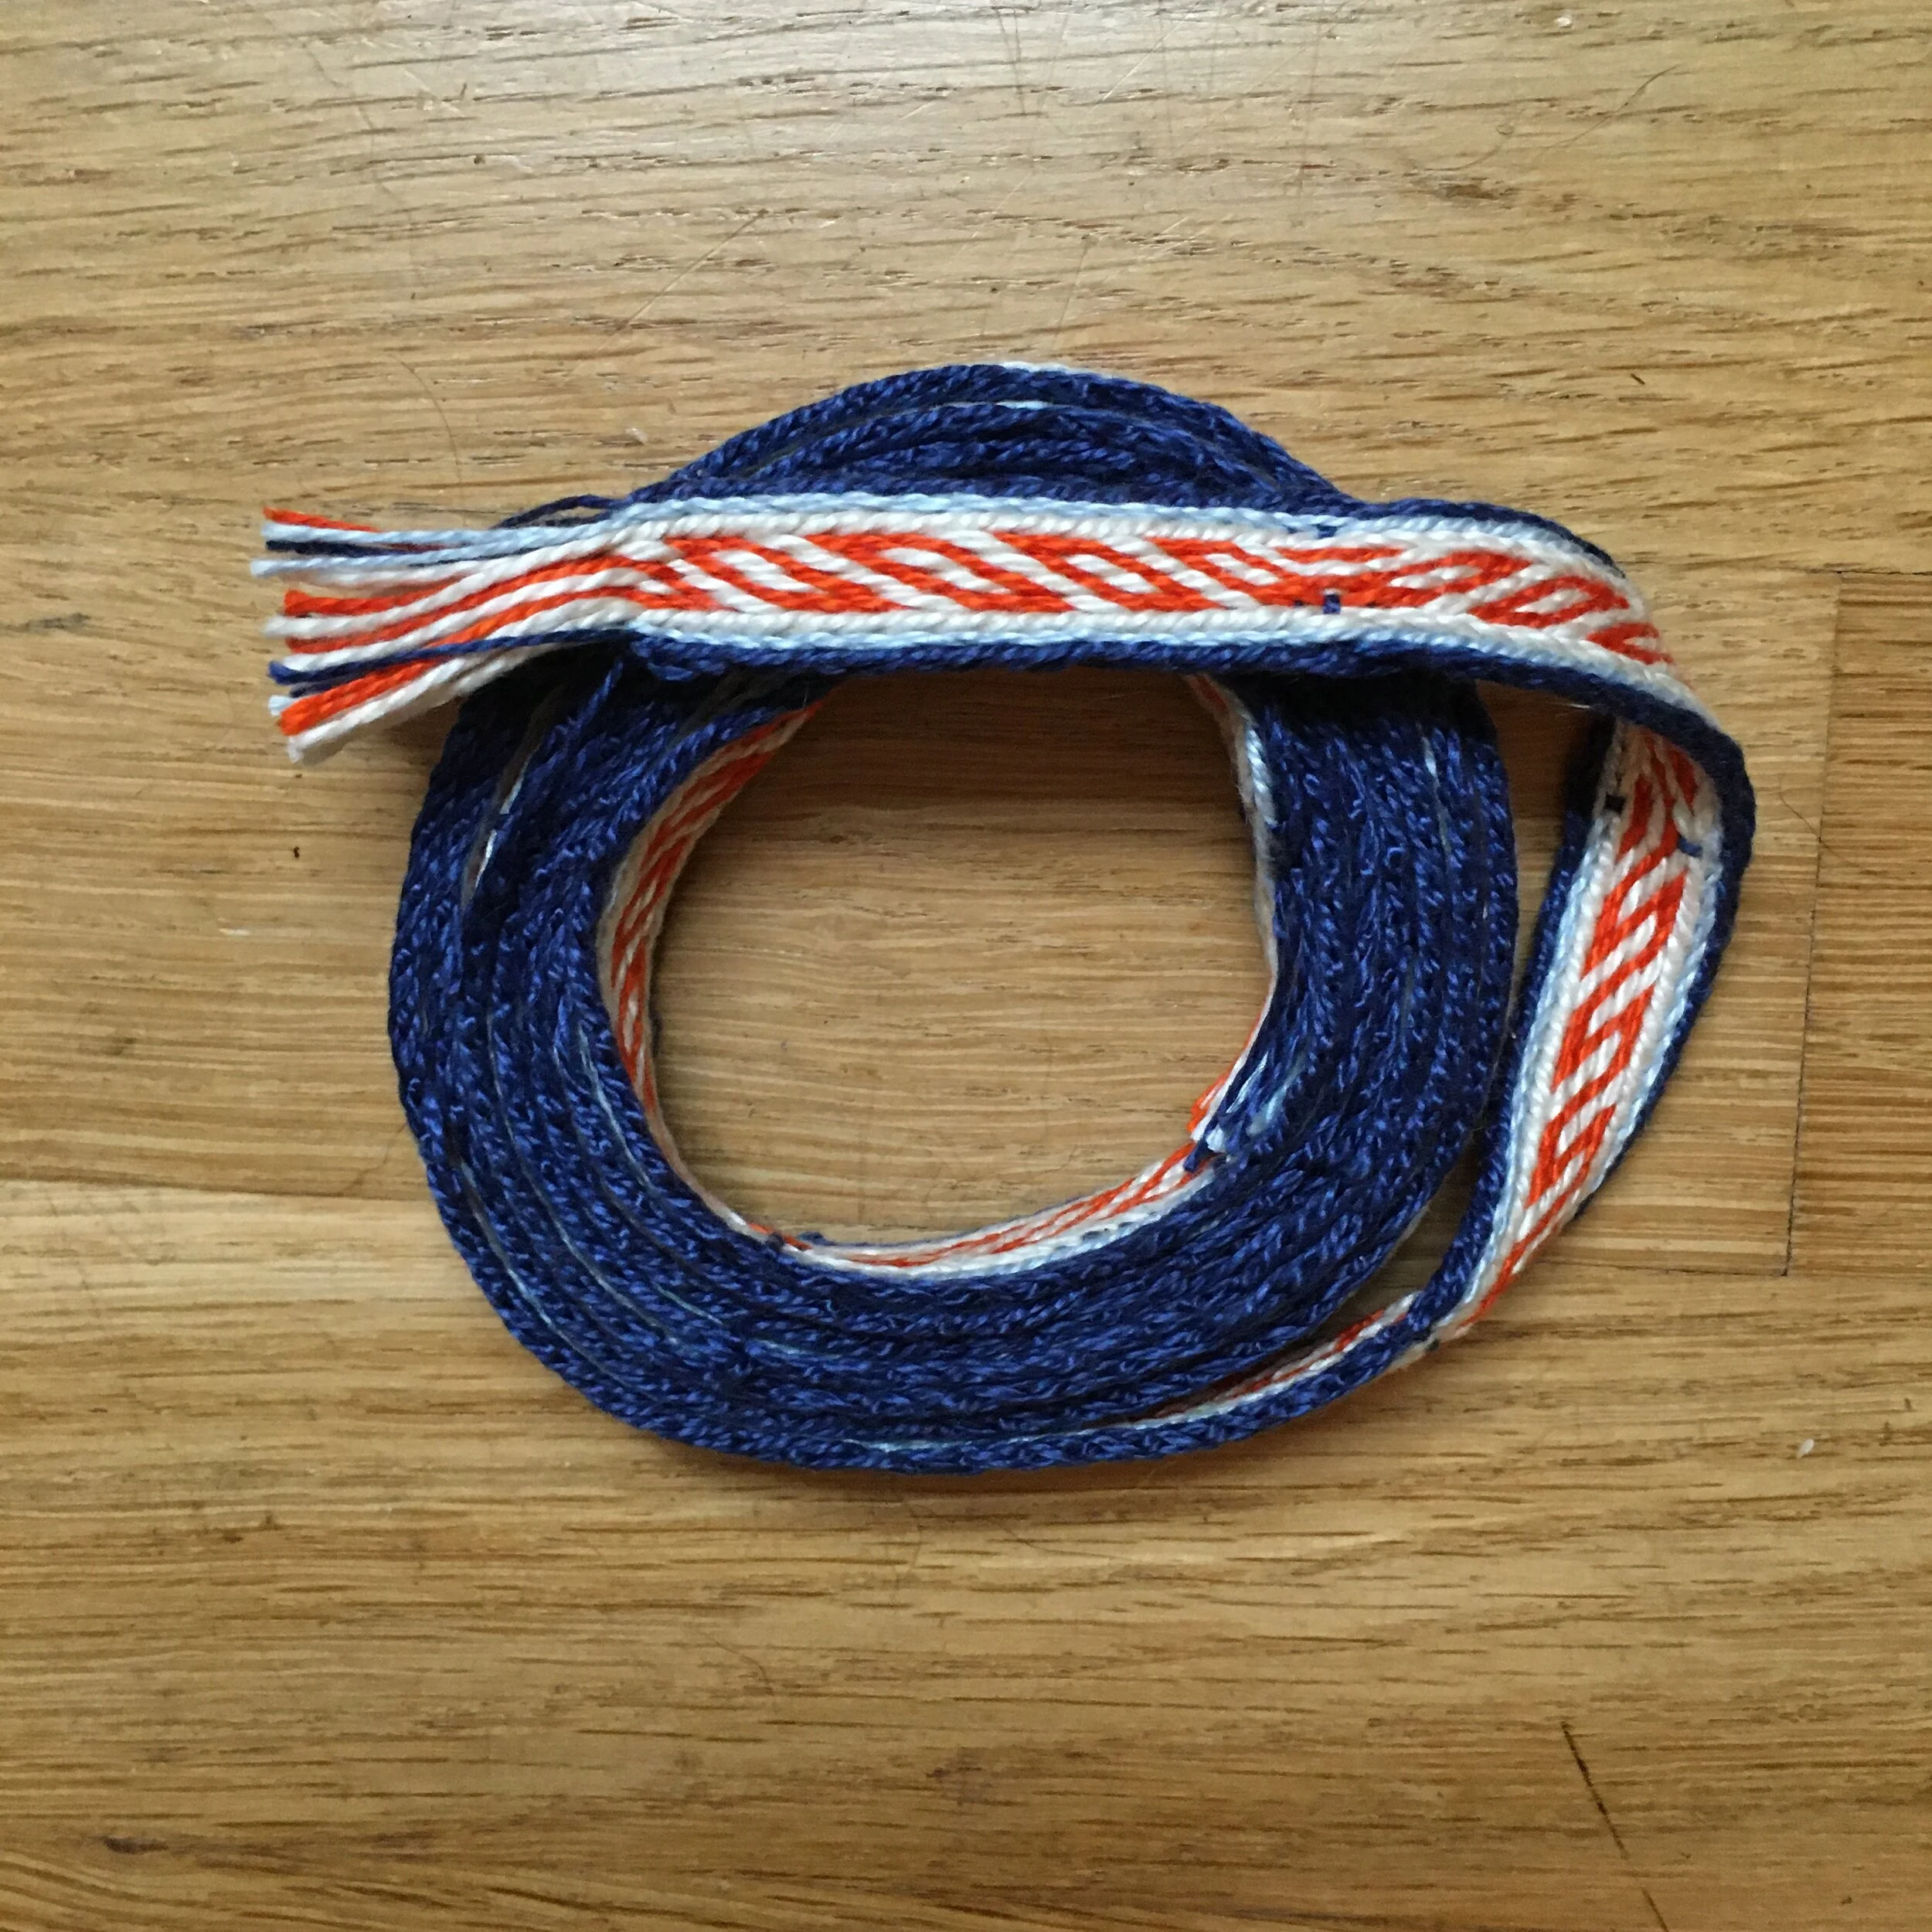
And I learned one more very important thing weaving this band. When they tell you to warp your loom with the tension bar at the furthest, loosest place, do it! Tablet weaving bands cause the warp to get shorter as you weave. I never noticed that when I was doing straight weaves on the inkle loom. I warped this band with the tension bar approximately in the center of the slot. I realized about have way through the band, that this was going to be a problem. As I advanced the band, the tension bar got closer and closer to the end end of the slot. Finally it did reach the end of the slot, which meant I was done weaving. I couldn’t advance the band any further. It wasn’t horrible…I probably sacrificed about 8 inches of warp thread. But since this was hand dyed yarn, it was a rather painful to lose it!
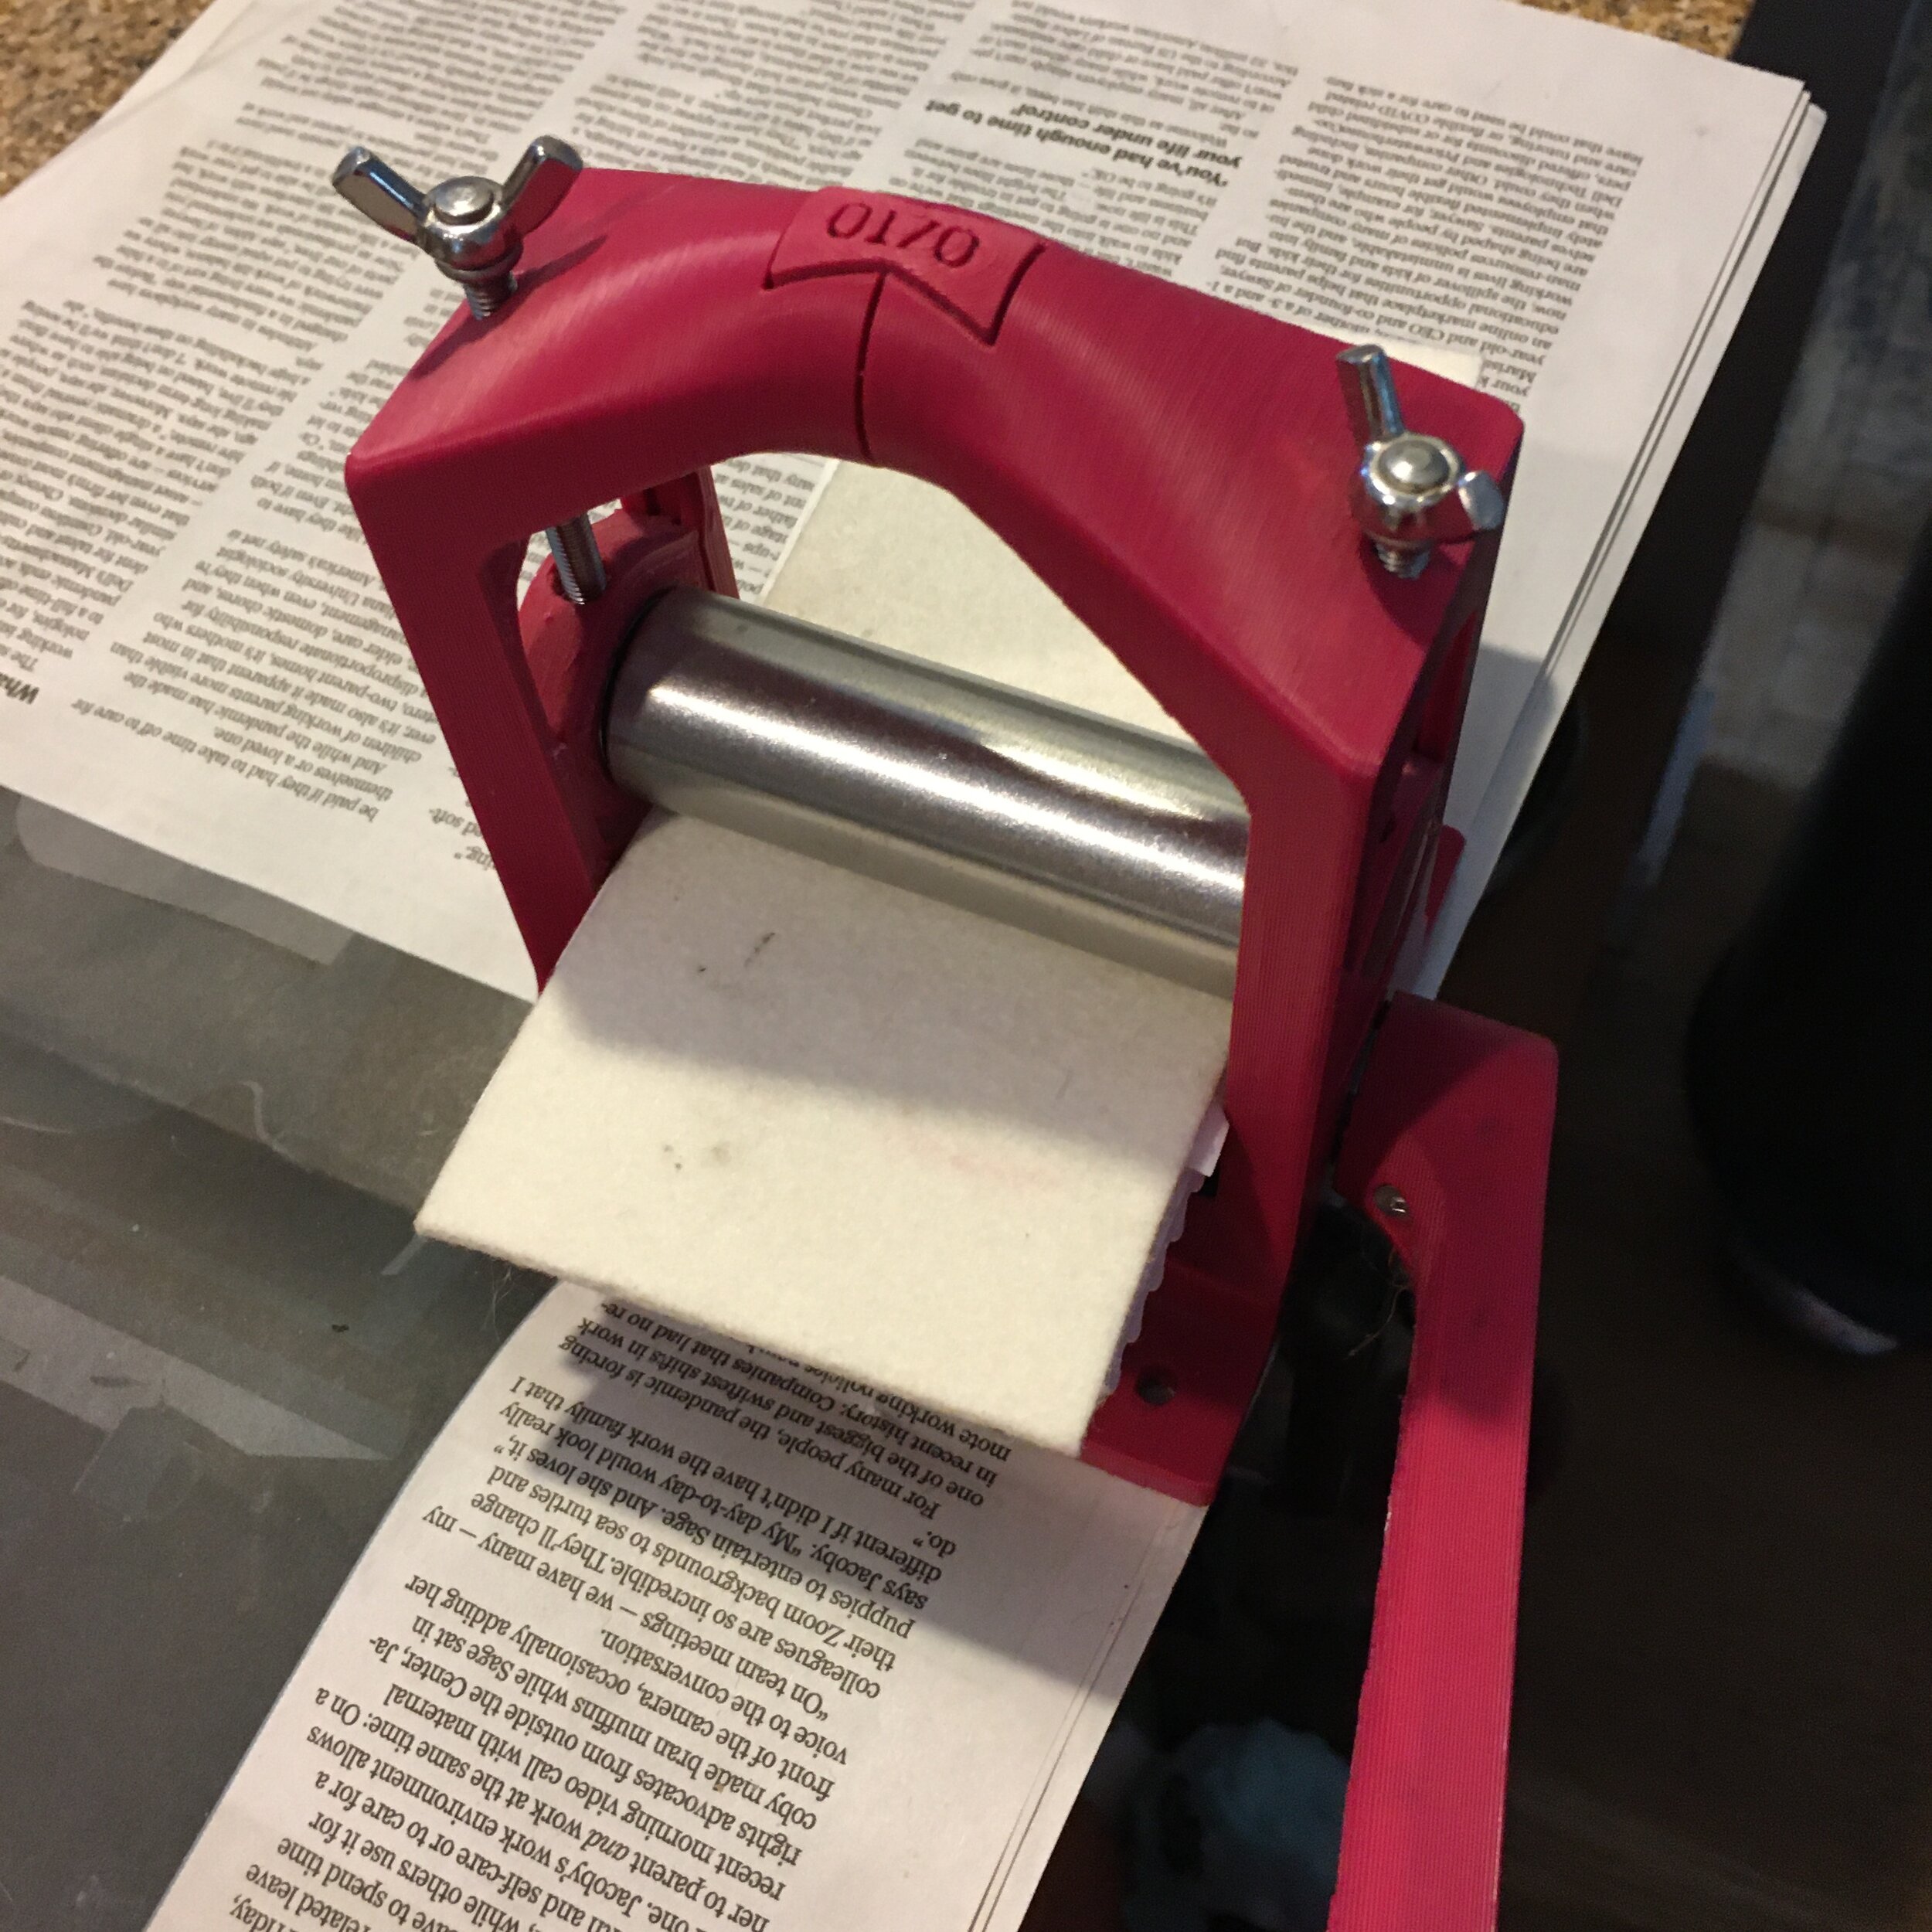
I will say that there are a lot of different types of inkle looms in videos I’ve watched, and the location of the loose end of the tension bar is looks different on different looms. So I was a bit puzzled about where it was on my Schacht Inkle Loom. The answer is that it is at the end of the slot that is closest to you when you are weaving, and furthest away from the pegs.
I learned a lot weaving this band and am starting to feel more comfortable doing tablet weaving. It’s really fun and I love the finished product!

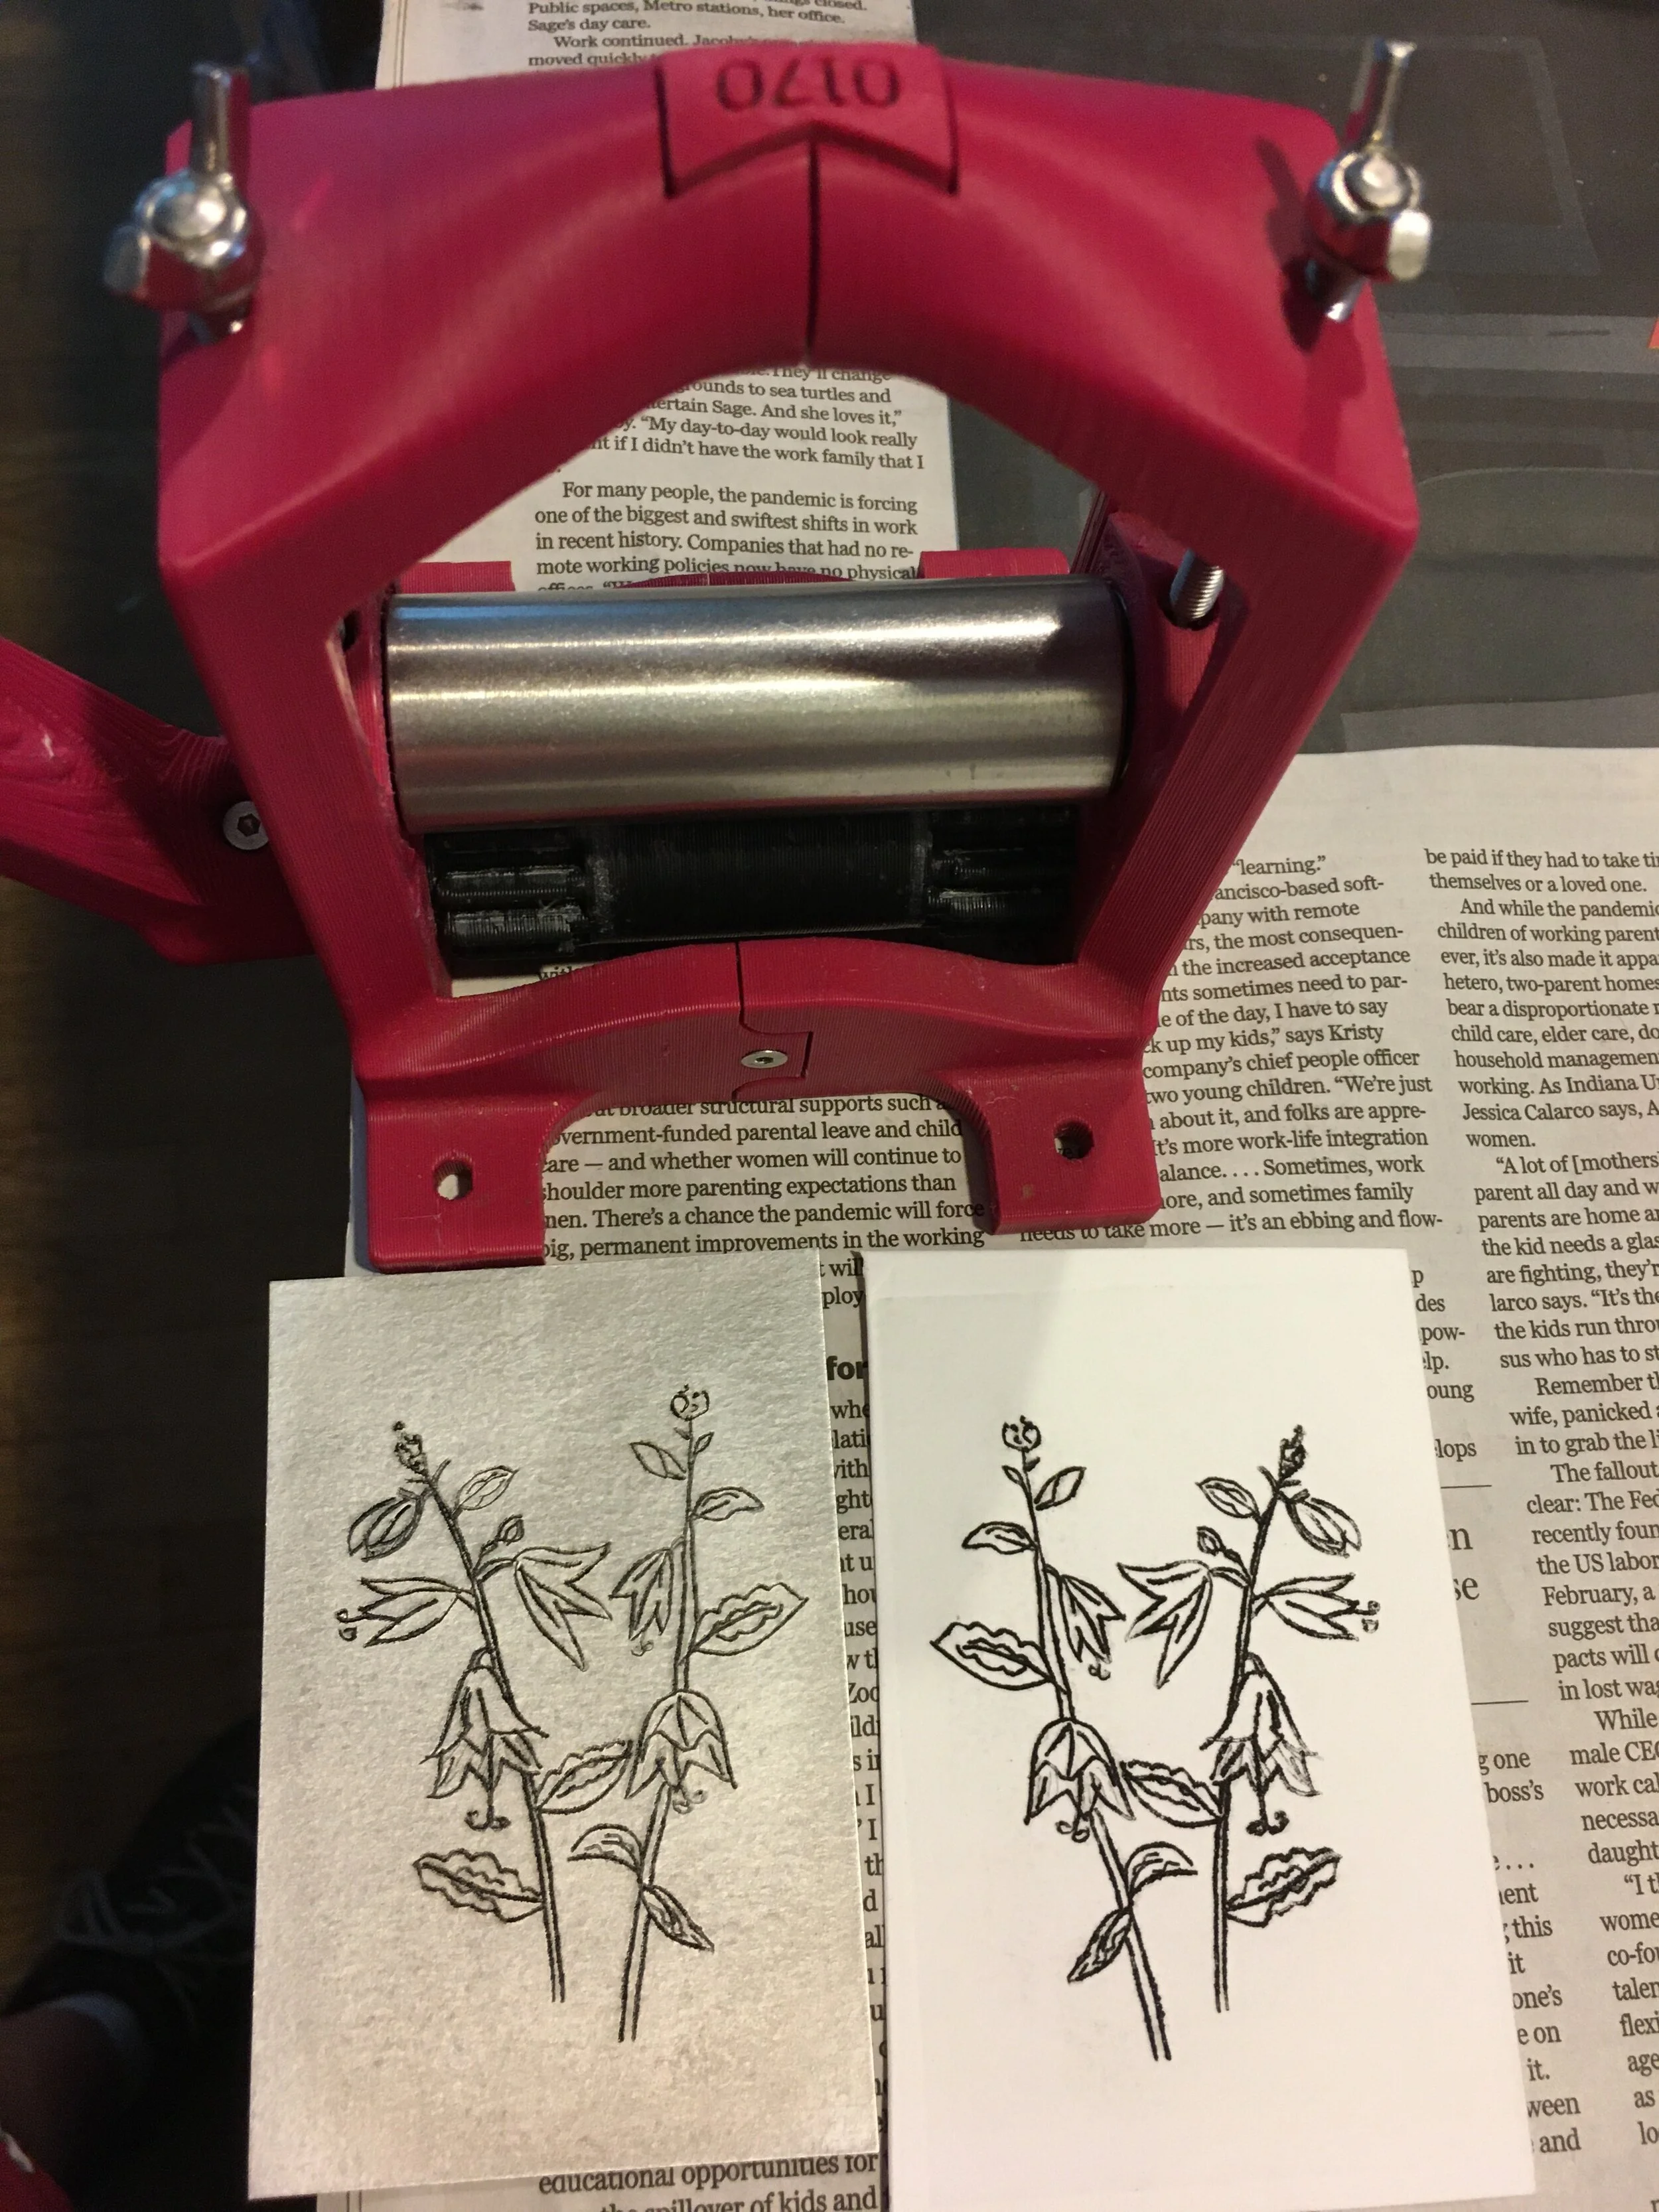
Oops. Here you can see the tension bar as arrived the end of the slot that is closest to the pegs on my Schacht Inkle Loom. I can’t advance the band any further. so I can’t weave anymore of my warp. This is a rookie error.