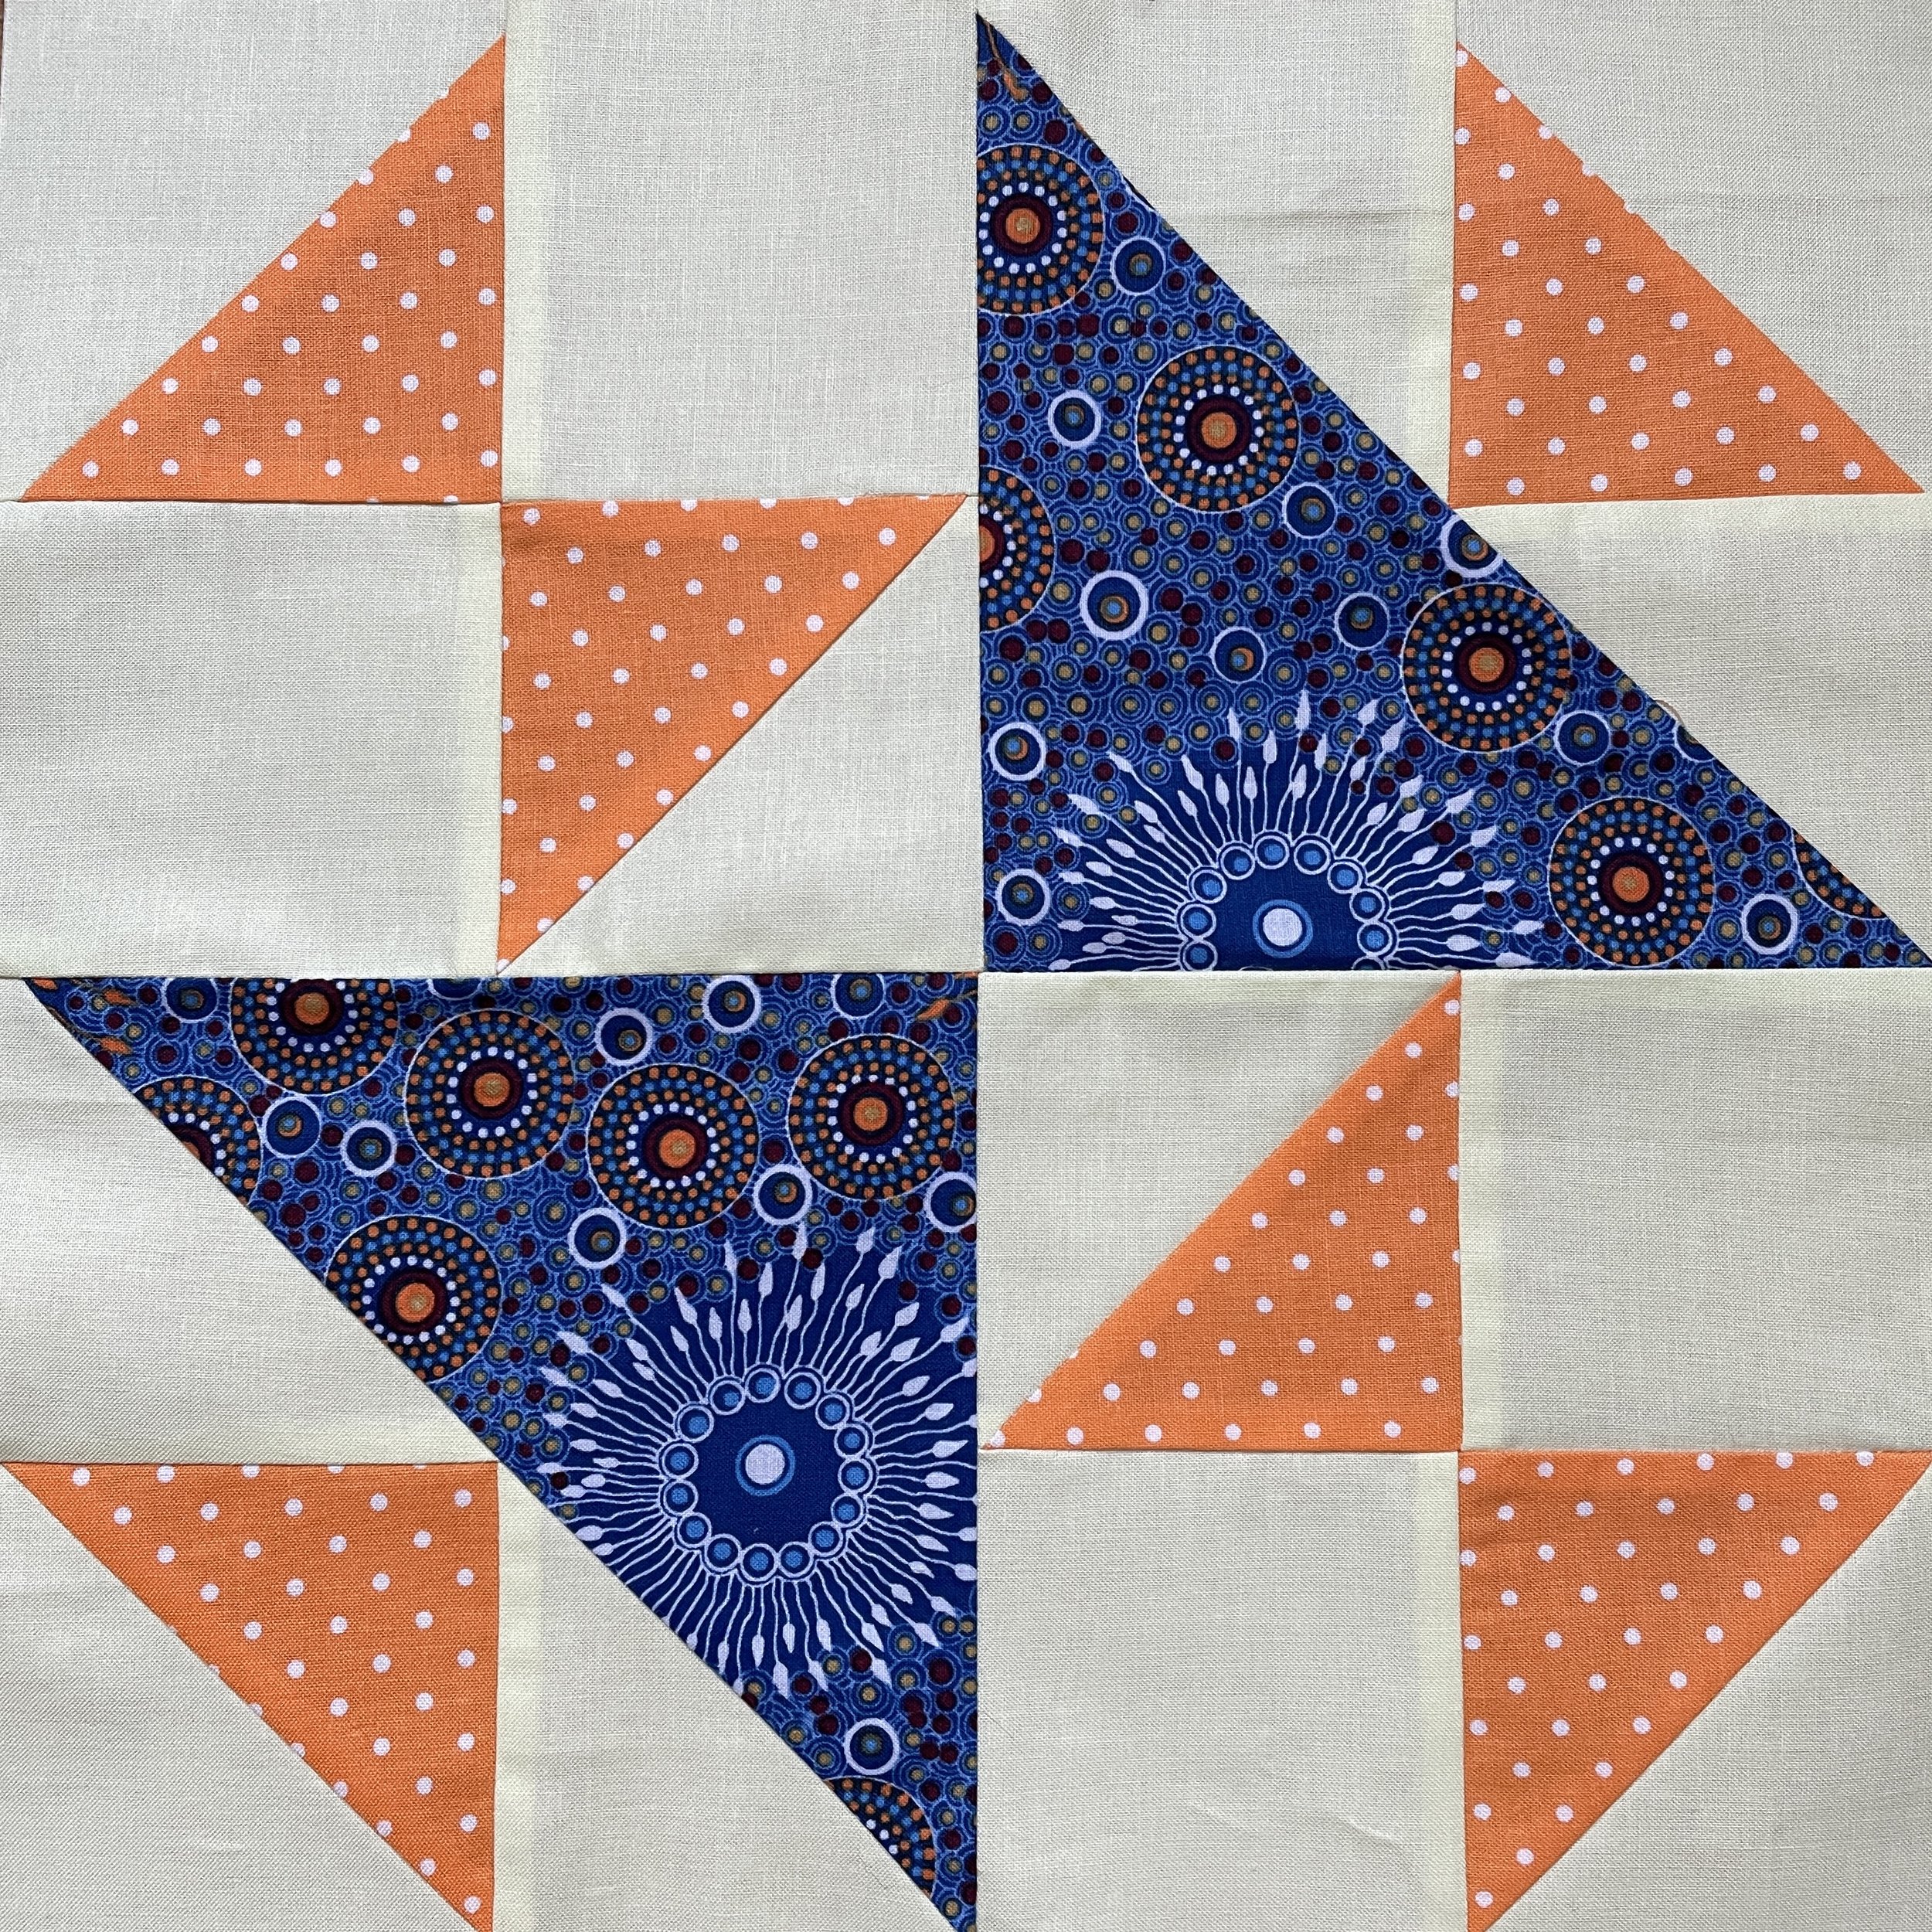
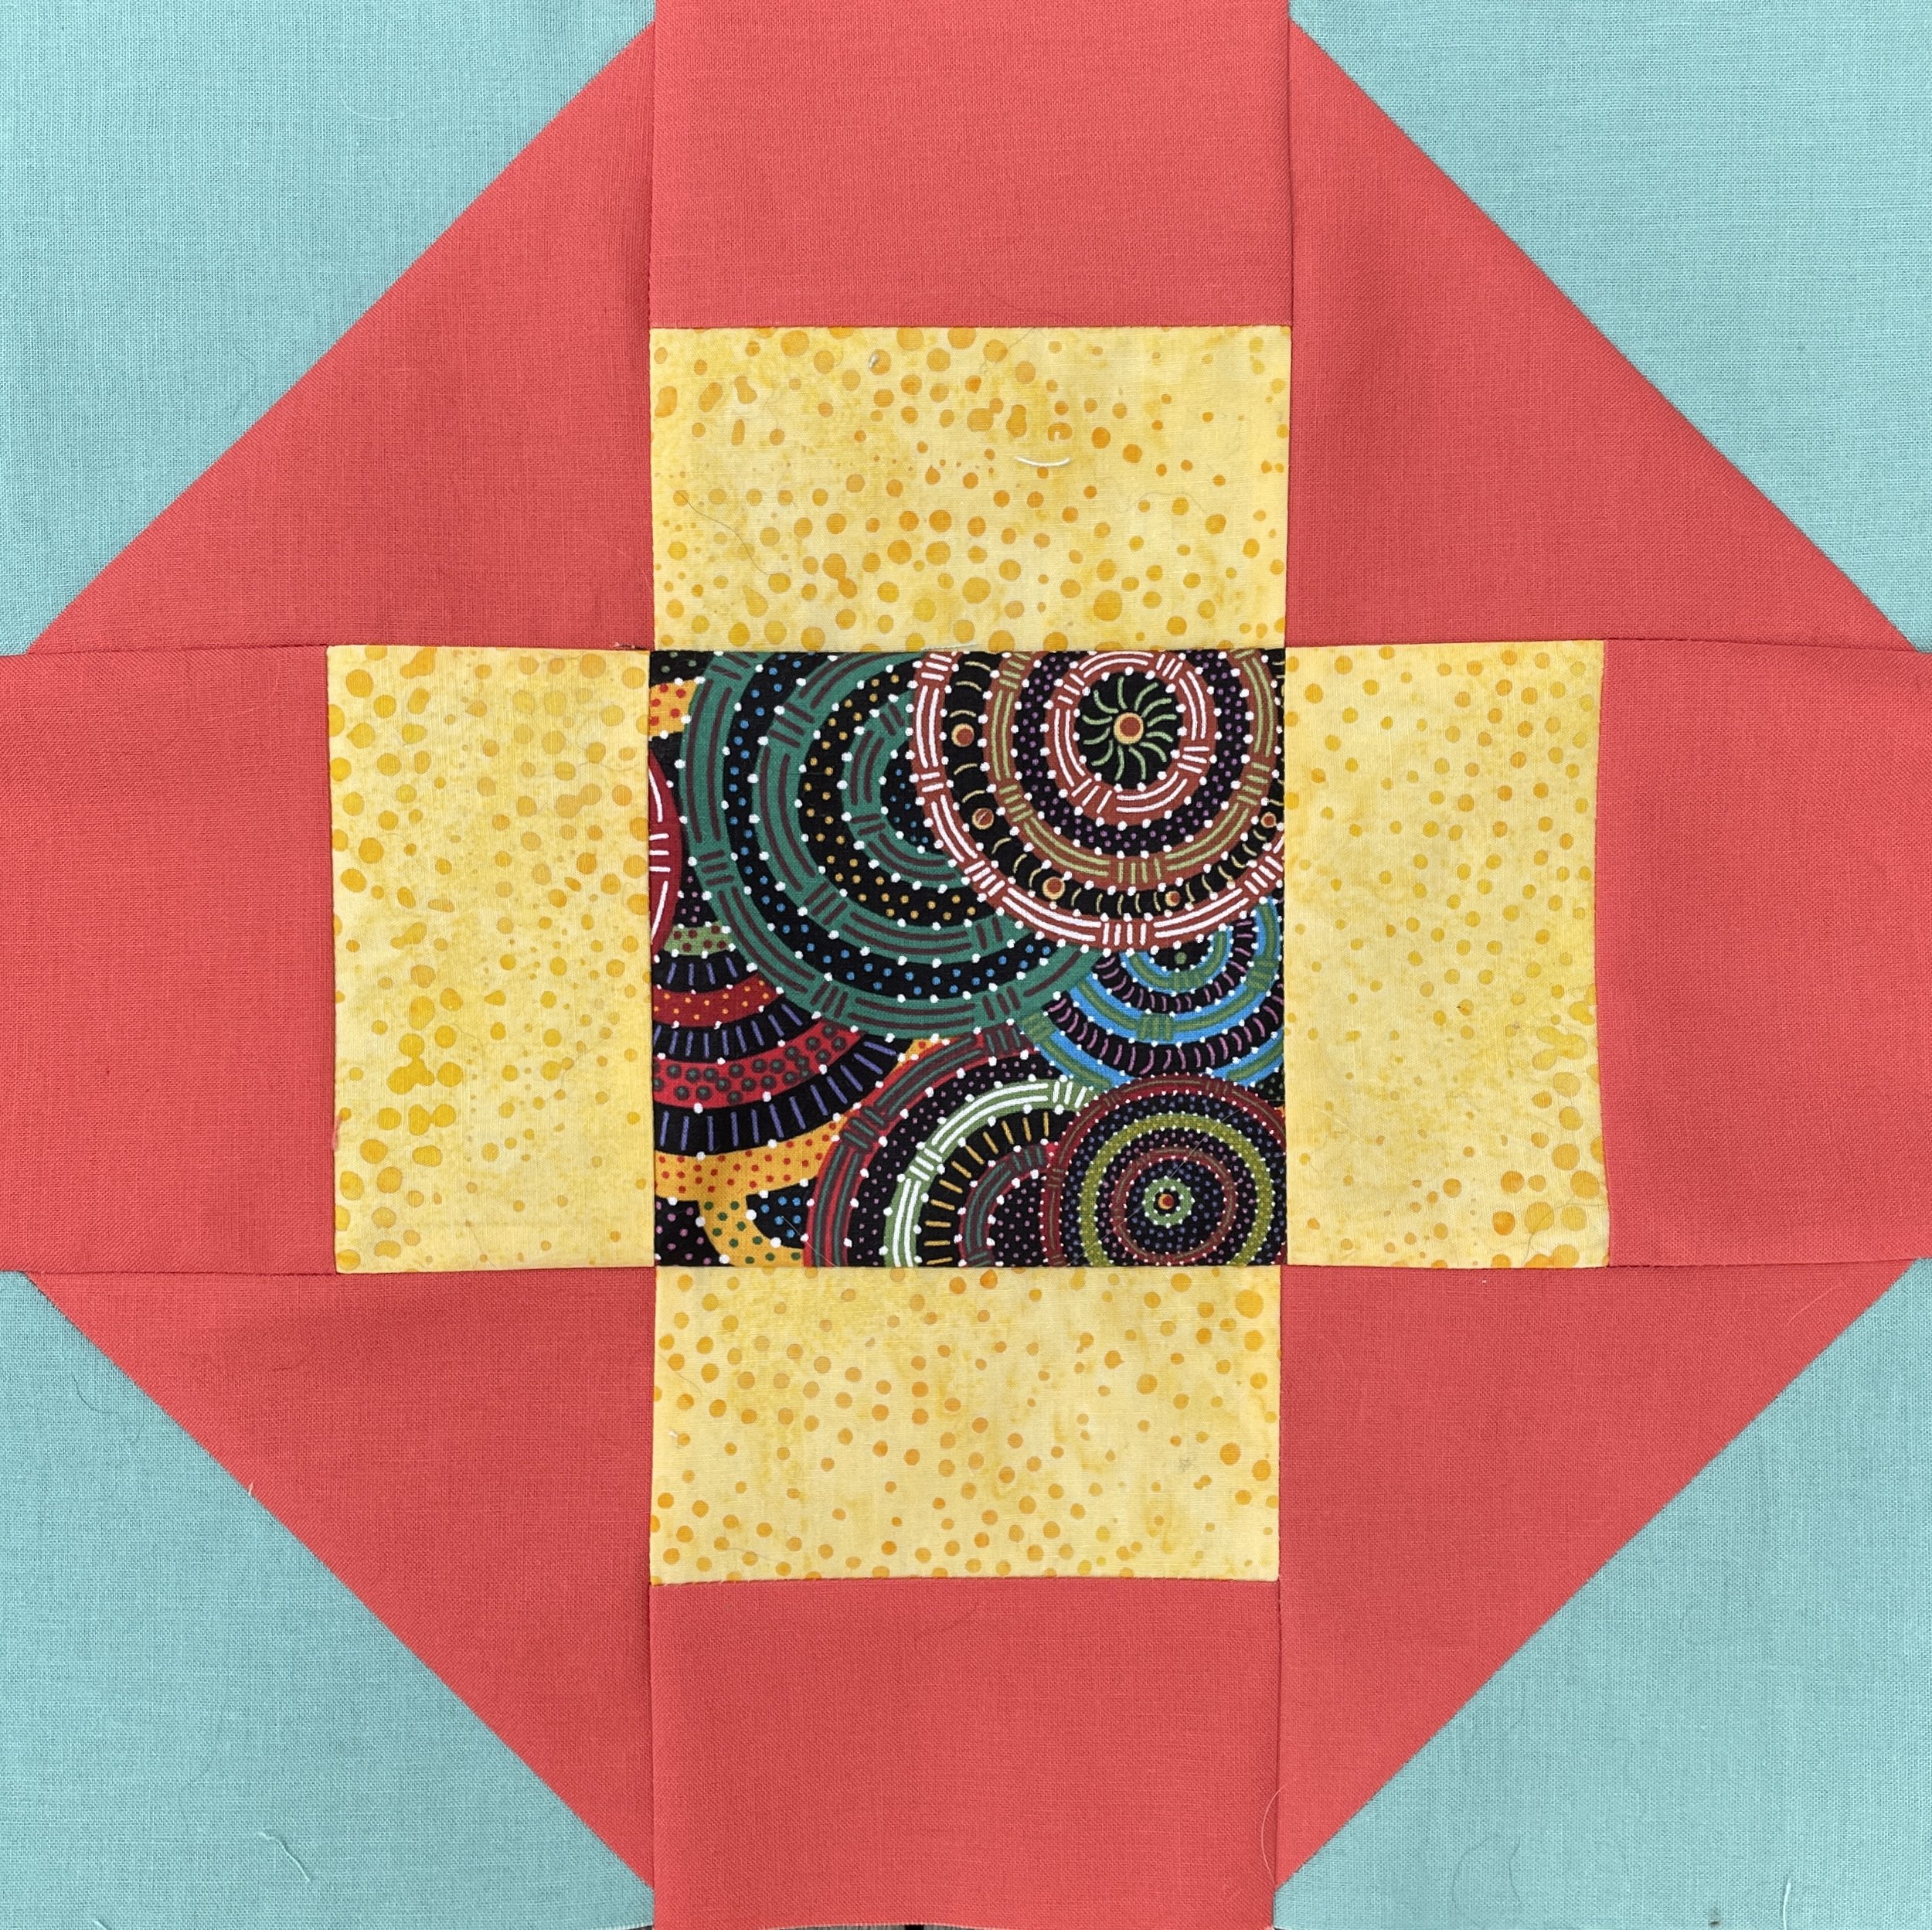
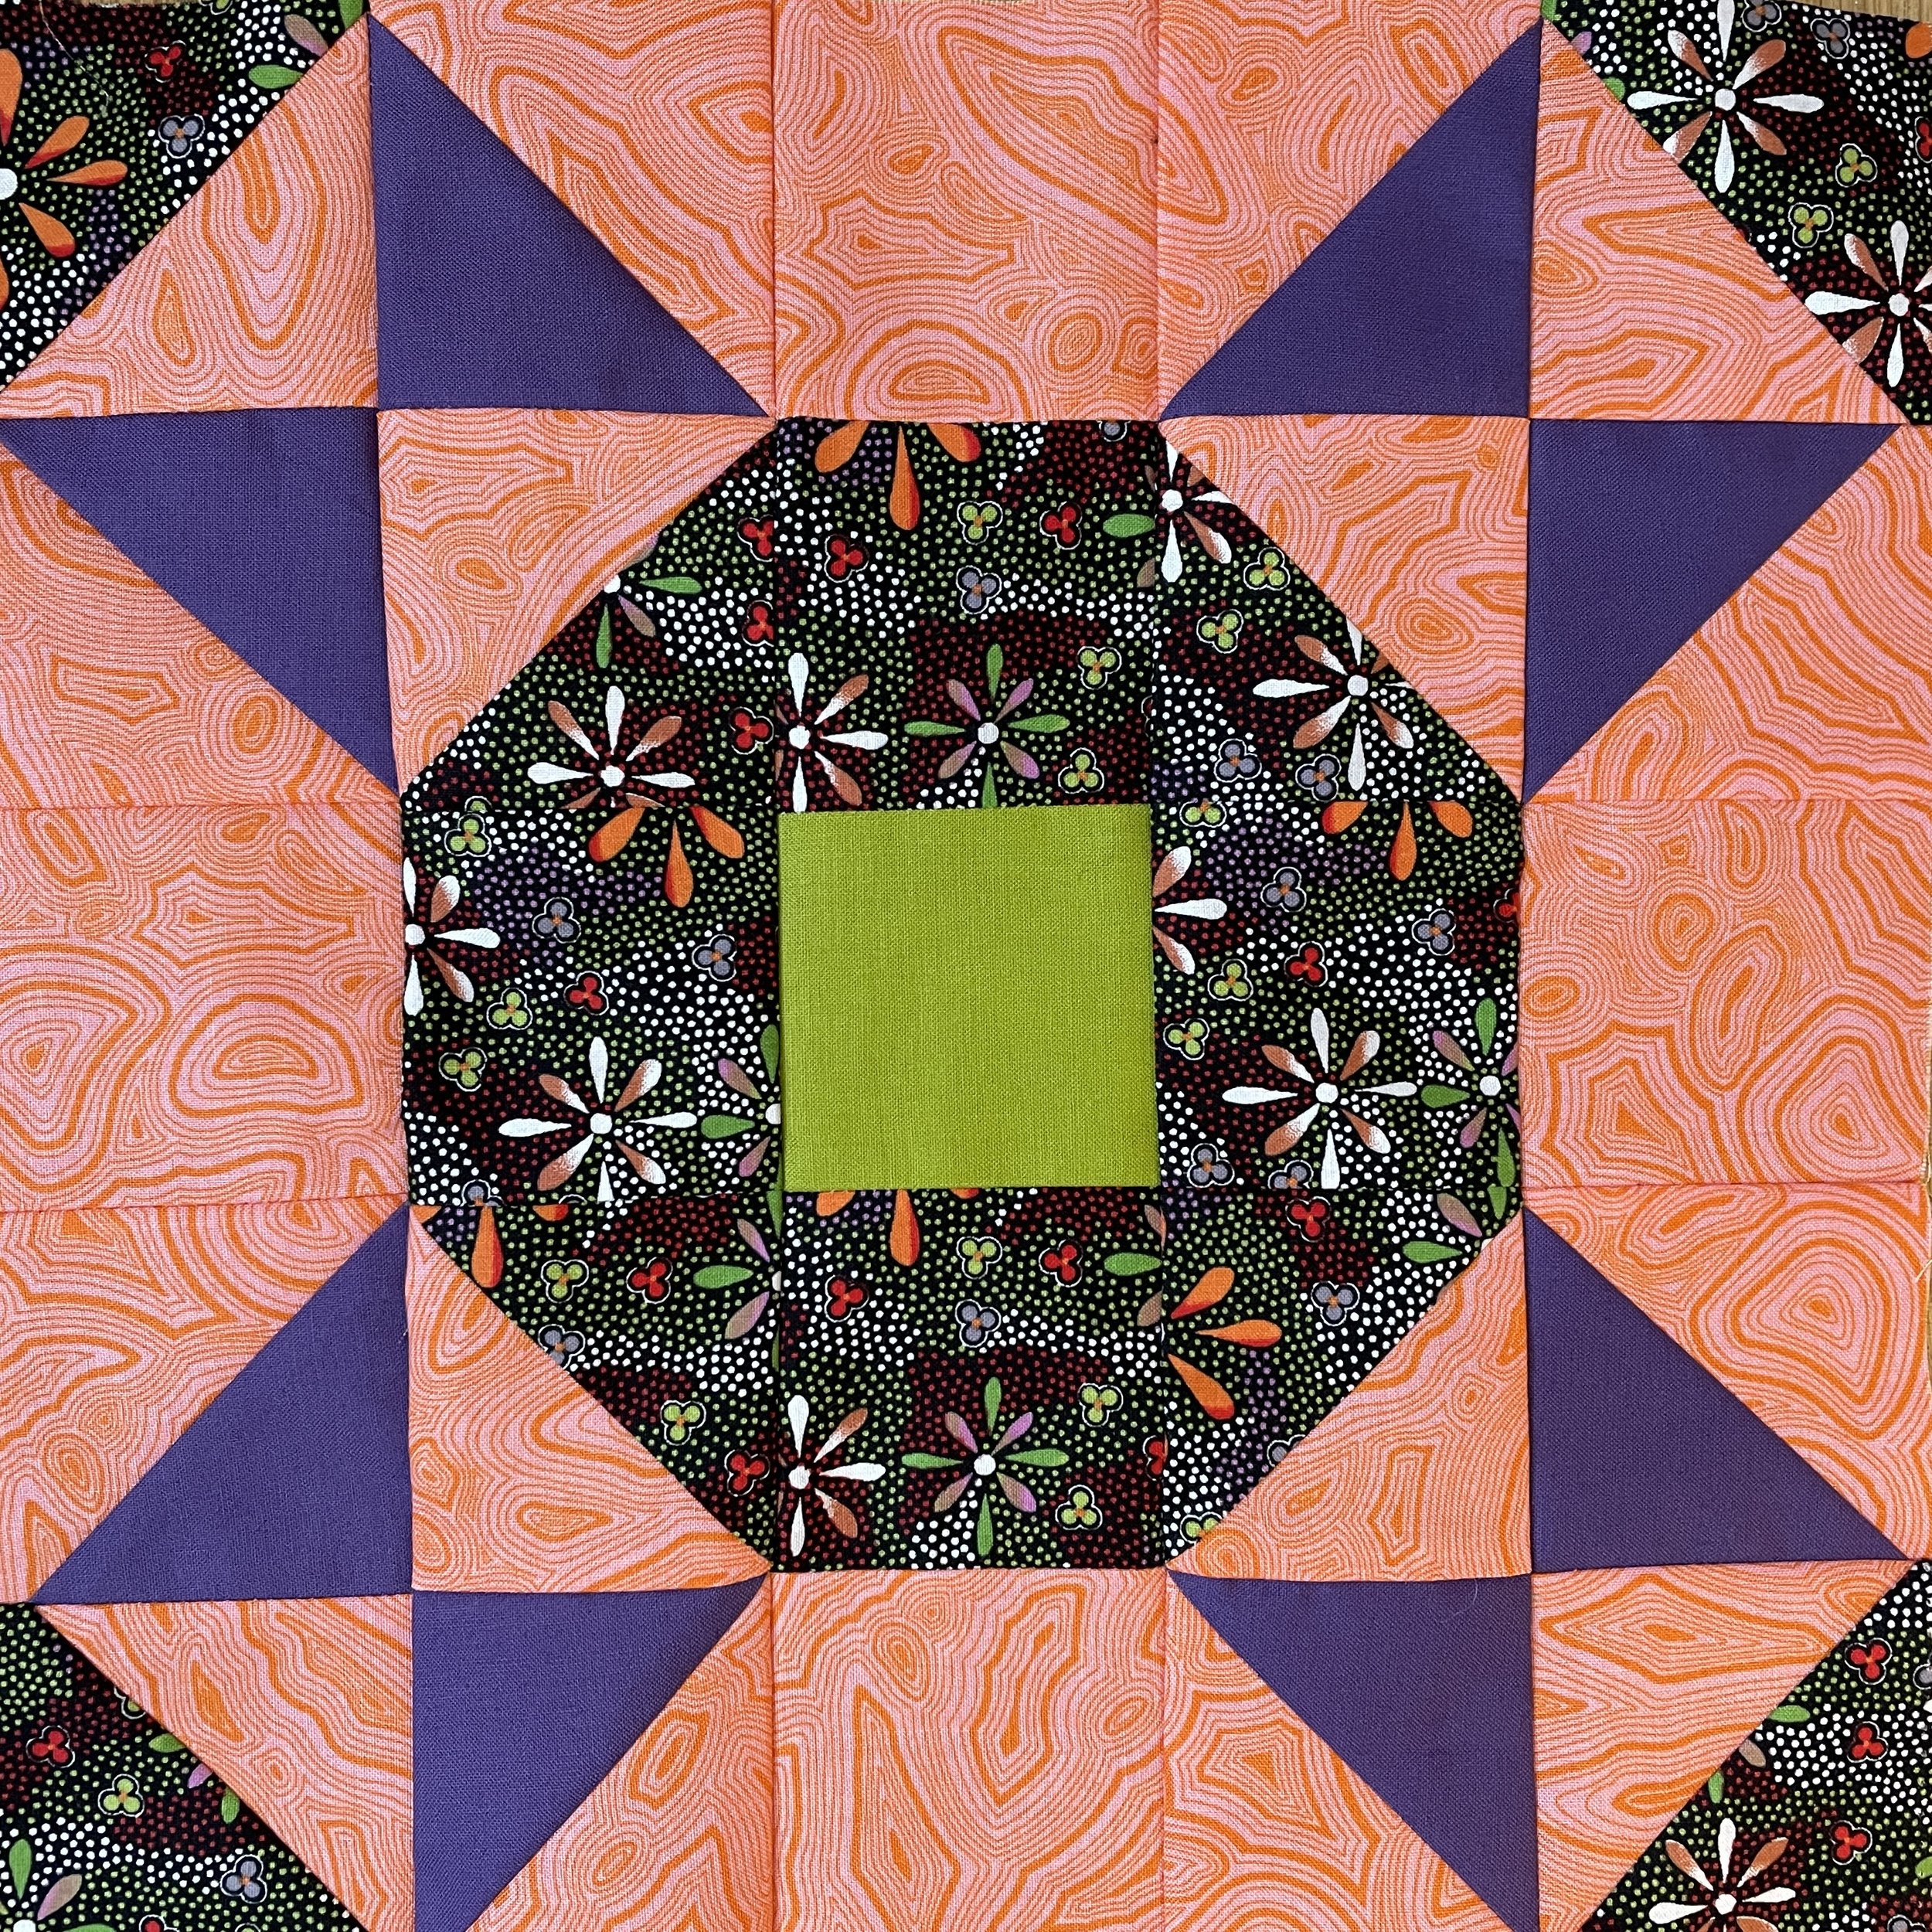
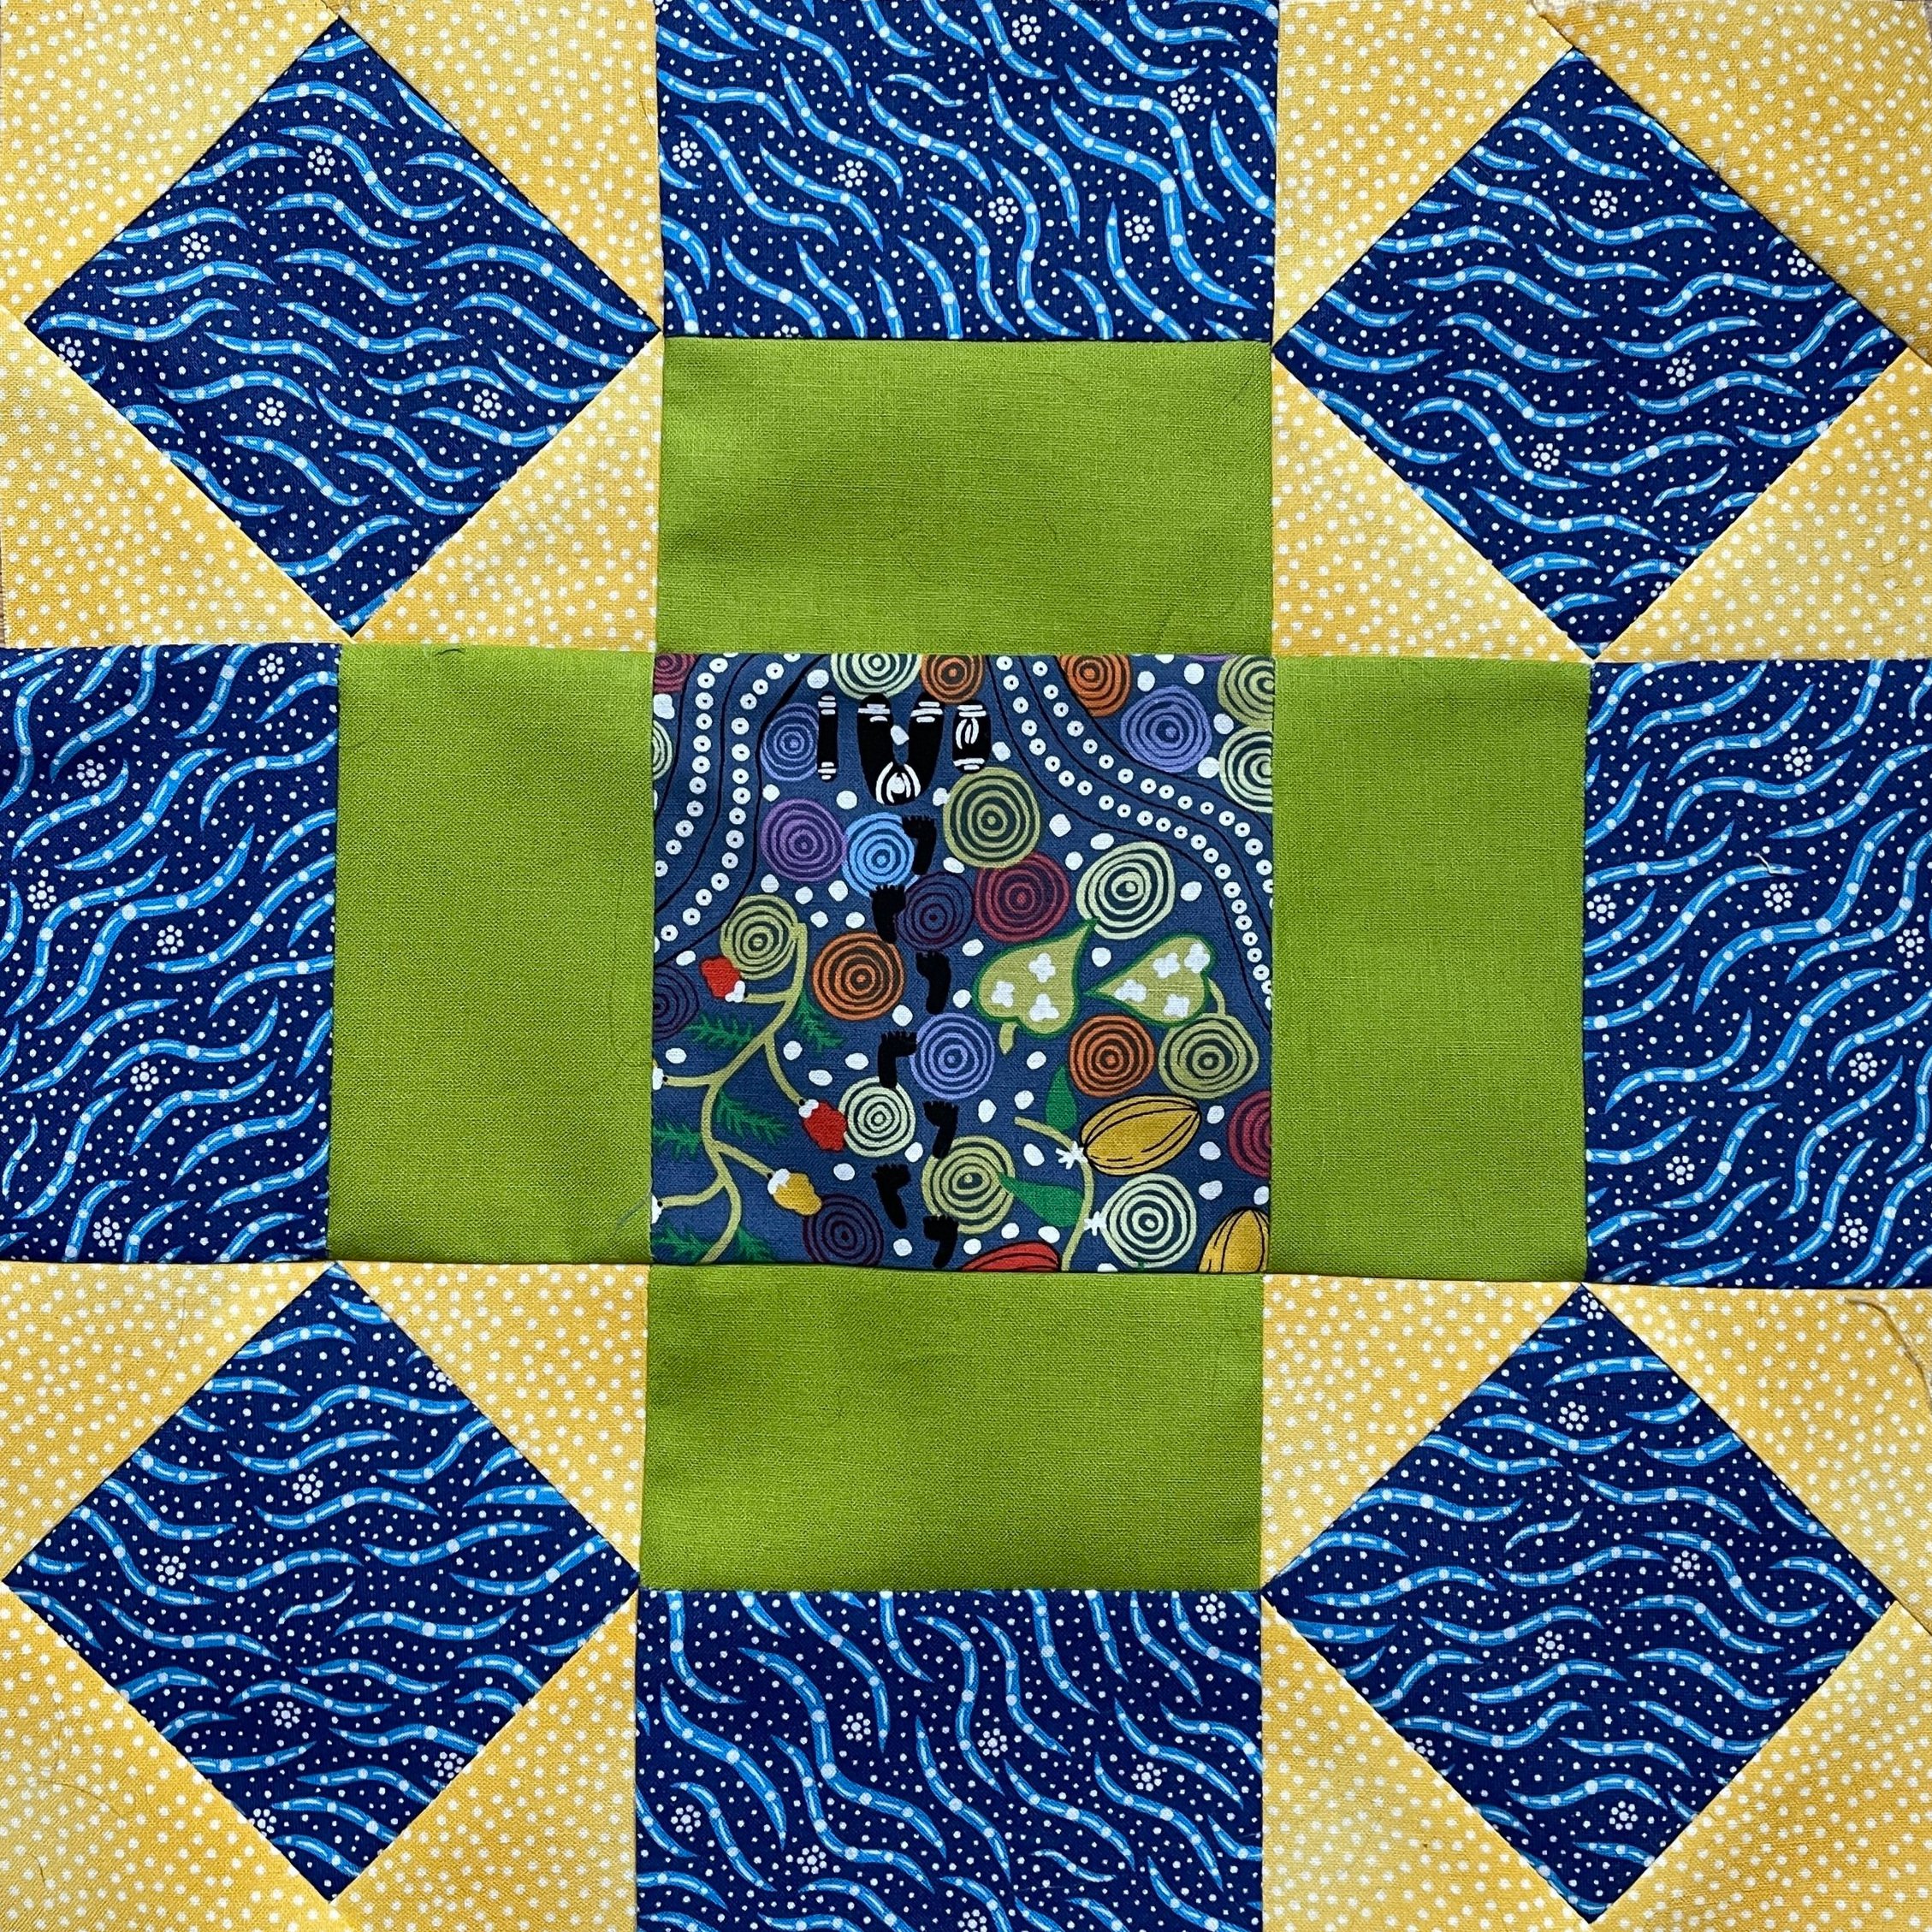
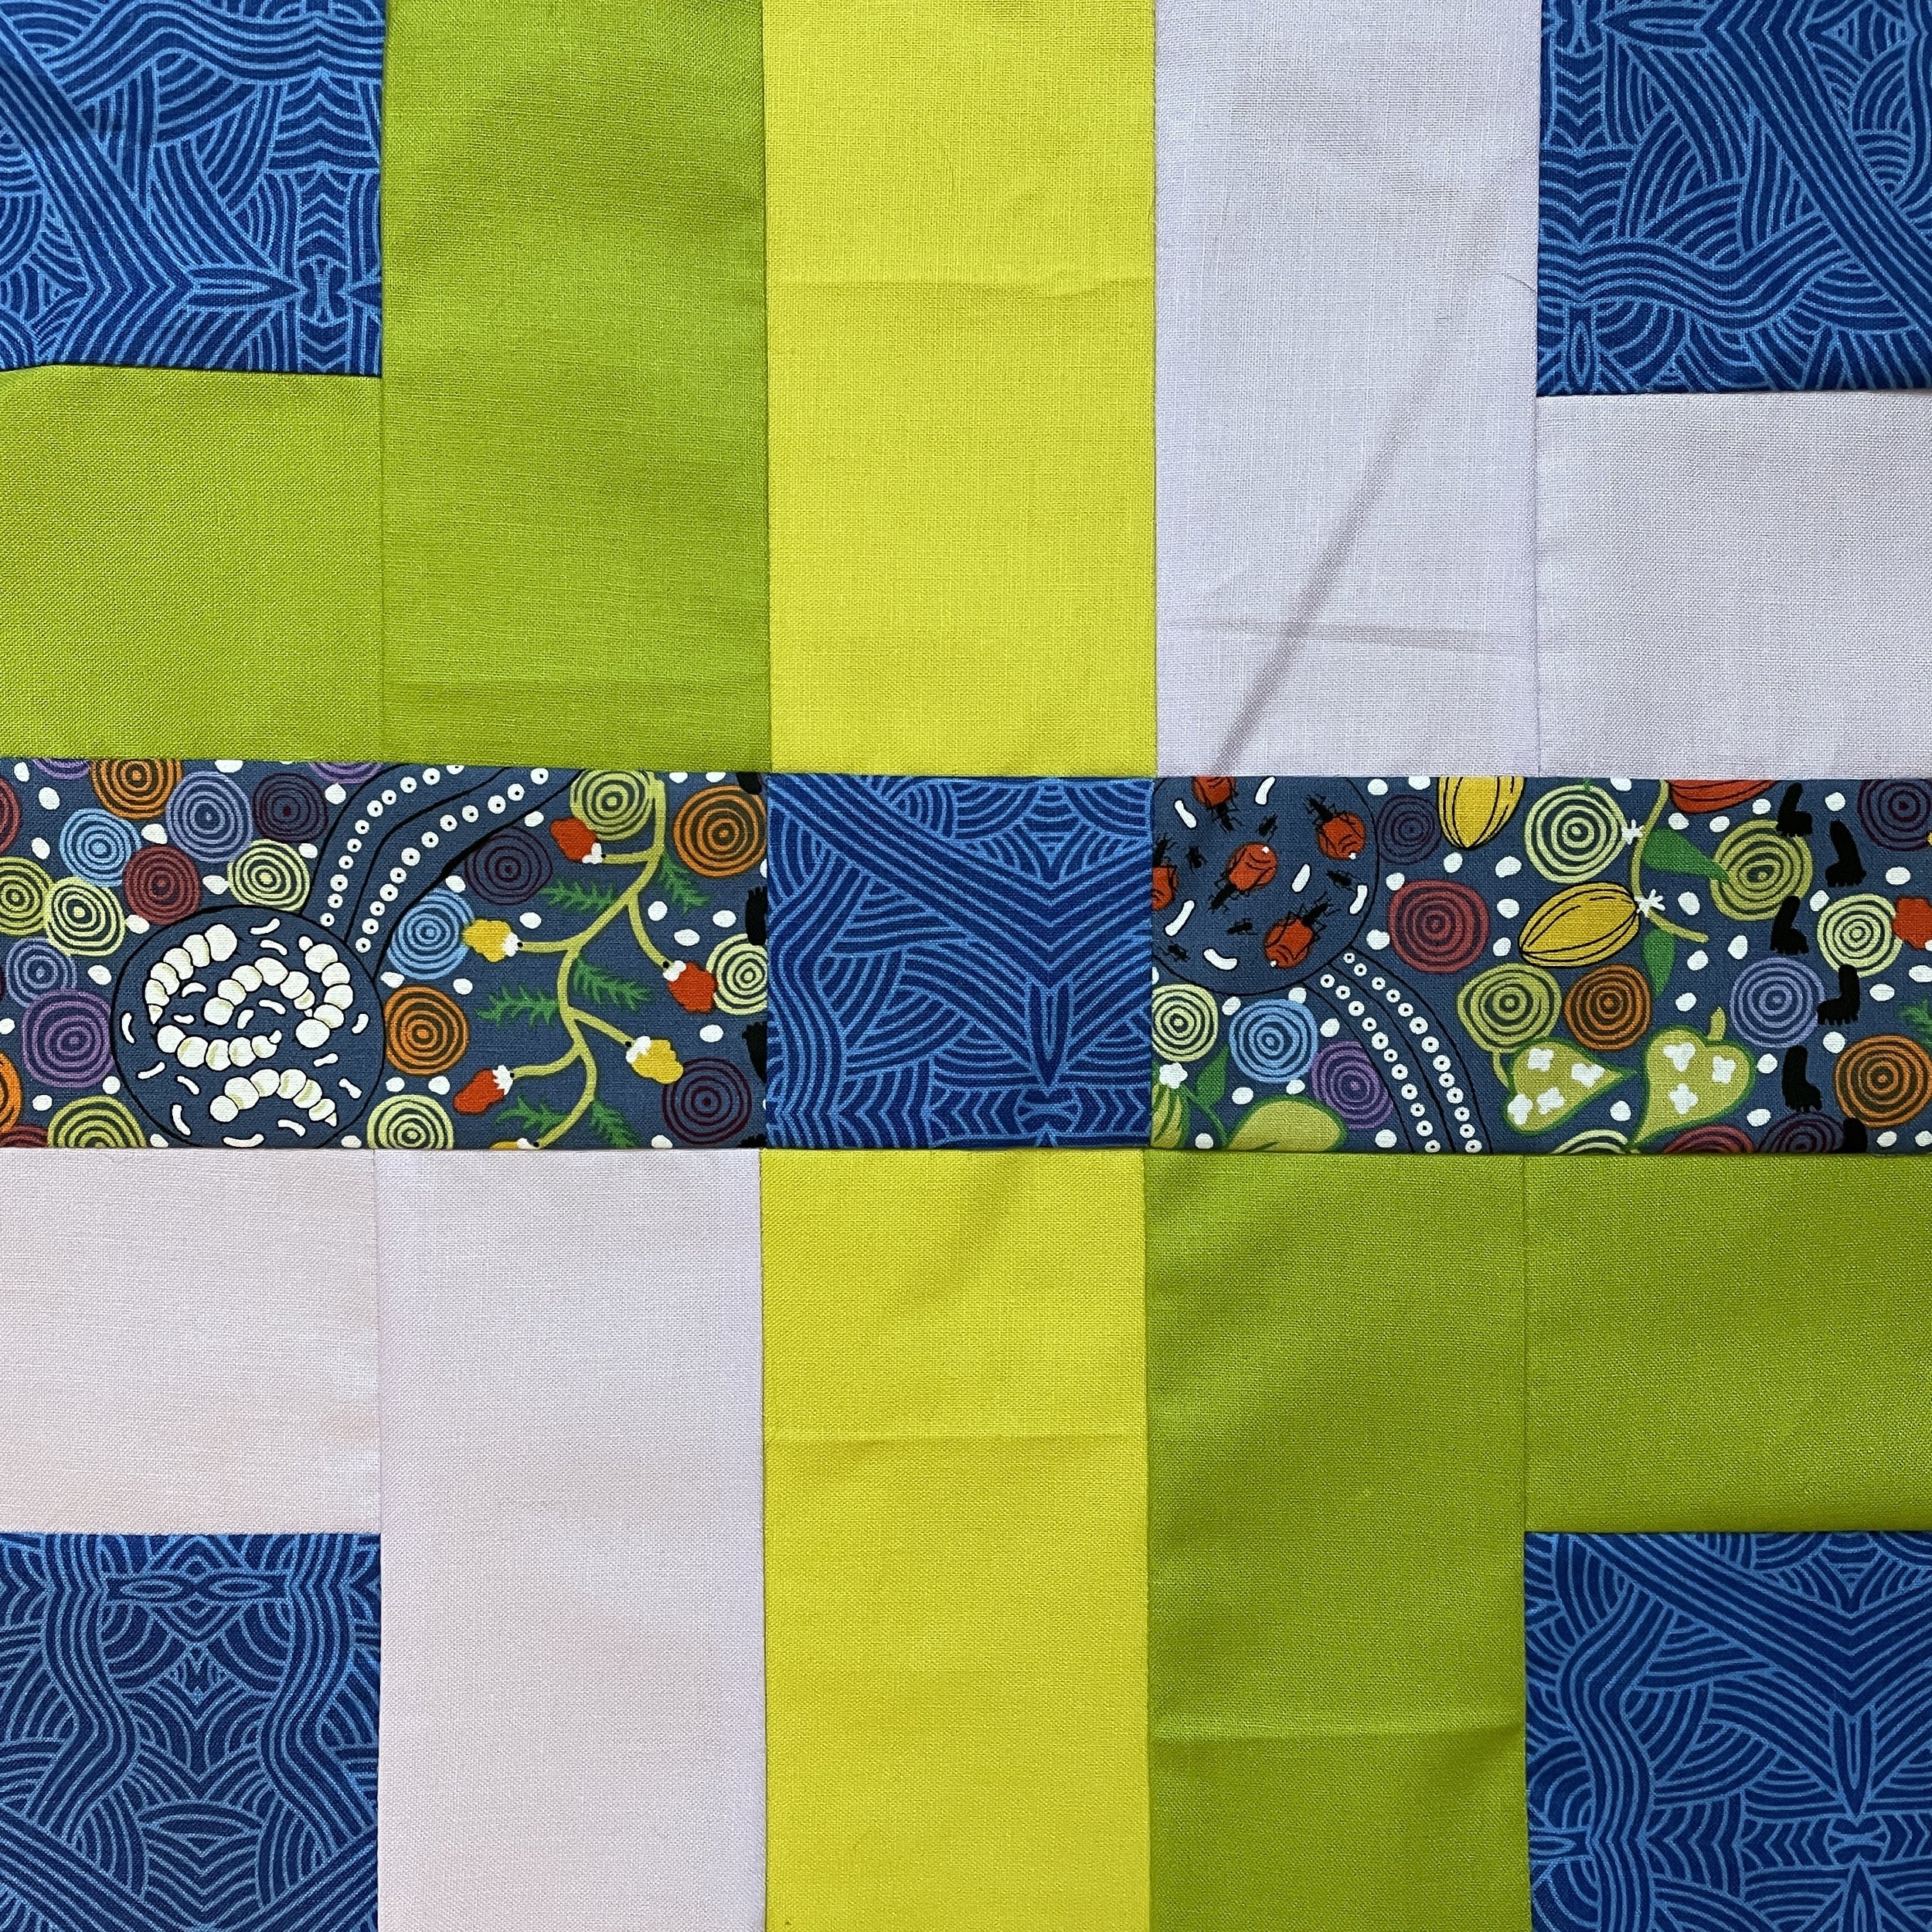
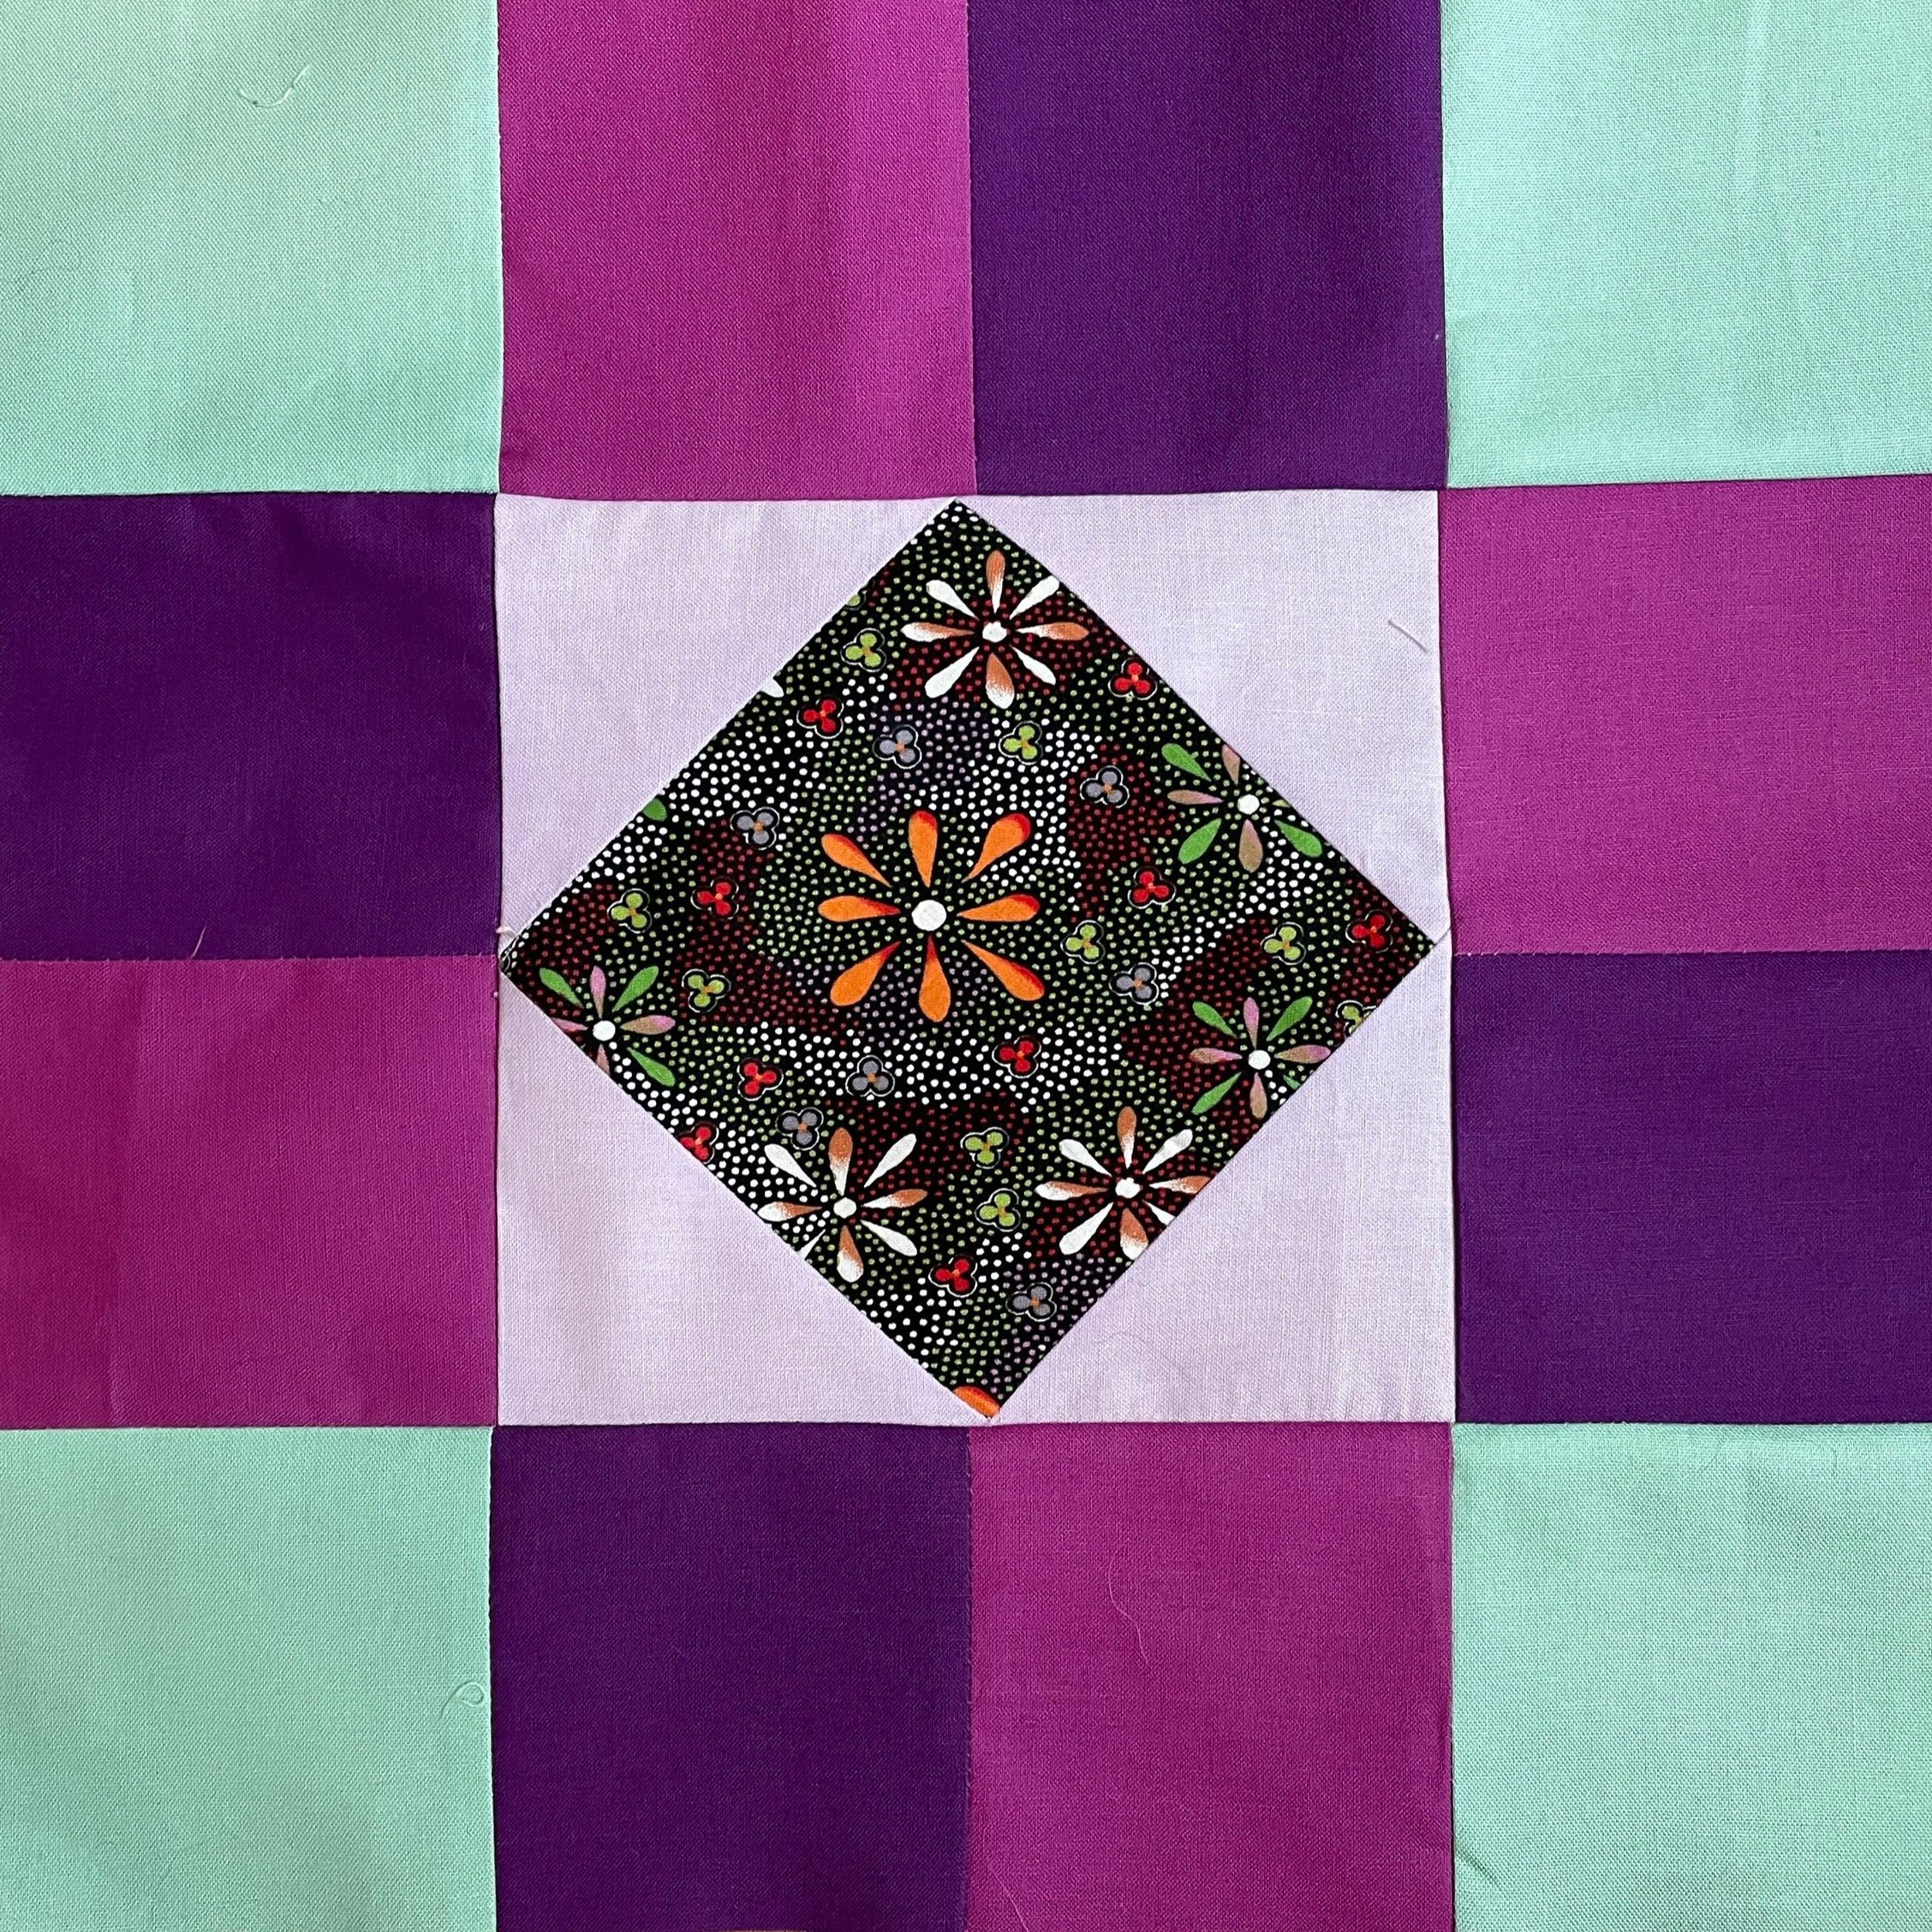
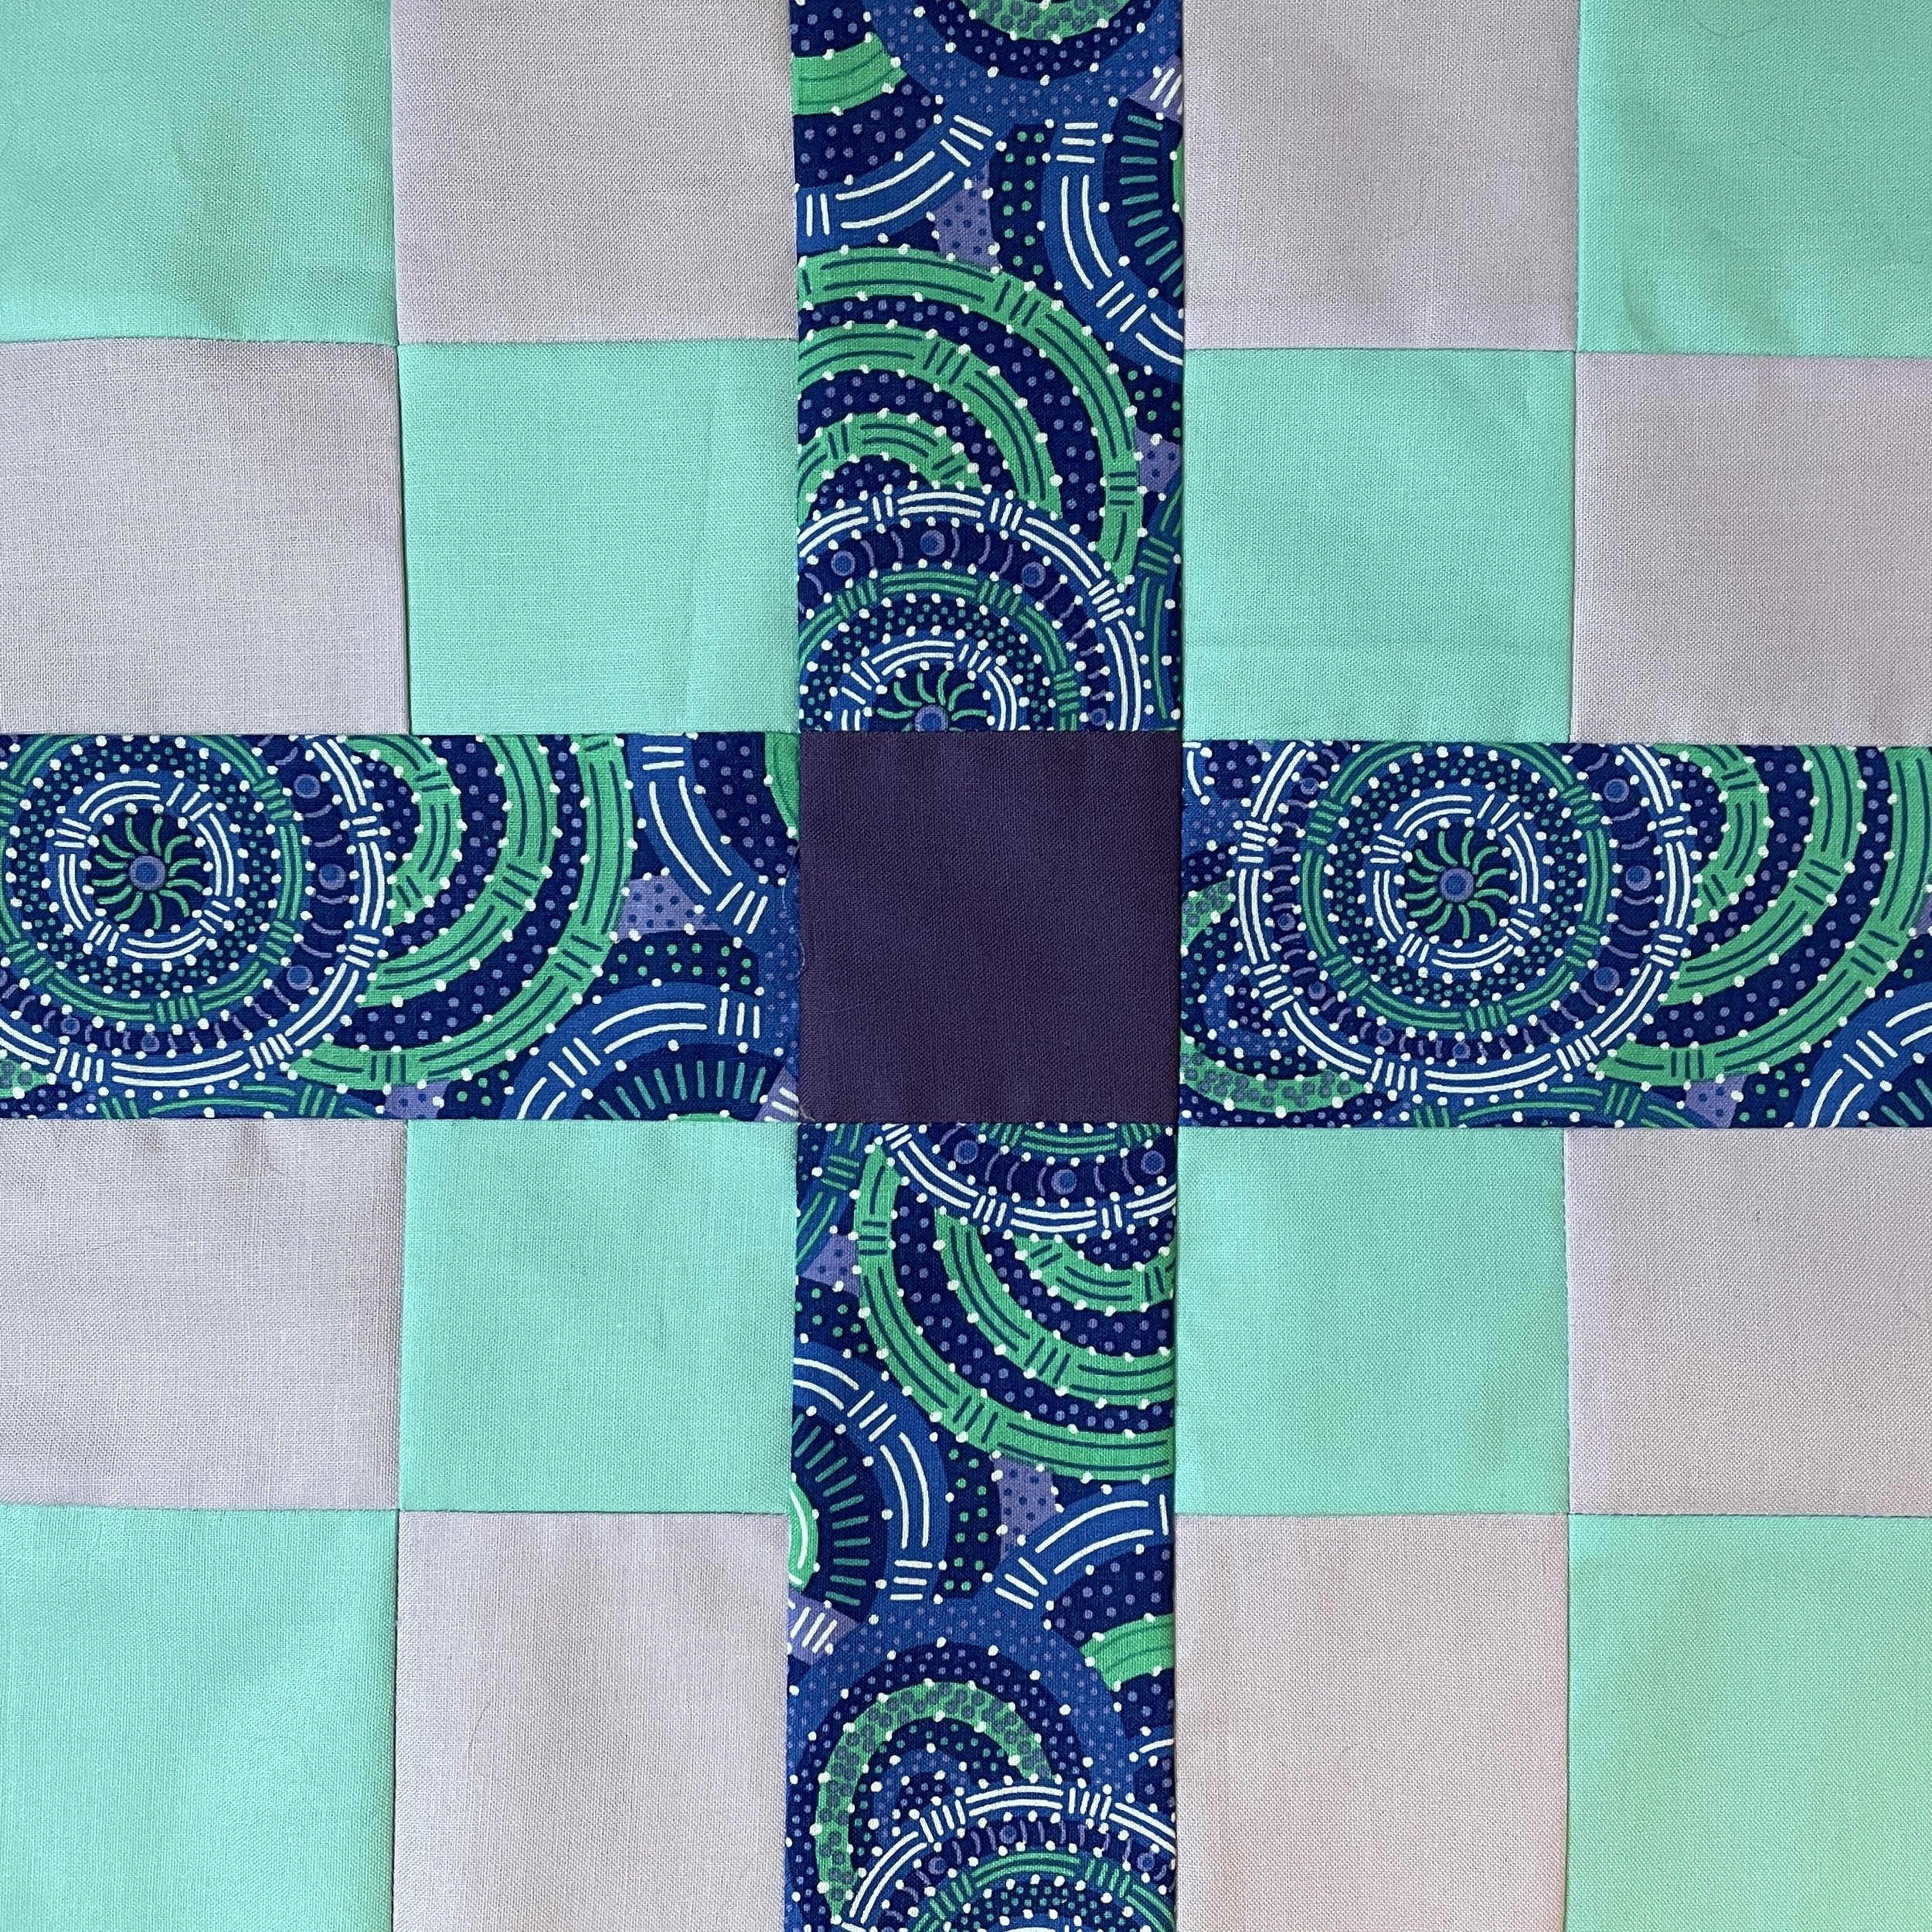
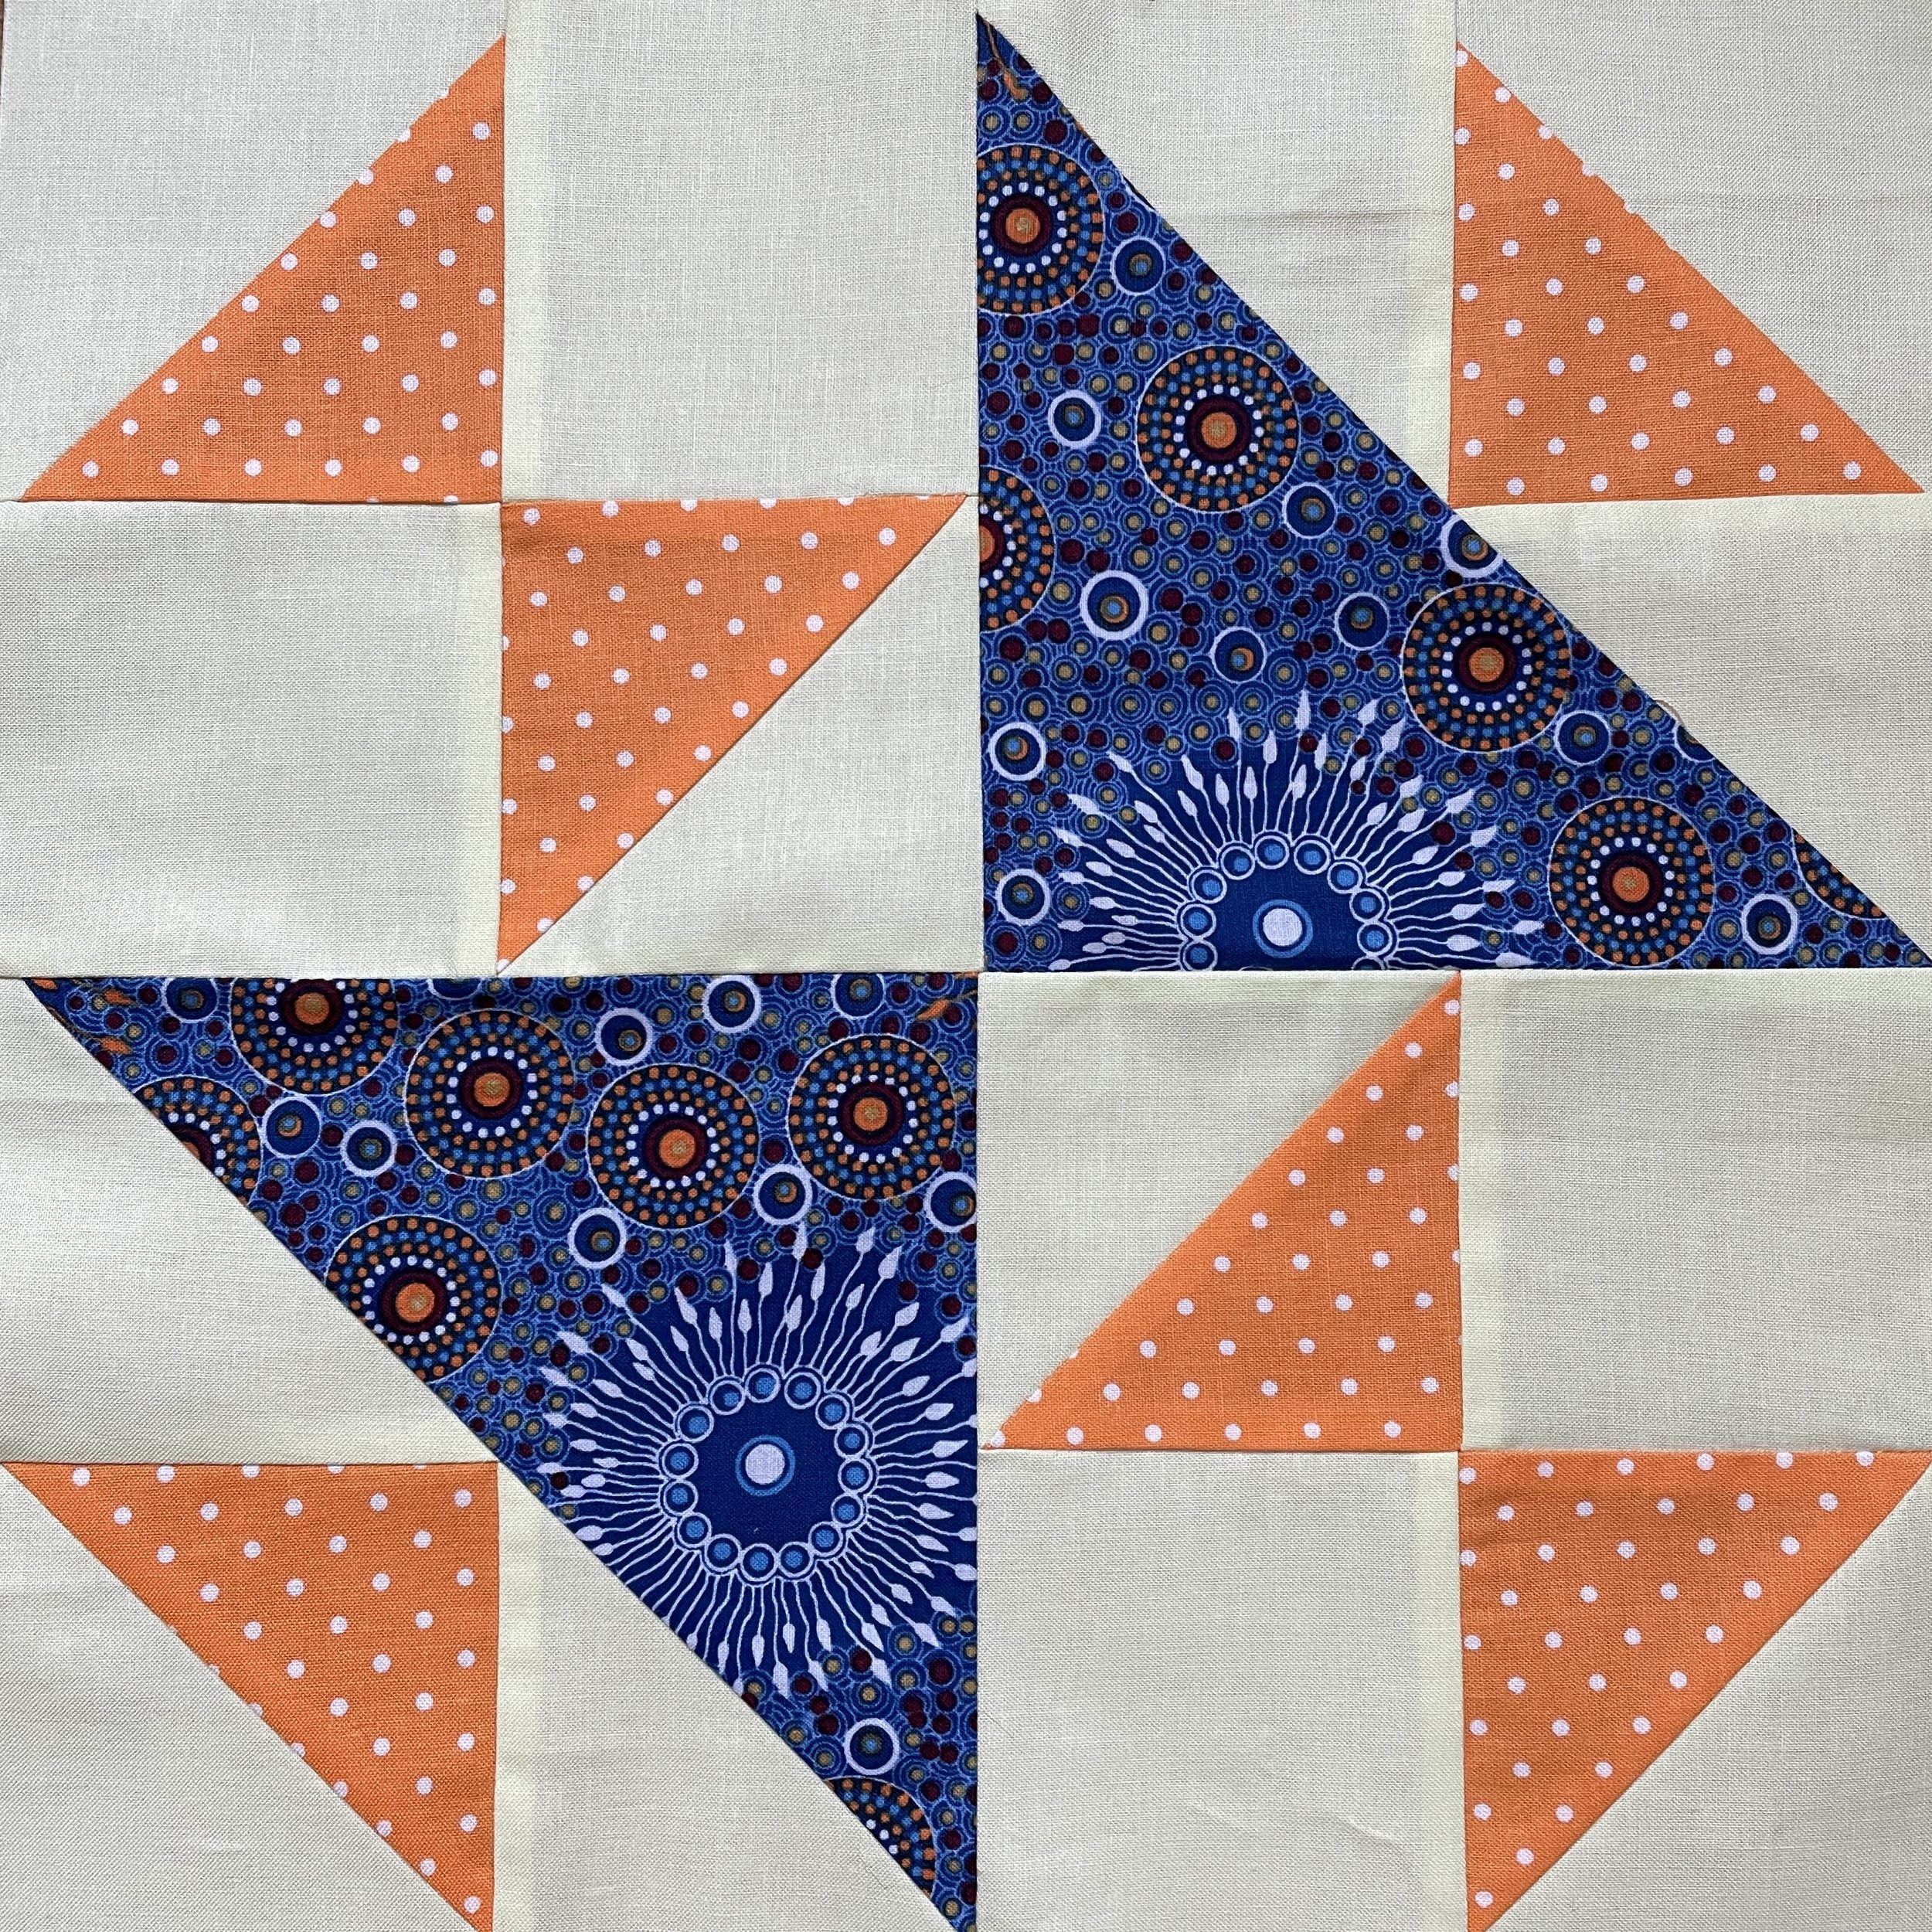
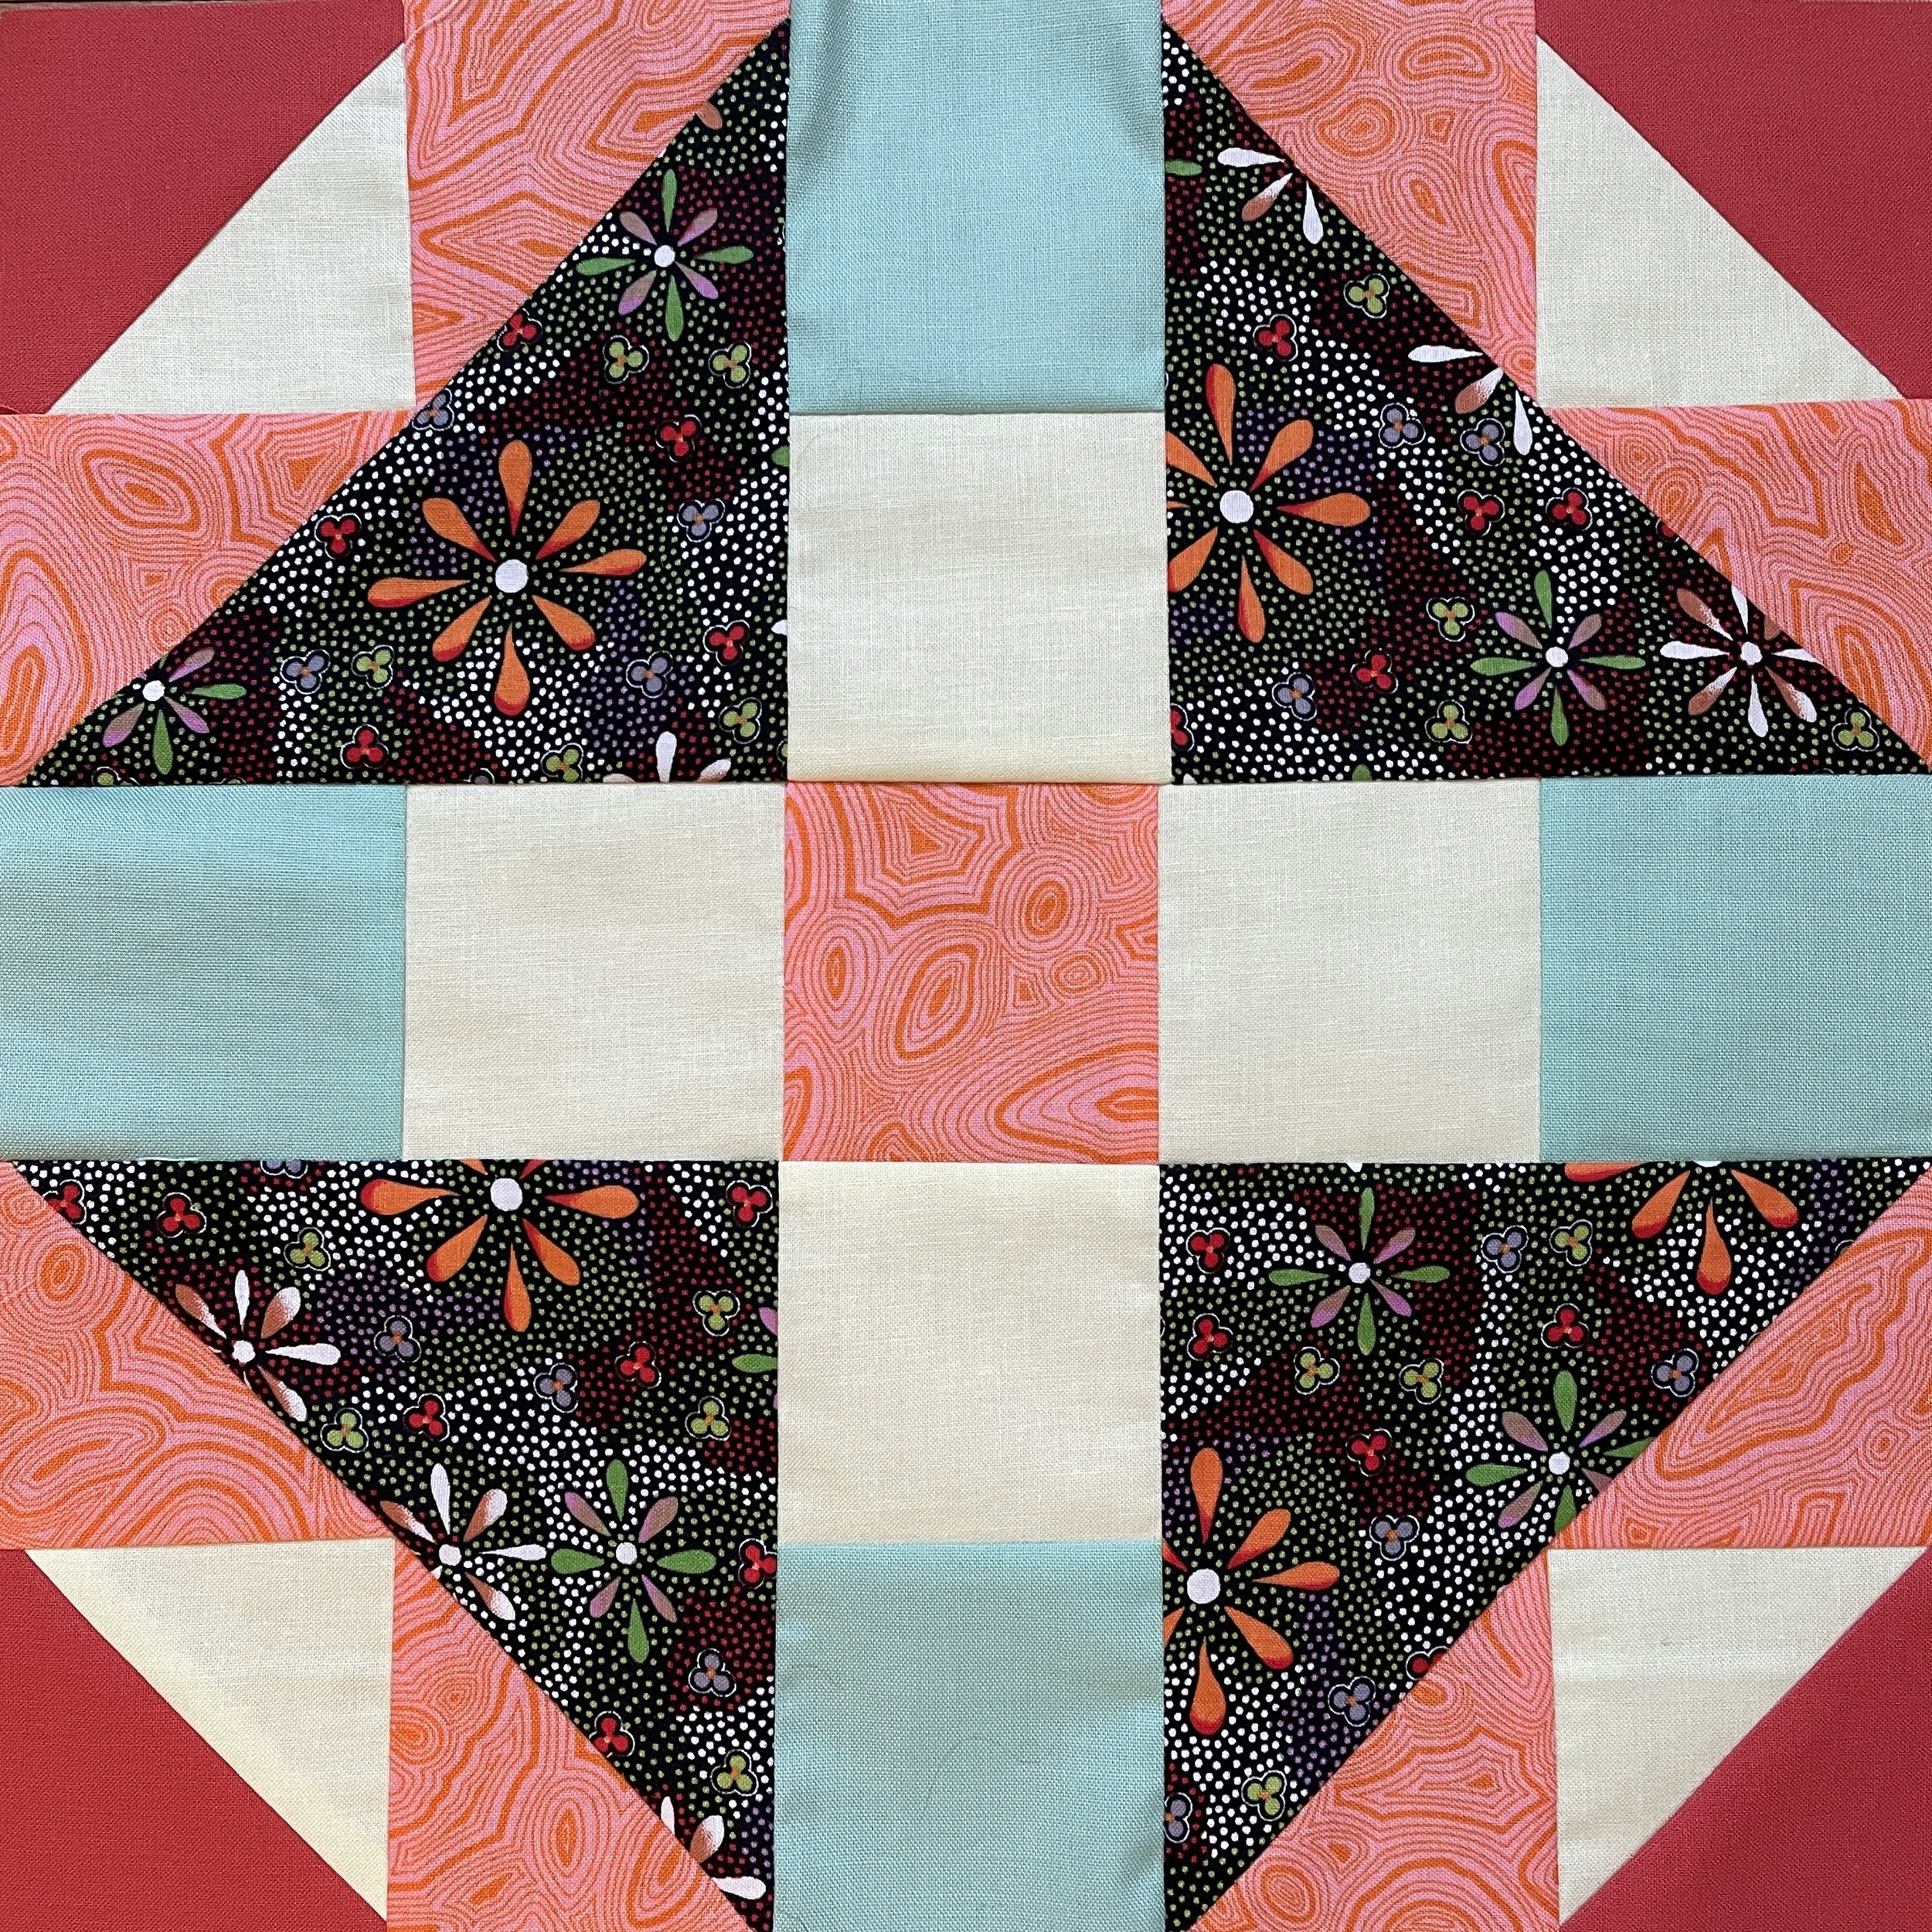
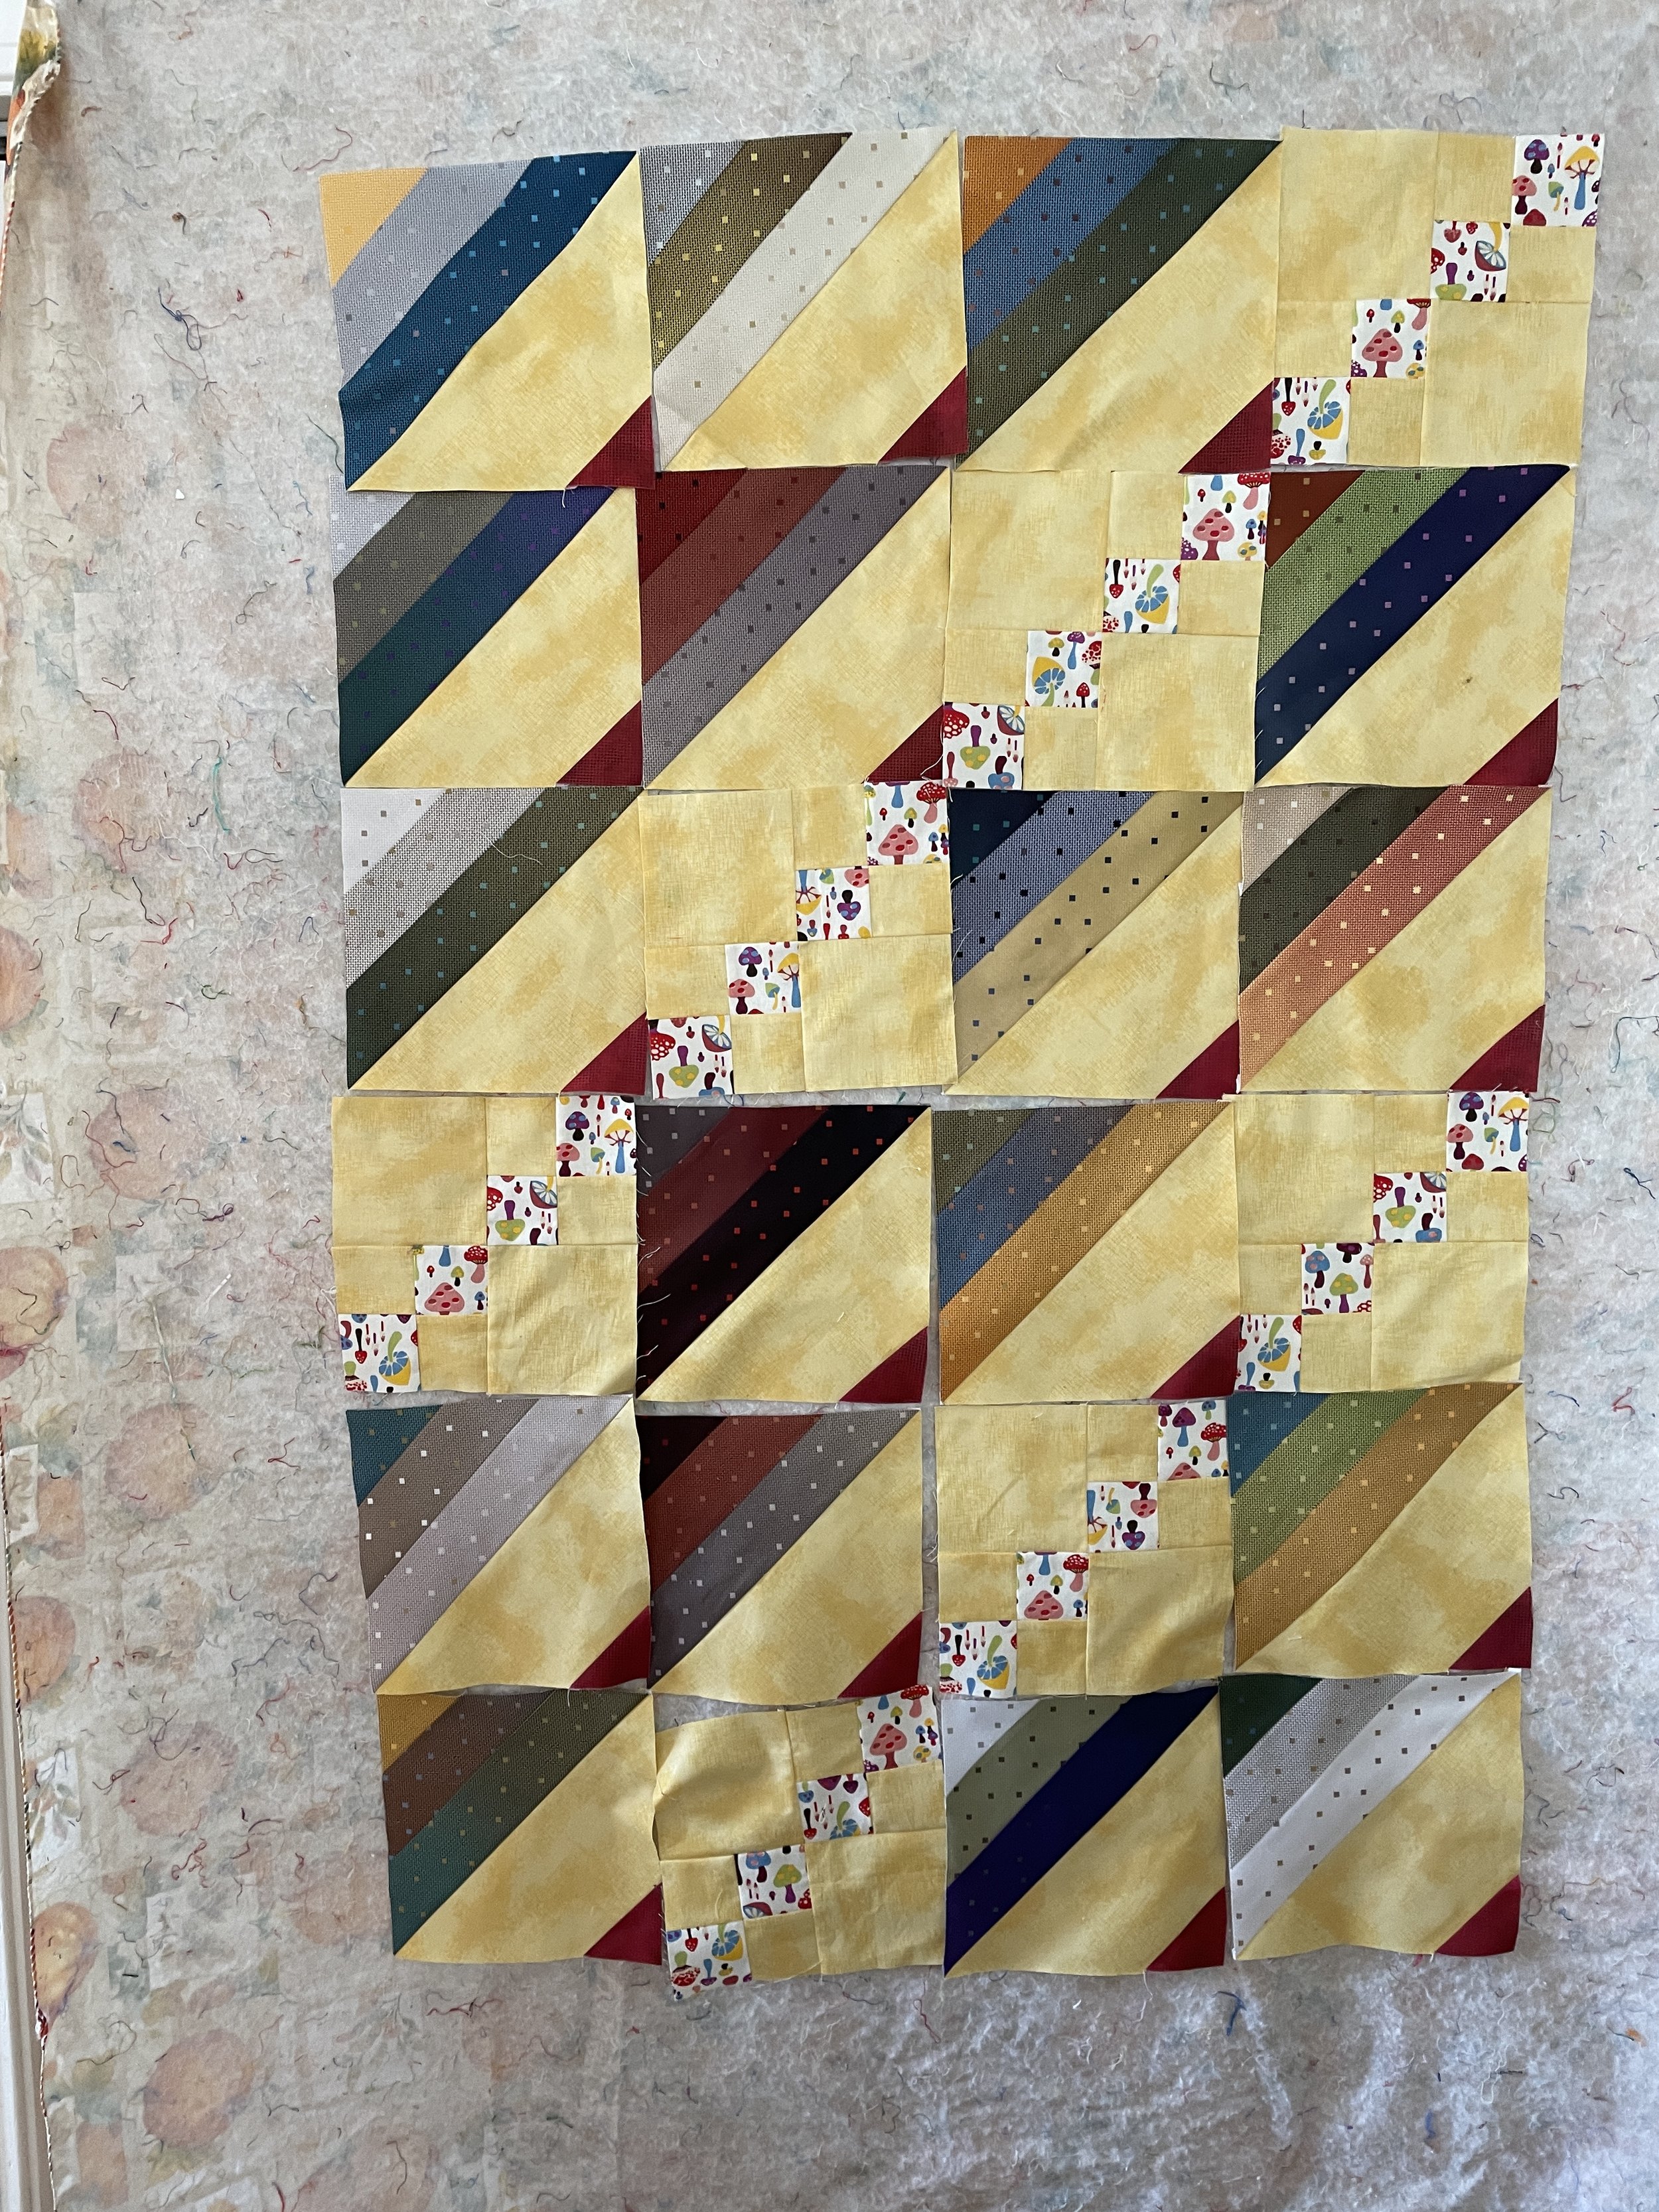
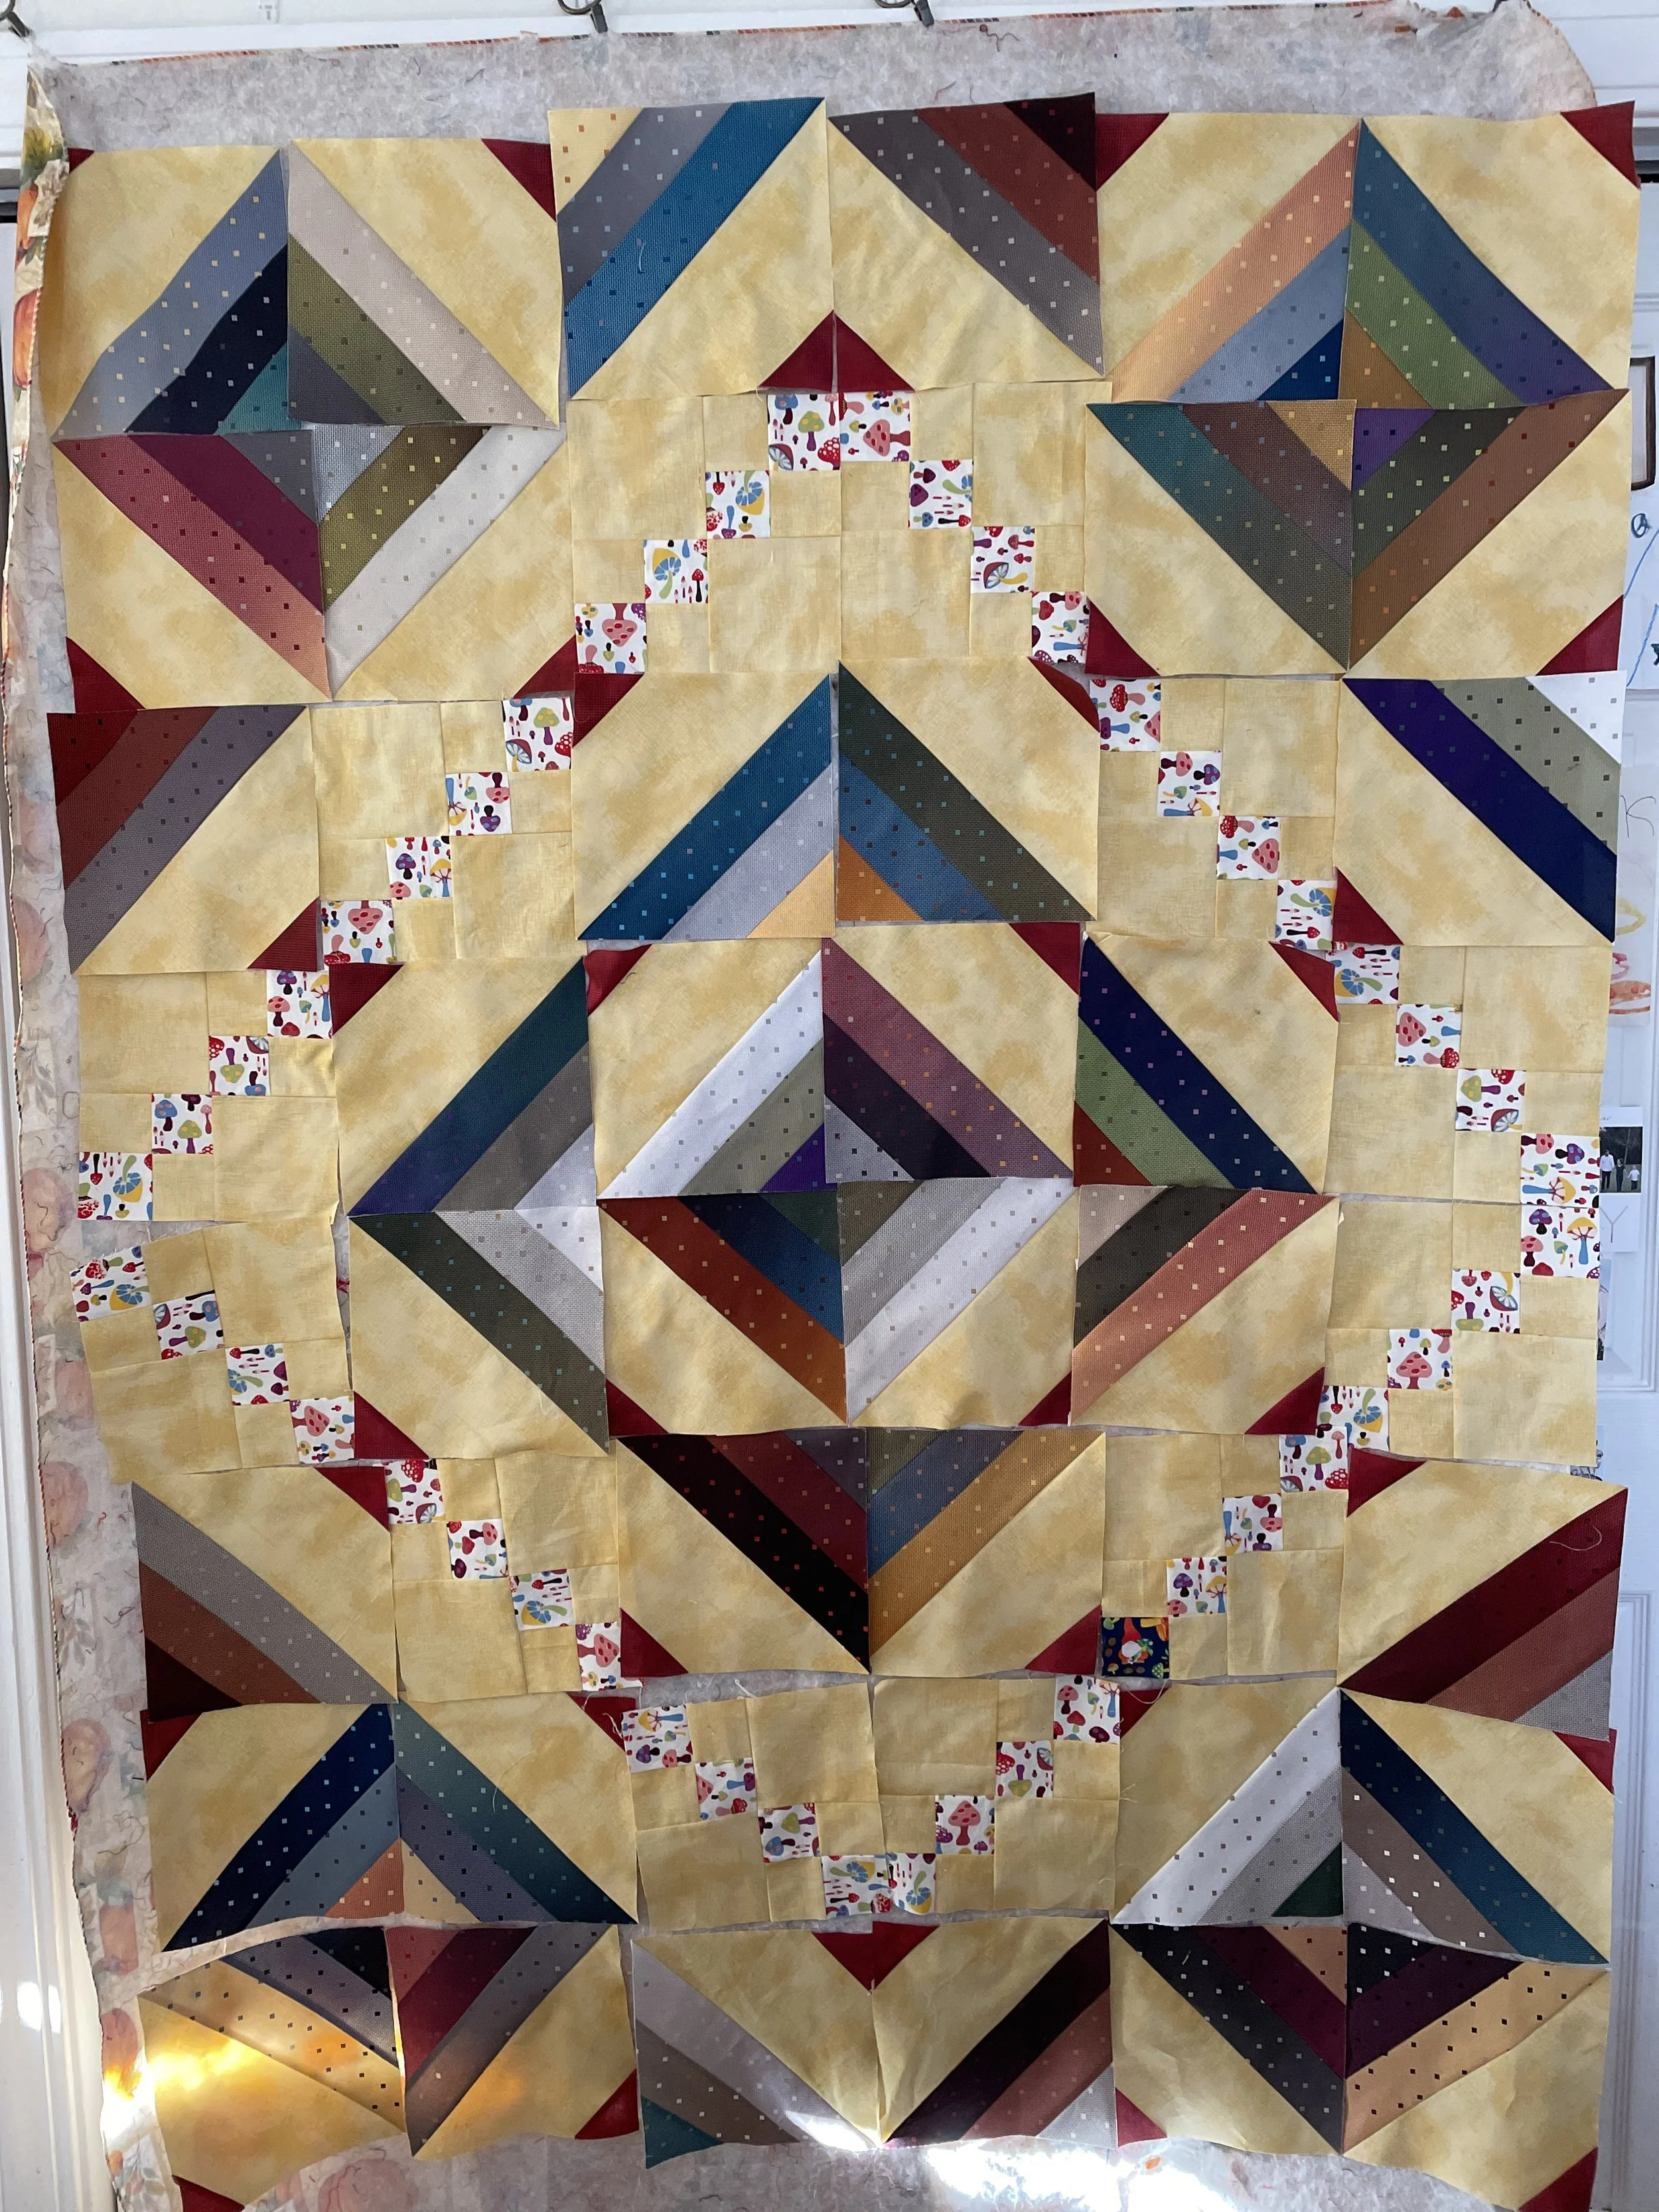
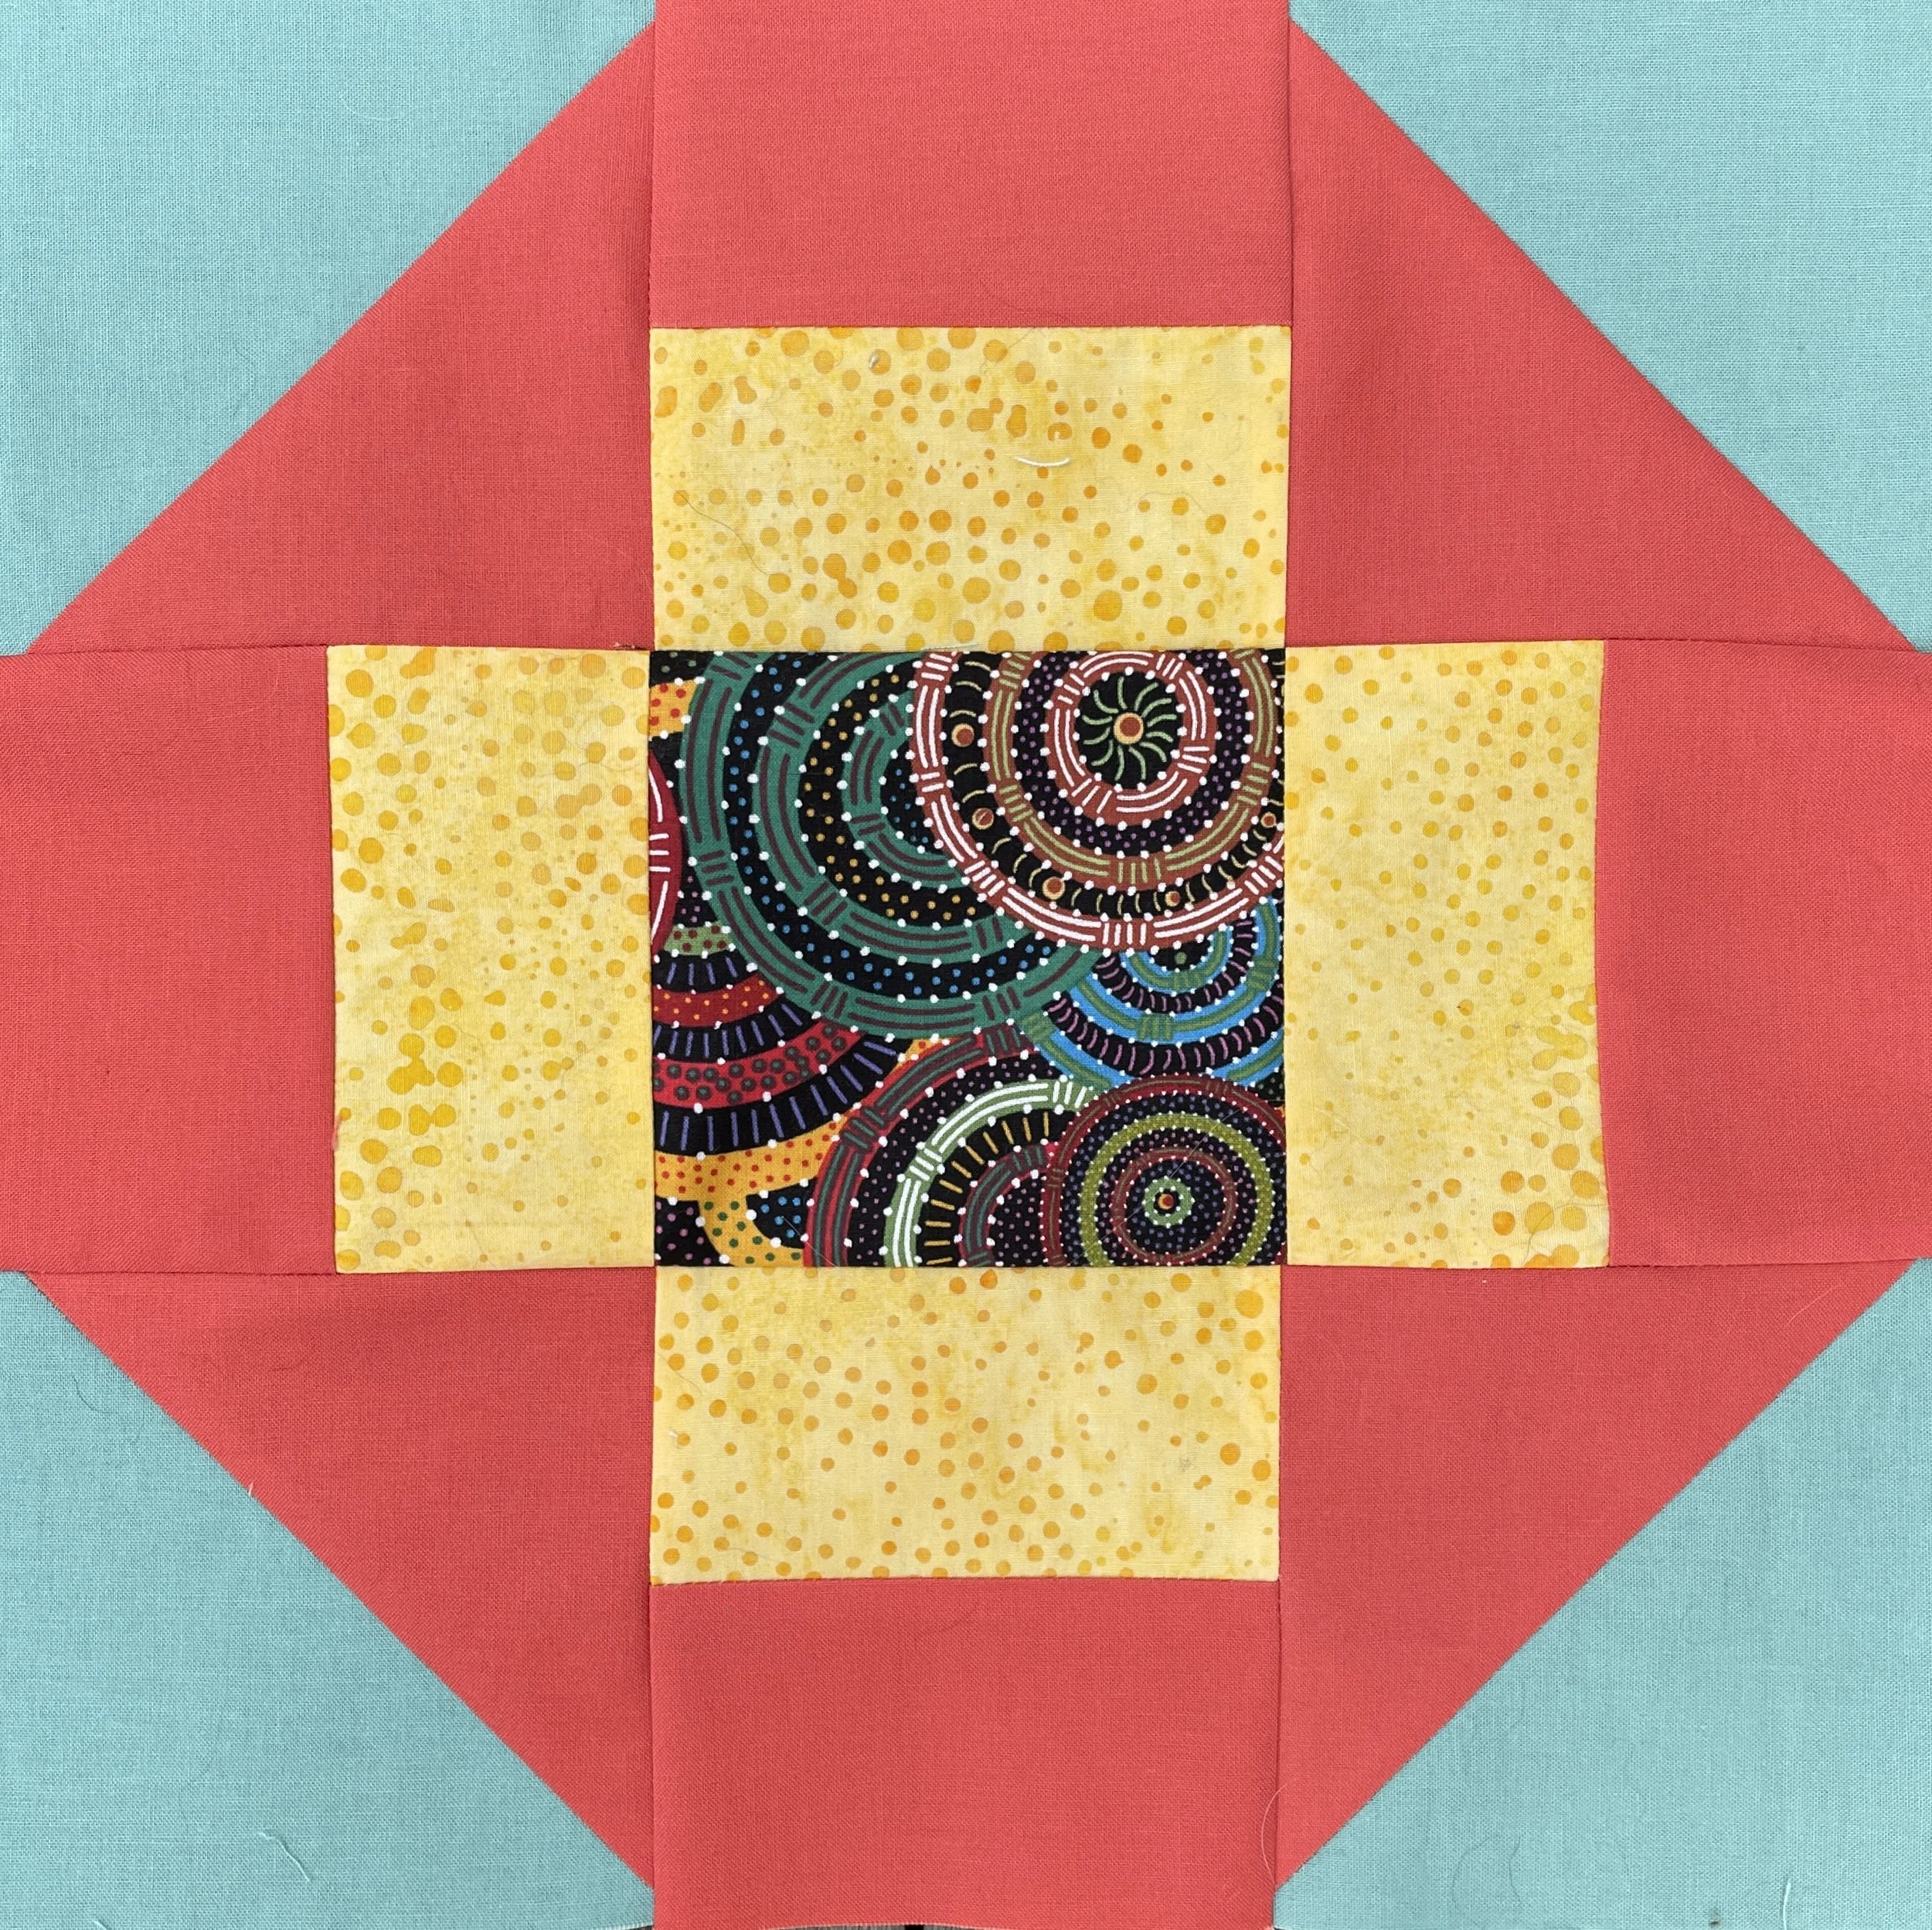
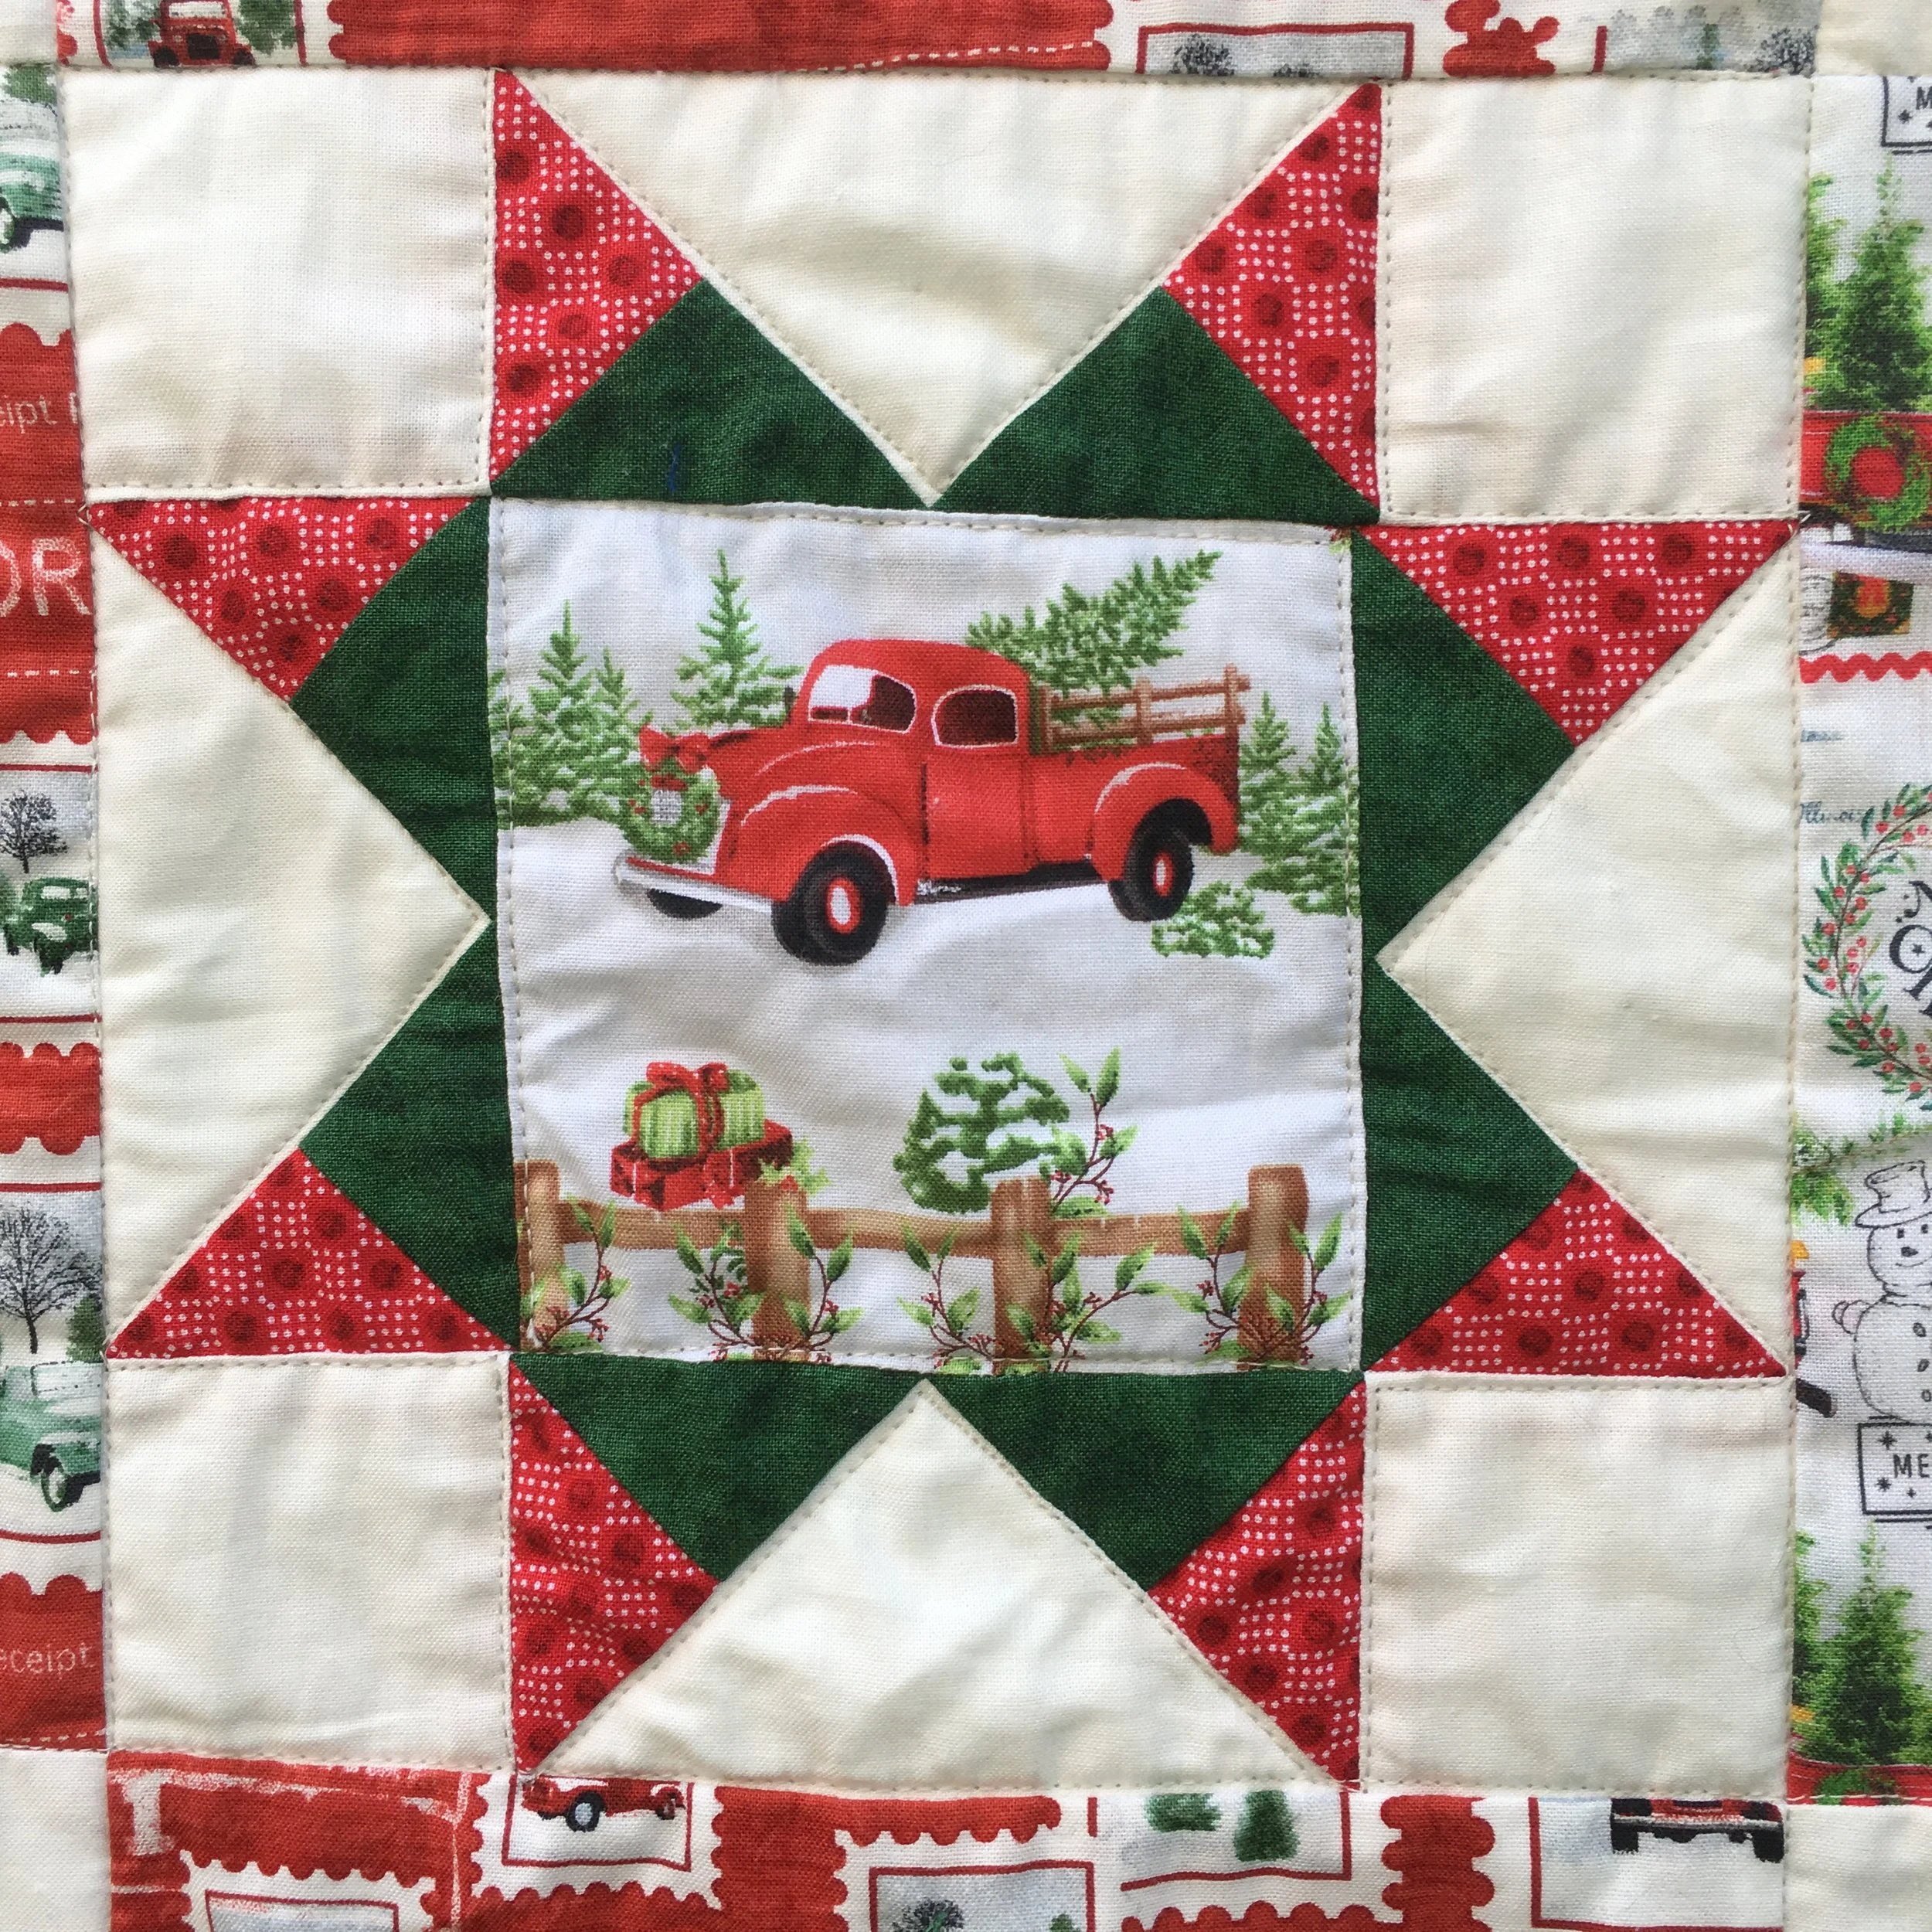
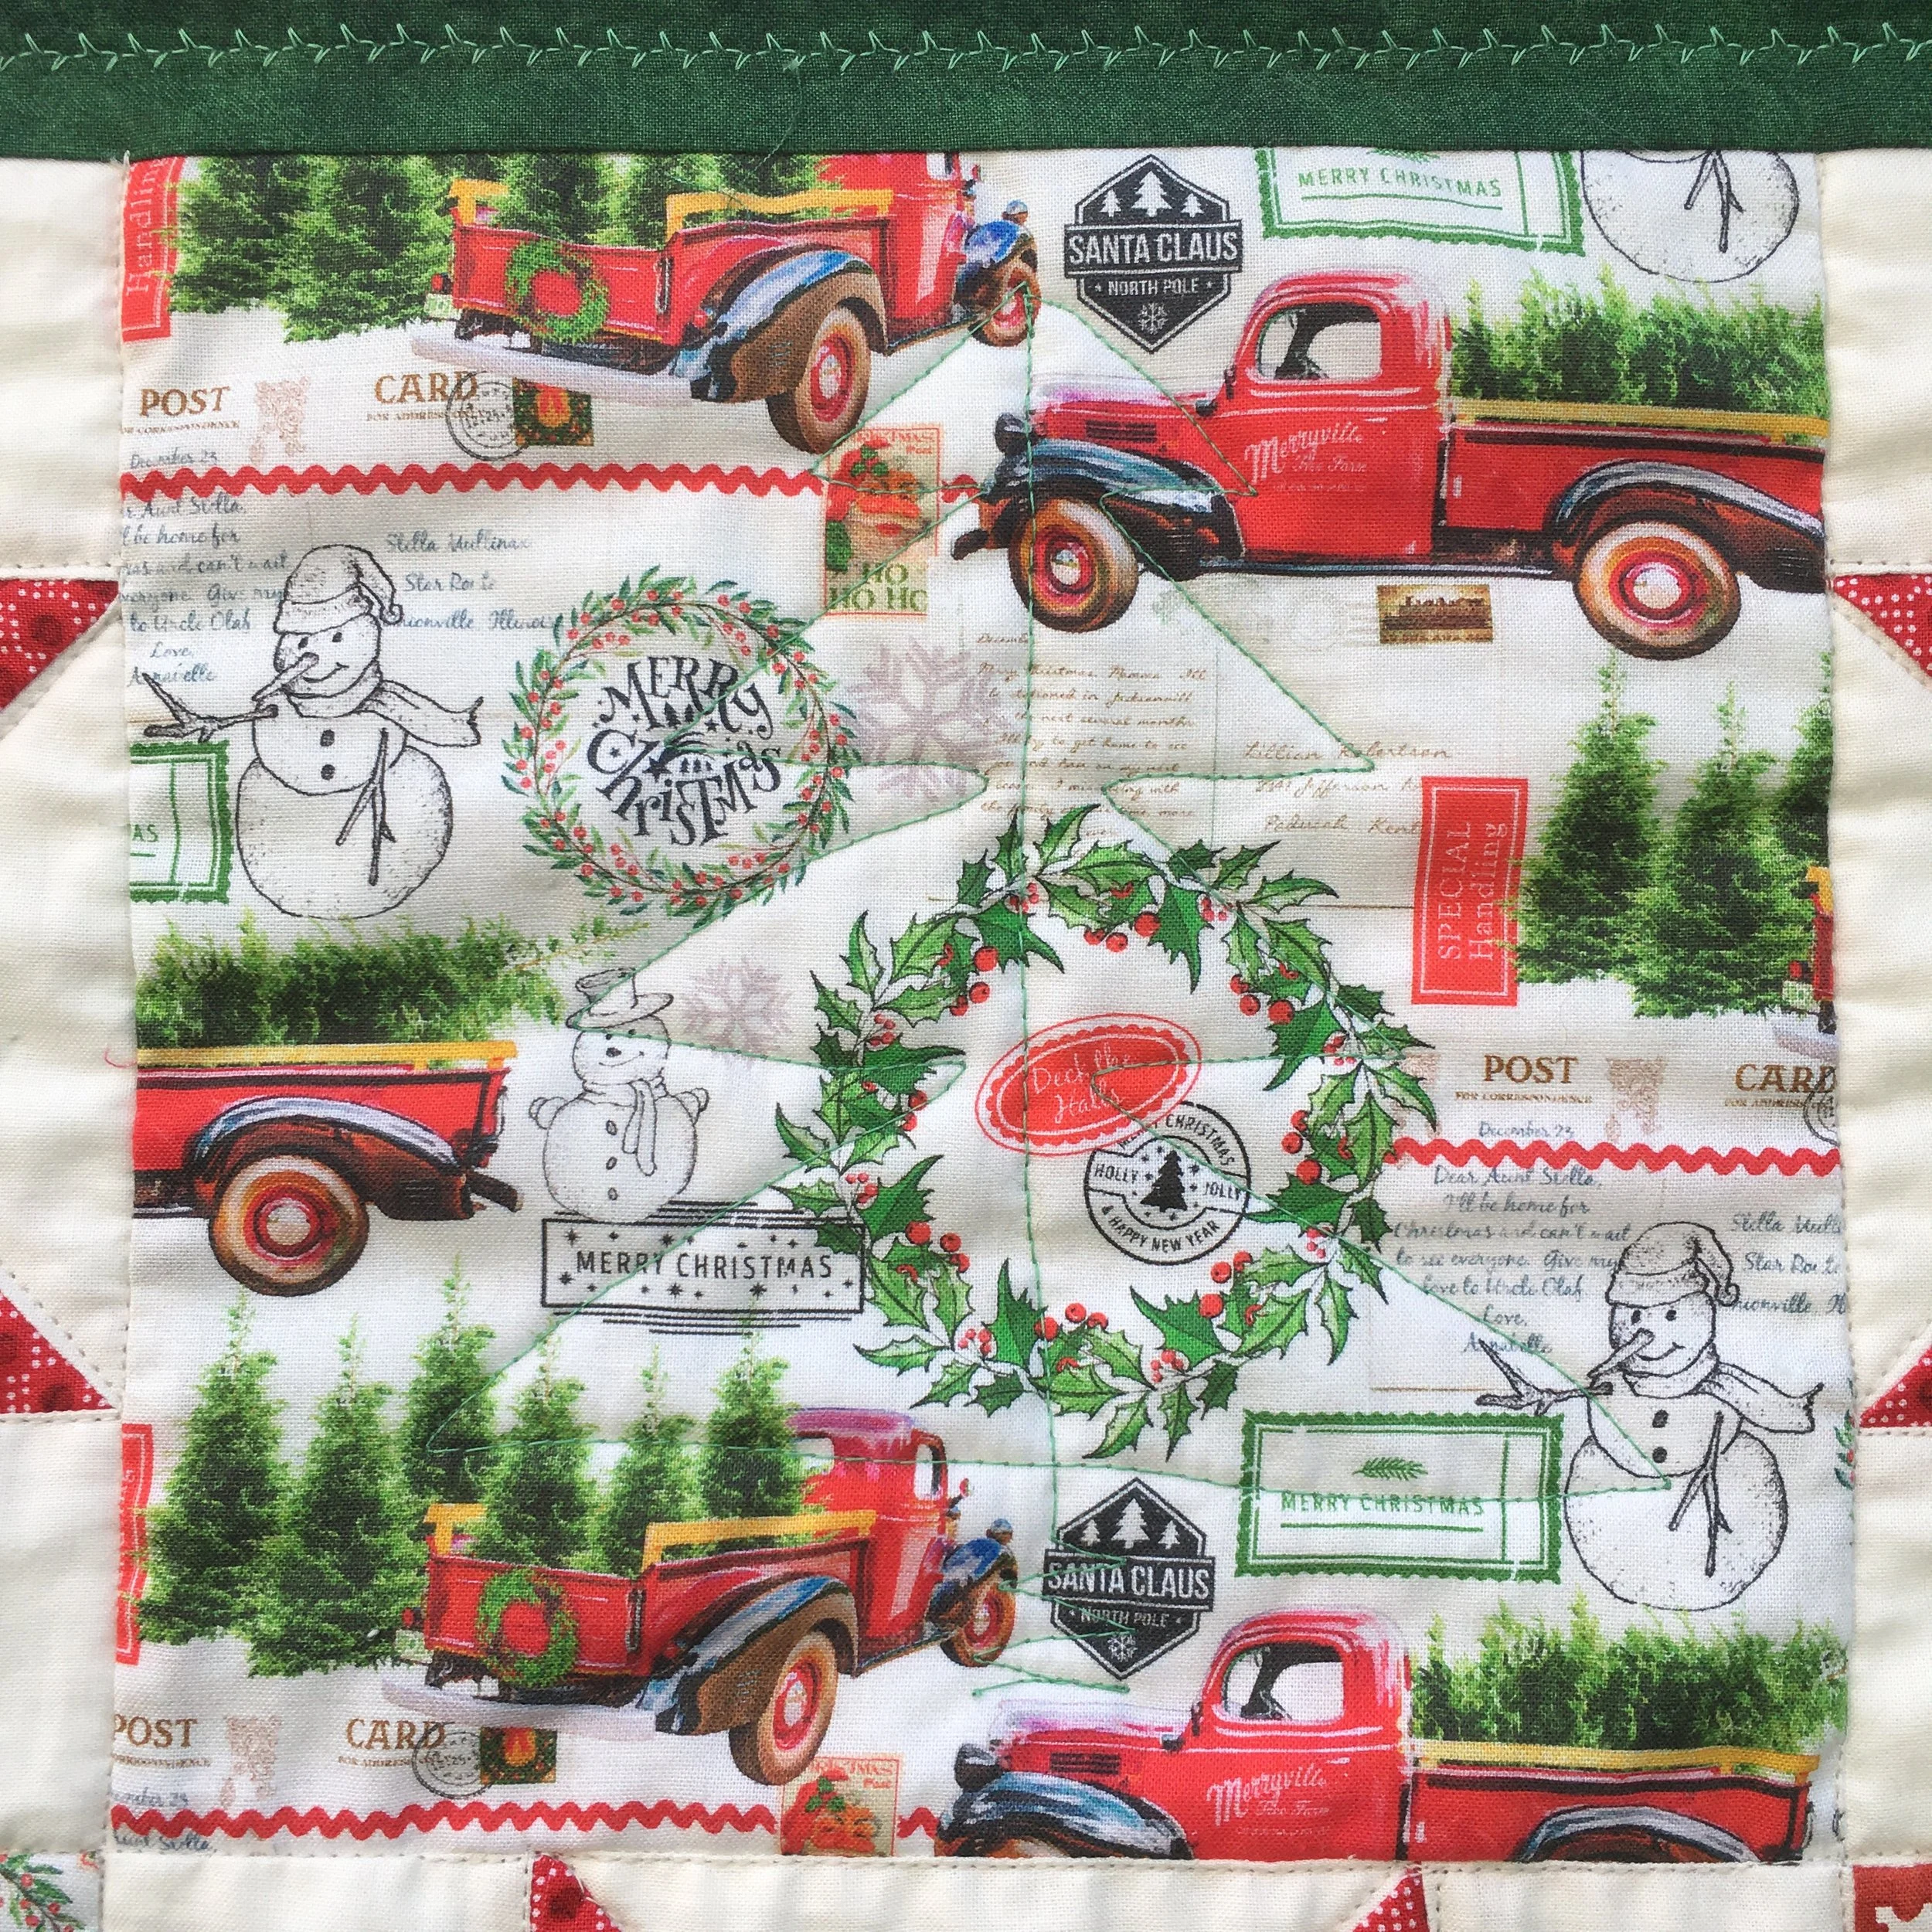
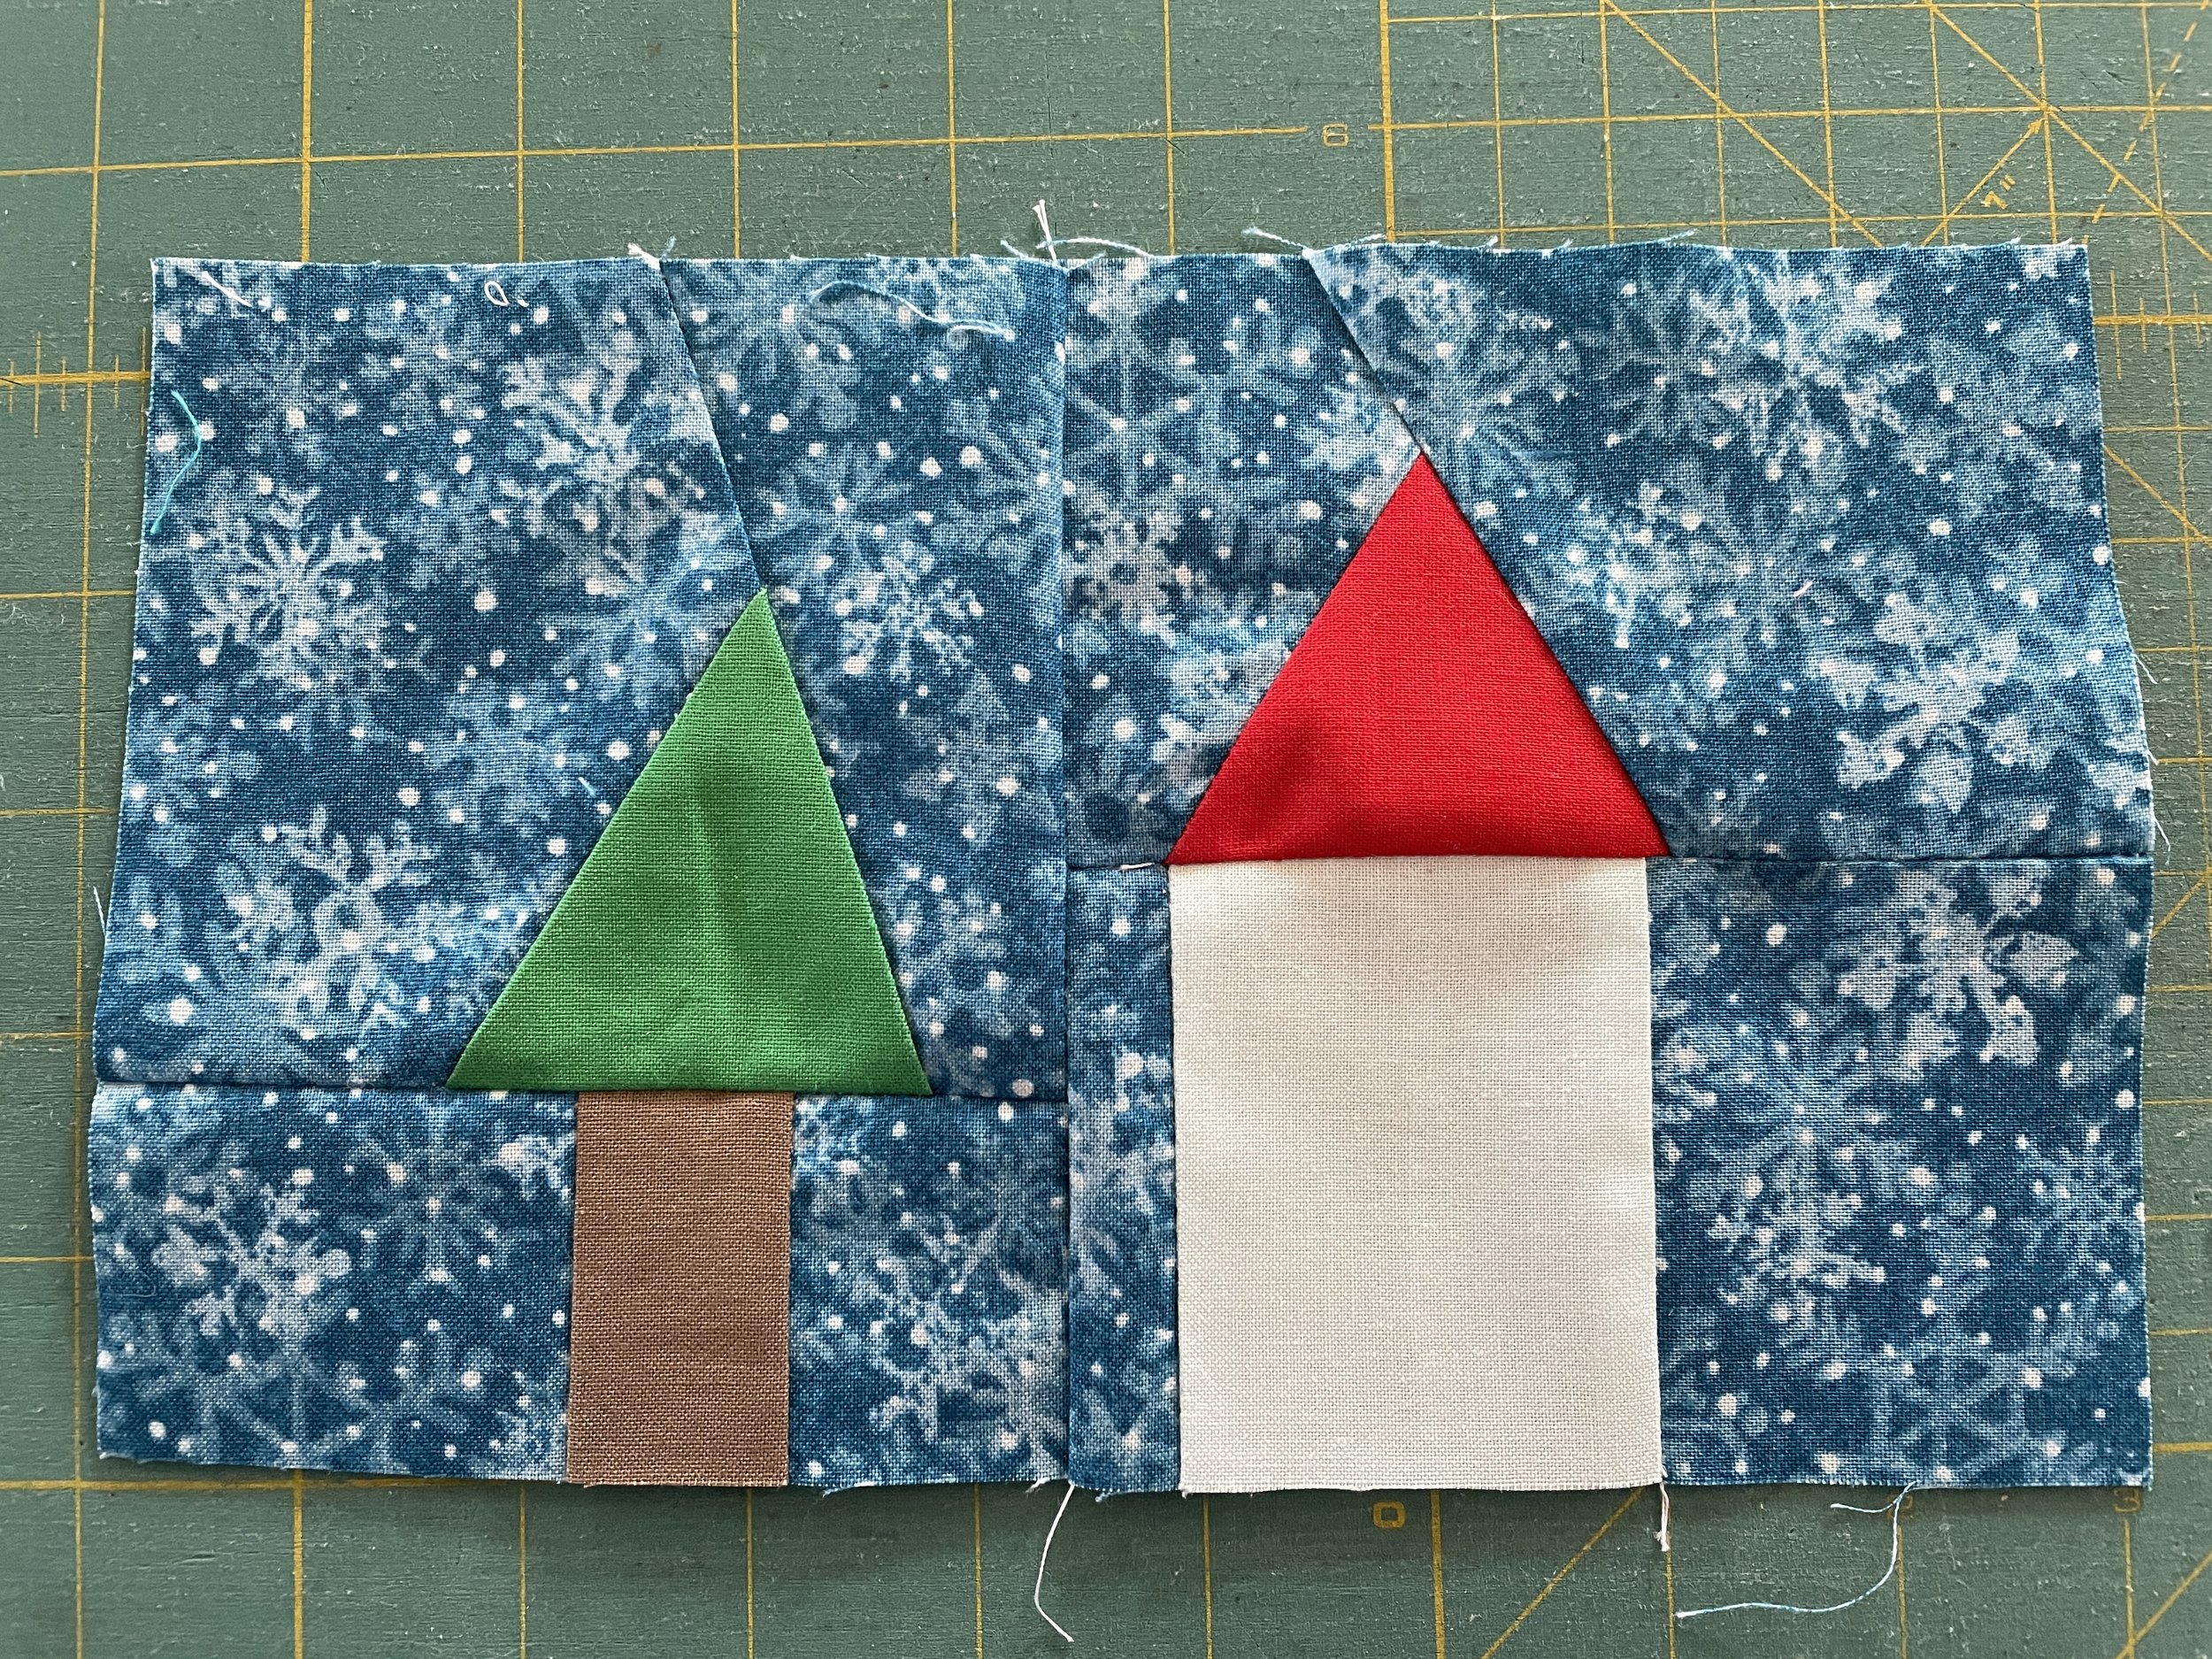
I’ve morphed the way I think about the Australian Aboriginal fabric sampler quilt I started in January: it’s now my Monday Block Project. Each block features at least one Aboriginal fabric, but is complemented by solids or other prints which I had in my stash.
Here is the gallery of all the blocks so far. I know I am going to make at least 12 blocks, but may continue if I have enough fabric and am still having fun!
Four Friends Mystery Quilt Completed
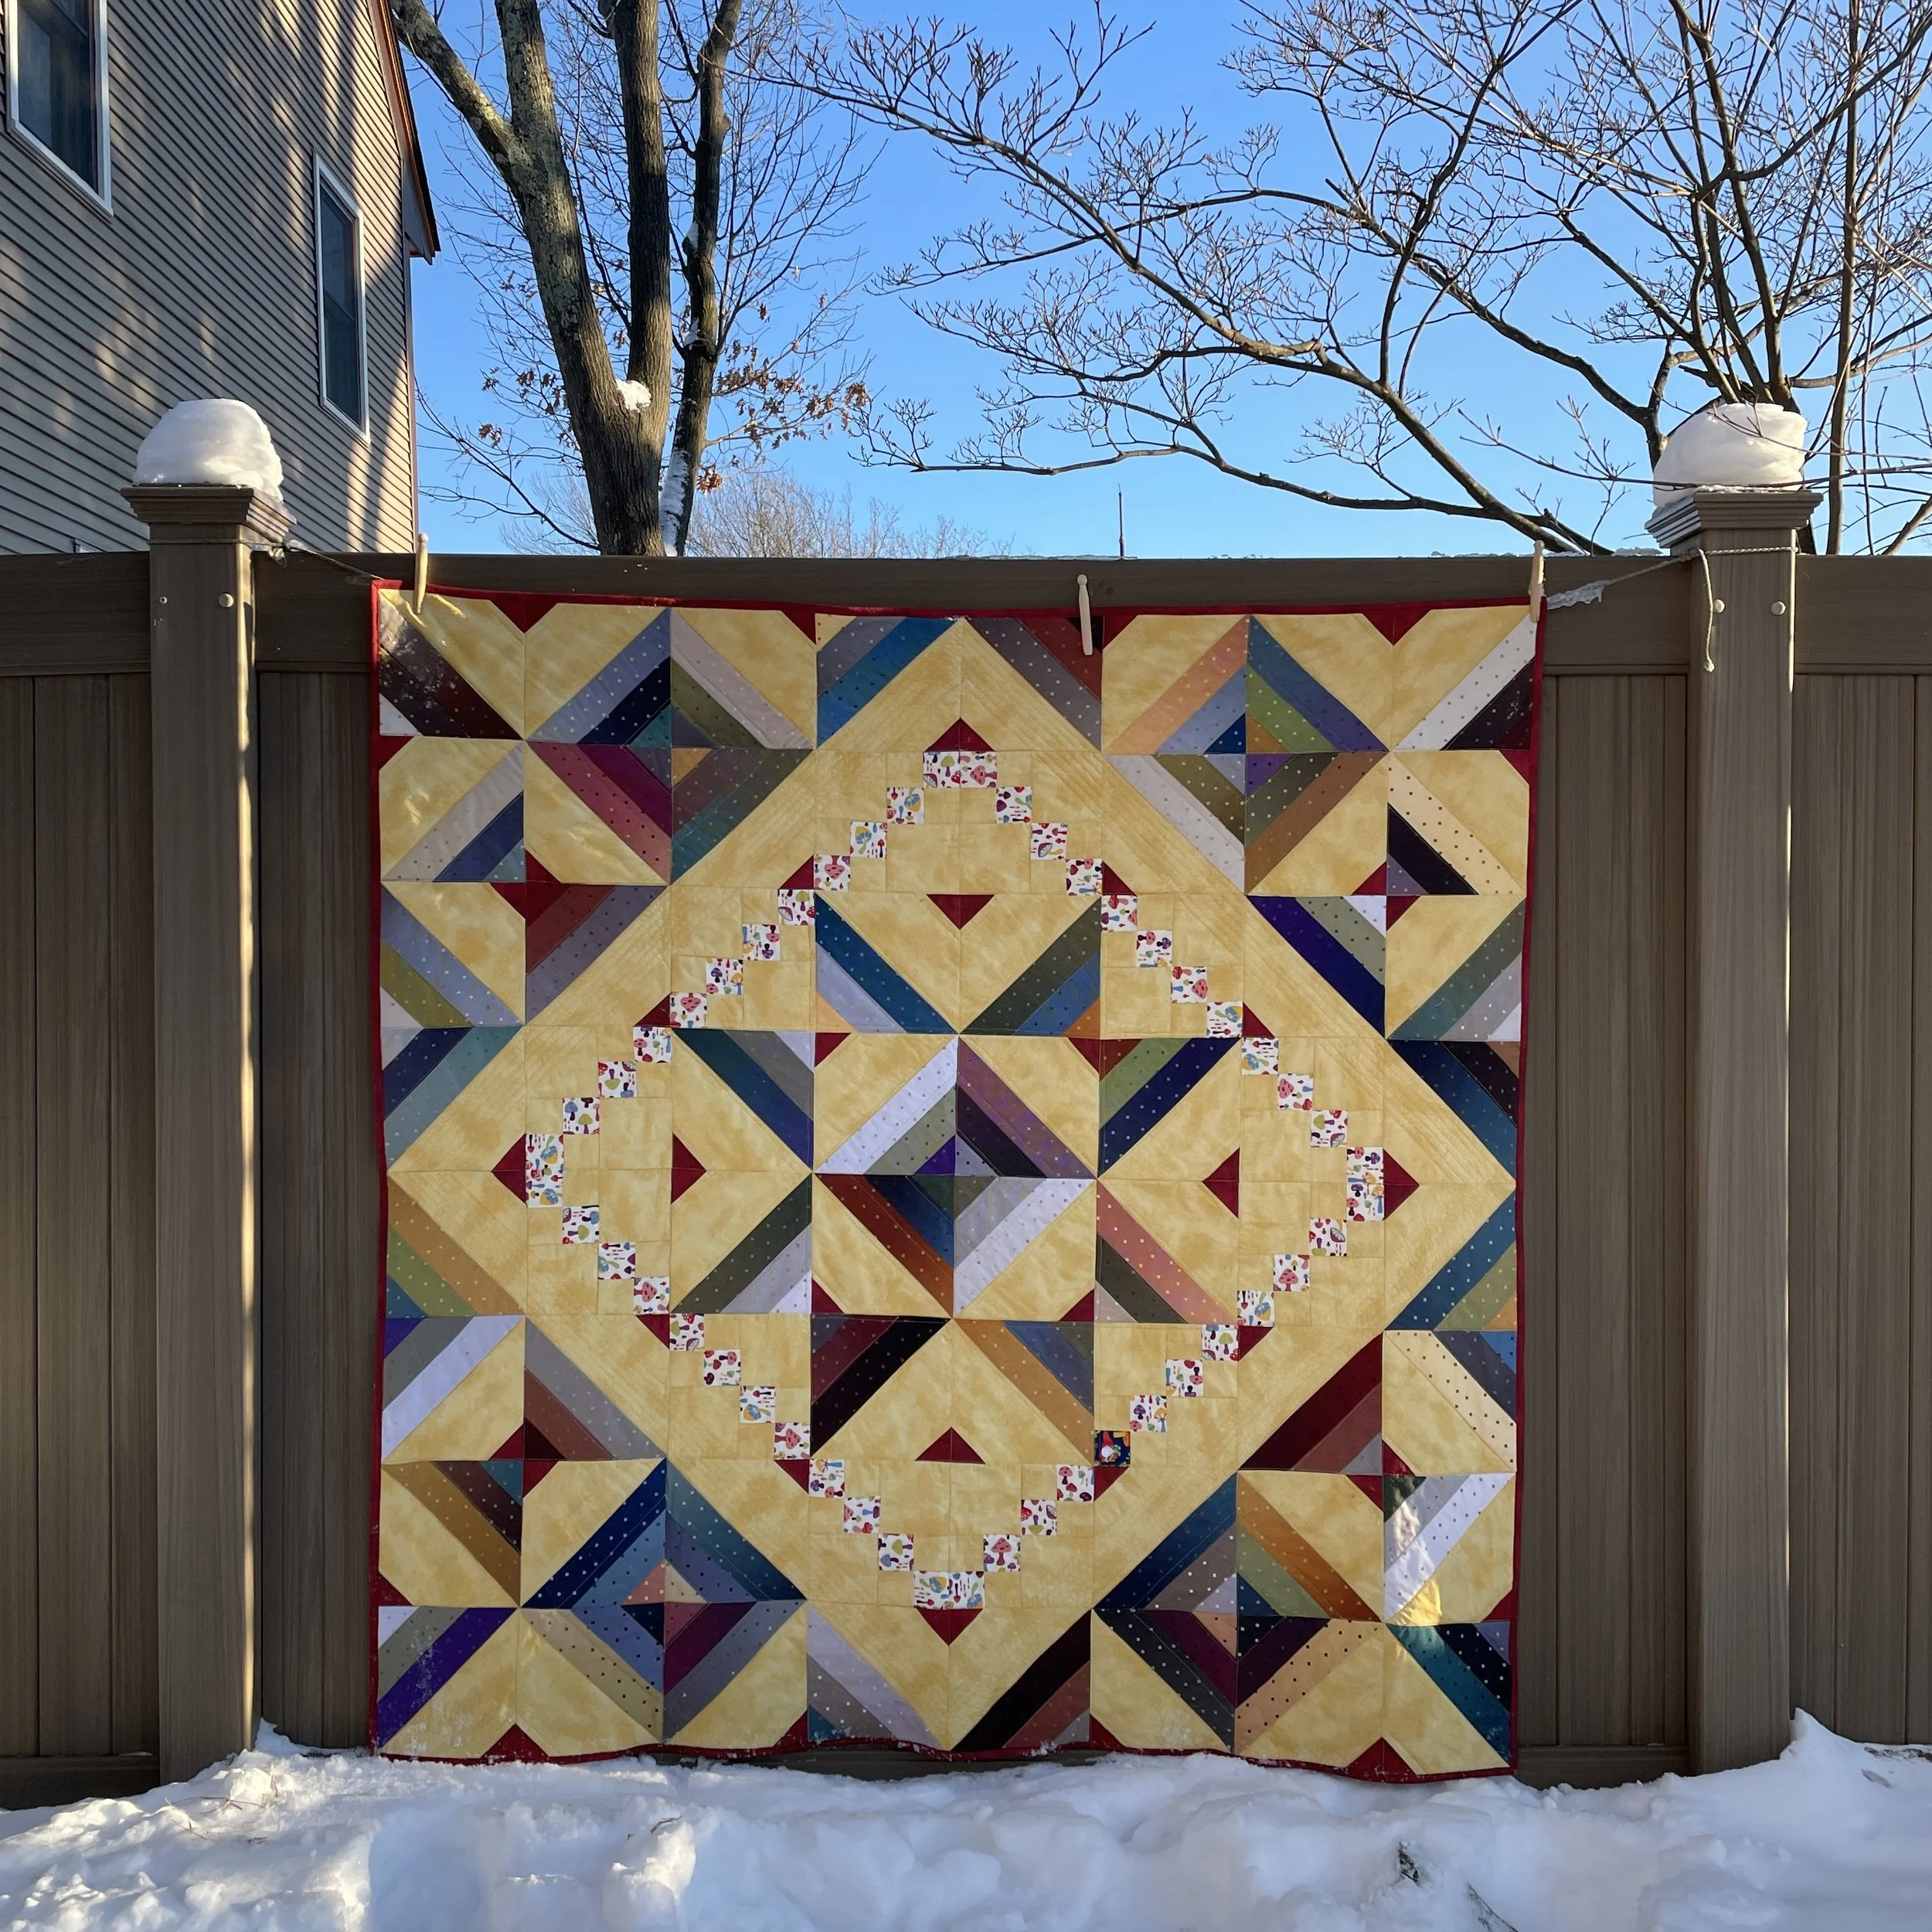
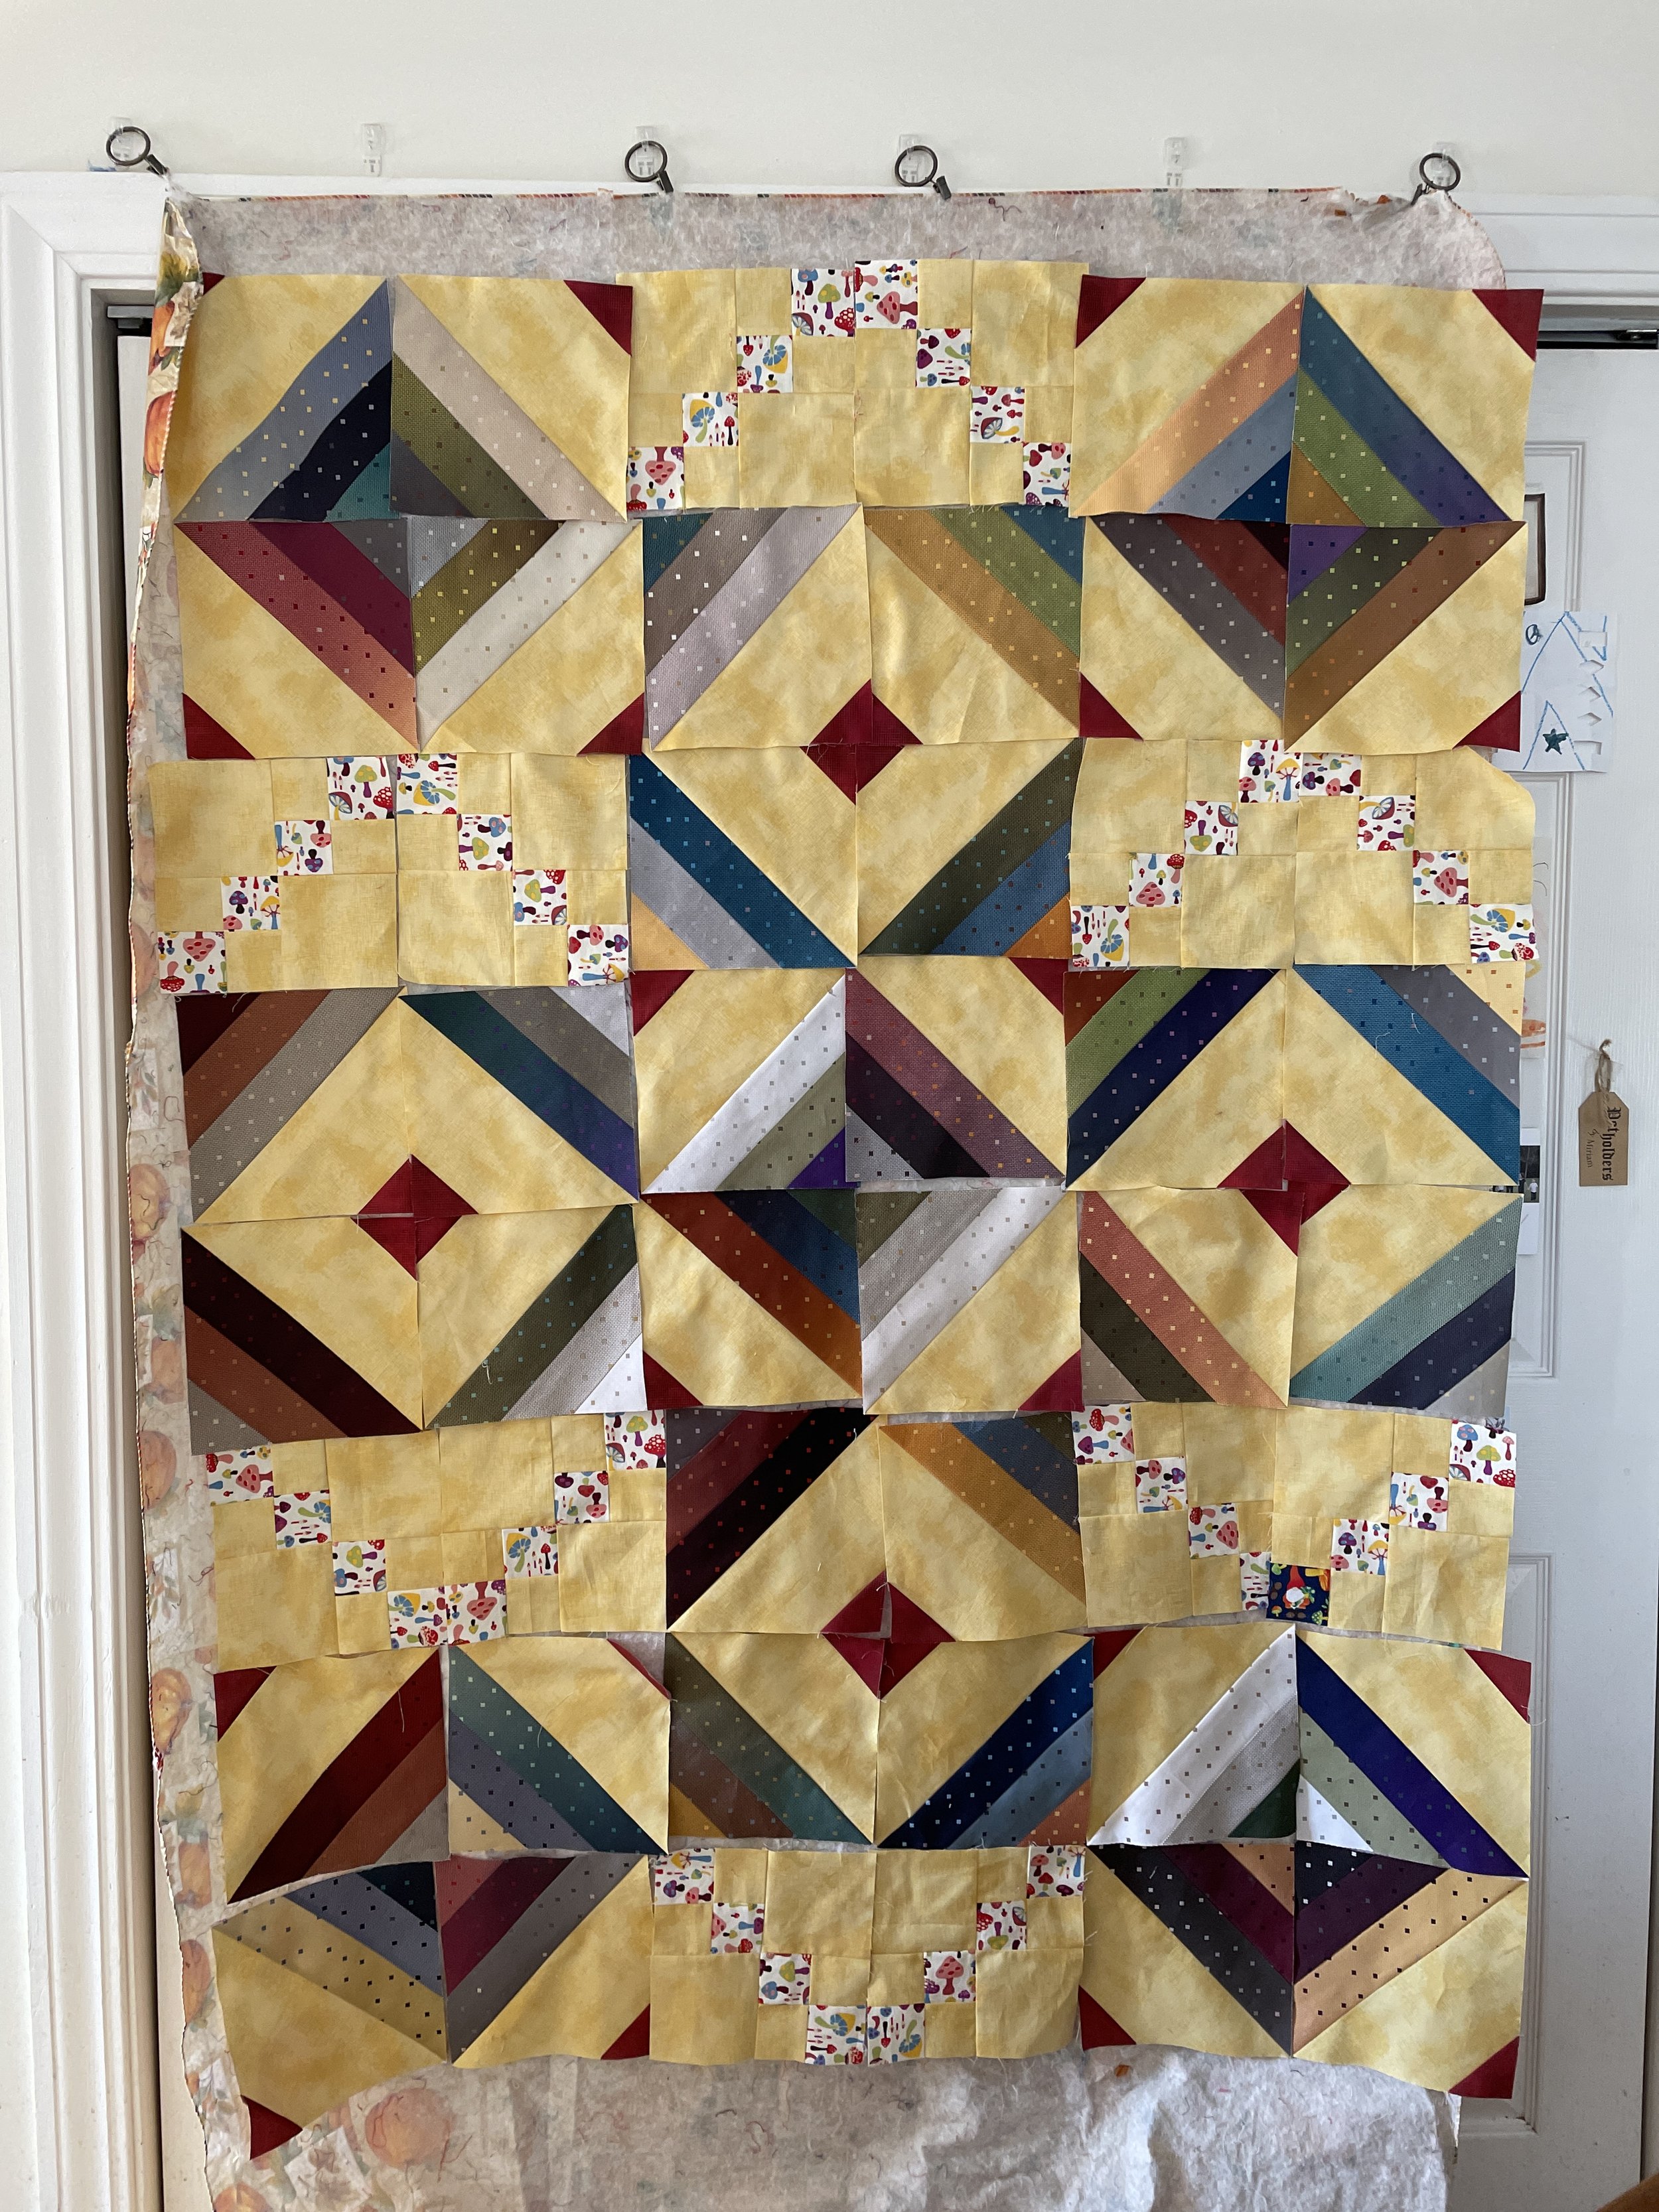
Four Friends Mystery Quilt, 64.5 inches square
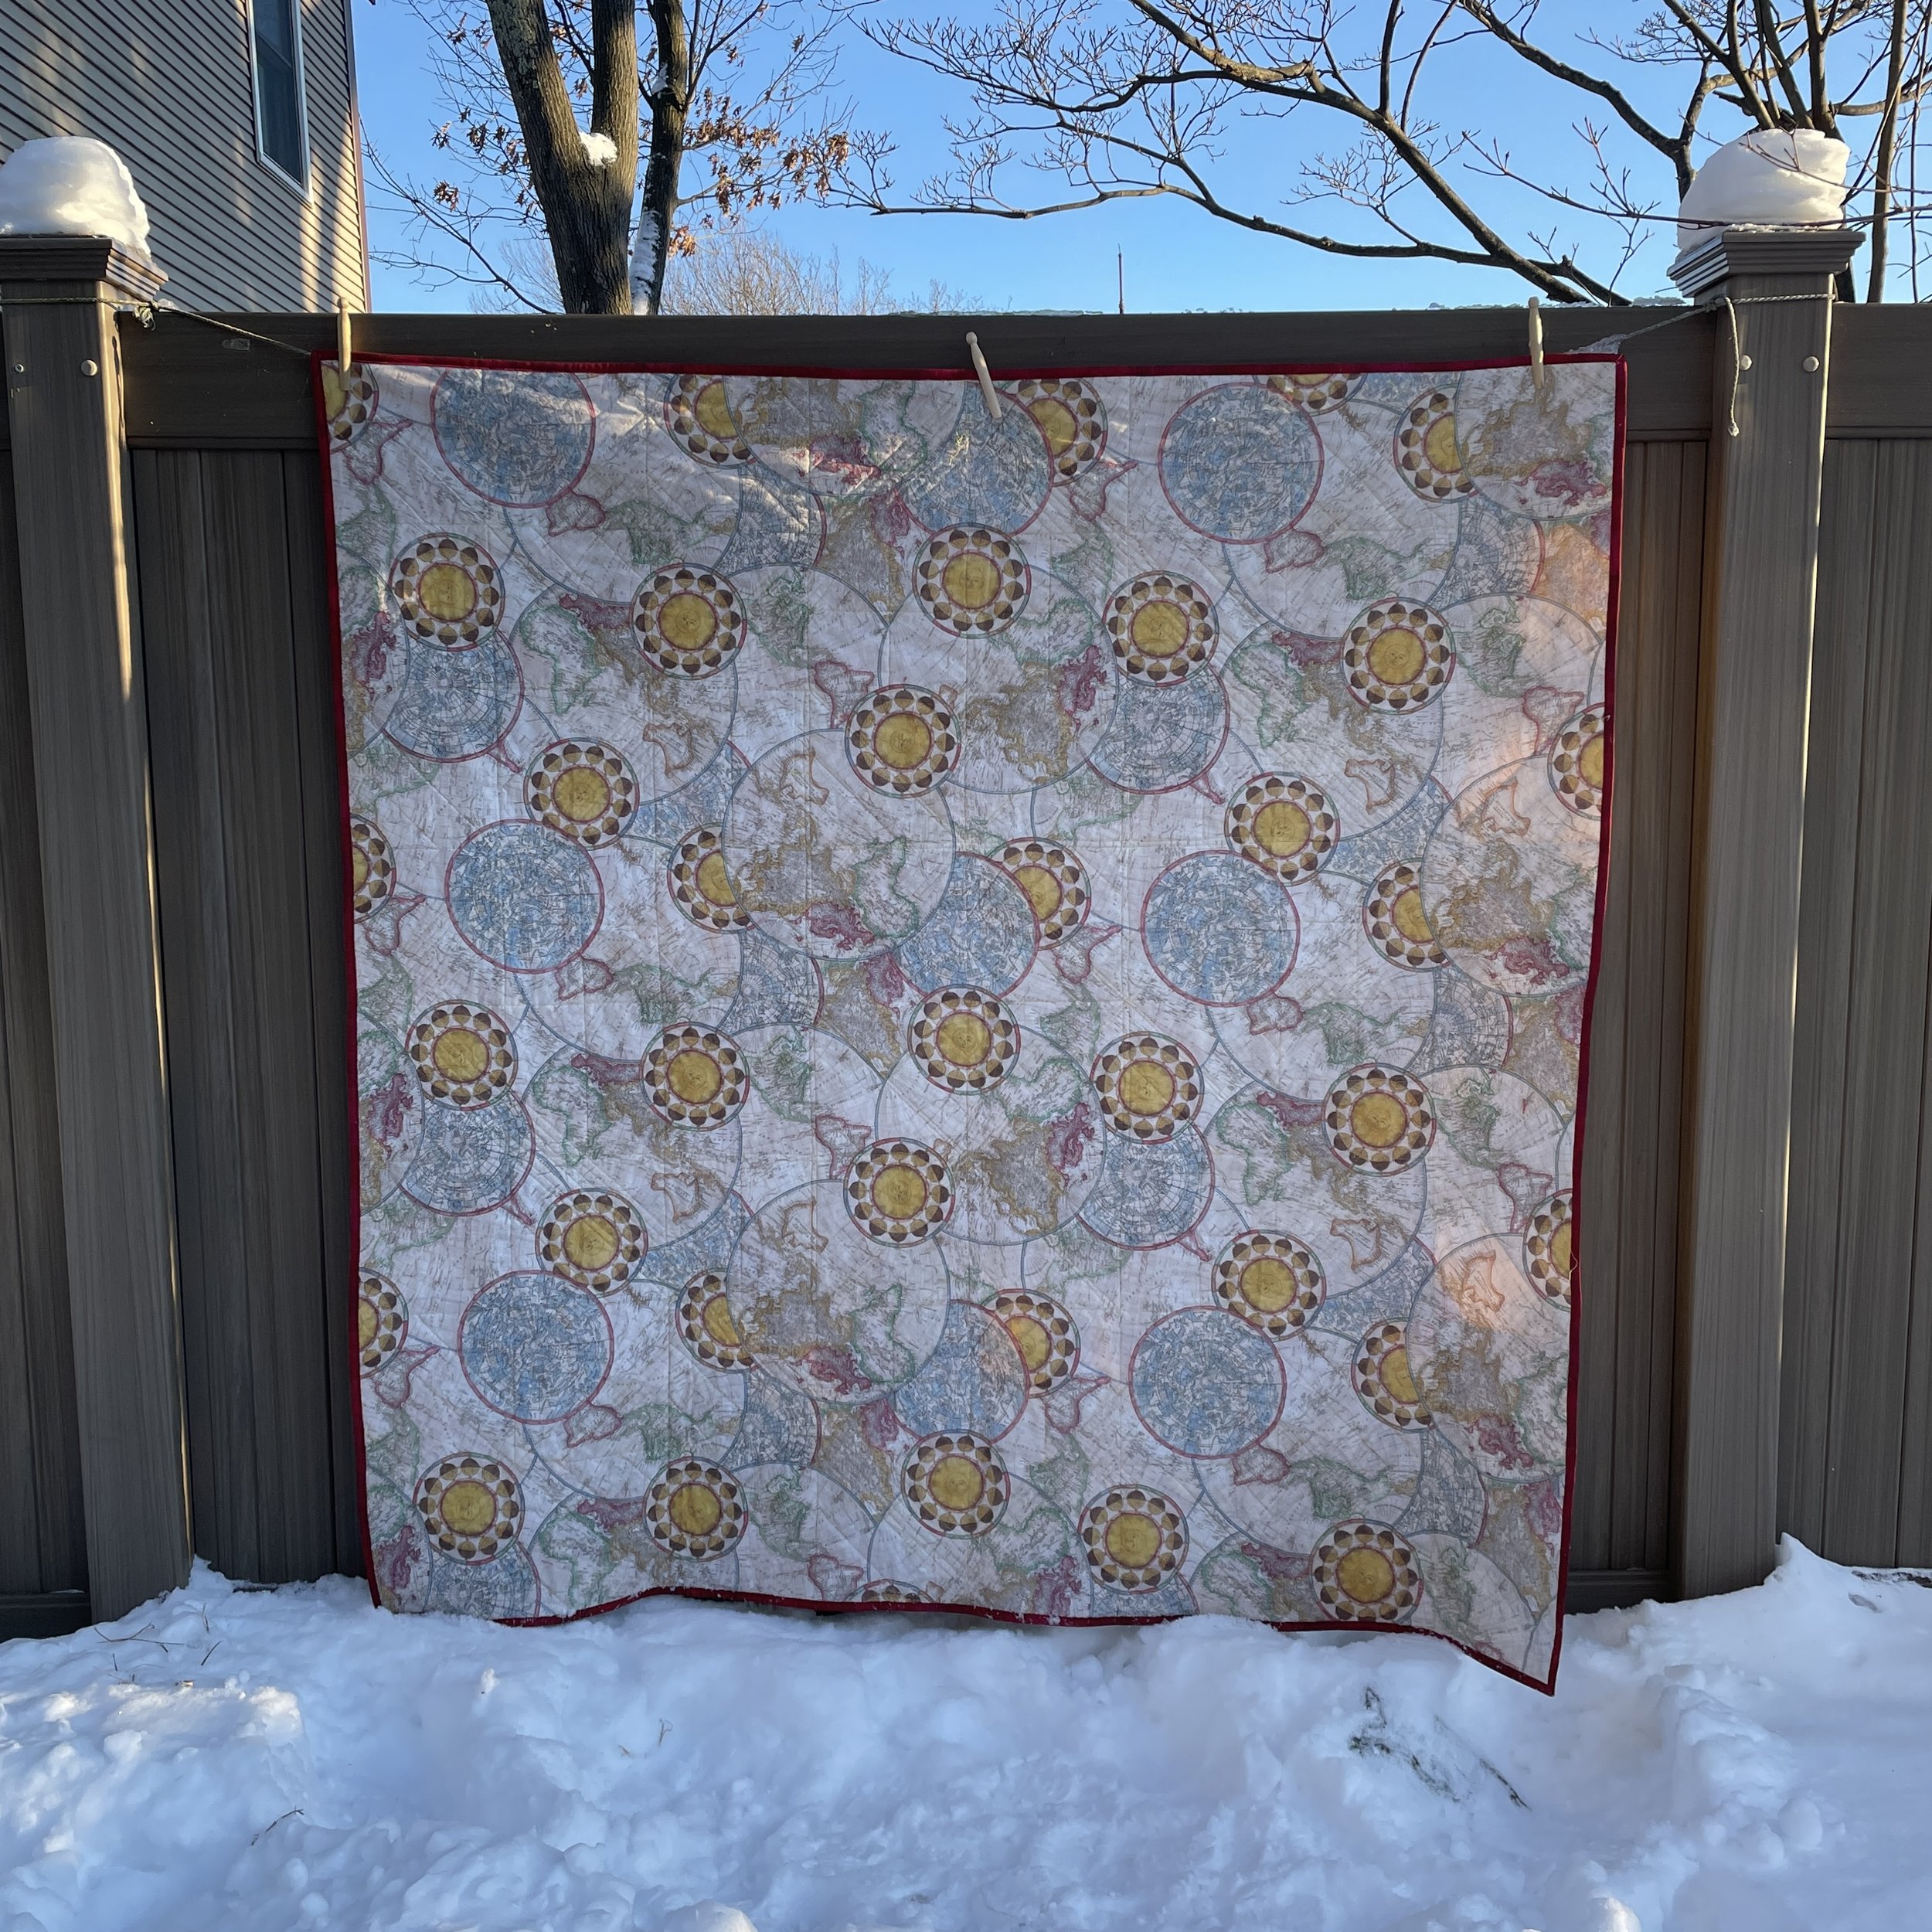
My Four Friends Mystery Quilt, pieced using Riley Blakes’ Gem Stones 2 1/2 inch strip pack and other fabrics from Sew Creative Ashland, is all done. I have to say, I’m liking it more than I did initially now that it’s quilted. And the backing, purchased from a different source, really helps make this quilt a success for in my eyes.
if you haven’t seen this quilt in a prior post, see if you can find the garden gnome, an unexpected, though welcome, visitor hiding in plain sight on the front of the quilt!
All of the quilting on this quilt is straight line, using a walking foot. I think it was definitely the right choice for this very geometric quilt.
The four quilt shops who got together to offer this mystery quilt project have joined up with another shop and they are planning a Five Friends Mystery Quilt sometime this summer. Hmm. This could be the year of mystery quilts…I have the fabric all ready to for Karen Montgomery’s “To the Point 2022 Brown Bag Mystery” starting mid March. That quilt is going to be very summery. More on that later!
Christmas Reindeer Quilt
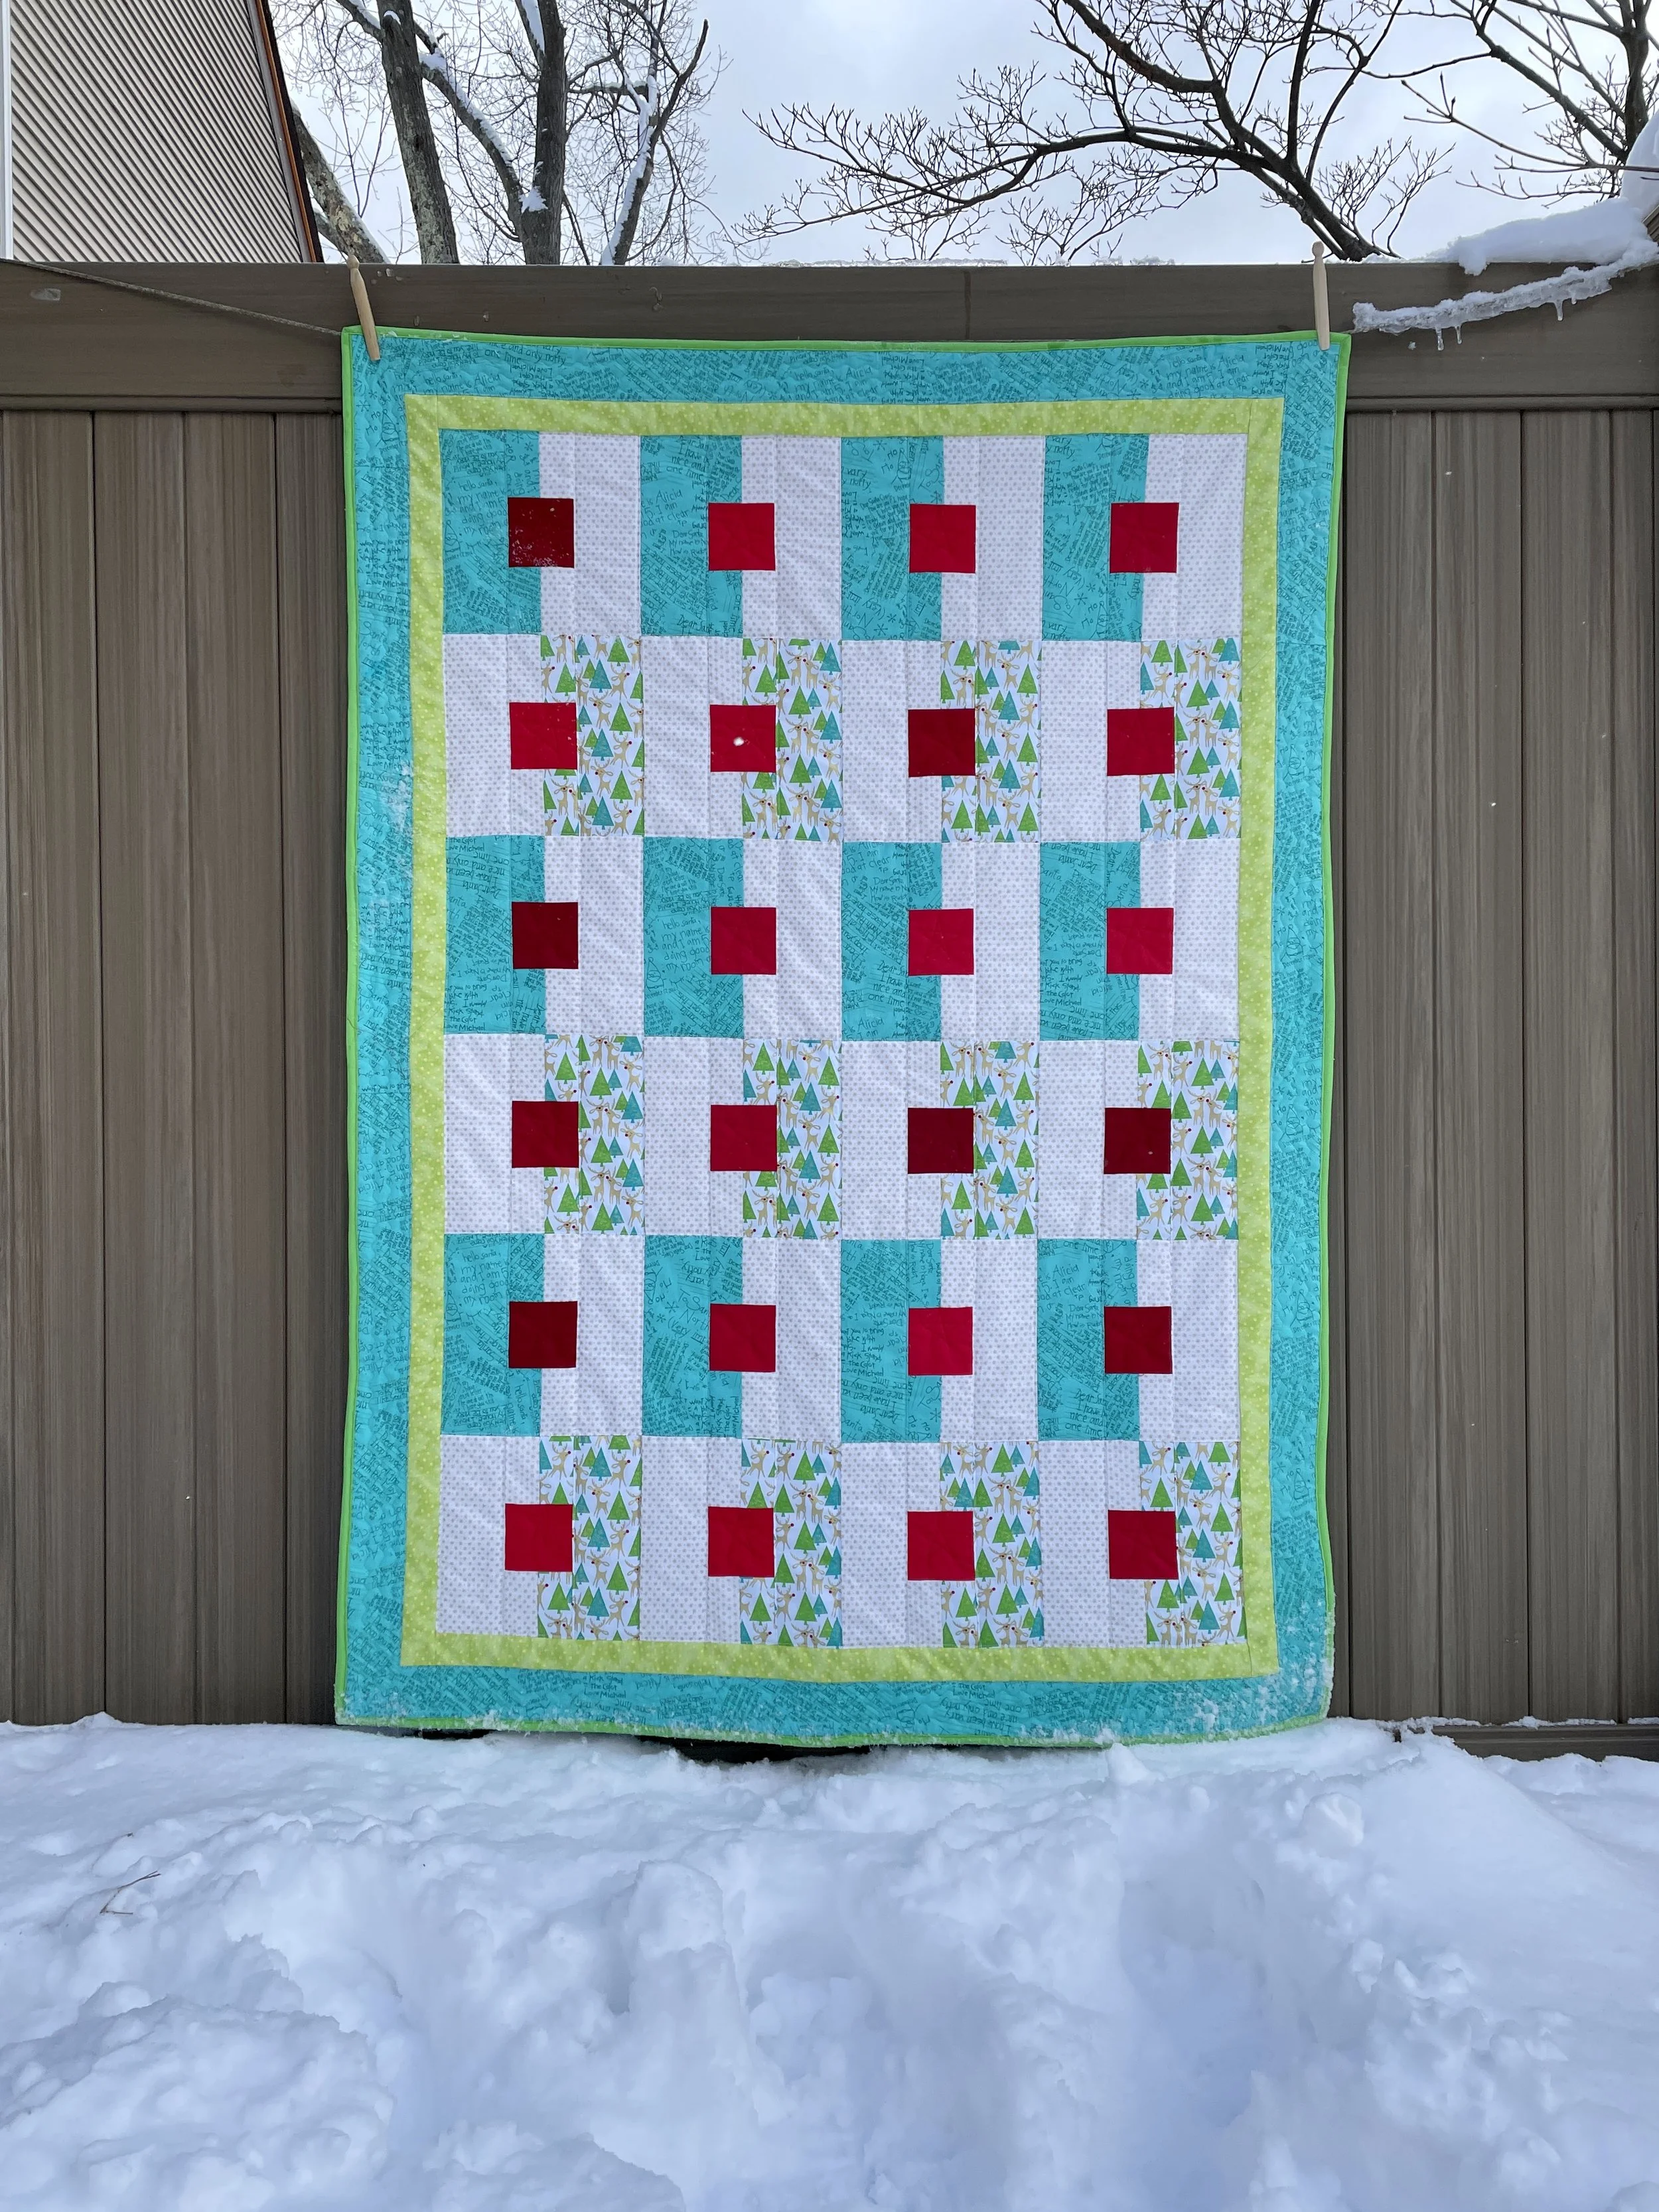
Christmas Reindeer Lap Quilt, 45 x 62 inches
I definitely got the perfect weather to take a photo of this Christmas quilt which I just finished quilting! This is very cute fabric. The reindeer with red noses which were the inspiration for the square red blocks in this pattern.
This is a three yard quilt pattern called “Attraction” from Fabric Café®. I struggled with piecing this quilt. It turns out this pattern isn’t meant to be used with a fabrics that have directional designs. Fortunately I realized that before I did any cutting so the trees and reindeer are all upright. What I didn’t realize until too late was that I needed to make half of the the reindeer blocks and half of teal blocks (which are letters to Santa) mirror images of each other. I think I missed that because all my squares are red, while in the pattern, the squares are two different colors and they switch back and forth. I’ve used this pattern before and i did piece it correctly in this quilt using “Tula’s True Colors”.
All my teal blocks have the red square on the right side of the block and all the reindeer blocks have the red square on the left. So I couldn’t alternate the teal fabric and the reindeer fabric every other block in each row. The solution was to one whole row teal block and the next reindeer blocks. This was definitely a significant deviation from the pattern, but I still like it!
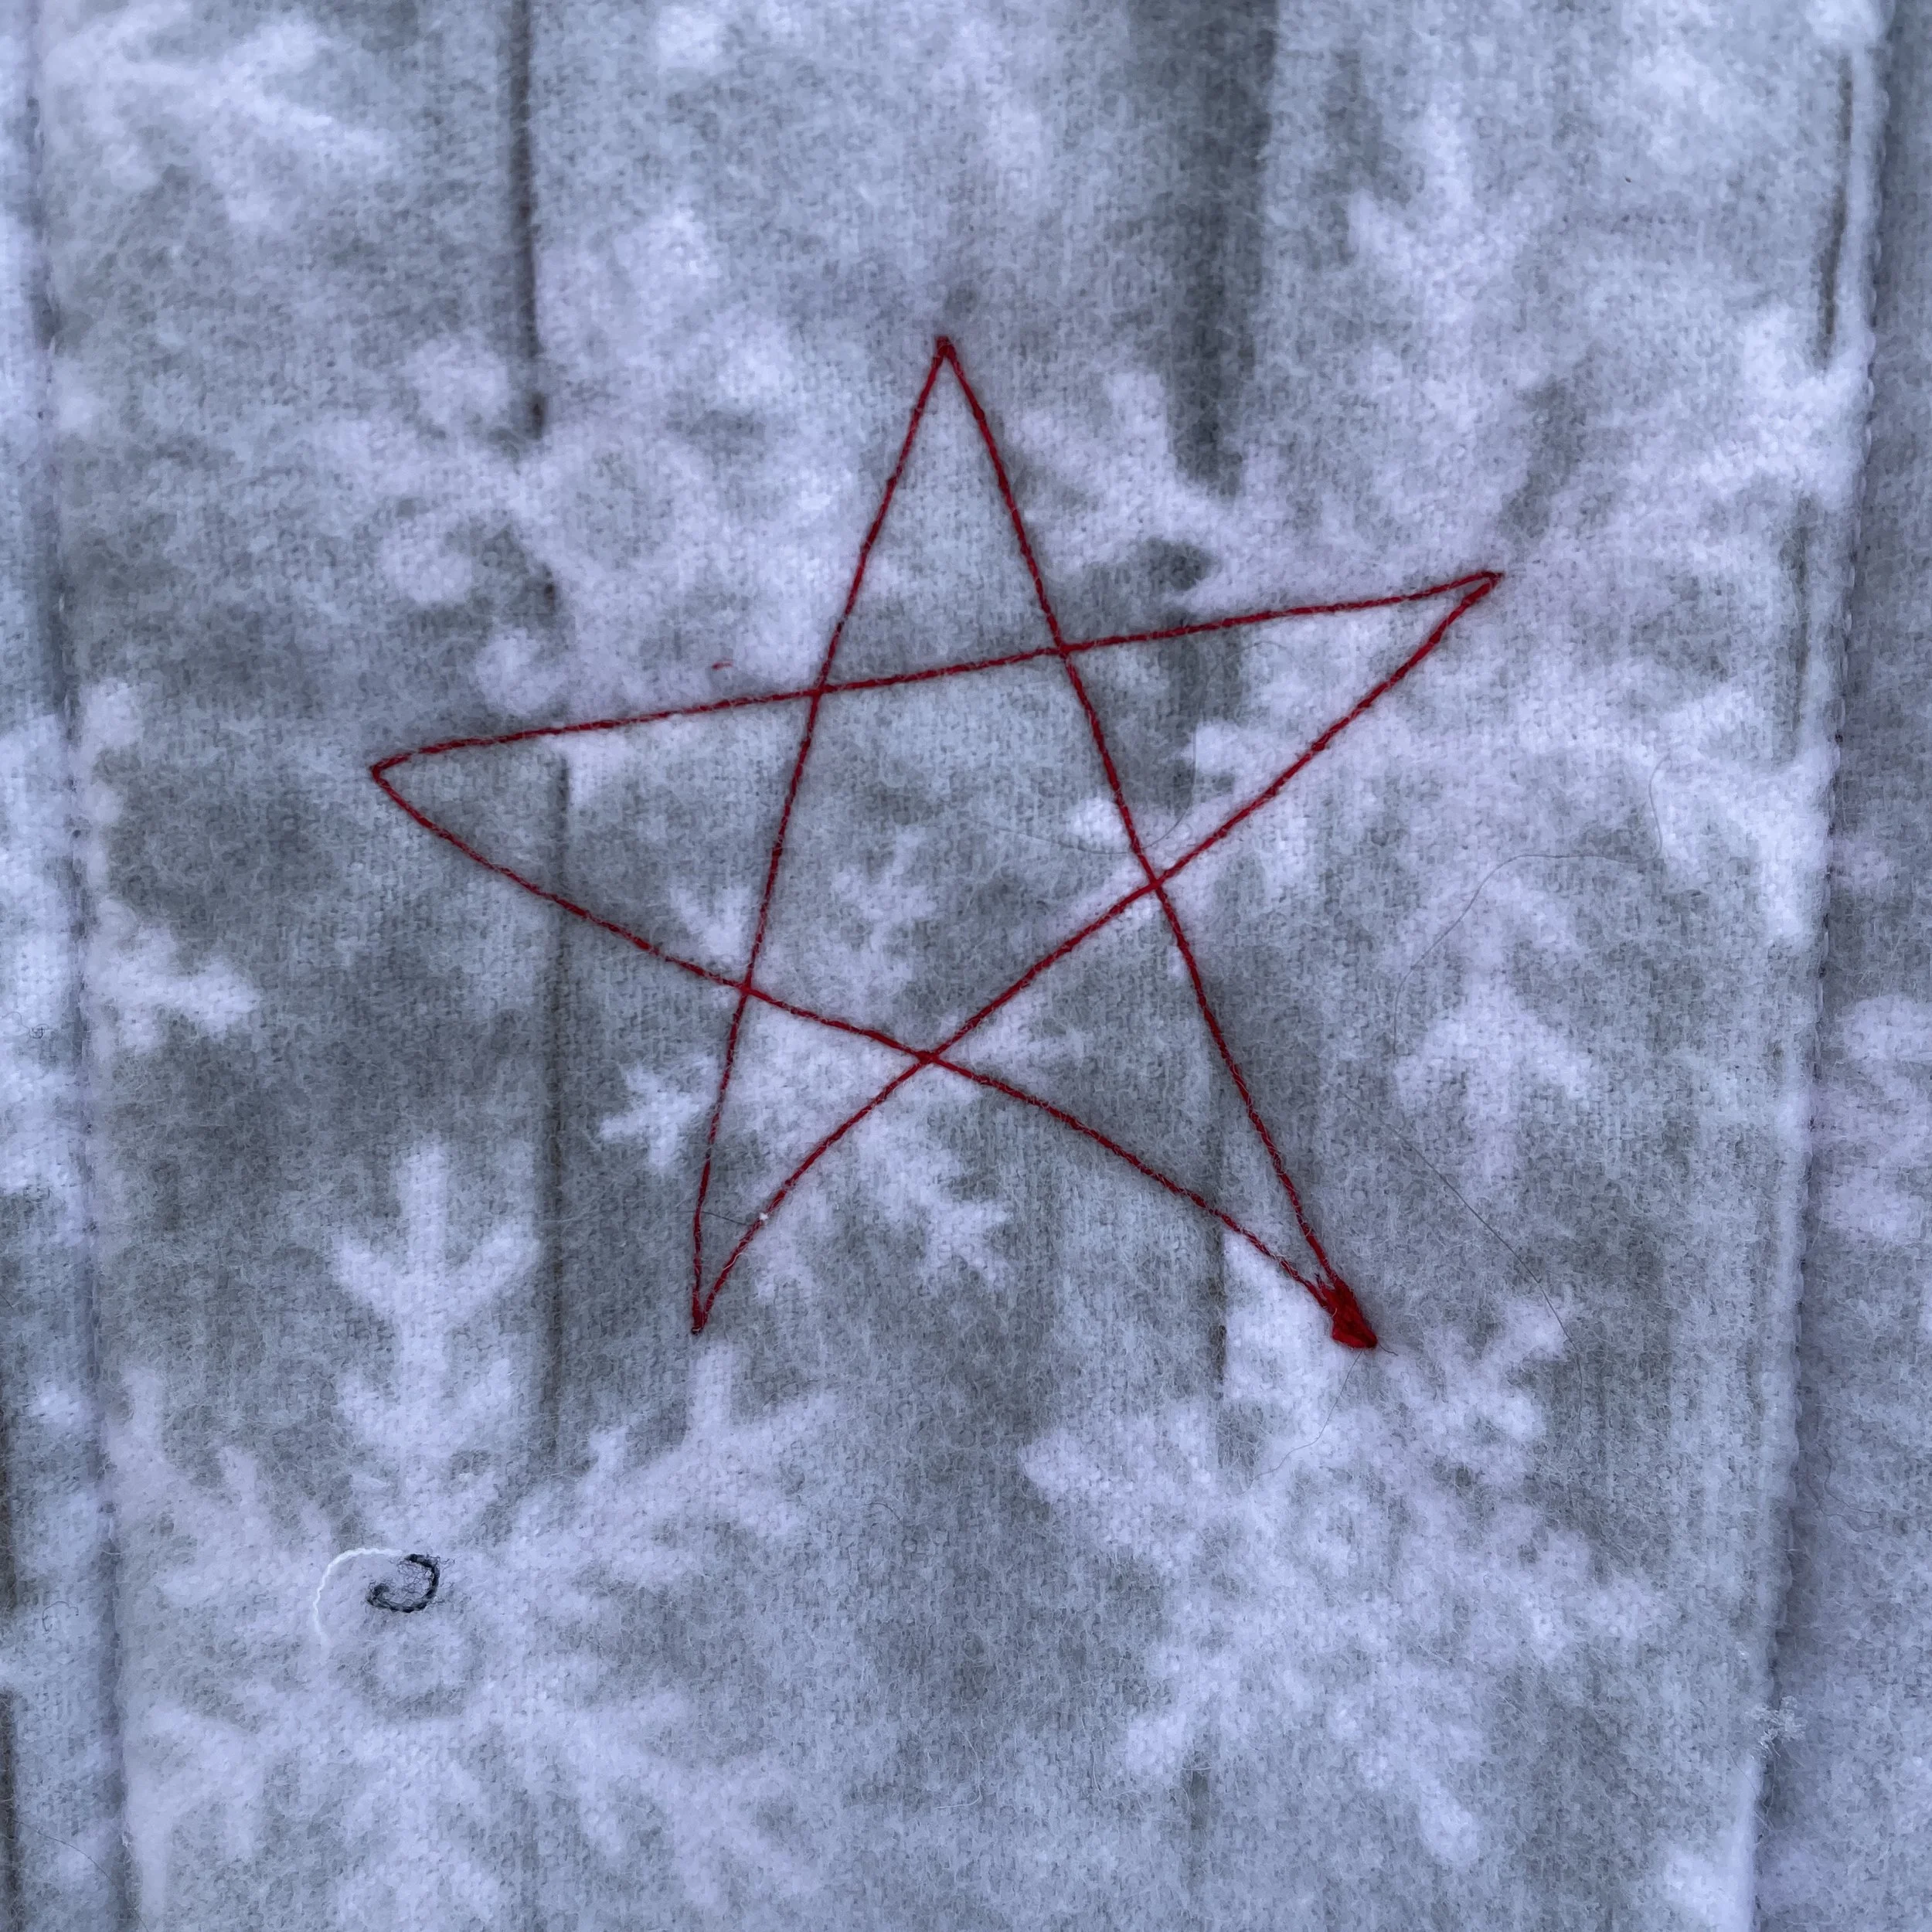
Here’s the flannel back and the star detail on the back which is in each of the red blocks on the front of the quilt.
I’d thought about making spirals in each of the red squares, sort of echoing the red noses on the reindeer, but then decided that stars on the back of the quilt would look better than 24 random spirals!
So, another February finish! I was happy I was doing the quilting on this flannel backed quilt at this time of year and not in July!!
Bright Solids and Flowers Hachi Quilt
Finish it February!! It’s a thing—spending the cold winter days quilting all the quilt tops that have accumulated during better weather and/or just before the holidays.
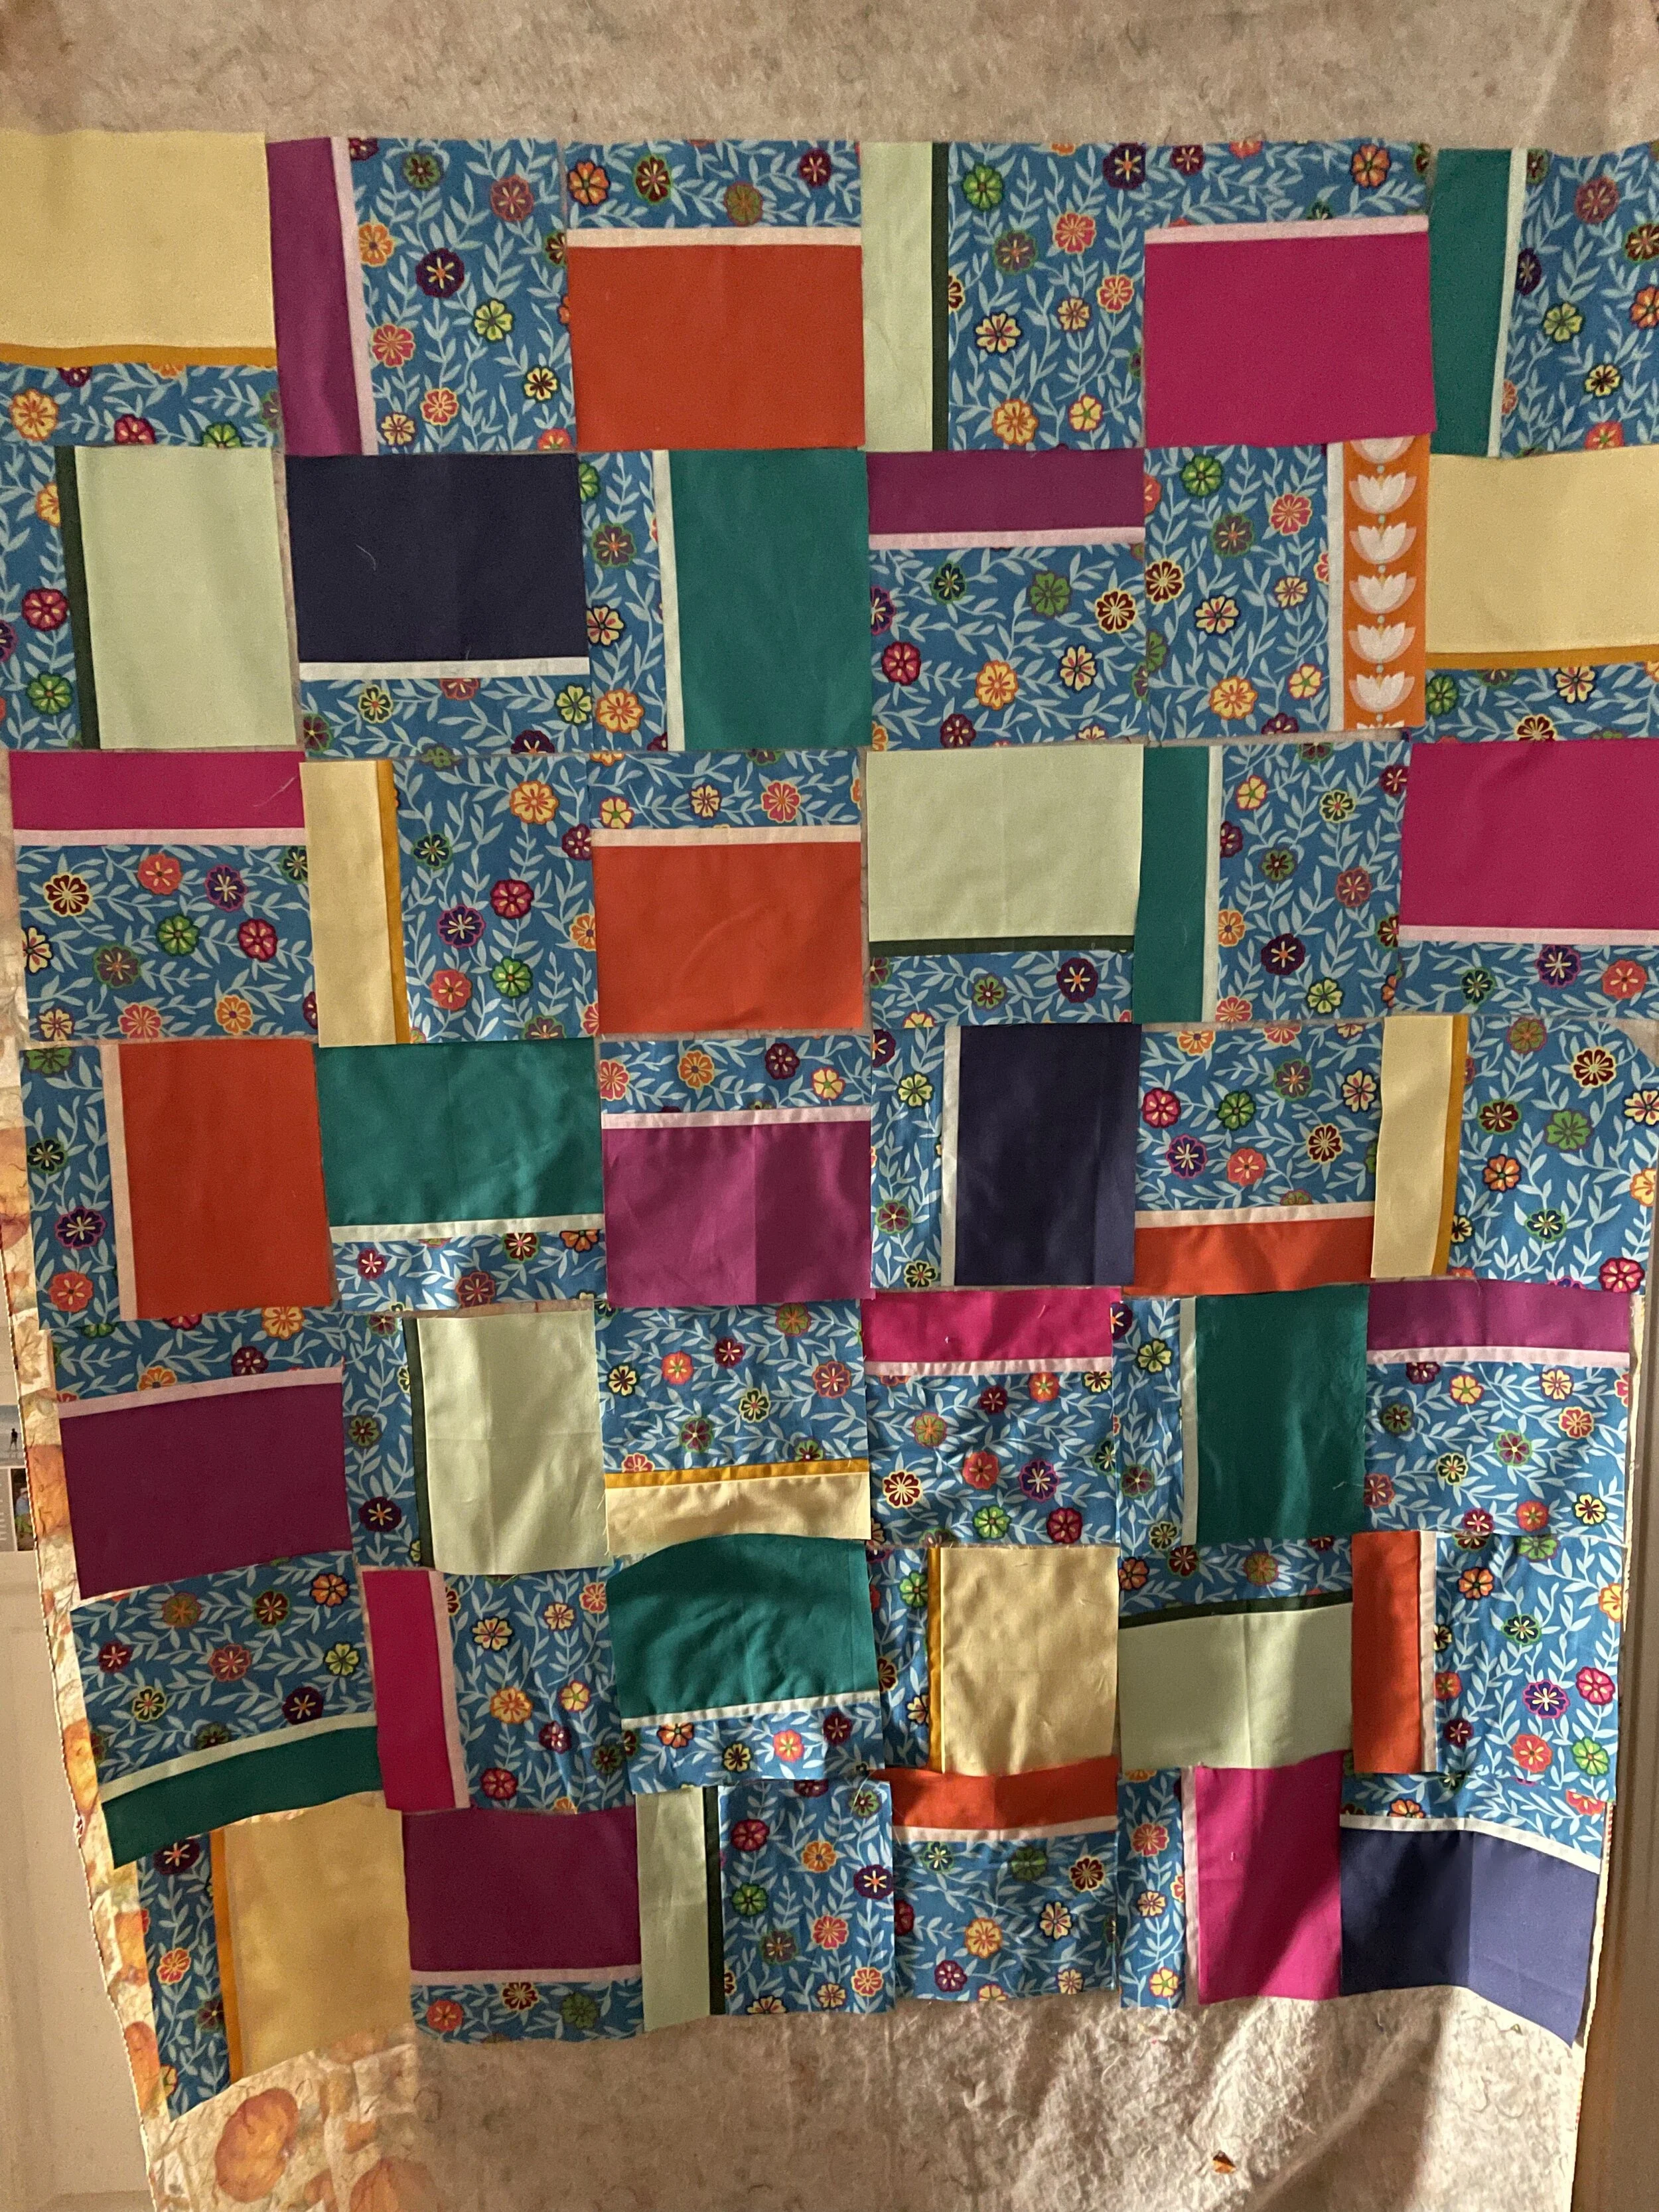
This is a Japanese Hachi quilt that I pieced last year and only just now got around to quilting it. The narrow strips remind and the rectangular blocks make me think of a Mondrian painting—even though my strips are colors and not black.
The bright flower print is a Kaffe Fassett print from the stash and the solids are all from Tula Pink’s line of solid fabrics.
Each Hachi quilt has an “unexpected visitor”, meant to add a spark of interest to the design. The line of water lily’s on the orange background are the very welcome, unexpected visitor in this quilt.
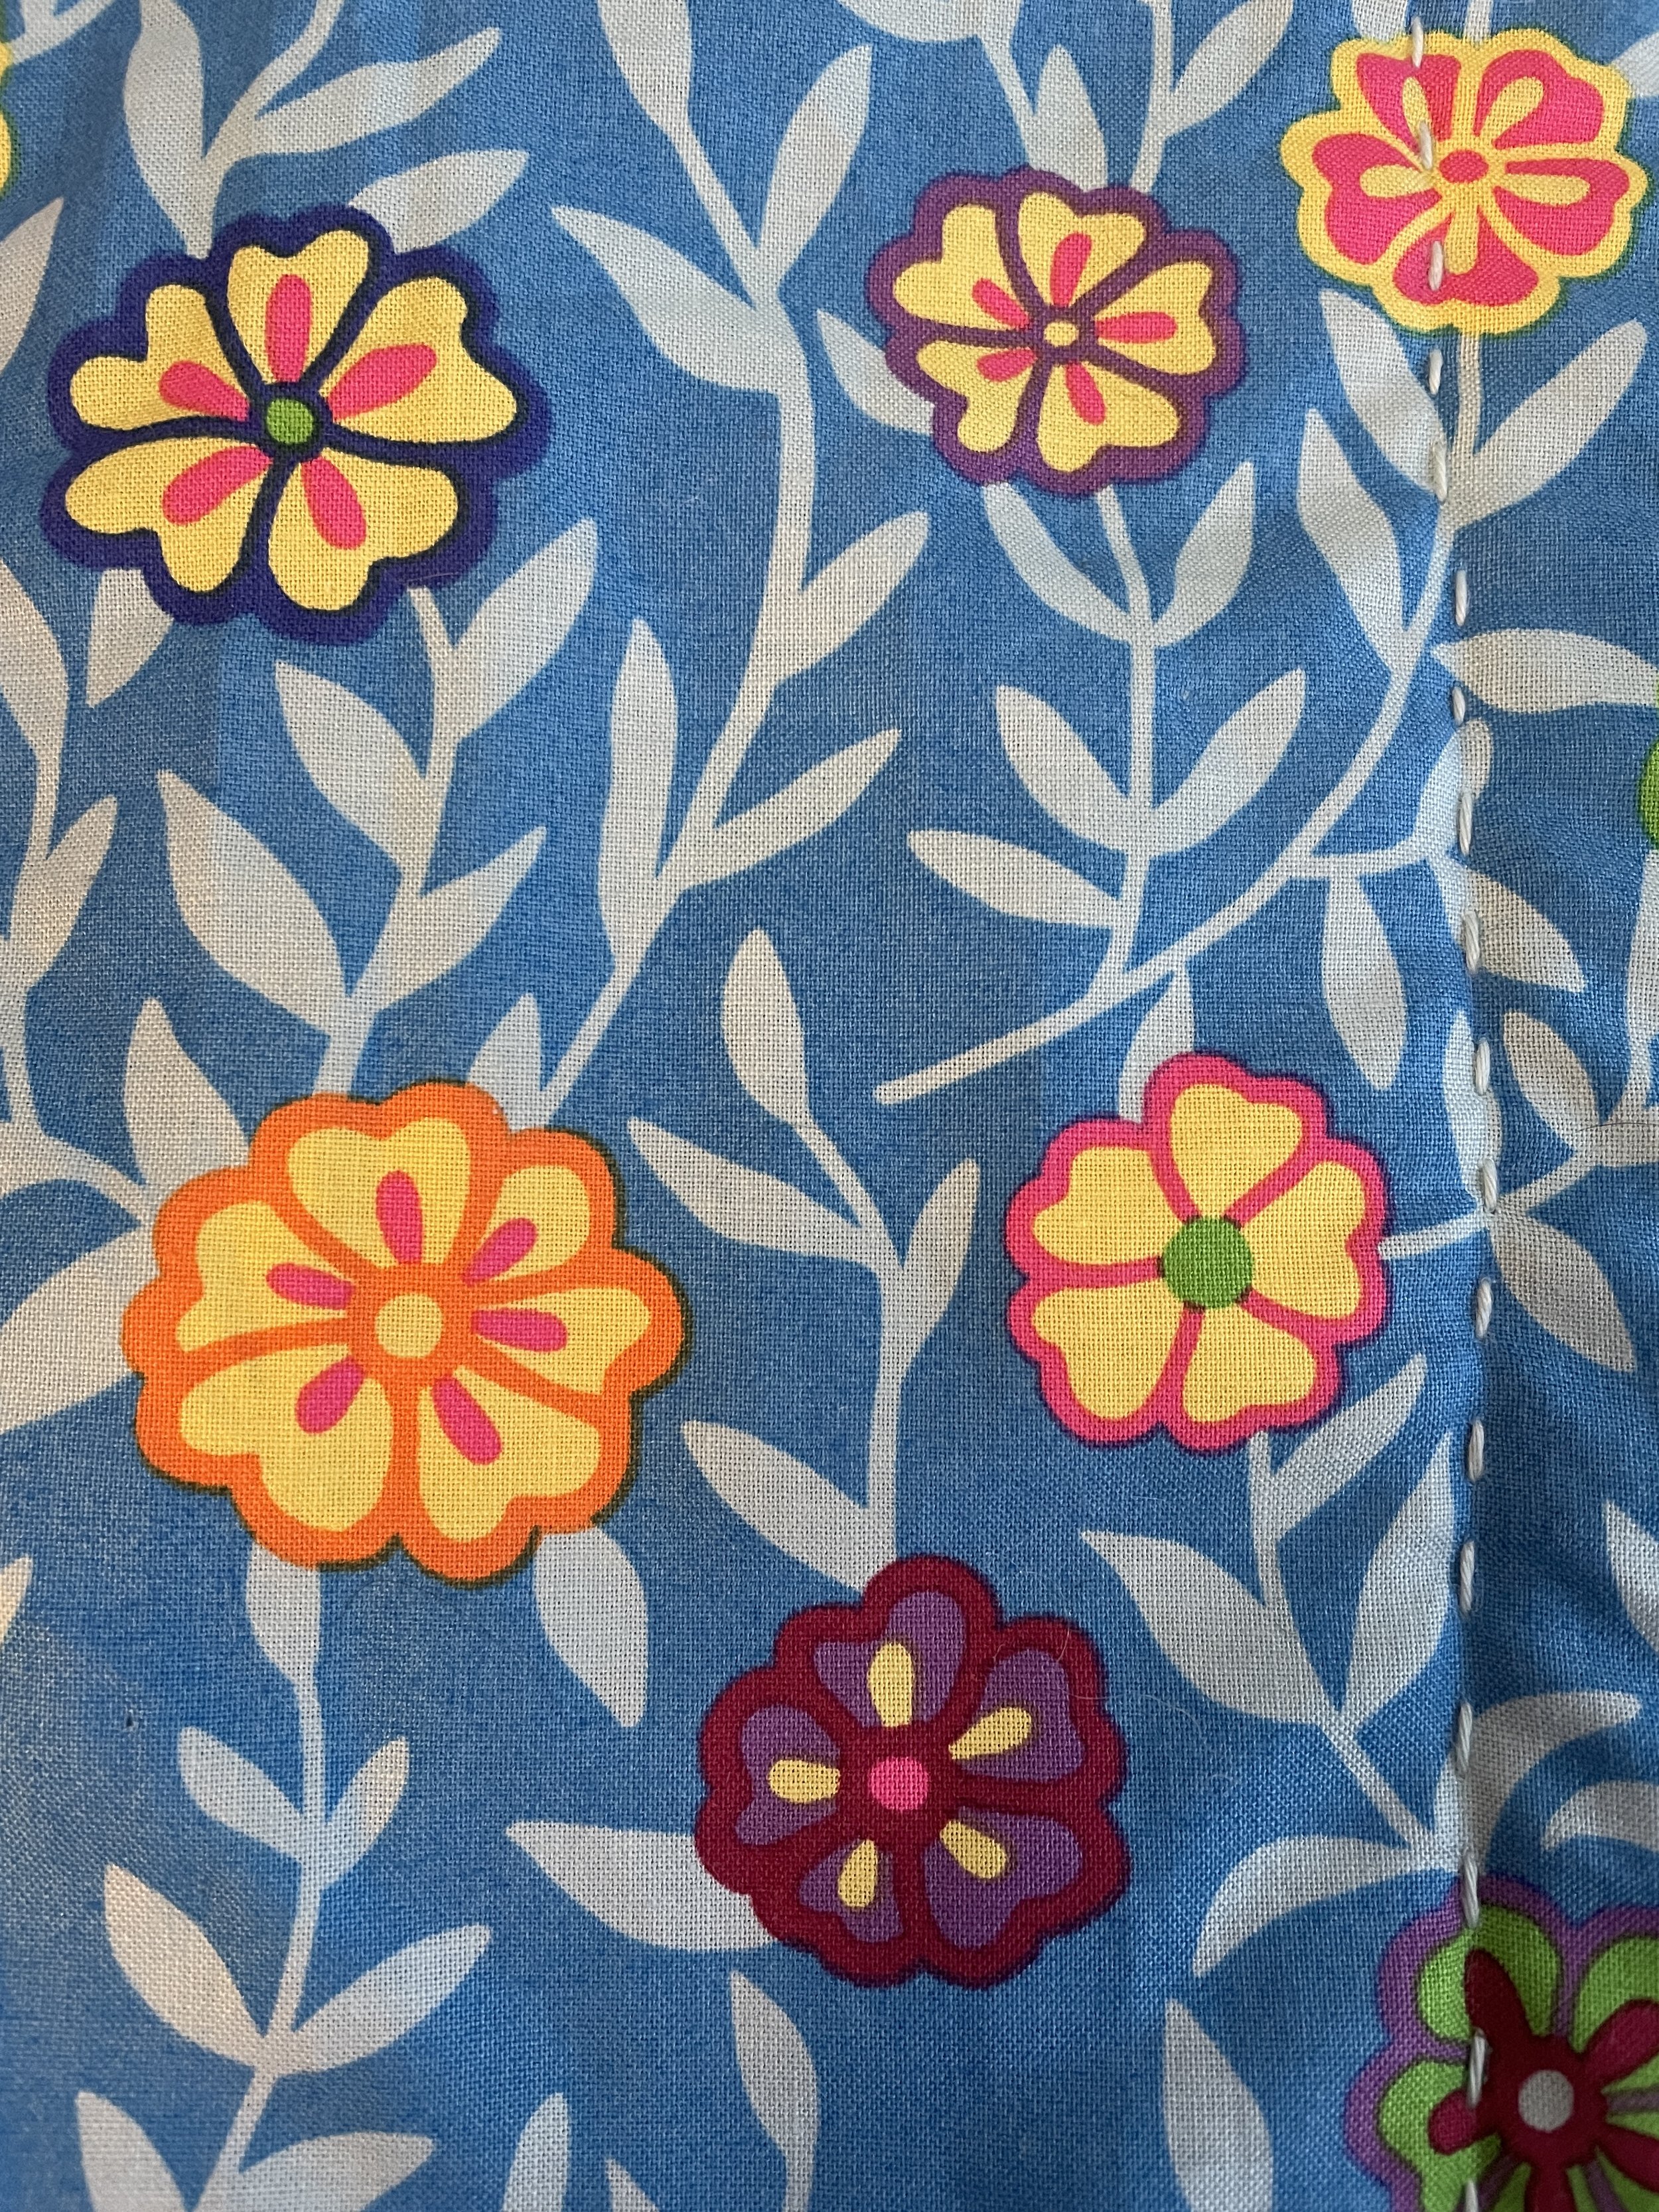
There are 3 types of quilting in this quilt. There is a lot of straight line quilting done with a walking foot. The flowers in the solid blocks are free motion quilting. And if you look very carefully, there is hand sewn big stitch quilting in most of the upright flower blocks. I used sashiko thread and a sashiko needle to do the hand stitching. The thread is almost exactly the same blue as the leaves in the print, so it’s only something you’d discover if you had the quilt on your lap!
I can’t see any of the big stitch quilting on the photo above, so here’s a close-up.
Hand sewn big stitch quilting done with sashiko thread.
It was funny gingerly walking across a snow powder-covered mound of crusty icy snow to hang this very summery quilt on the clothes line to photograph it. But I like the blue February sky and the grey-blue snow framing this quilt.
And this quilt—I love!! (Last week’s is growing on me too)!
Four Friends Mystery Quilt Top
Four quilt shops (the Four Friends) ran a mystery quilt in January. if you purchased a 2 1/2 in fabric strip roll from one of the shops, you could play along. I purchased my strip roll from Sew Creative Ashland, in Ashland, Oregon. They chose the yellow background and the red fabric in the little triangles for me. I added the mushroom fabric. If you look closely, you’ll find one Garden Gnome holding a mushroom, a welcome, though unexpected visitor!
We were given directions for making the chaining block and the square blocks with the strips and fold over red triangle. But it was up to us to choose our own design from these blocks.
It’s been totally amazing to see how many different configurations folks have come up with. Below are some of the incomplete designs I played with on my design wall. I ended up deciding between the star above and the large diamond.
Right now the tops are only being shared on a closed Facebook group. I hope maybe some of the shops will show them on their websites so more people can see them.
My quilt top is about 64 inches square. I decided to order a wide back fabric as the backing, and the red fabric will be my binding. It’ll be while before I get to quilting it as I had to order both the backing fabric and batting.
This has been an interesting project. It’s not one of my all time favorite quilts but still, I’m glad I did it.
I was recently given a half size strip roll and so I’m thinking about making another quilt just using the square blocks with the strips to make a quick charity quilt. I’ll let you know if I do!
A Year of Improv Quilt Blocks--One a Week on the Quilter's Playcation Adventure Sew Along
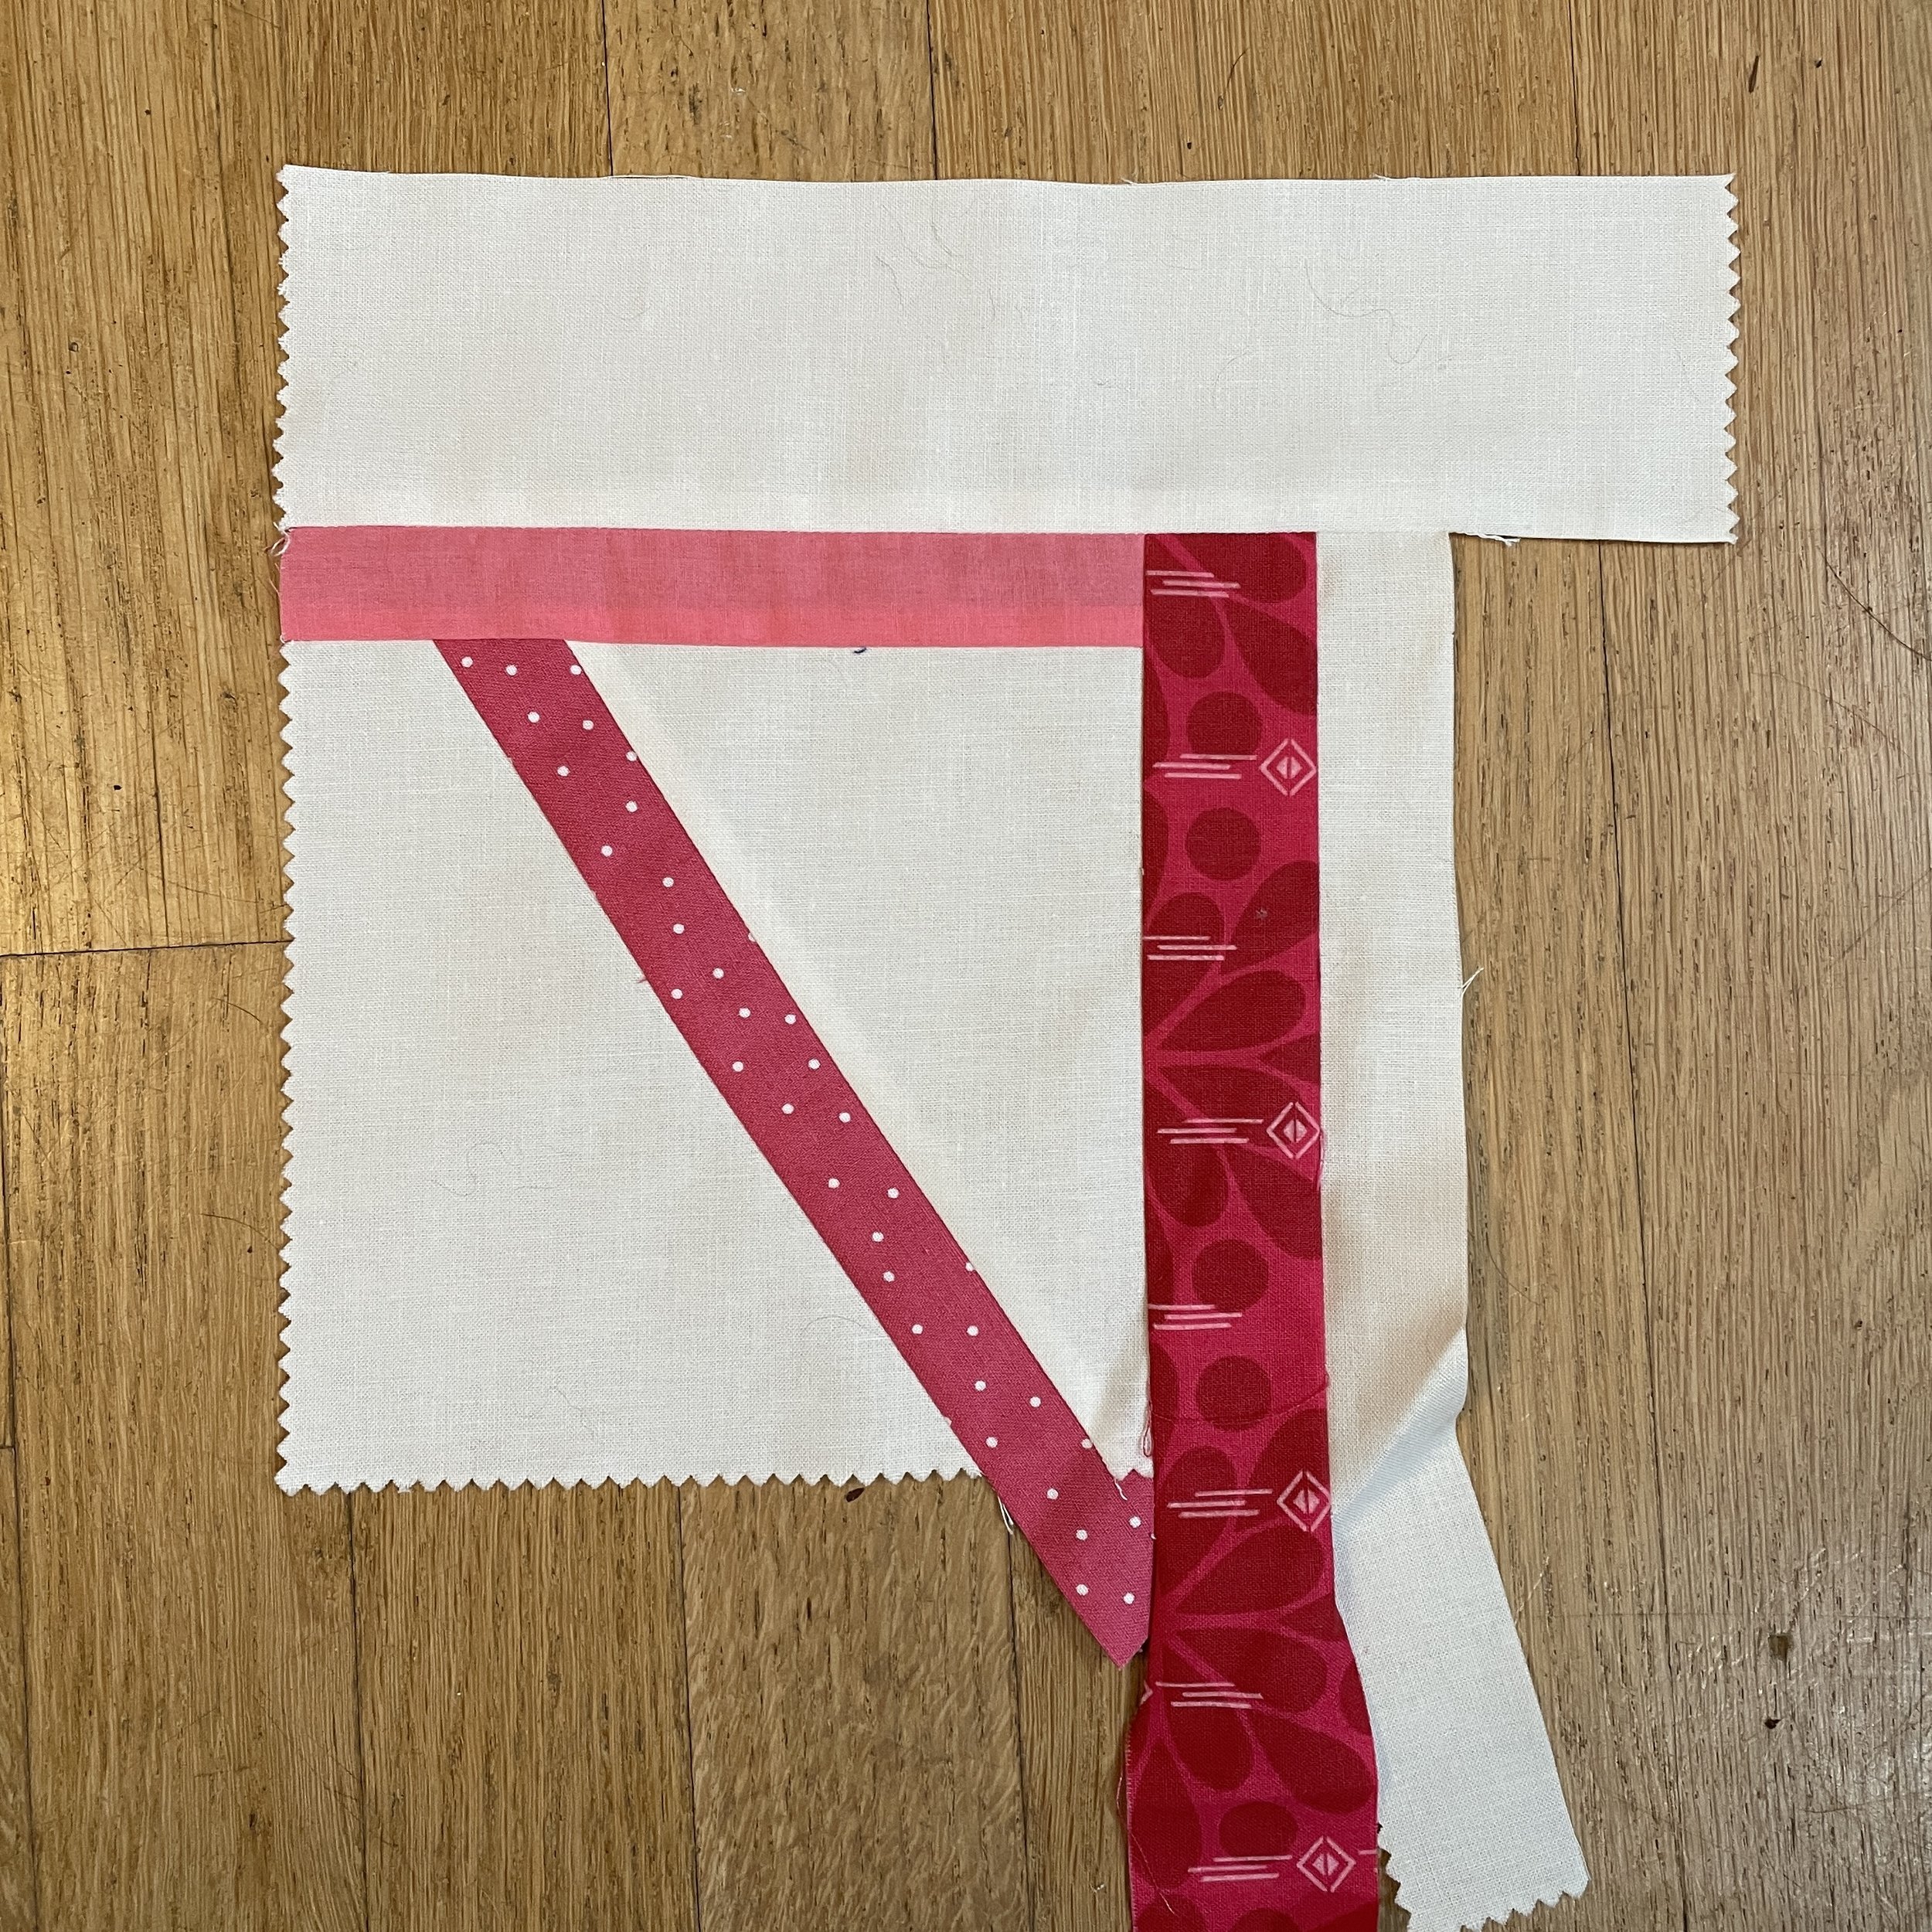
Cheryl Arkison is offering a year of free improv quilting block classes—one a week on Instagram. She named the series, “Quilter’s Playcation Adventure Sew Along”, with the hashtag #qpadventuresewalong.
Each week she demonstrates how to make the block of the week, and shows examples in two different colorways. She’s encouraging us to take the block in our own direction and do whatever feels fun. It’s suppose to be play!
I’m trying to use my scraps and a stack of 10 inch Kona® Snow blocks as well as some other pastel background fabrics. Hopefully the only fabric I’ll need to purchase for this project will be a quilt backing…sometime in 2023!
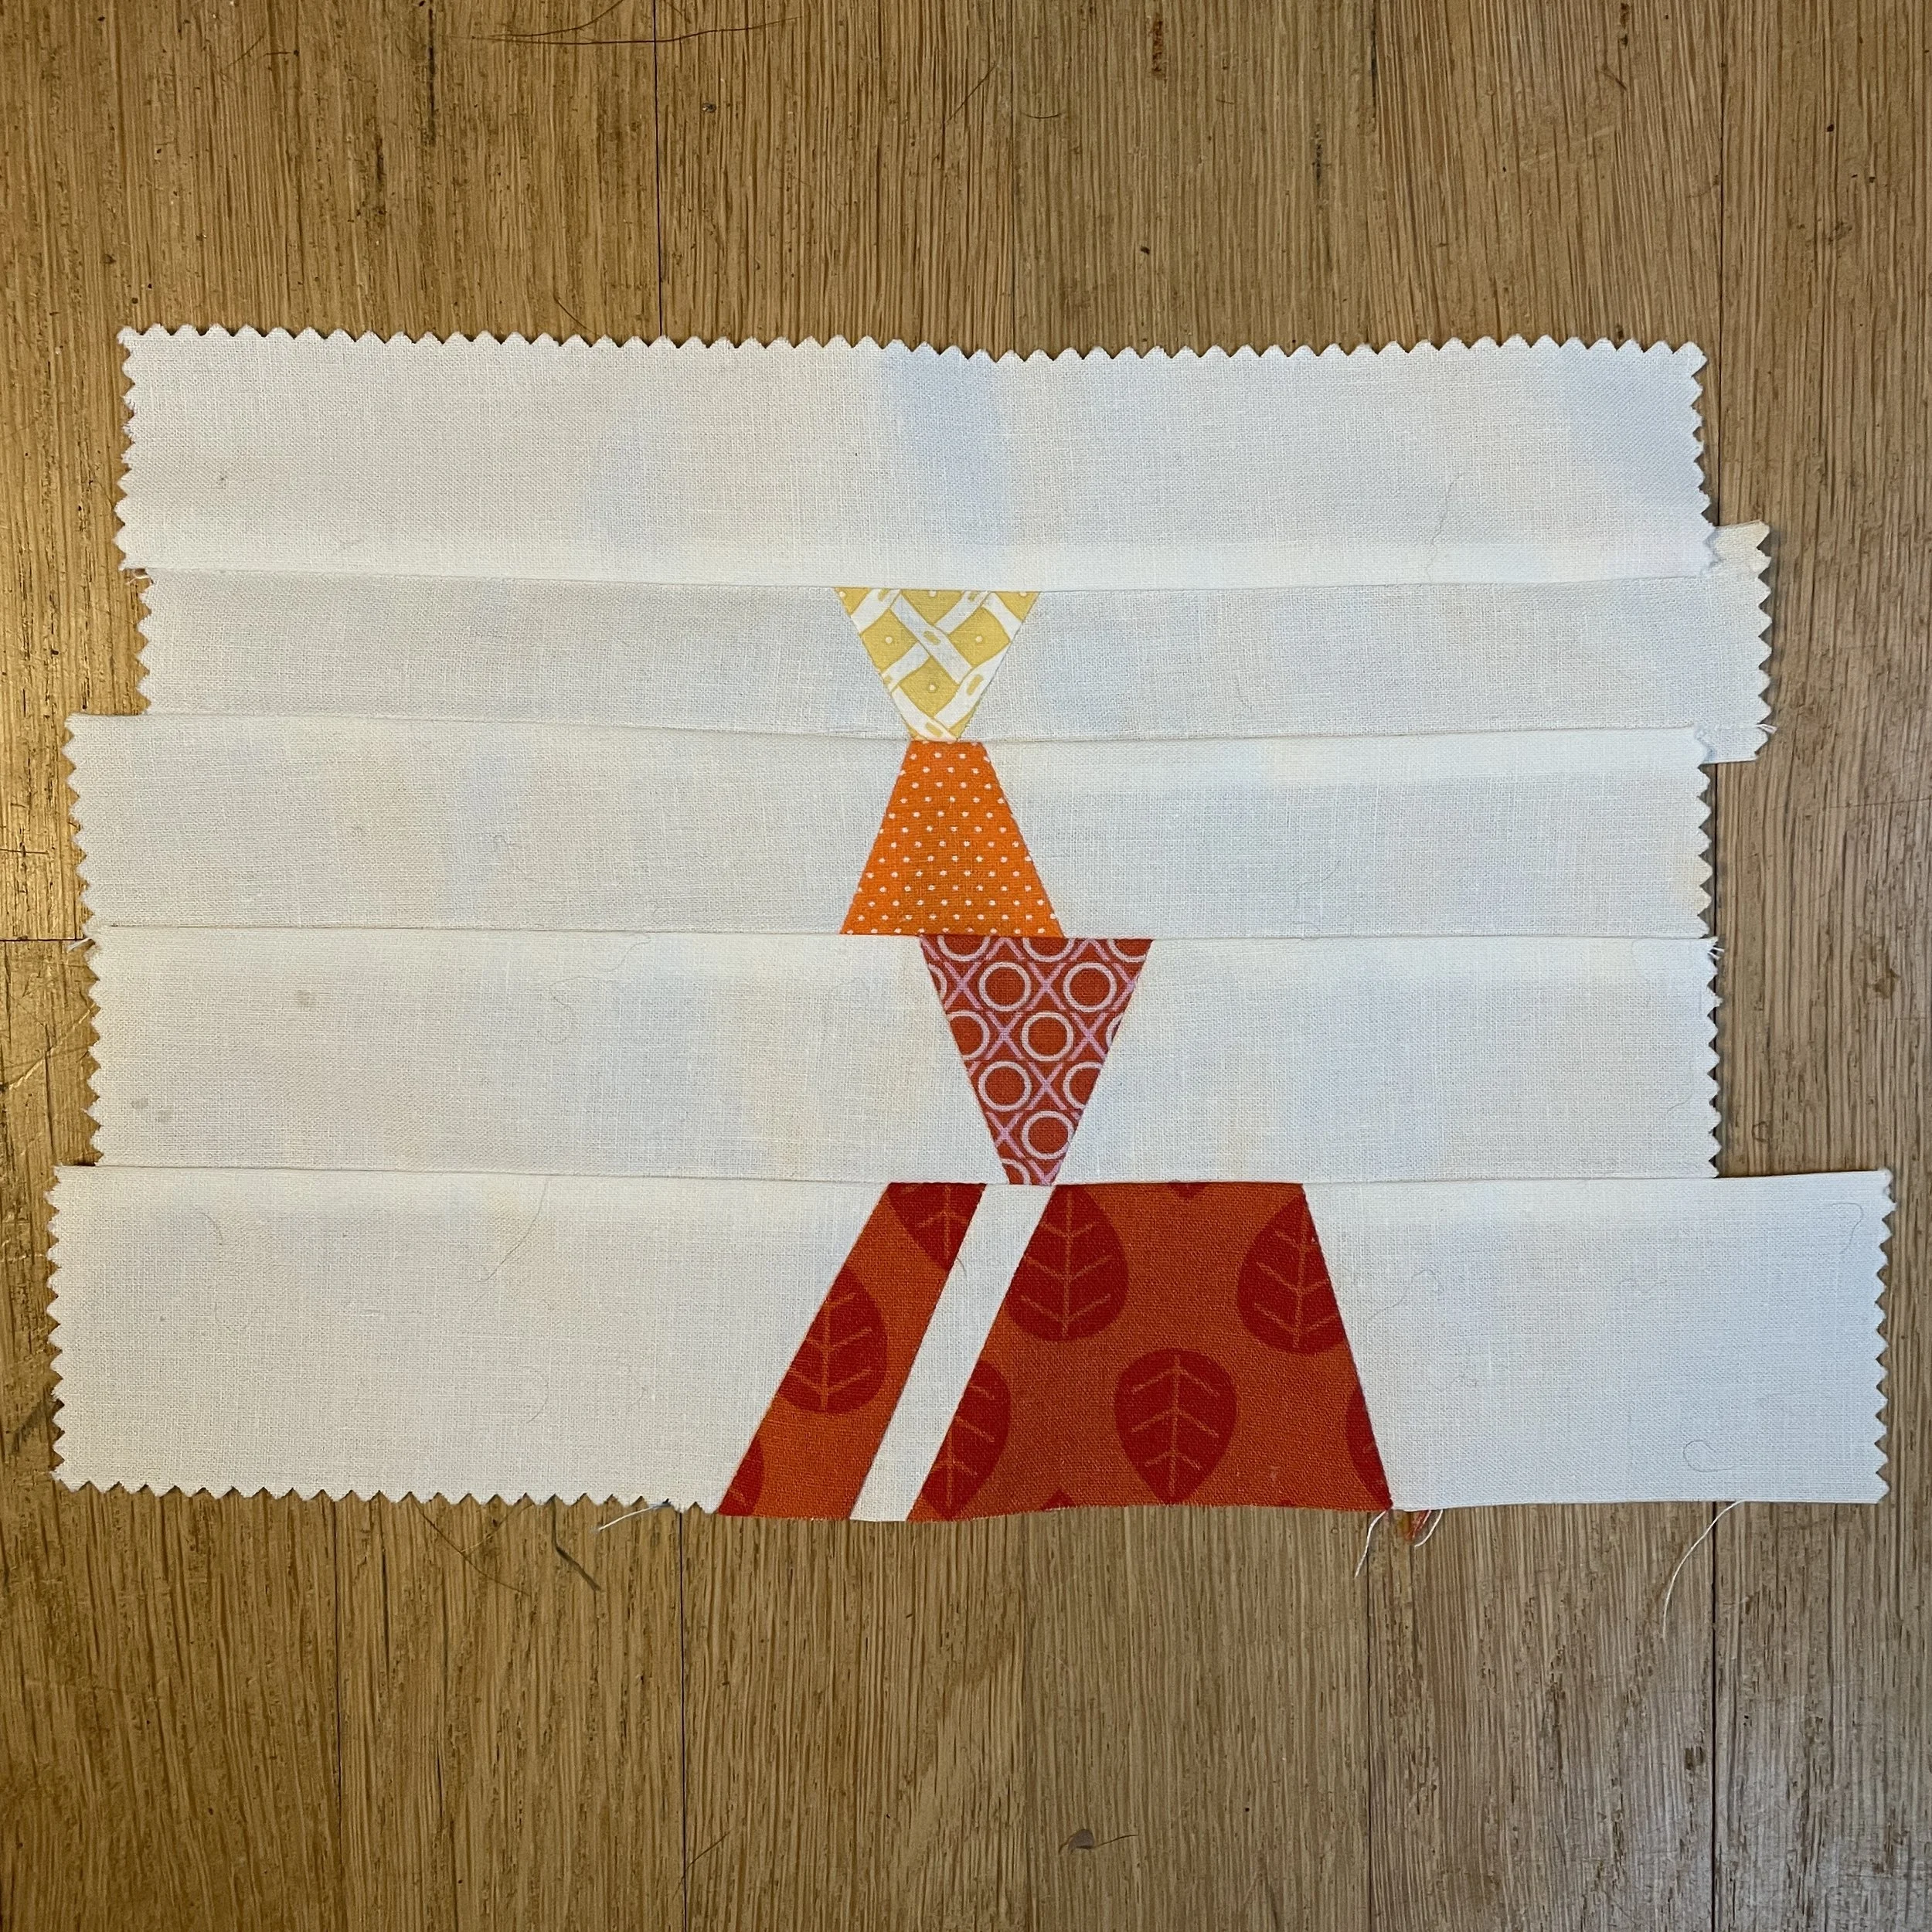
The second block, the one on the upper right, was inspired by trees. And her blocks do look like tiered evergreens. This block is made the same way as the blocks in her “Scandi Village” which I recently made. Having just made a forest of trees, I wanted to do something that wasn’t a tree. So I turned two of my triangles upside down, creating a balancing act.
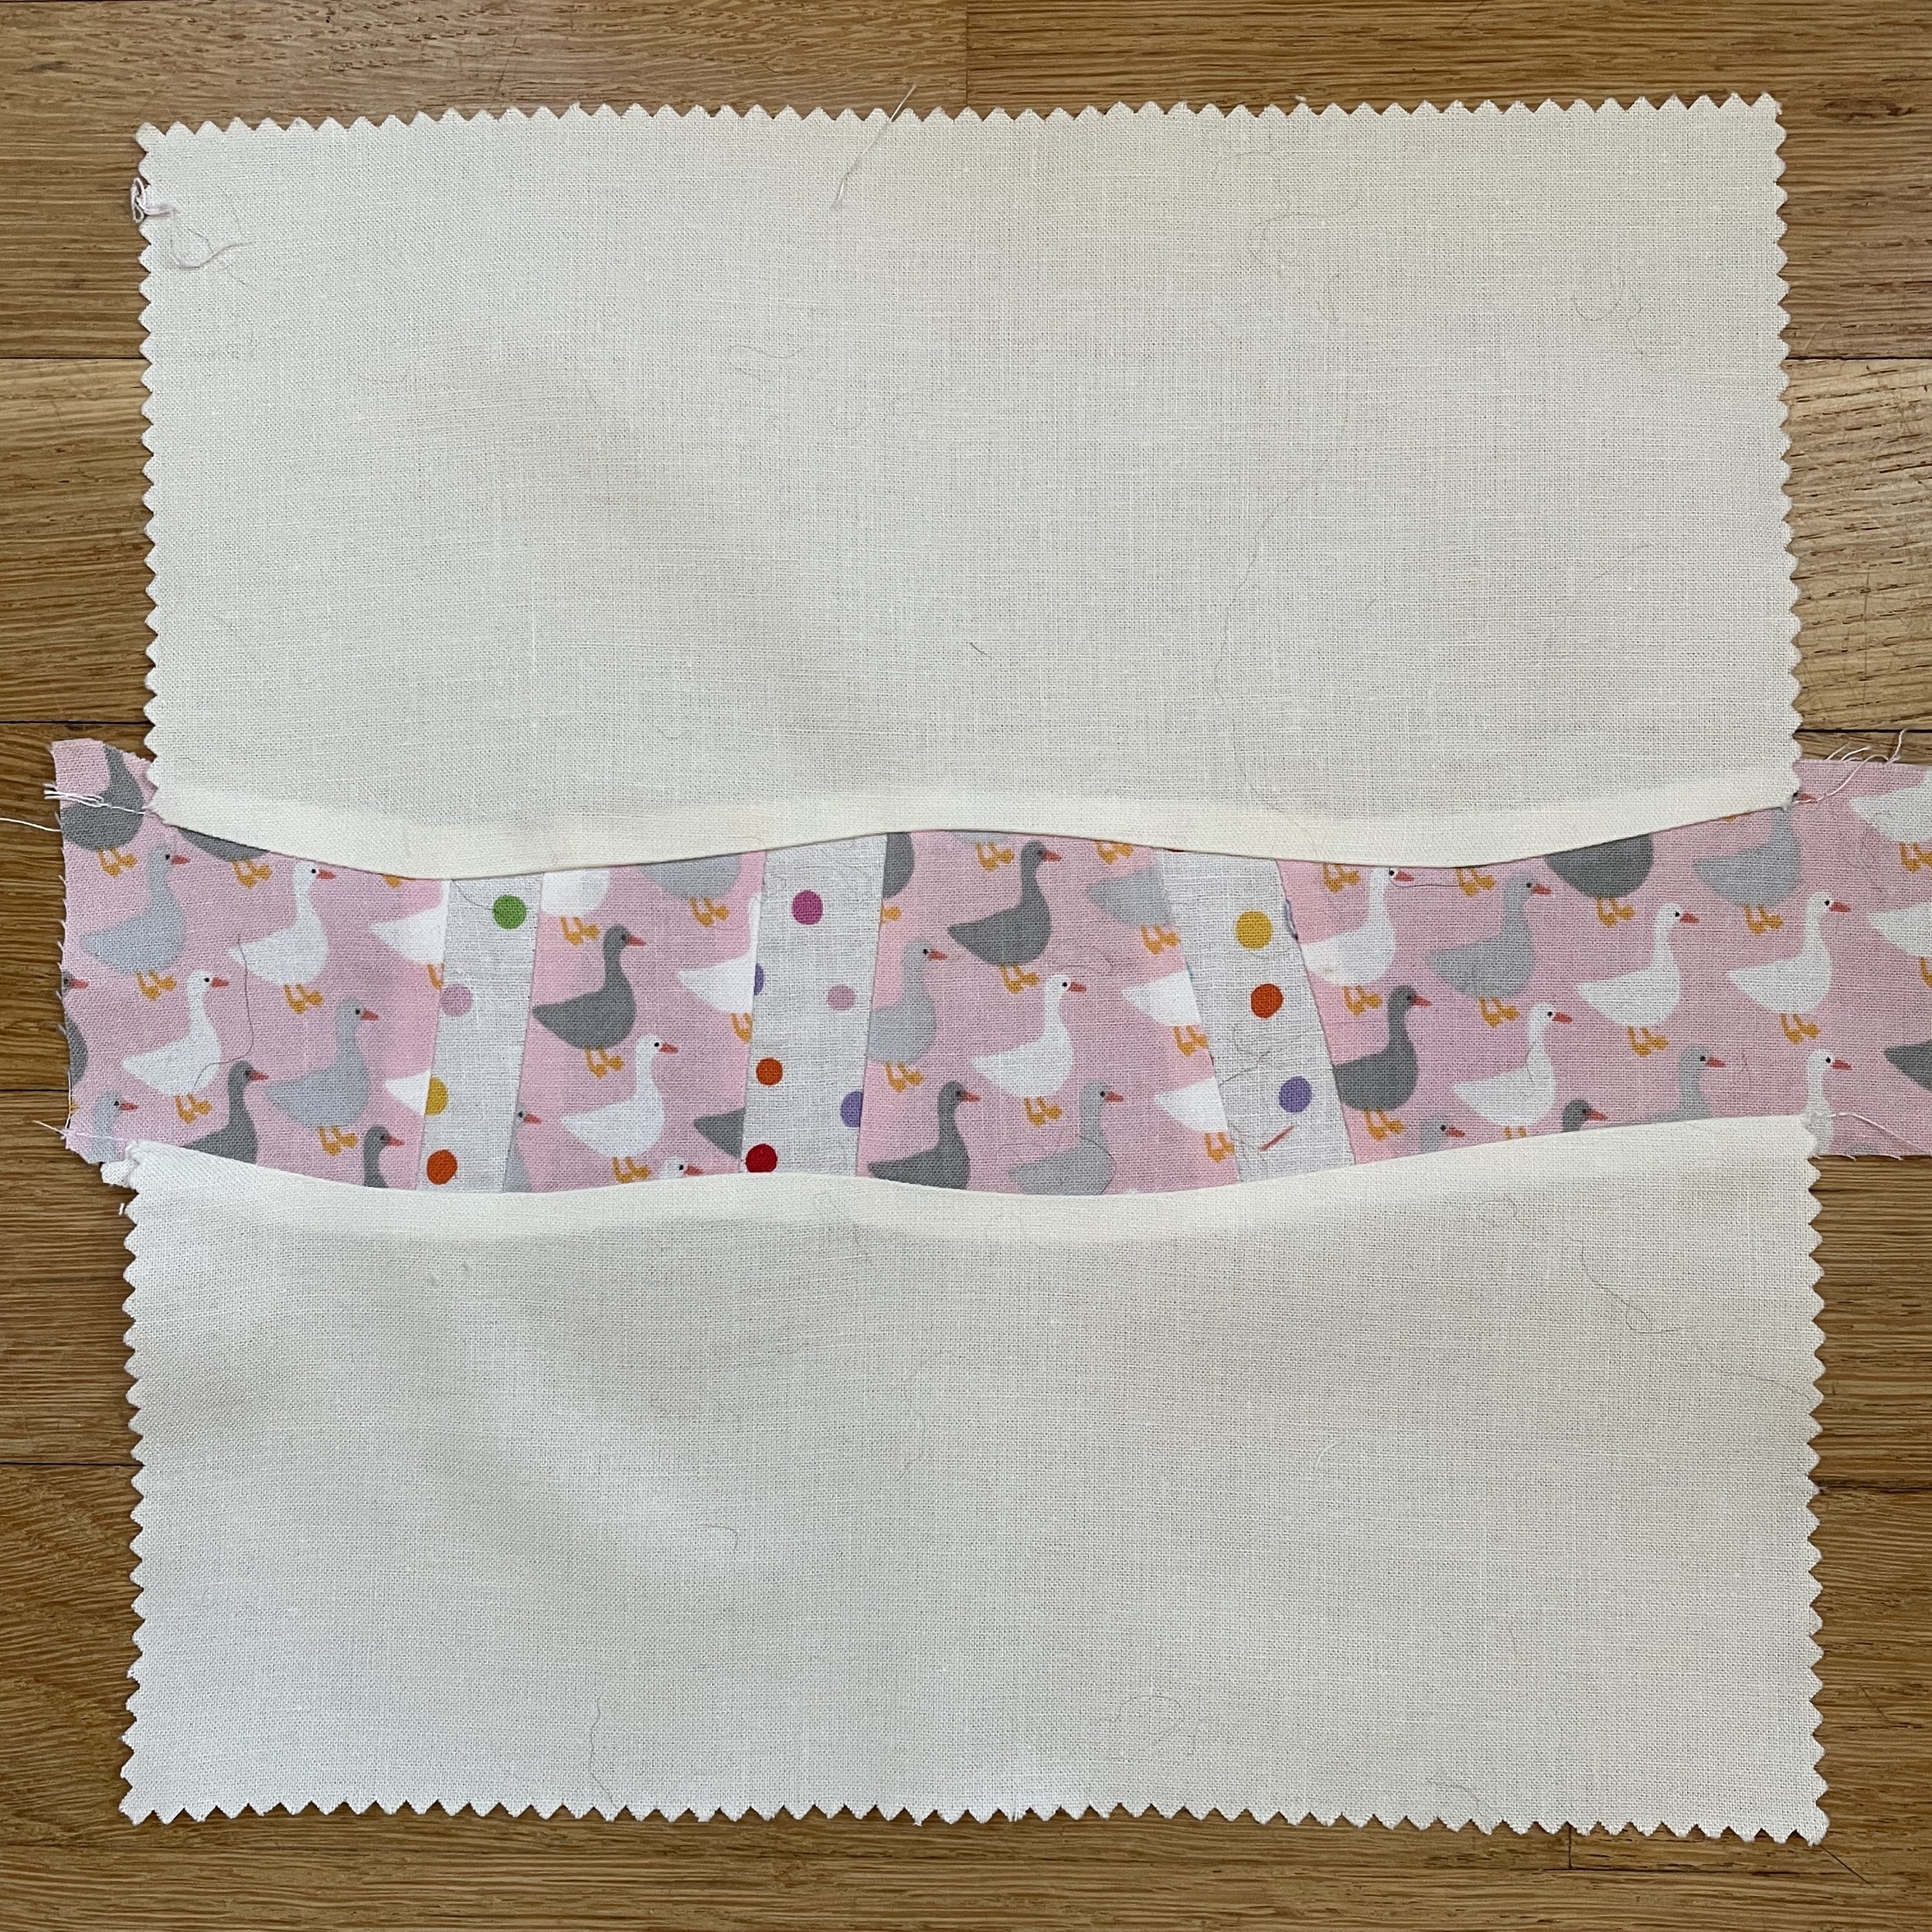
In the third block (lower left) Cheryl had the curvy strip running vertically.a When I pulled the geese fabric out of my scrap bag, it just made sense to turn my strip horizontally, creating a path.
The blocks aren’t sewn to a specific size and Cheryl has recommended that we wait til a later date to trim them up. So the blocks are ragged looking on purpose.
To learn more, check out Cheryl’s site and blog, Quilter’s Playcation and follow the instagram tags #quiltersplaycation and #qpadventuresewlong to see what folks around the world are making with her!
I’ll post the blocks I made once a month. These four are the January make!
Sampler Quilt using Australian Aboriginal Prints
12 in block
12 in block
On January 6, I did a post with a block using Australian Aboriginal fabric. I was going to participate in our guild’s Quilt-in-a-Box project, but have subsequently decided to make my own sampler quilt using these special fabrics, plus some solids and other complimentary fabrics.
Here is block #2. The Aboriginal print is the center square. I love all the colors and the overlapping circles. The fabric is named “Women’s Body Dreaming” and was designed by Cindy Wallace for M & S Textiles Australia.
I can’t decide if this is going to be Monday Block Project, with my making a new block each week, or whether I will just add blocks more randomly. We’ll see what happens!
Four Friends Mystery Quilt
It’s looking like 2022 is going to be the year of quilts made in steps with groups of other folks online.
The owners of 4 quilt shops, from Vermont to Oregon, got together to host a mystery quilt. The only qualification for participation was the purchase of a 2 1/2 inch strip roll from one of the four shops.
I picked this Riley Blake Gem Stones roll from Sew Creative Ashland, in Ashland Oregon, which the hometown of the Oregon Shakespeare Festival. After consulting with them and giving some suggestions, I asked the staff in the shop choose my background fabric (Moda yellow Grunge) . They also picked out red Dit Dot Evolution (In the Beginning Fabrics) for a “pop” accent color (see the very top of the photo) that I’ve decided to use the red fabric as the binding for the quilt. I’m going to use the mushroom fabric from my stash as my accent.
Because I purchased this fabric roll online, I really had no idea about the fabric. I thought what I was seeing with the strips in the roll was what I was getting—subtle earth tones, each strip the color I was seeing in the roll. I was wondering if I had made too “safe” a choice.
HA!! Was I surprised when I undid the roll of strips. They are anything BUT safe or boring! At first I thought they were ombré, but then realized that they aren’t. The strips really are like chameleons. They are one color at one end of each strip, dotted with tiny diamonds of another color and then transform over the width of the strip to the color of the diamonds at the other end of the strips, with the tiny diamonds on that end, the color from the first end. There are an amazing number of gradated colors in the strip roll!
Here are just a few of the strips which I have started to sew together.
This is a mystery quilt, so I won’t know what this pattern is going to be until the last step is released at the beginning of February. Because of my choice of fabric roll, this quilt really is an adventure!
Because it’s a mystery, I can’t share the steps in as I sew them. But I will definitely be back to share this project when it’s a completed quilt top, sometime next month!
"Scandi Village" Quilter's Playcation Wall Hanging
Last November I took a zoom class, officially known as a Playdate, given by Cheryl Arkison as part of hert Quilter’s Playcation series. In the class Cheryl taught us how to make these simple house and tree blocks.
It took me a long time to decide how big to make this project. These blocks are little, about 5 inches tall and varying widths. It would take a whole lot of them to make even a throw and I wasn’t sure I wanted to make dozens of them.
As the Christmas season ended, I realized I had a perfect place to hang it. I had a quilted Advent calendar hanging in my hallway. I used a small wooden dowel threaded through a small sleeve (cloth channel) to display it. The wooden dowel rested on 2 thumbtacks in the wall. Last year I just left the thumbtacks there. Sort of silly to have 2 green thumbtacks in the wall doing nothing for 11 months of the year!
Ah-ha! That was the answer—I decided to give those 2 thumbtacks something to do! They were just calling out for a Scandi-Village wall hanging!
This wall hanging is just the right sized village for me!
We got at least 12 inches of snow last week and a blast of arctic cold this week, so this is the perfect time of year to be enjoying this snowy scene!
Here it is, in situ, keeping those 2 green thumbtacks occupied!
Our New Quilt-in-a-Box Guild Project for 2022
The Proper Bostonian Quilt Guild’s 2020-21 Quilt-in-a-Box was so successful, that we have voted to do it again this year. For this project, we each commit to sewing the block of our choice using the fabrics chosen by 8 other guild members. The fabric collections are kept in plastic craft boxes which we exchange at our bi-weekly meetings. Click the link above to go to see all the quilts our guild members made in our first Quilt-in-a-Box.
This time I have picked a block that isn’t technically difficult but does take a couple hours to make. It’s the Hexagon Star block.
The fabrics in this block are an Australian Aboriginal print (the dark floral called “Flowers in the Desert” by Lauren Coolan for M&S Textiles Australia), and Tula Pink’s “Mineral” from True Colors (orange) and Dragon’s Breath solid (purple).
My box of fabrics 8 Aboriginal print fabrics, more Tula Pink fabrics, Blank Quilting Corp. “Lower the Volume” and a few odds and ends I’ve pulled out of my stash. I’ve written a note asking my fellow quilters to try to avoid using the “Lower the Volume” Topography design, a soft grey print on white fabric which actually beautifully complements the box fabrics, and to strive to use the brights in the box as the background in their blocks. It’s a tall order. It’ll be interesting to see what they do!
I learned in our last Quilt-in-a-Box project that it was wise to make a test block before committing to making a block 9 times! My first choice last year just refused to consistently size up to 12 1/2 inches unfinished. So I switched to a similar block which did behave itself!
Here’s this year’s test block…a lot of the fabrics are actually left over from my last box! I added some Christmas fabric and turned it into a little 12 inch Christmas pillow, which kept it from ending up as an orphan block.
I’m looking forward to getting the first box in the project at our meeting next week!
Red Trucks, Stars and Stamps Christmas Quilt
Ahh, finally I can reveal the “secret sewing” project I’ve alluded to several times this year. I finished it last summer, but it’s going to the home of one of my faithful blog followers. Not wanting to spoil the surprise, it’s been tucked out of sight until now!
I purchased this fabric collection last December and then earlier this year I used Electric Quilt 8 to create this quilt pattern. It’s a busy design, but hey, it’s Christmas!
It was really fun fussy cutting the trunks that are in the center of most of the star blocks. I didn’t have quite enough trucks in the fabric I purchased so I used the sled fabric which was part of the collection of fabrics I purchased. It’s on-theme and I do like the variant blocks.
Here are some details of the quilting in the blocks. For more information about the free motion trees quilted in the alternate blocks, see my tutorial on September 2, 2021. You see the tree quilting better in the tutorial link.
This quilt was such much fun to make.
I’m taking a week off from blogging so there won’t be a post next week. I hope you all enjoy your holiday season! See you in 2022!
Show and Tell: Christmas Batik of Amahl and the Night Vistors
Found this batik I made years ago in one of the boxes of Christmas decorations in the cellar. I brought it upstairs and really looked at it and had one of those “Huh! I’m amazed I made this” moments. That made me laugh.
This batik wall hanging really makes me happy. It’s a depiction of the final scene from the opera “Amahl and the Night Visitors” by Gian Carlo Menotti. These are the 3 Kings, or Wise Men. In the foreground is a lad called Amahl. He was a poor peasant boy who was lame and needed a crutch to walk. The Wise Men stop at his home on the way to Bethlehem and during their visit, his faith miraculously heals him. Amahl asks if he can go along with the Kings on their journey so he can give his crutch he no longer needs to the Child they are looking for. He is carrying the parrot who belongs to one of the Kings. There is a really funny moment in the opera when the King shows Amahl the parrot and Amahl asks “Does it bite?” with just the perfect intonation of fear and curiosity.
This opera was a staple of our family’s Christmas season. These days it would have been playing on a continuous loop, but back then, we were listening to a vinyl record which needed to be flipped over half way through. We really loved this record.
So just a Show and Tell. I wanted to show this piece to you and share a bit of our family’s Christmas tradition. Go find a recording of this opera…it’s in English and it’s really a lot of fun.
Sewing "Scandi Village" Blocks by Cheryl Arkison
“Scandi Blocks—Tree and House” from A Quilter’s Playcation Playdate with Cheryl Arkison
Last month Cheryl Arkison offered a zoom playdate as part of her Quilter’s Playcation series. The playdate I attended was learning to make blocks for her “Scandi Village” design. These are improv blocks and they are great for using scraps.
Ideally the background should be a light solid. But this non-directional snow fabric in my stash was calling me. And why not use a fabric that is less than ideal? After all, this is improv and the whole idea of Cheryl’s series is just to have fun playing with quilting. (Just really DON’T use a directional print. Seriously)!!!’
Since I have a dark background, I pulled out a selection of pastels for my houses. Here is part of my village, so far…
I’m trying to decide if I want to make a whole lap quilt with the snowy fabric, or pull some other fabrics and make this a 4 seasons quilt. Might just depend on what is IN my stash!
I’m also tempted to do some simple embroidery on the houses. But maybe I could achieve a similar look by doing some Big Stitch quilting. Hmmm.
I’ll let you know when I decide what direction I want to go next with my version of Scandi Village!
Anyway, this is lots of fun.
Cheryl is a fun, relaxed teacher. Do sign up for a playdate if she offers some more in the upcoming months. Check the link above to see what she is currently offering.
Santa Hat Pillows
Last month I watched two virtual shop hops on Facebook. In each shop hop, quilt shops located across the US each spent an evening selling items in their shops online.
This Santa’s hat pattern showed up in a couple of the shop’s presentations. It is the “Santa Hat Pillow” from The Quilt Company, designs by Karen Montgomery. I tried to find this pattern from its primary source, but haven’t succeeded. It looks like the original shop may no longer be in business. But you can find the pattern for sale if you search for it. The pillow insert is a 14 inch square pillow—a nice size.
I almost didn’t buy it when I realized that the pattern has a zipper. Yes, I can DO zippers. I just don’t enjoy sewing them. But not to fret…this pattern uses an over size zipper which gets cut off after it’s been sewn in. So it is just 2 straight seams, with none of the bother of setting a zipper into a defined space. Easy-peasy!
After I made one, I couldn’t stop! I’m up to 4 so far and debating using a vintage zipper that’s not quite long enough for another pillow—but might just work.
The Waldorf-type gnome in the child’s rocker with the Santa pillow is Cloudberry. You can read about him and his cousin Dewberry in my post from December 20, 2018.
There’s still time for you to sew your own before Christmas!
A Ducky Hachi Quilt Top
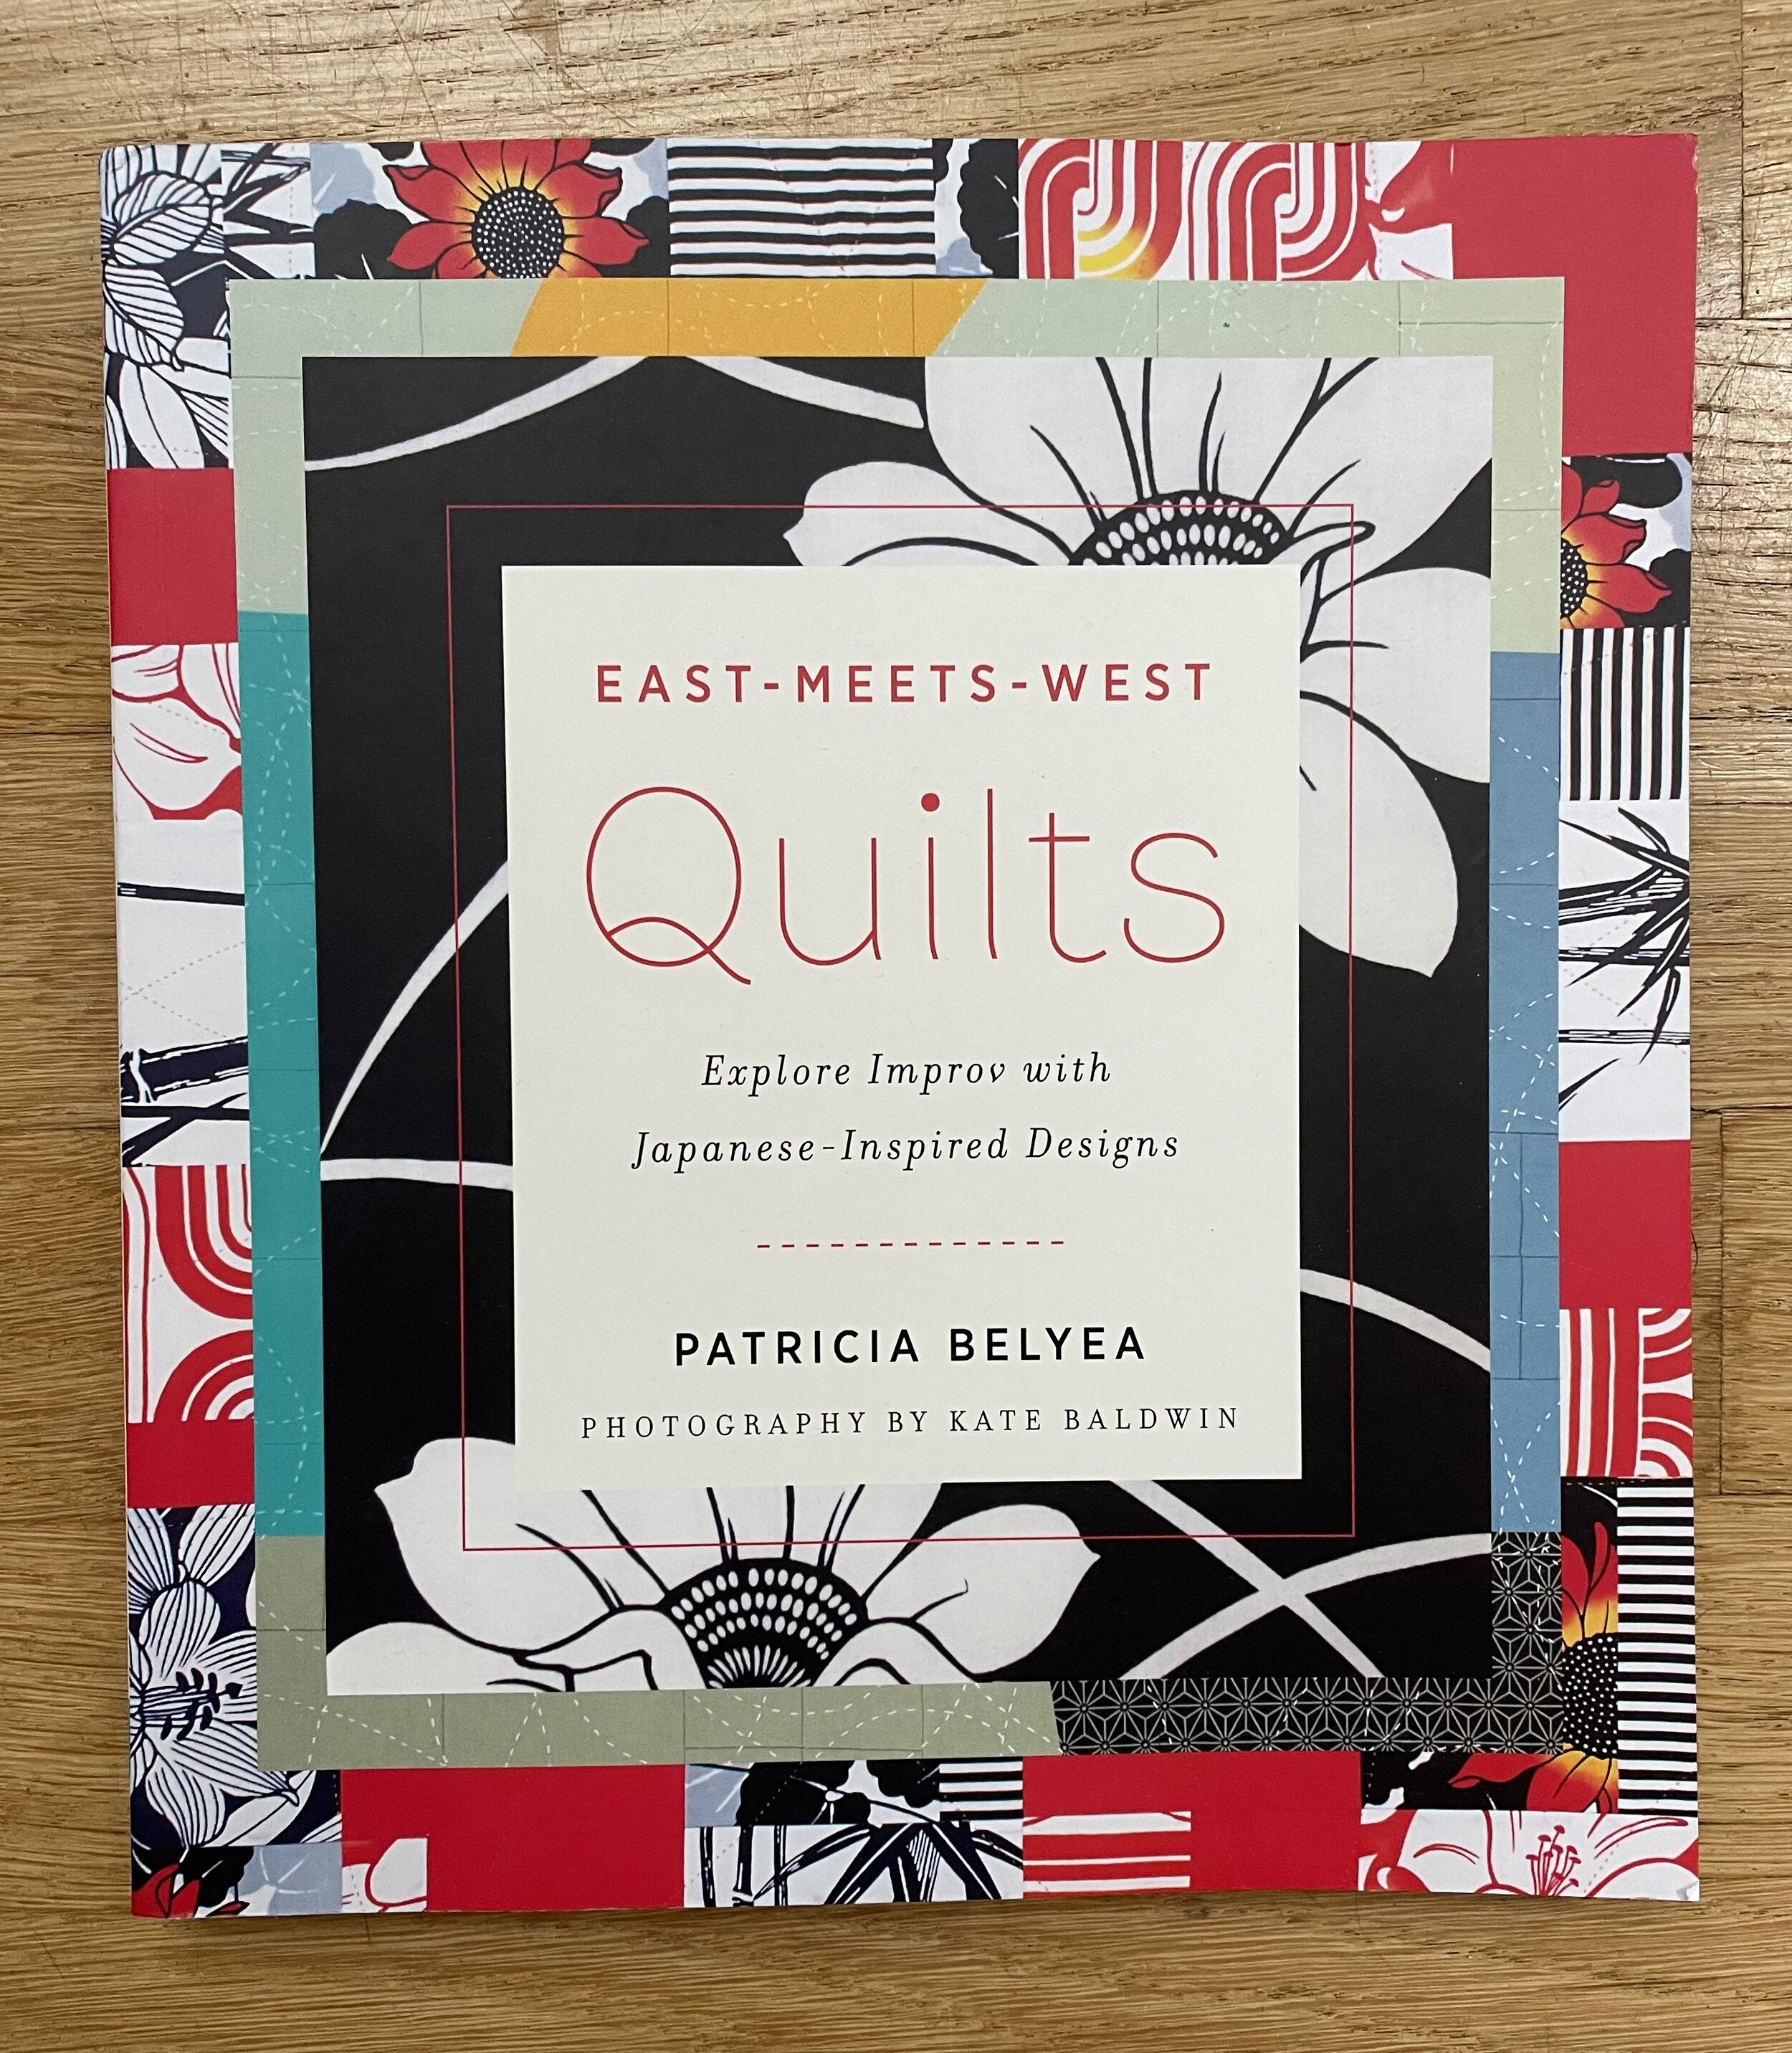
I’m having fun sewing the Hachi Quilts I learned about reading Patricia Belyea’s book East-Meets-West Quilts. (See also my post on November 4, 2021).
This ducky fabric has been in my stash for years. The selvedge says this fabric was printed by Andover Fabrics back in 2006! It really is called “Duck Duck Goose!”
How many of you played Duck Duck Goose on the playground in elementary school?
I’ve pulled this fabric collection out of the bin a number of times when I wanted to make a baby quilt. Each time I chose something else and the ducks went back into the bin.
But when I was looking in the stash for fabrics to make a new Hachi Quilt, I was drawn to the tall ducks and geese. These fowl are really a linear design and I realized they would look great in these strip blocks.
Each Hachi Quilt needs an “unexpected visitor”. The sock monkey/number fabric is a perfect addition to a baby/toddler quilt. The bright red fabric is definitely a welcome pop of color.
I also added some of Karen Lewis’s Blueberry Park fabric which was printed commercially a few years ago by Robert Kaufman Fabrics.
I needed to piece two fabrics to make the backing for this quilt. That used up the remaining Duck Duck Goose fabric in the stash.
I’m thinking a rippling or wavelet quilting design might be perfect for this quilt. Look for a completed quilt sometime in early 2022! And an orange binding, for sure!
Drafting a Pattern for Tablet Weaving
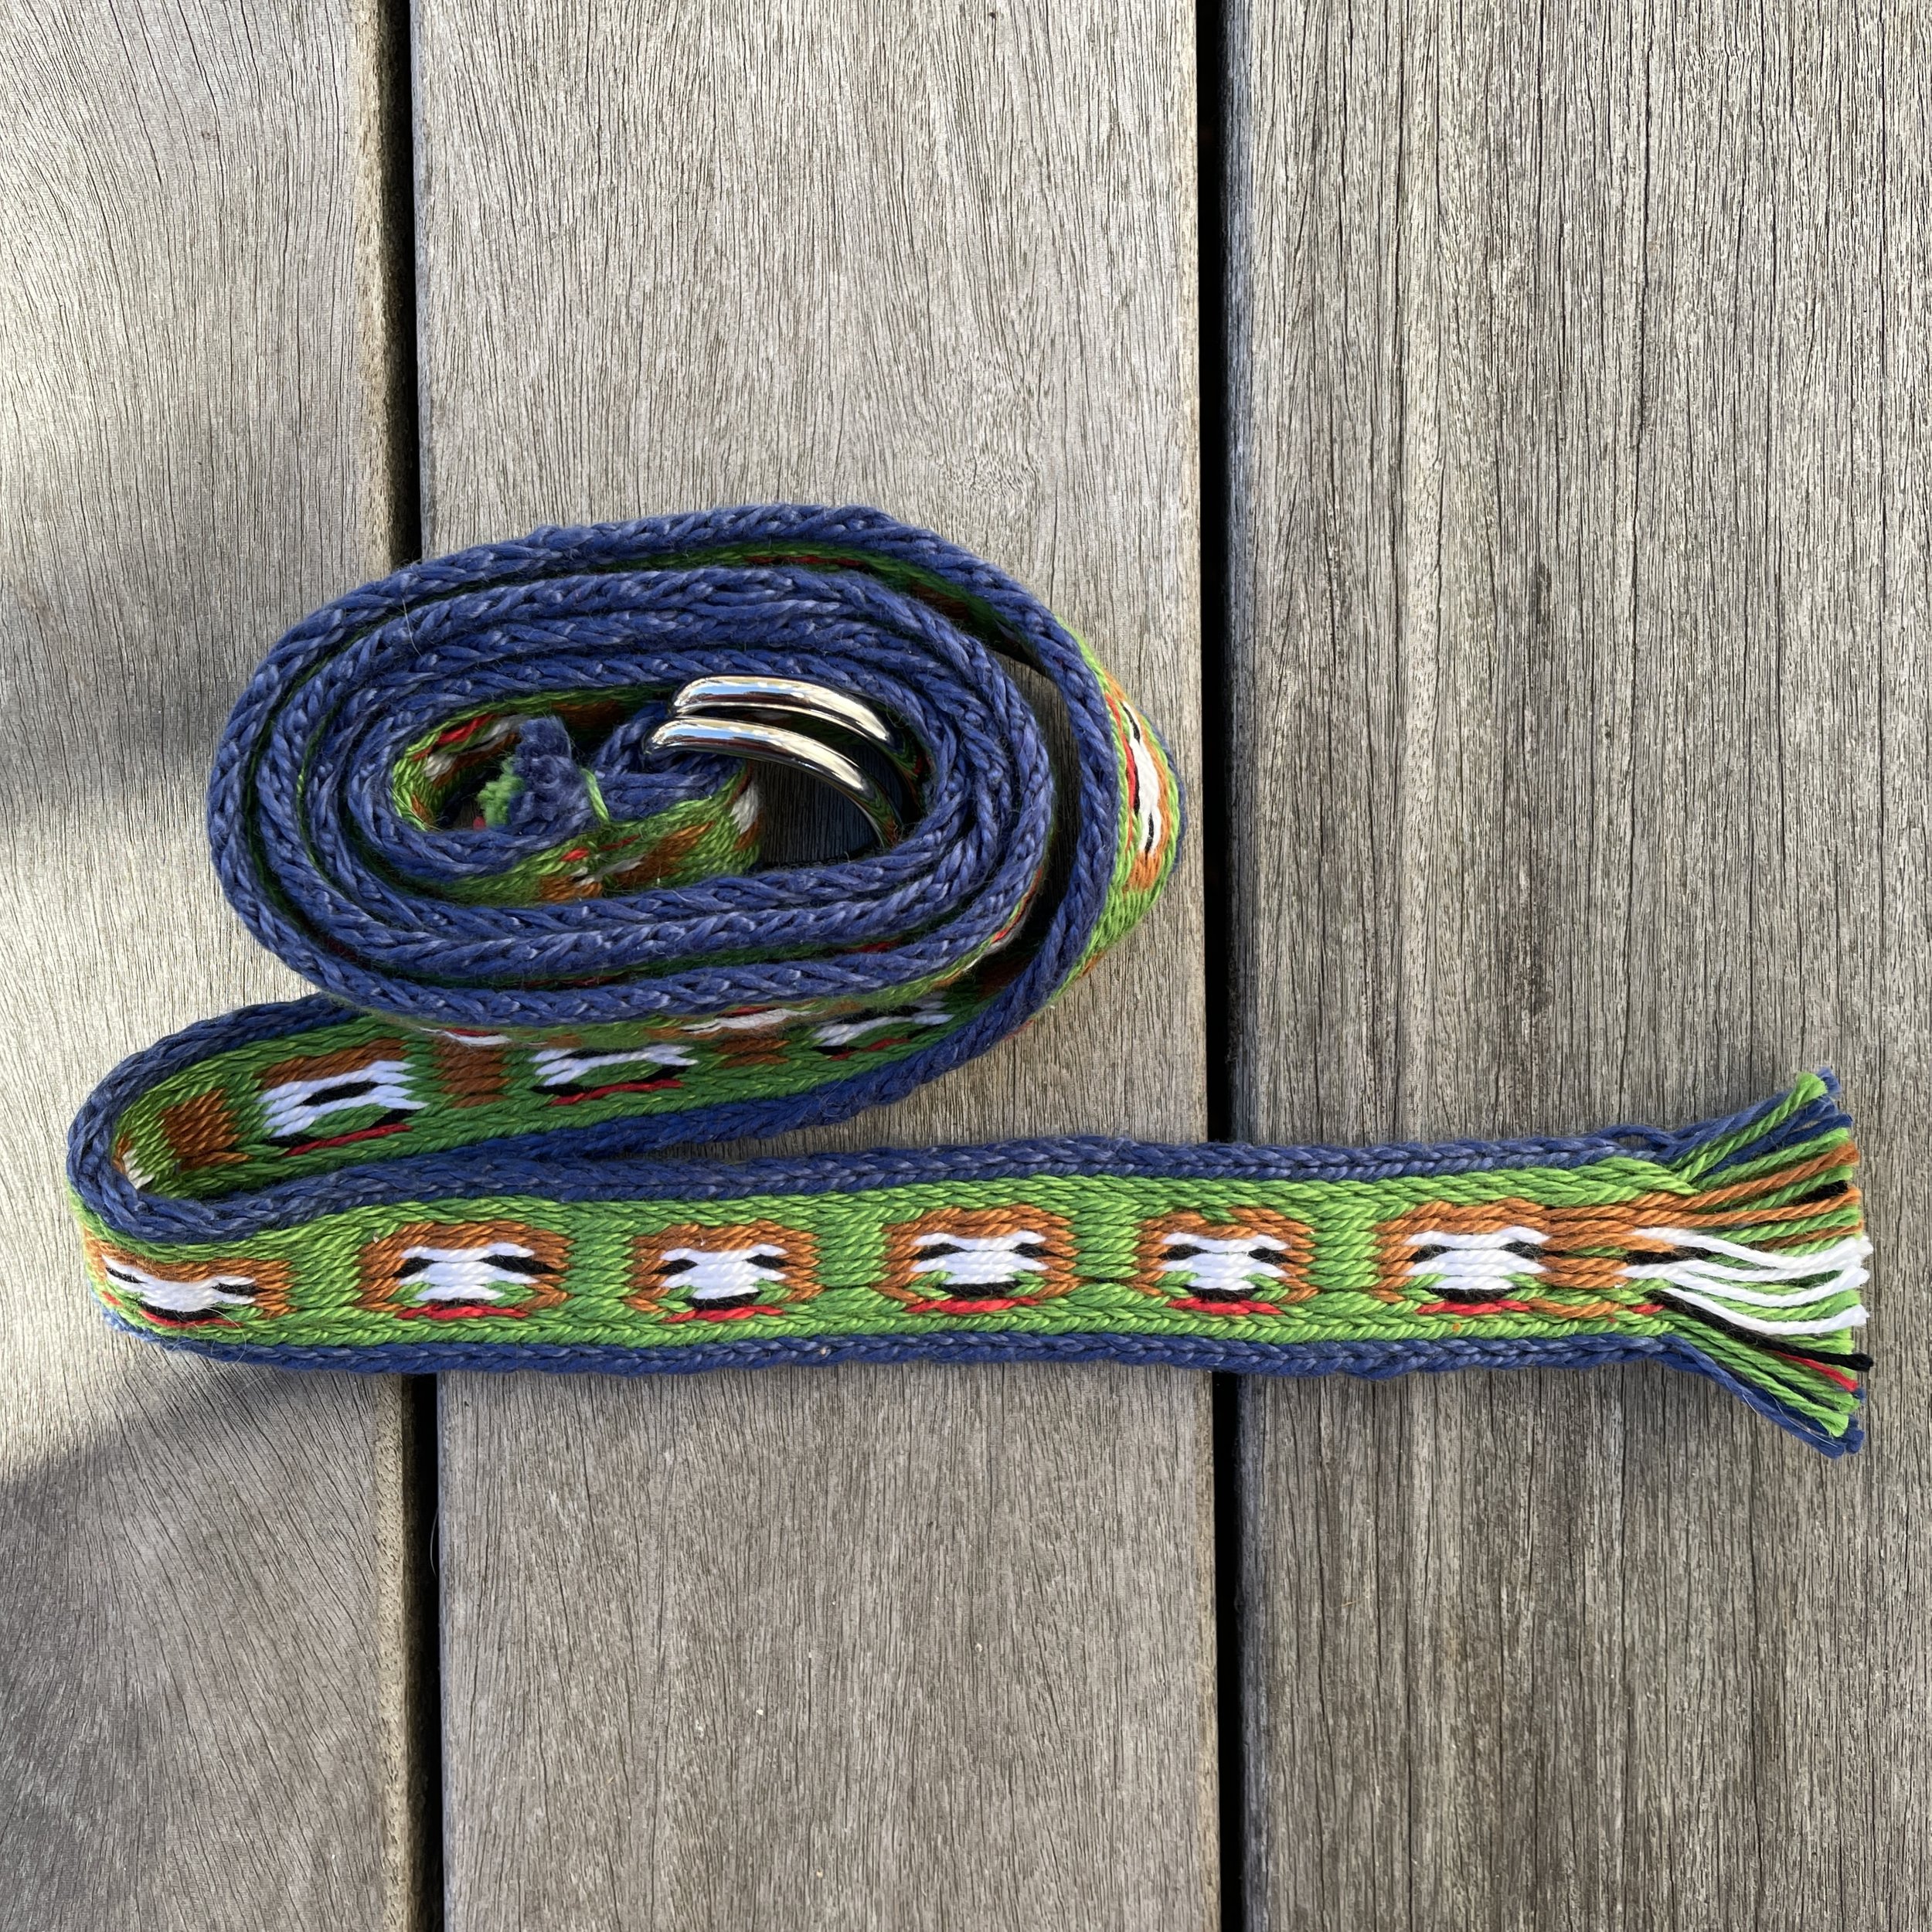
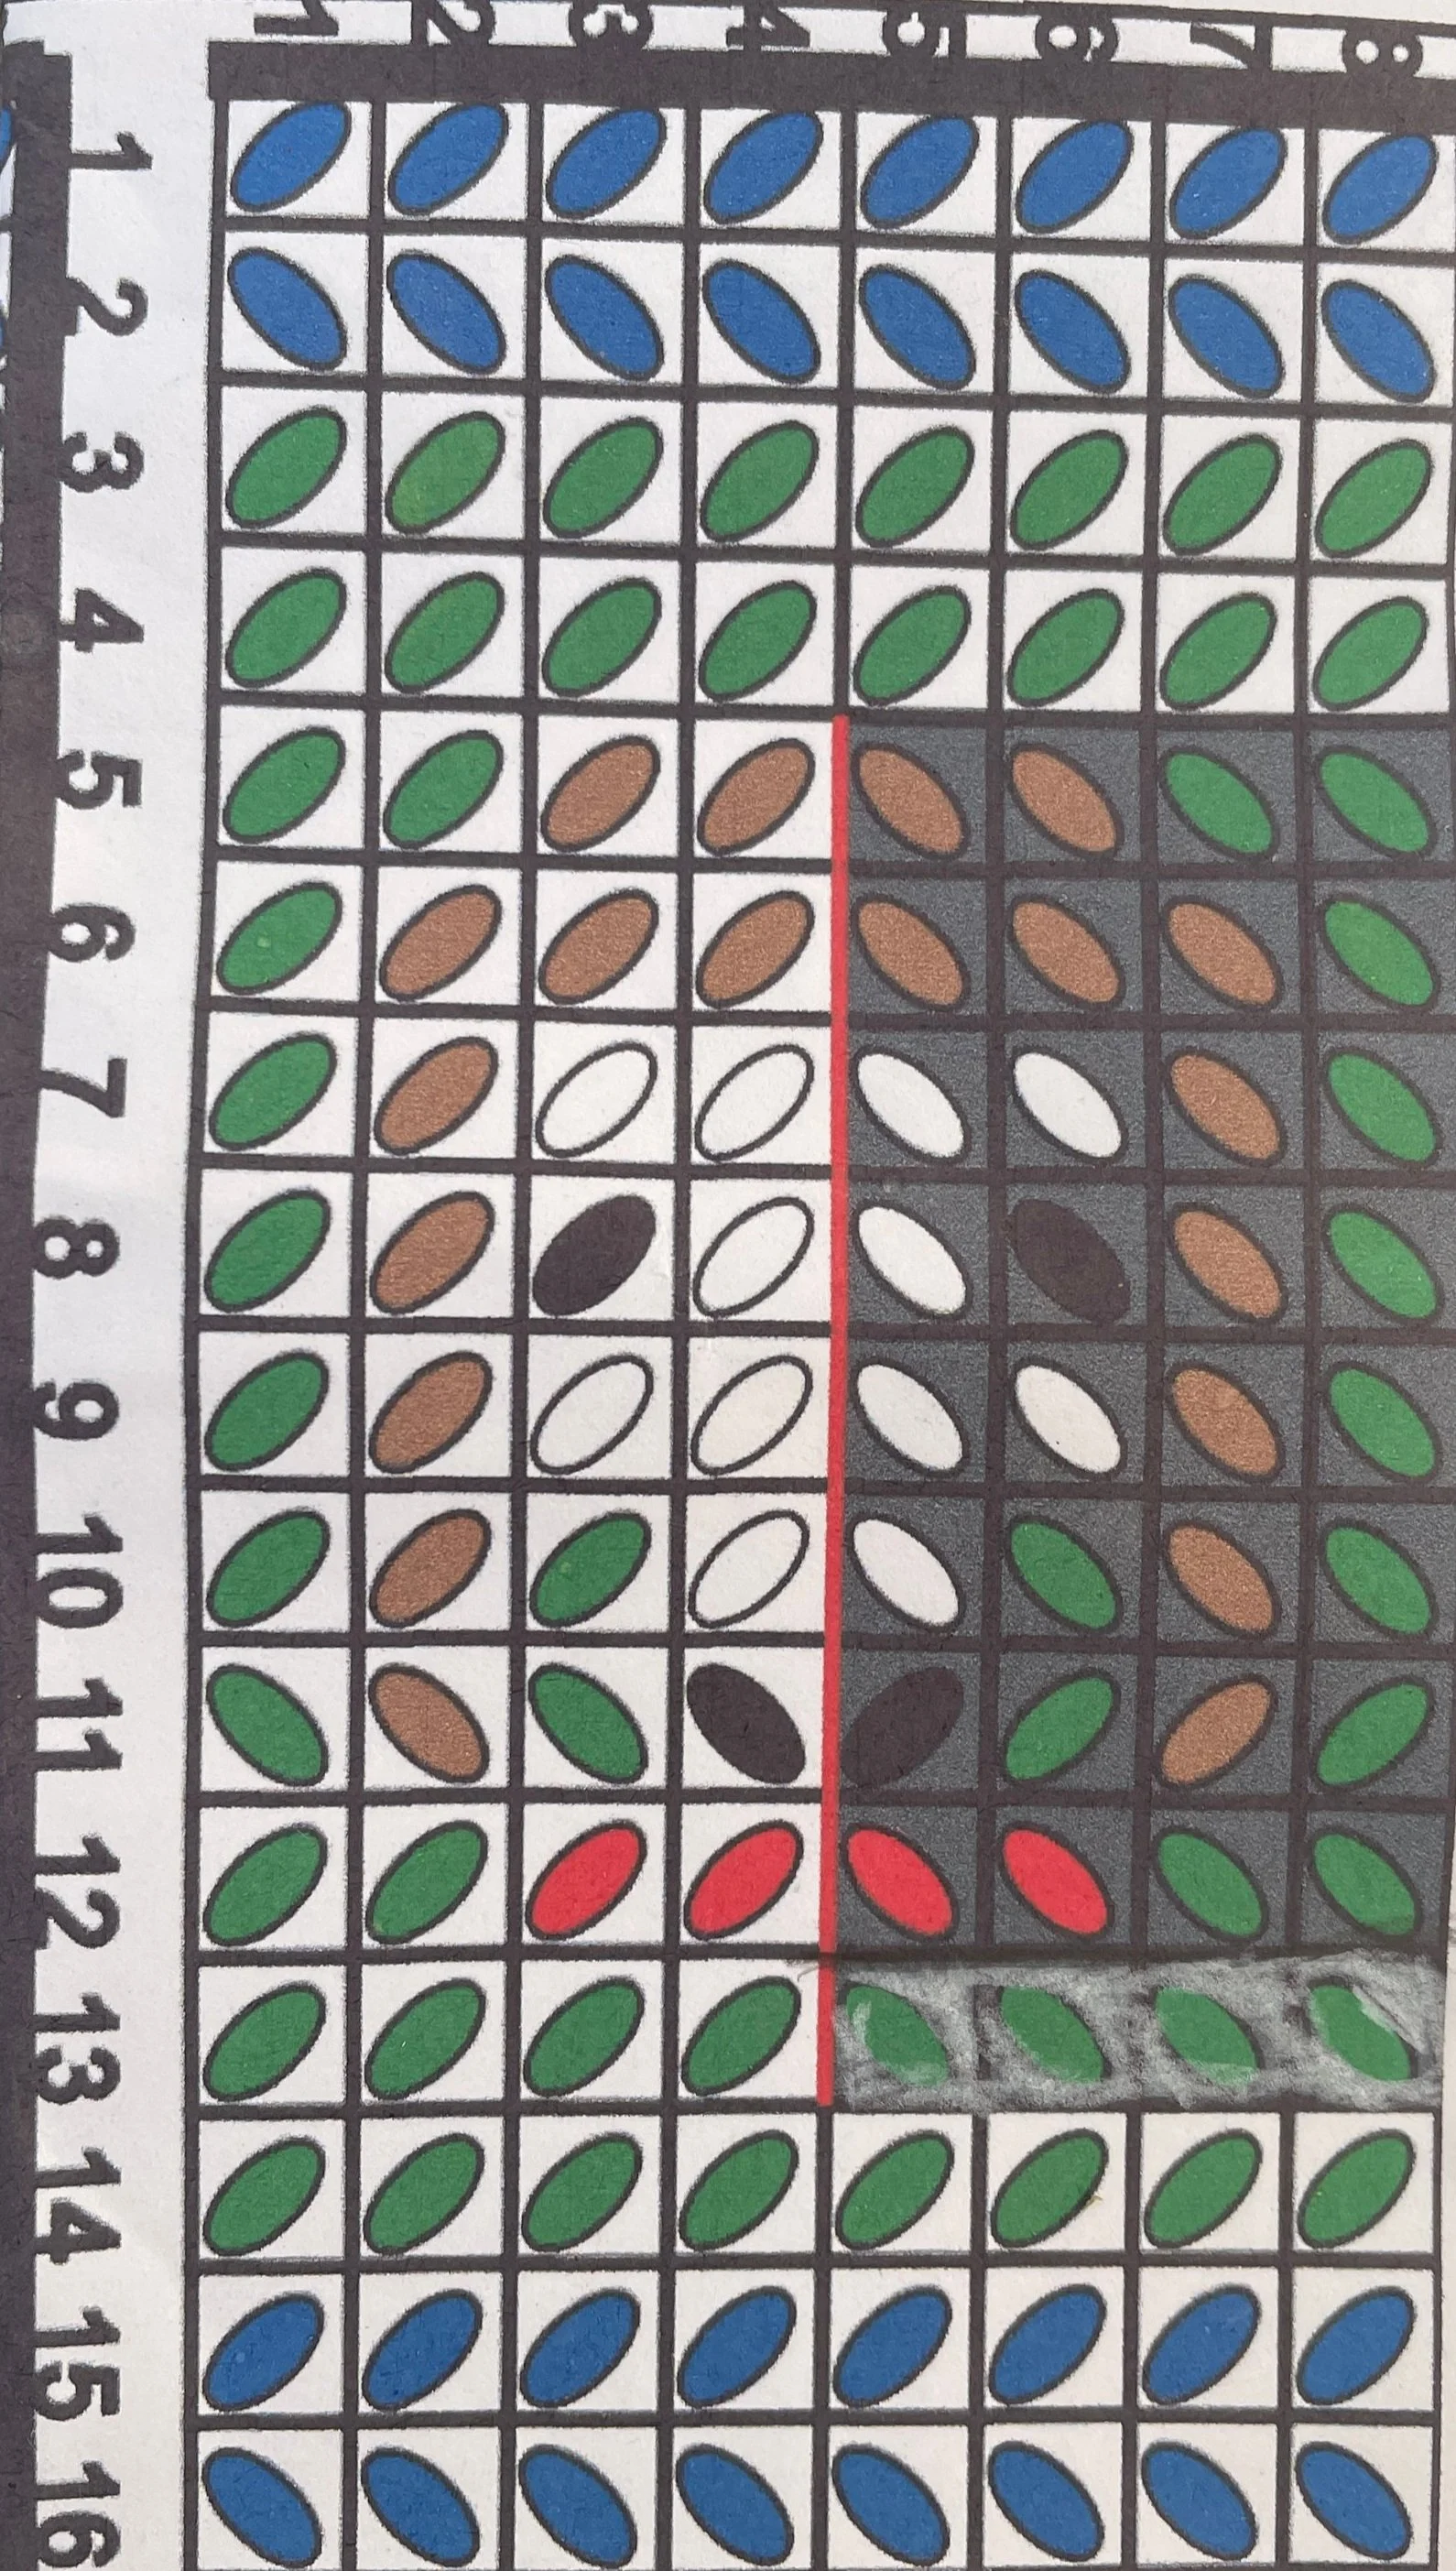
When I discovered the Tablet Weaving Draft Designer online, I thought it would be fun to give it a try. I had made a owl from a pattern in a book, so I had an idea about how to design the face of an animal. Could I design a Spring Spaniel?
The answer turned out to be yes…and no!
I watched a great YouTube video on using the Tablet Weaving Draft Designer. It still took me a bit of trial and error to create my dog design. Once I understood how to use the deisgnThe design looked pretty good on paper.
My springer spaniel warping pattern
I warped the loom with #3 Crochet thread. What looked good on paper didn’t translate into the weaving the way I expected. They dog’s eyes are too big and his face got a lot wider. I think my design would have looked a whole lot better if I had used size 8 pearl cotton which is a lot thinner thread.
On the bright side, using #3 crochet thread makes a great weight for a belt. The design leaves something be be desired, but I will still happily wear it!
I had some ideas about how to improve this design, but I’m not sure I really like it enough to spend anymore time on this particular pattern.
Peg Doll Gnome Sweater Pattern
I purchased some ThreeSuns wooden peg gnomes but wasn’t sure what to do with them. Then I started seeing these pegs showing up on social media with all sorts of great decorations. I wanted to do something totally different. So I designed a sweater pattern for them.
While these are robust 3 inch tall gnomes, their sweaters still are teeny tiny! They are about 1 inch long.
Want to knit your own? Here’s the pattern I designed. This is for individual use only. You may sell these at craft fairs but this pattern may not be used for commercial production.
PEG DOLL GNOME SWEATER PATTERN
Supply list
Fingerling weight yarn. Ask a friend who knits socks for left overs. You won’t need much to knit a sweater.
#1 US knitting needles (2.25mm)—Set of 5 inch long double point knitting needles (Be gentle if you are using wood or bamboo needles. They can snap in half like toothpicks)!
Scissors, yarn needle. (Maybe some reading glasses)!
Instructions
Cast on 24 stitches on one needle
Row 1: Knit 1, purl 1 stockinette. Divide the stitches as you knit. Put 6 stitches on each of 4 needles so that you are now knitting in the round.
Rows 2-3: Continue to knit K1 P1 stockinette for a total of 3 rows
Row 4-8: Begin knitting. Knit a total of 5 rows
Row 9: Knit two stitches together (TOG) on the first 2 stitches of each needle
Row 10: Knit. (There will be 5 stitches on each needle in this row)
Row 11: Knit 2 stitches together (TOG) on each of the 4 needles
Row 12: Begin stockinette. K1 P1. There will be 4 stitches on each needle now
Row 13: Cast off in stockinette, Continue to K1 P1 as you cast off. Knit this row loosely—don’t tug on your stitches as you cast off or you’ll have difficulty pulling the sweater over the gnome’s cap.
Secure and weave in the piece of yarn at the bottom edge of the sweater and at the neckline.
Well done! Go dress your gnome for winter!!
Notice: This blog is not monetized: I do not use affiliate links. When there are links in a post, they are to give credit to another creative person, because I like or have used a product, or to help the reader easily find supplies for a project.
Making a quilt using the book "East-Meets-West Quilts" by Patricia Belyea
East-Meets-West Quilts is a book which I just discovered. It’s not new, having been published by abramsbooks.com in 2017. The author, Patricia Belyea, has a shop, Okan Arts, which sells imported vintage Japanese yukata fabrics. She created this book using these lovely yukata fabrics.
All the blocks in her book finish at 8 inches, based on the Kanji character hachi. The main pieces in each block are fractions of 8…2s and 4s. The concept is simple but the possibilities are endless. One of the design concepts that Patricia introduced is the “unexpected visitor”—one block or several, which are completely different that all the other blocks in the quilt. This adds a element of surprise and delight to the quilt.
I went hunting through my stash looking for a floral fabric which would work in these blocks. Most of my fabrics are small scale, but I did find “Busy Lizzie”, a Kaffe Fassett print. I paired that print with the newly released solids by Tula PInk, Unicorn Poop and Dragon’s breath. All these fabrics are from FreeSpirit Fabrics. That’s an added bonus, as I expect they will all continue to play well as the quilt gets used.
Here are the blocks on my design wall. I used the pattern, “Hidden Wonders” from the book. However, my added strips were cut at 1 inch wide, so my strips are a tad wider than those in the pattern.
Part of my new quilt using a pattern from “East-Meets-West Quilts”
I was so glad that I took several pictures of this quilt before I pulled the blocks off the design wall to sew the quilt top together. Even though I had the blocks in order by row, I kept looking back to the photo to make sure i wasn’t turning the orientation of a block. (Even so, I still had to do a bit of “un-sewing”)!
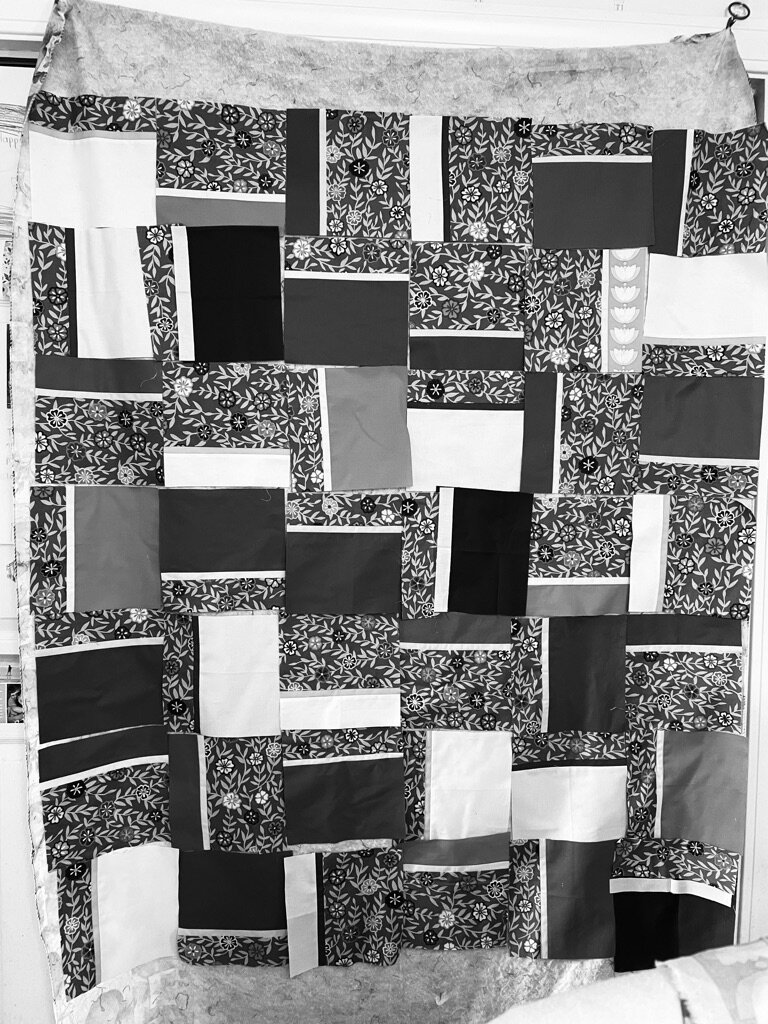
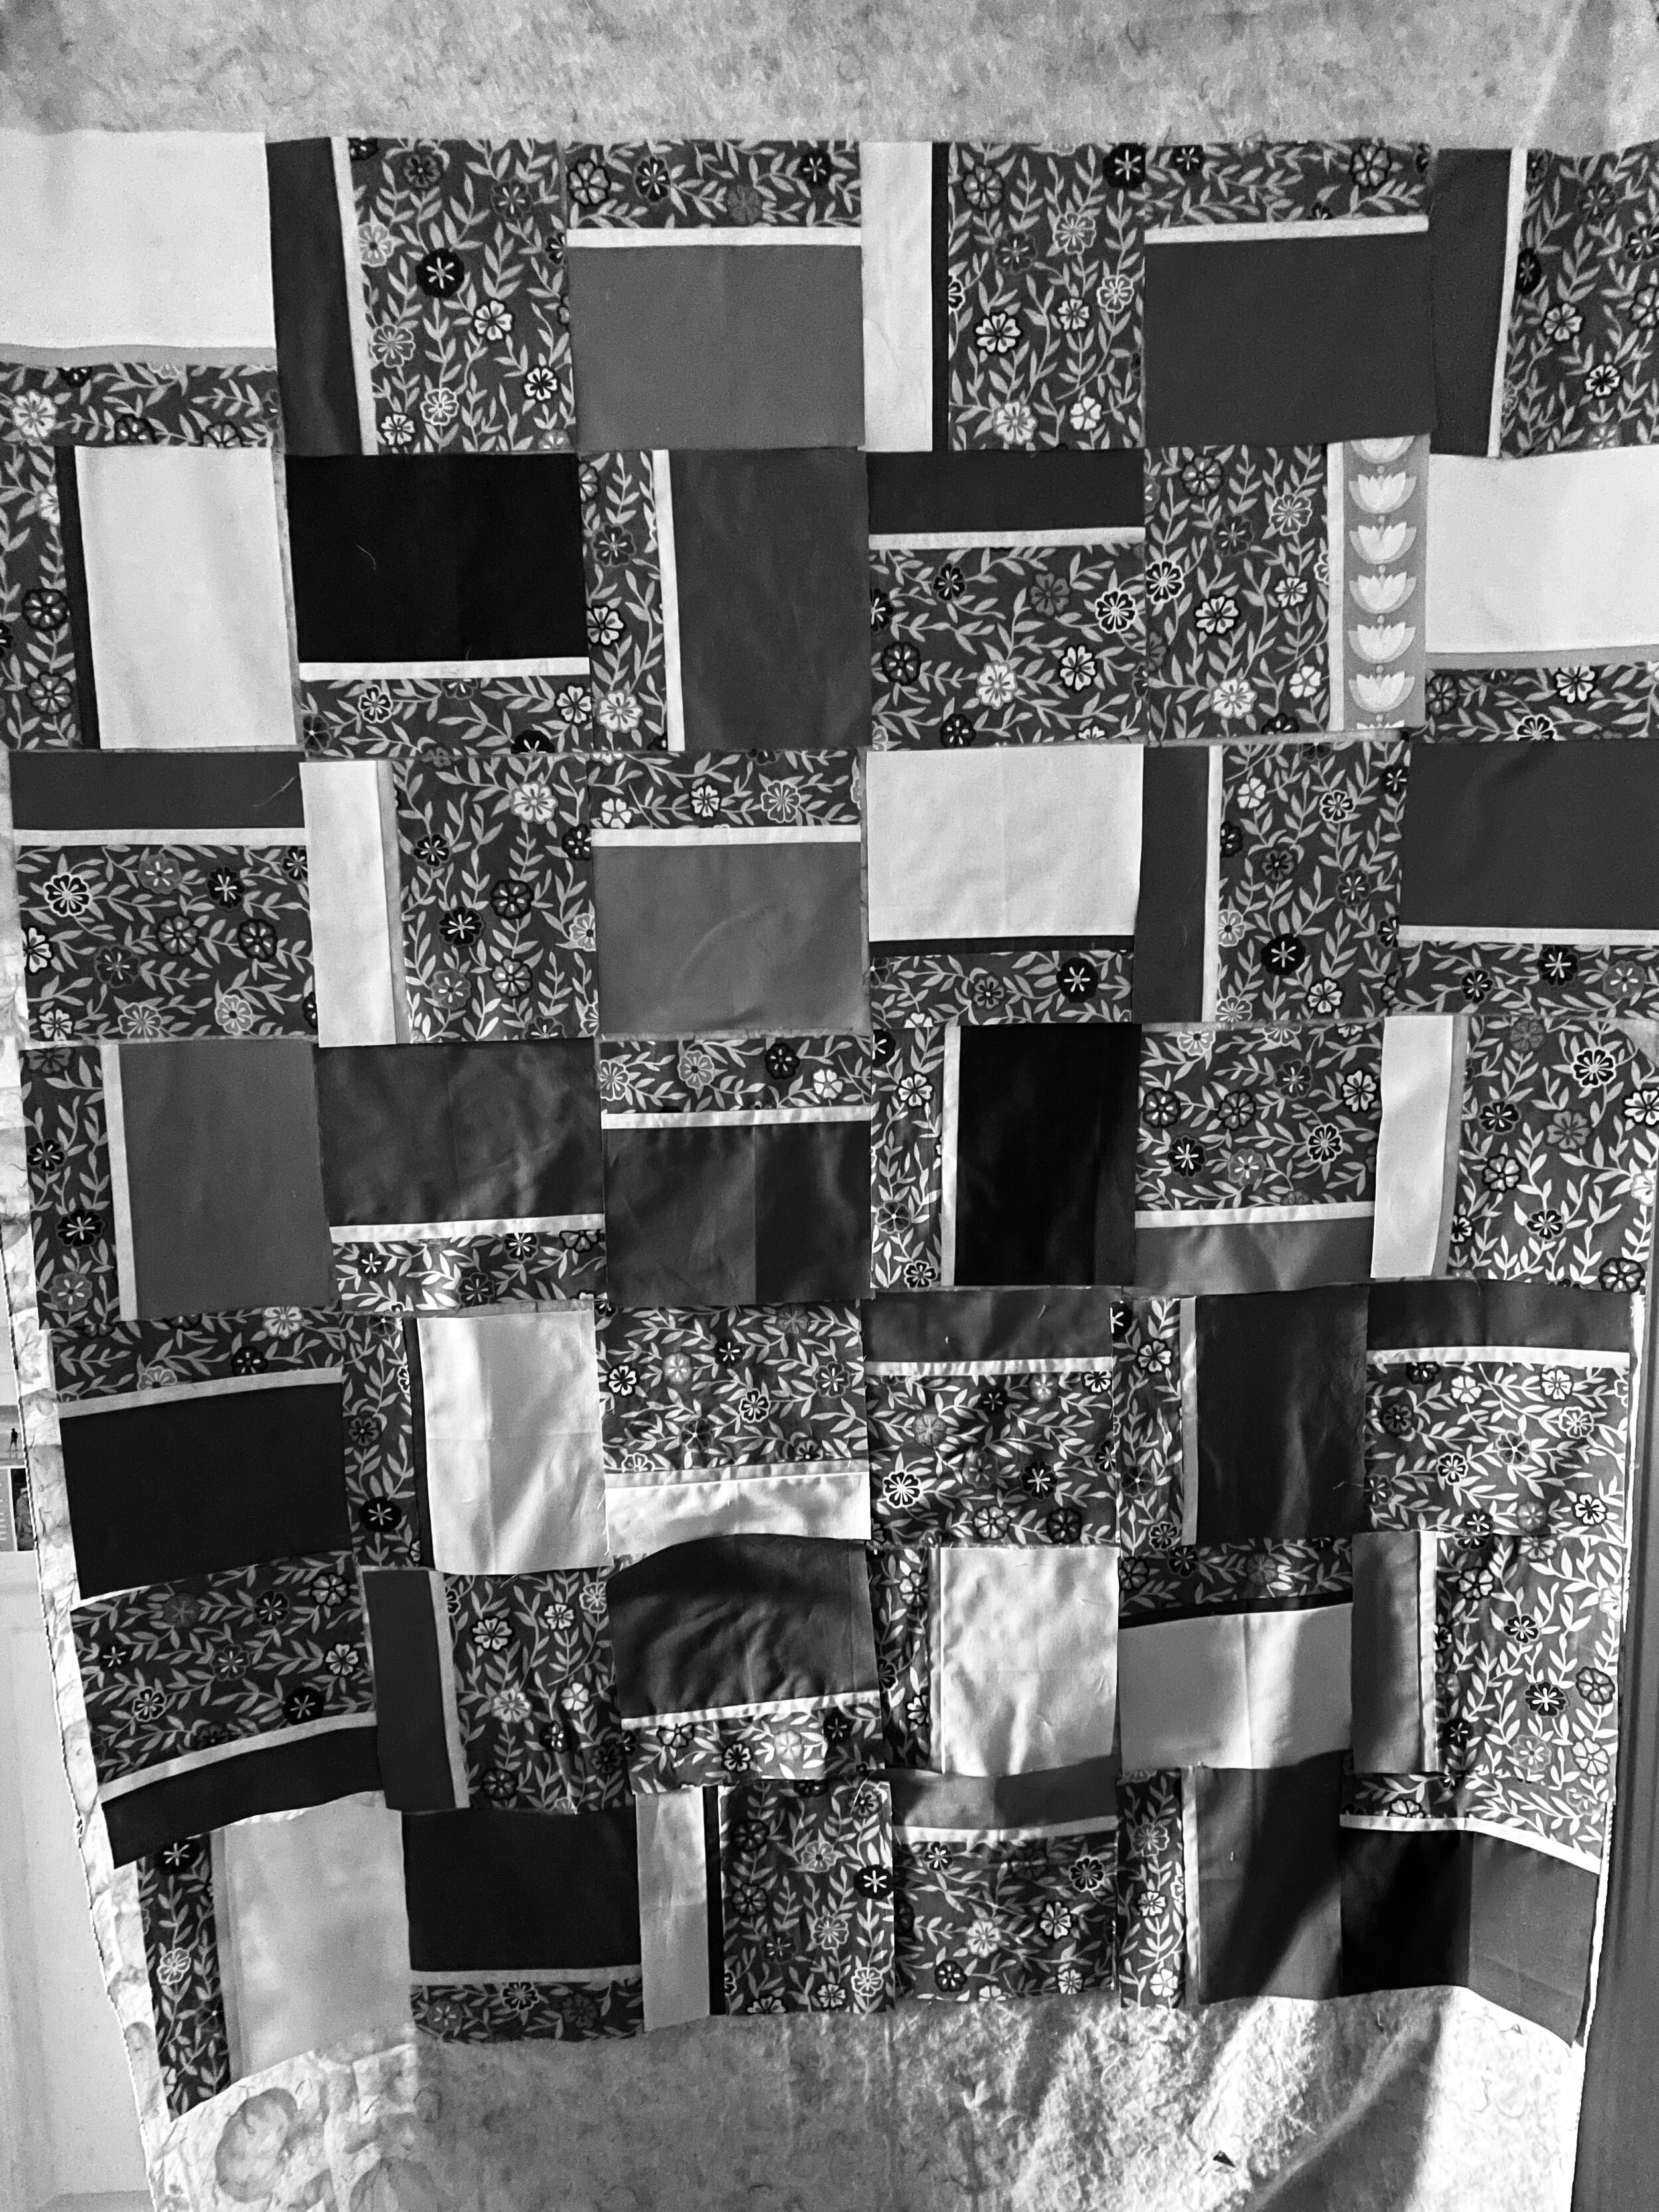
While I was choosing a final layout, I also edited several photographs of possible layouts to grey scale to see if the colors were actually balanced throughout the quilt. There a few problems I can see in the layout below in the quilt on the left side. (It probably loads first if you are reading on a phone). First, the 2 large light patches in the upper left hand corner, I thought I could do better with several of the very dark blocks. I moved some blocks around and ended up with a much better balance. If you have a pattern that is variable, it really is worth taking the extra time to check the layout in grey scale.
So much fun! I’ll have the completed top for you to see in my post next week.
Card/Tablet Weaving: My Weave Along with Elewys
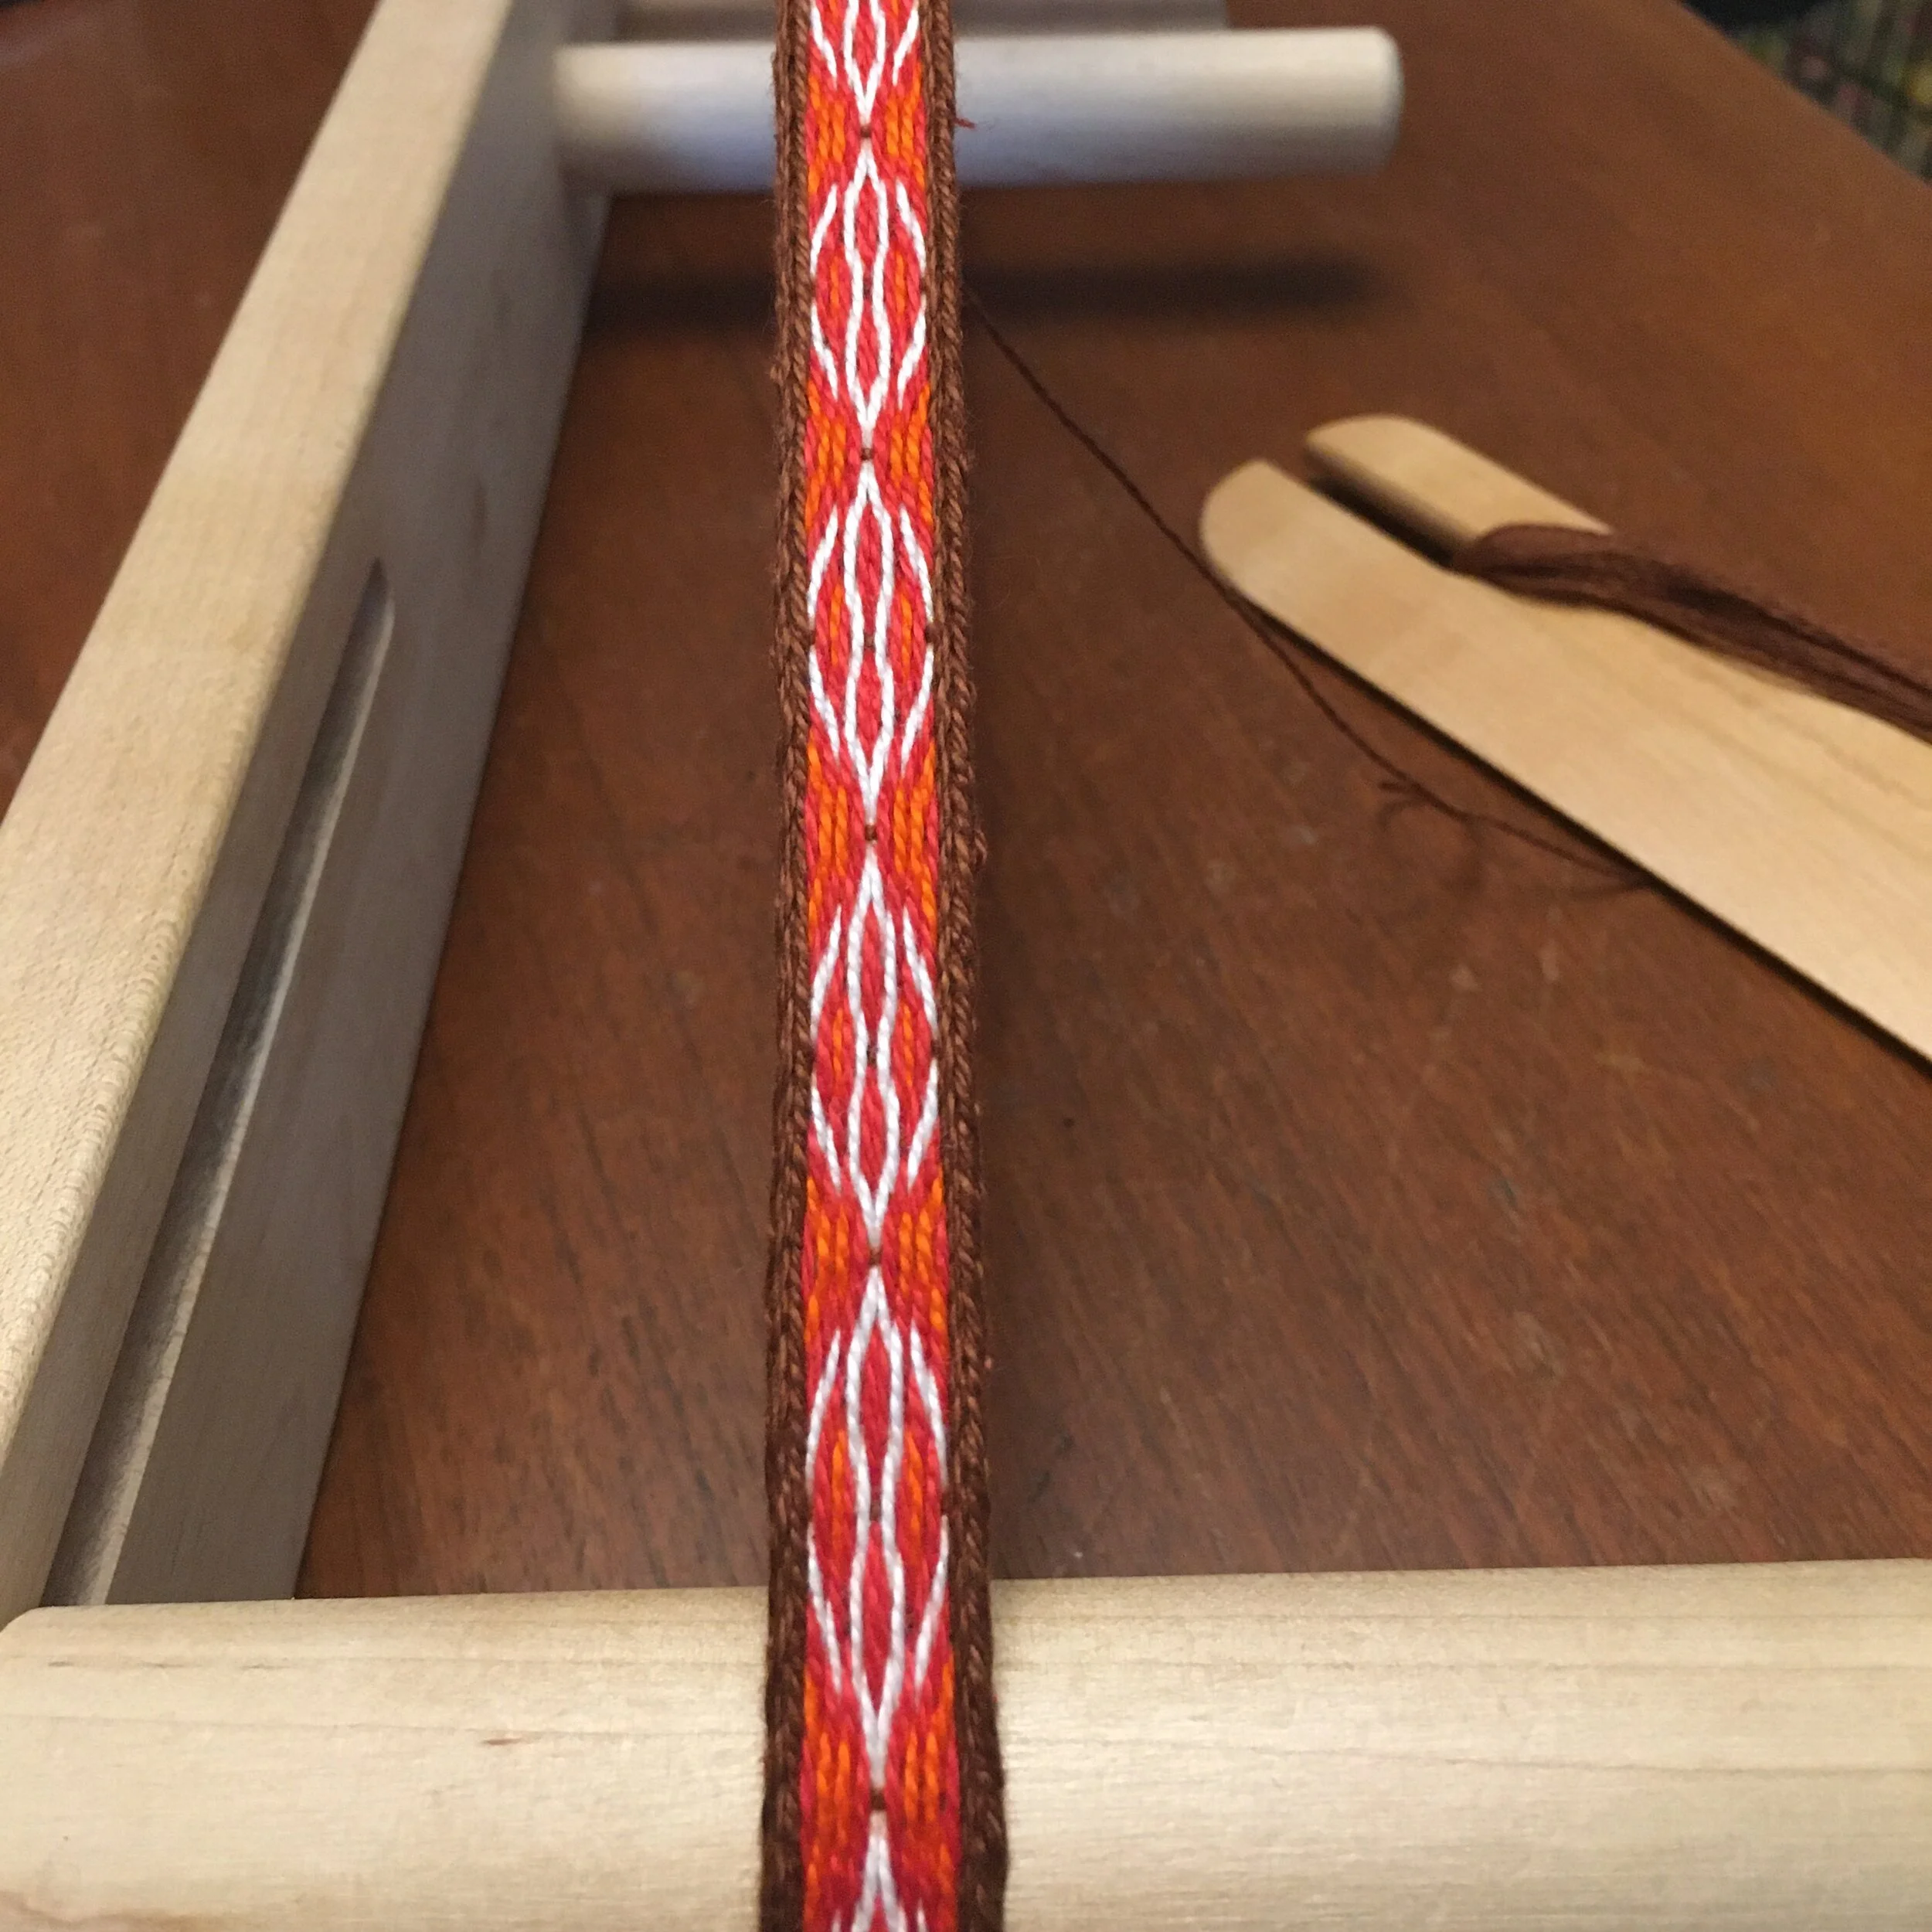
The band on my loom
The band on my loom
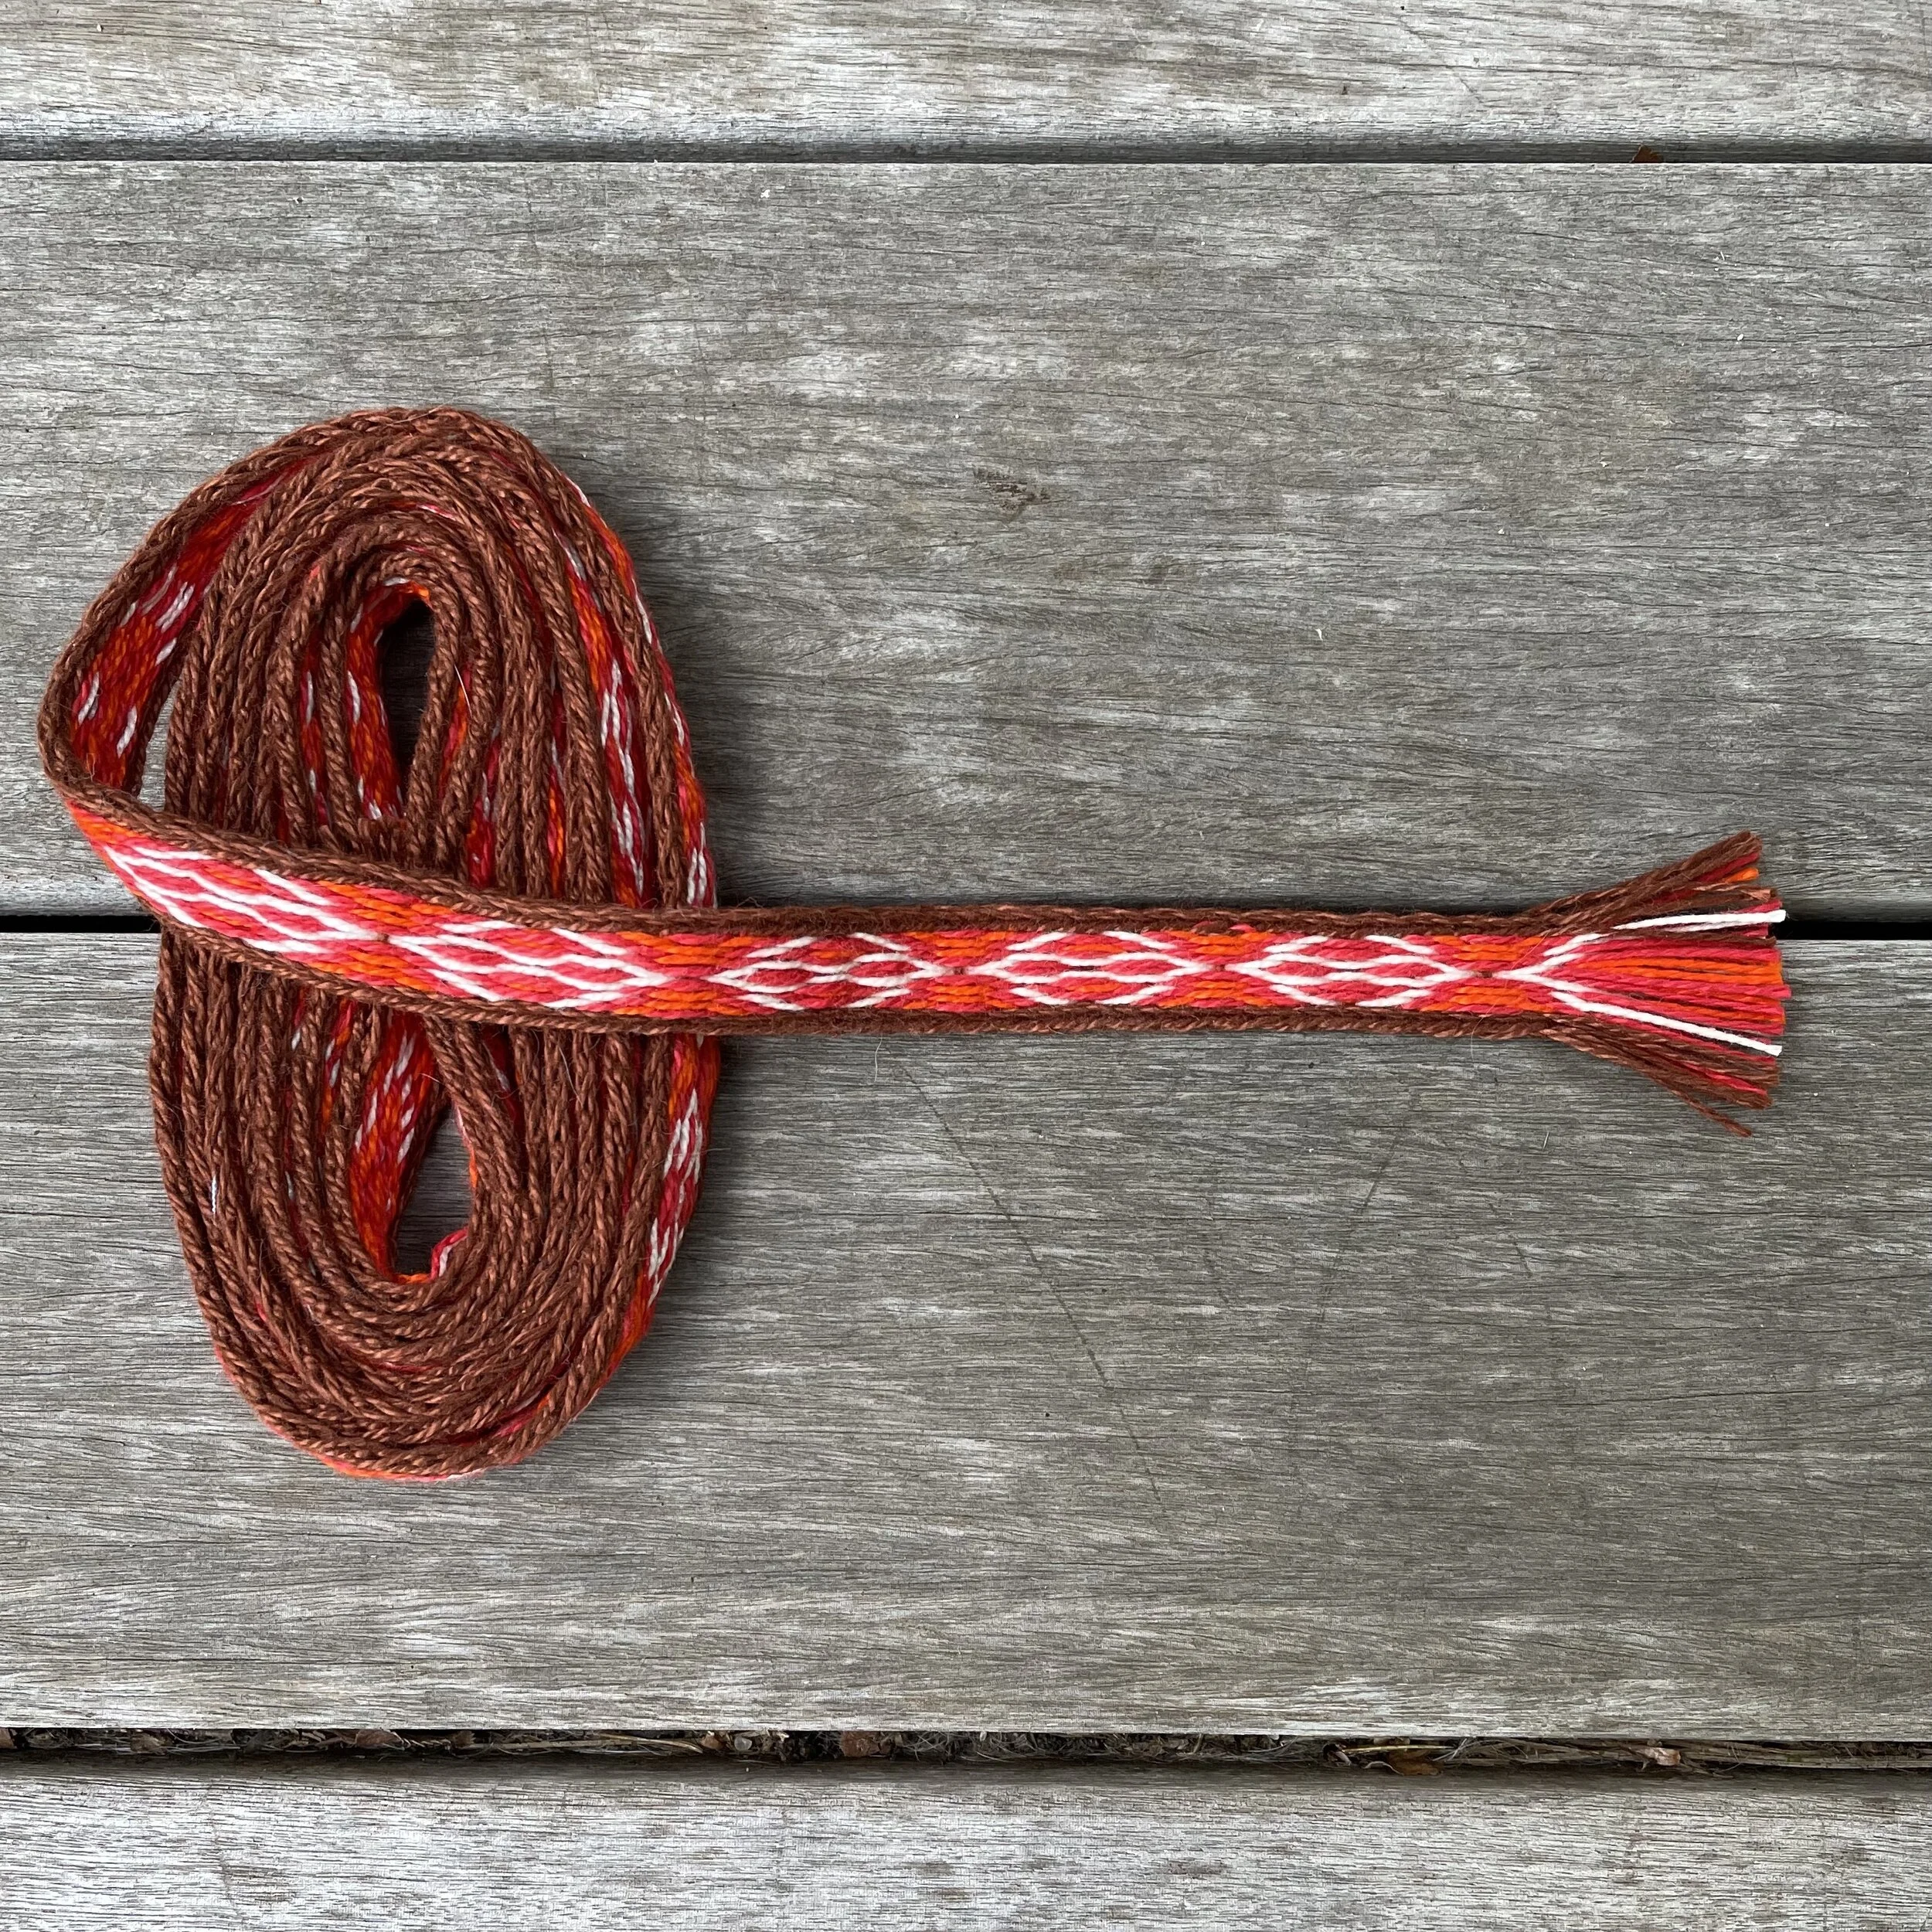
I’m slowly continuing my Weave Along with Elewys project. This newest band pattern is Hallstatt 152 and is the Weave Along with Elewys Episode 5. (I skipped a couple bands). Elewys tells us that the band that this pattern is based on was found in a salt mine in Austria and date from between 400-800 BCE. That’s totally amazing. To learn more about this band, check out Elewys’s blog.
My band is 1/2 inch wide. All the yarns in this band were purchased and commercially dyed. I chose brown, white, a deep orange and red. The spools were pretty all lined up, but in retrospect, my orange and red are just too close in color and so some of detail in the band’s pattern has essentially been lost. However, I still think this is a beautiful band.
I used the 4 hole pattern. That’s simpler than the skipped hole pattern but I still really struggled with this design. I had find time to weave without any distractions initially…not even music. I spent a lot of time in the first couple feet of weaving, unpicking my errors. There was error that was so egregious that I was never completely able to unpick it. That couple inches of weaving was pretty enough so that even though it was wrong, I left it.
But after several feet on weaving, I finally got it, and was able to weave without making mistakes listening to music or even with the evening news on in the background. I needed to develop the motor memory and mental memory to reliably weave this pattern.
I’m really pleased with this band and i definitely learned a lot weaving it!
Tablet Weaving a Viking Era Wool Band: An Attempt at a Re-Creation of a Dublin Band
I have fallen down a whole series of rabbit holes, looking at posts and YouTube videos on tablet weaving and natural plant dyes.
One of the rabbit holes lead me all the way to Australia!! That is, via the YouTube Channel of Ylva the Red, a Australian reenactor of the Hibernian Viking Era in Ireland. Tablet weaving queries lead me to her lovely video, Tablet Weaving: Dublin Wool Band.
Unlike my first tablet woven band (see my September 9, 2021 post) which had a beautiful pattern, this plain wool band just has a subtle chevron design. It looks a lot like knitting but it is tablet woven and not at all stretchy like knitting would be.
Ylva the Red has excellent instructions about how to weave this belt on her video, so I’m not going to repeat them here. Rather I’ll tell you about my adventures, and how I jury-rigged a set up to weave this band. Spoiler alert: I stepped seriously out of the Viking period.
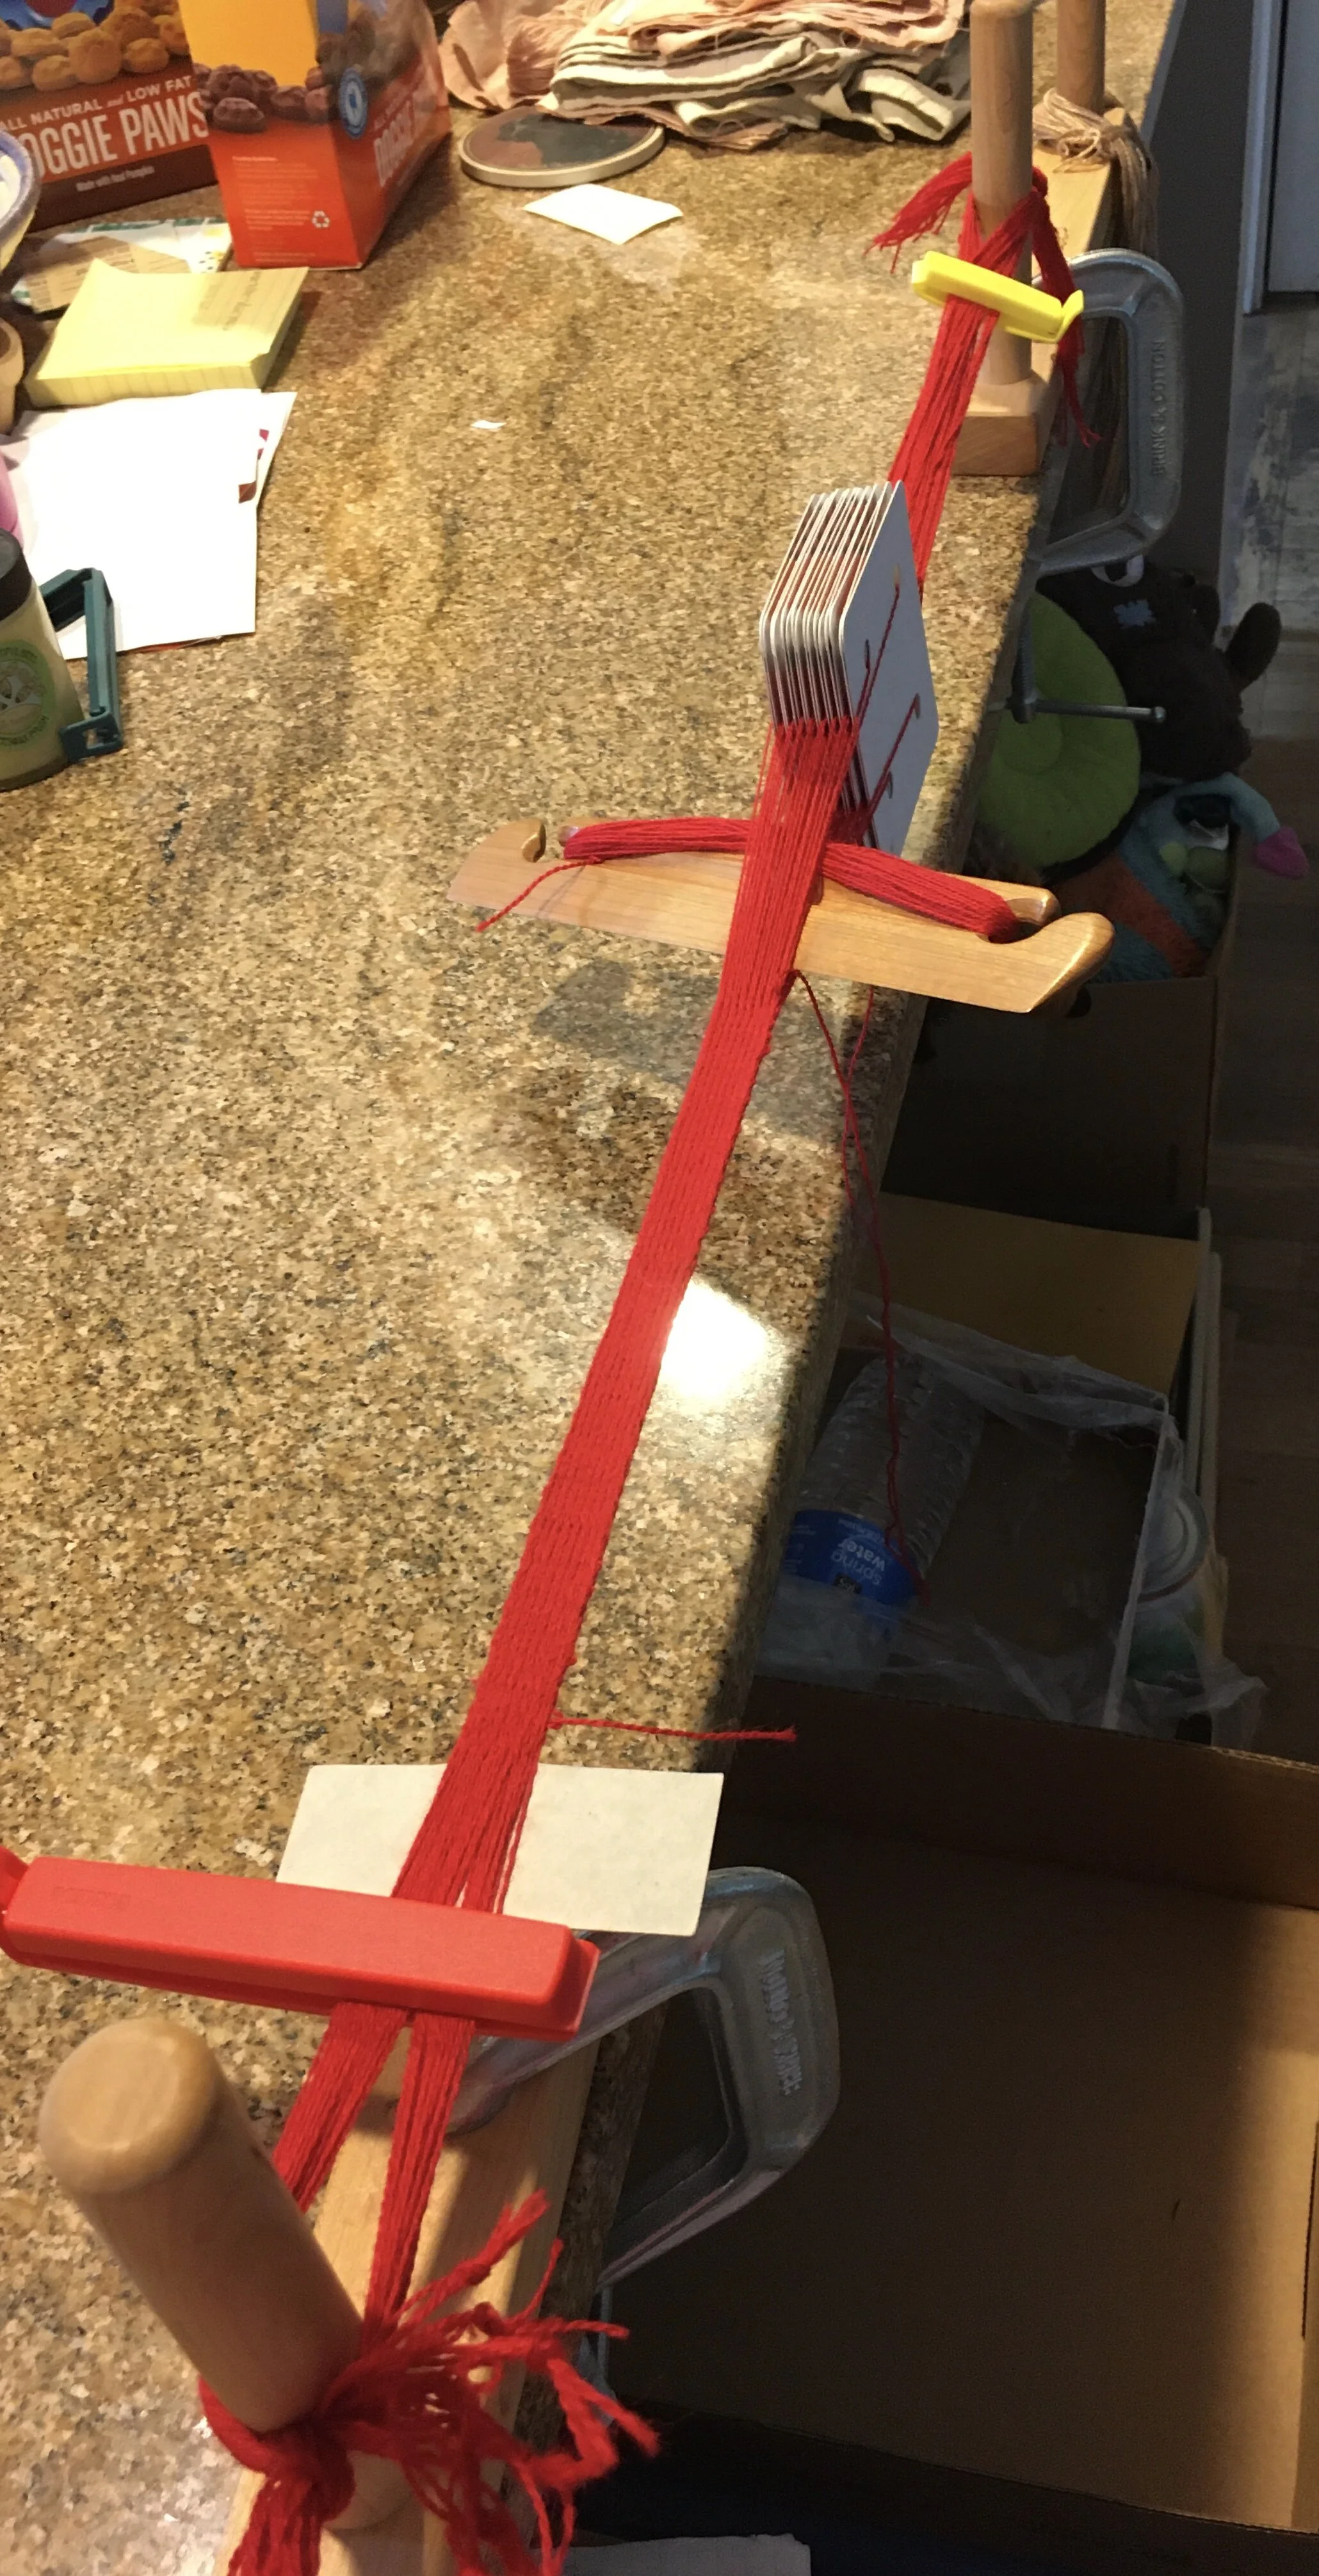
Inkle looms are a fairly modern invention (and I had a plain weave band loaded on mine) so I needed to find another way to do this card weaving. A back strap loom would be historically appropriate but so is a loom consisting of to upright round rods anchored in either end of a narrow flat board that sits on the floor. I didn’t have a back strap set up nor a medieval loom, so I created a combination of the two looms.
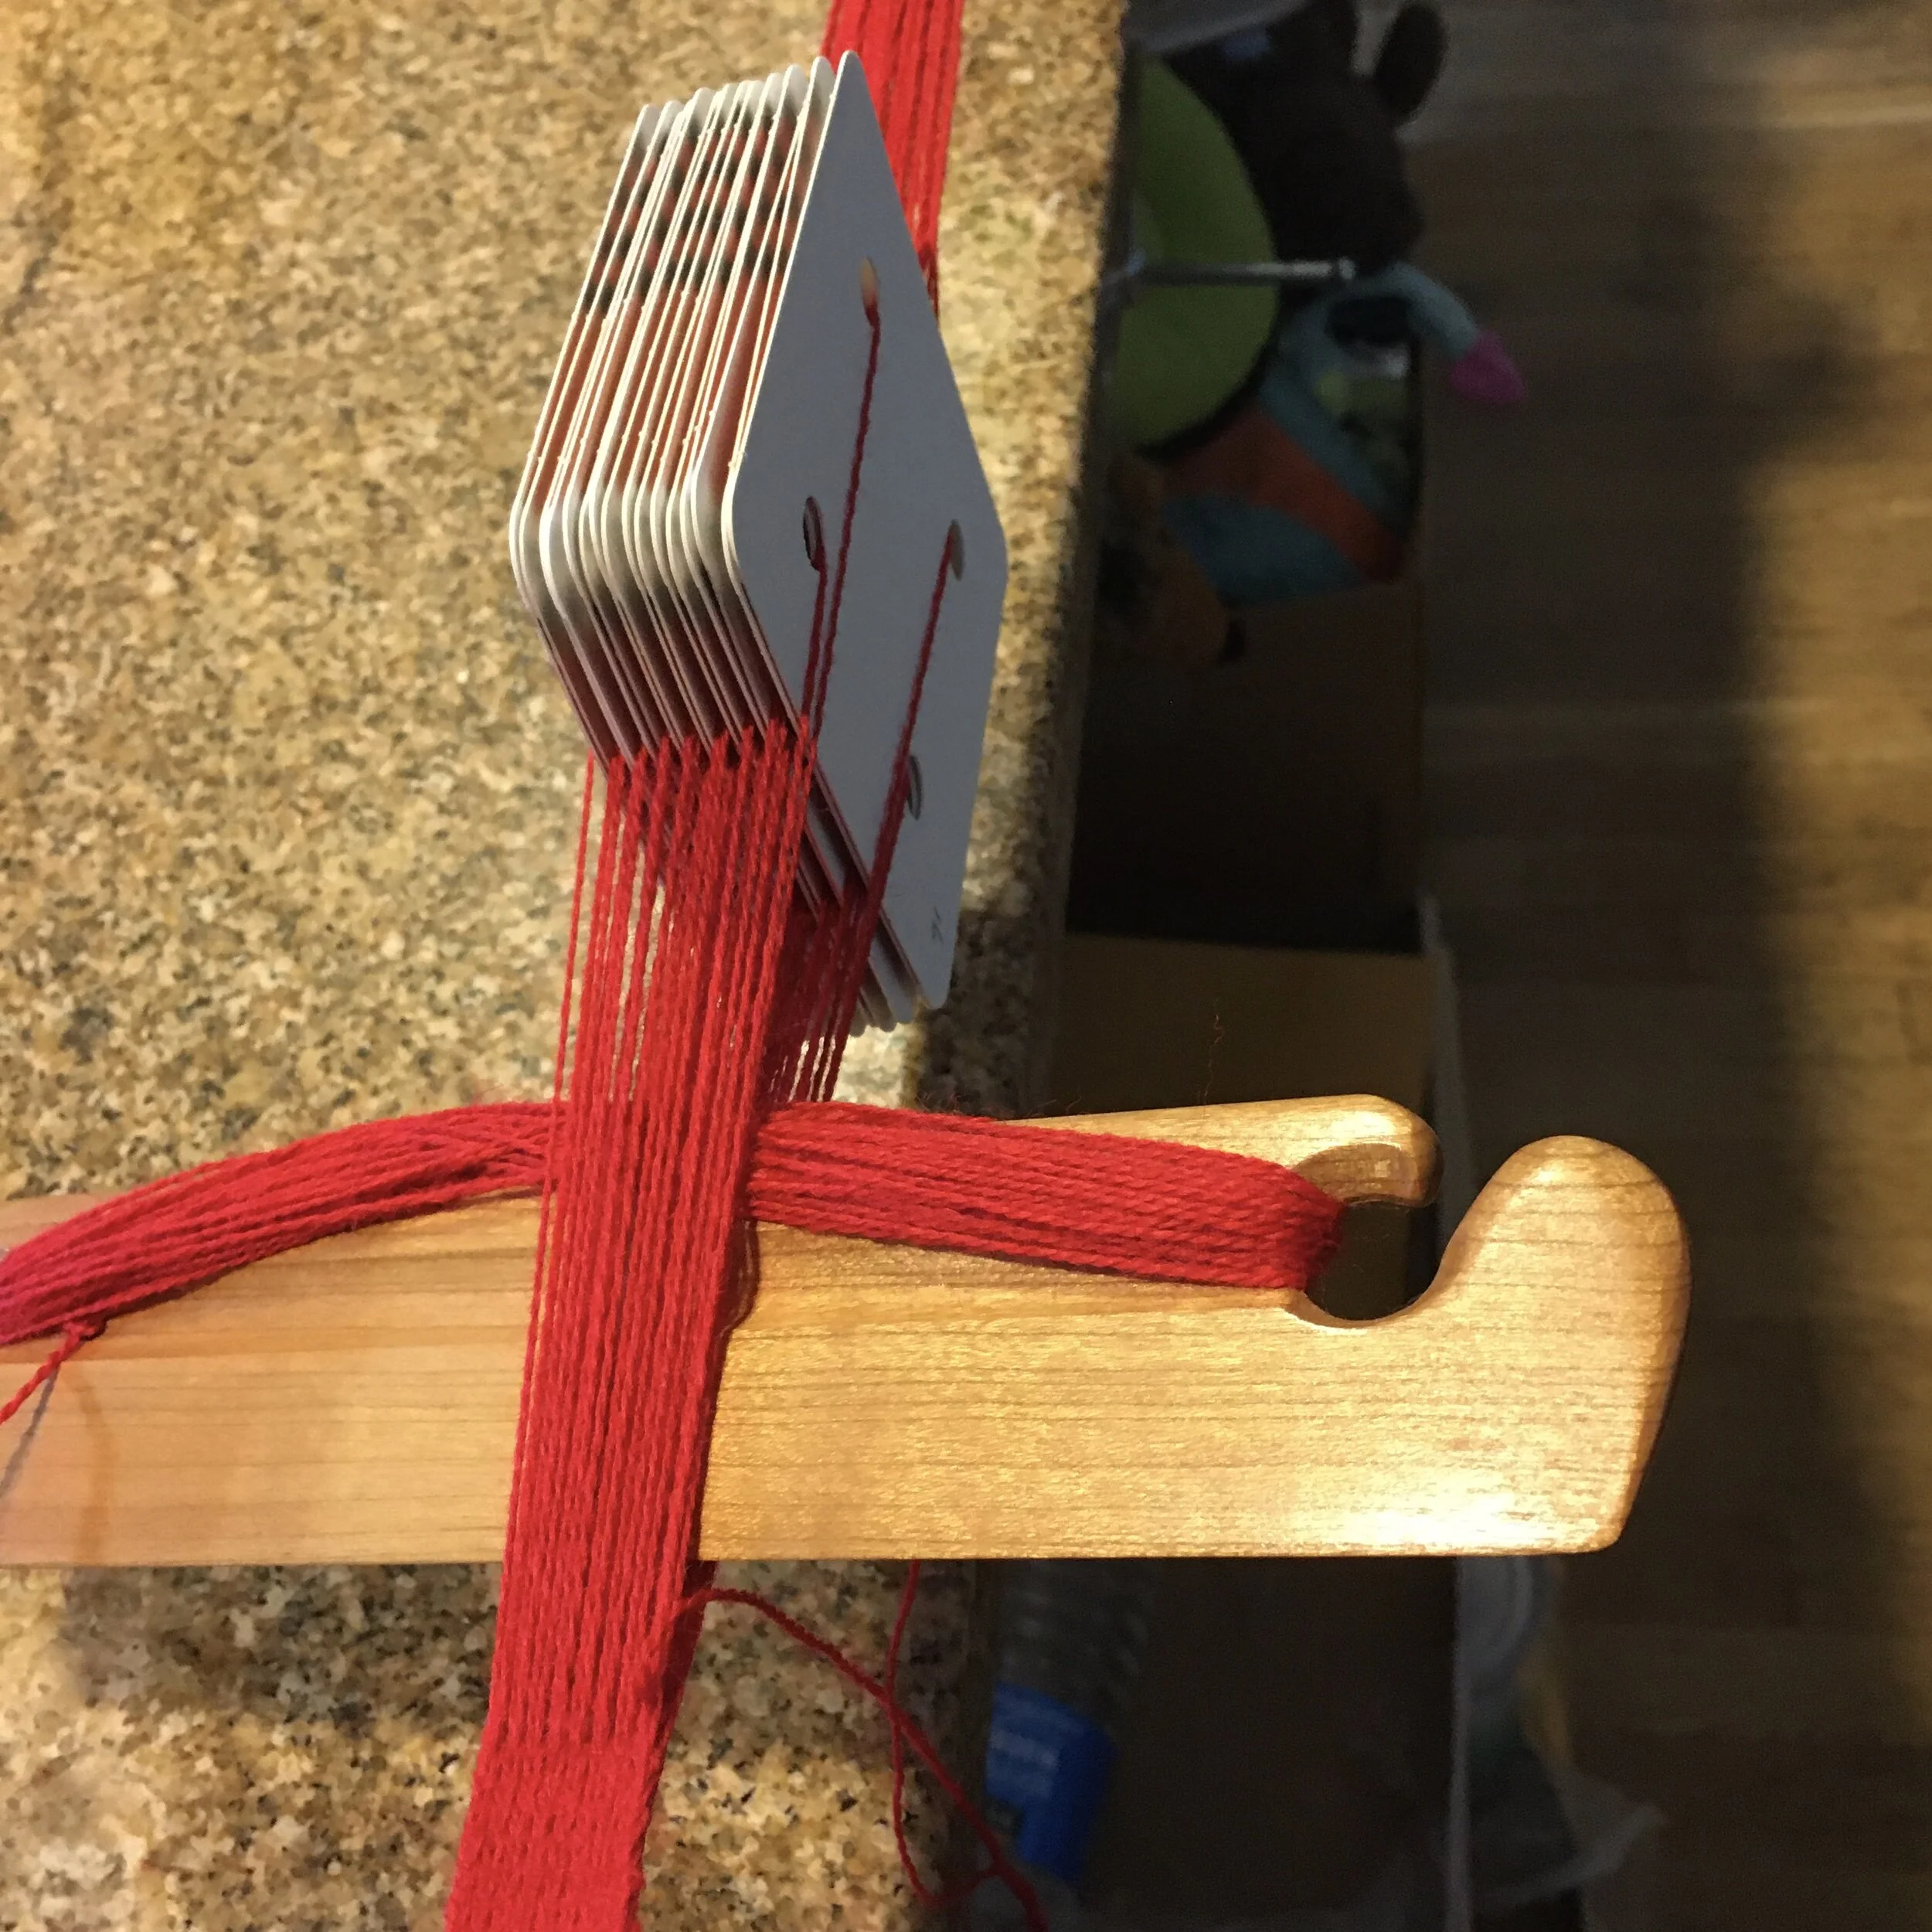
I used my Schacht warping pegs bolted onto my kitchen island (please excuse the clutter on the counter) . That put it a bit about waist height and the two upright pegs sort of simulated the two upright poles of a medieval loom. The back strap set ups I’ve seen have two wooden boards, bolted together to hold the weaving at one end. I decided that might be helpful and so I used an IKEA bag clip to hold the warp flat at both ends near the pegs. This set up actually worked very well.
Ylva the Red states that the Dublin wool band was woven with the cards only turning forward. That I just couldn’t do. My wool was on the coarse side (the Viking wool must have been coarse too) and the yarns in warp kept trying to grab the adjacent warp. I started off just turning the cards forward, but after about 2 inches, I was starting to have serious problems with twist beyond the tablets.
I suppose I could have untied the far end of the weaving and manually released the twist in the warp thread of each card. That may be how the Vikings solved that problem. I took the easy route instead, and opted to reverse direction, turning the tablets back until the twist was released, and then switched back again to forward turns. I had to do this every 2 to 3 inches along the woven band.
It does create visible intersection in the band. But that really doesn’t bother me.
As I got to the far end of my band, the twist beyond the cards eventually became insurmountable. It was time to stop weaving..
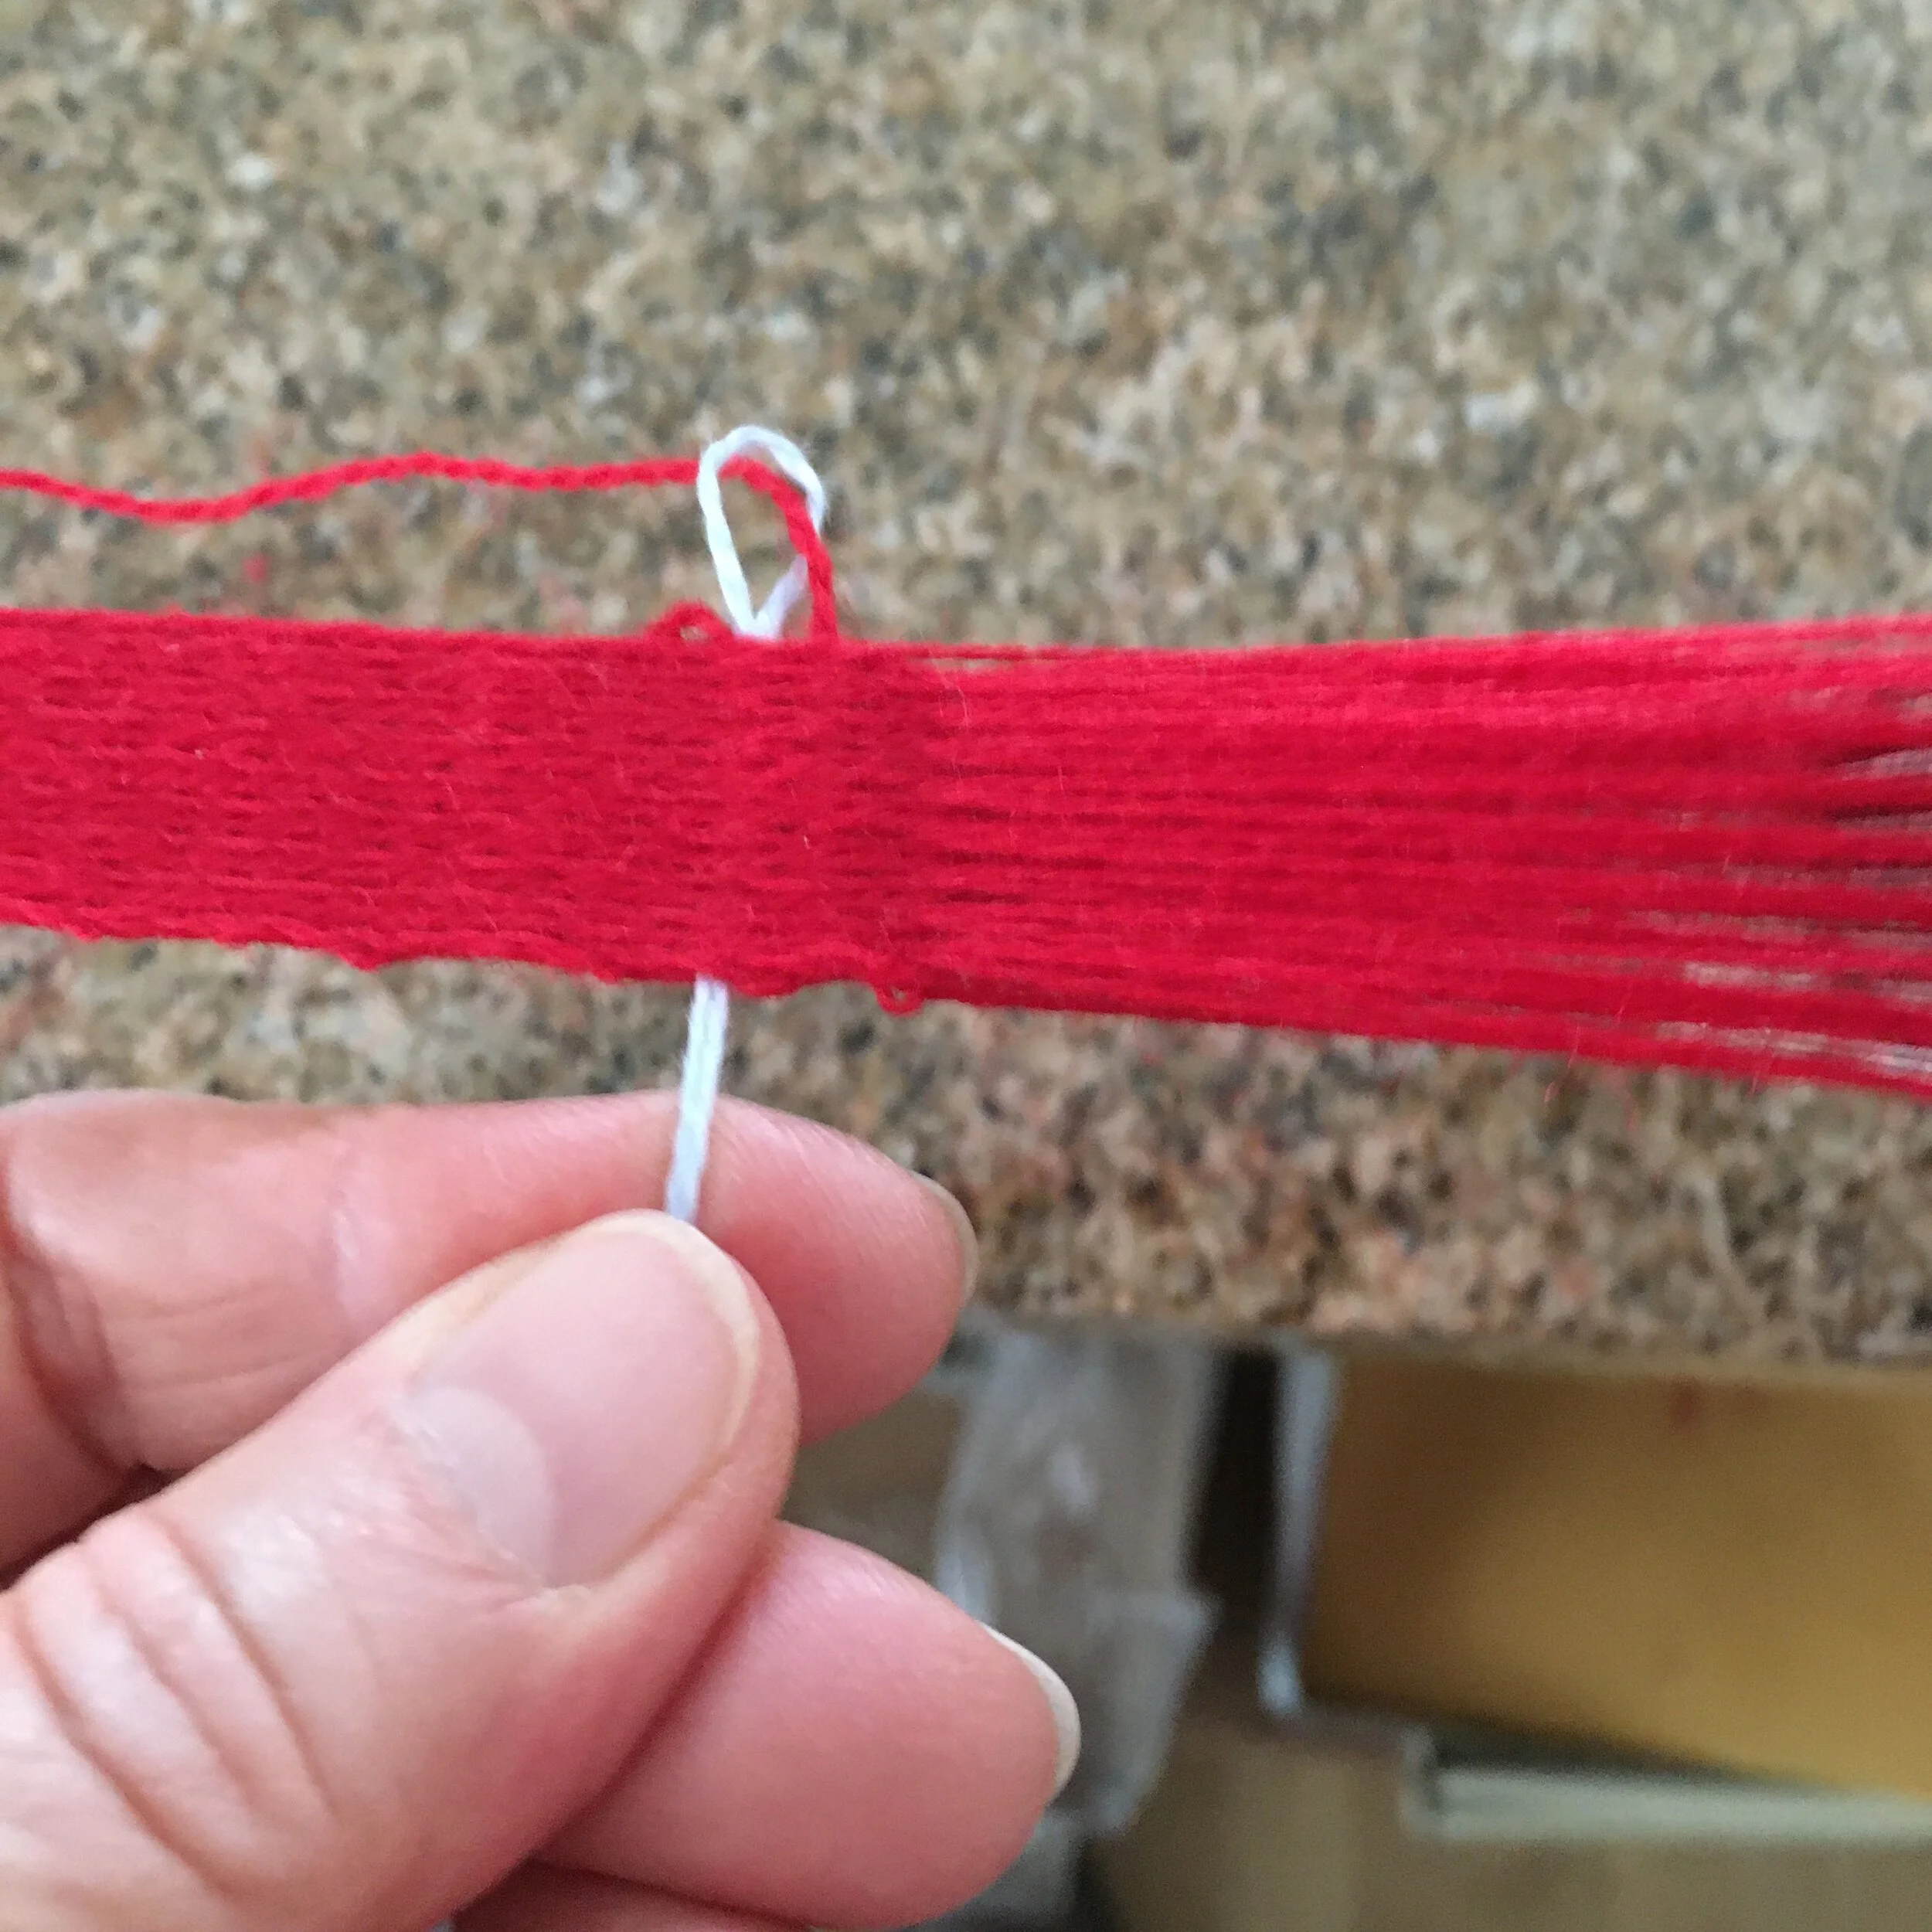
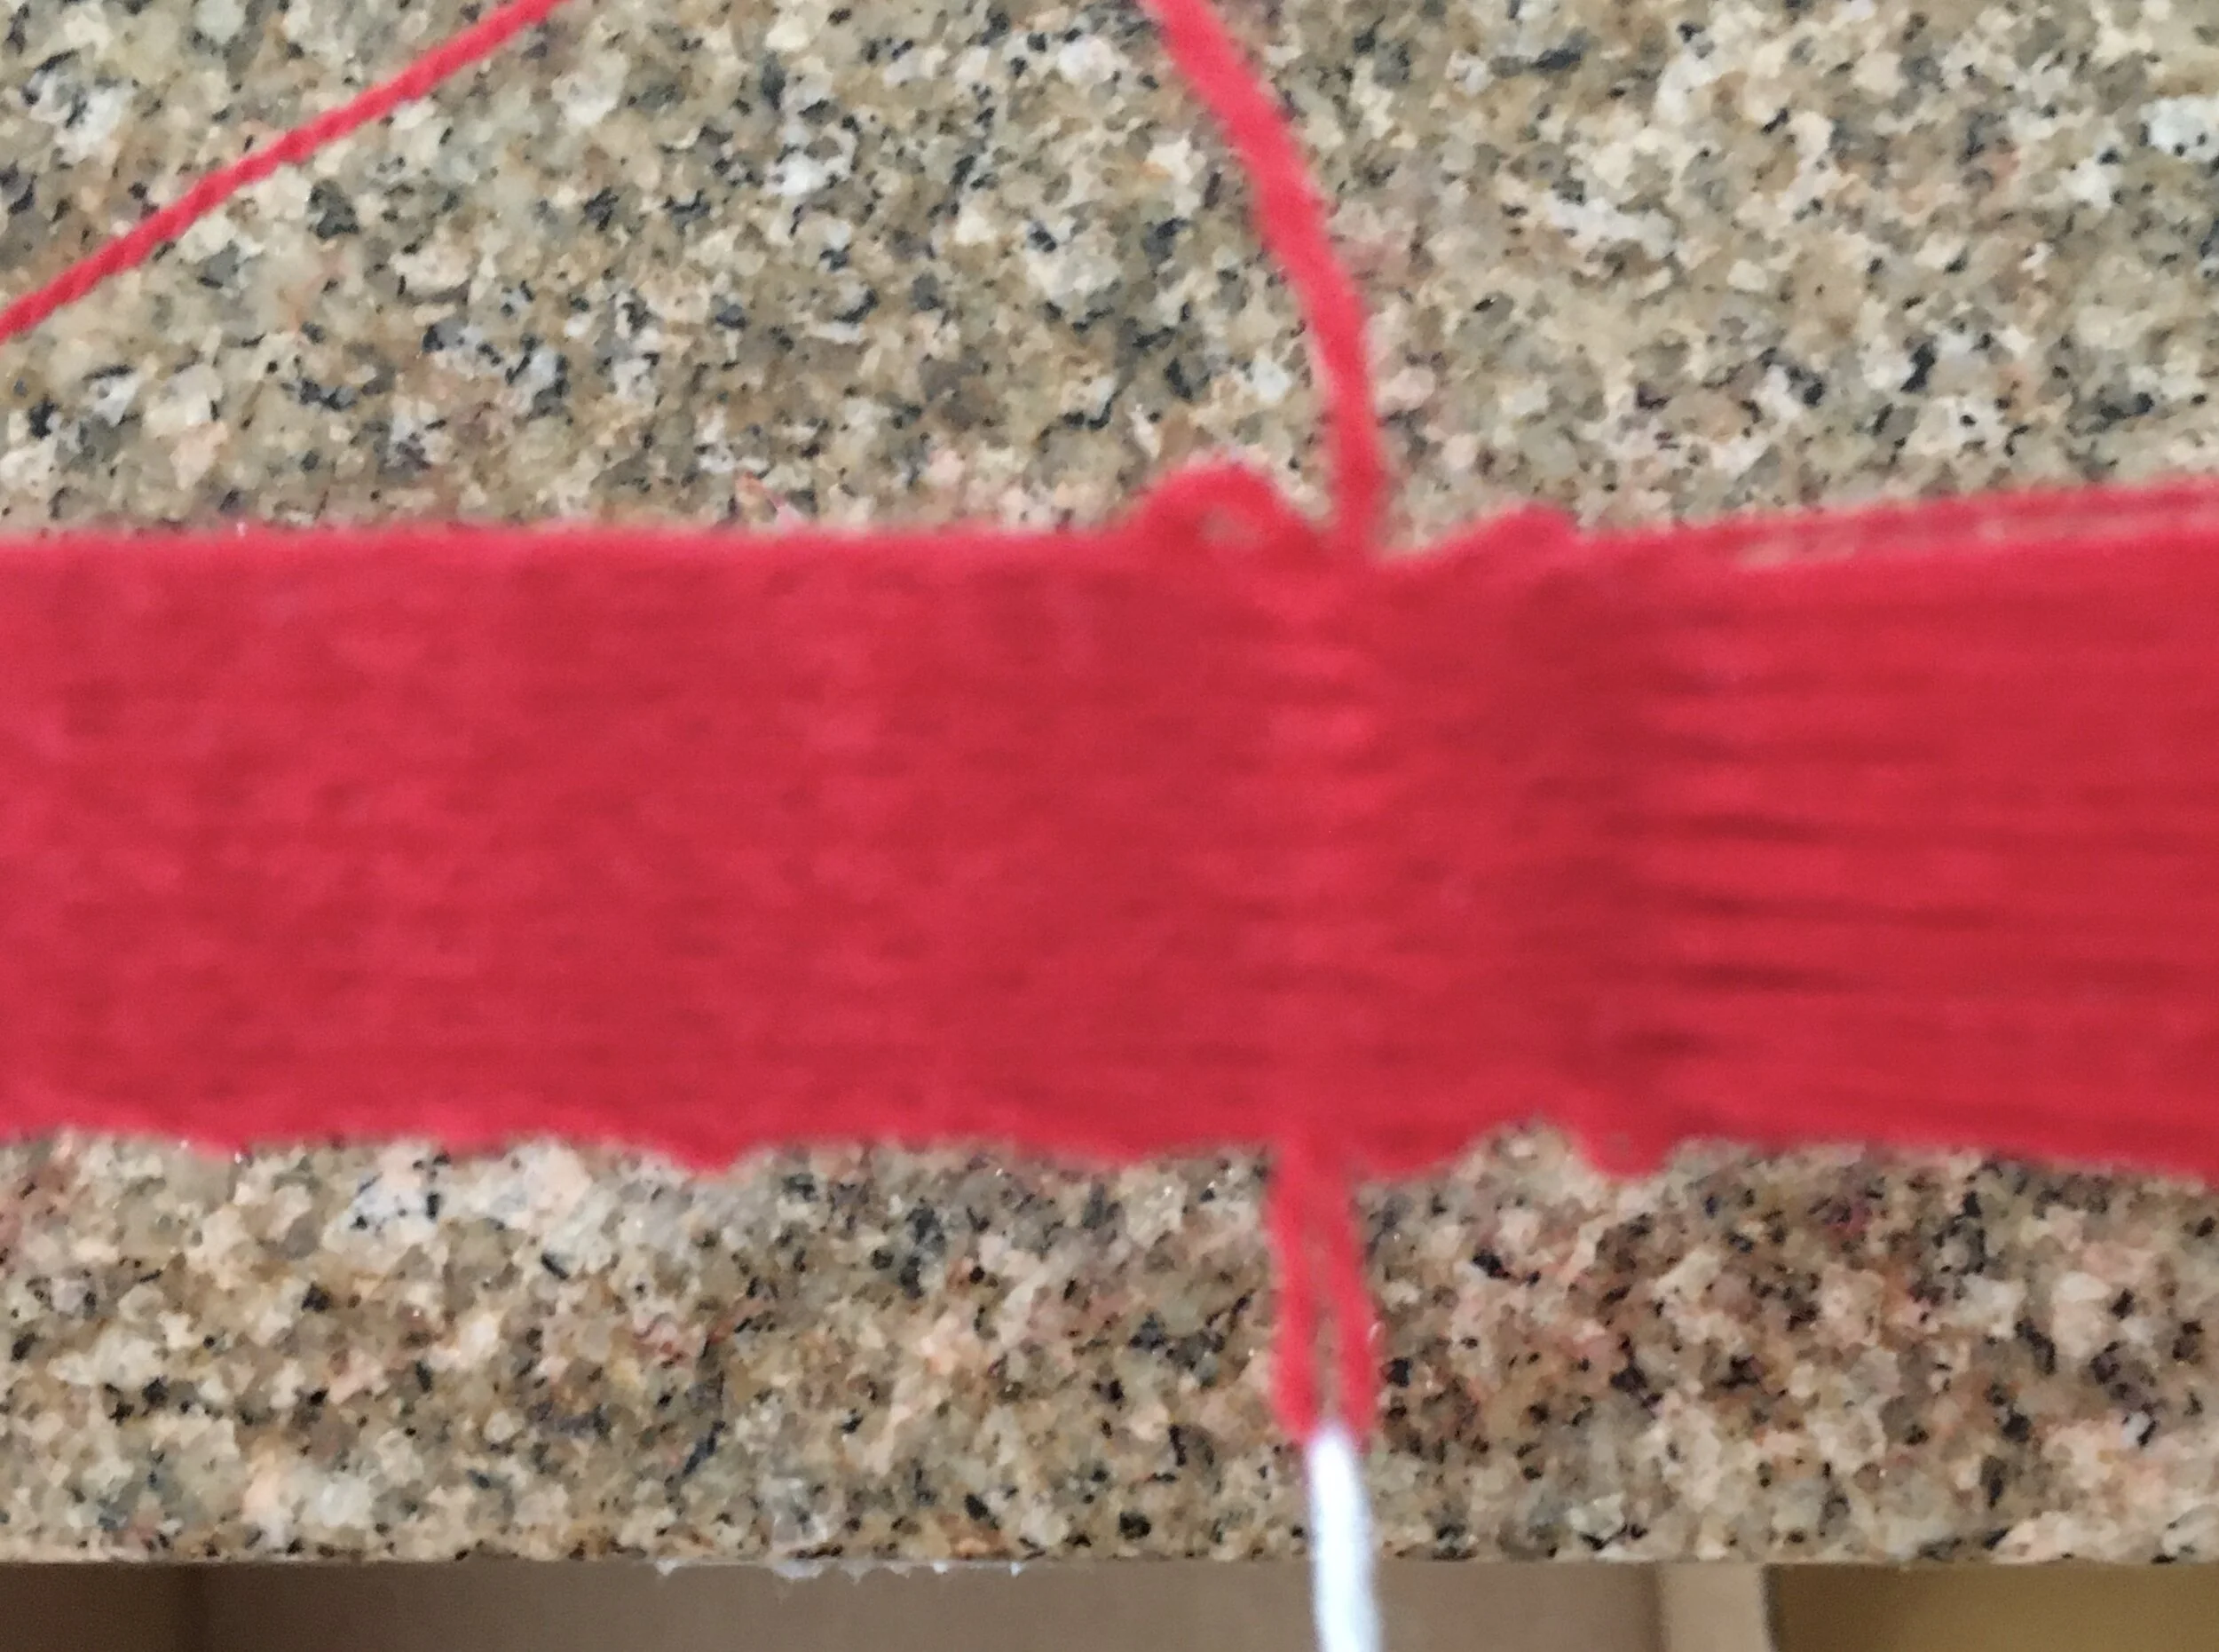
In order to lock the tail of my weft thread, I slipped a loop of thread into the shed. Then I passed the shuttle through, turned the cards and repeated with a second loop. Then I turned the cards and and passed the shuttle through the shed two more times. Then I cut the weft thread, leaving a tail about about 6 to 8 inches long.
I put the weft’s tail though the loop on the side where I had finished weaving and used the loop to pull the weft thread through the band. Then I repeated that on the far side. This firmly locks the weft thread into the band. The band just isn’t going to ravel apart. Then I trimmed off the excess weft tail and the edge of the band and cut the band off the warping pegs.
Ylva the Red has links to primary source information about this Viking Dublin Wool Band in her YouTube video notes, including a black and white photo of the original Dublin band. Go check them out!
I’m not a reenactor and I don’t belong to any historical groups. I wasn’t trying to create an historically accurate band. I was just plain curious and thought it would be fun to see if I could weave a band that was just a bit like the original Viking band. It’s a bit wider than the original by about 1/8 inch, but otherwise, it’s not too bad!
I had a lot of fun making due with the implements I had on hand, and I’m actually really pleased with my historically inaccurate tablet woven band!