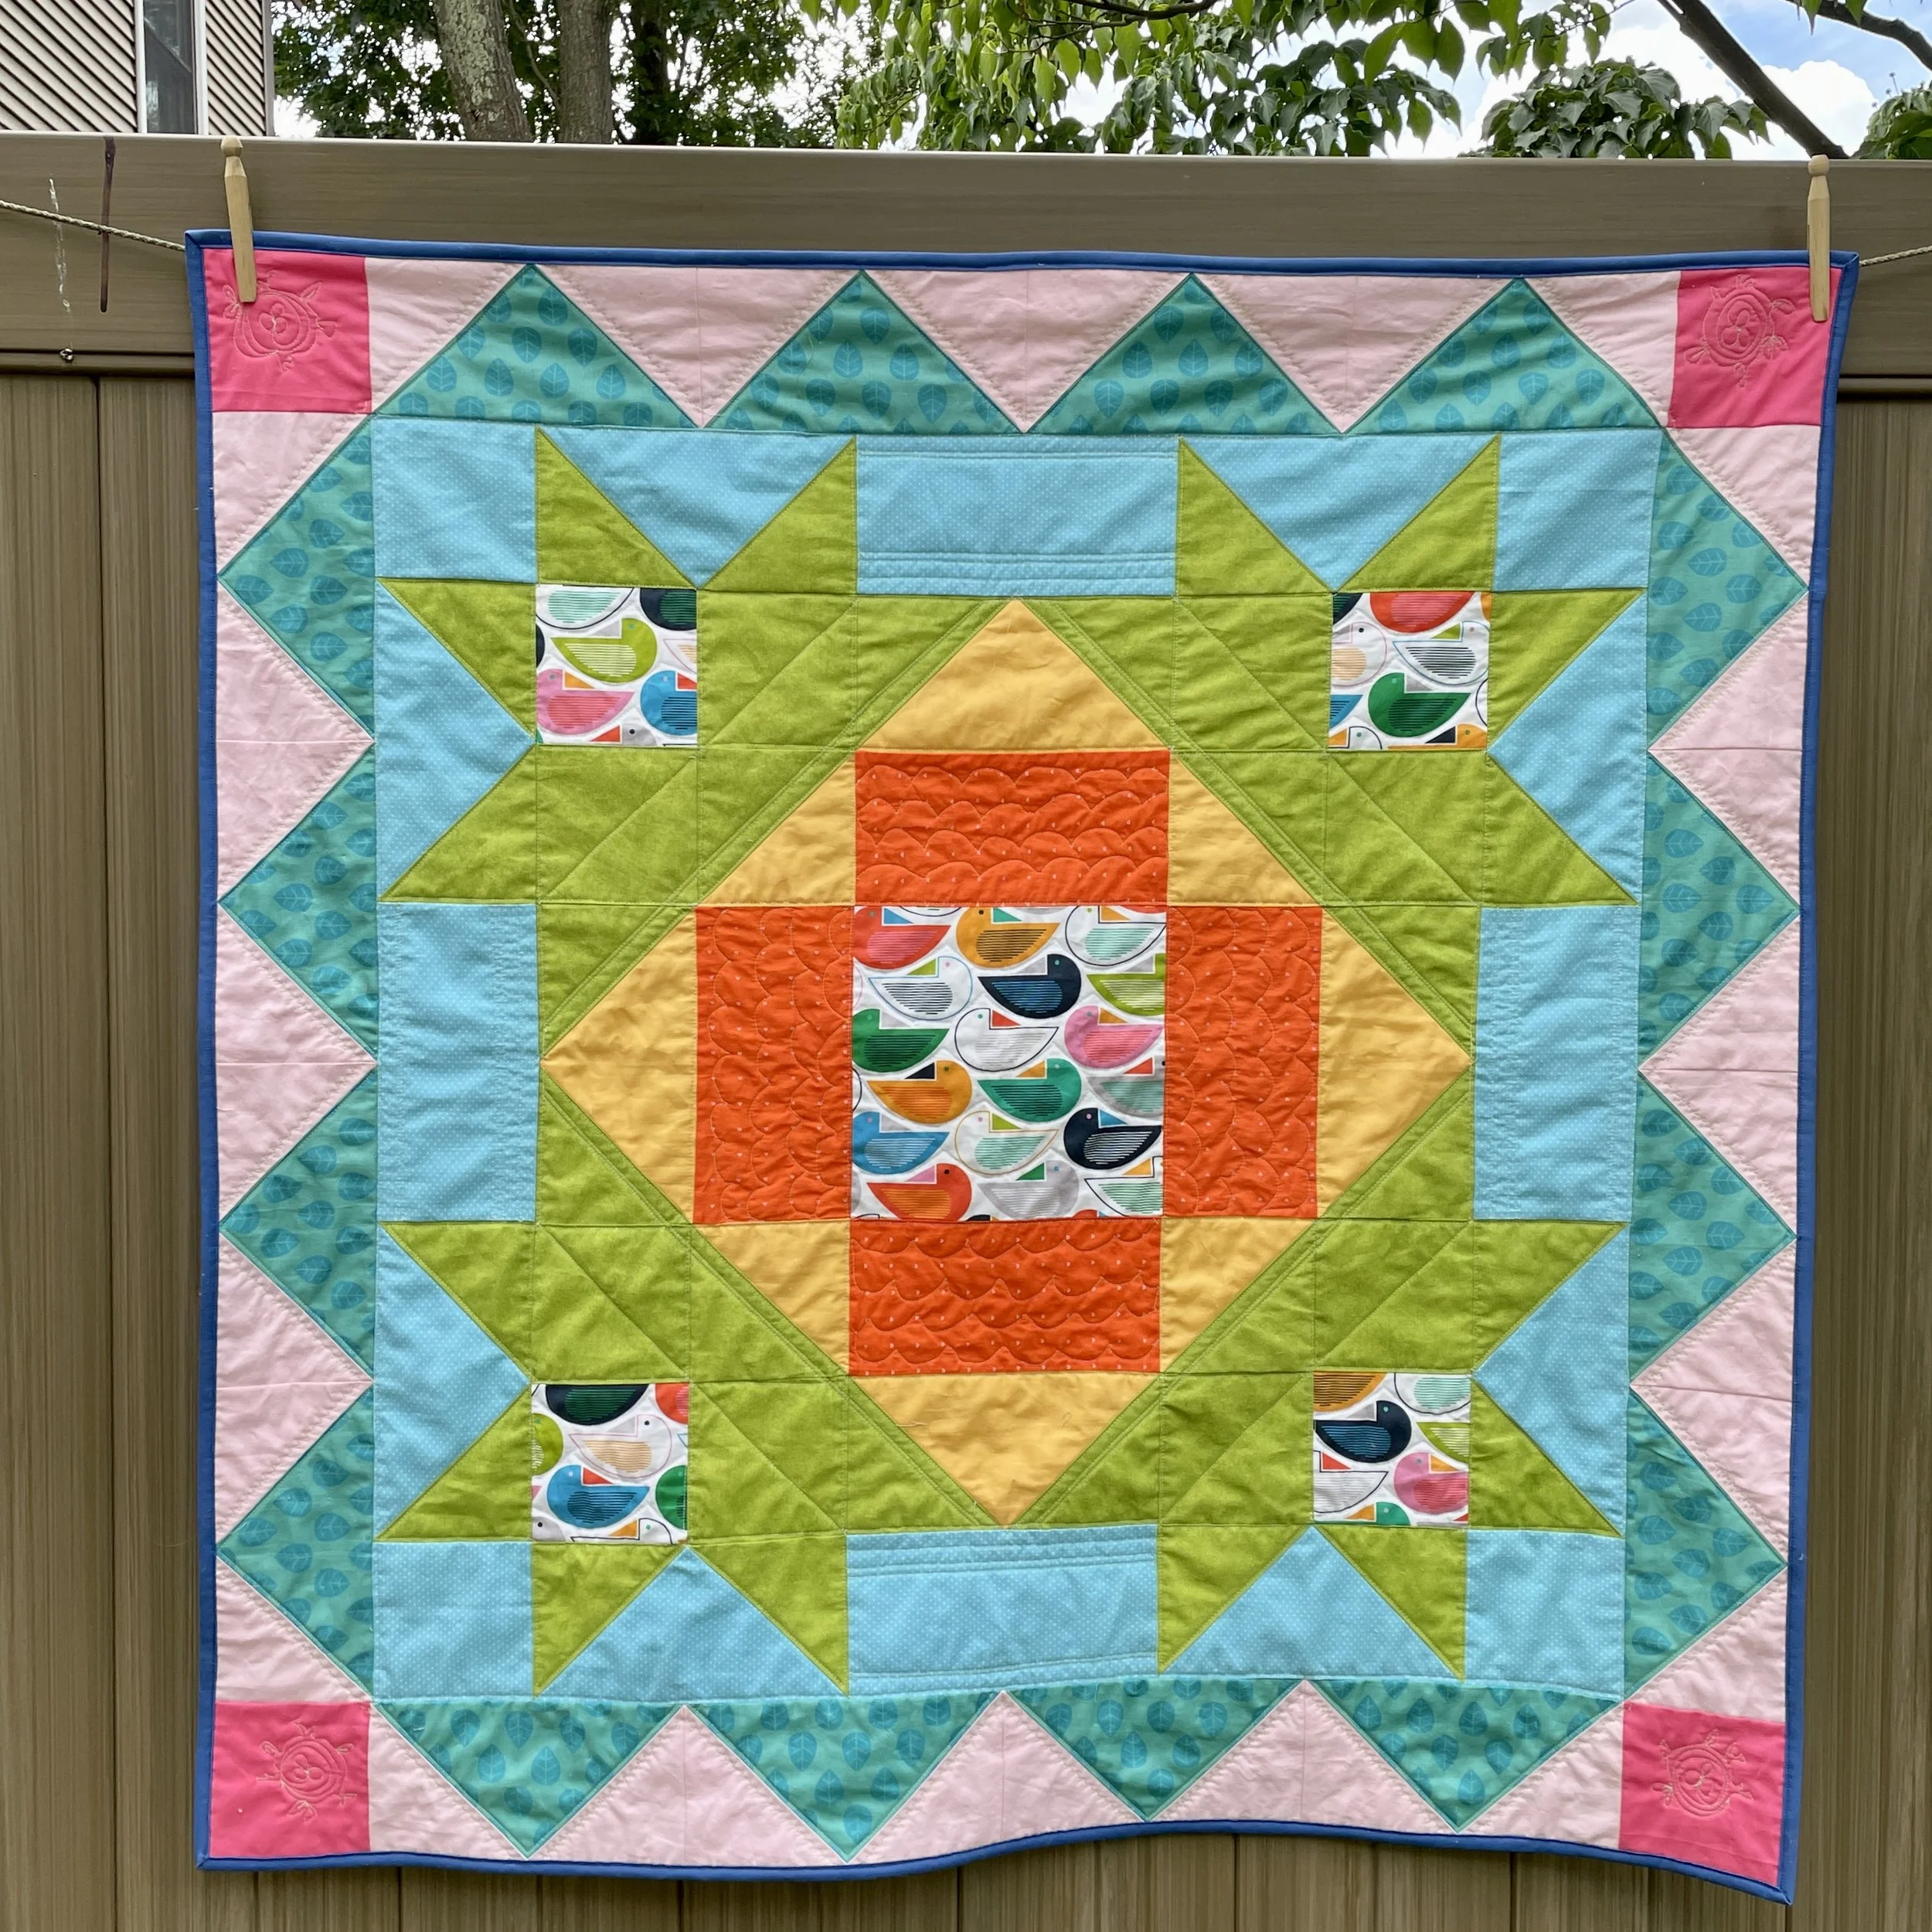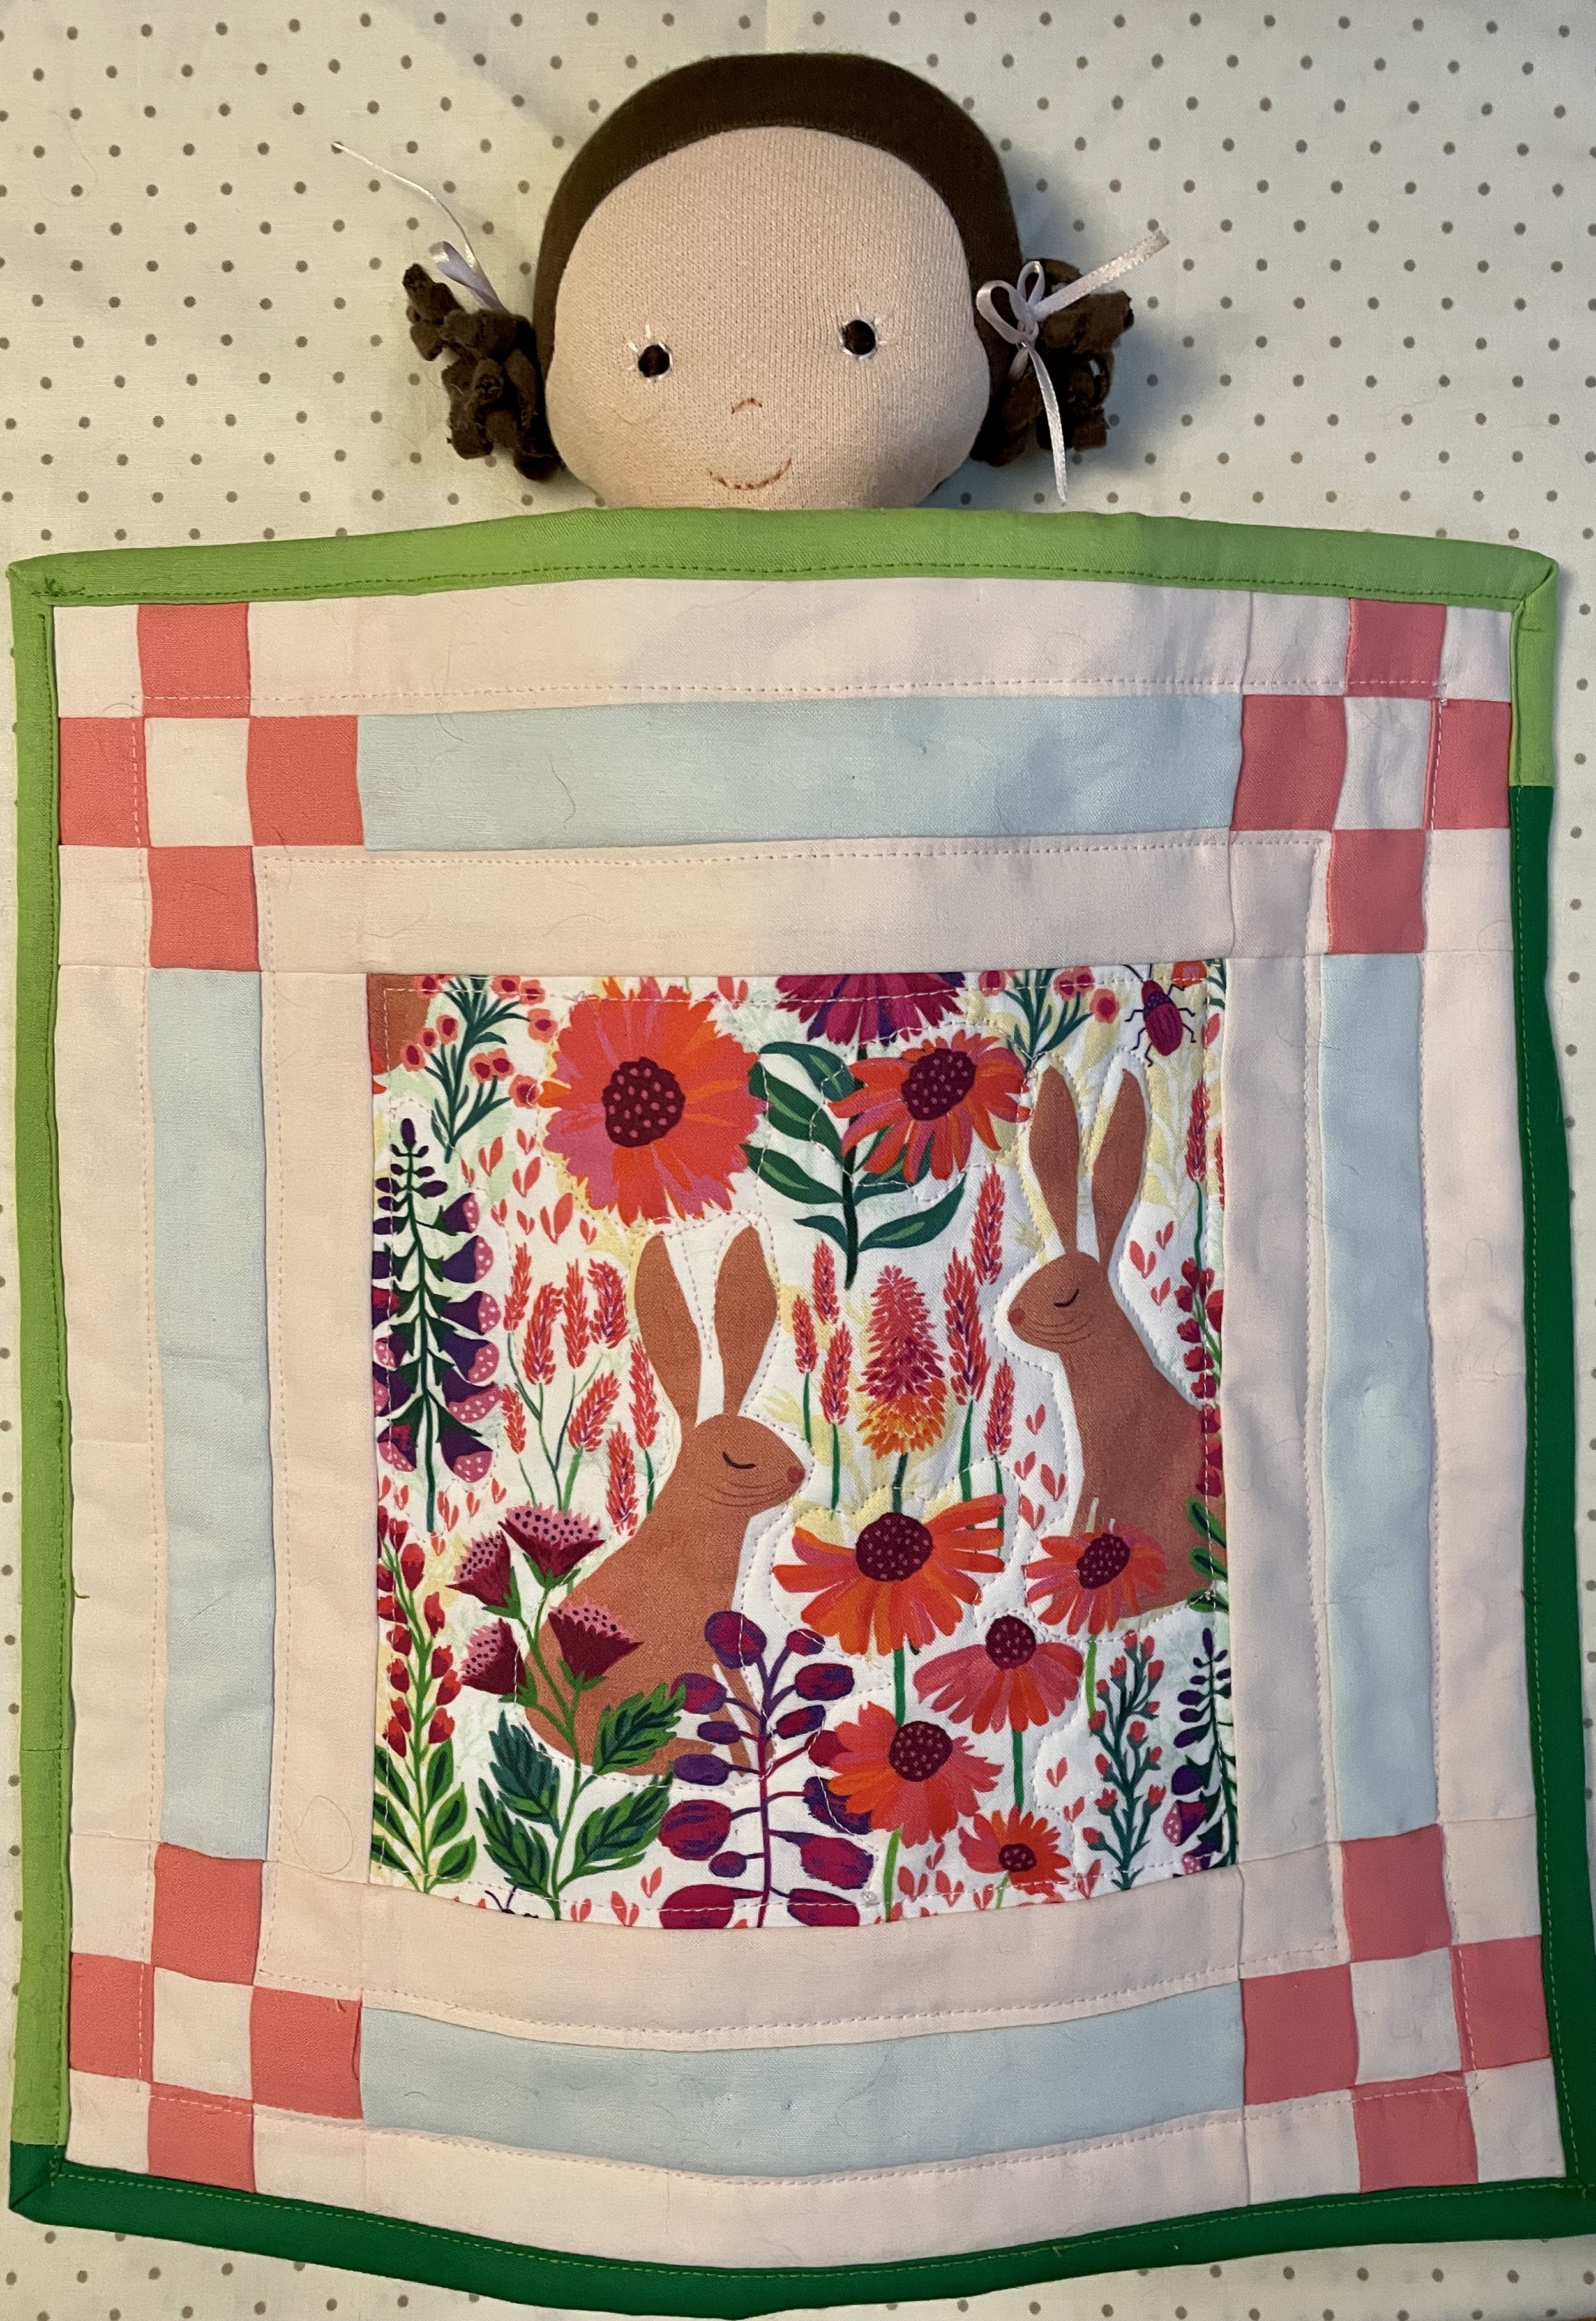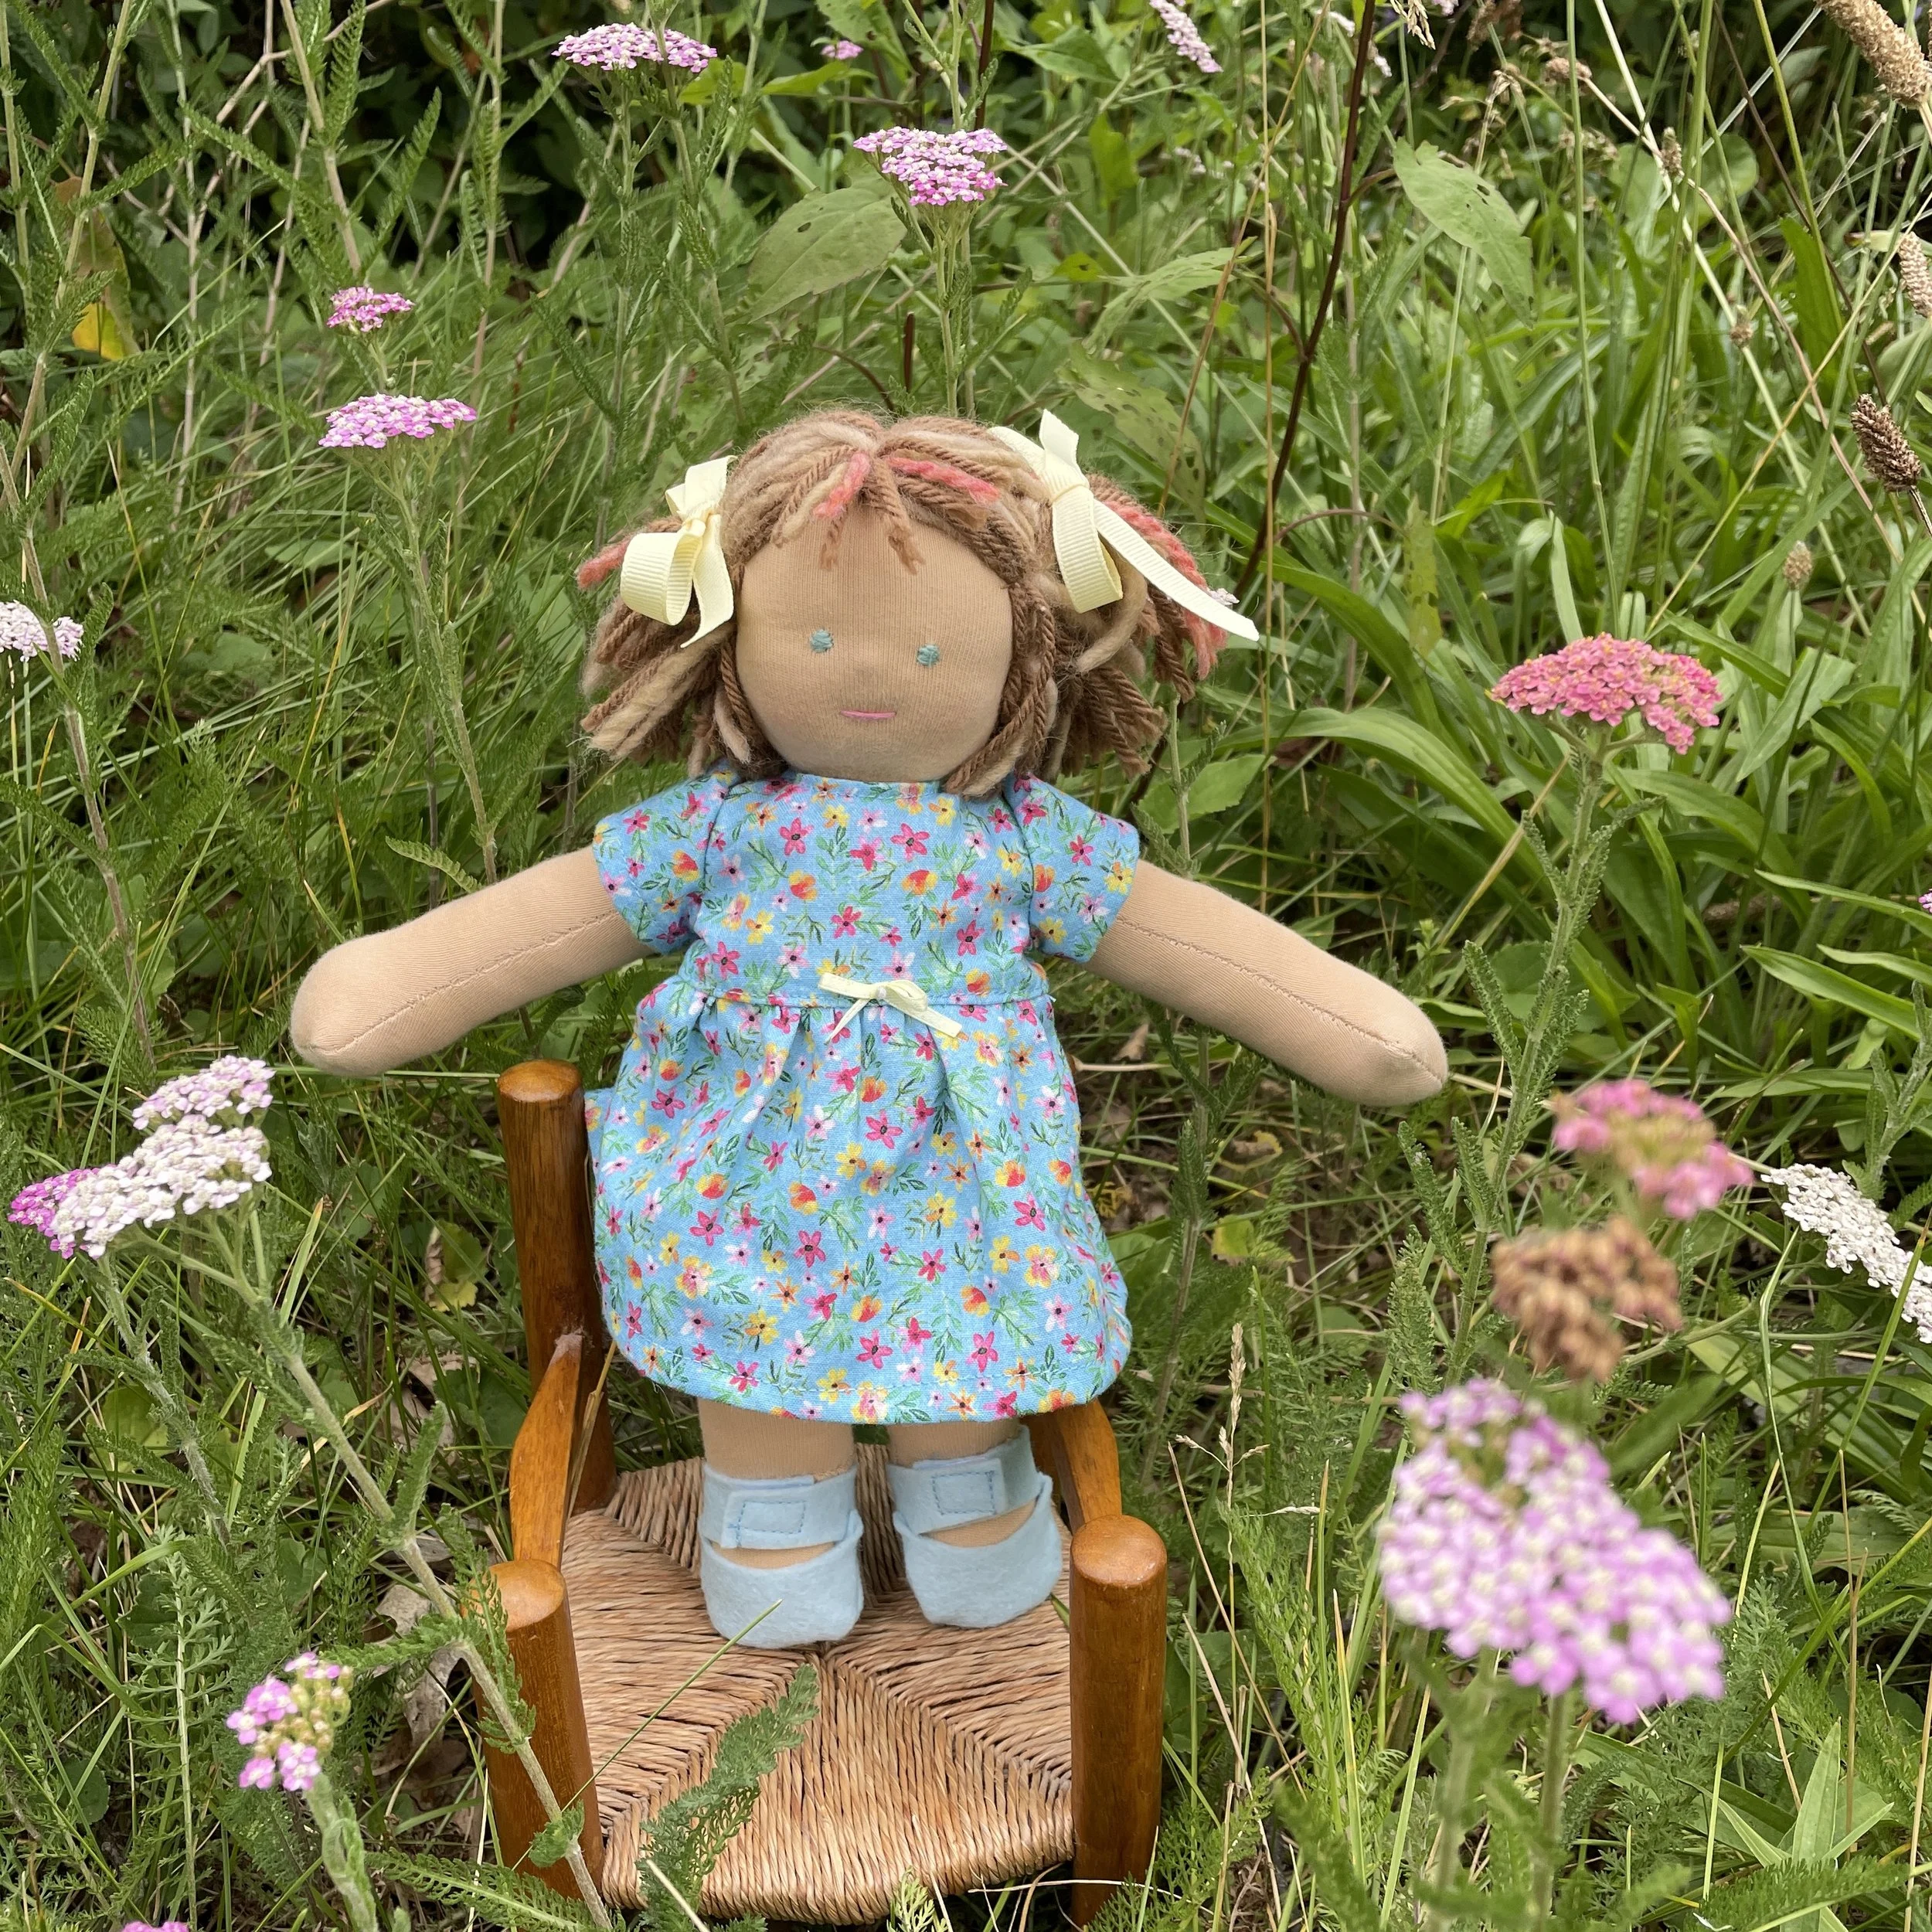
Traditional 11 inch Waldorf Doll
This little sweetie has been waiting in a bin for years to become a real doll. Must have been 6 or 7 years ago when I originally started making her. I think I’d actually almost finished the doll when I decided the head just wasn’t good enough. She had a lot of wrinkles around her neck. I knew they shouldn’t be there but wasn’t a good enough doll maker to be certain how to fix the problem. So I picked out the stitches and made a new head. But this face was sweet, so I put her in the doll-making bin for another time.
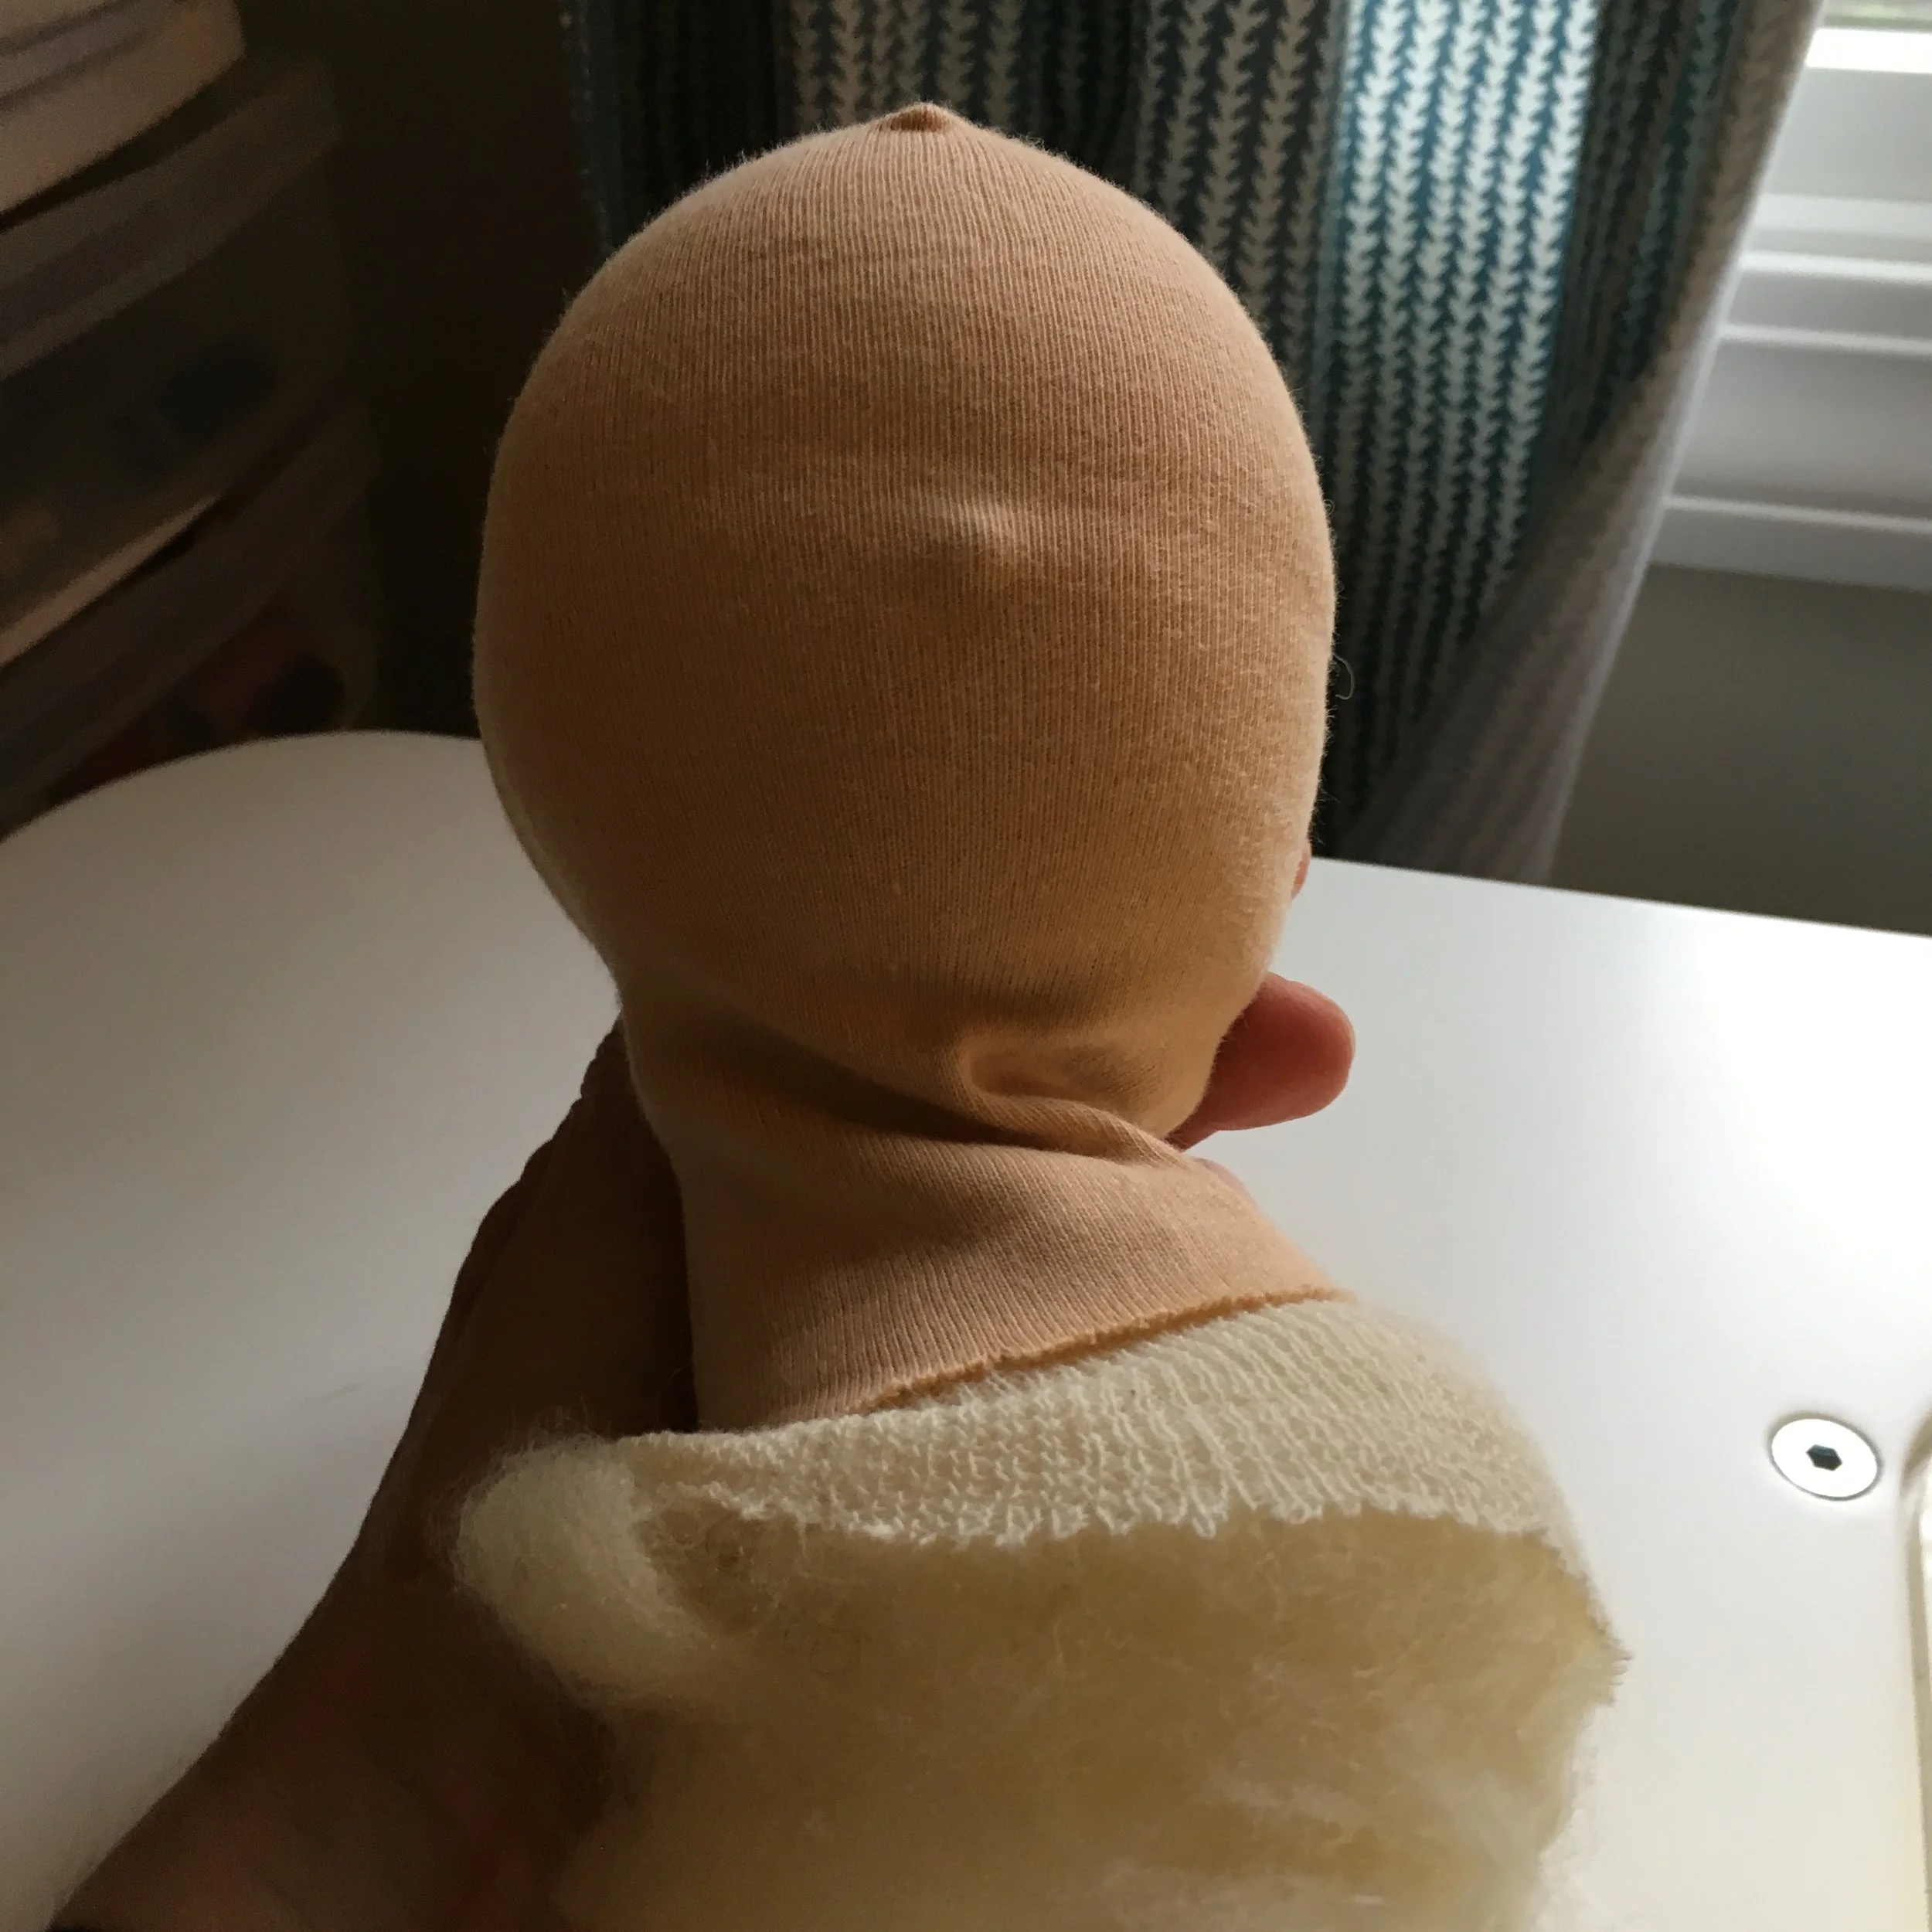
I do know how to make nice tight wrinkle-free necks now. The key is in the pouch of wool tied off just under the head. That pouch needs to be tightly enclosed with the skin fabric from the head and so that the pouch is literally pushed up toward the head. Then the neck string can be tied around the doll’s neck—which will be wrinkle free!
I didn’t take any photos while I was working on this doll, but here are a couple of mine from way back. In the first you can see the wool stuffing, the stockinette covering the wool head and the doll skin which will enclosed everything. In the other photo you can see the closed pouch—-not a great example because it wasn’t stuffed tight enough and there are wrinkles below the neck string. Those wrinkles will be hidden the doll’s torso but a well-made head will have NO wrinkles.
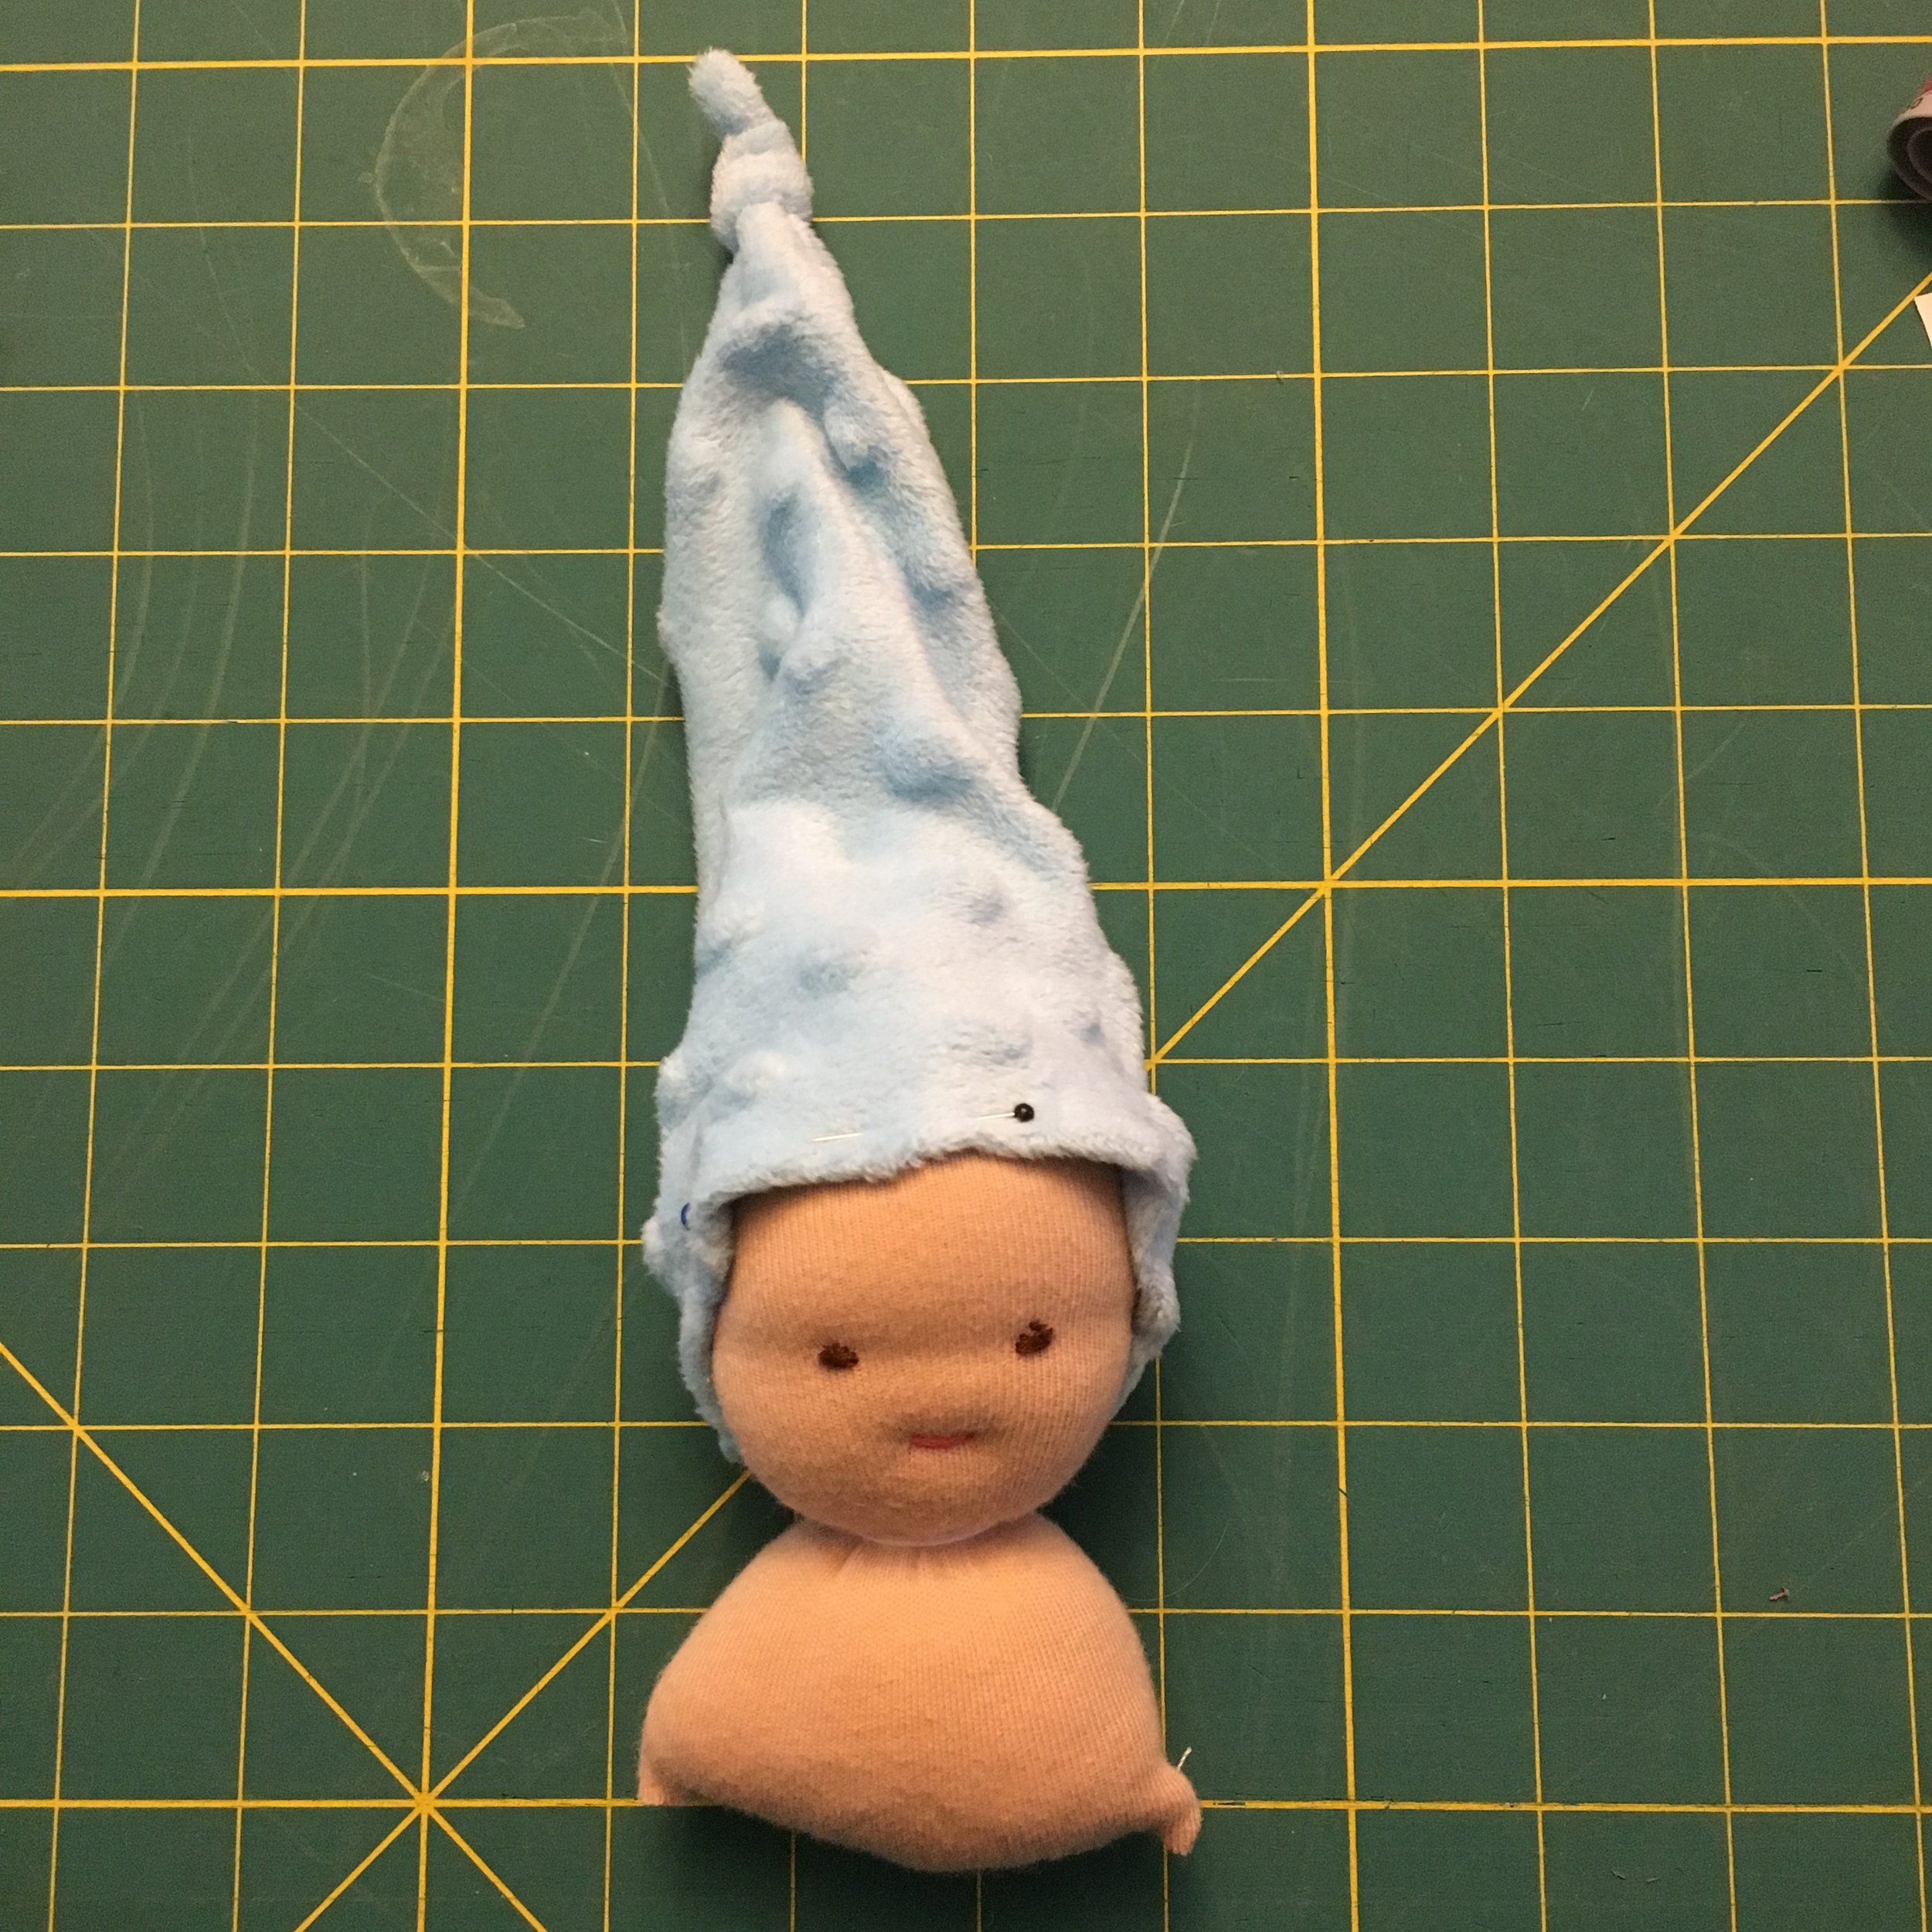
So I picked out the stitches on the pouch, stuffed it a bit more resewed it and then retied the head. Perfection on this go-round.
I needed to make her a new body and decided to go with the traditional Waldorf one-piece trunk and legs. I’ve designed my own Waldorf doll patterns but the traditional pattern in Maricristin Sealey’s Making Waldorf Dolls is my favorite doll body at the moment. Only one problem…I needed to match this older skin fabric on the doll’s head with something in my collection of doll skins. That turned out to be very difficult.
I thought I’d found a good match and sewed up the arms and torso. But in different light on a subsequent day, they didn’t match very well.
So, I set that body to one side and tried again. This time I found a small amount of doll skin that was a perfect match. In short order, the doll had a new matching body and a dress. I debated making shoes…they are almost always taken off and just tend to get lost.
I had the perfect 3 year old friend to welcome her home! And, true to form, the first thing she did was remove the doll’s shoes and toss them on the floor! But her Mom is great. They will be tucked away in a safe place for the day the doll HAS to have shoes!

Not a neck wrinkle in sight! (Or out of sight either)!!
Next week I’ll share the doll who got the body that didn’t match today’s doll!