Winter Gnome Peg Dolls
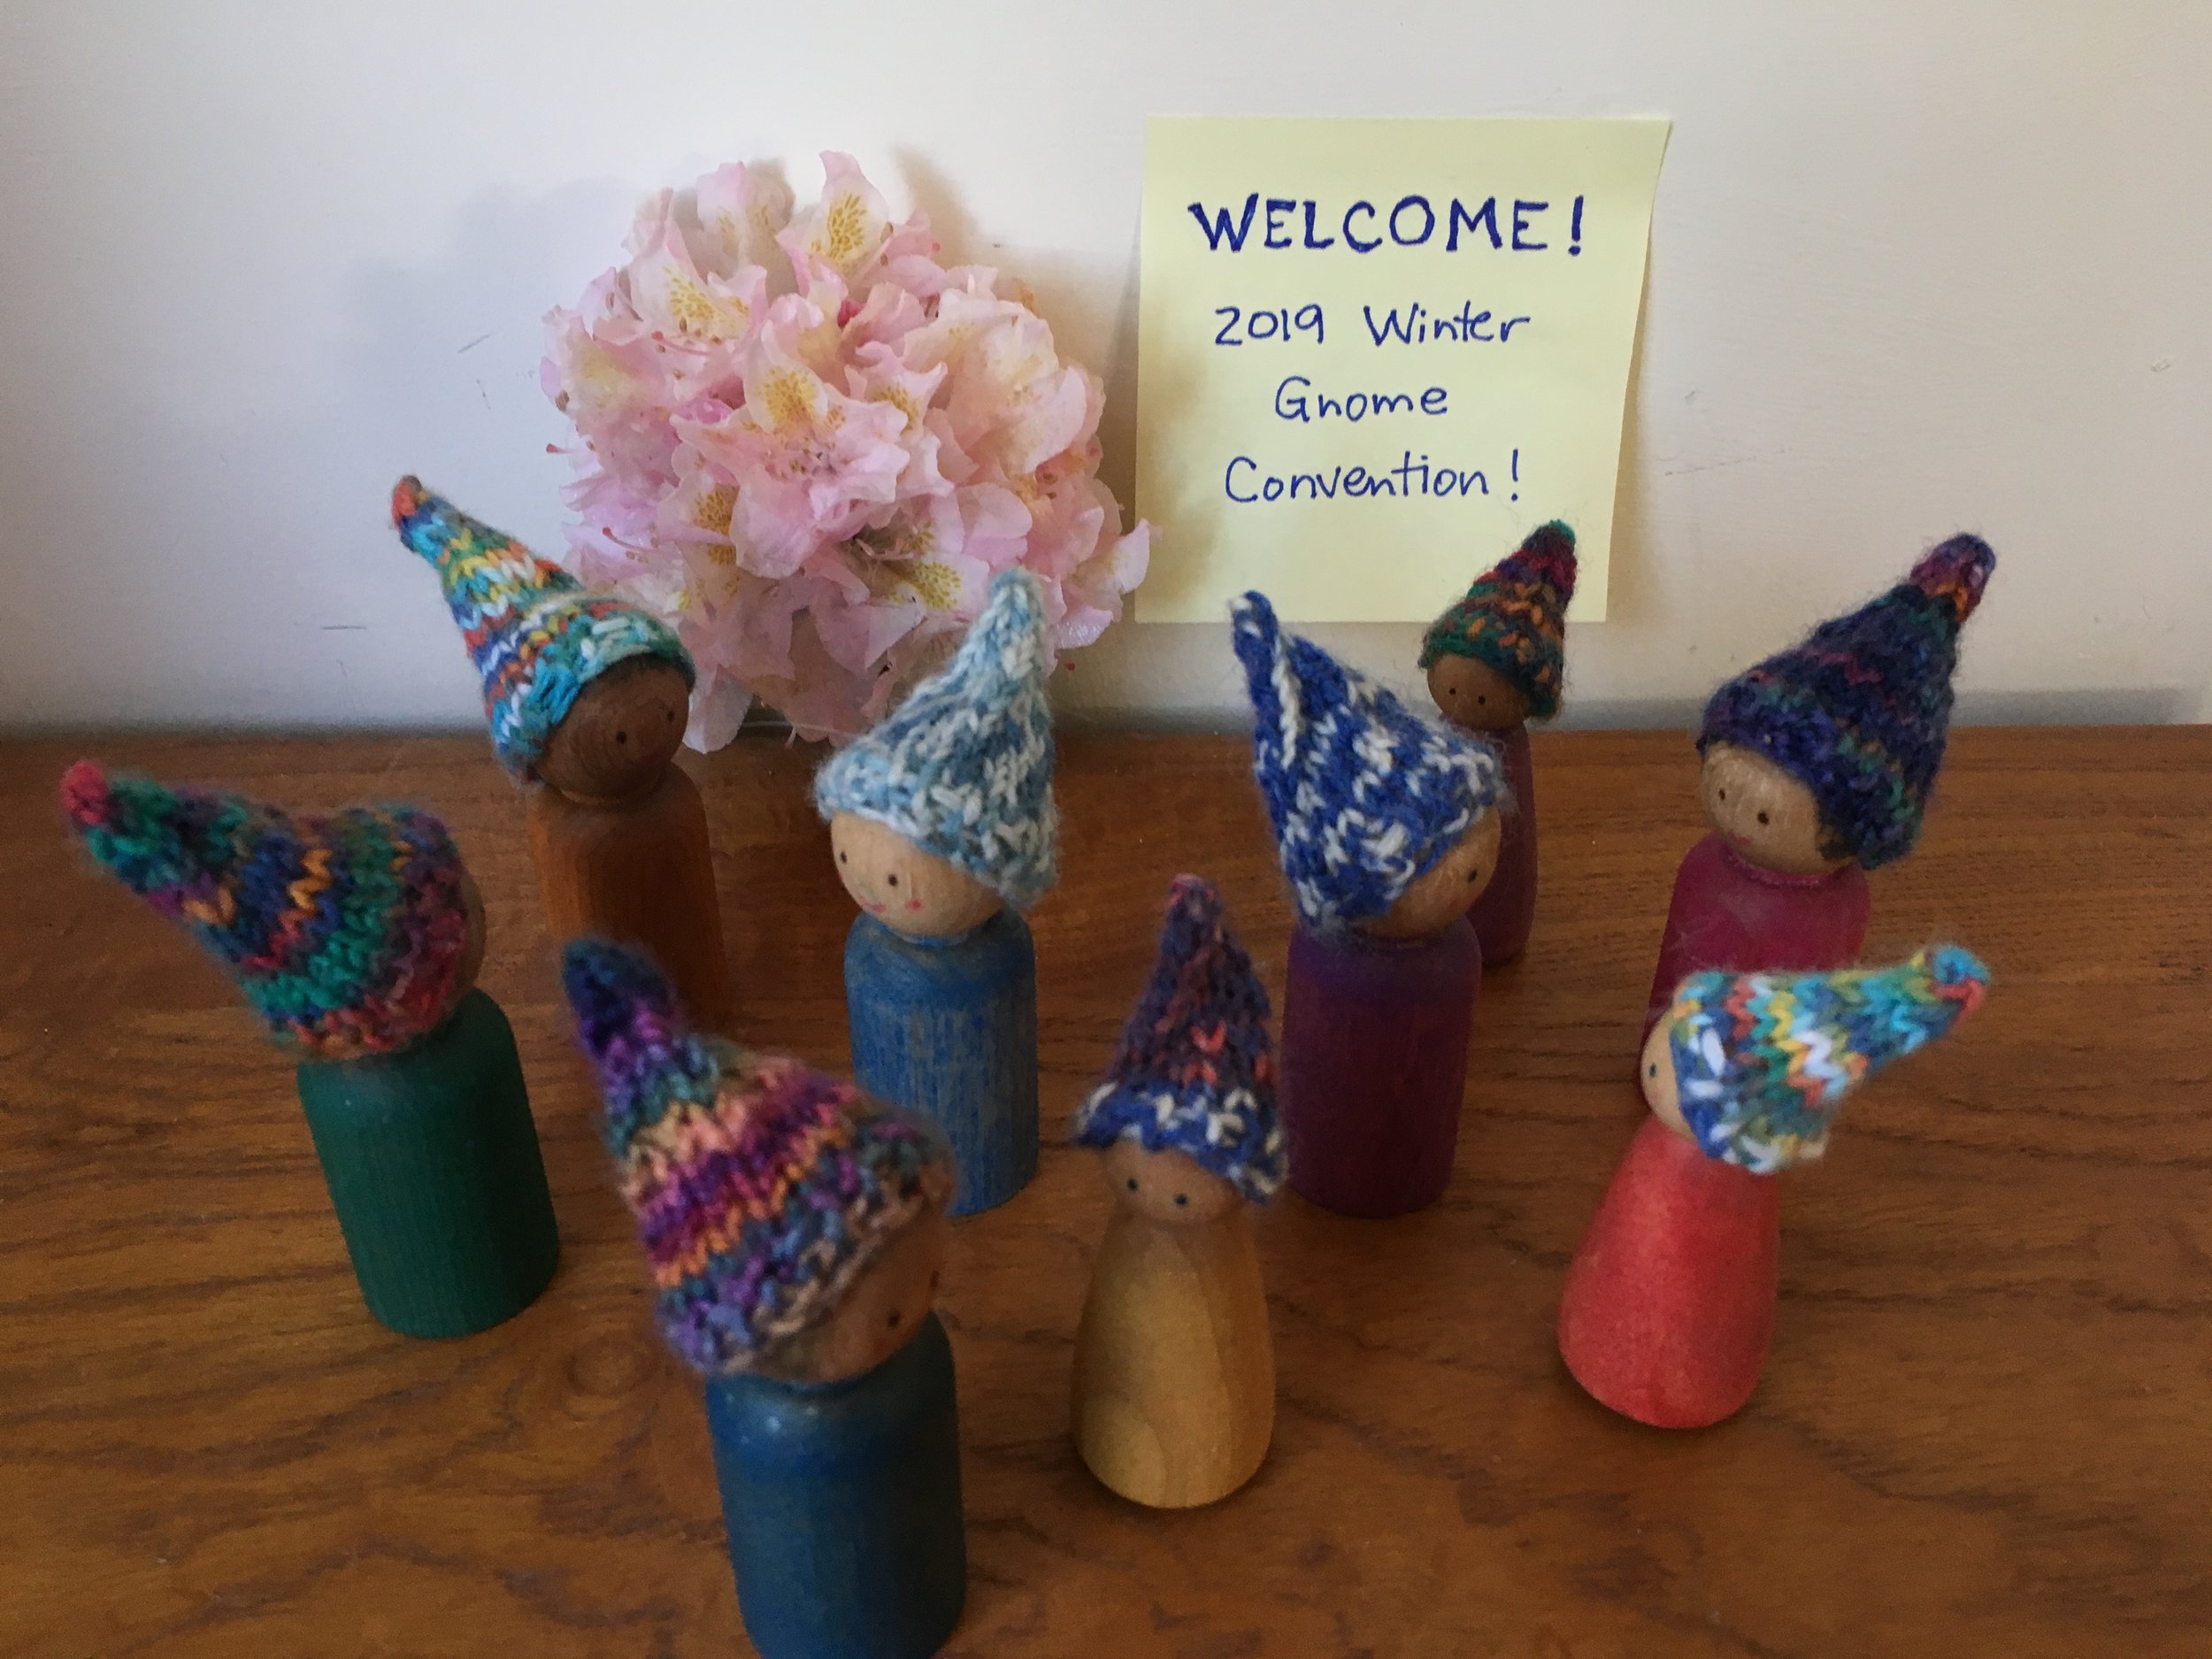
May is a quiet season for the Winter Gnomes, so this is the time they get together for their annual convention! They are having a great time relaxing and catching up all with all their friends!
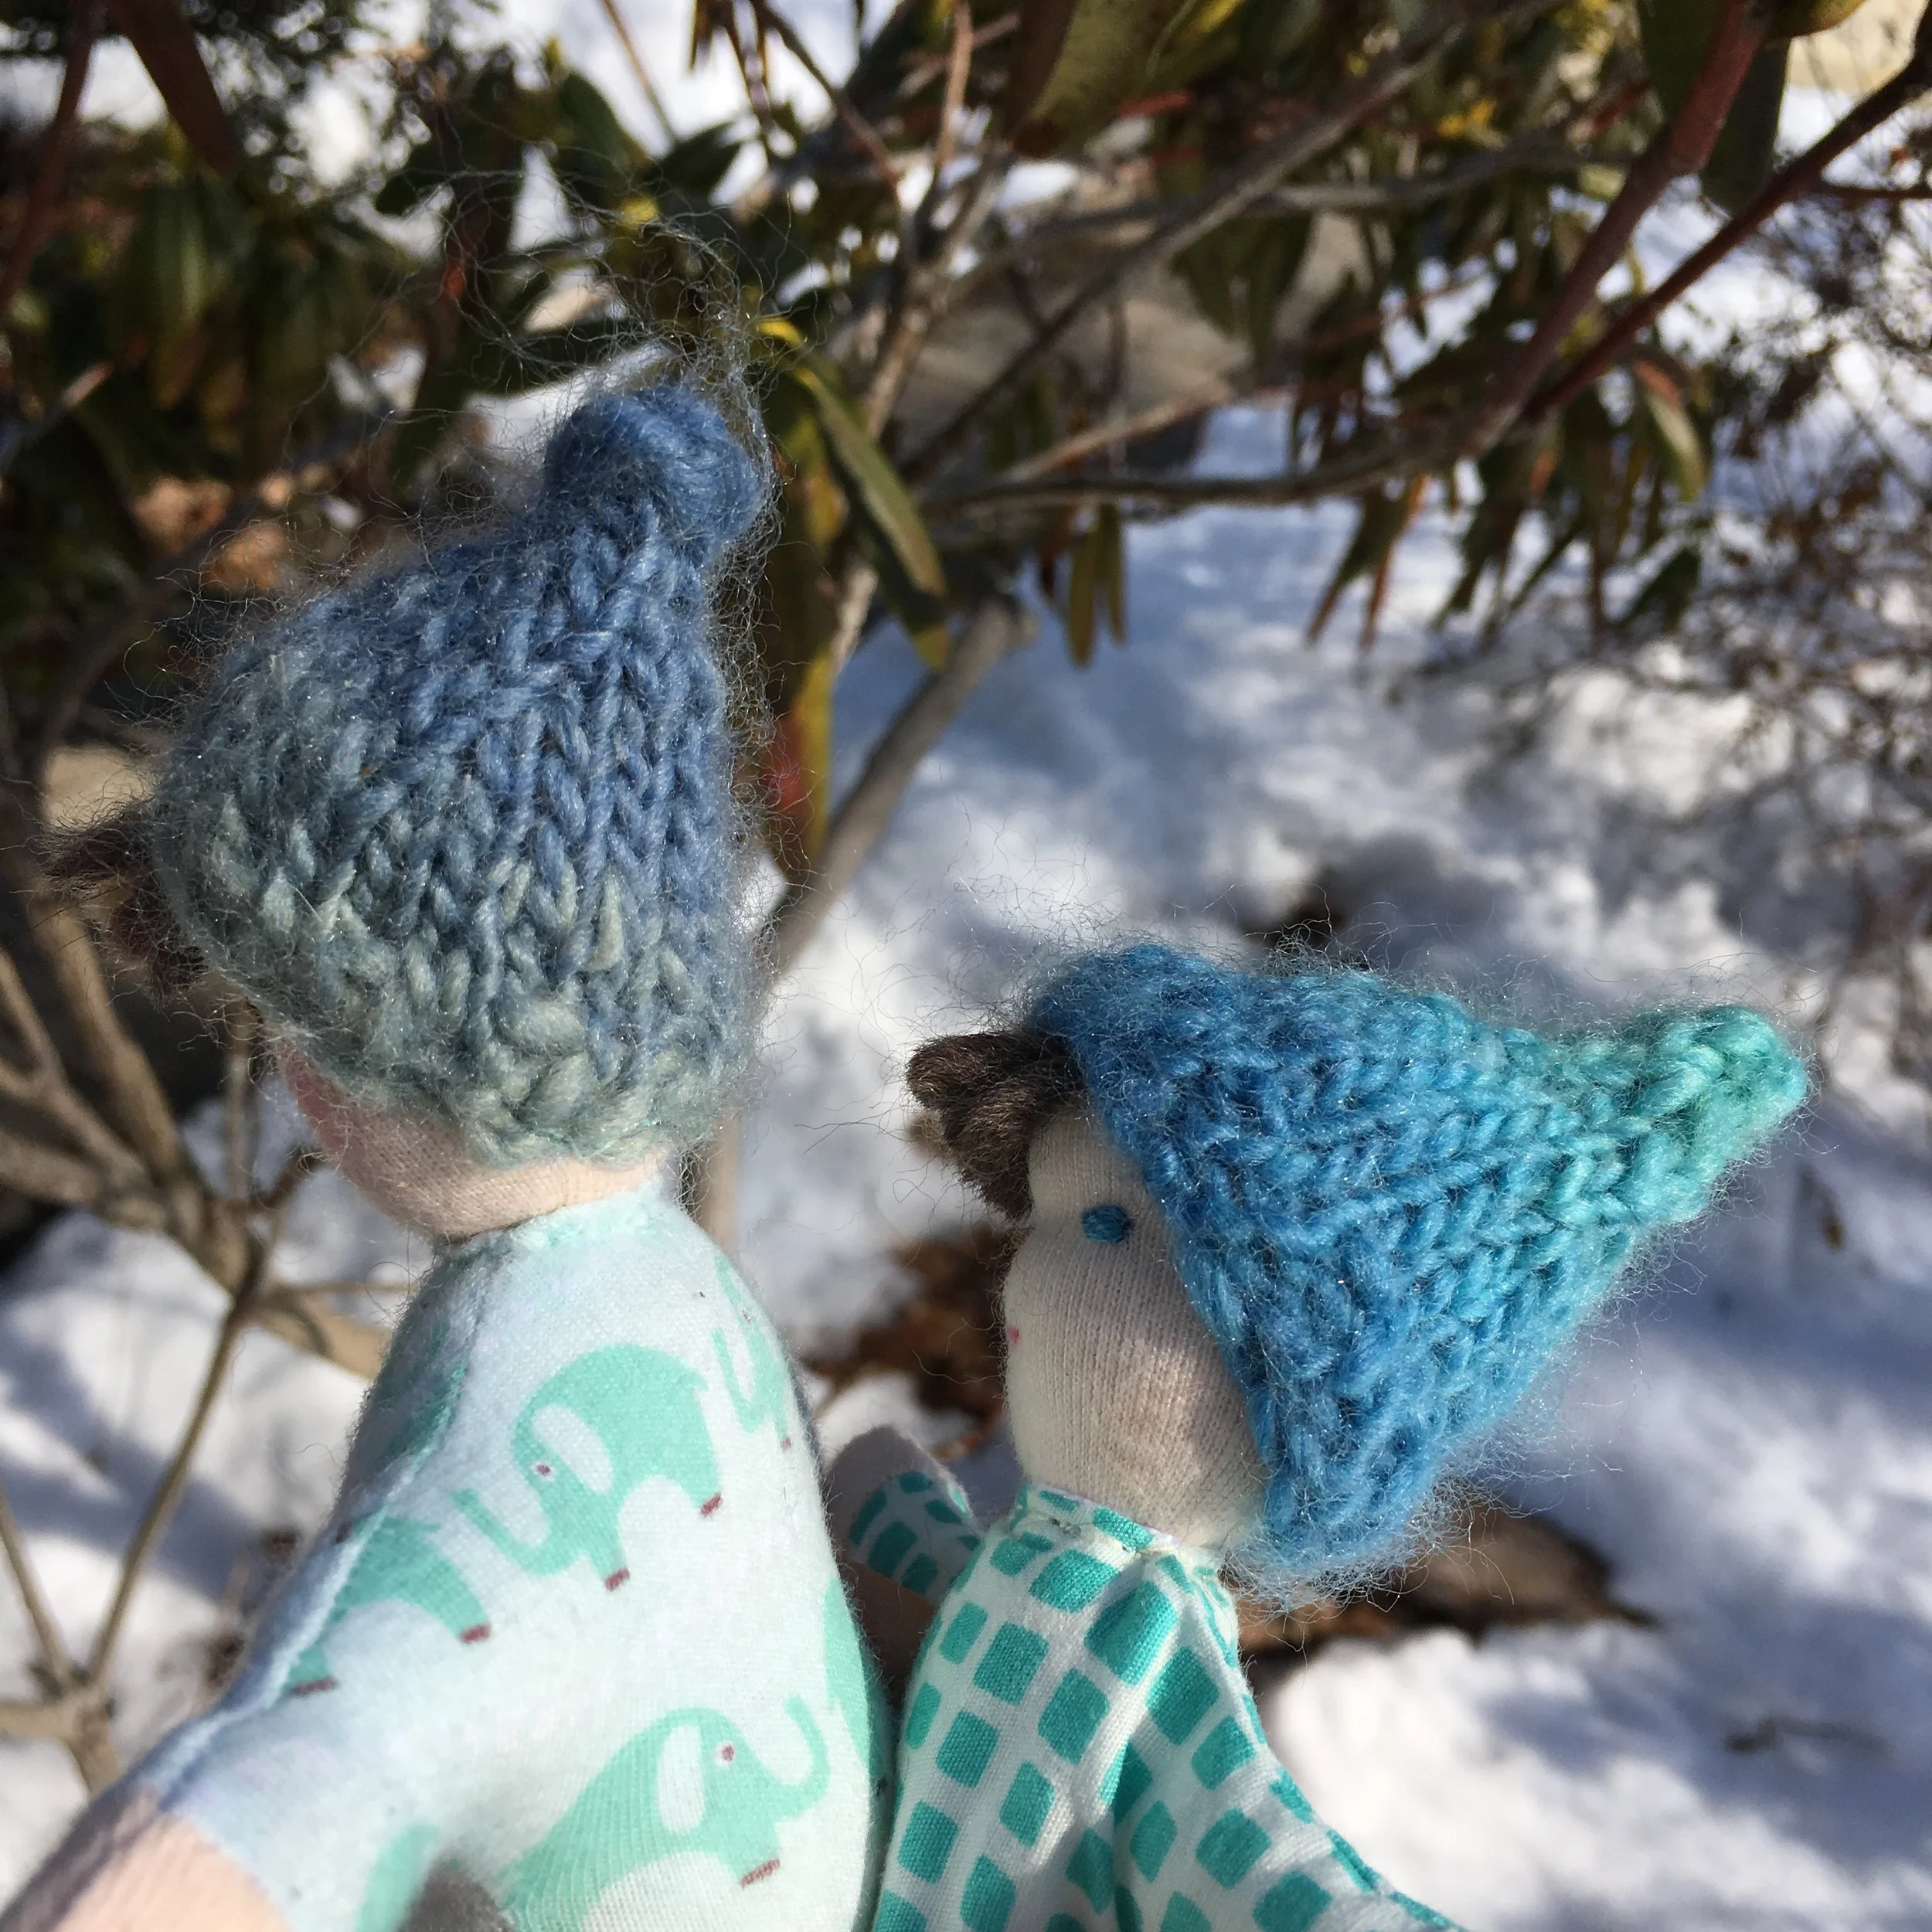
They wanted me to share a pattern for a knit hat for the standard size peg doll, 2 3/8 inches (6cm). It doesn’t take very long to knit up one of these little gnome hats.
Supplies: #1 US double pointed knitting needles, fingerling sock yarn, darning needle
Gnome Hat (short cone shape)
Cast on 18 stitches, divide among 4 needles to work in a round.
Row 1 and 2—Knit 1 Perl 1 (K1P1) around the 4 needles x 2 rows
Rows 3—8 Knit around
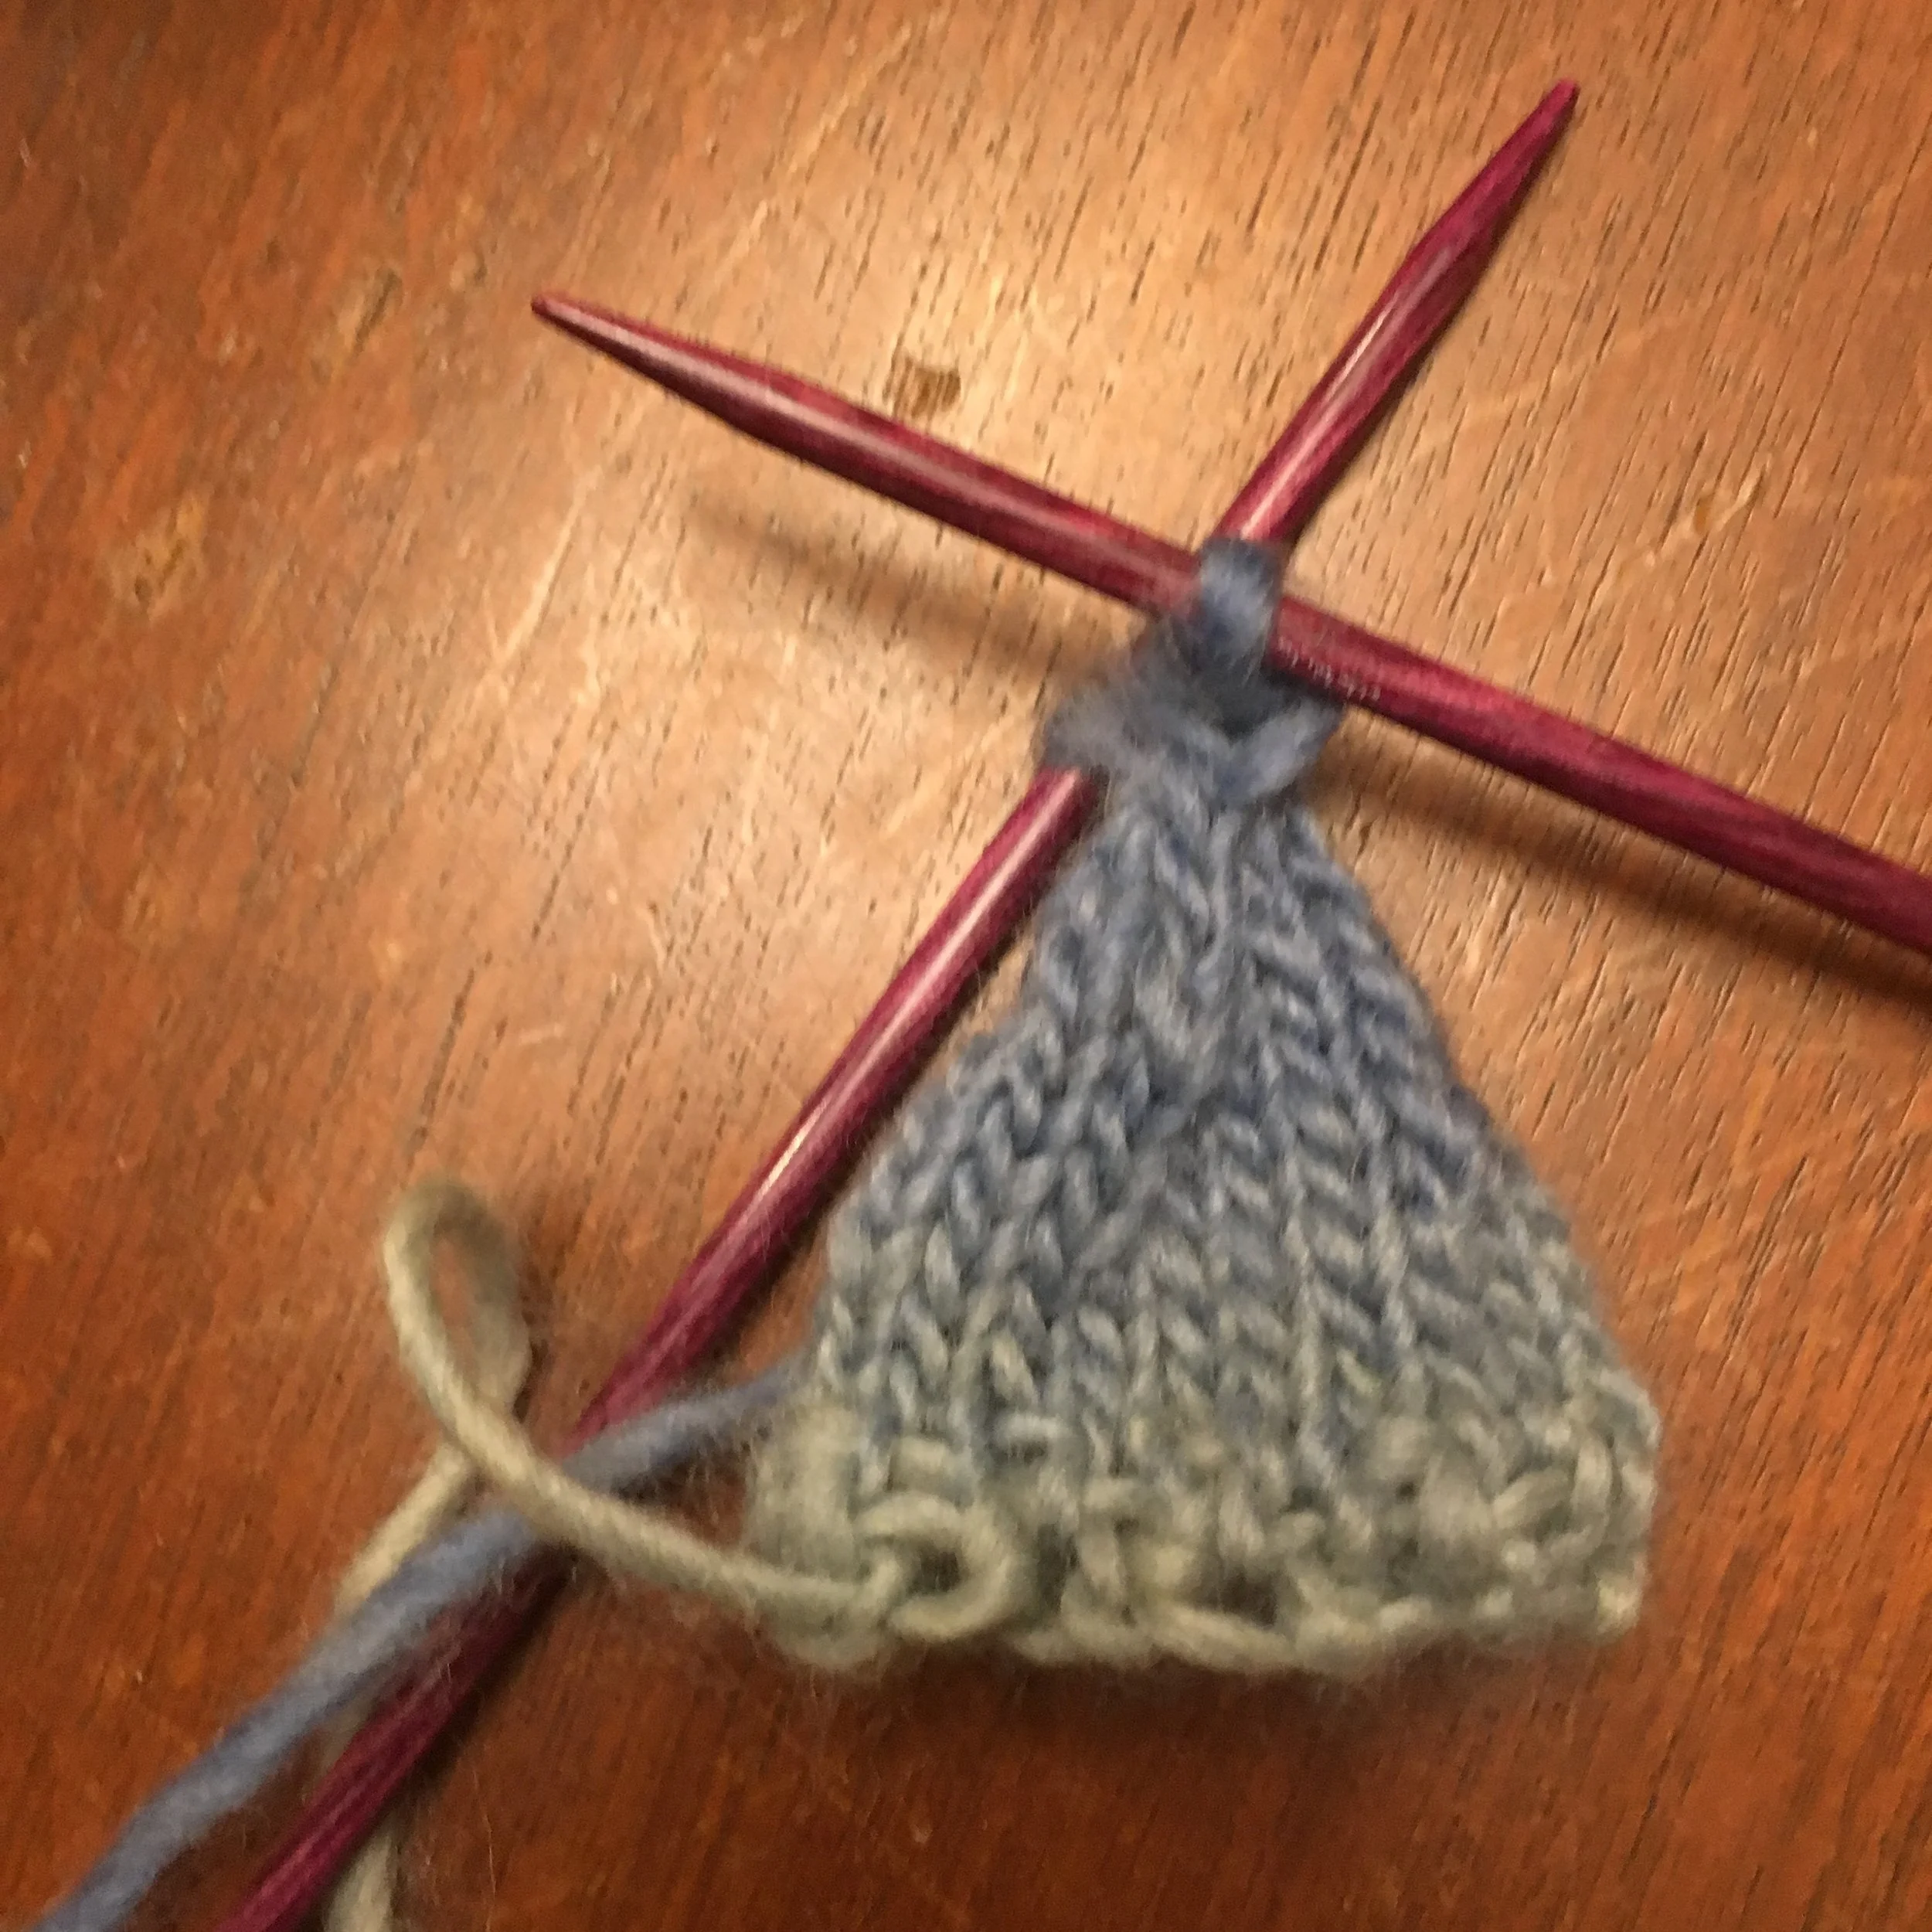
Row 9—Knit to the last 2 stitches on the first needle, knit the last 2 stitches on the needle together (K2T), repeat on each of the 4 needles. There will be 14 stitches at the end of this round.
Row 10—Knit around.
Repeat instructions for Row 9 and Row 10 until only 2 stitches remain. Cut the yarn about 5 inches away from the last 2 stitches.
Using the darning needle, thread the yarn tail and weave it through the last 2 stitches and pull tight to close. Tuck the tail into the inside of hat and weave the tail into the knit.
Weave in the tail from the start of the hat into the stitches on the inside of the hat.
Because they are so little, and hence easy to loose, I glue the hats on the peg dolls with a craft tacky glue.
If you want to make the same hat for an angel peg/girl peg doll:
Cast on 12 stitches and divide among just 3 needles.
Follow the same directions for the standard hat.

Winter Peg Dolls standing next to one of the arches from Grimm’s Sunset Rainbow puzzle set. (Link is to the German manufacturer but many shops that sell Waldorf toys also sell Grimm toys so you probably can find a shop in your country).
NOTE: I created the pattern for this tiny gnome hat. Feel free to use this peg doll gnome hat pattern to make hat for your own peg dolls . You may also make hats to sell individually or on peg gnome dolls that you make from your own small online shop (ie. Etsy.com or your own website) or at craft fairs. You may also share this pattern with other knitters. Please do not copy and sell this pattern as your own or sell these hats commercially. Thanks!
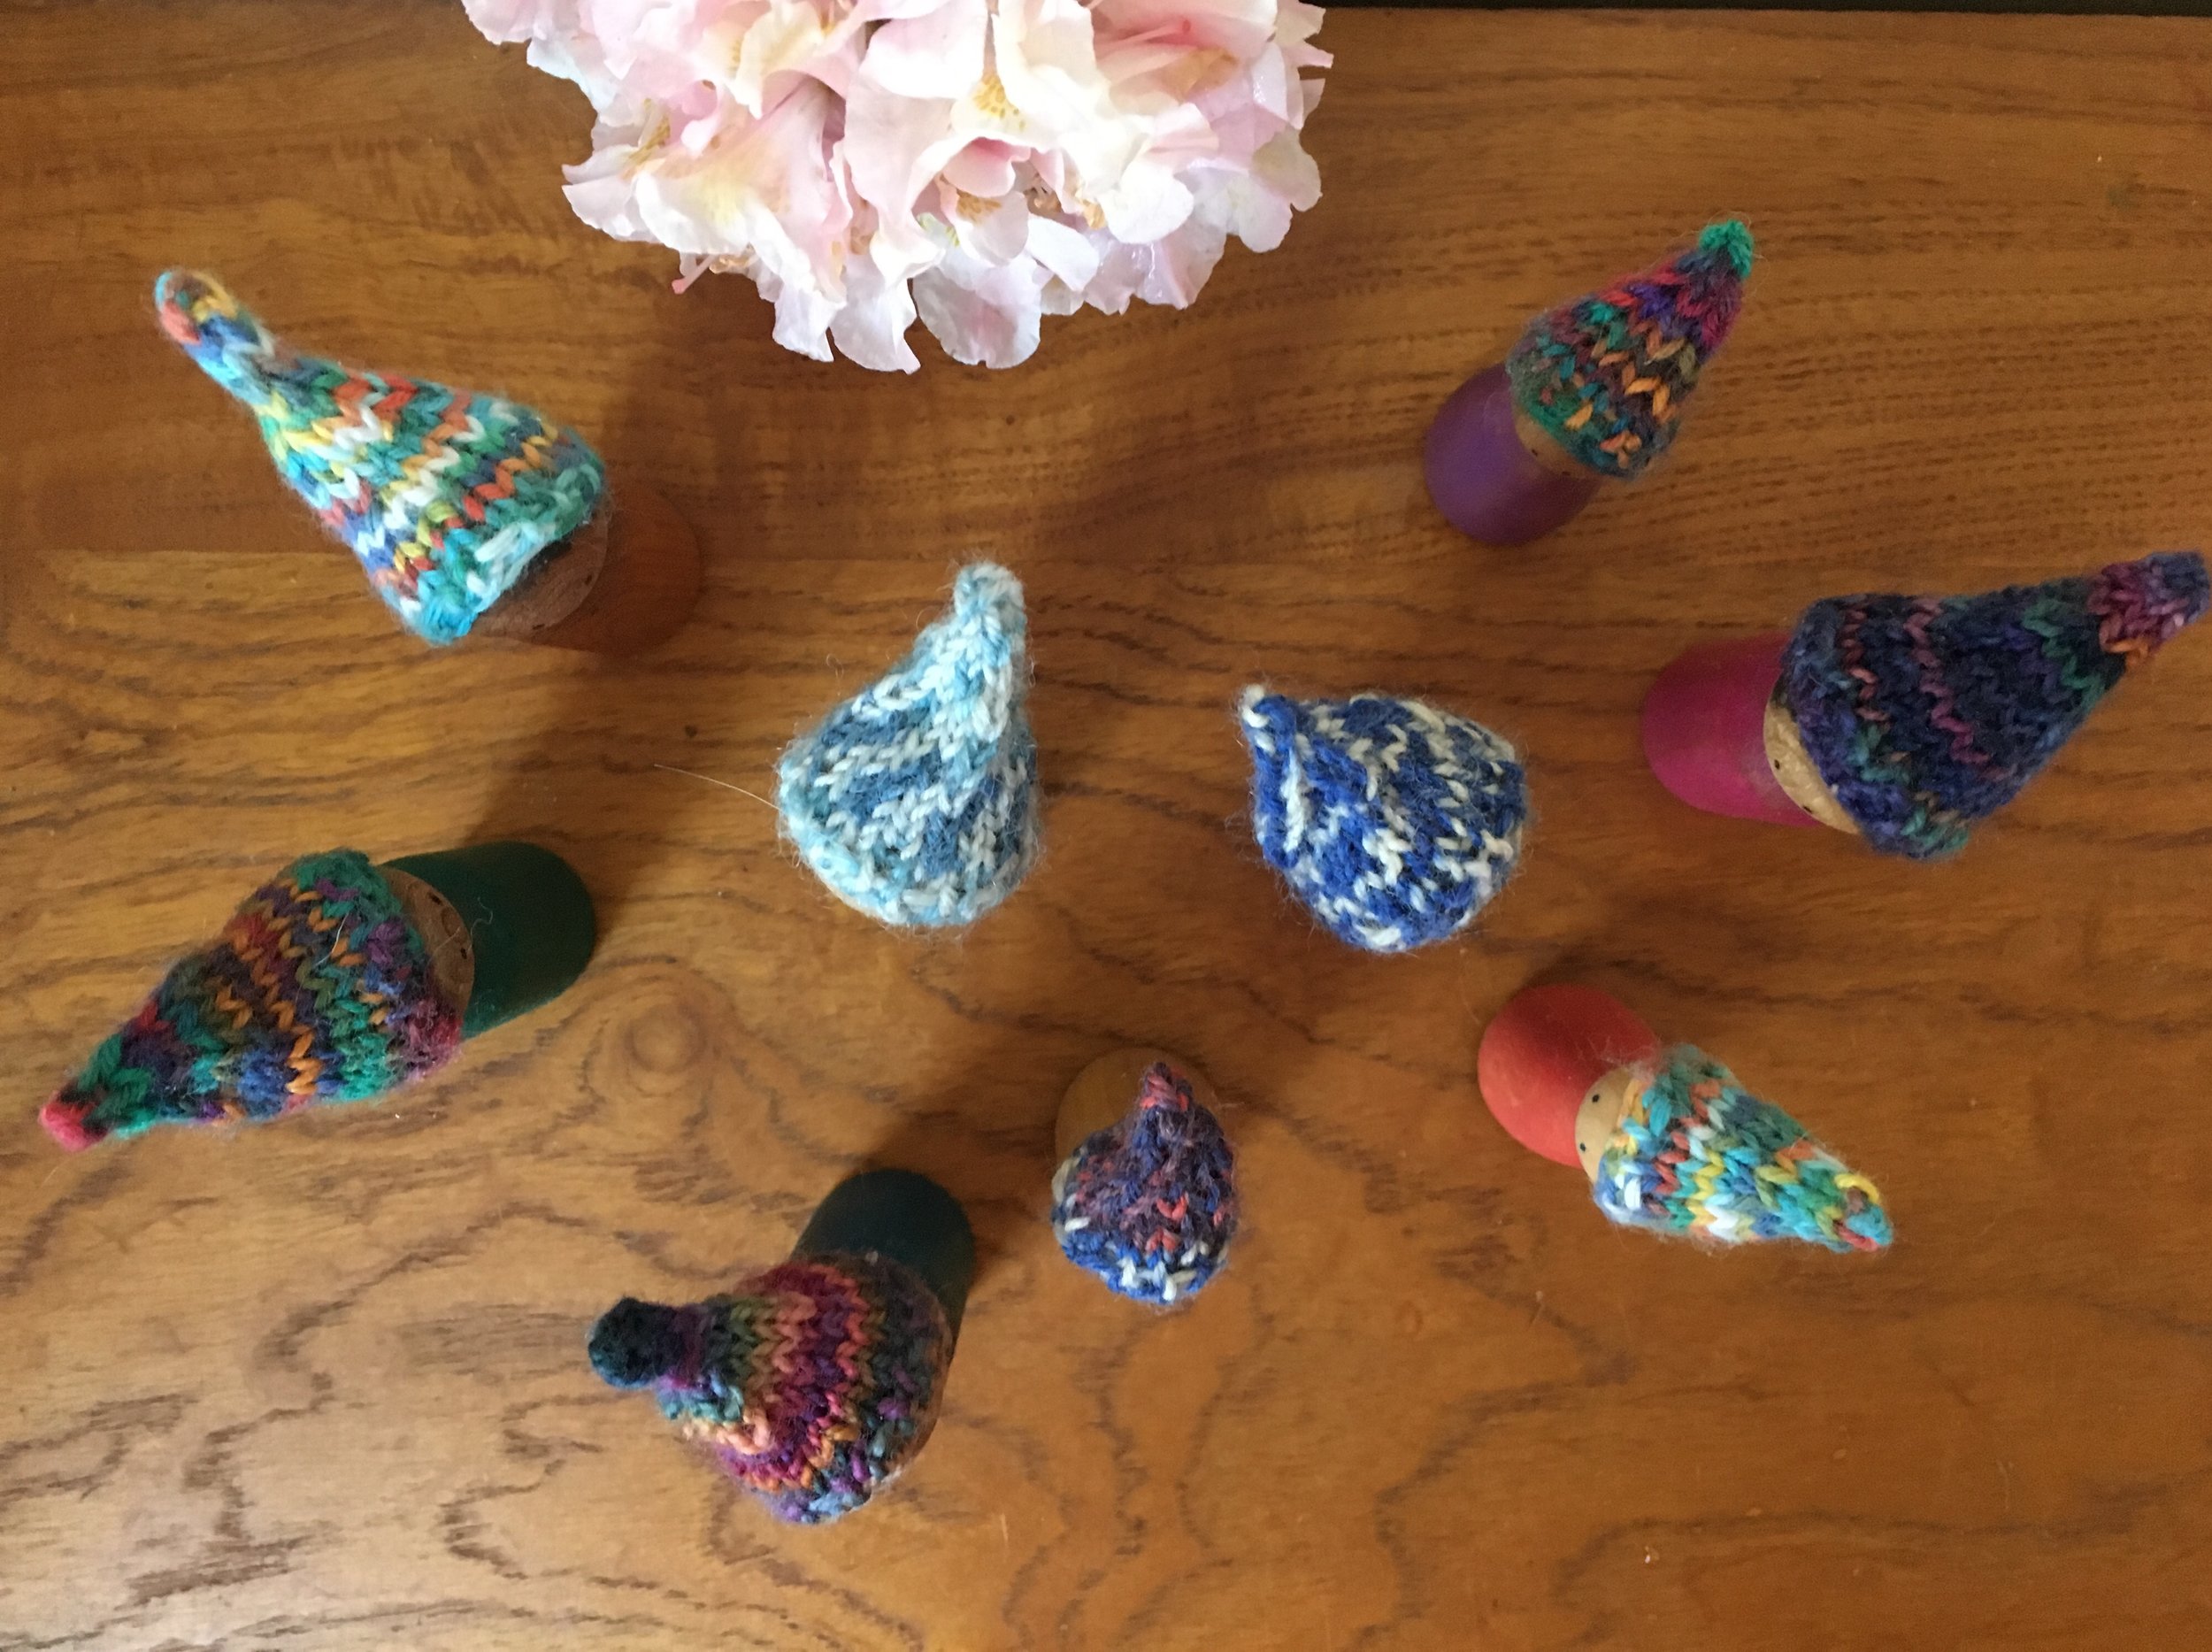
Drone view of the 2019 Winter Gnome Convention!
Notice: This blog is not monetized: I do not use affiliate links. When there are links in a post, they are to give credit to another creative person, because I like or have used a product, or to help the reader easily find supplies for a project.