
I've been watching the Craftsy quilting course, Inspired Modern Quilts taught by Elizabeth Hartman. It's great class and Elizabeth is an excellent teacher.
In the second class she shows several options for making a design wall and how to make your own pressing board.
I use the fuzzy flannel back of a plastic picnic tablecloth for a design wall so I was all set in that department. But I didn't have a pressing board so I decided to follow her directions and make one.
Elizabeth's video tutorial in the Craftsy class is excellent. She also has a tutorial on her blog using a TV tray rather than the piece of plywood board used in the video. Here is the link to the tutorial on her blog, "Oh, Fransson!" : TV Tray Pressing Board Tutorial. If you want to make your own board, I recommend that you either take the on-line Craftsy class or use the tutorial in her blog.
This project only took me about 15 minutes. Well, actually it took a bit longer because my staple gun was 2 staples short of a completed project! But I learned something when I went to refill the staple gun: 5/16 inch staples work beautifully tacking the canvas to the plywood board but 1/2 inch staples where just too long and didn't staple flush to the board.
I did add one extra step when I made my pressing board that wasn't in her Elizabeth's tutorial.
I put a piece of flannel backing to the back side of board to cover up the exposed plywood. I was concerned the unfinished plywood might scratch a surface when I put the board down to use it or if rested the board against something when not in use. The flannel prevents that potential problem.
Make your own pressing board! It's a quick project and a lot of fun to do.
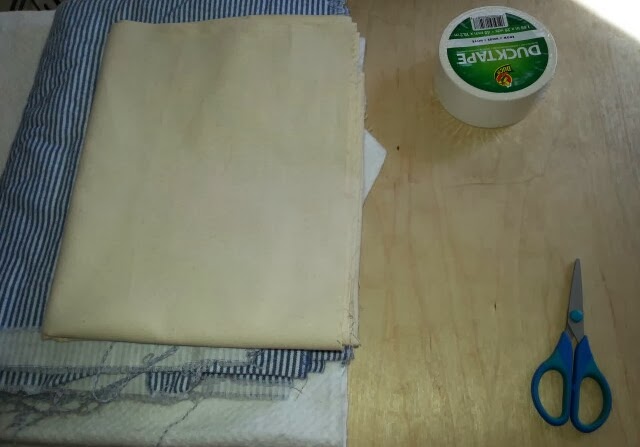 |
| Supplies: 1/2 inch plywood board, canvas, 100% cotton batting, duct tape and a staple gun (not shown) |
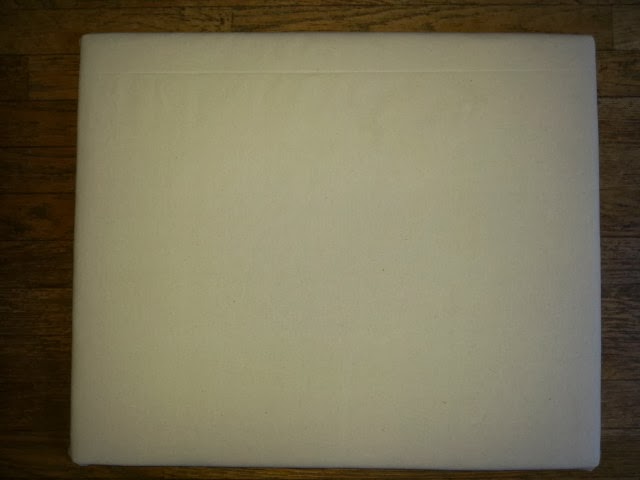 |
| Finished pressing board |
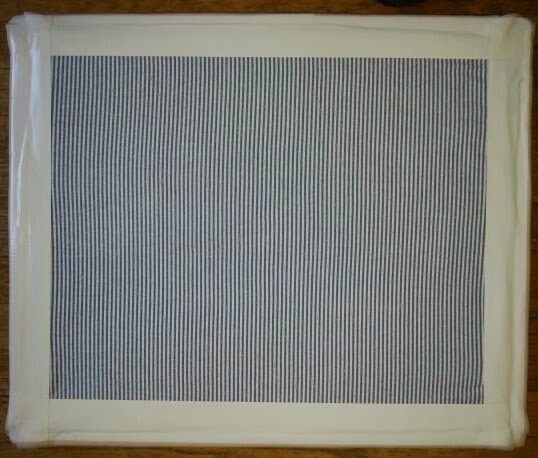 |
| Back of the pressing board with the flannel covering |
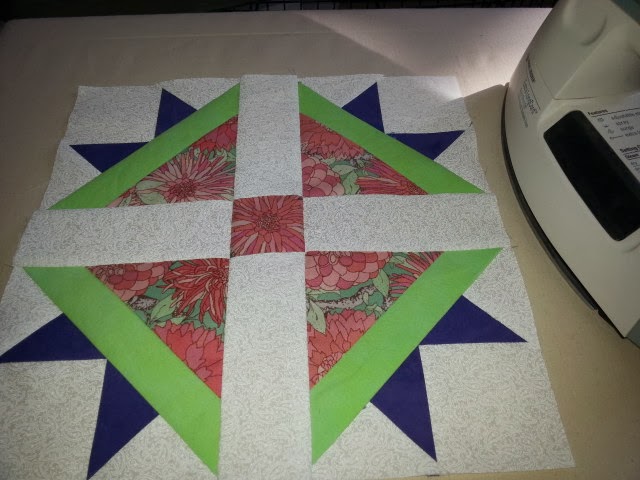 |
| The new pressing board in use! |