
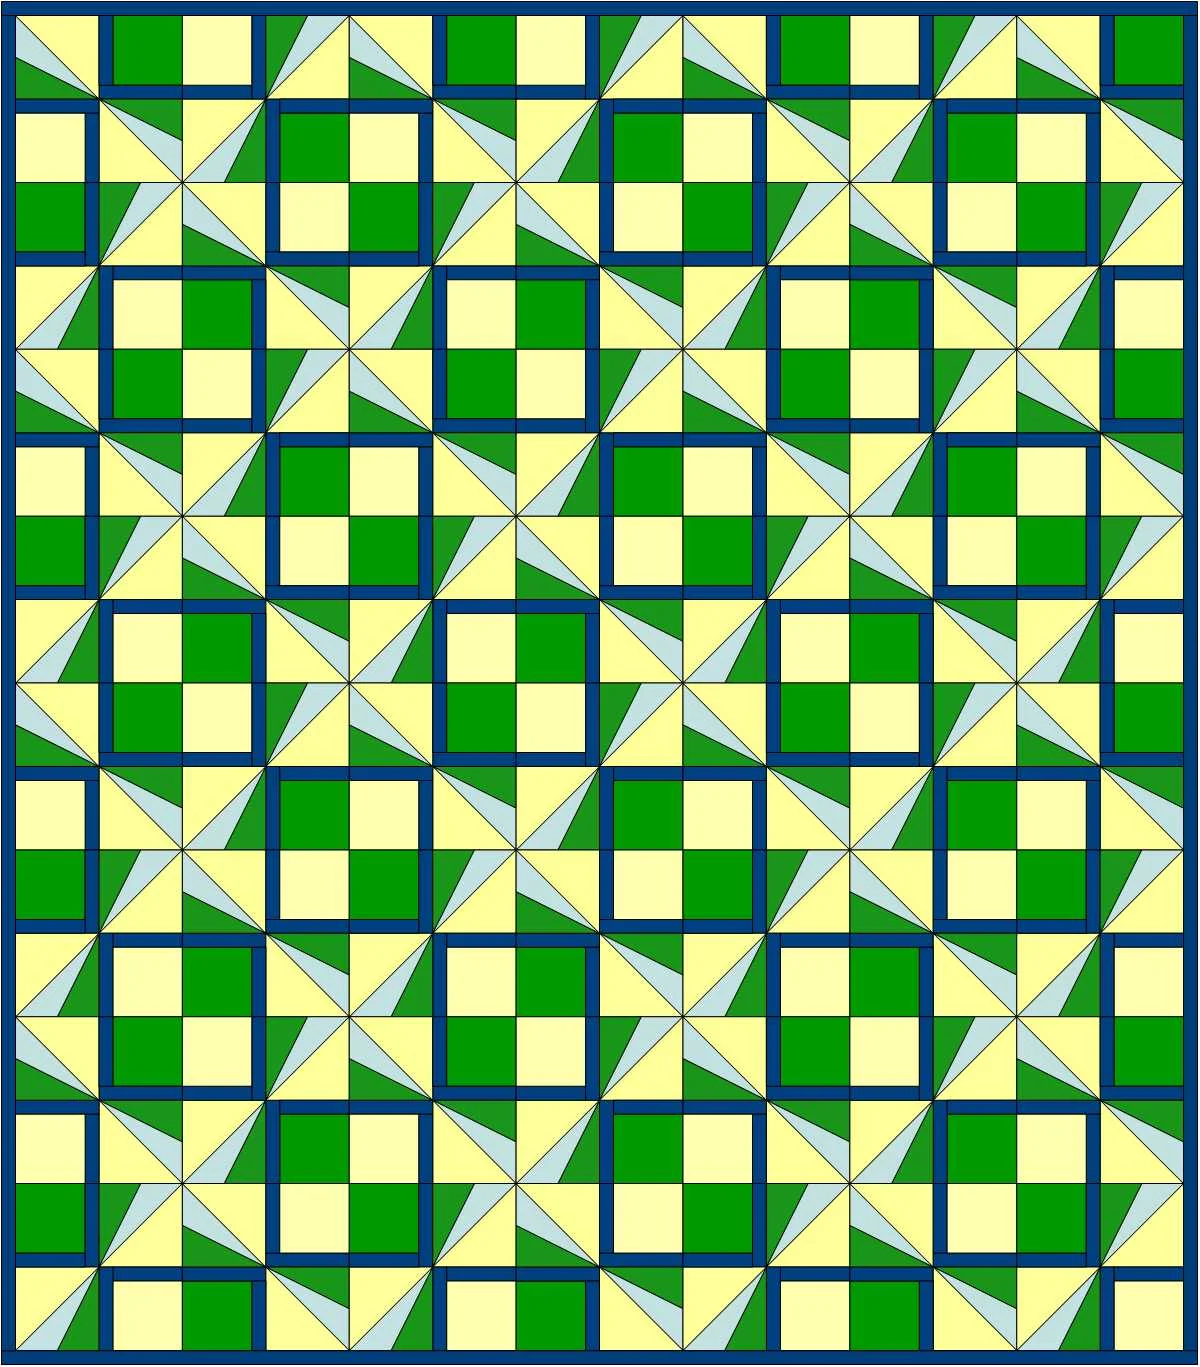
Pinwheel Plaid quilt design
In my last post I used the new upgrade of Electric Quilt (EQ8) to make a quilt layout plugging blocks from EQ's Block Library into a grid. That was lots of fun. But this week I decided to try creating an original design using EasyDraw Block in the program that would be assembled with foundation piecing, also known as paper piecing. In foundation piecing, the block design is printed on paper and the fabric is sewn onto the design on the paper. When the quilt is finished, the paper is torn away, just leaving the fabric quilt top.
It took me a couple tries to get a workable design since I don't usually do foundation piecing. My first design would have been a piecing nightmare--even with foundation piecing. The good thing was that was crystal clear when EQ8 set up the design to be printed on the foundation paper. Even though that design wasn't going to work, I was glad to know that early on in the progress and was able to redirect myself to a revised design that was usable.
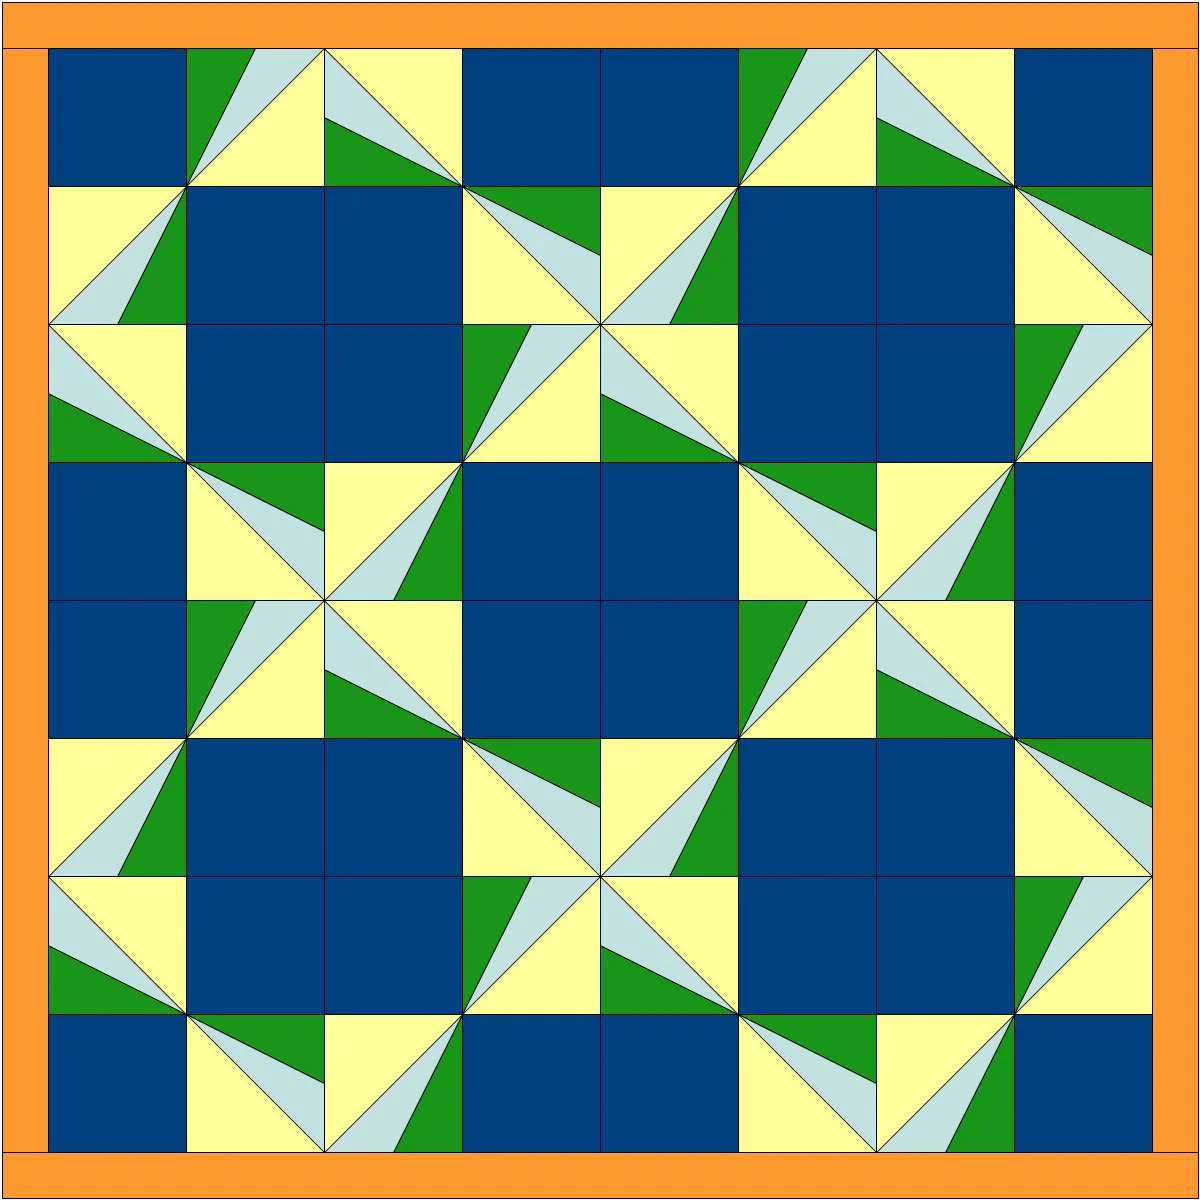
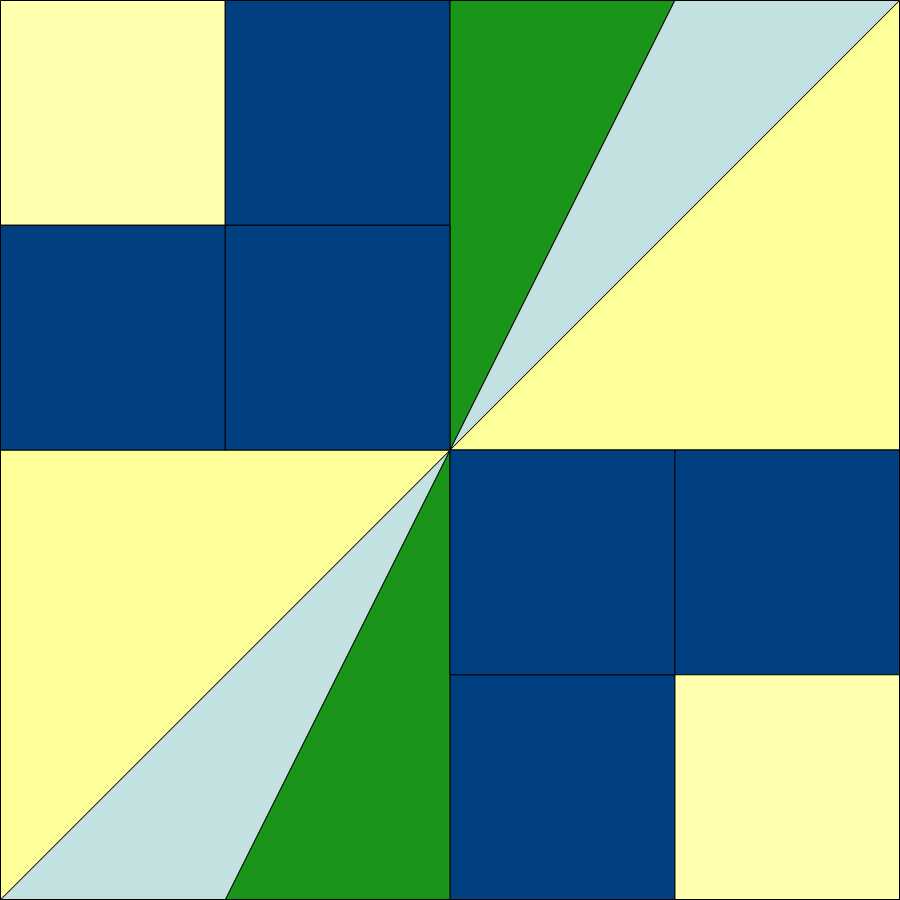
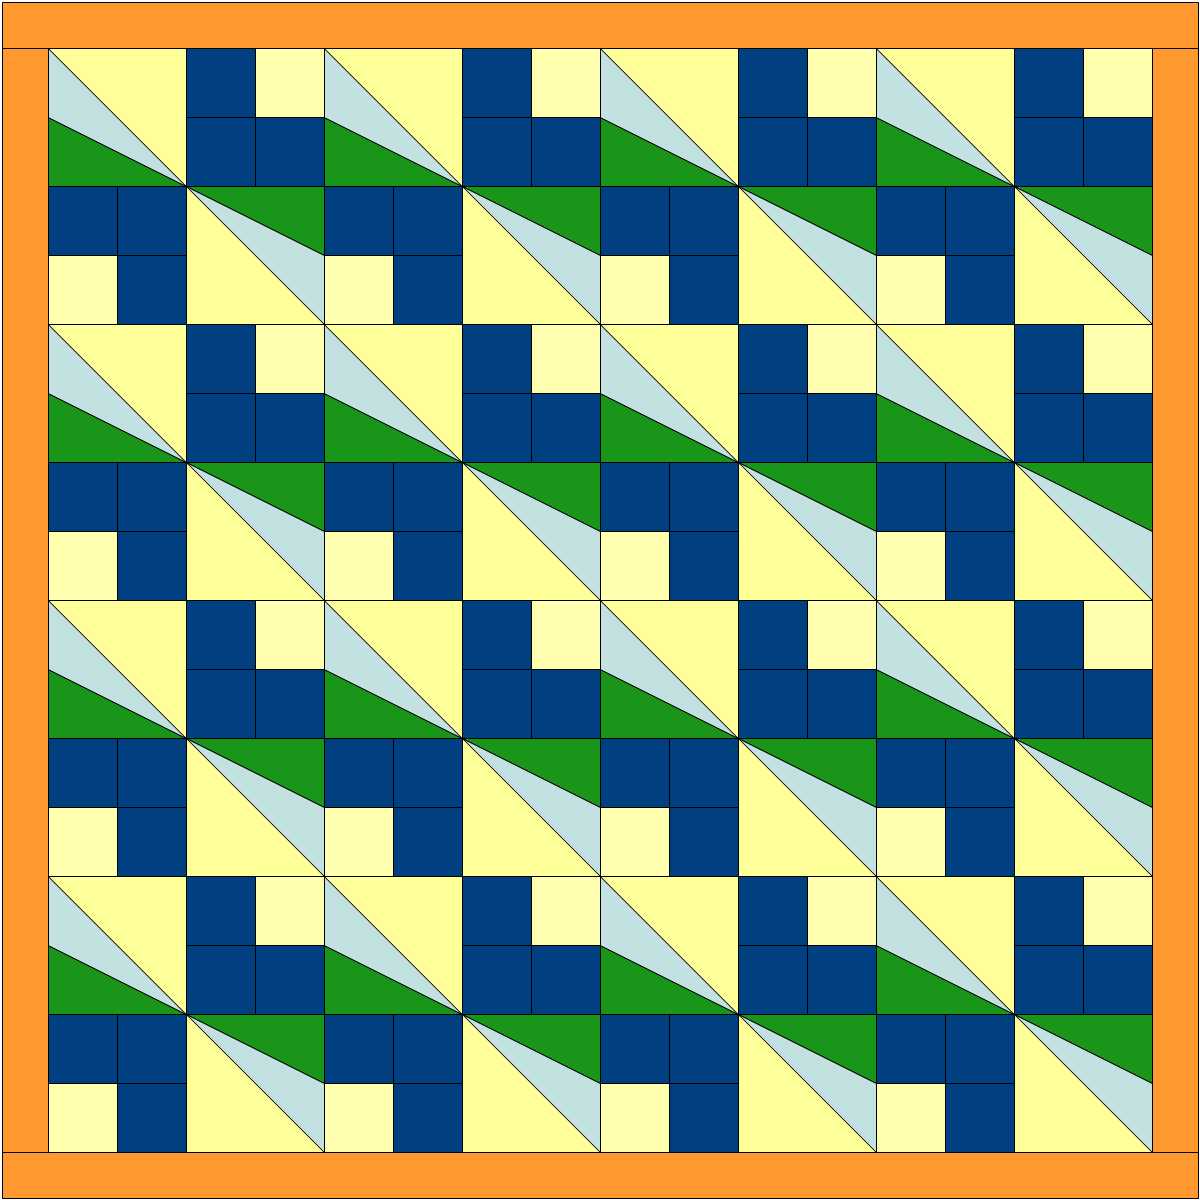
Here's my 2nd block and the quilt it would make. Those solid blocks were just two intense. So I decided to tweak it a bit.
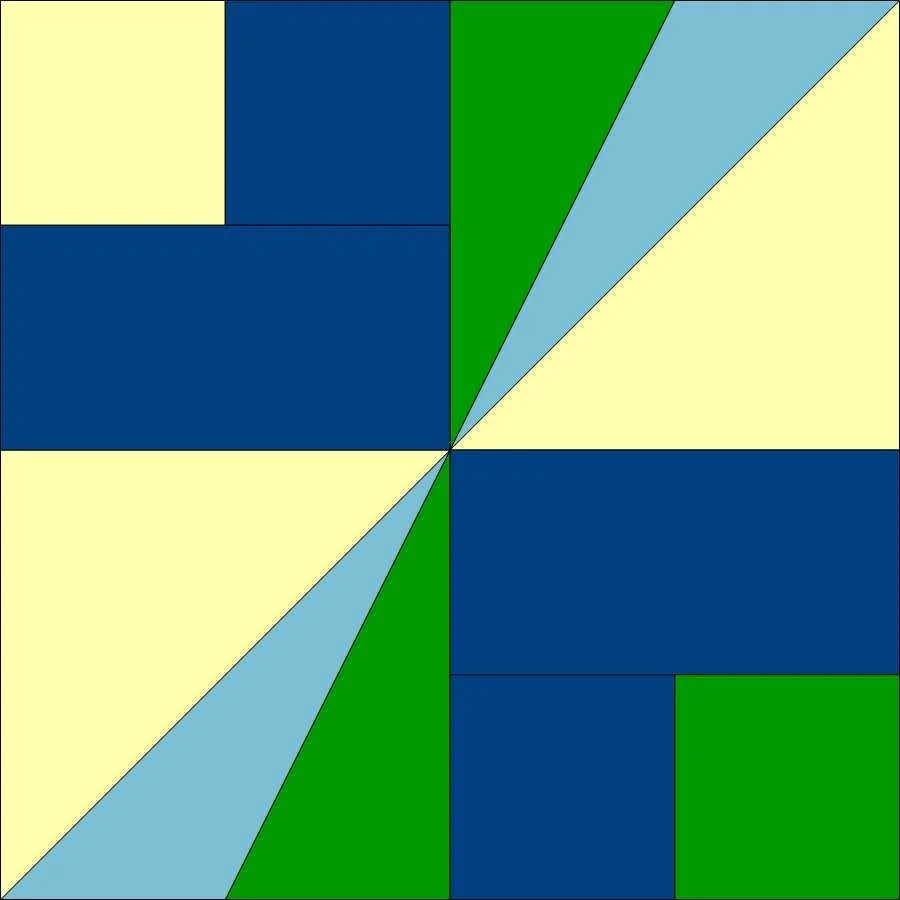
I went back to EasyDraw Block and added a couple lines and created a smaller square with a border in place of the solid square. Here's what that block and two quilts design options using that it look like. EQ8 has number of functions where you can let the computer change things up for you. I changed it up using the "Symmetry" tab. It's like having a design wall that moves all the blocks around for you! I prefer the quilt on the left, but it was fun to see the options.
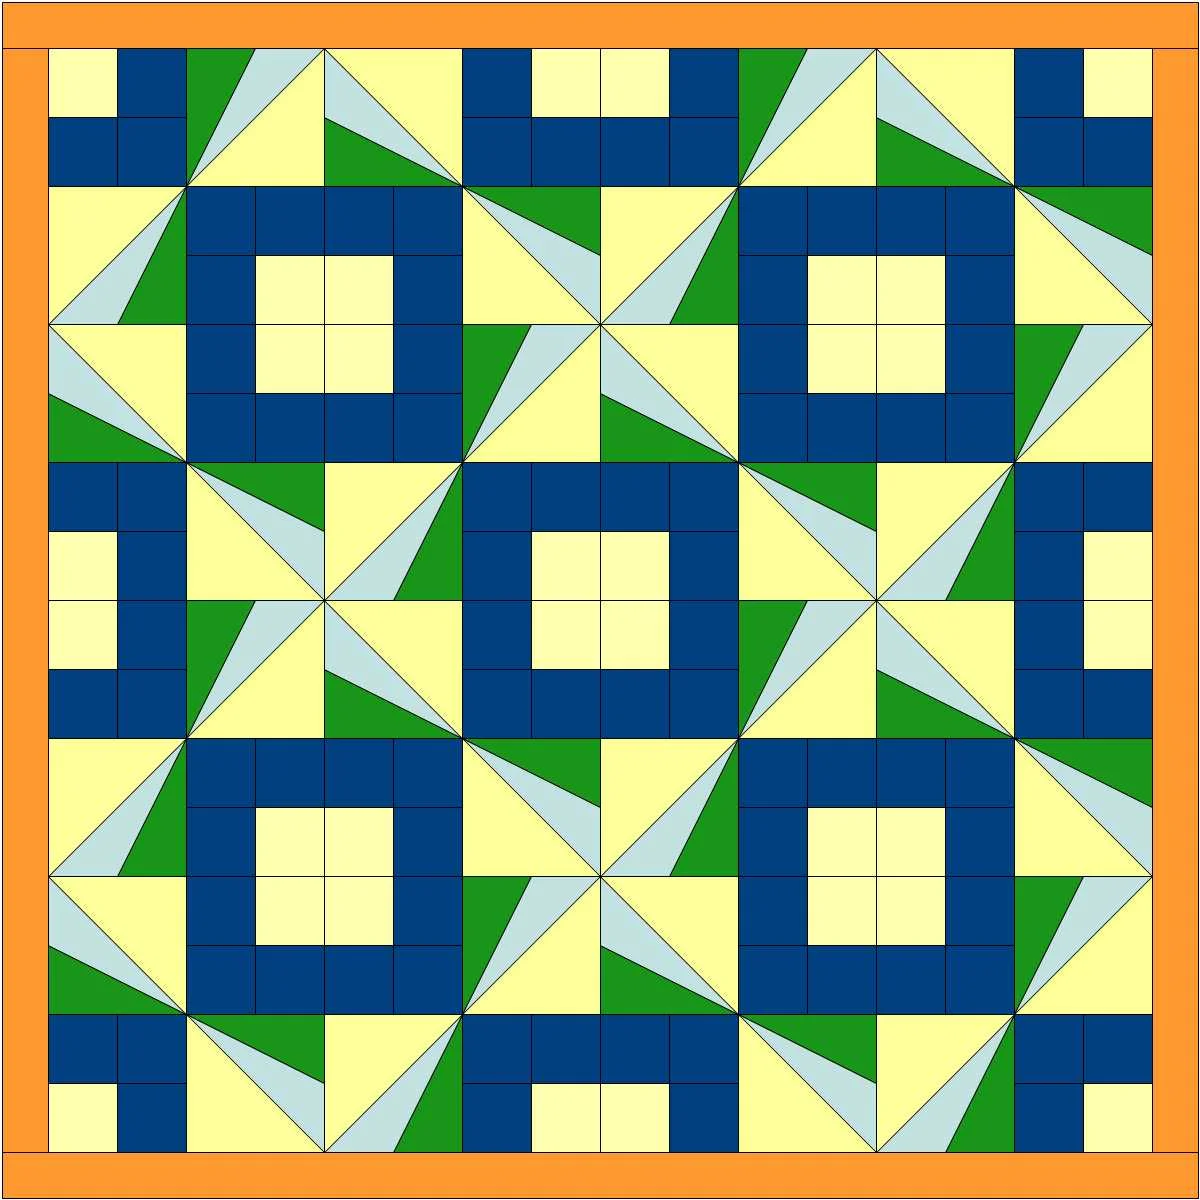
Next I changed the color in one of pair of smaller blocks. That added some more interest. Here are some of the design options suggested by the "Symmetry" function.
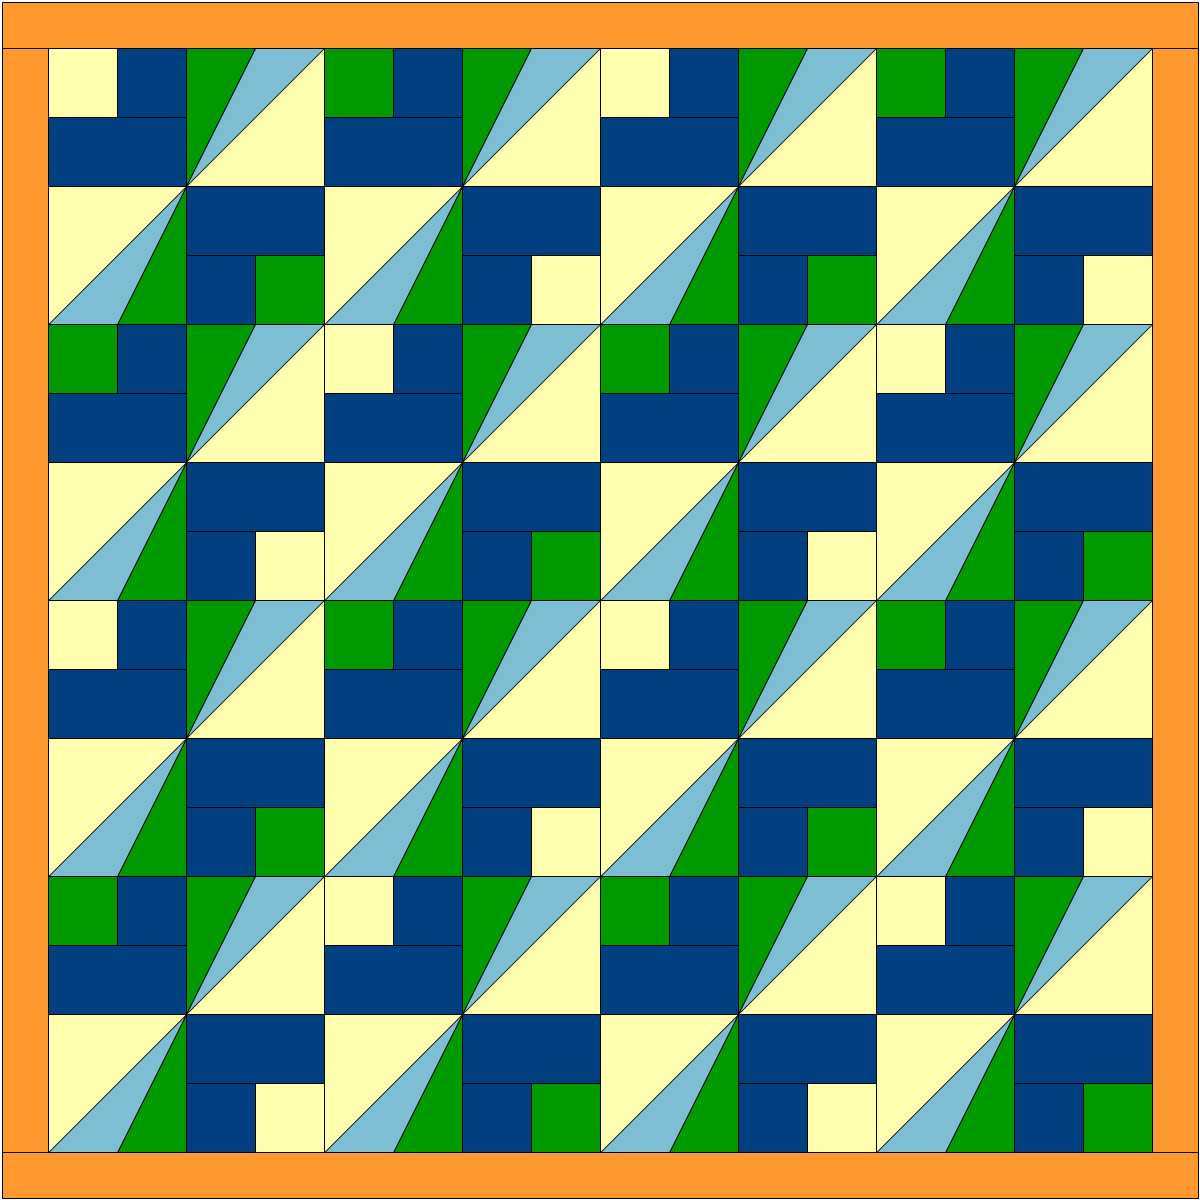

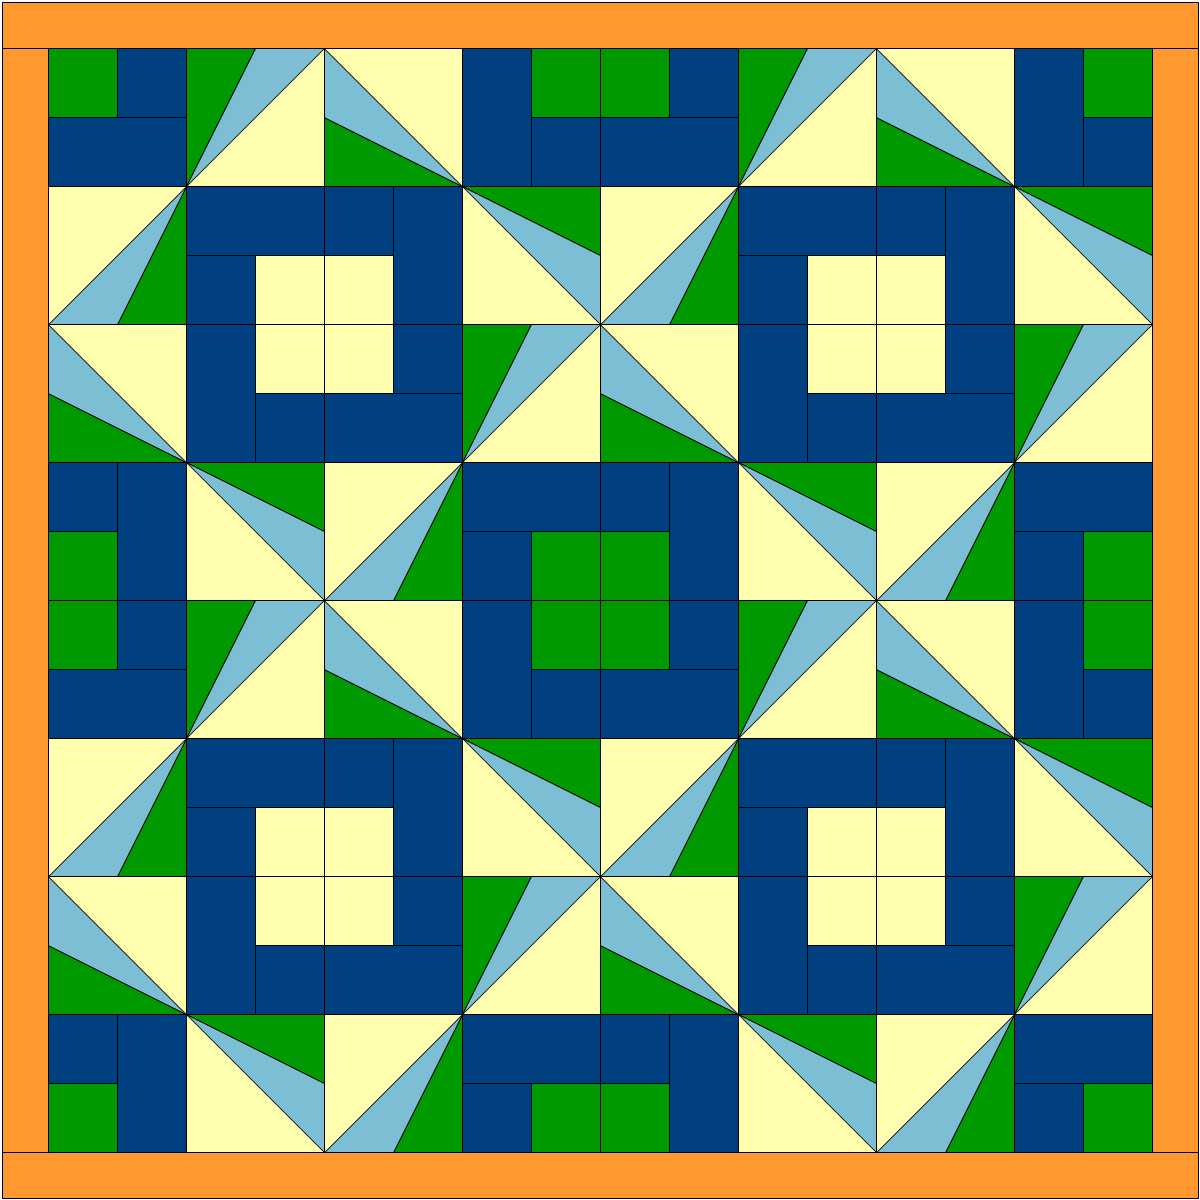
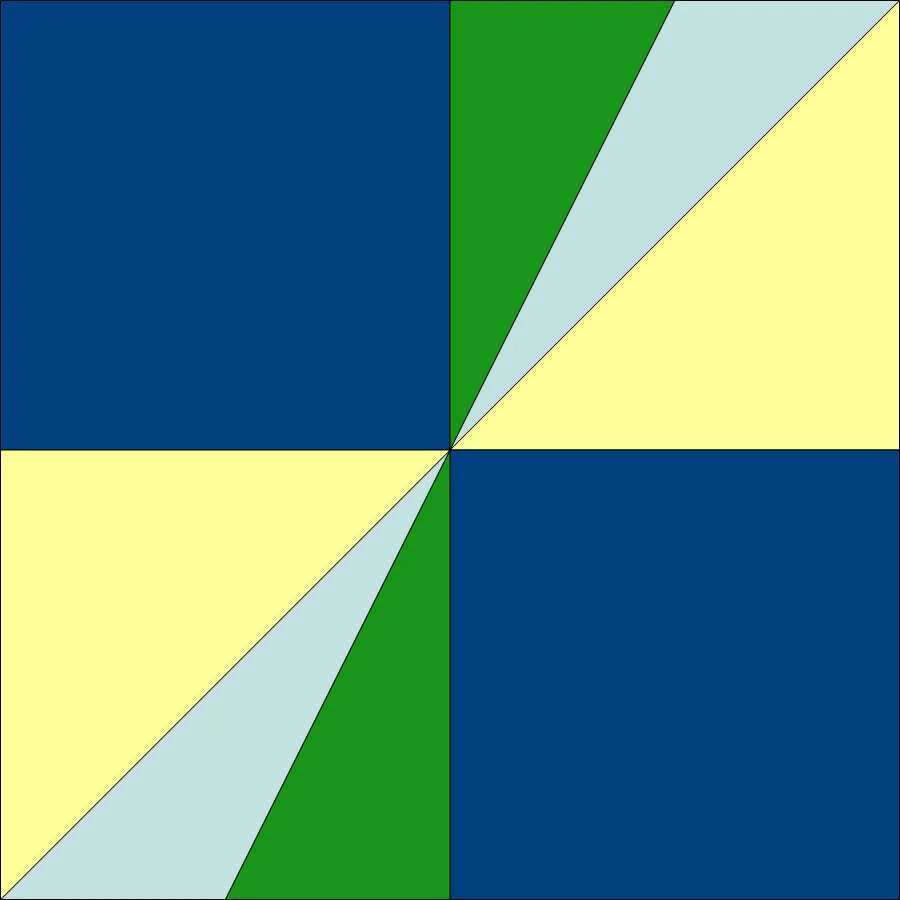
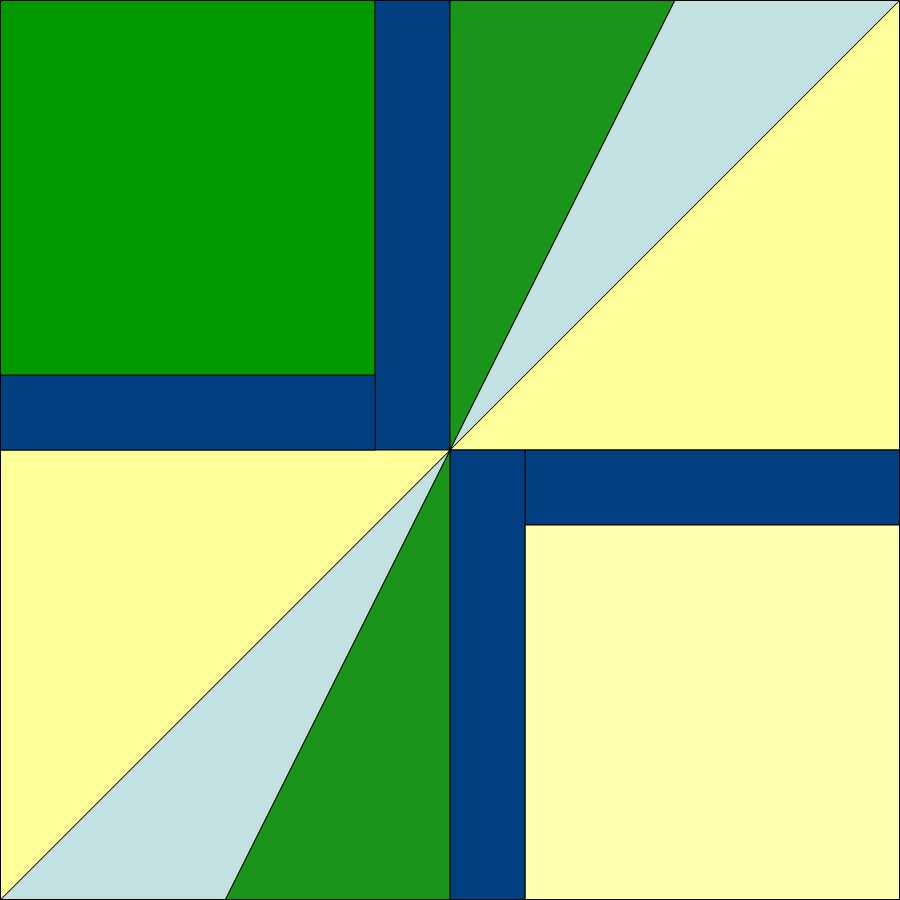
My final design is at the top of the page. That was created with the block below, which has a narrower border. It was very easy to modify these blocks. While the Undo arrow probably would have done the job for me, I chose the Pick tool (a diagonal arrow) to pick the line I wanted, deleted that and drew the new line. It's really quick and it works well for me. I then used the "Symmetry" function again with this final design and let the computer flip the blocks on the virtual design wall until I found the design I liked best.
This was a really interesting project and I got better acquainted with EQ8 doing it. I'm still finding my way around EQ8, but really appreciate a nimbleness and ease of use in this new upgrade. I think the upgrade is definitely worth doing.