
Homemade Pumpkin Sewing Card
I have a young friend who is 4 1/2 years old. She loves Waldorf dolls so I thought she might have fun with some sewing cards. I remember enjoying cardboard sewing cards when I was about 5.
She loves Halloween so I made this sewing card for her. I used white chipboard, a cardboard product that is usually used for book bindings. I had 8 1/2 x 11 inch white chip board on hand but it also comes as 6 x 6 inch squares which is a great size for sewing card.
I cut my sheet of chip board in half with a paper cutter. Then I drew my pumpkin design.
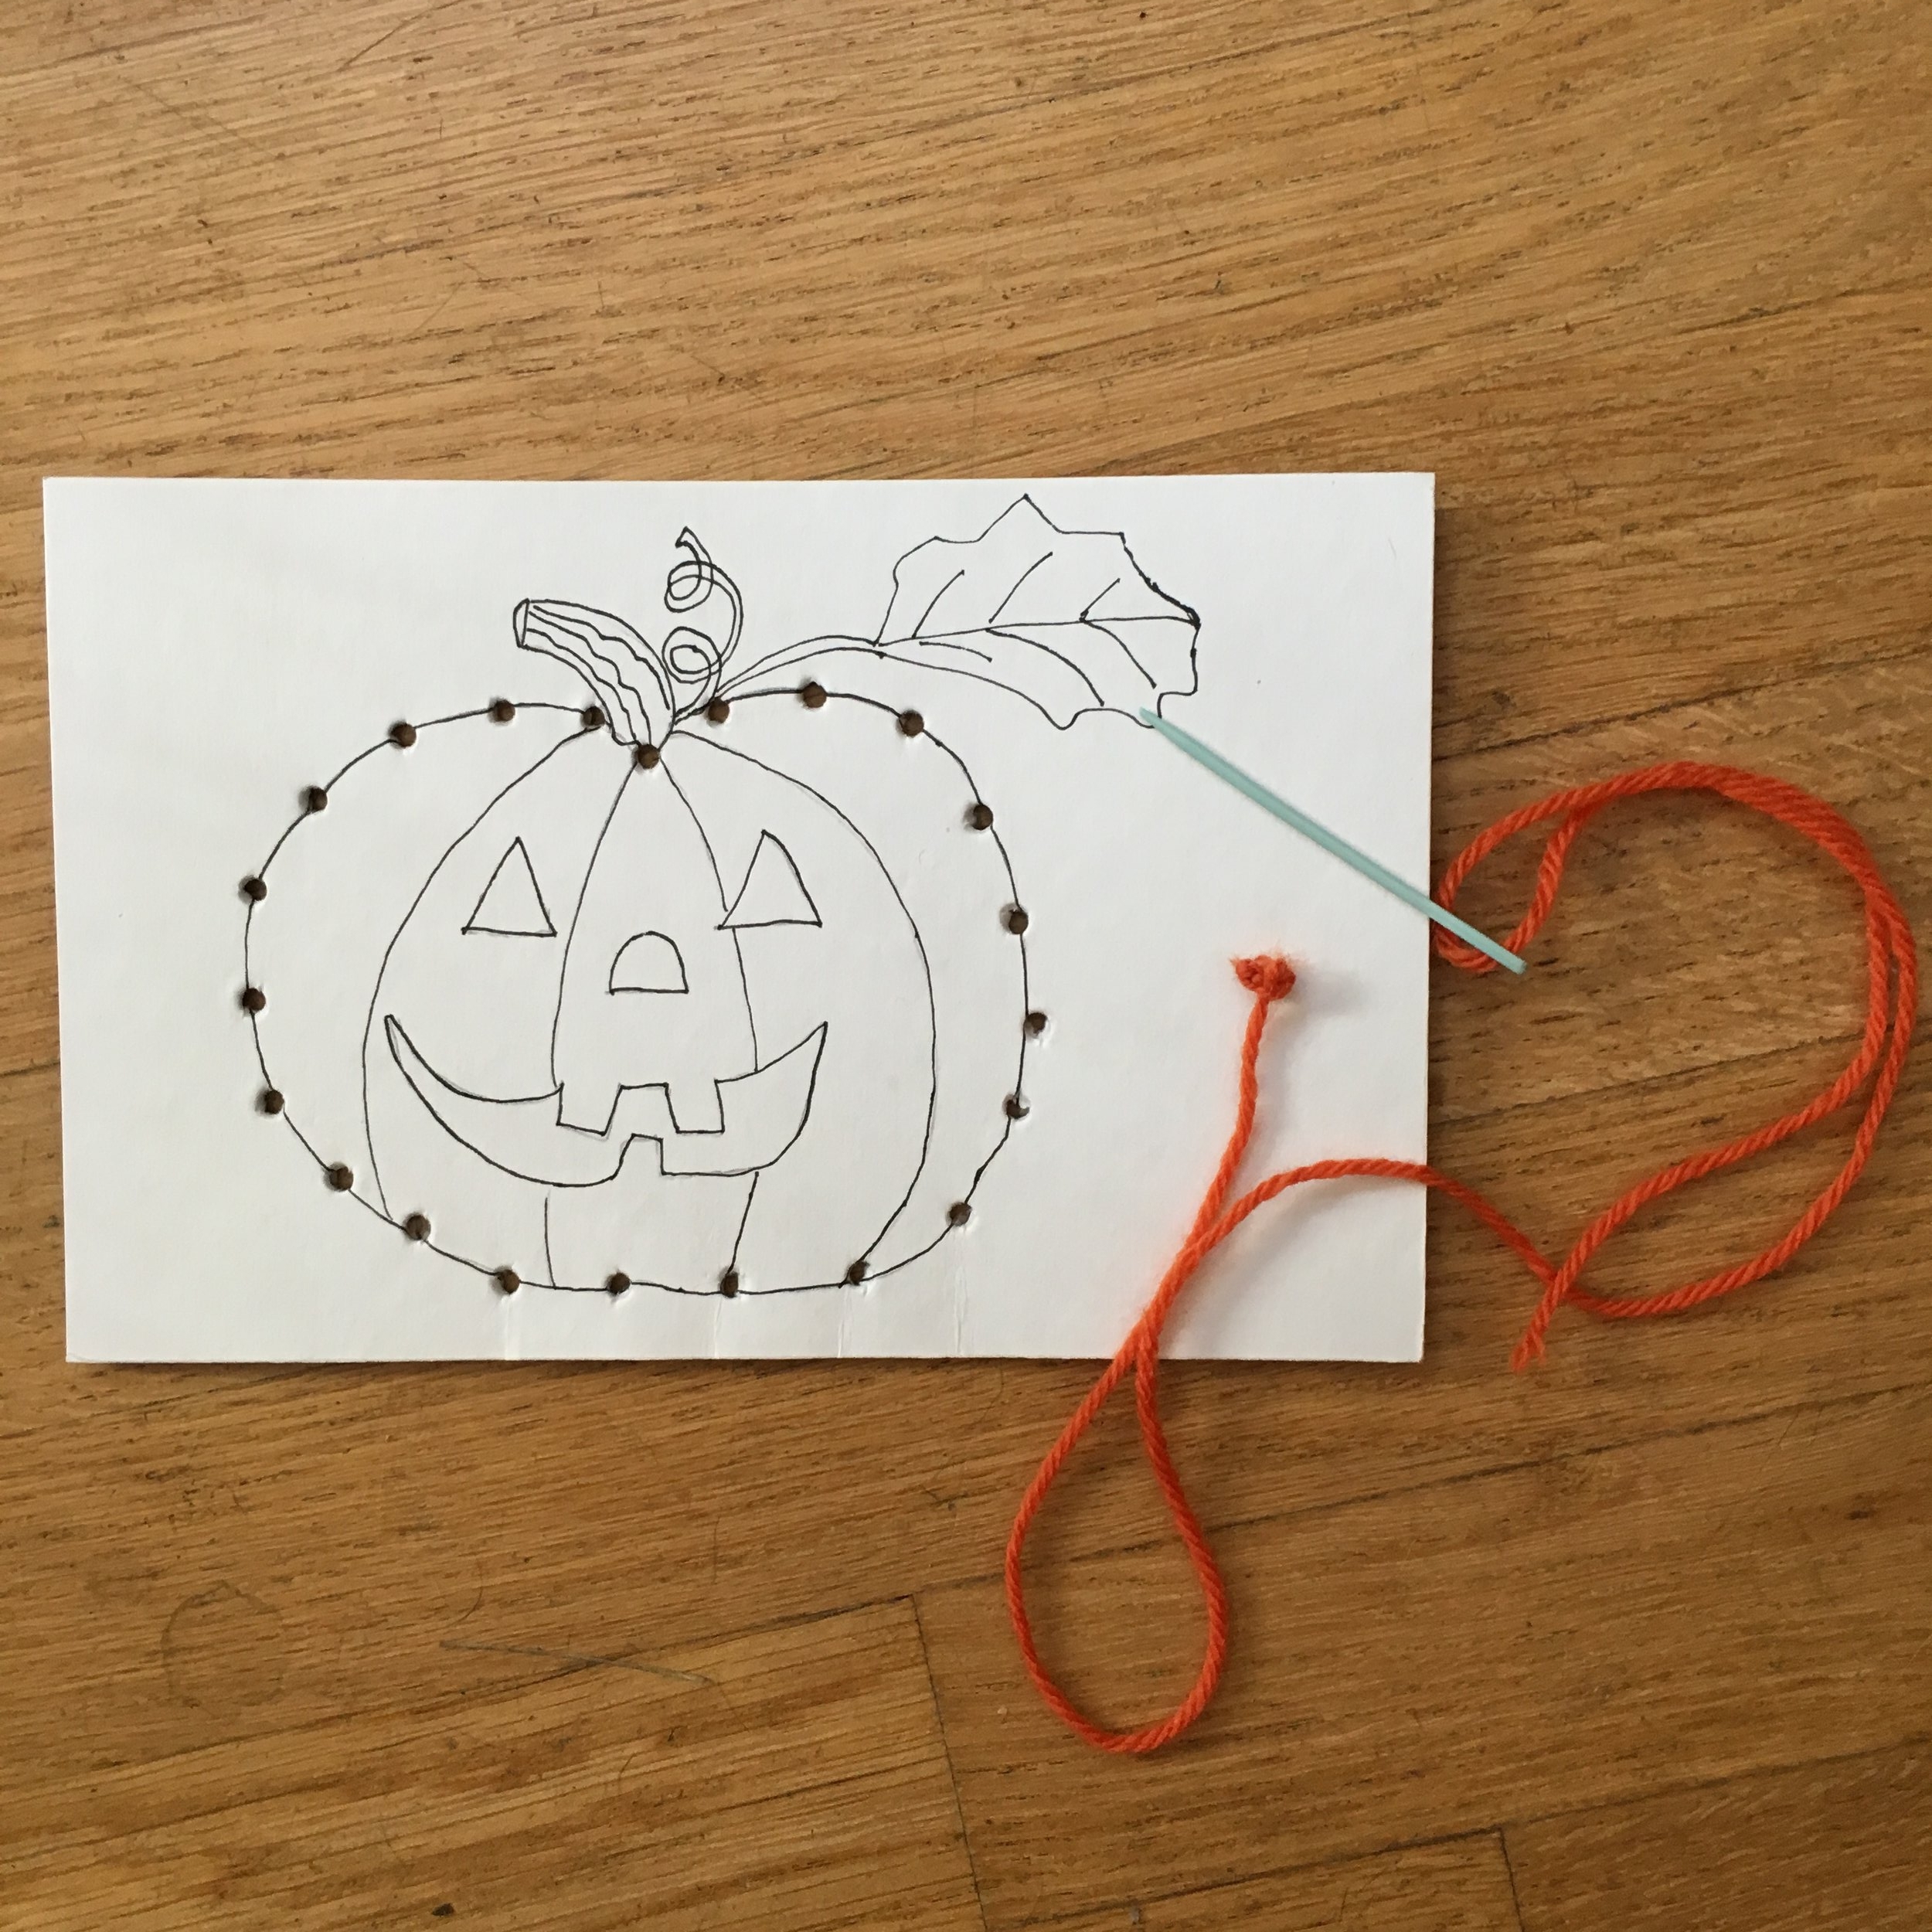
I made the holes with a awl I got at the hardware store, spacing them about 1/2 inch apart. Be careful not punch holes with the awl on a surface you could damage. Make sure to punch and EVEN number of holes so that the last stitch finishes on the back of the card.
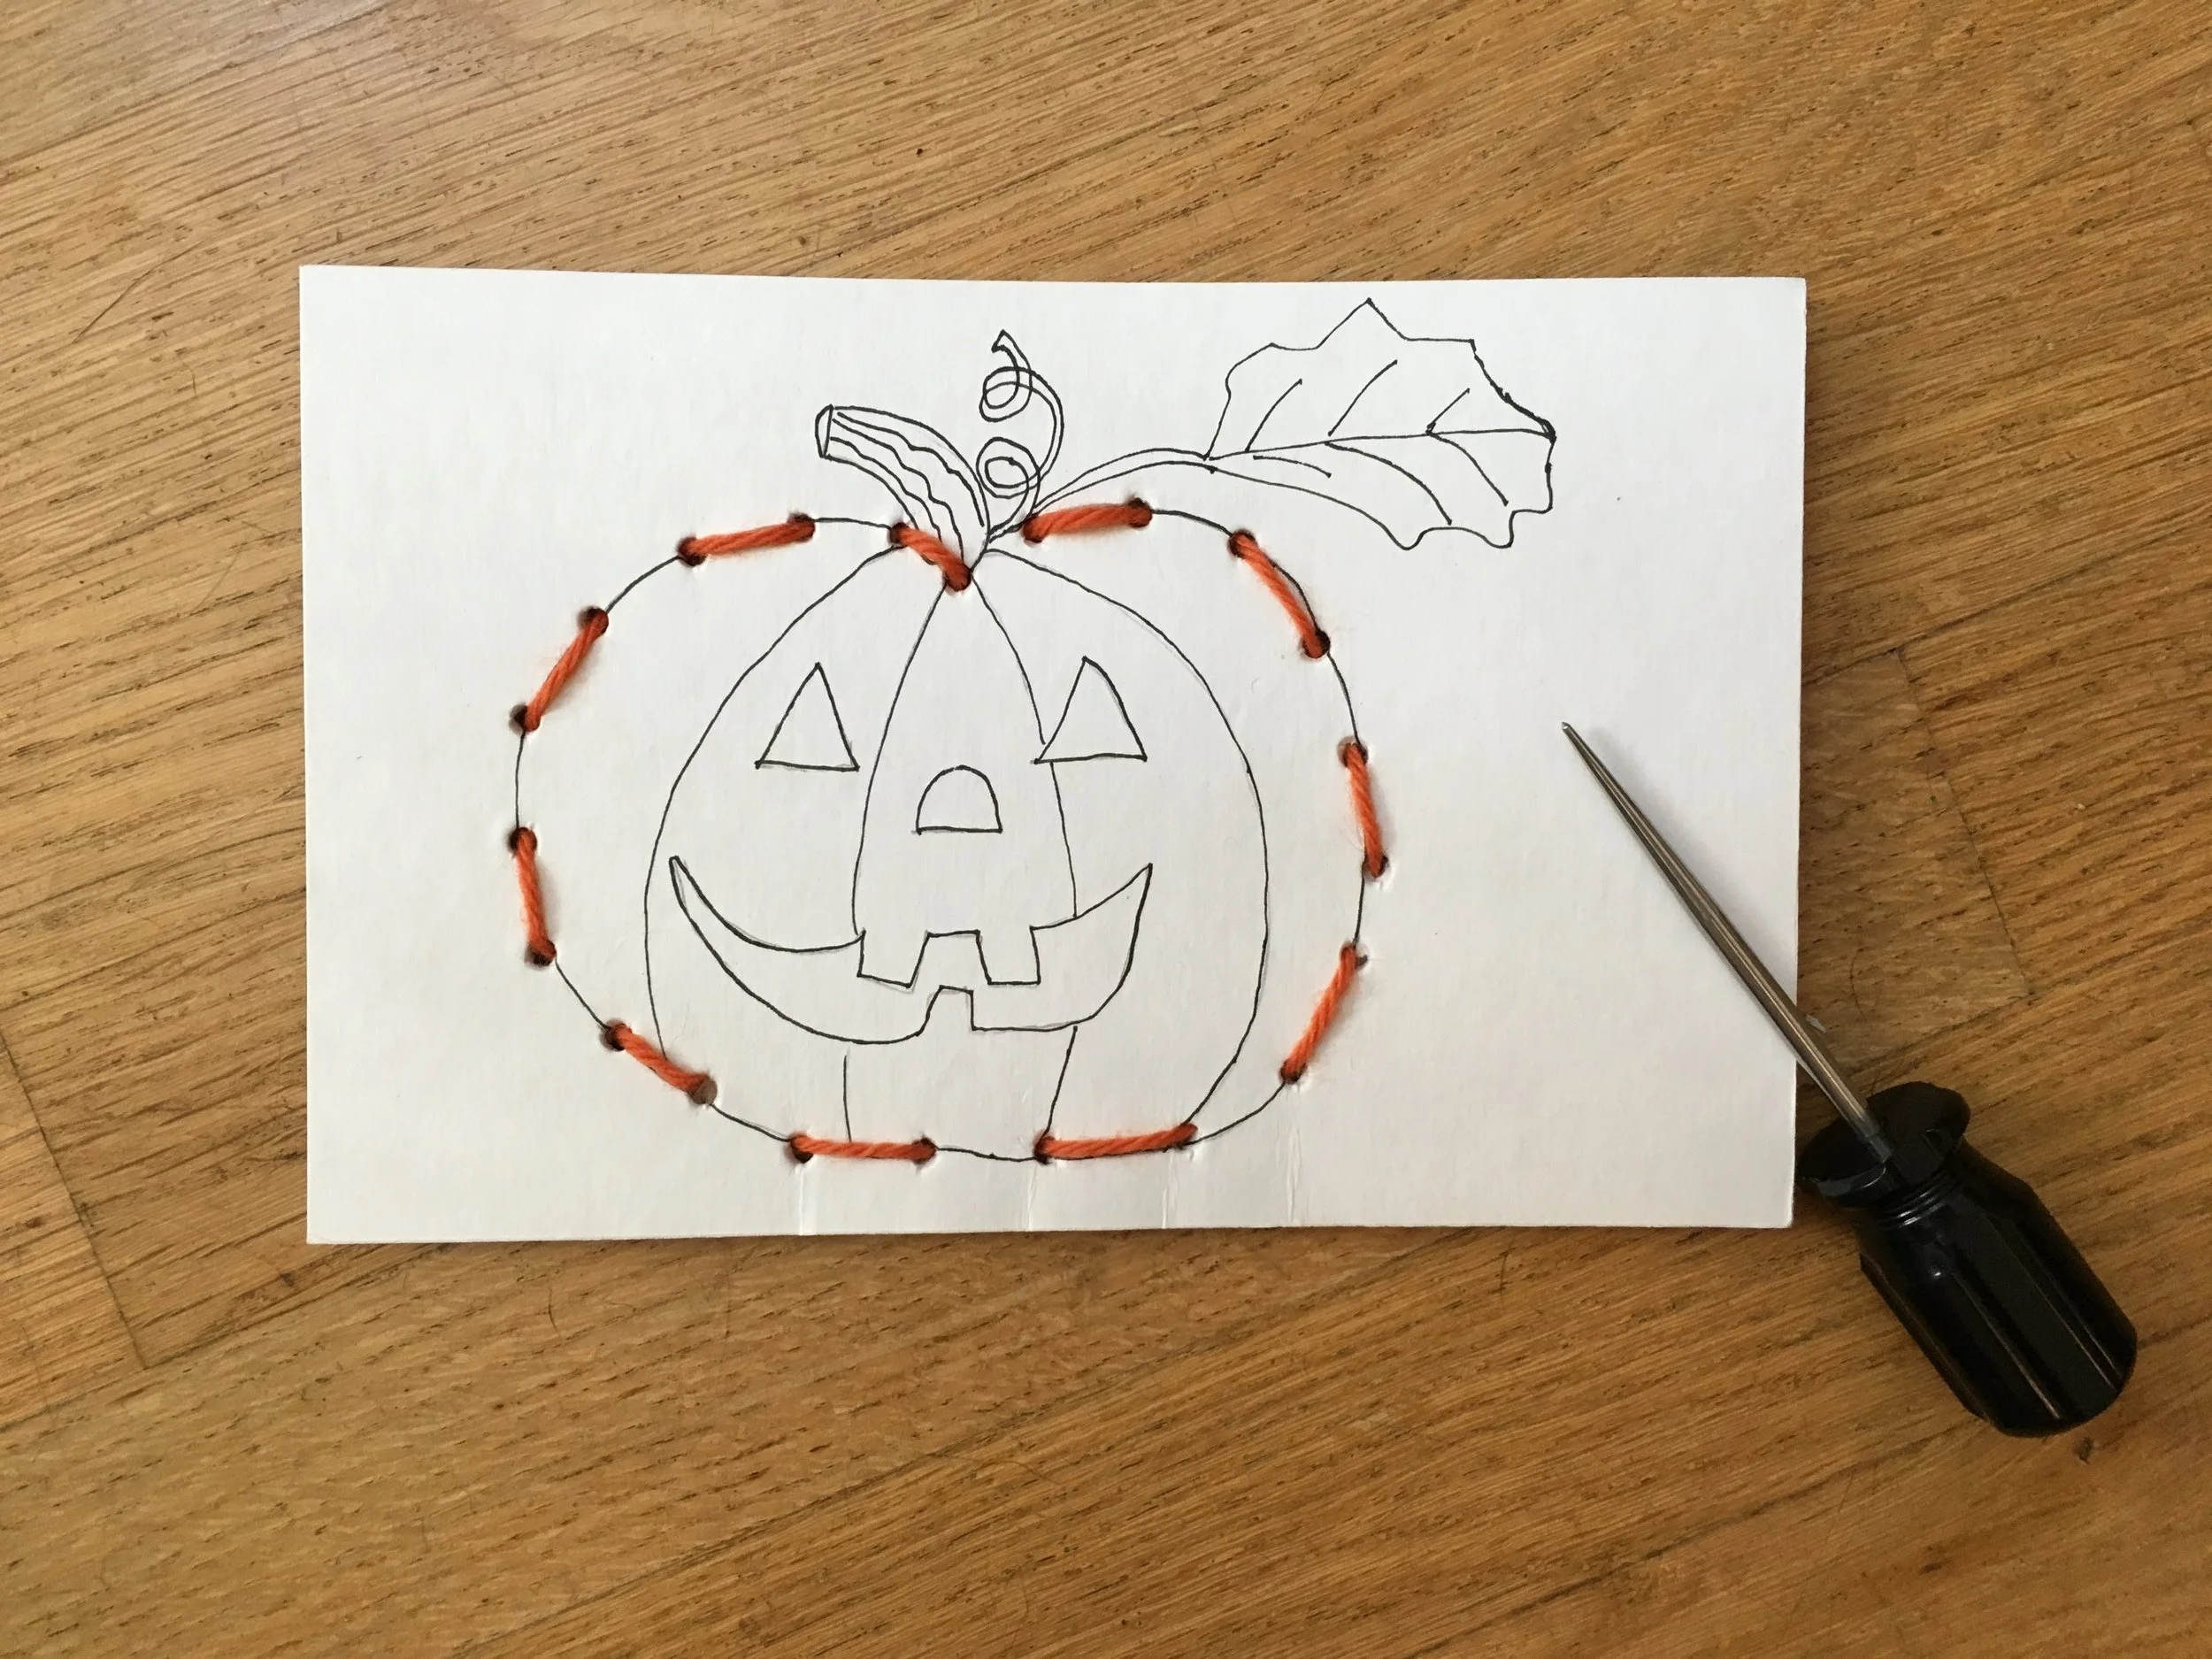
Completed sewing card and with awl used to punch the holes
I cut pieces of wool yarn. I needed to tie several knots so that it didn’t pull through the hole when i was sewing. The sewing needle is a plastic yarn needle that is sturdy enough but not sharp.
I wrote instructions on the back of the card.
Color in the picture first, then sew using the yarn and the yarn needle.
This chip board is sturdy enough that the yarn can be pulled out and the card sewn again, at least several more times. I put about 5 pieces of yarn, with knots already tied, with the sewing card.
I had fun making this. I hope my young future doll maker and sewer has fun using it!