
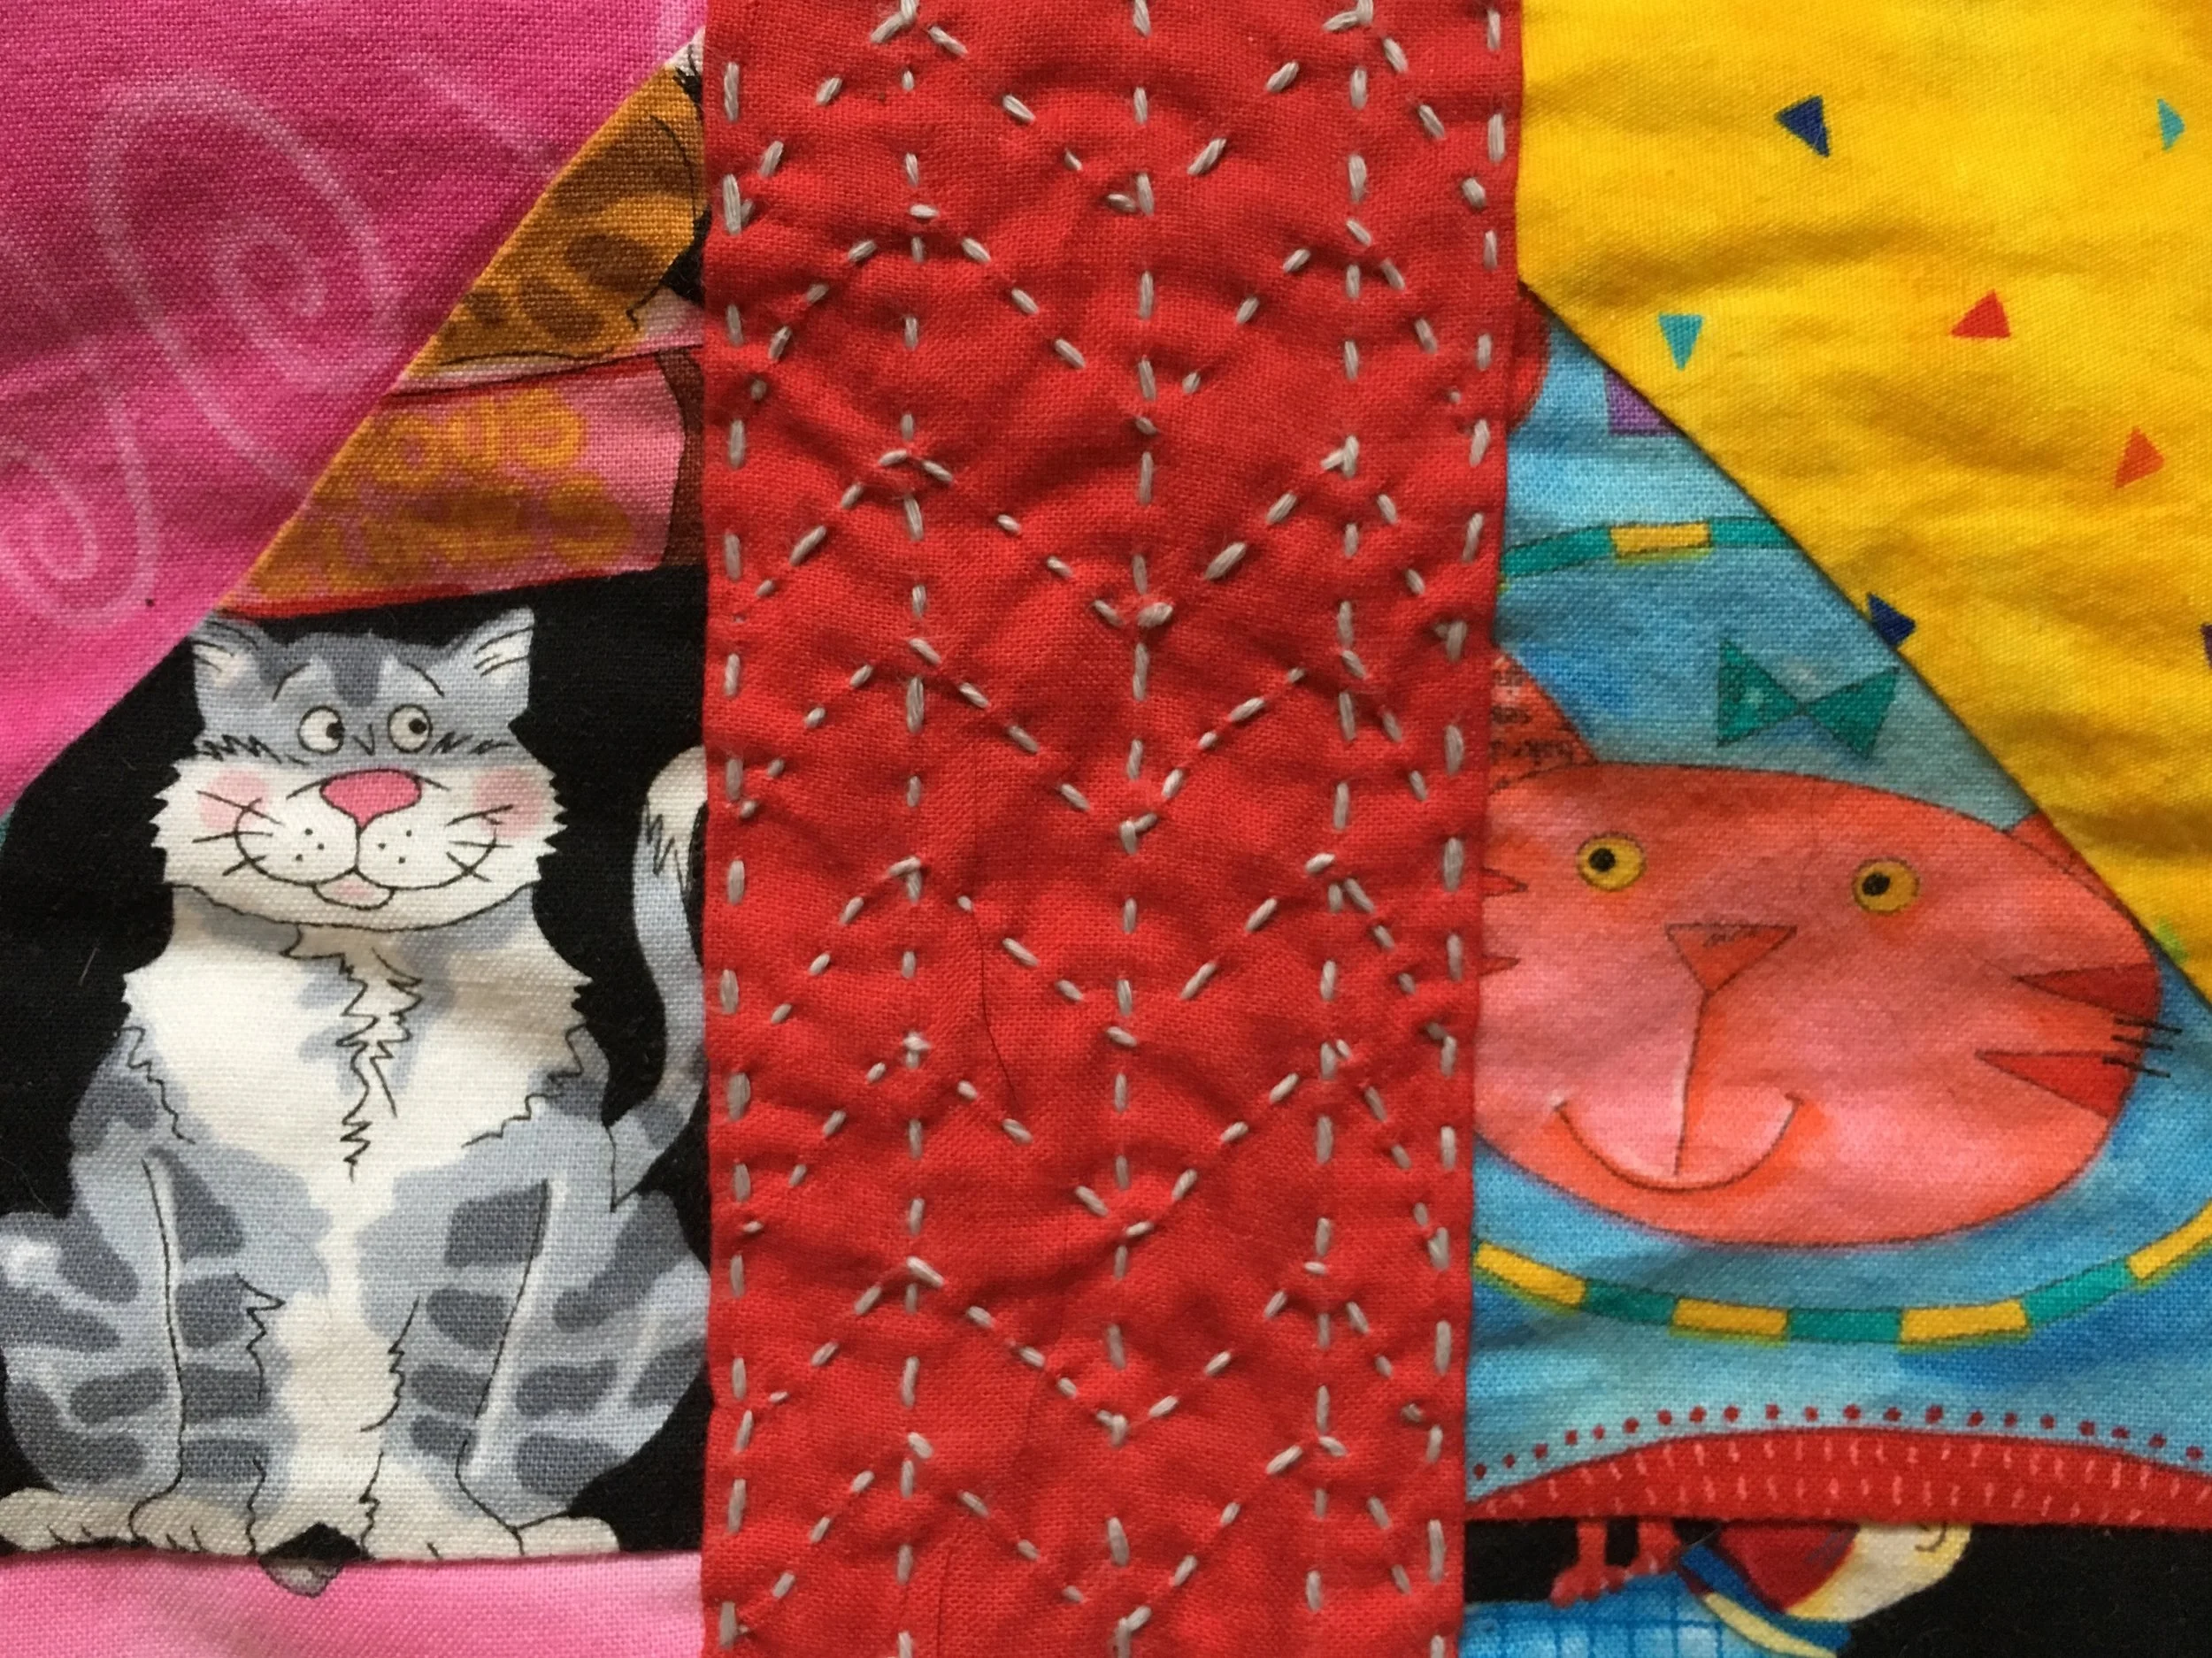
Close up of Visible Mending on a quilt. The cats seems to approve of the new addition!
For years I had a delightful neighbor who was older and at home most of the time. She loved all animals and asked to look in on my puppies which was completely awesome back in the day when there weren’t many dog walkers. As she got older, my neighbors and I shoveled the snow off her sidewalk, picked up occasional groceries that she needed and regularly stopped to chat with her.
Just before she moved to senior housing, one of her daughters made each of us a quilt to say thanks. Recently I noticed one of the seams in a block had failed. There wasn’t enough fabric to recreate a new 1/4 inch seam. Visible mending seemed like the perfect solution to repair the fractured block.
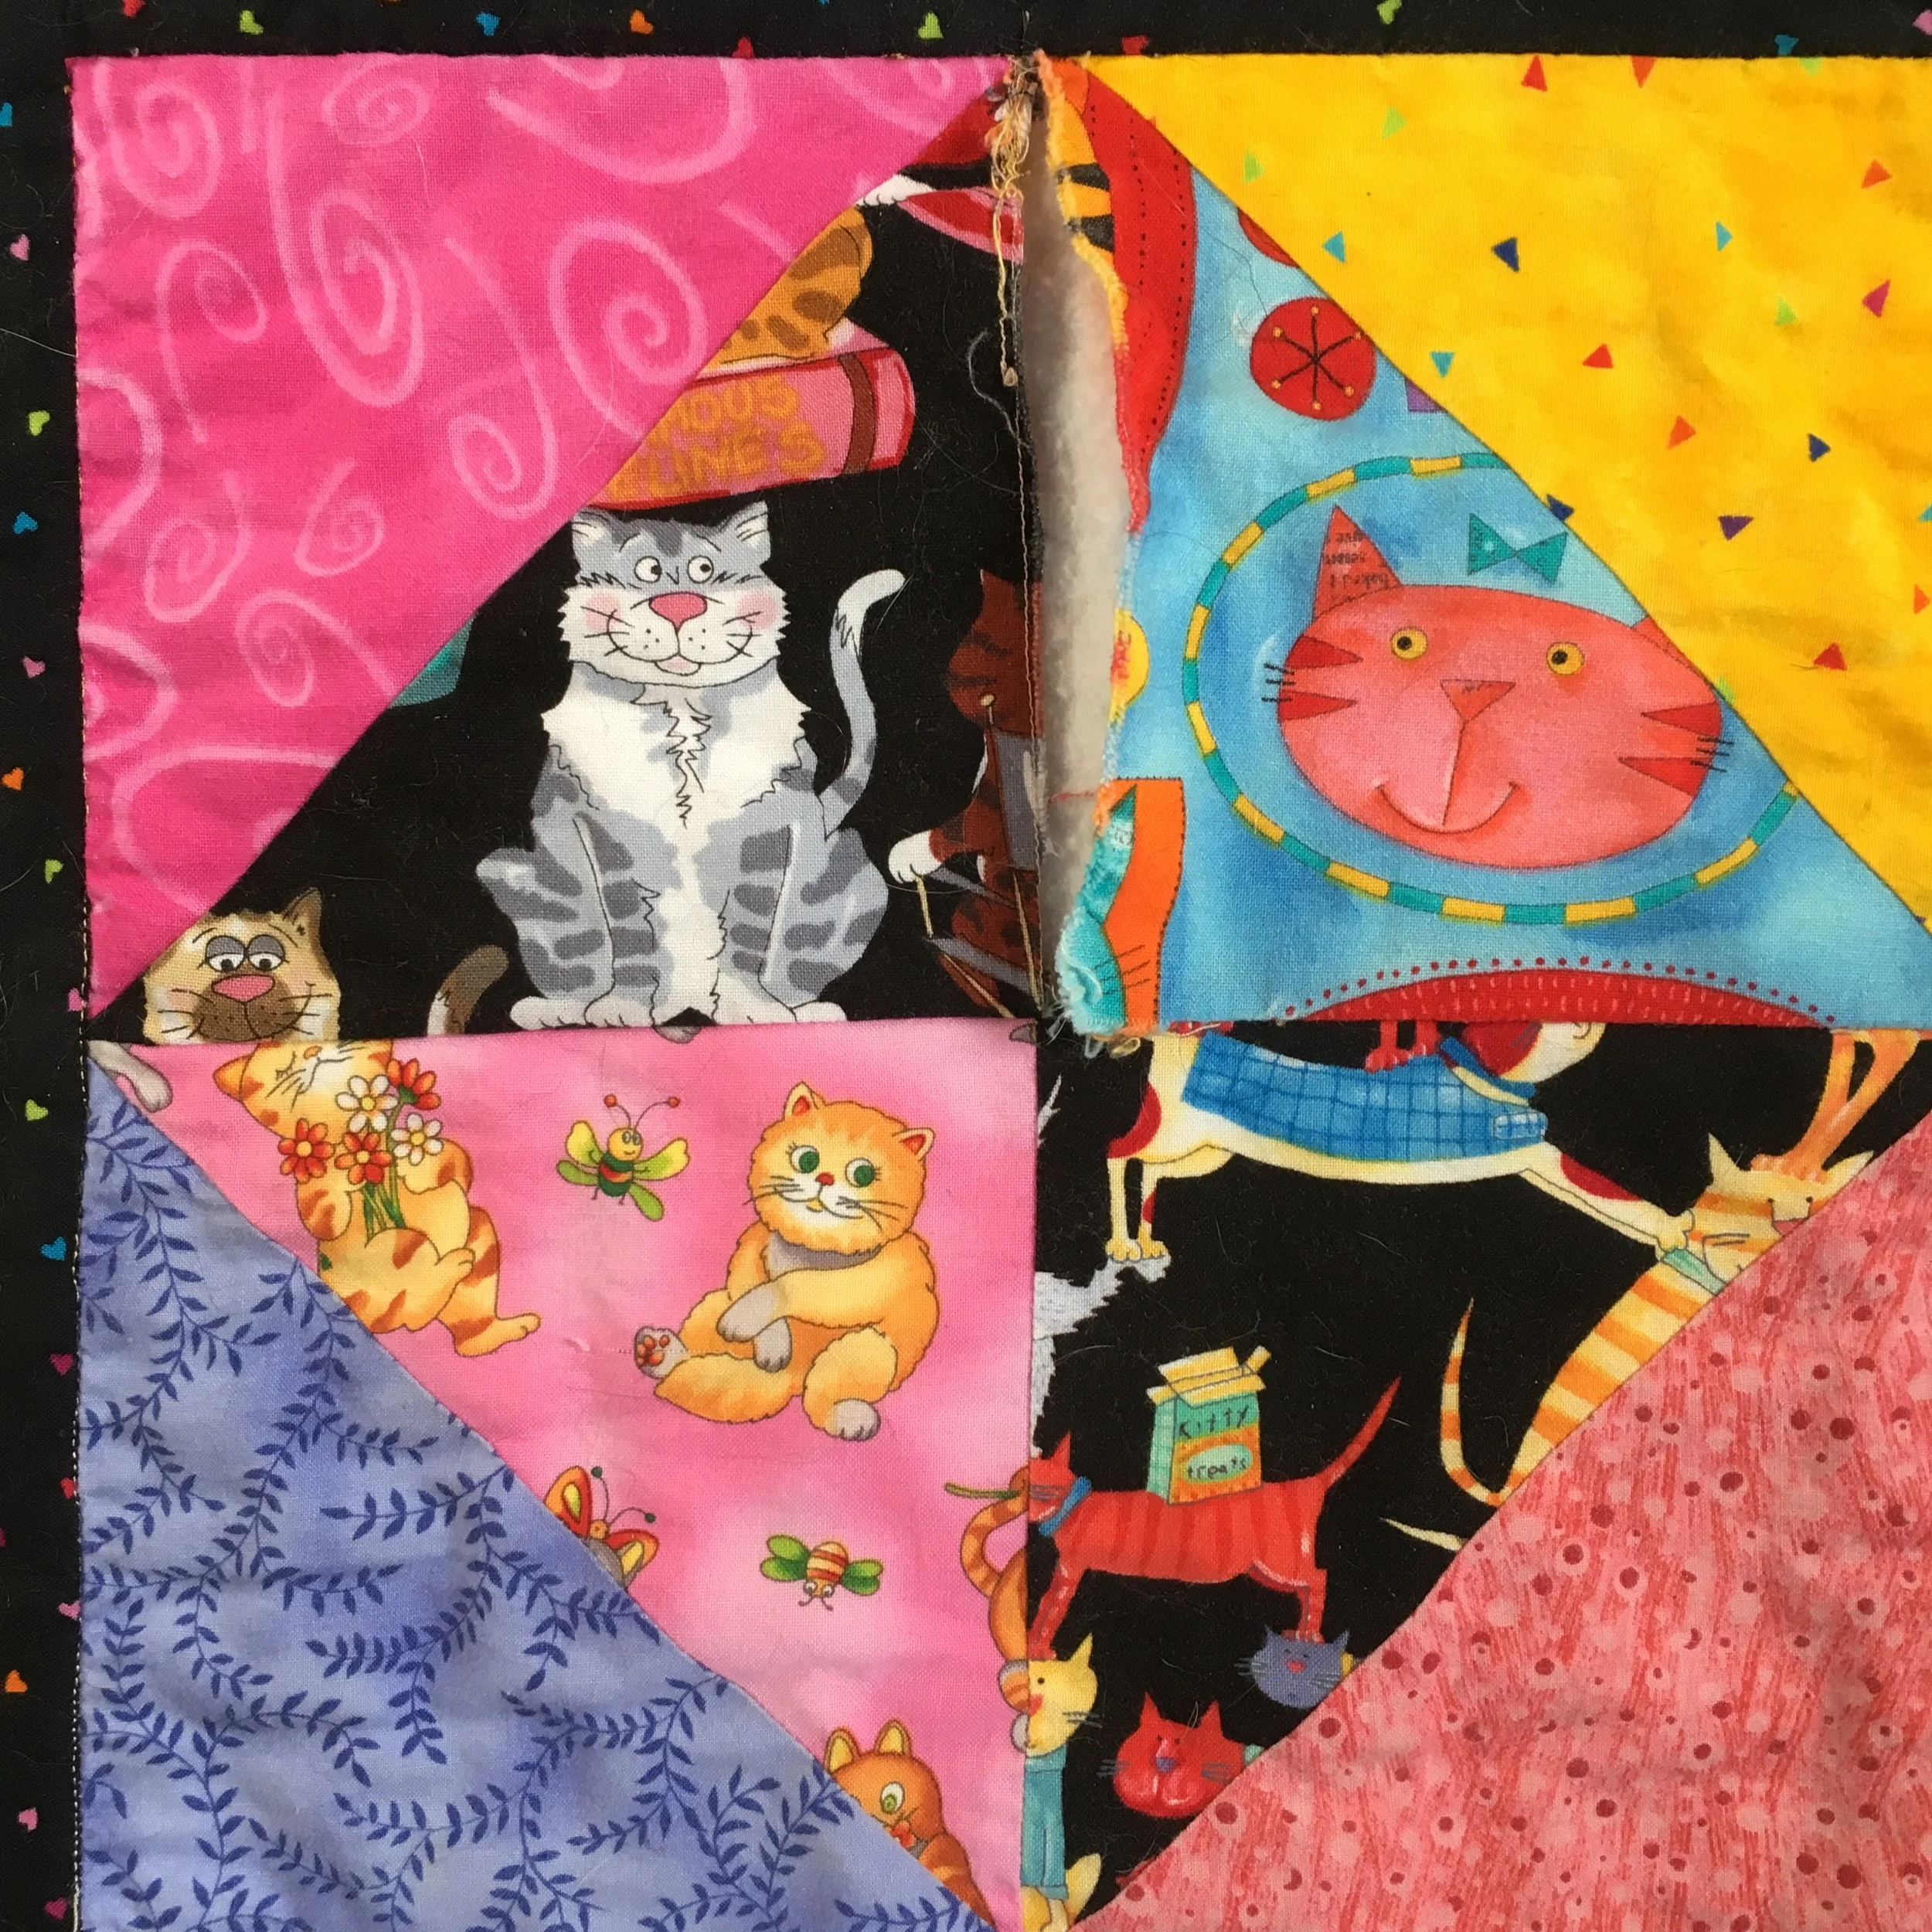
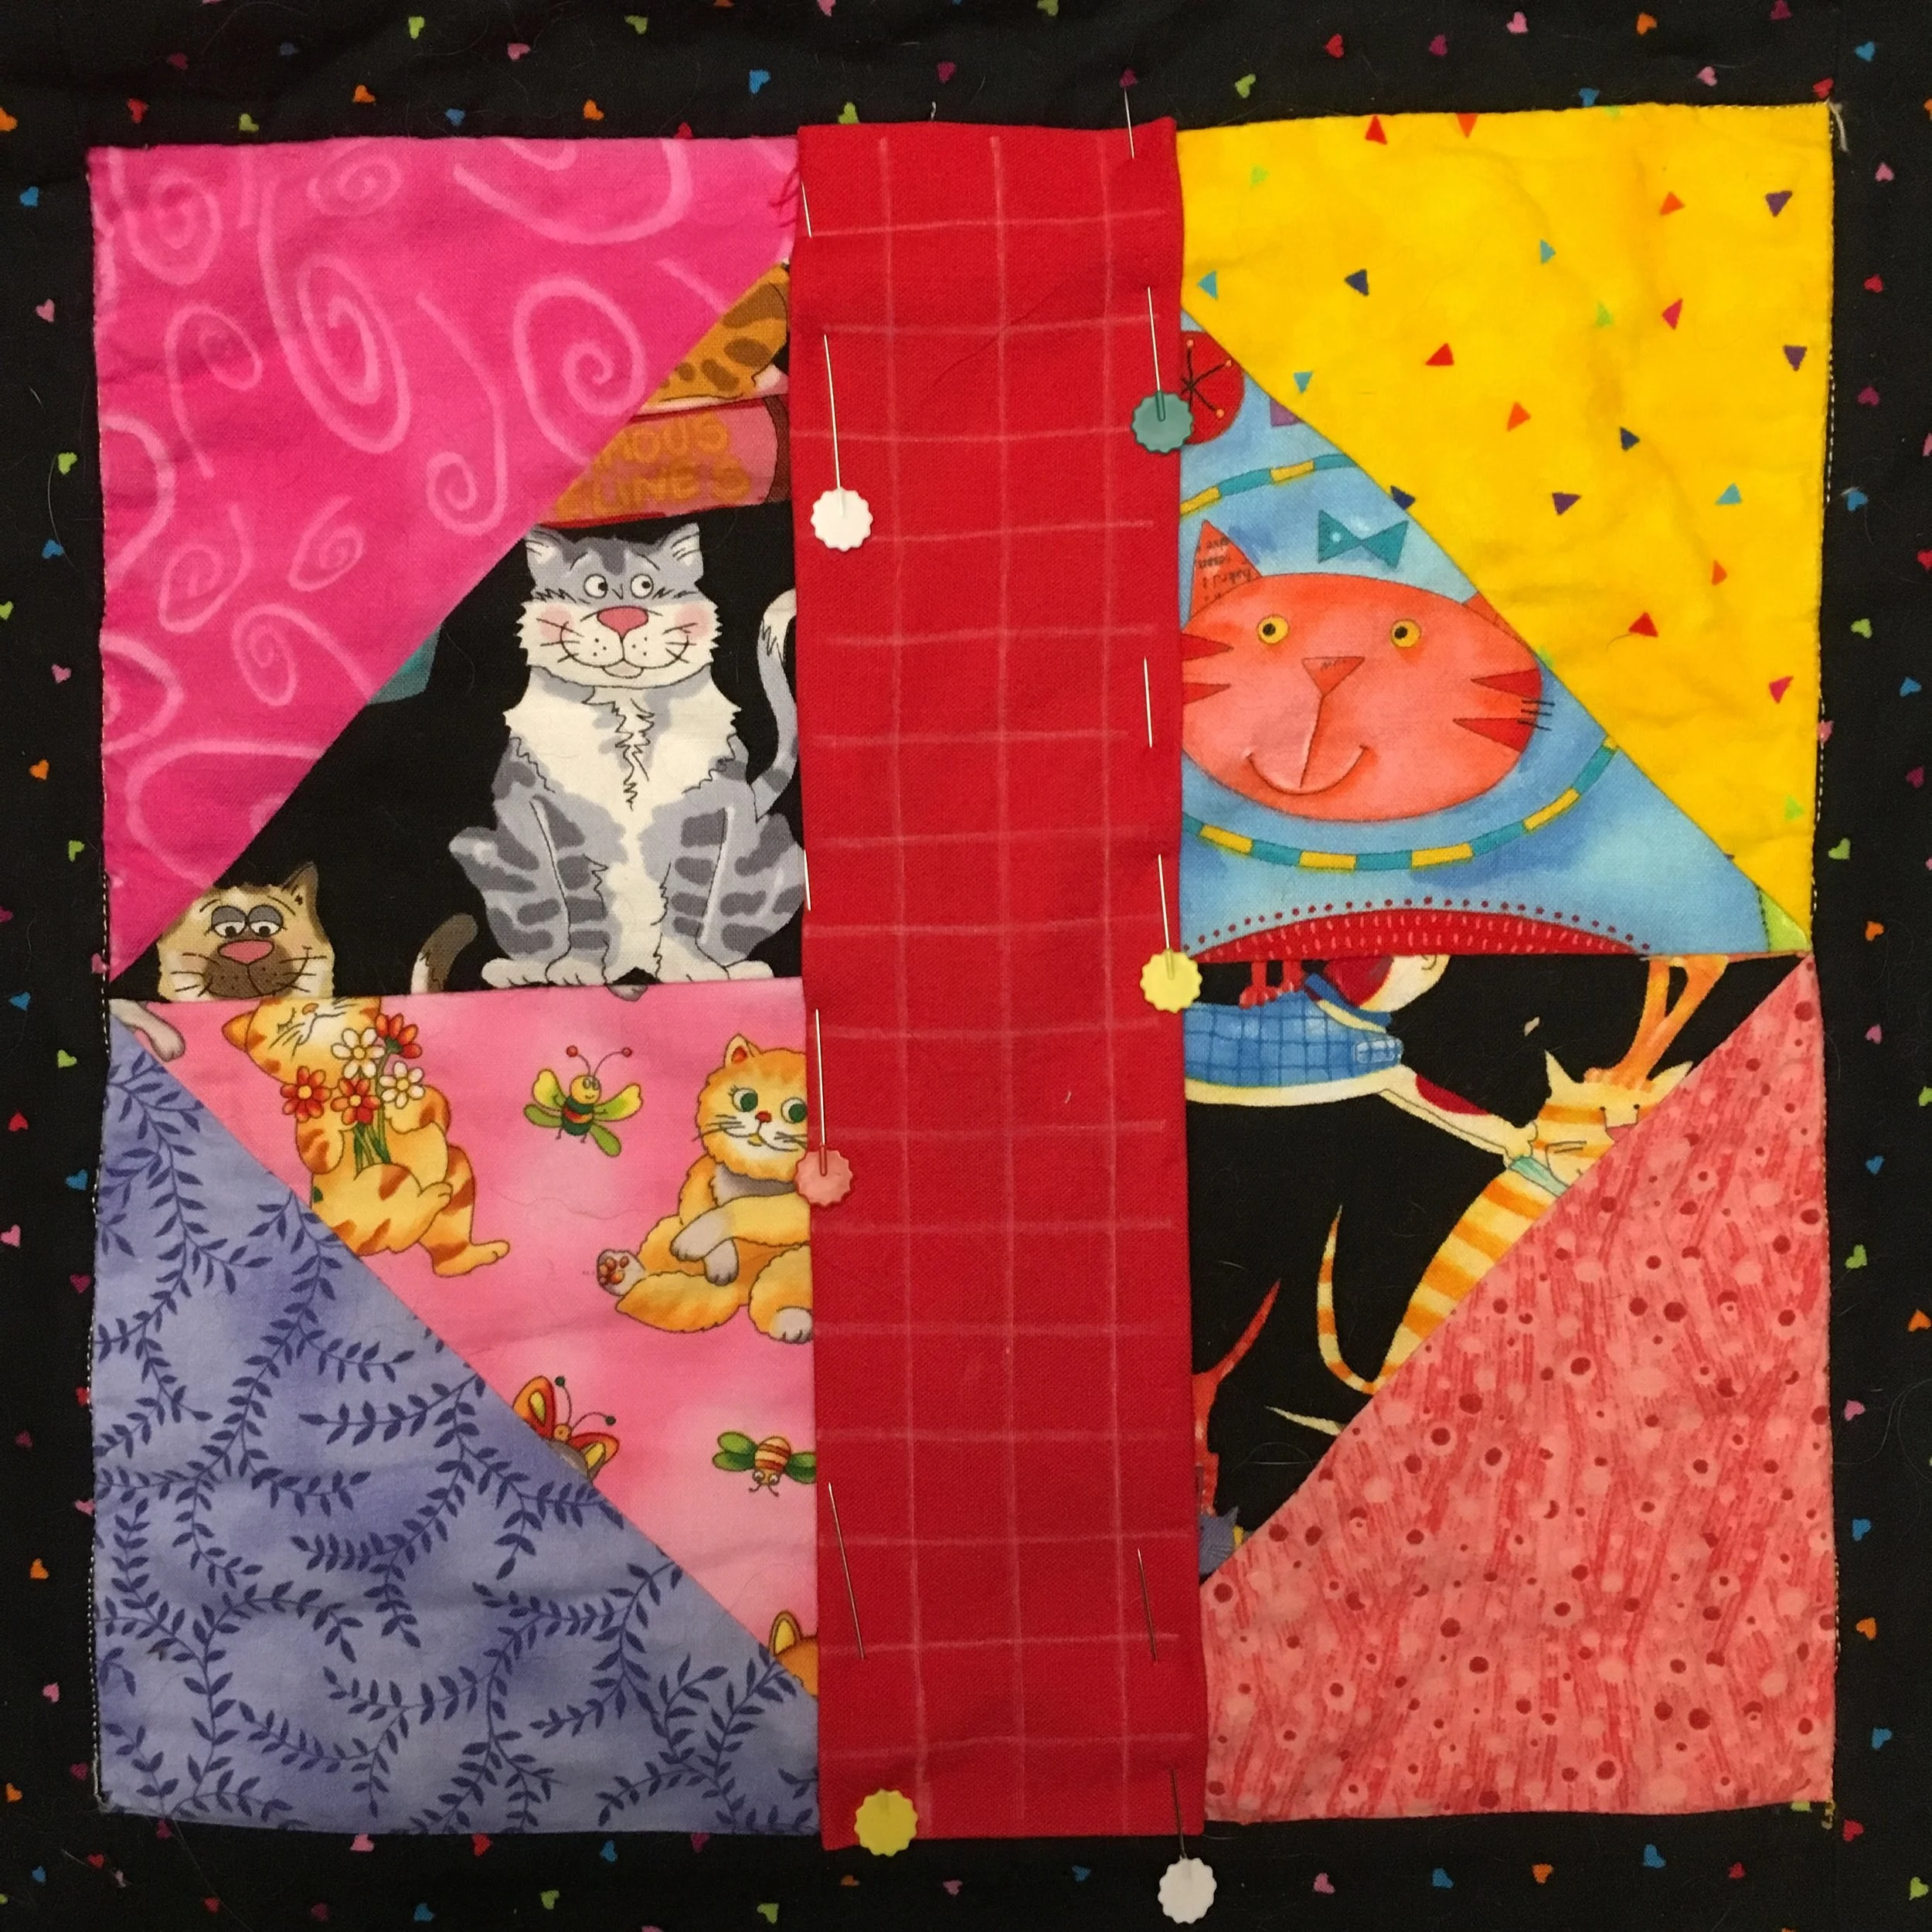
Separated seam in a quilt block, top center of the block.
I used Jessica Marquez’s Make and Mend as the resource for the sashiko design and information on sewing the patch. I picked the zigzag pattern and used grey sashiko thread for the stitching. (It took me a while to find some readily available sashiko thread but i finally found a wonderful collection of sashiko thread in multiple colors that were in stock and ready to ship at Purl Soho).
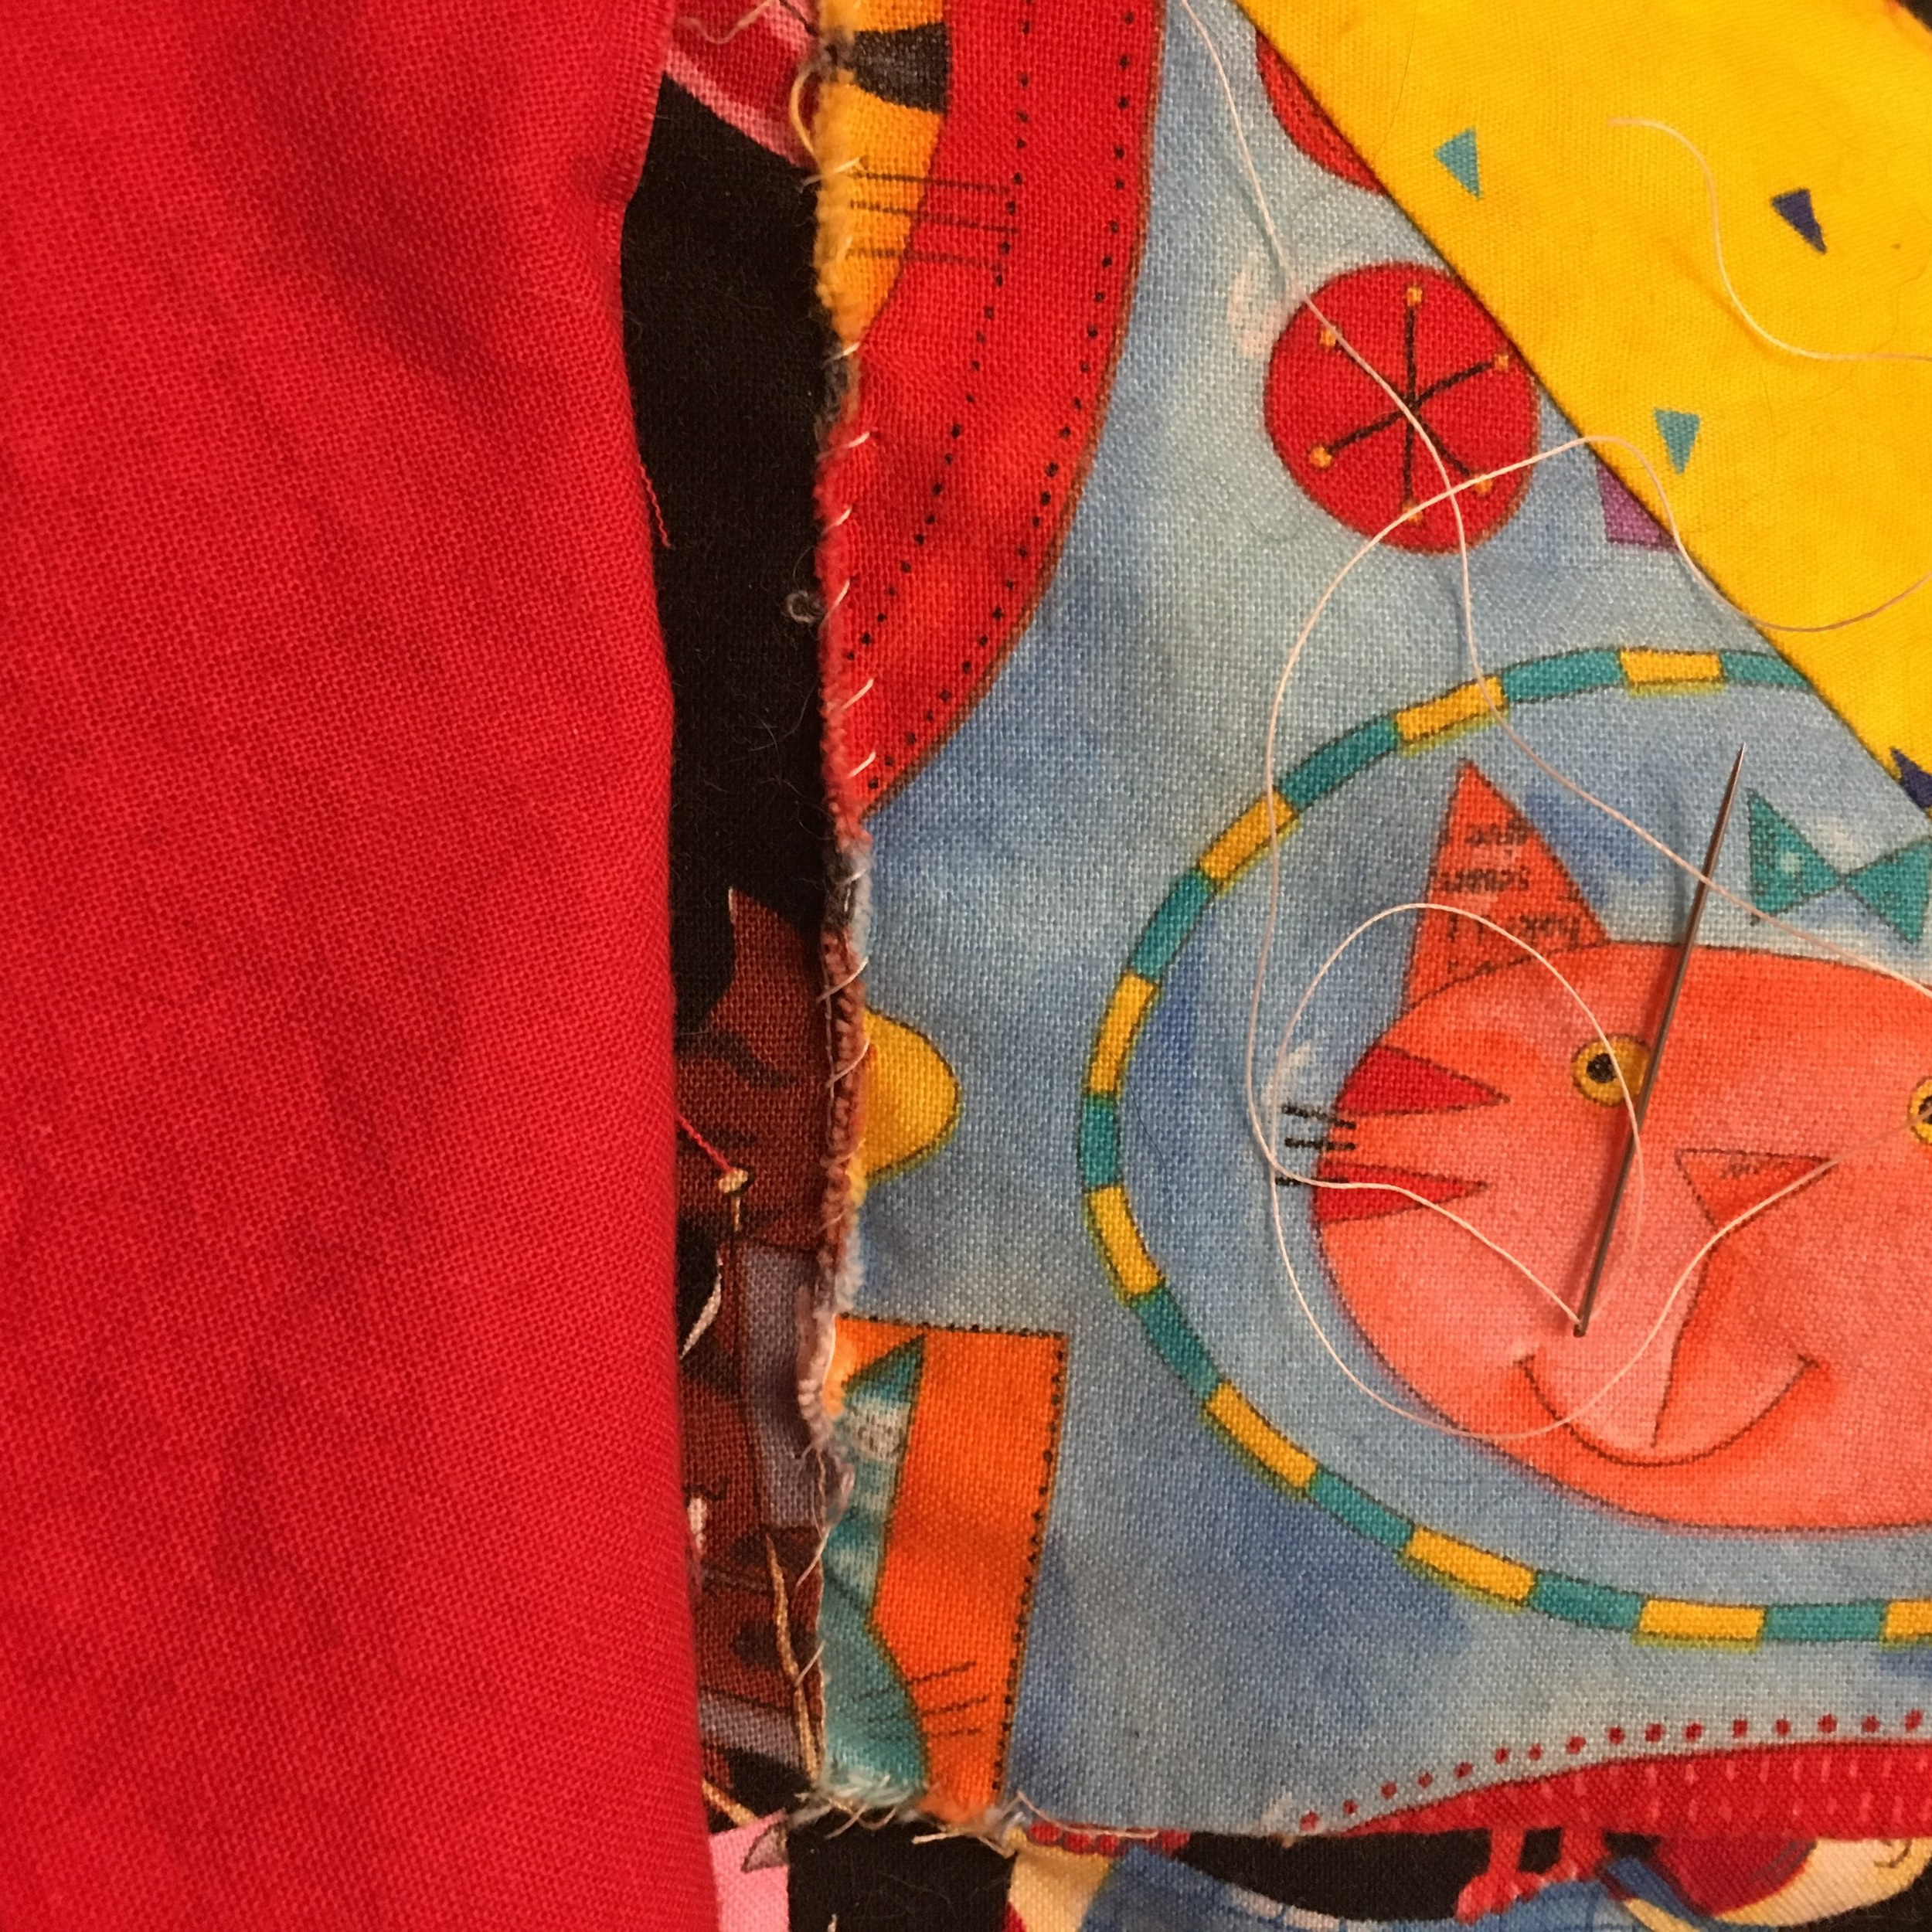
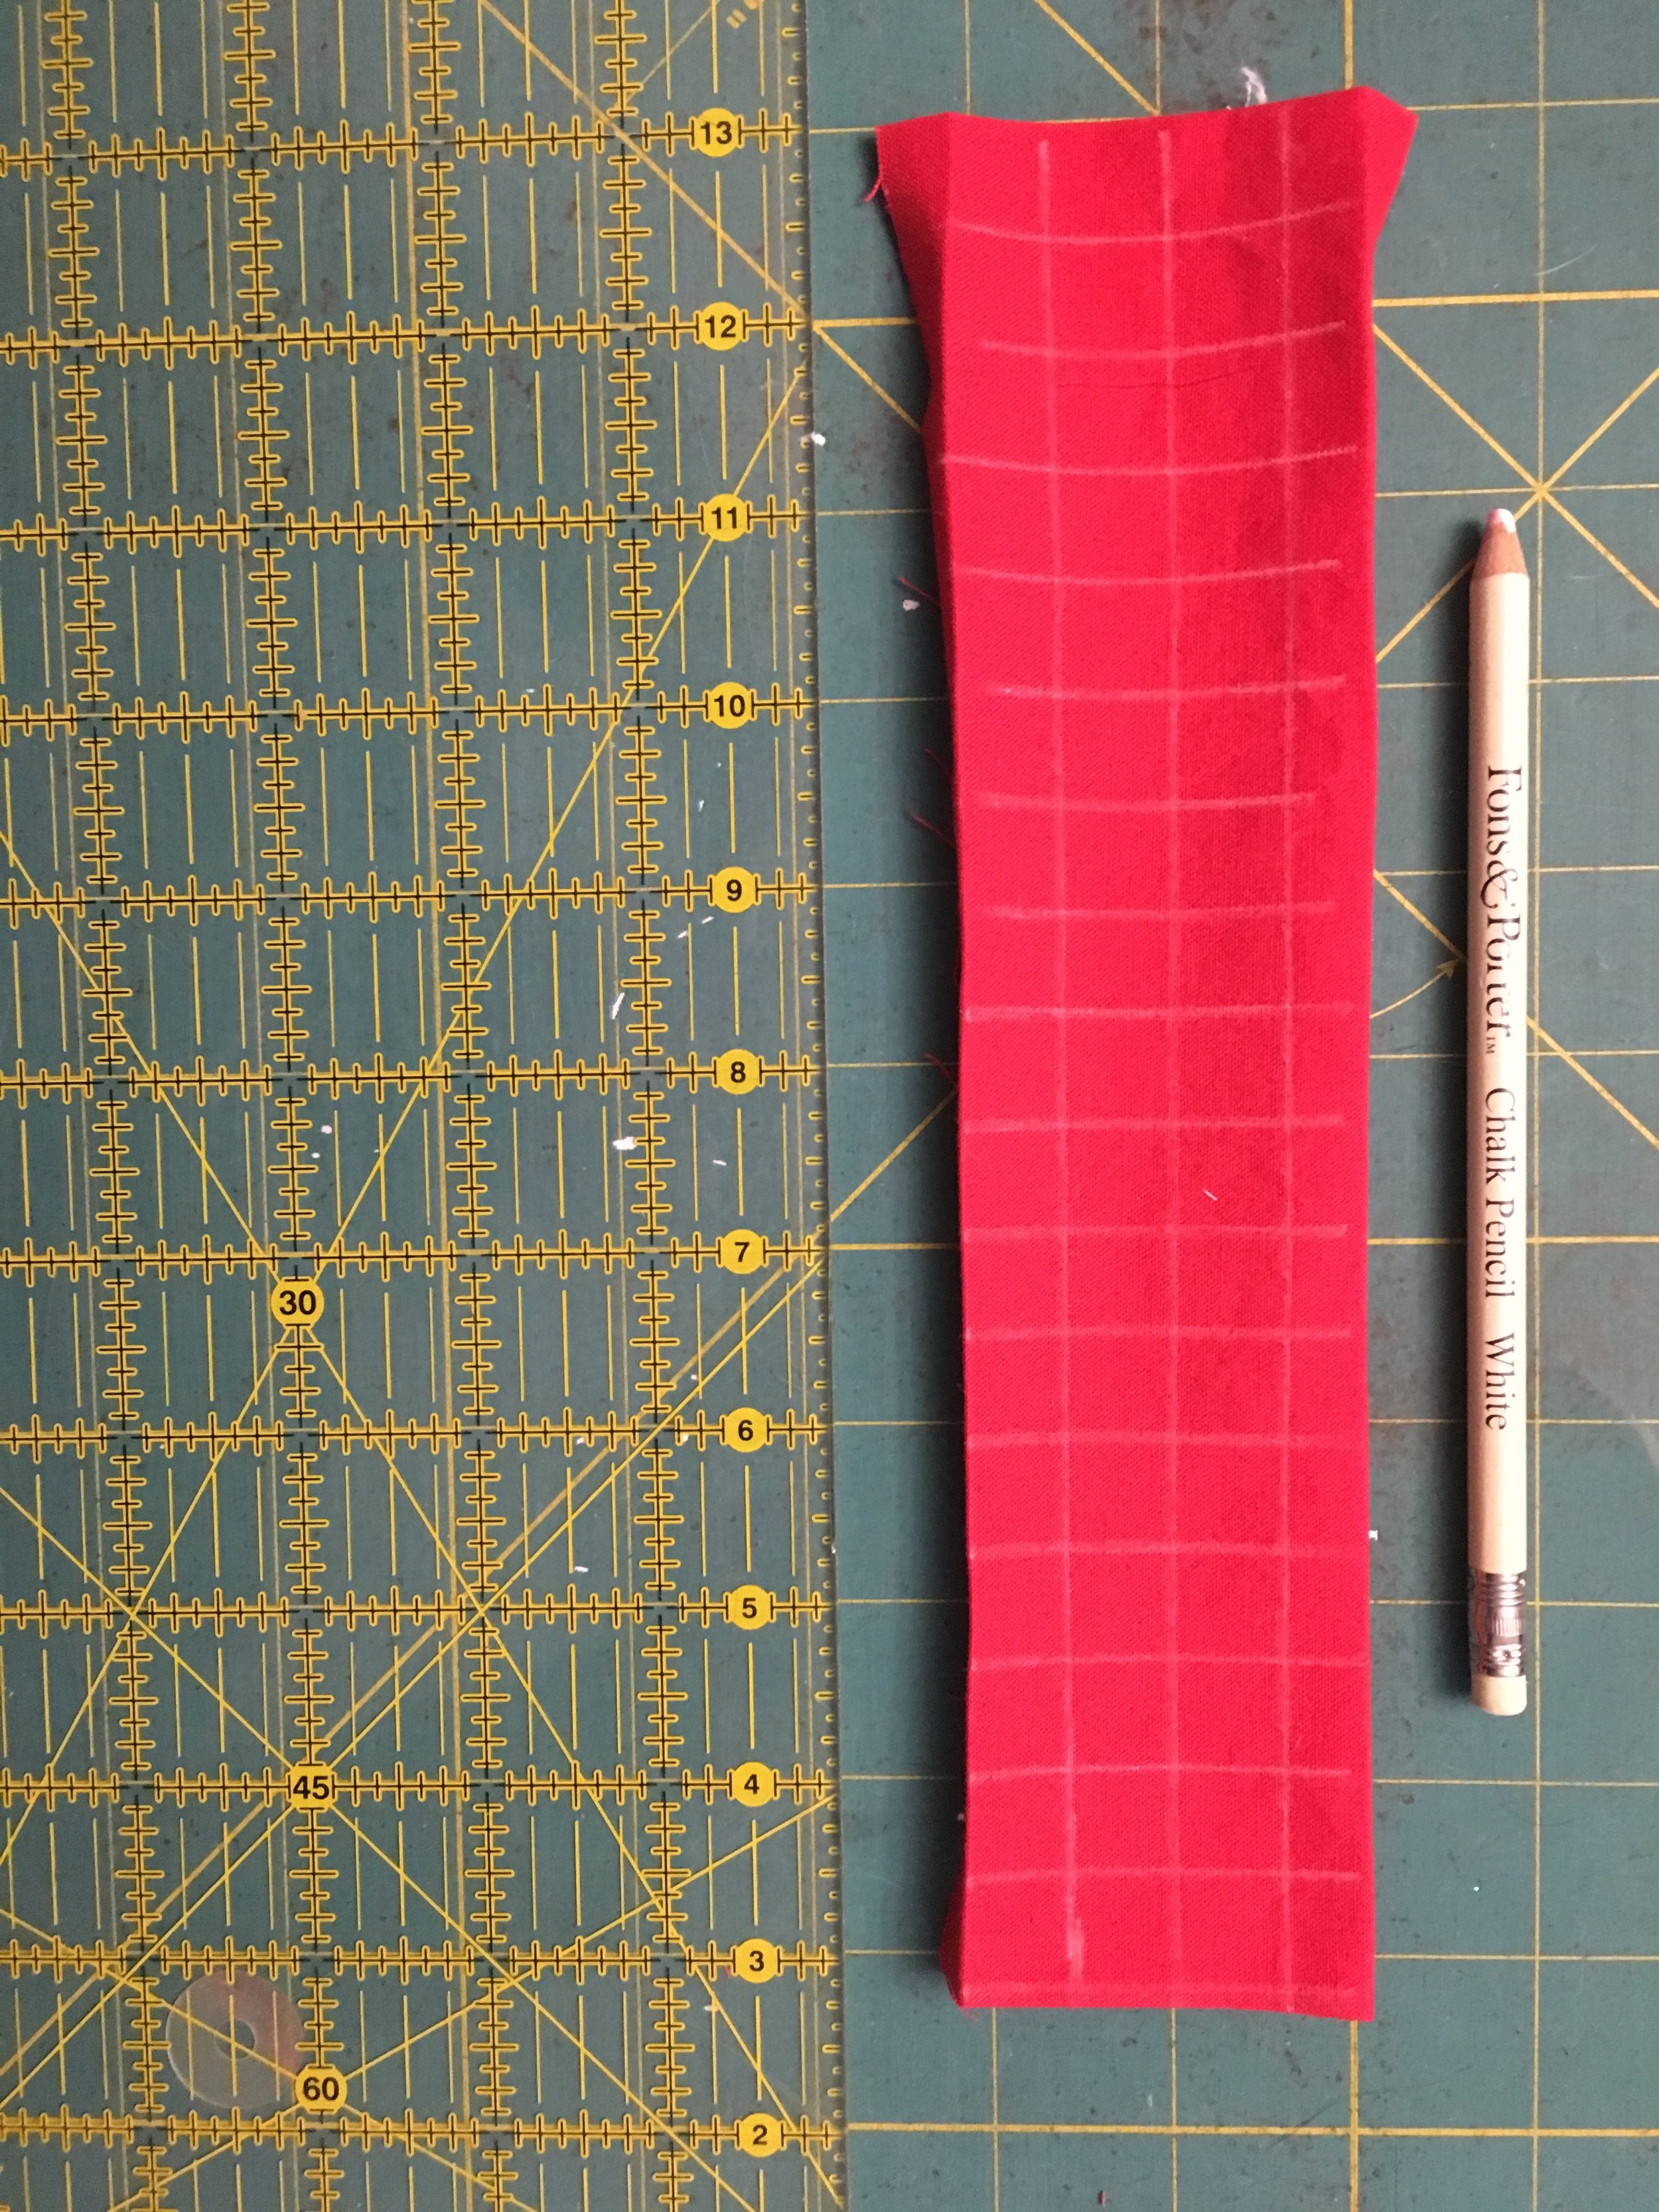
First I did a slip stitch to bring together the two fabrics in the open seam. Then I measured a cut a patch from a solid red cotton for the patch. Then I drew a 1/2 inch grid on the block with a Fons & Porter chalk pencil and pinned it to the quilt block.
Then I stitched the sashiko pattern per the instructions in the book. It only took me two hours to do all the stitching. I was surprised how quickly it stitched up!
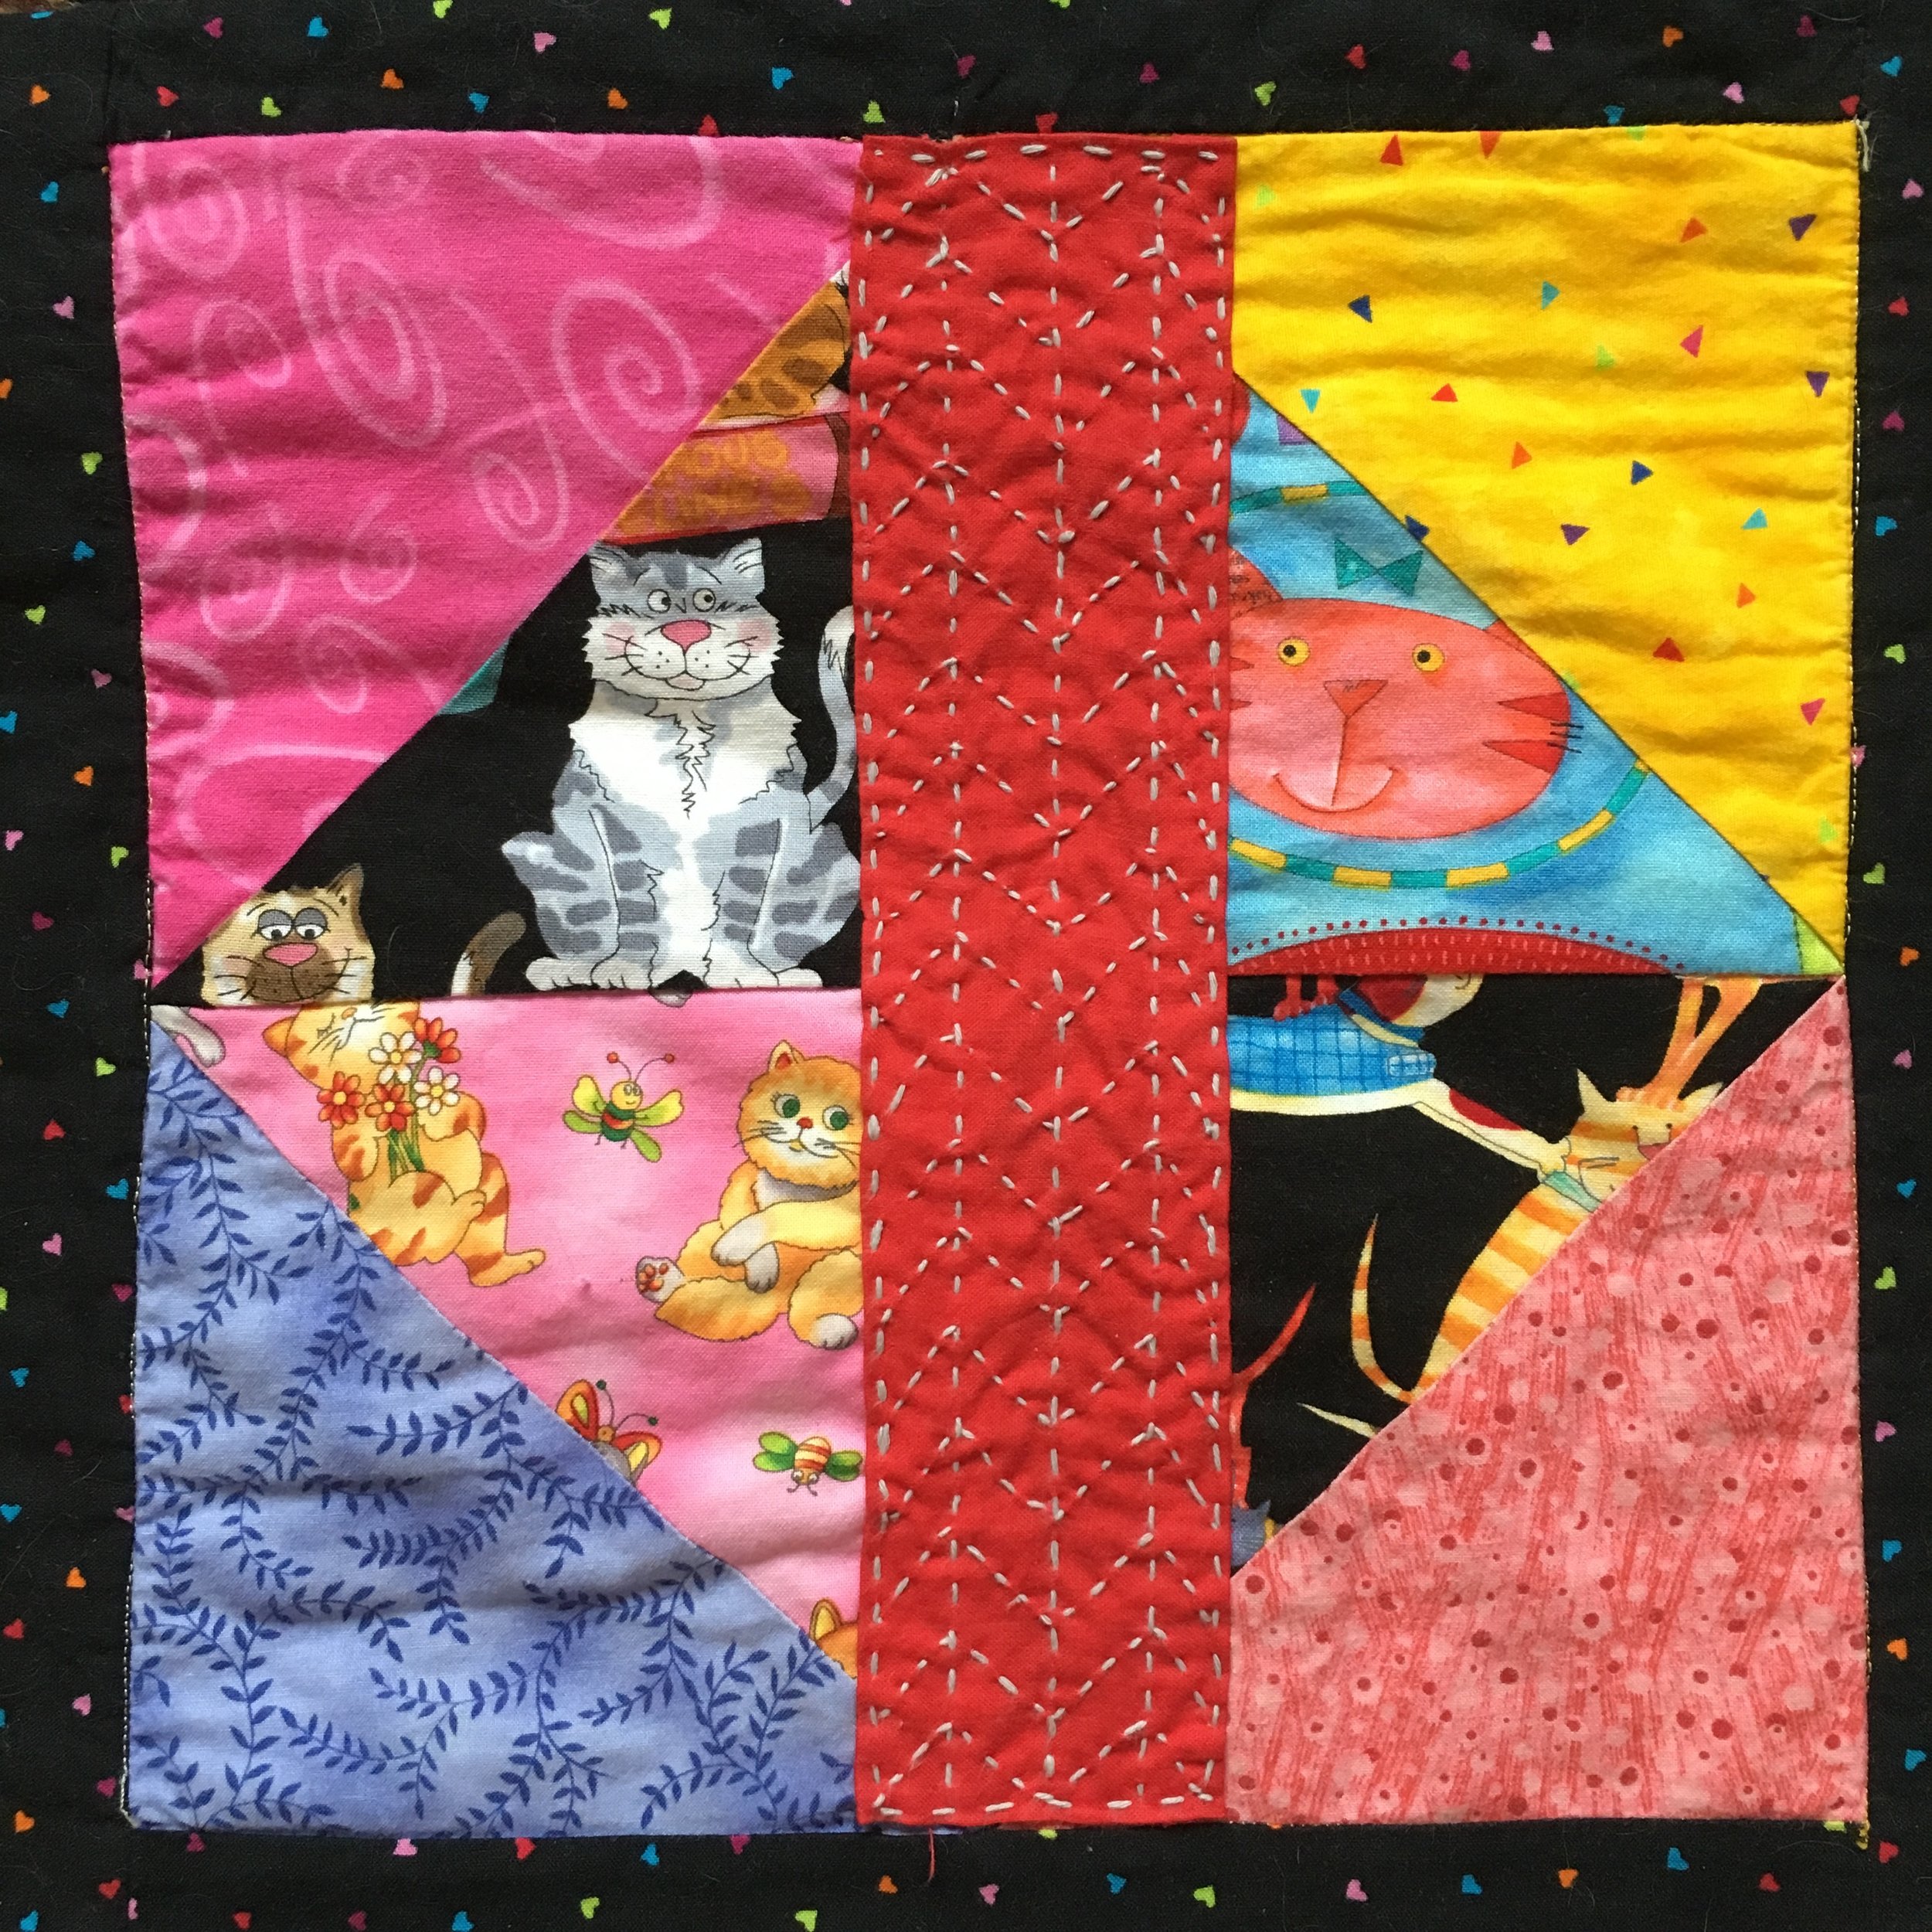
Here is the quilt with the repaired patch. I’m really happy with the repair. Rather than being a detraction, it adds interest to this special quilt.
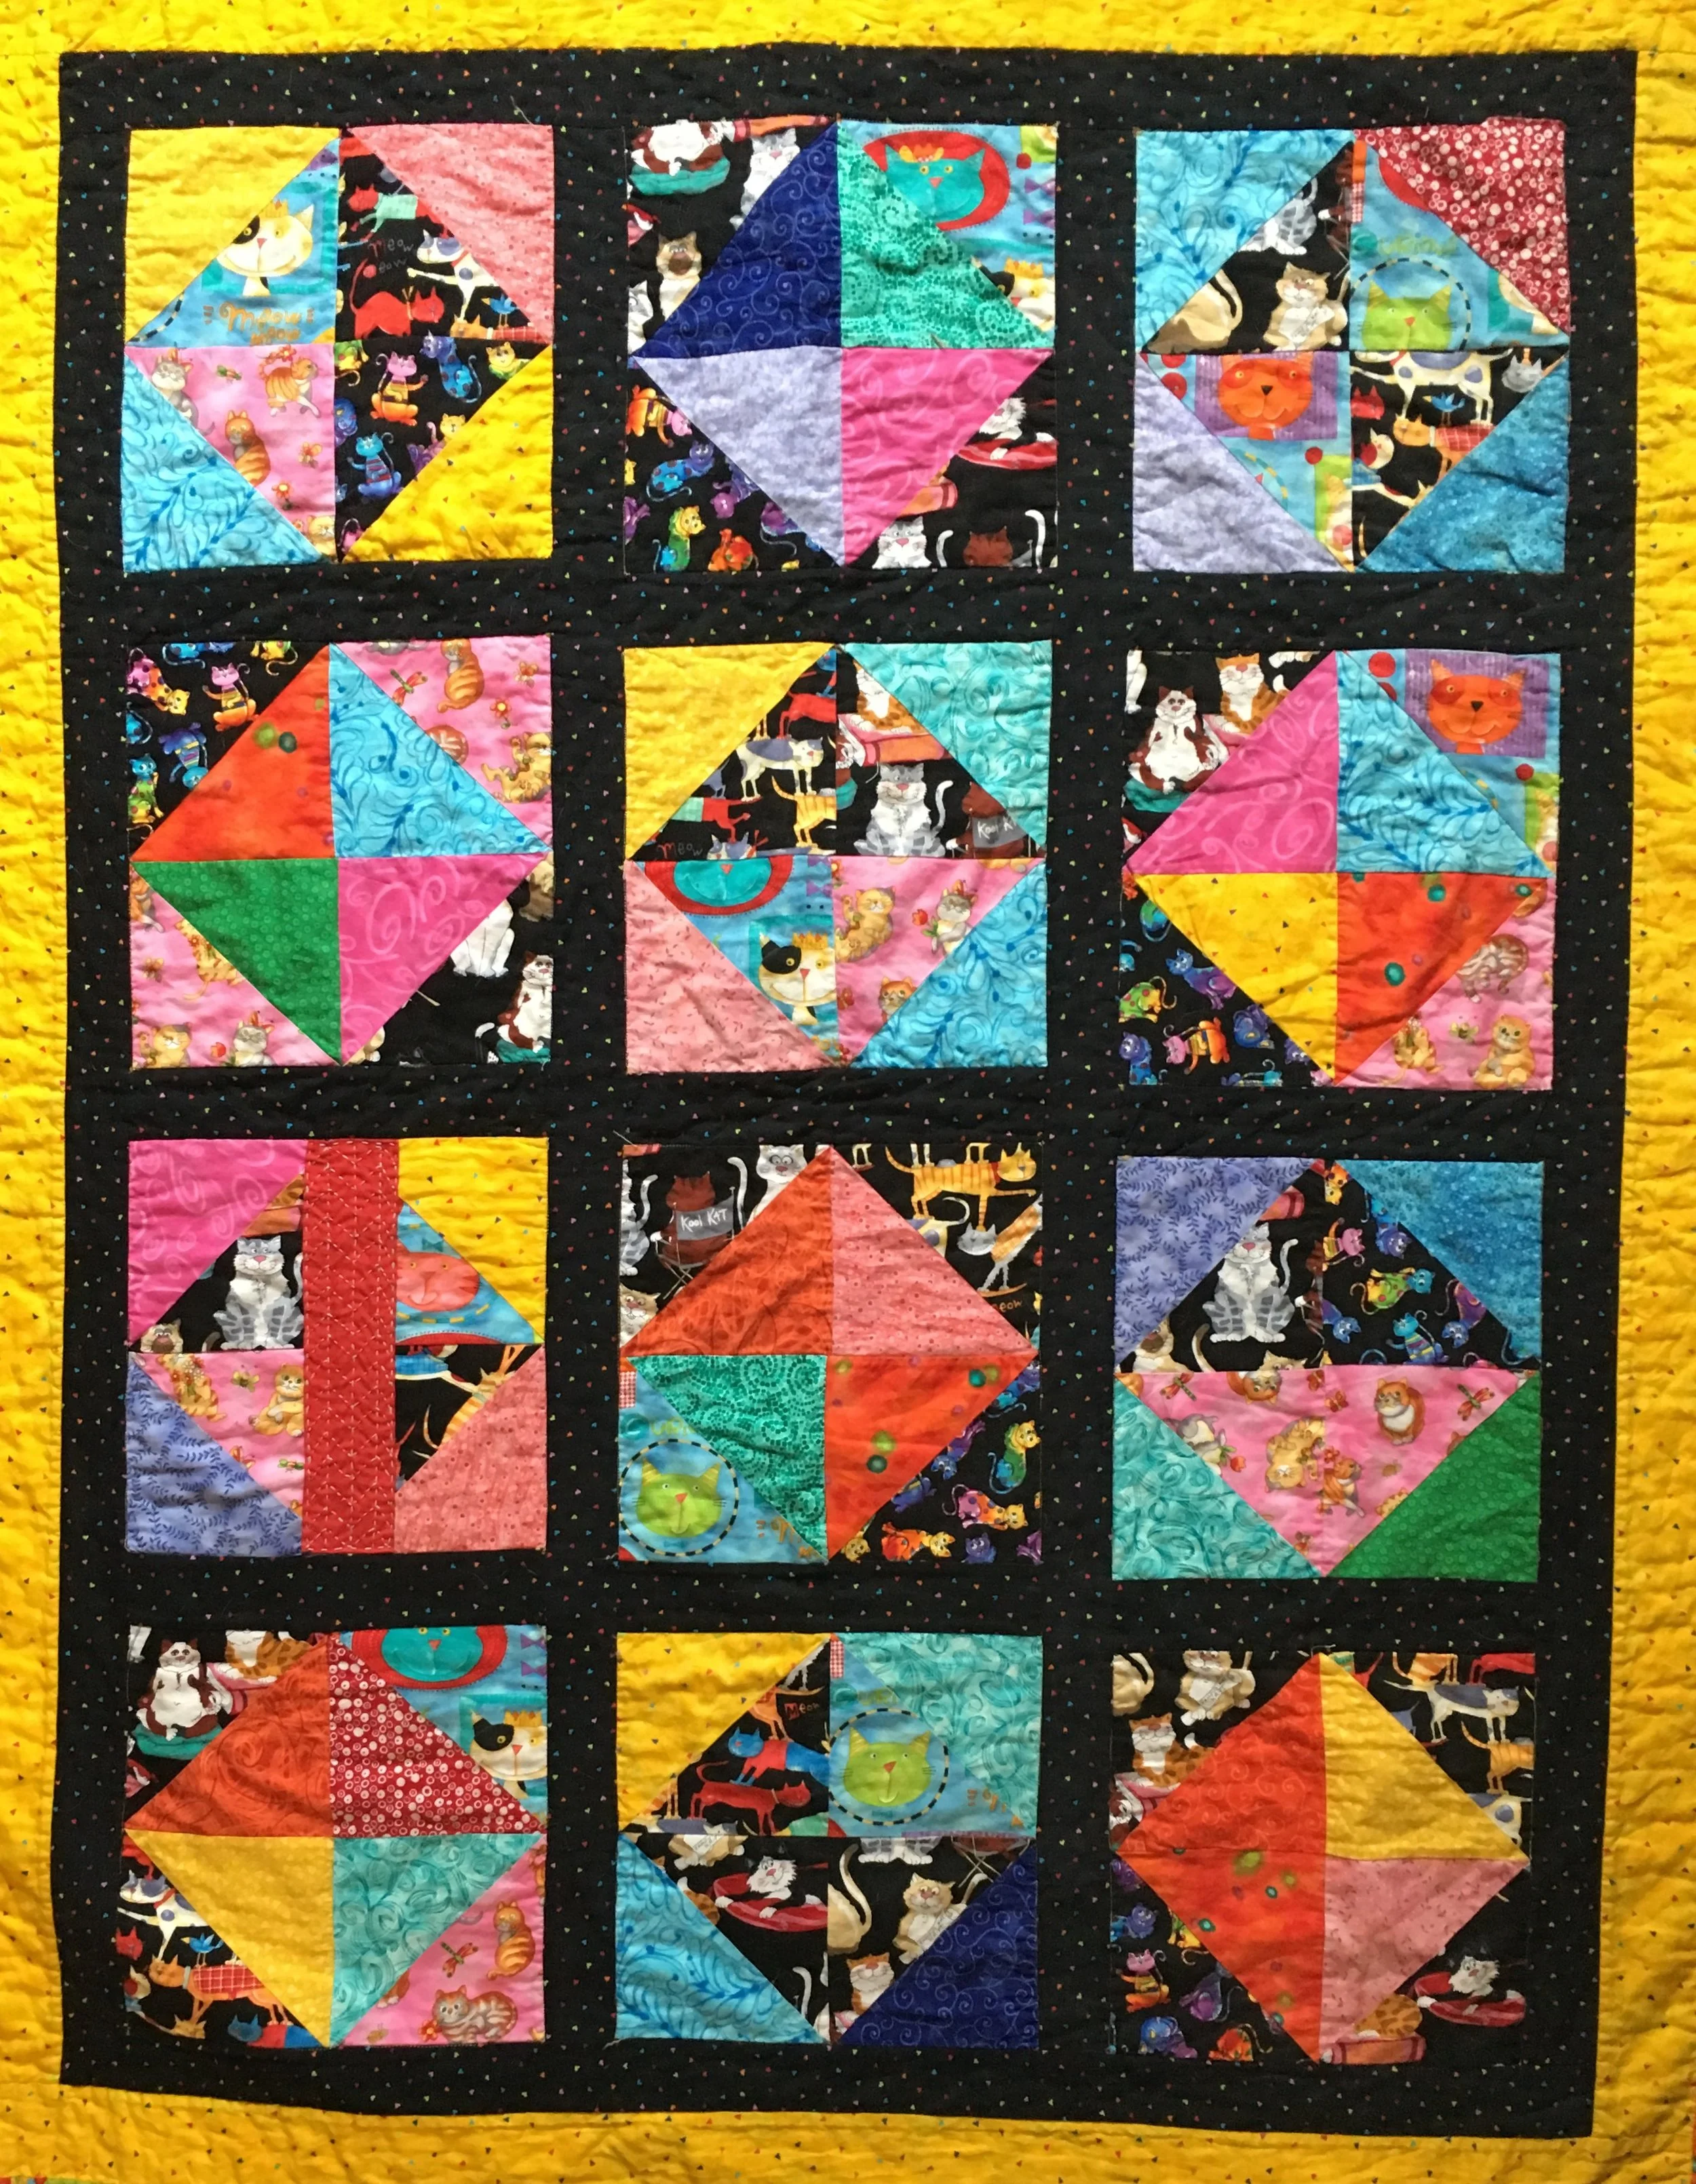
The sashiko mend plays happily with the blocks in this quilt. (Its in the far left rowd, 3rd block down).
Next time I’ll share a repair on a knit—-a mitten I use for dog walks.
Notice: This blog is not monetized: I do not use affiliate links. When there are links in a post, they are to give credit to another creative person, because I like or have used a product, or to help the reader easily find supplies for a project.