

Kona® cotton dyed with avocado pits. Top was first extraction with lemon juice added (acid), middle was the second extraction without any additives, bottom was second extraction, second used with baking soda added (alkali).
In my post last week, I started a review of Rebecca Desnos’s lovely book, Botanical Colour at your Fingertips. Rather than tell you all about the contents of the book, I thought I’d show you what I’ve done using Rebecca’s excellent instructions.
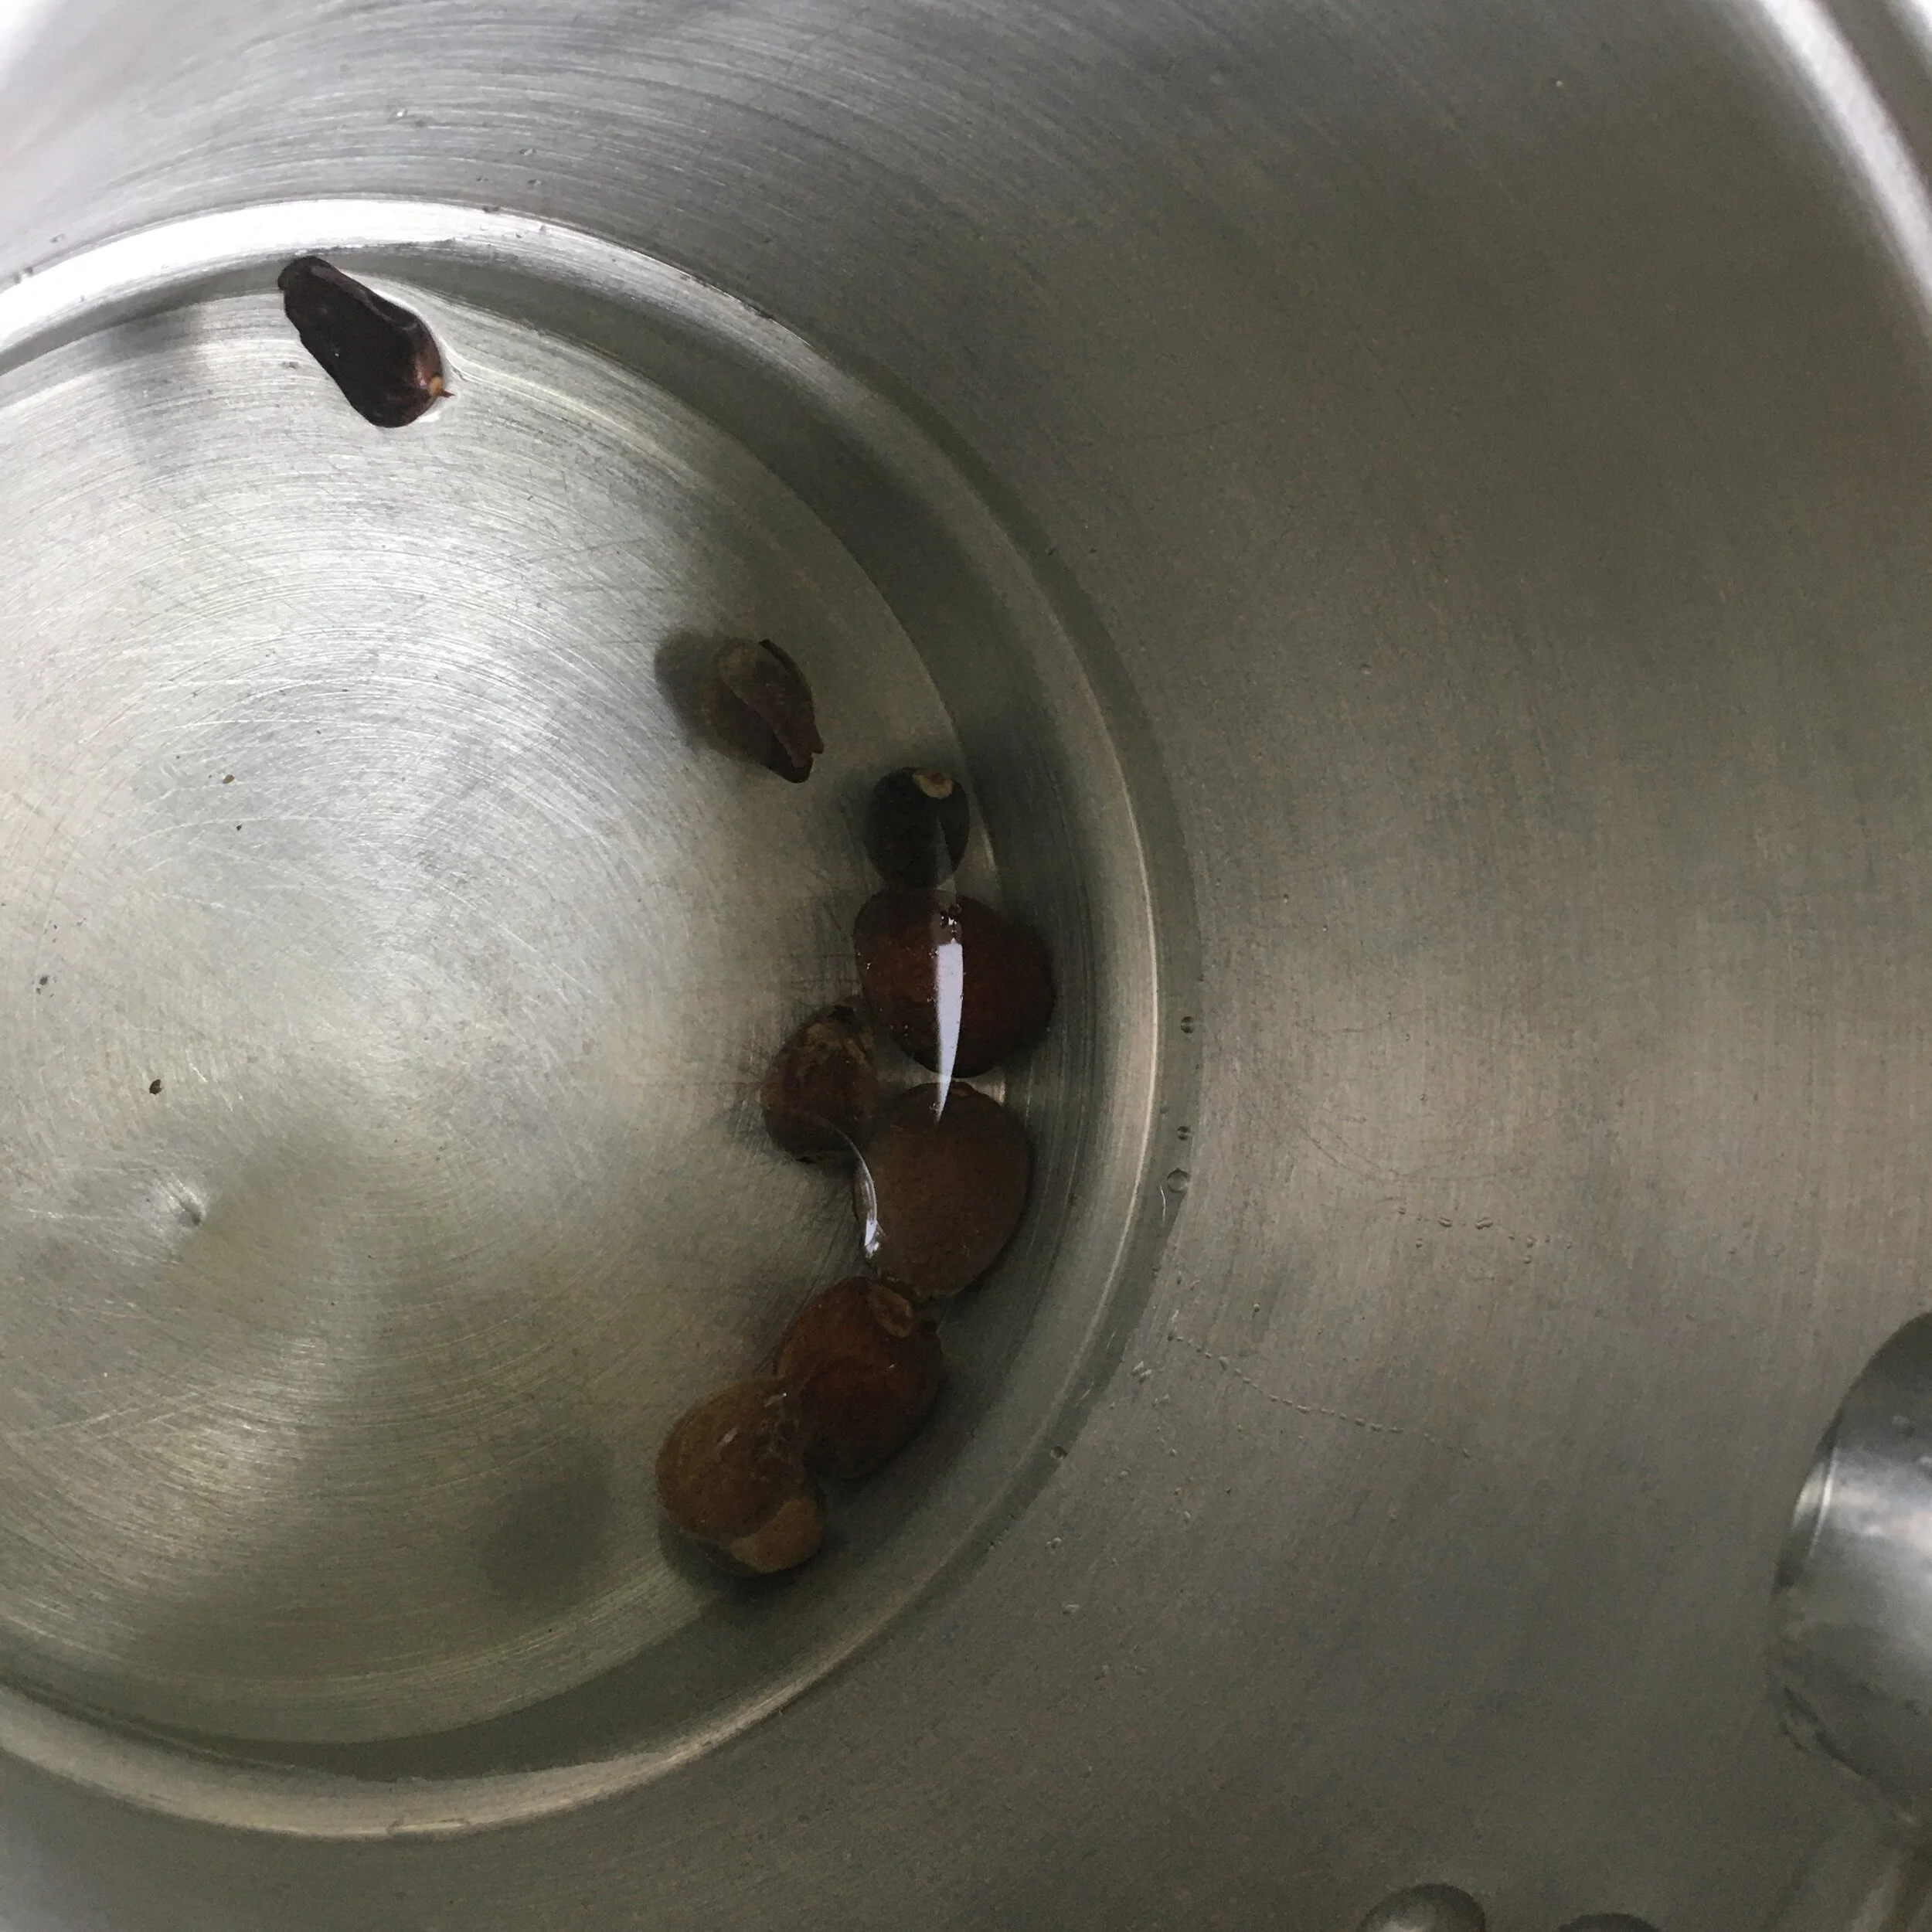
I do love pink, and when I read that avocado skins and pits create peach and pink dyes, that is were I decided to start. The avocado pits give a deeper color, and they are definitely easier to store, so my pink dye is derived from avocado pits.
So let’s get the dye pot on the stove to start the extractions from the avocado pits!

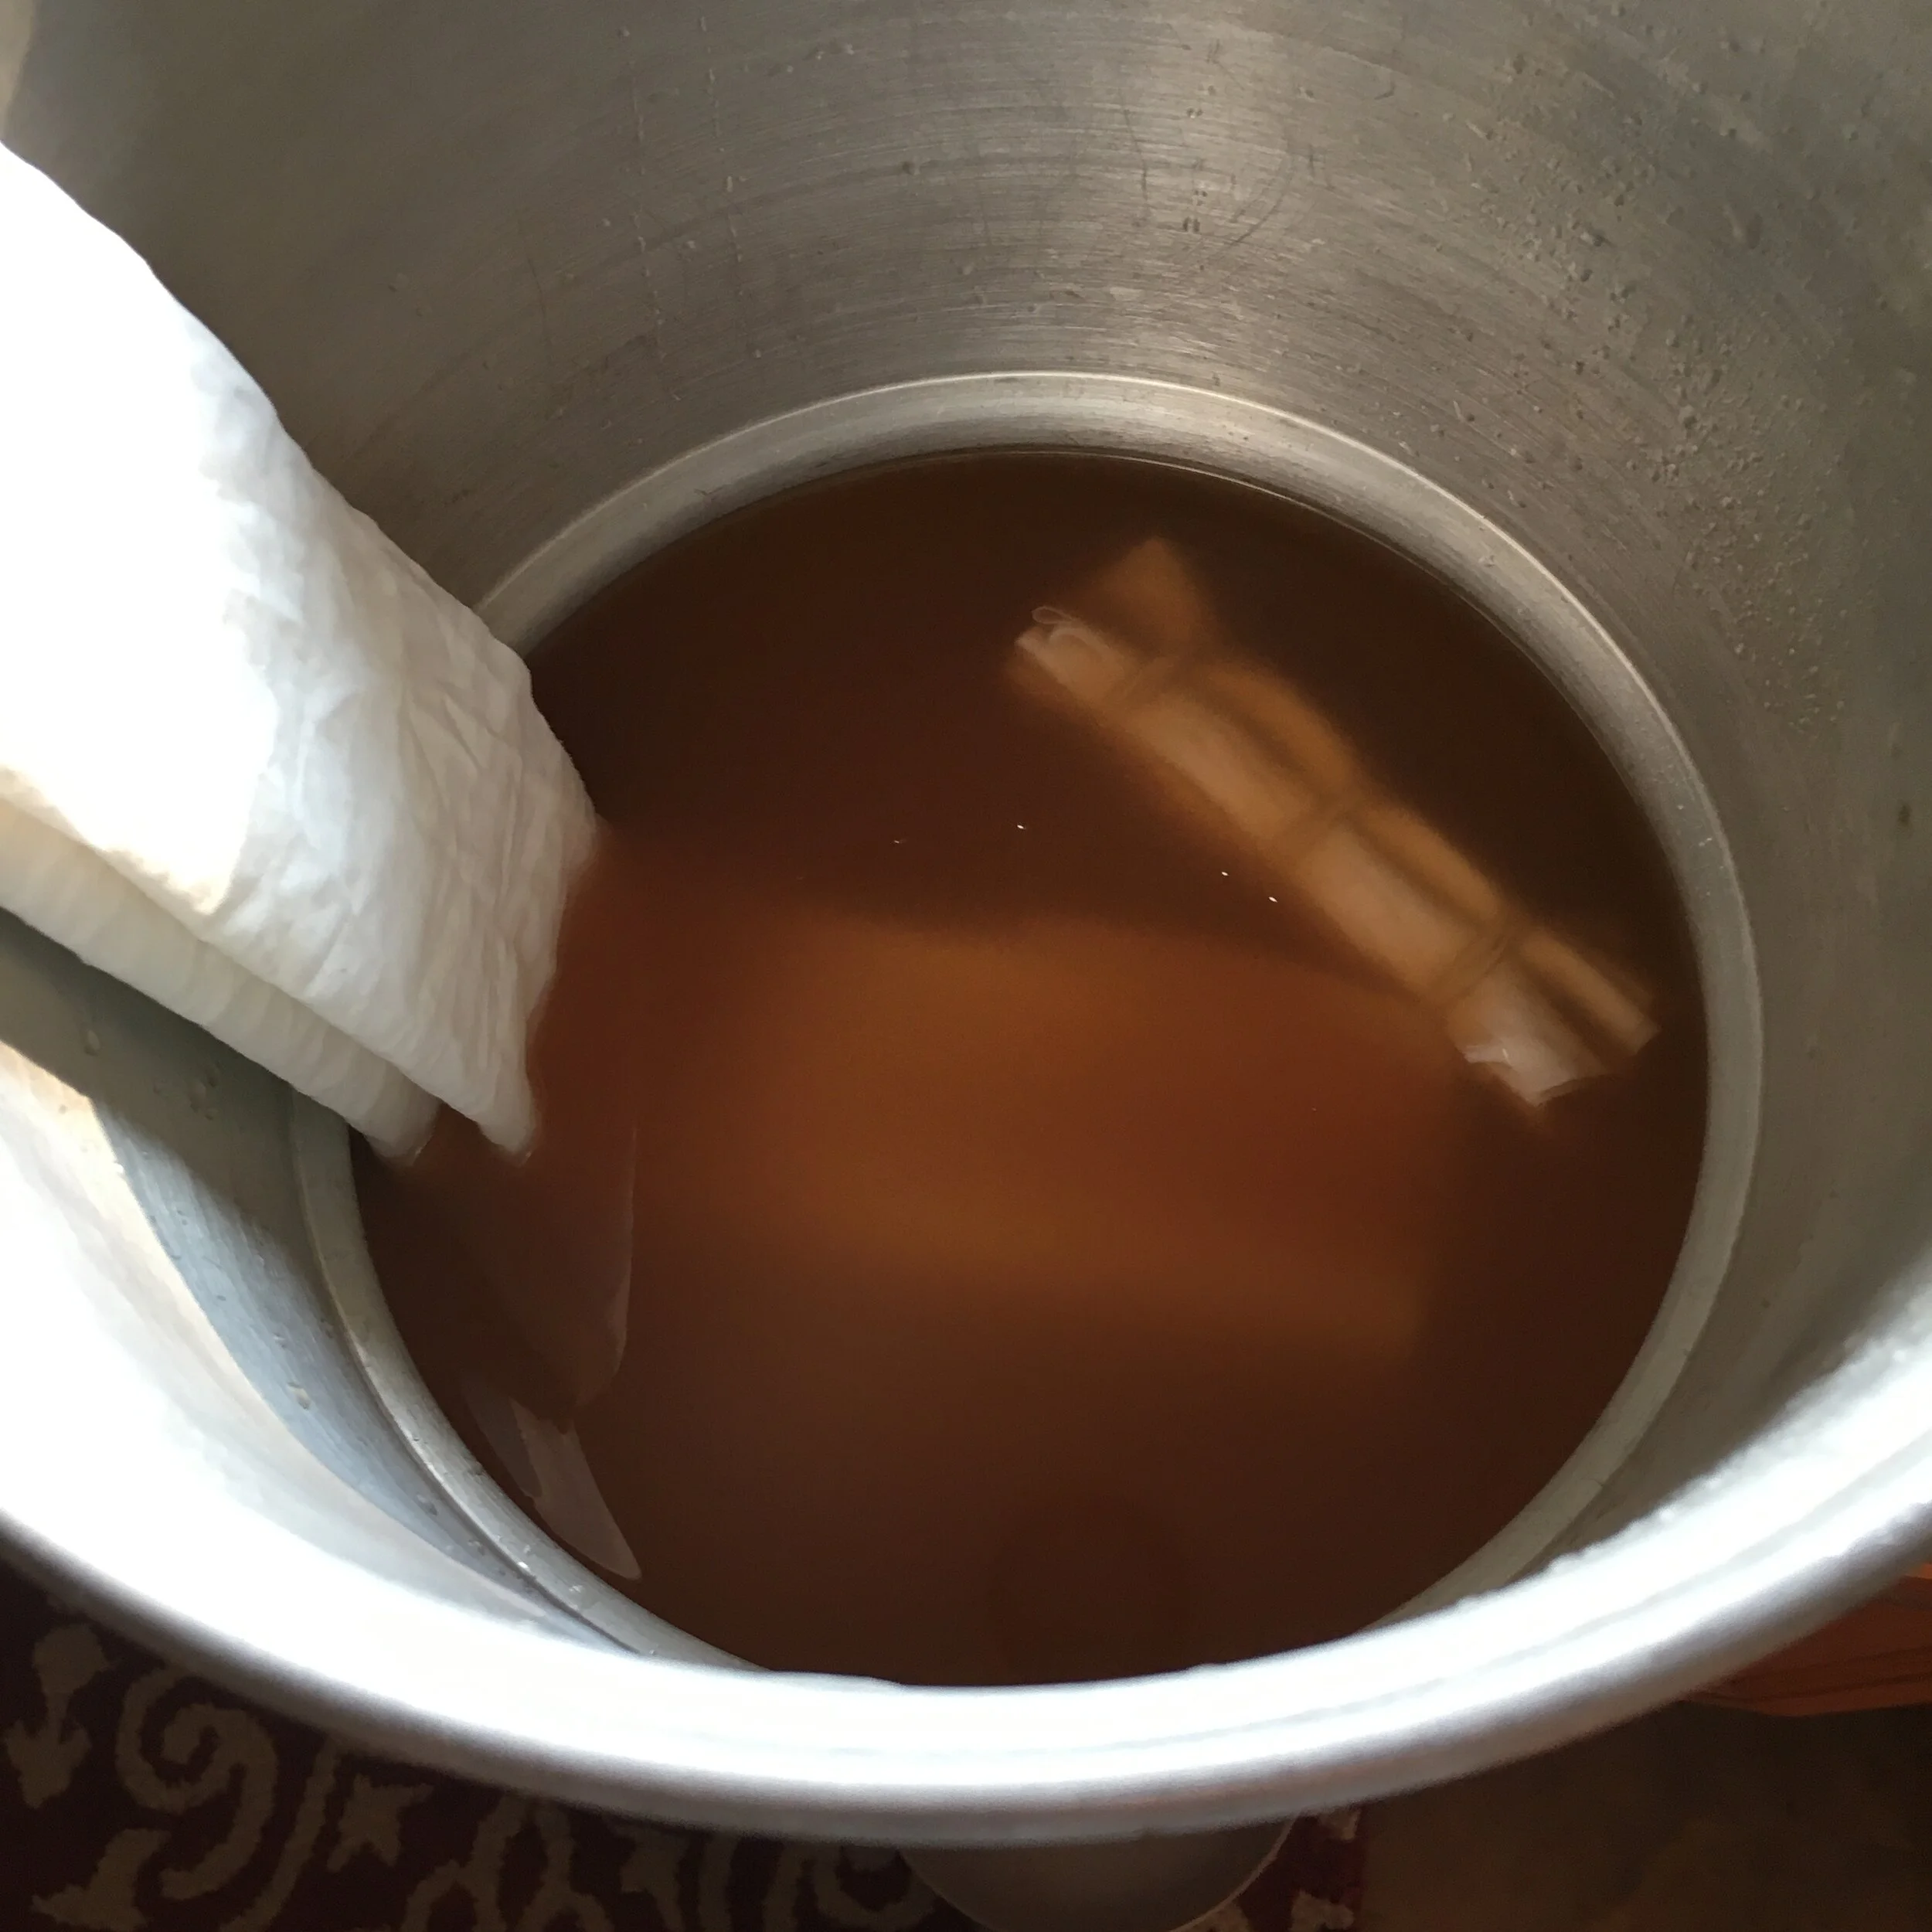
i have to say I was less than overwhelmed with the results I got from the first extraction from the avocado pits. The colors do get more vivid with a second extraction, but part of the problem I didn’t get a lot of color is that I folded a fat quarter of my fabric in too many layers, making it difficult for the dye to penetrate. You can see below that the color really only dyed the edges of the folds and the two bits of fabric that were the outside folds.

Avocado pit dye, first extraction, folded fabric
I also tried creating an ombré by dipping one end of some folded fabric in the dye pot and leaving the other just inside the rim at the top of the pot. It looks like he Kona® cotton didn’t wick very well. So my ombré is barely visible in the final fabric. There is almost a hard line that shows which part of the fabric was submersed in the dye.

I added some lemon juice to the first extraction to make the dye pot more acidic, and that created the lovely light brown dye. (See above top).
The color was a deeper pink with the second time I boiled the avocado pulp. (See middle fabric at top). I also use a smaller pieces of fabric with in the second dye lot which helped too.
Finally i decided to add baking soda to the dye bath to see what an alkali dye would do. One unexpected side effect of that is that the dye nearly boiled over a couple times. it really frothed up and tried to climb out of the pot! So I had to watch it closely and keep the pot on a very low simmer. It looked like the color was going to be deeper and more purple. I does have a light purple cast (bottom fabric at top) but it definitely isn’t deeper.
So that’s it so far with my adventures with natural dyeing with avocado pits. I did put the avocado pit pulp in the freeze and maybe someday I’ll see what happens with extracting a third dye pot lot with the mash.
In my next post, I’ll show you what I’ve done with plants from the garden.