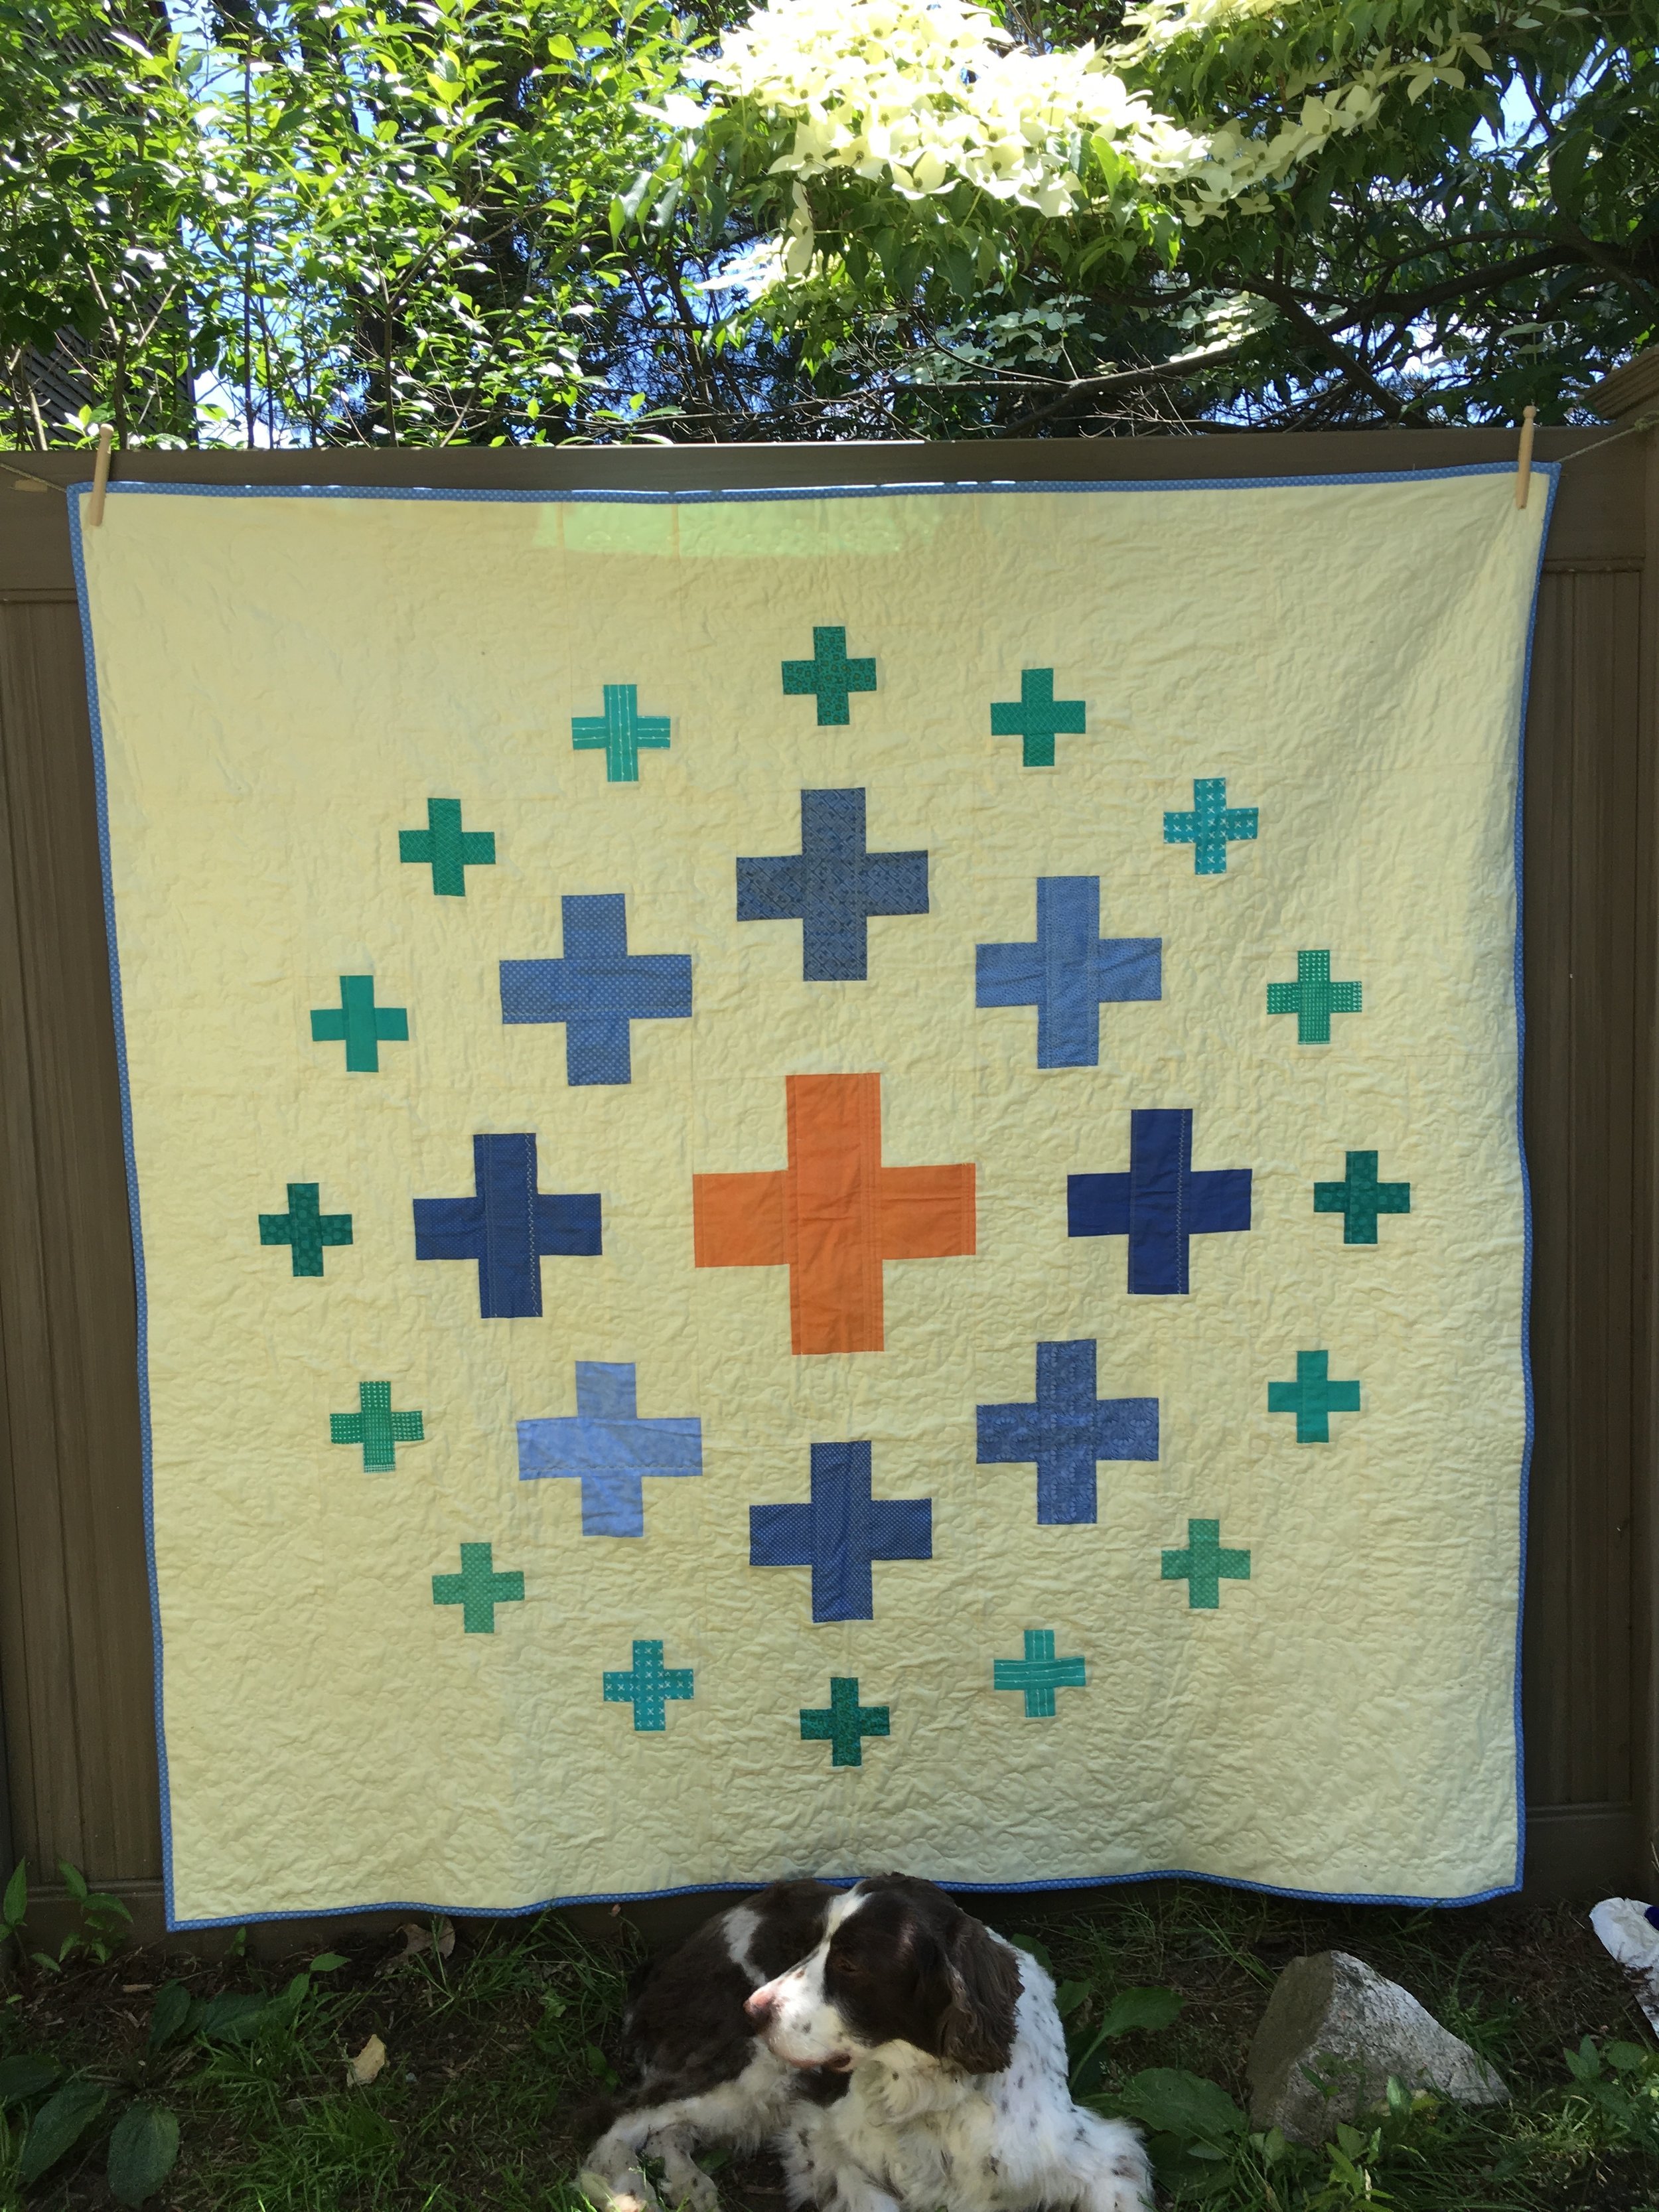
Scrappy "Plus Surround" Quilt after washing and drying
If you read my post on June 28, Scrappy "Plus Surround" Quilt, you'll know I wasn't thrilled with the quilting in the negative space. Even though I choose the quilting design, the free motion loops just didn't do much for me.
With nothing to loose, I tossed it into the washer and then the drier. (I have to admit, I do that to most of the quilts I make--IF I'm not planning to put them in a local quilt show), When I took it out of the drier, the quilting had a lovely nubby texture, the loopy design had essentially disappeared and the quilt was soft and cuddly!
I was suddenly in love!! I actually do prefer my quilts to have that antique-like soft puckering that occurs when the quilt is washed and dried. But I can't think of another quilt I've made where washing and drying made such a big difference in how I felt about the quilt!

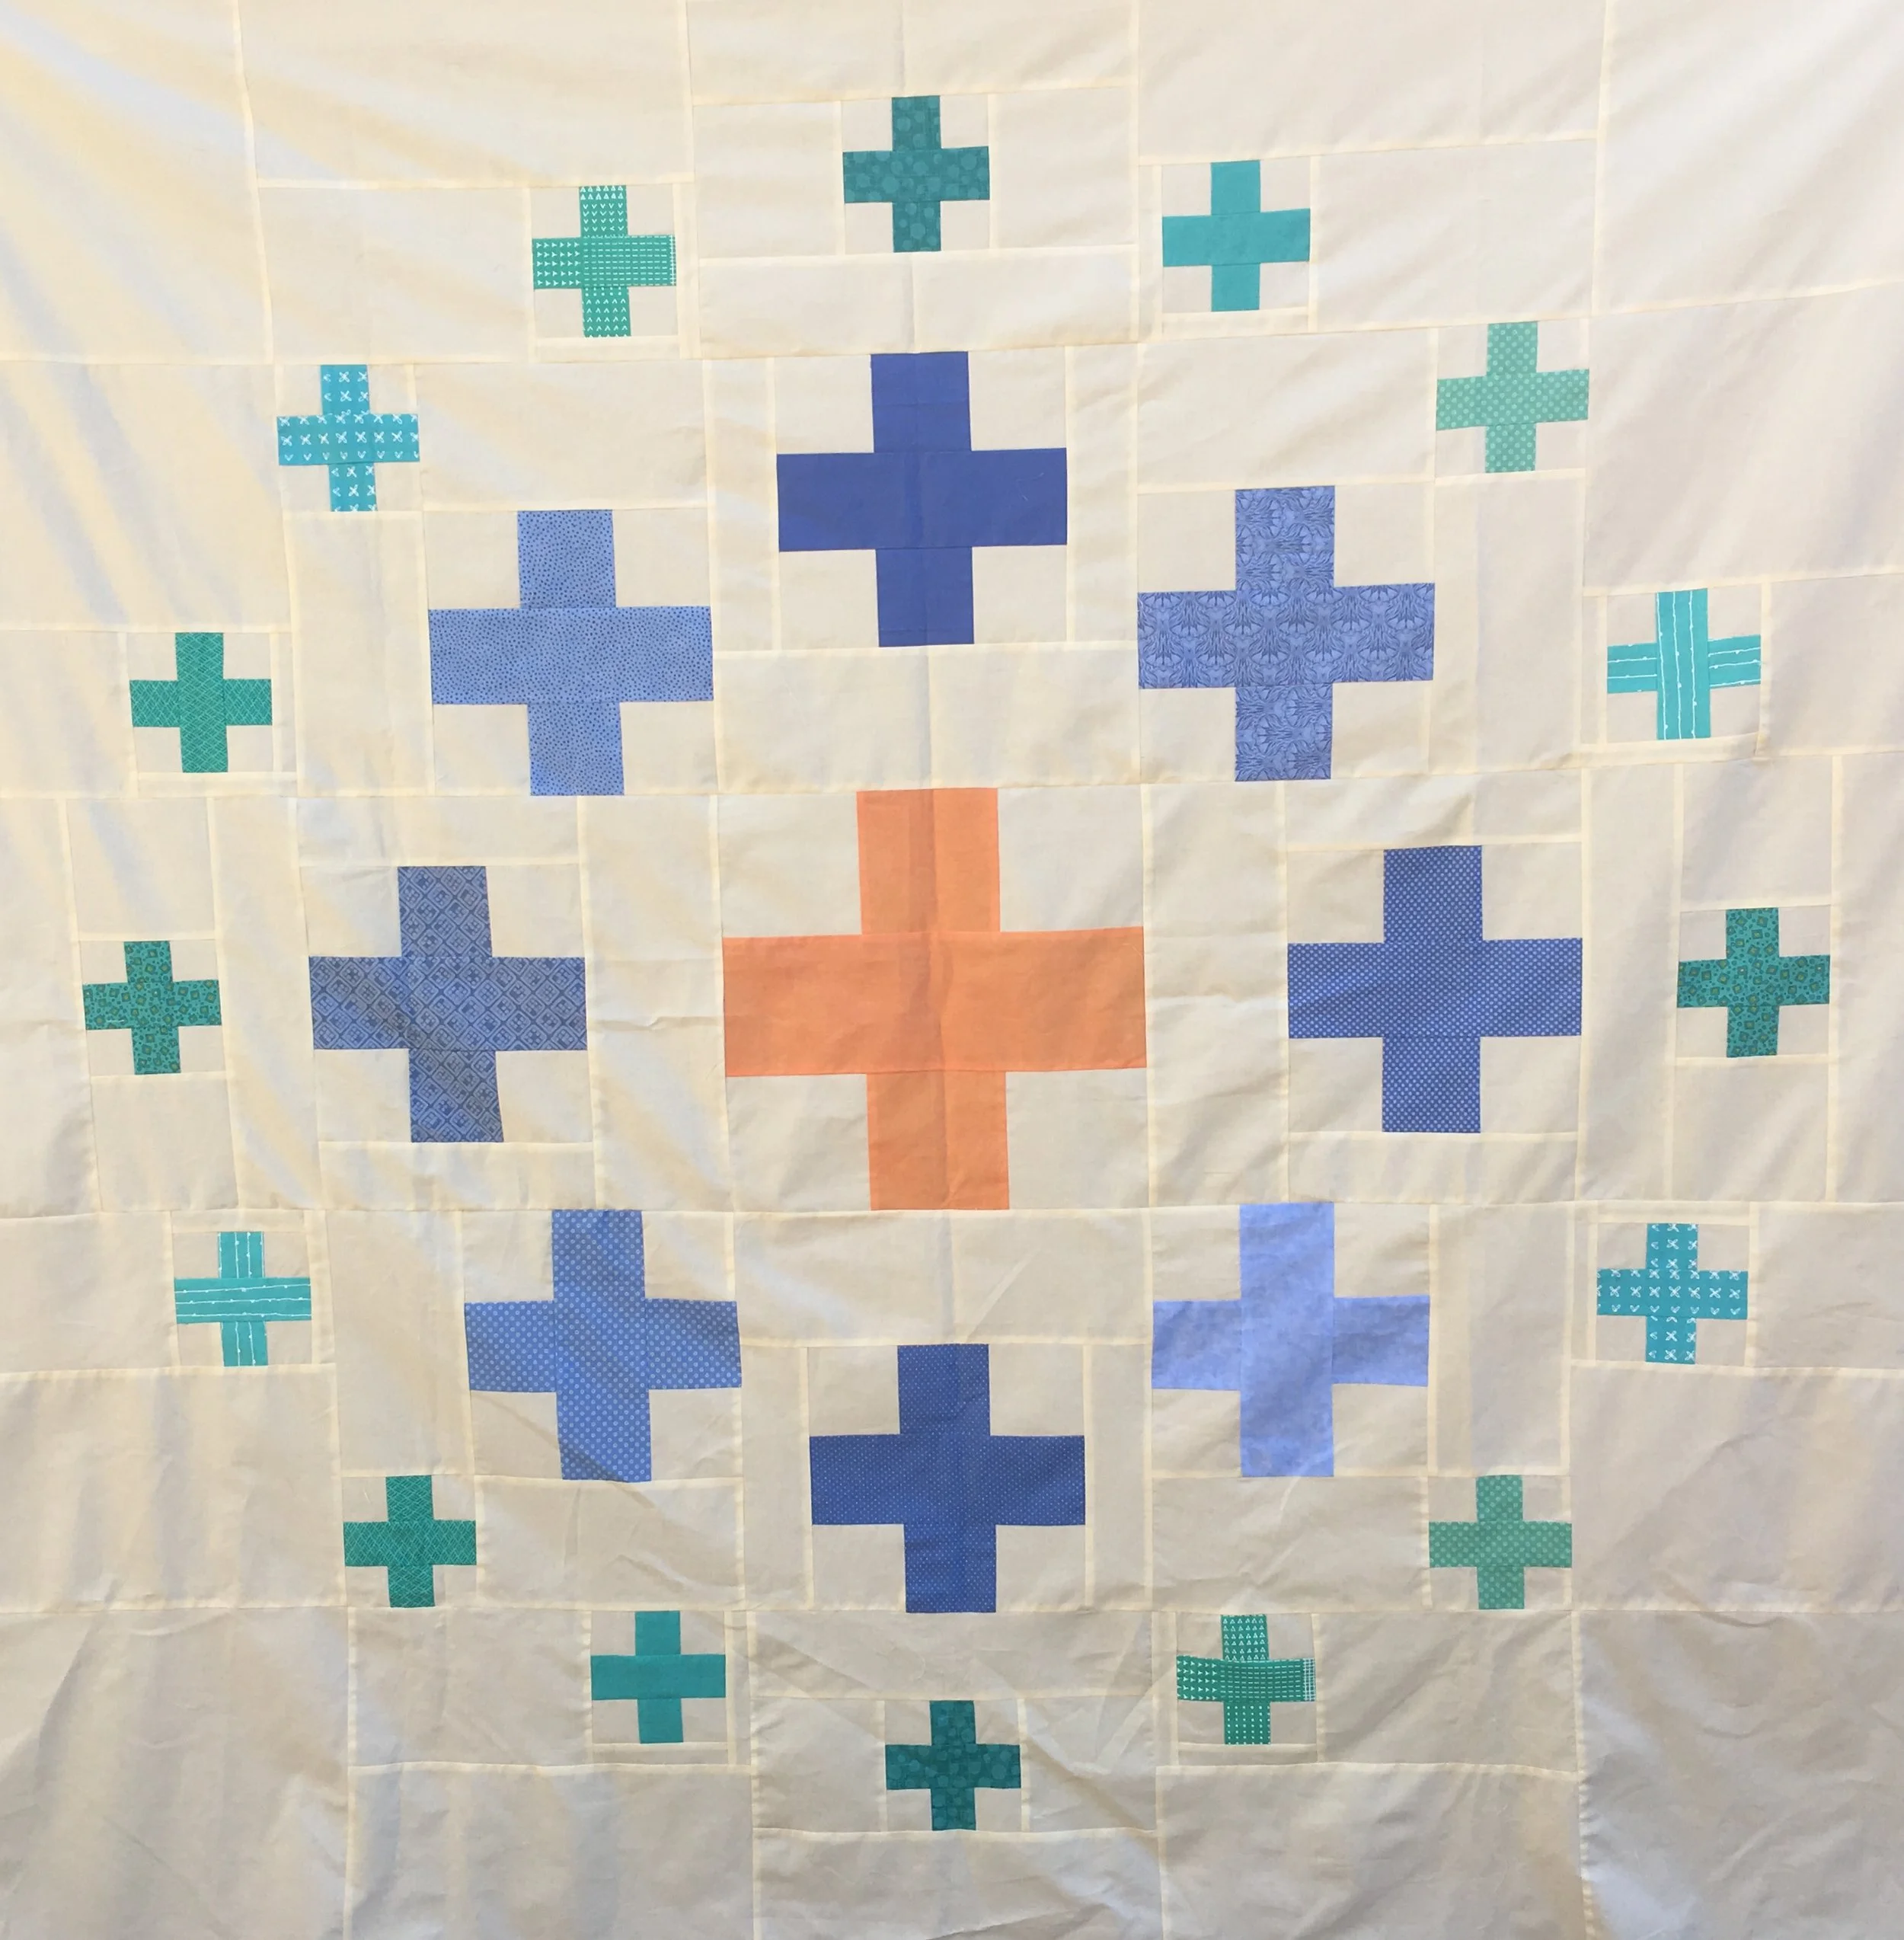
Detail of the washed quilting
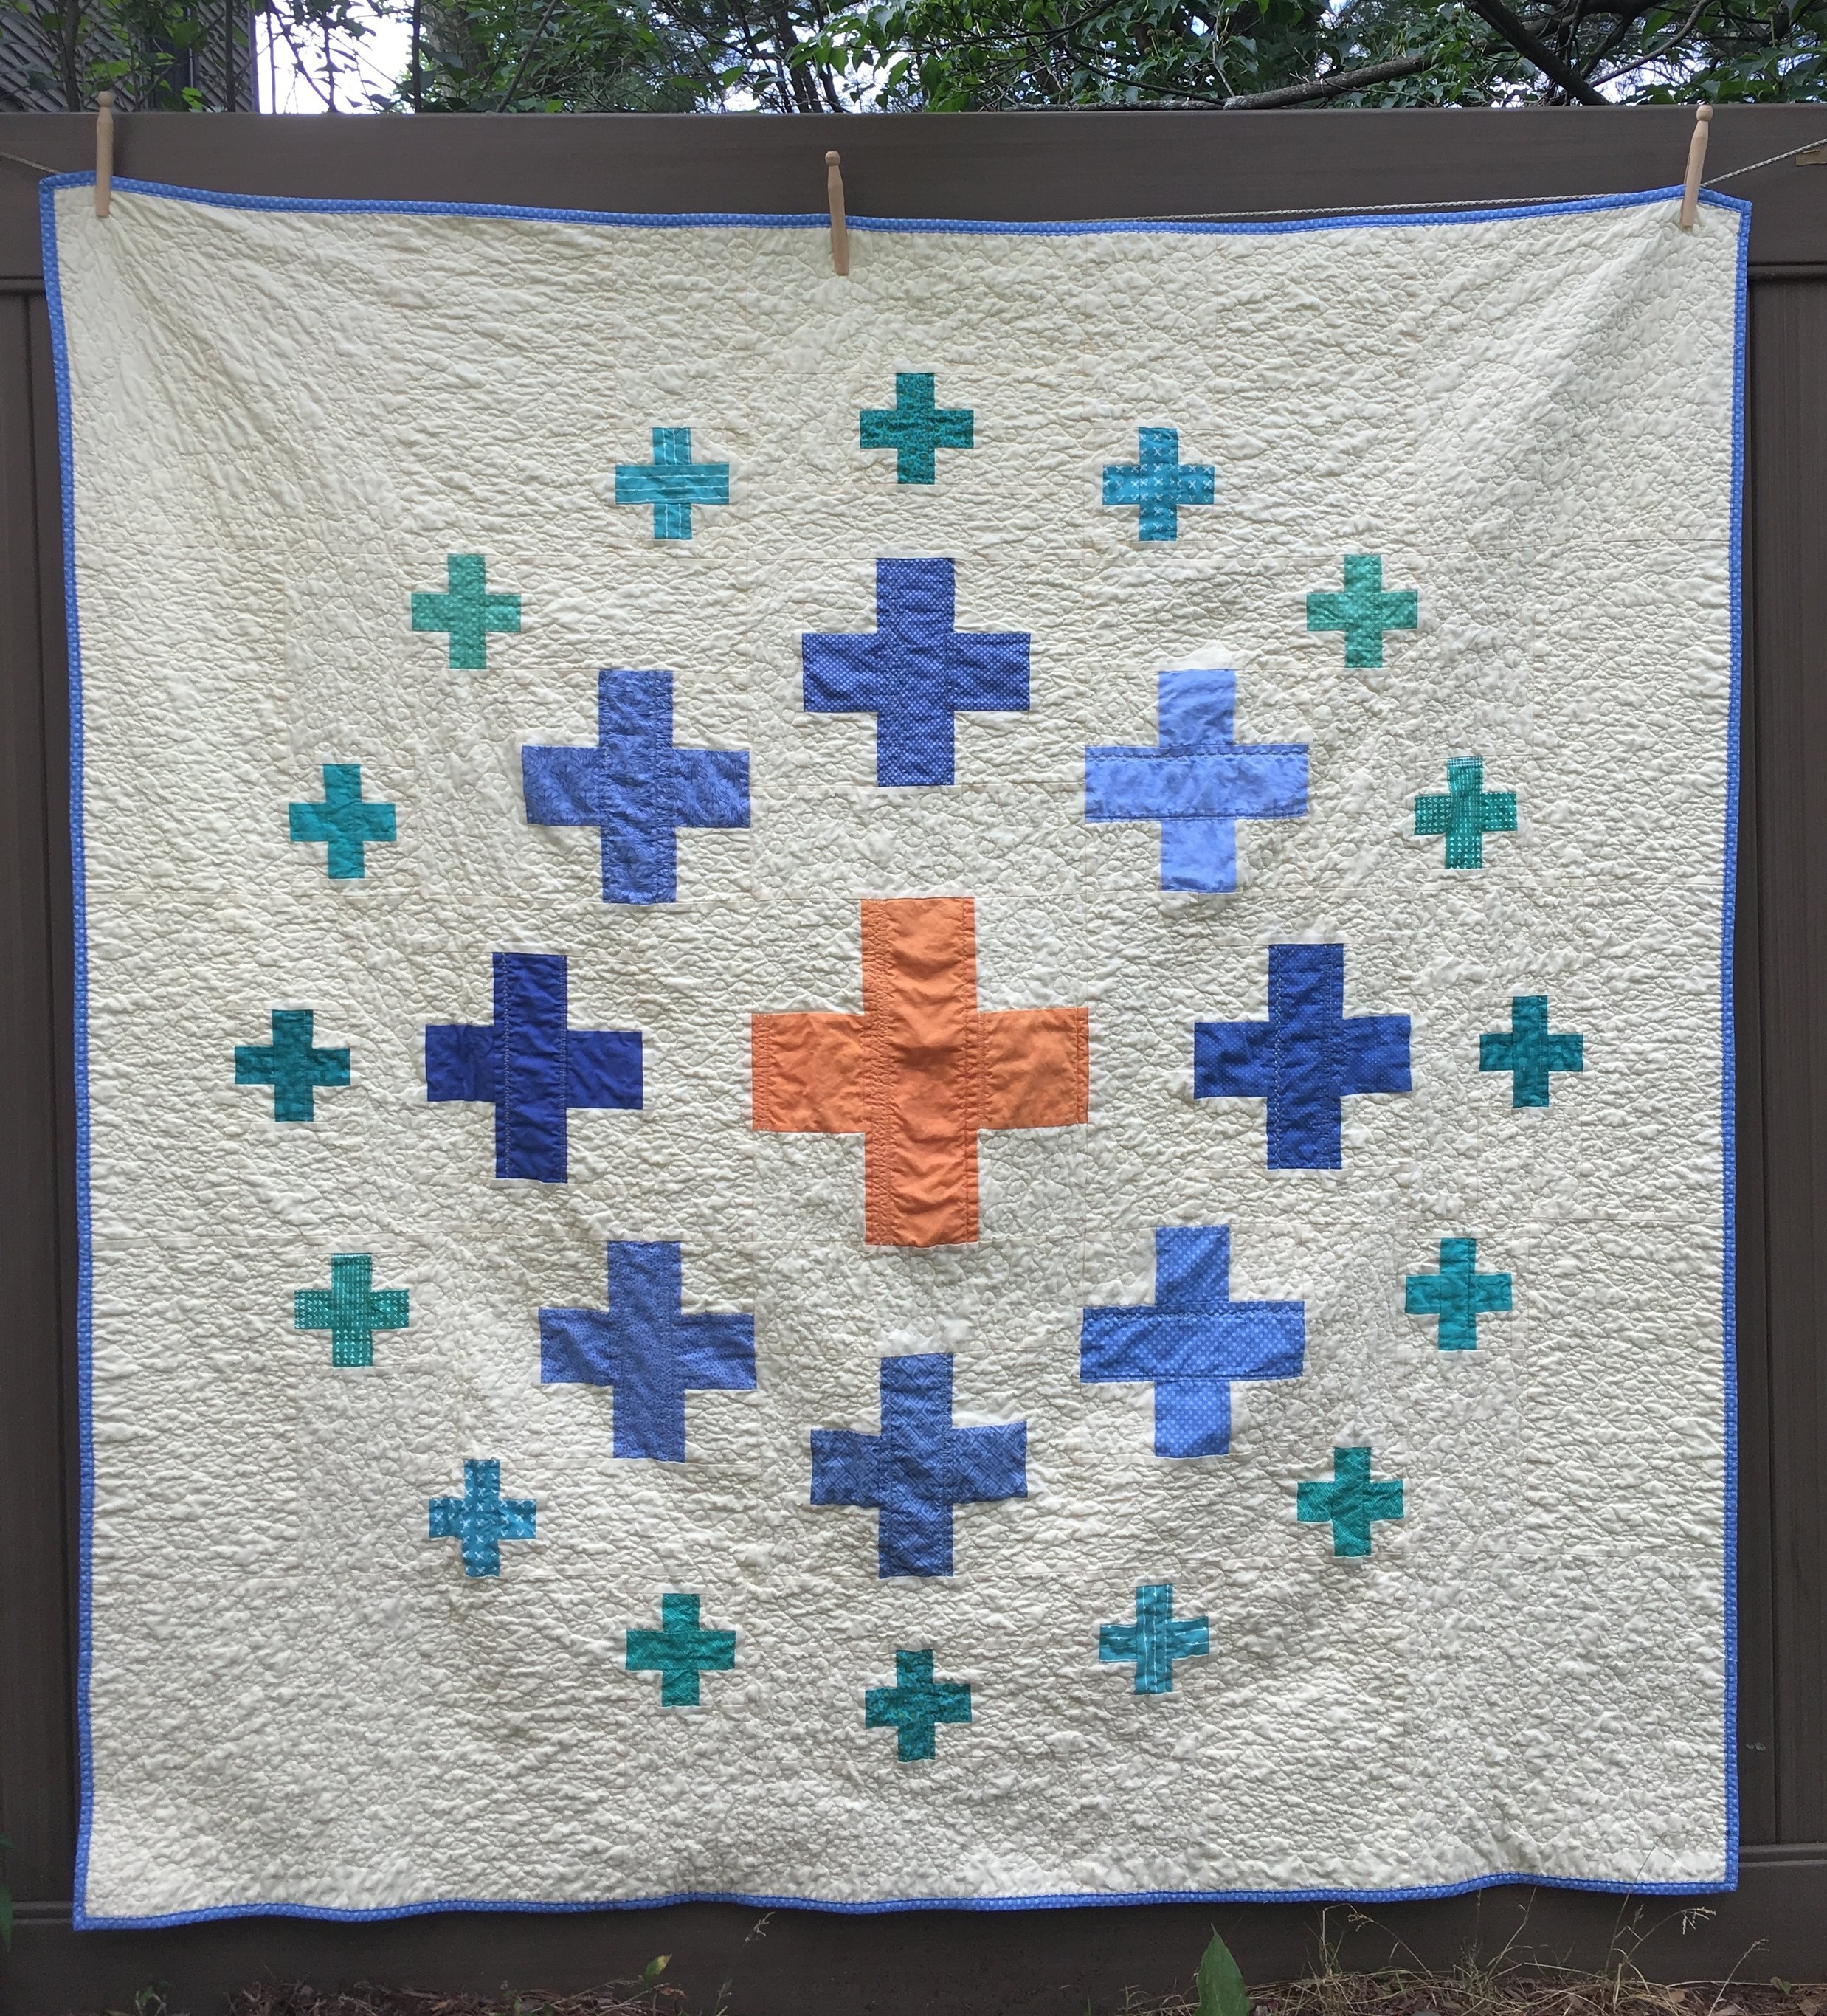
Here's a photo of the quilt prior to washing. I think the change is much more noticeable when you can feel the quilt. It's harder to see the change from the photos.
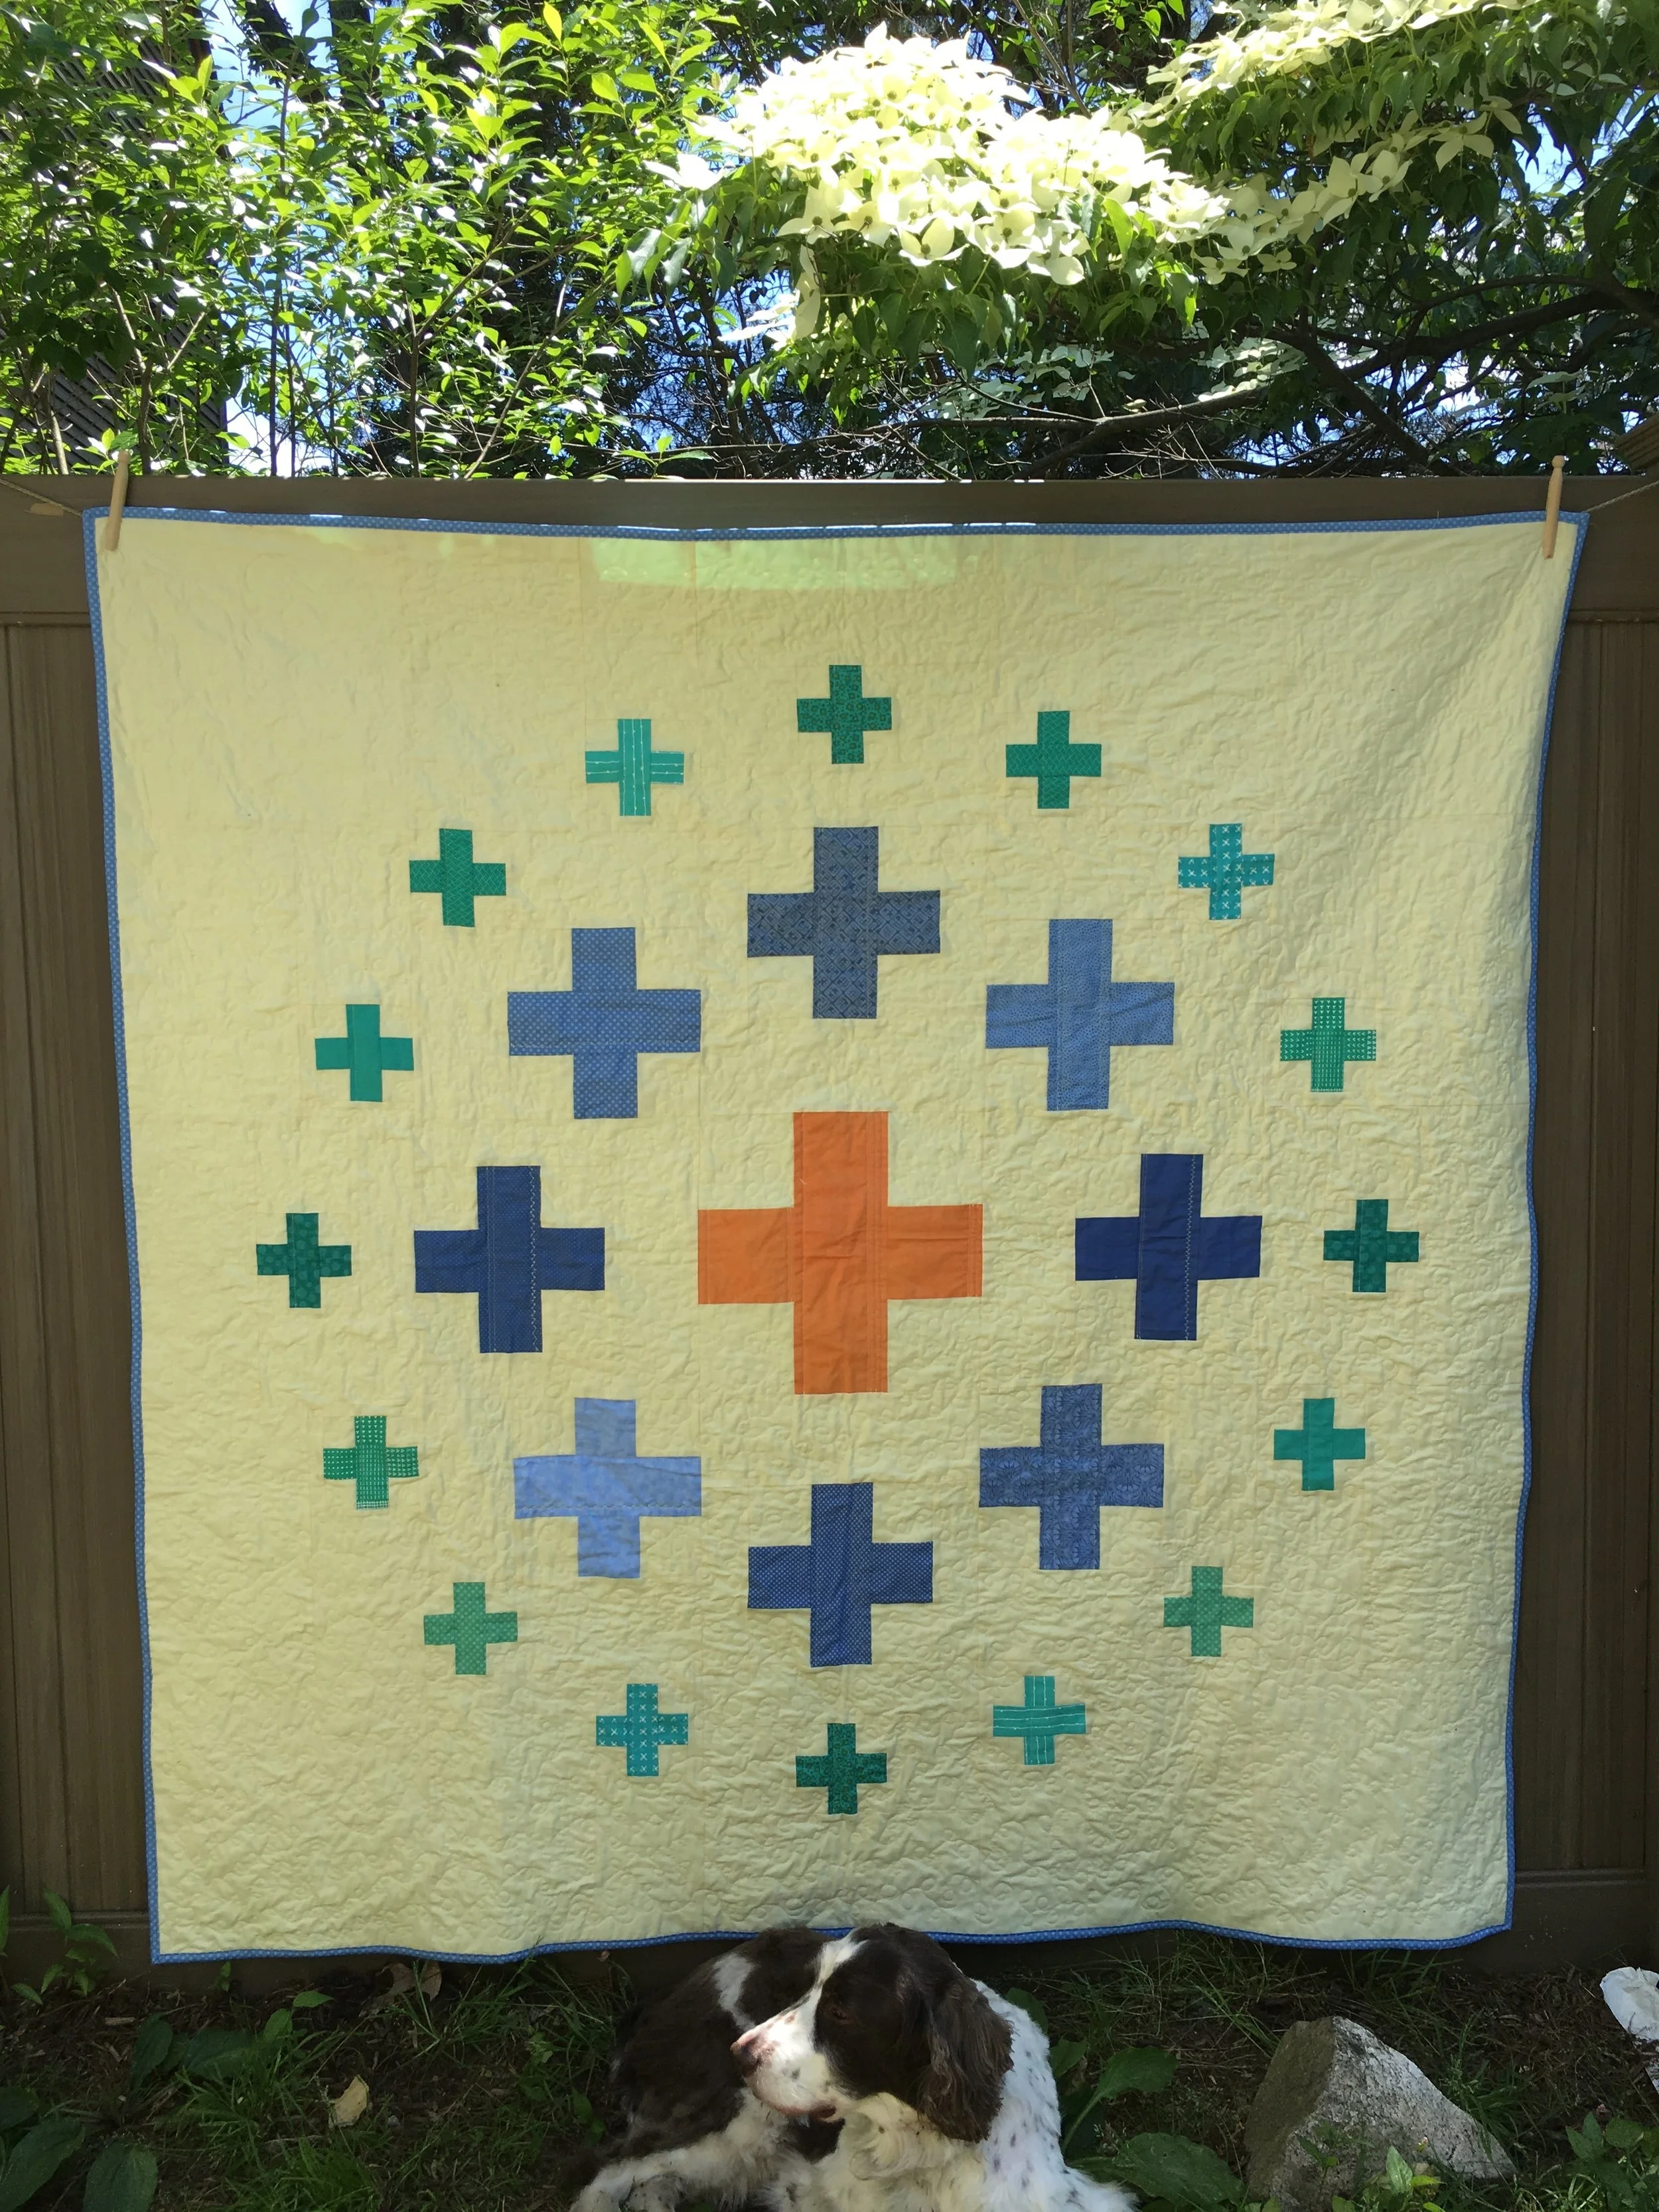
Here's a photo of the quilt before washing.