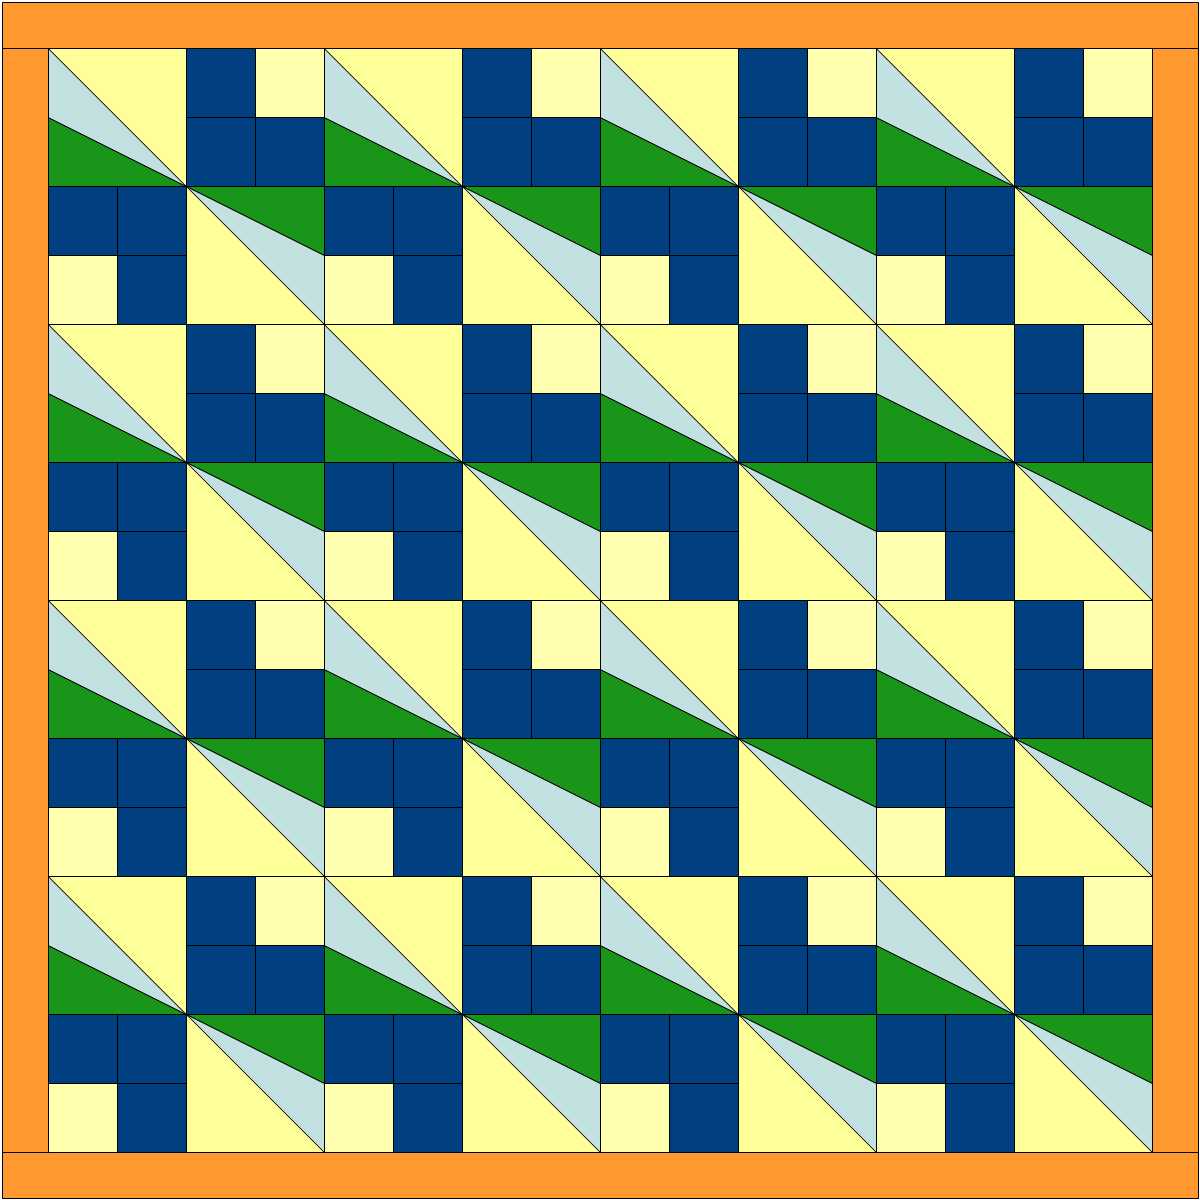
Quilt top in progress
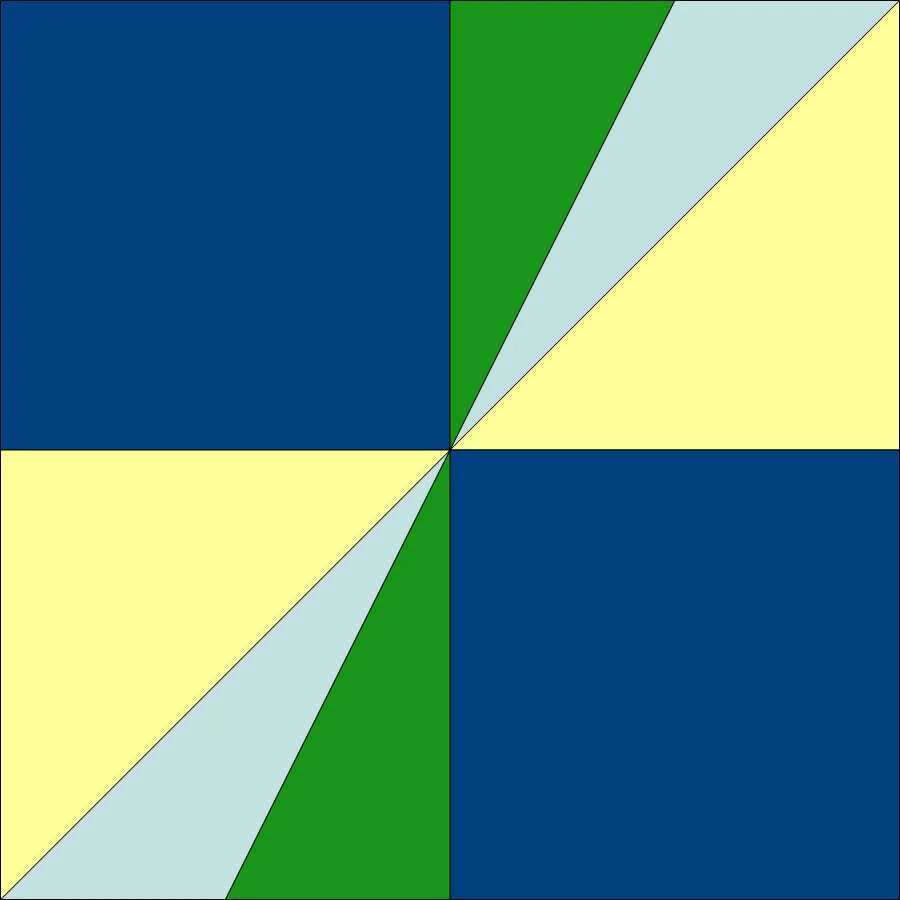
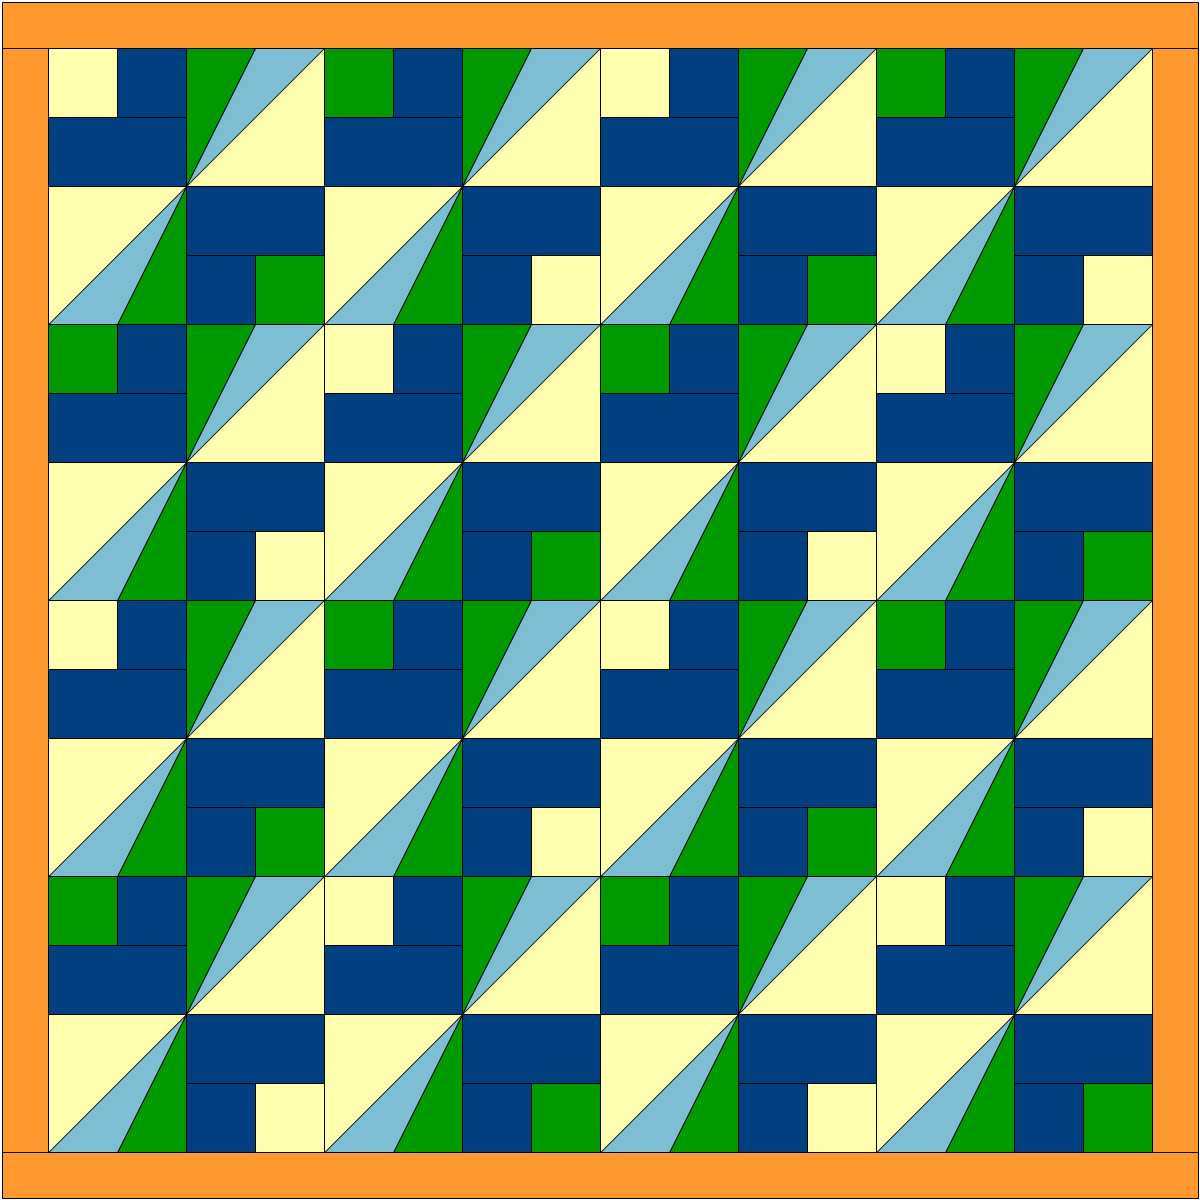
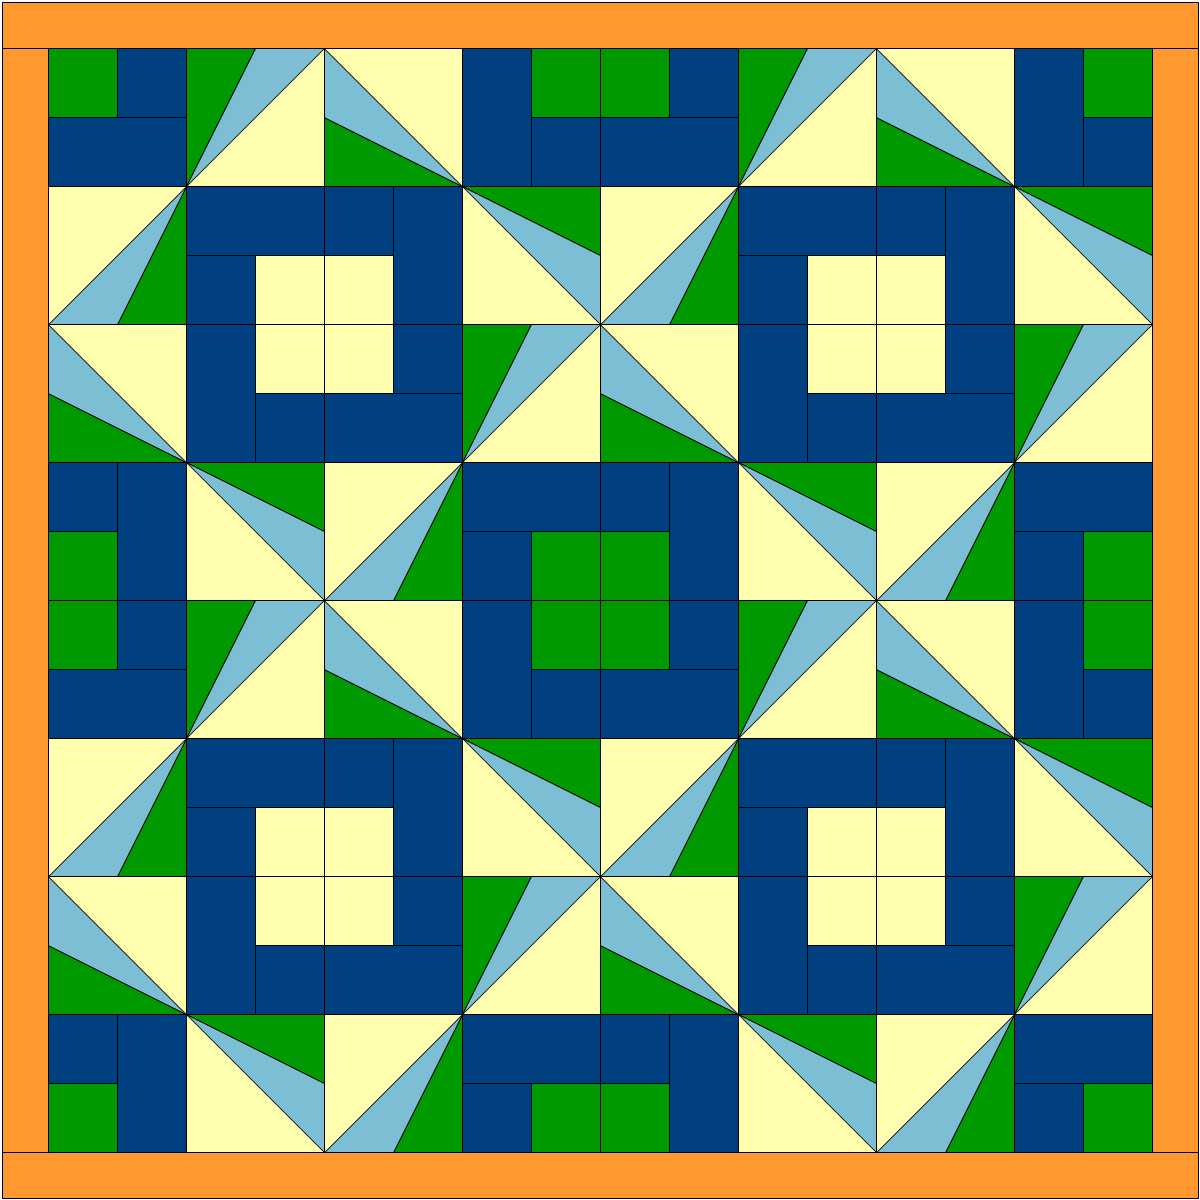
If I were a teacher, and if my post last week was multiple choice test, my students would on a rant today! That post is about a quilt pattern I was designing. I showed 4 variations, and thought the 4th design was the one I was I’d chosen to make. Turns out the final design was not a, b, c, or d, but e—”none of the above”. Uh-oh!! That wasn’t even listed as an option last week—but it has to always be a possibility in the creative process.
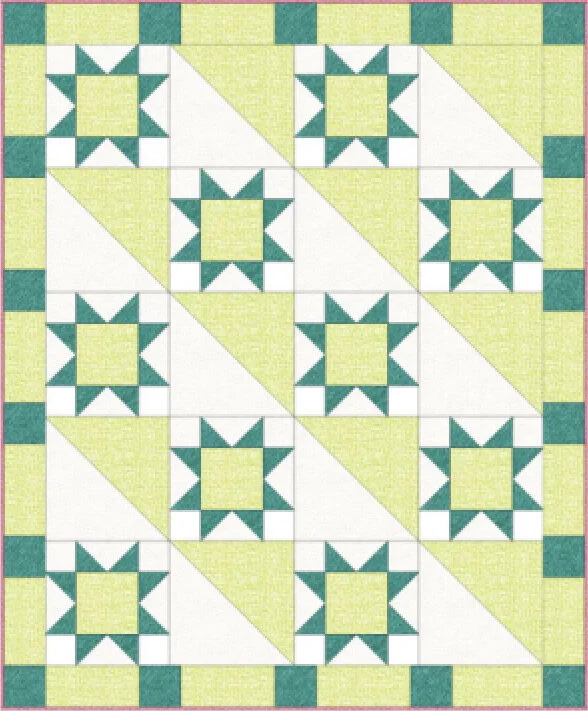
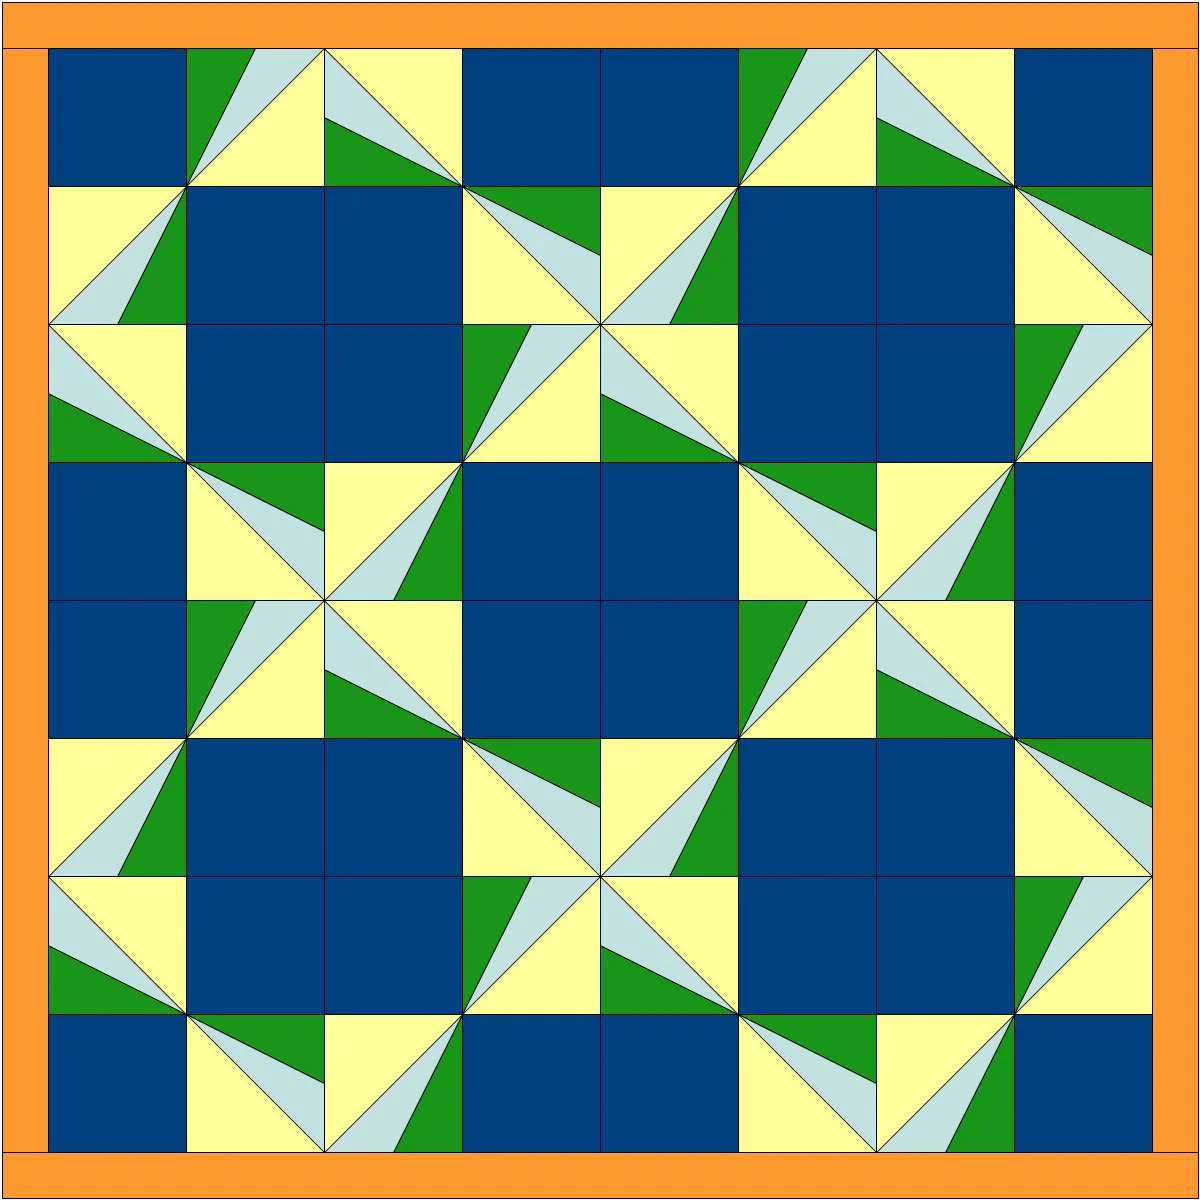
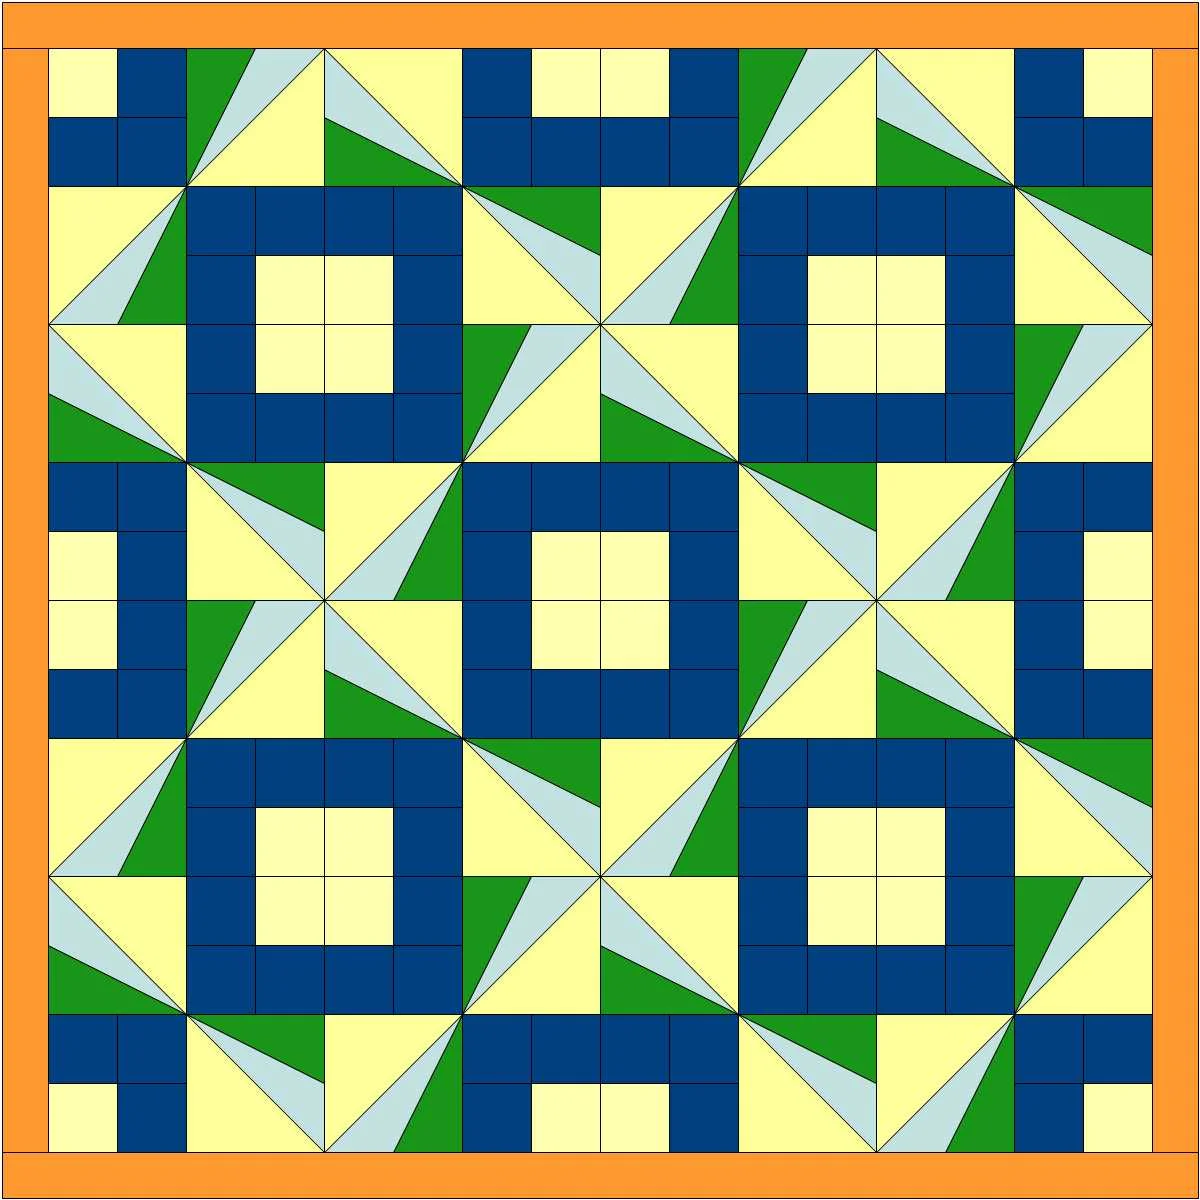
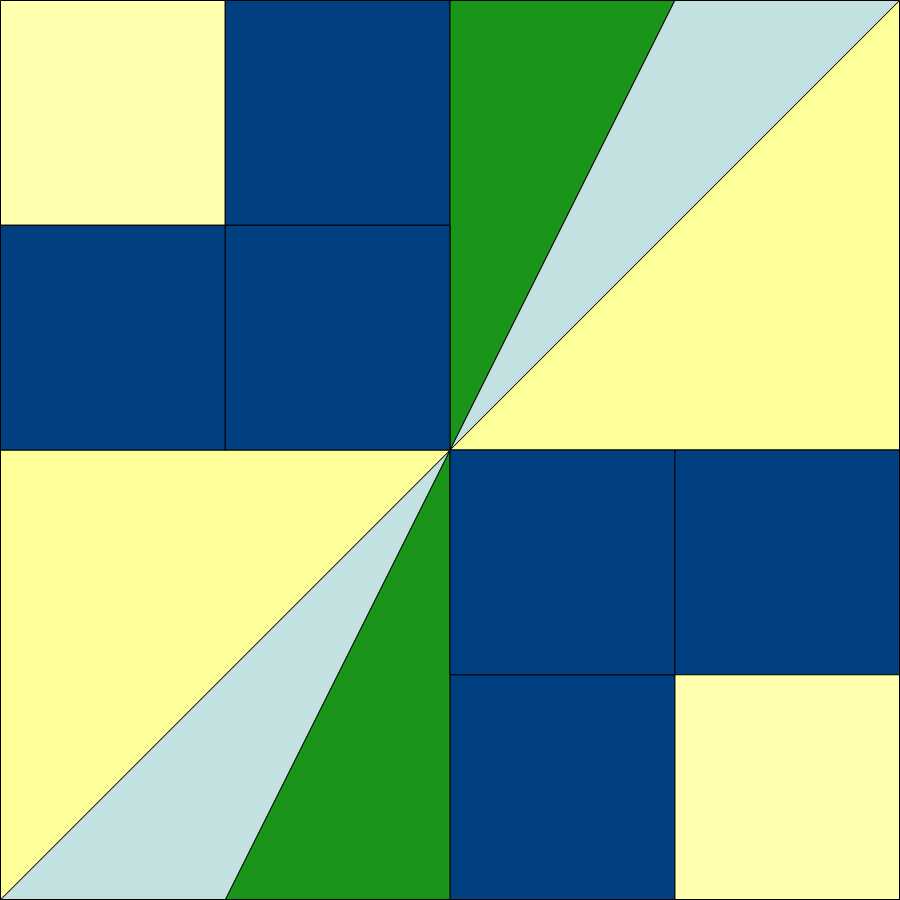
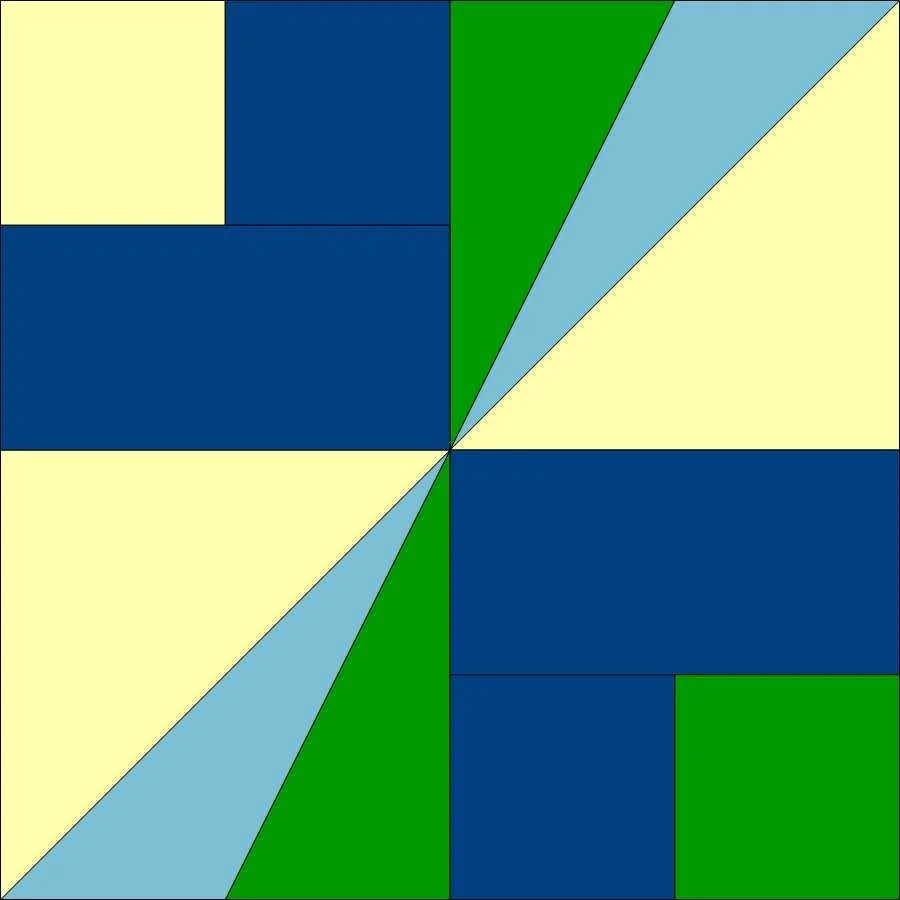
When I started sewing the star blocks, I realized that the flowers were facing north, south, east and west. I put my blocks up on my design wall and tried several variations, taking snap shots of each.
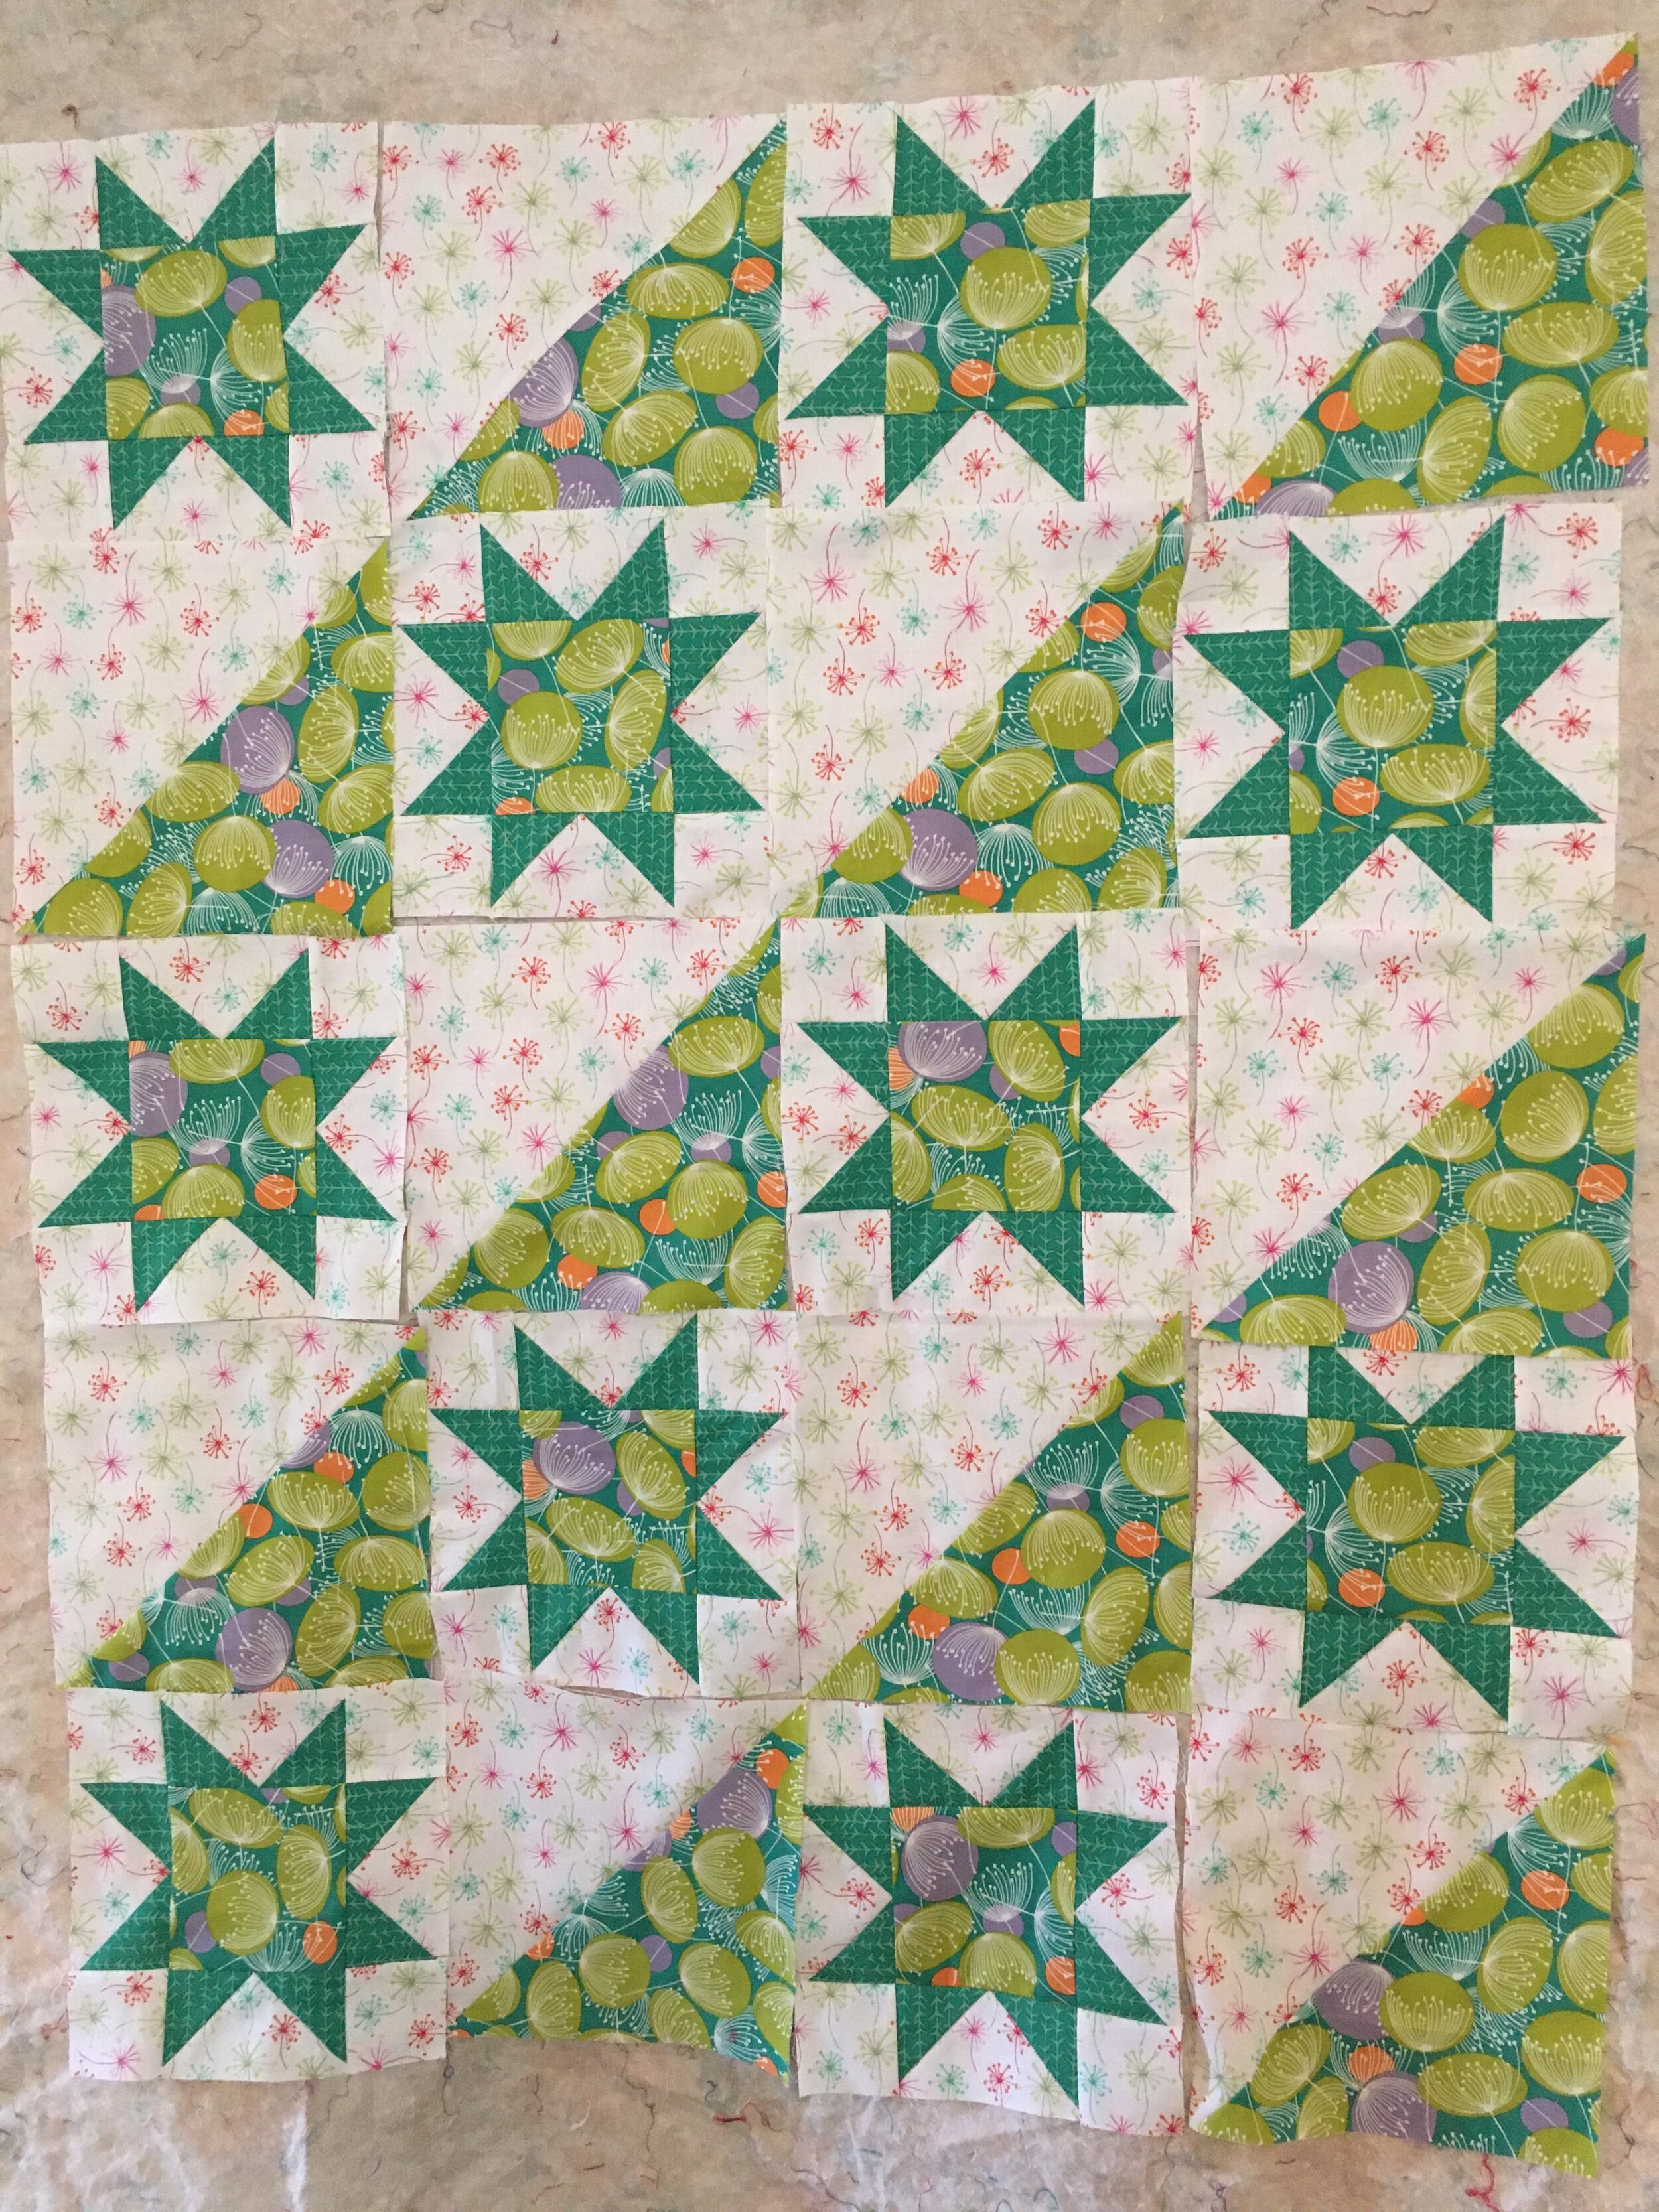
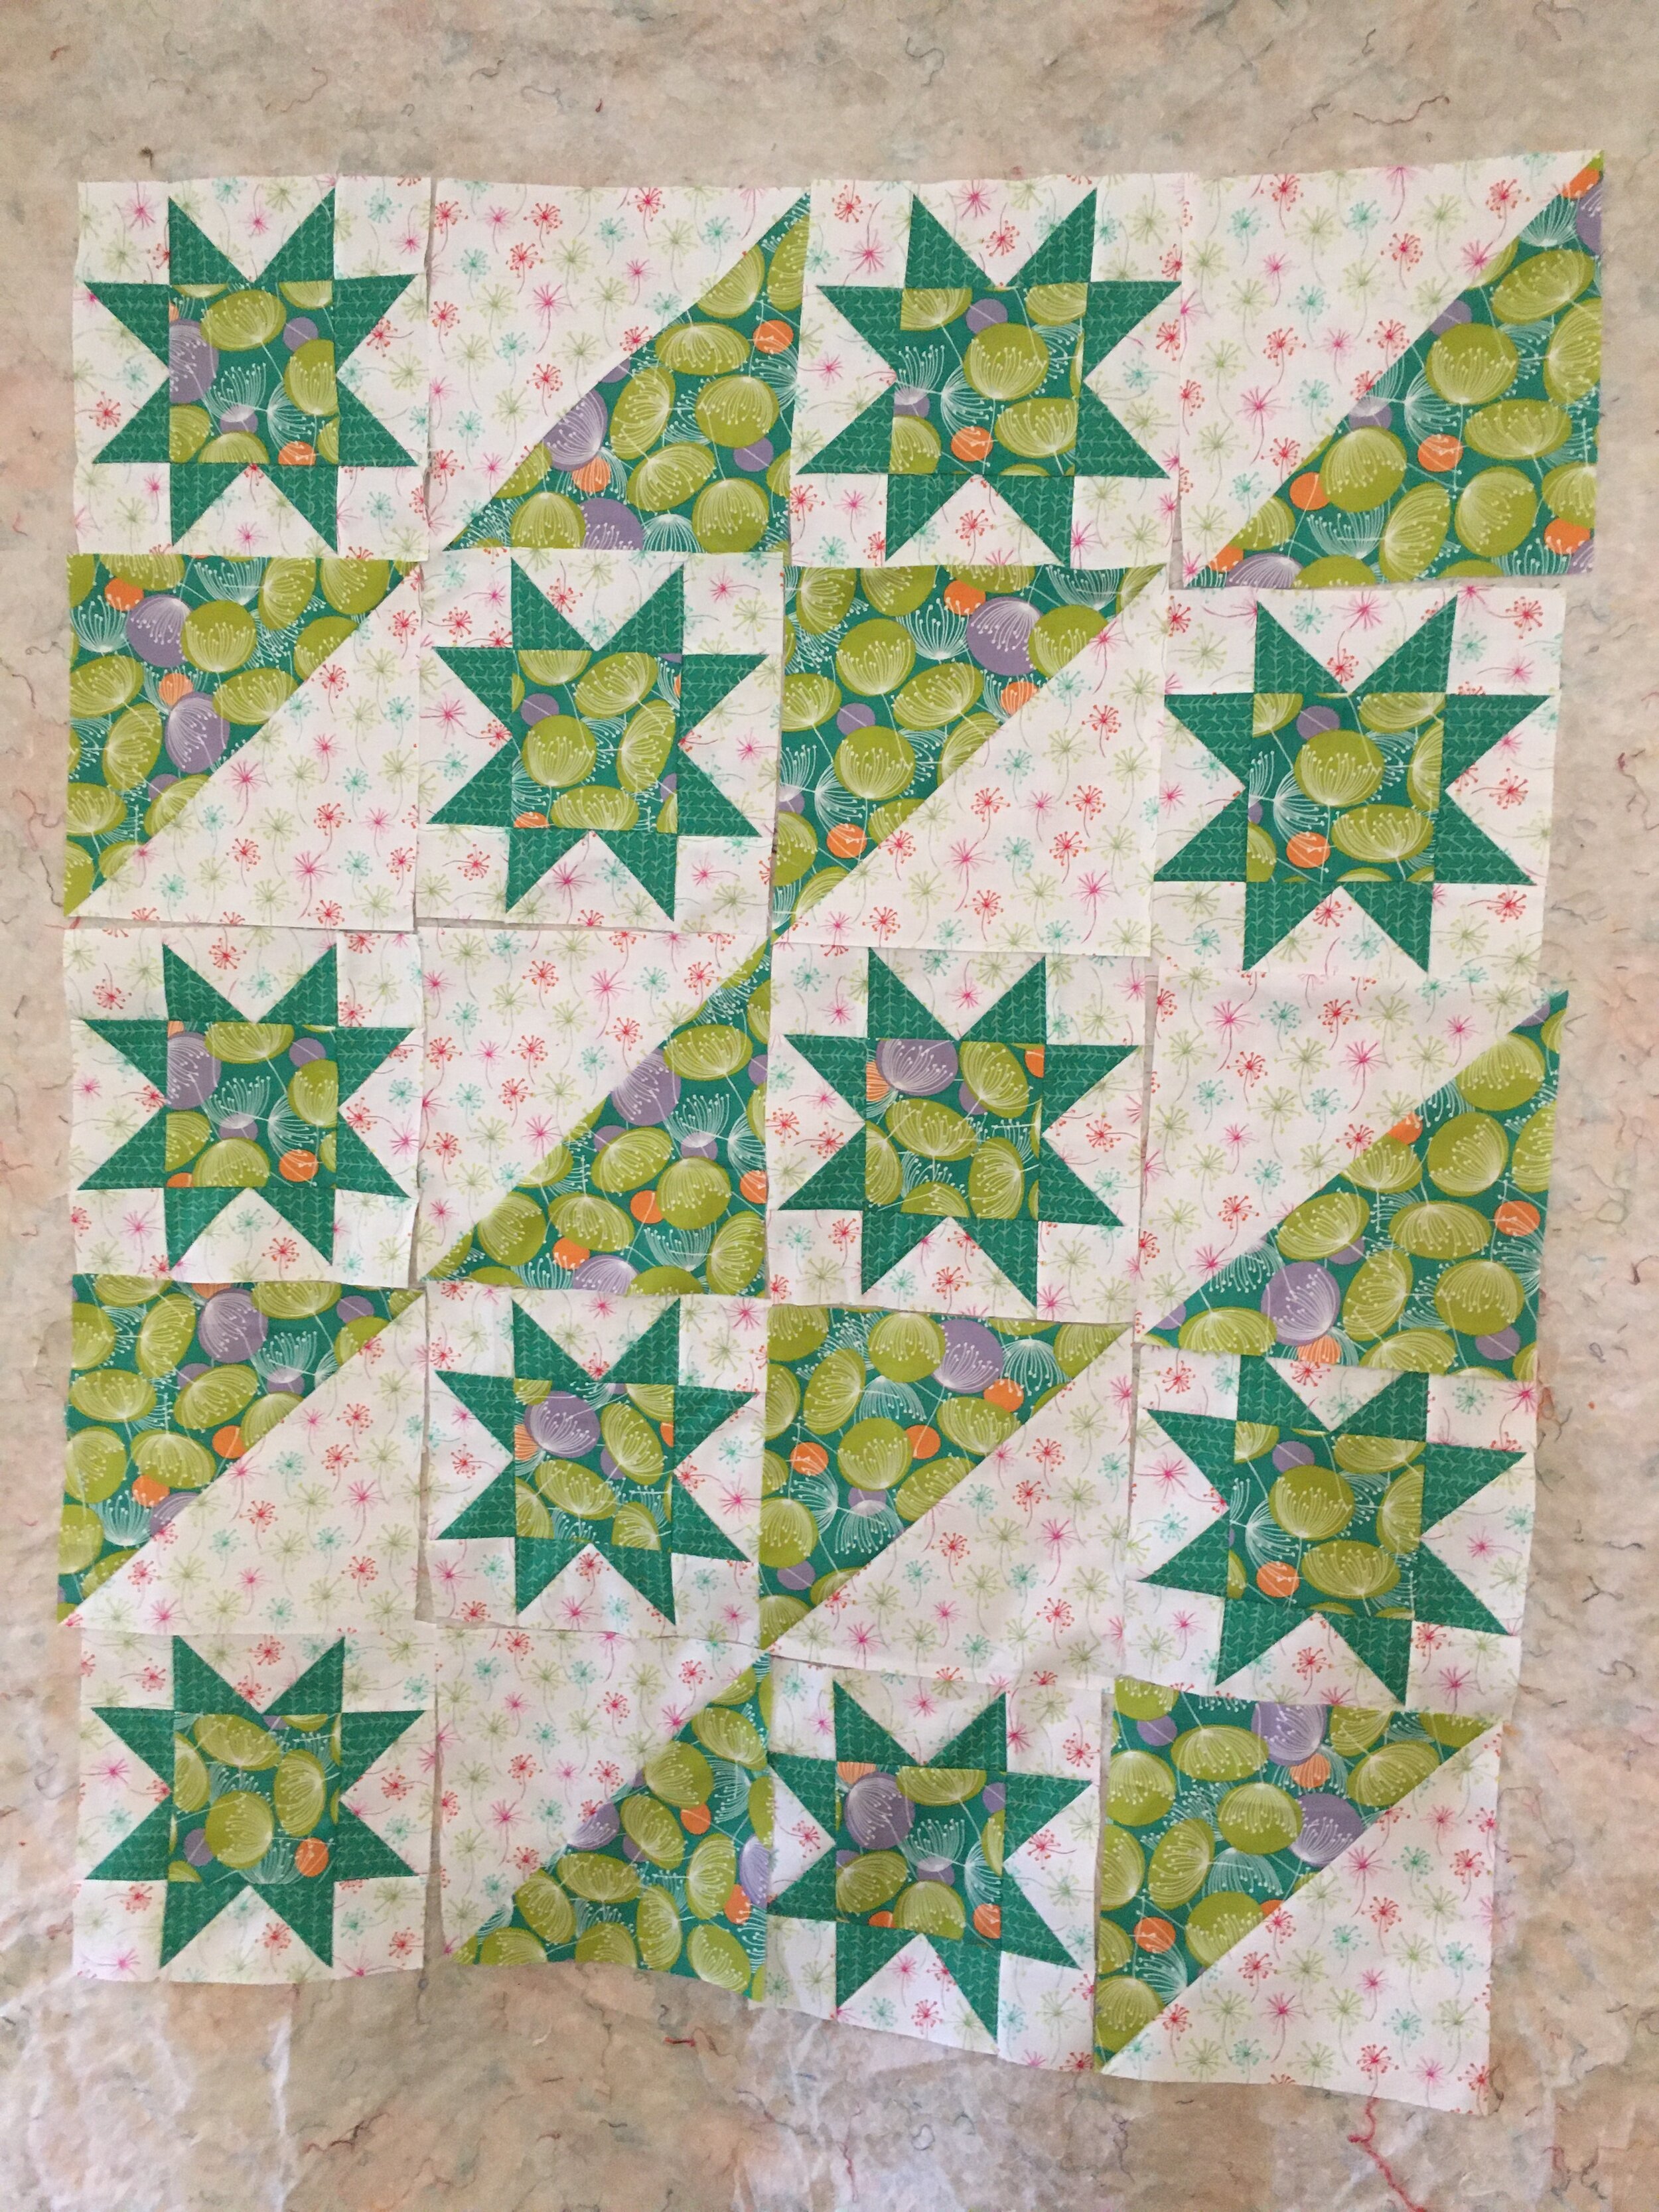
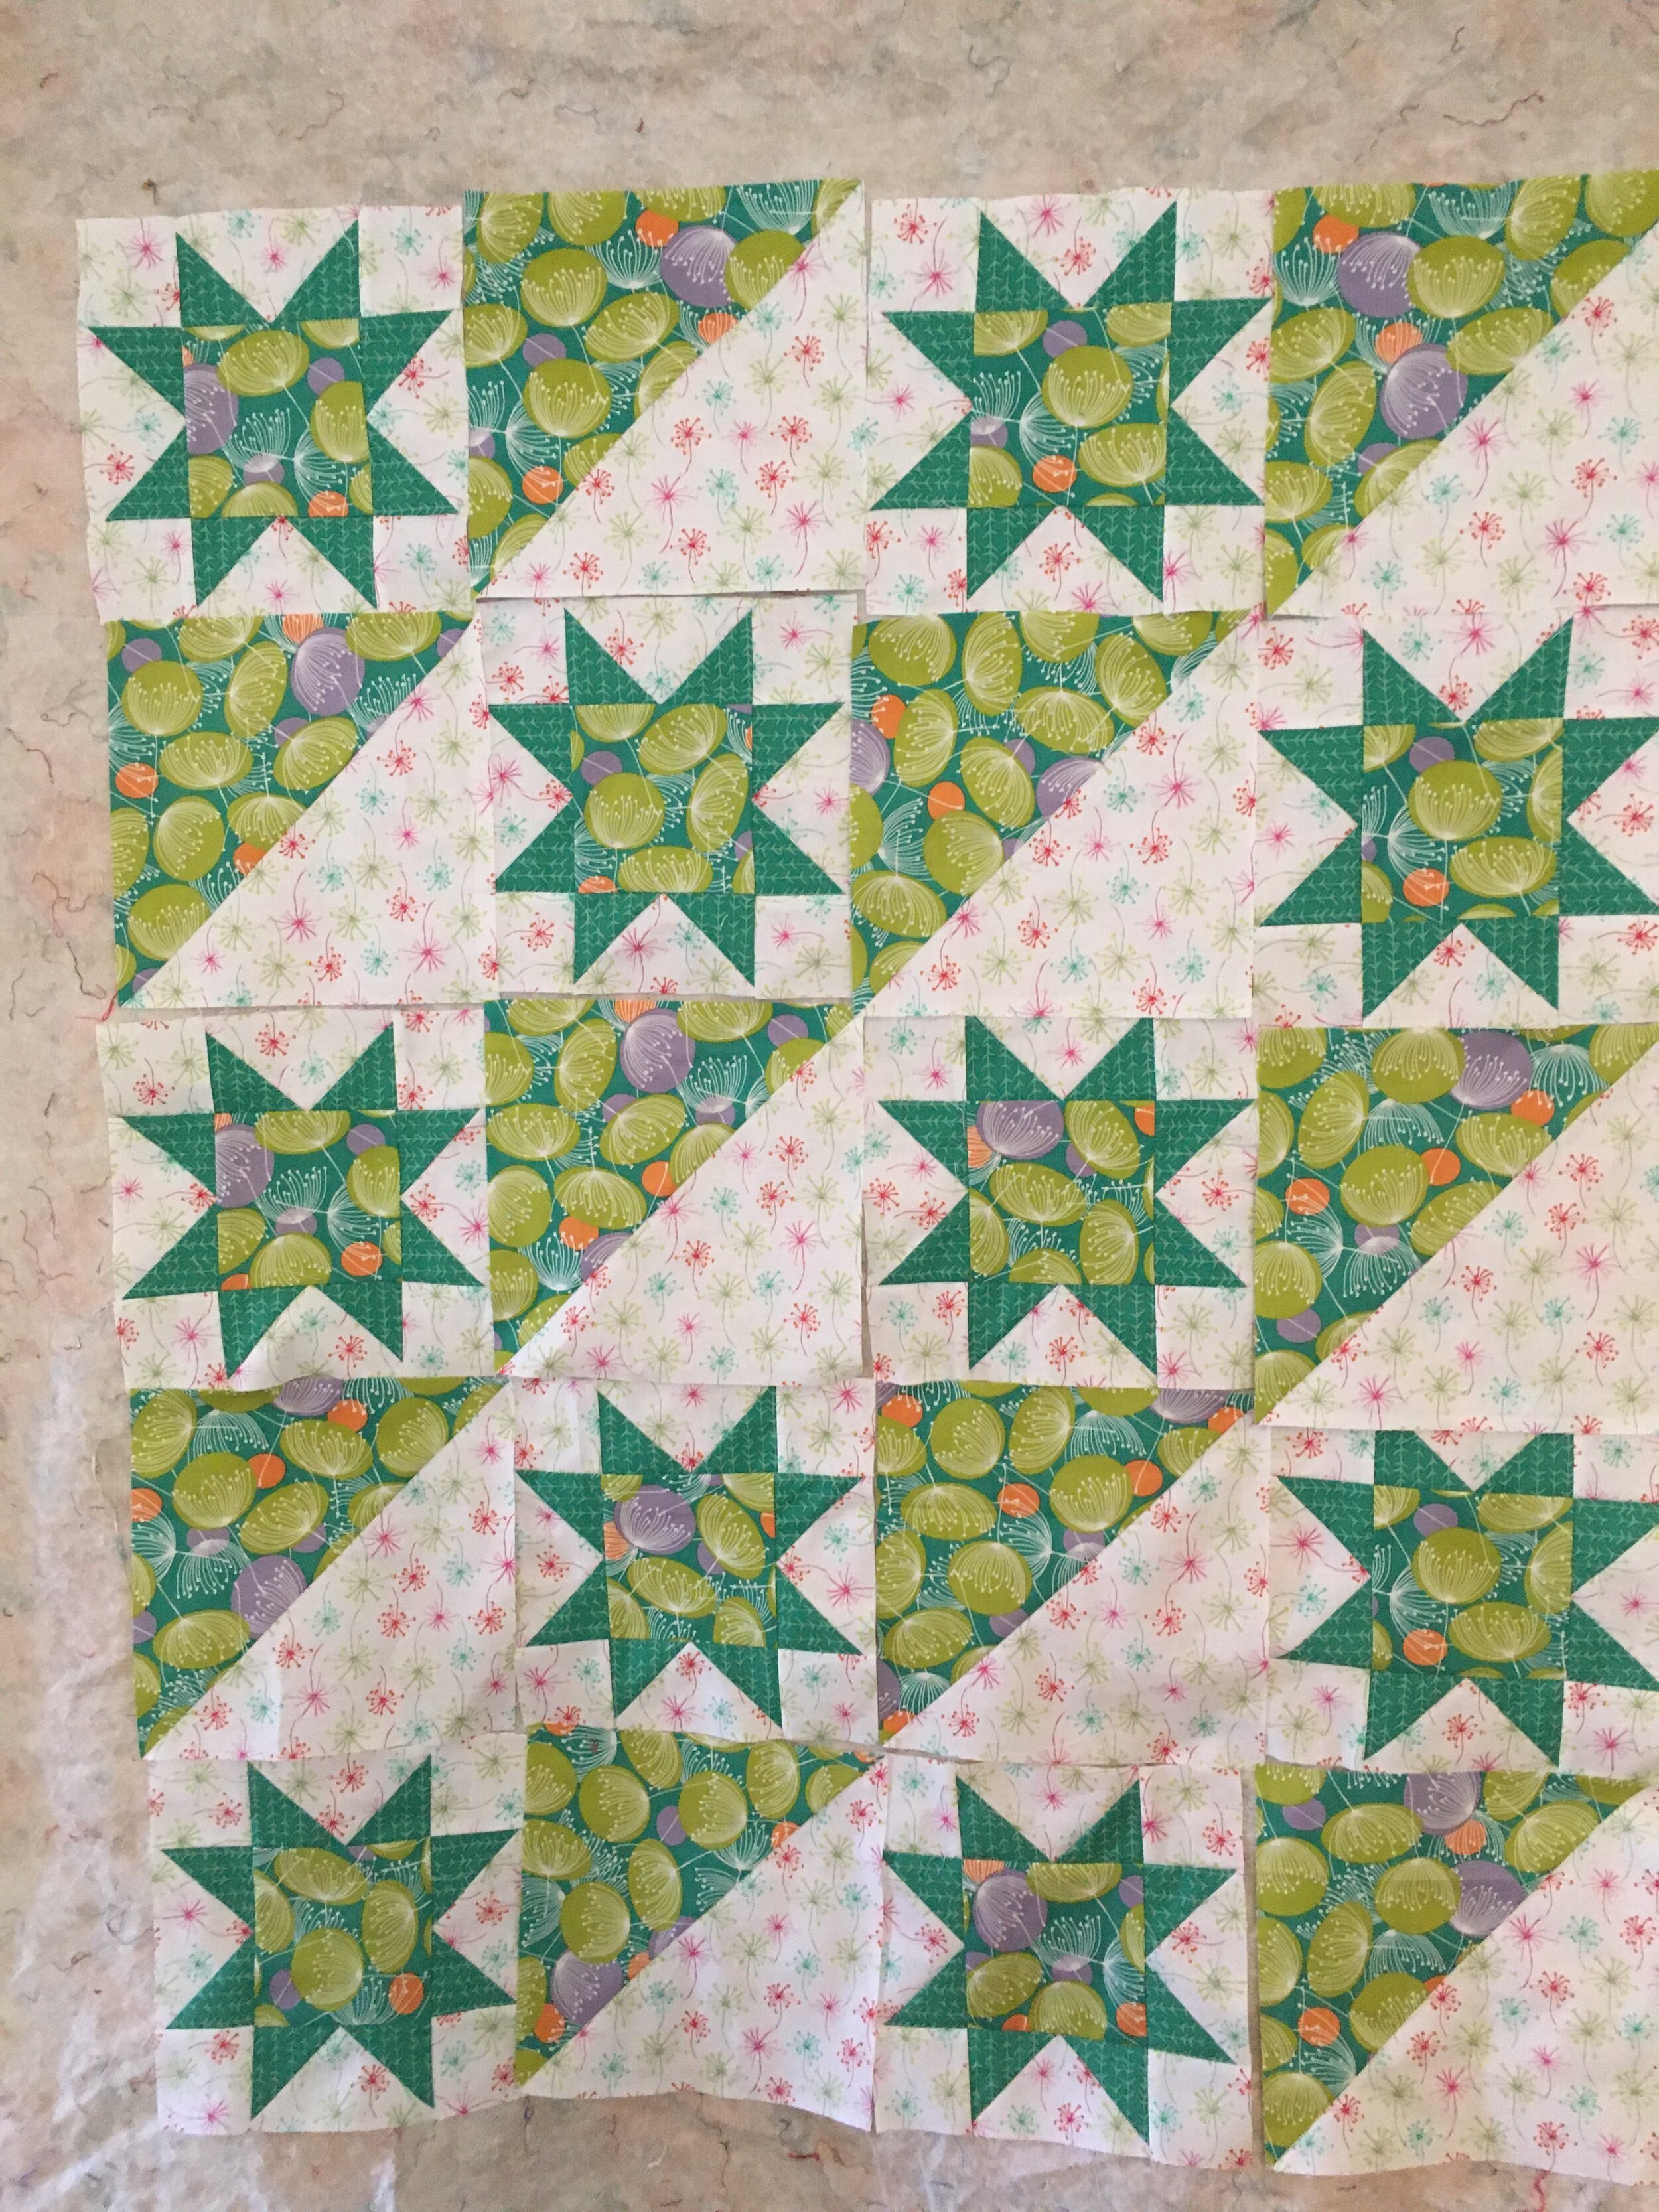
After looking at my snap shots, I decided have the flowers in the large half square triangle blocks, face north and south. So now the design doesn’t have a designated top and bottom—it looks the same from both ends of the quilt. This might not work with a fabric design that was bolder, but I think it’s just fine with the dainty little flowers.
I still have borders to add the to quilt top. I was racing to finish sewing the main blocks in the top so I could get a photograph for this post before a snow storm arrived. So you’re seeing what I’ve sewn so far. (And yes, the snow and dusk both arrived just an hour after I took the picture).