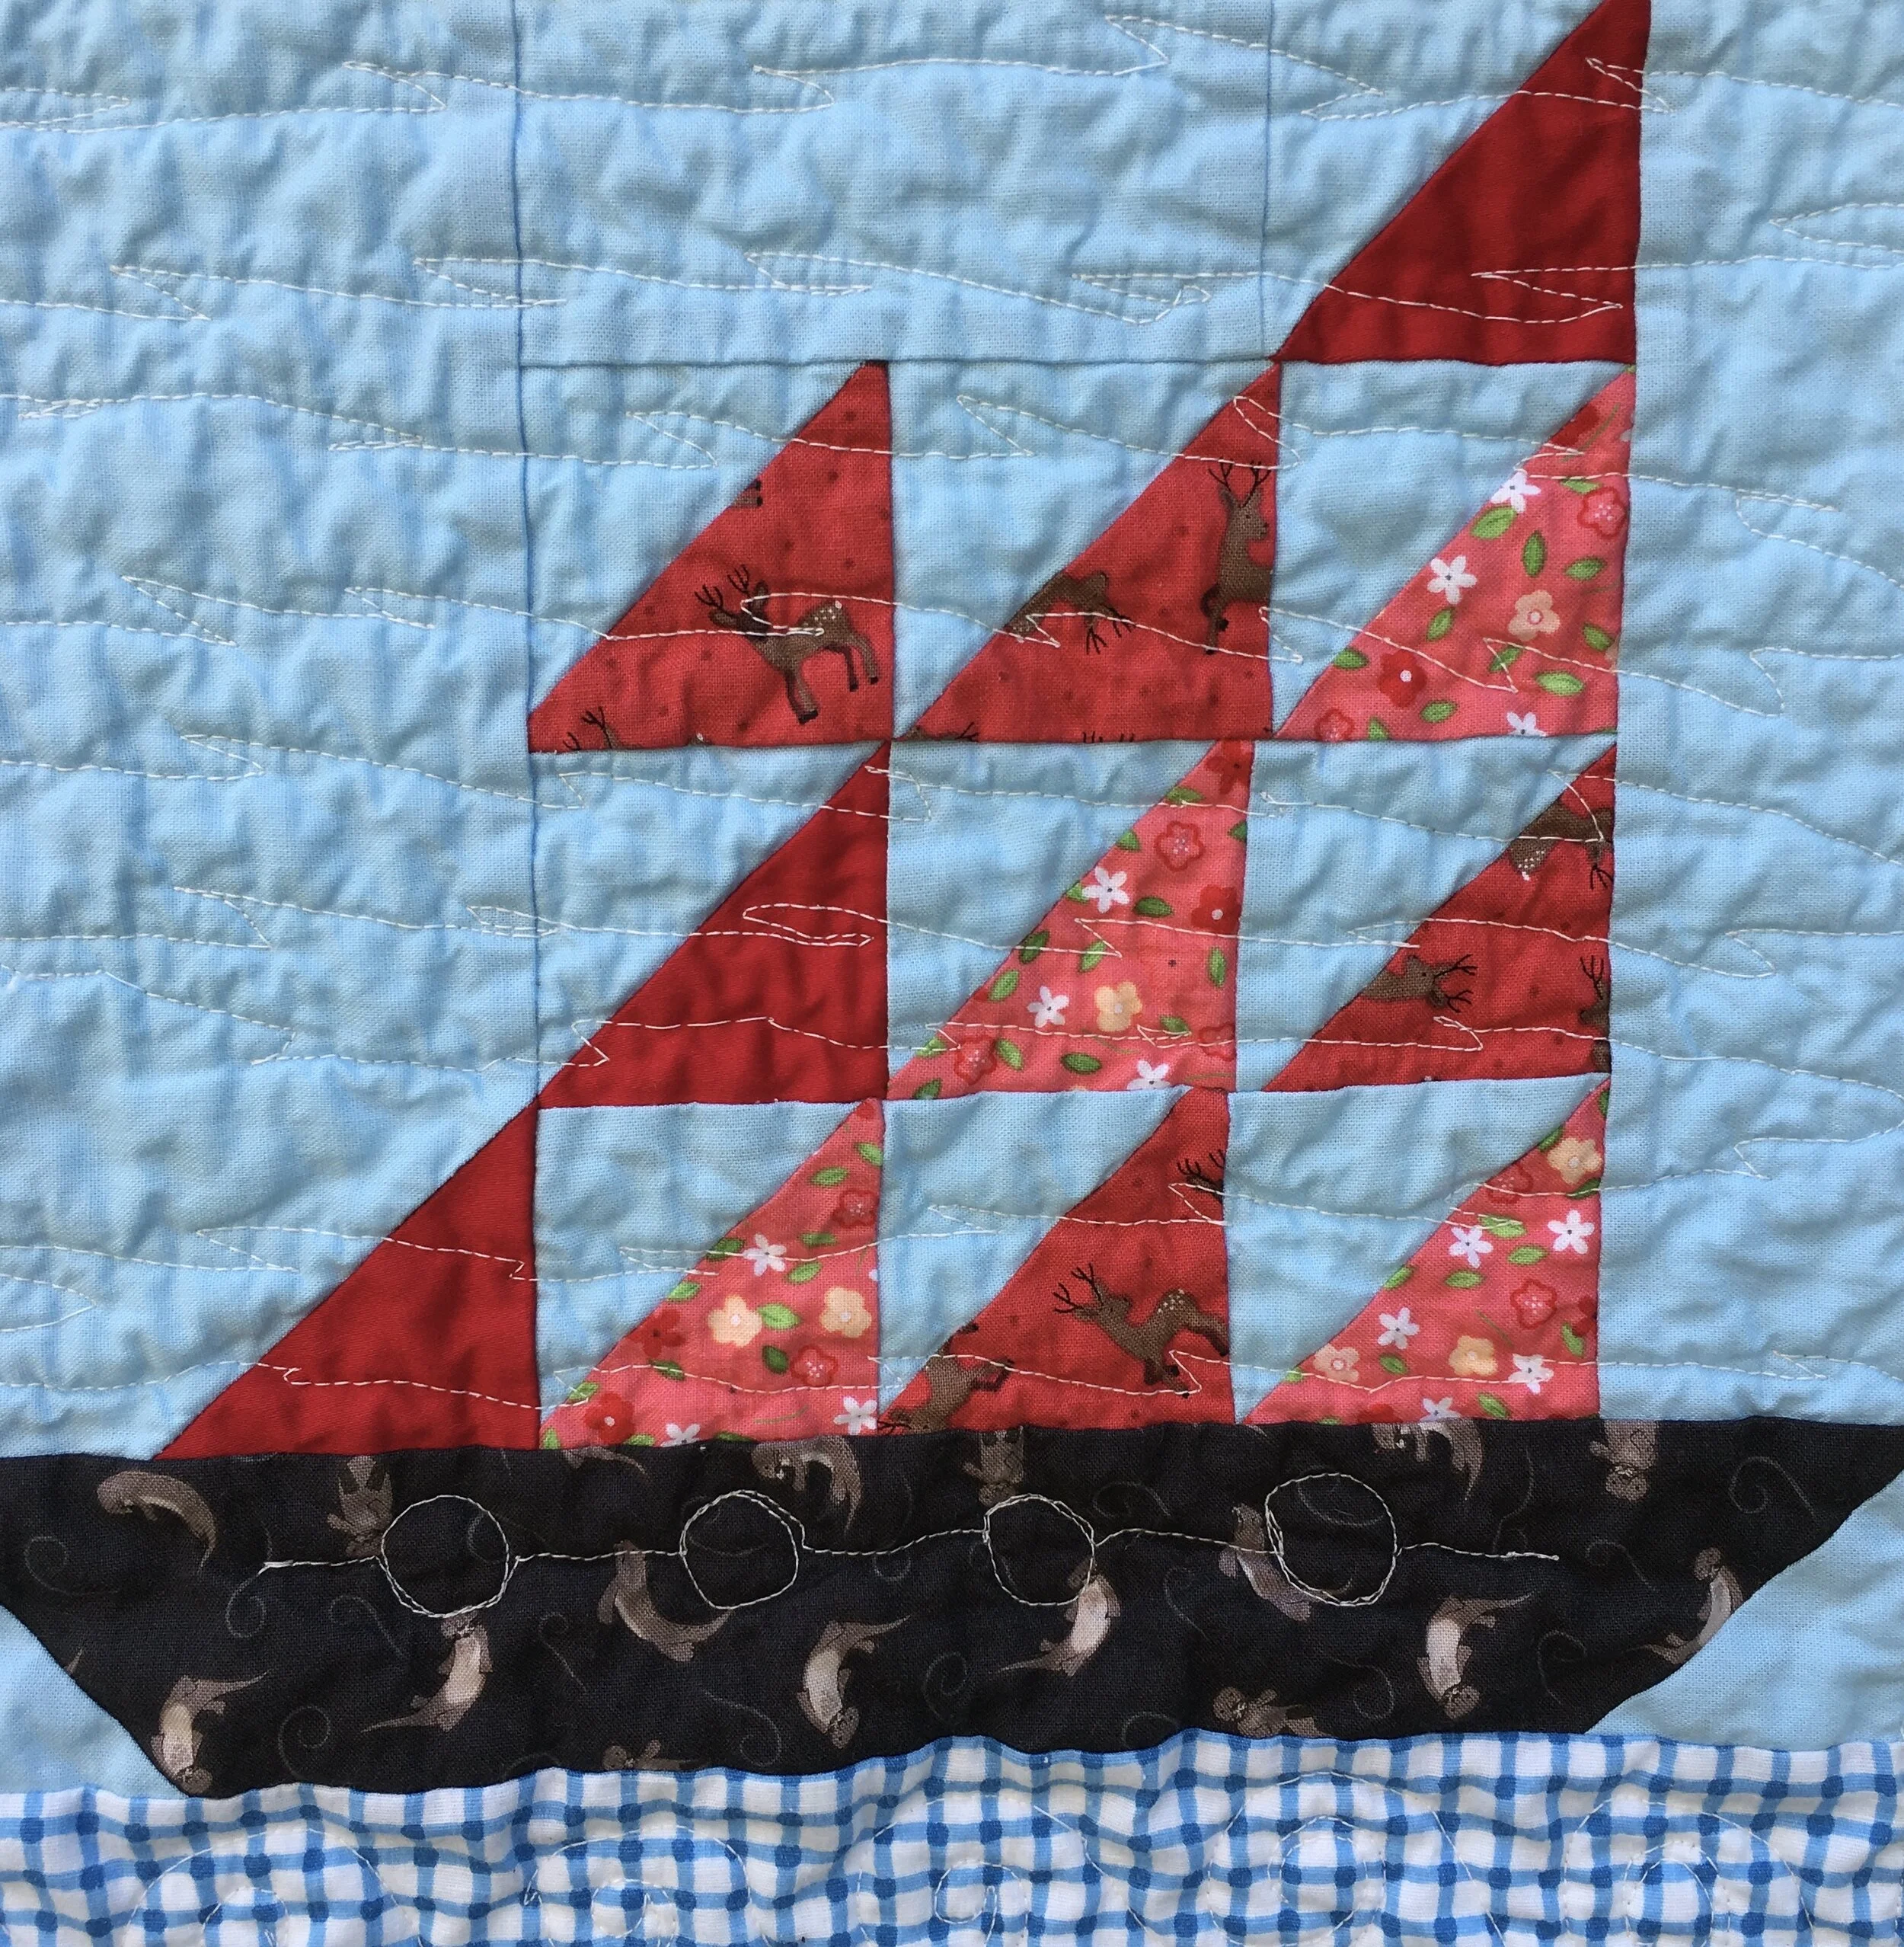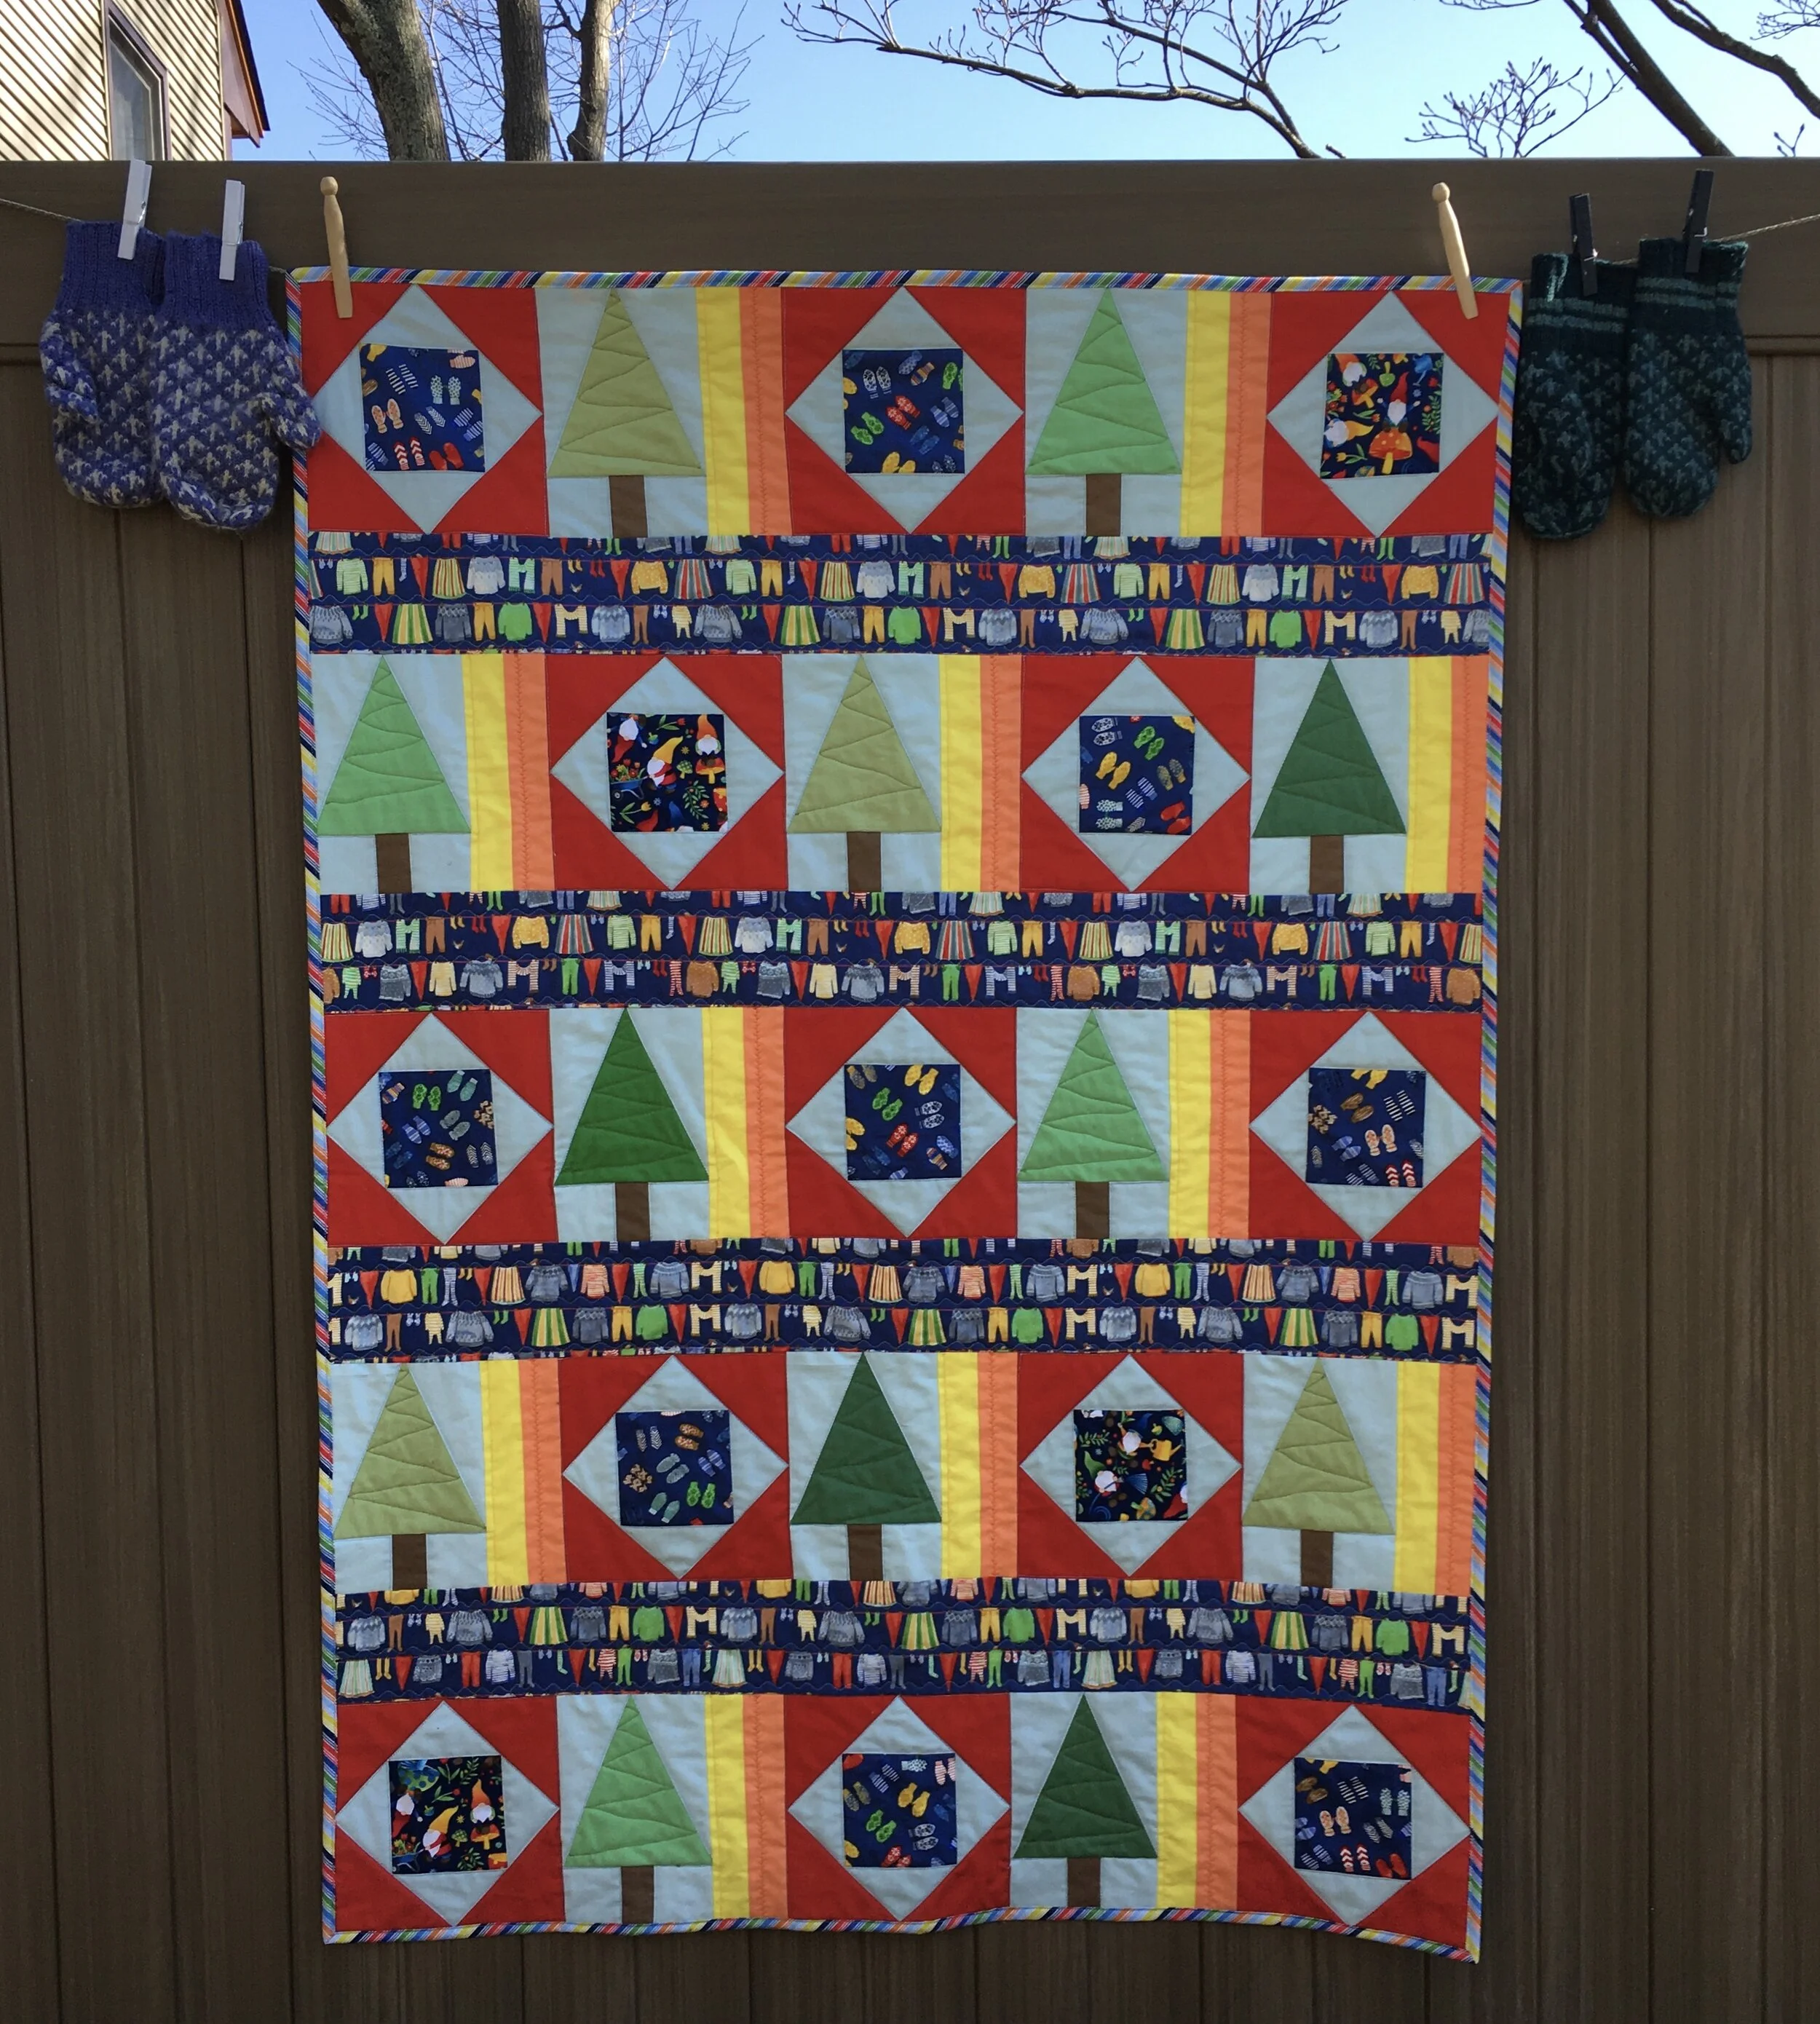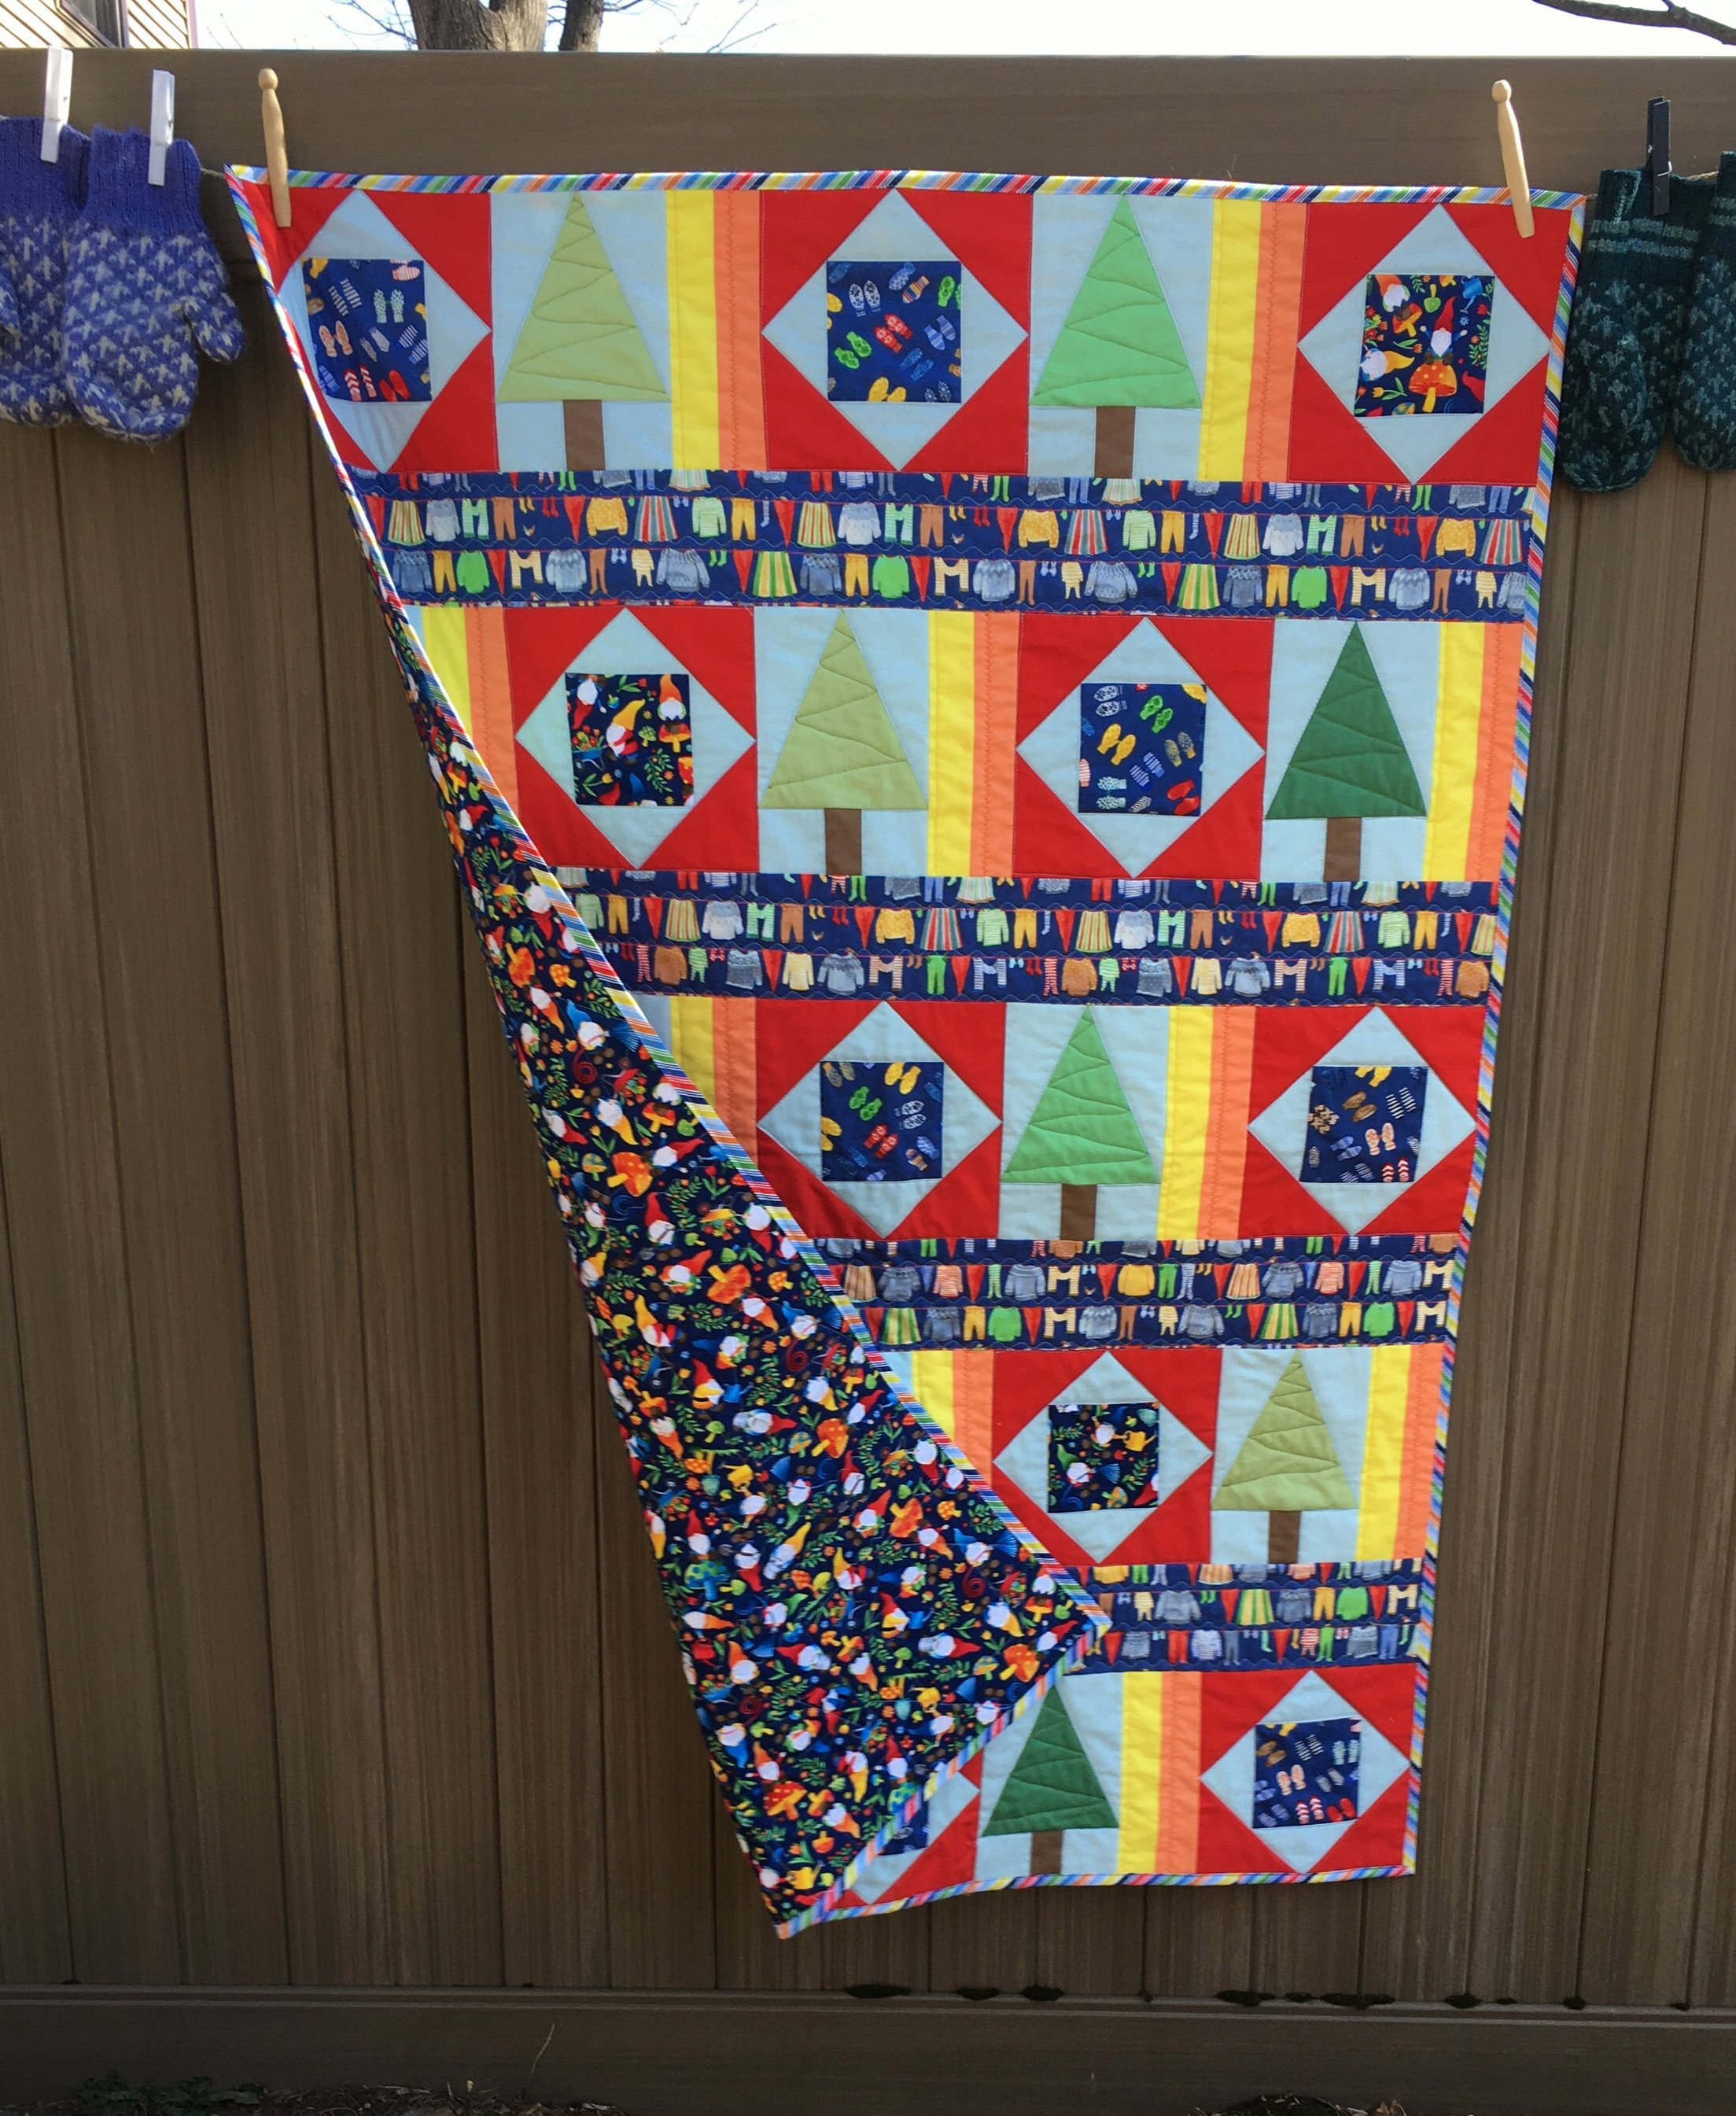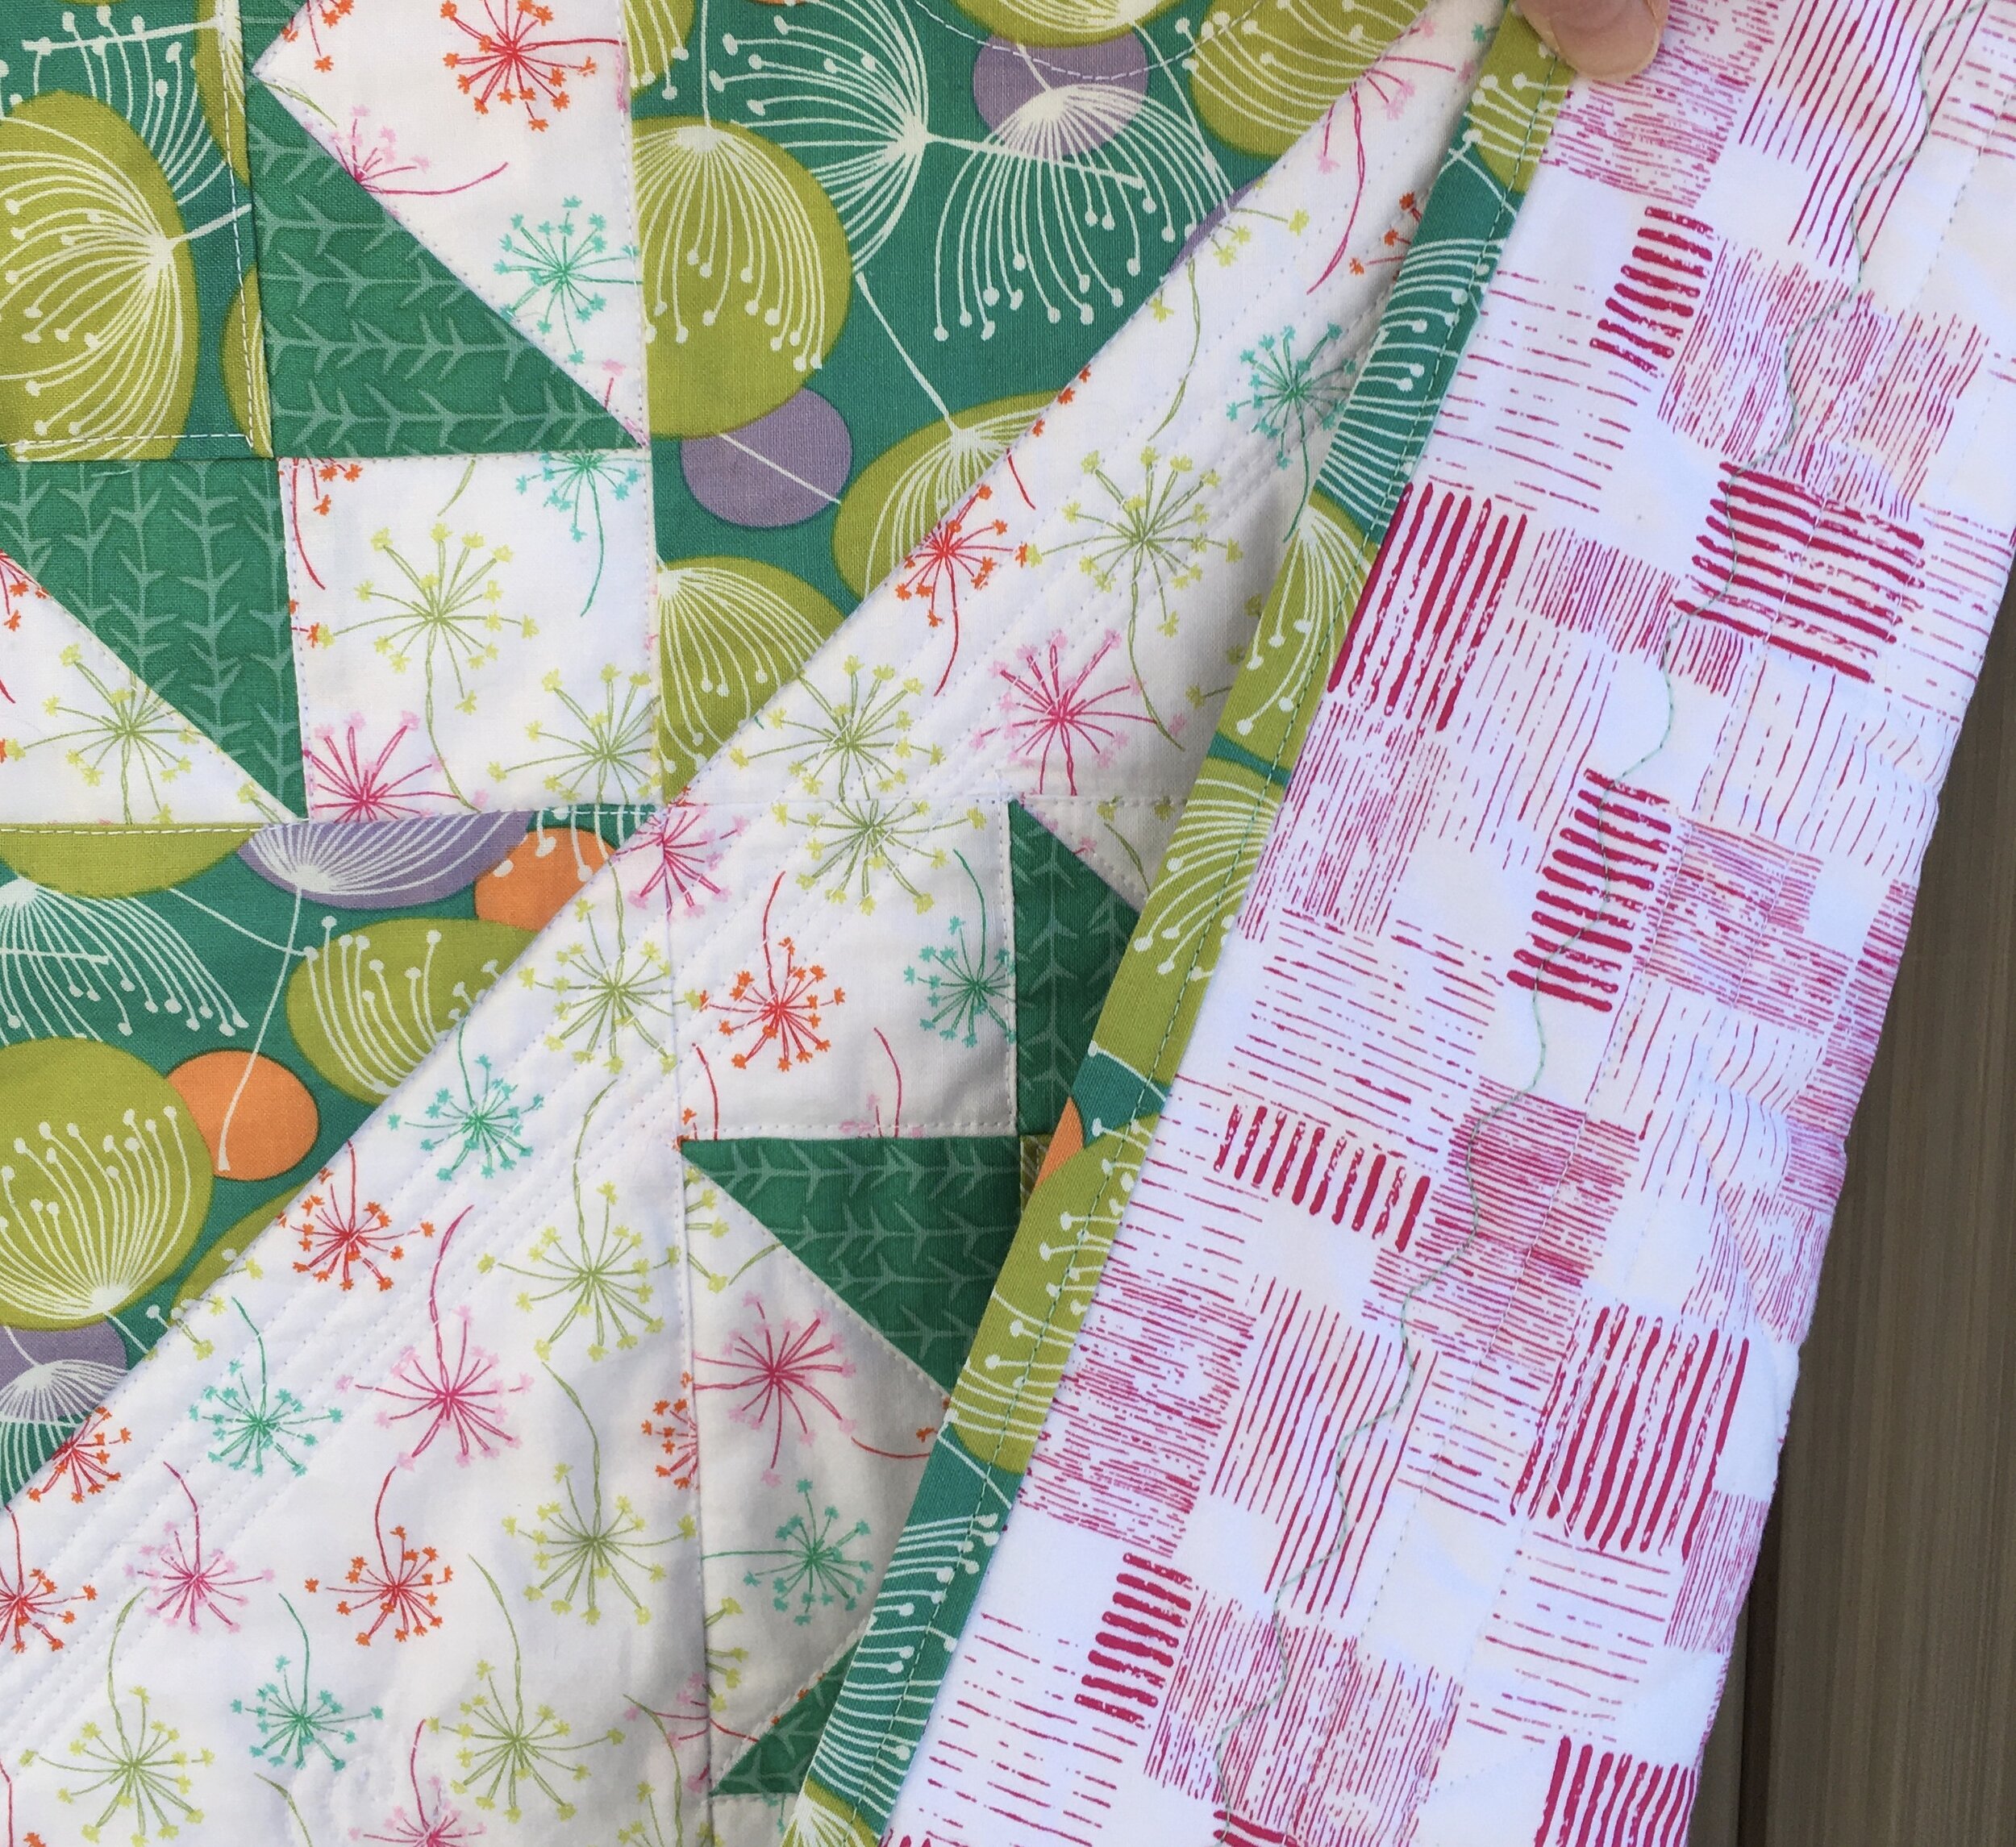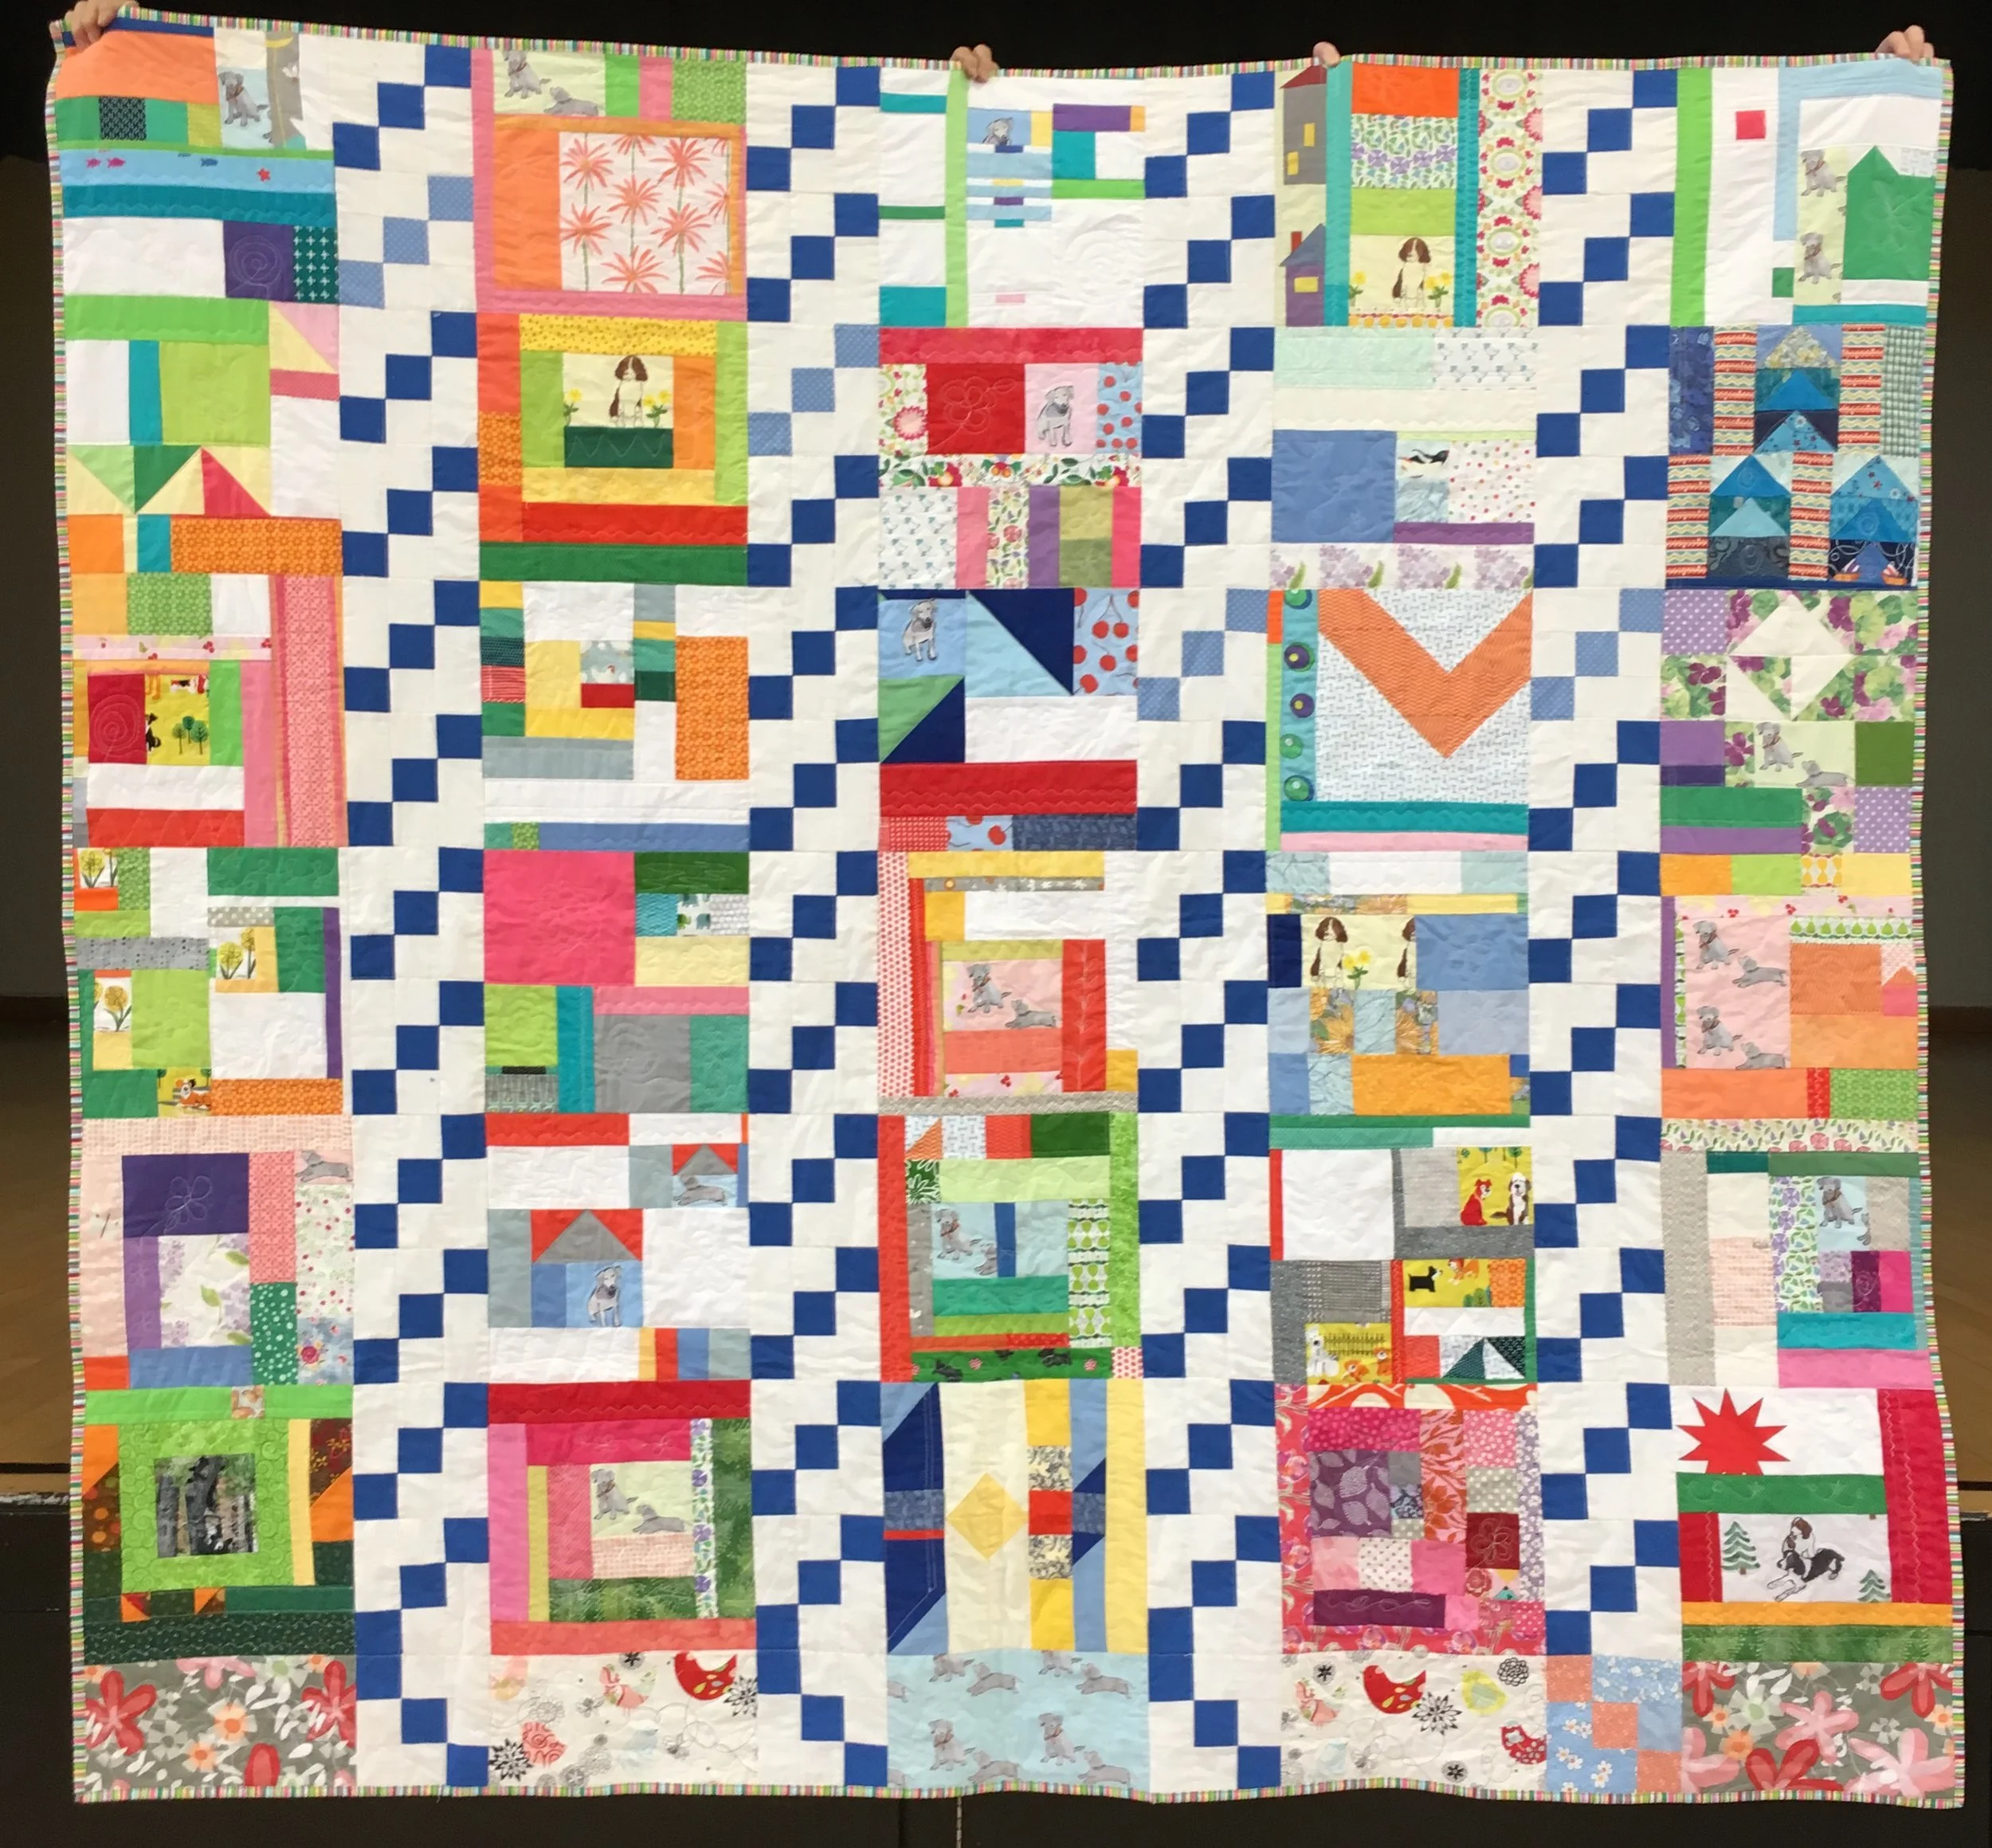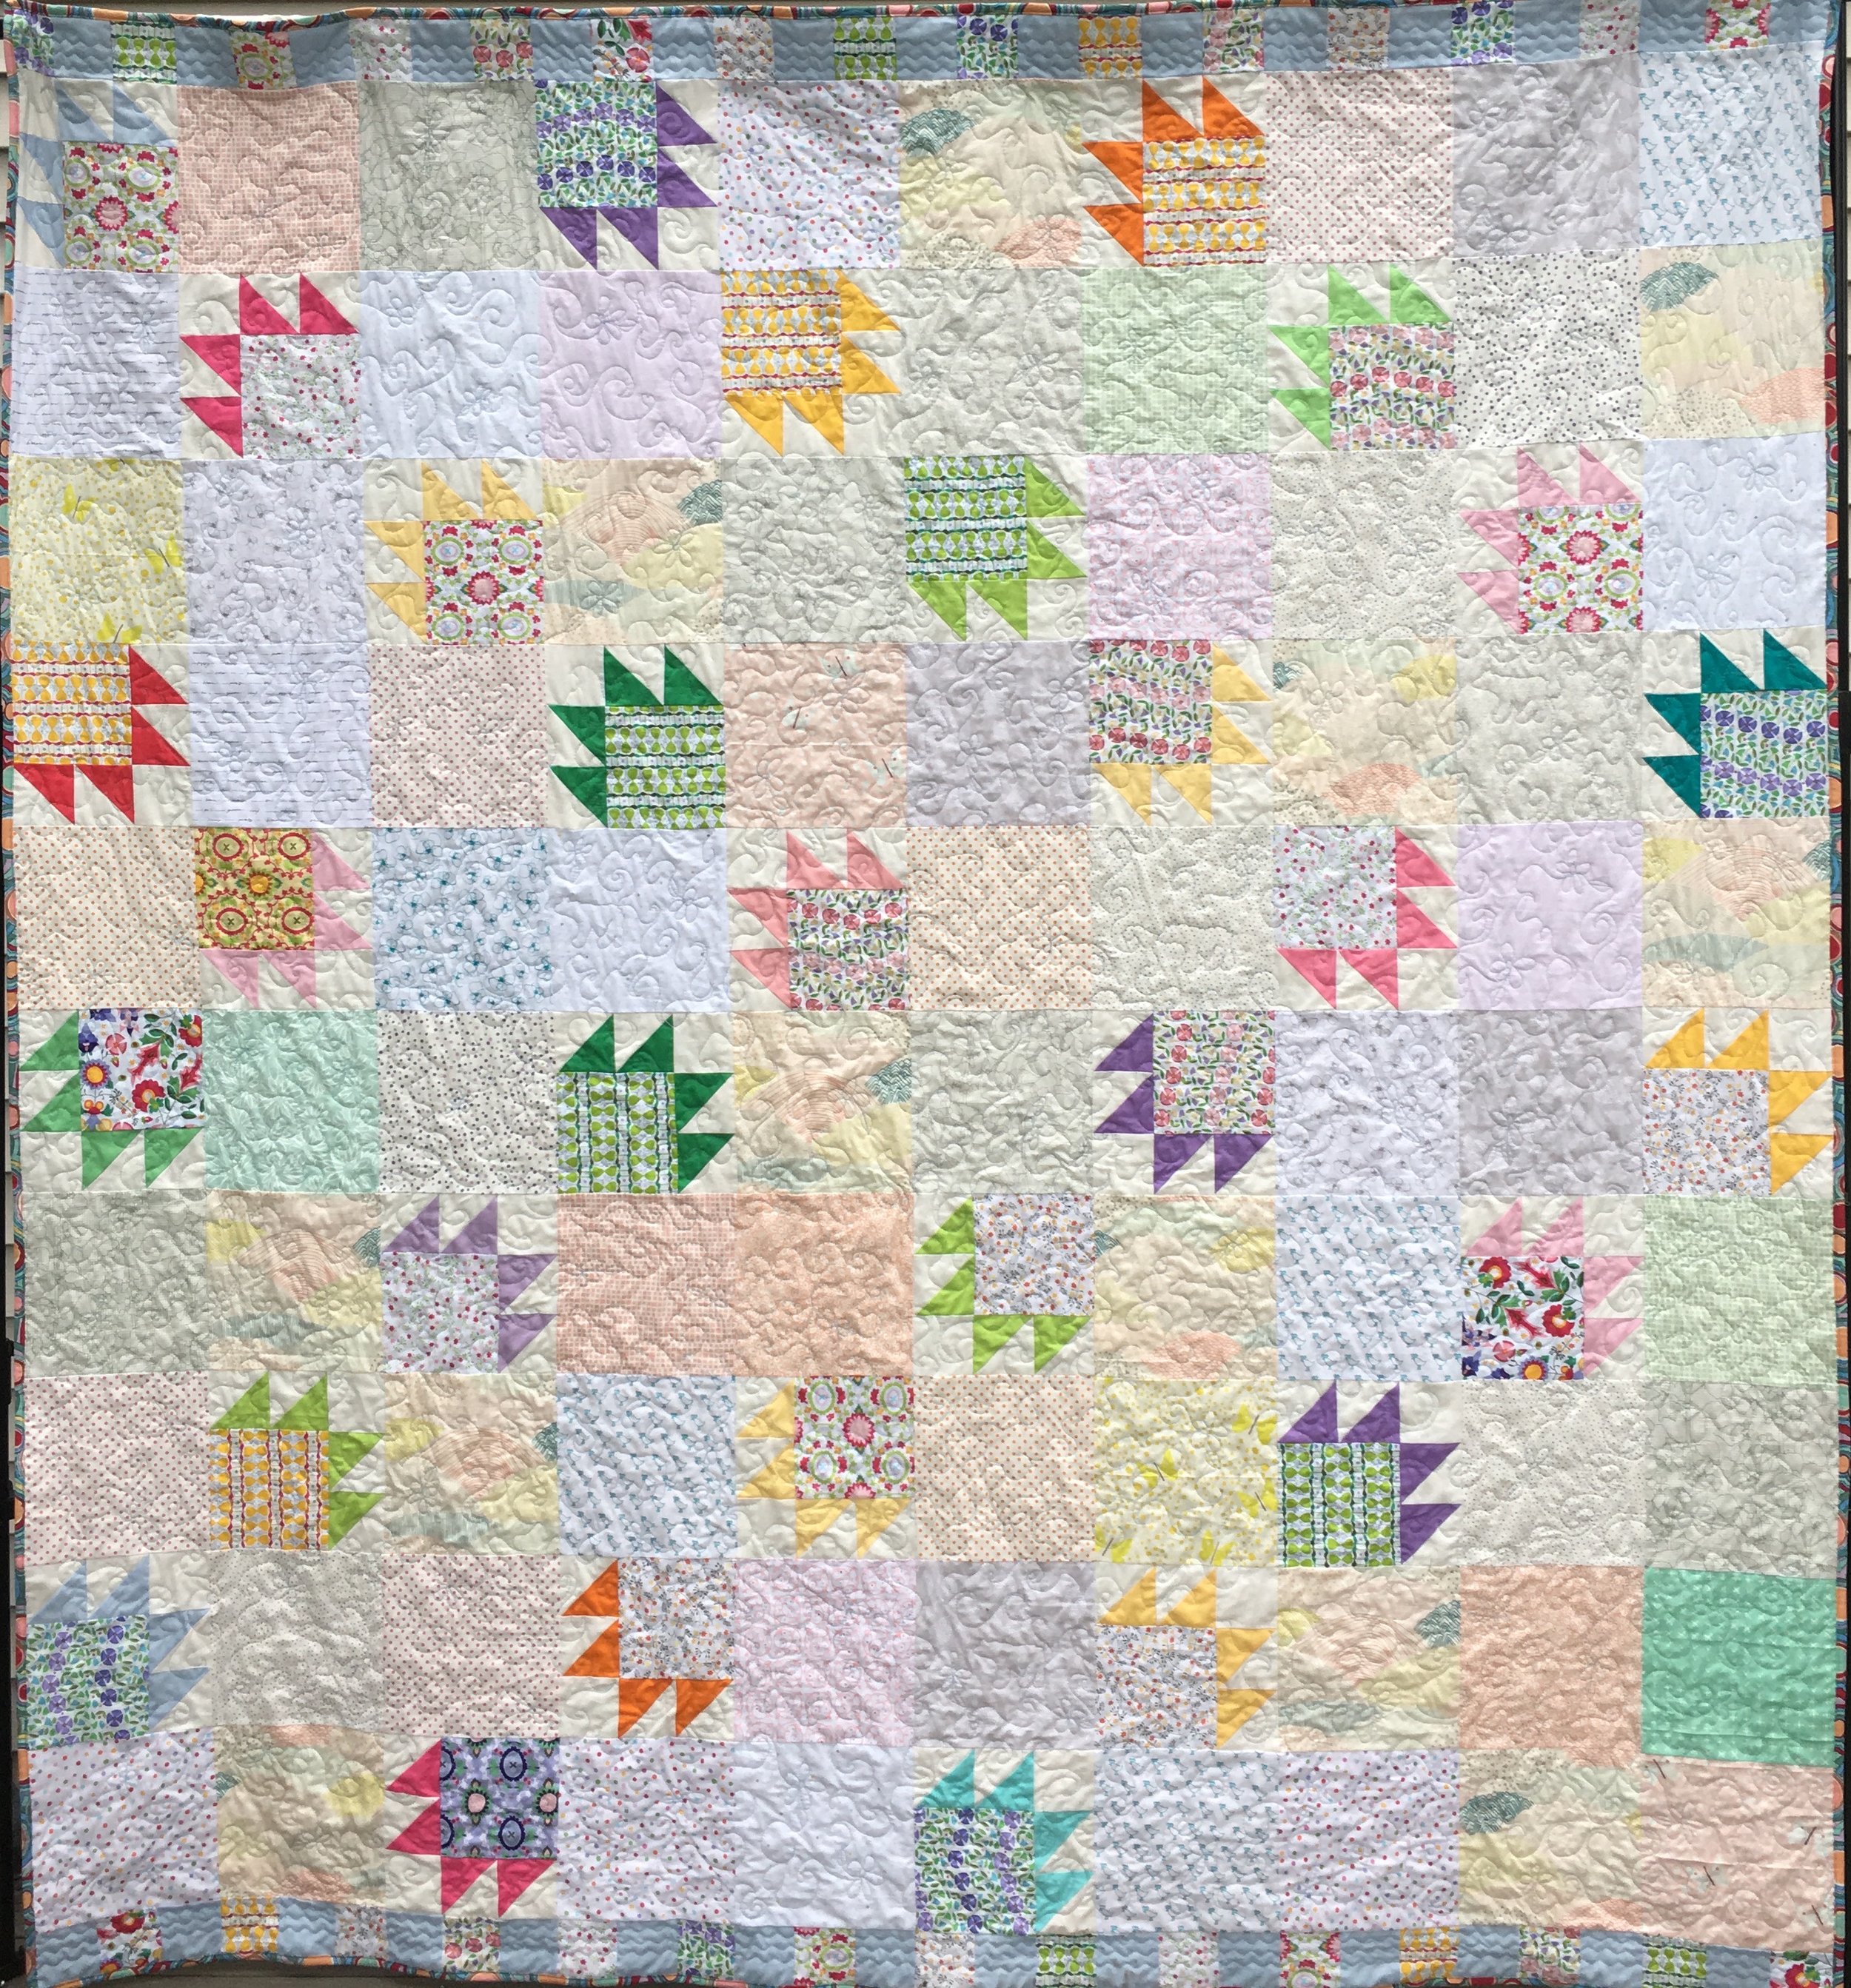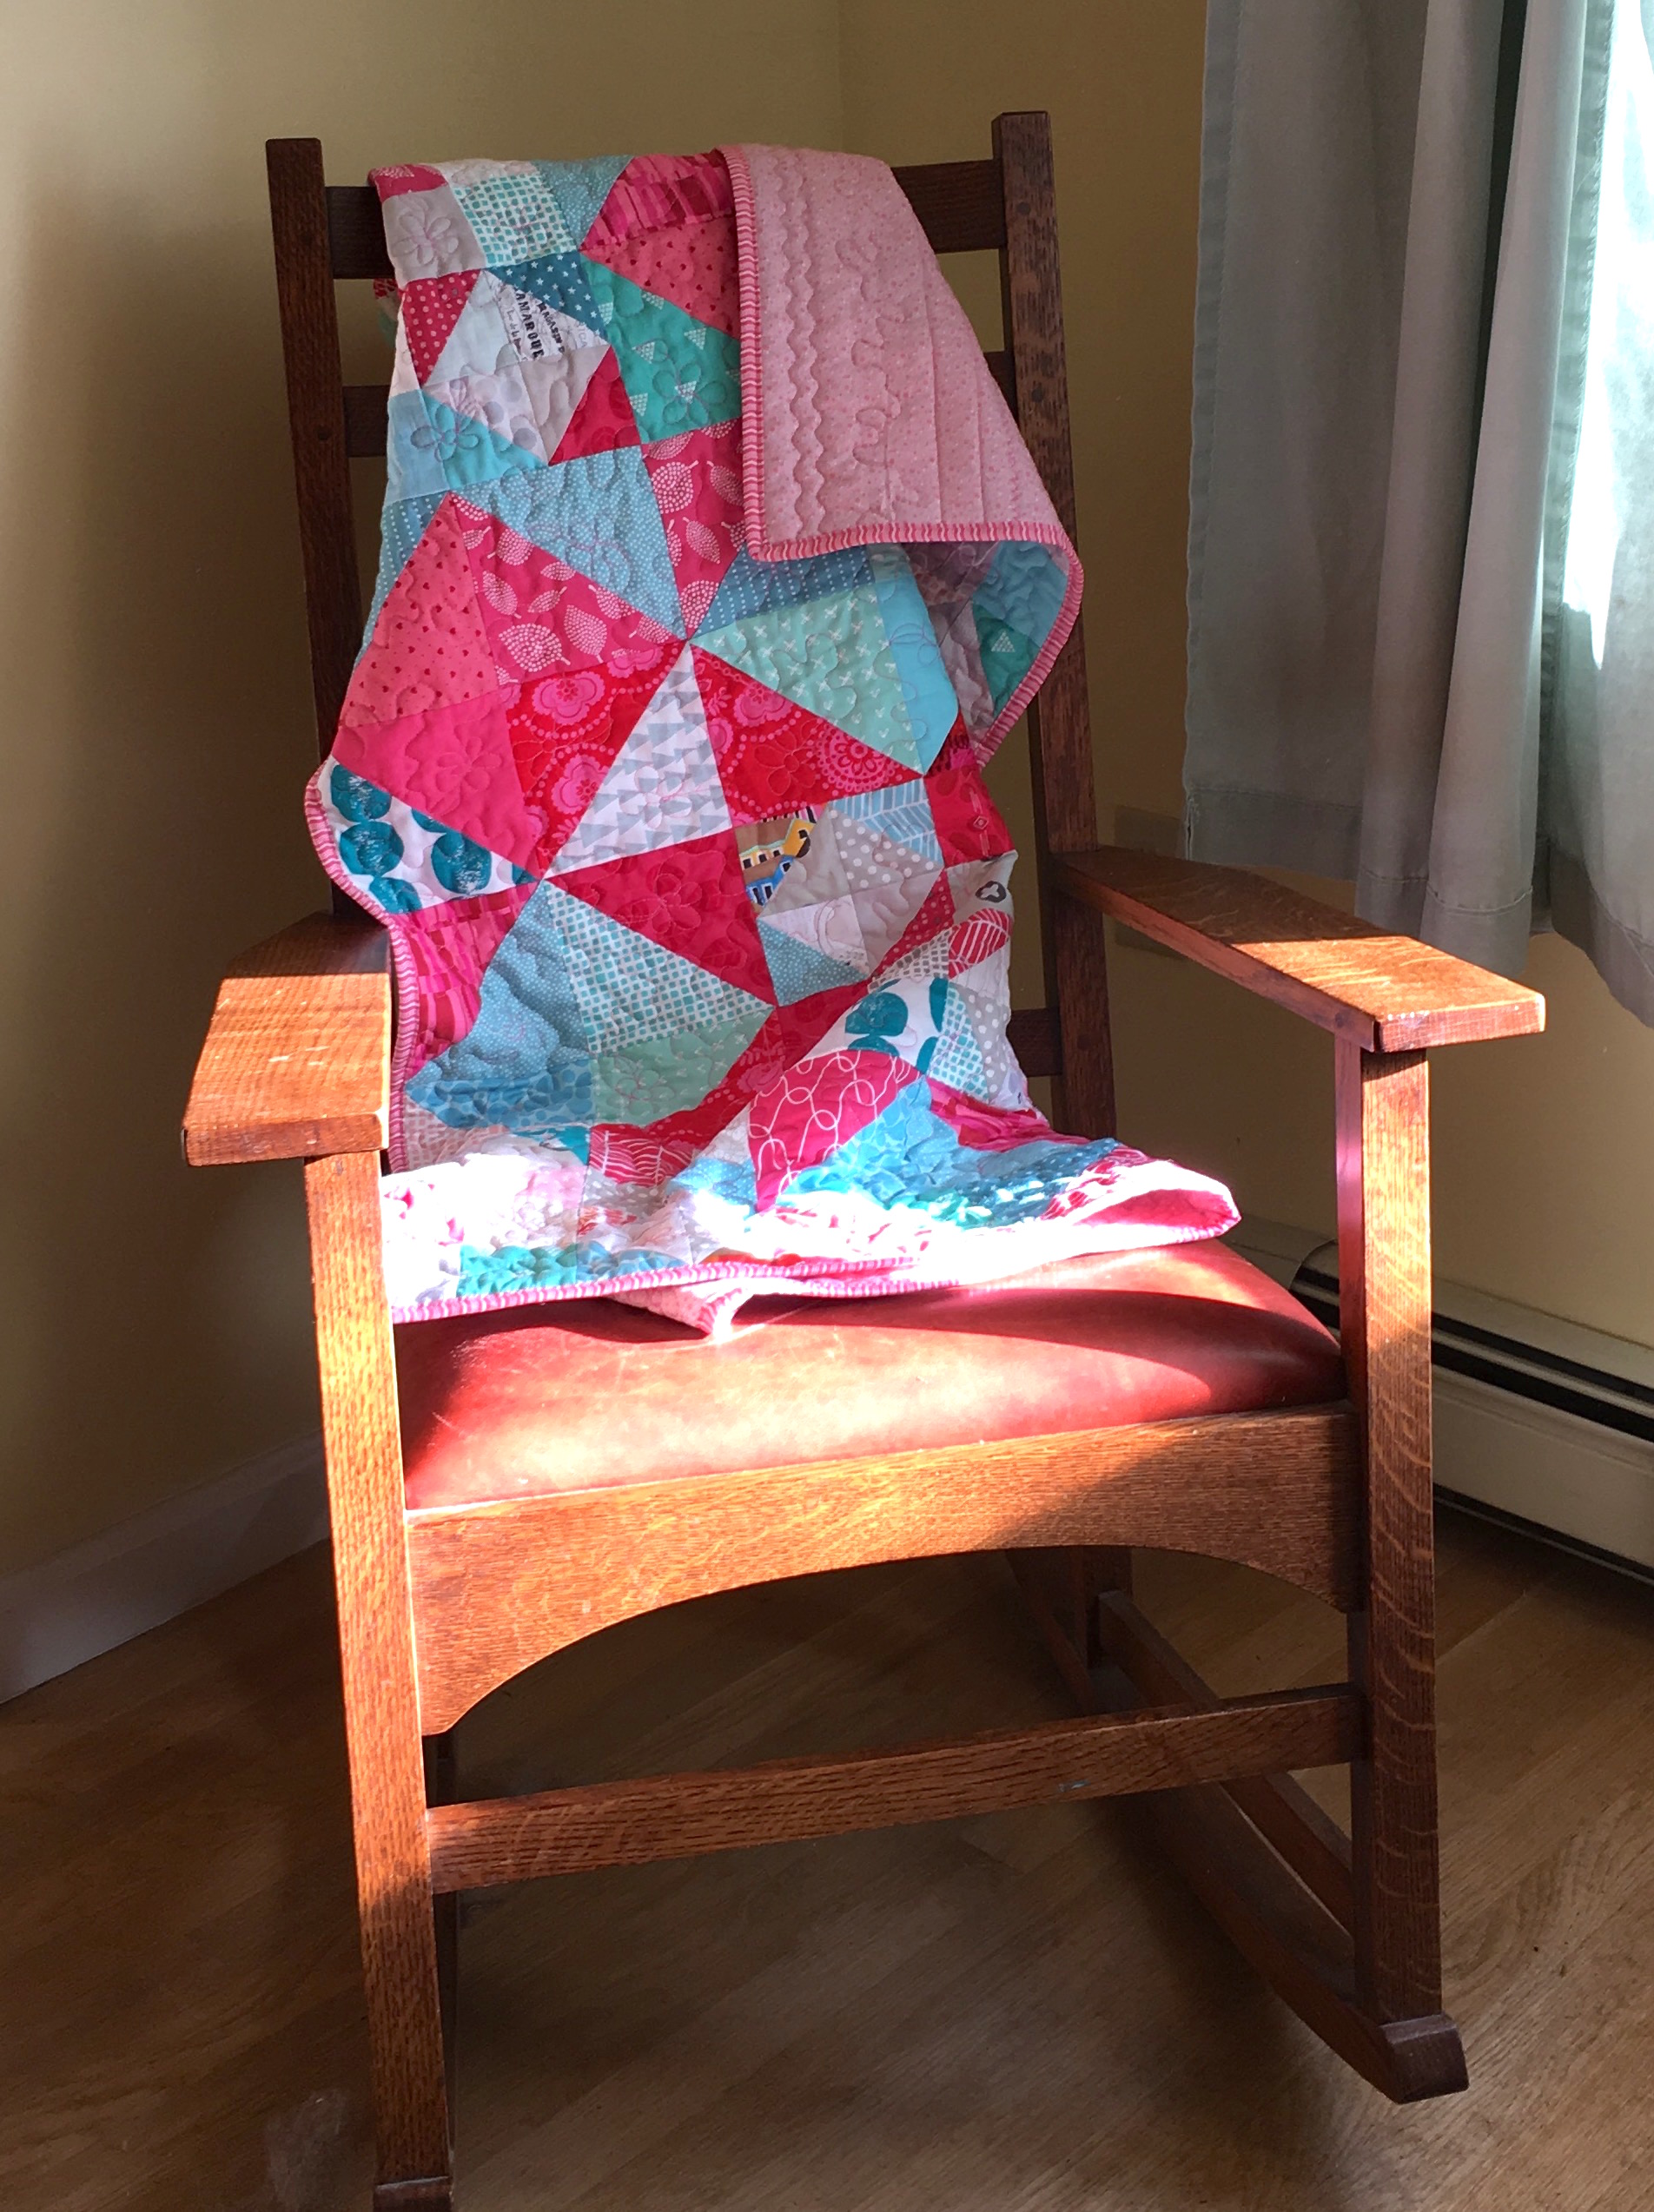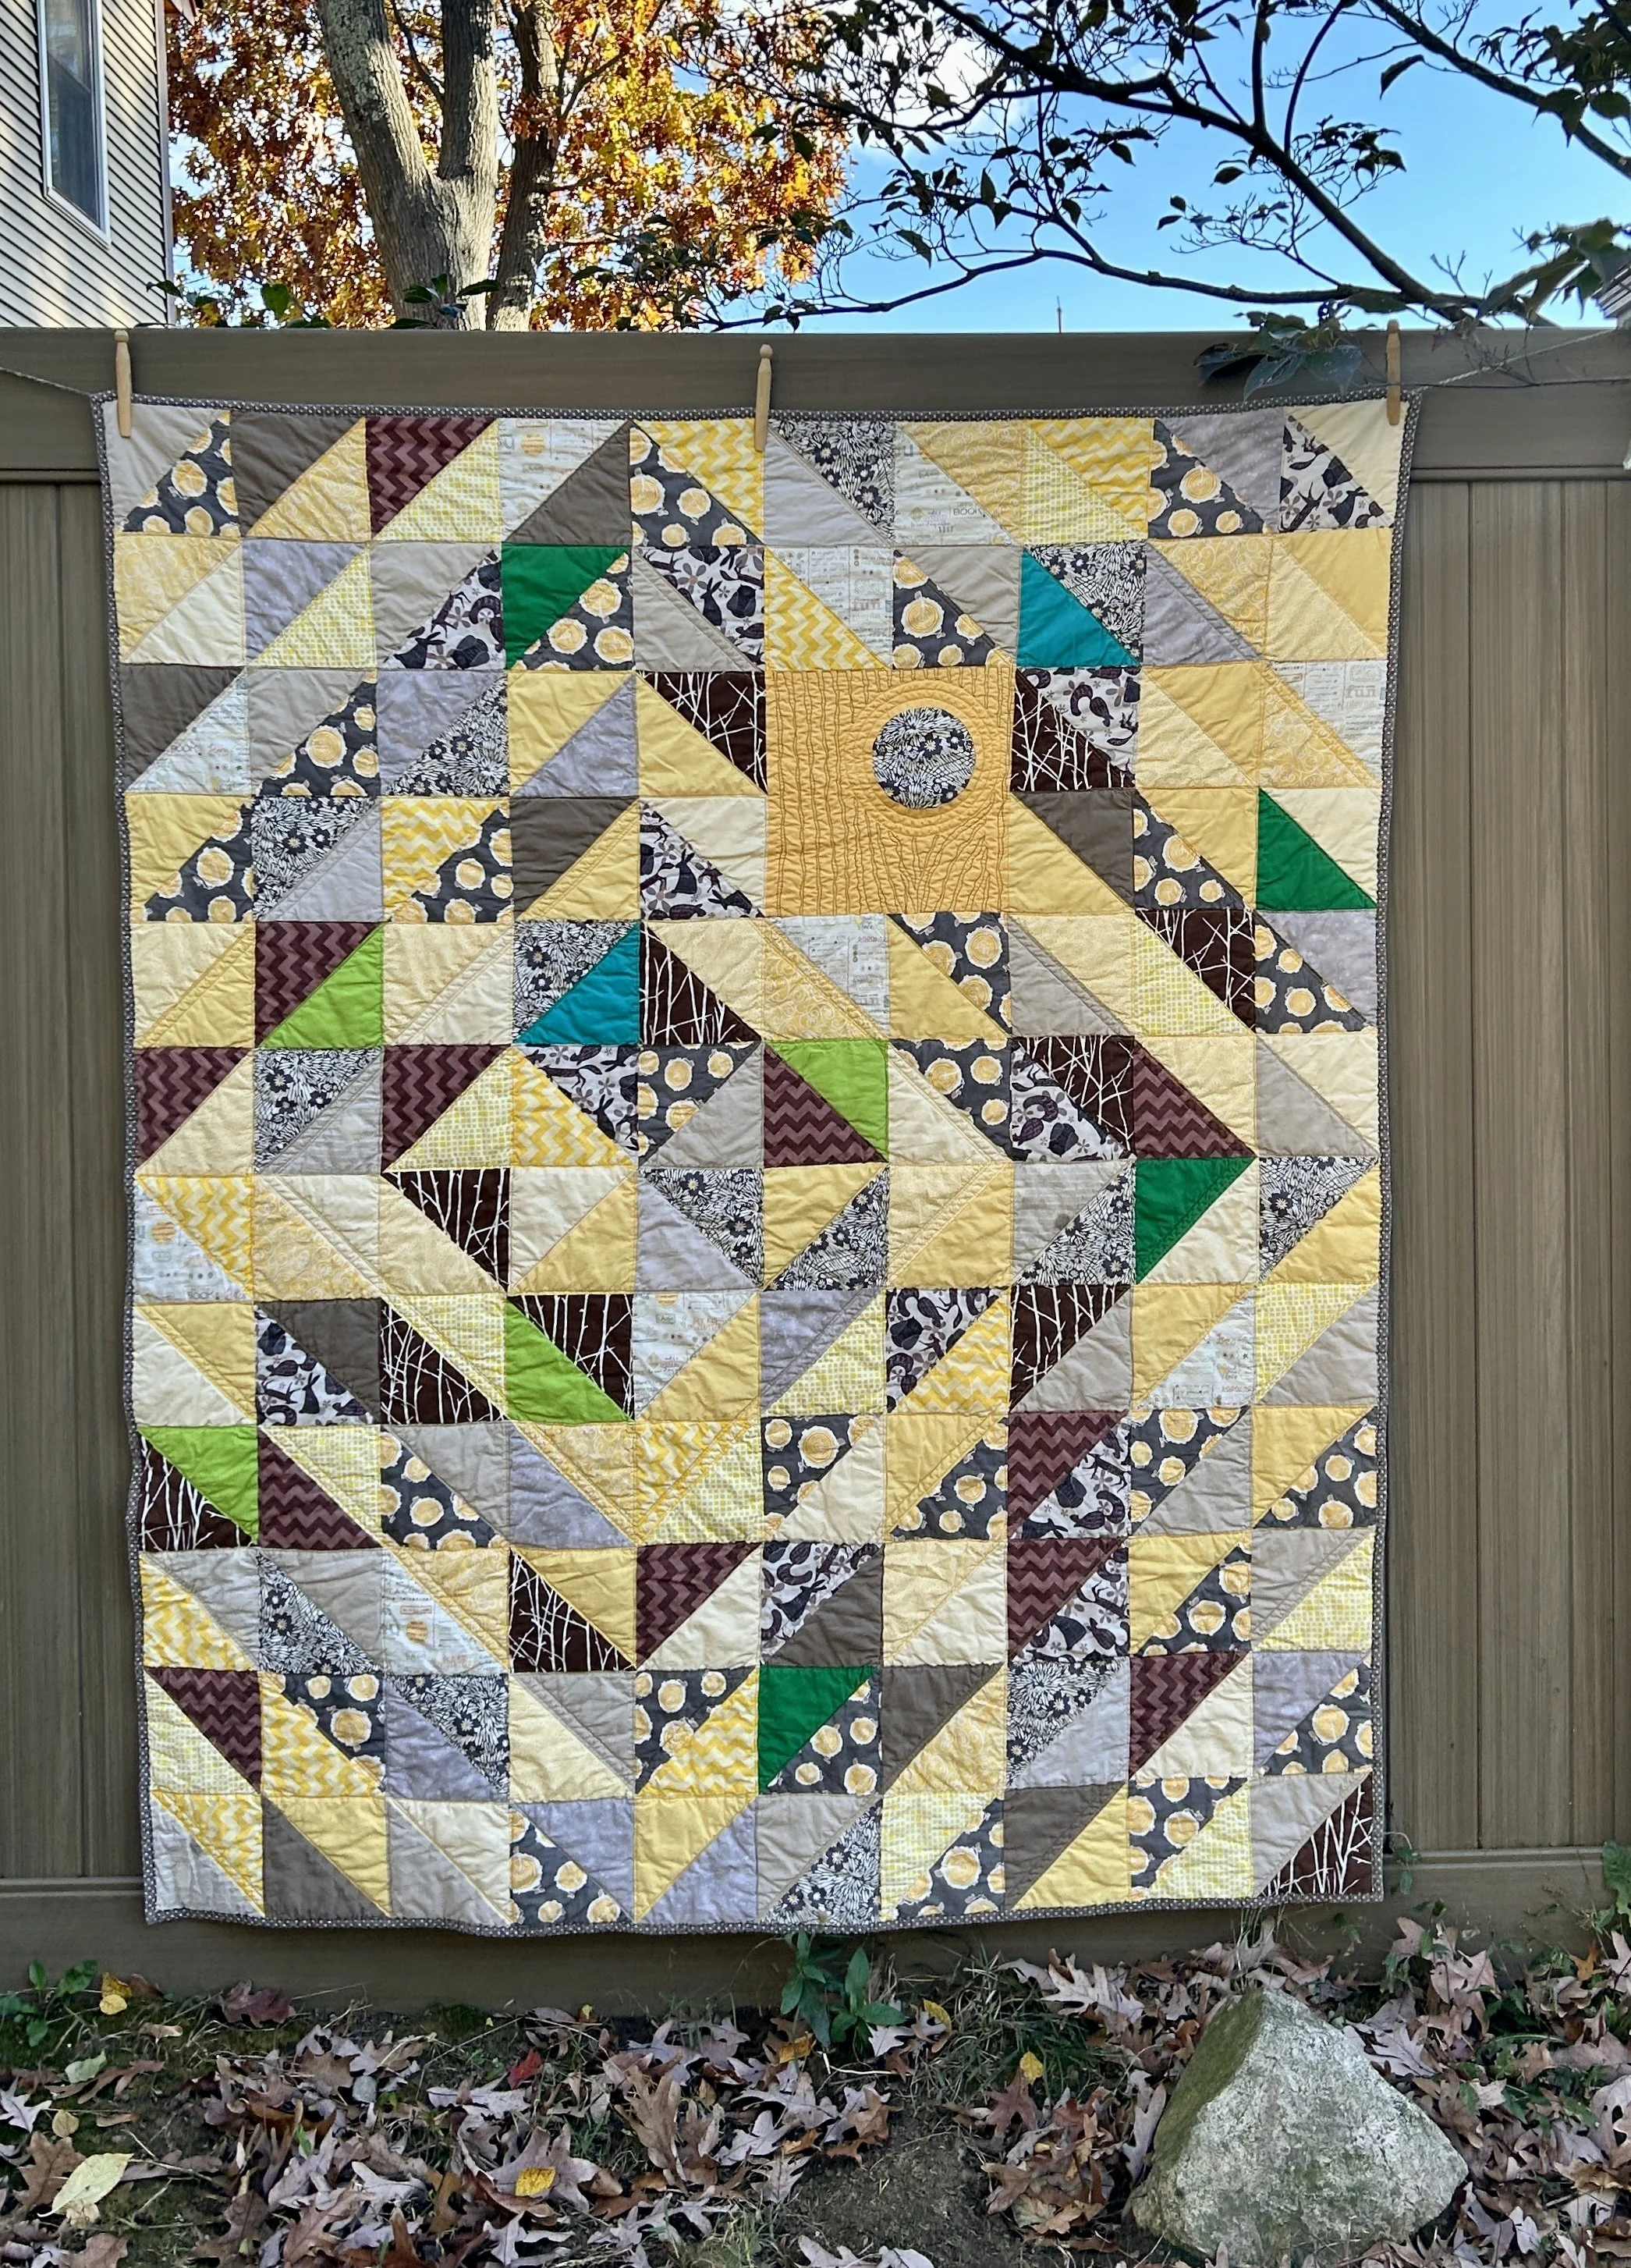
“The Tree Quilt” 55 x 66 inches
Since I referenced this quilt in my previous post, I thought I’d show it again. (The completed quilt was first post in September 2014). It was fun to note that I renamed the quilt once it was complete, something I used to do frequently with quilts I designed myself. While under construction, I called it the “Diamond in the Forest” quilt but when it was done, it became “The Tree Quilt”.
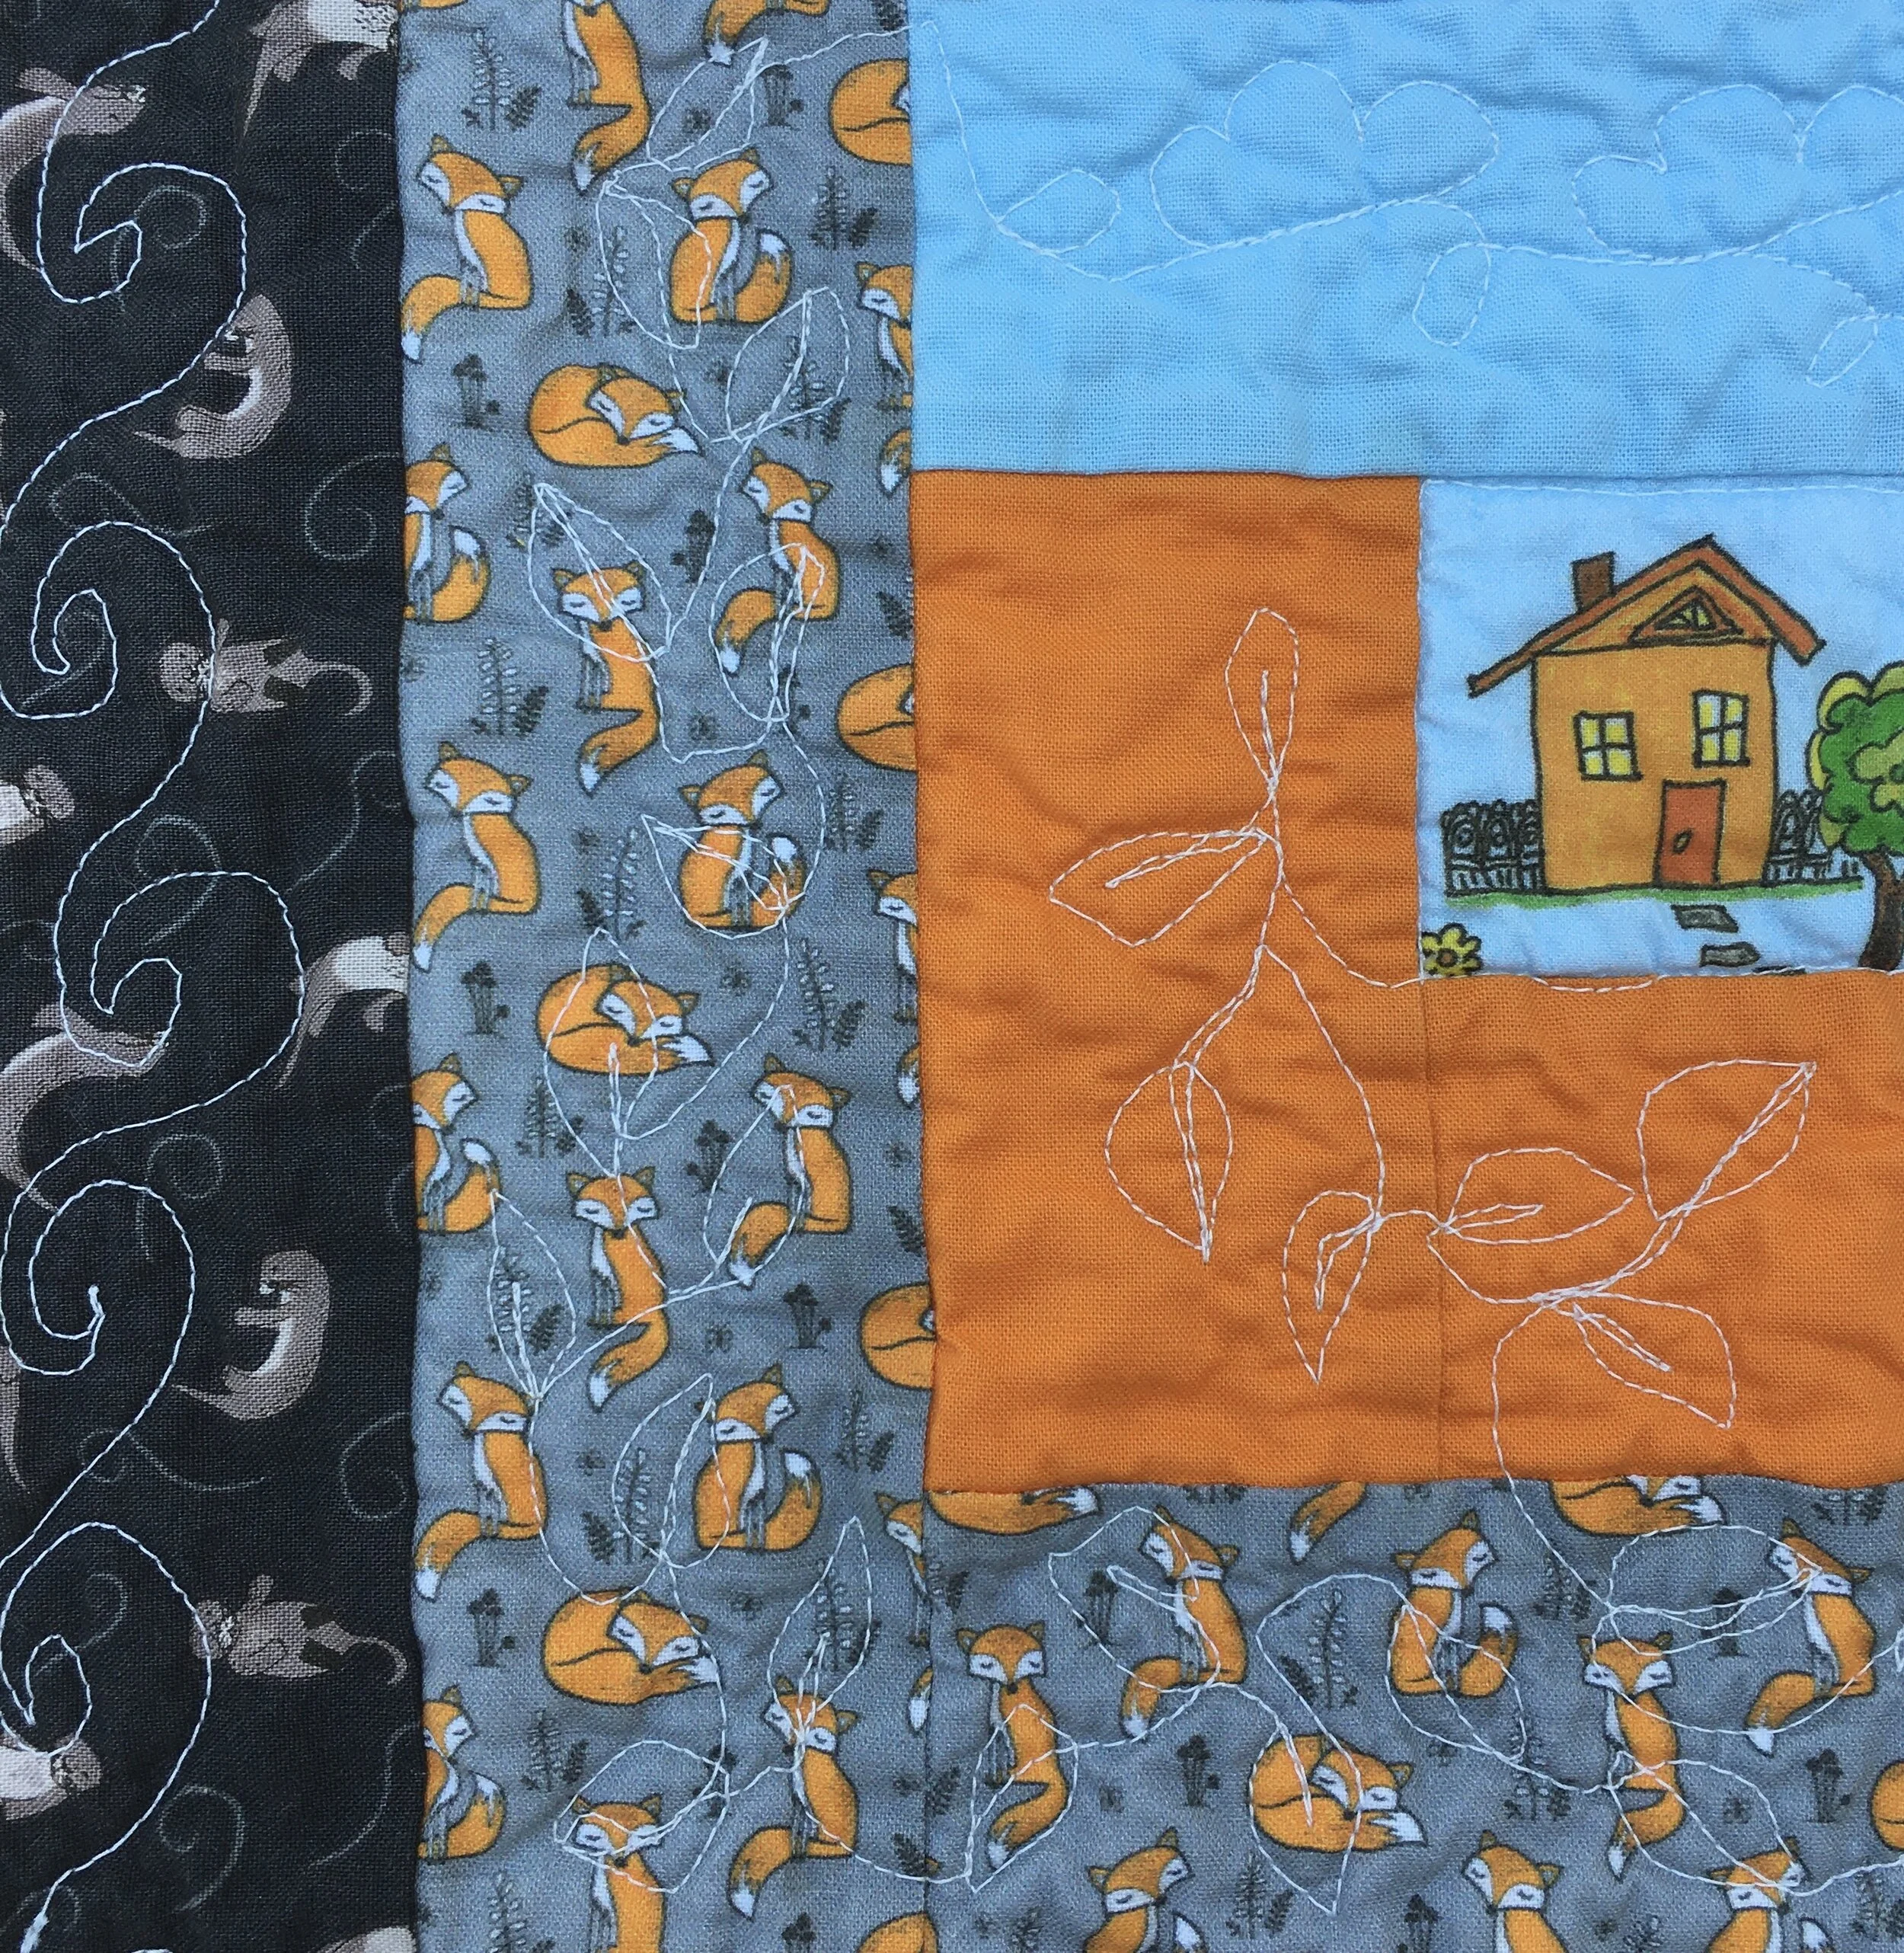
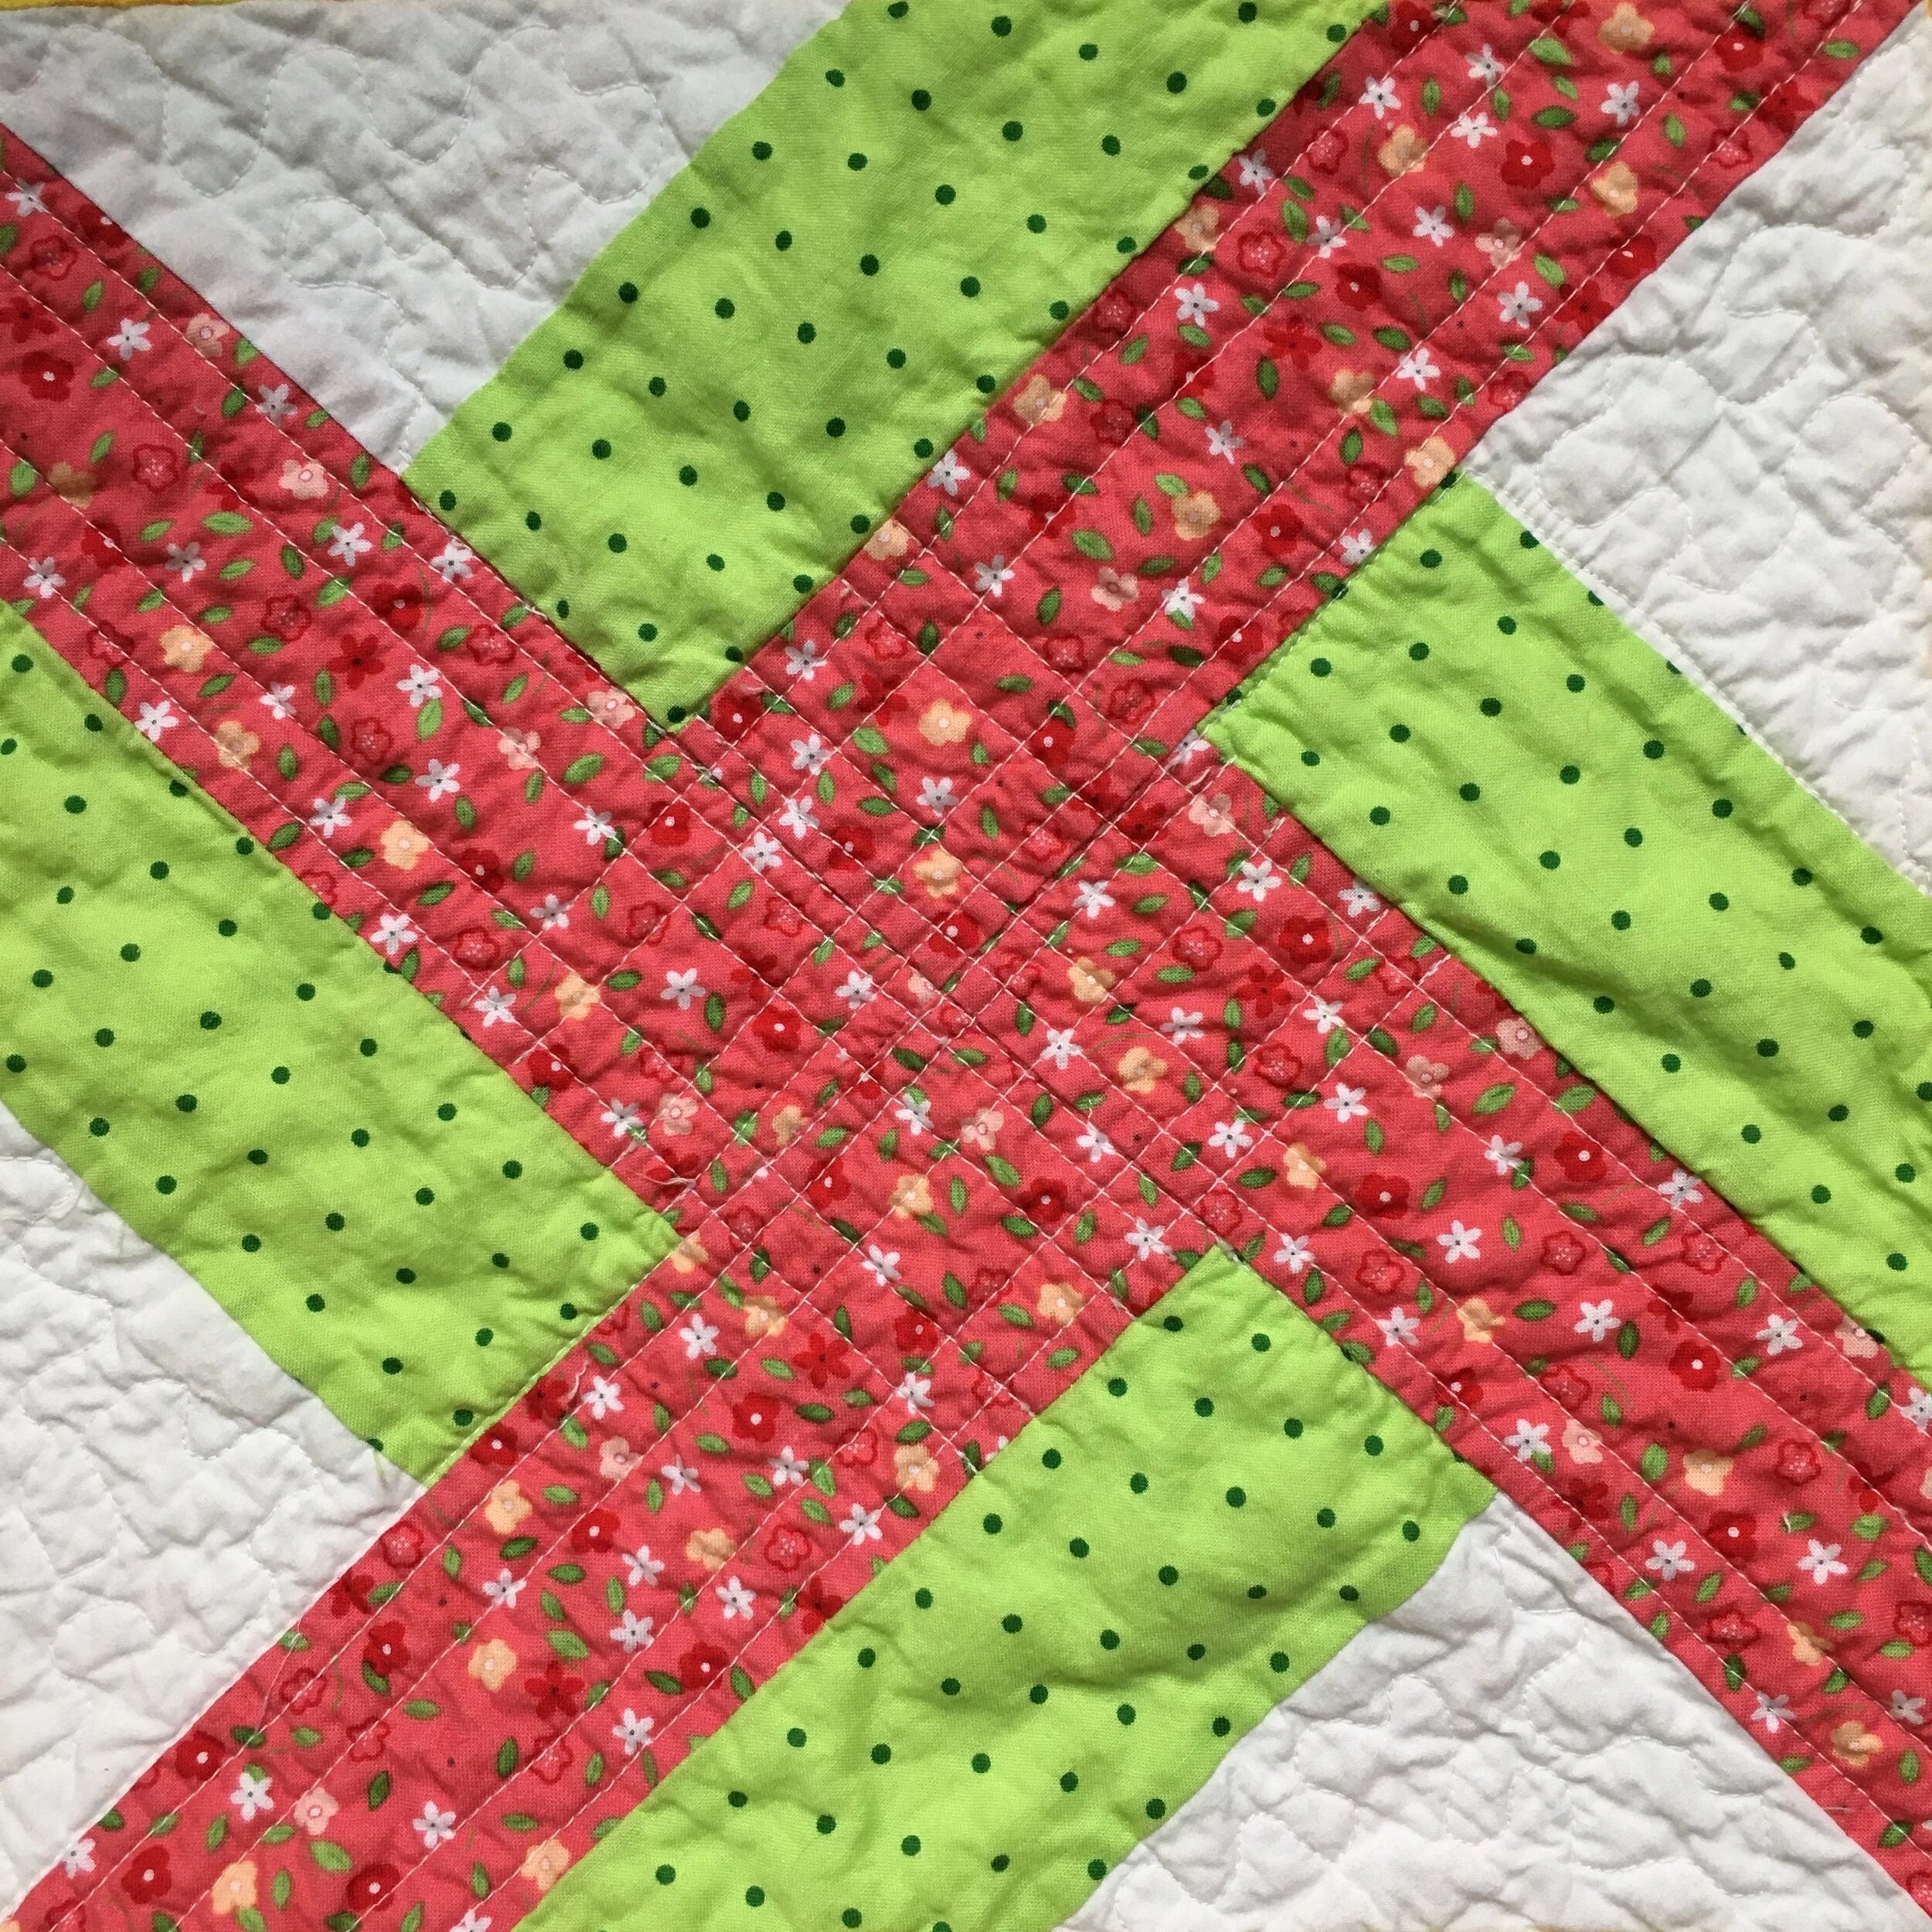
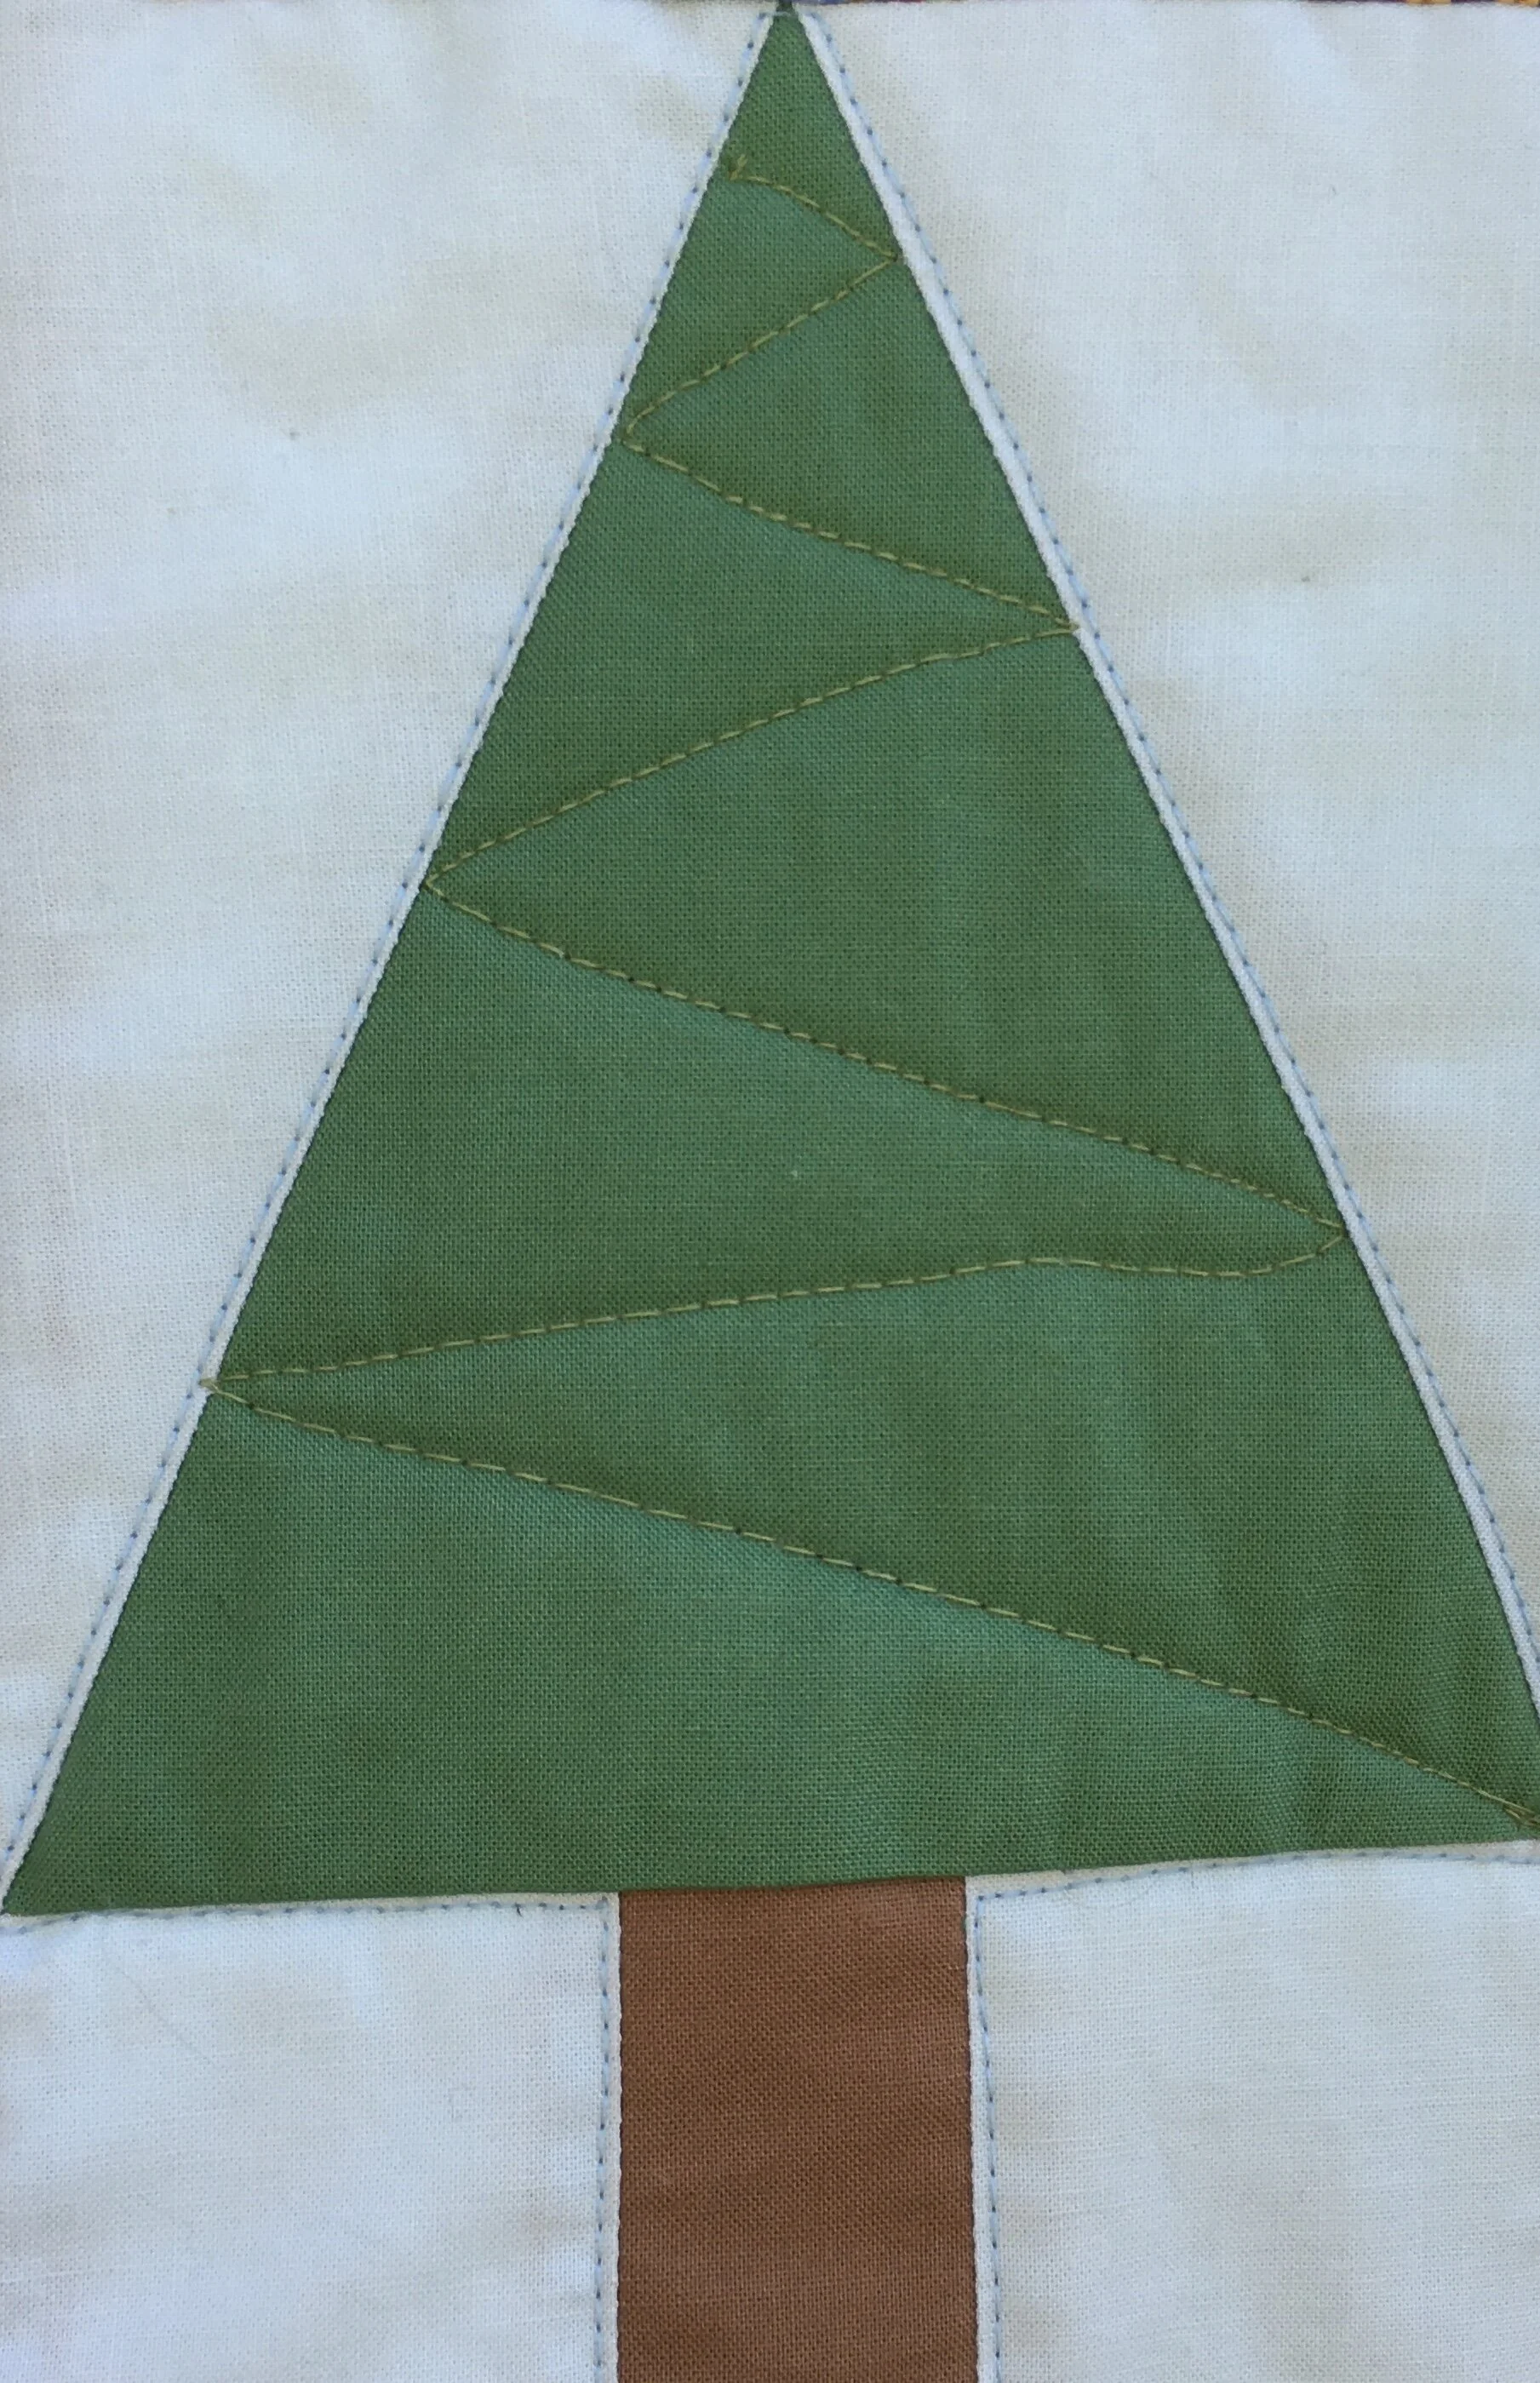
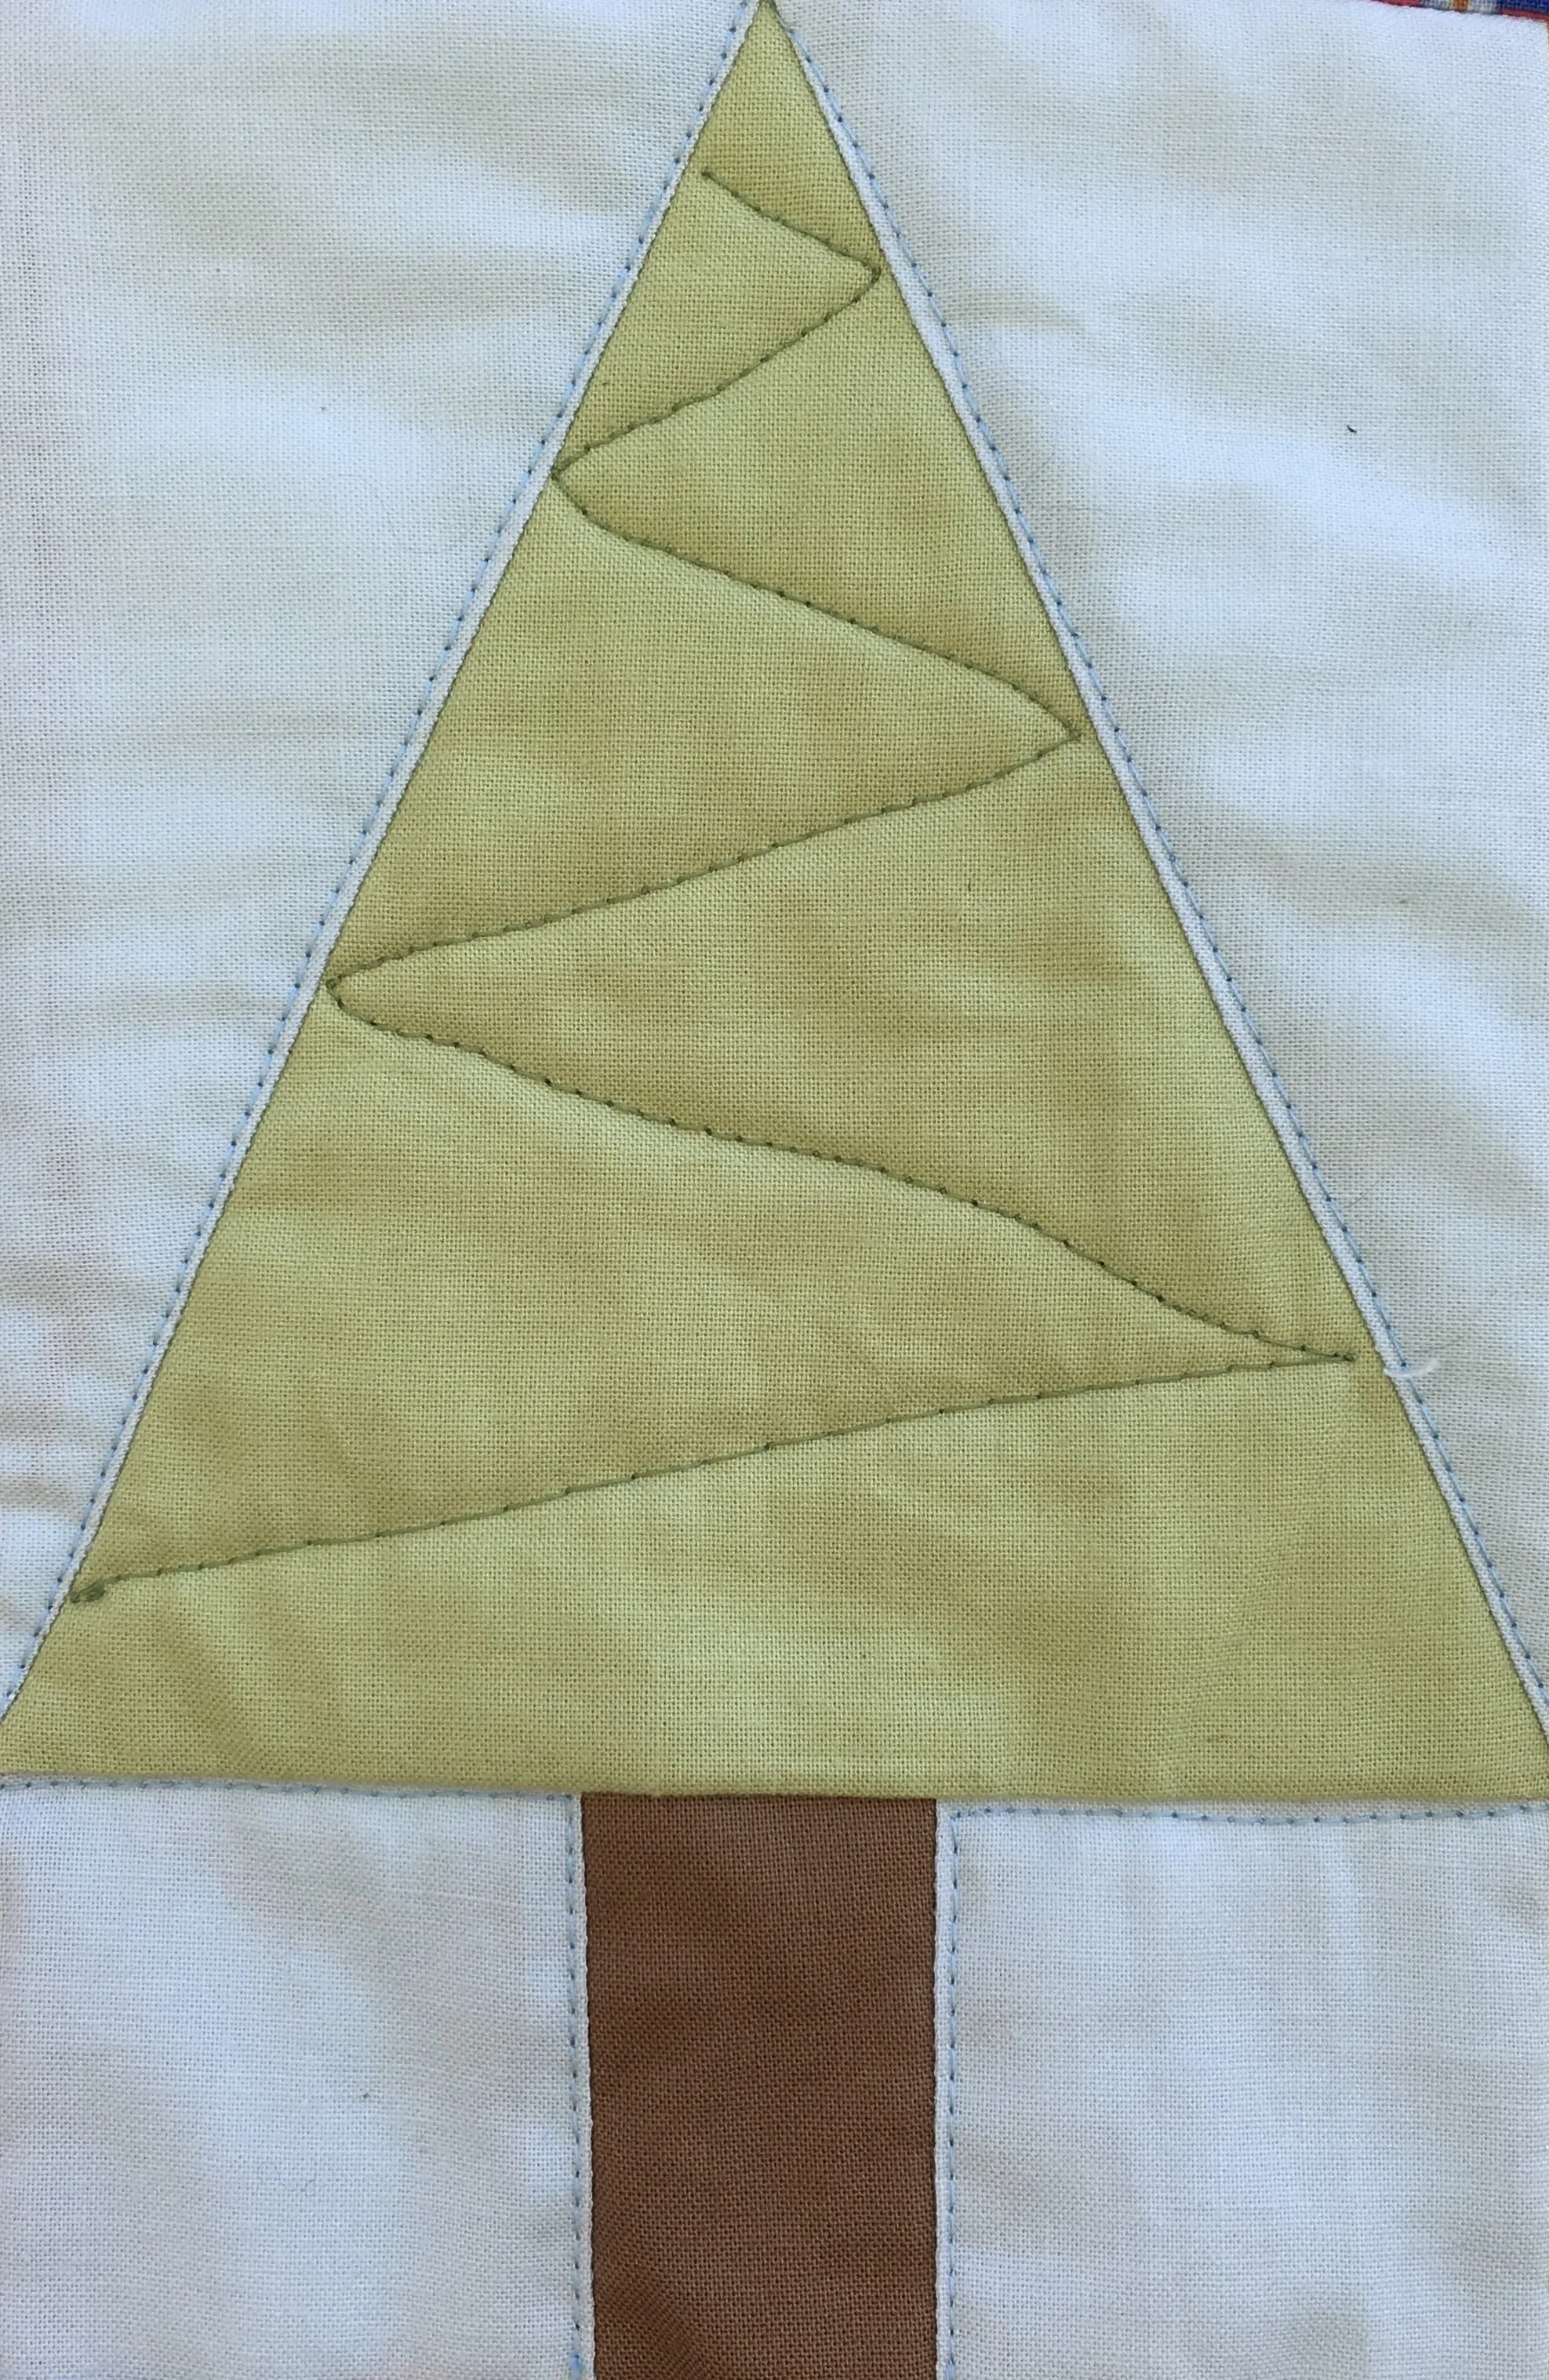
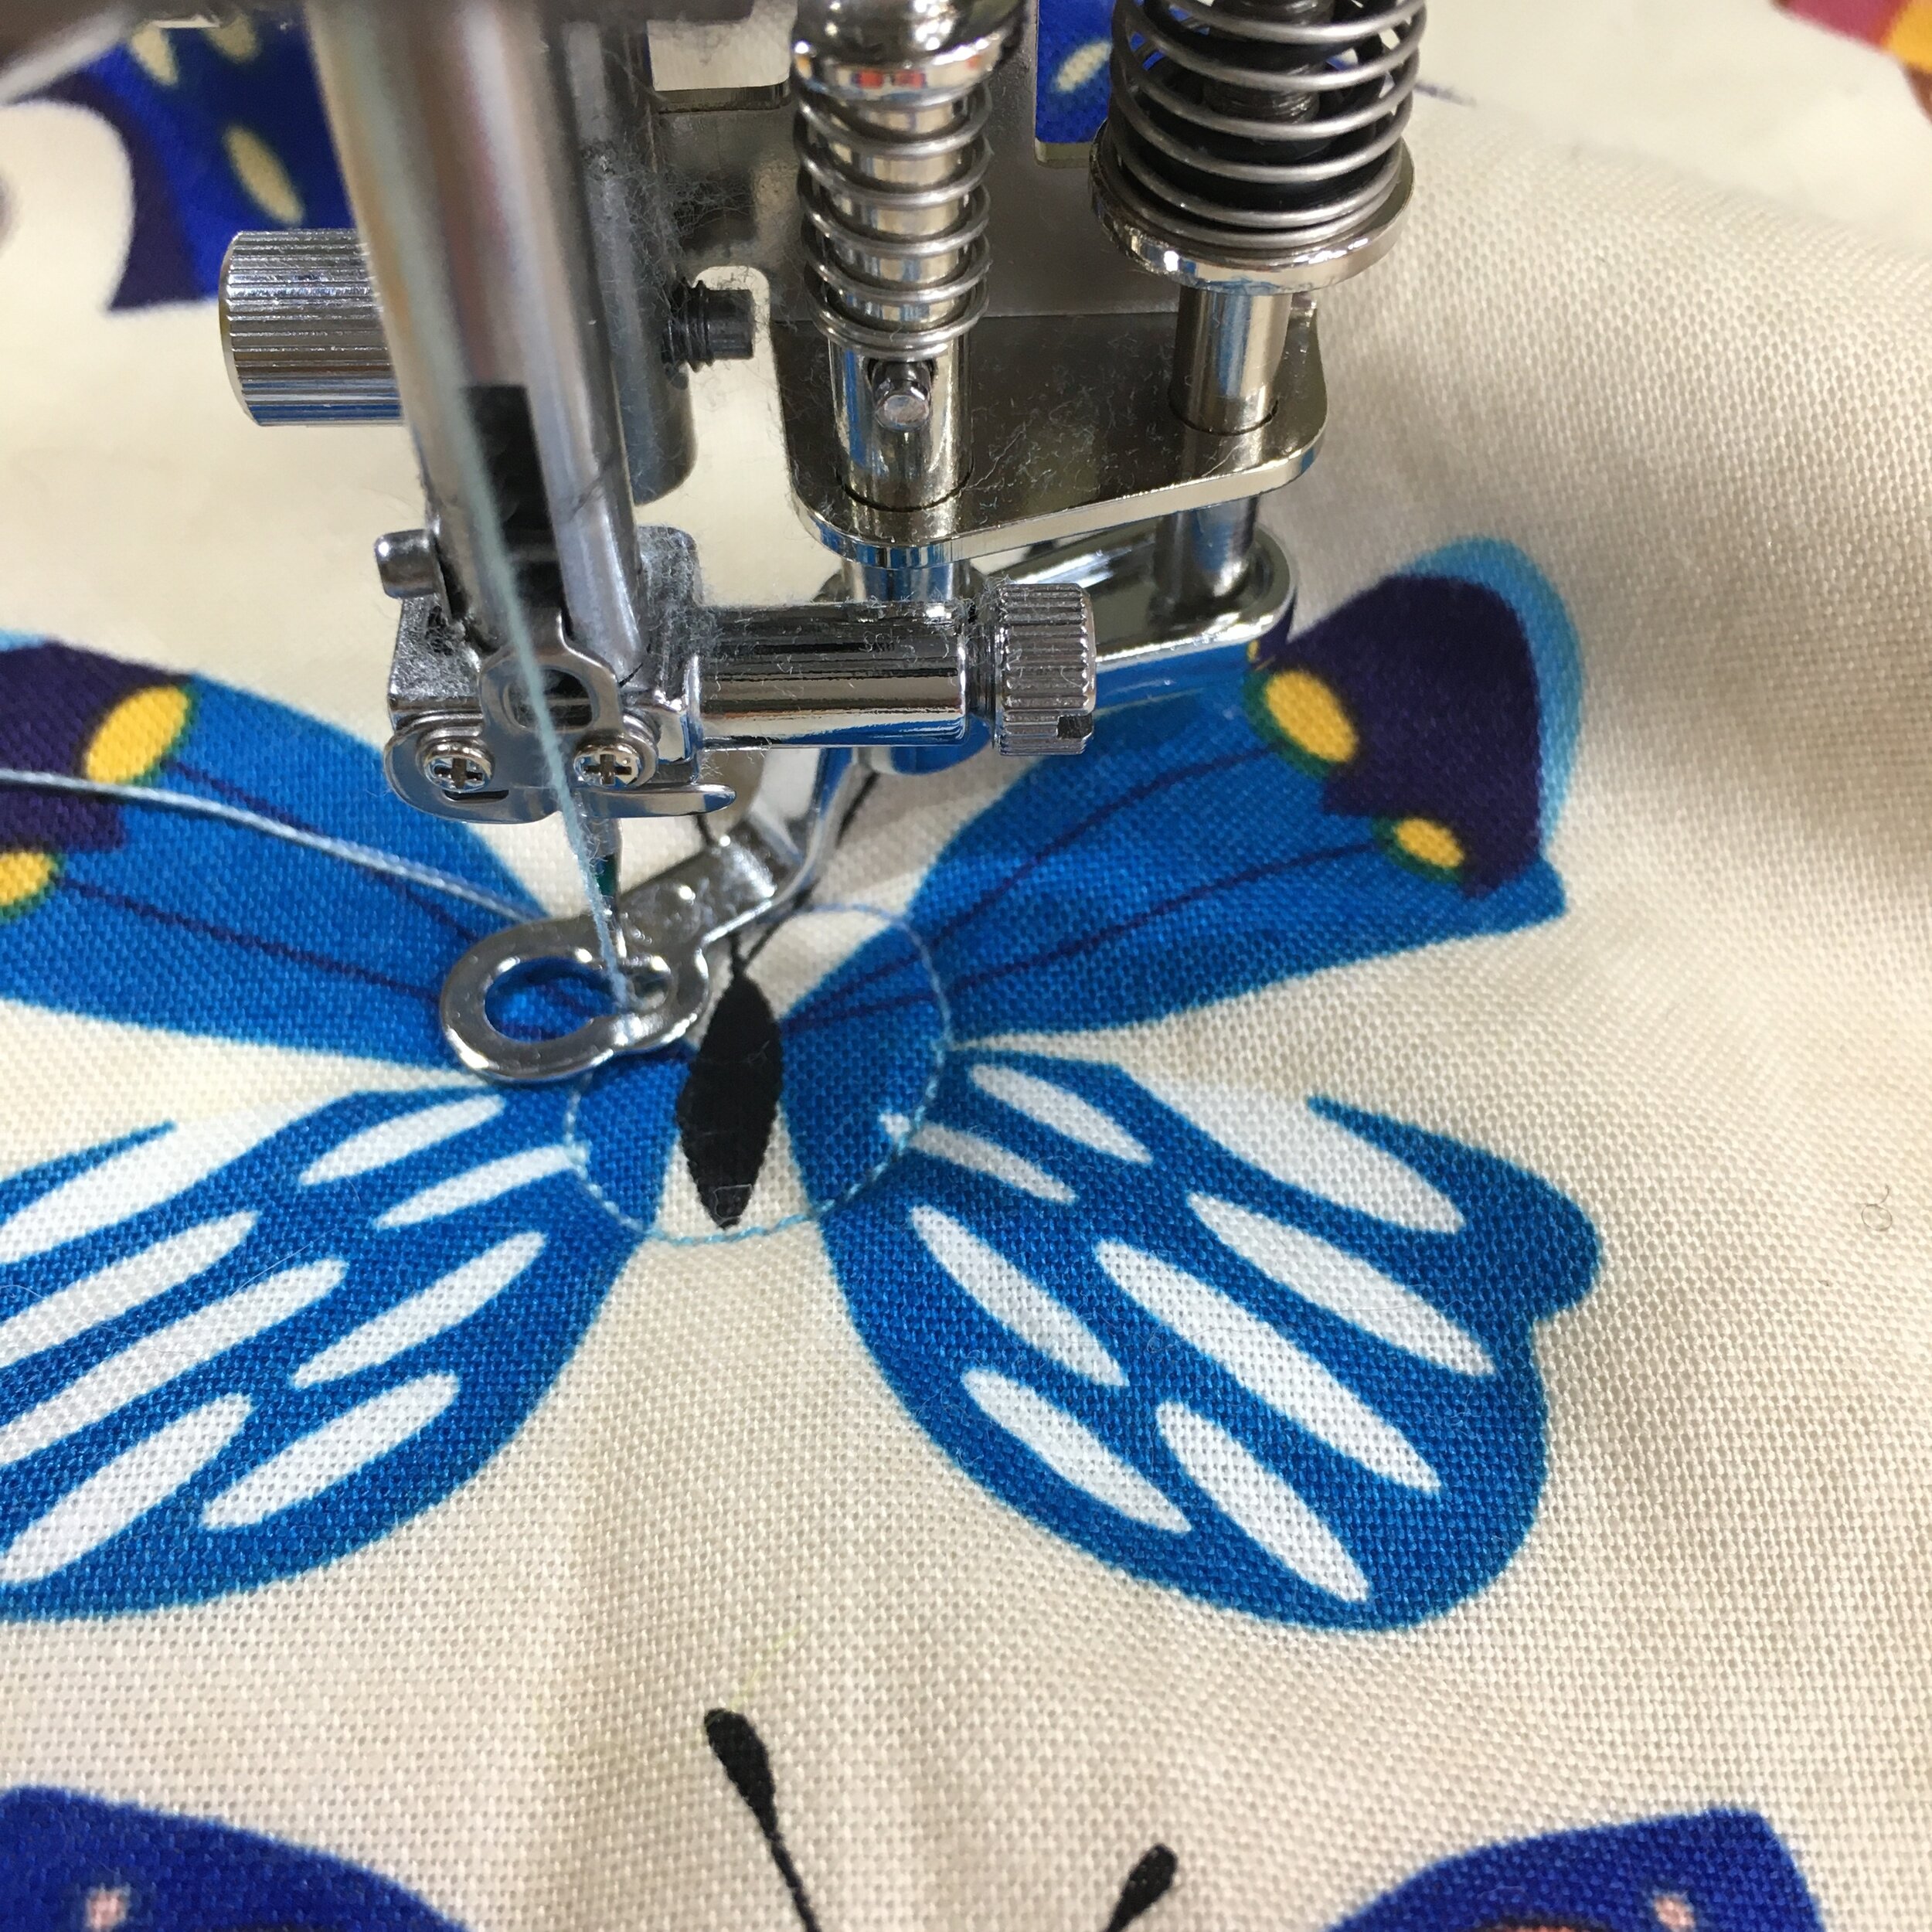
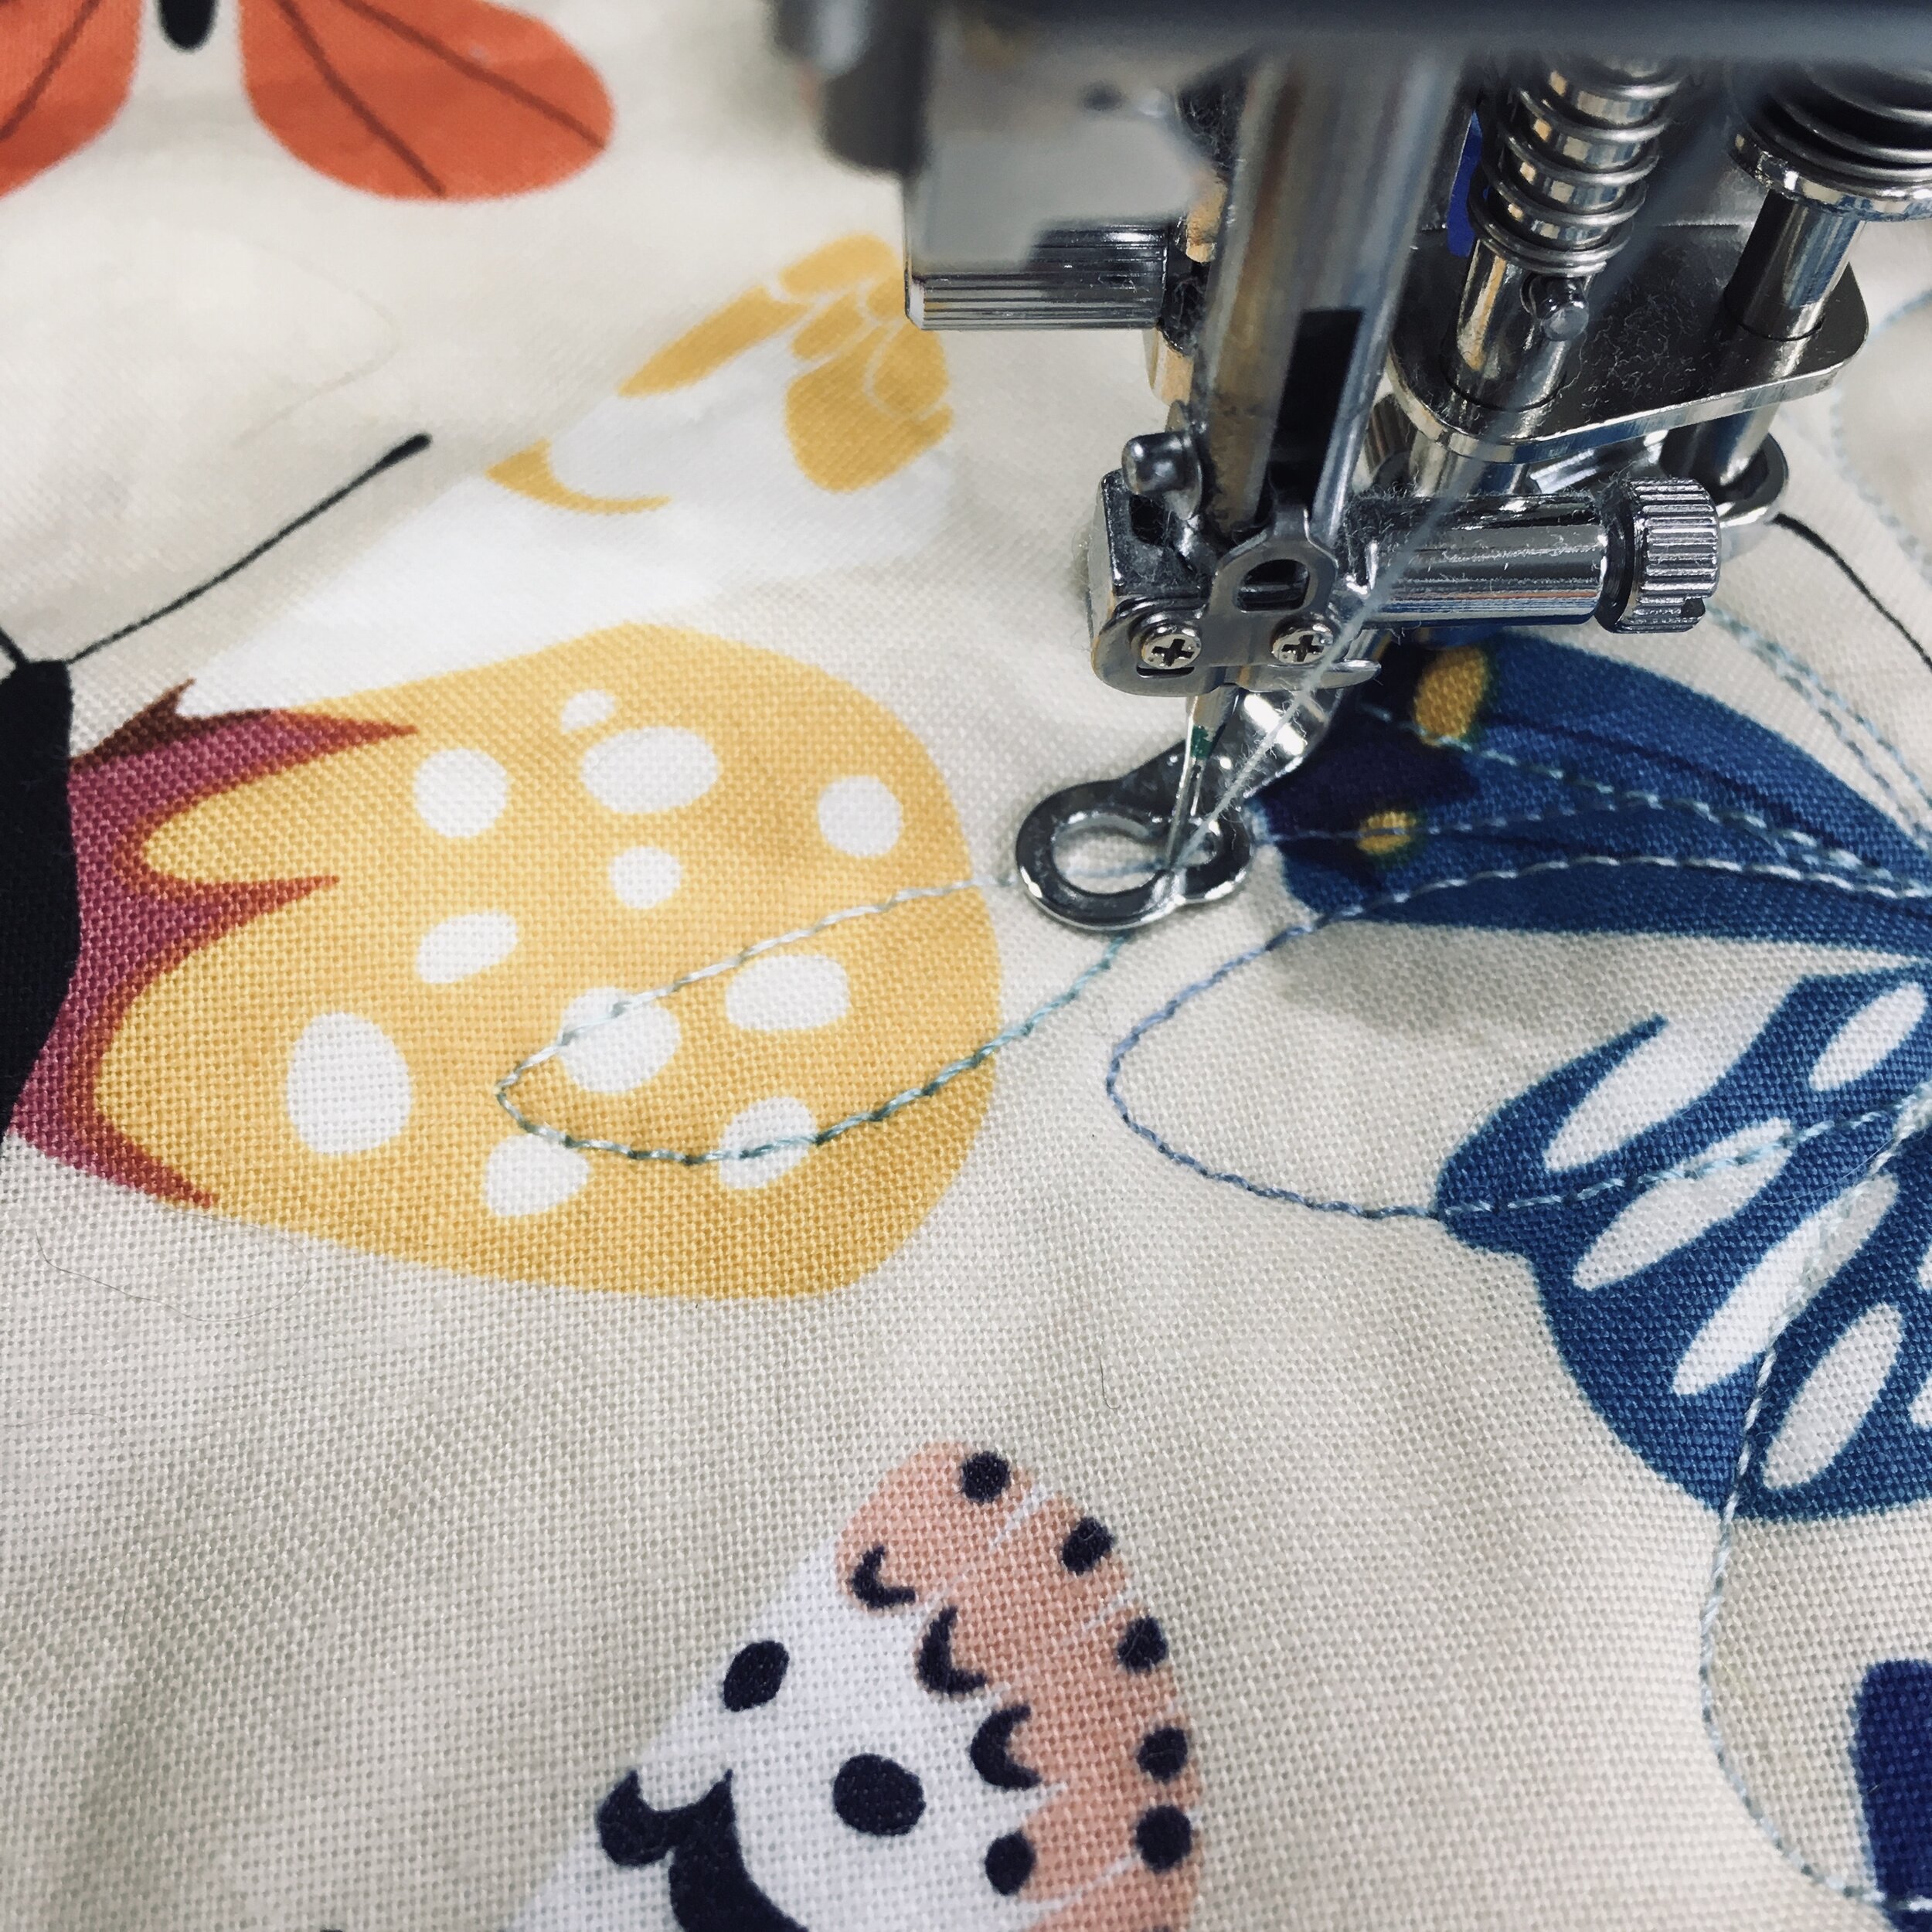
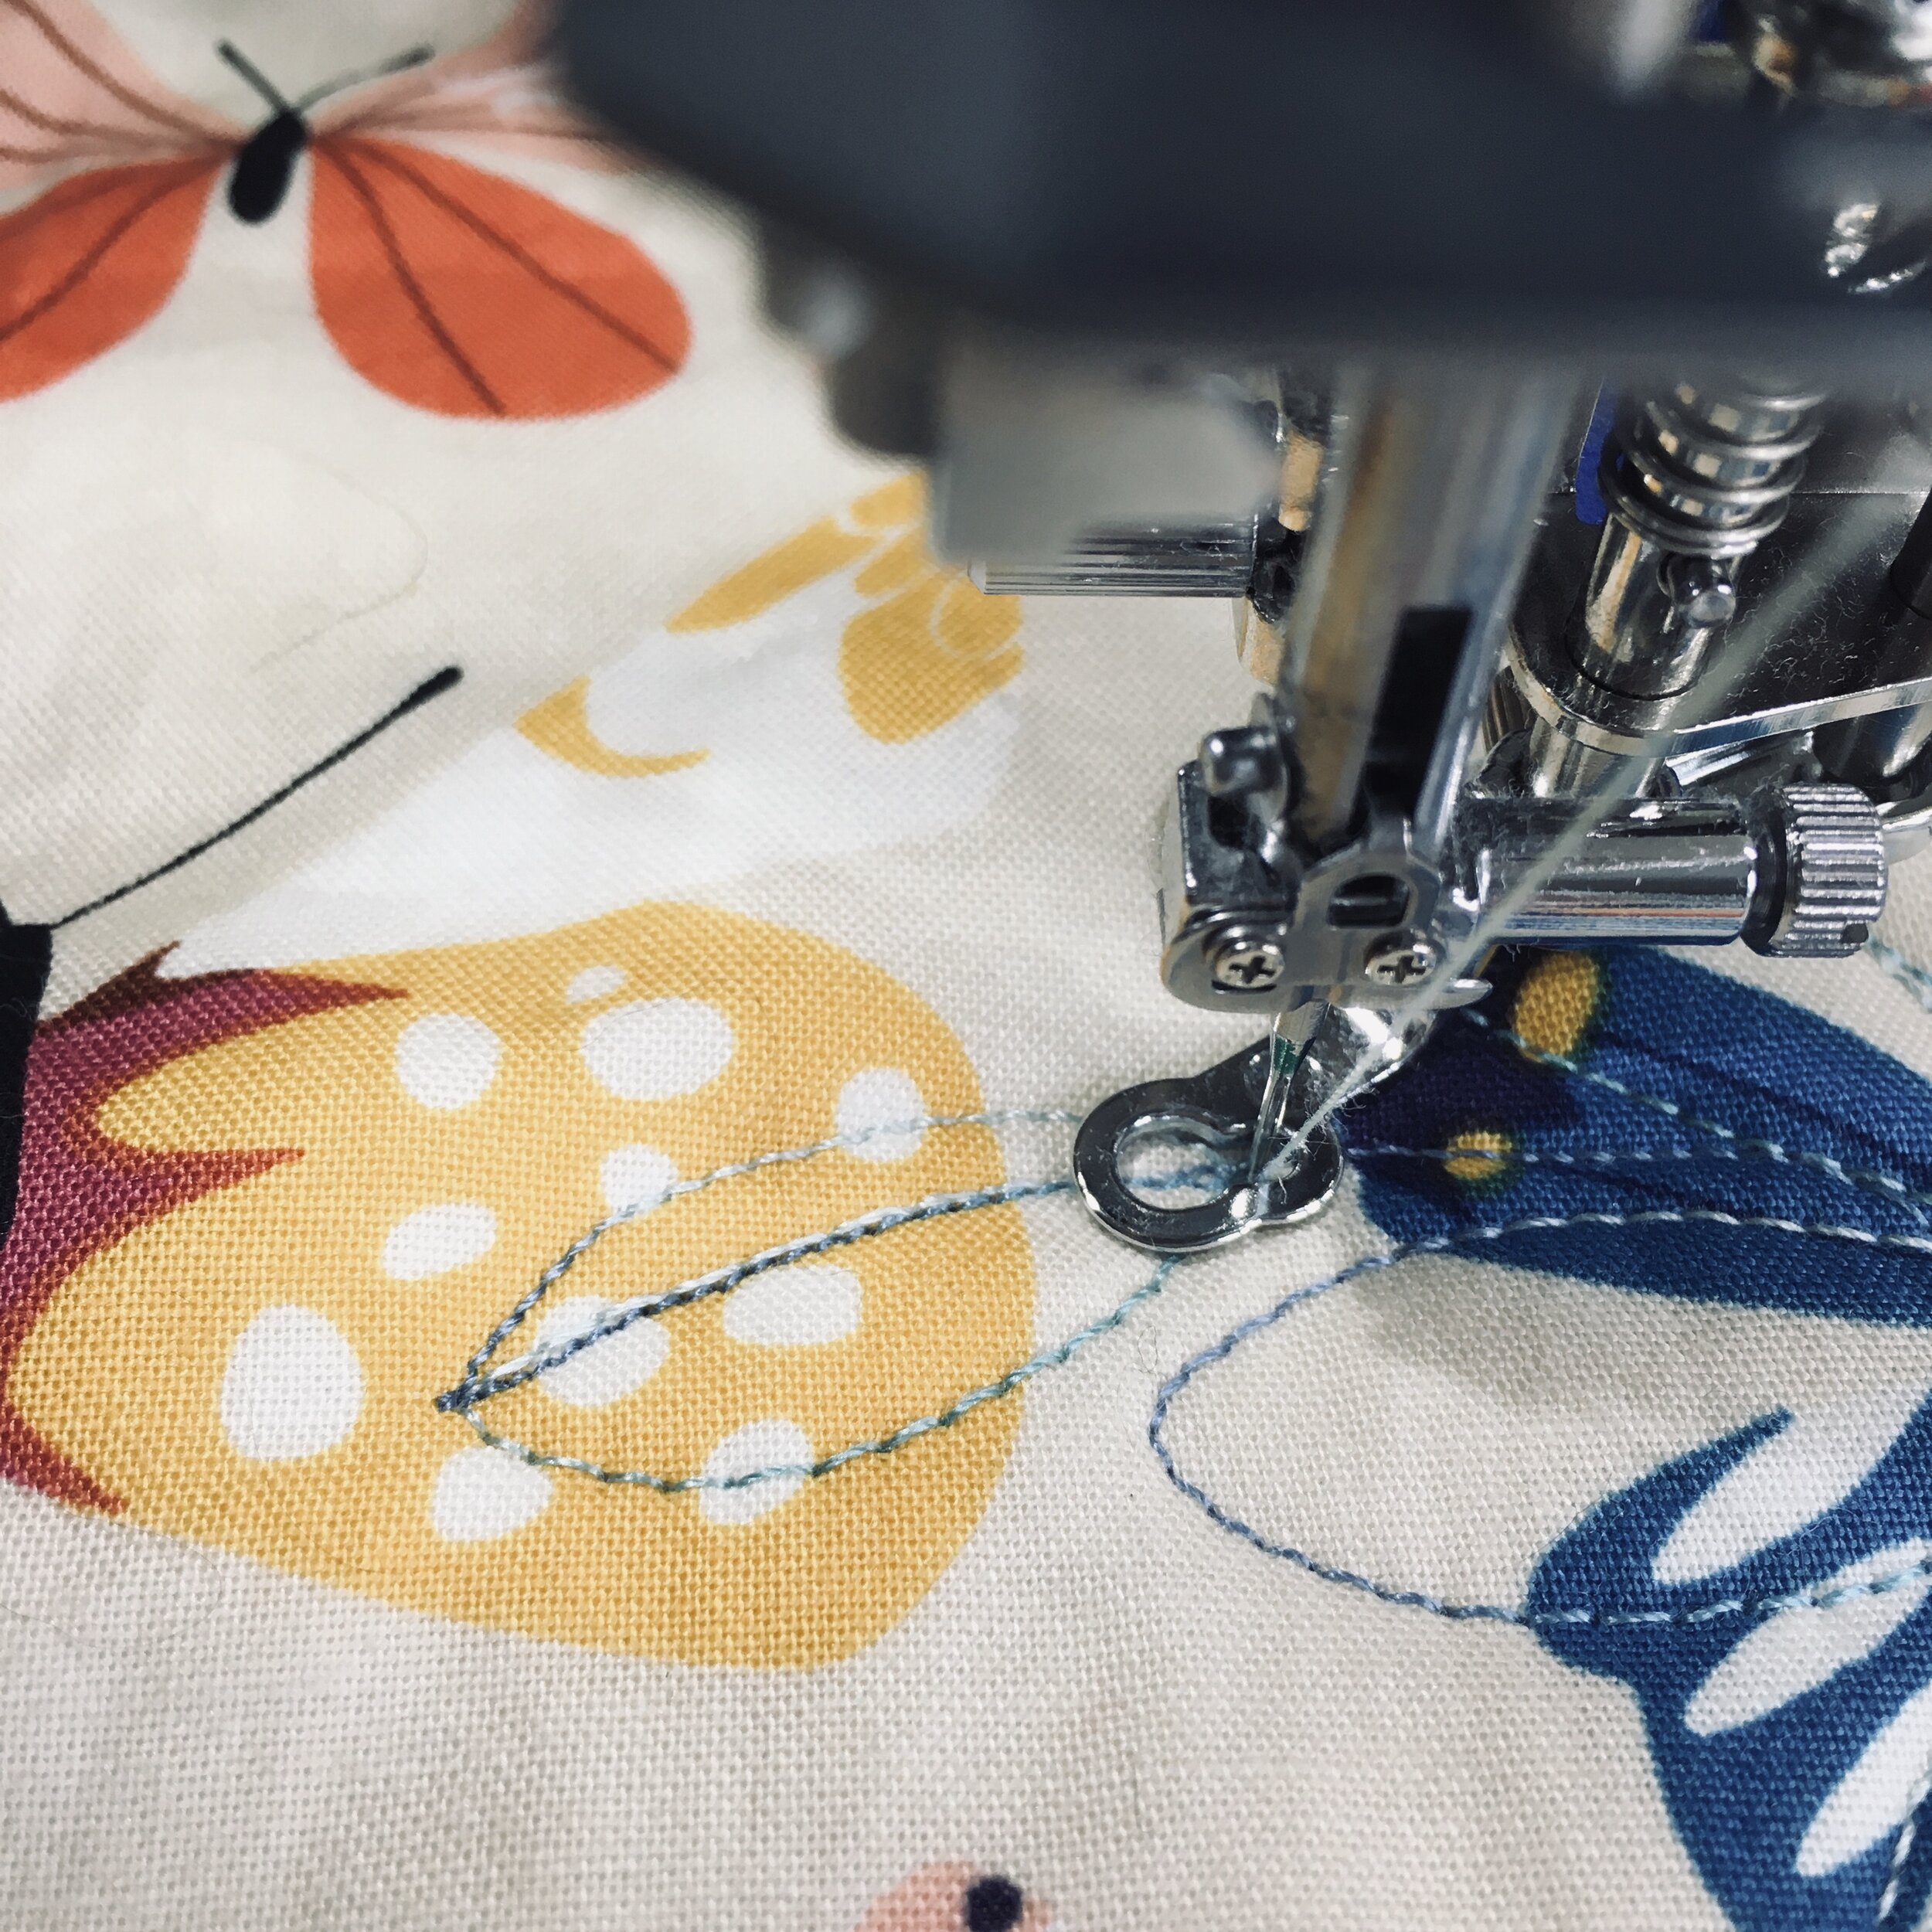
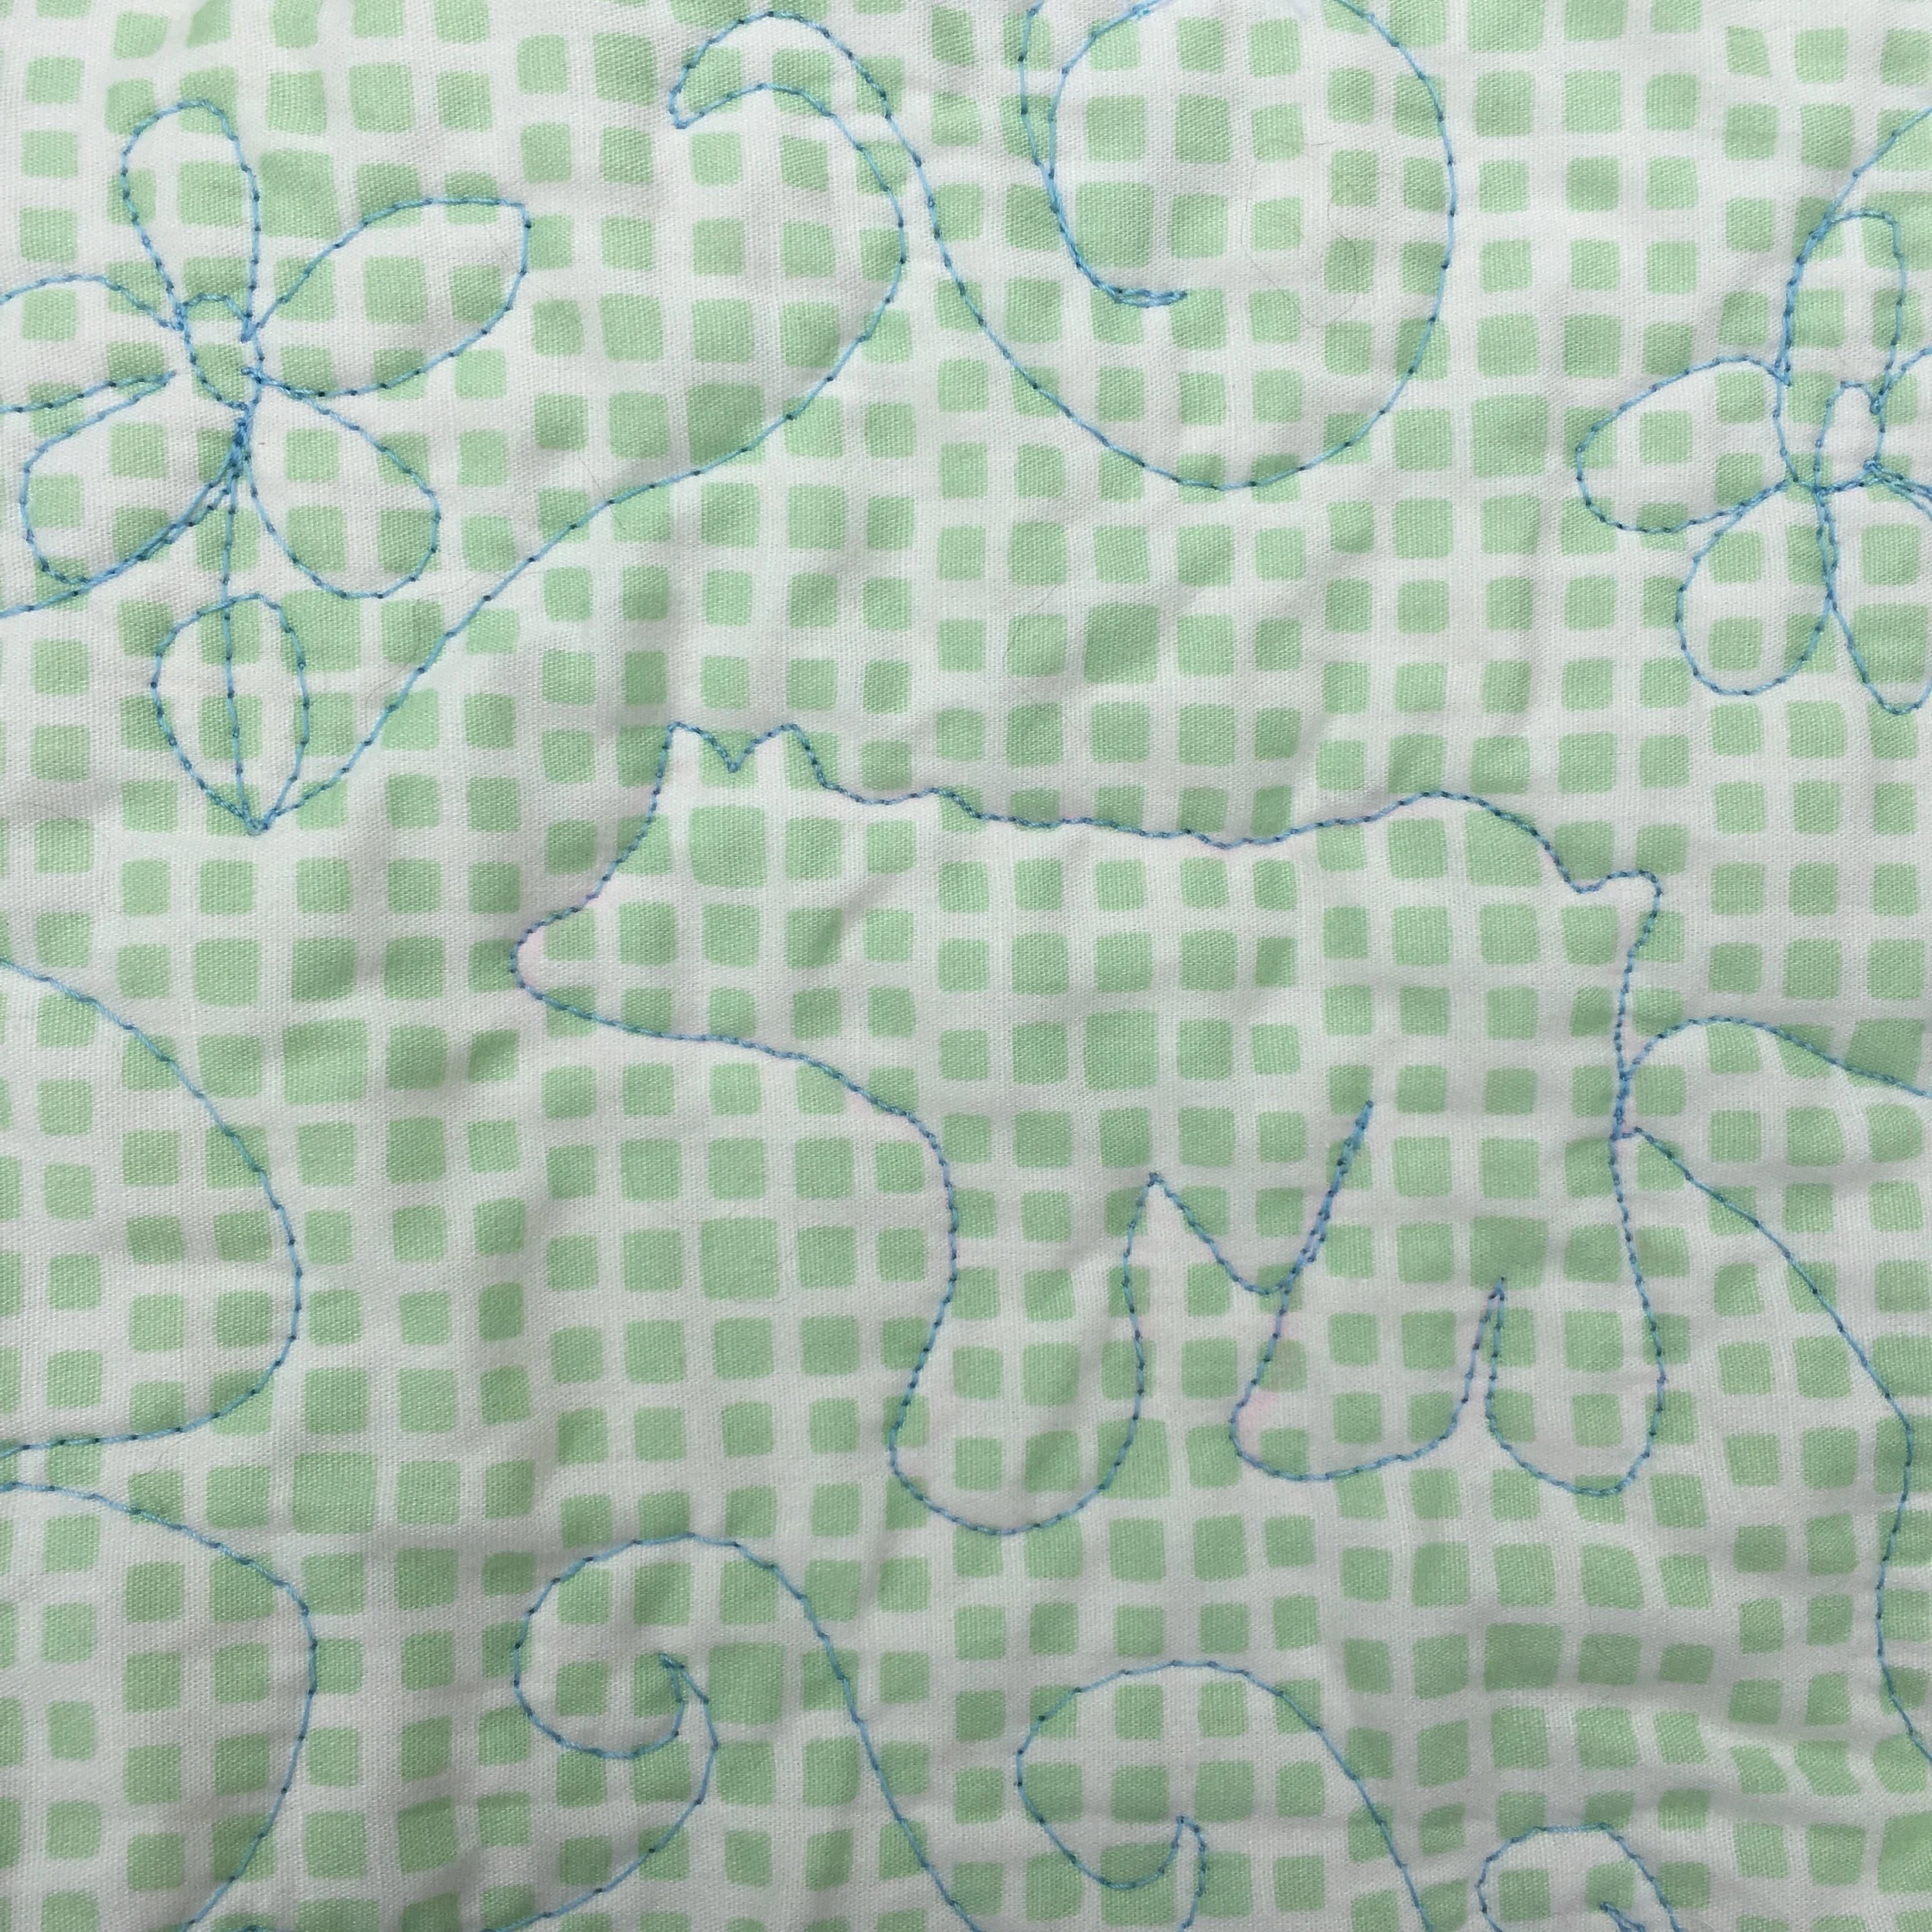
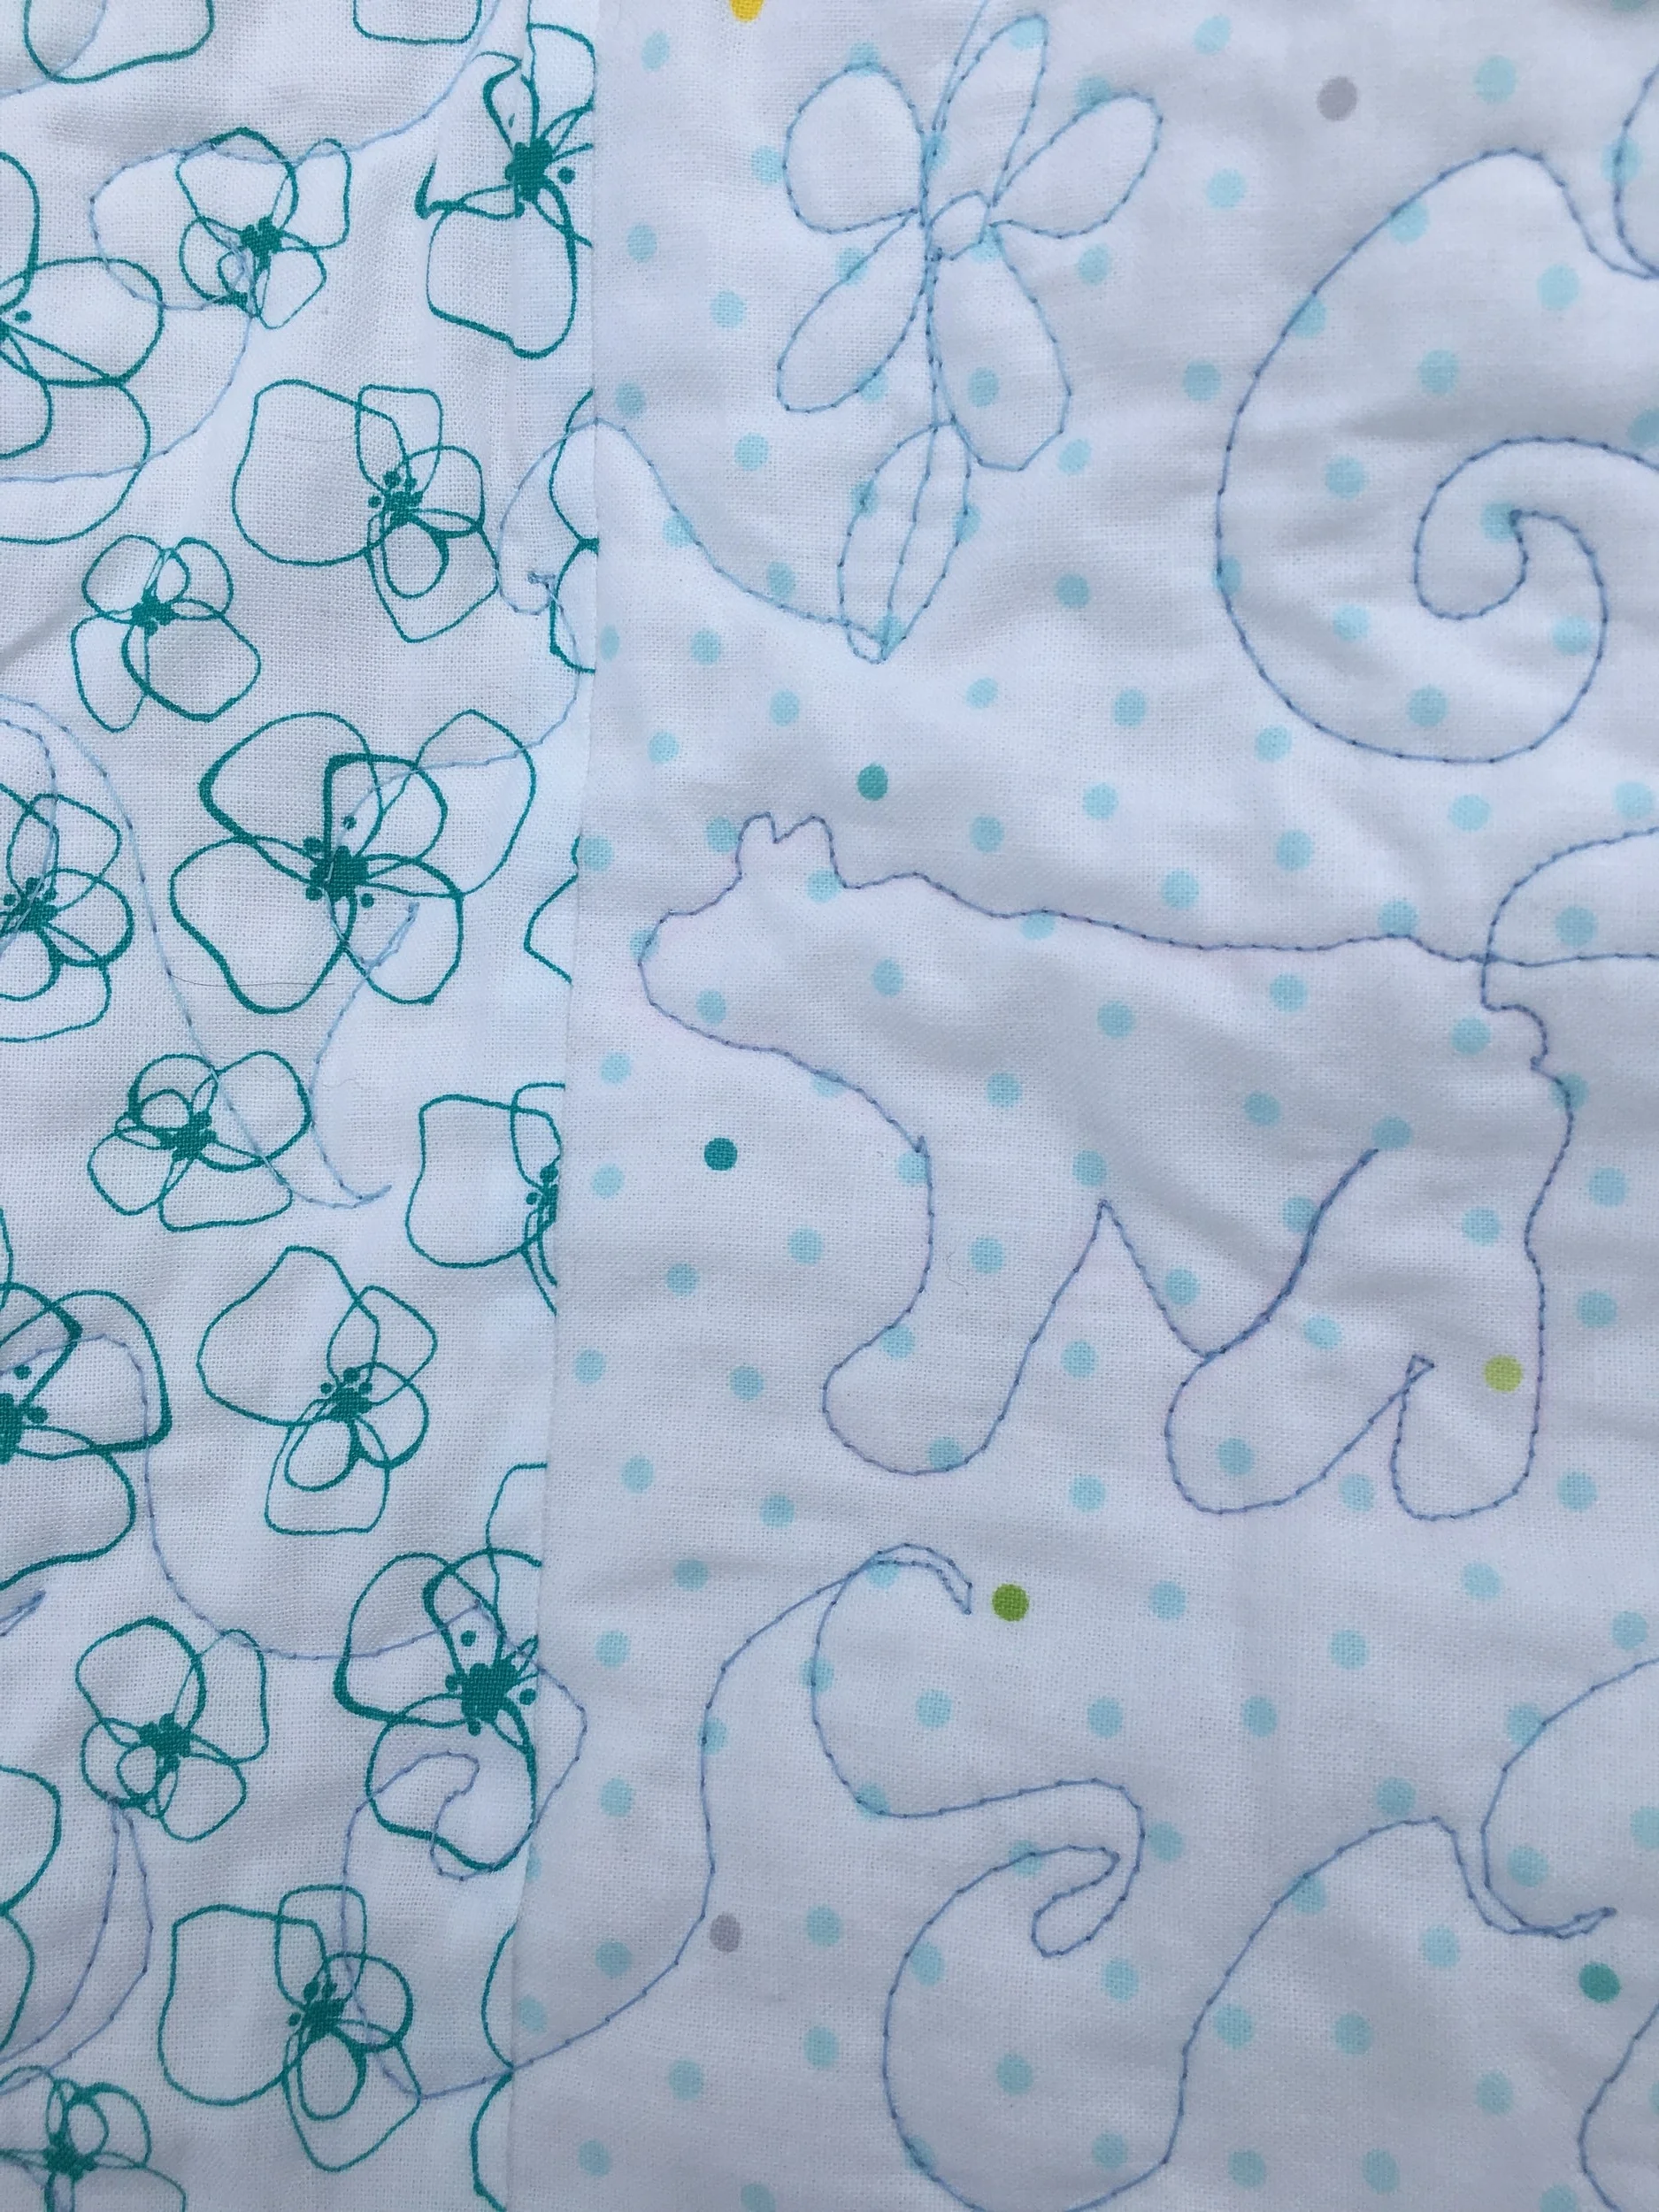
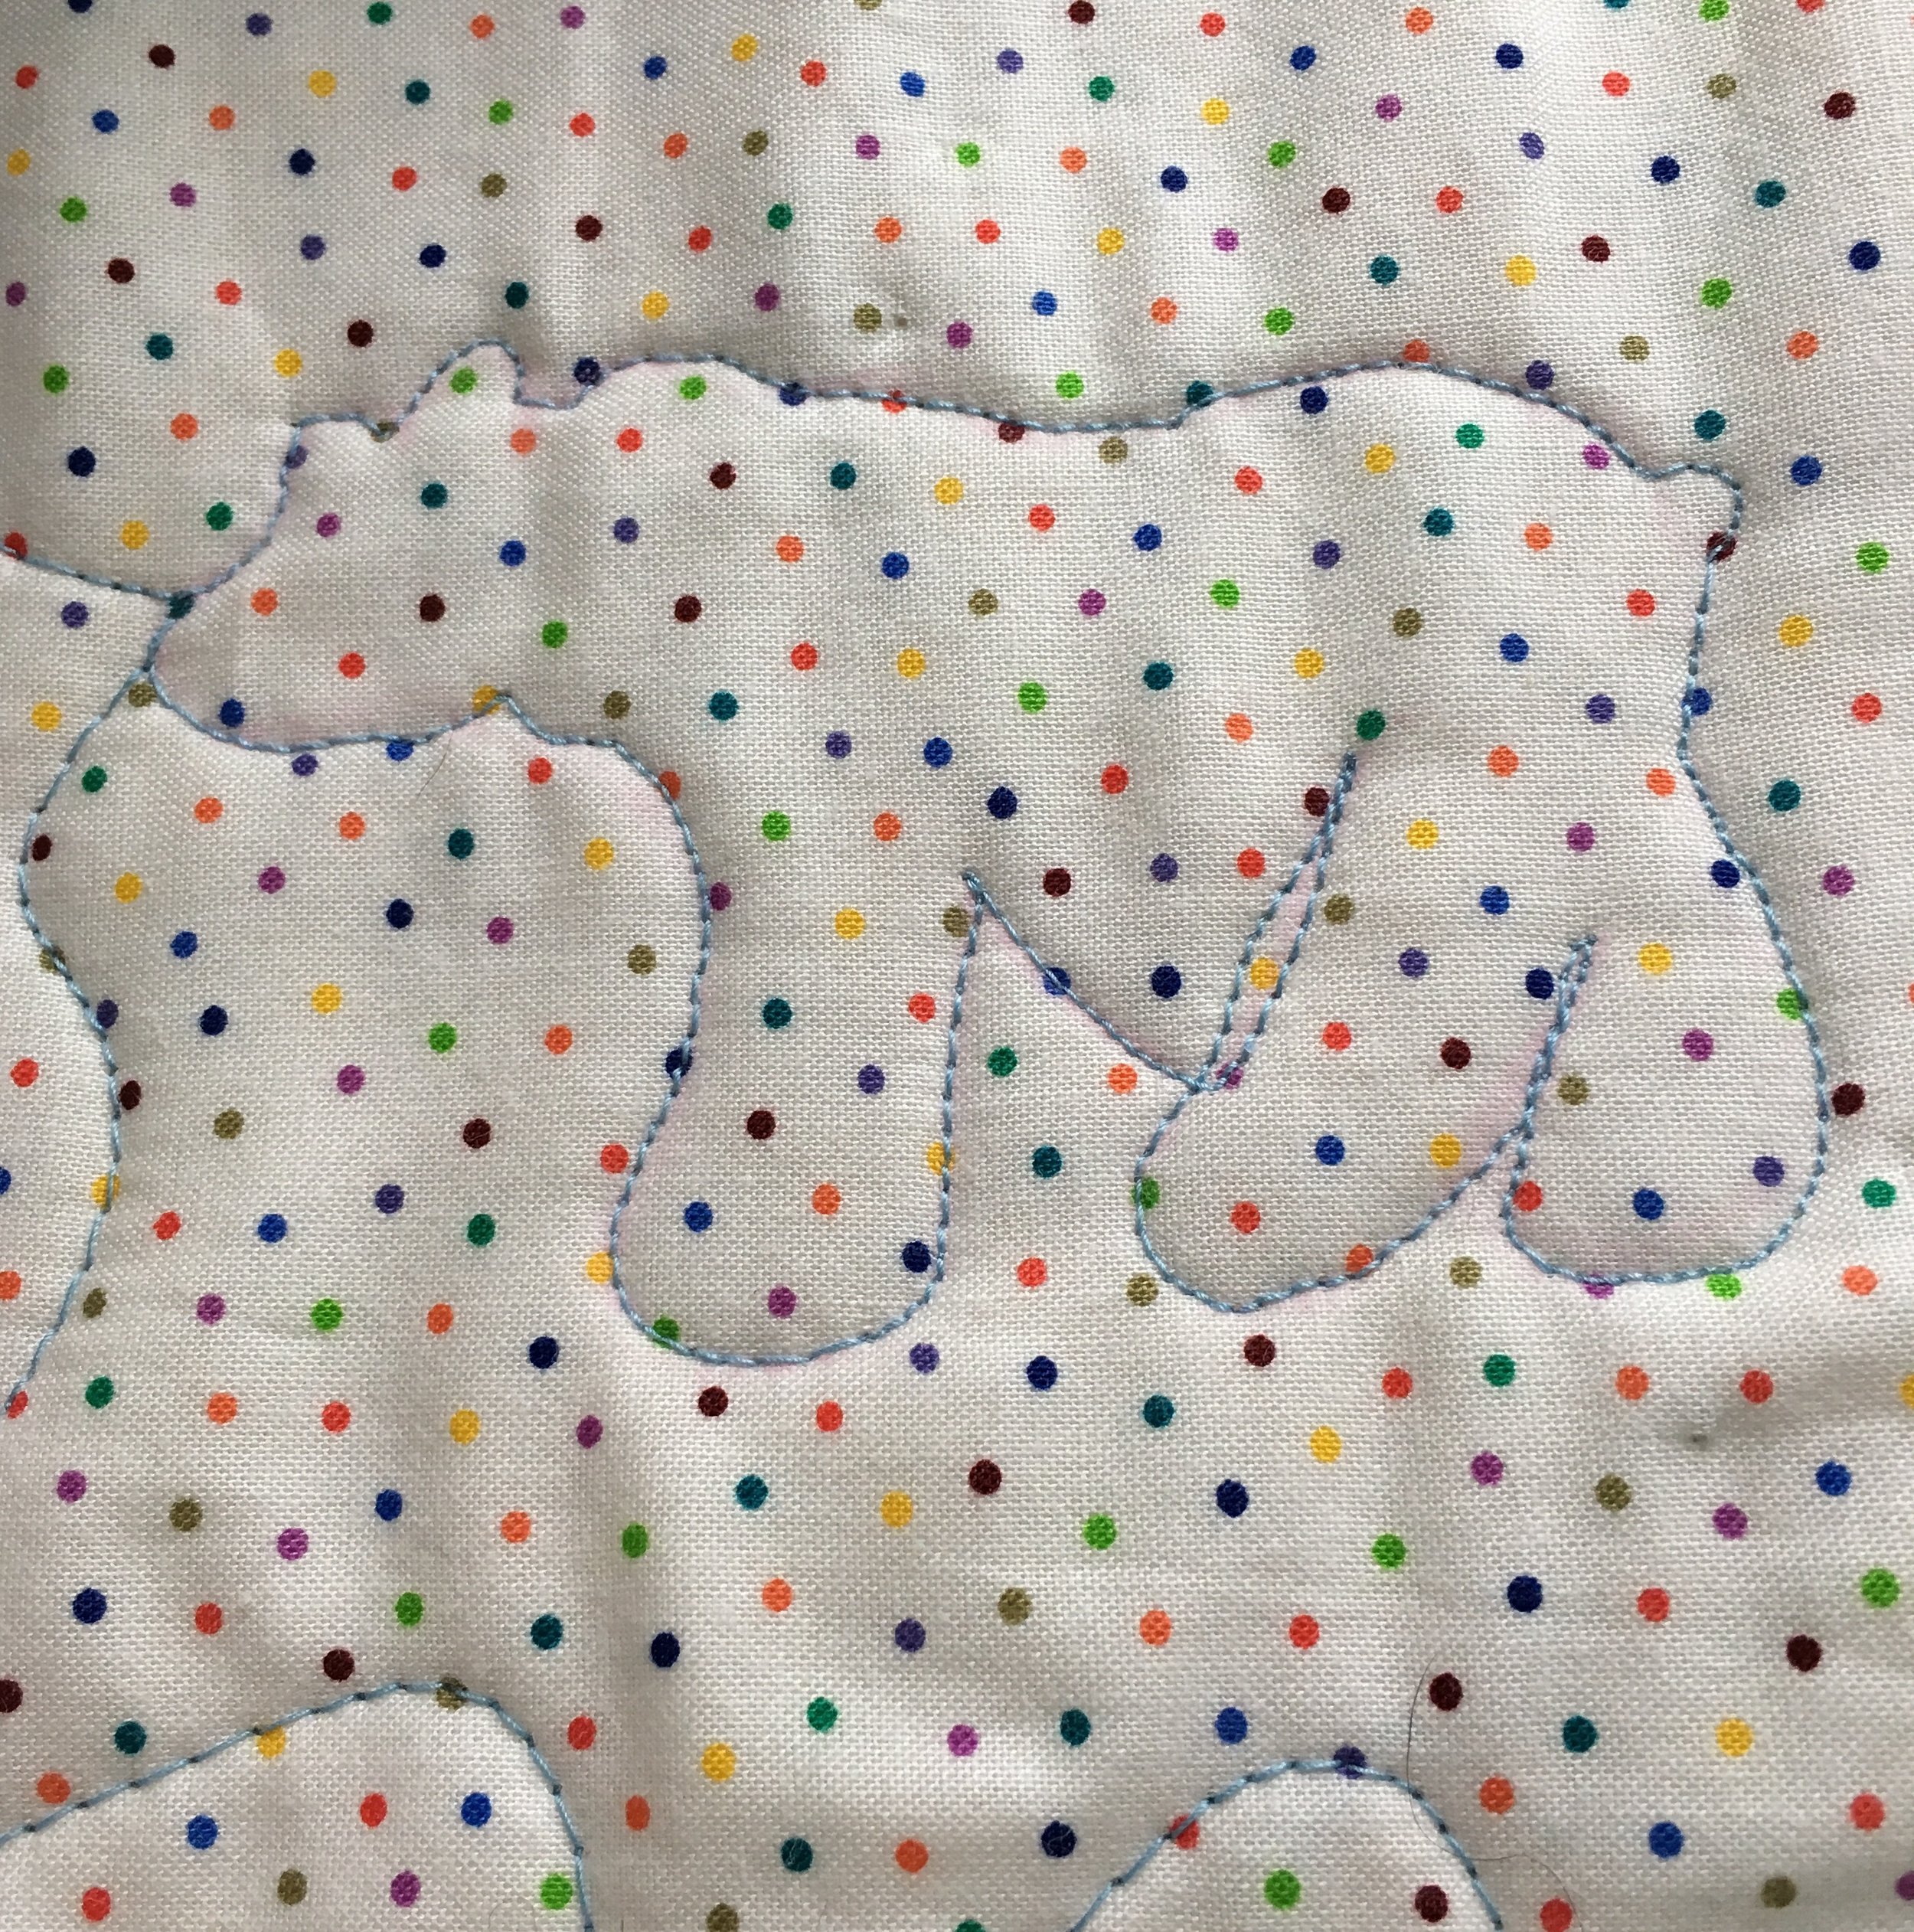
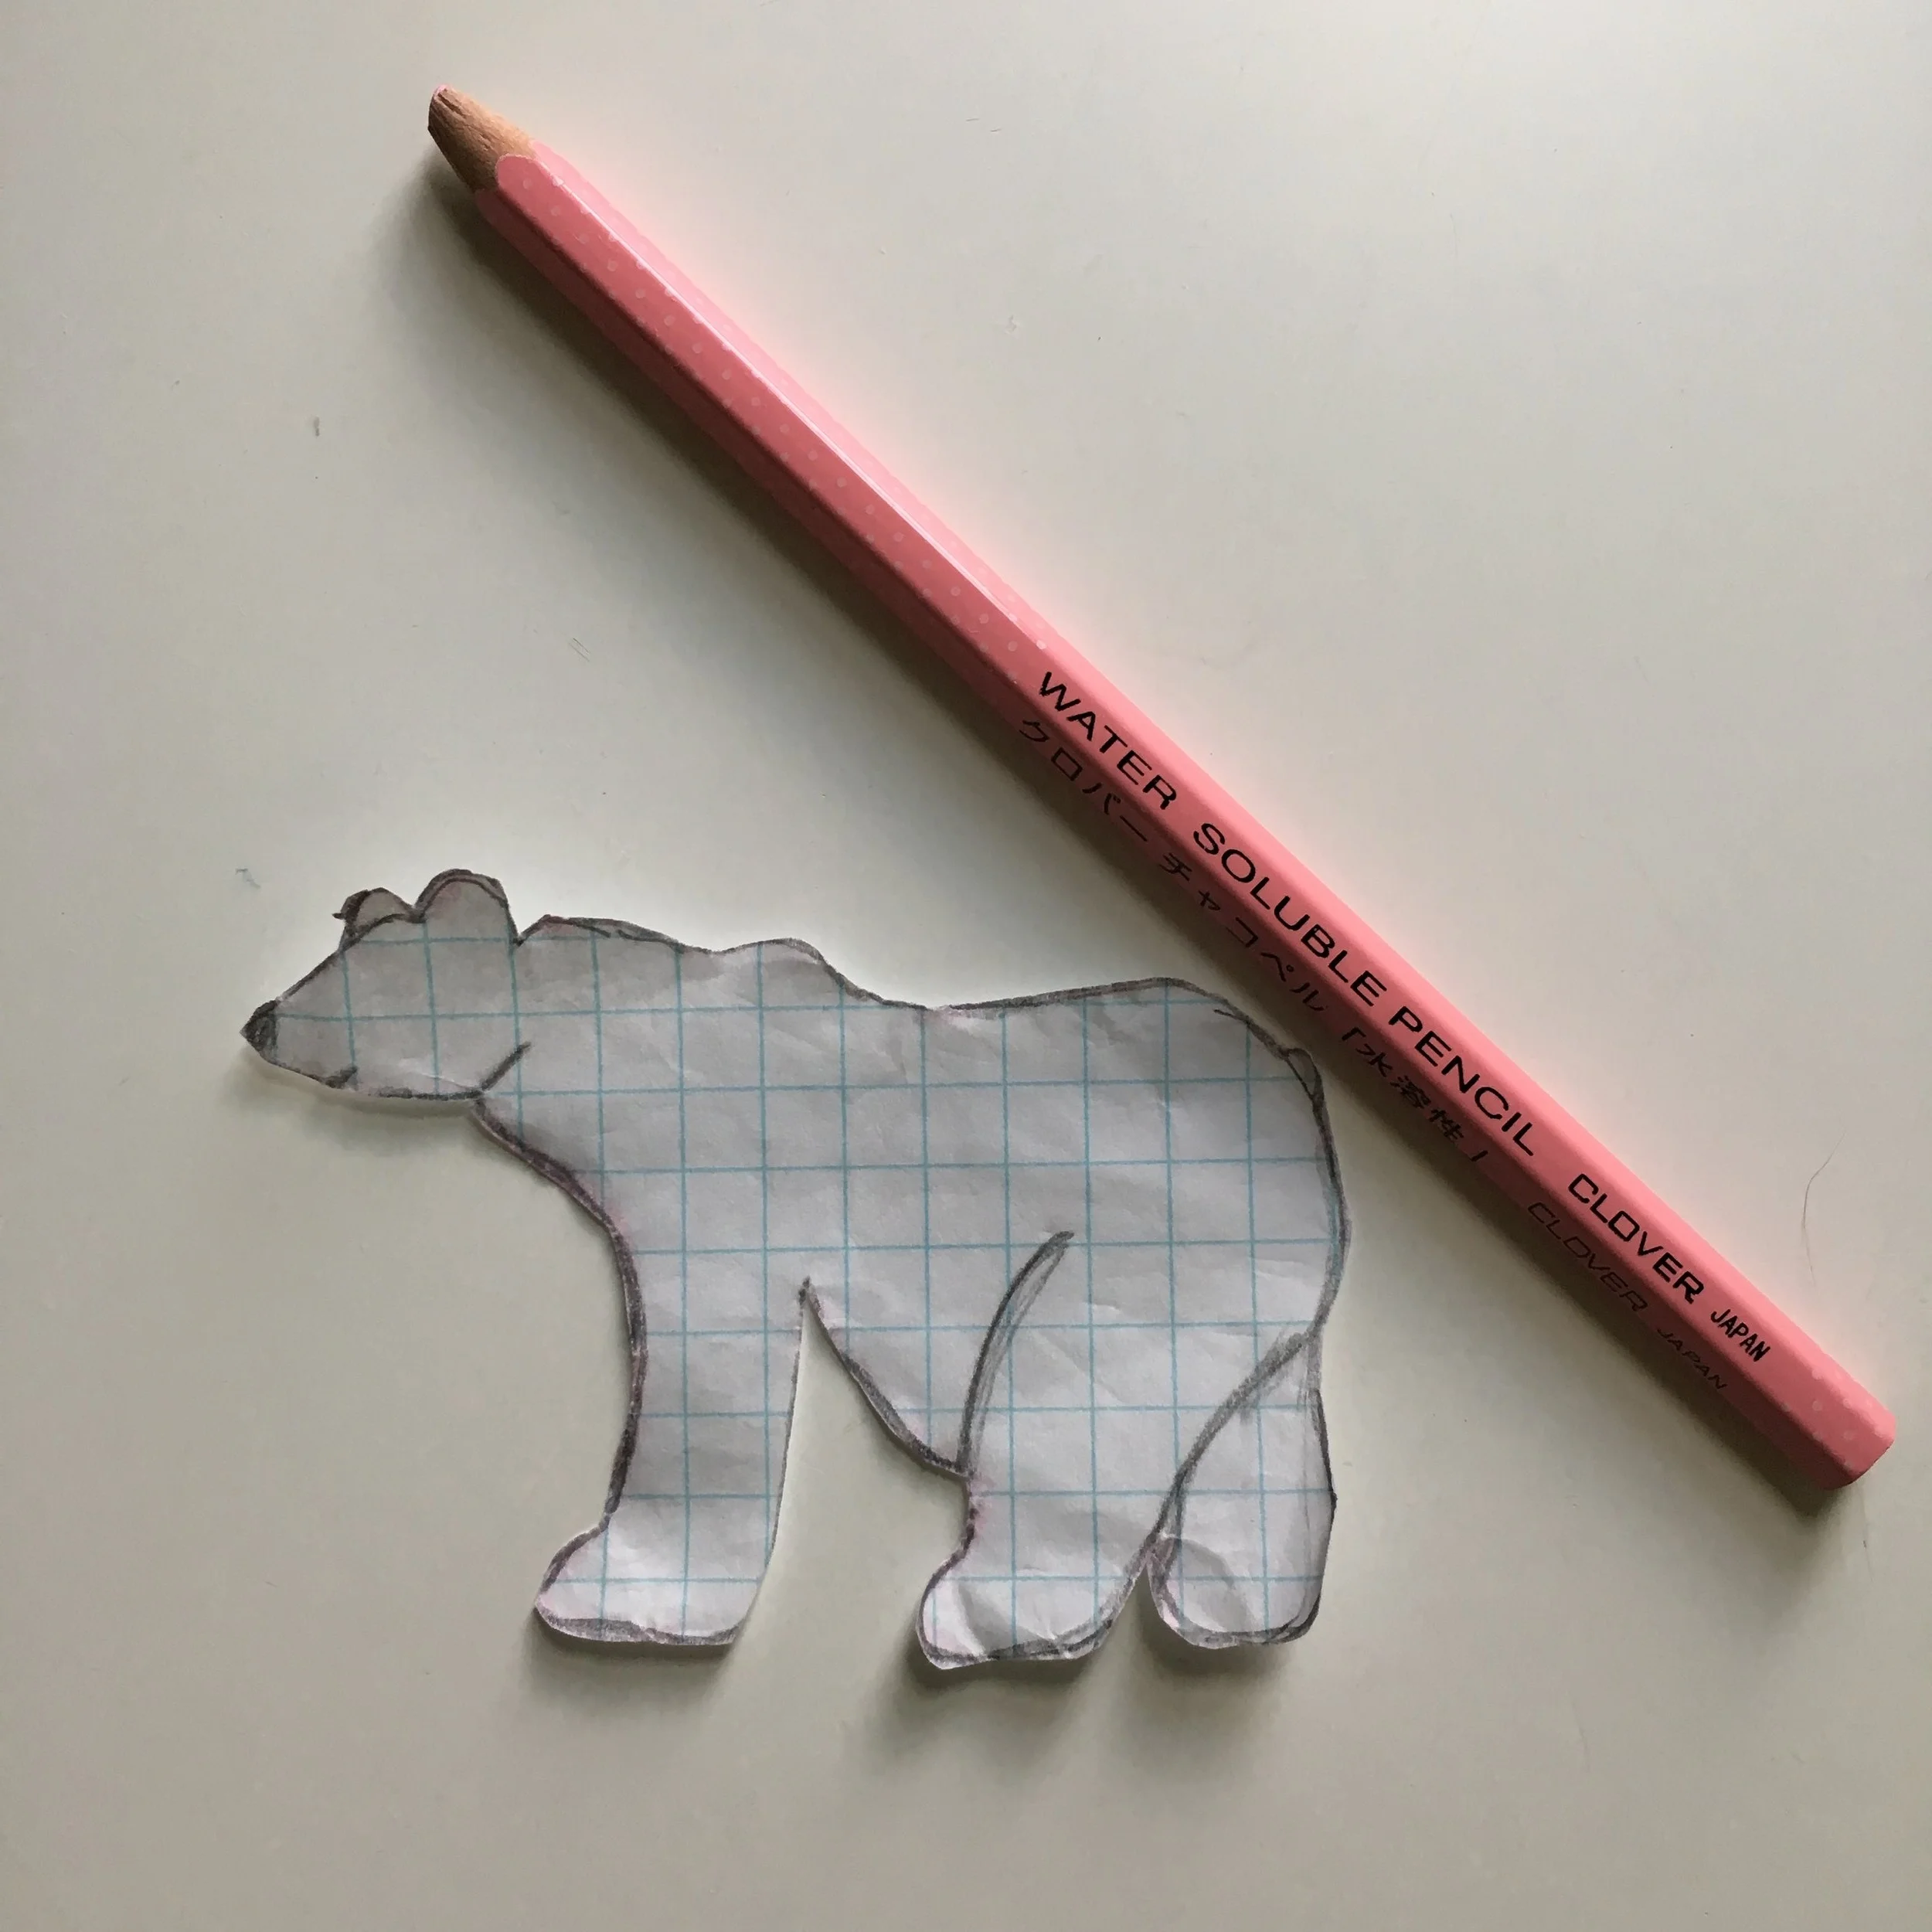
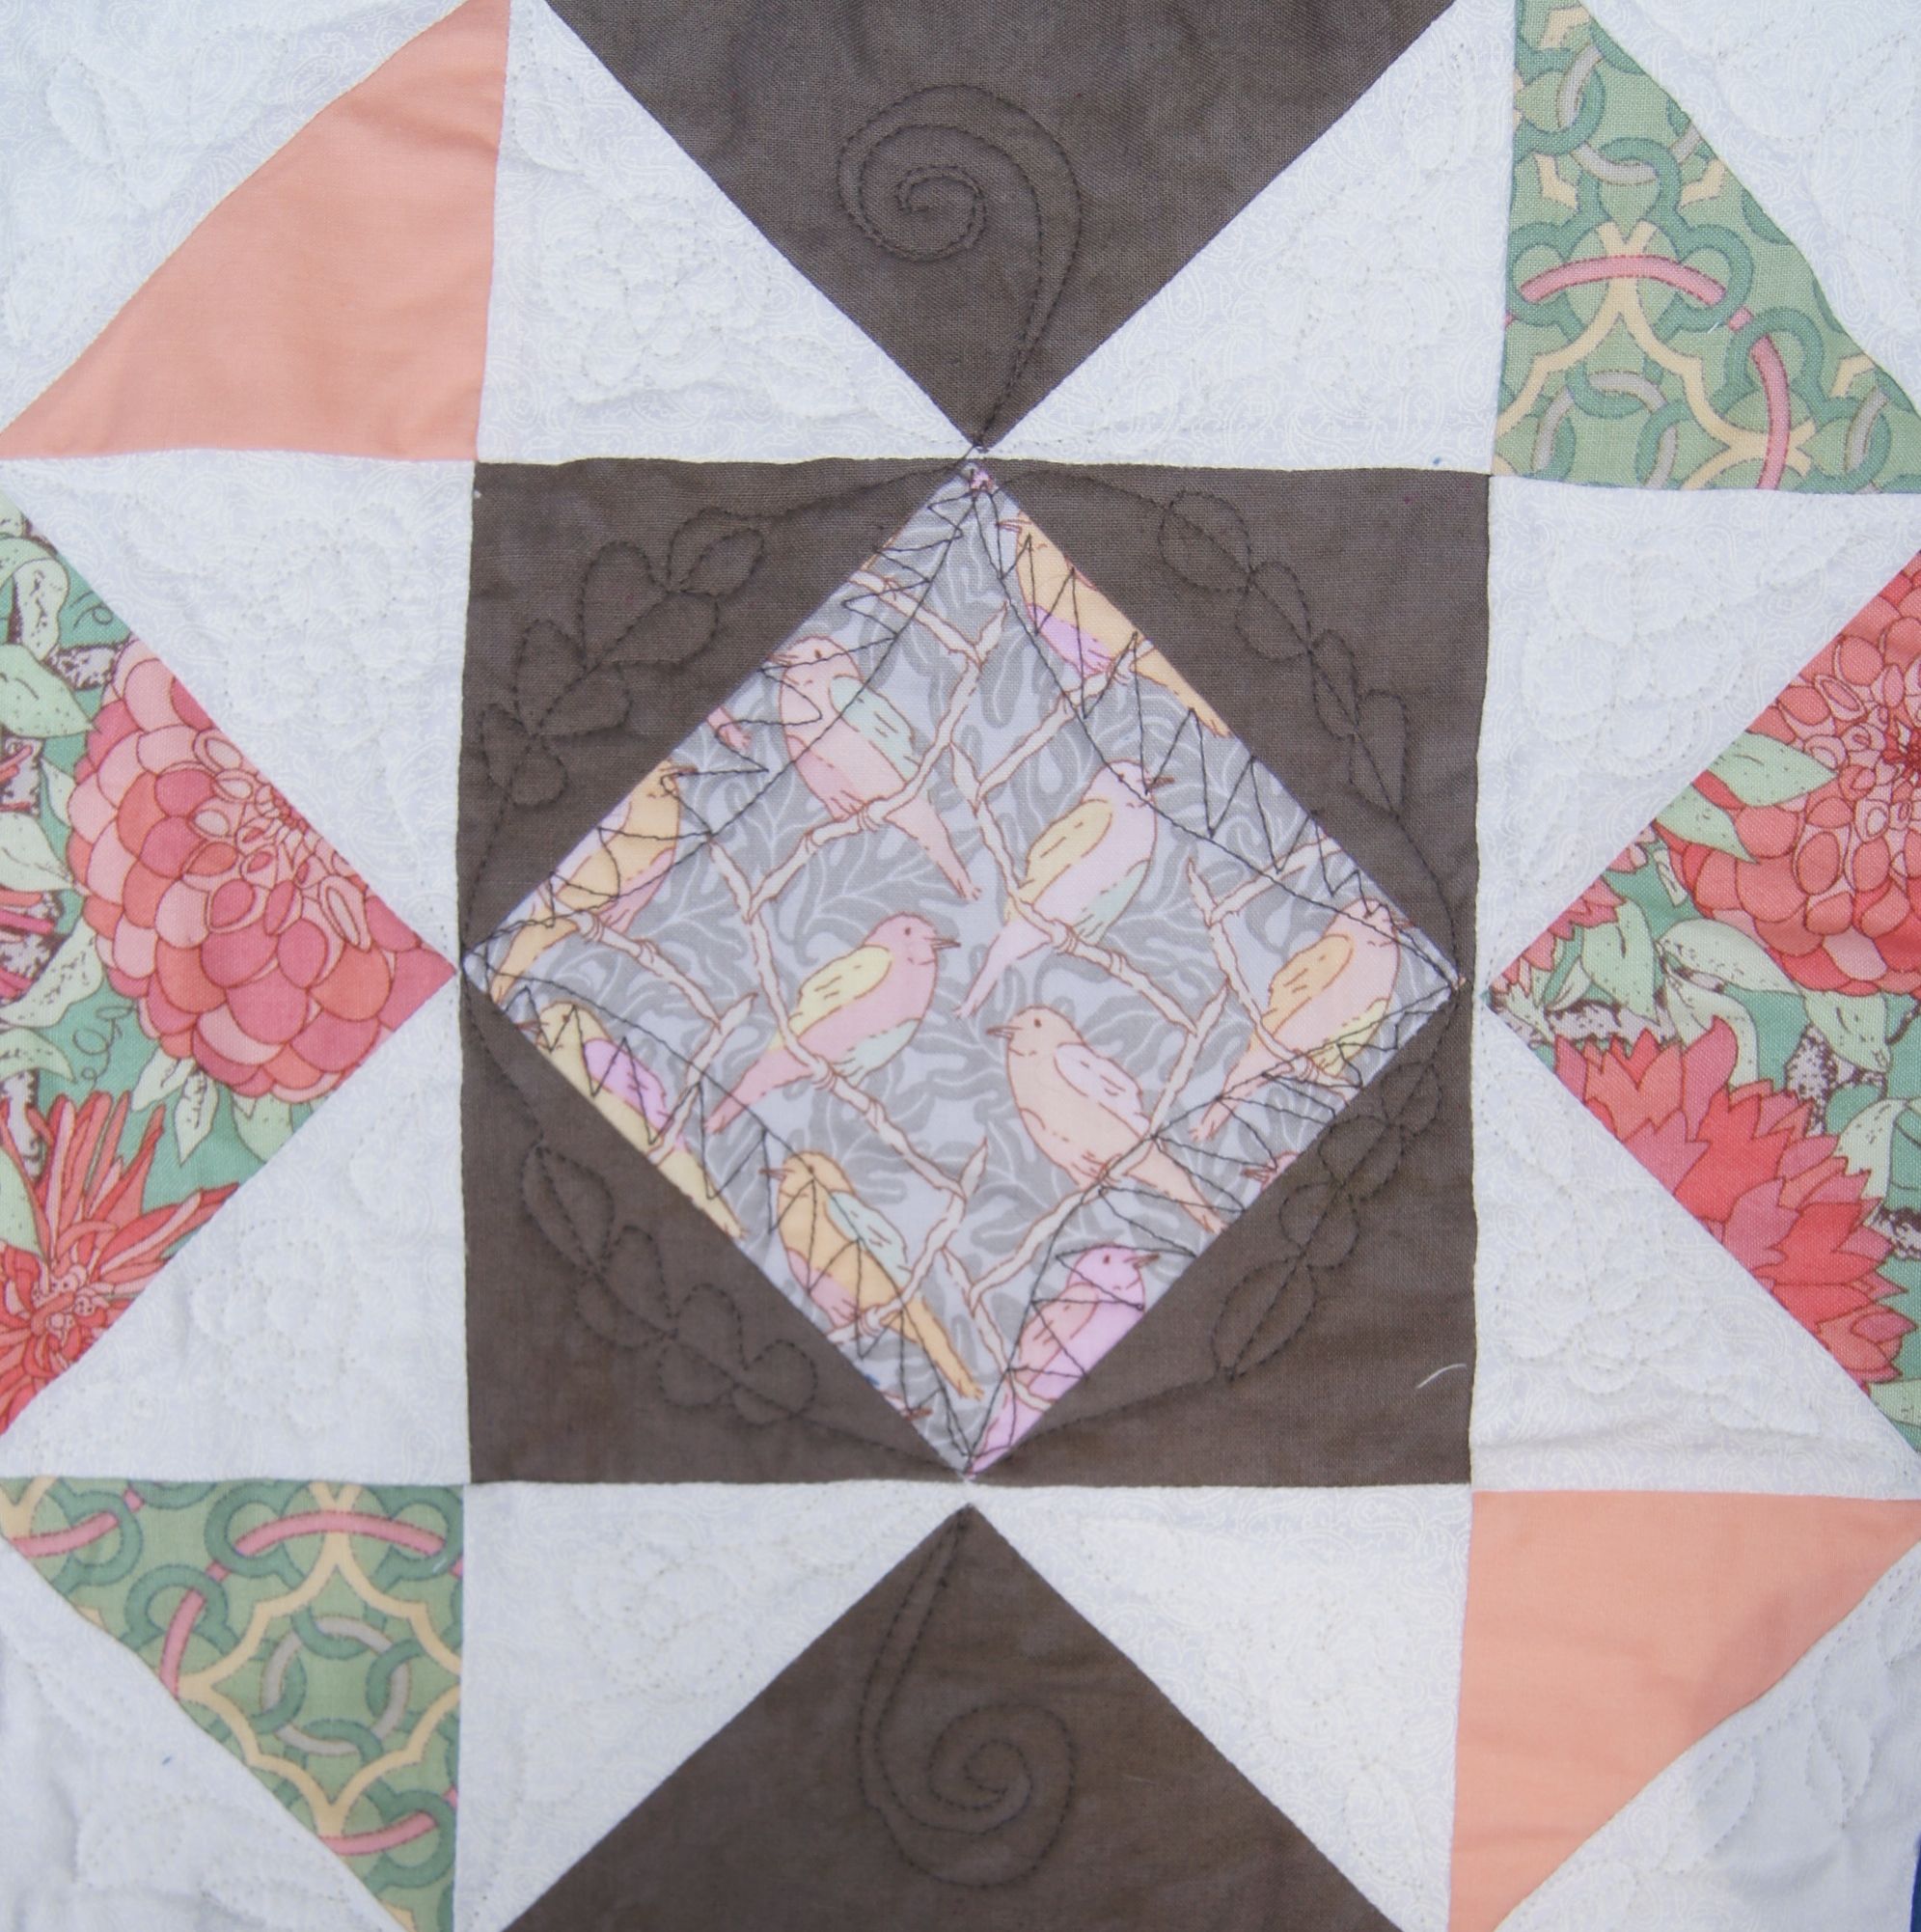
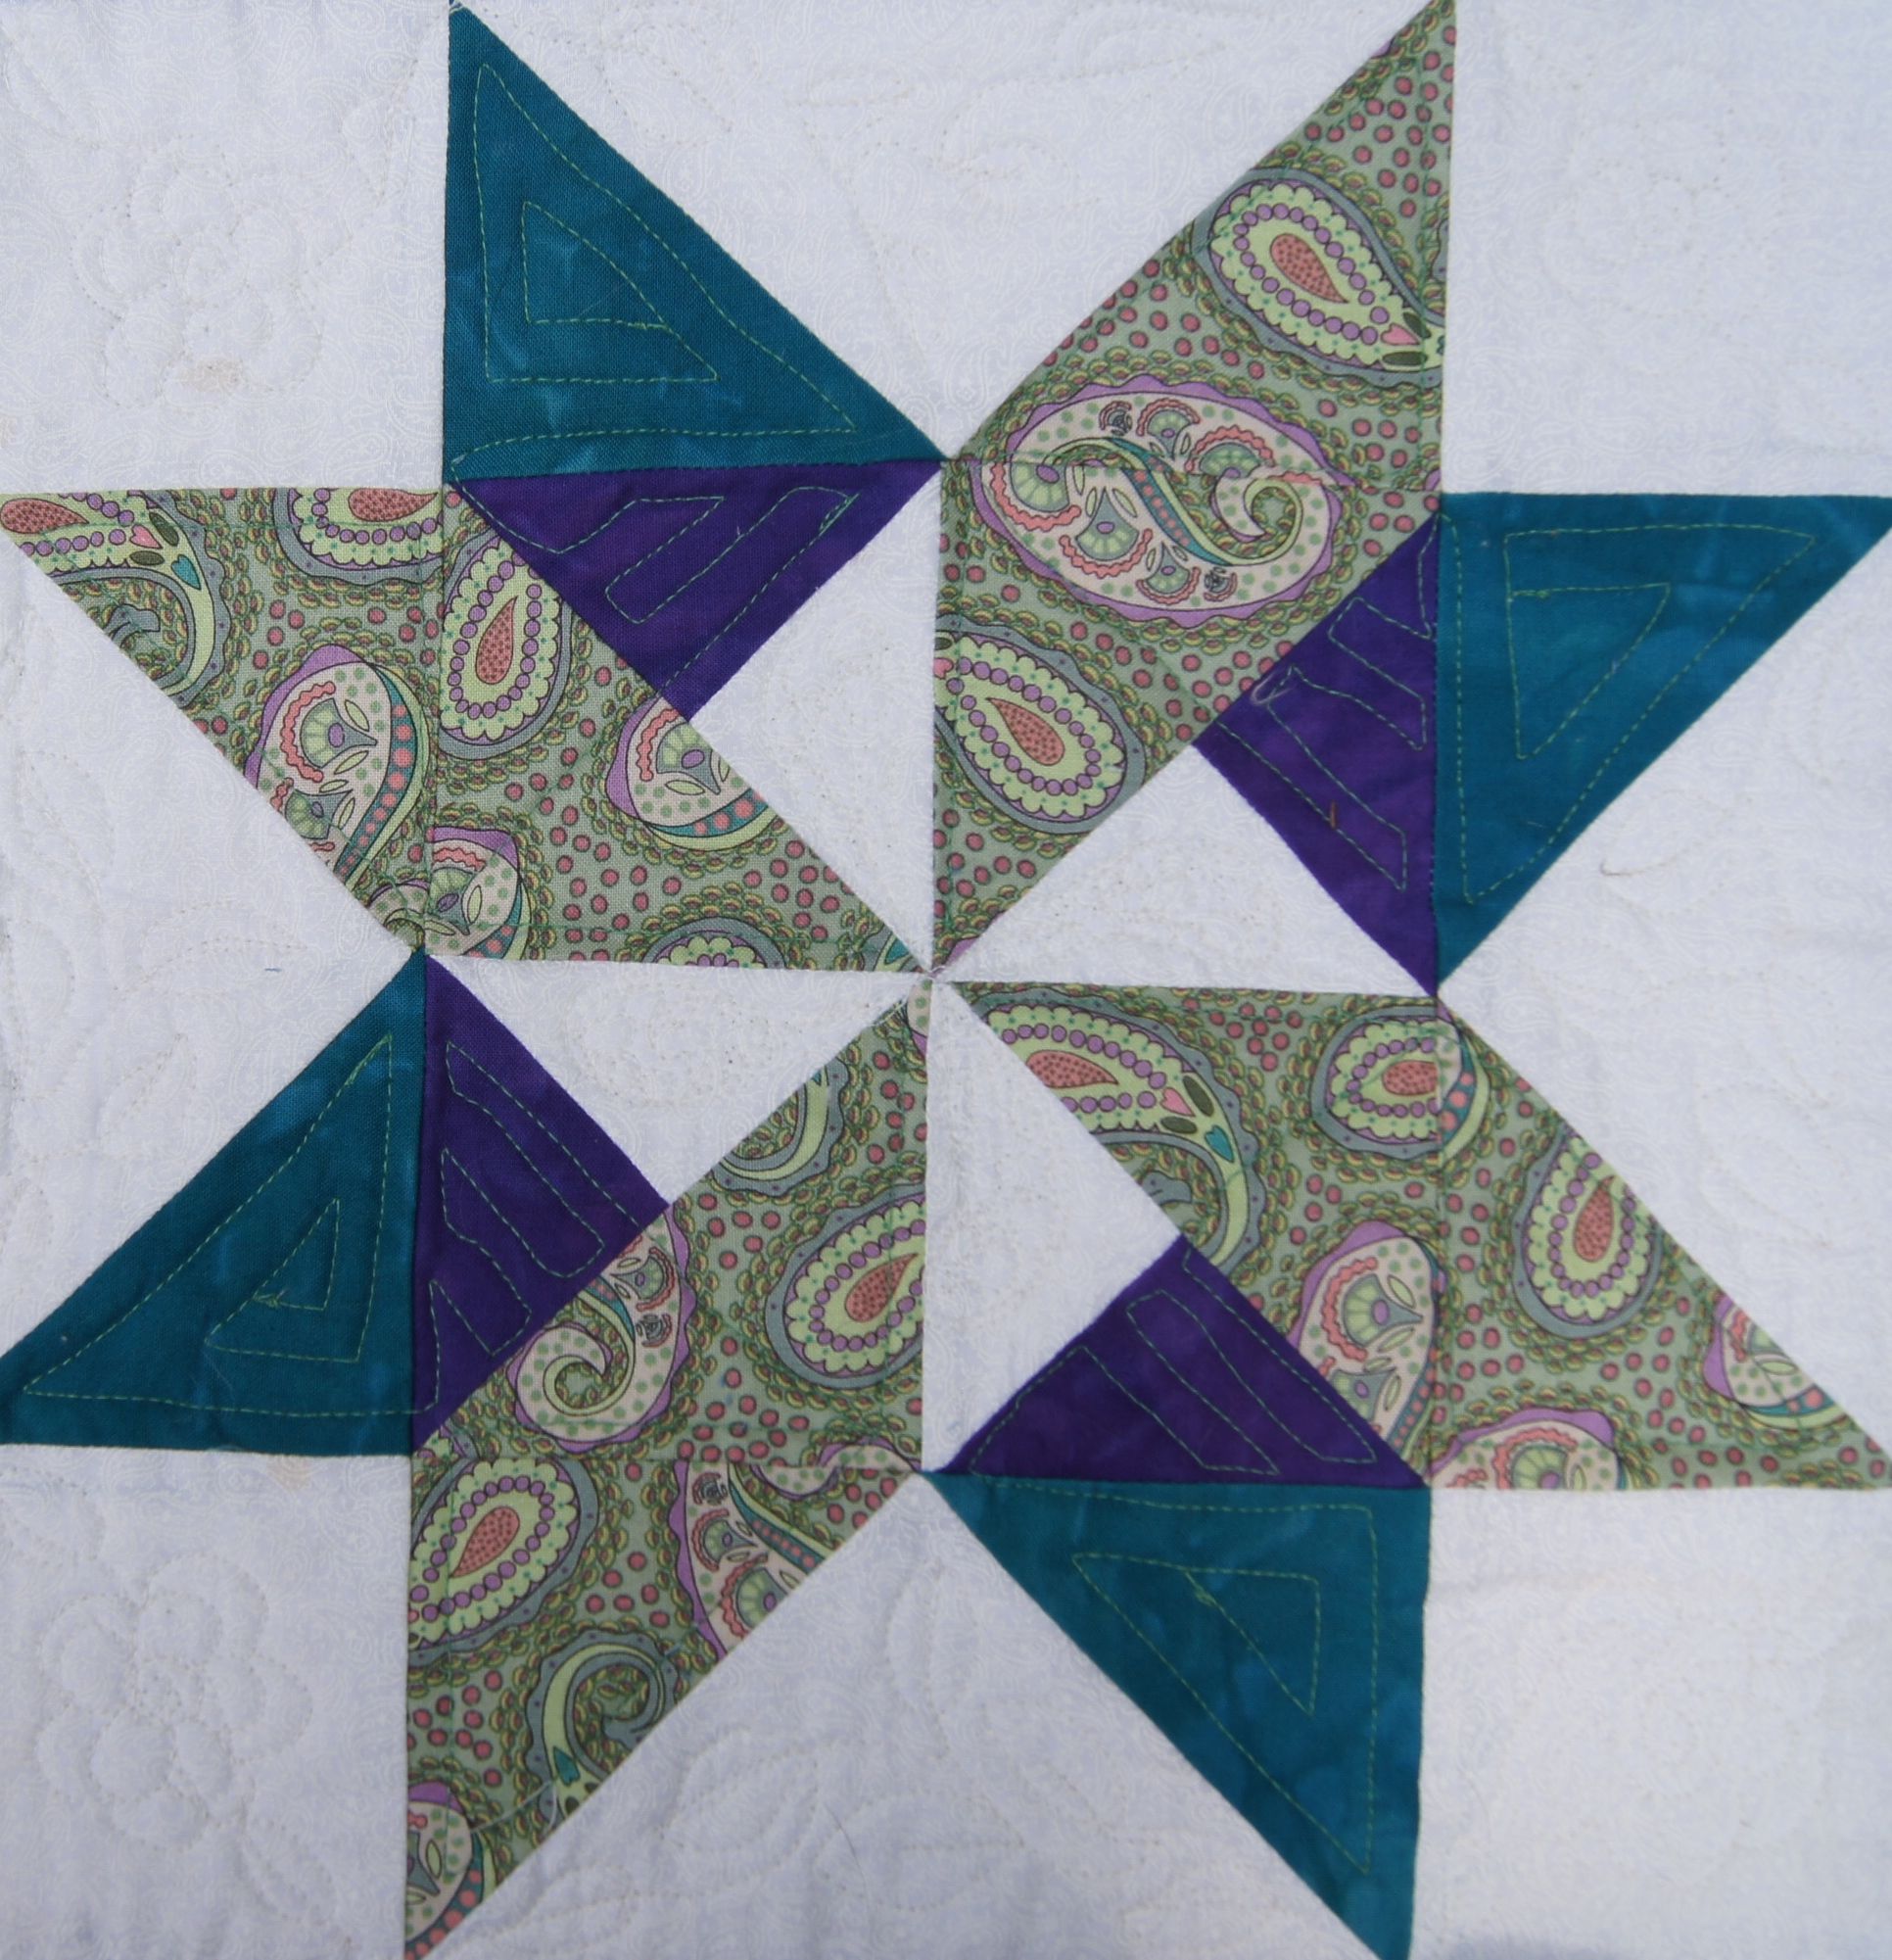
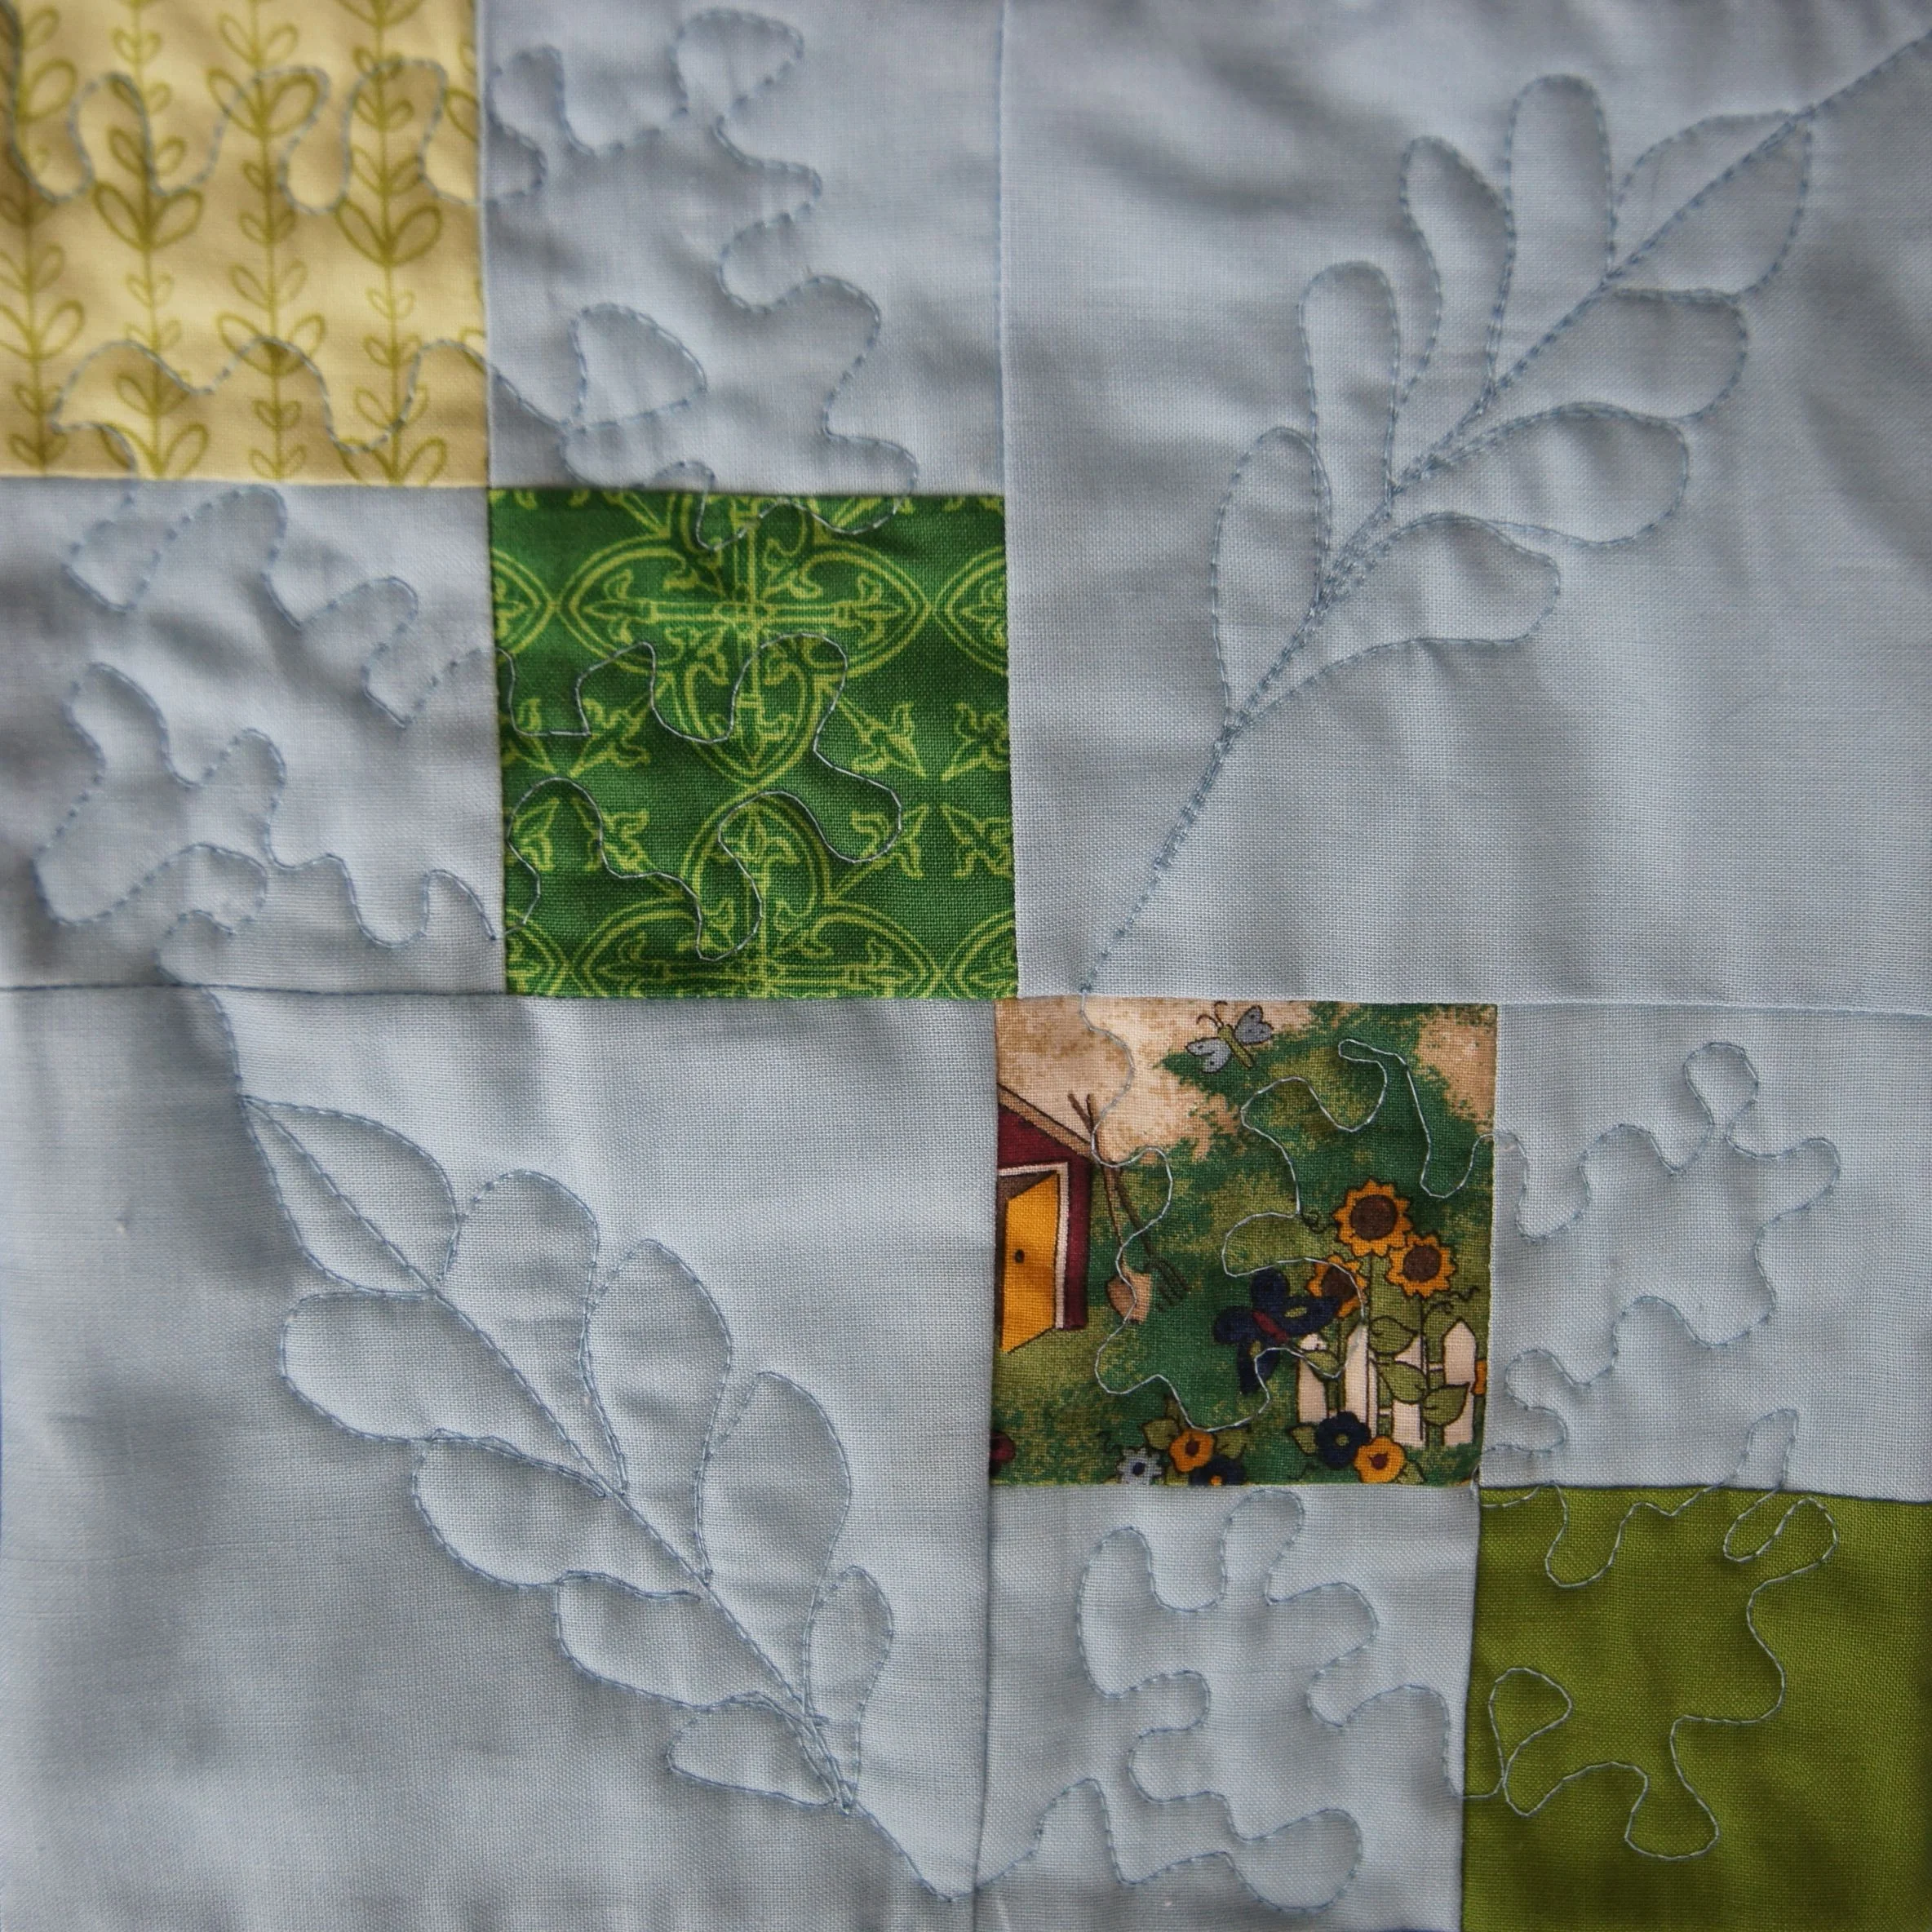
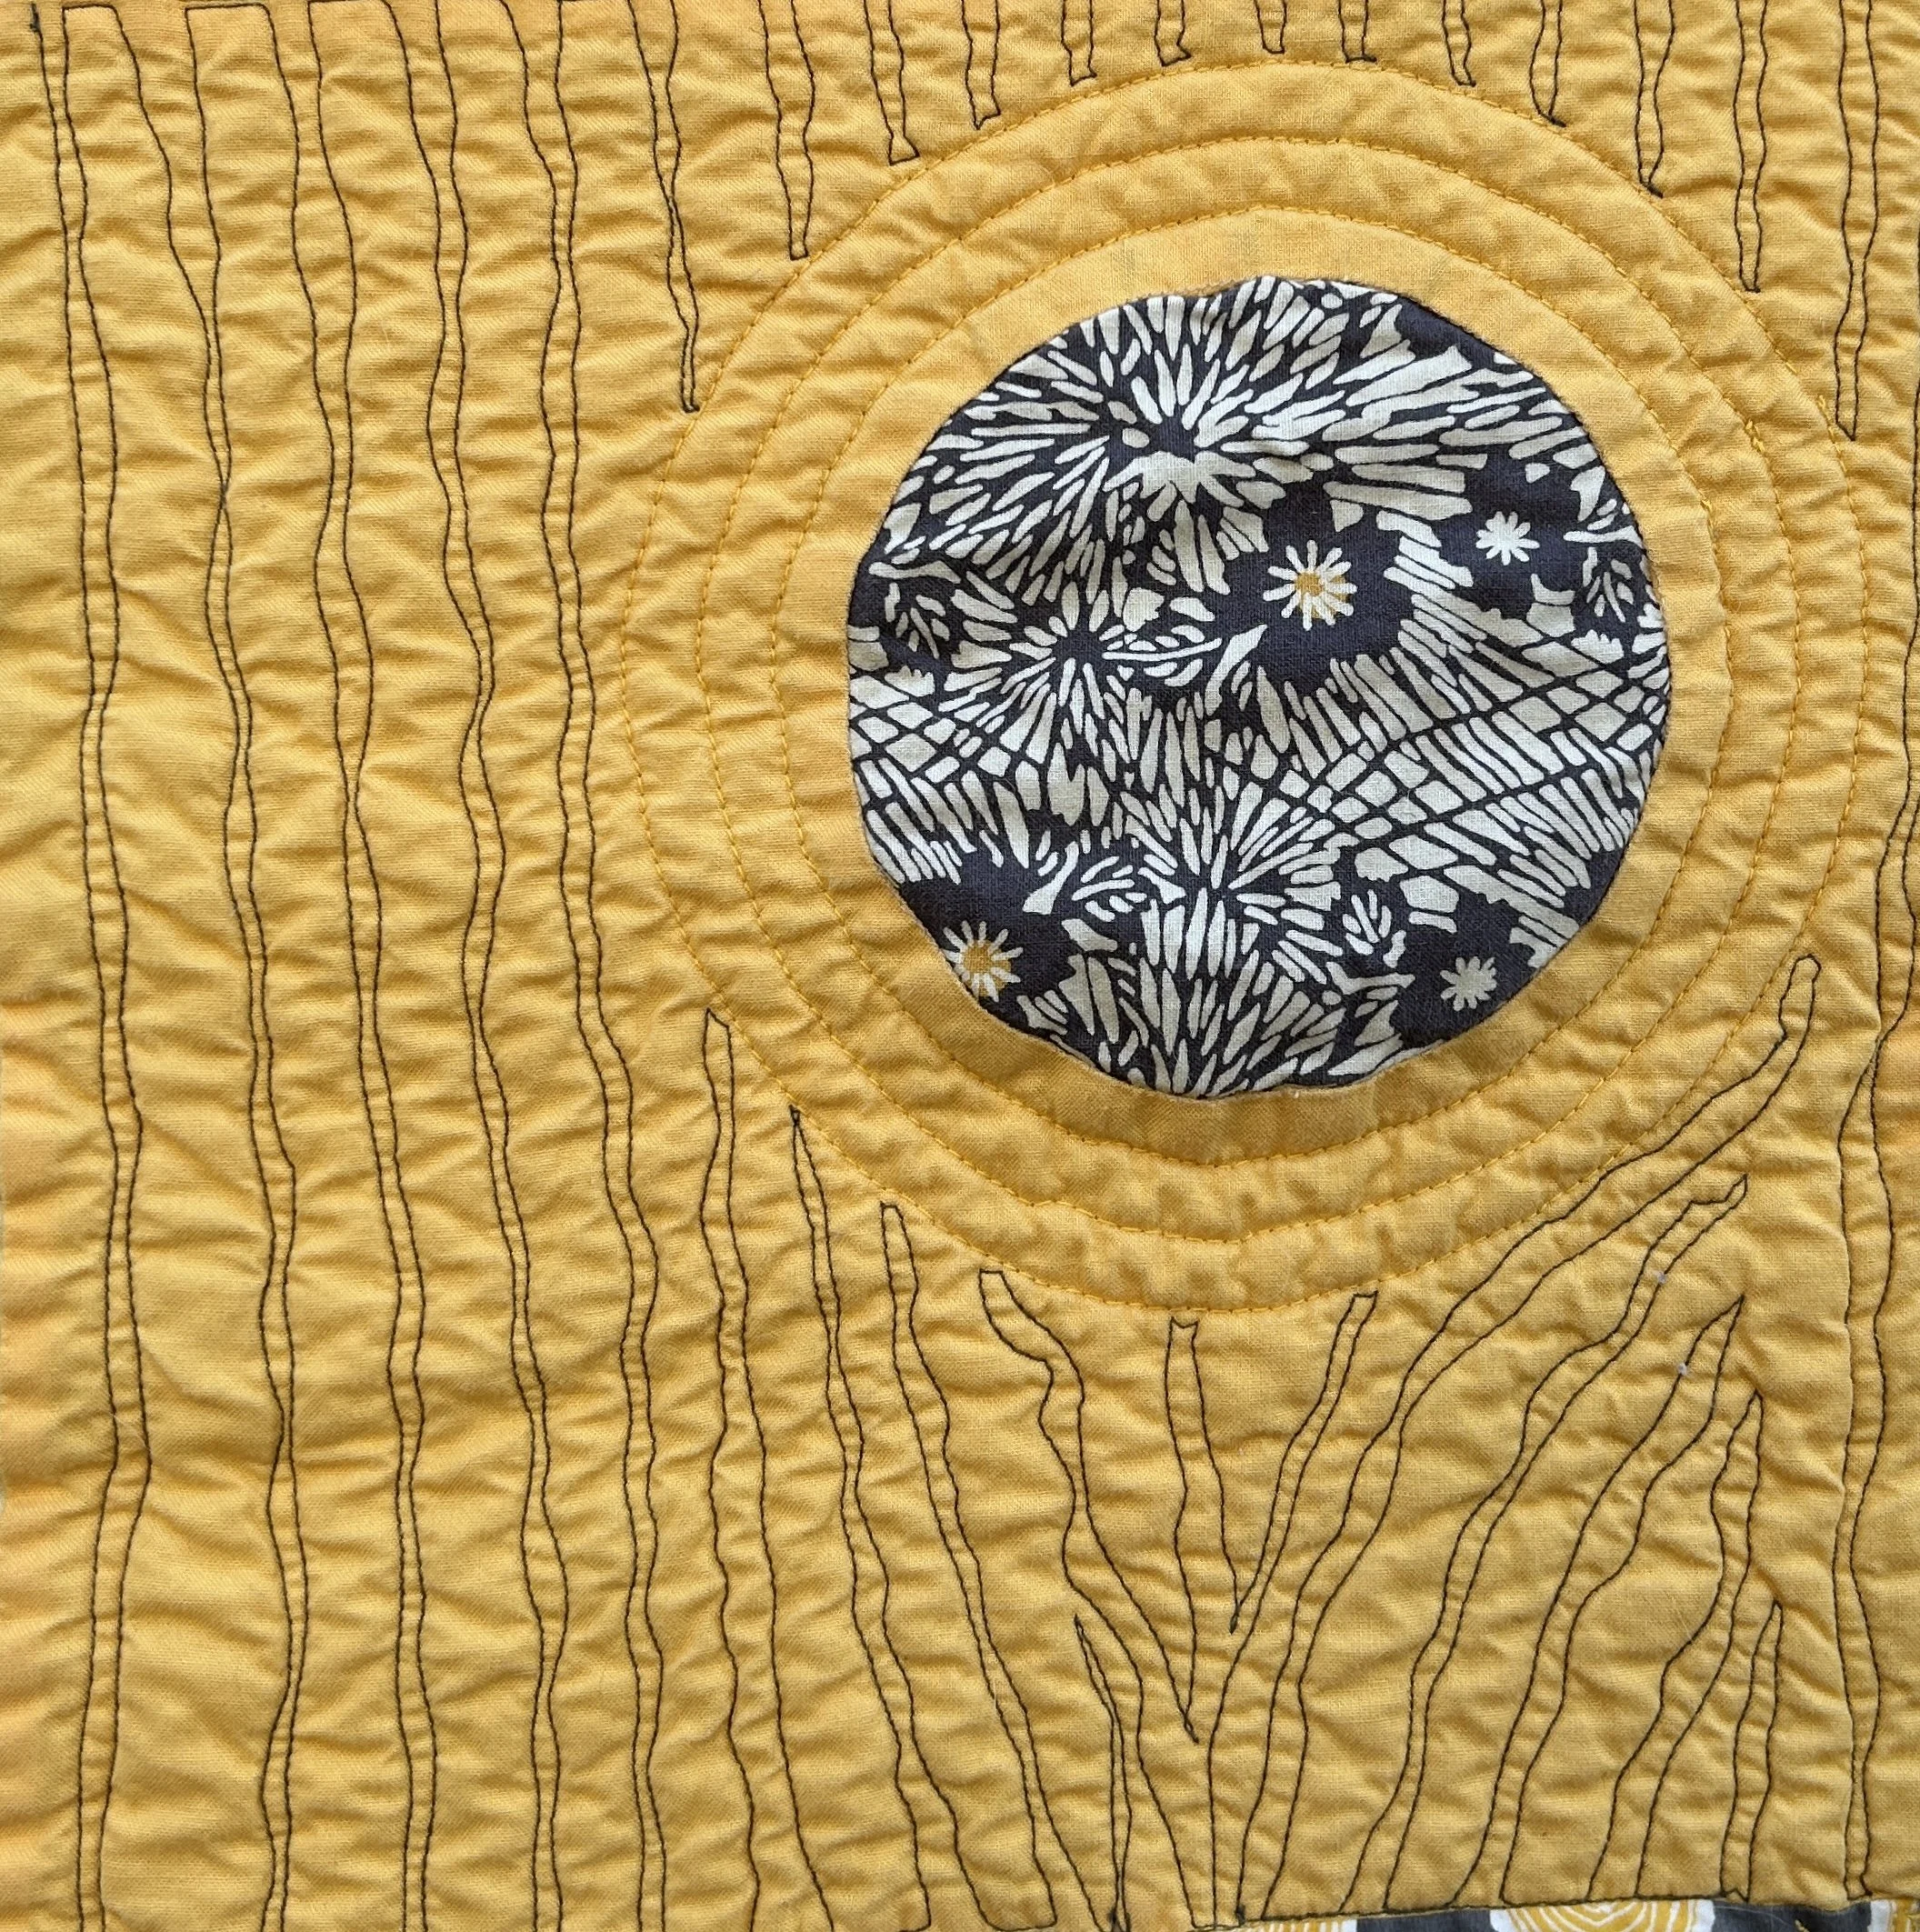
It’s a half square triangle quilt, with one block that has a inset reverse circle patch. I quilted that block to look like it was a hole in a tree trunk. It was a lot of fun doing that free motion quilting. The quilt has a wool batting so it is light and lofty, and really shows off the quilting.

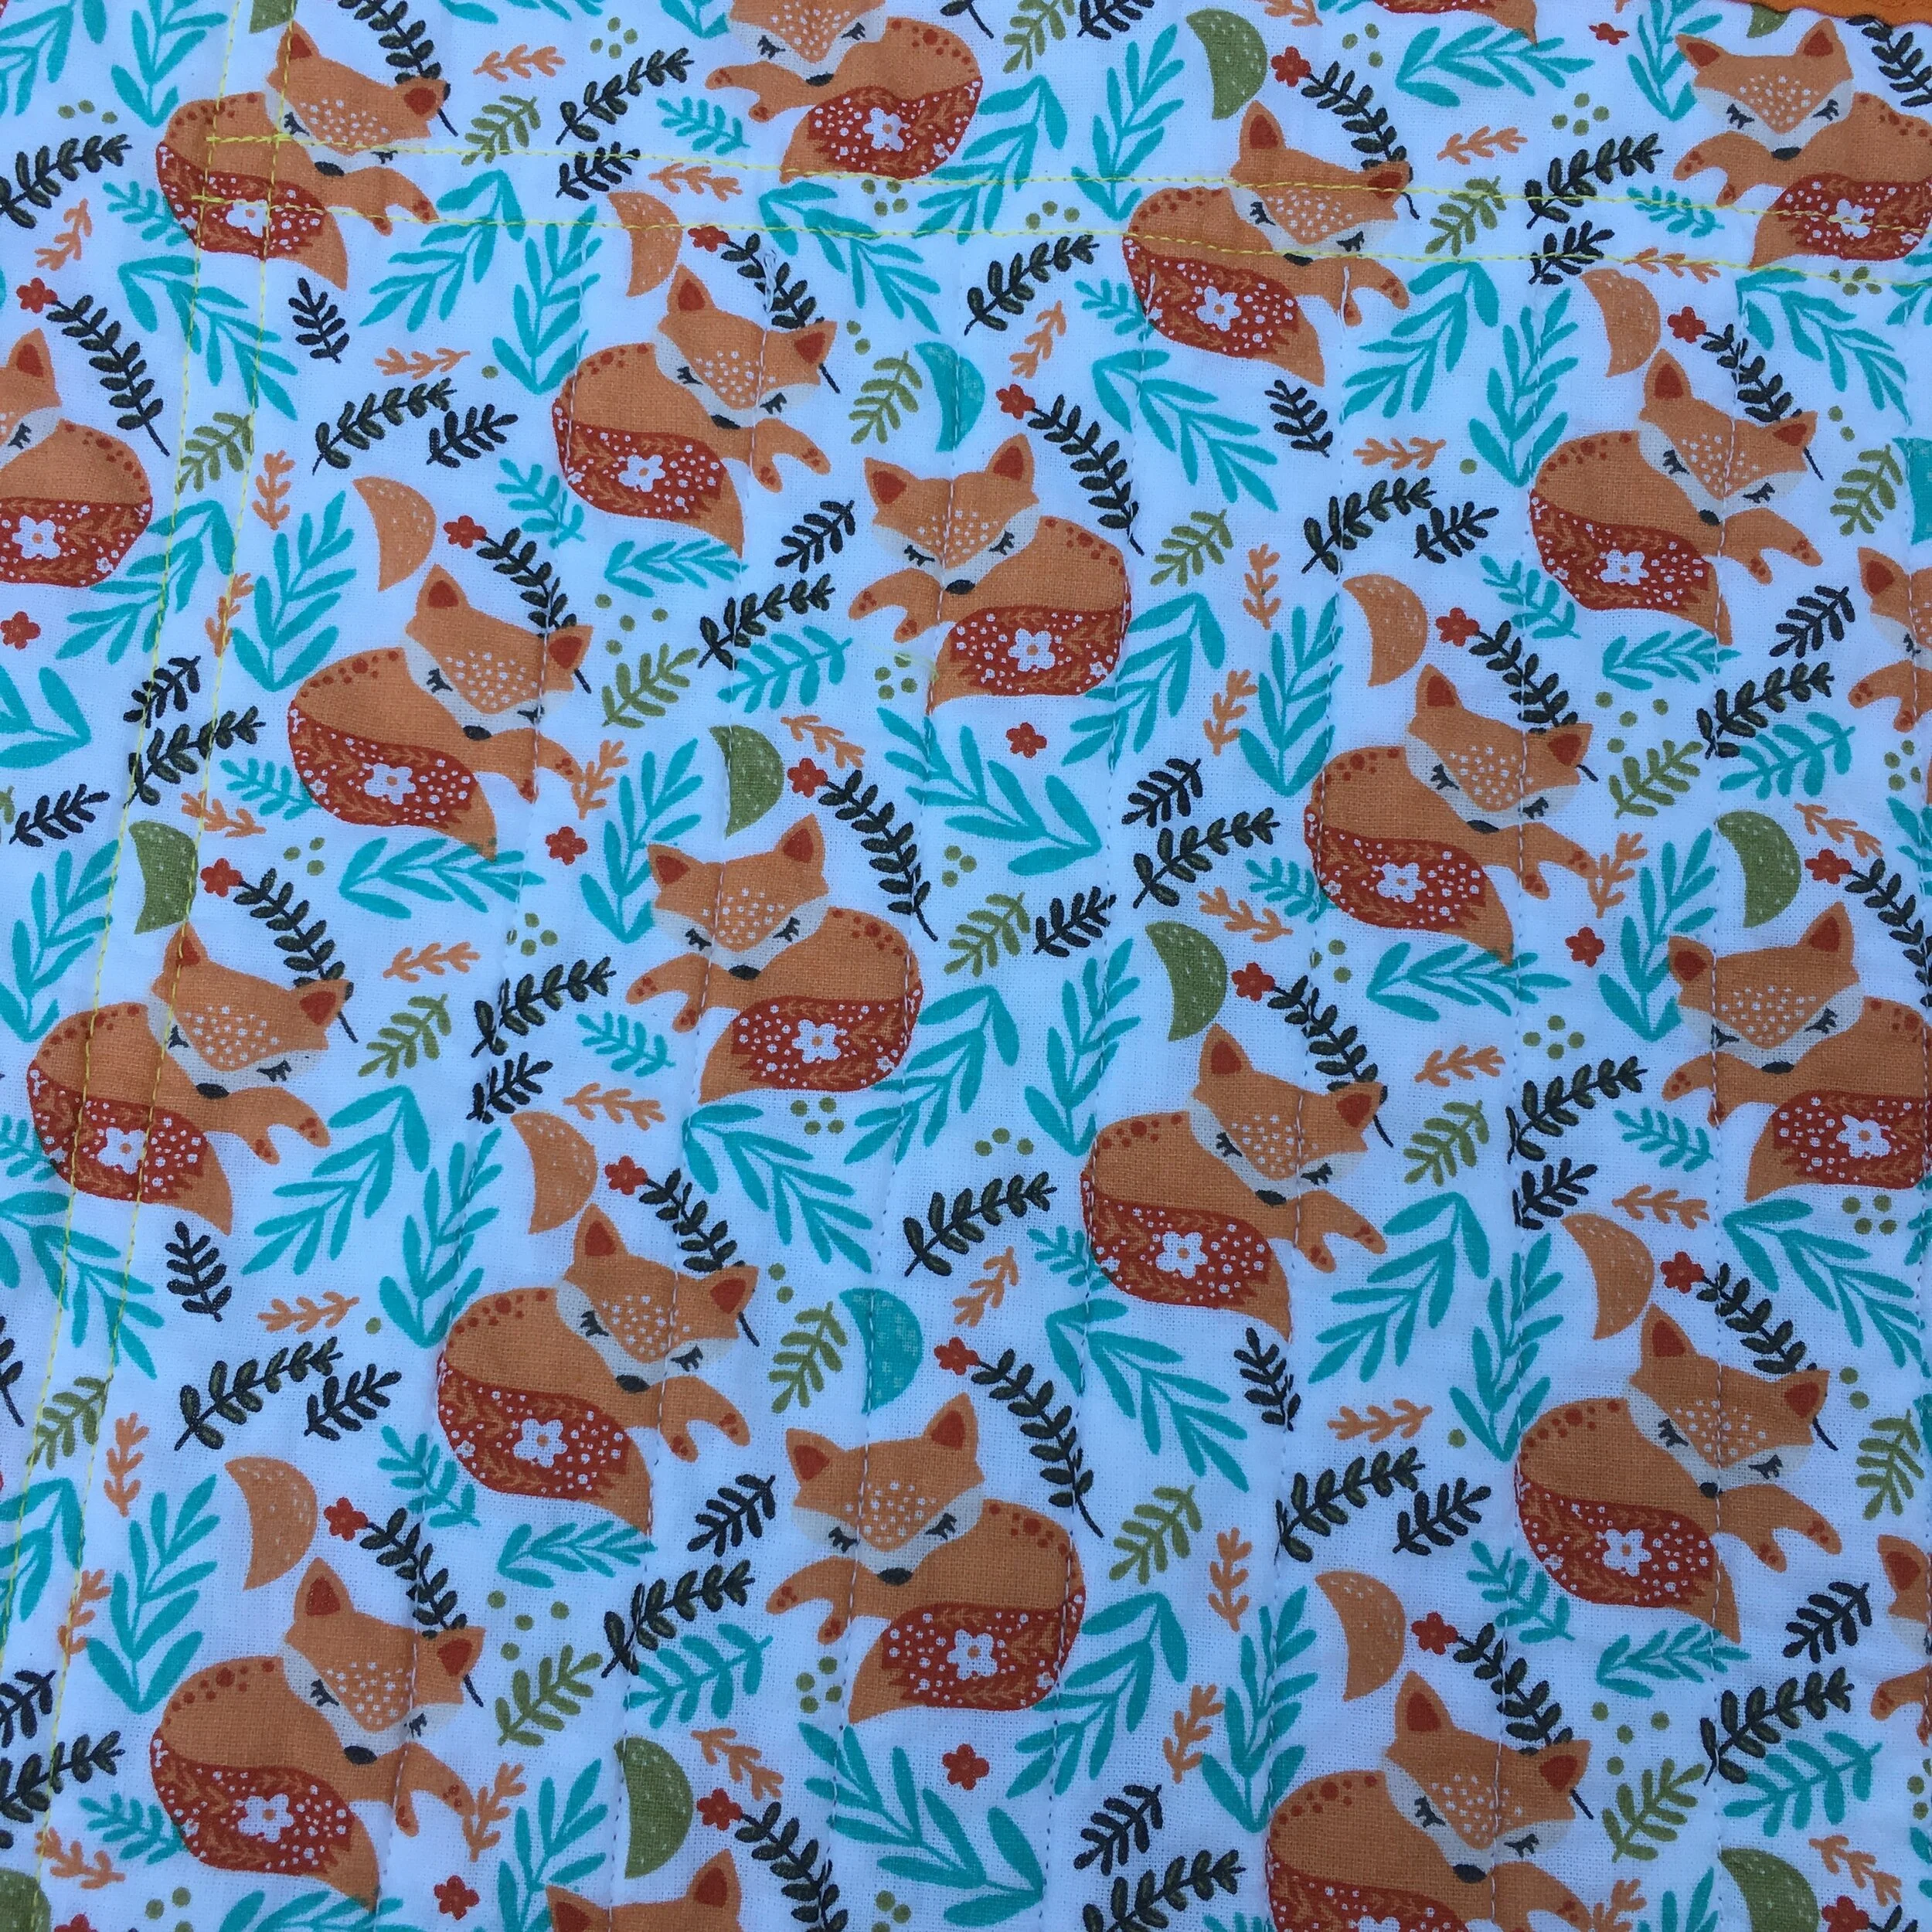
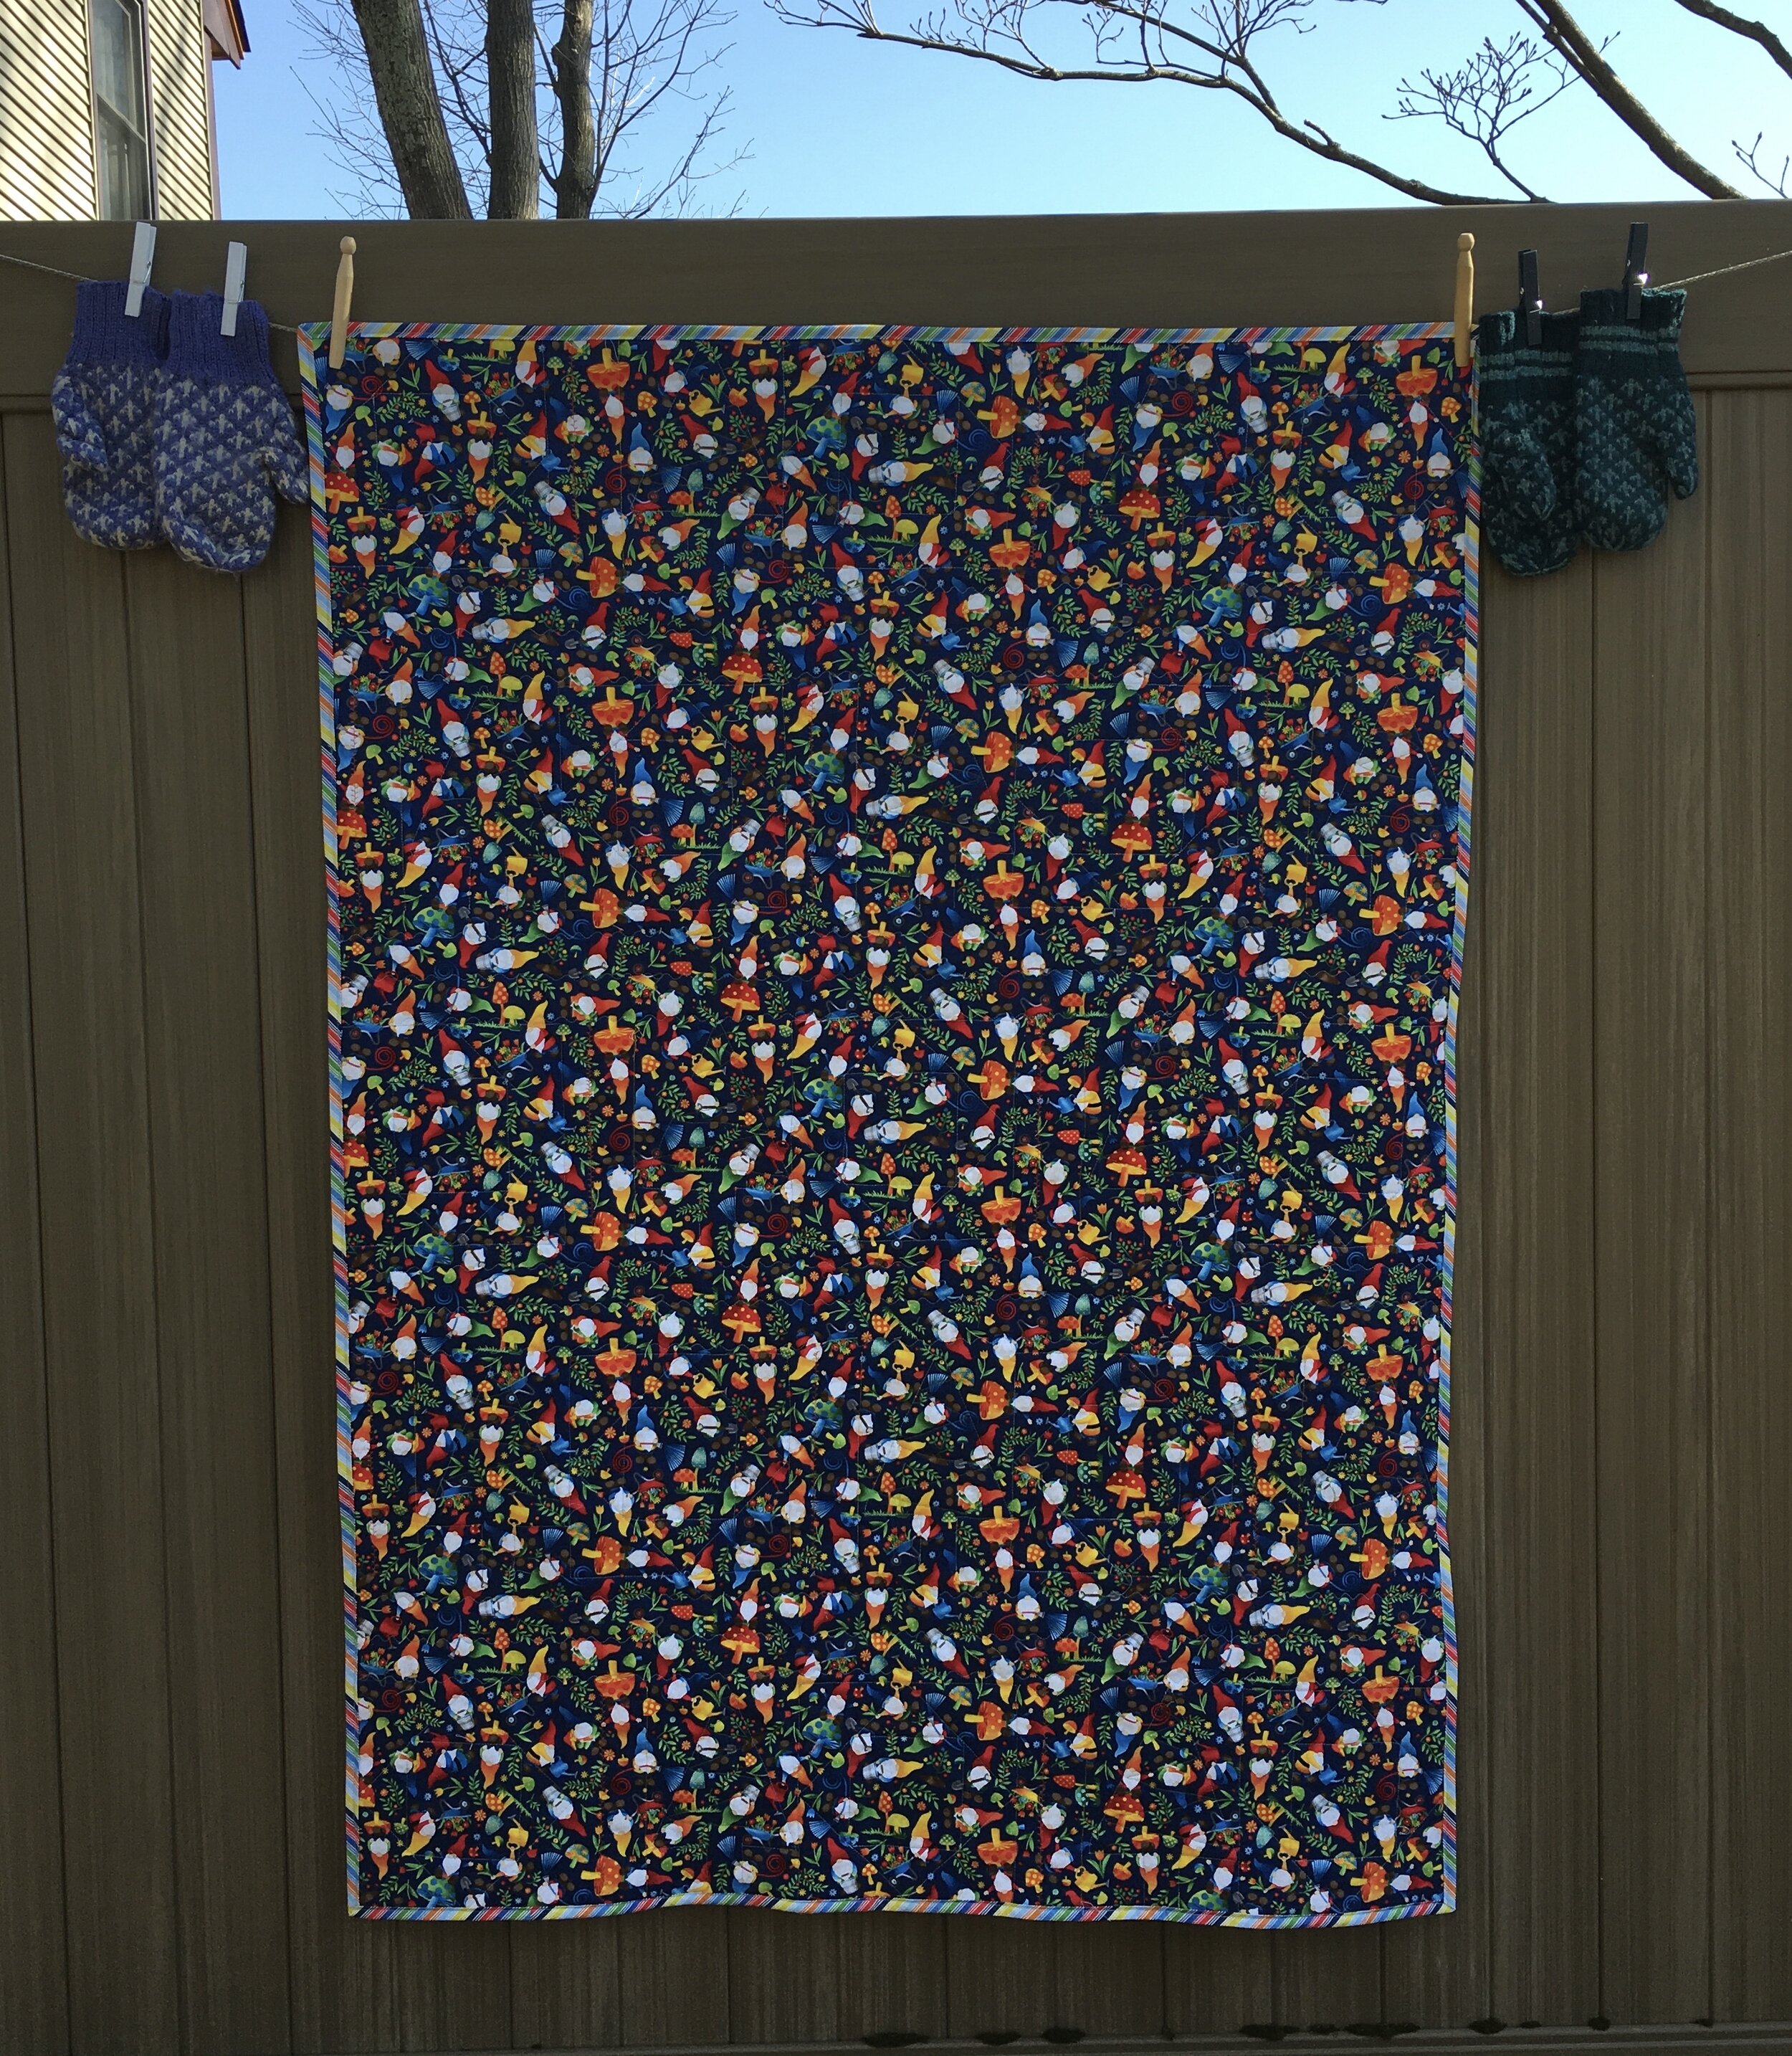
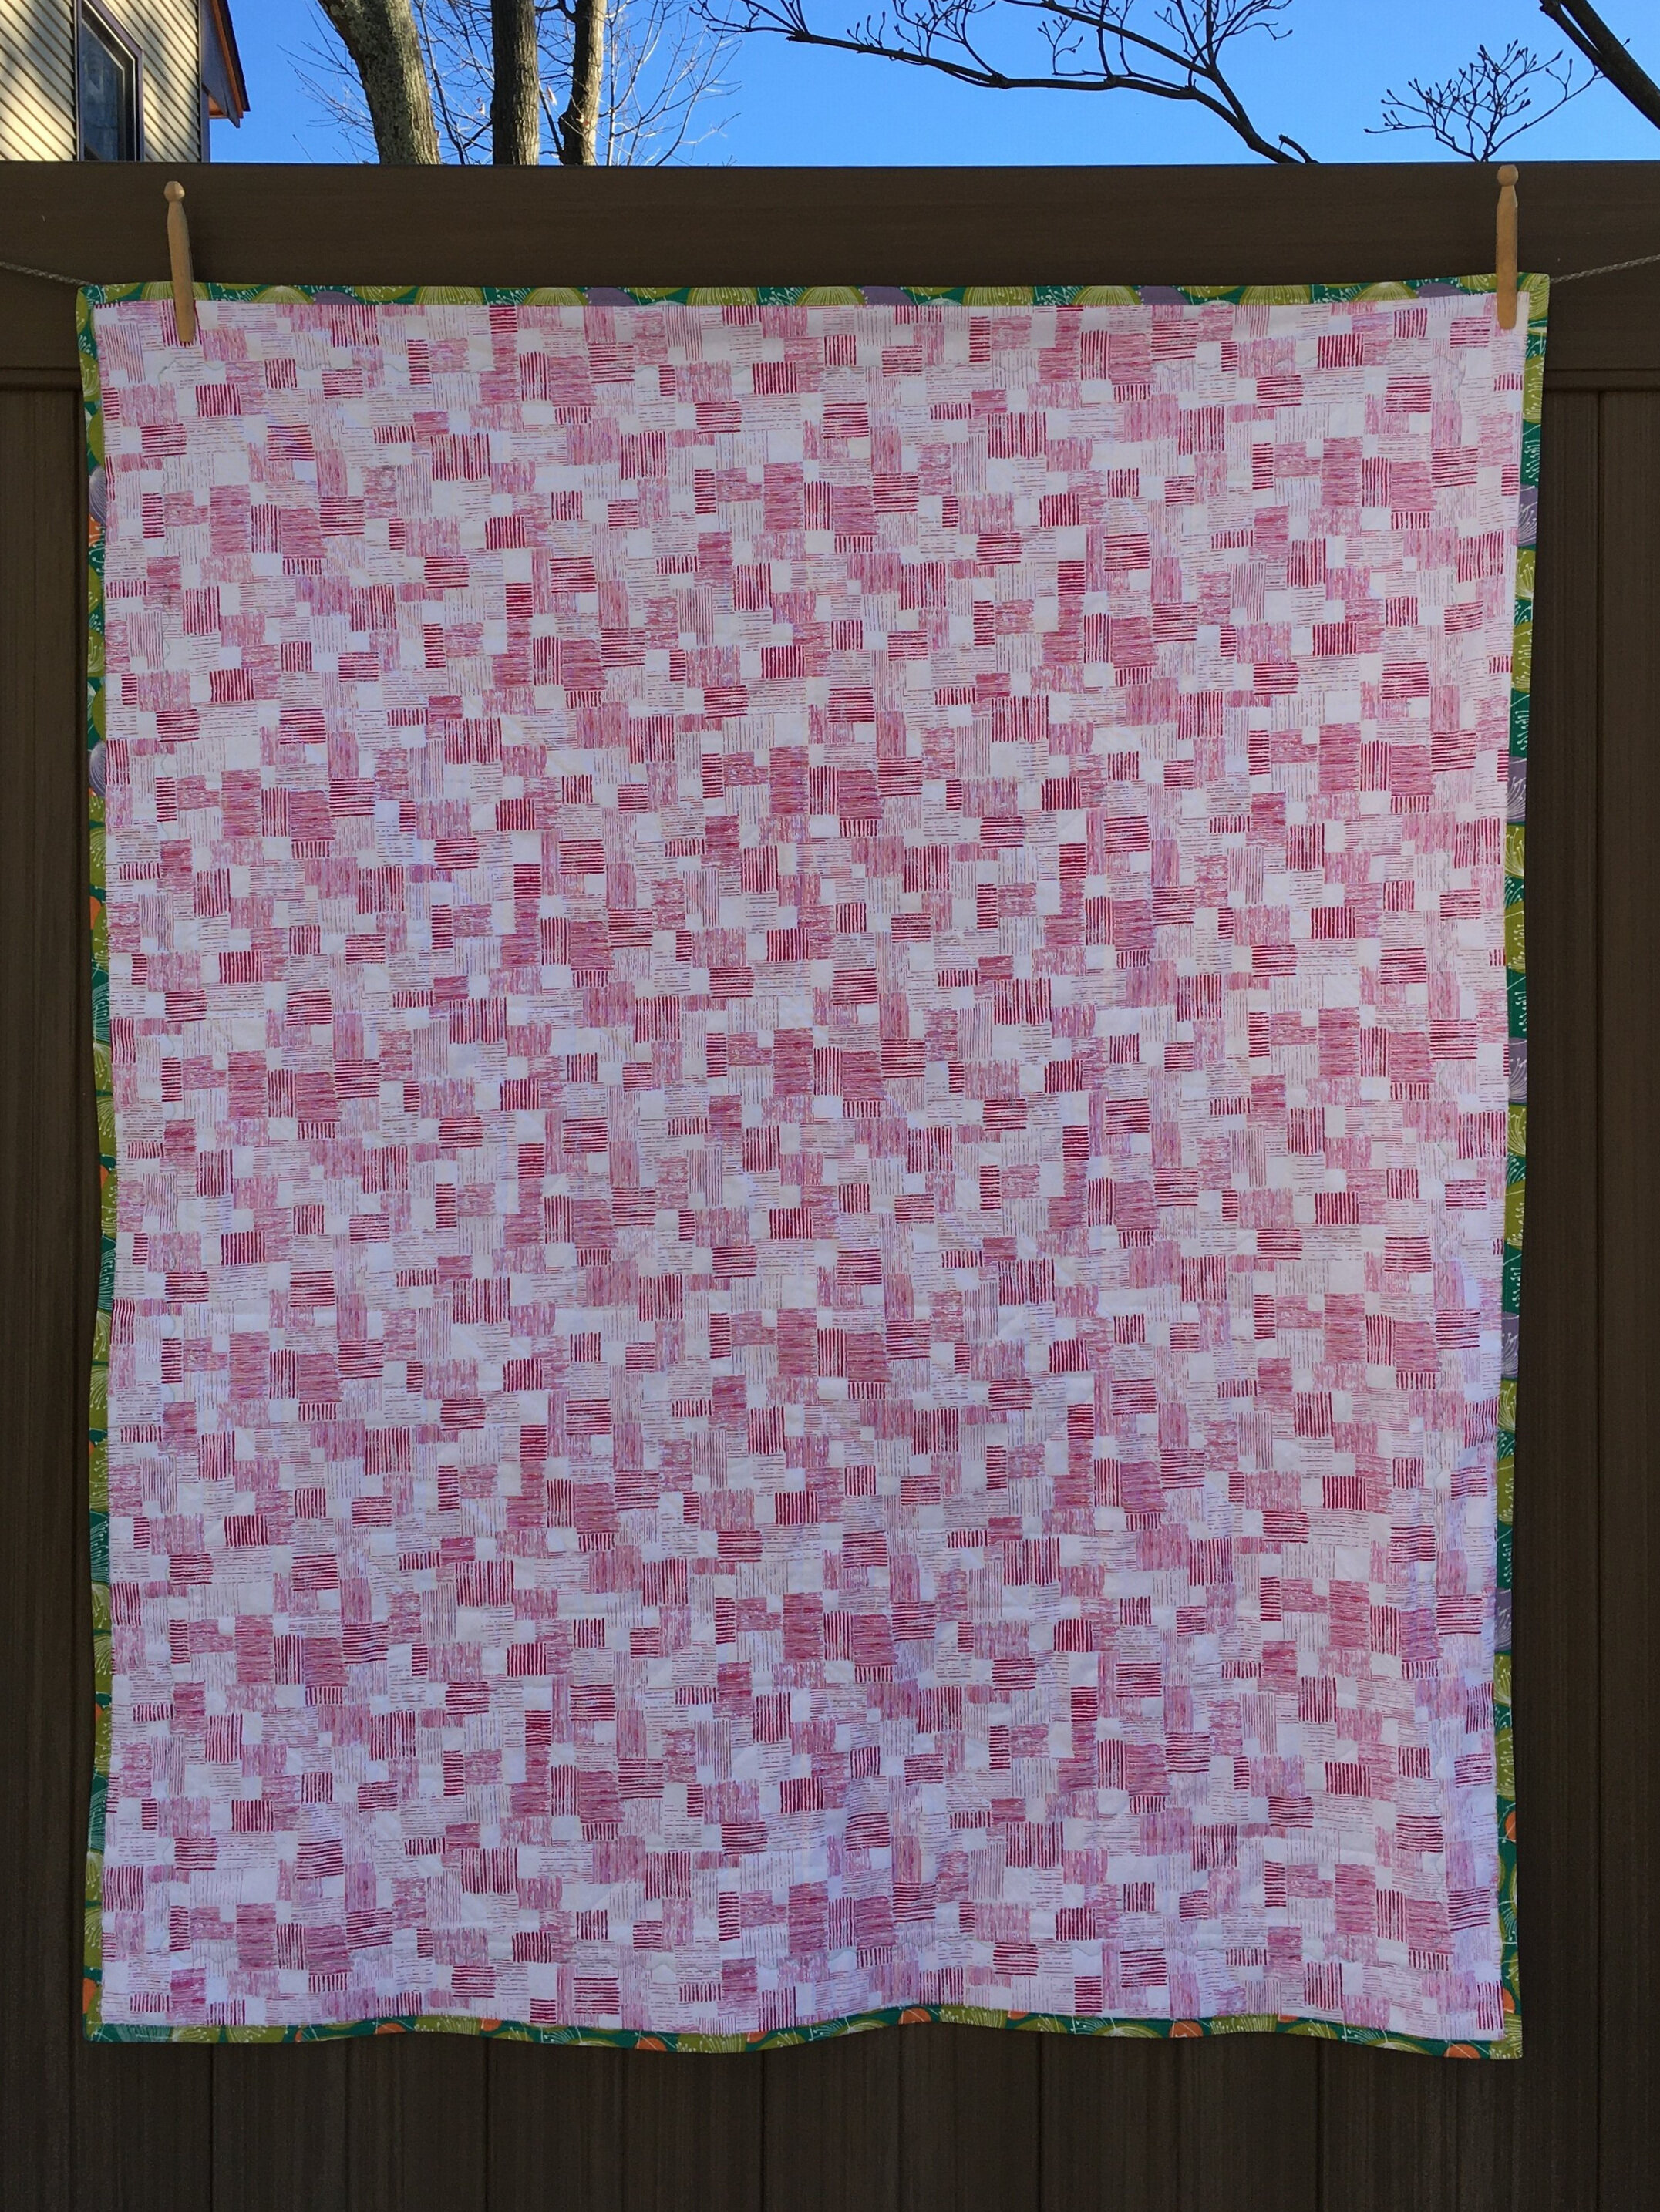
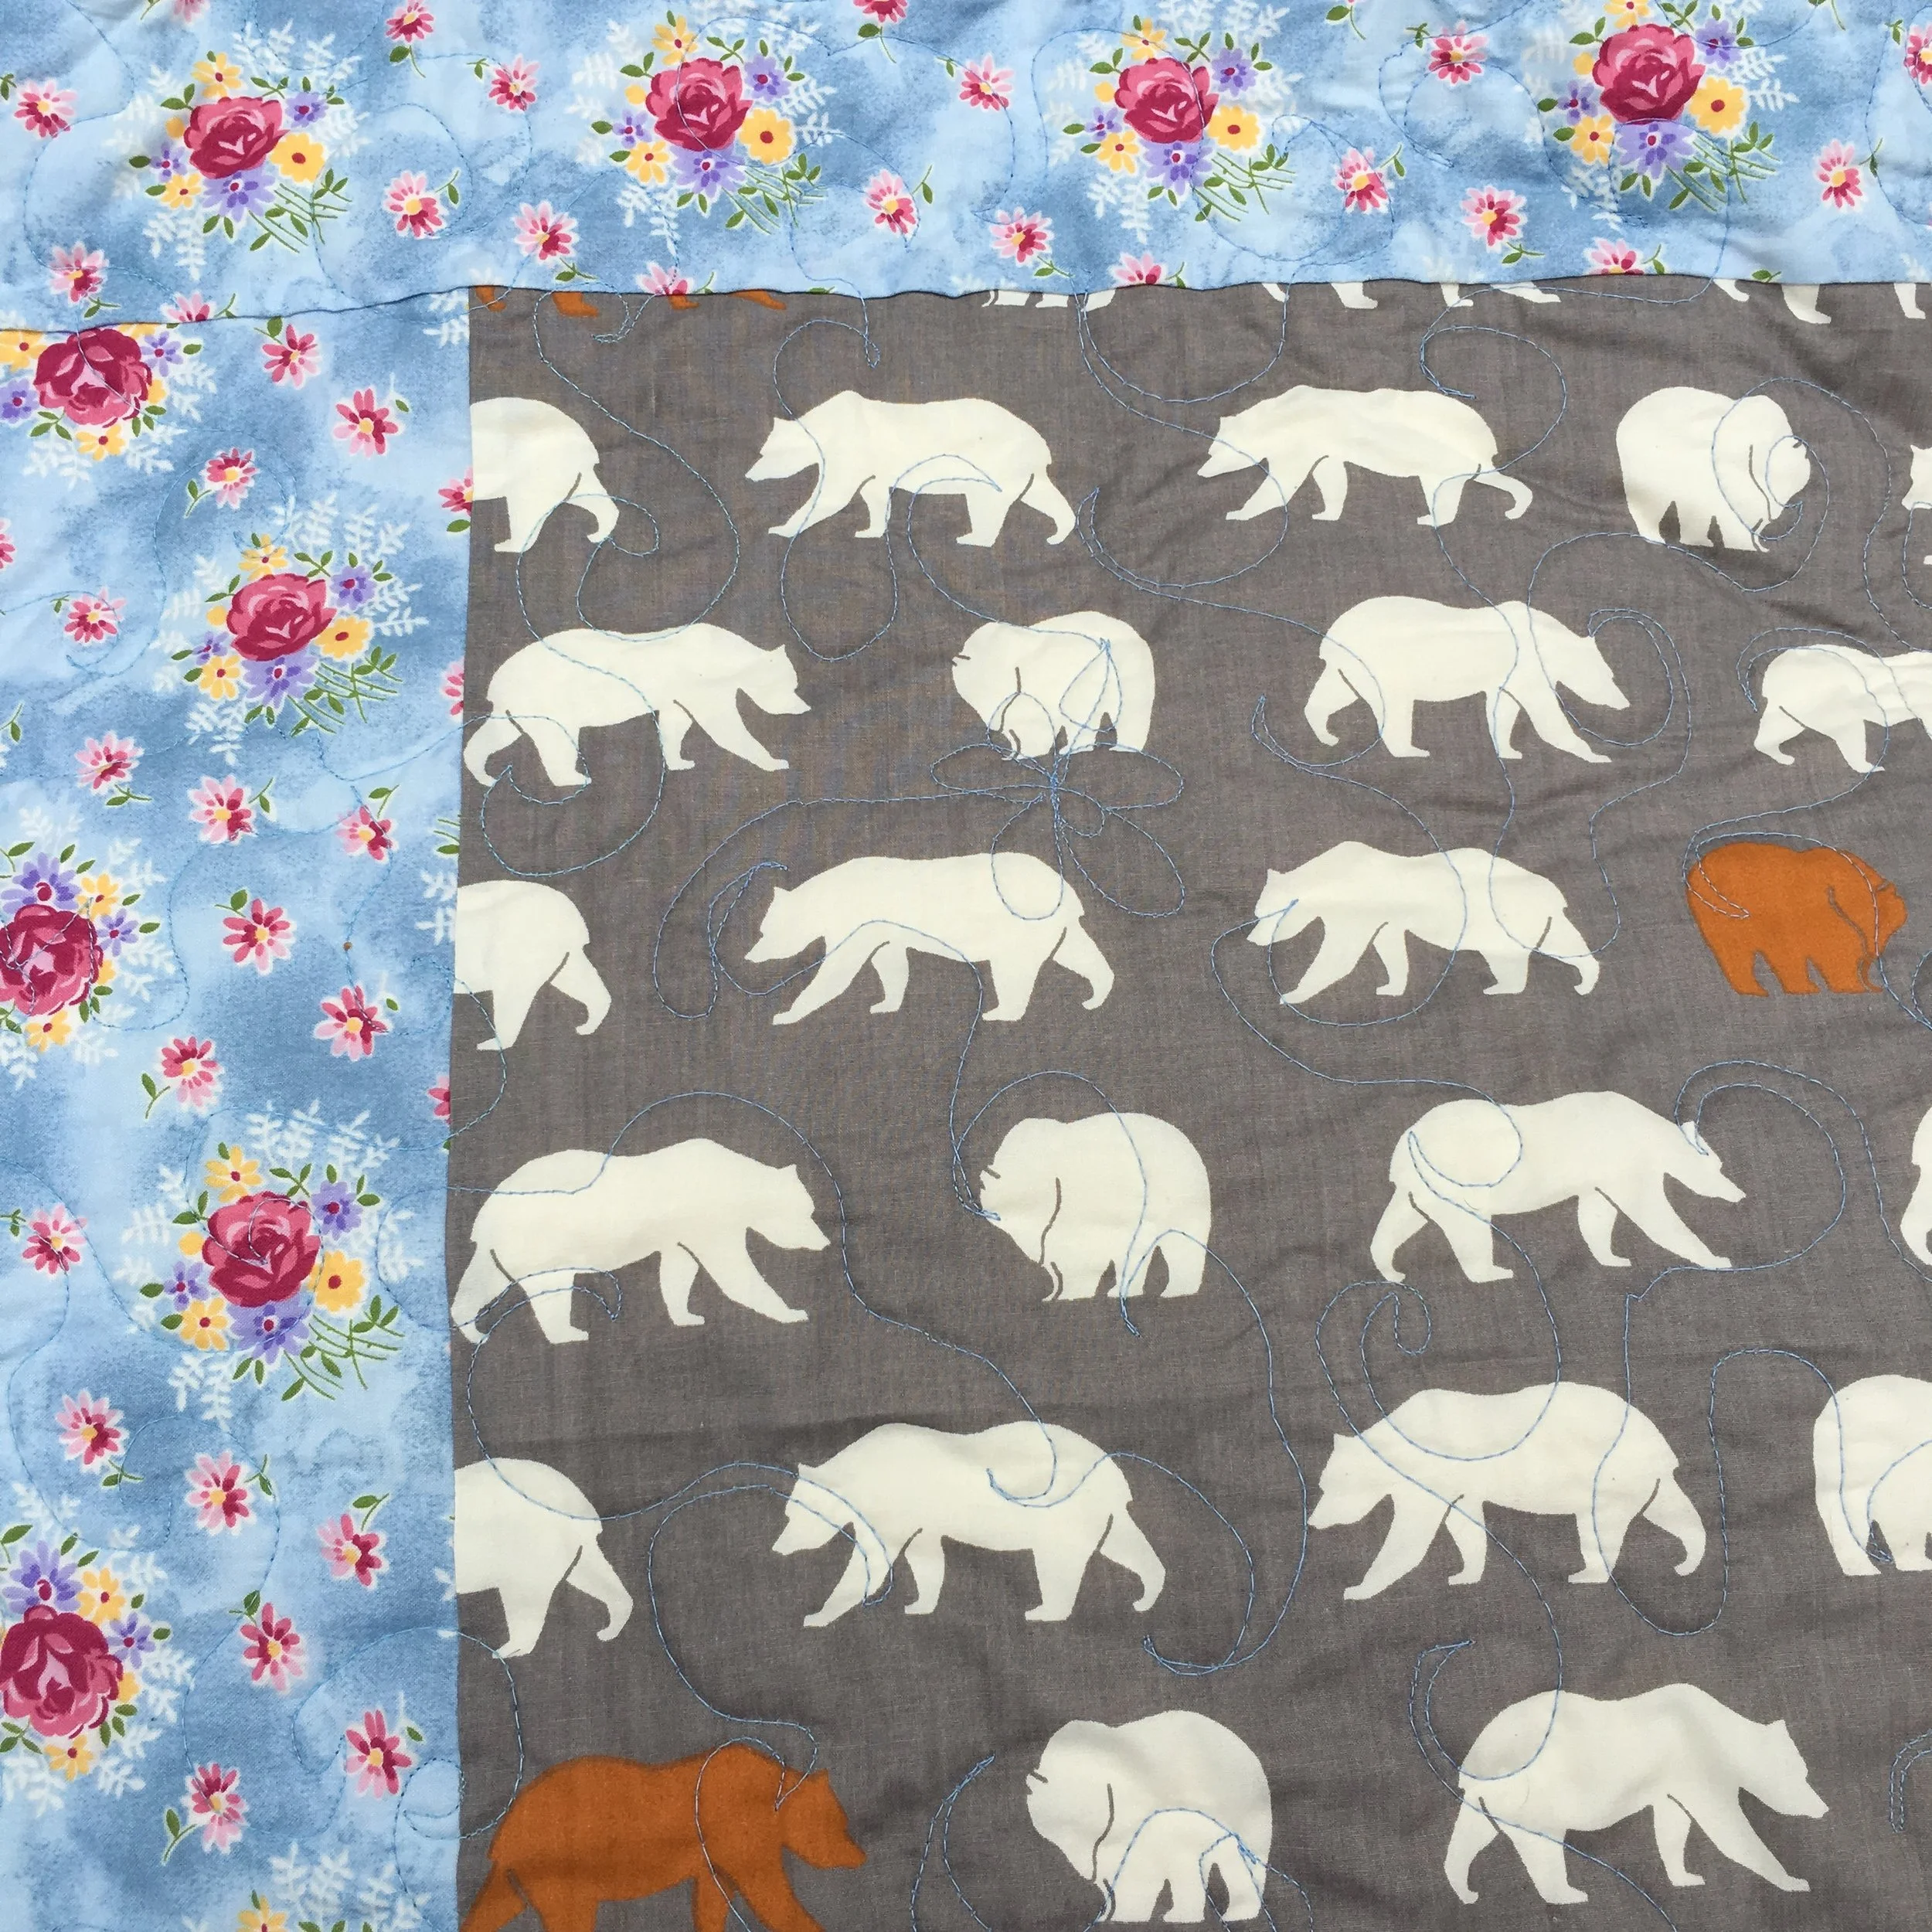
On the back there is a forest fabric. I looked to see the date on the label and … oops. No label. That’s a bit embarrassing! This is one of those times that I’m grateful for the blog and can look back to see the date on posts I wrote while making the quilt, so I can “post-label” this quilt I made in 2014!