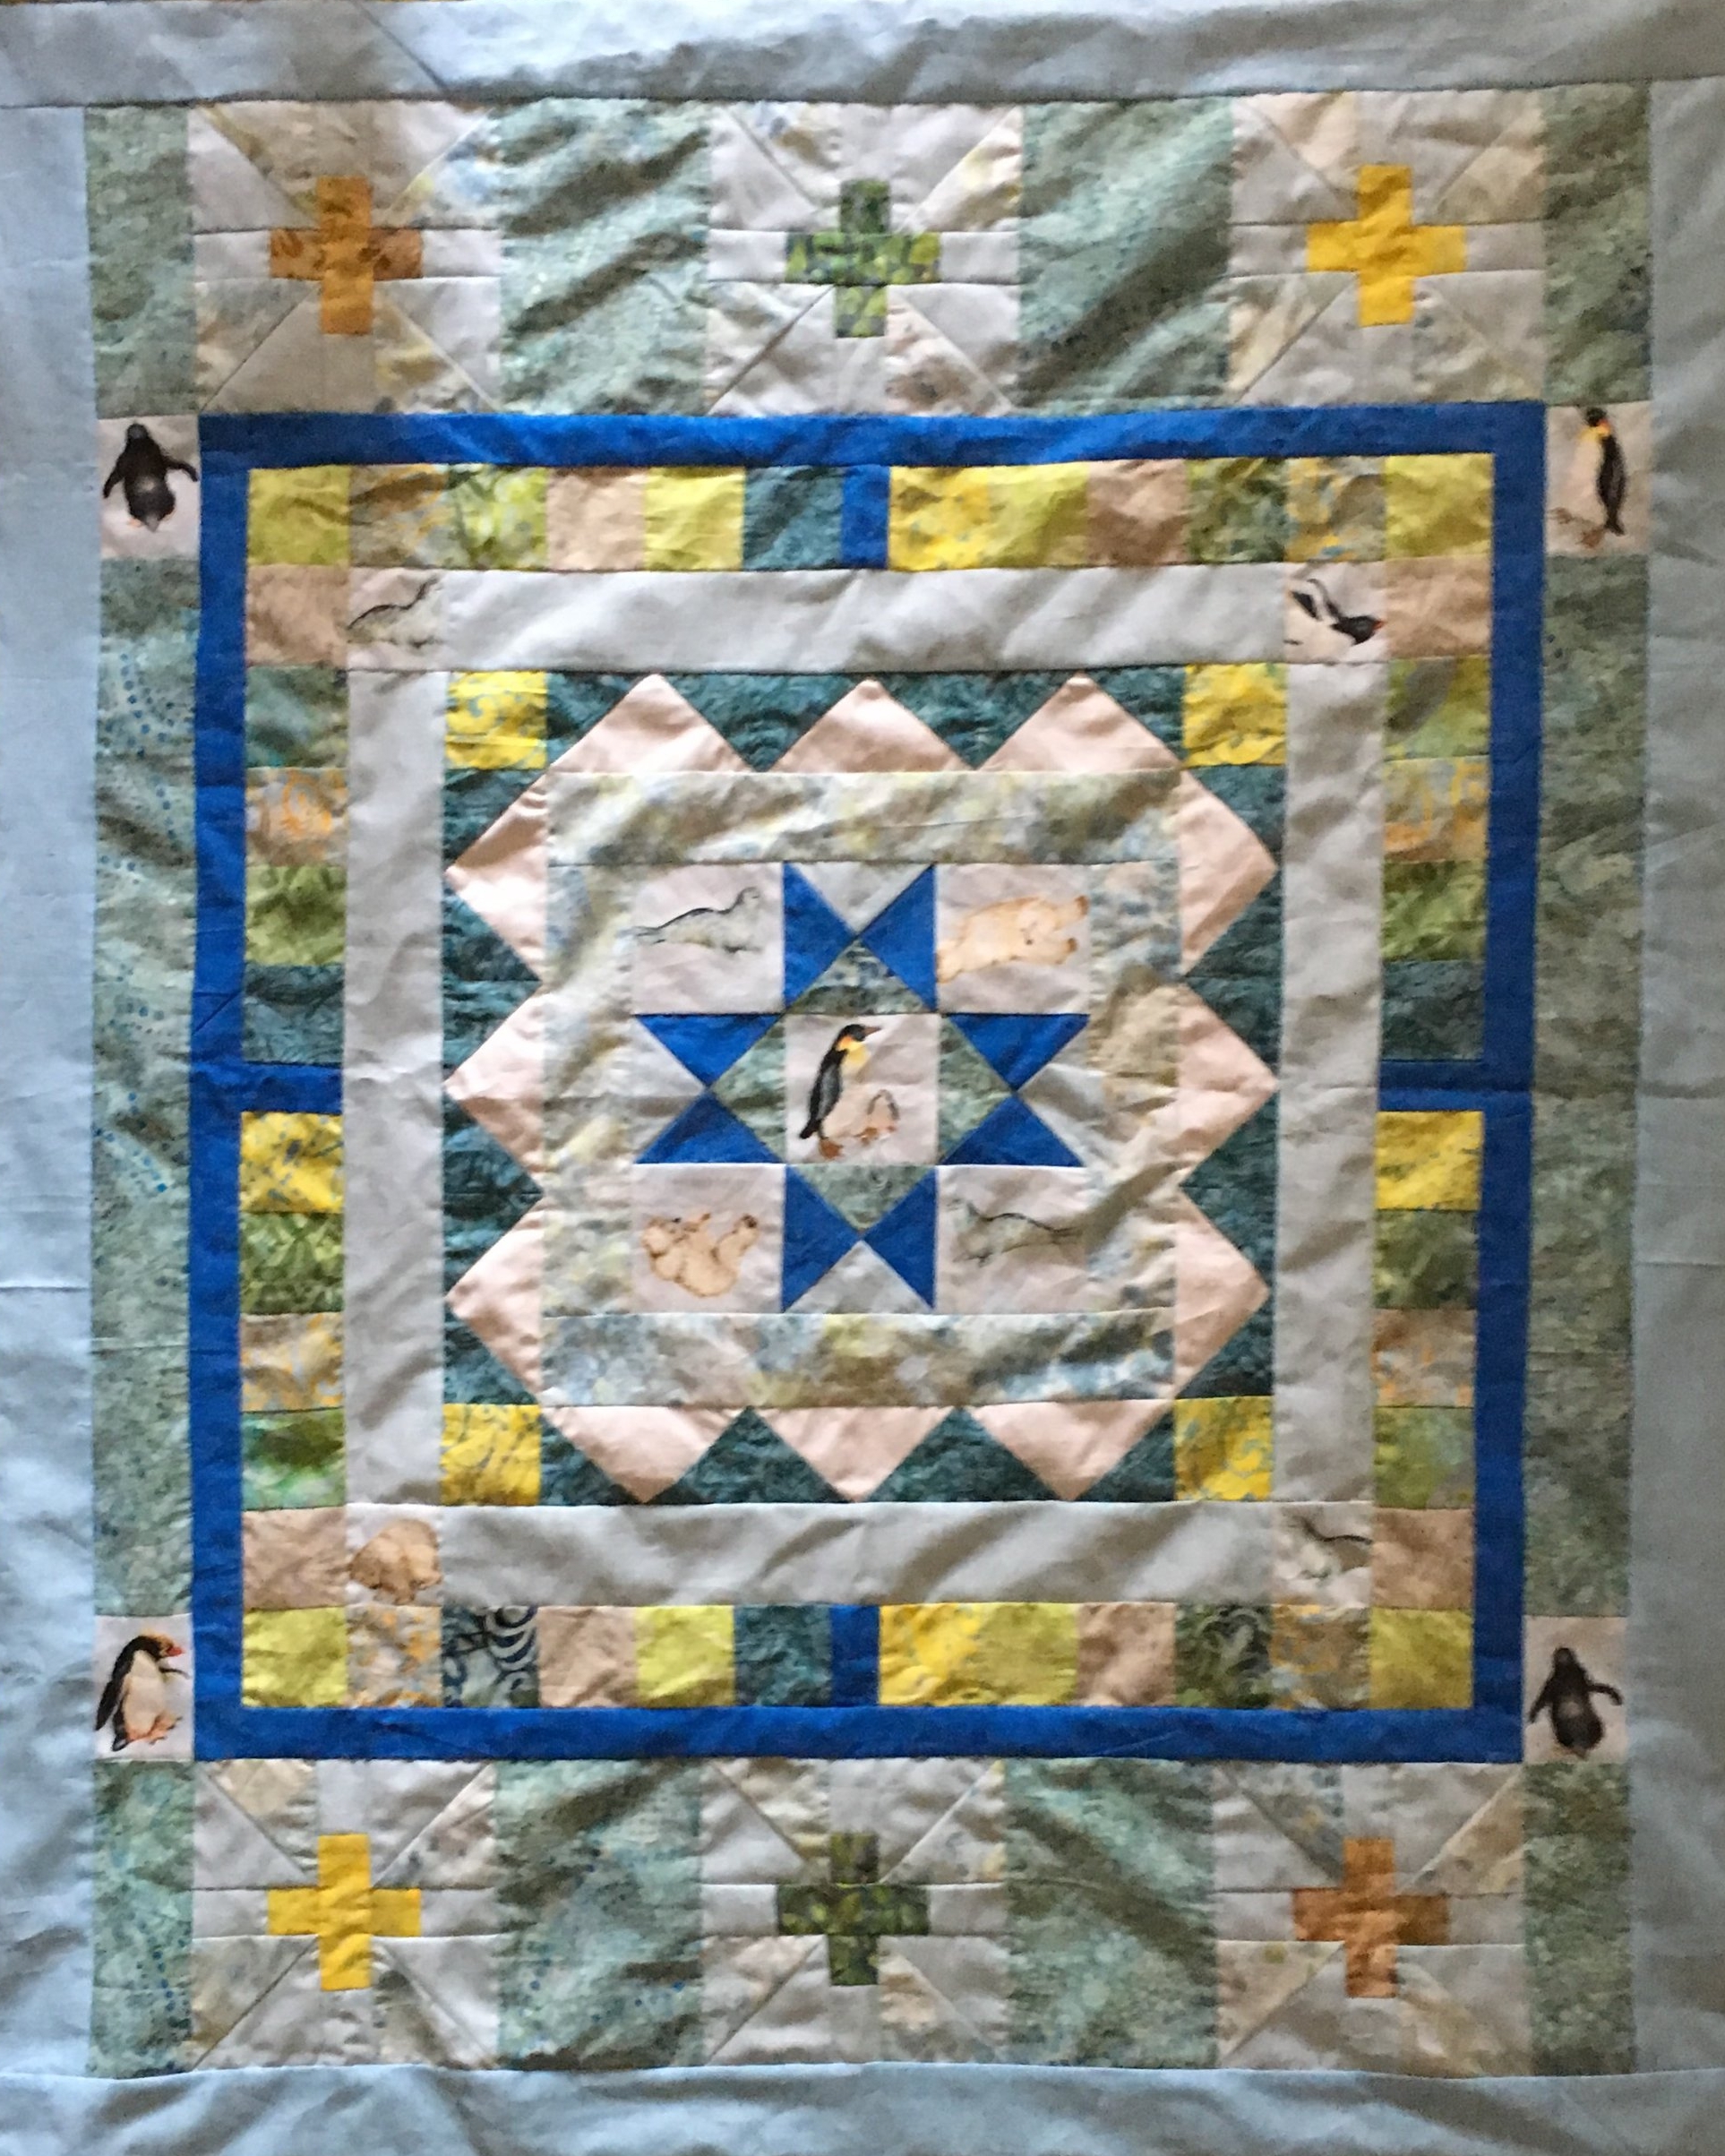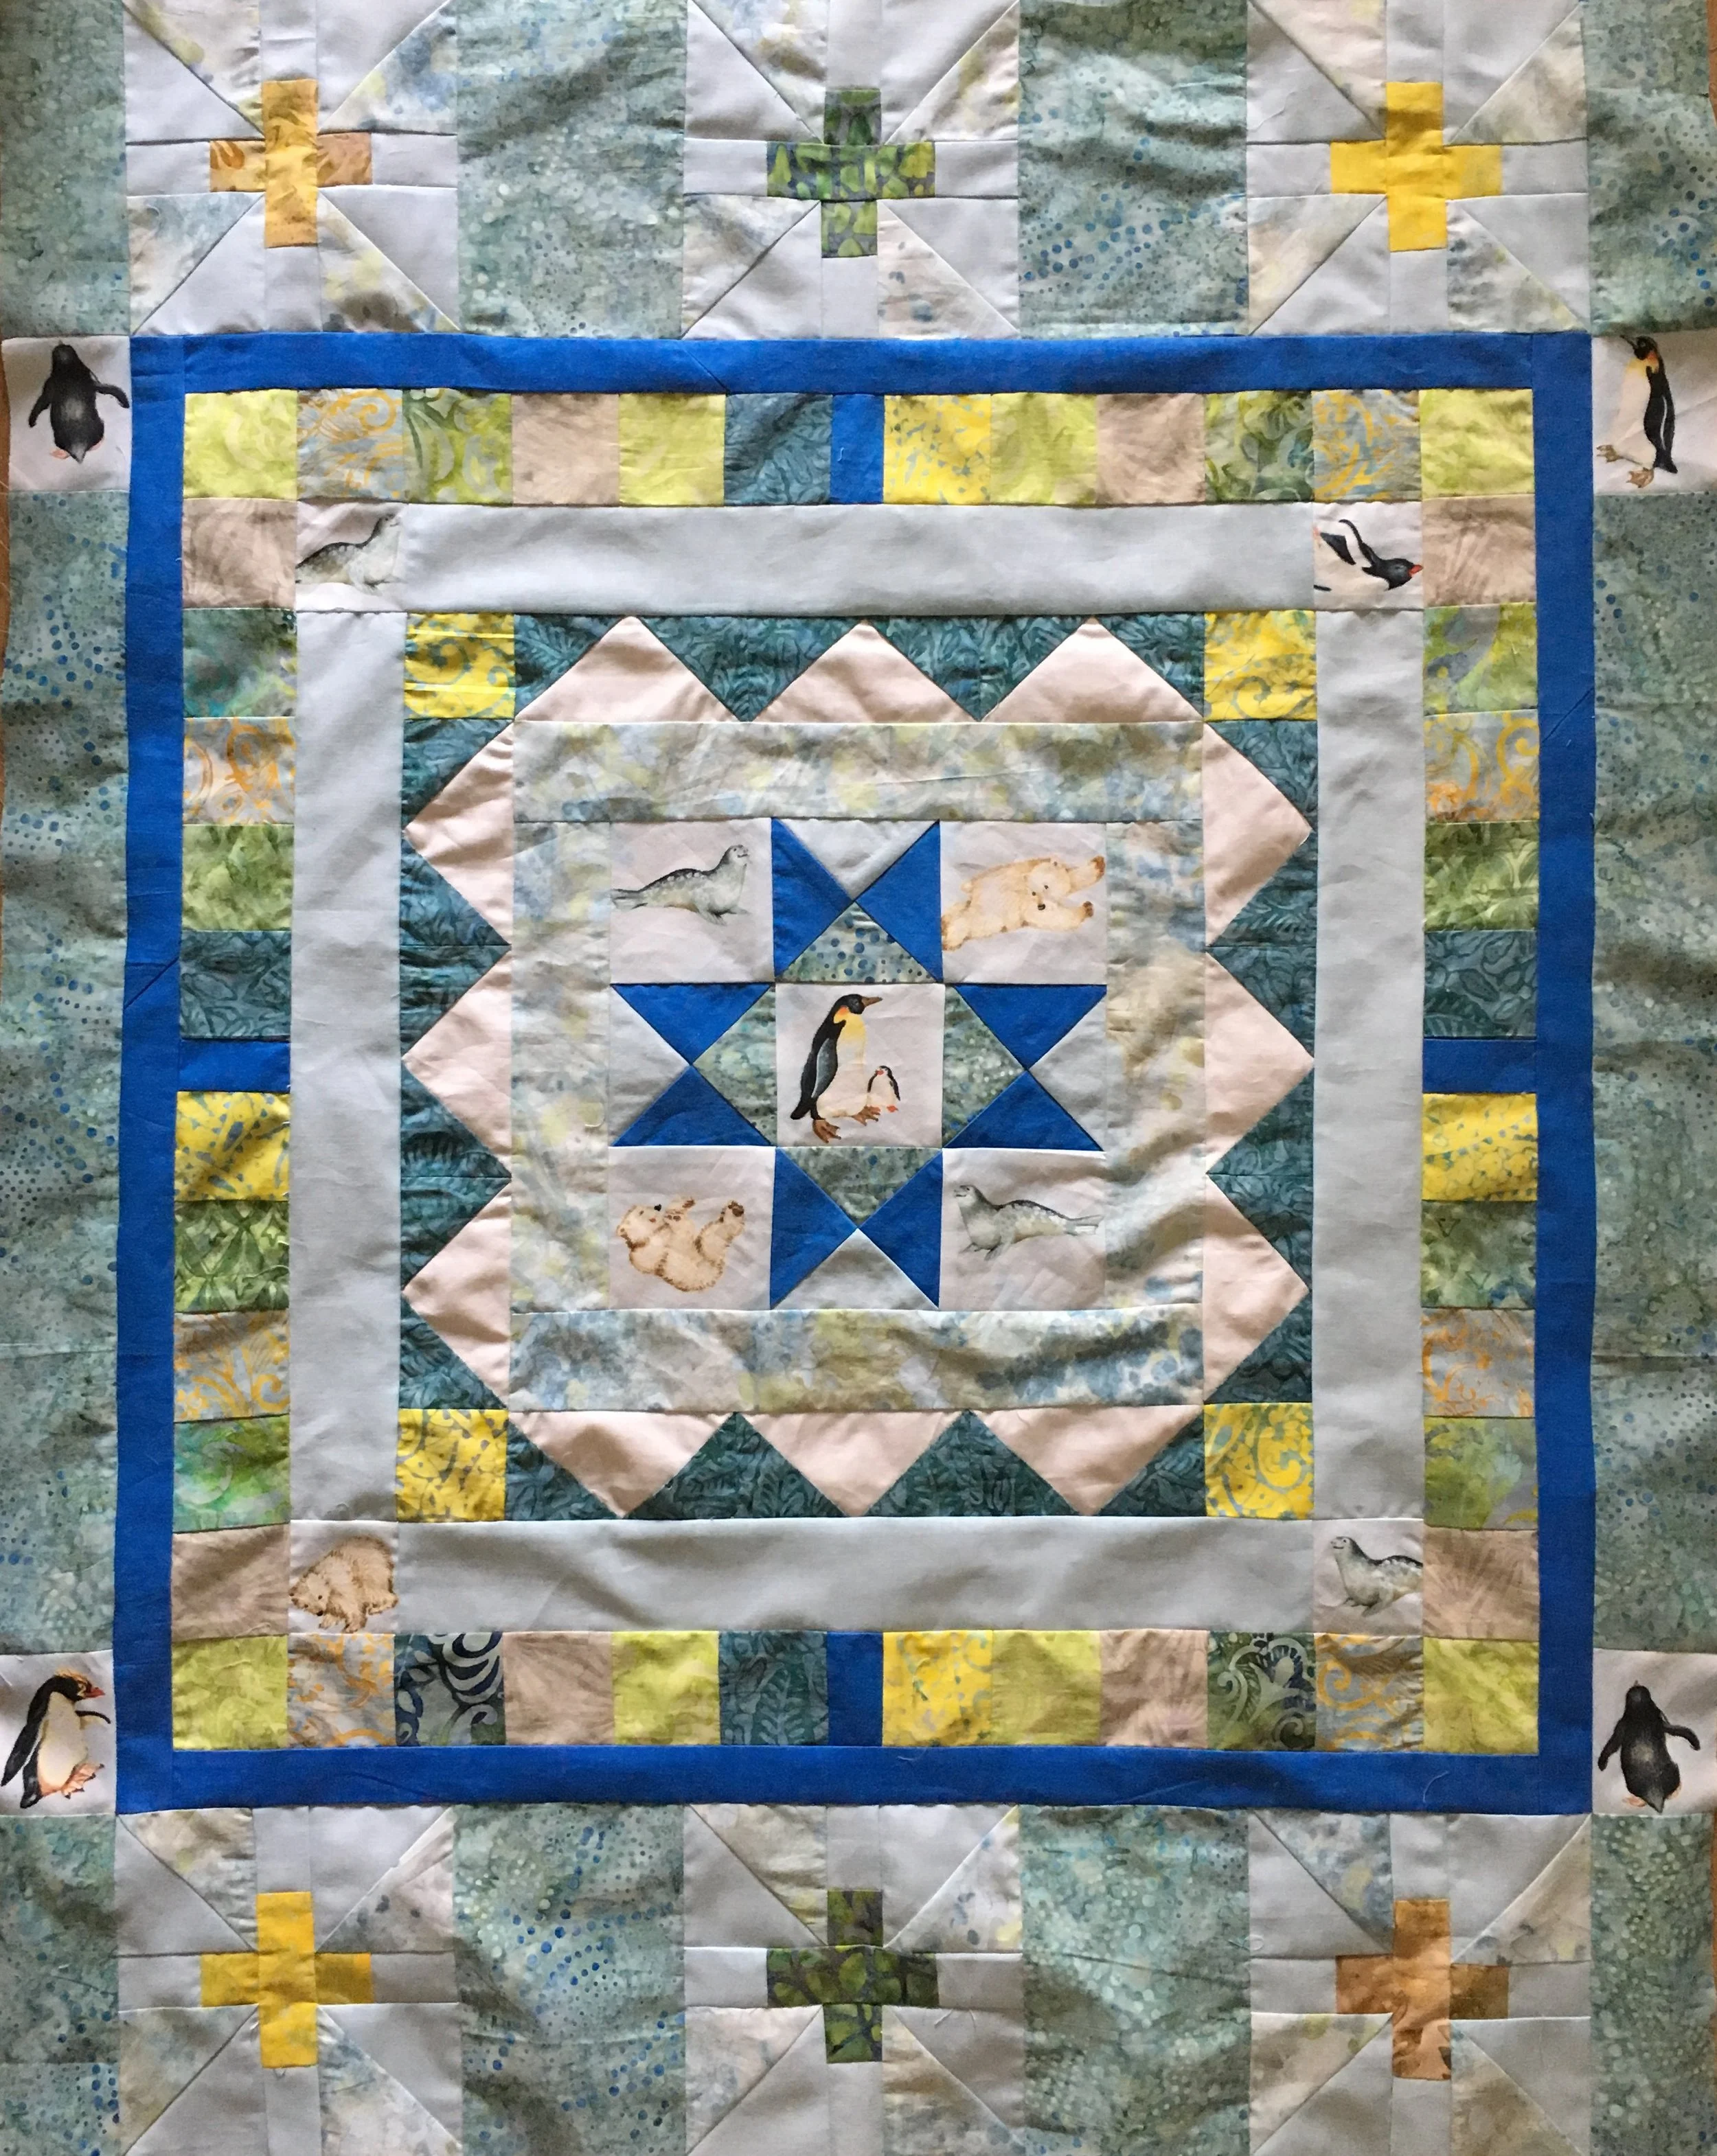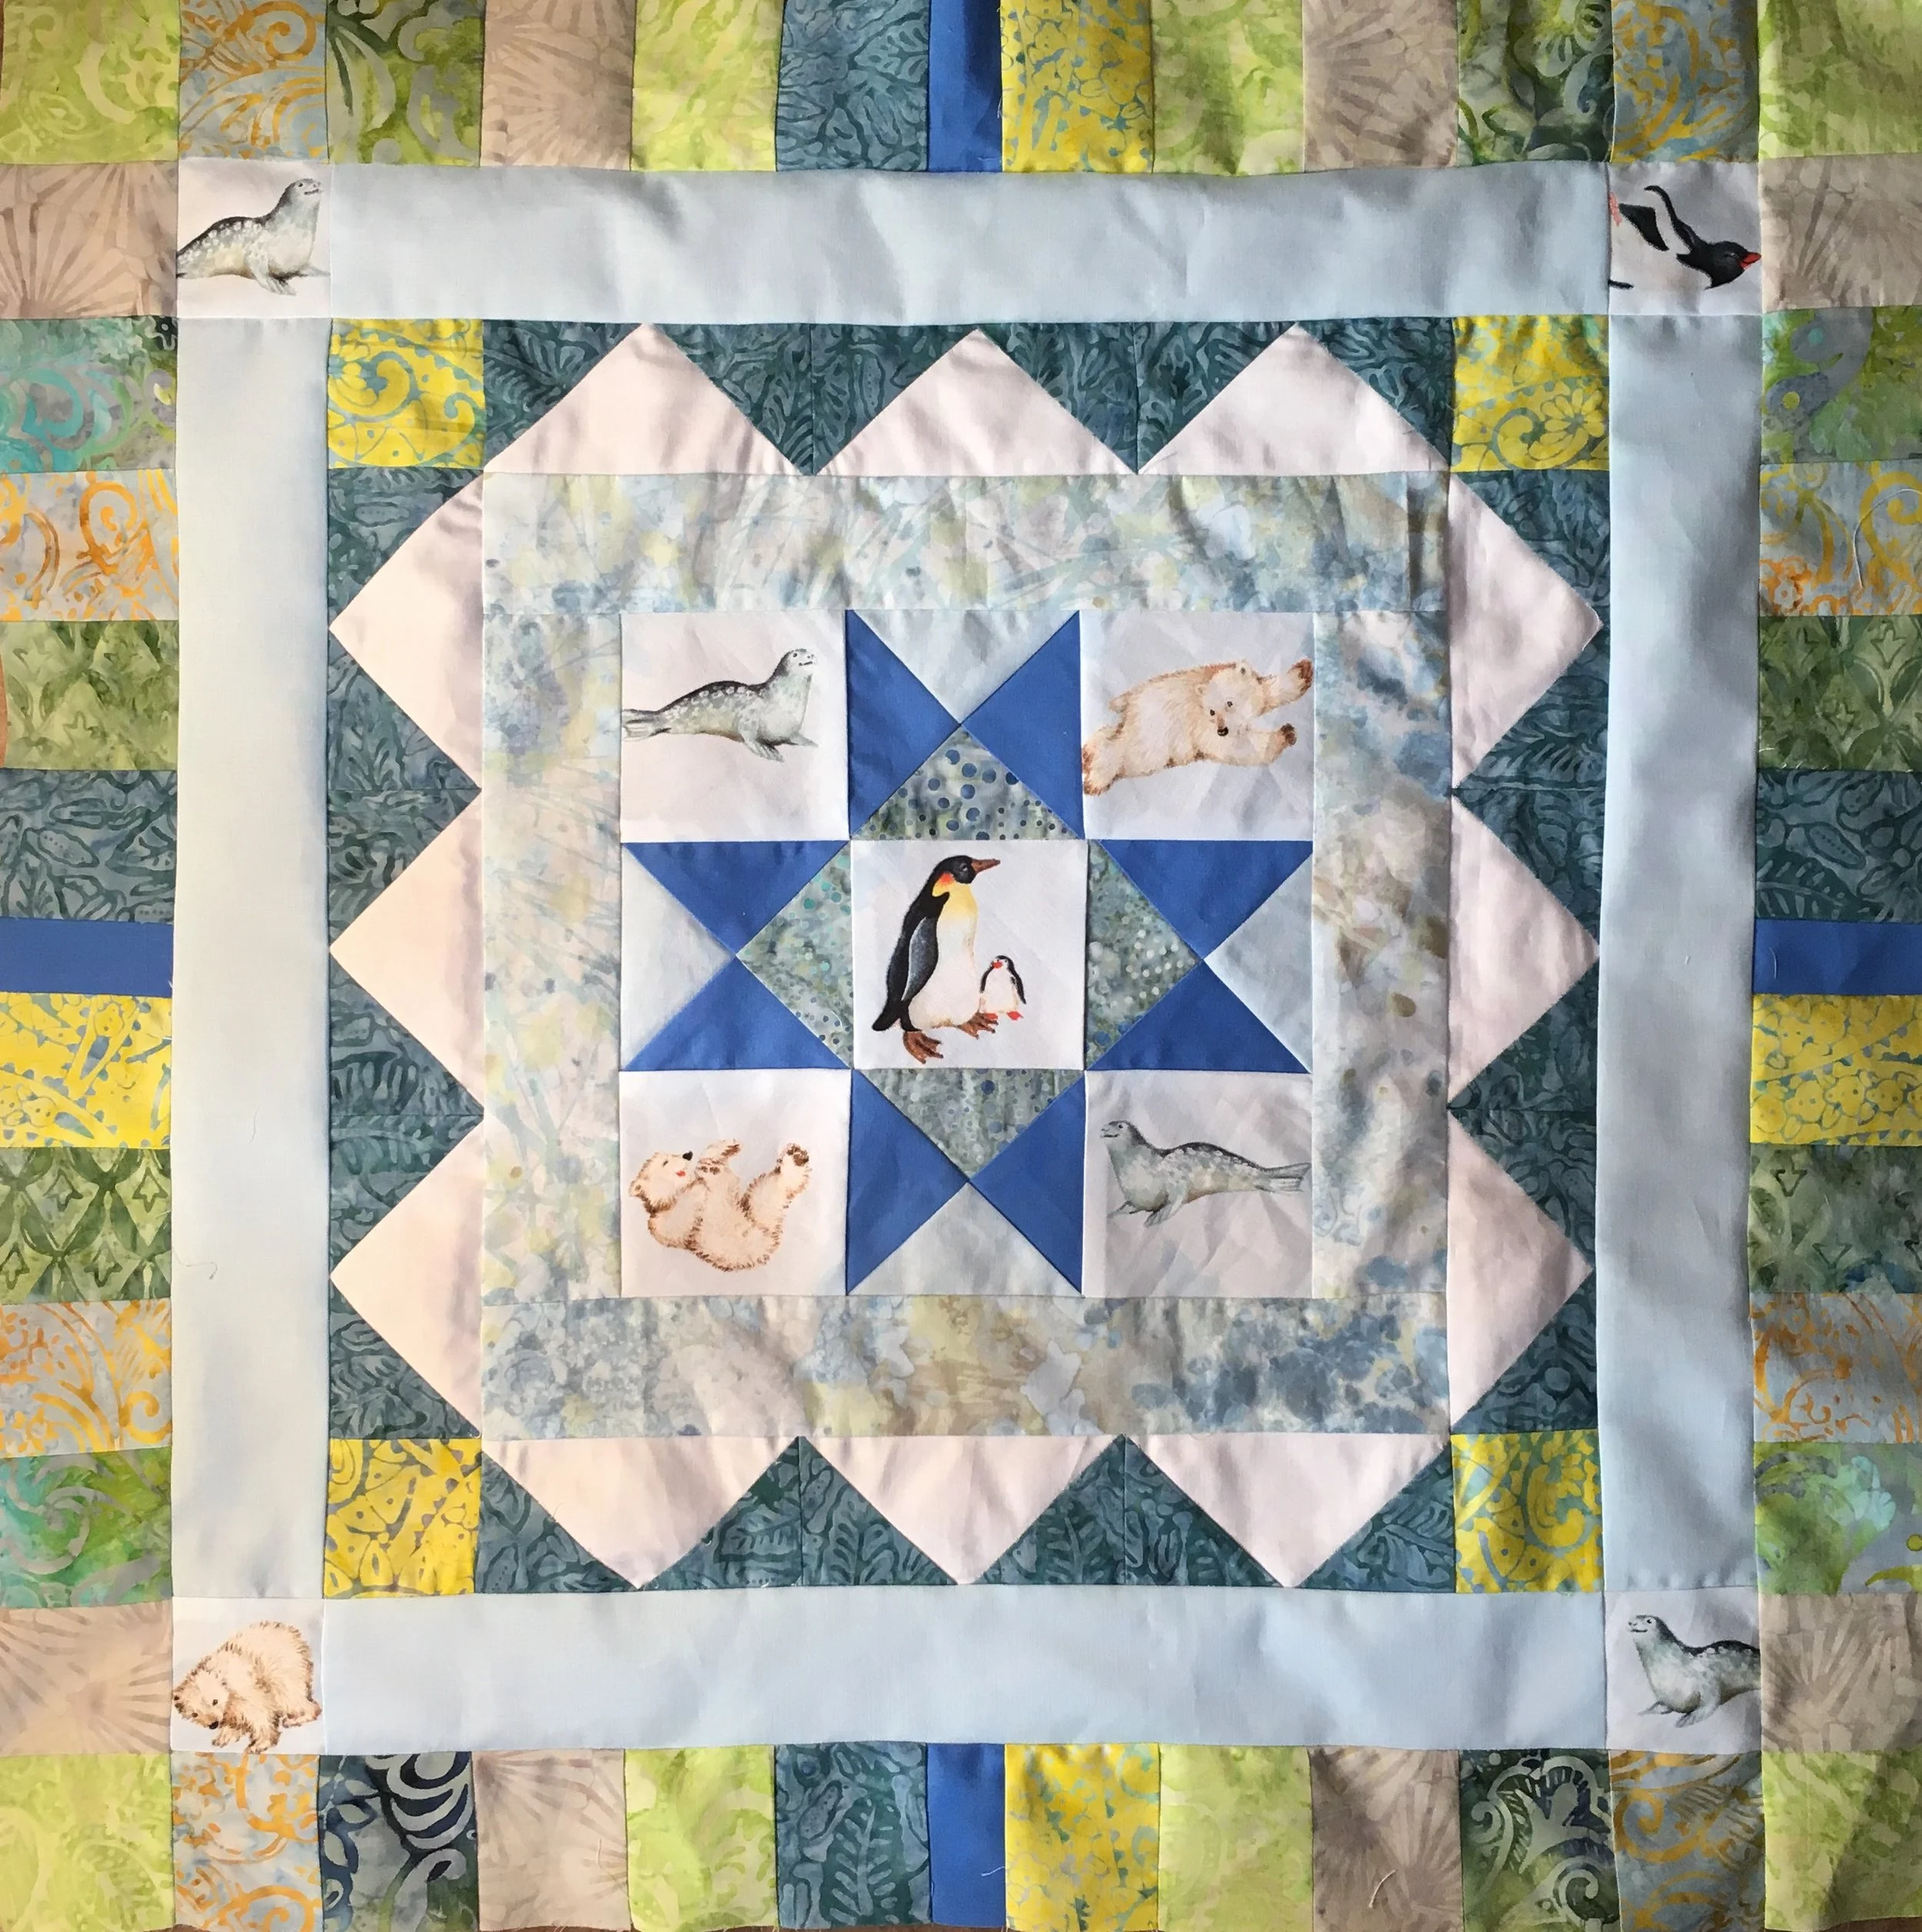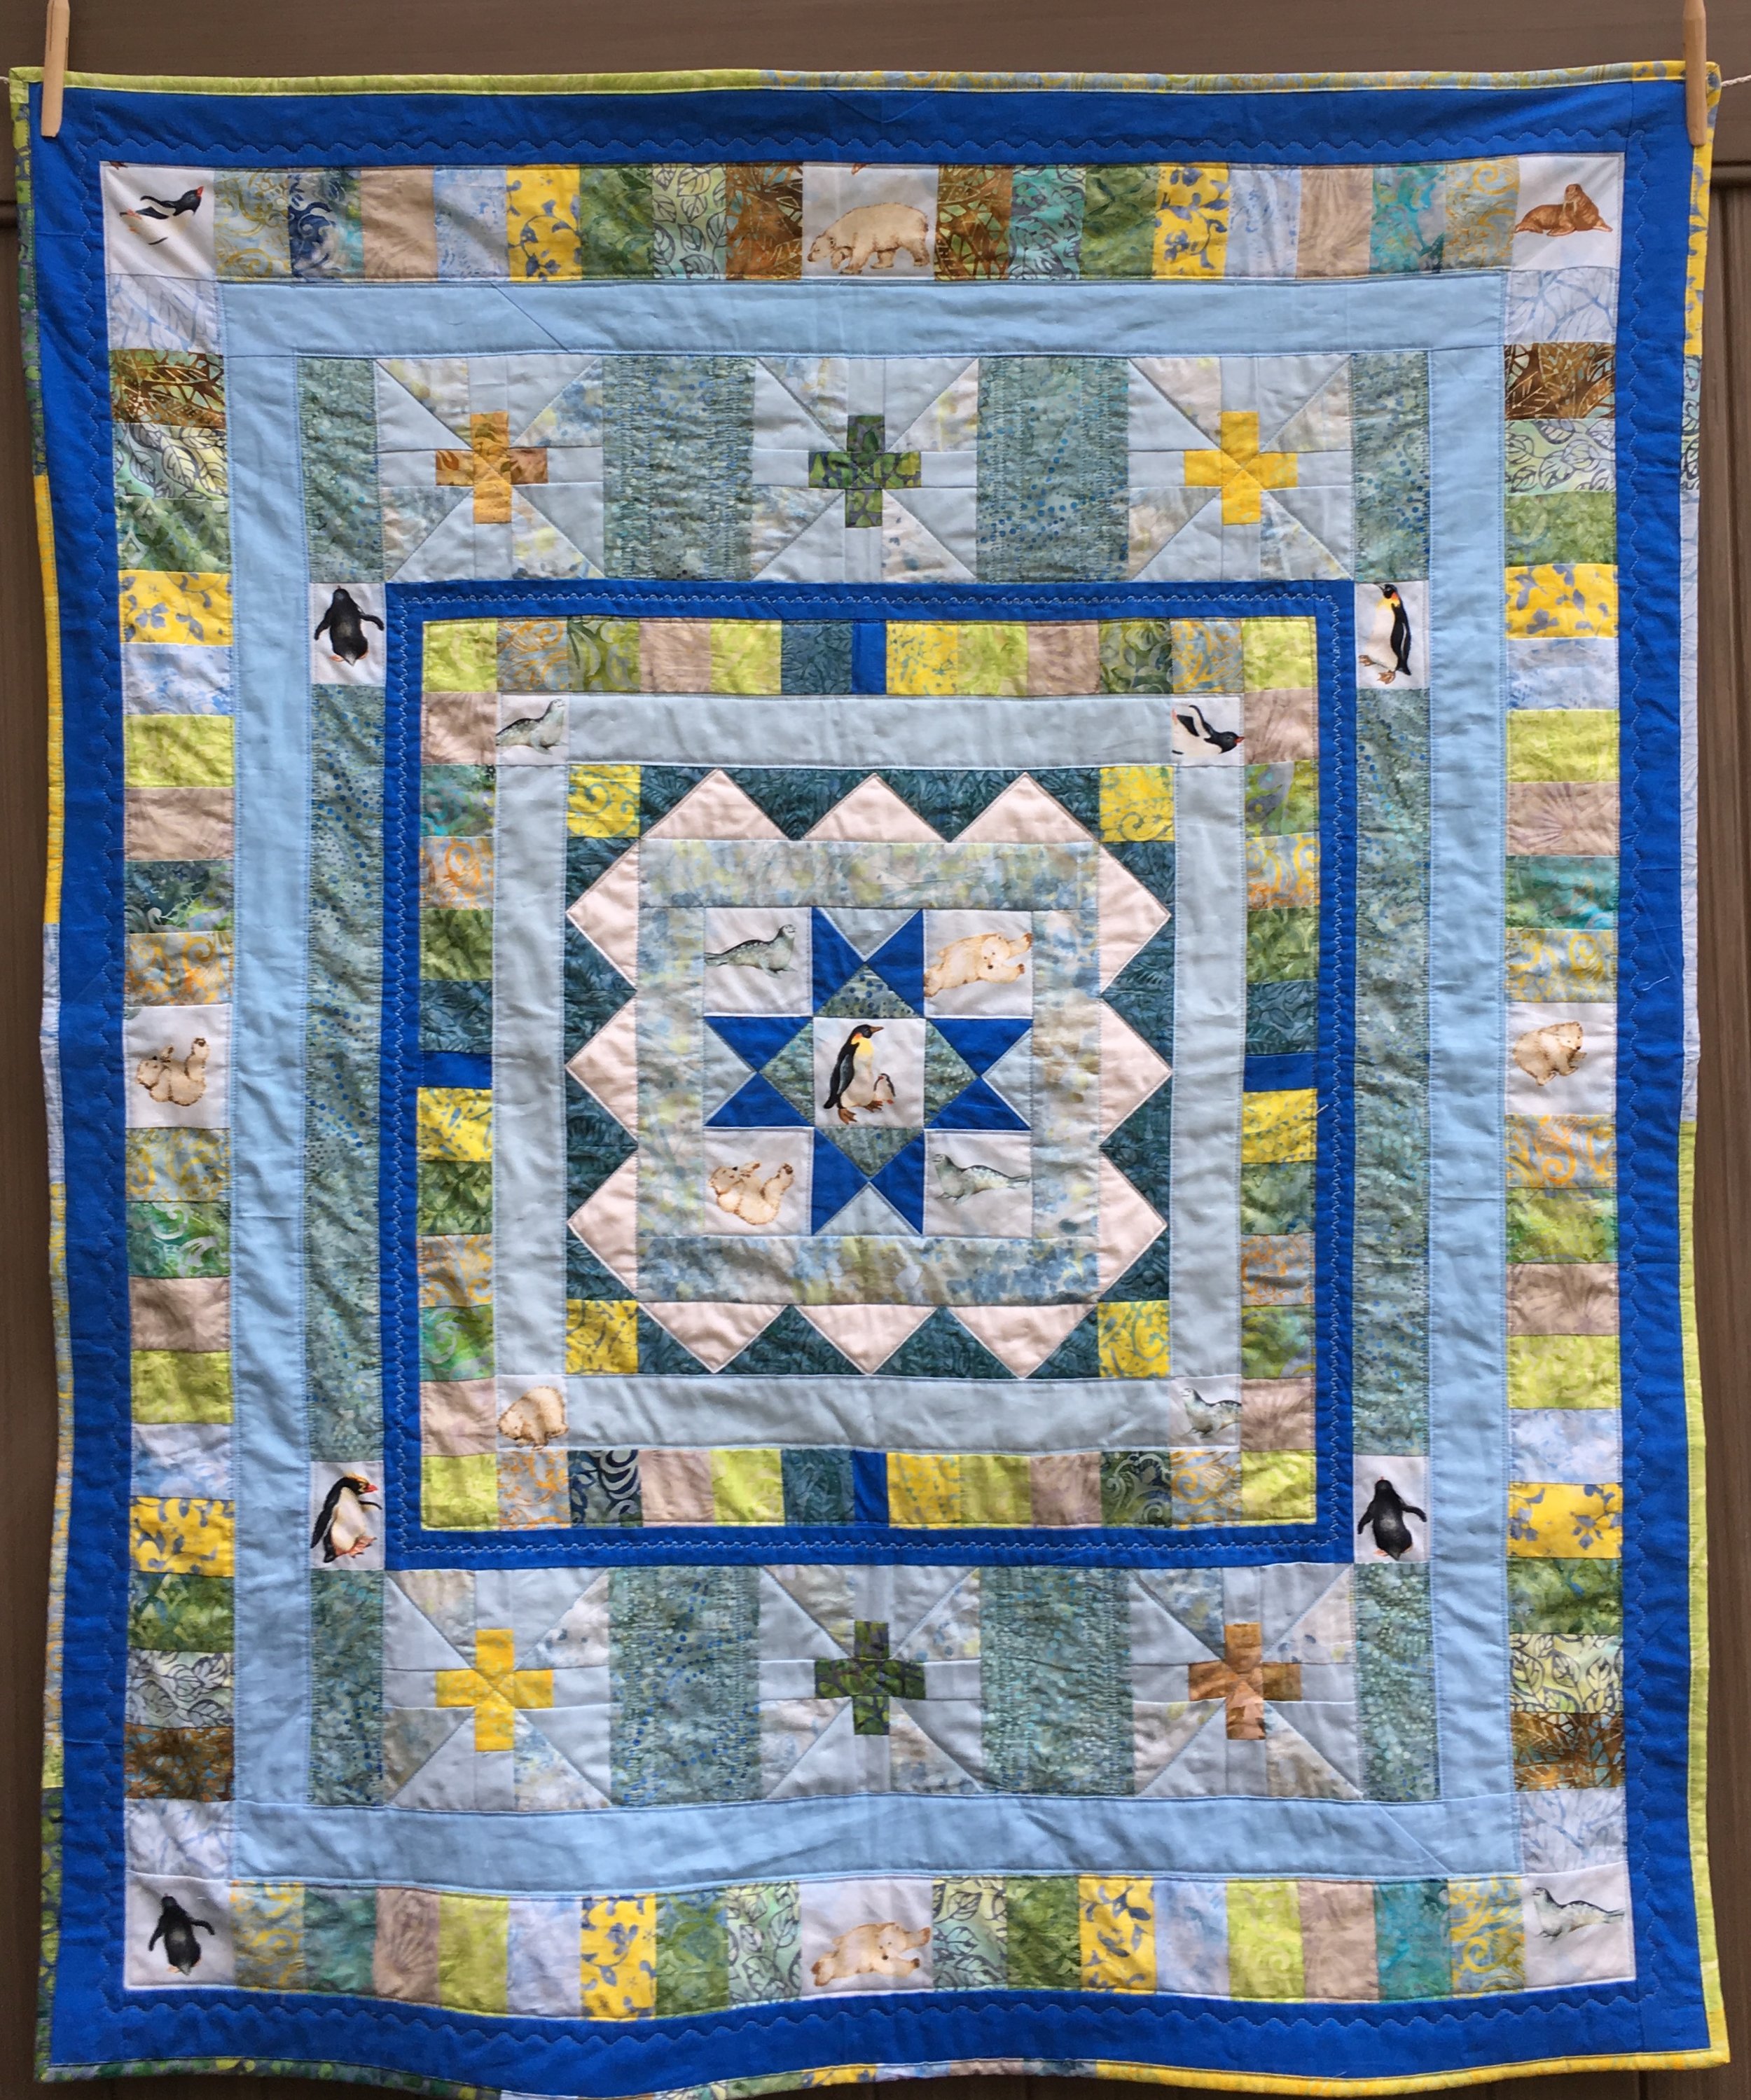
Polar Medallion Quilt44 x 50 inches
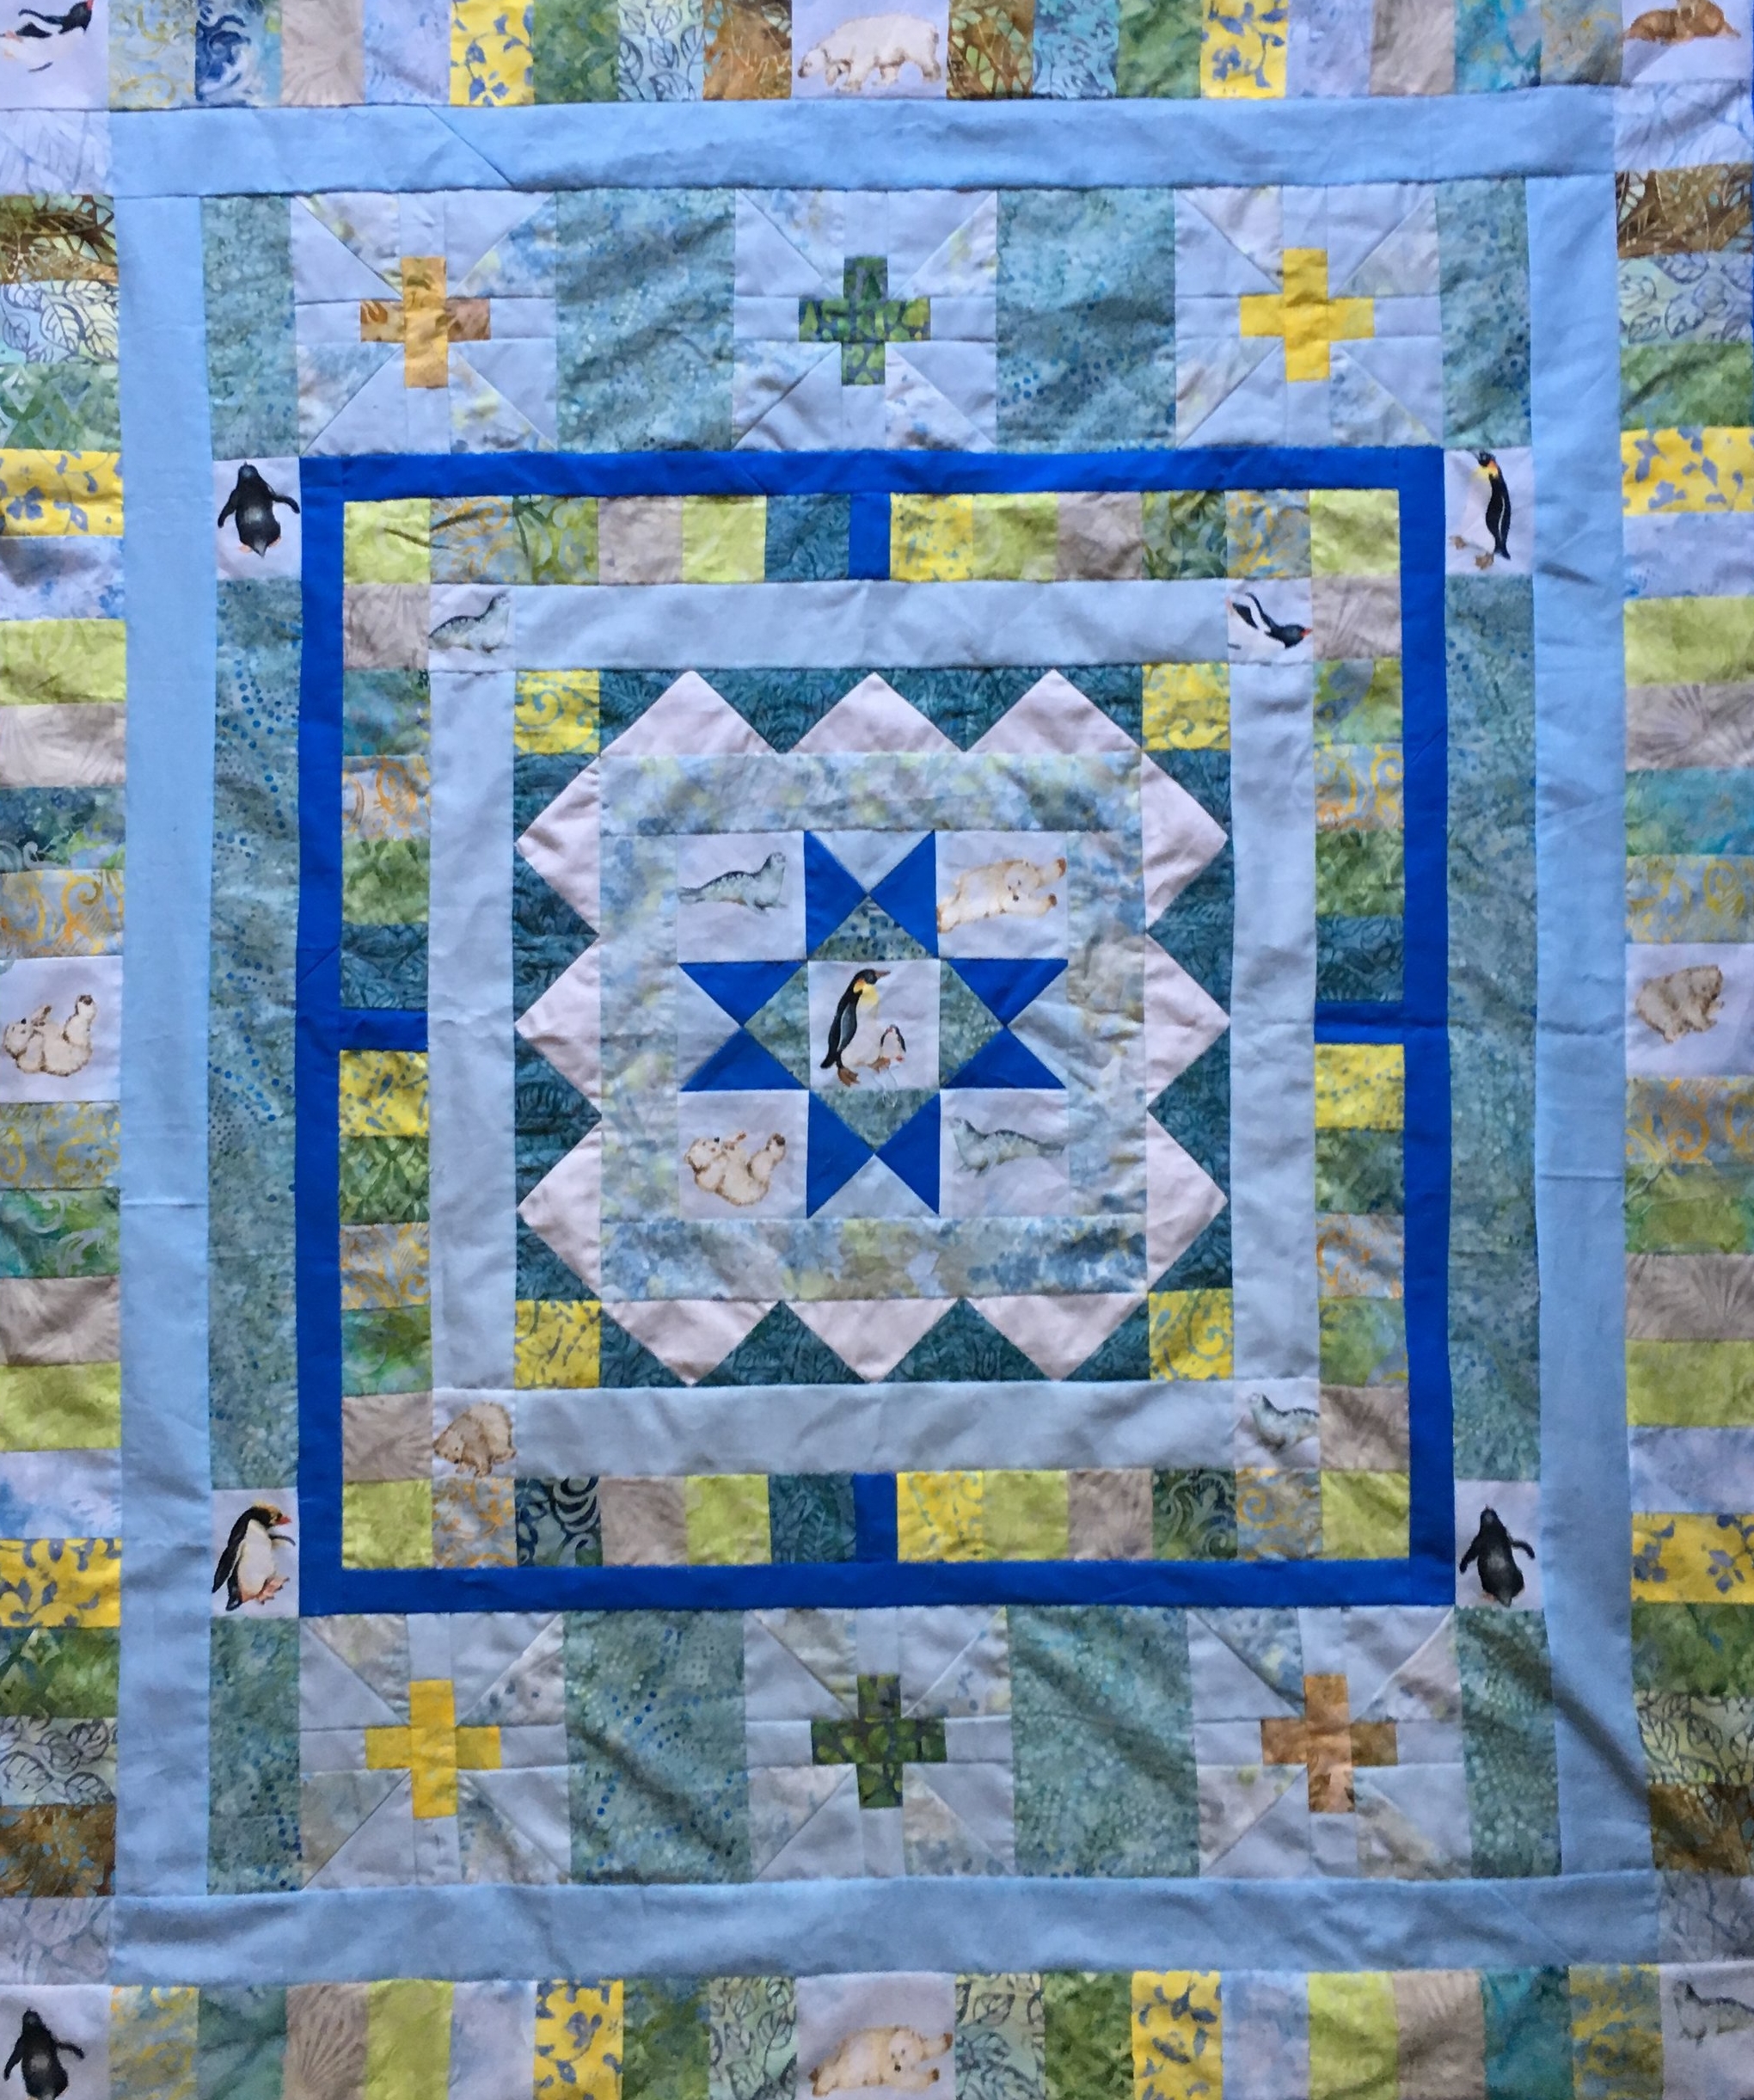
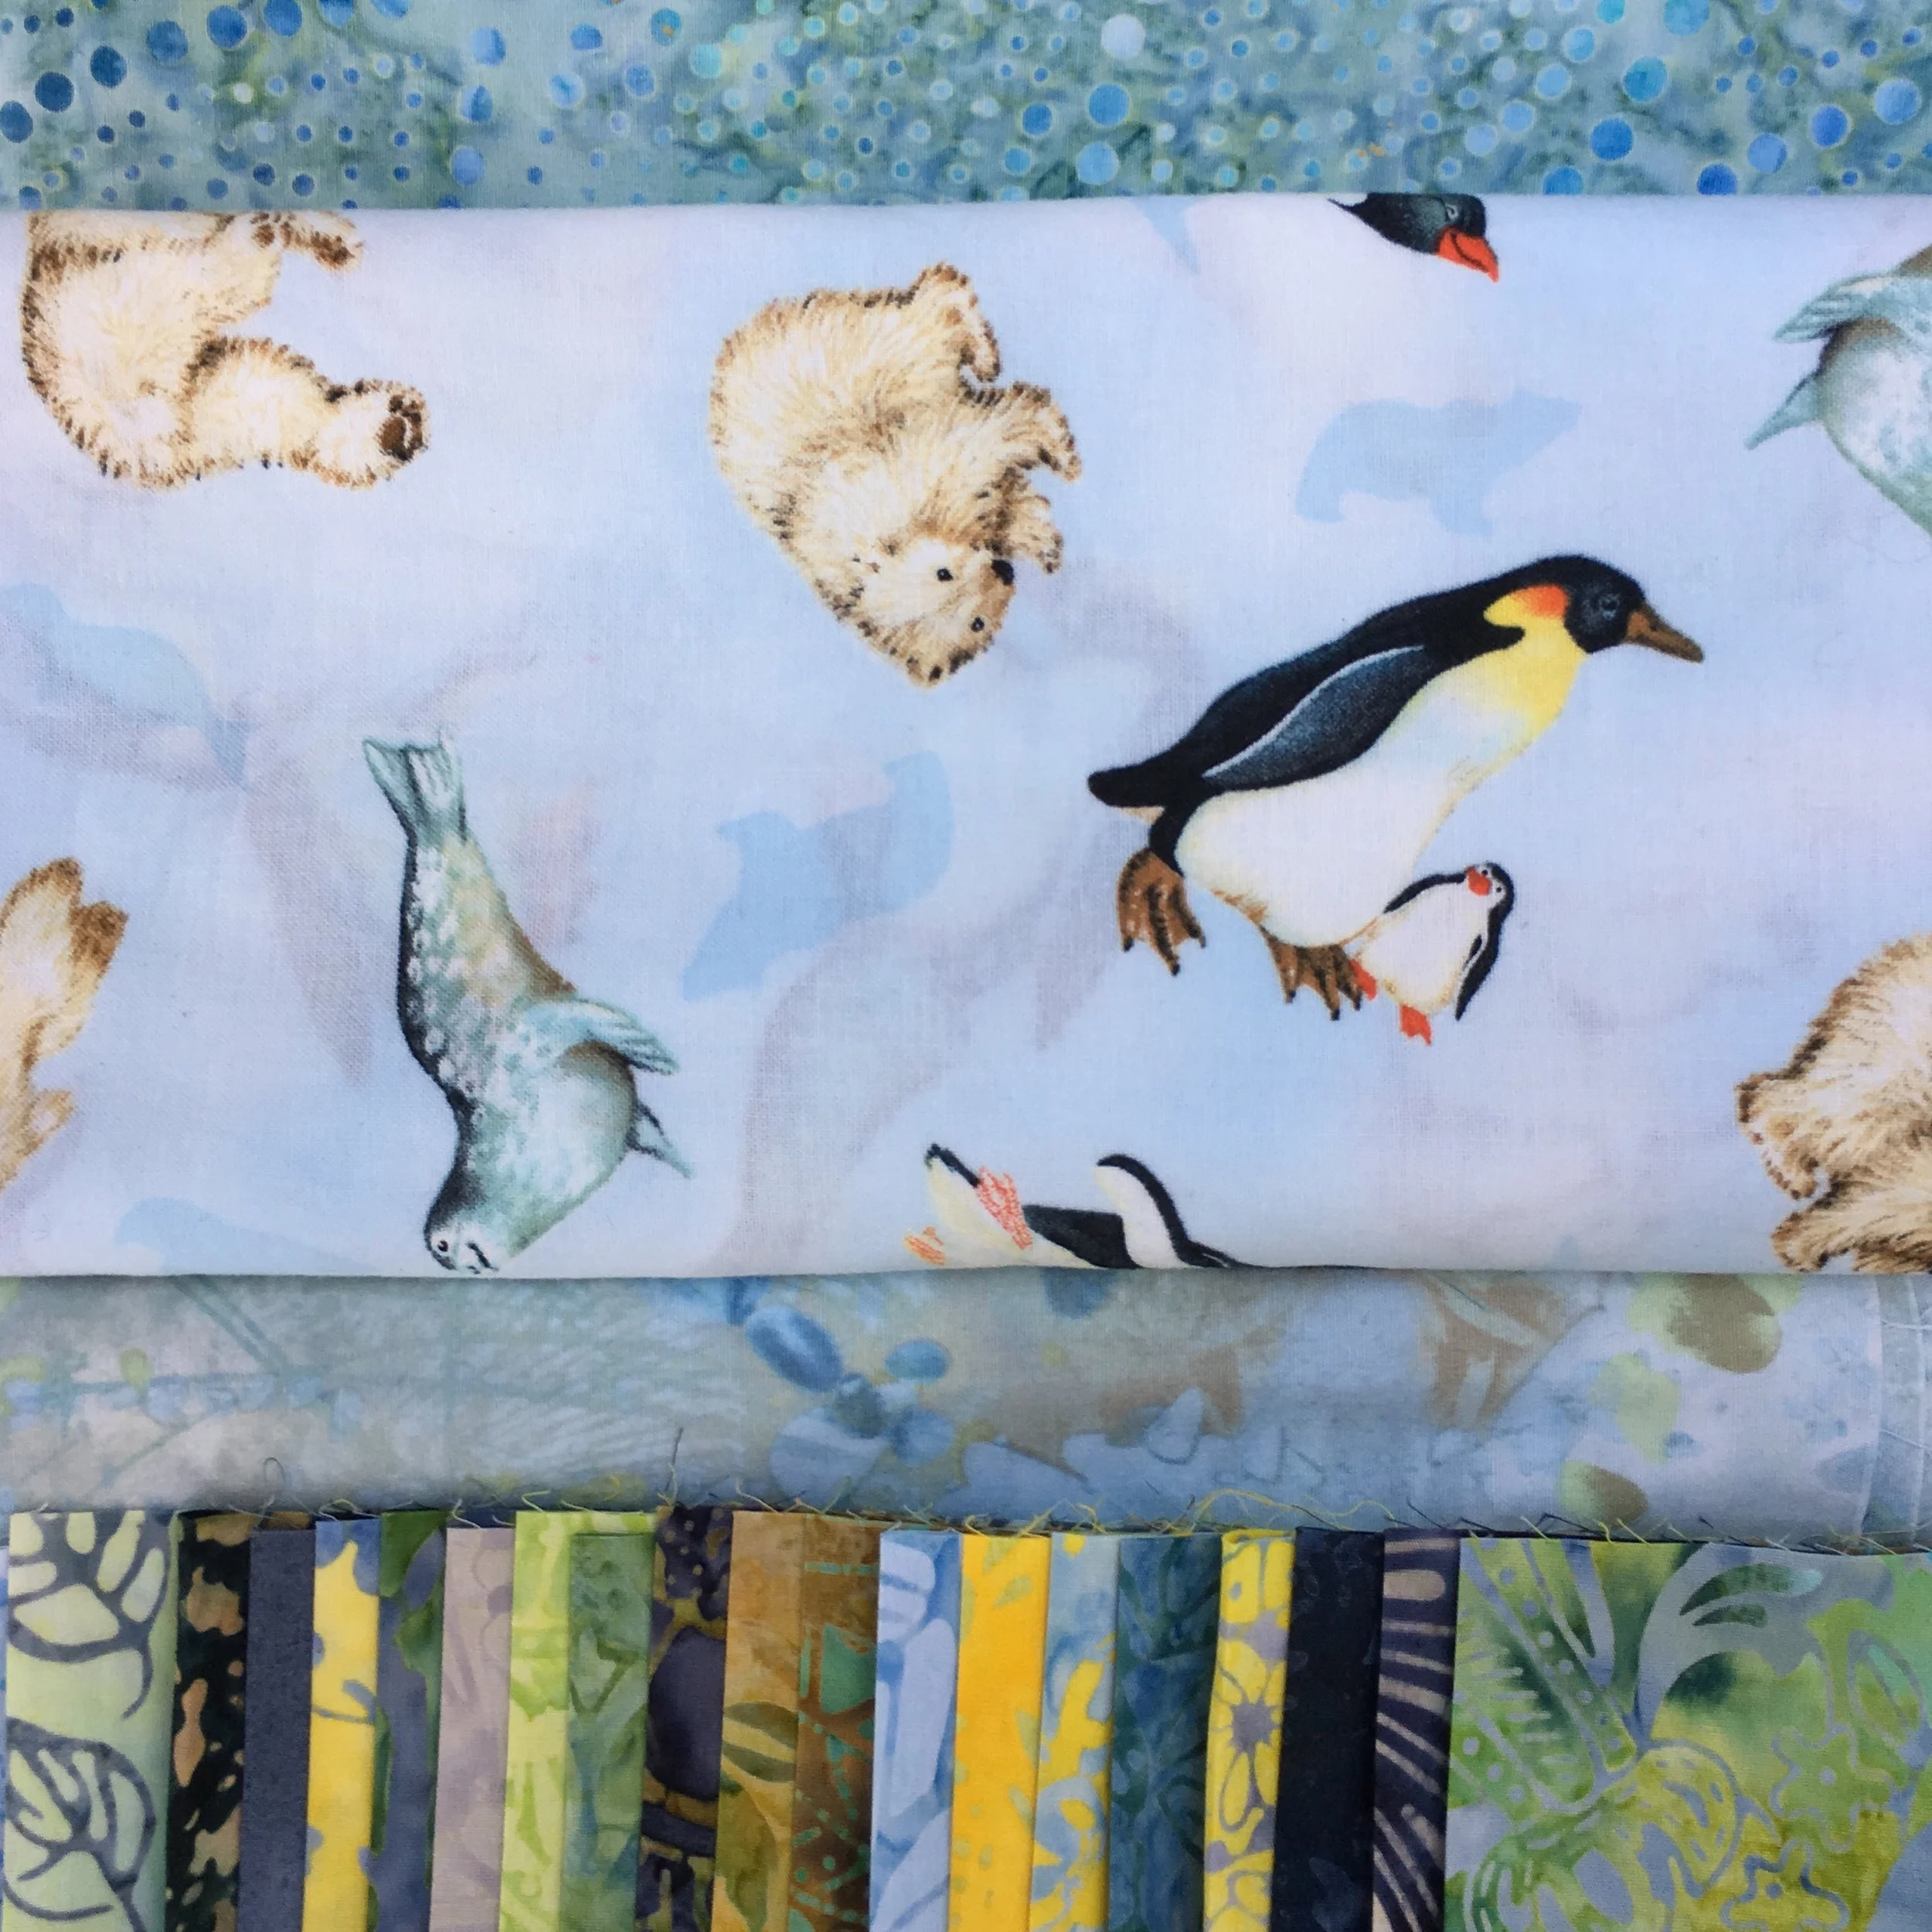
Here it is! The completed "Polar Medallion Quilt". I love all the colors so I particularly enjoyed working on this quilt!
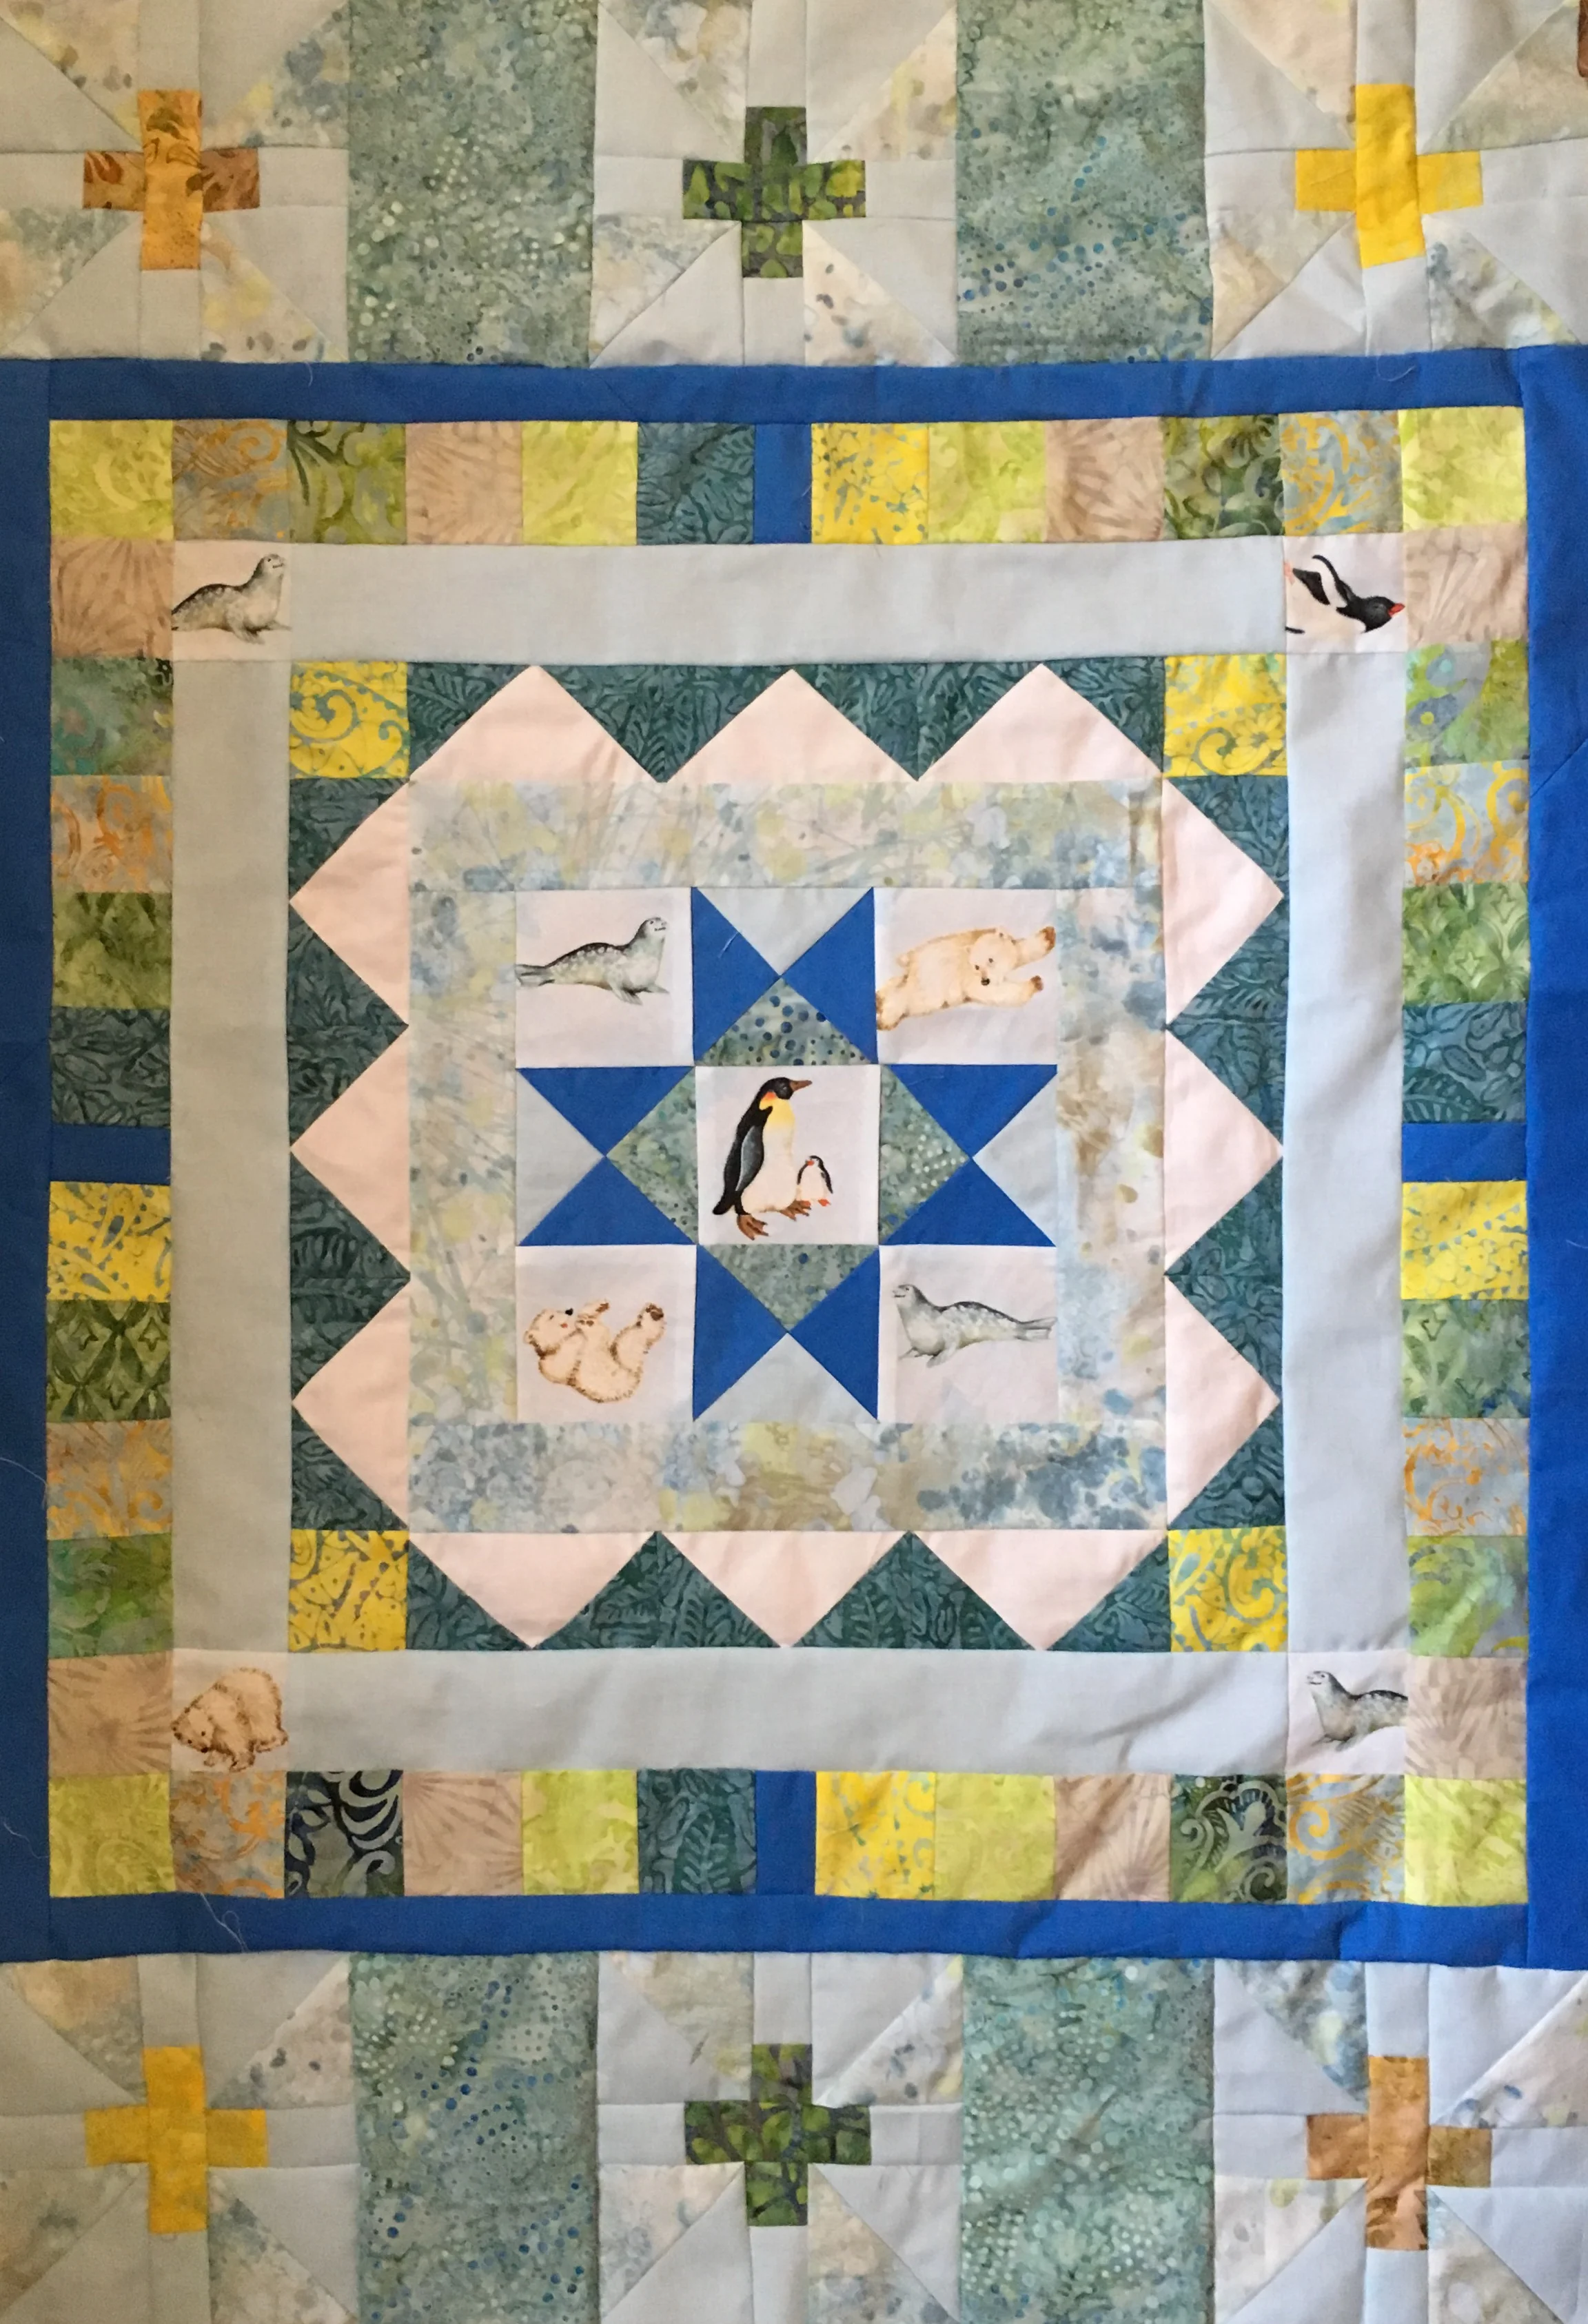
And it was a joy to quilt. I did some straight line quilting, some echo quilting, a bit of embroidery on one of the solid concentric inner borders and I used my favorite Bernina #4 stitch in the last border.
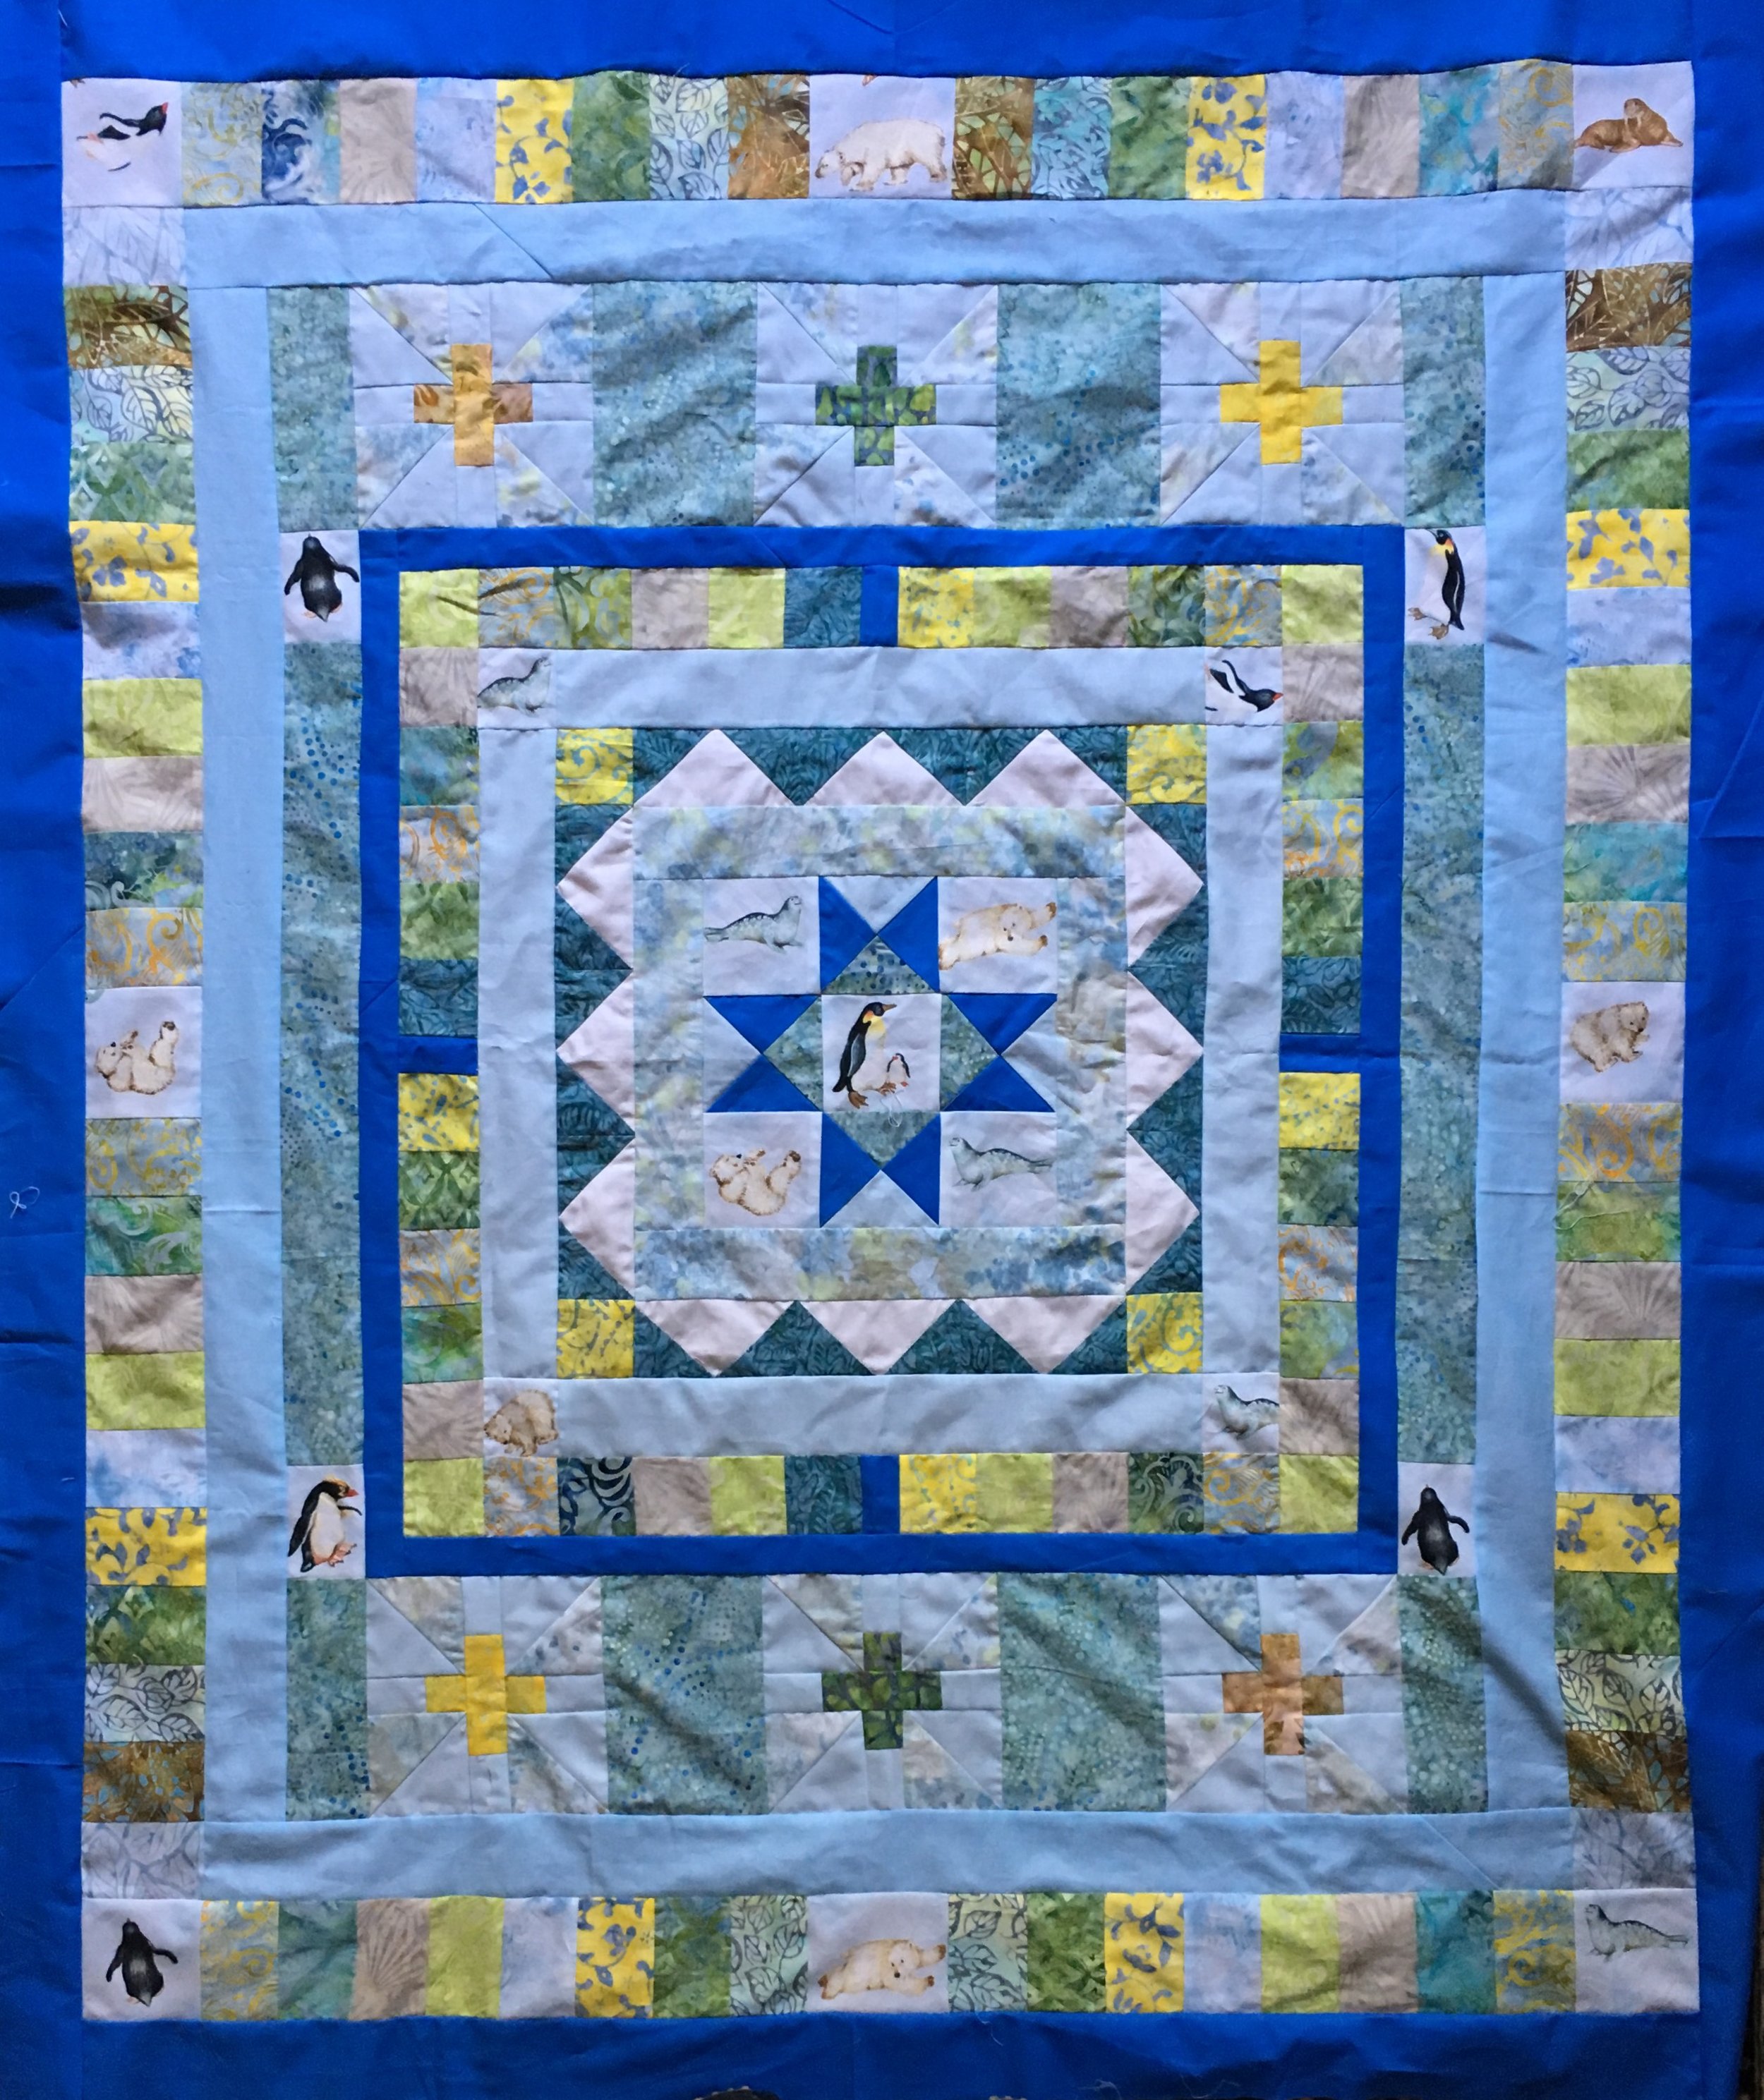
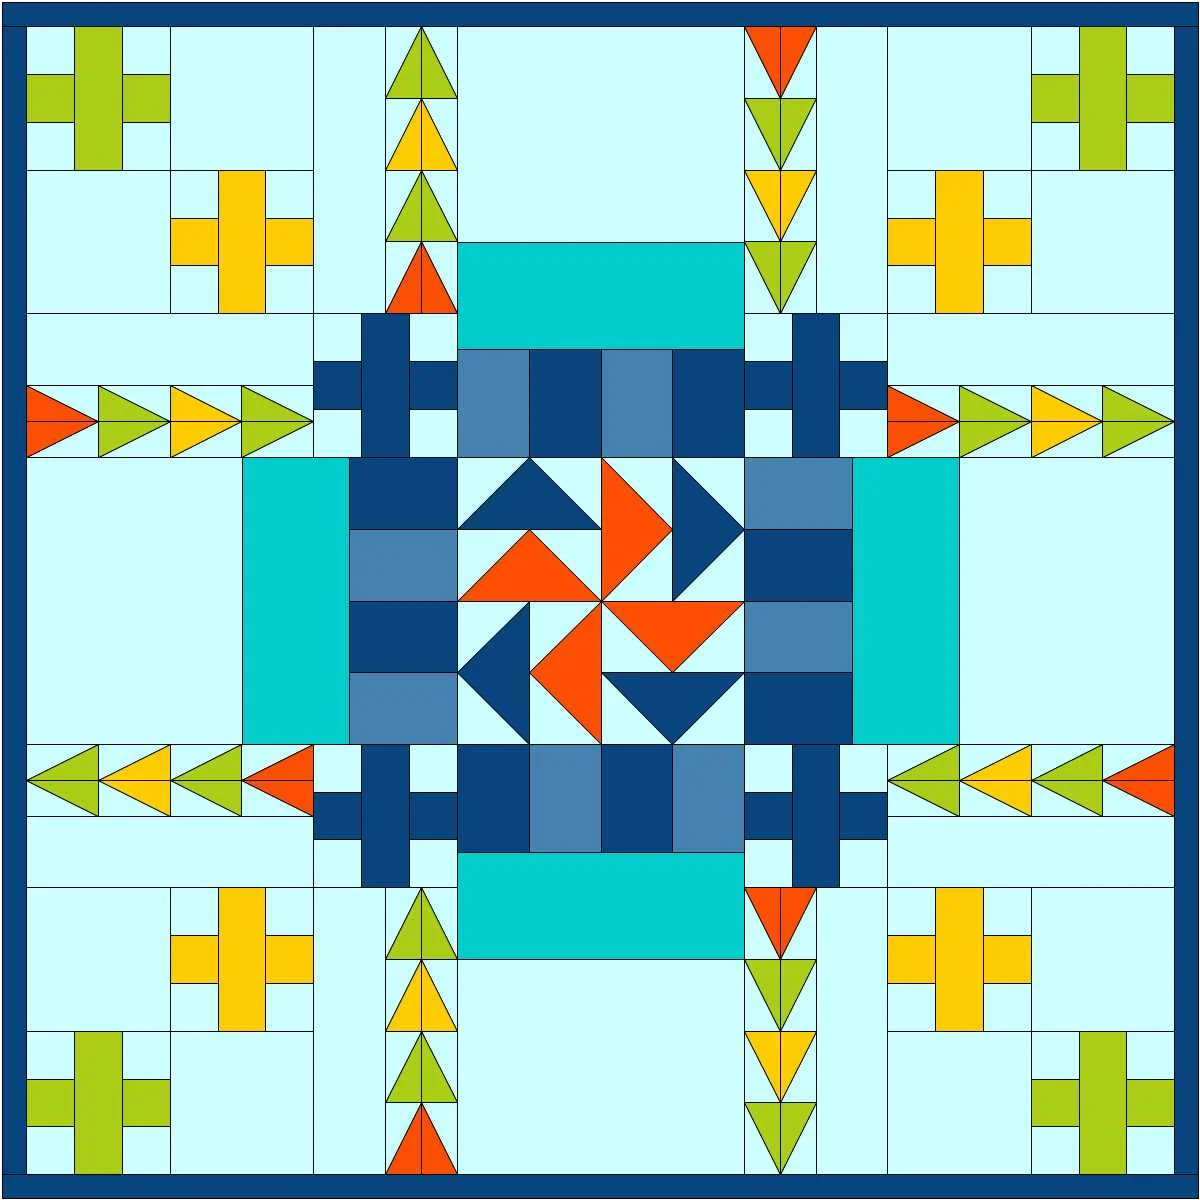
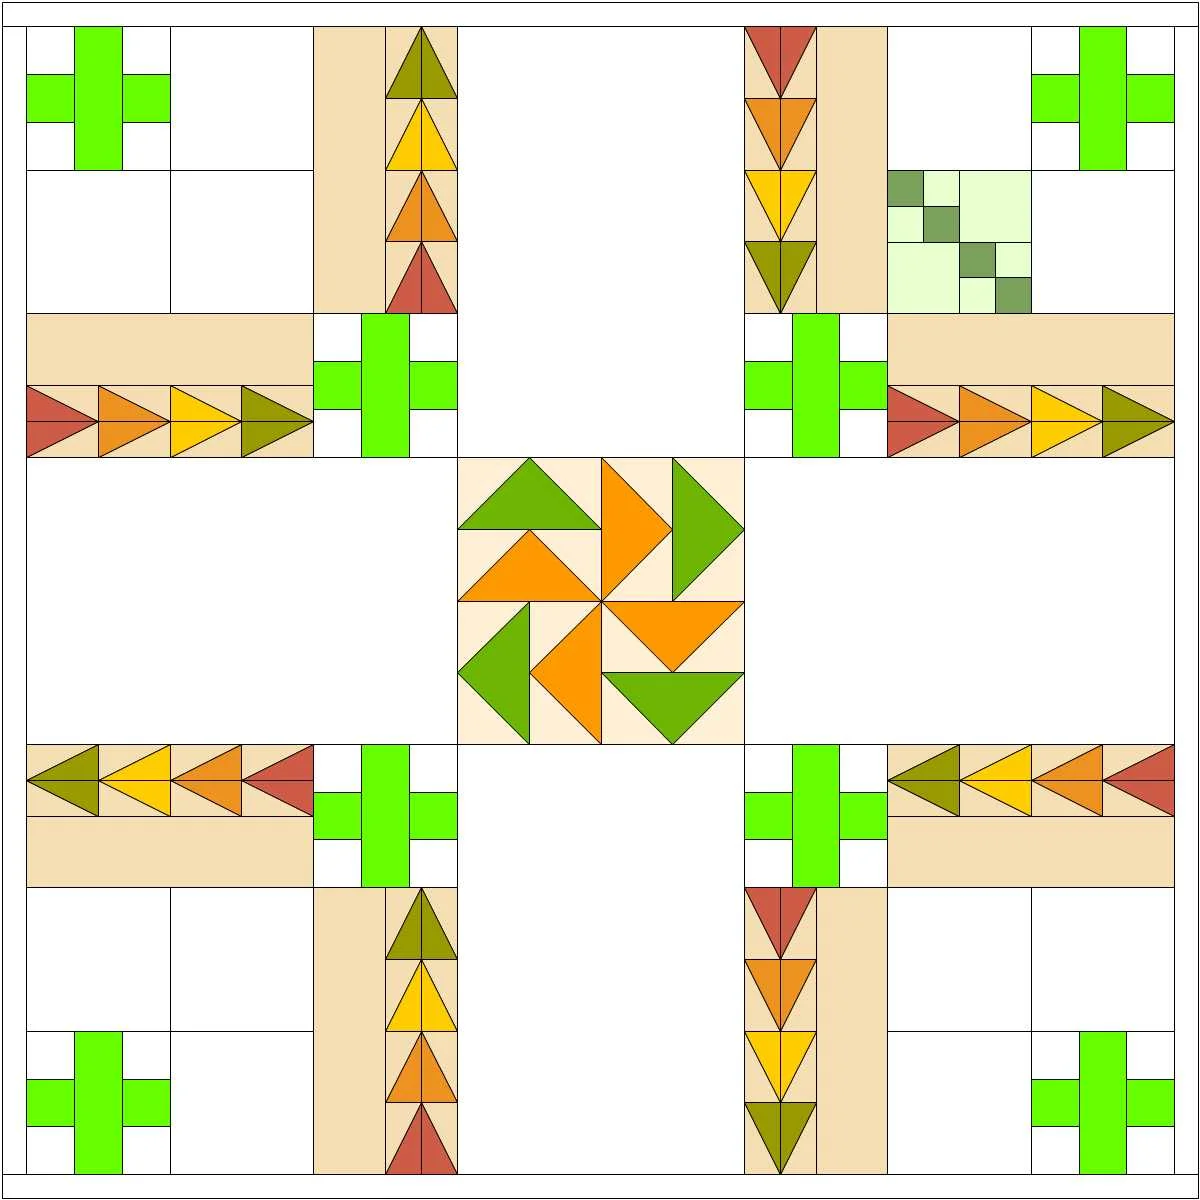
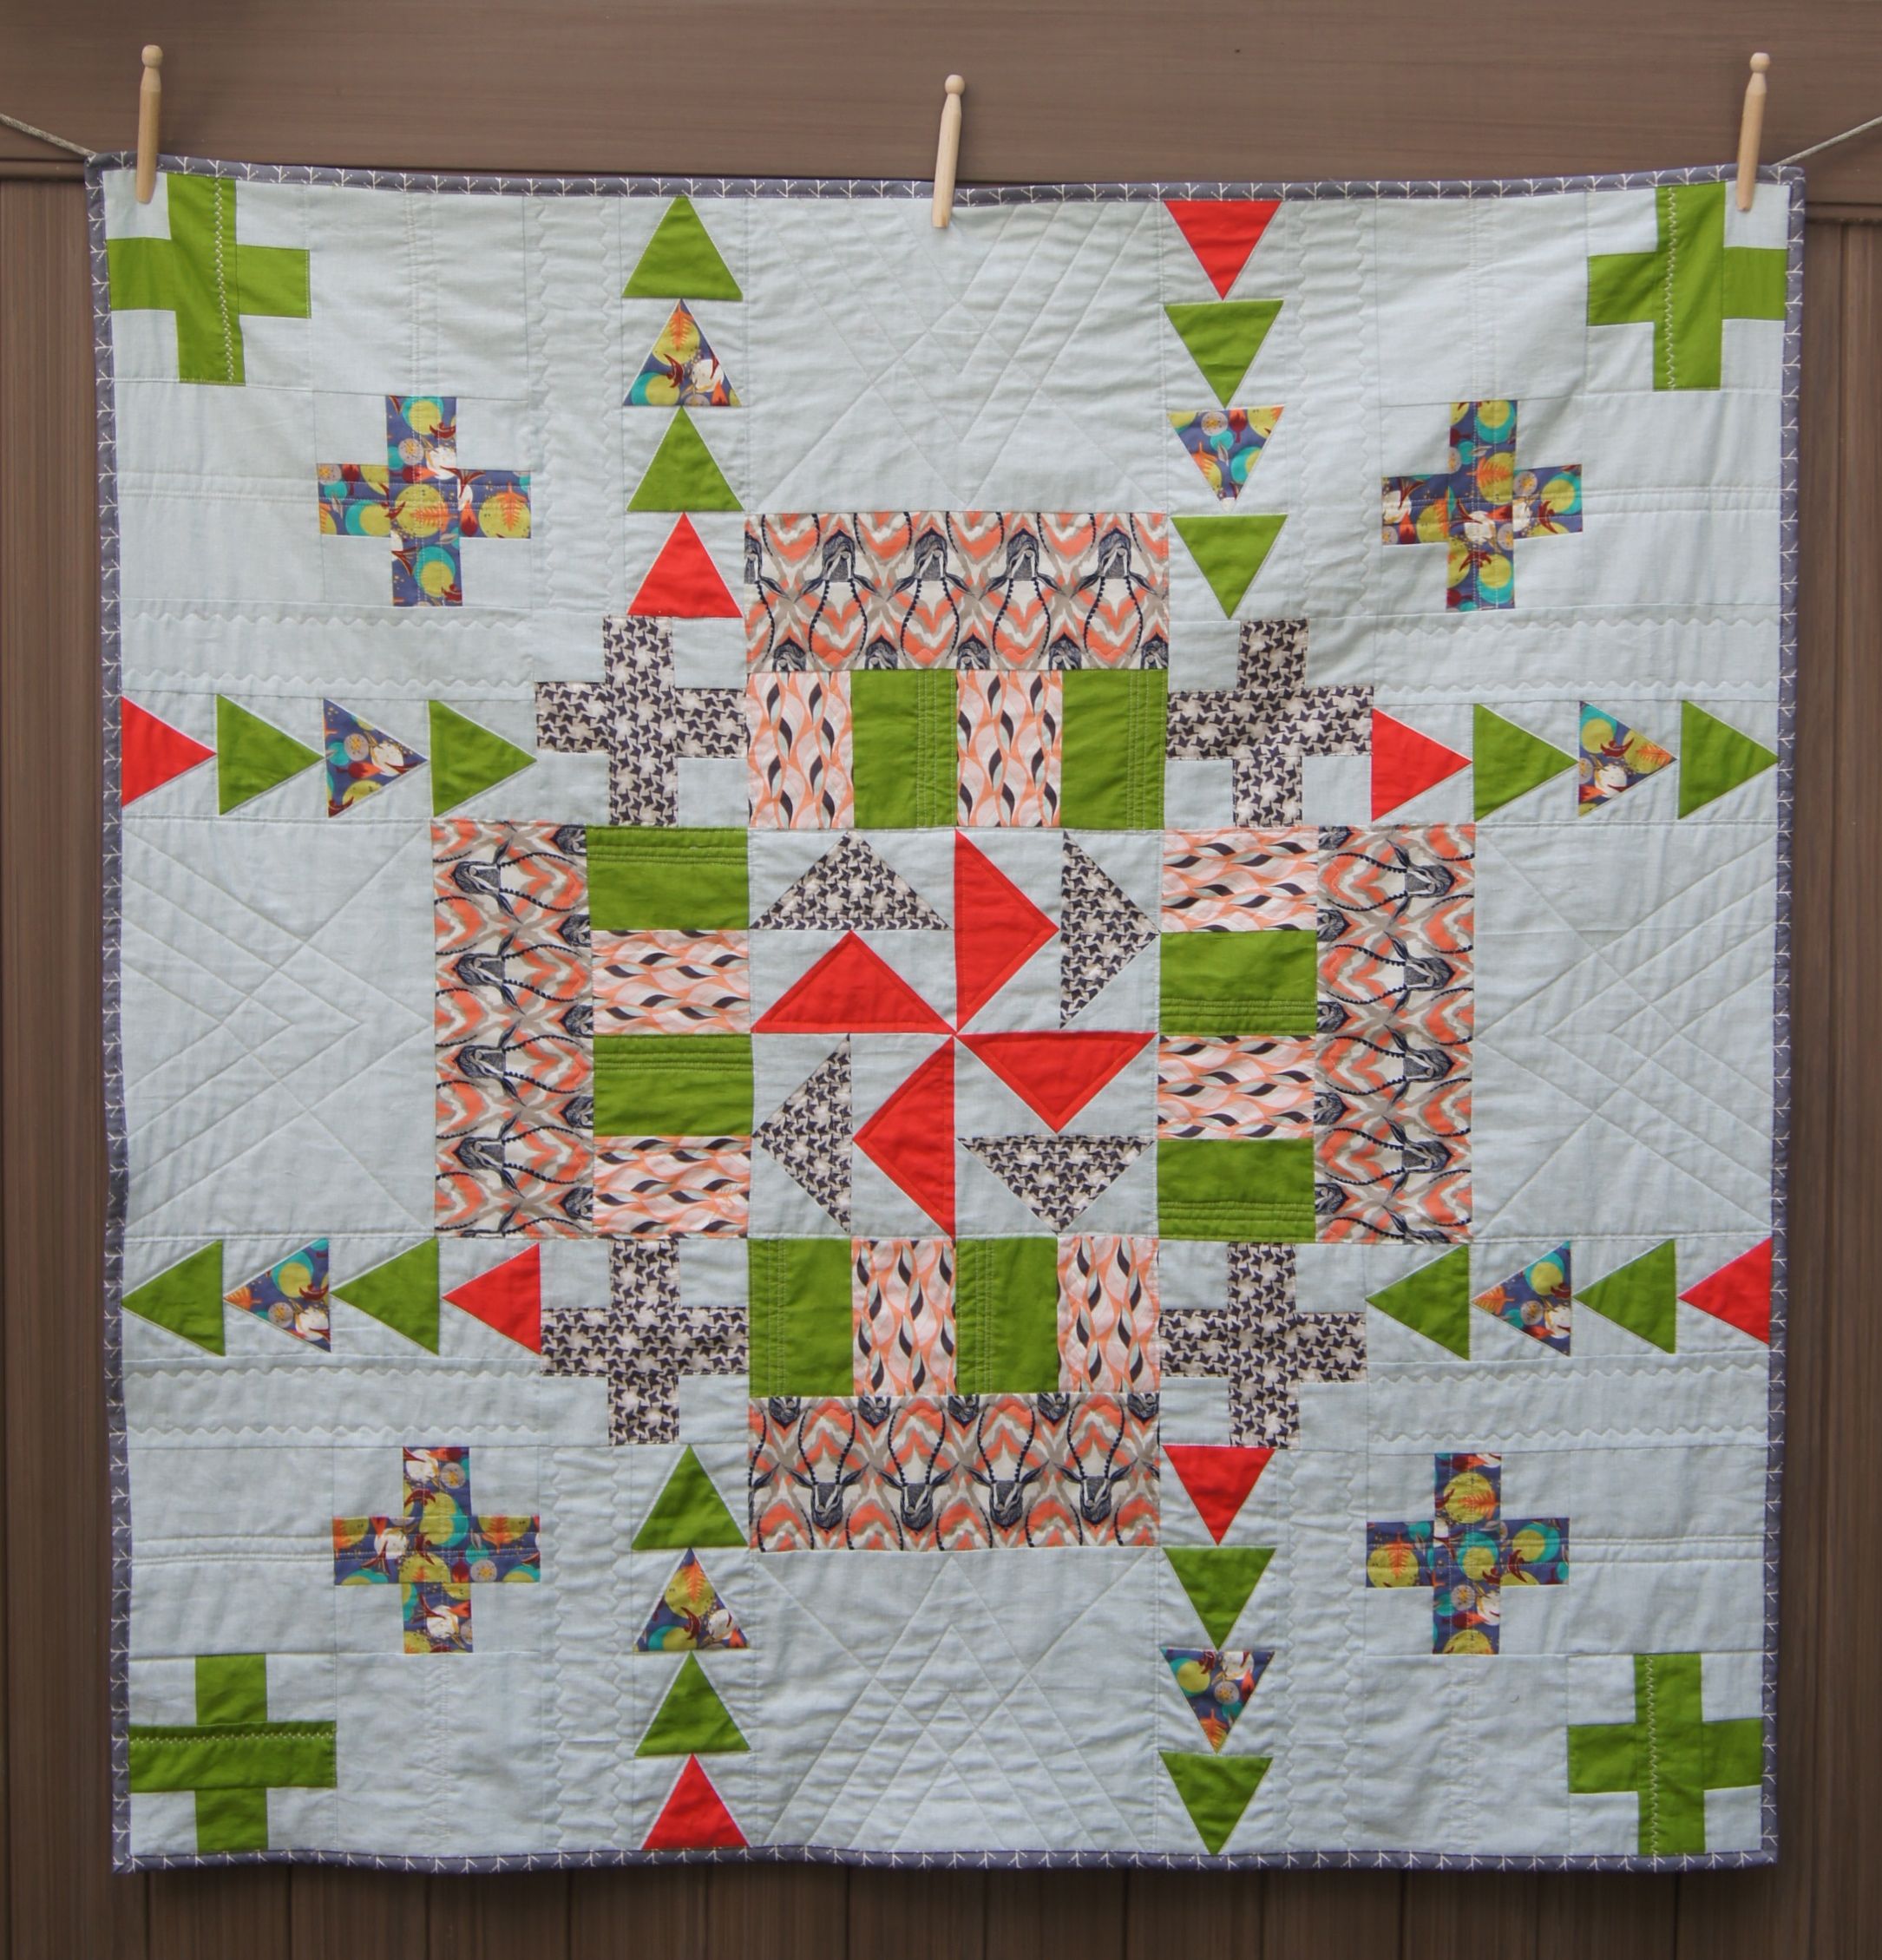
Here's the back of this quilt. You can see the quilting much more clearly on this side as well as the structure of the medallion.
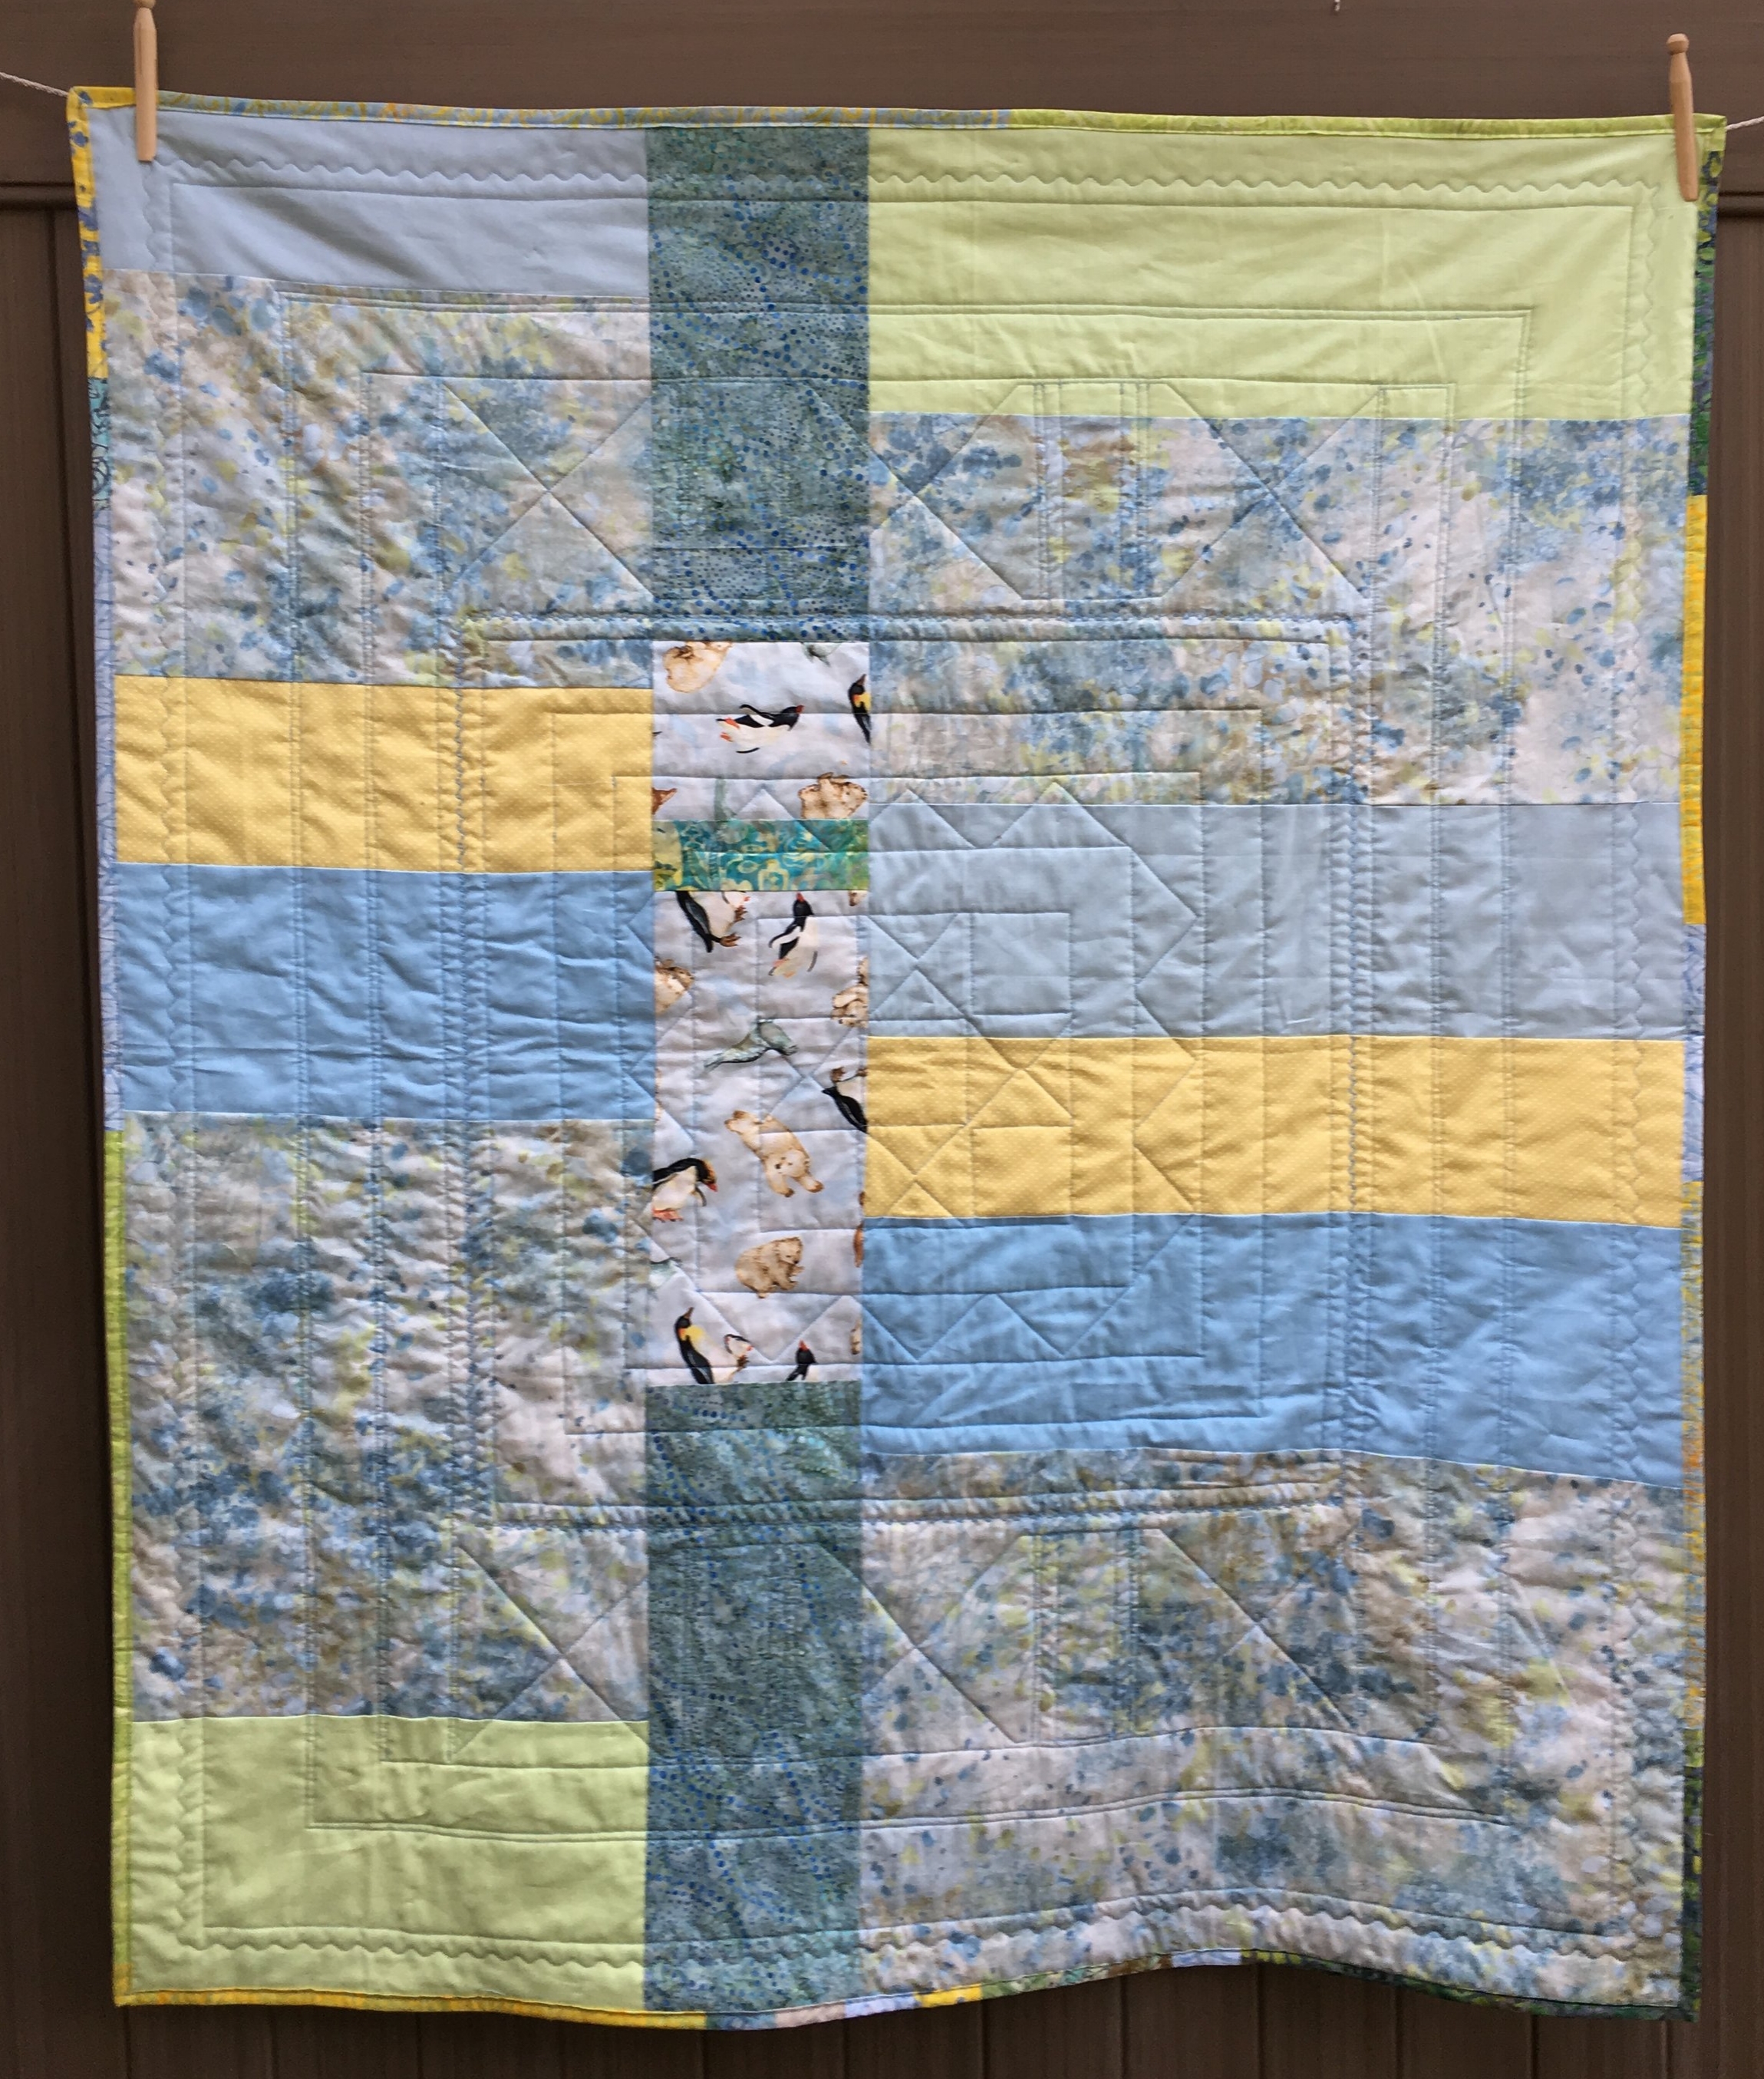
Polar Medallion Quilt--back side
I hope you enjoyed following along with the making of this quilt. If you make one for yourself, please let me know!
In my last post, I mentioned that I would tell you about two medallion quilt books. One is available now, the other is scheduled for release 12/26/2017.
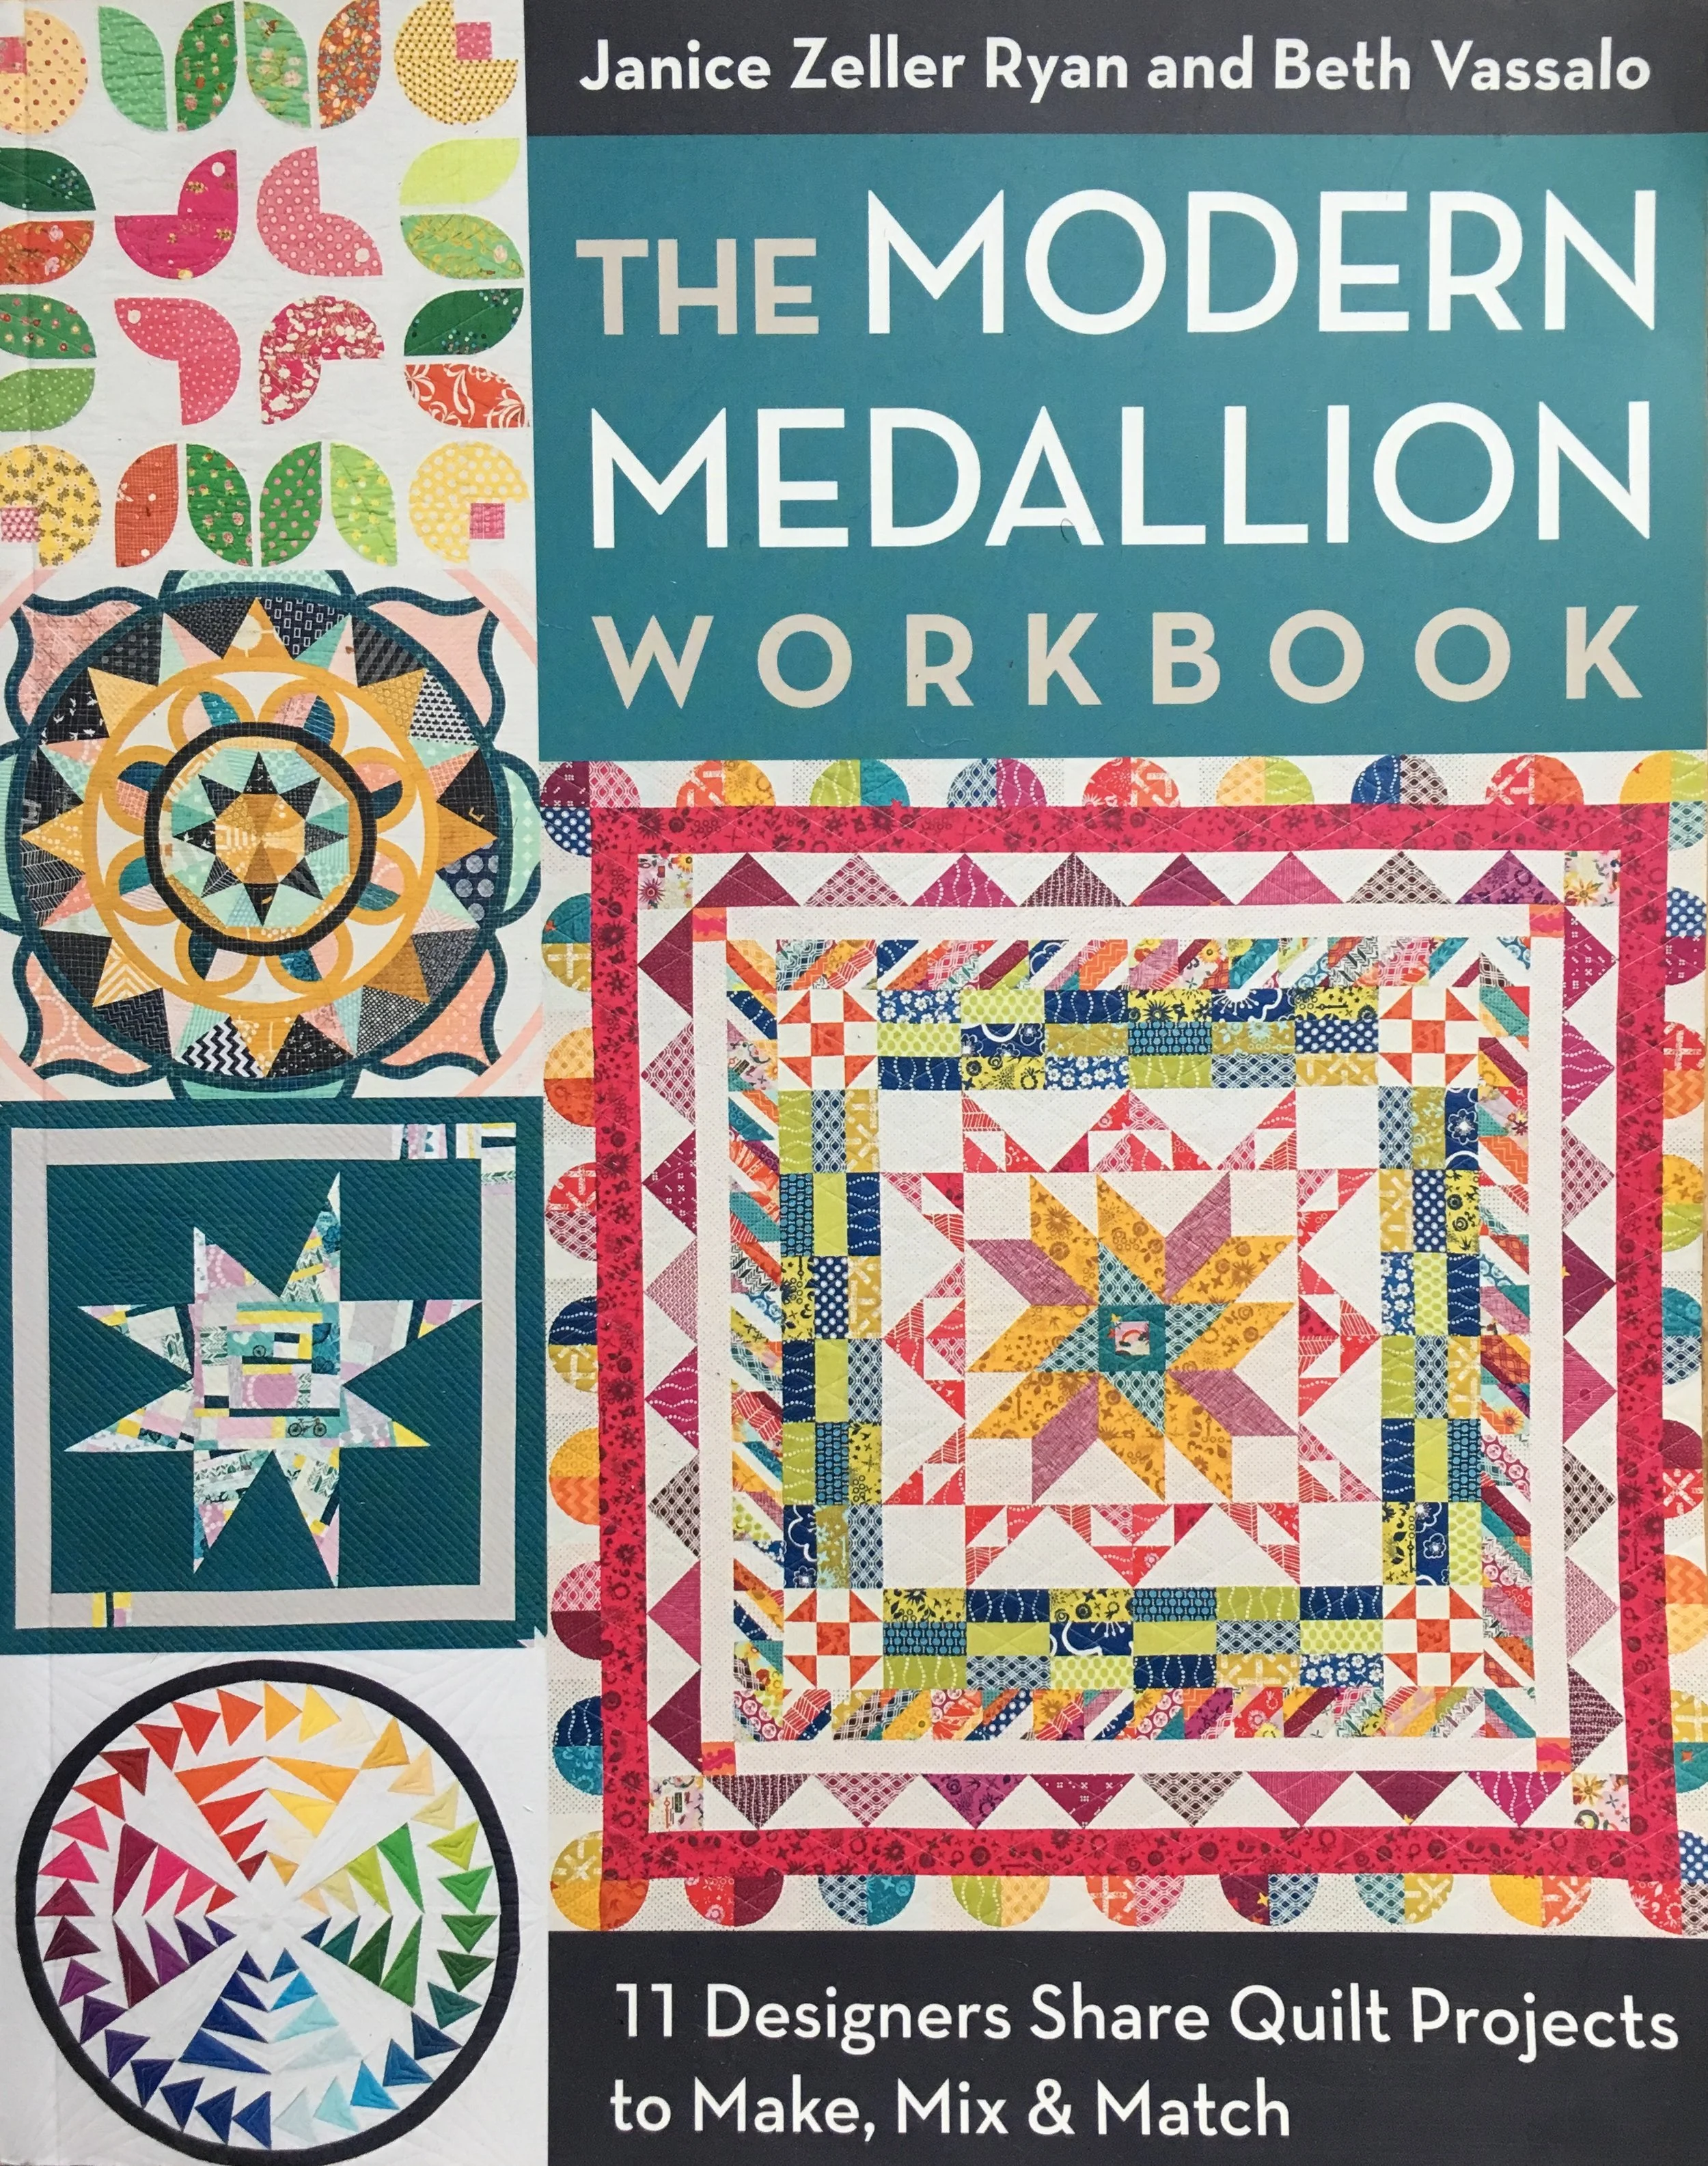
The Modern Medallion Workbook by Janice Zeller Ryan and Beth Vassalo was published by Stash Books in 2015. The book has a couple relatively simple medallion quilts but most of the quilts are complex, visually very exciting and look fairly challenging to make. I really like the quilt shown on the right side of the book's cover shown above. It looks like a party! The round flying geese medallion shown in the lower left corner above is incredible. It's the center medallion of a bright, fun quilt. It's an amazing book, but not one for a beginner quilter.
The book coming out in December is being published by Lucky Spool. Make Your Own Medallion: Mix + Match Block and Borders to Build Your Quilt From the Center Out was written by Erin Burke Harris. The preview states she has created a variety of borders that can be made in 3 widths, as well as 6 center medallions that are ready for use. She has done all the math for the borders! Quilt Math is what makes designing a medallion quilt challenging. Here is a link to some page spreads photos from the book on the Lucky Spool website. I'm so intrigued. I can't wait to see this book!
I hope I've sparked your interest in medallion quilts and that you'll try making one at some point. They are fun to sew and make beautiful and interesting quilts.